PRODUCTS
Manage Products Efficiently In Vicdigitalworks E-Store
This tutorial guides you through managing products within the Vicdigitalworks E-Store system
Go to serviz.ca
1. Introduction
You will learn how to navigate the interface and configure product details effectively.

2. Click Log In Button
Click the Log In button to access the Serviz application.

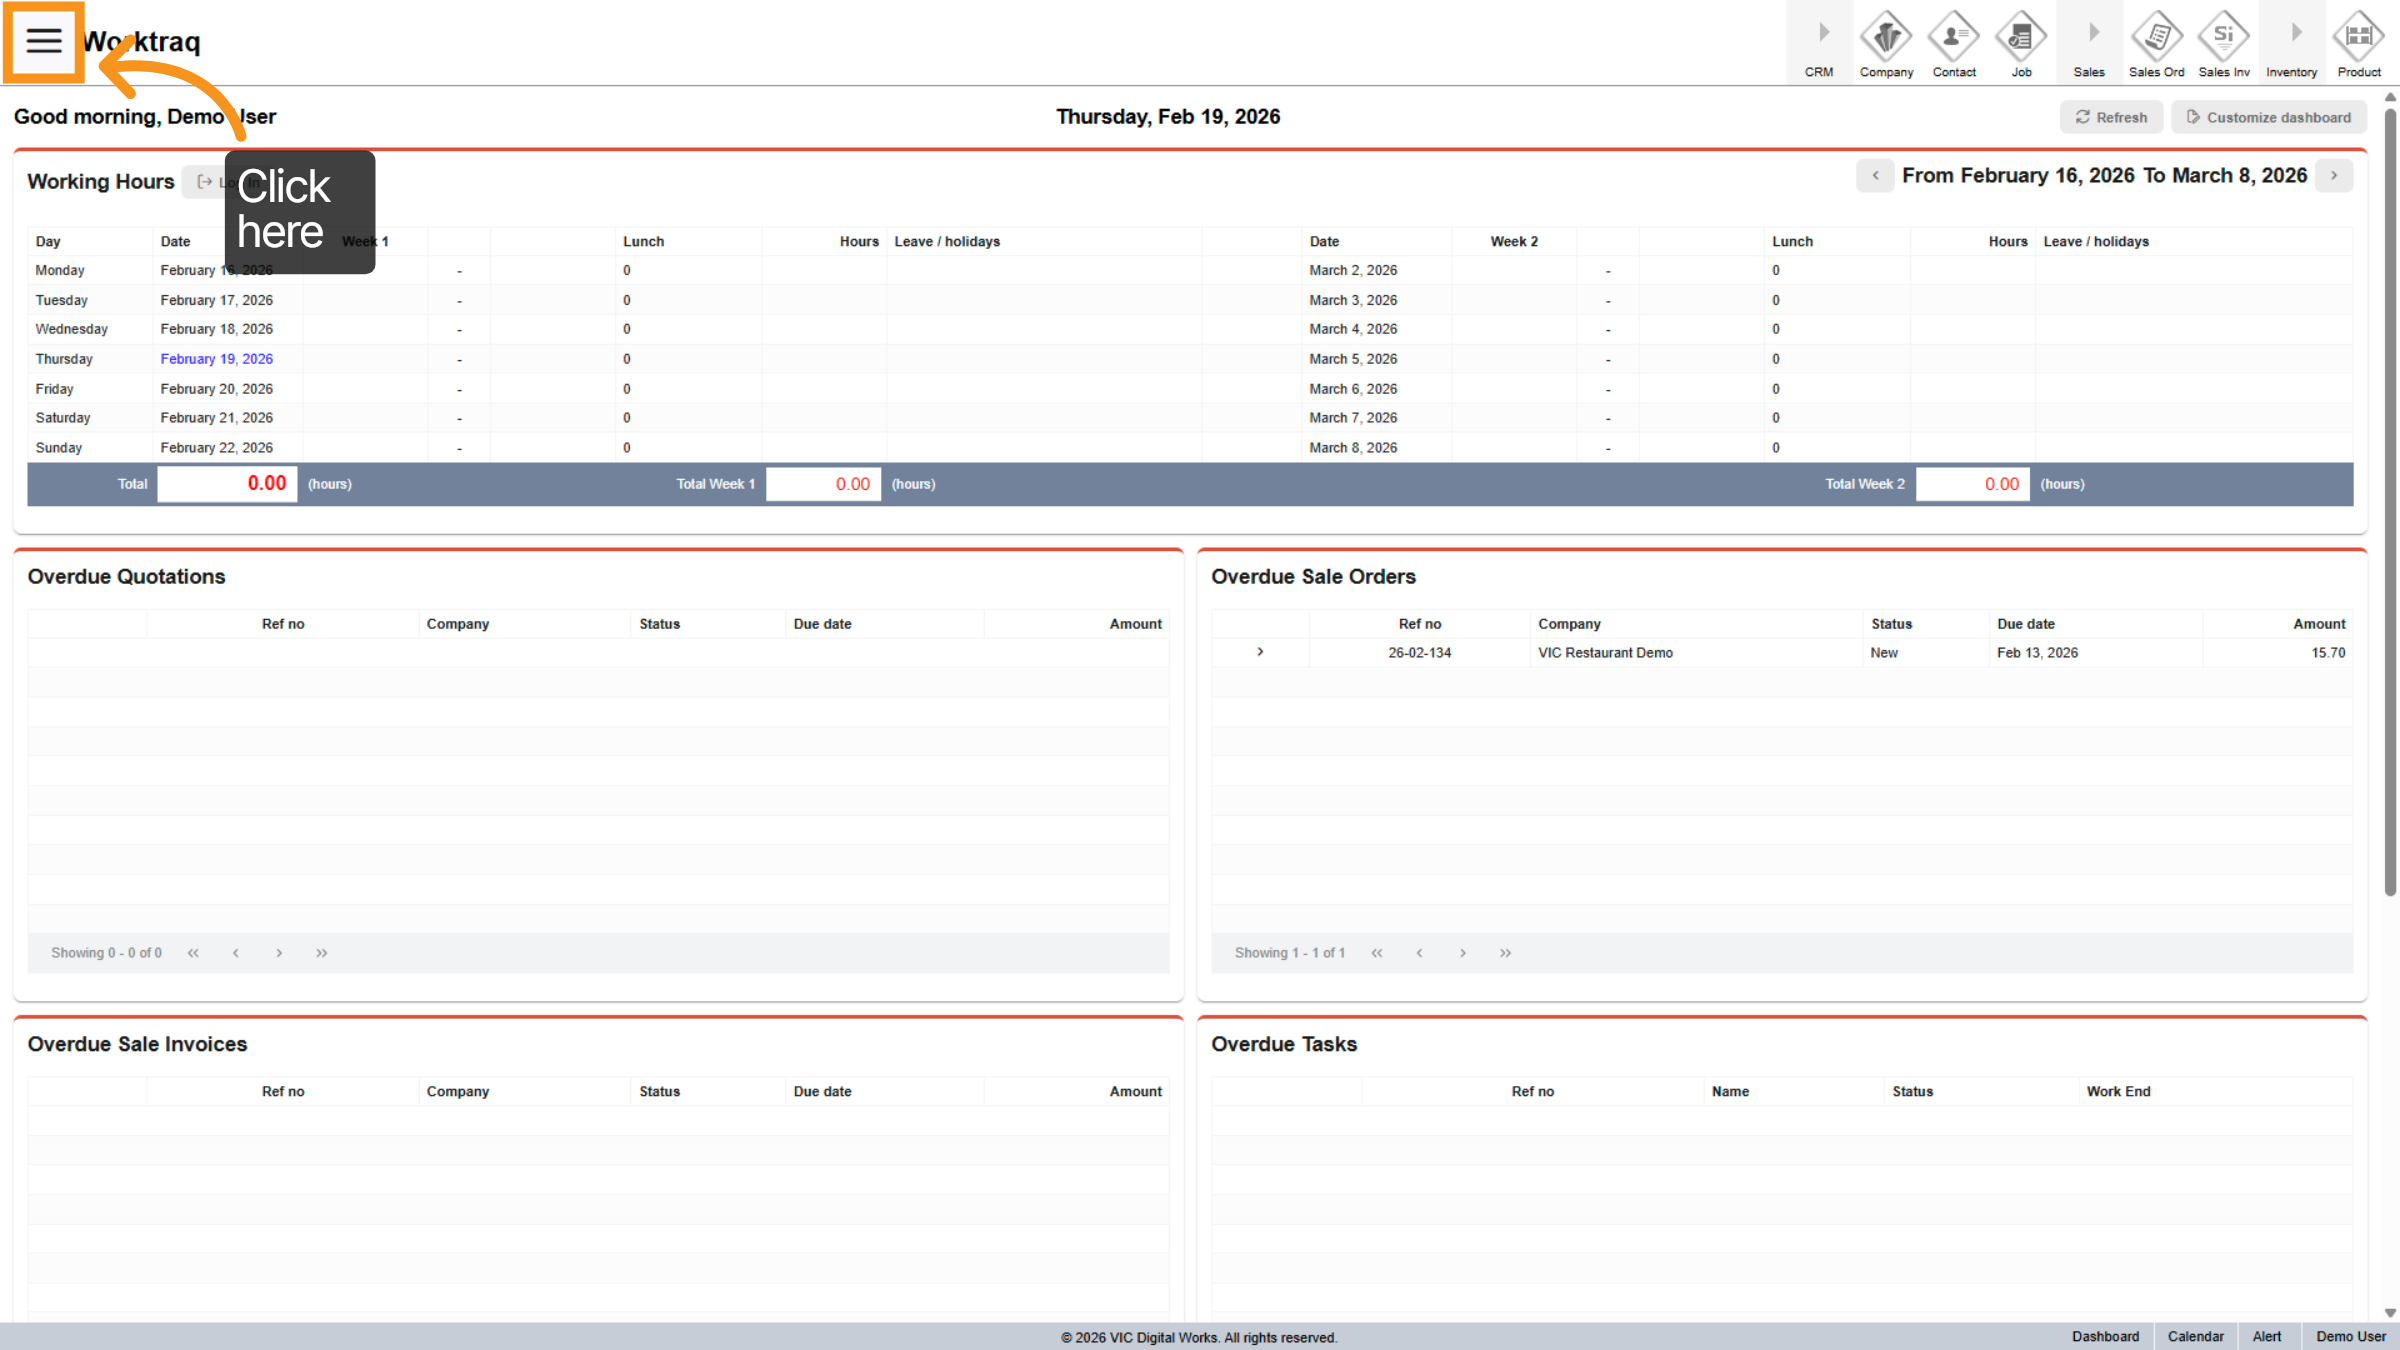
3. Access Main Menu
Click the indicated area to open the main menu for navigation.
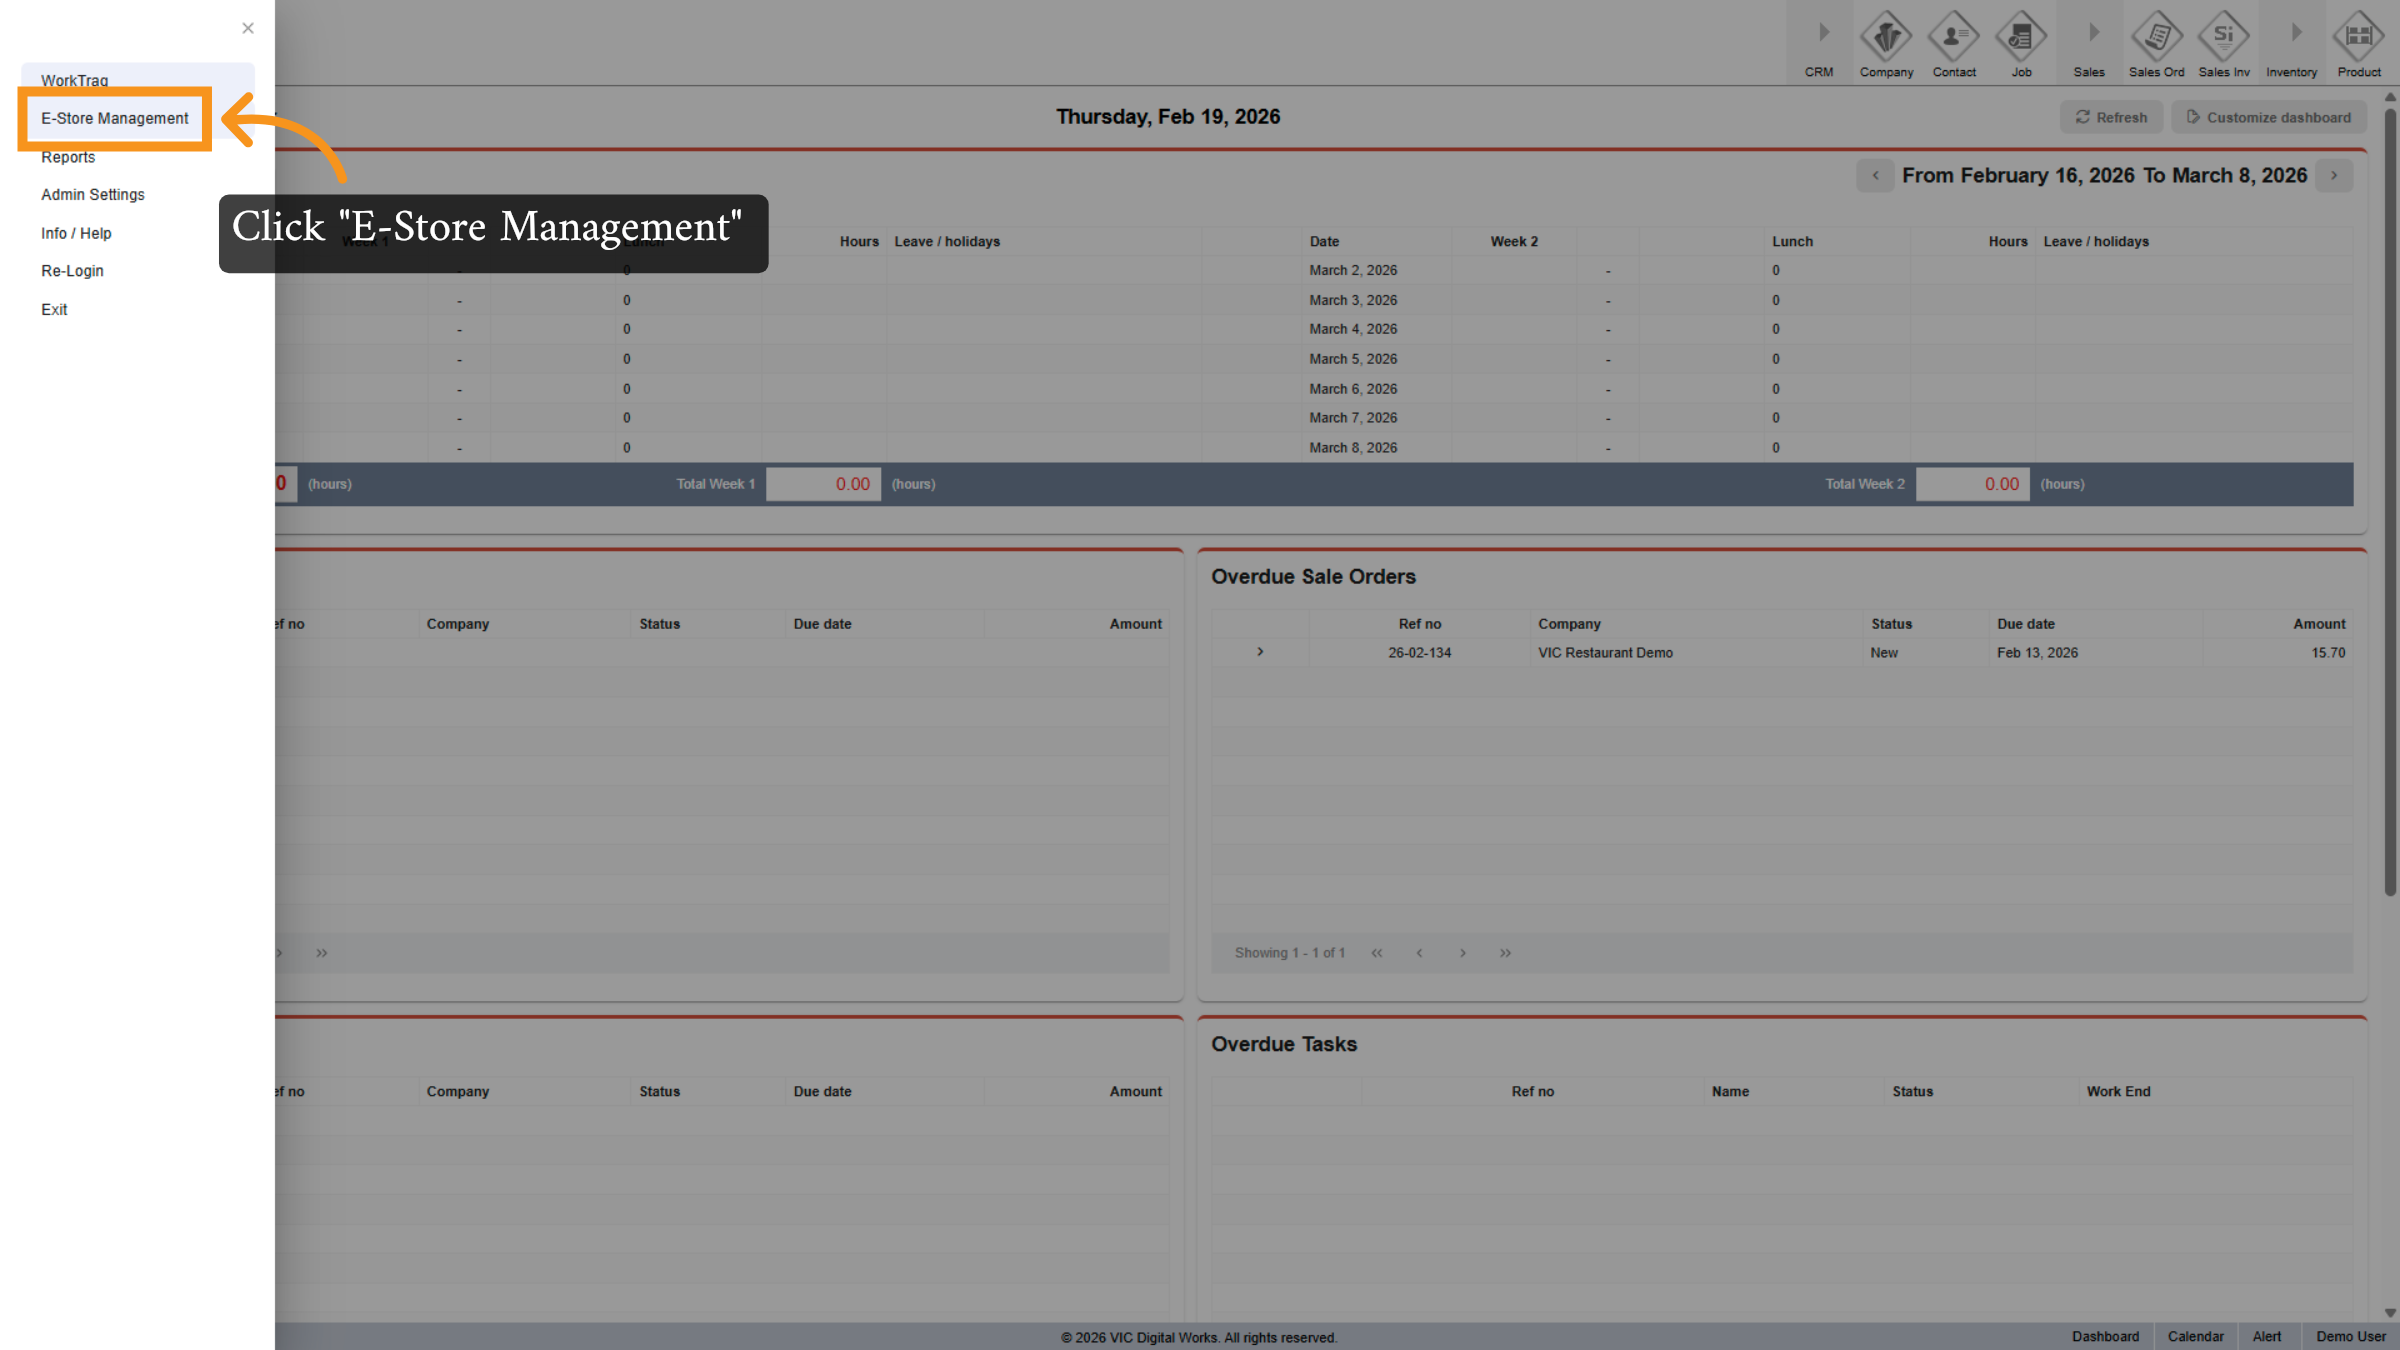
4. Select E-Store Management
Click E-Store Management to enter the product management section.
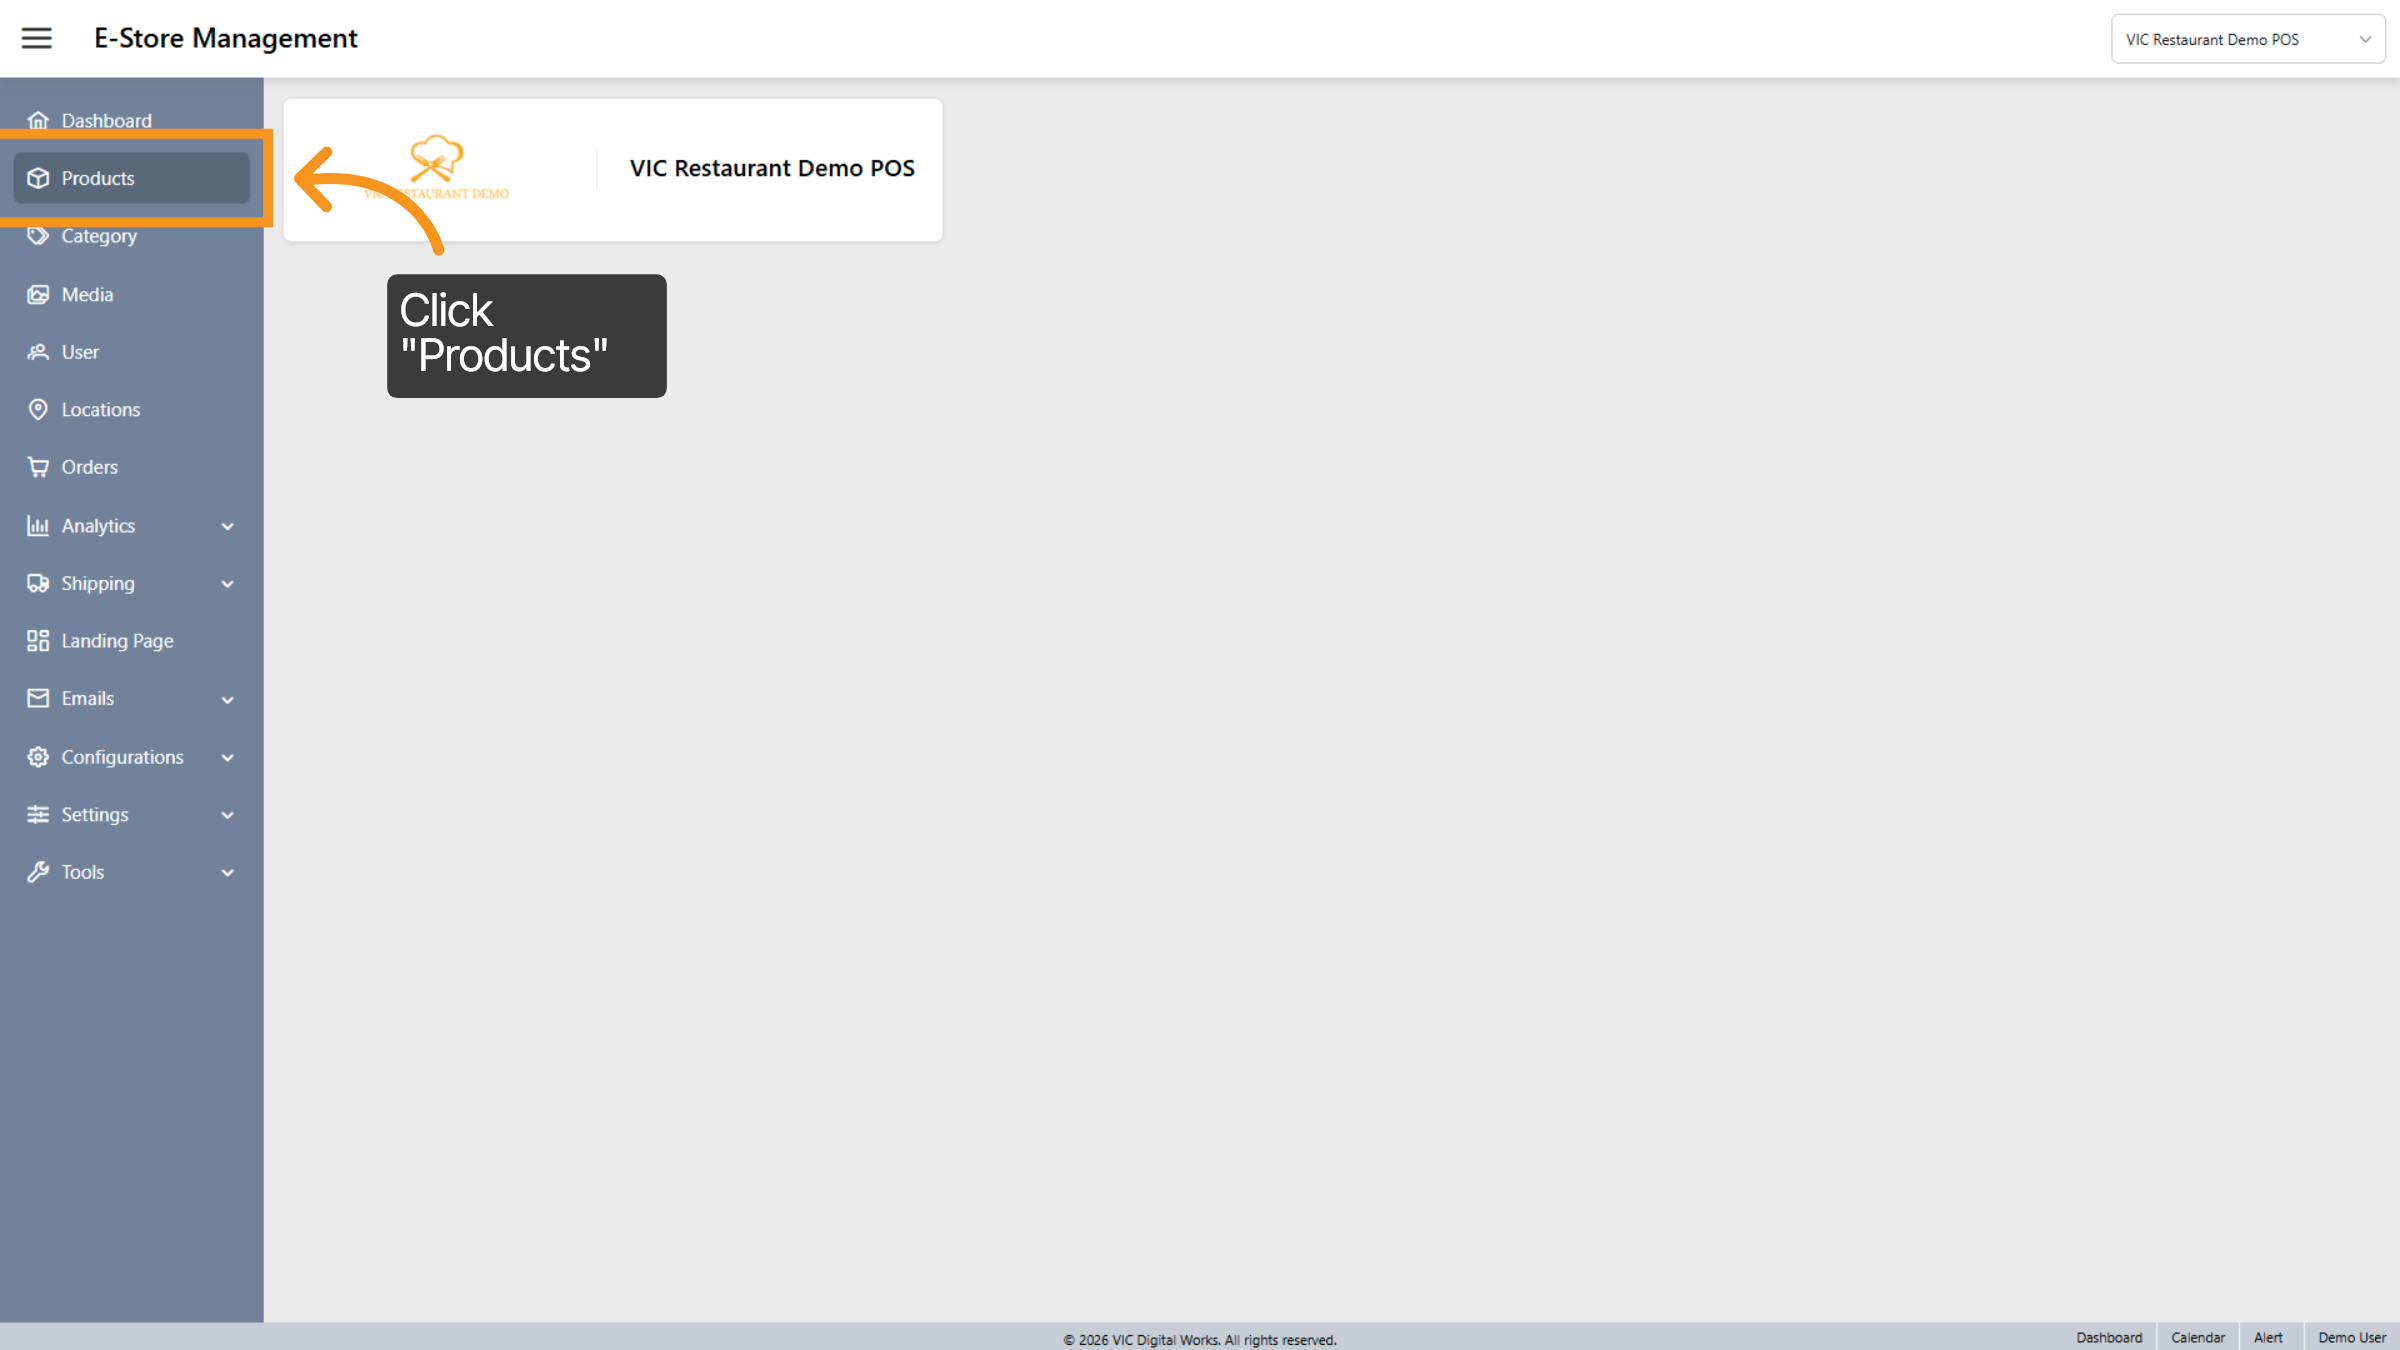
5. Open Products Section
Click Products to view and manage the product listings.
6. Interface overview Products
The Interface Overview Products features a search bar and product information.

7. Open Search Options
Click the designated area to expand search options for filtering products.
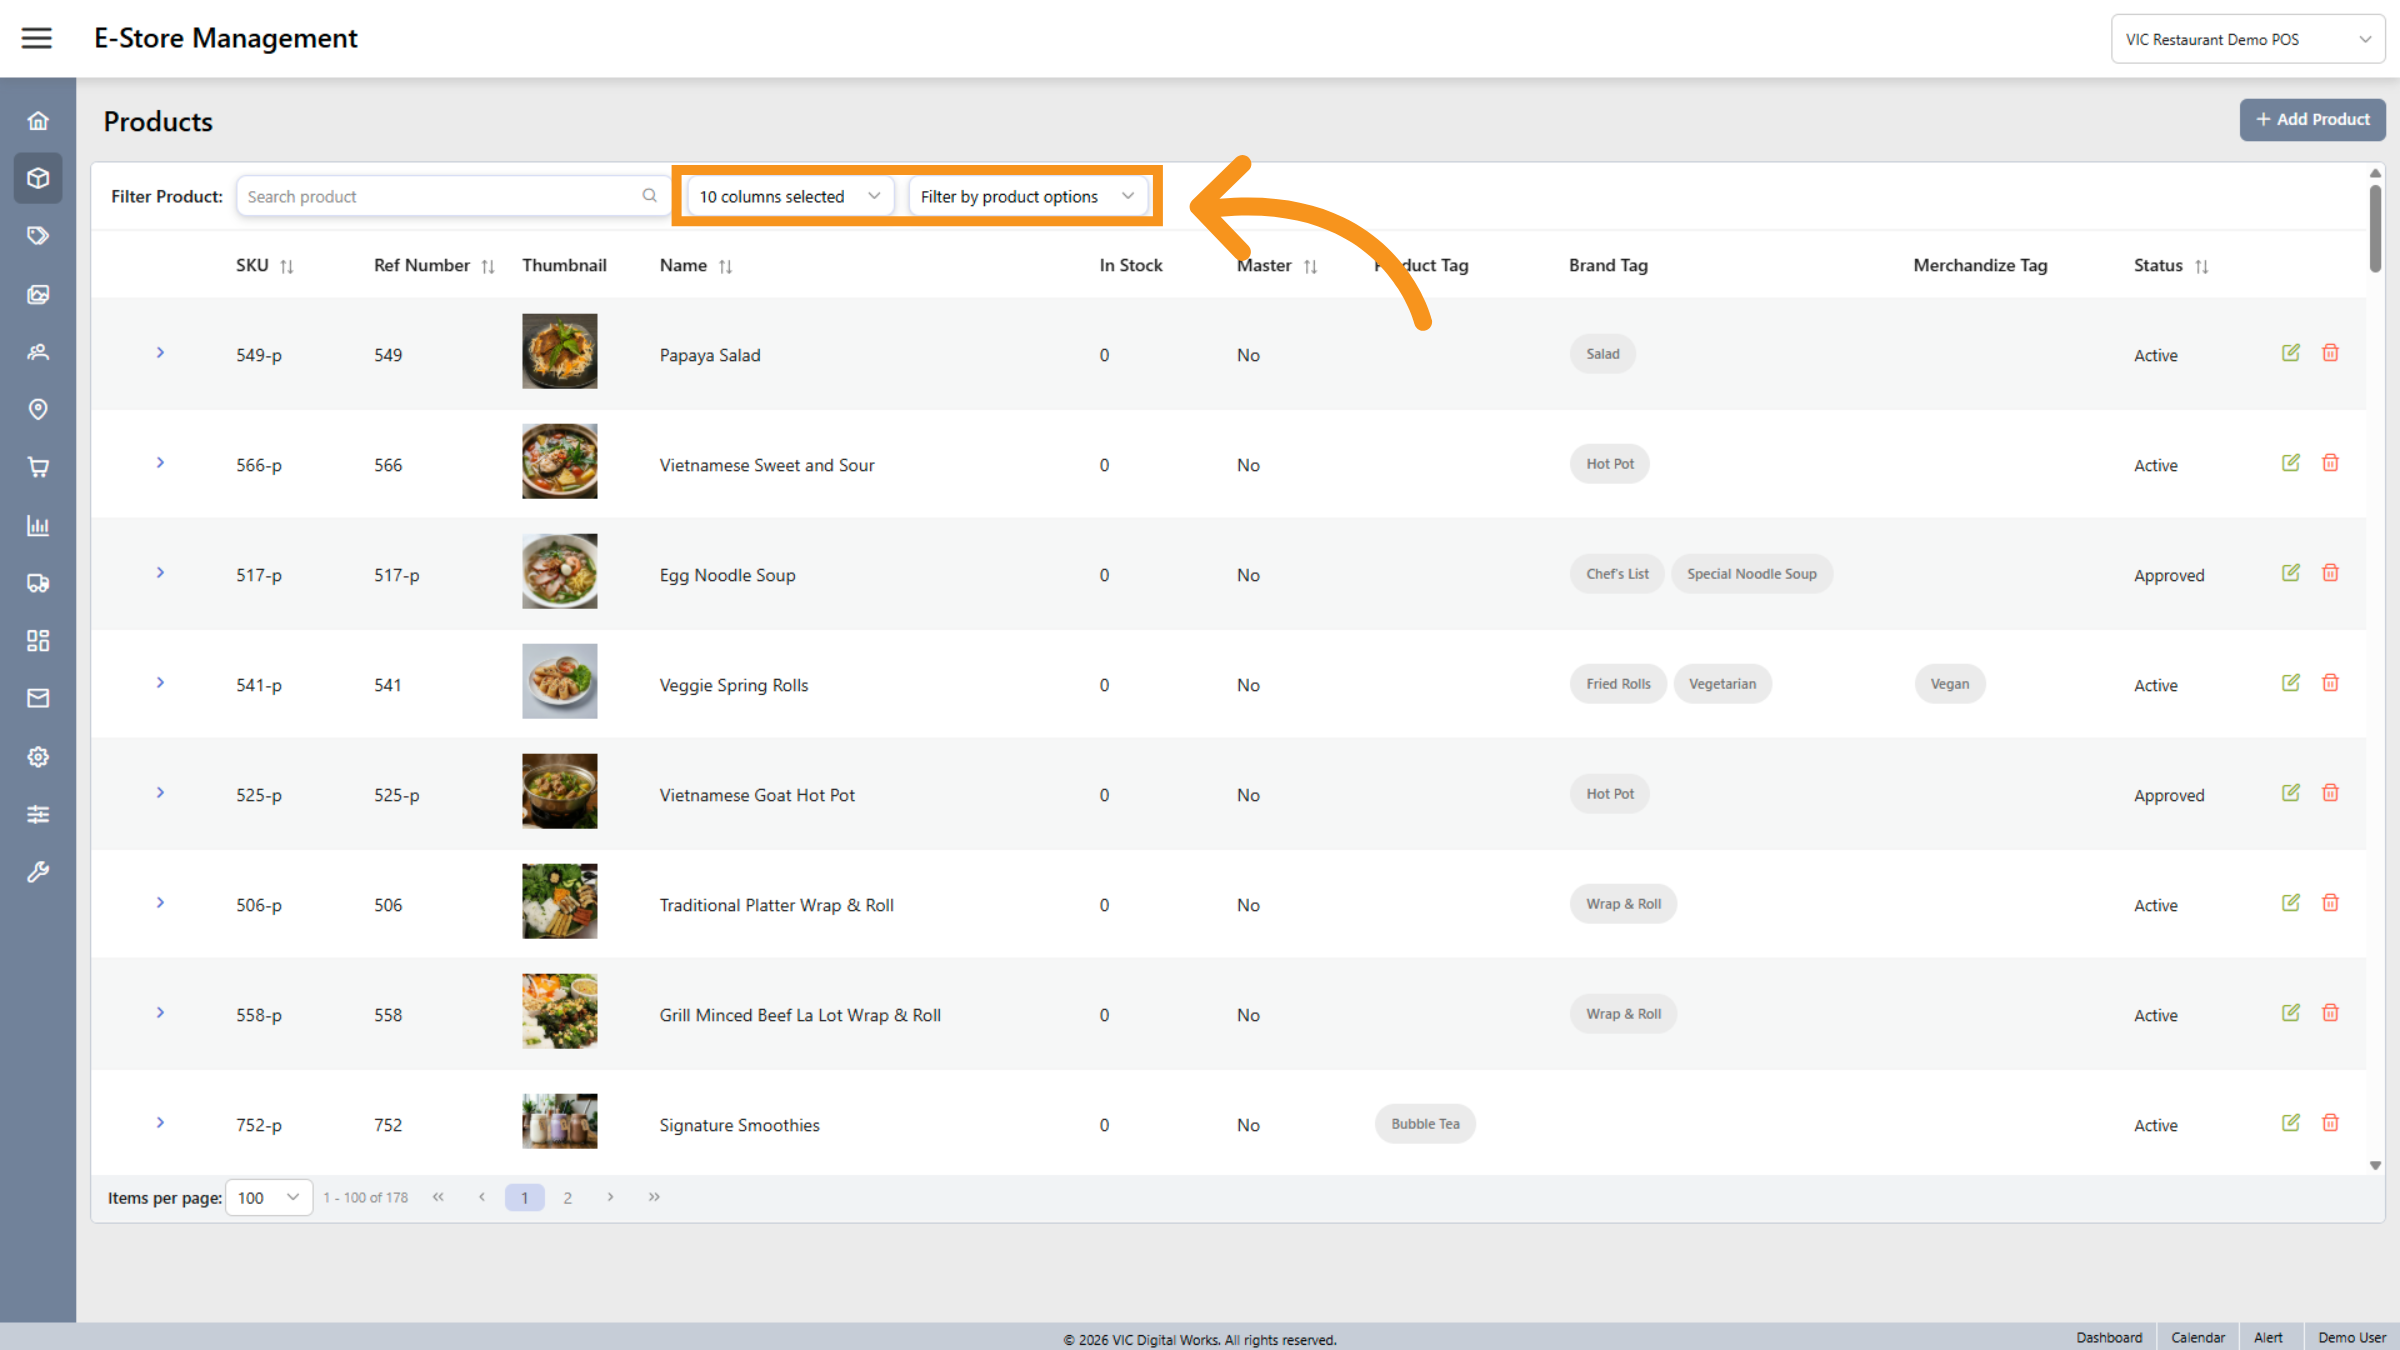
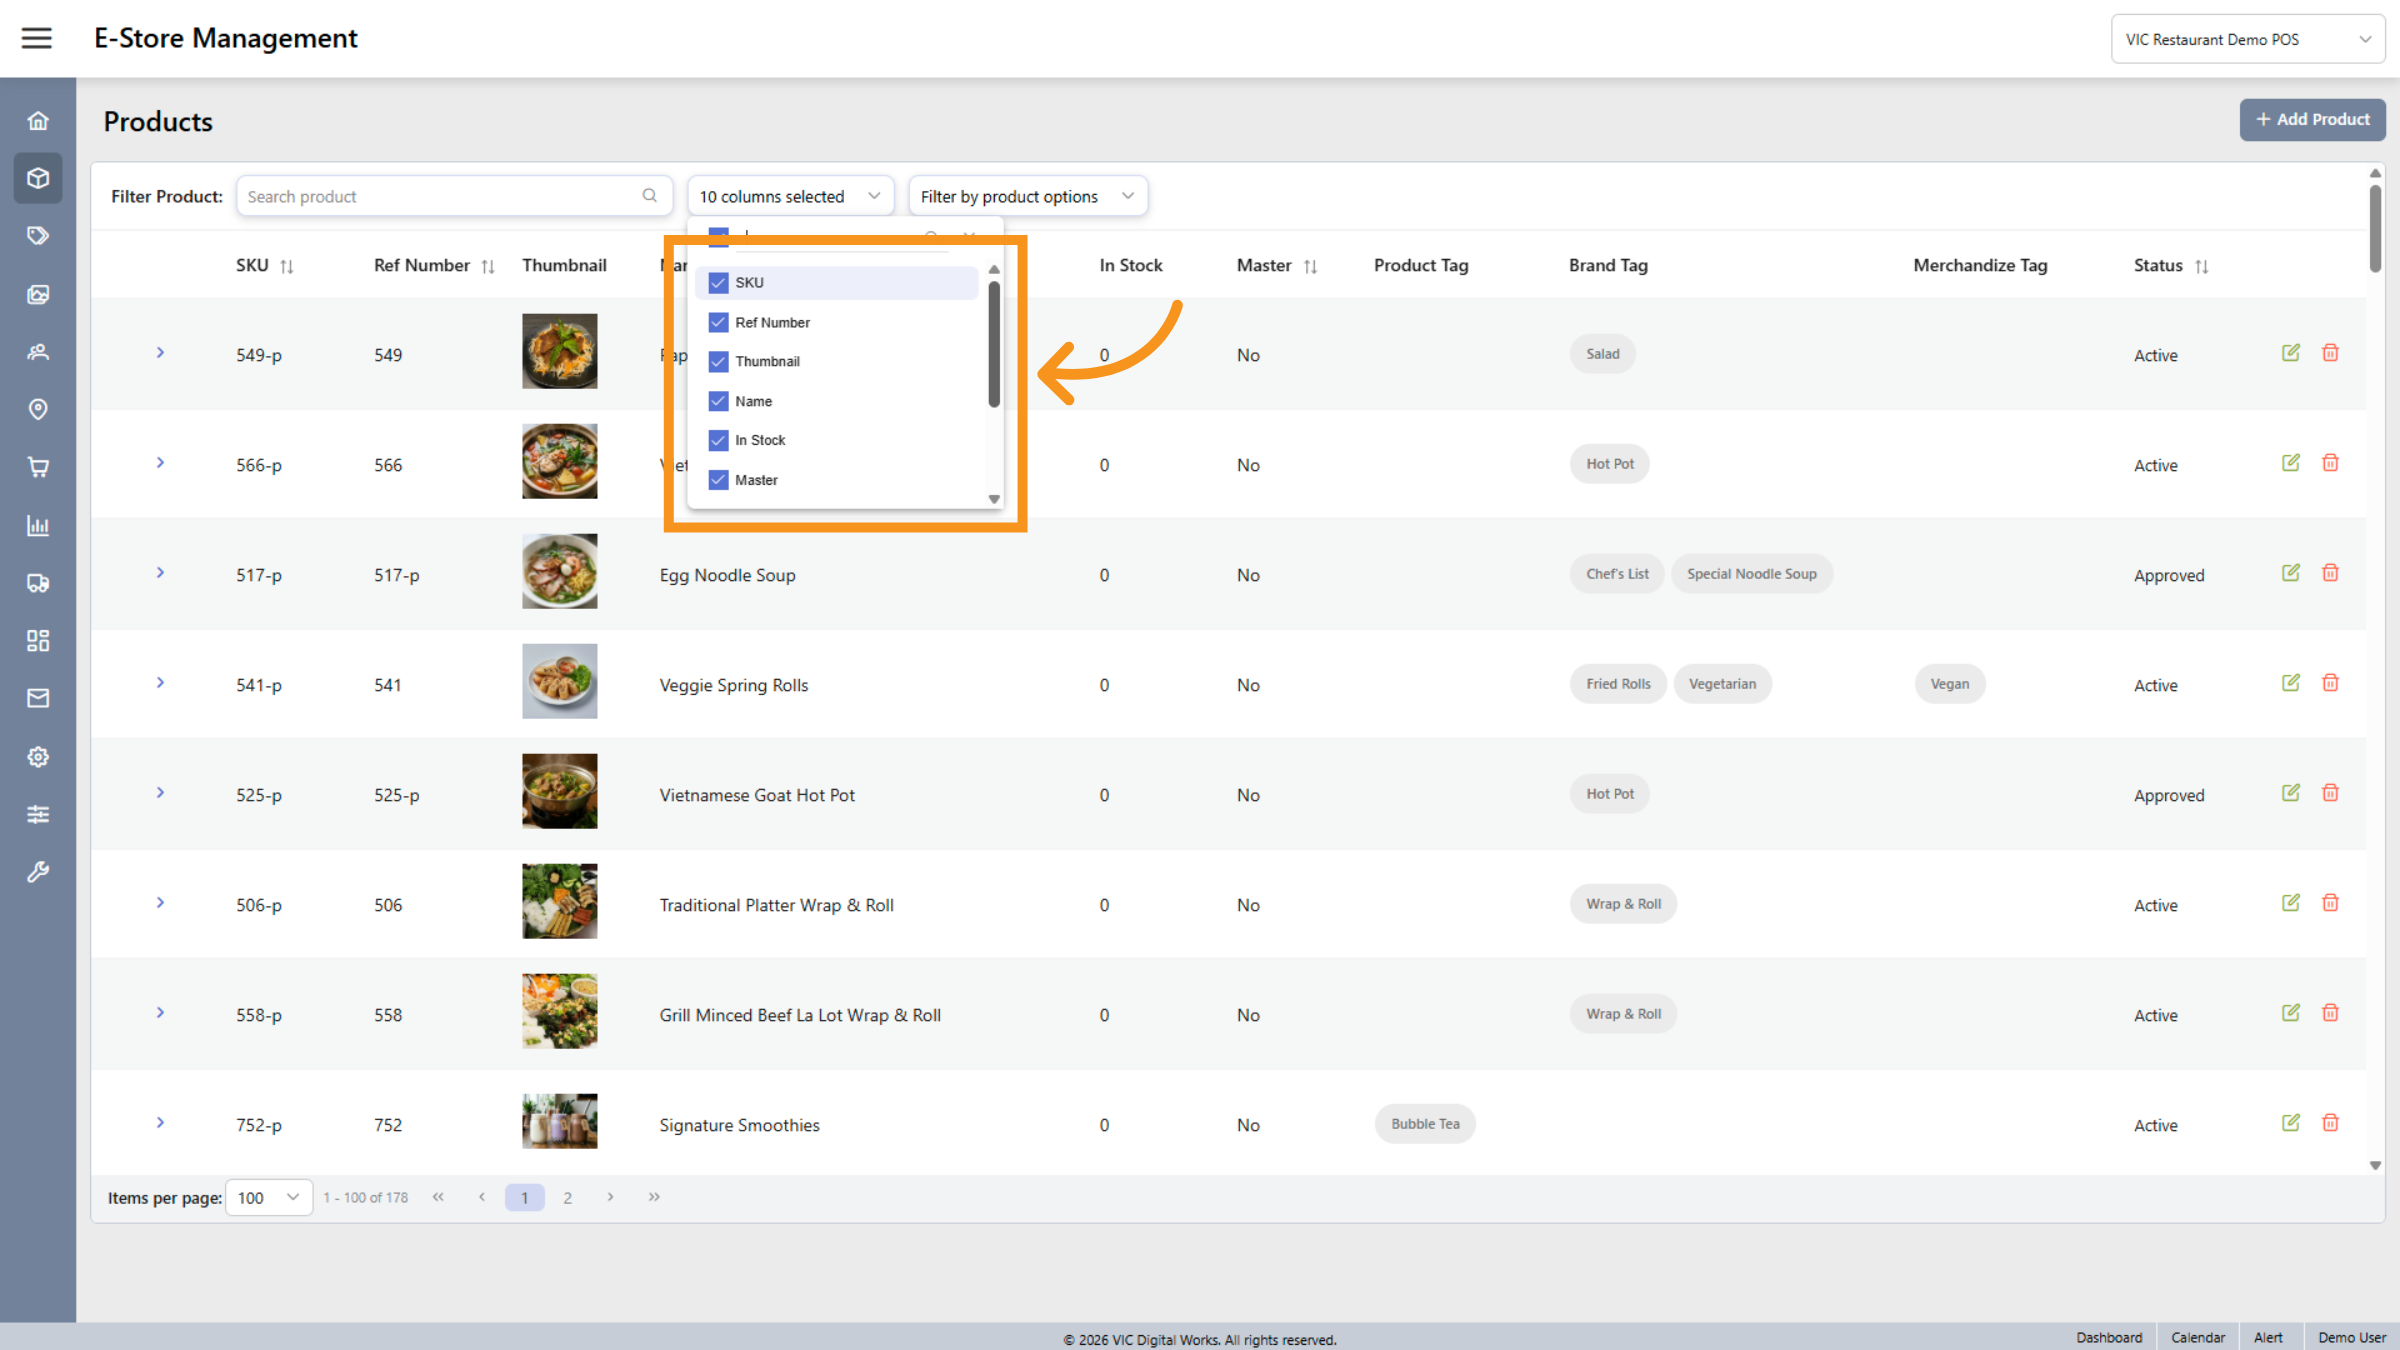
8. Sort Product Columns
Click on each item to filter and search for products based on your needs.
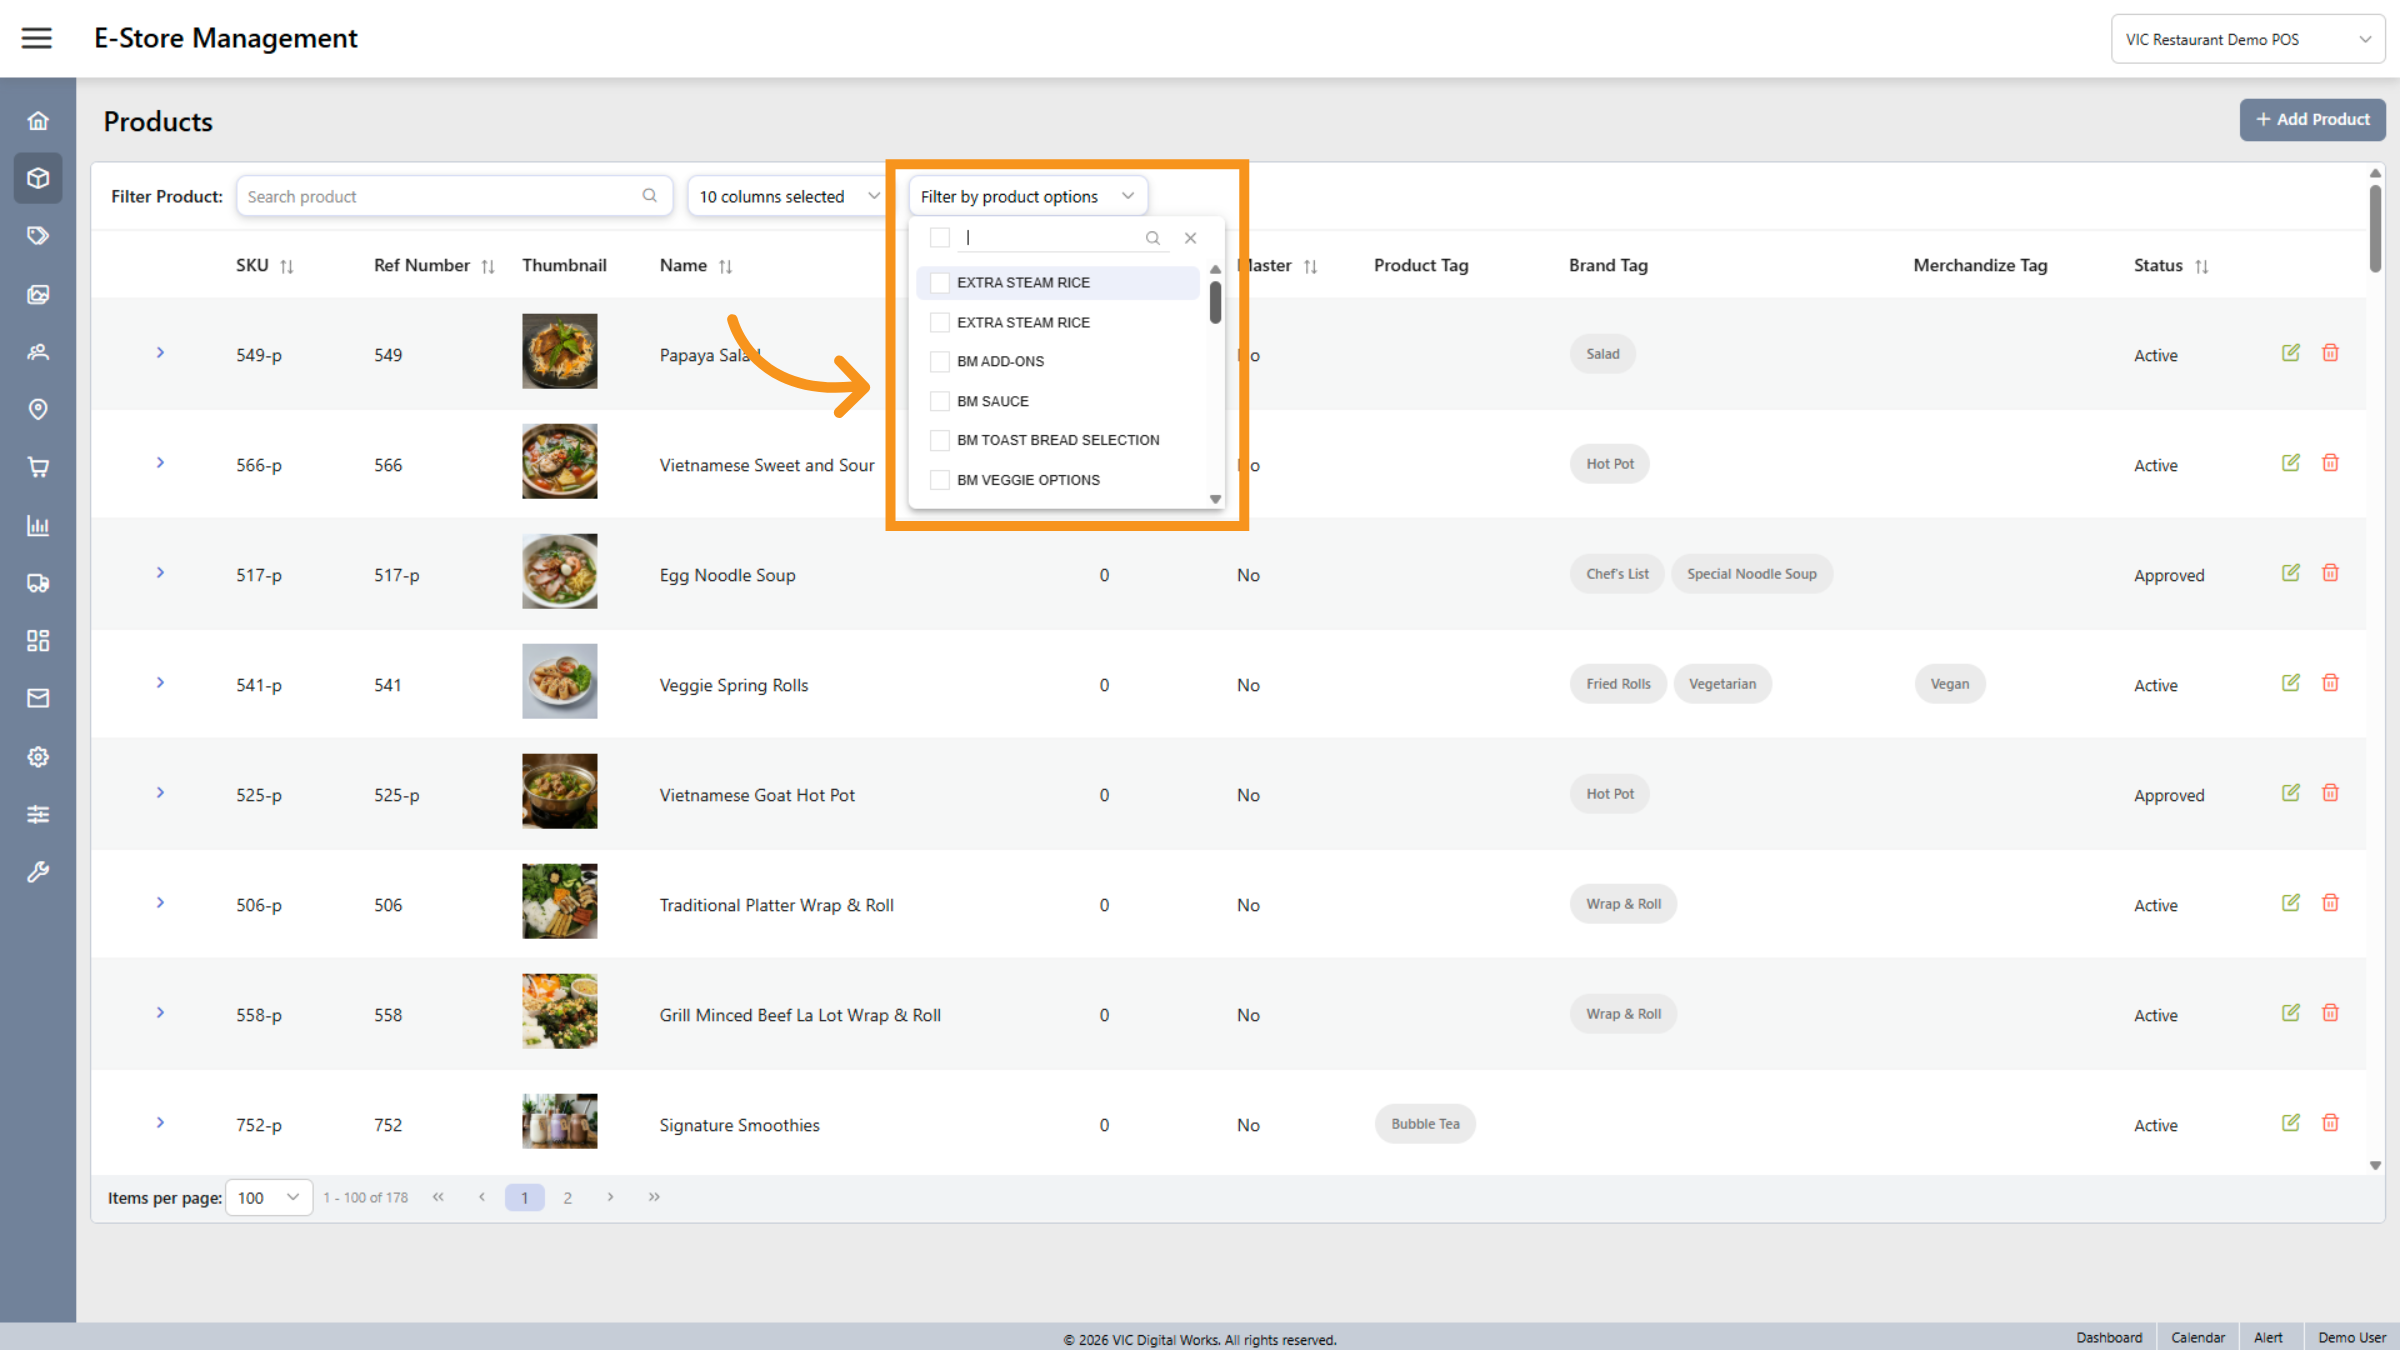
9. Fllter by product options
Click the "Filter by product" options to access detailed information for a selected product, along with other customizable options to view product information.
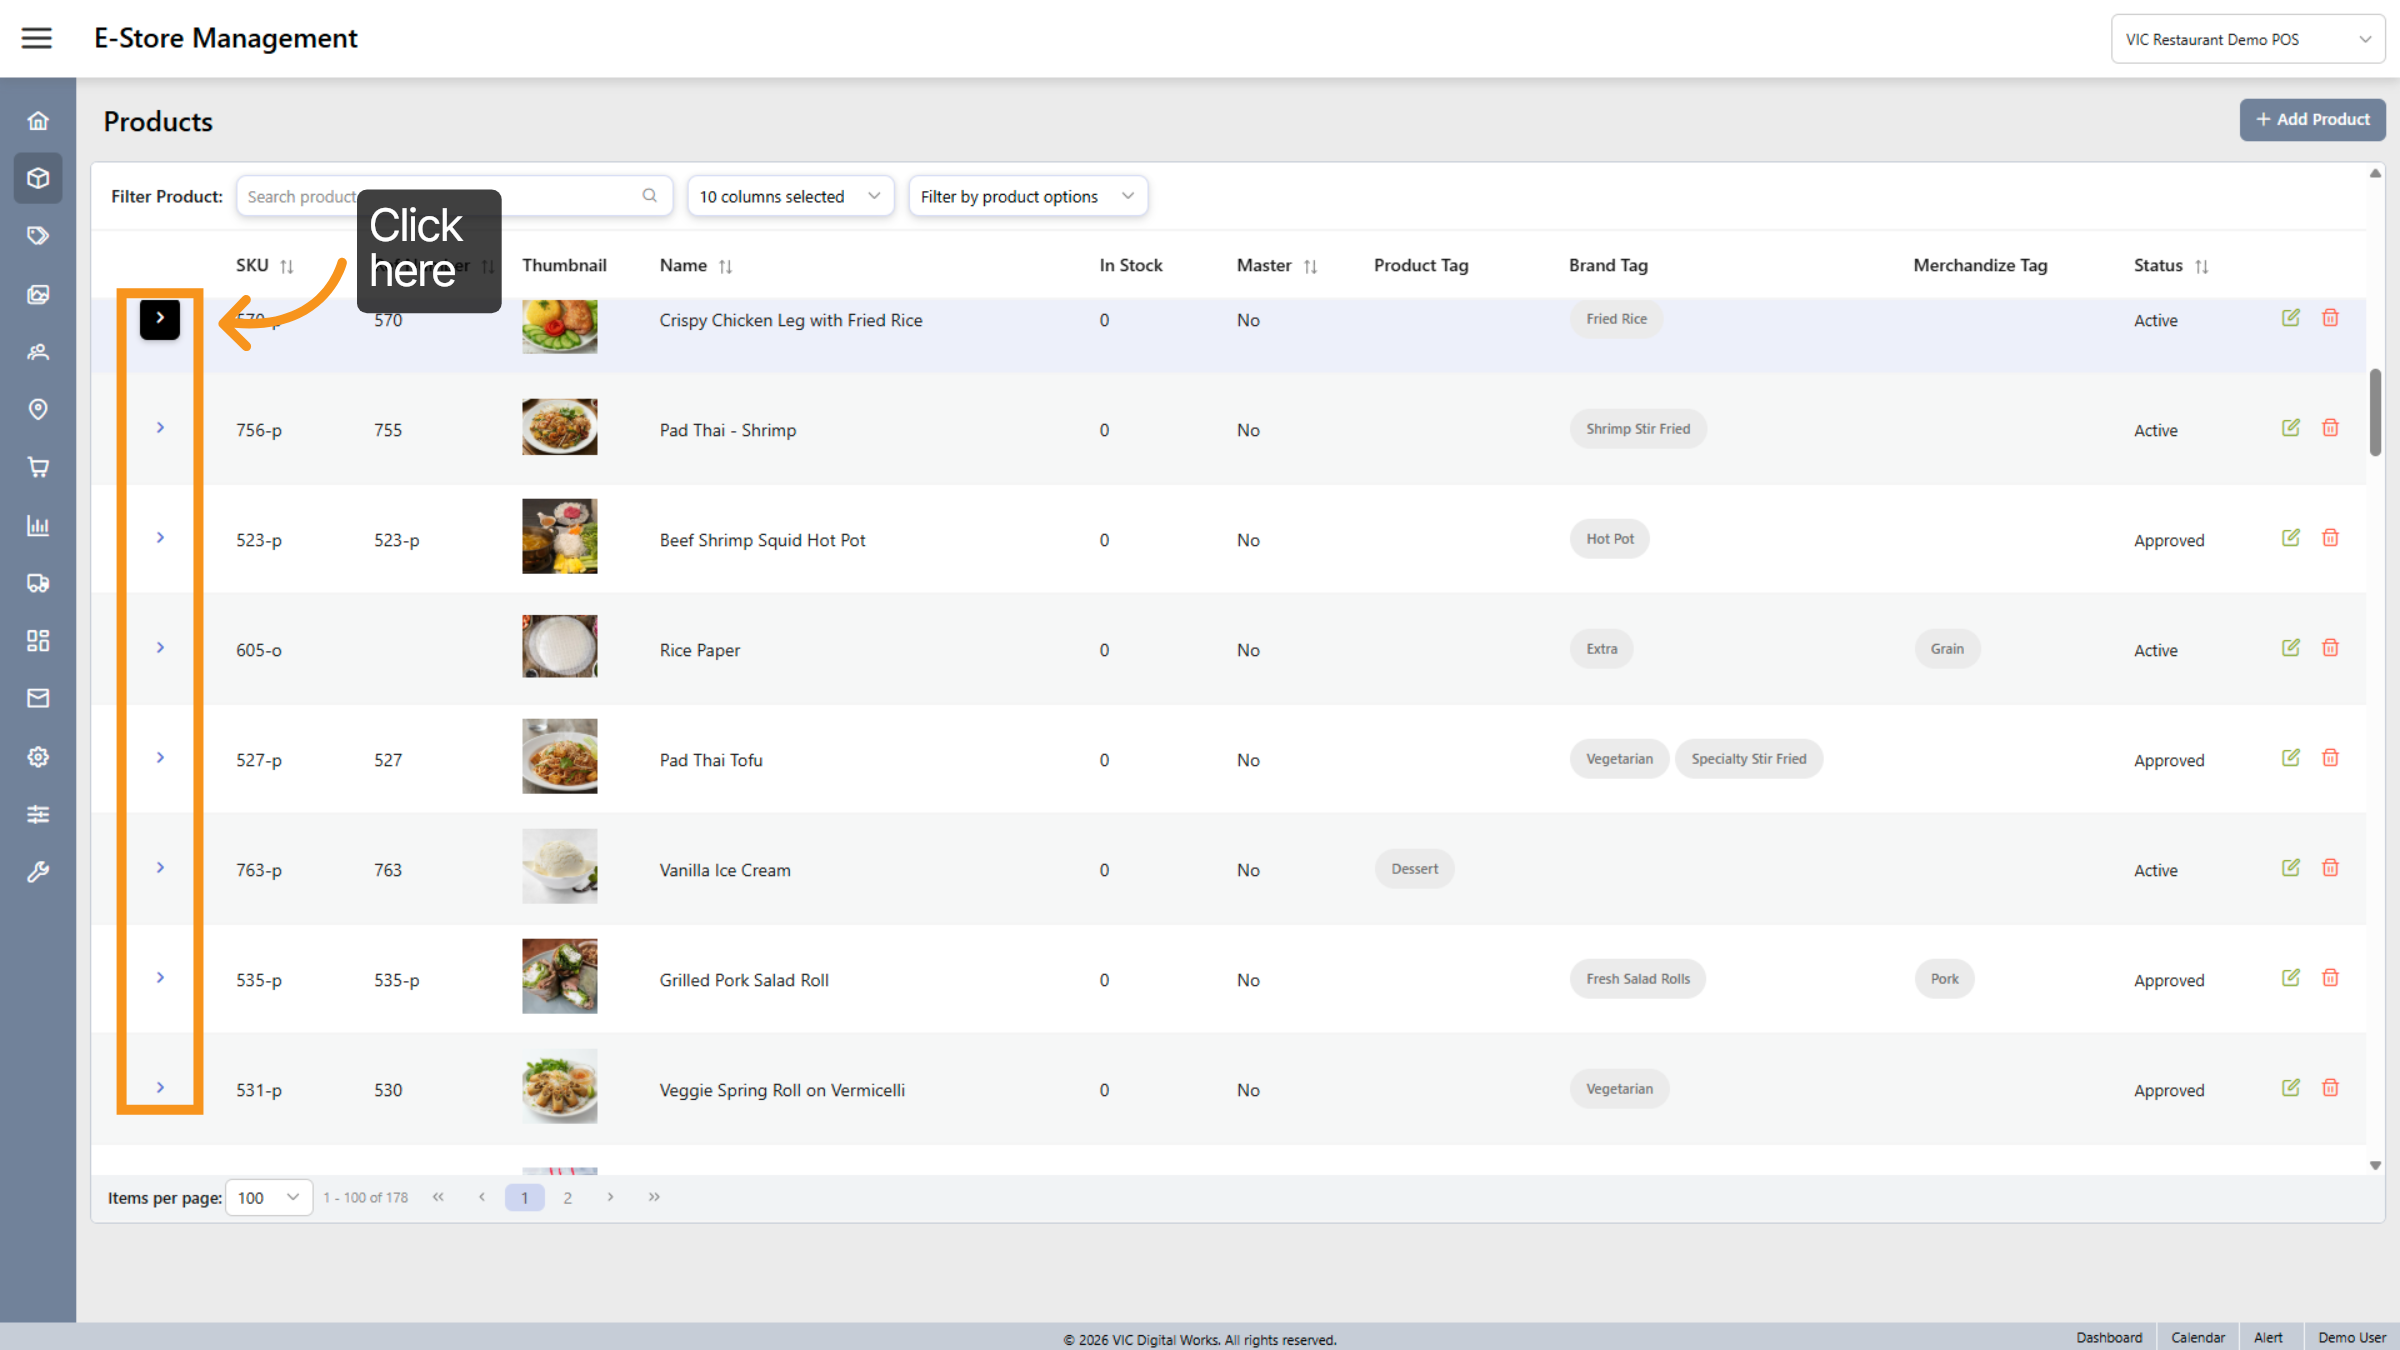
10. Expand Additional Options
Click the indicated area to reveal more product customization options.
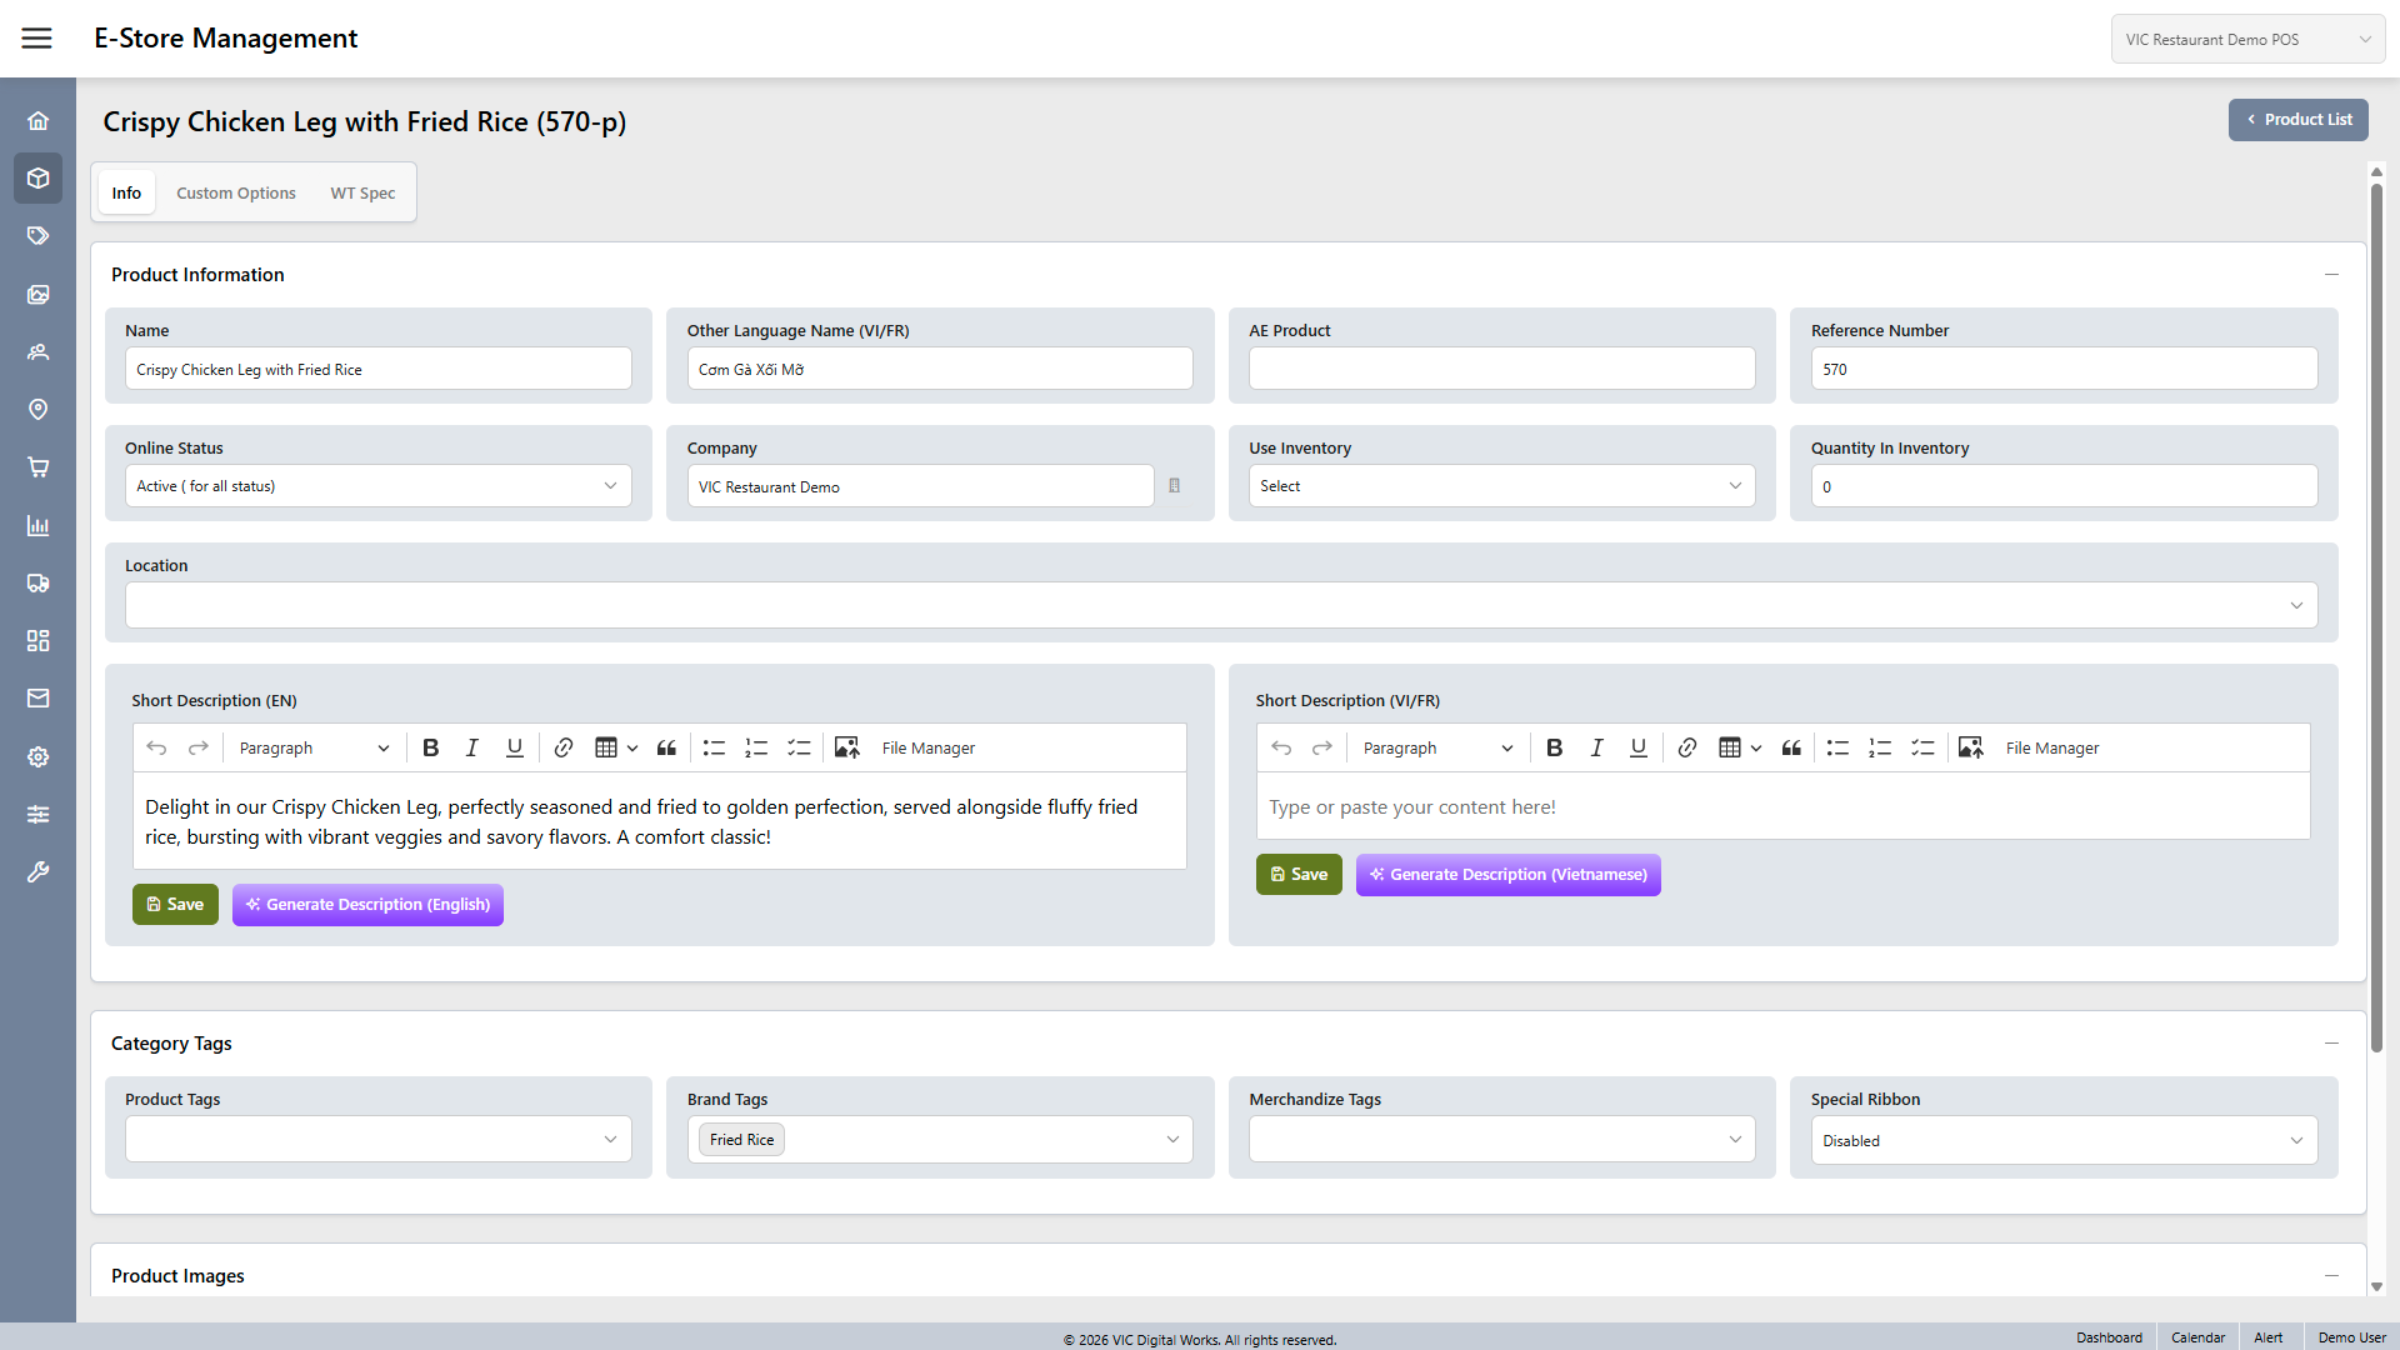
11. Overview and Edit
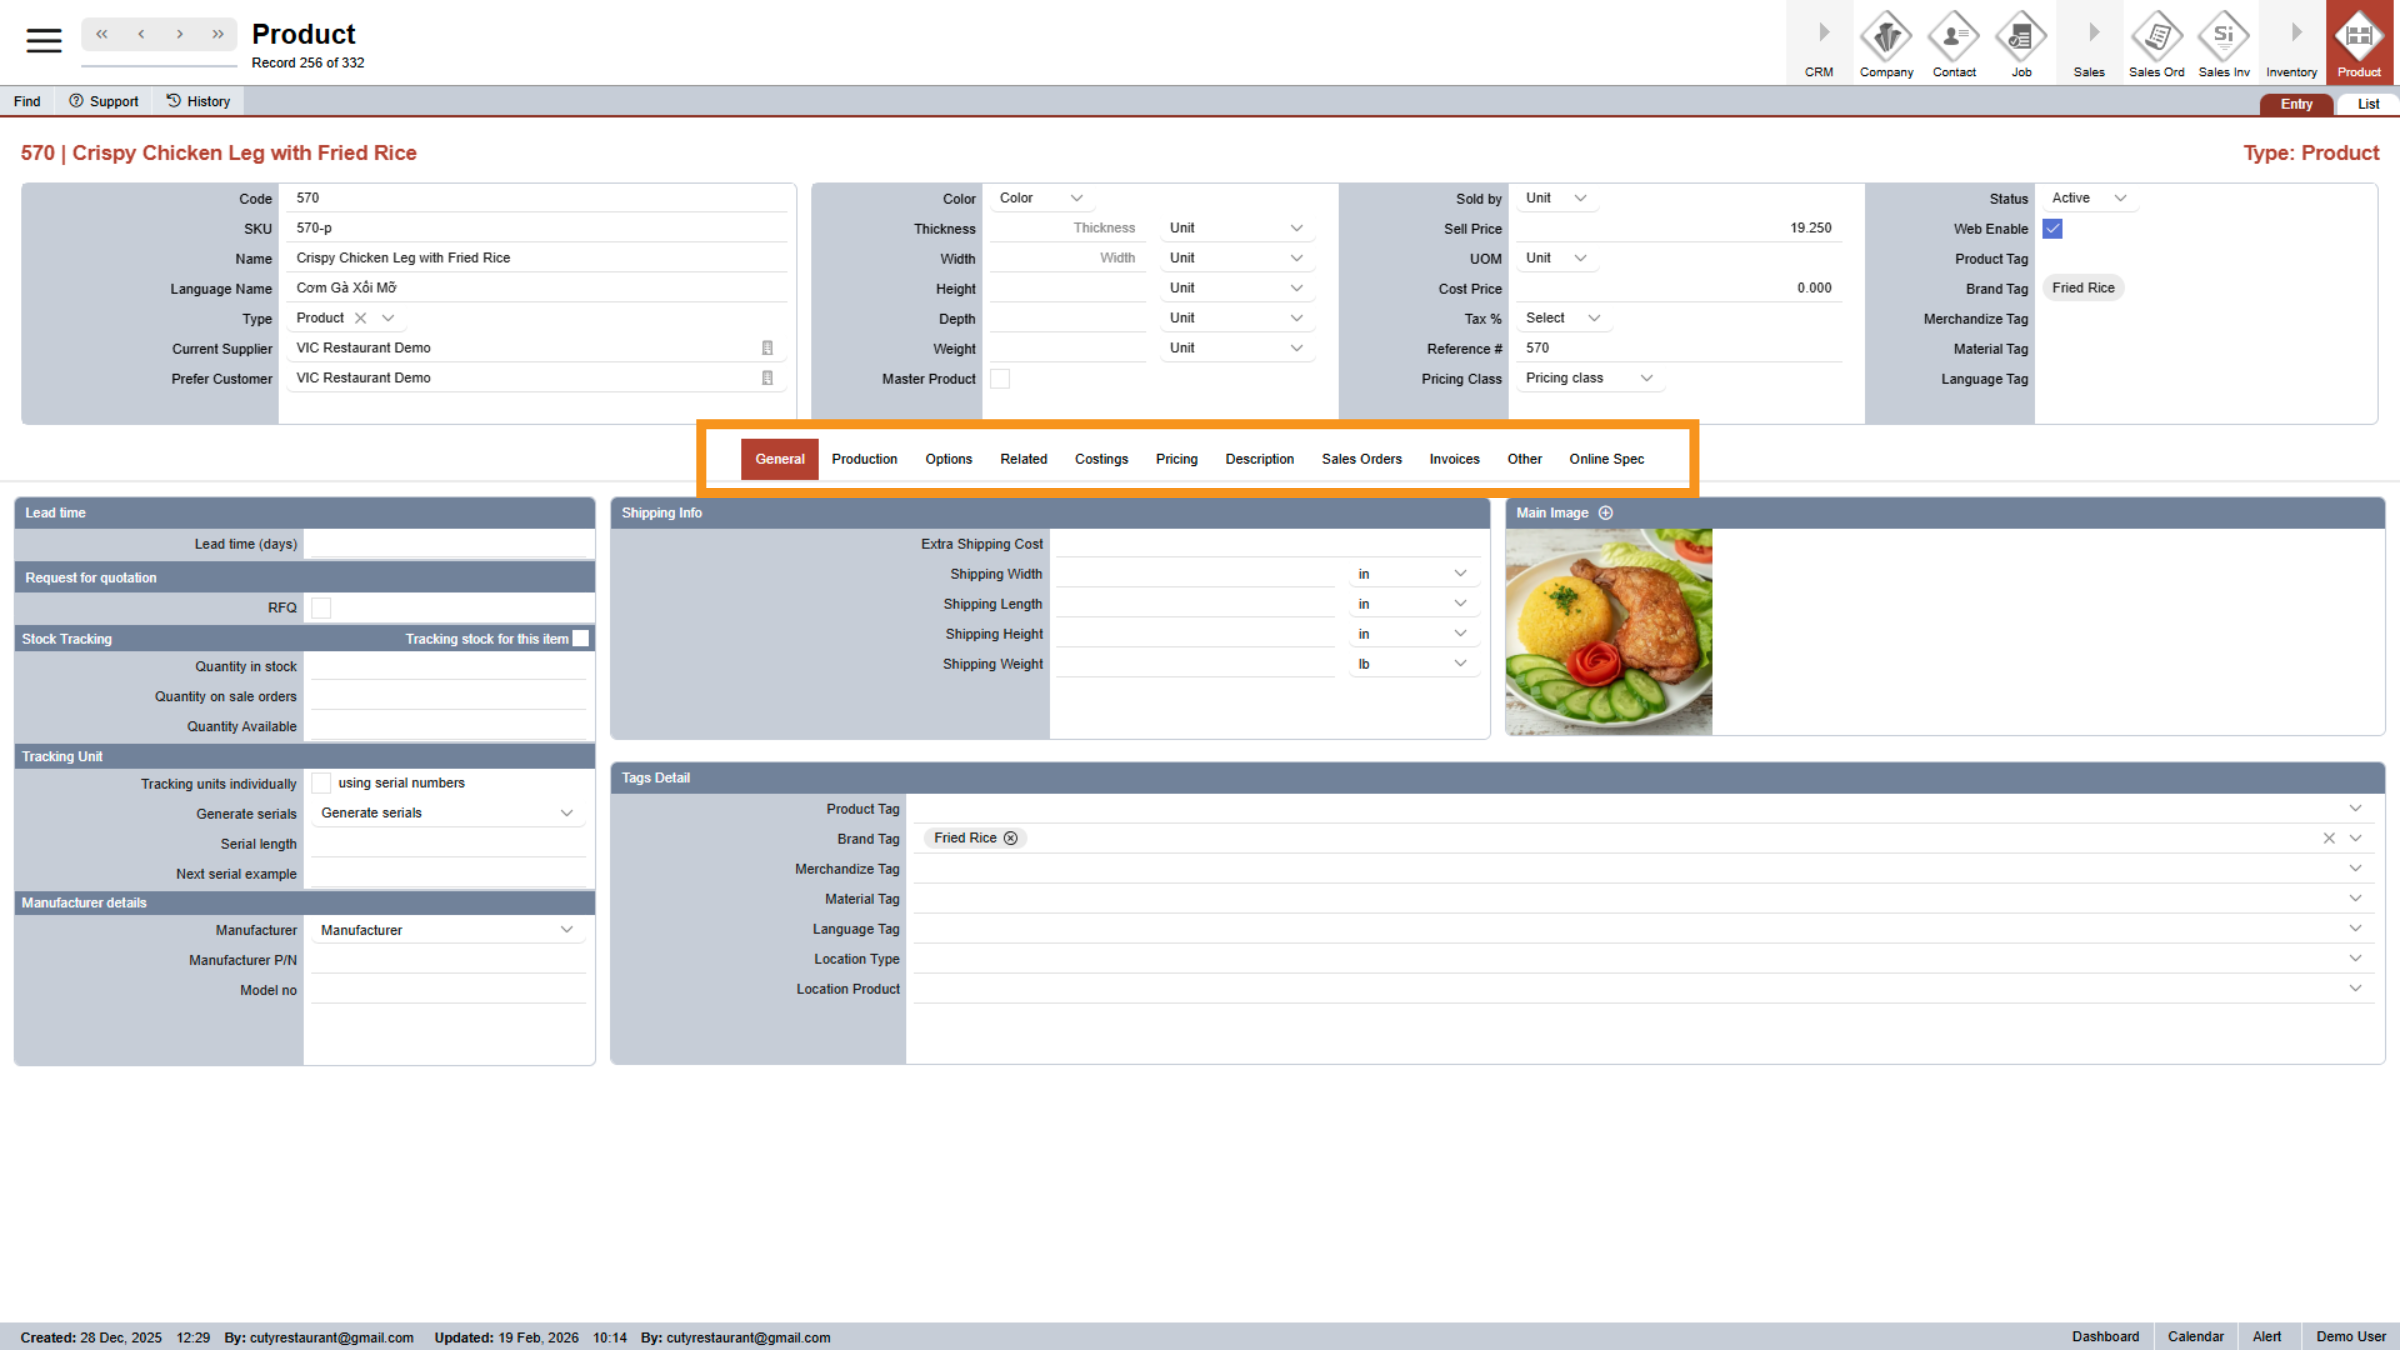
The Interface Overview of product information allows us to edit details as needed. Included custom option, WT (Worktraq). In this section, you can view and edit product details, including a short description in English, Vietnamese, or French, as well as category tags and product images.
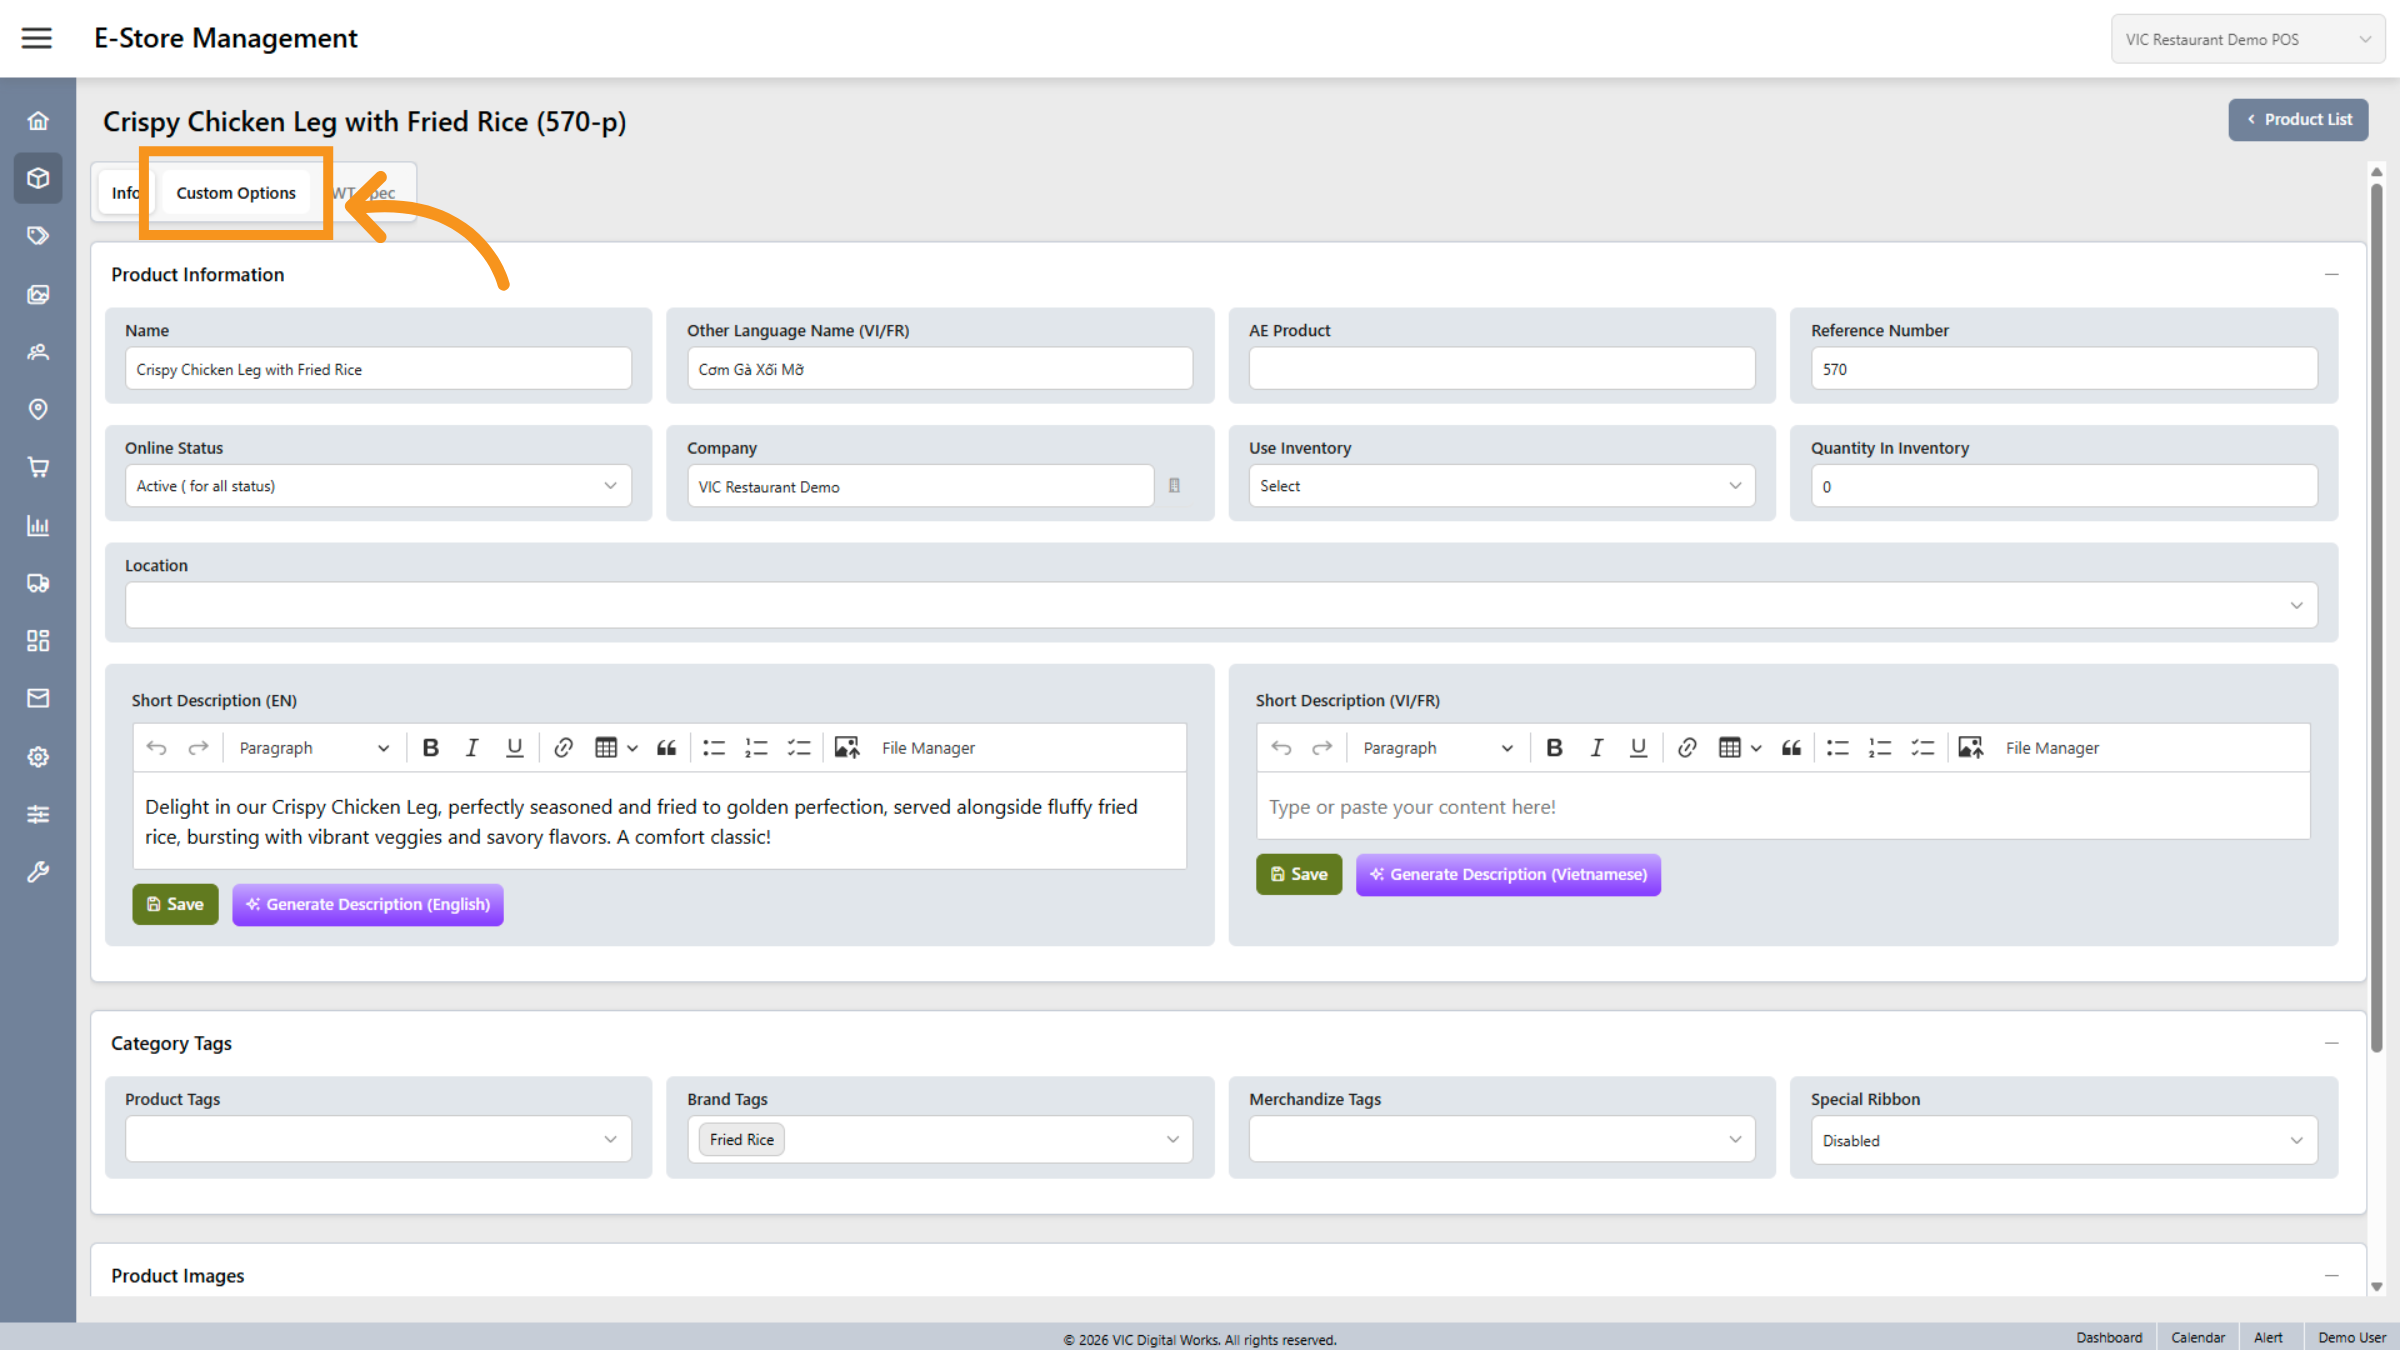
12. Open Custom Options
Click Custom Options to configure personalized settings for the product.
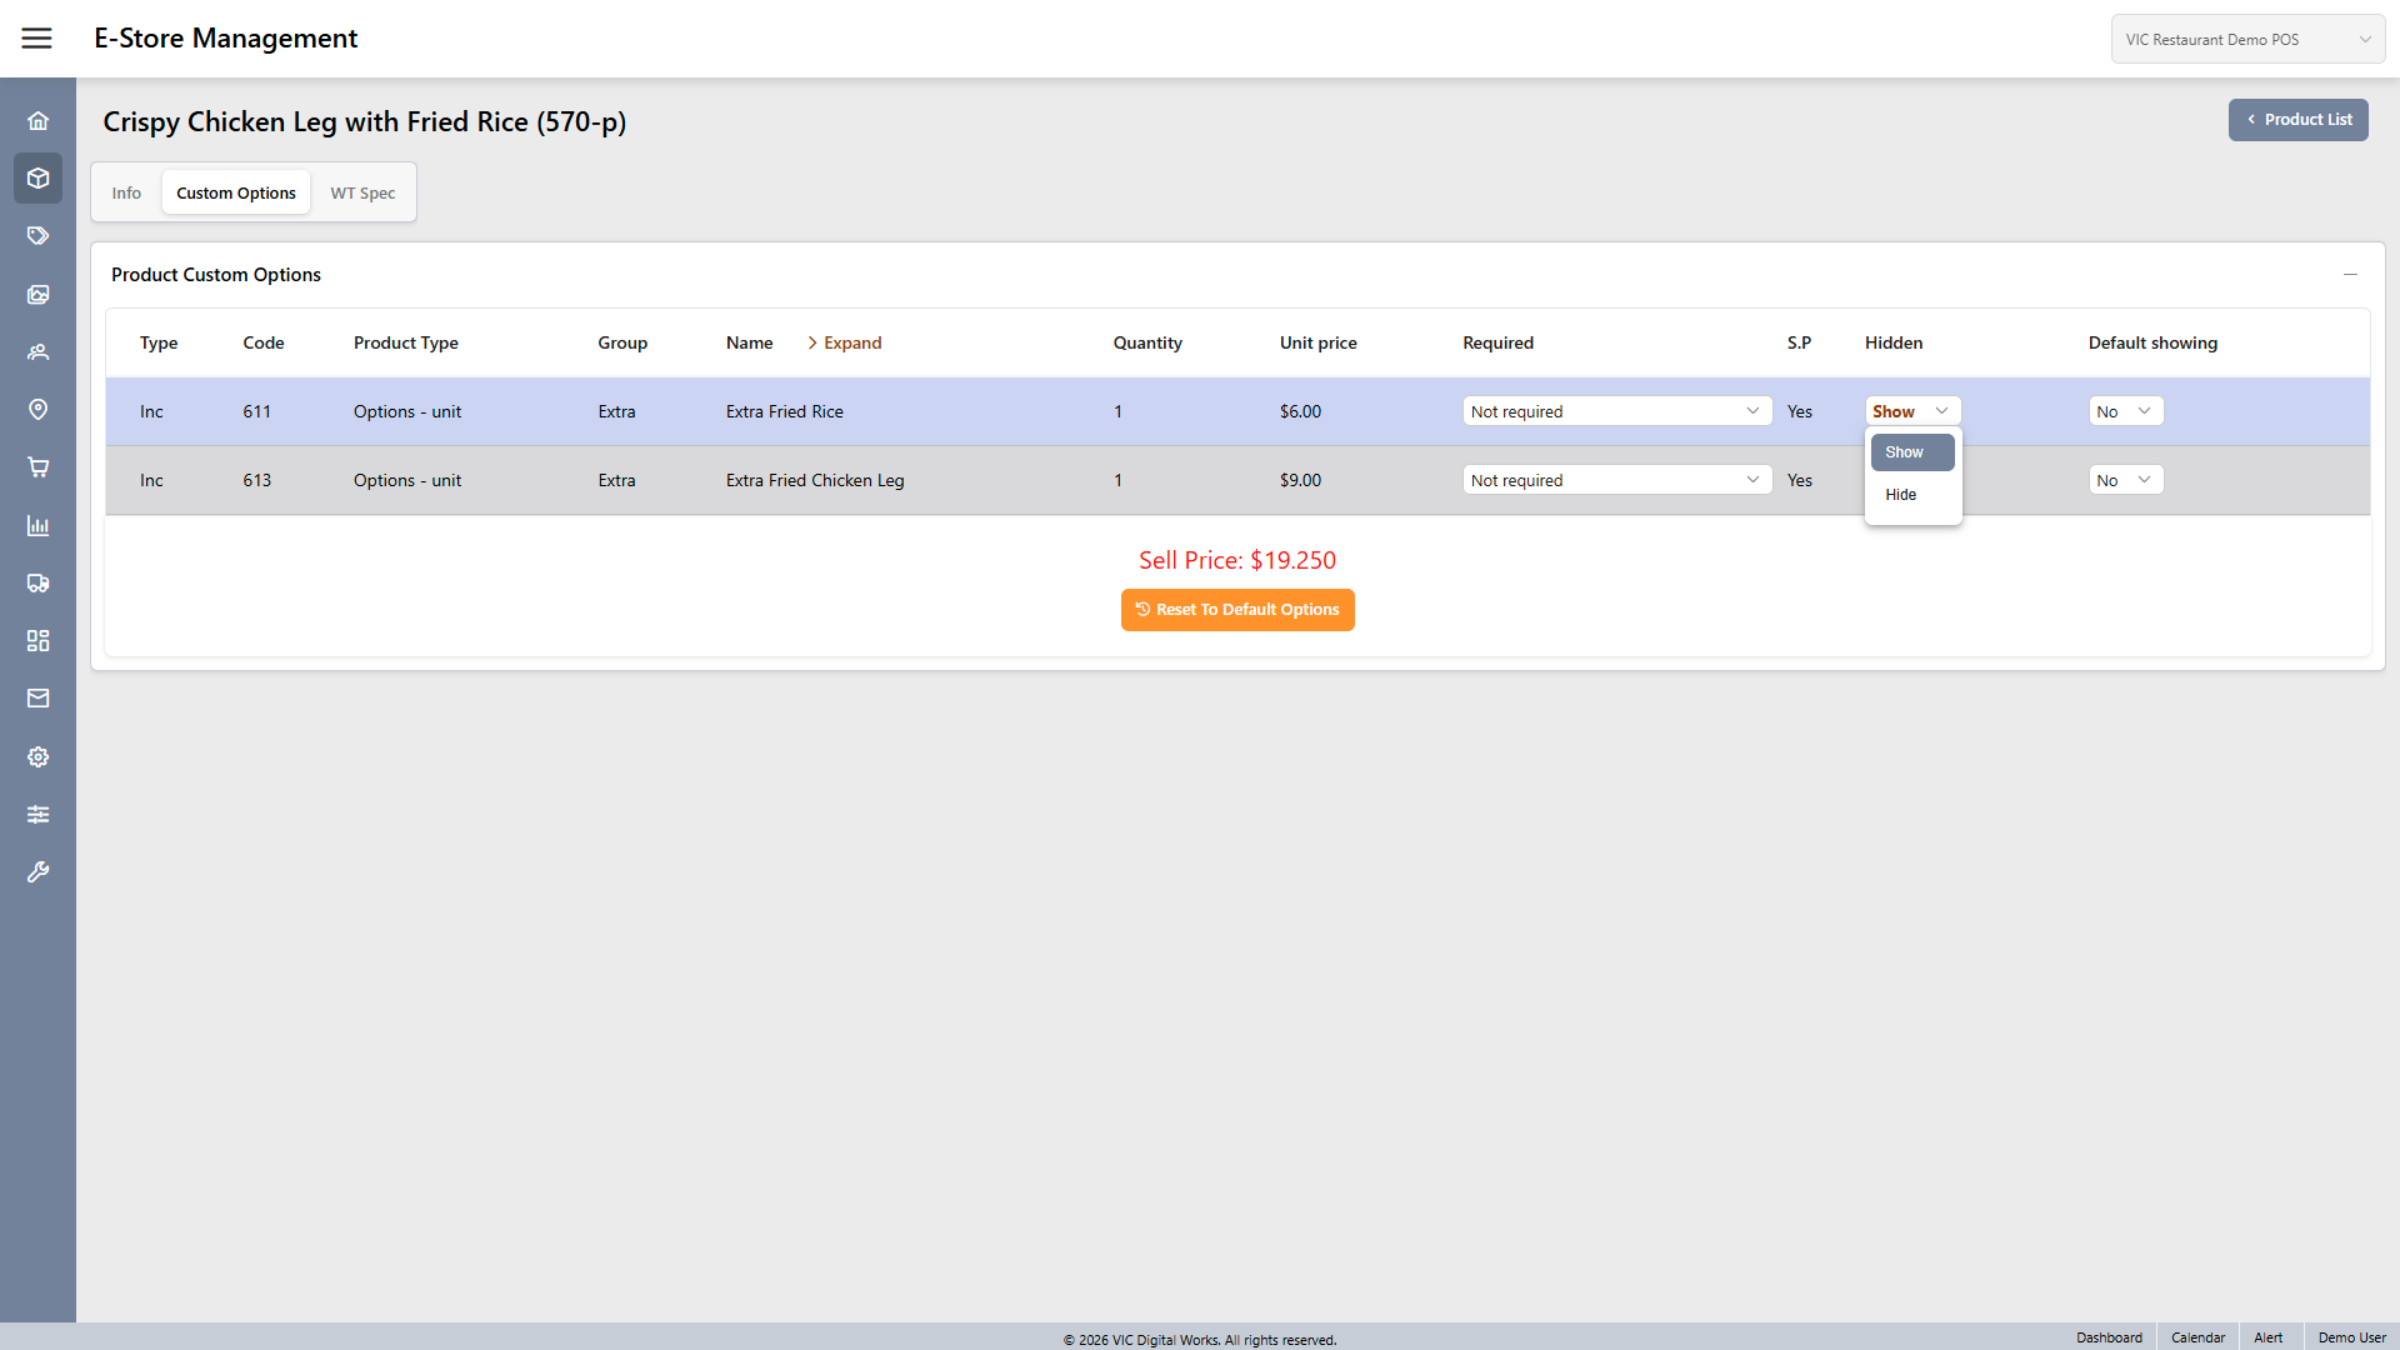
13. Access Custom Option Details
In this section, you can view the pricing information.
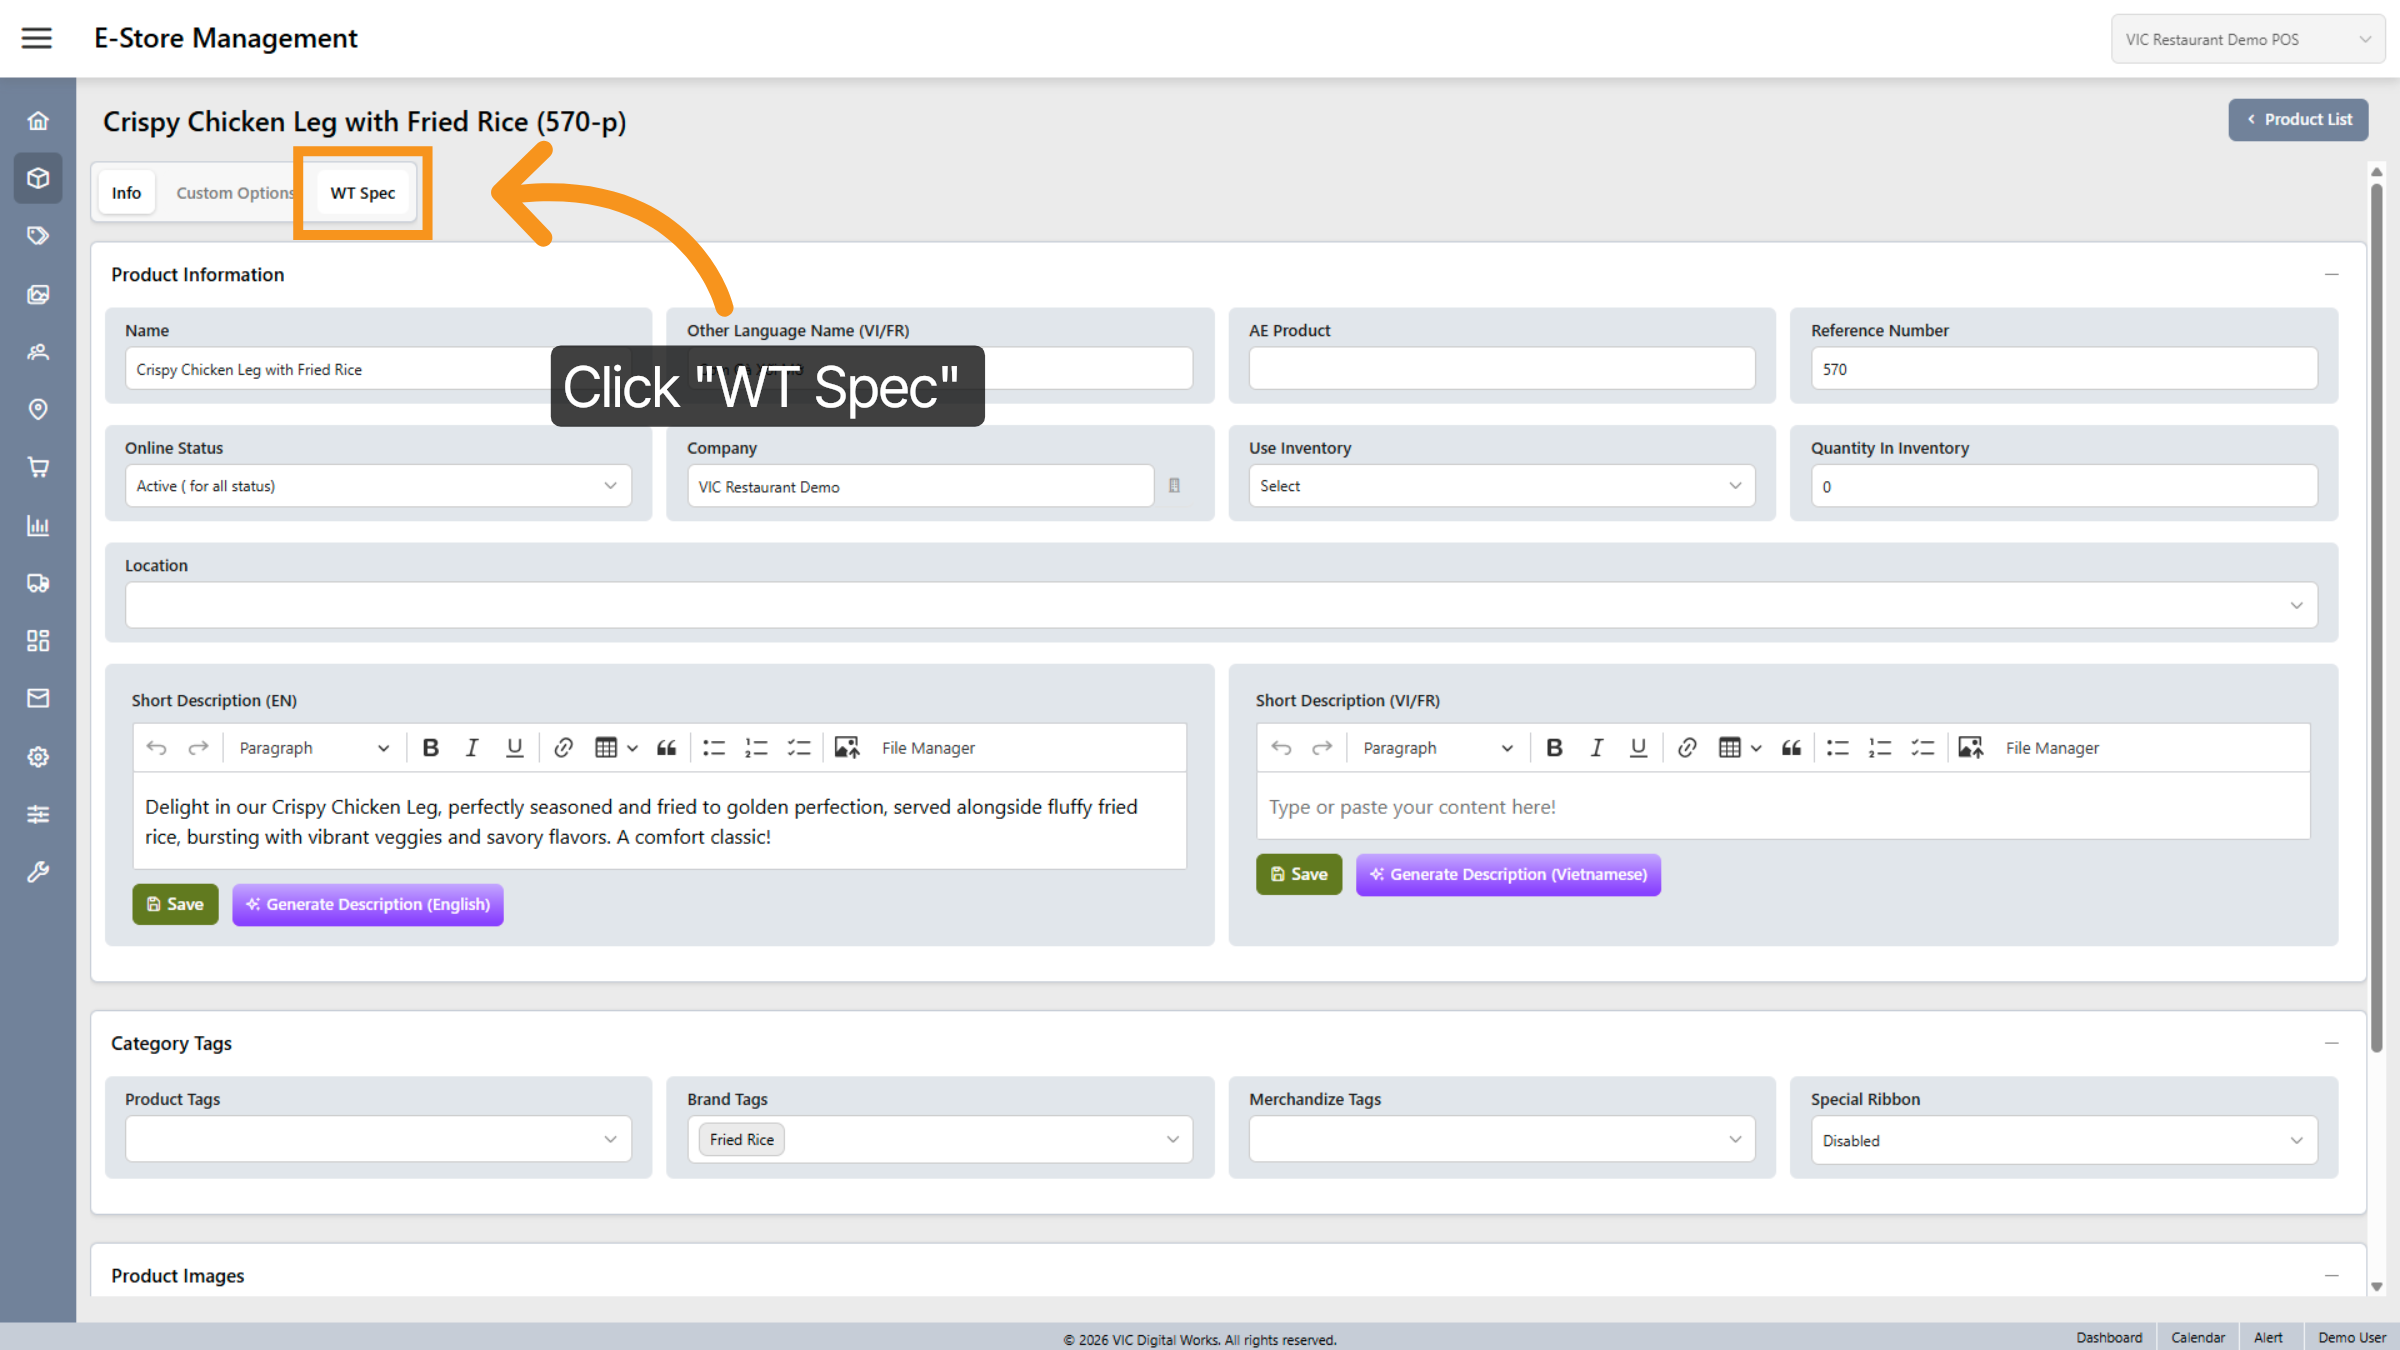
14. Select Worktraq special
This section links to the Worktraq product, enabling you to configure all the product details.
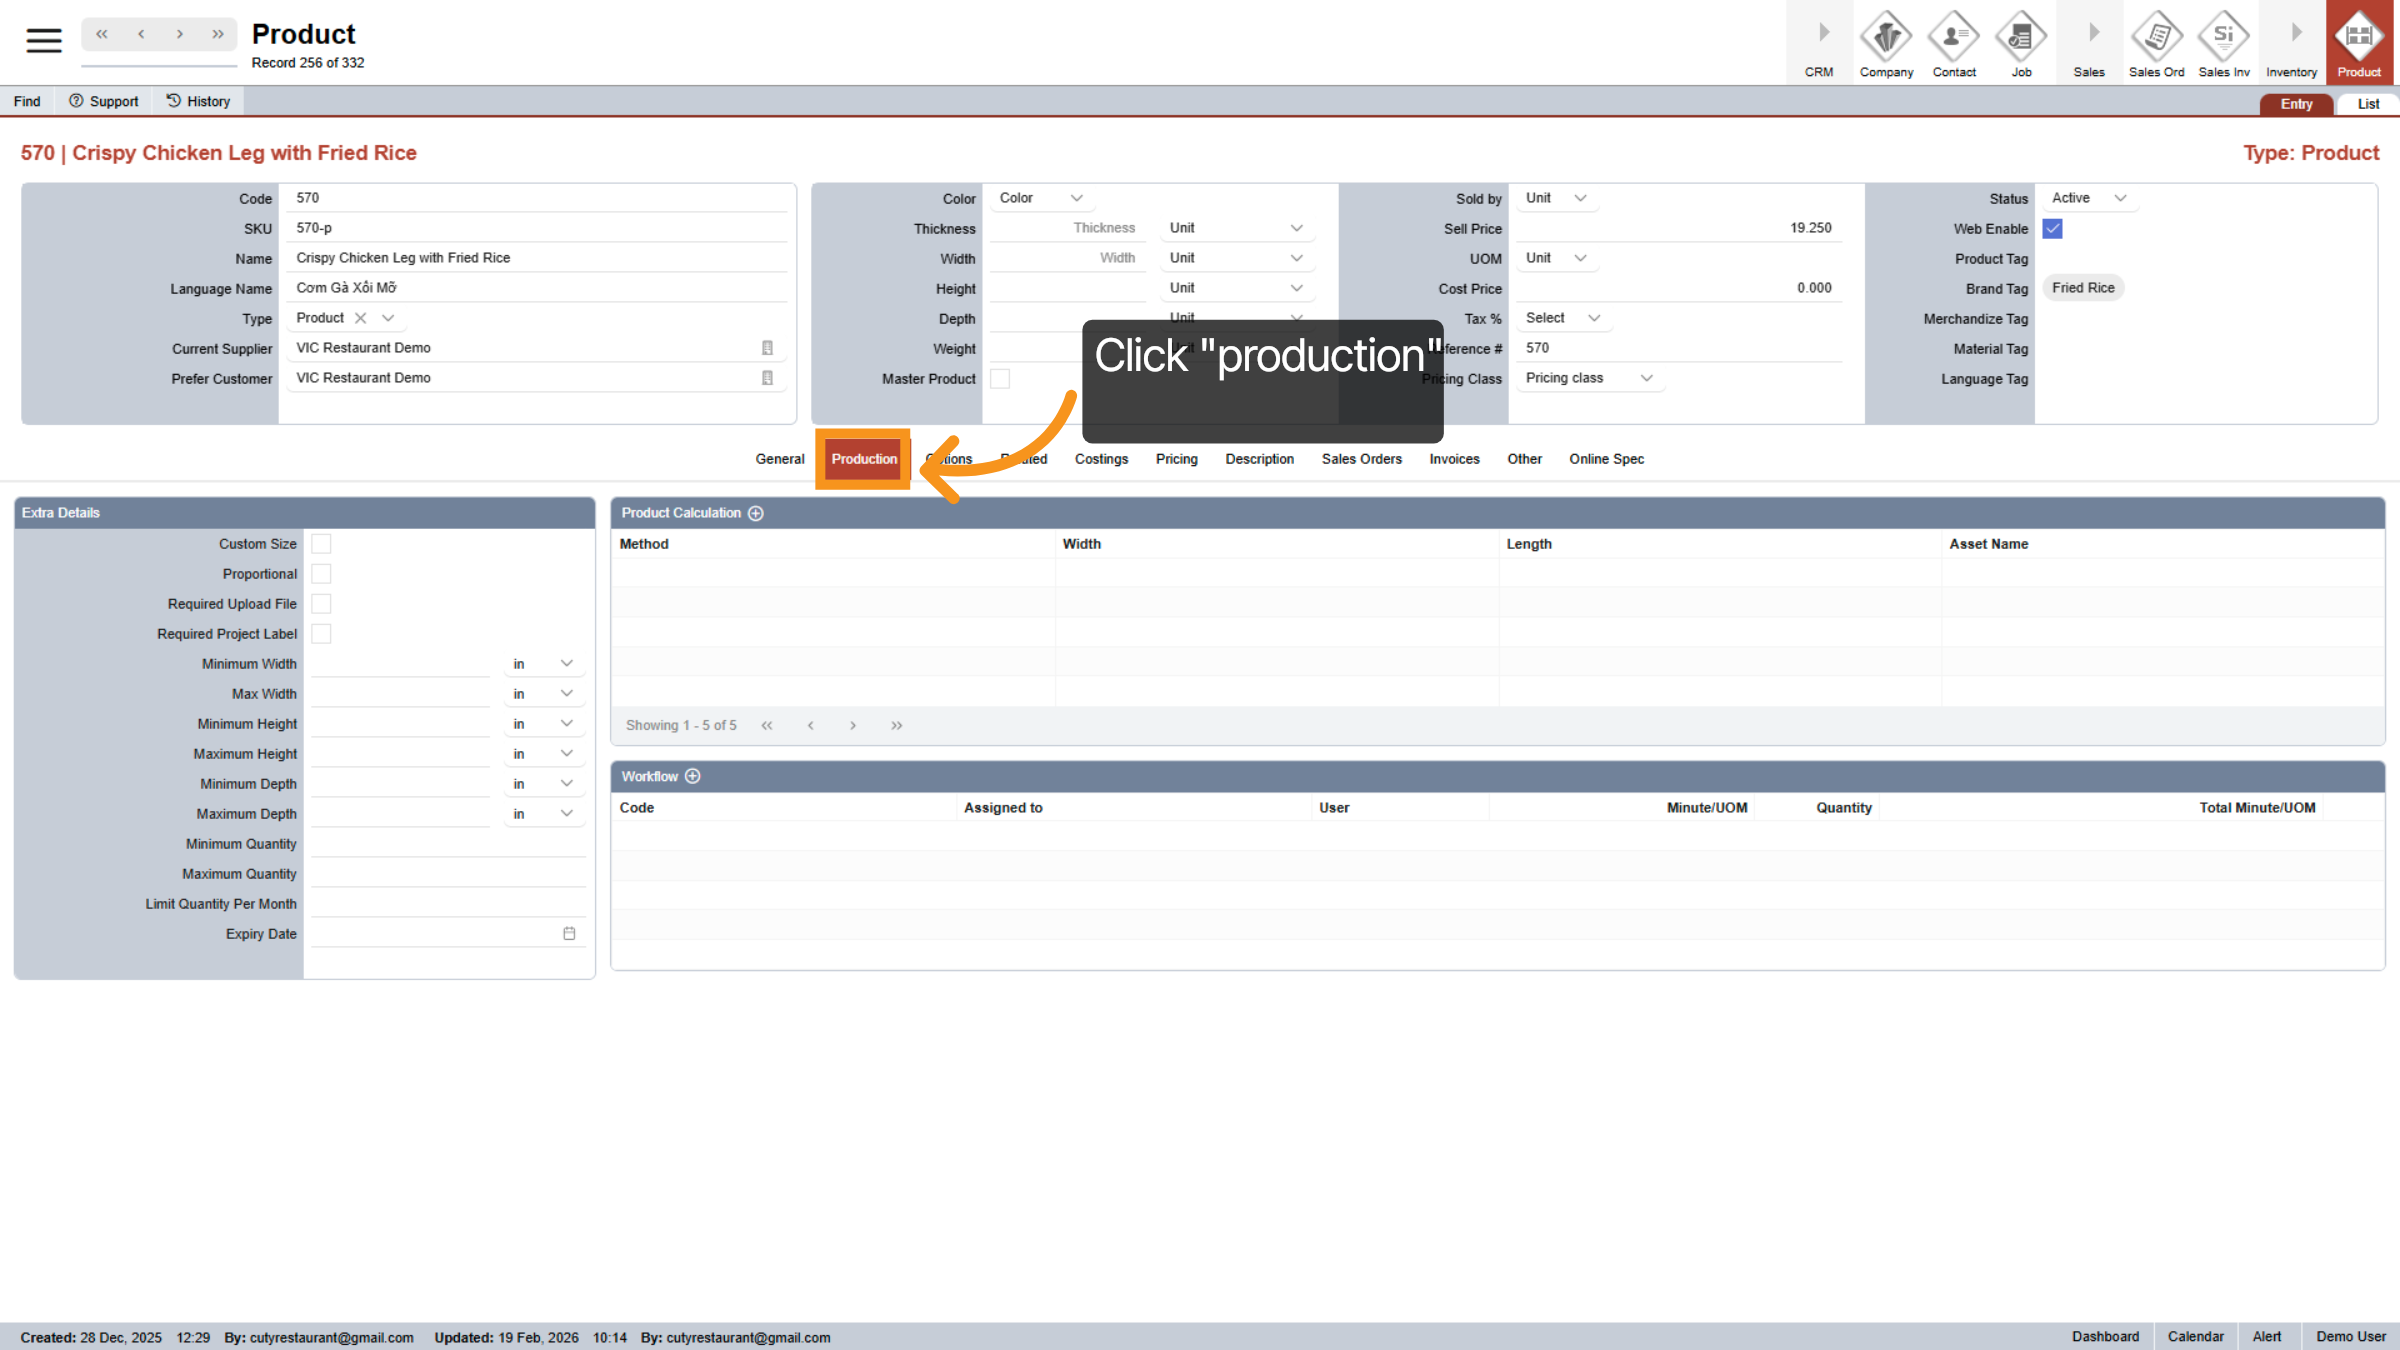
15. Worktraq special-Production Settings
In this section, you can view detailed information about the product, including the editing of tags such as GENERAL , PRODUCTION,OPTIONS,RALATED,COSTINGS,DESCRIPTION,SALES ORDERS,INVOICES,OTHER,ONLINE SPEC...
16. Access Product
Click Options to view and modify additional product settings.
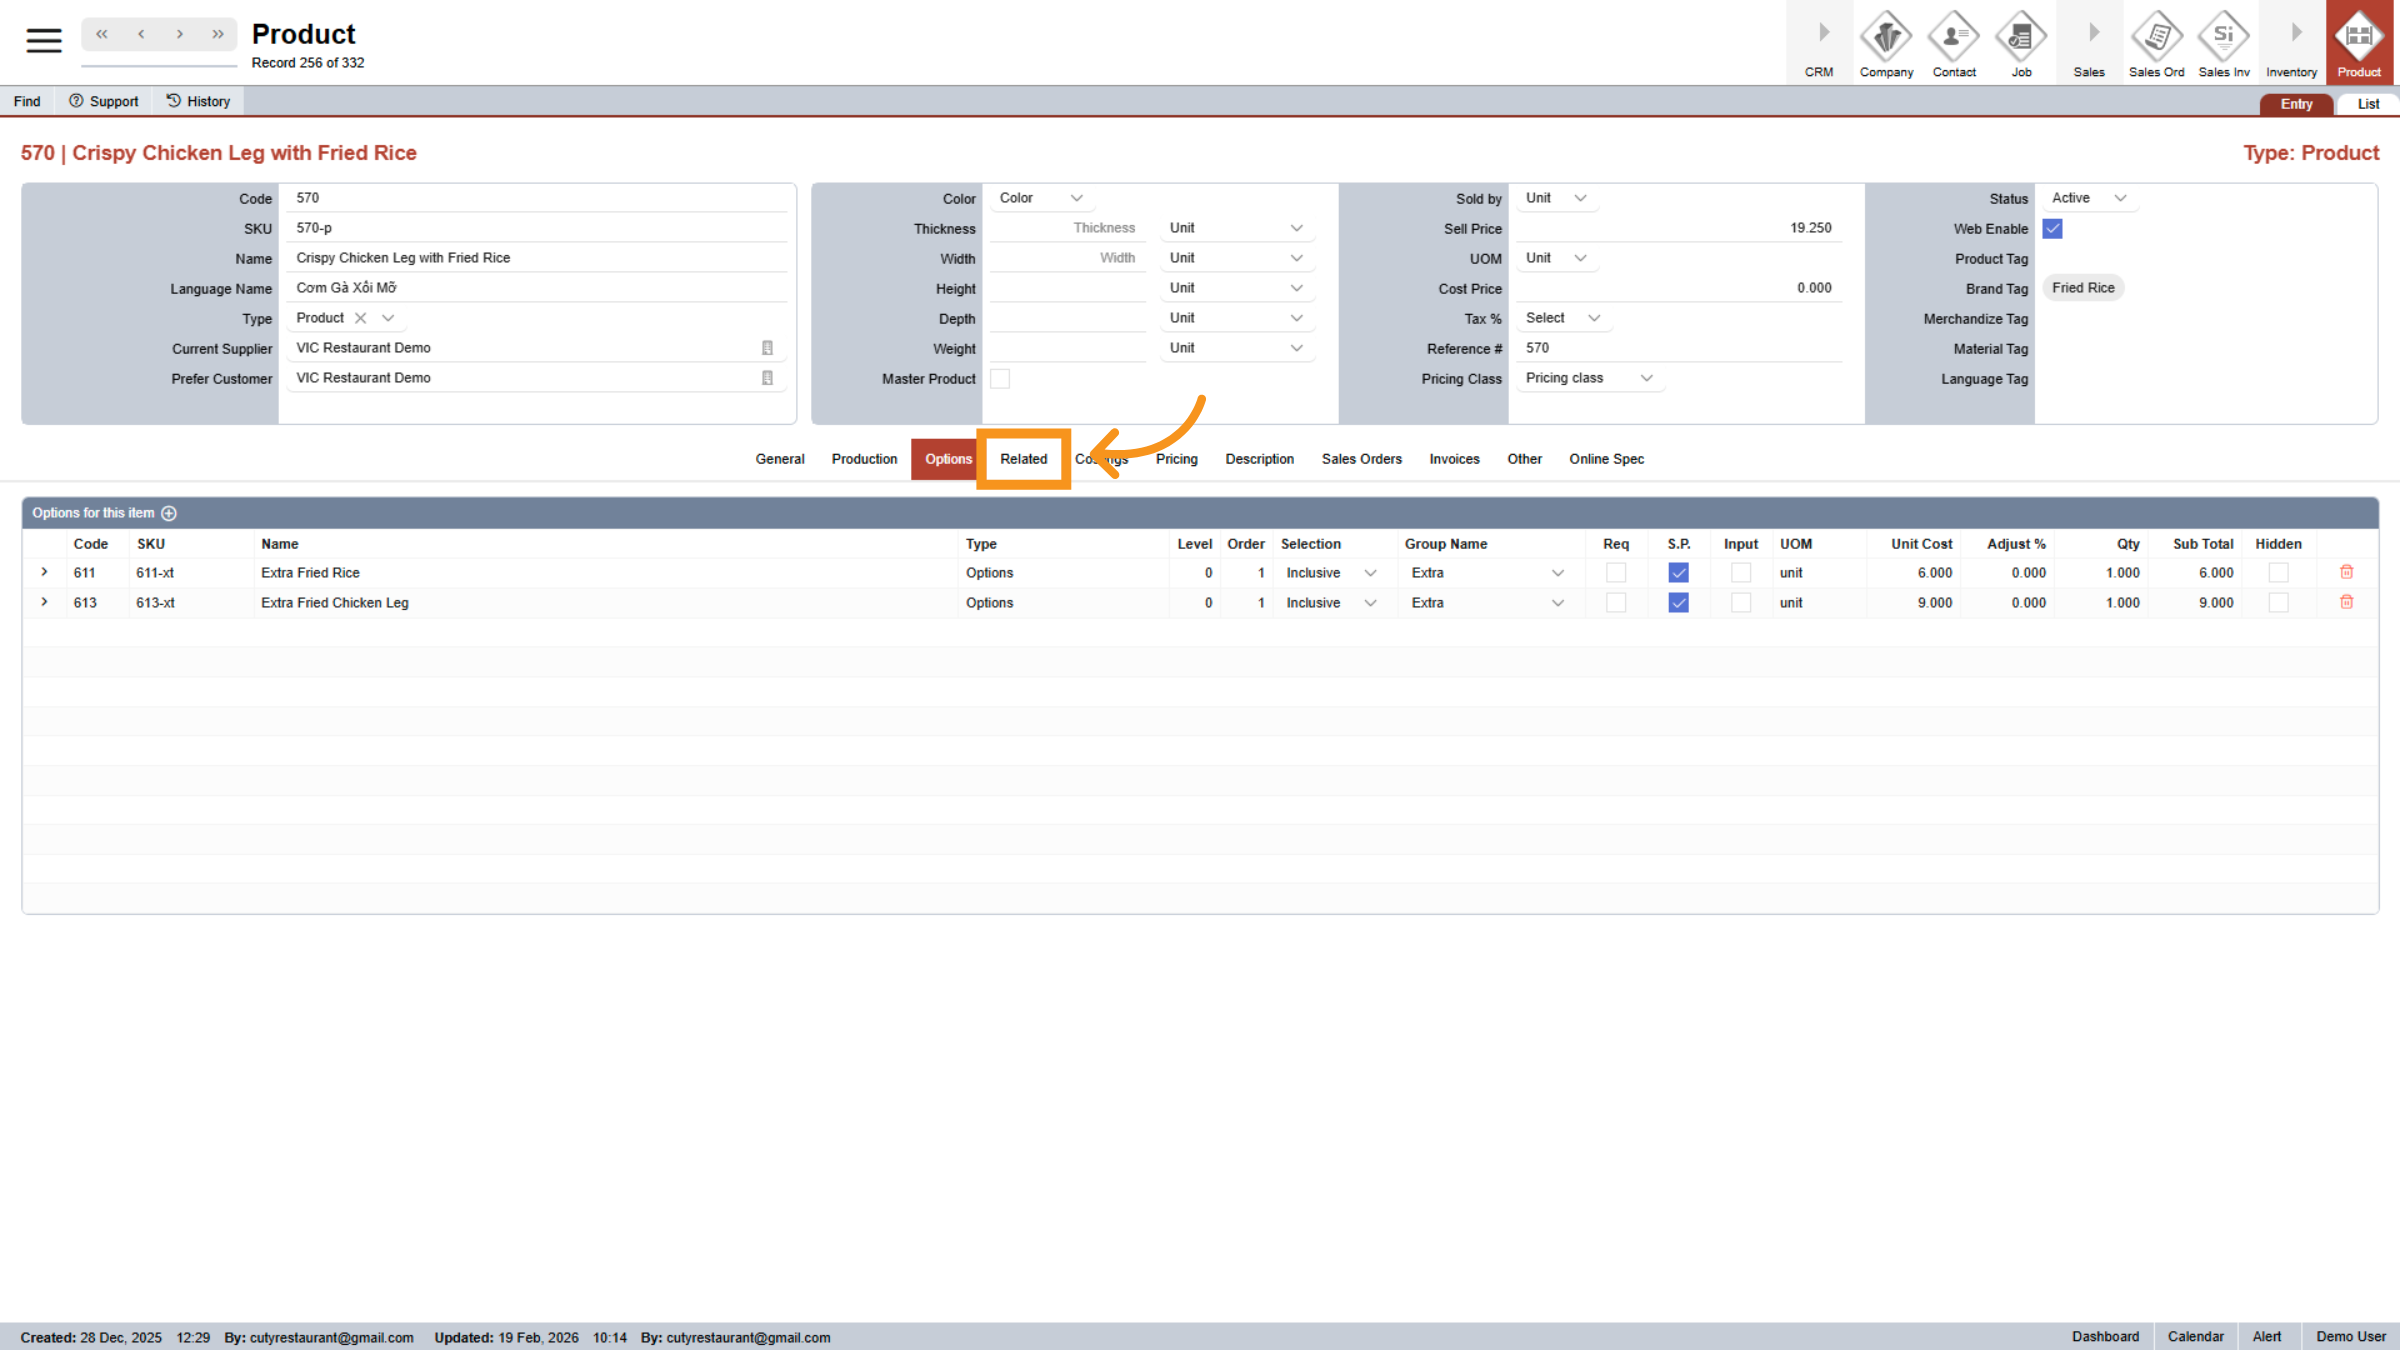
17. View Related Products
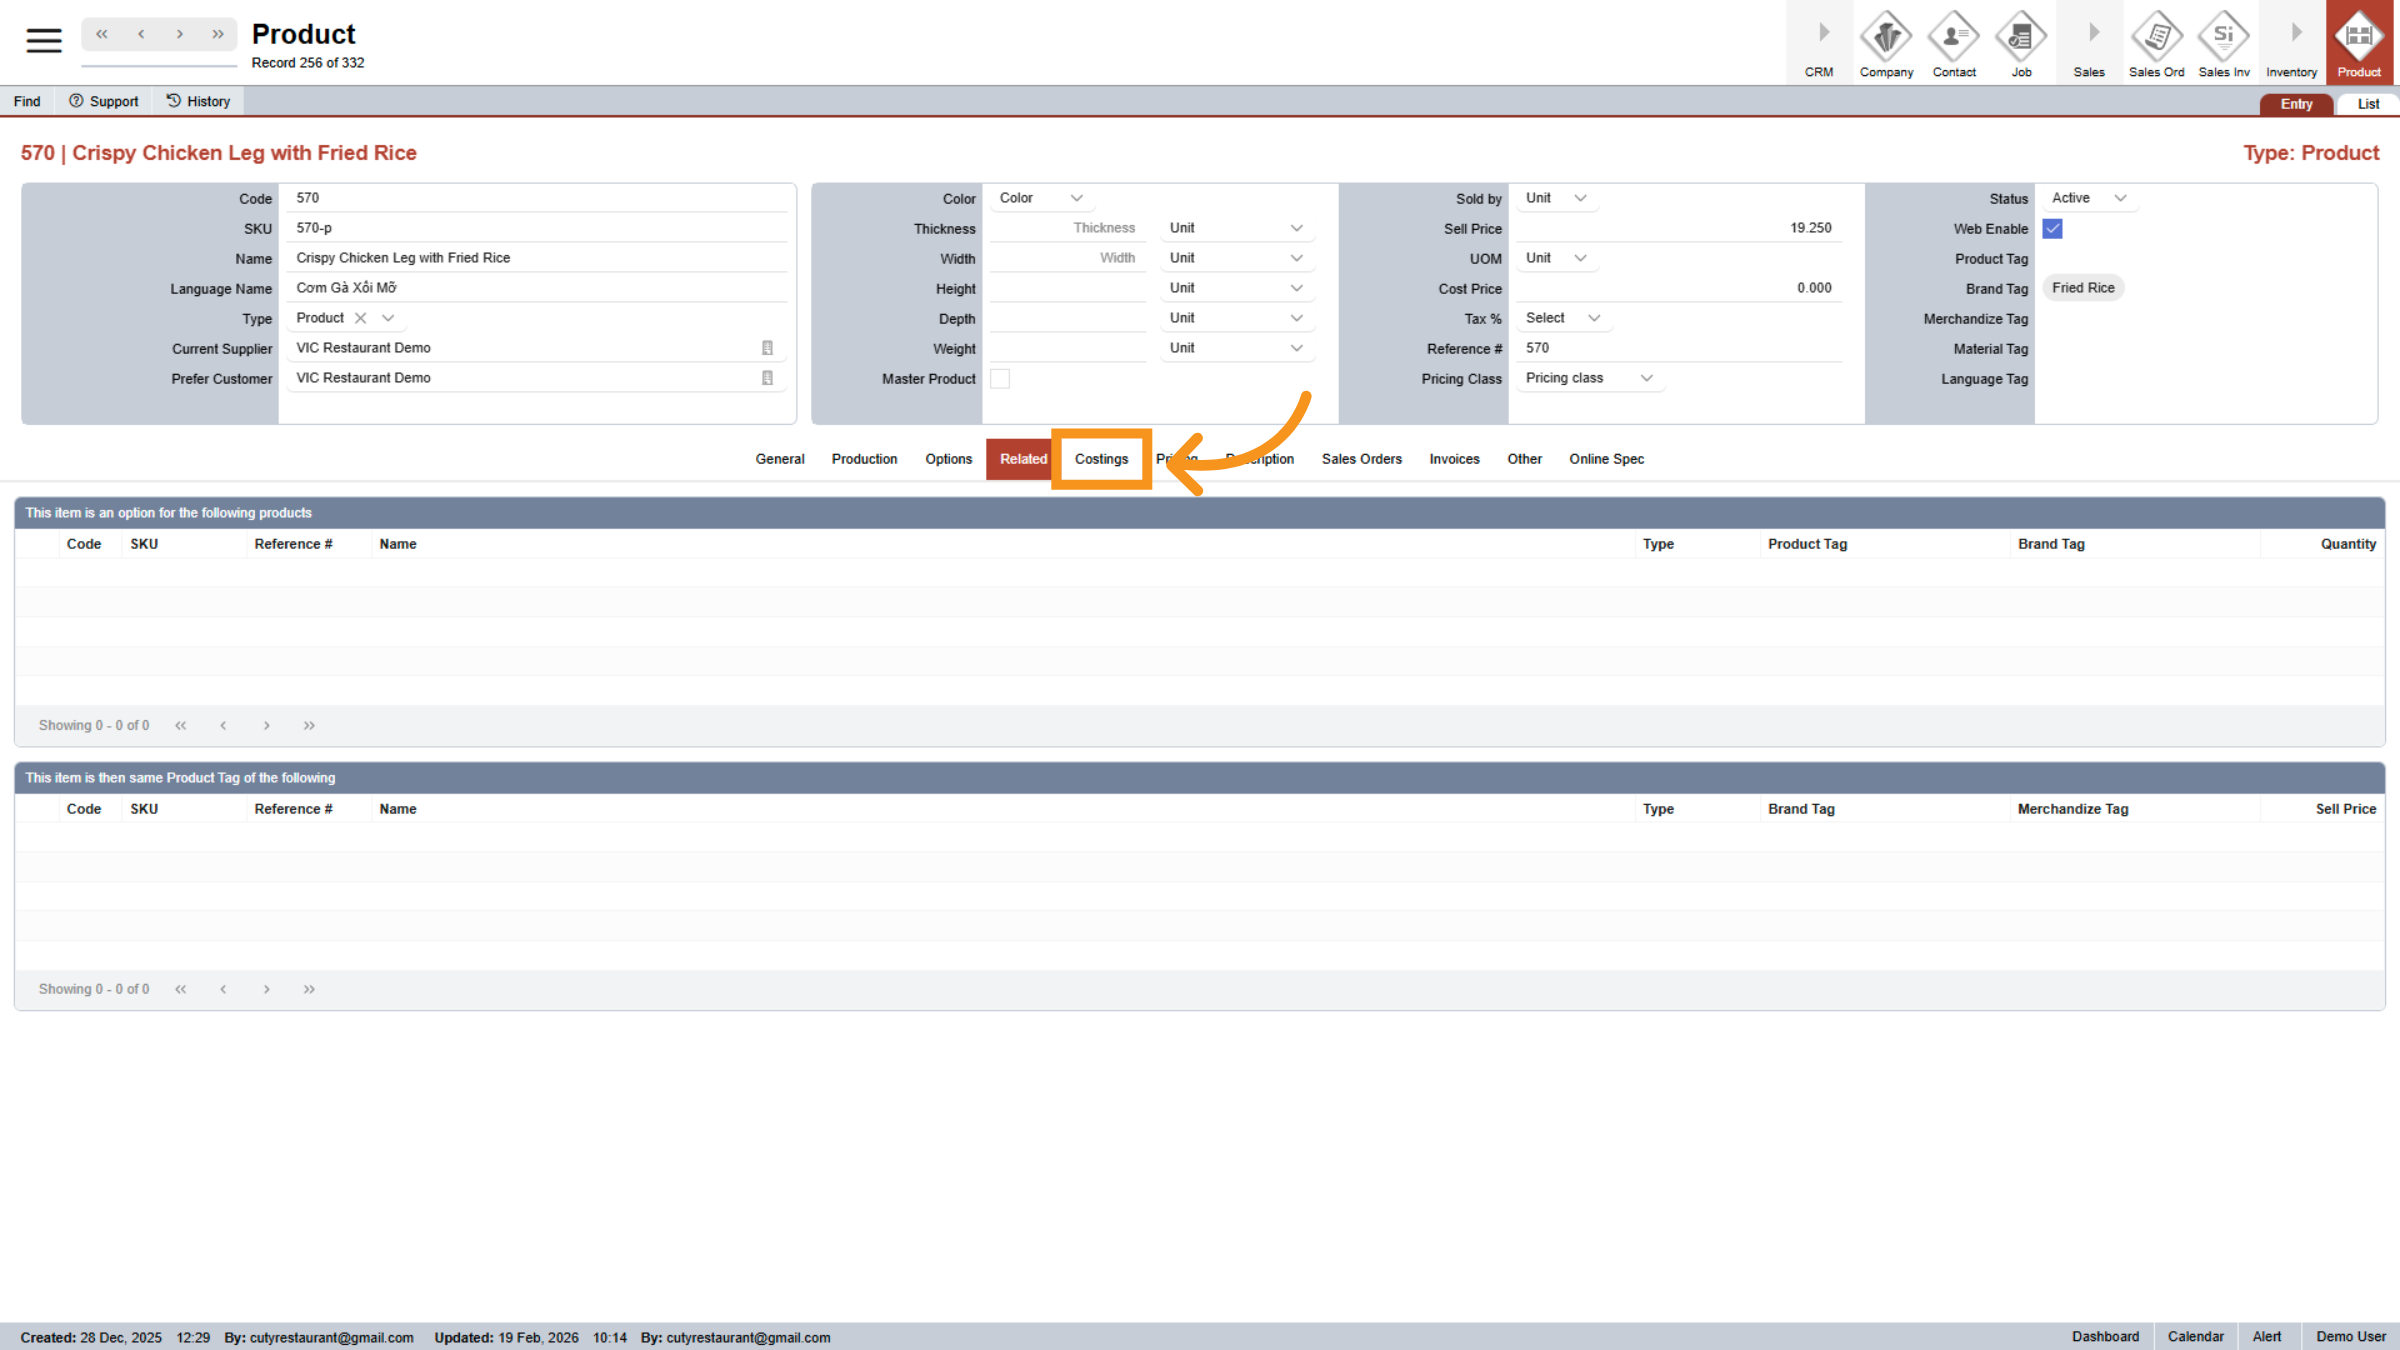
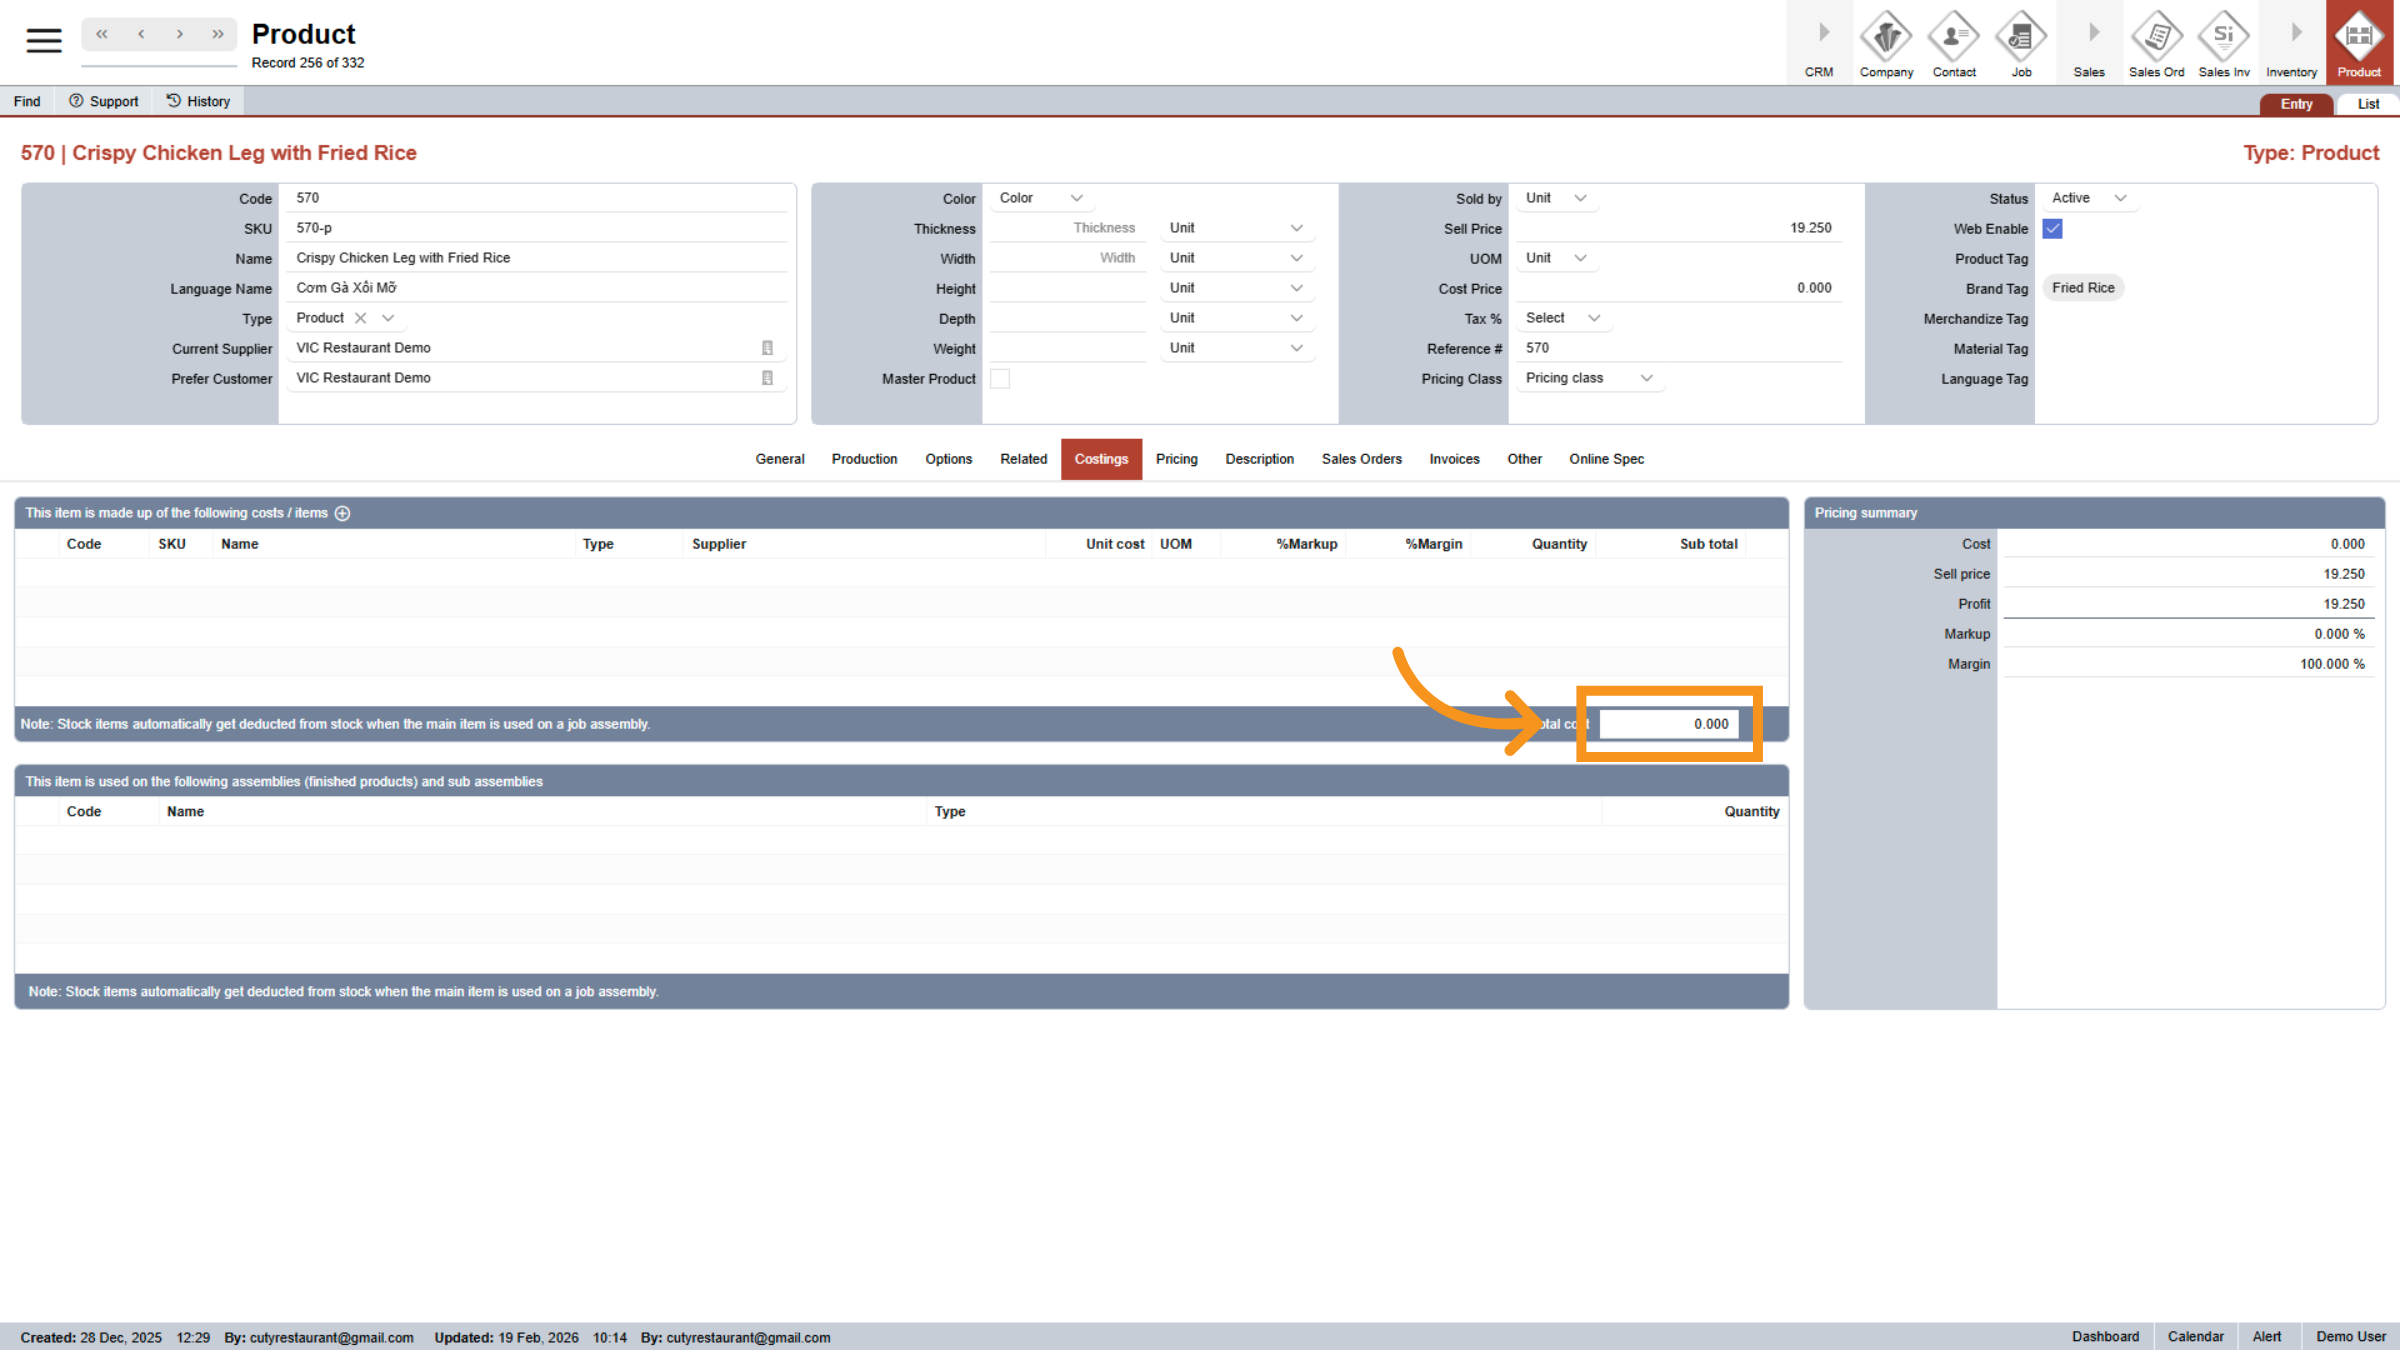
18. Open Costings Section
Click Costings to review and adjust product cost information.
19. Edit Cost Value
Click 0.000 to modify the cost value for the product.
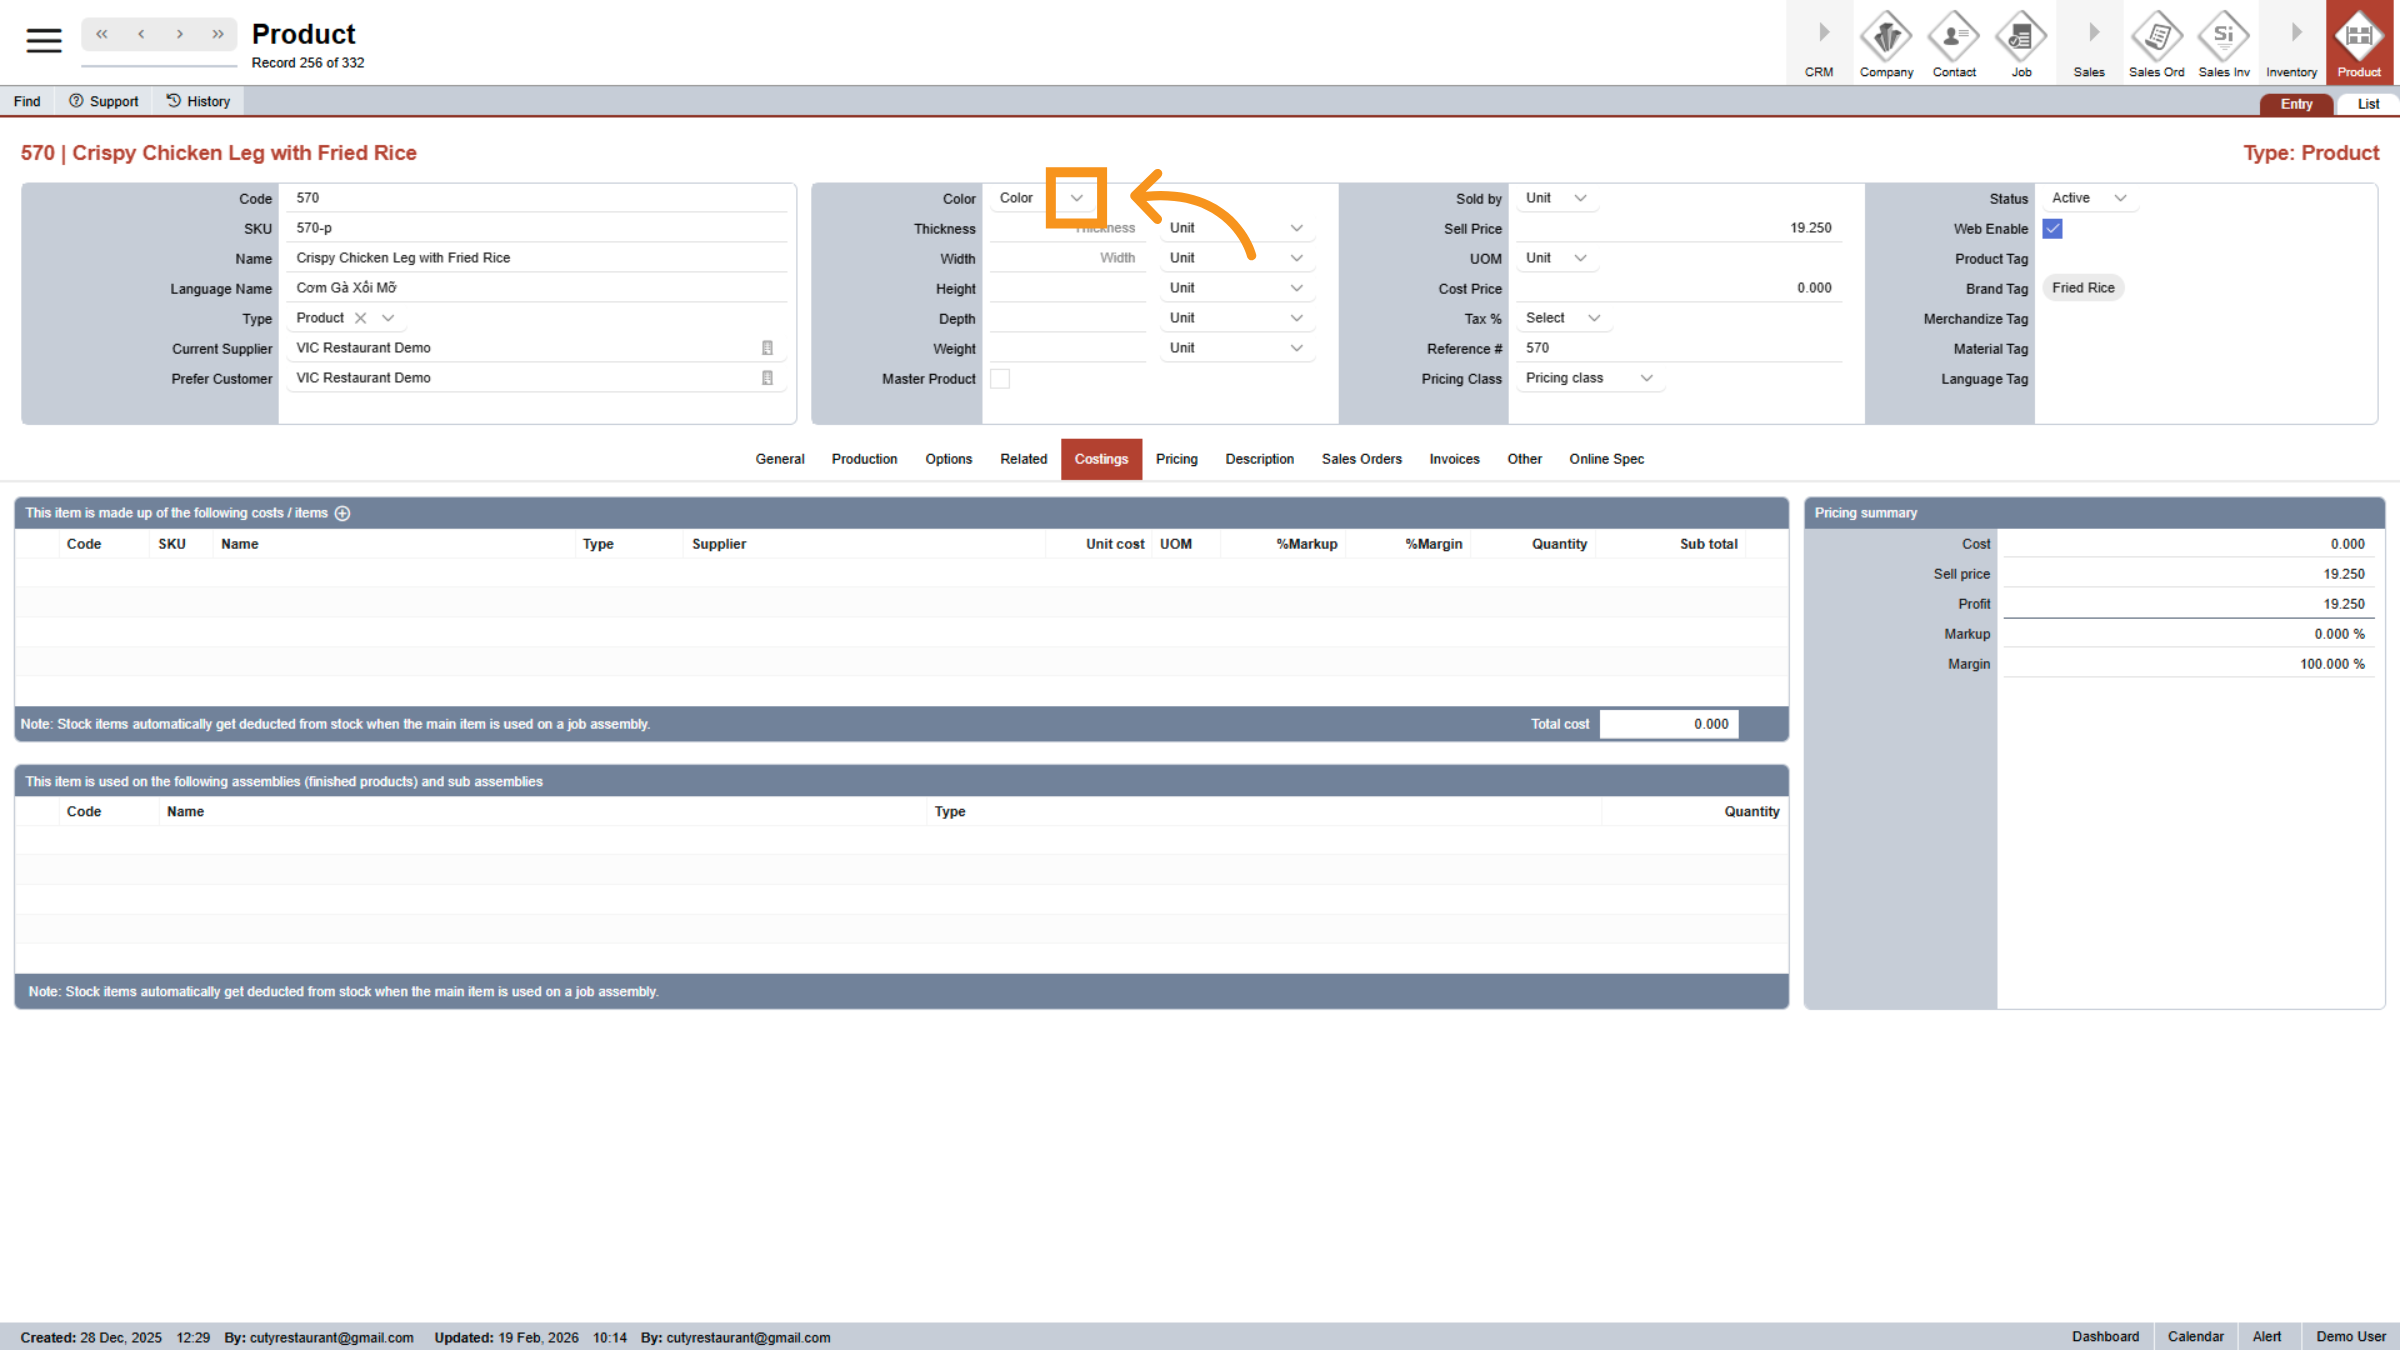
20. Access Cost Input
Click the specified area to enter cost information.
21. Open Cost Entry Field
Click the designated area to input cost price details.
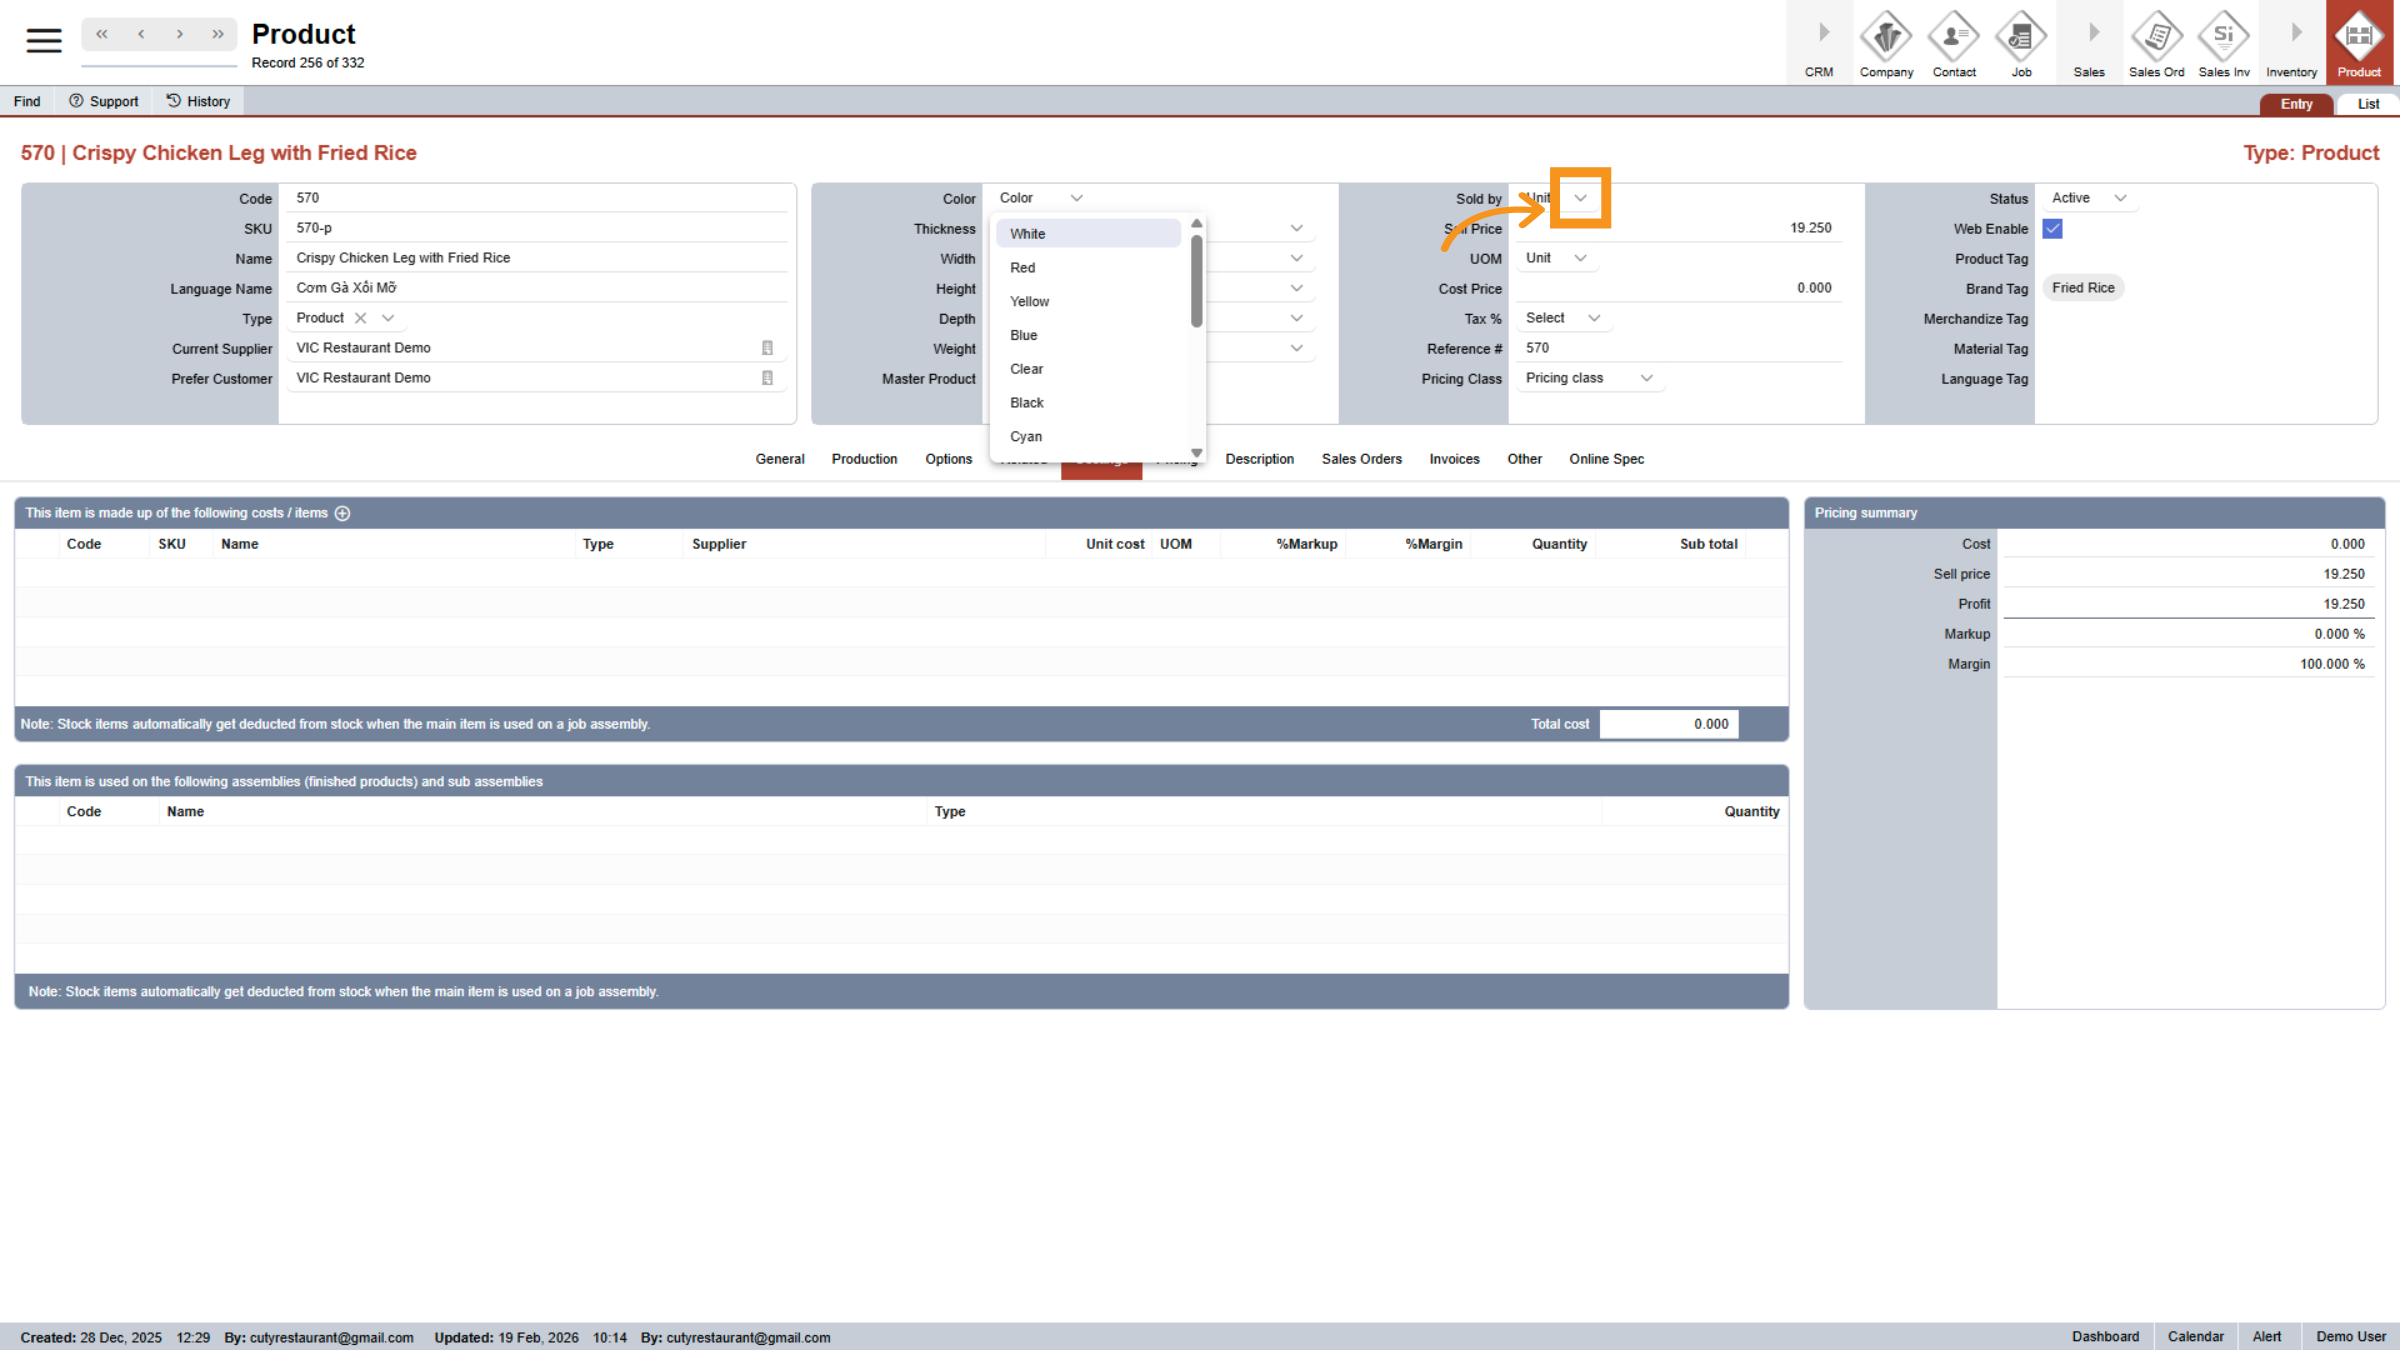
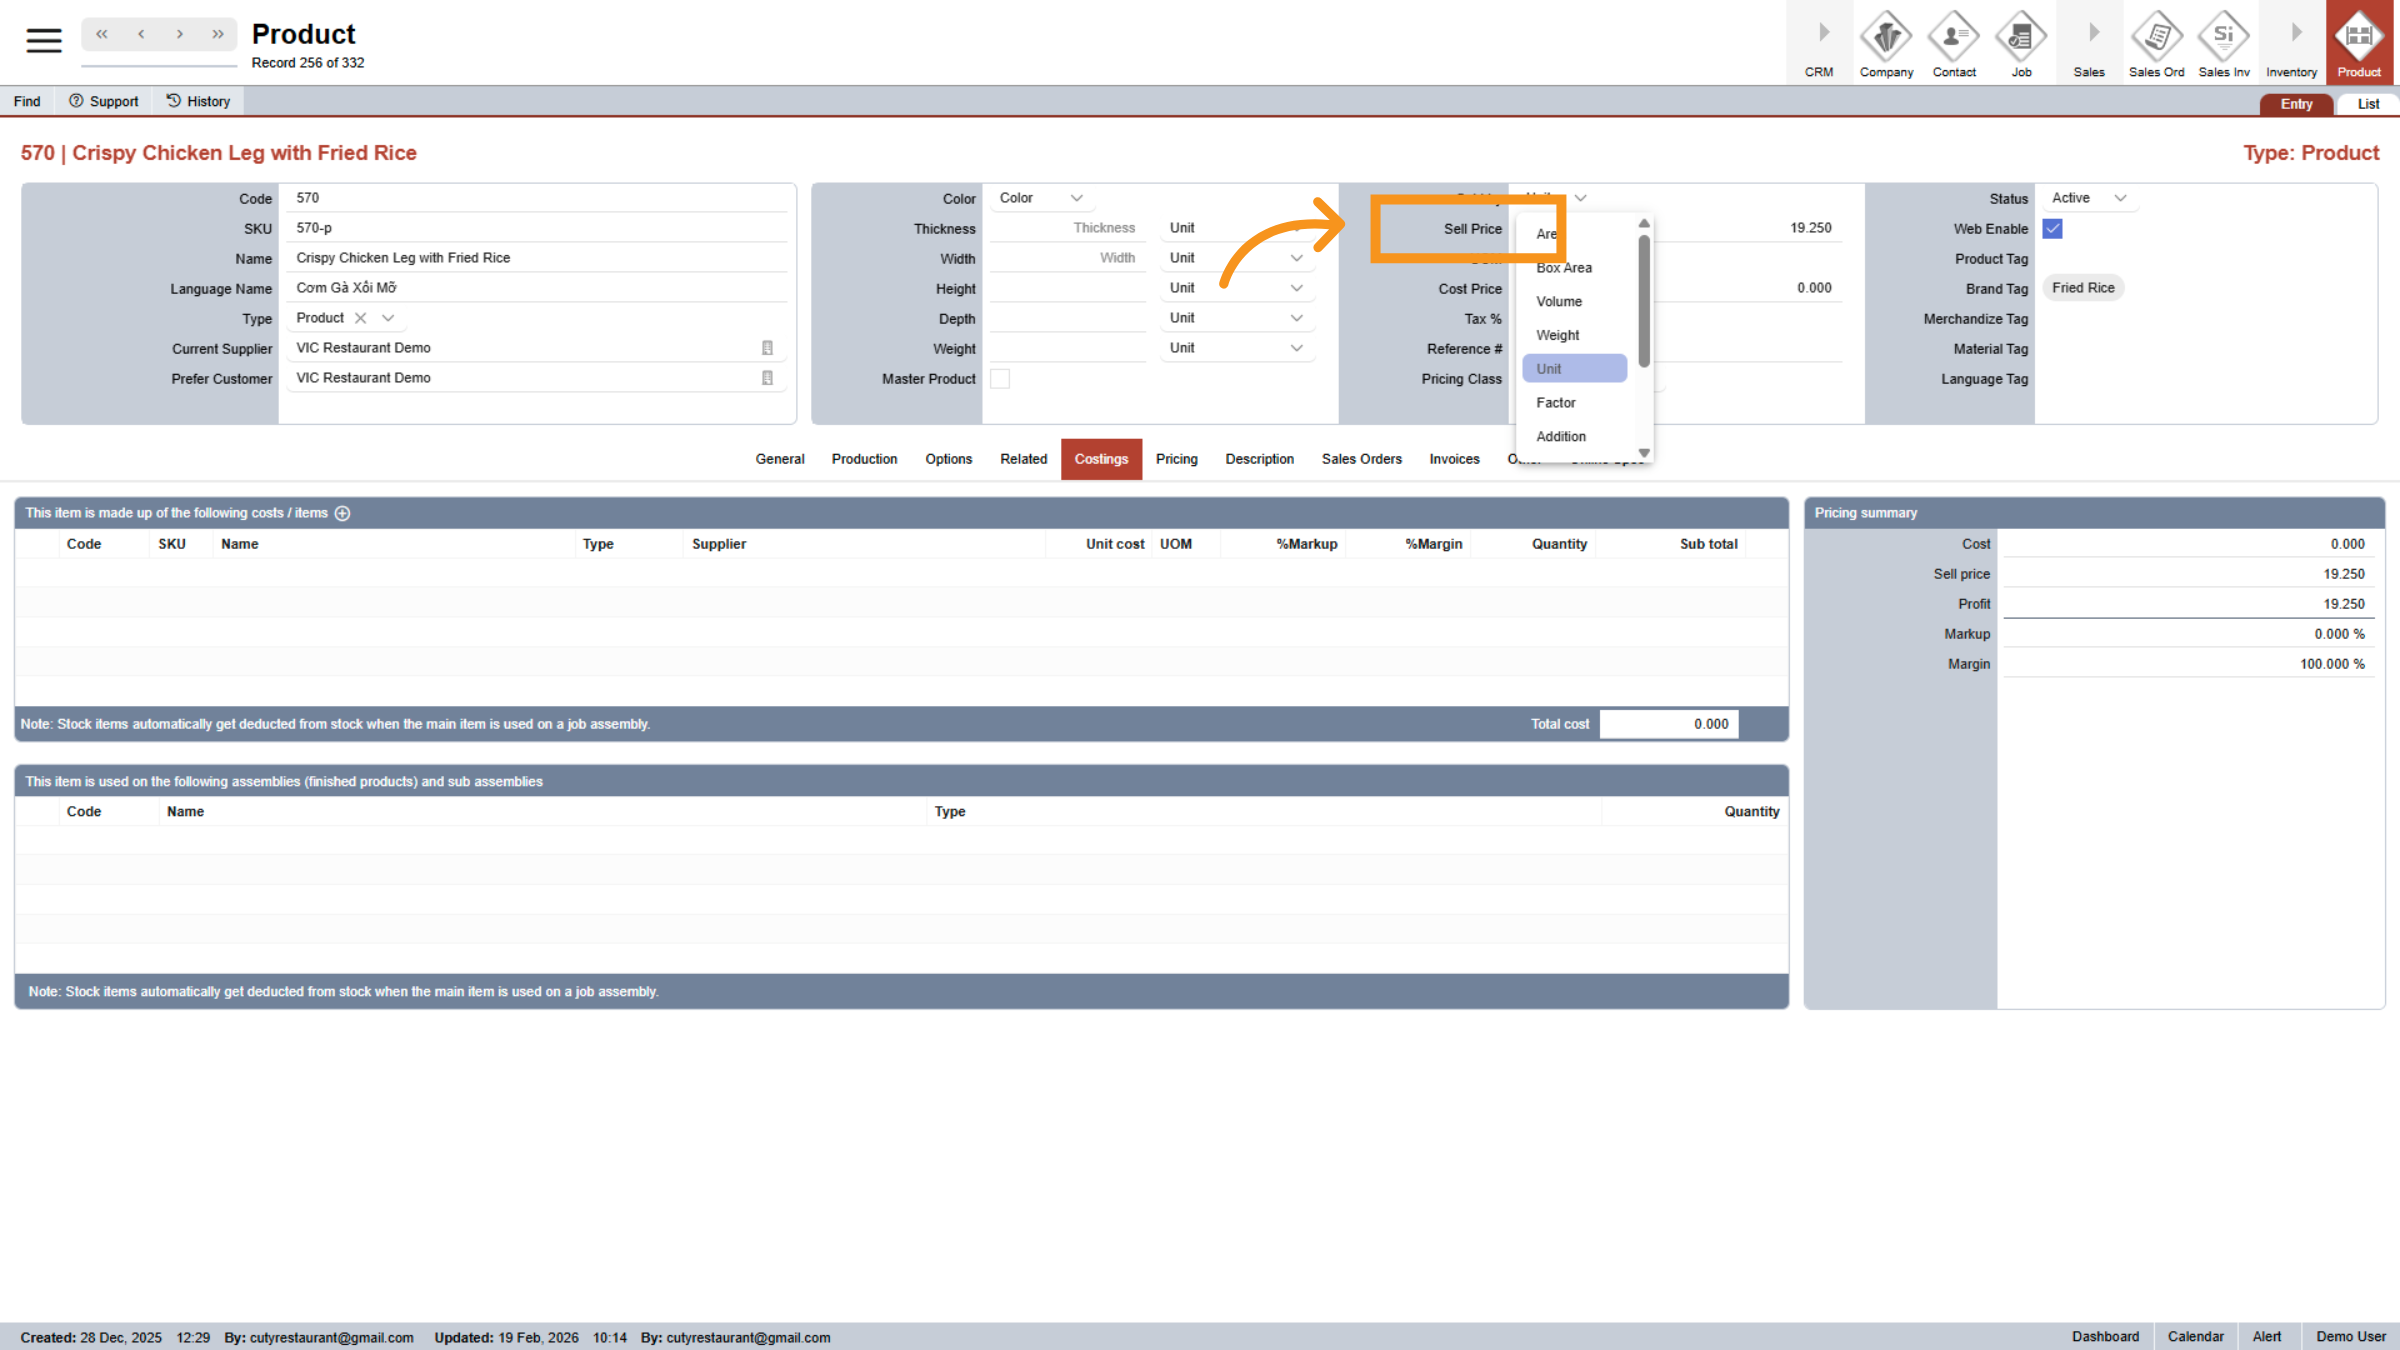
22. Select Sell Price Field
Click Sell Price to view or edit the product's selling price.
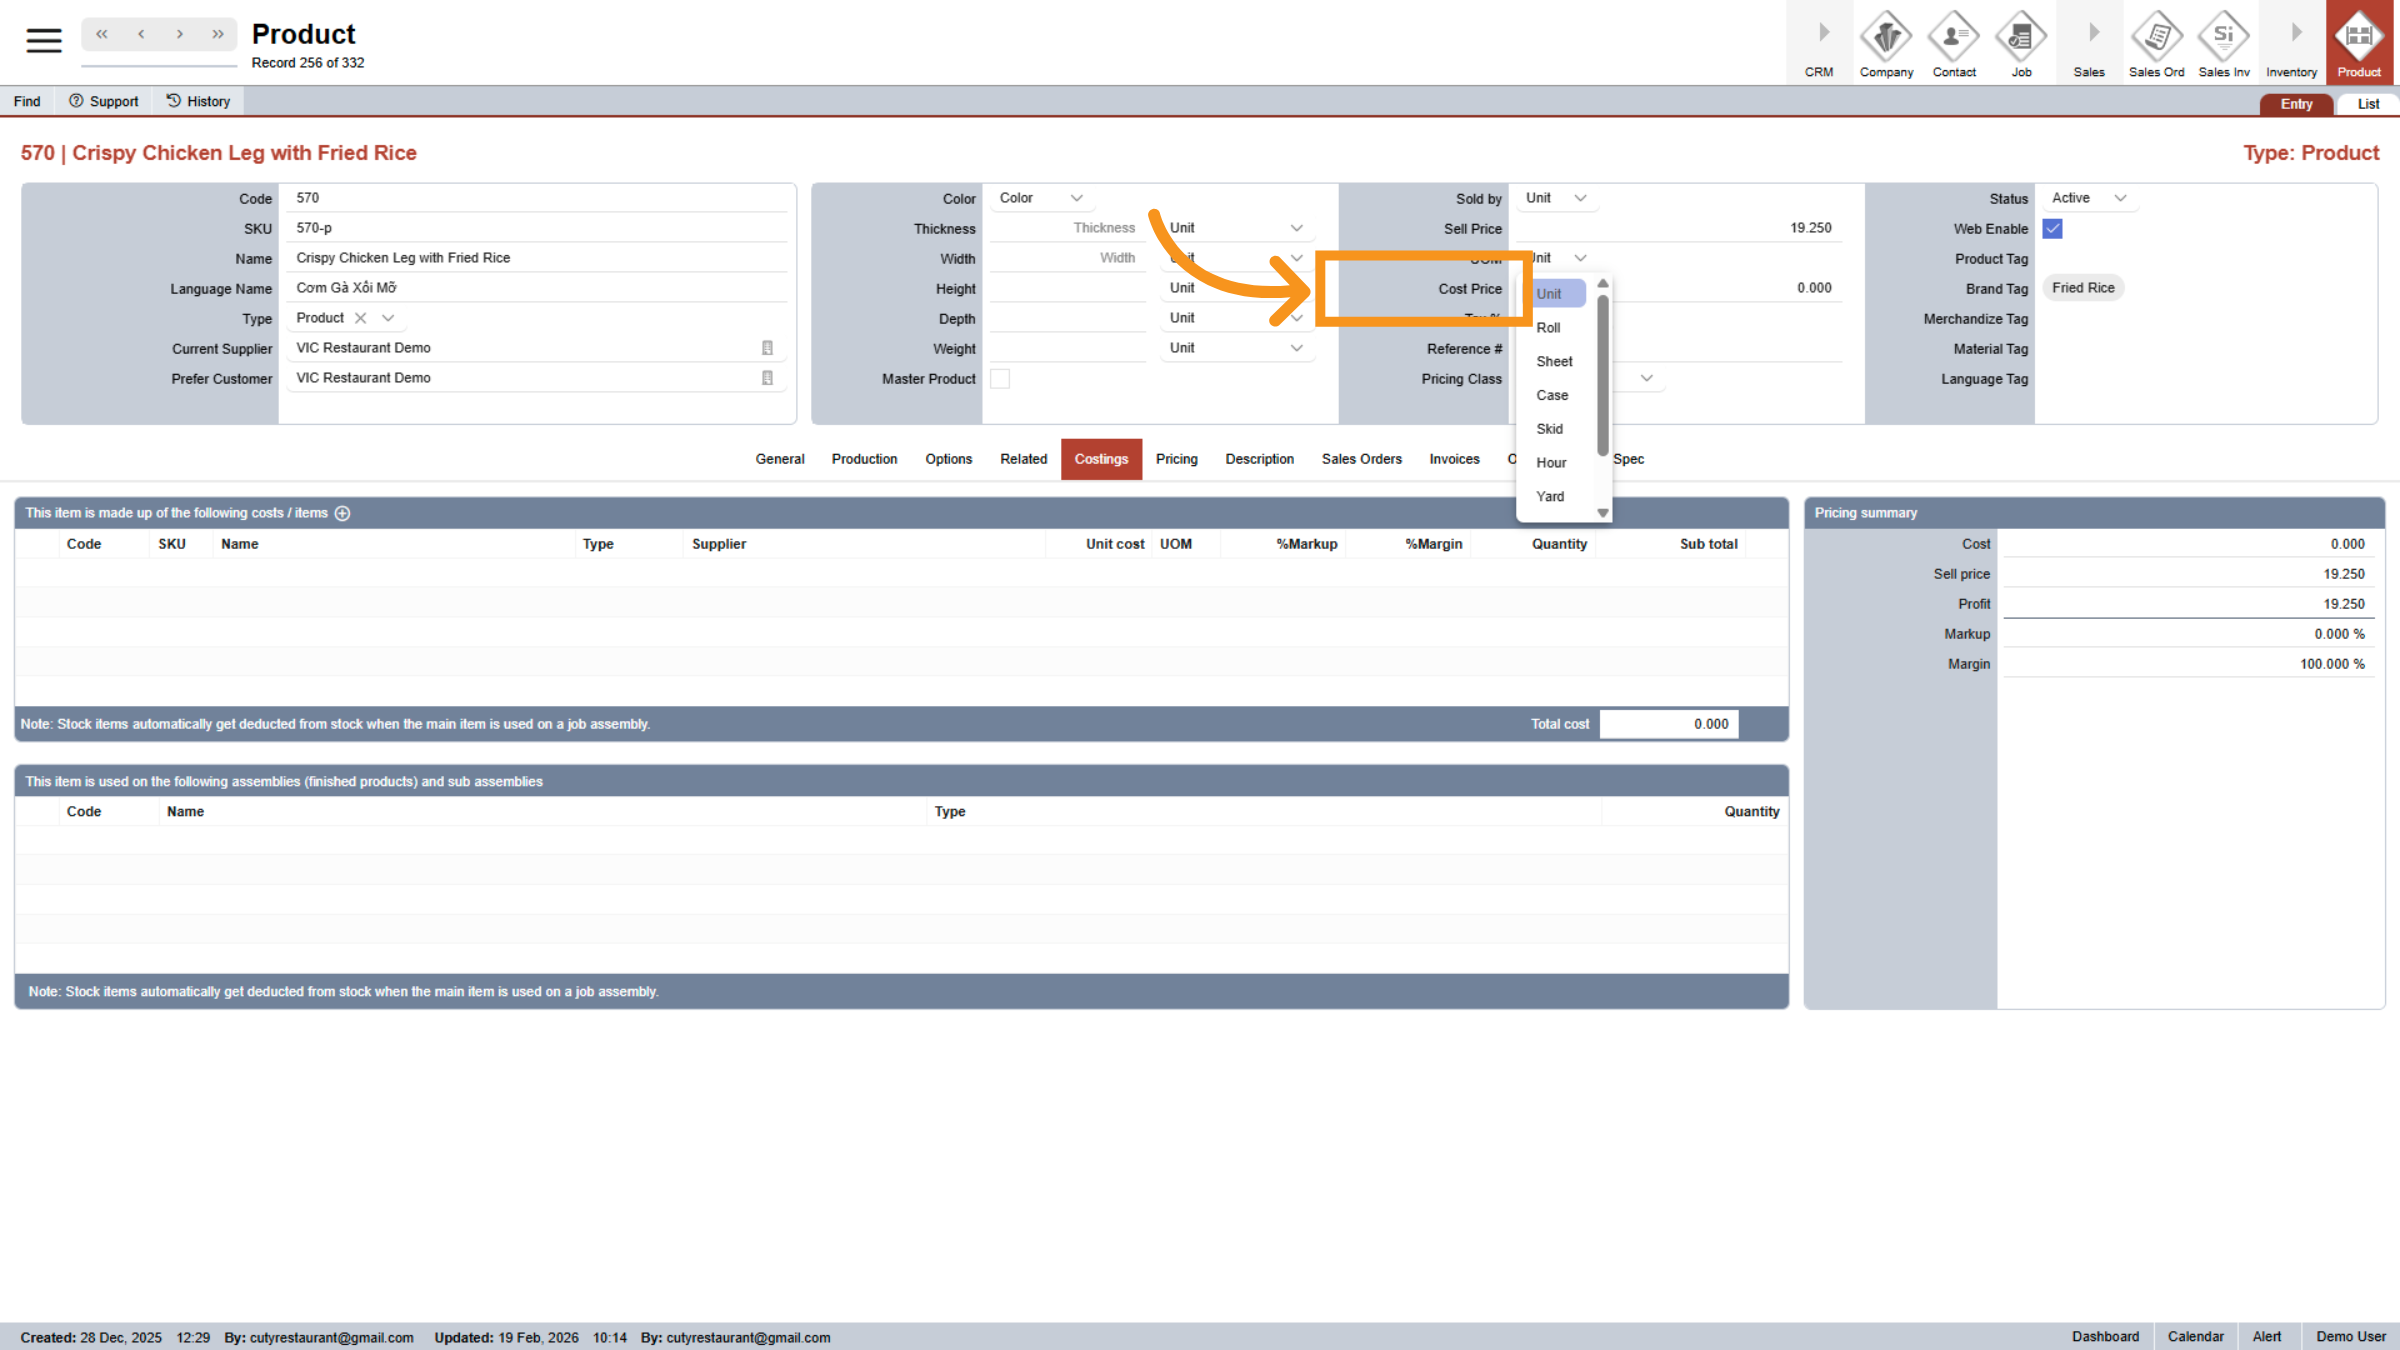
23. Select Cost Price Field
Click Cost Price to view or modify the product's cost price.
24. Open Cost Price Input
Click the specified area to input the cost price value.
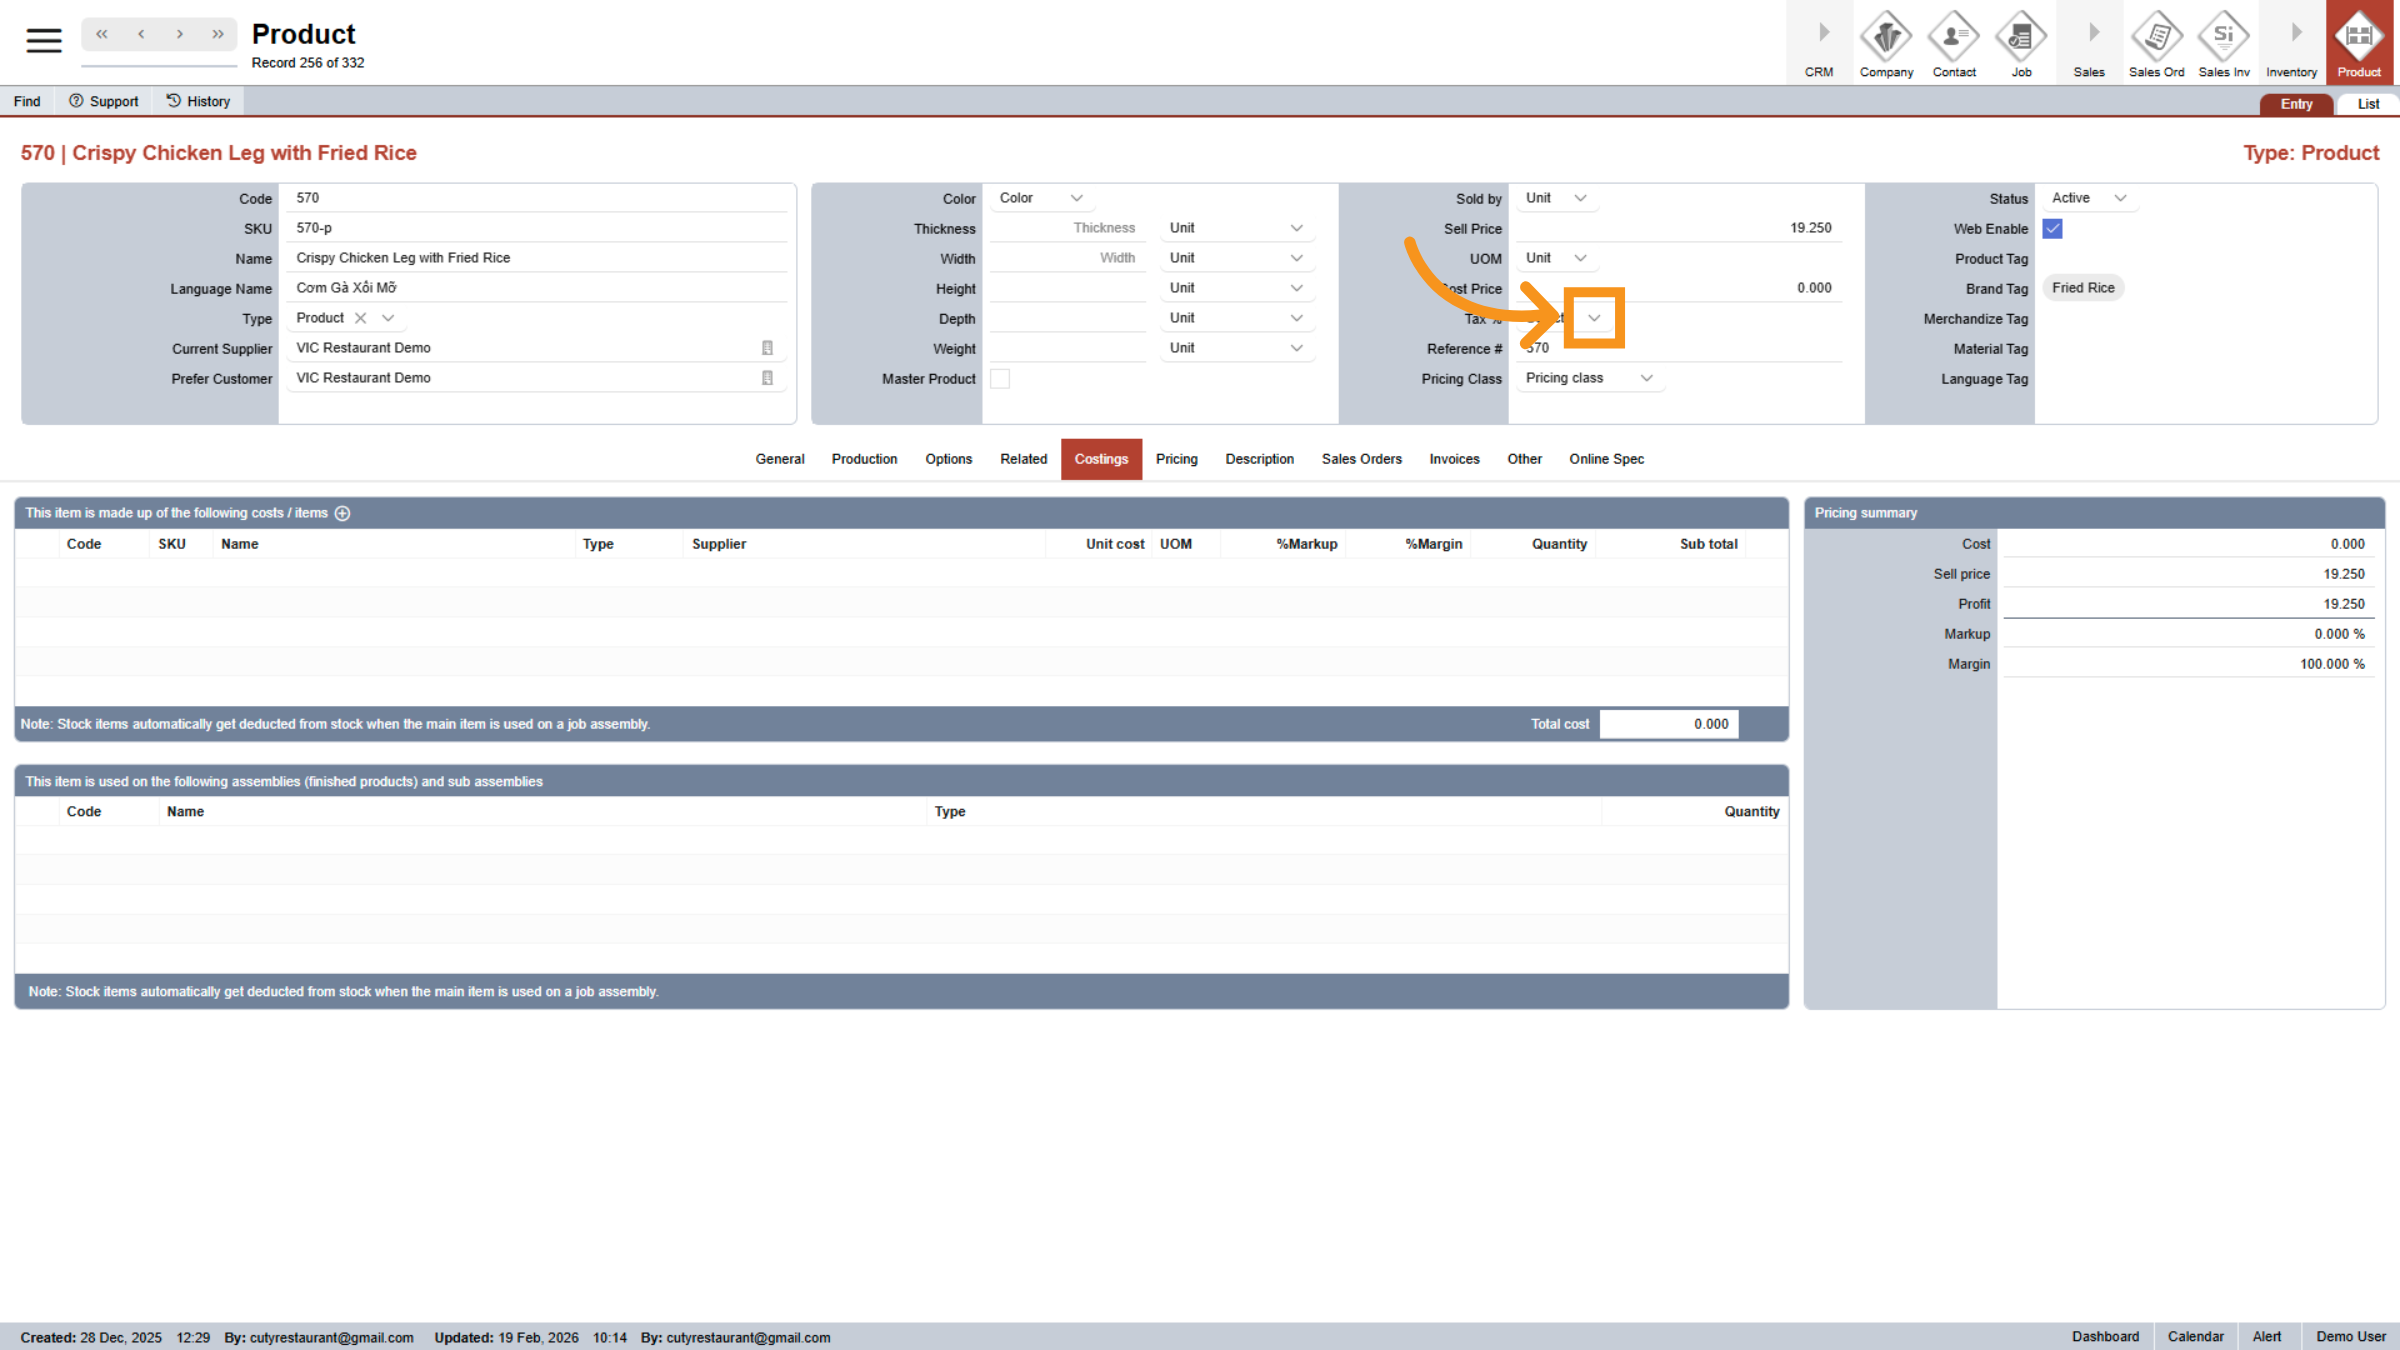
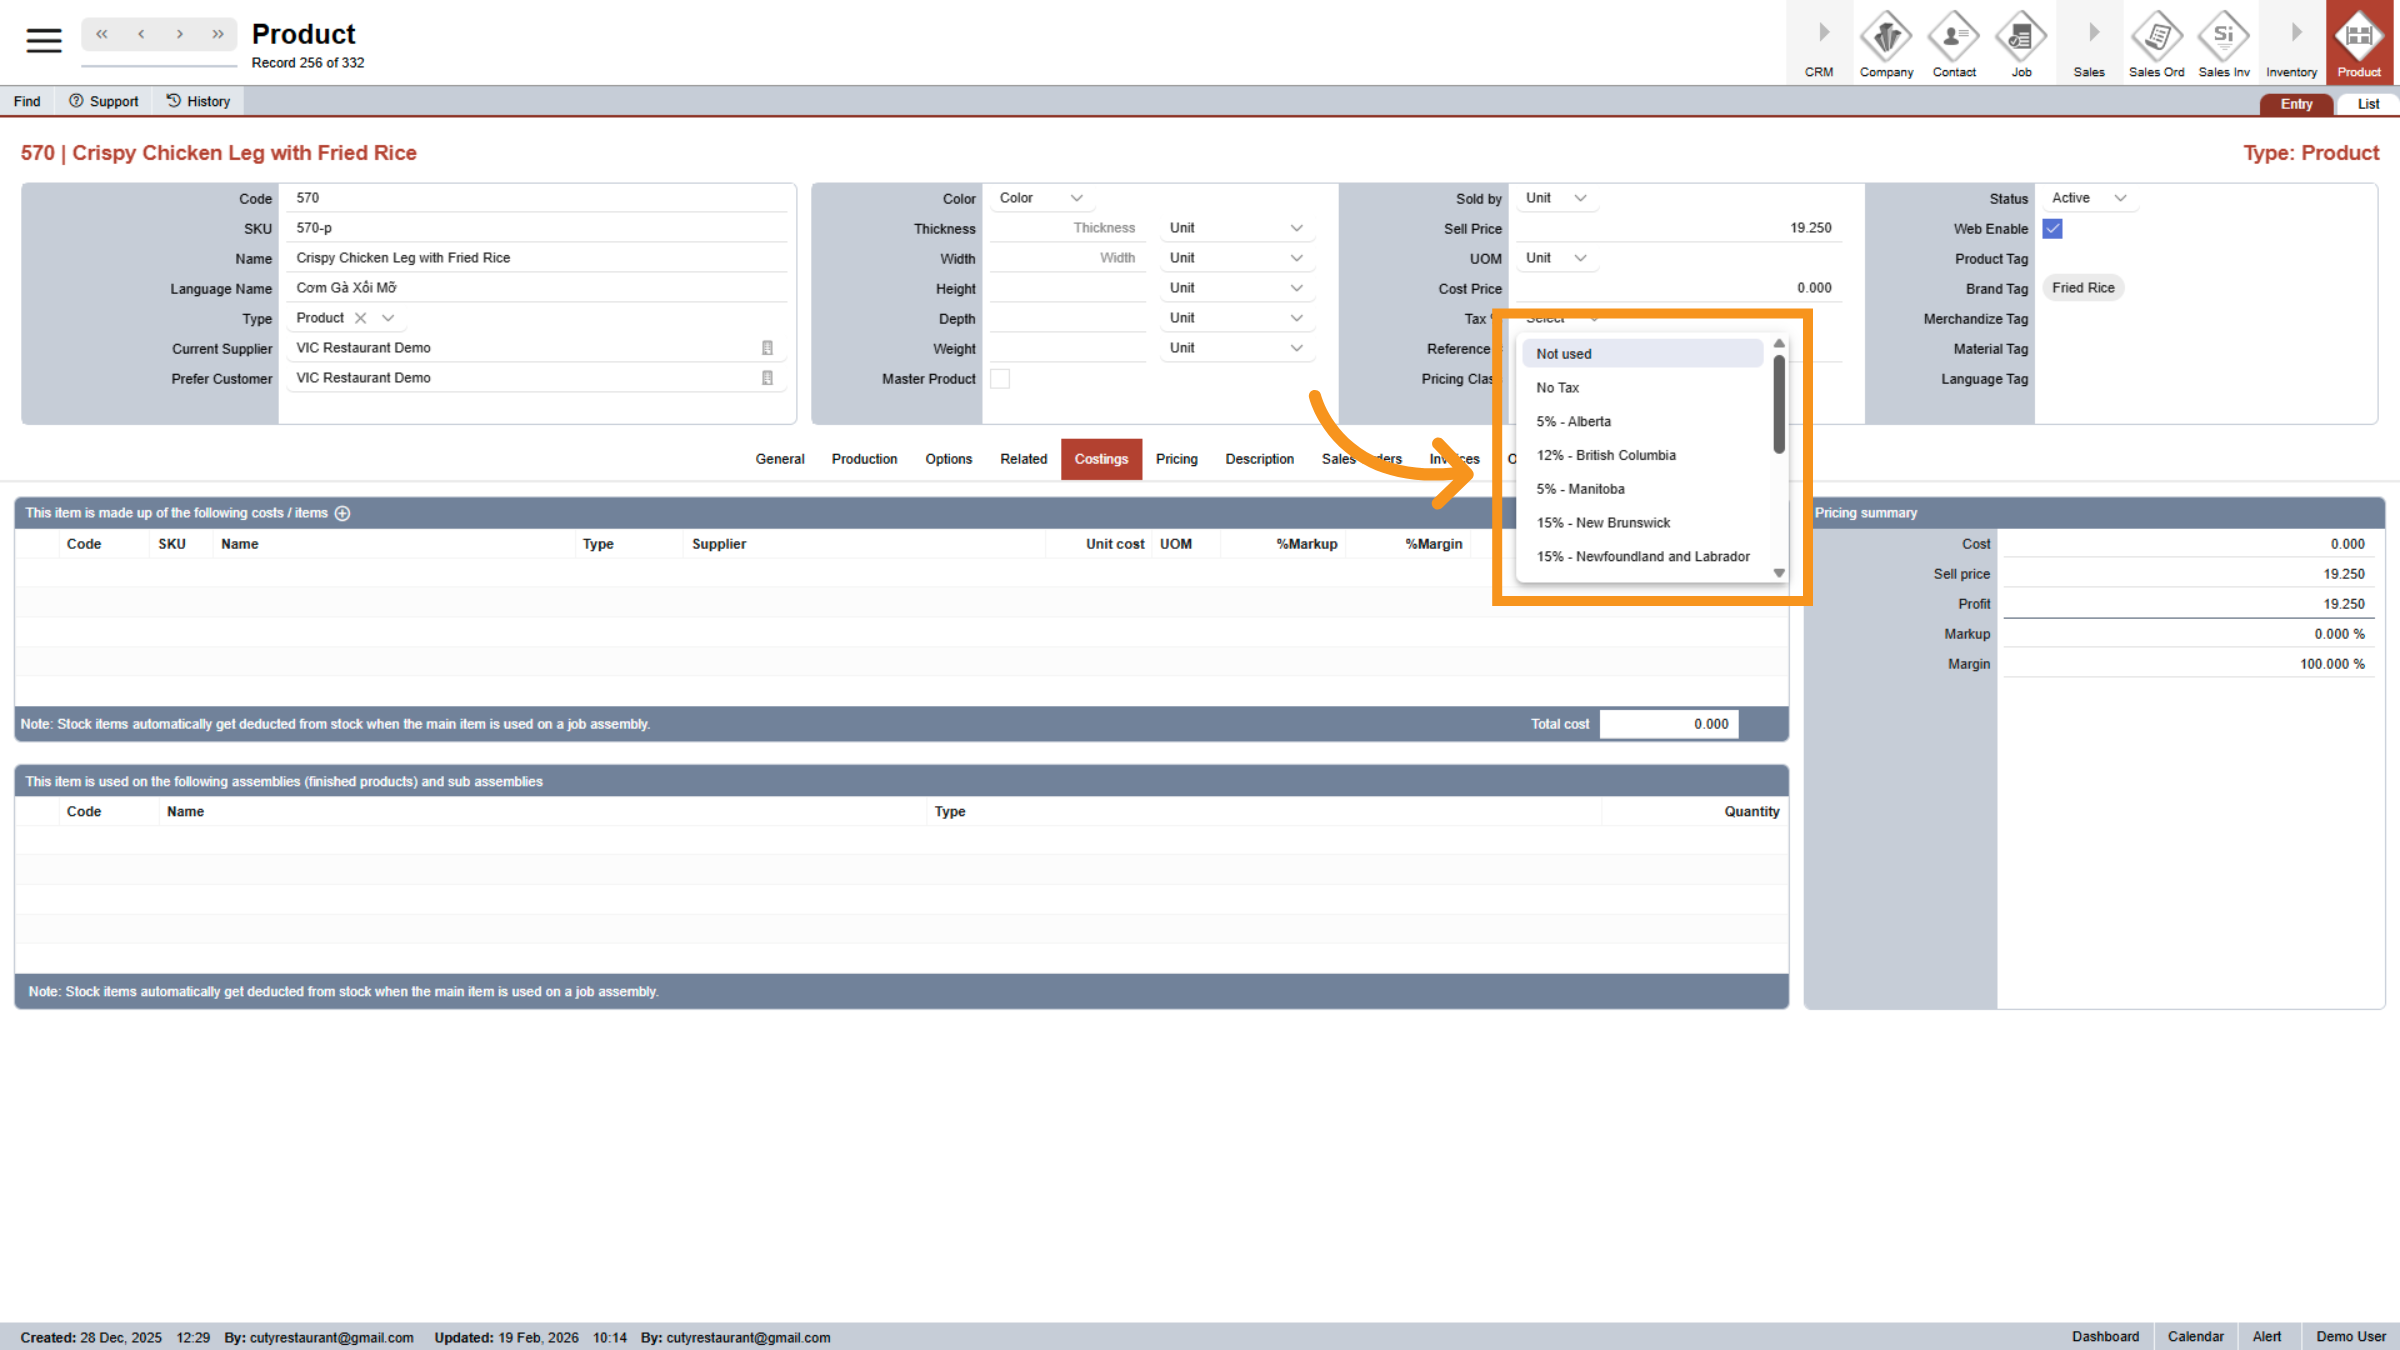
25. Choose Tax Rate
Select the appropriate tax rate from options such as No Tax,
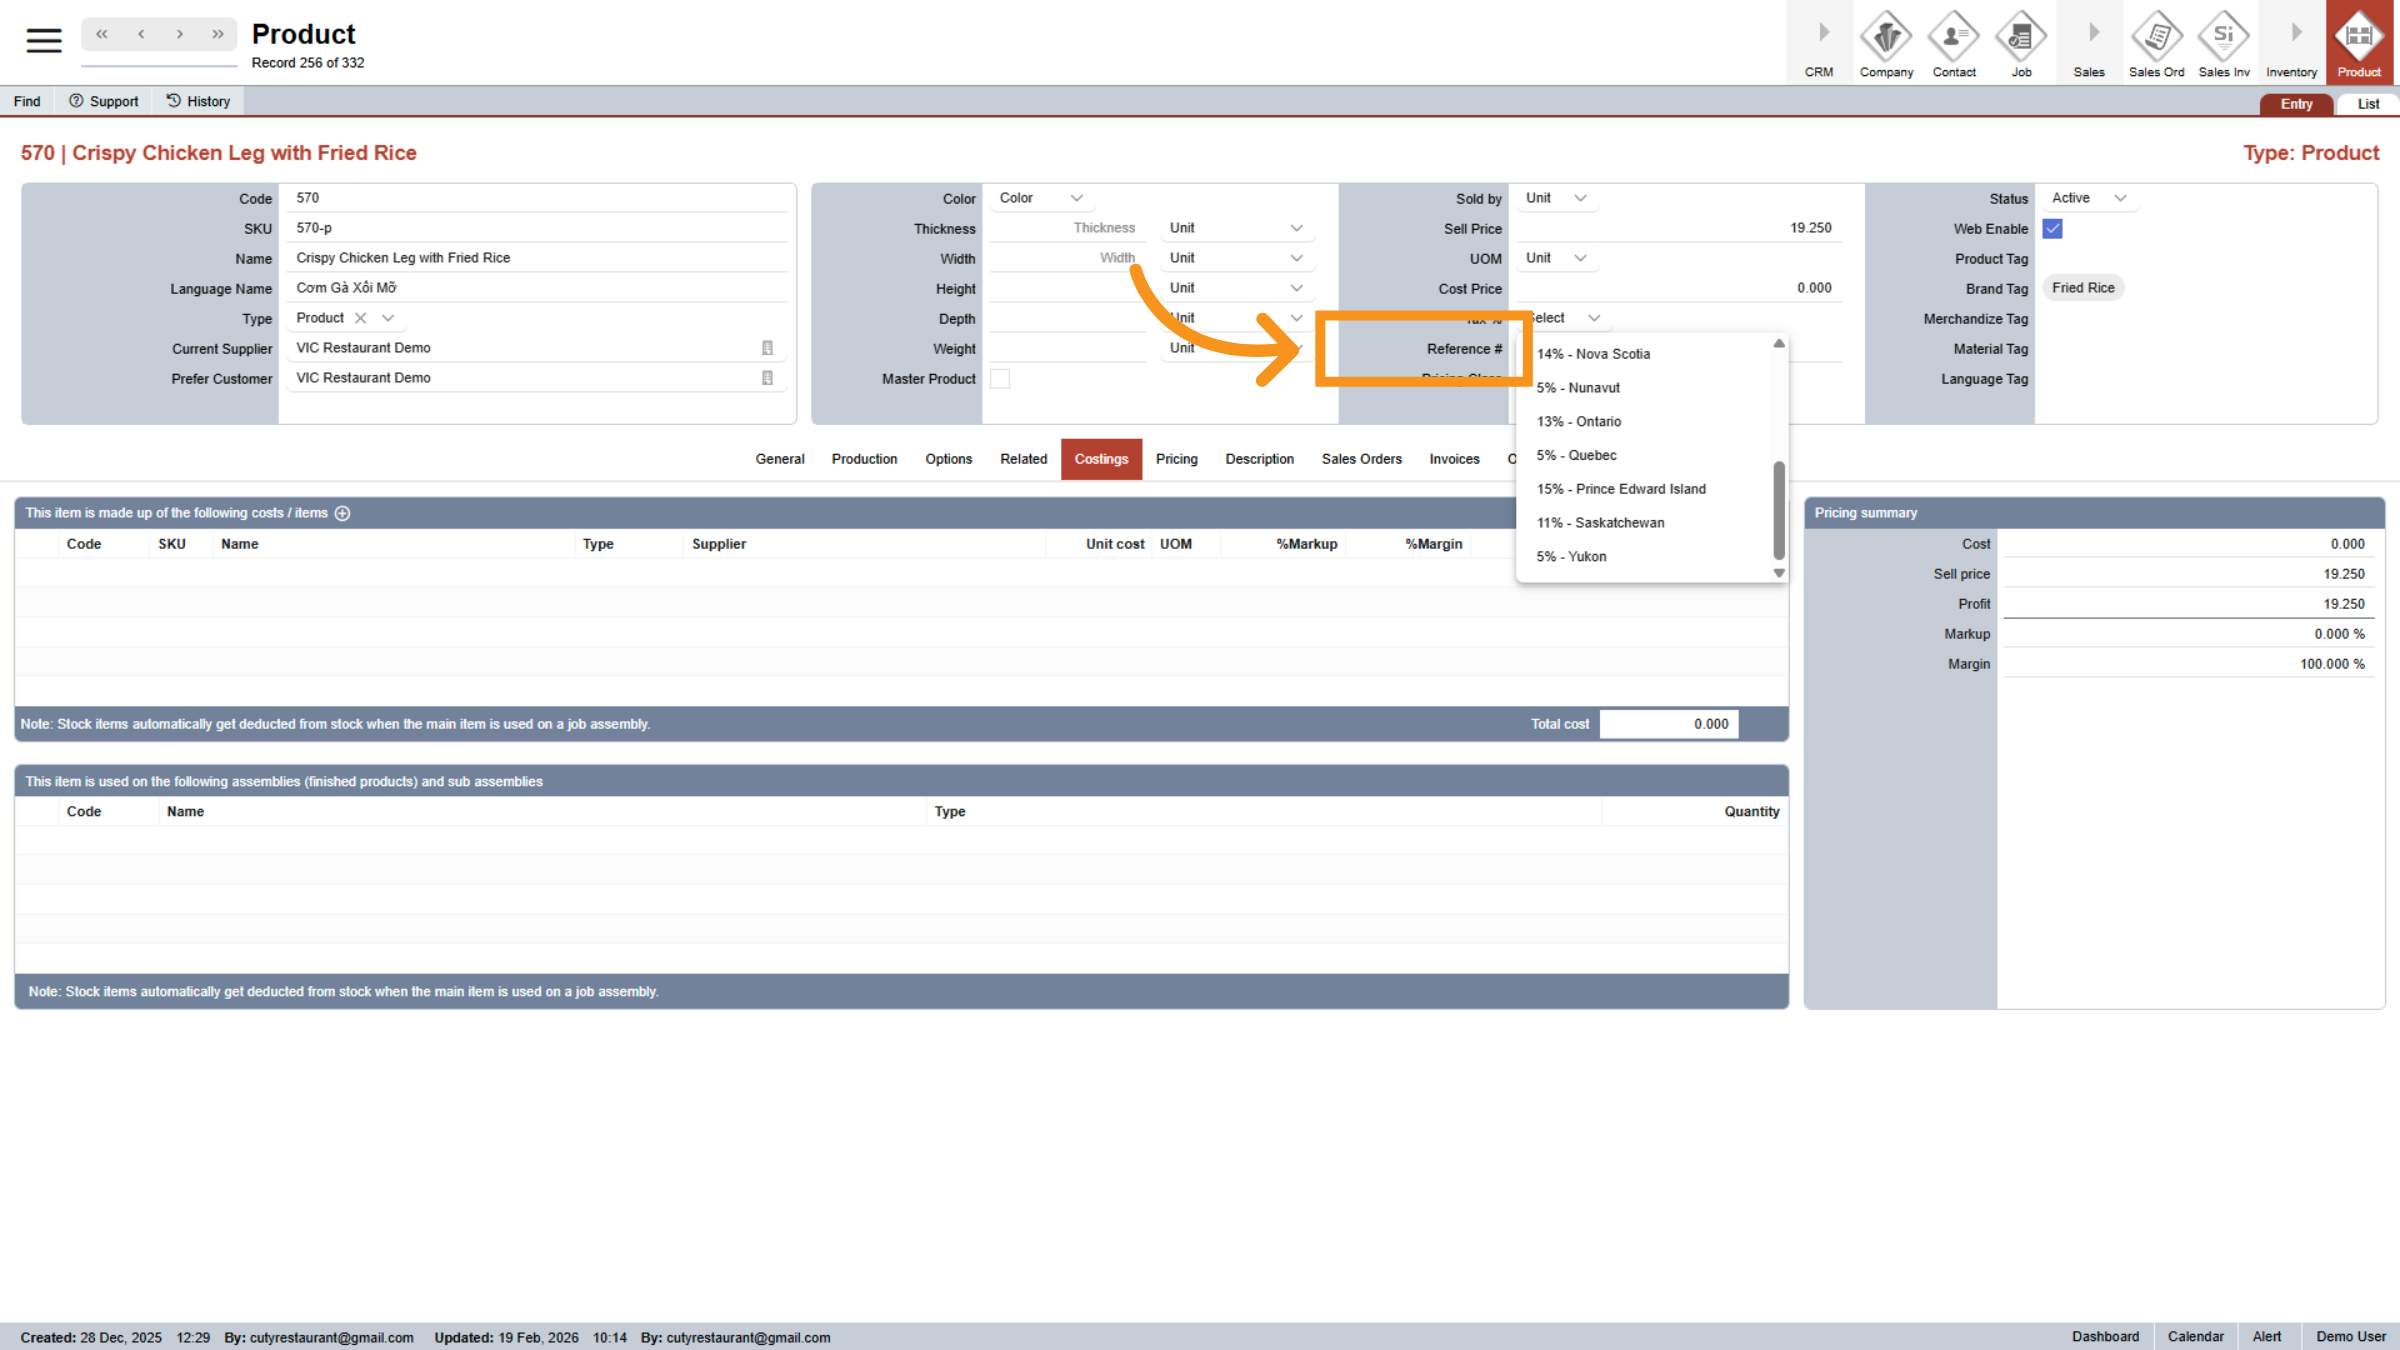
26. Select Reference Number
Click Reference # to assign or view the product's reference number.
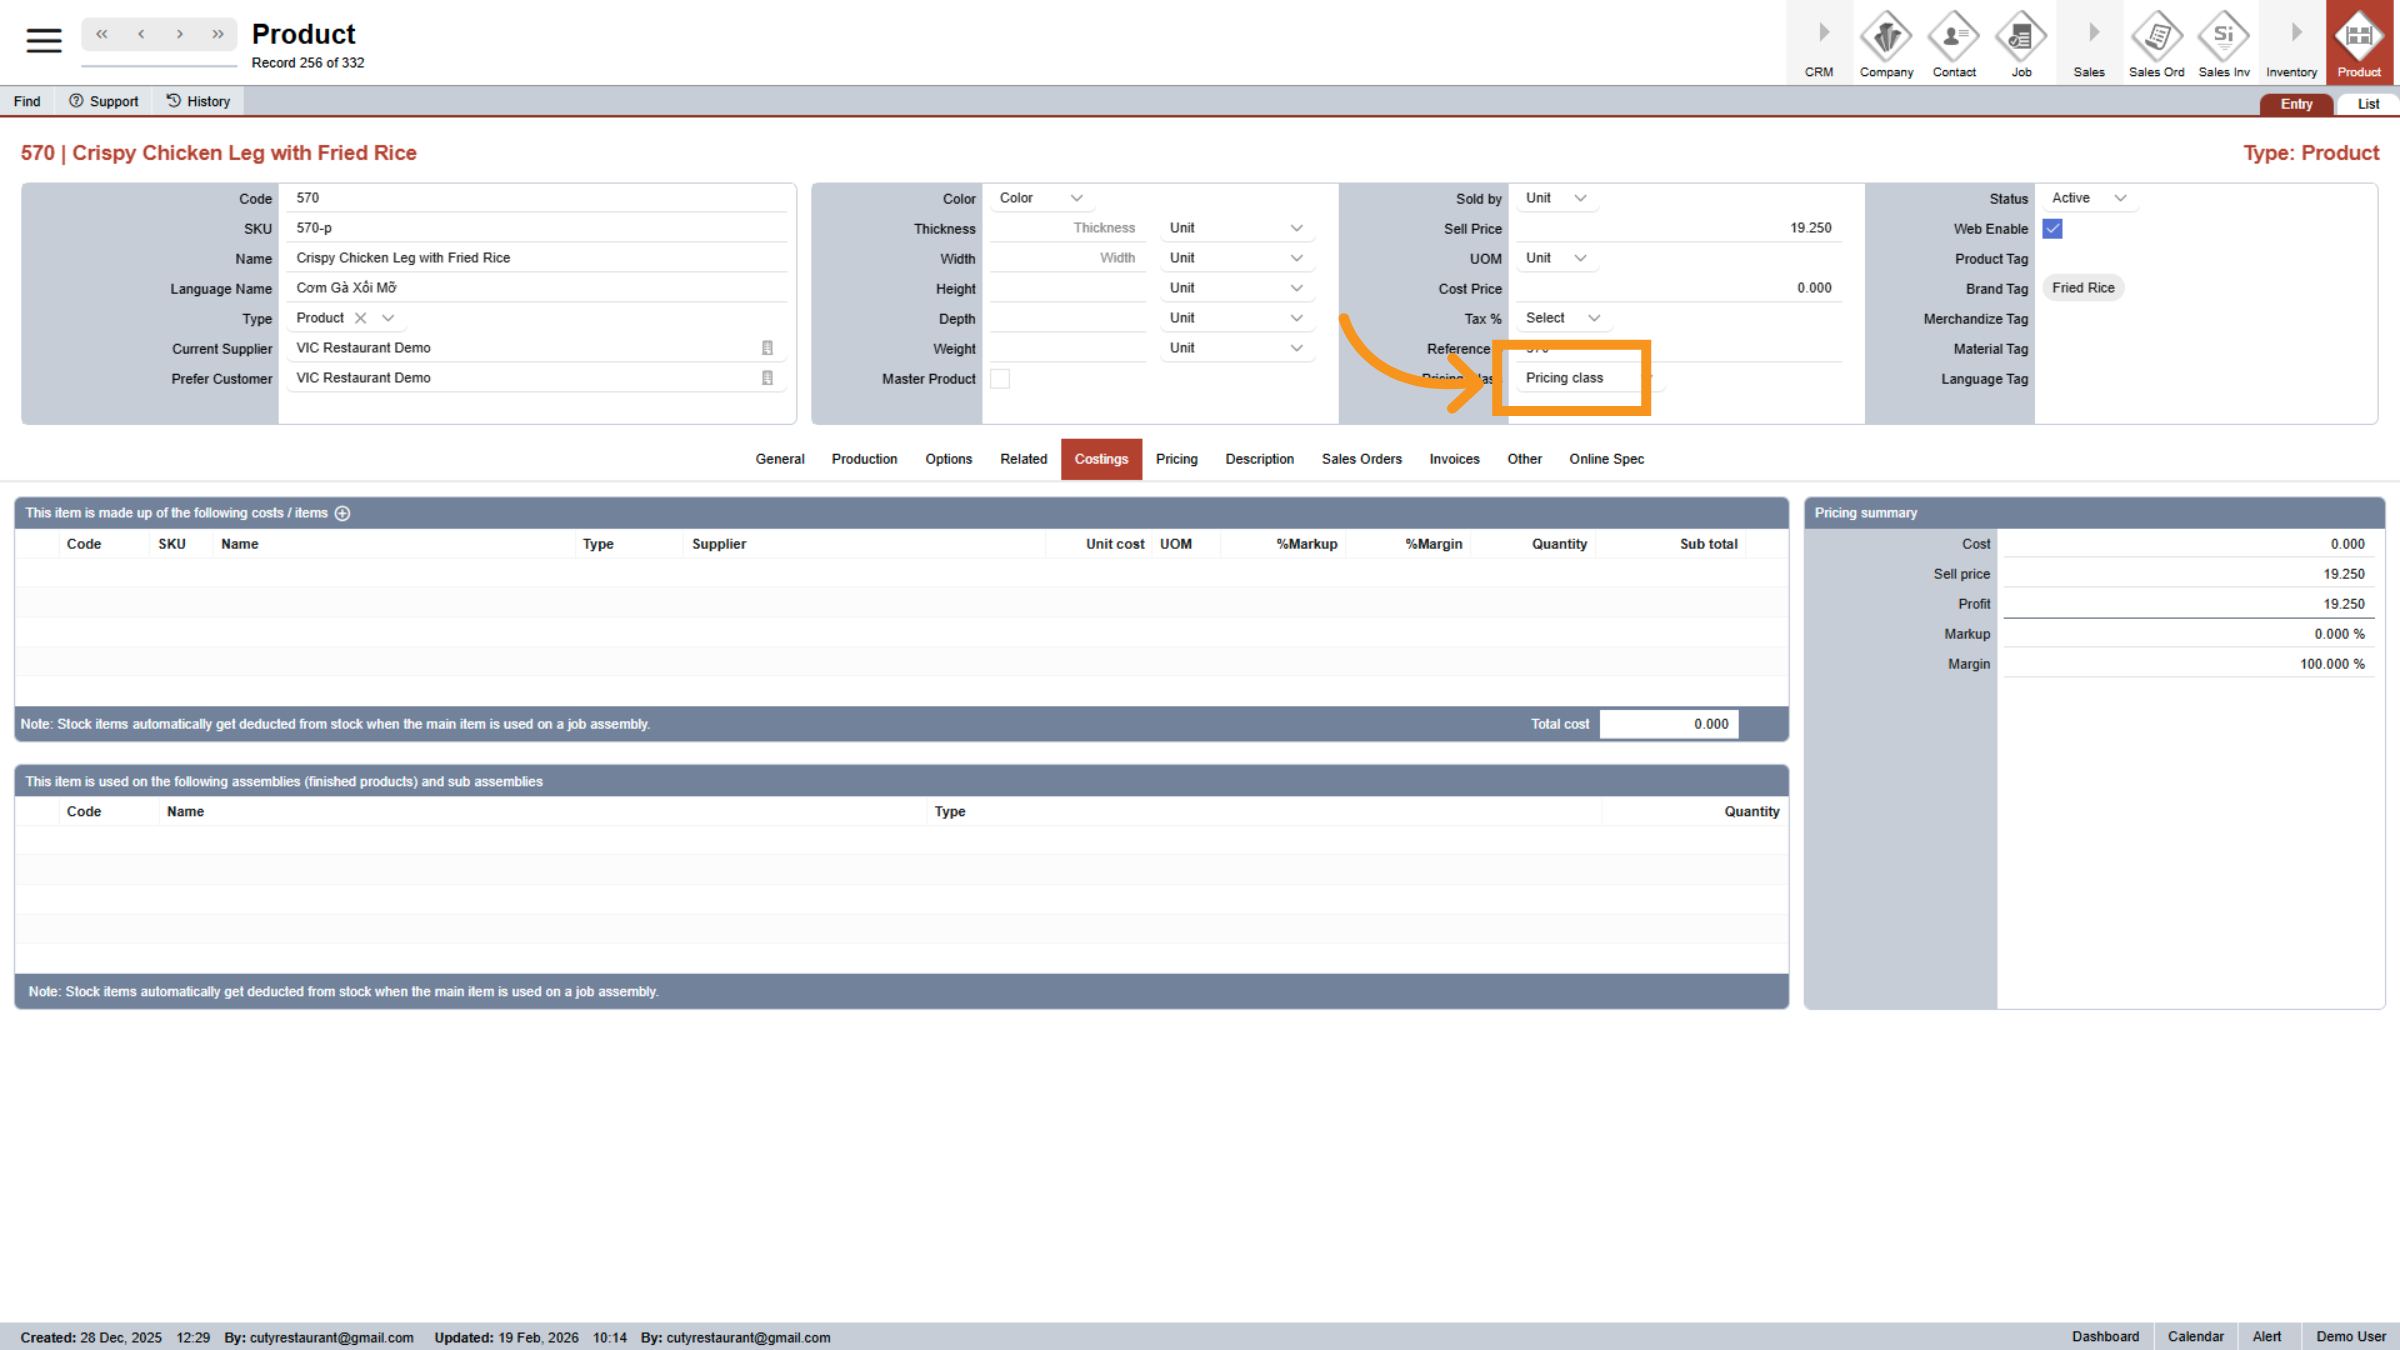
27. Choose Pricing Class
Click Pricing class to categorize the product for pricing purposes.
28. TAGS
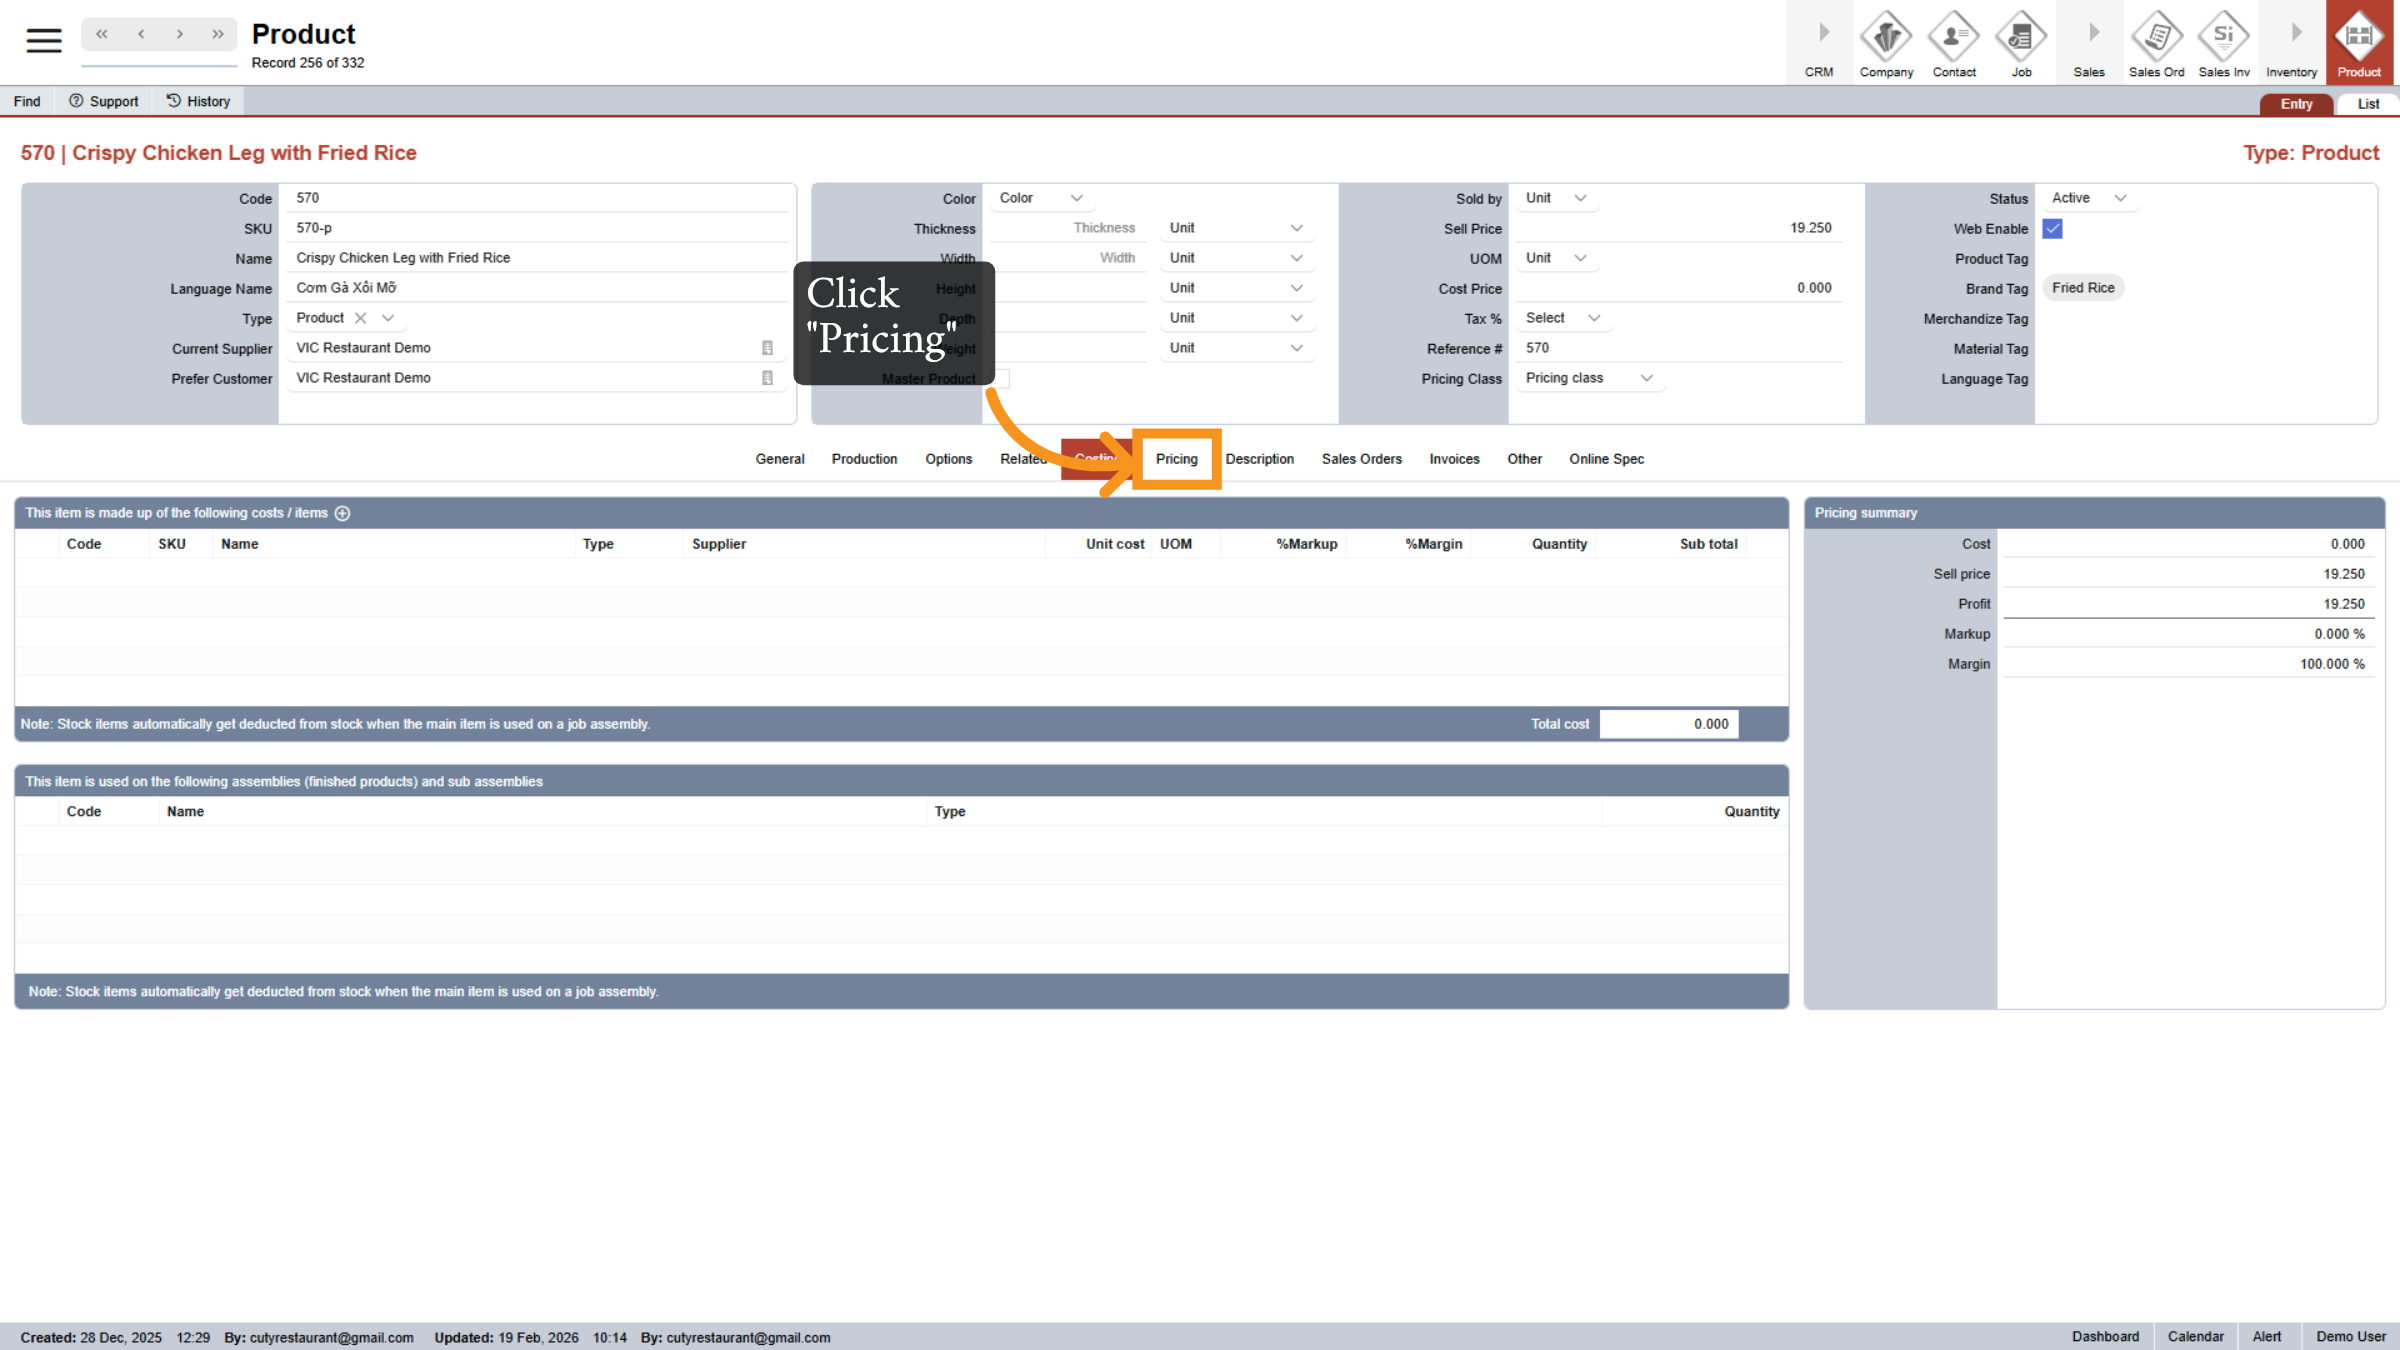
29. Open Pricing Tab
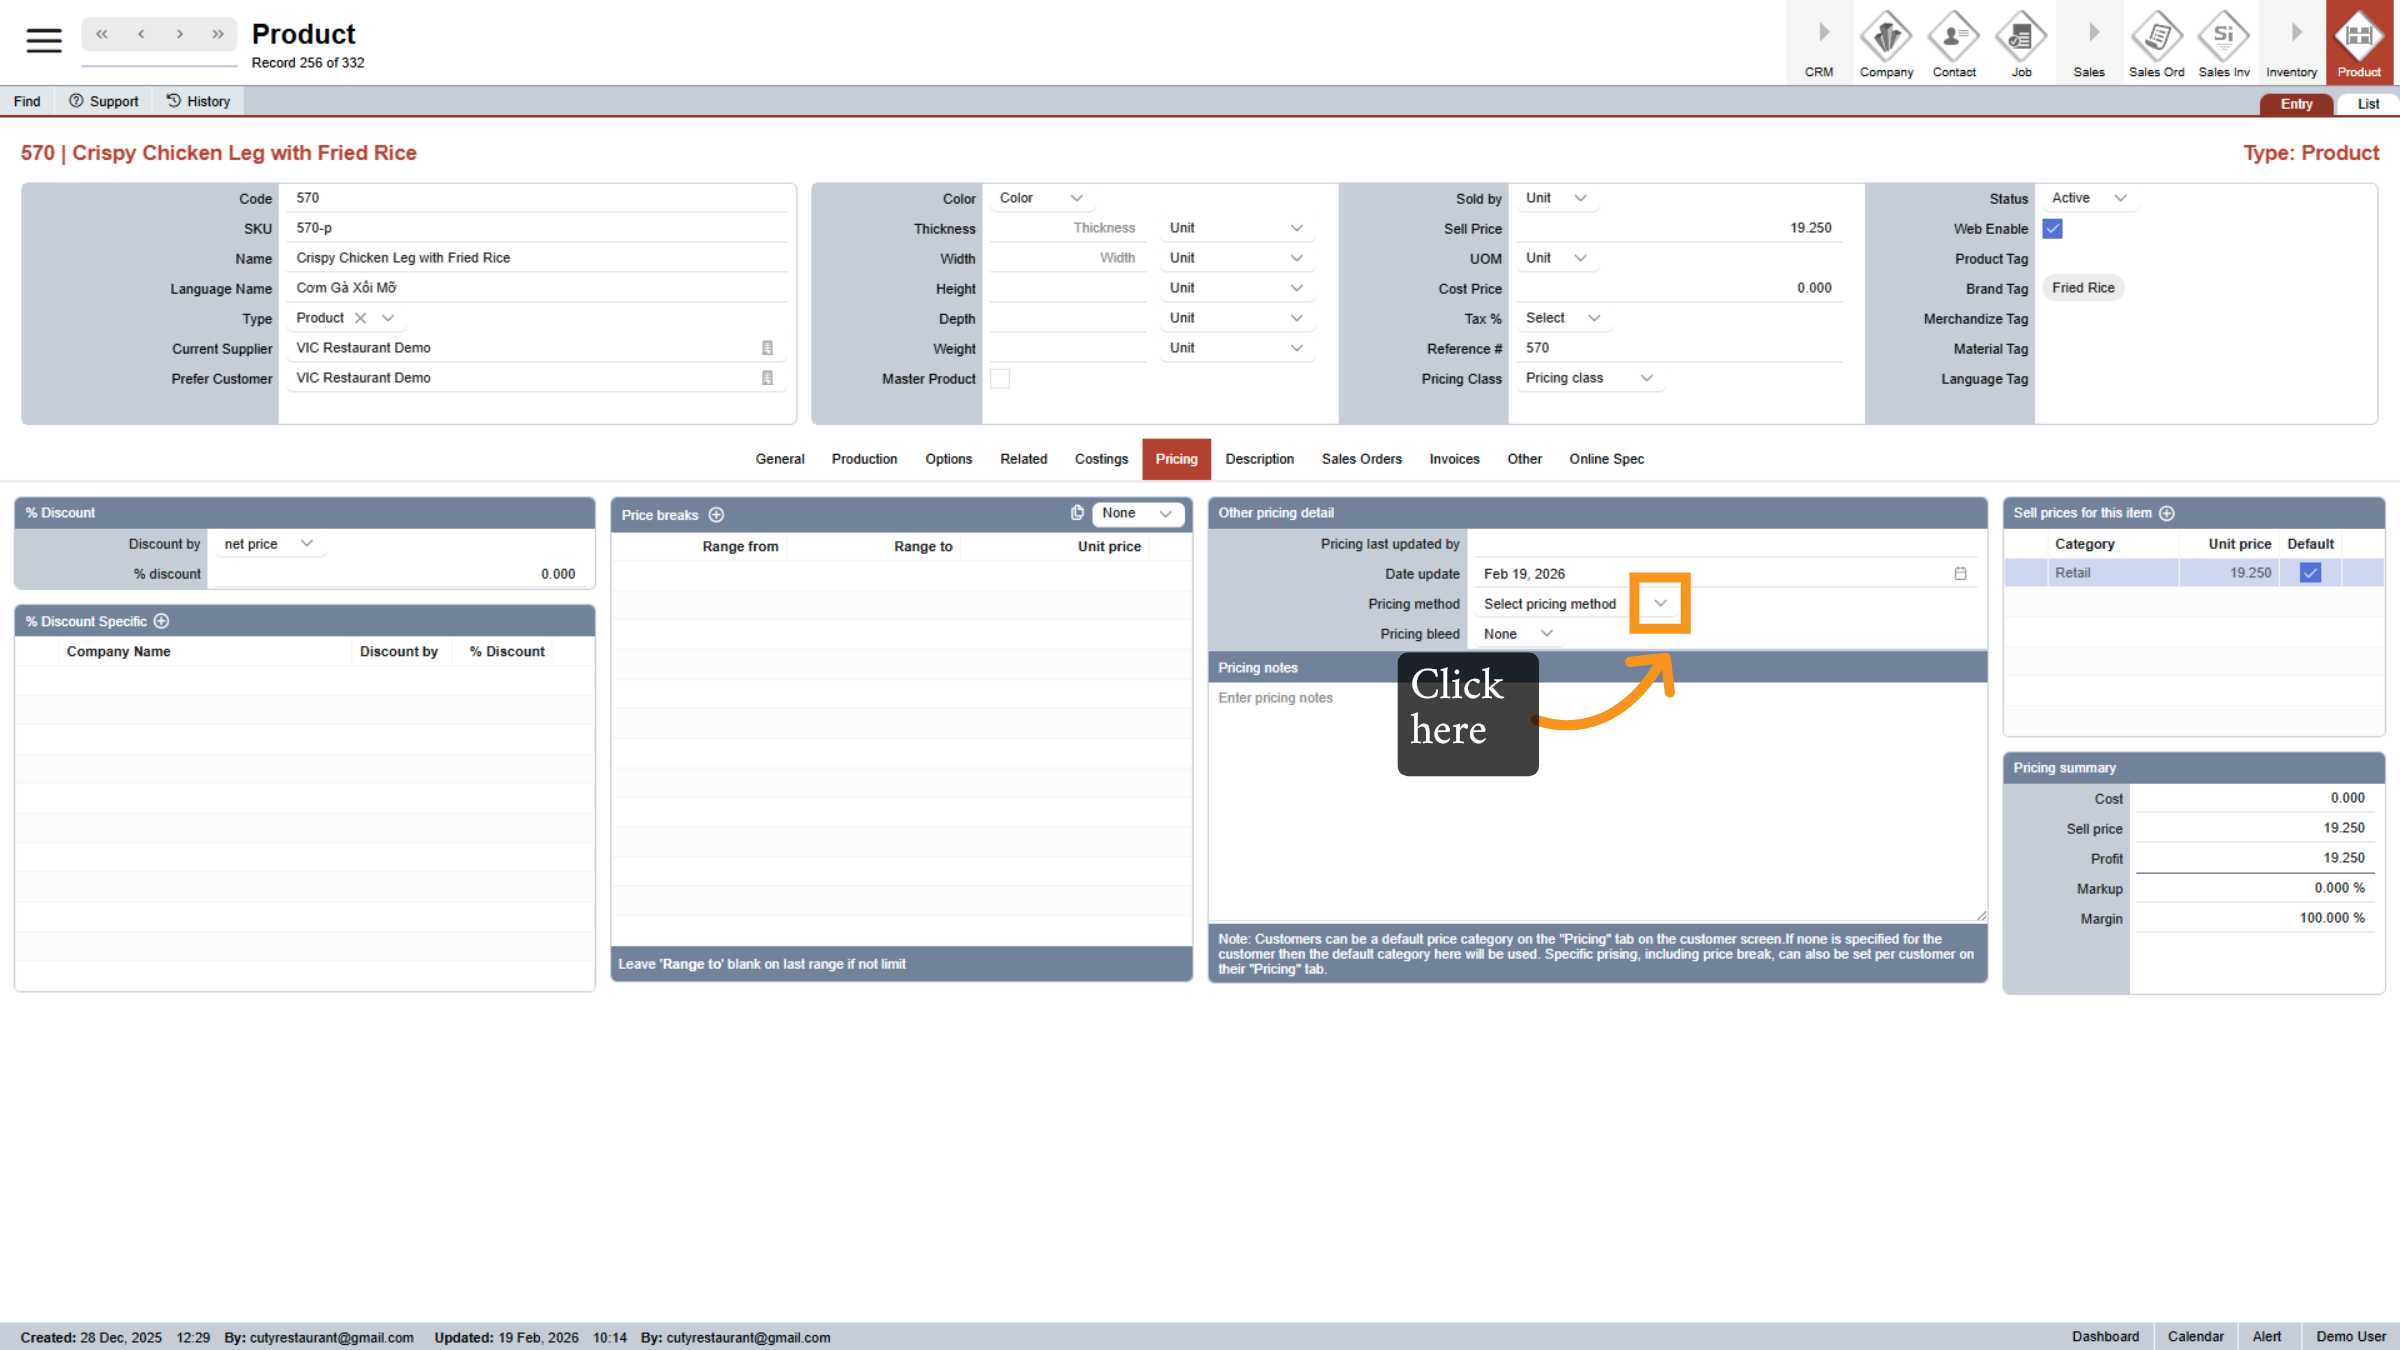
Click on Pricing to manage pricing details and set up discounts.
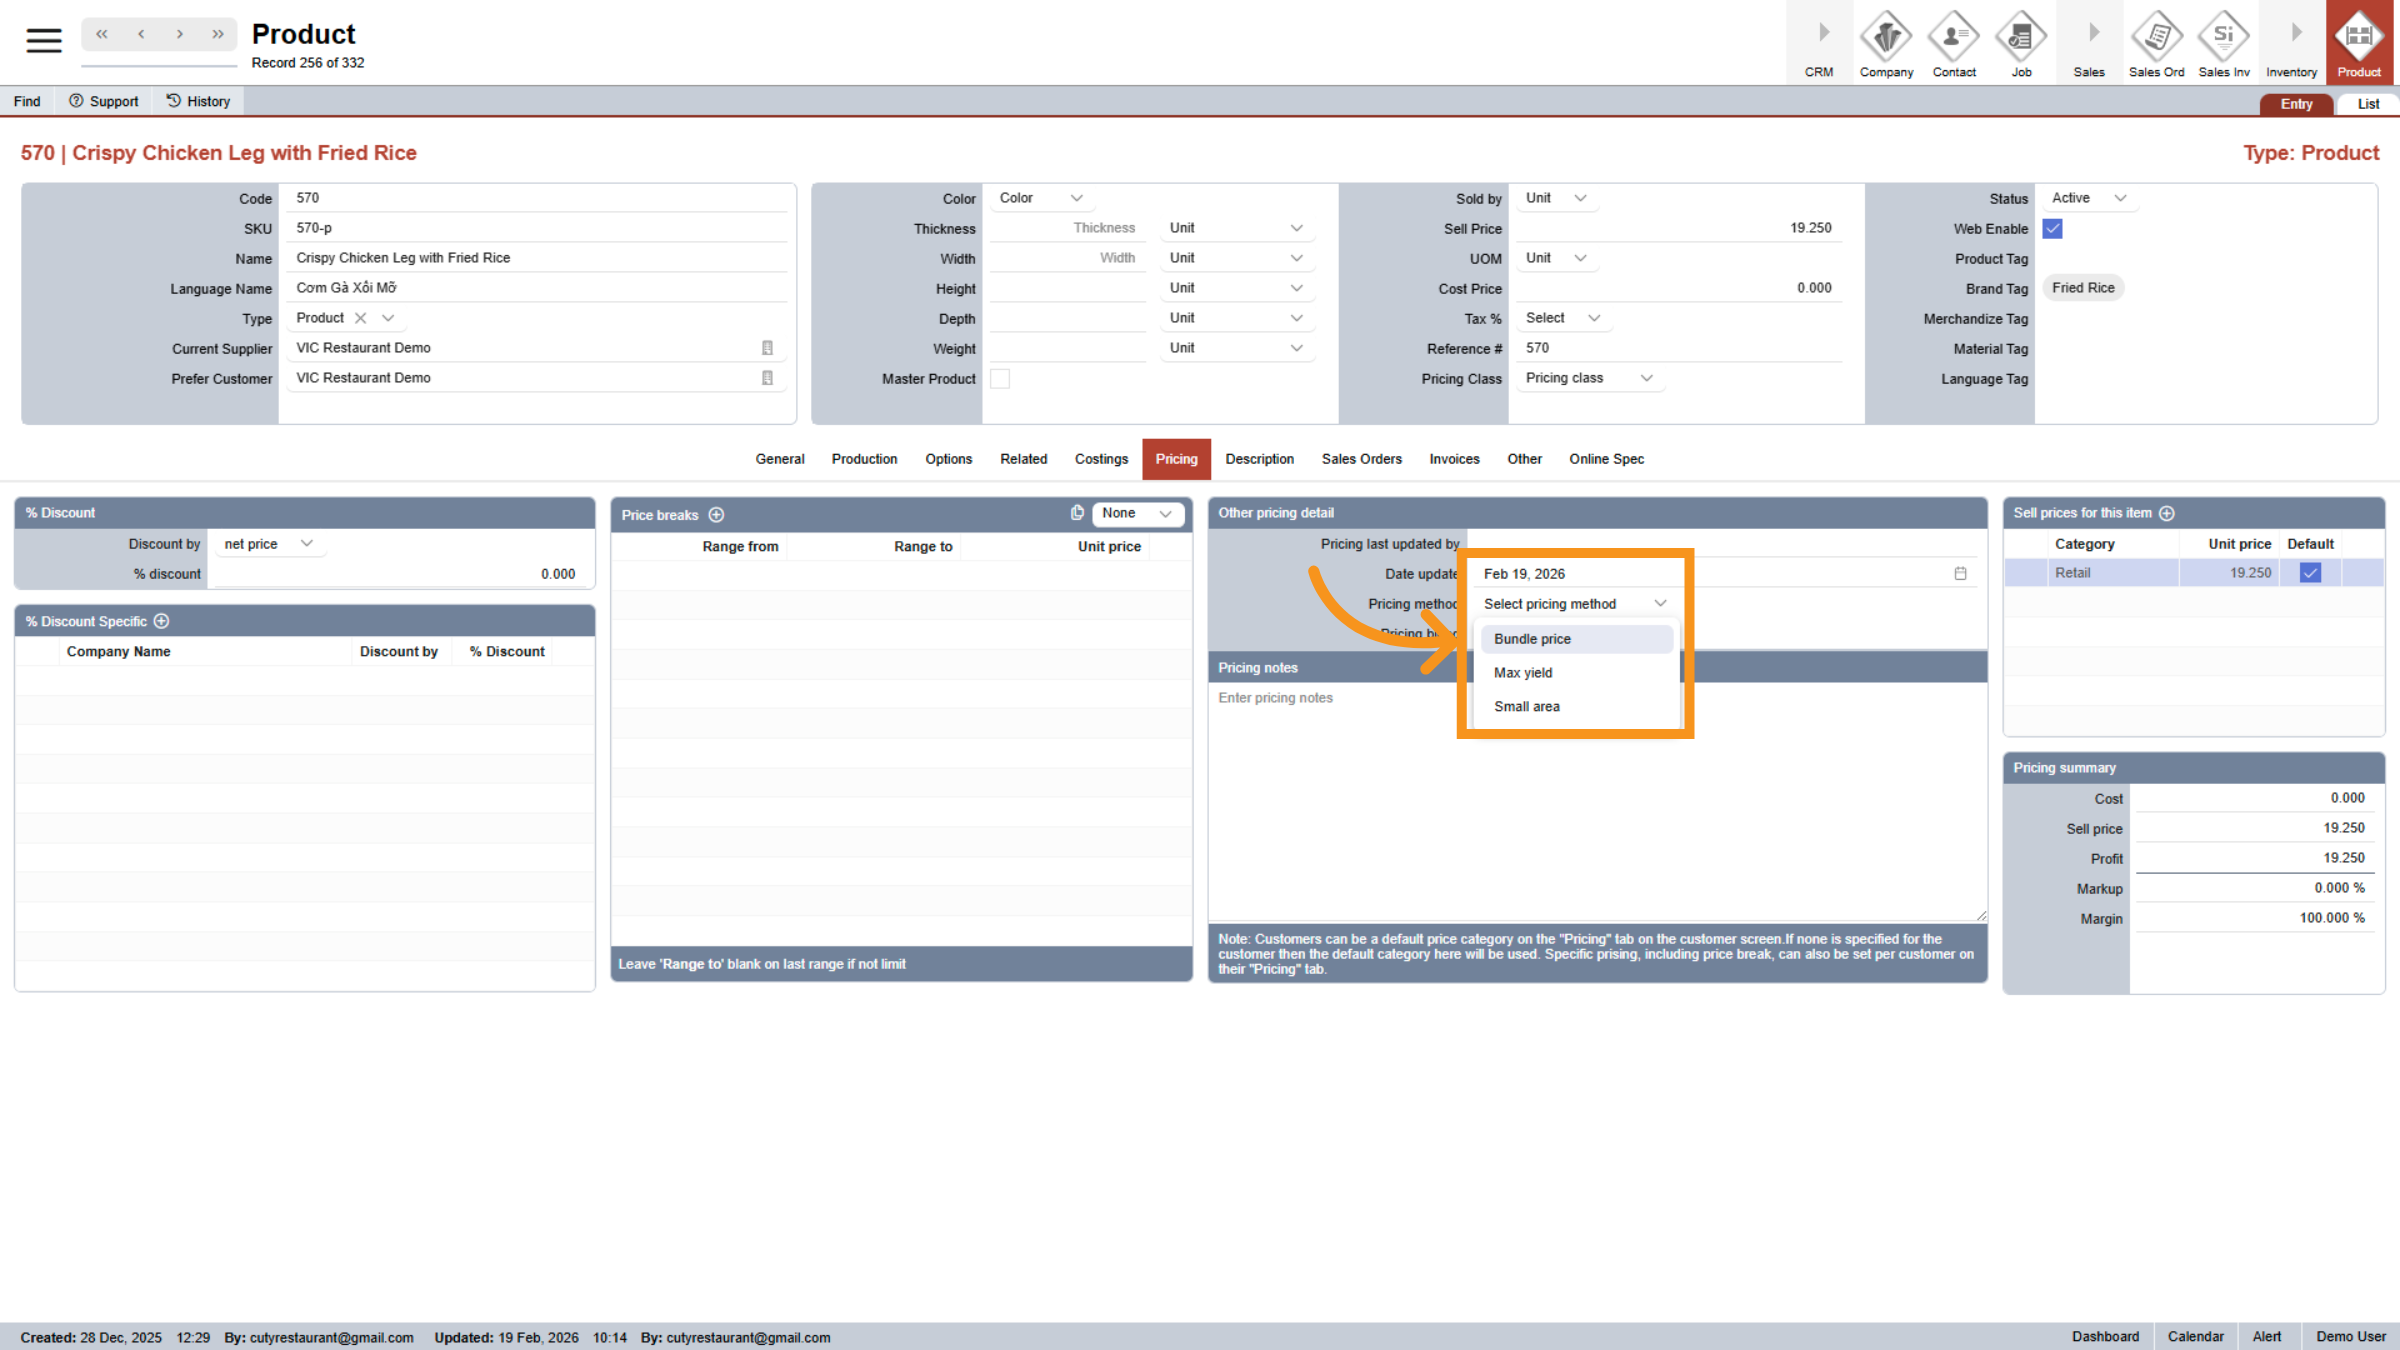
30. Access Pricing Settings
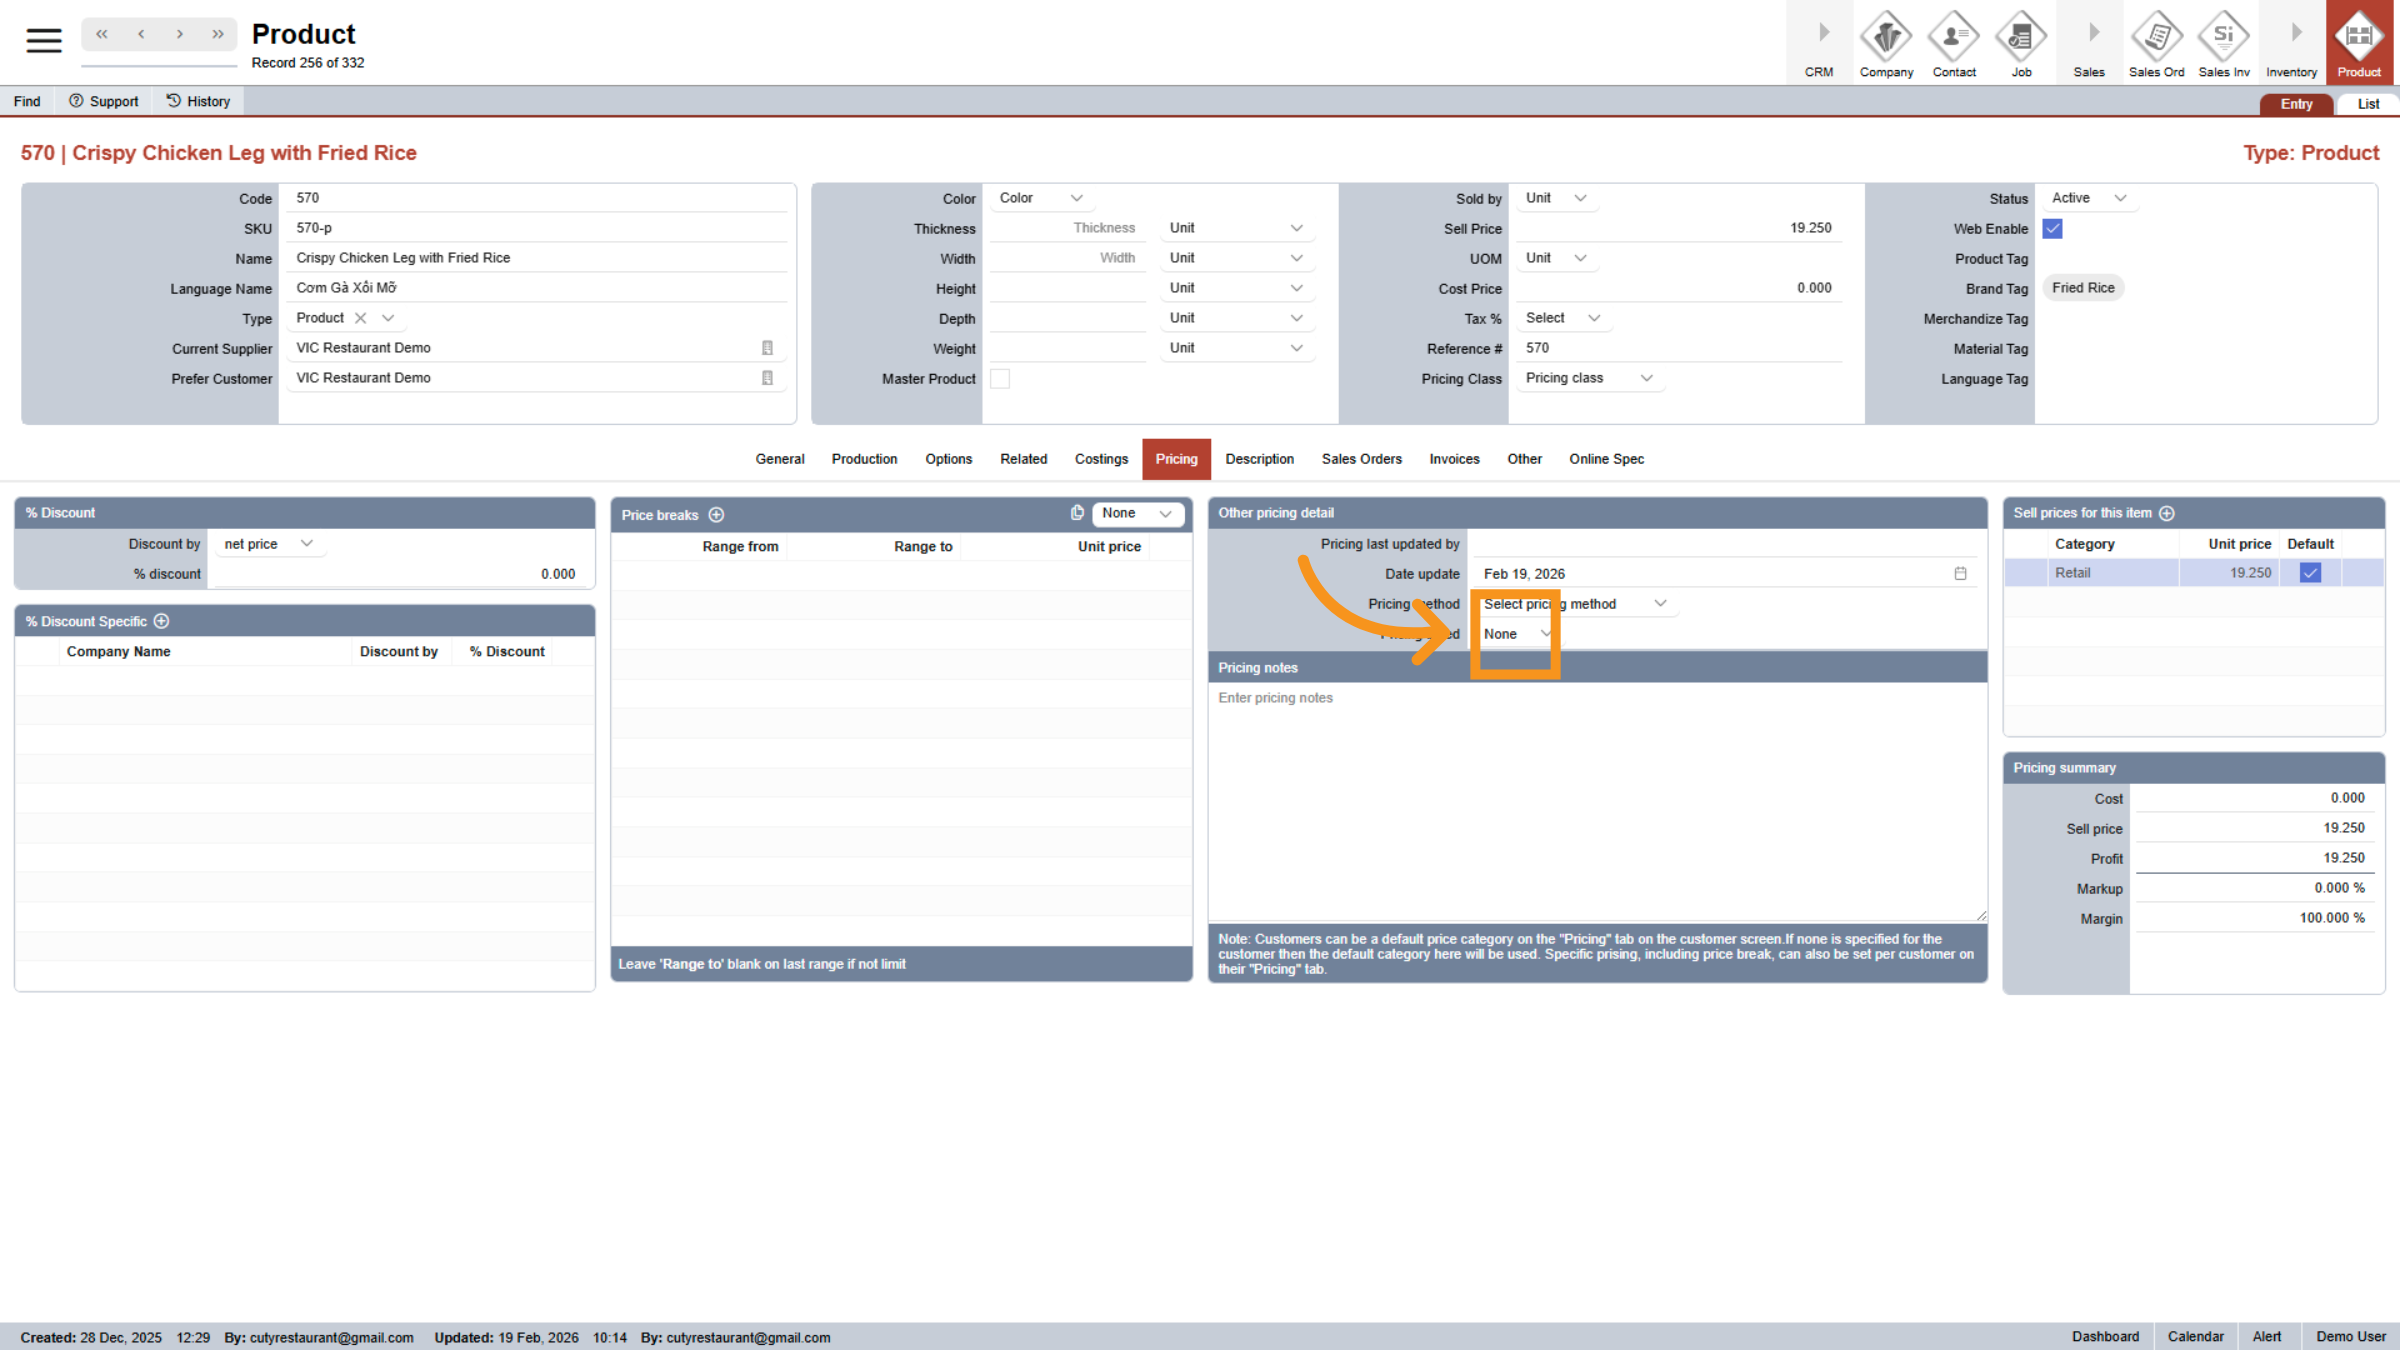
Click the specified area to adjust pricing configurations.
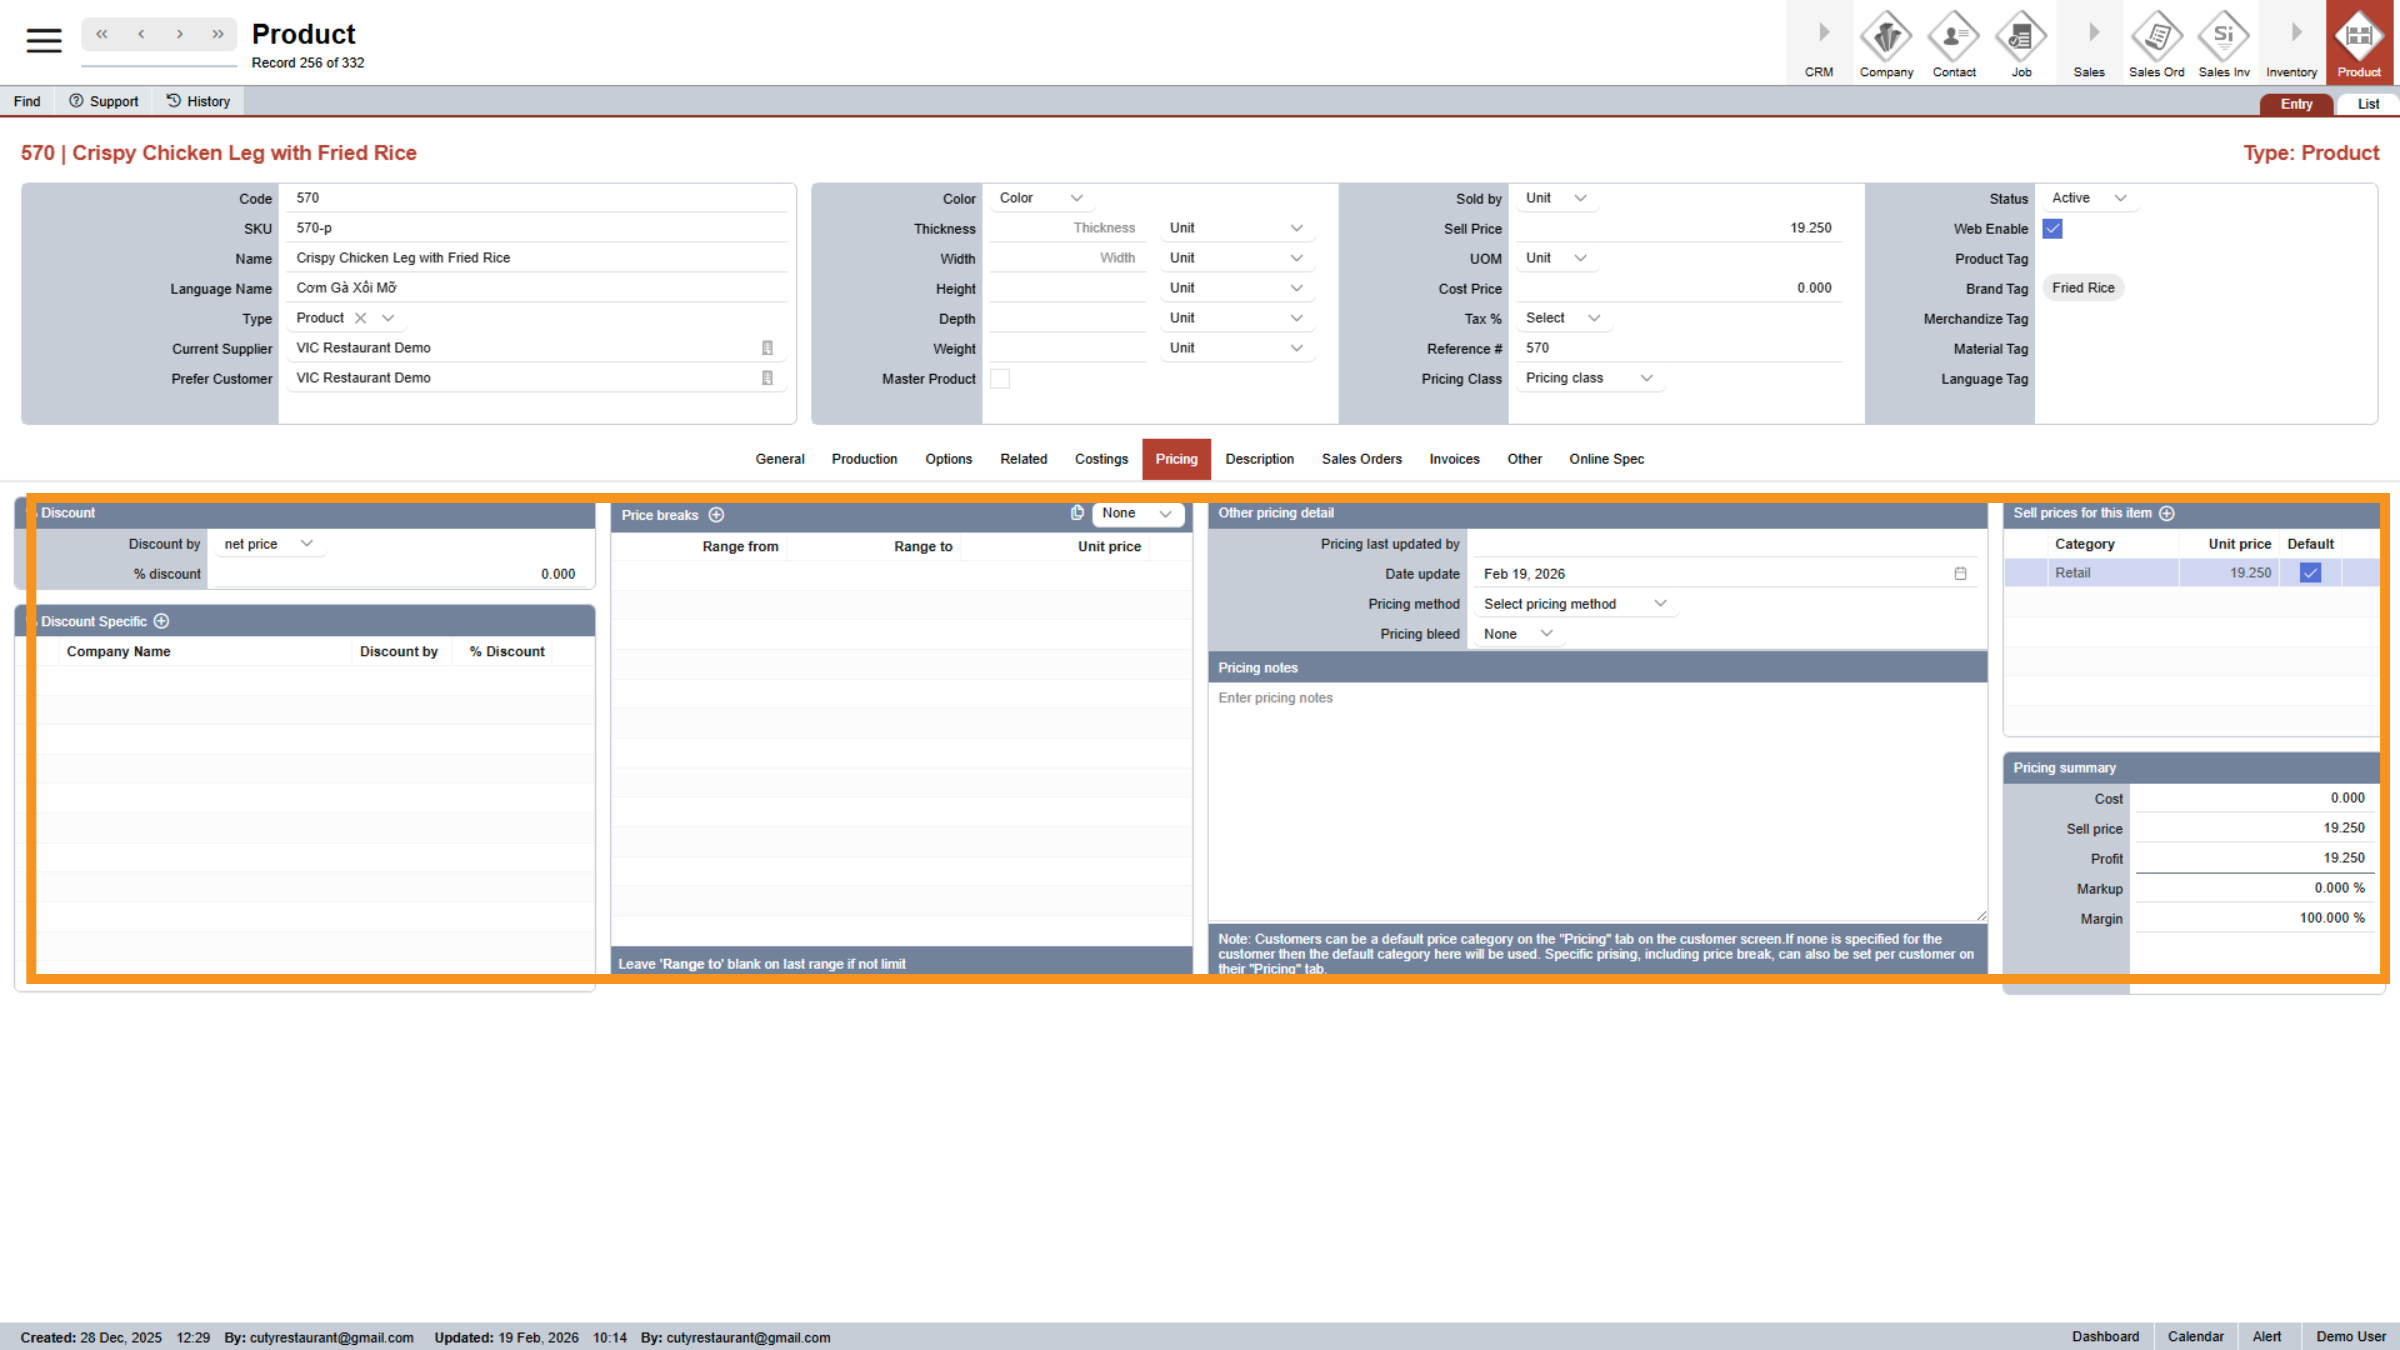
31. Open Discount Settings
Click the indicated area to modify discount parameters.
32. Choose Discount Type
Click None to select no discount or choose a discount type.
33. Access Discount Options
Click the specified area to view discount options
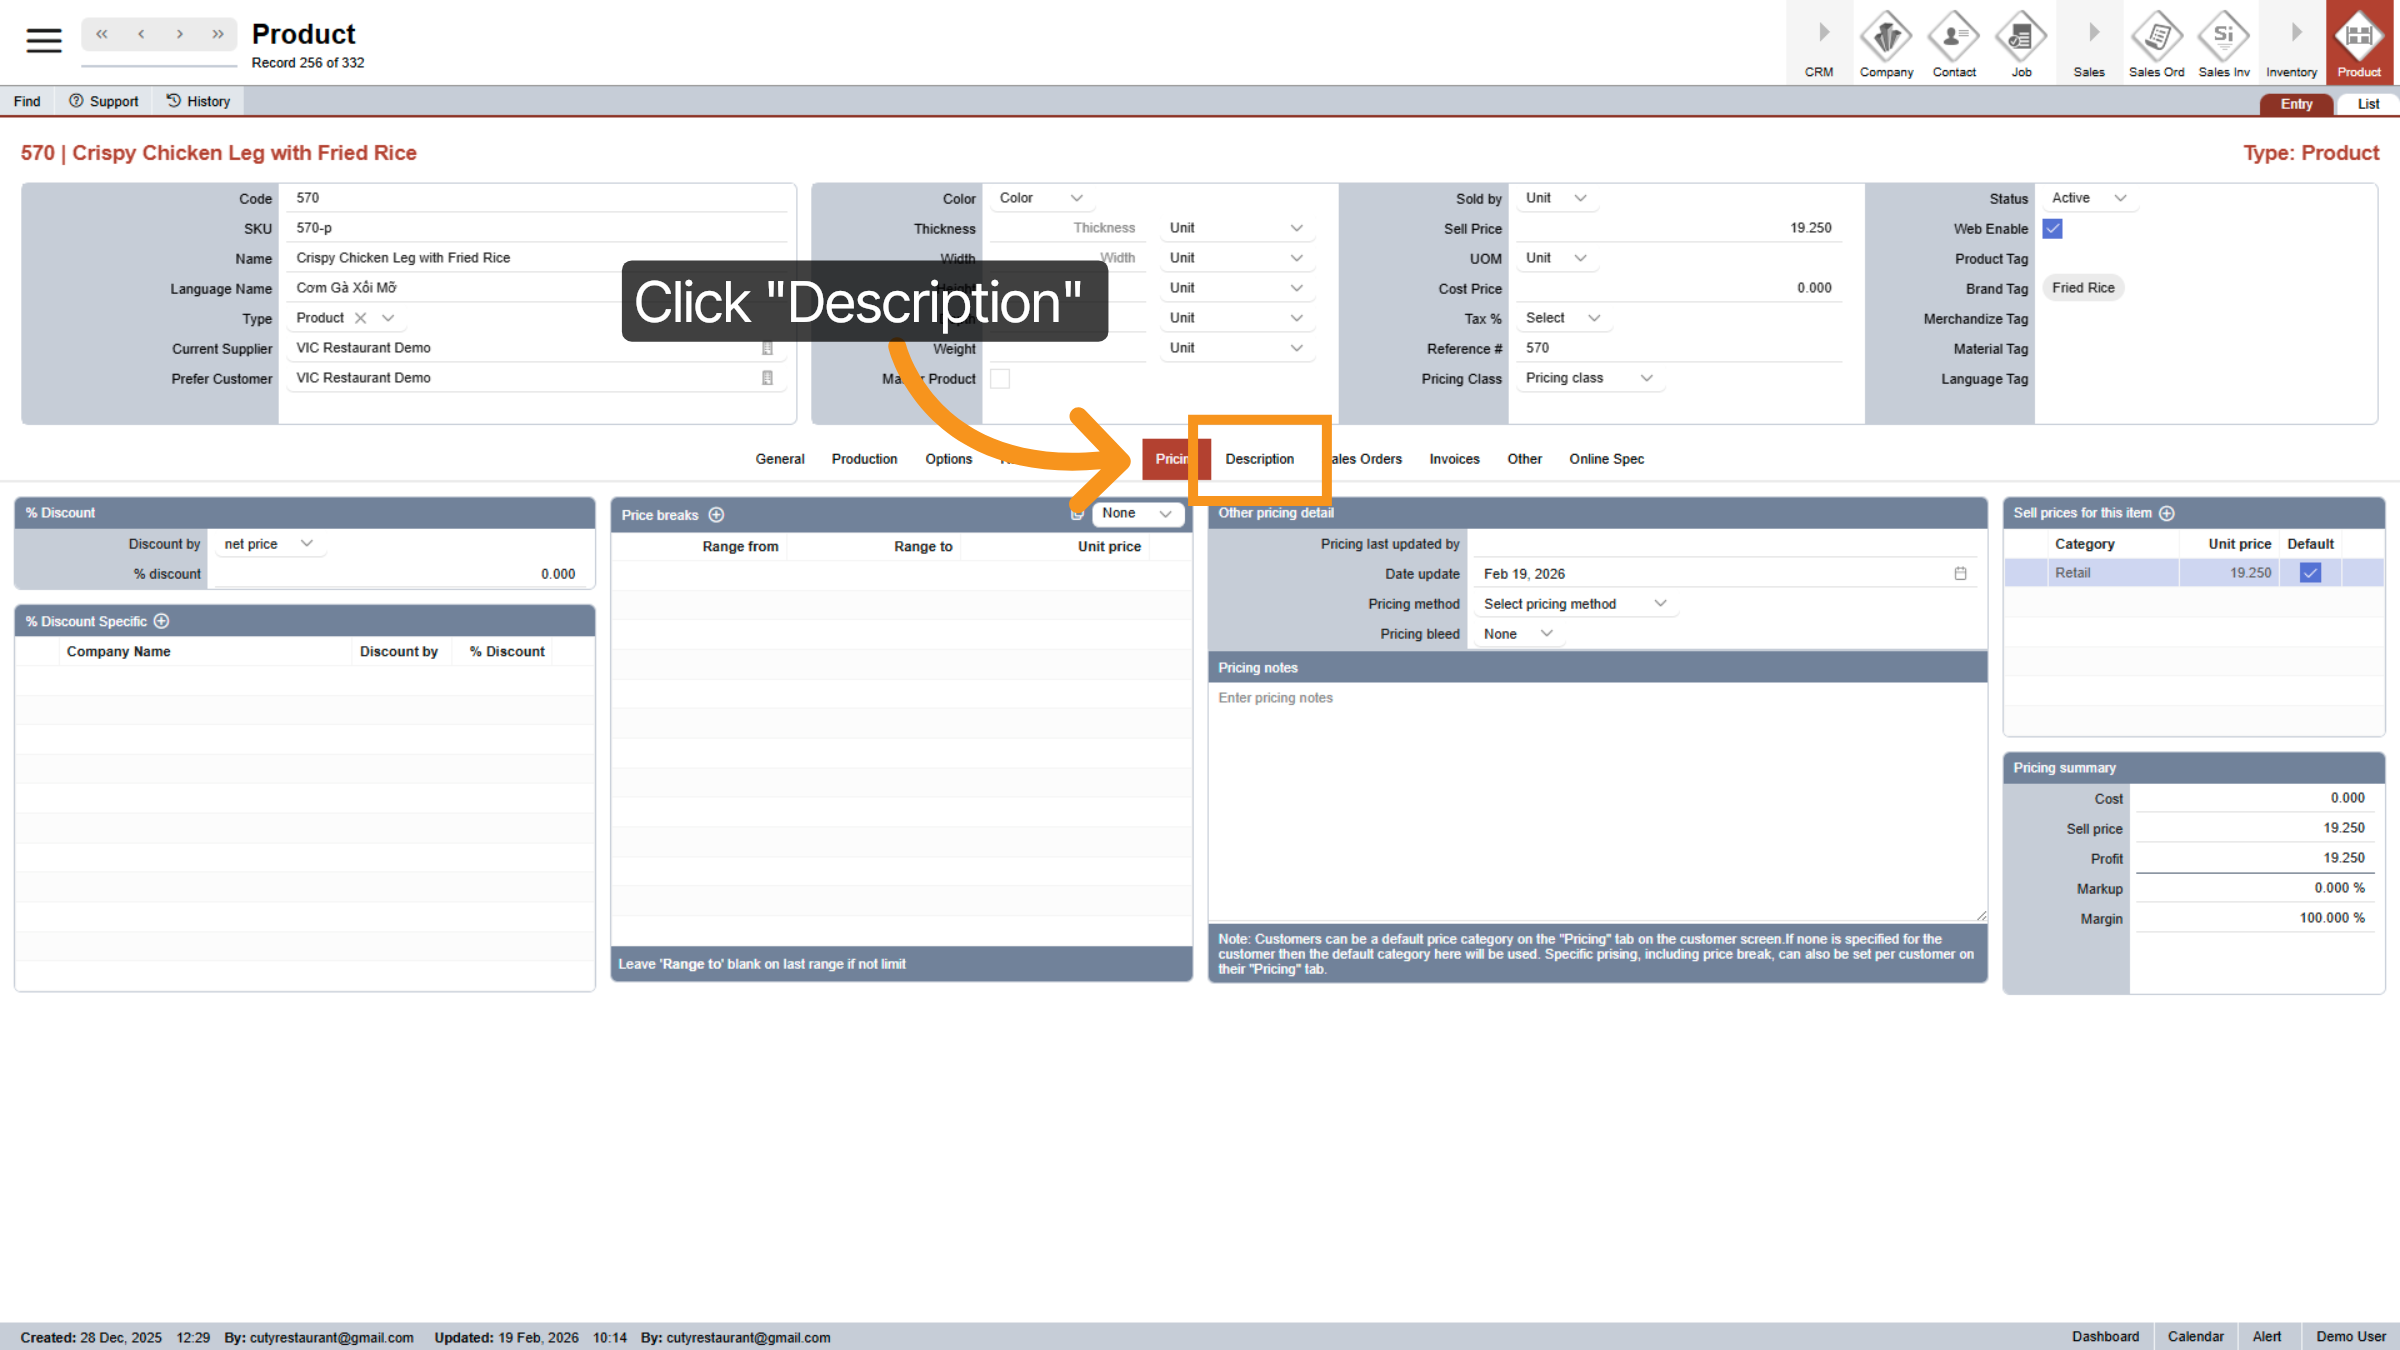
34. Open Description Tab
Click Description to add or edit the product description.
35. View Sales Orders
Click Sales Orders to review orders associated with the product.

36. Access Invoices
Click Invoices to view billing information related to the product.

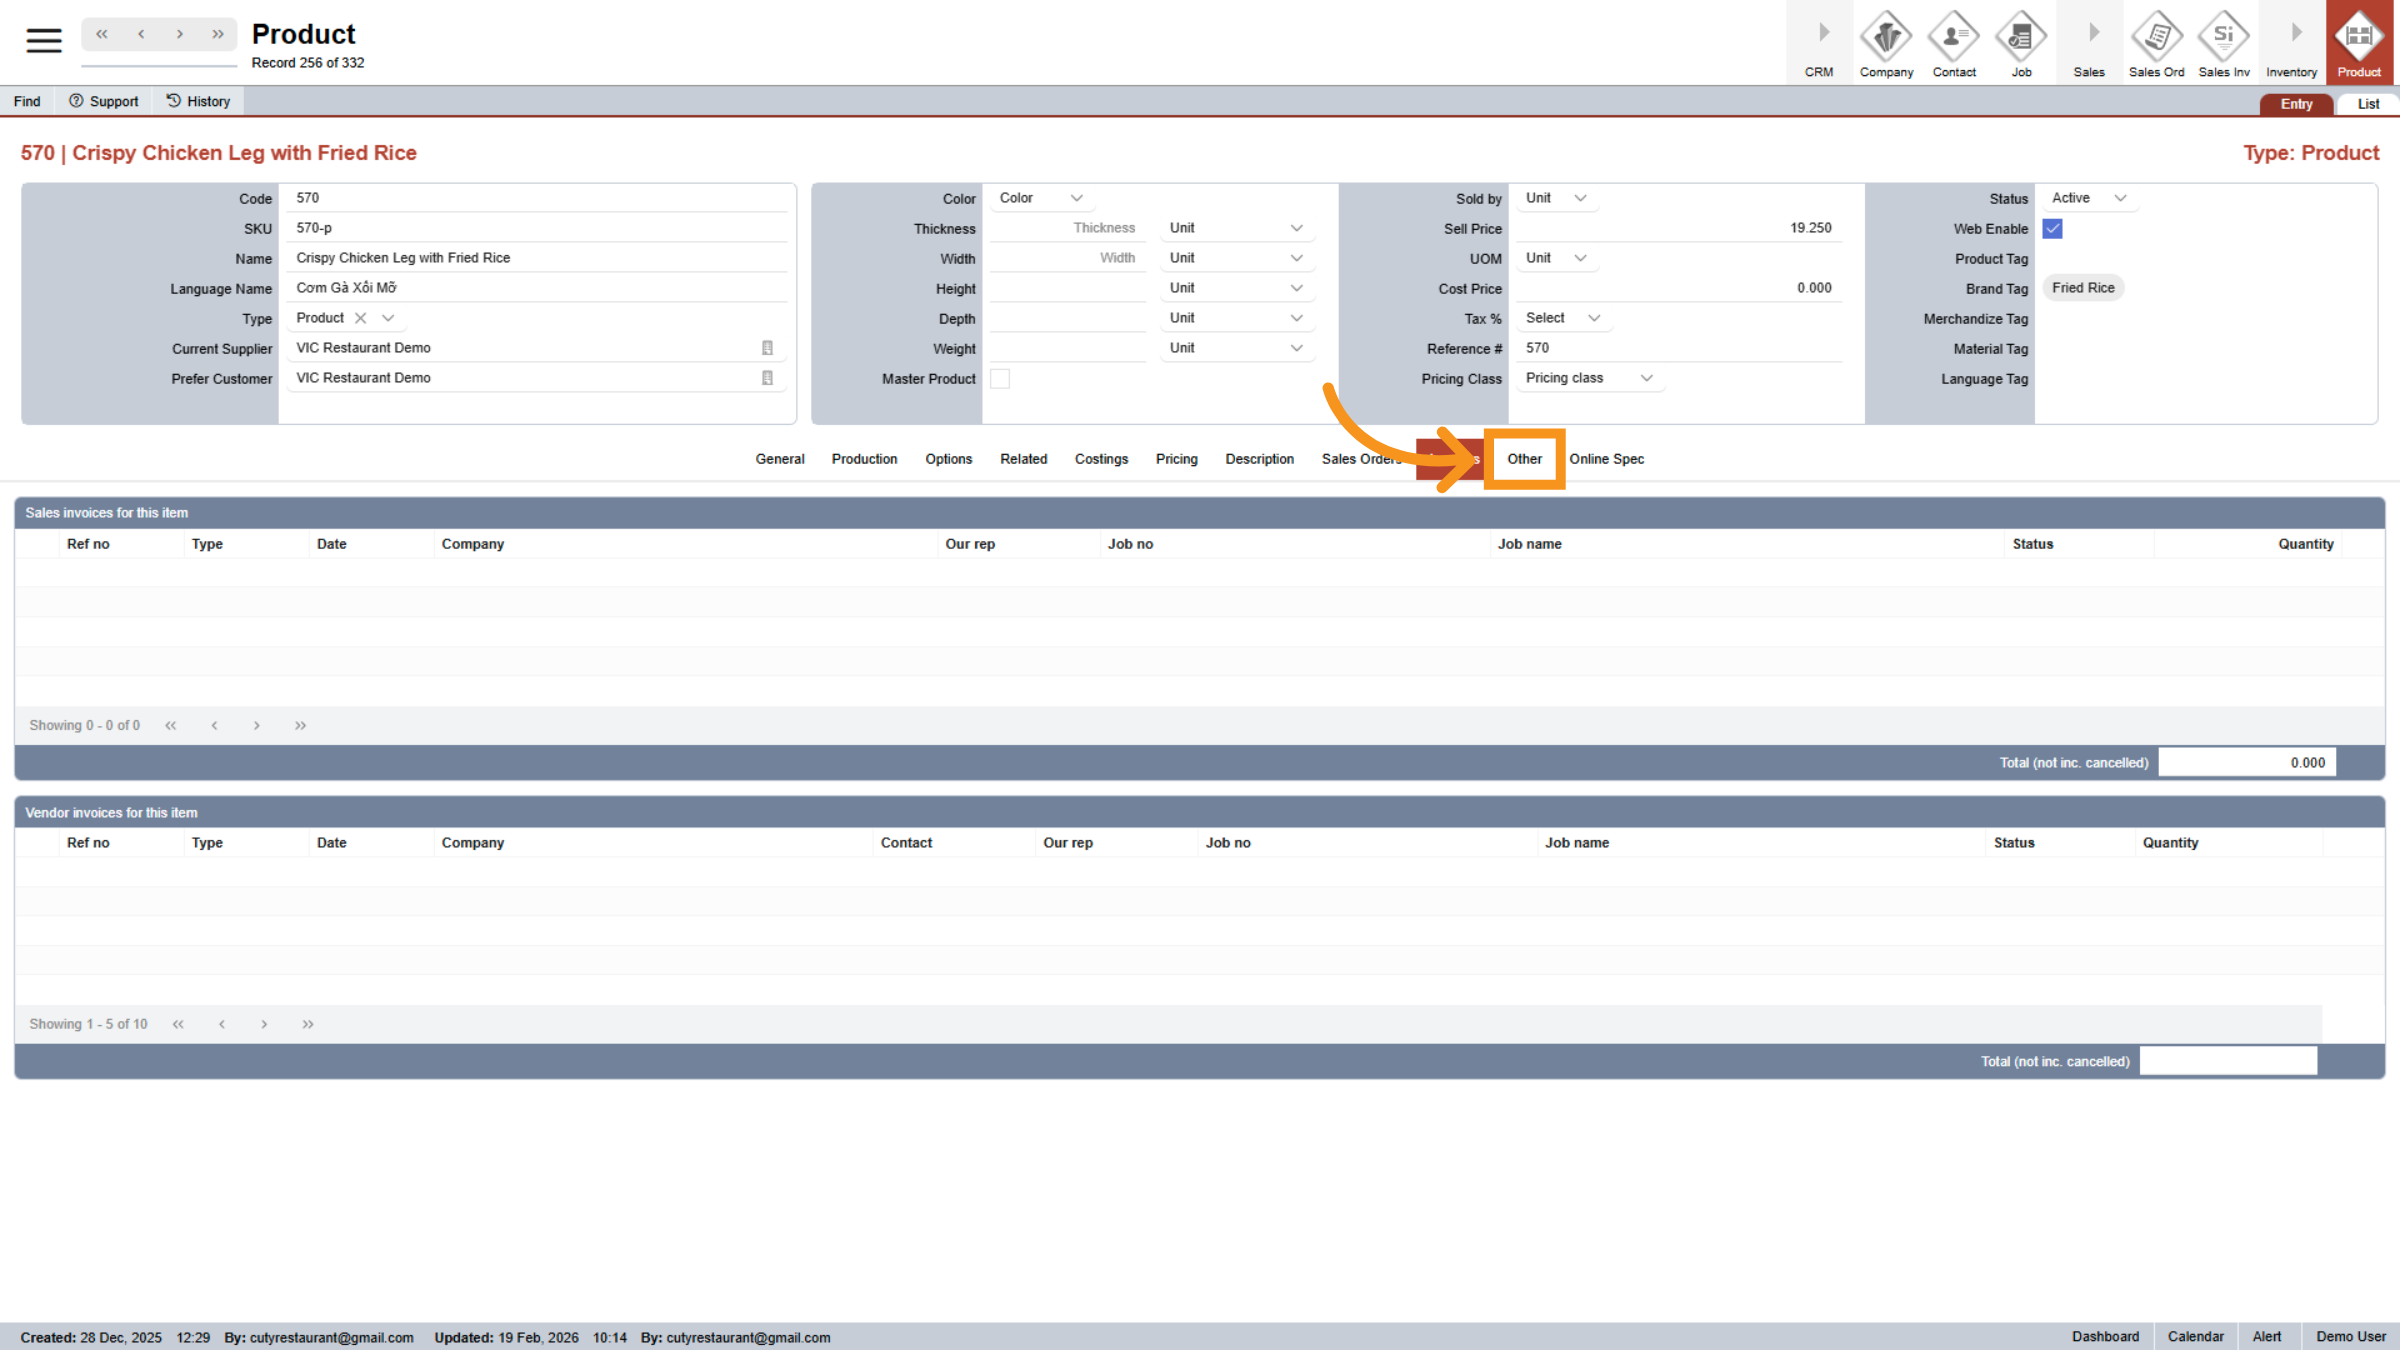
37. Open Other Settings
Click Other to access additional product-related settings.
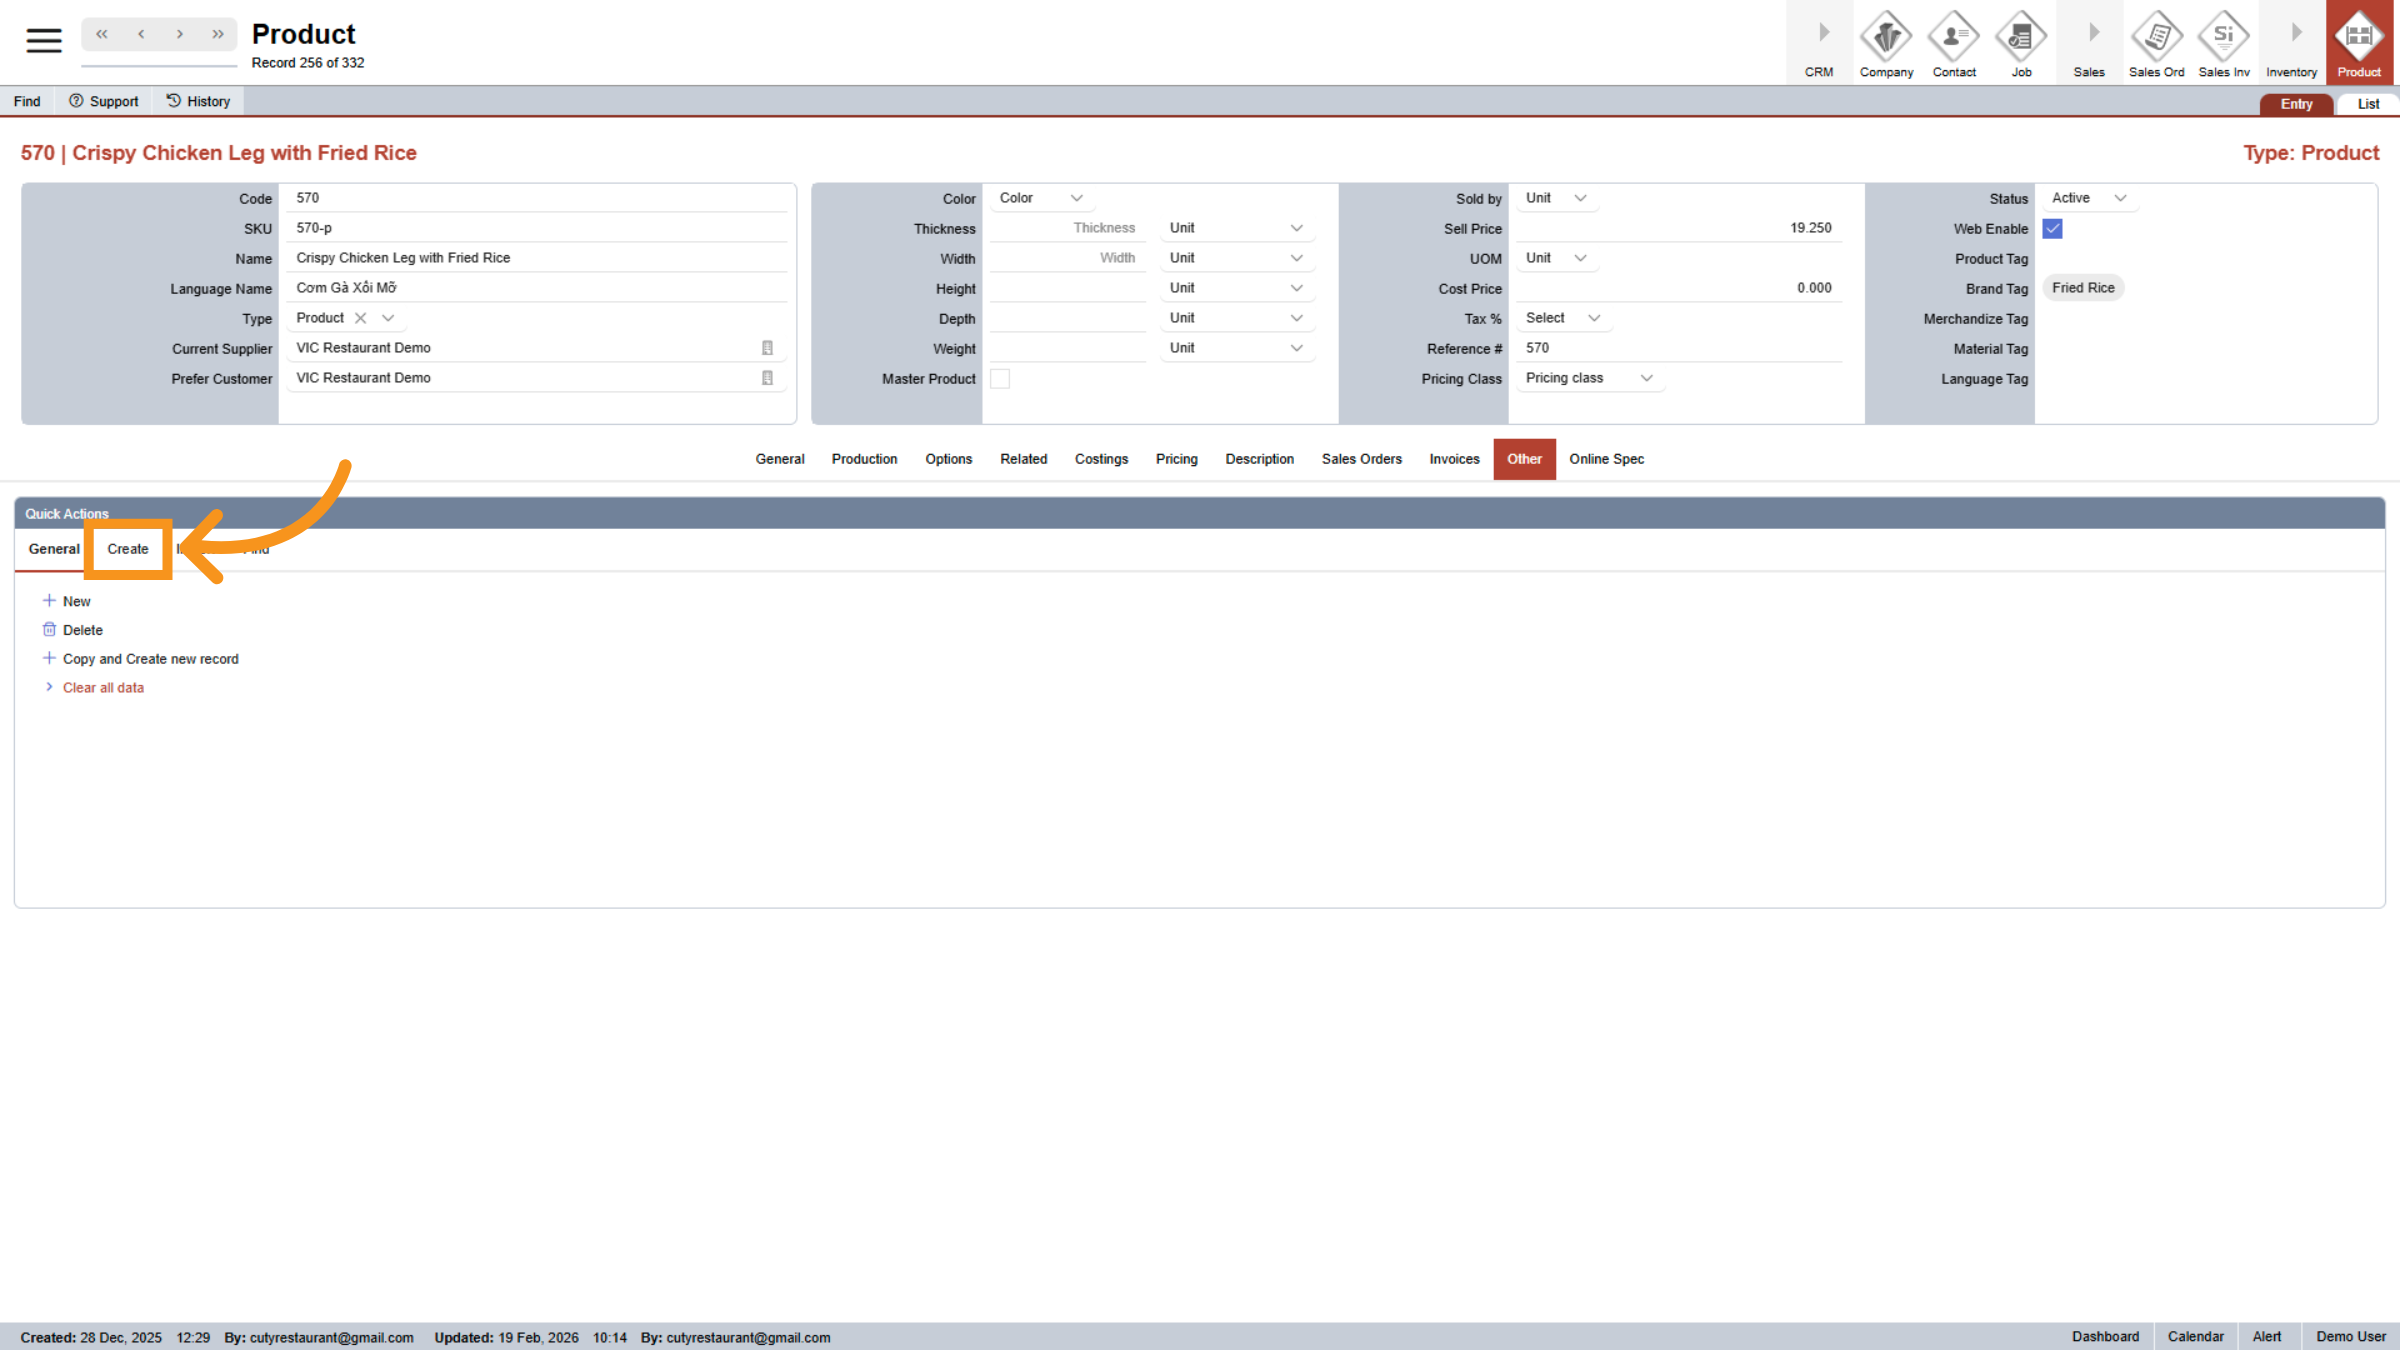
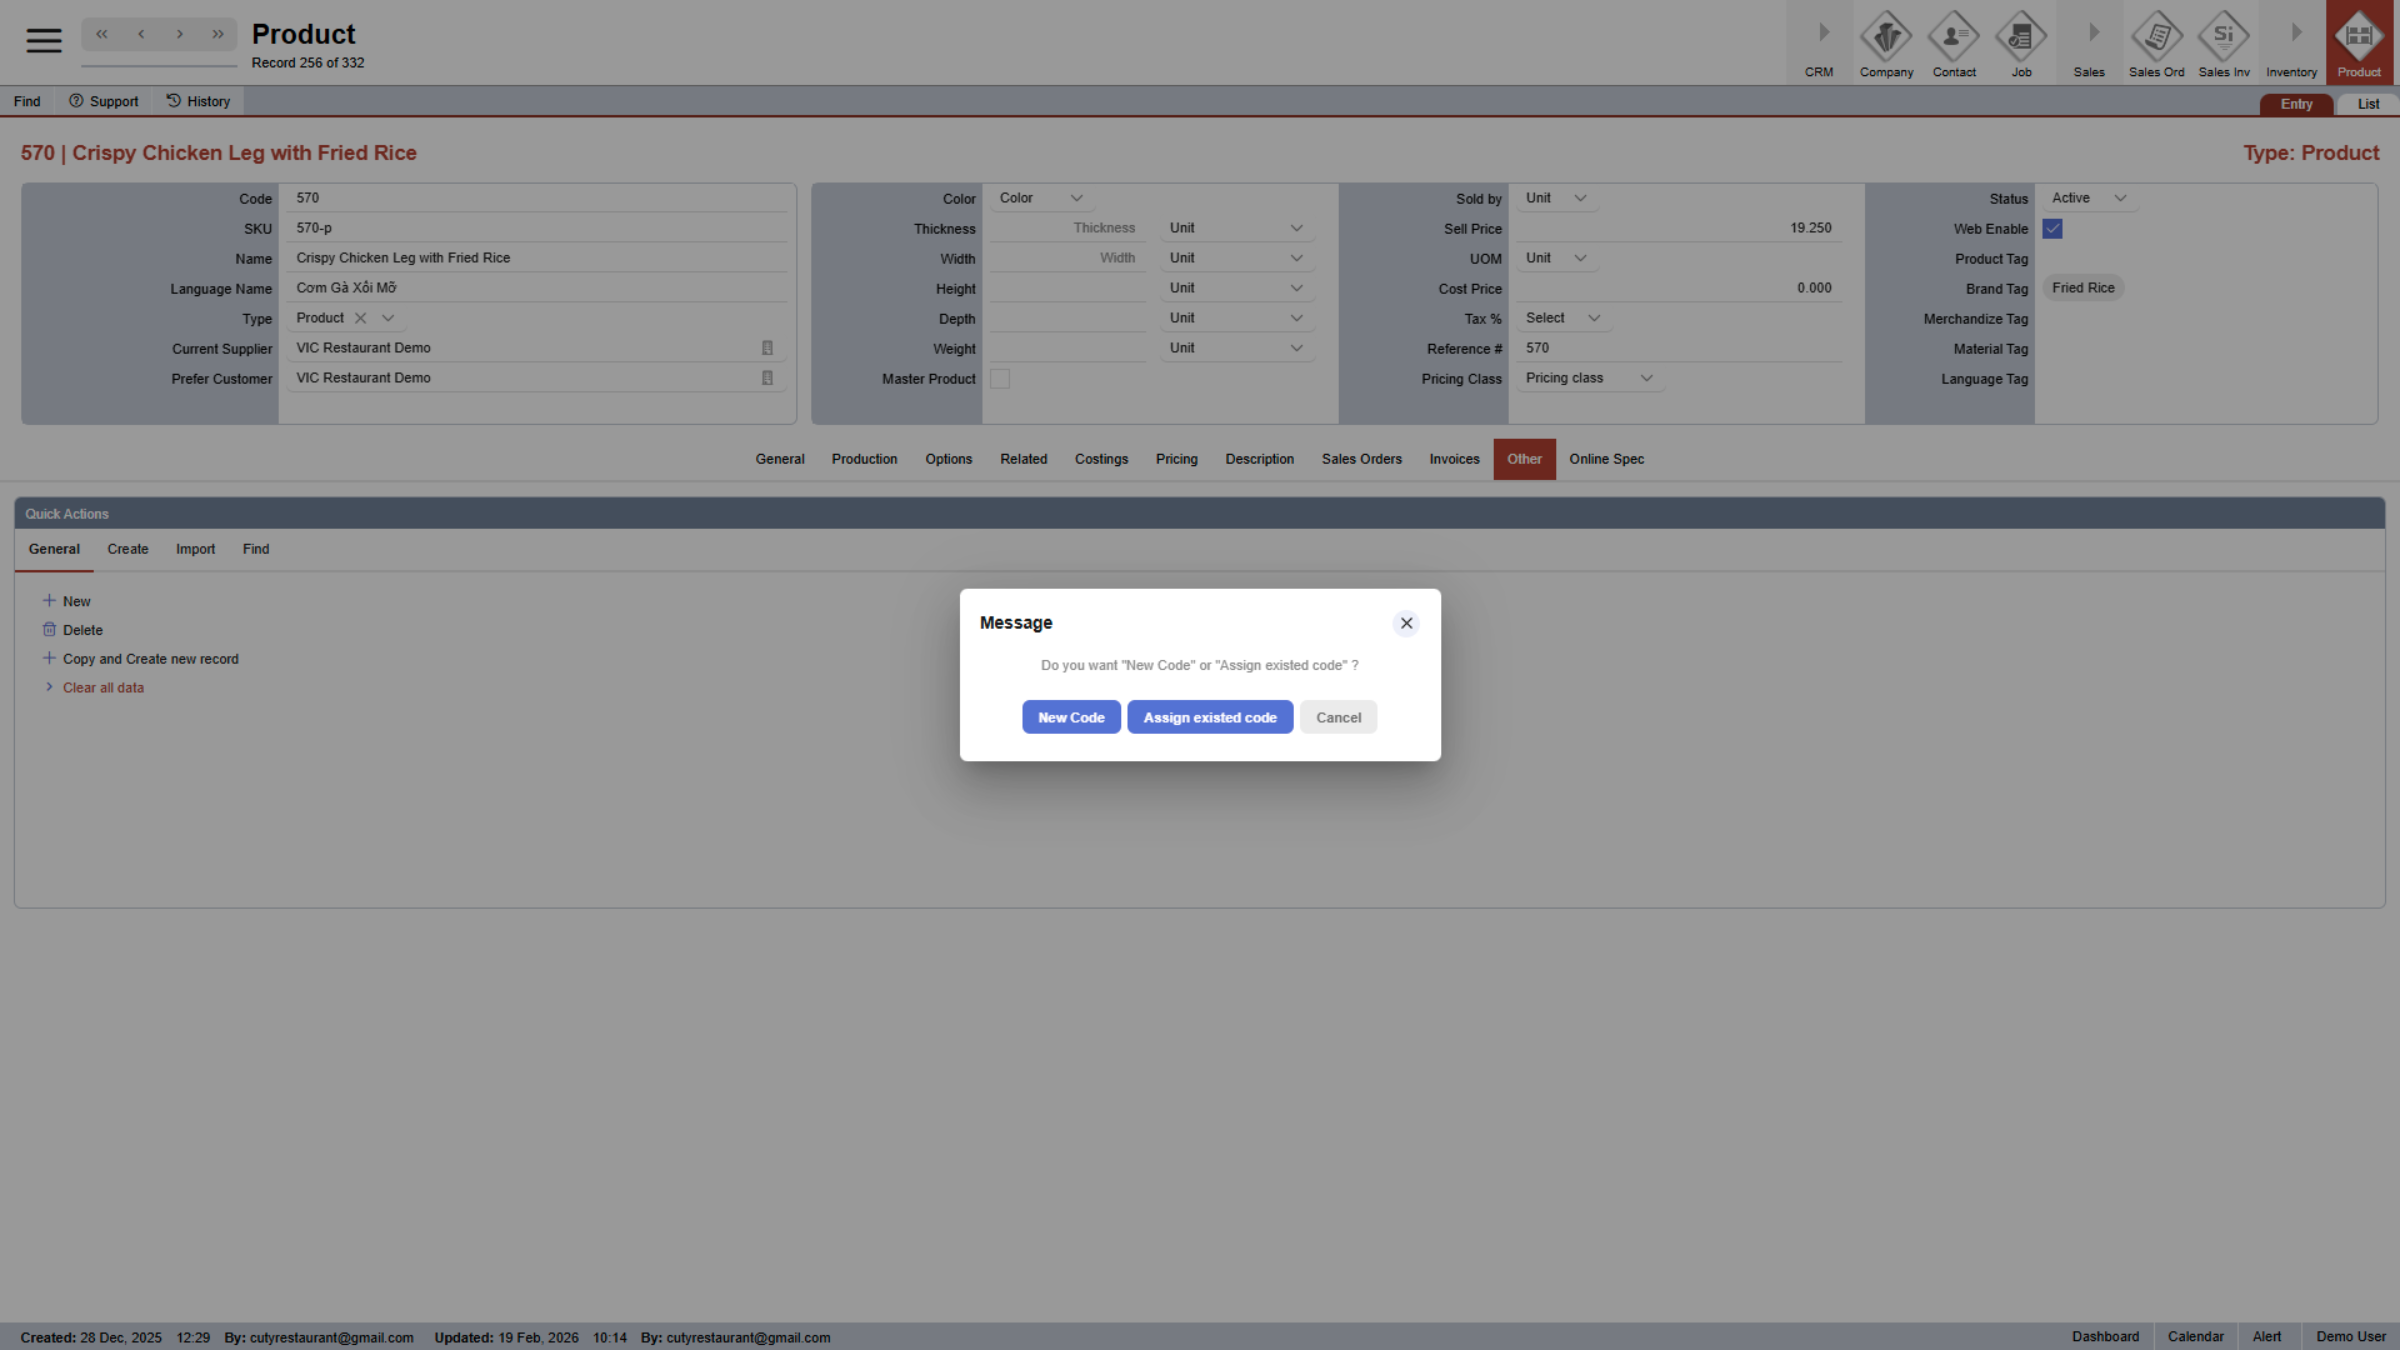
38. Create New Product
Click Create to start adding a new product record.
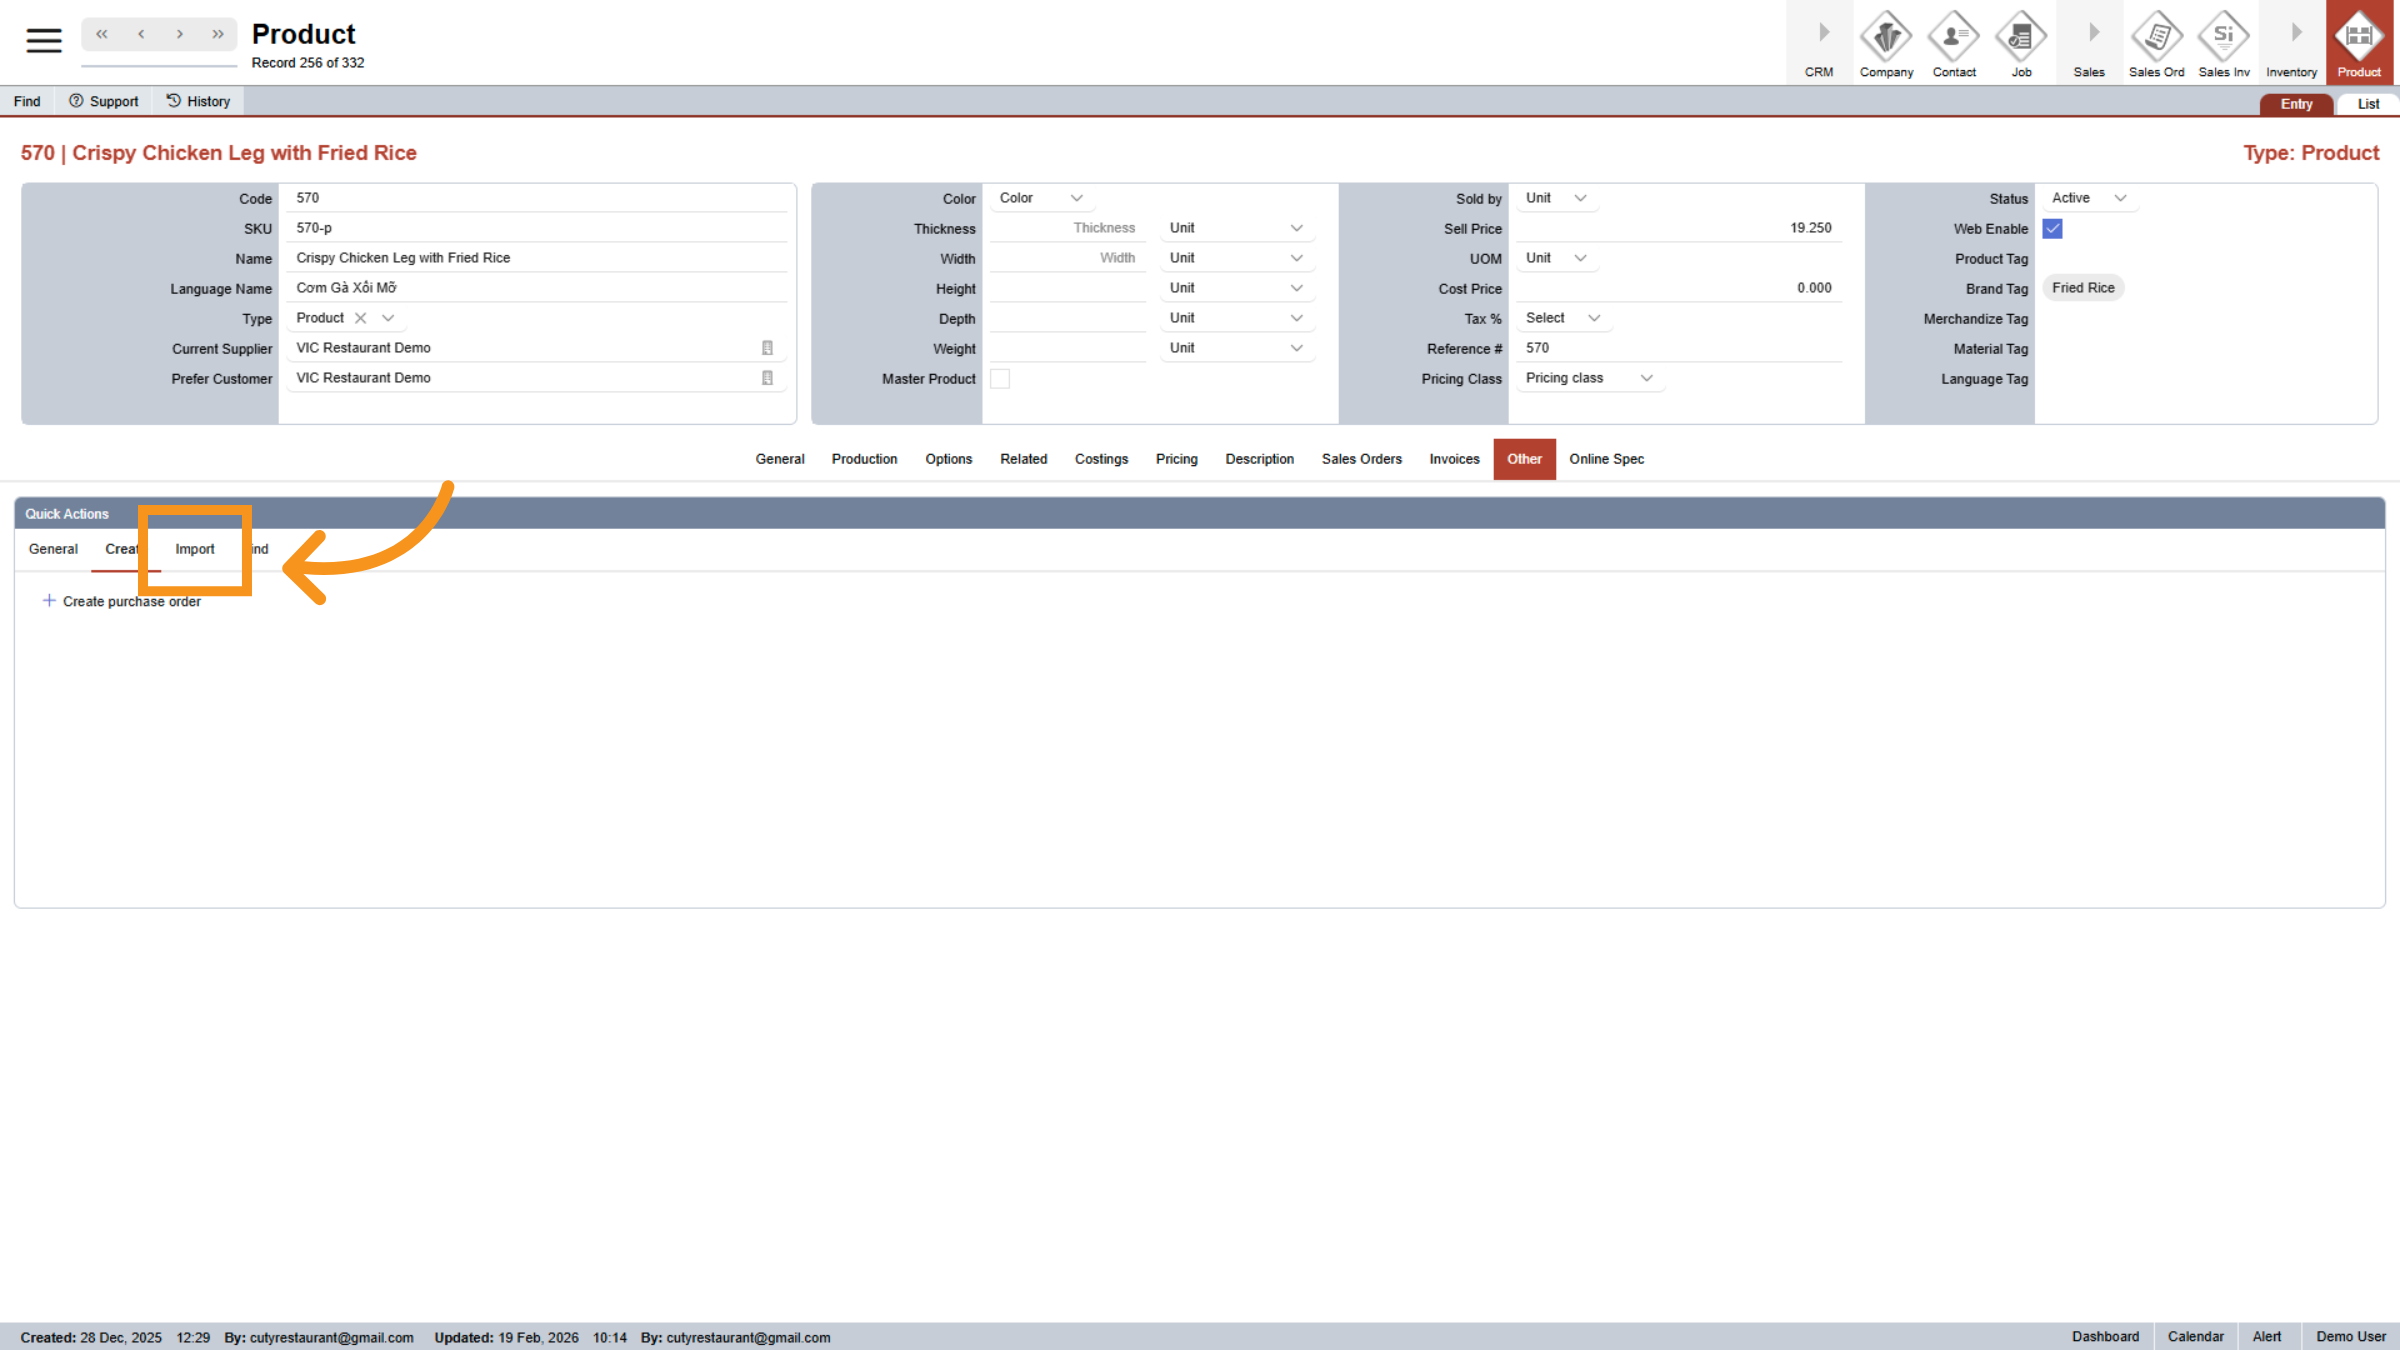
39. Import Product Data
Click Import to bring in product information from external sources.
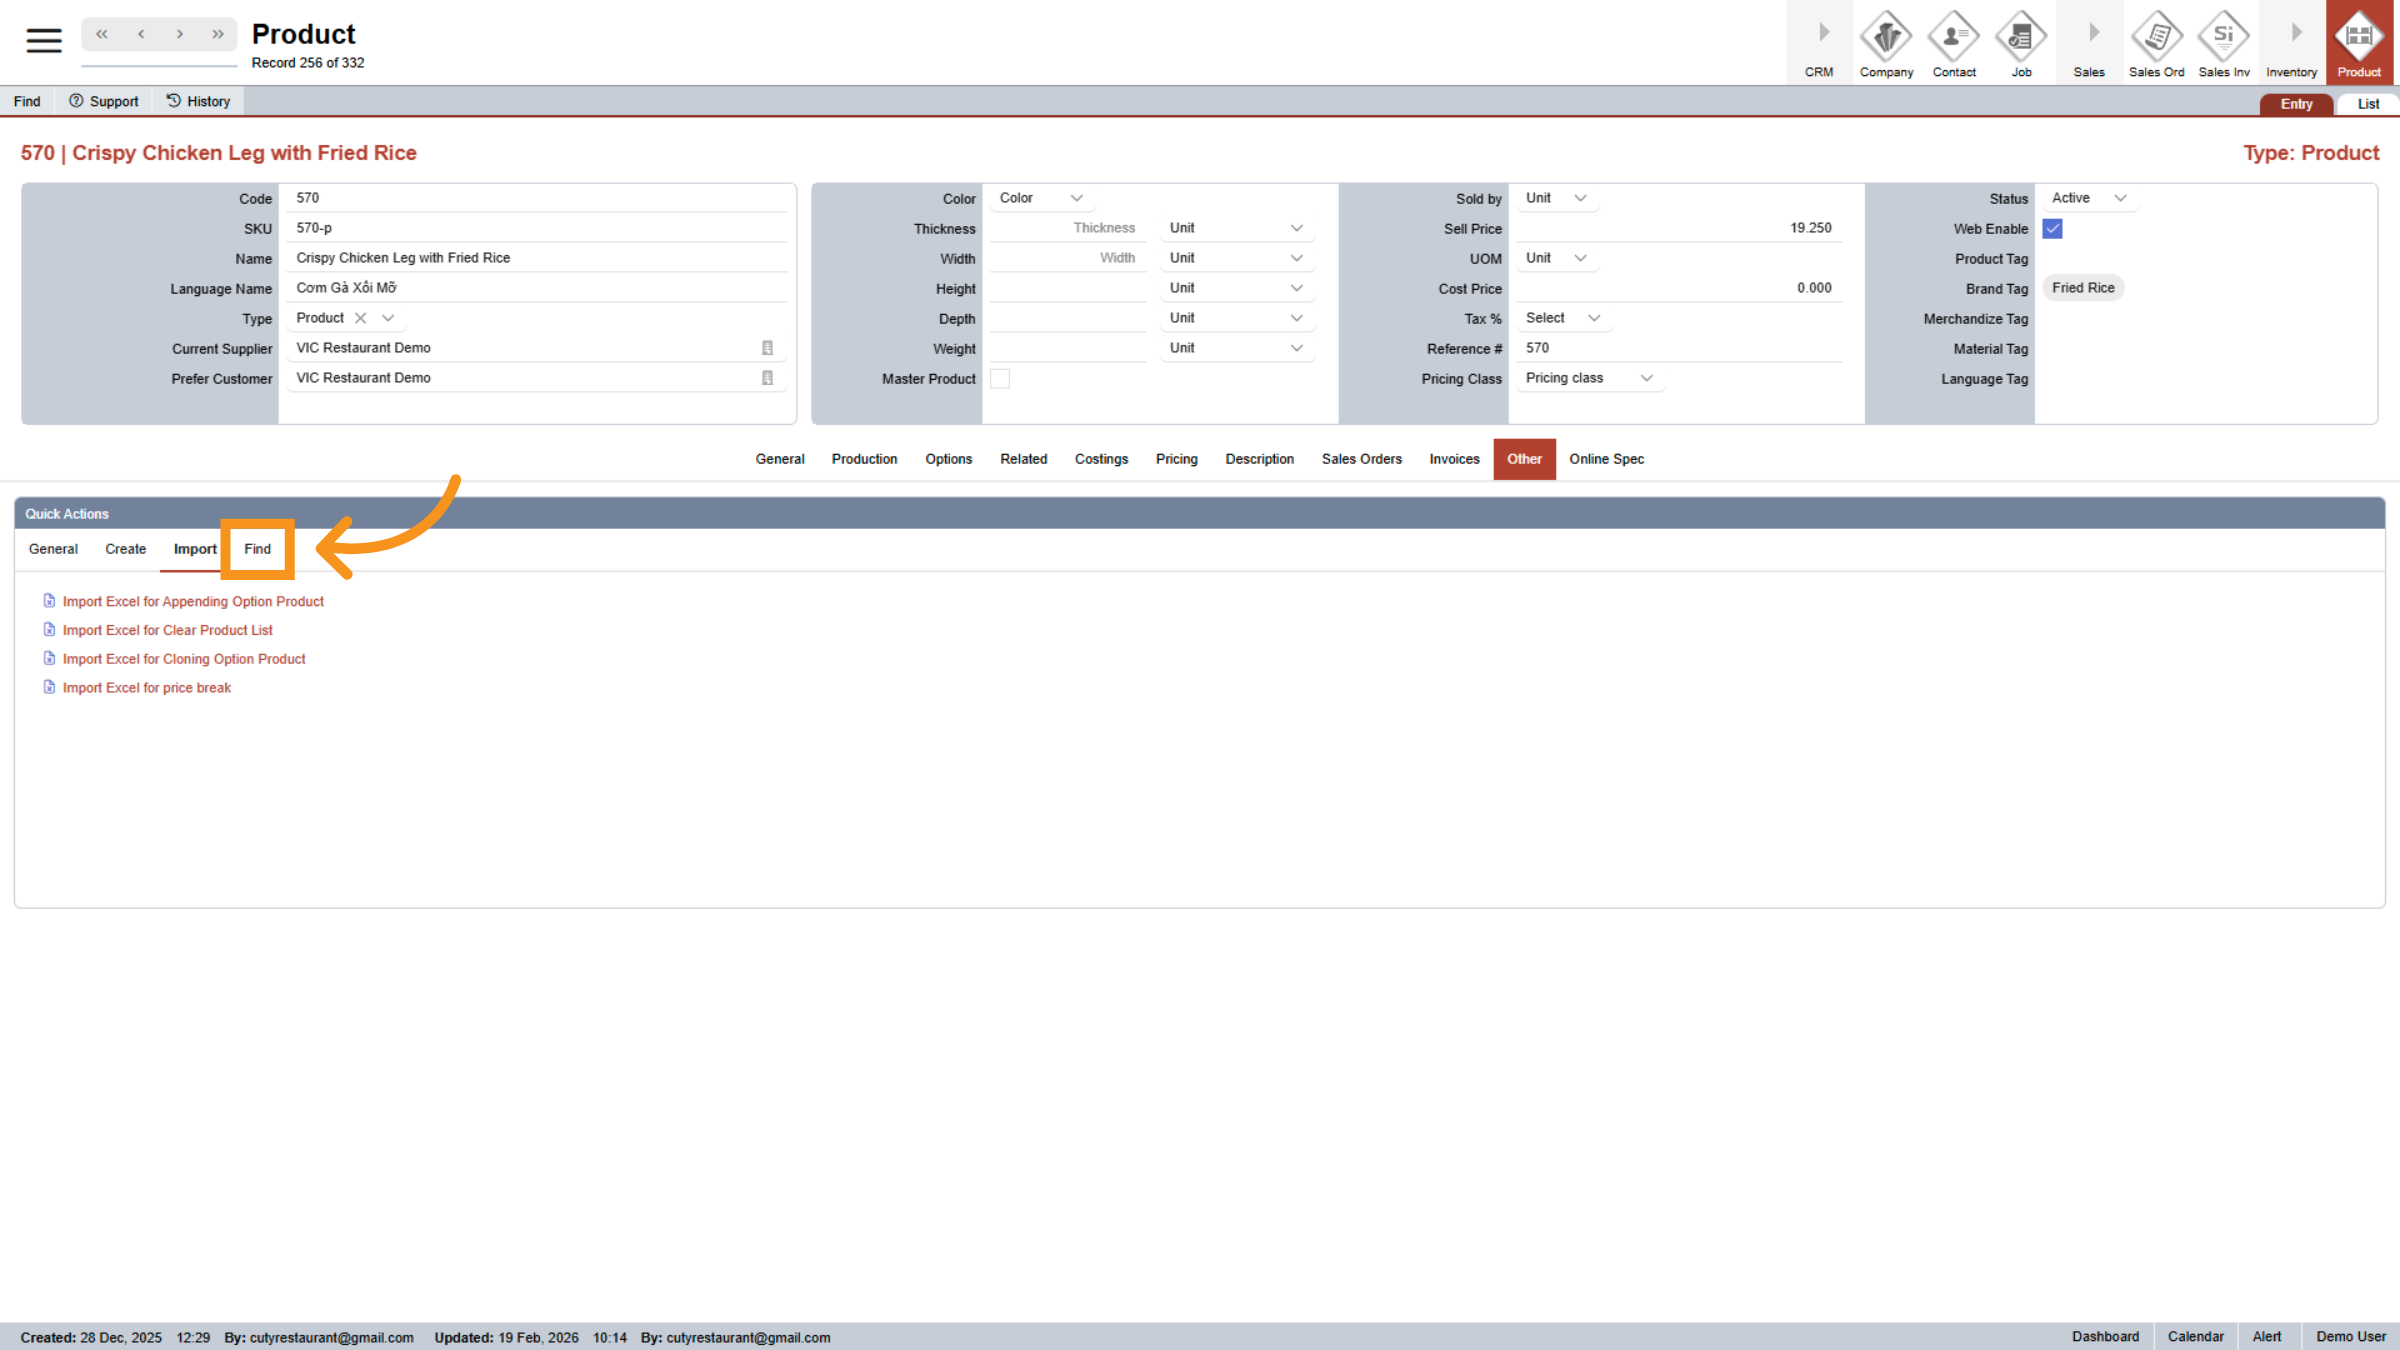
40. Find Product Records
Click Find to search for existing product records.
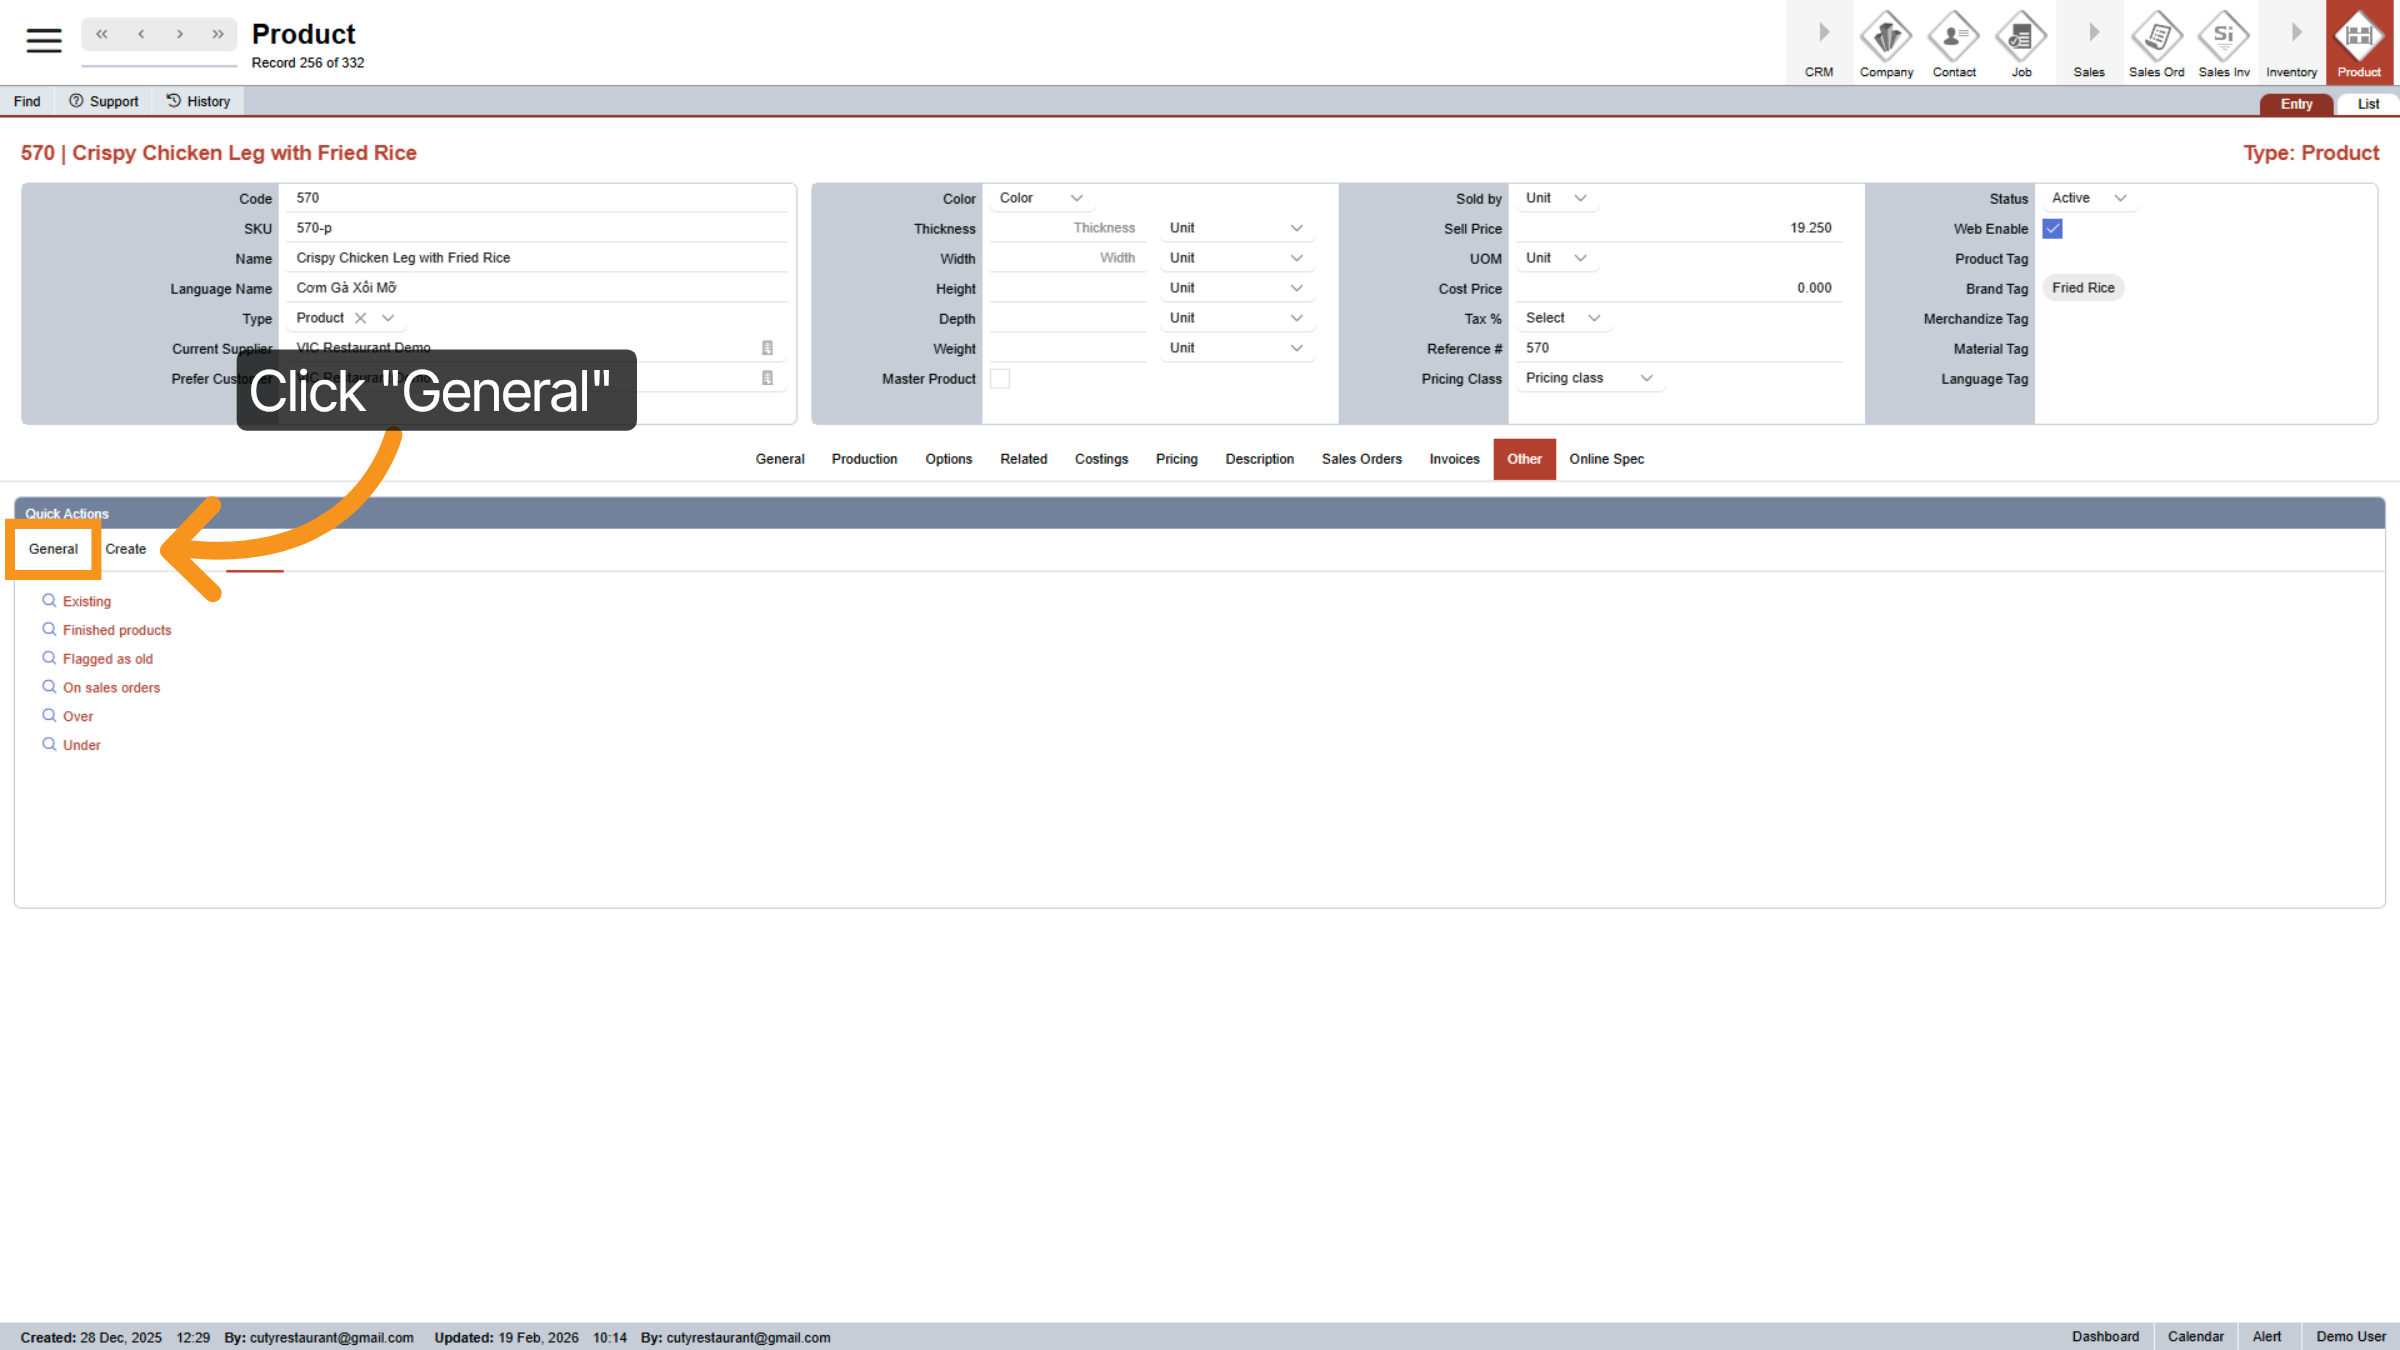
41. Open General Tab
Click General to view general product information.
42. Open Additional Settings
Click the specified area to access more product configuration options.
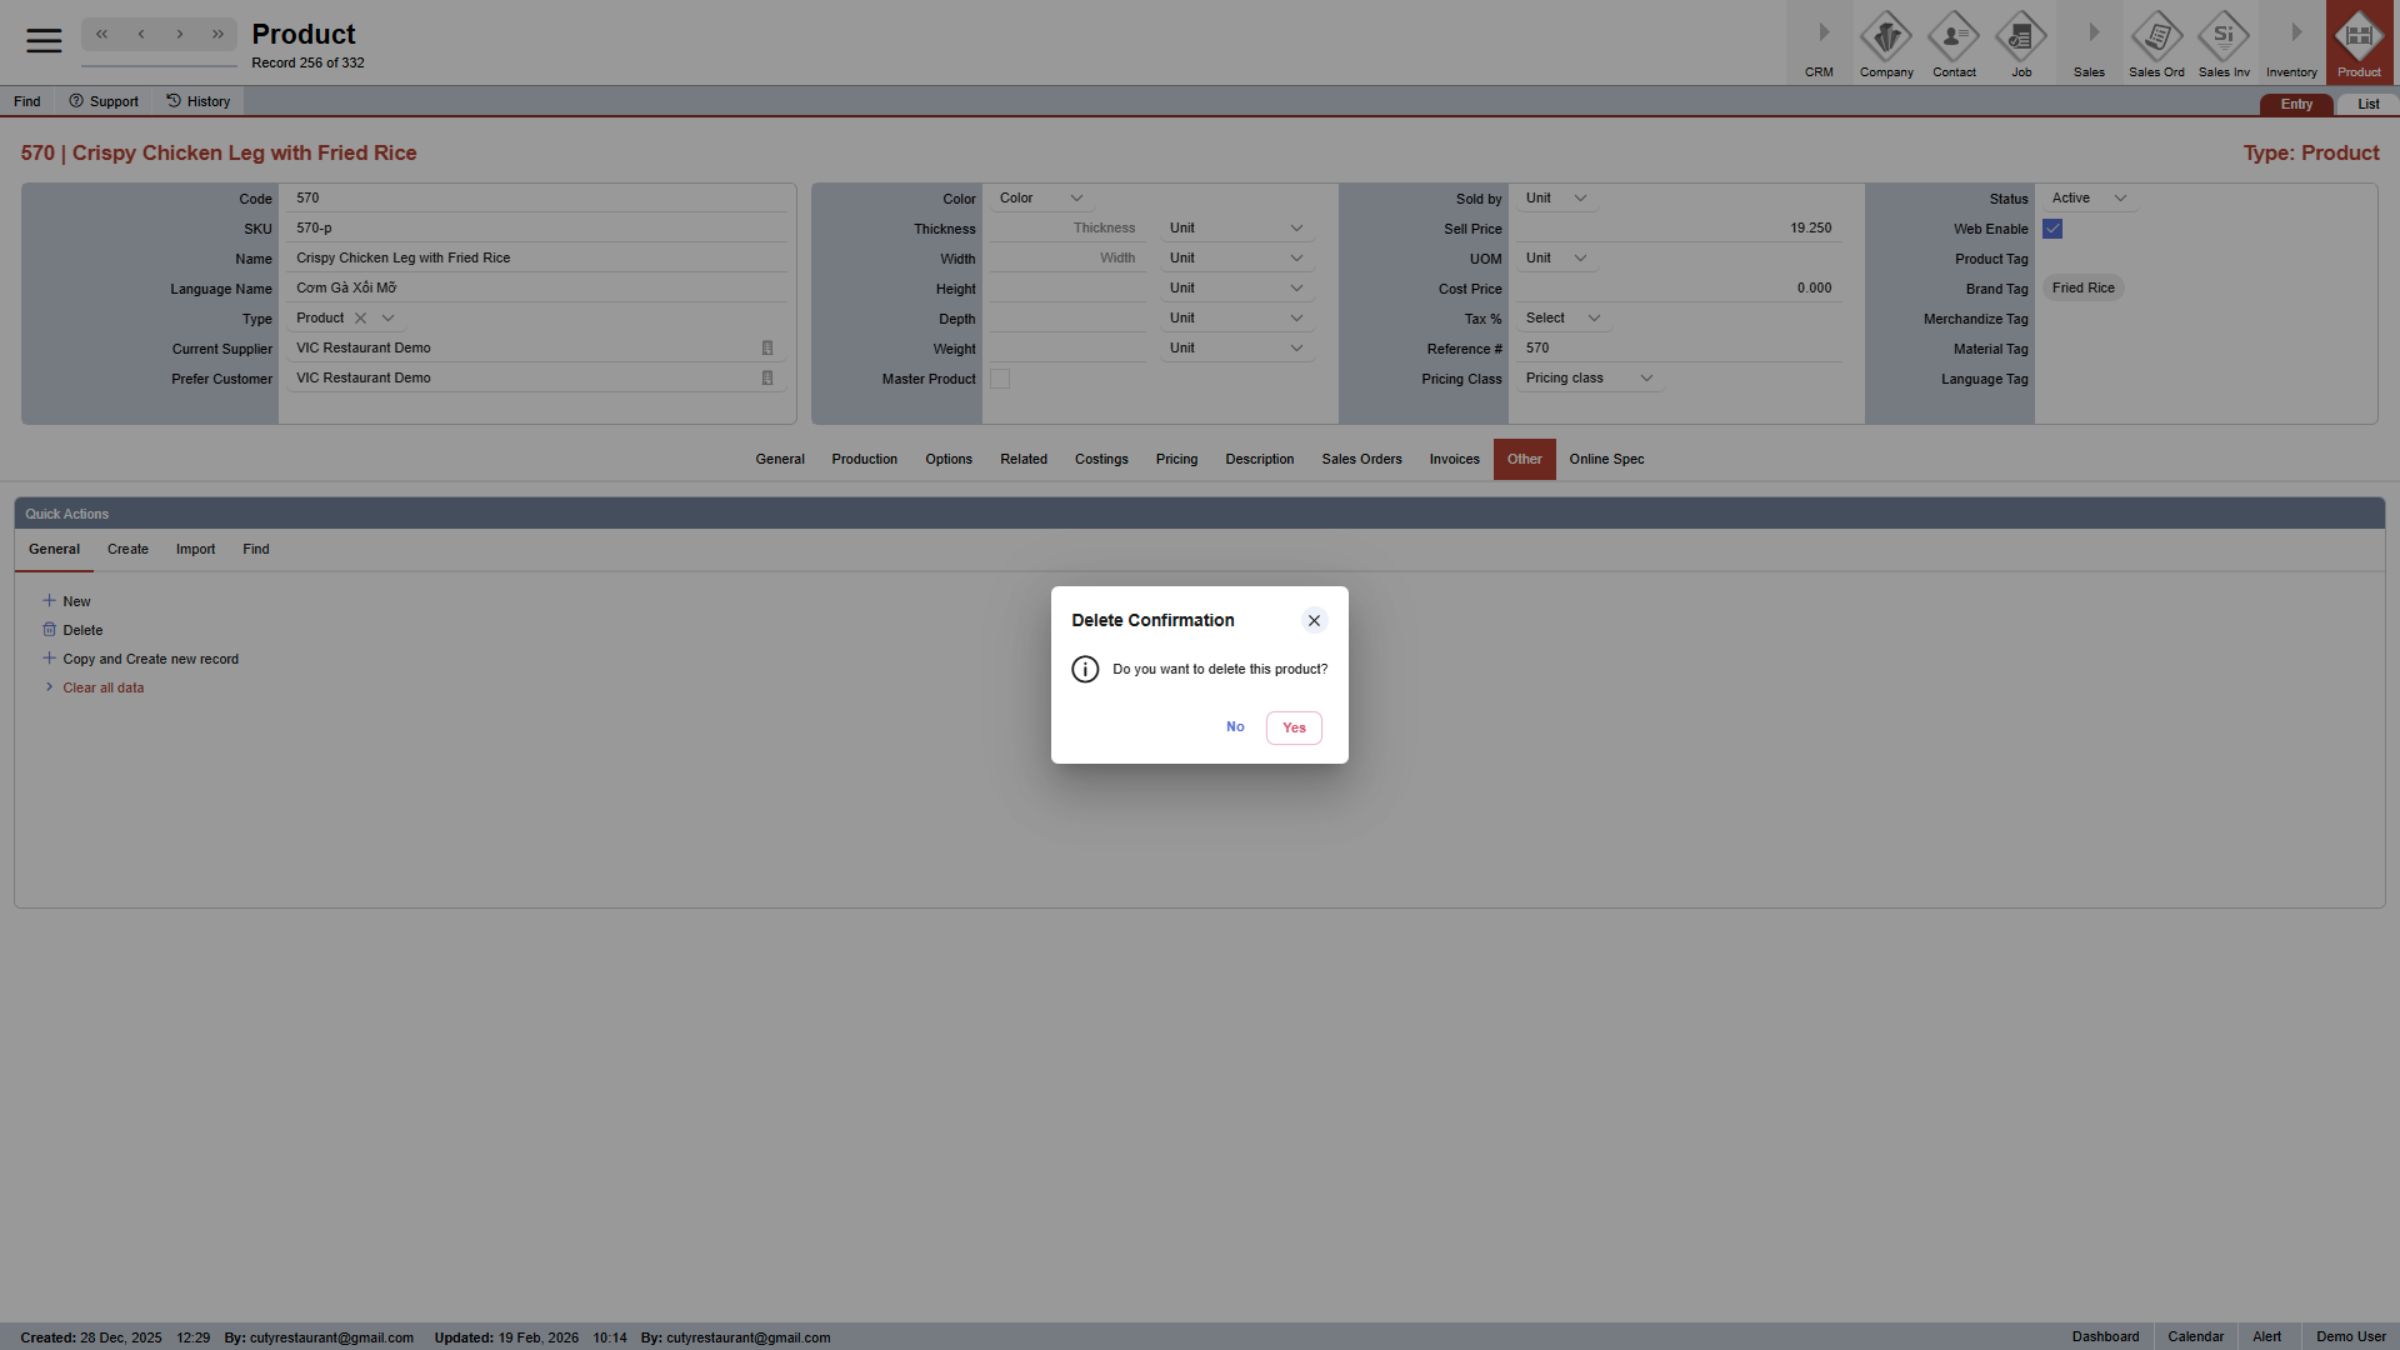
43. Access Delete Confirmation
Click the indicated area to confirm deletion of the product.
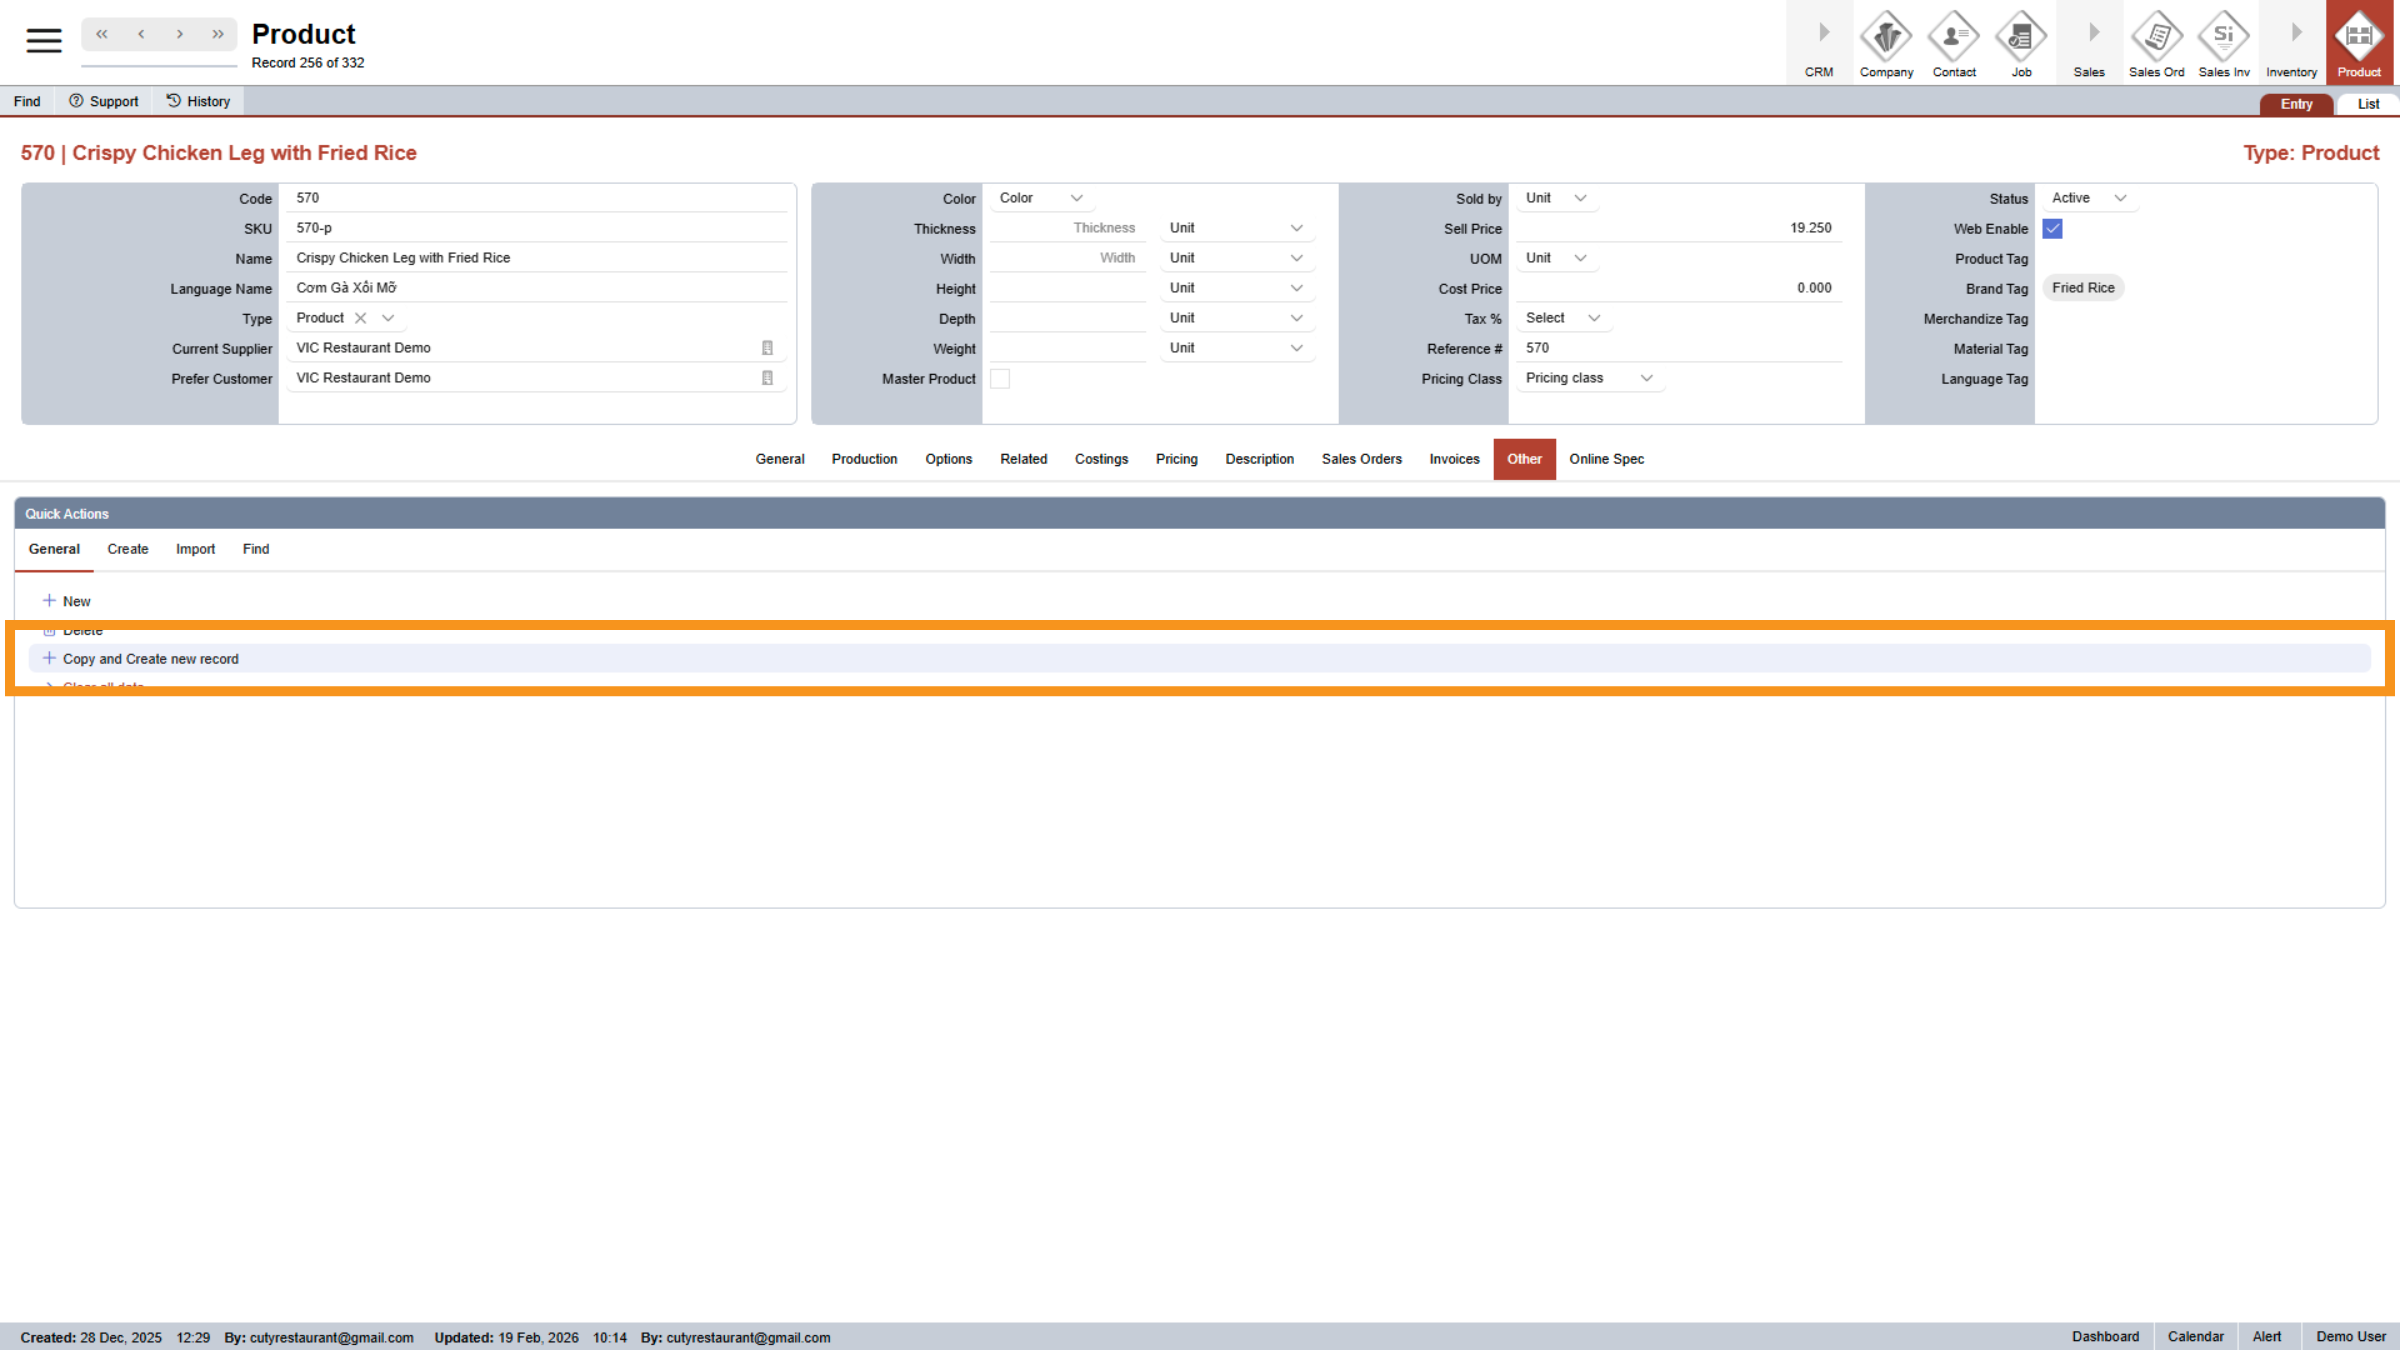
44. Copy And Create New Record
Click Copy and Create new record to duplicate an existing product entry.
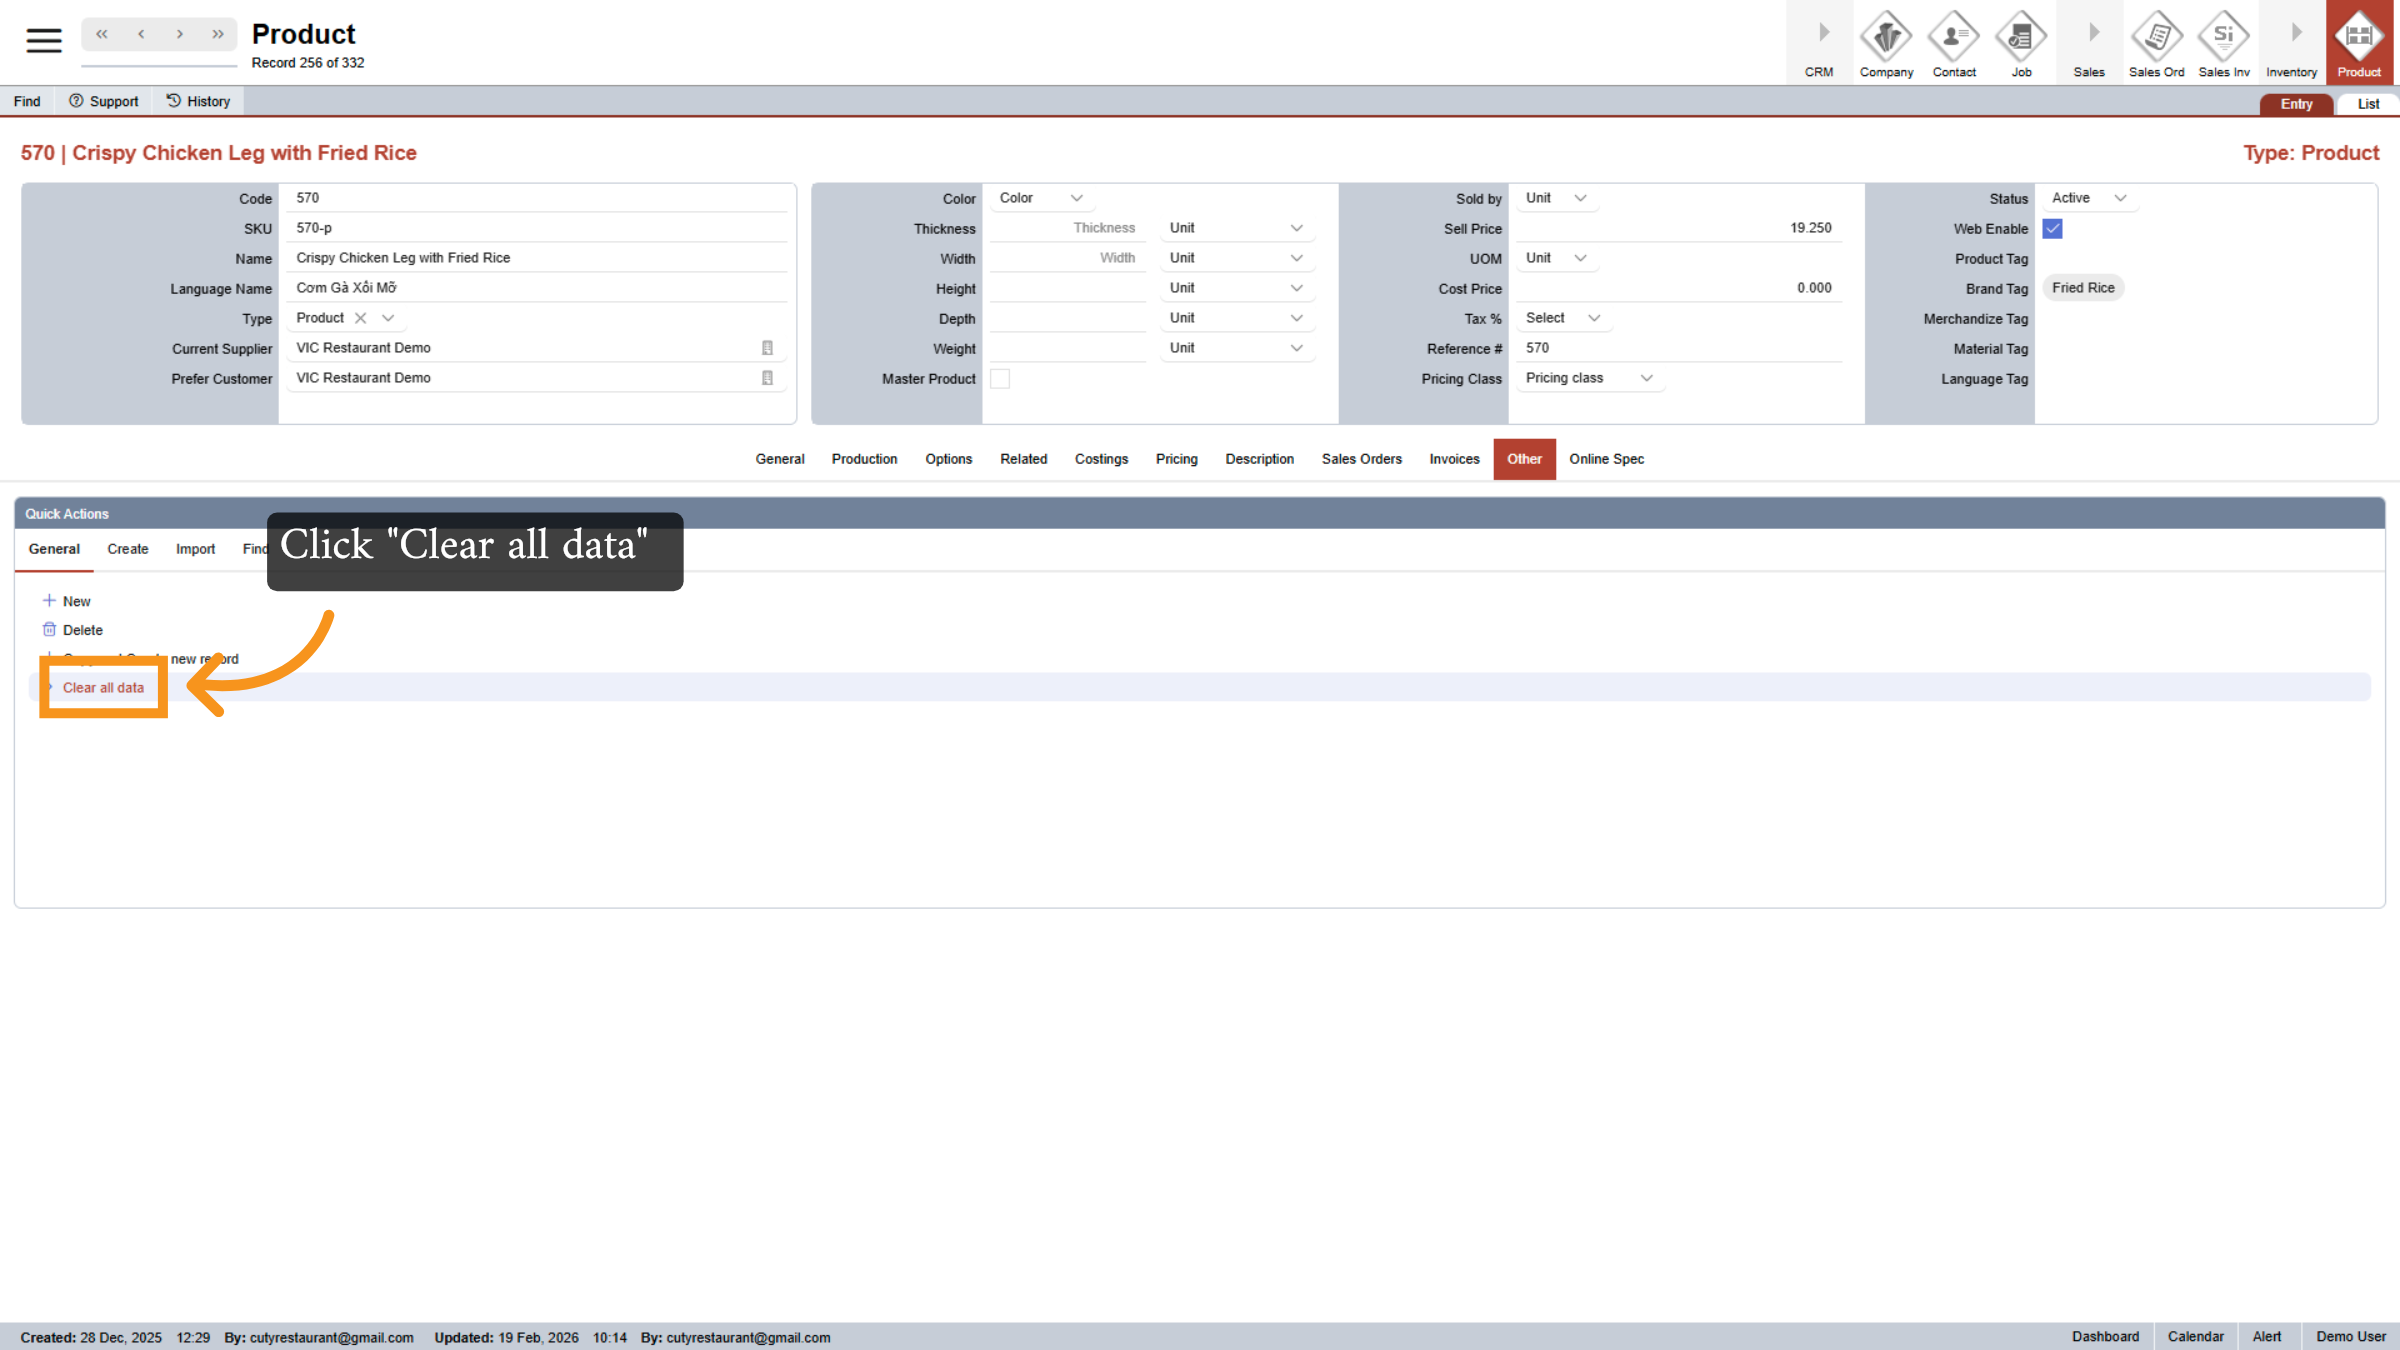
45. Clear All Data
Click Clear all data to reset the current product form.
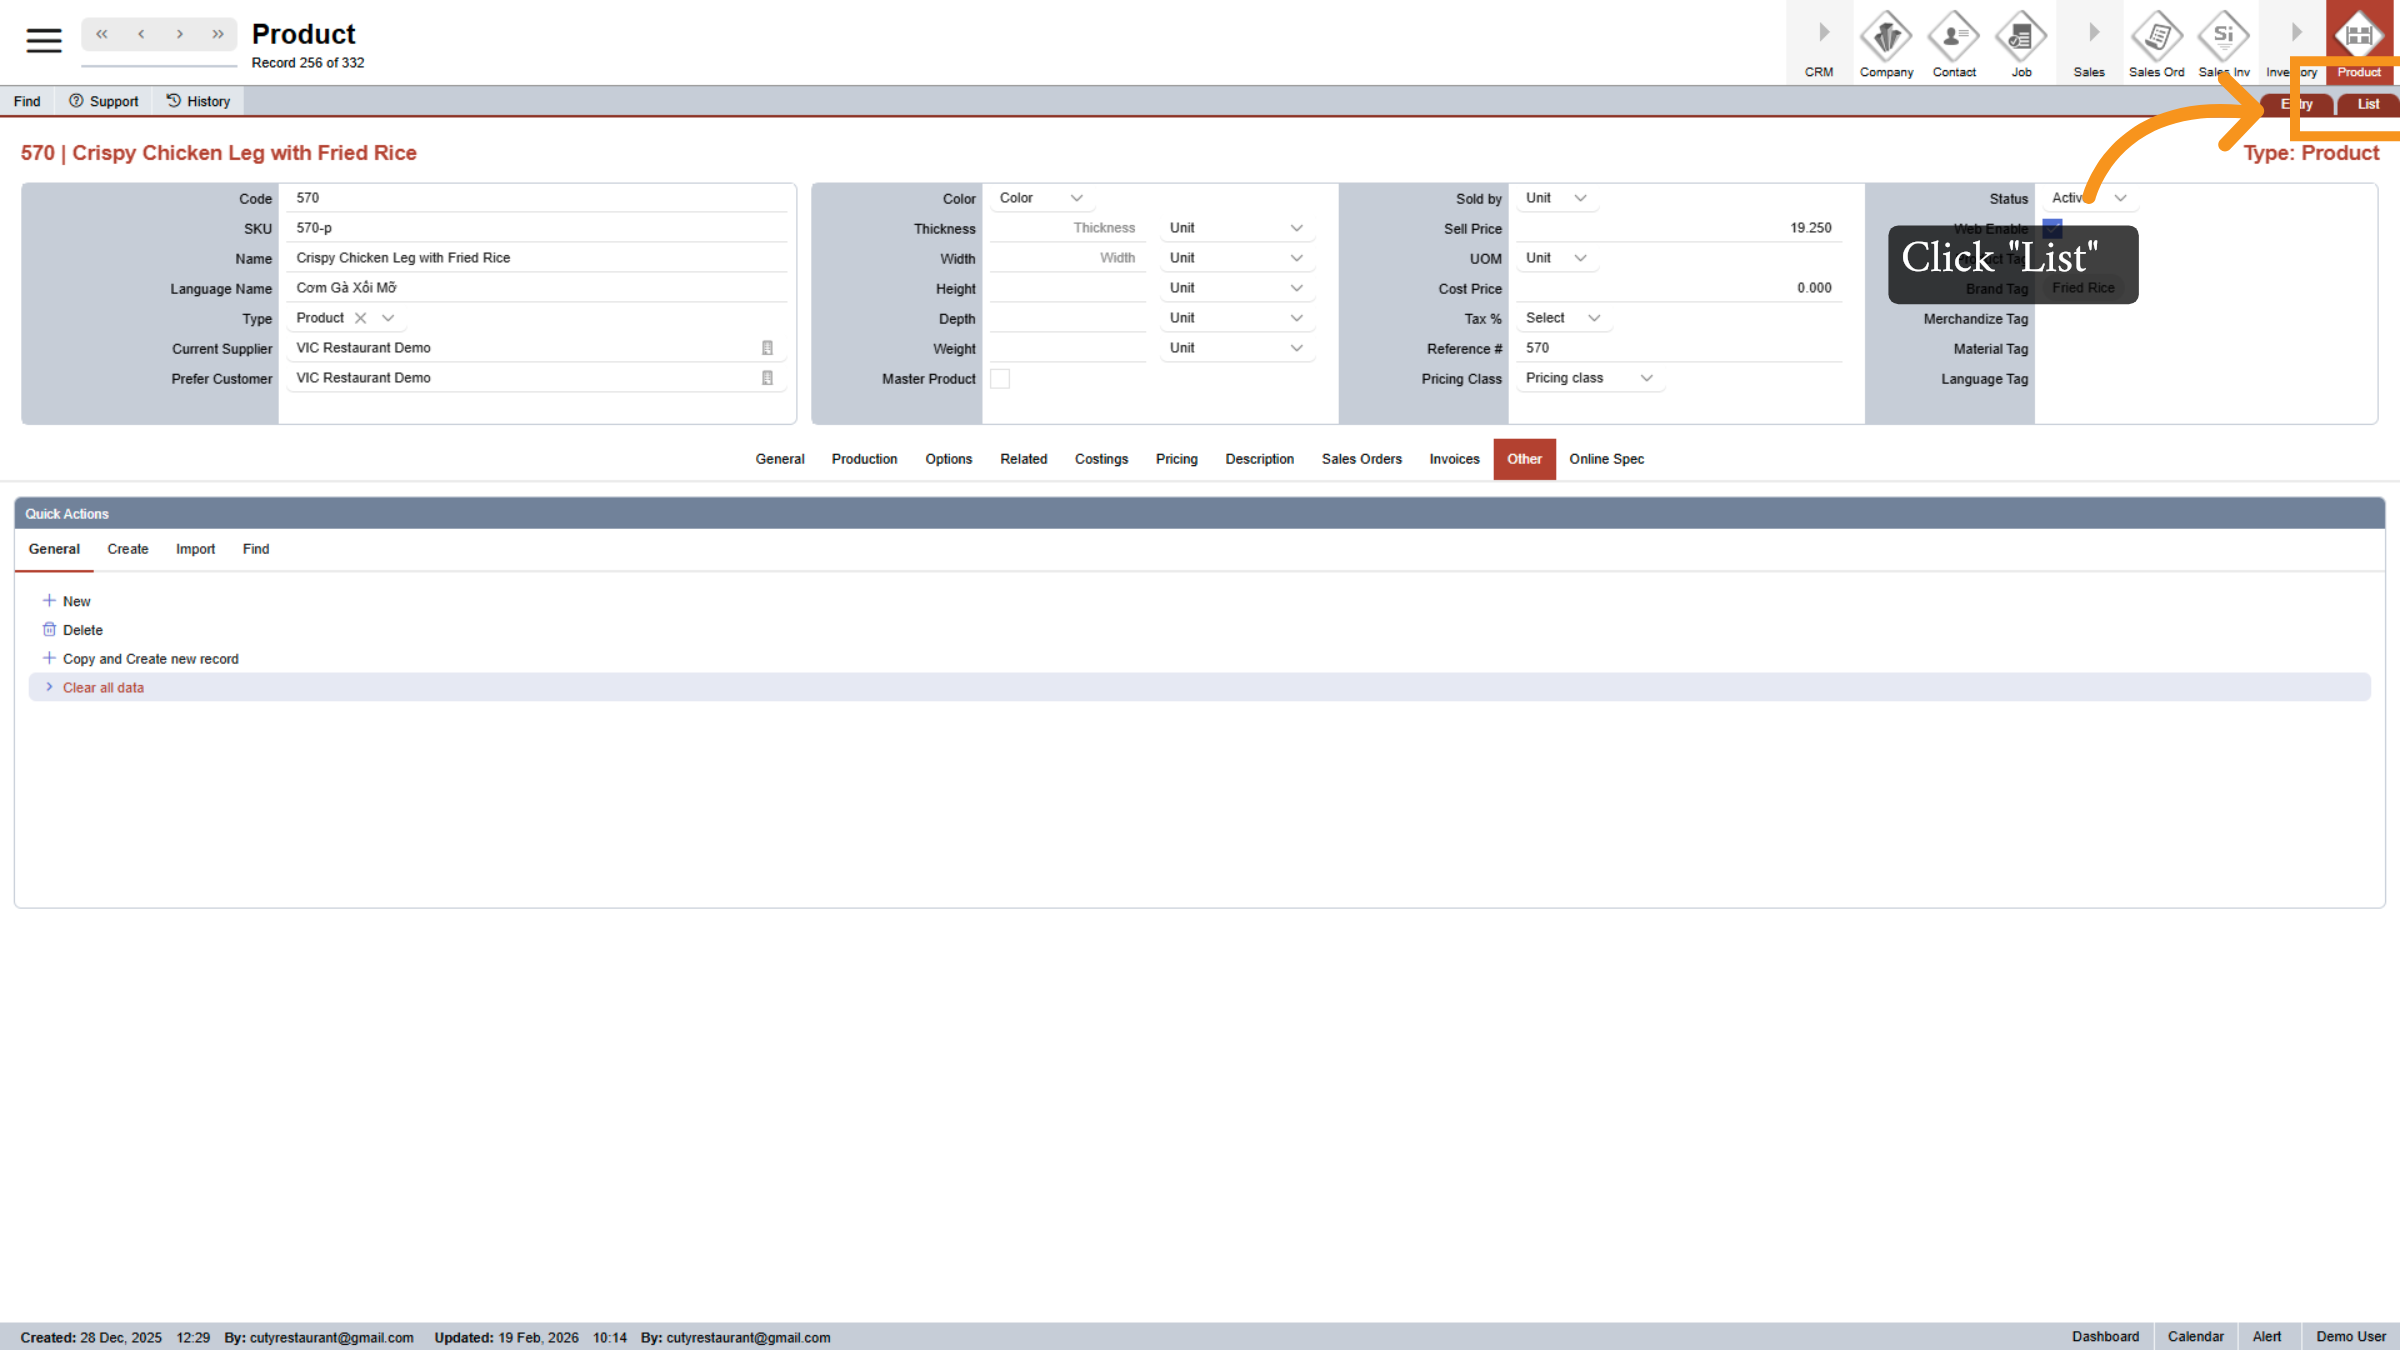
46. View Product List
Click List to display all products in a list format.
47. Export Product List
Click Export List to download the product list for external use.

48. Access Support Section
Click Support to get help or access resources related to product management.

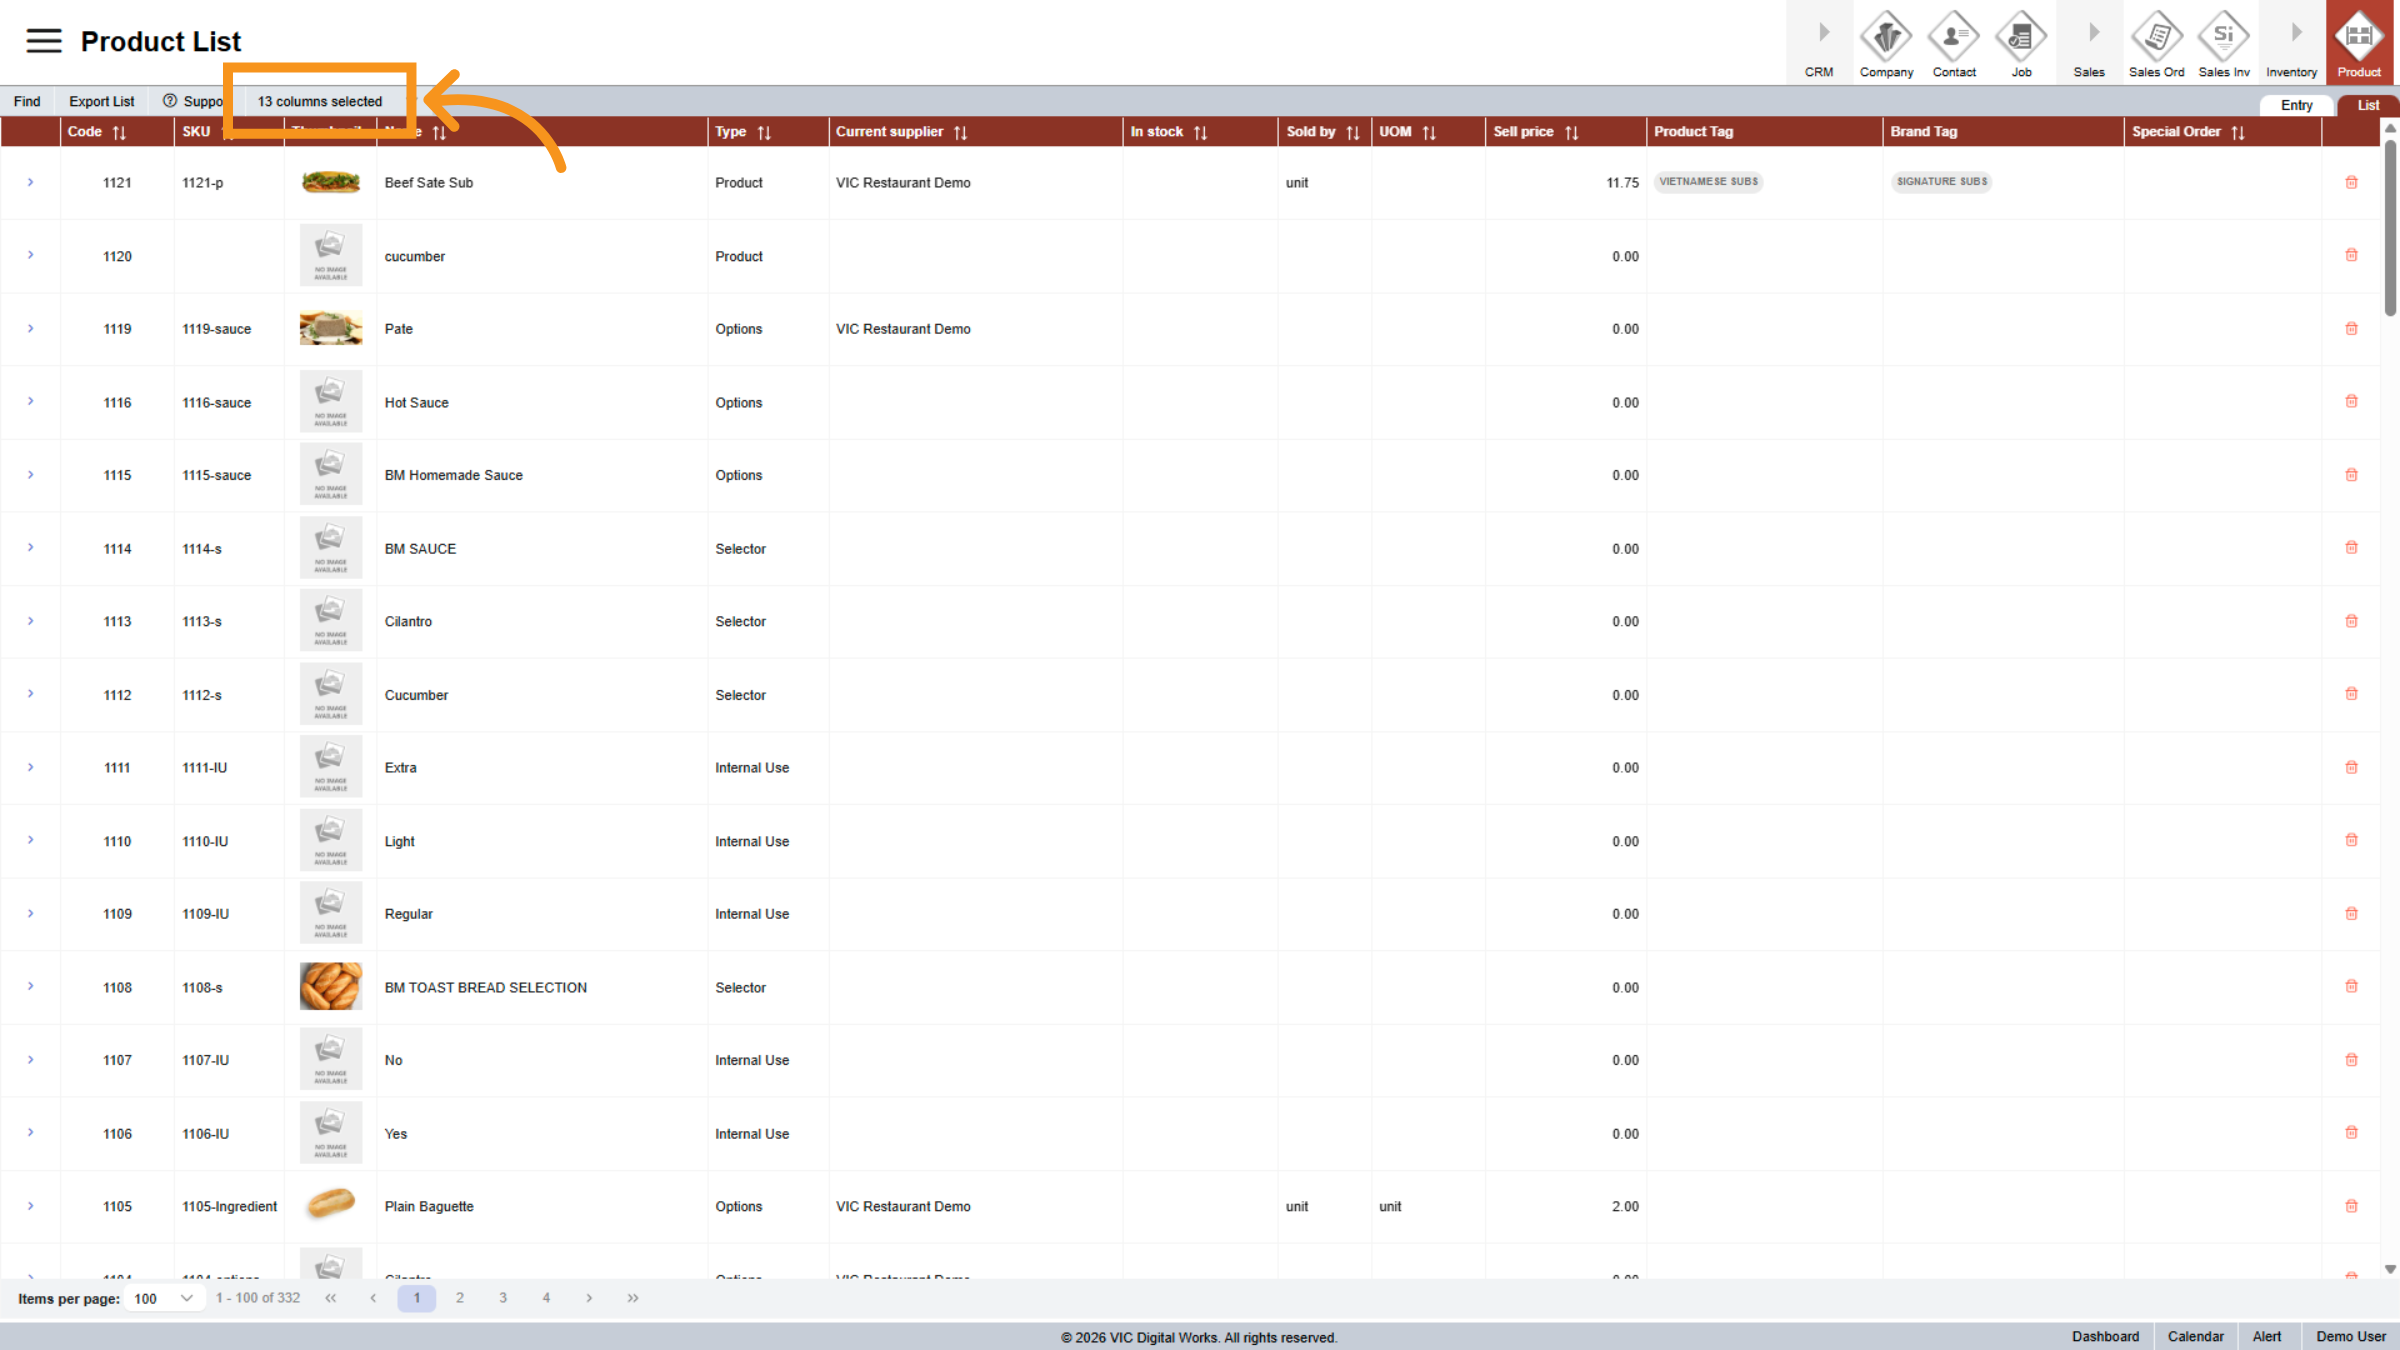
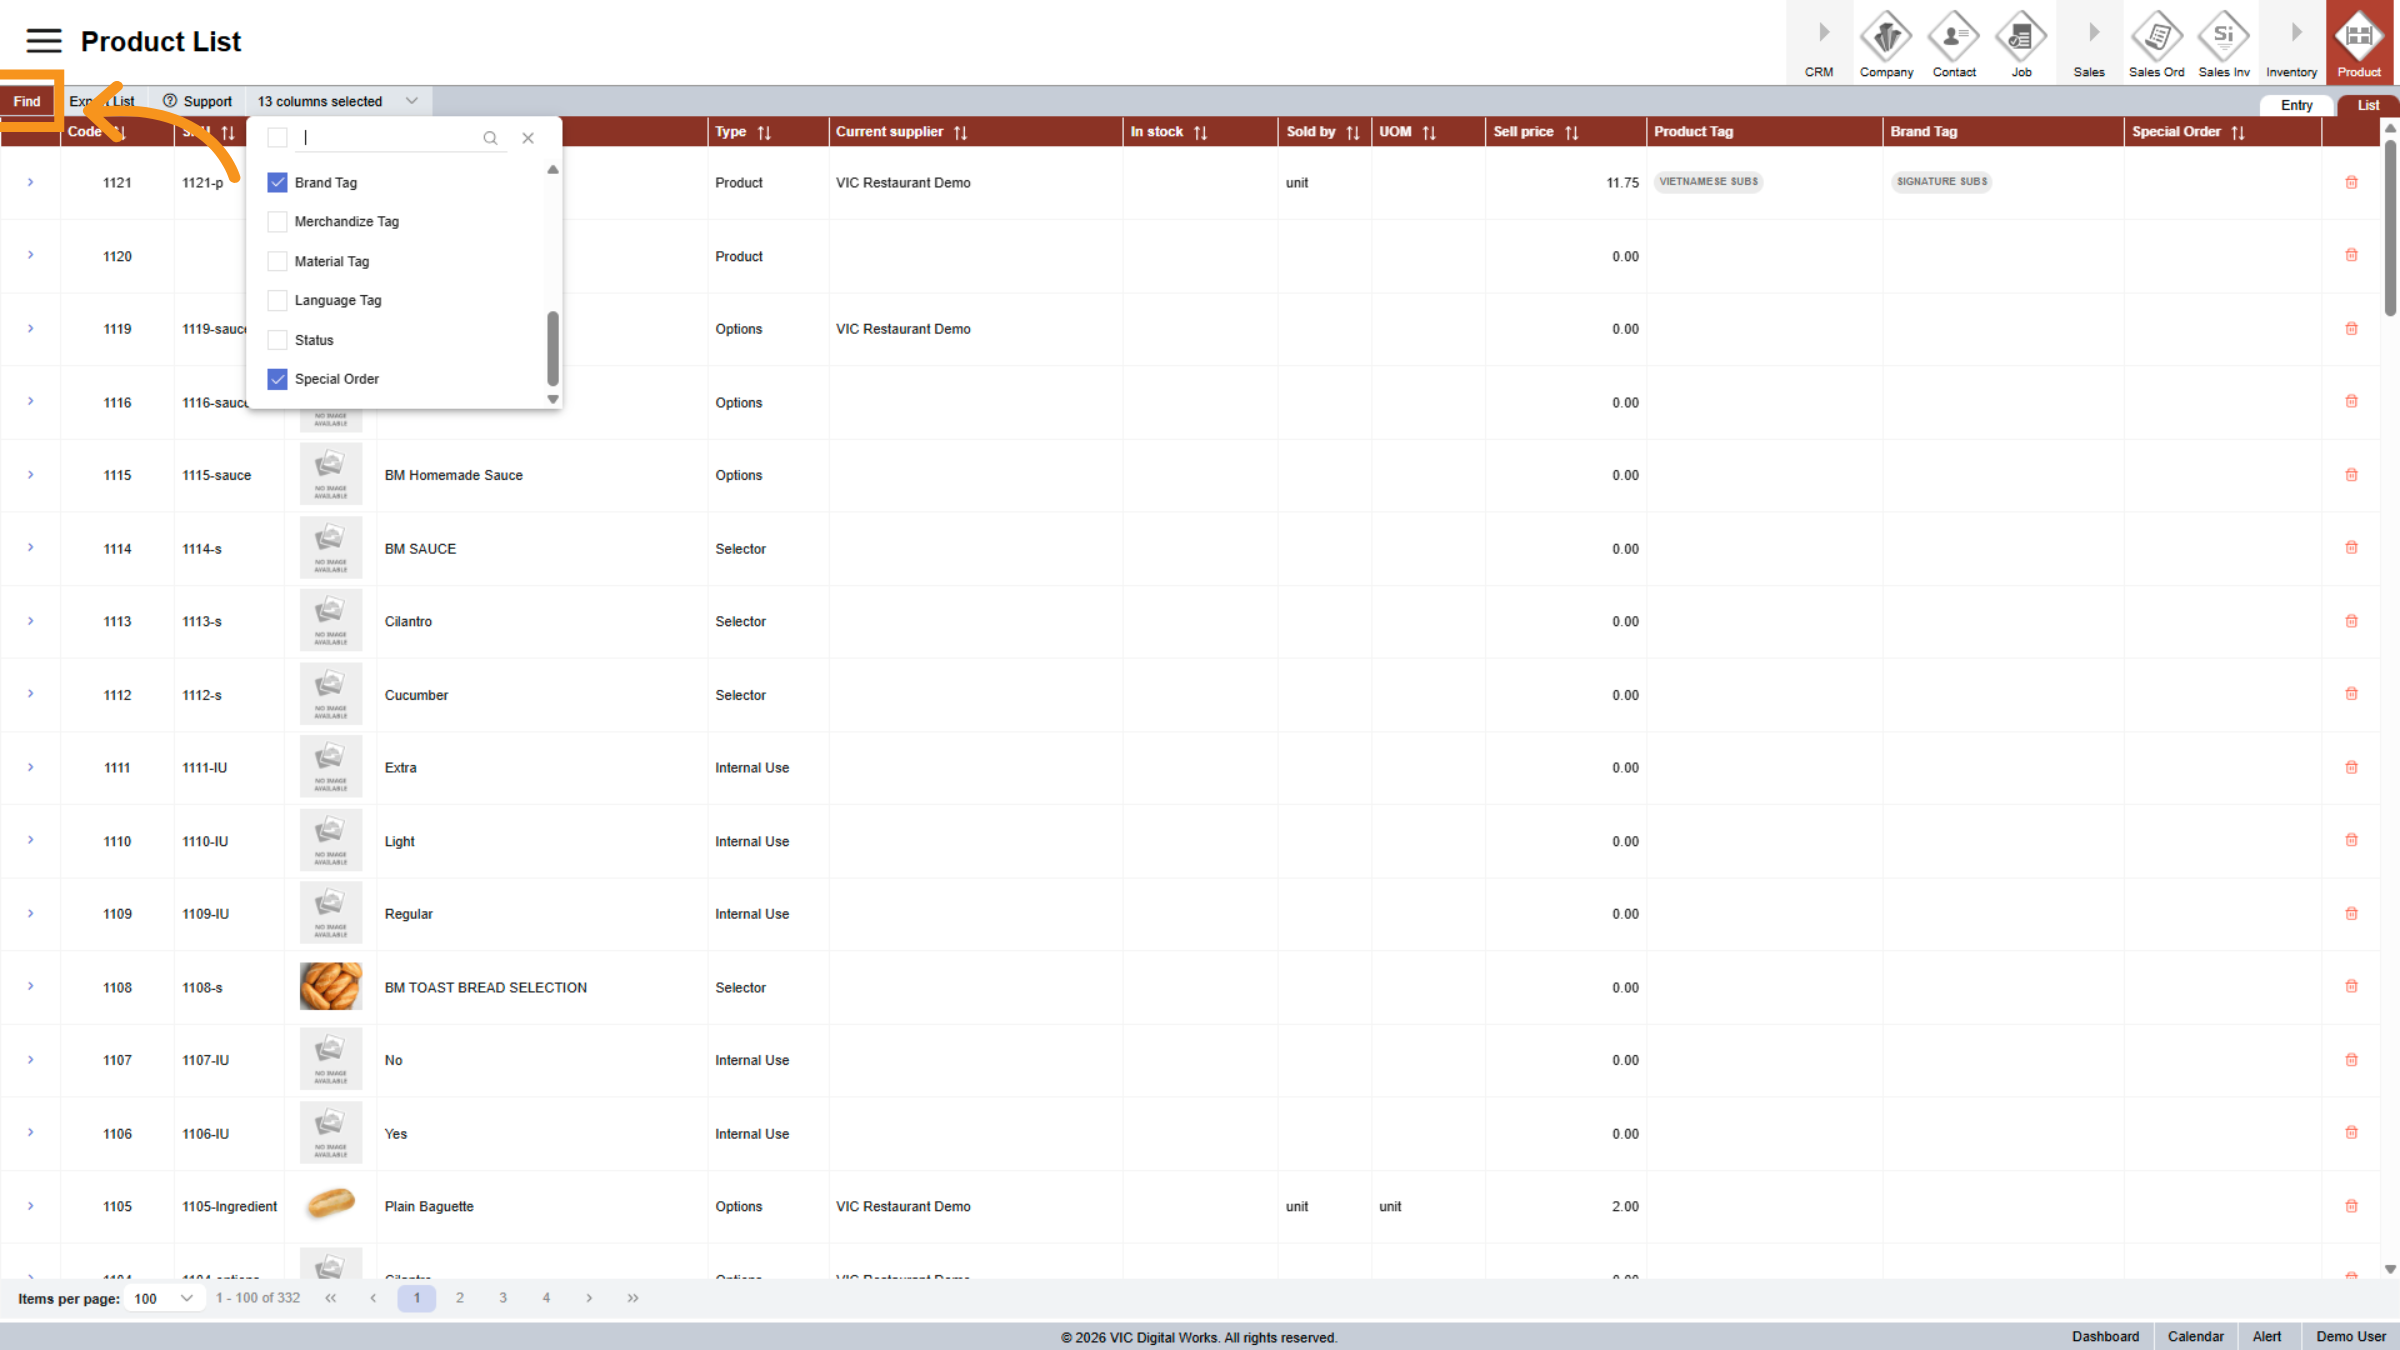
49. Manage Column Selection
Click 13 columns selected to customize which product attributes are visible.
50. Initiate Product Search
Click Find to begin searching for products based on selected criteria.
You have successfully navigated and managed product details within the Vicdigitalworks E-Store system. This includes searching, configuring attributes, pricing, and managing product records efficiently for effective store management.