B2B E-Store Default Data
This tutorial guides you through configuring the default settings for a B2B E-Store. These settings control order processing, approval workflows, shipping preferences, and other store-level configurations.
Video Tutorial
1. Open Default Data
Within the selected company, click Default Data.

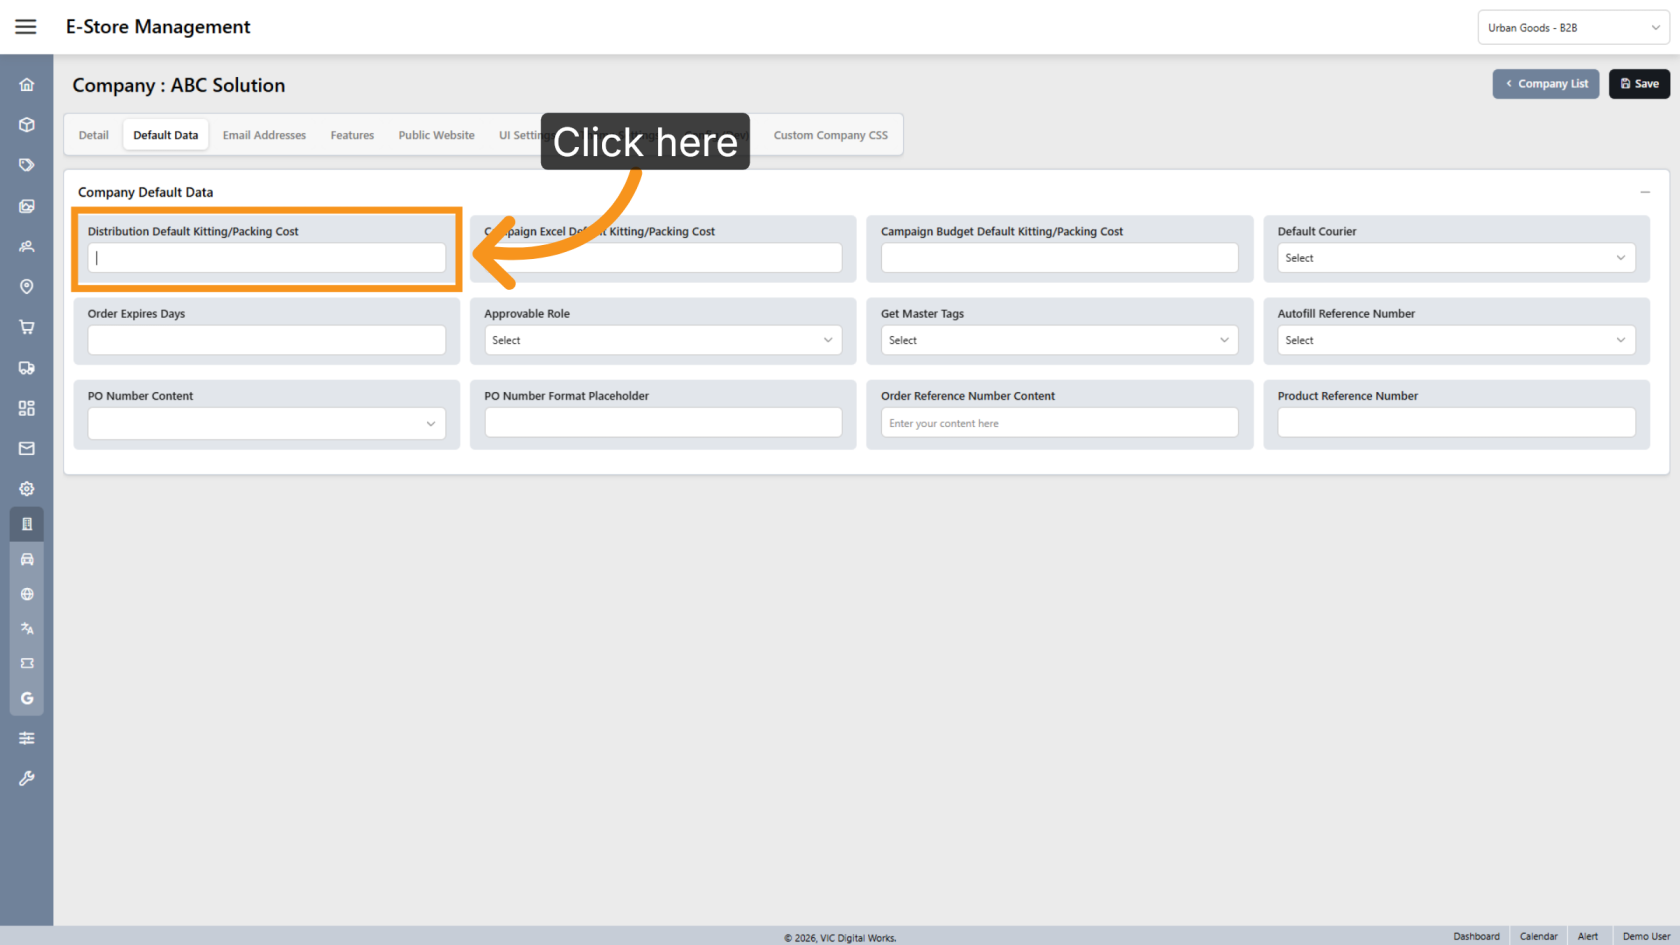
2. Enter the Default Kitting & Packing Cost
Enter the Default Kitting & Packing Cost to be applied to E-Store orders.
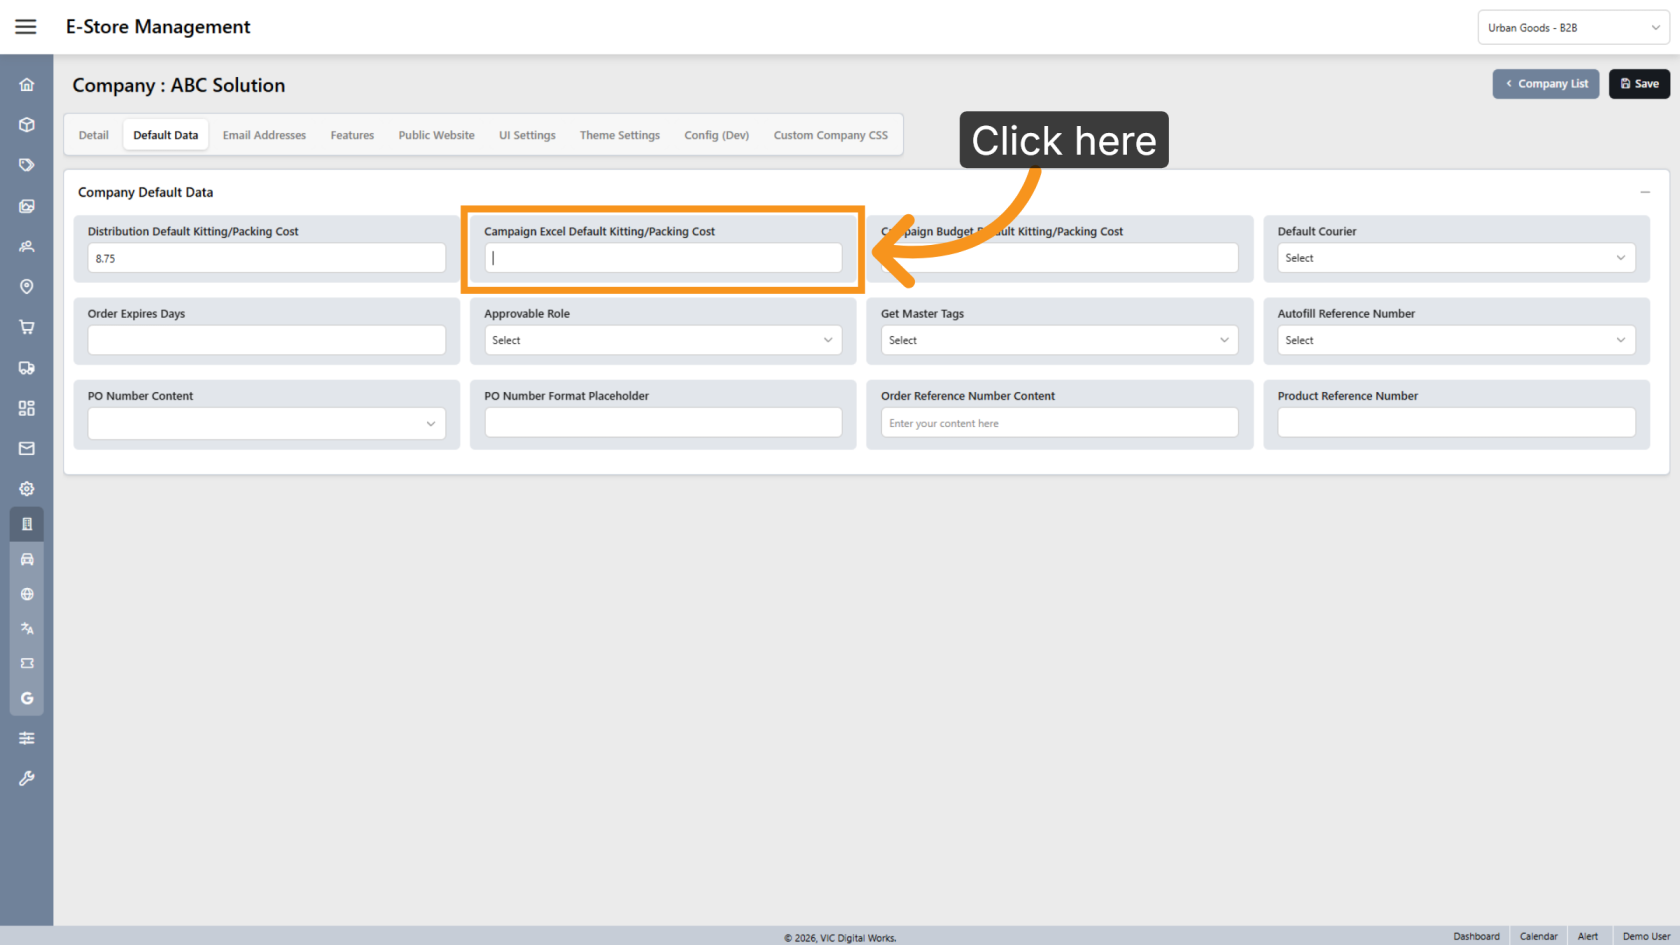
3. Configure Excel Campaign Cost
For campaigns created from Excel imports, enter a custom Kitting & Packing Cost if it should be different from the default value.
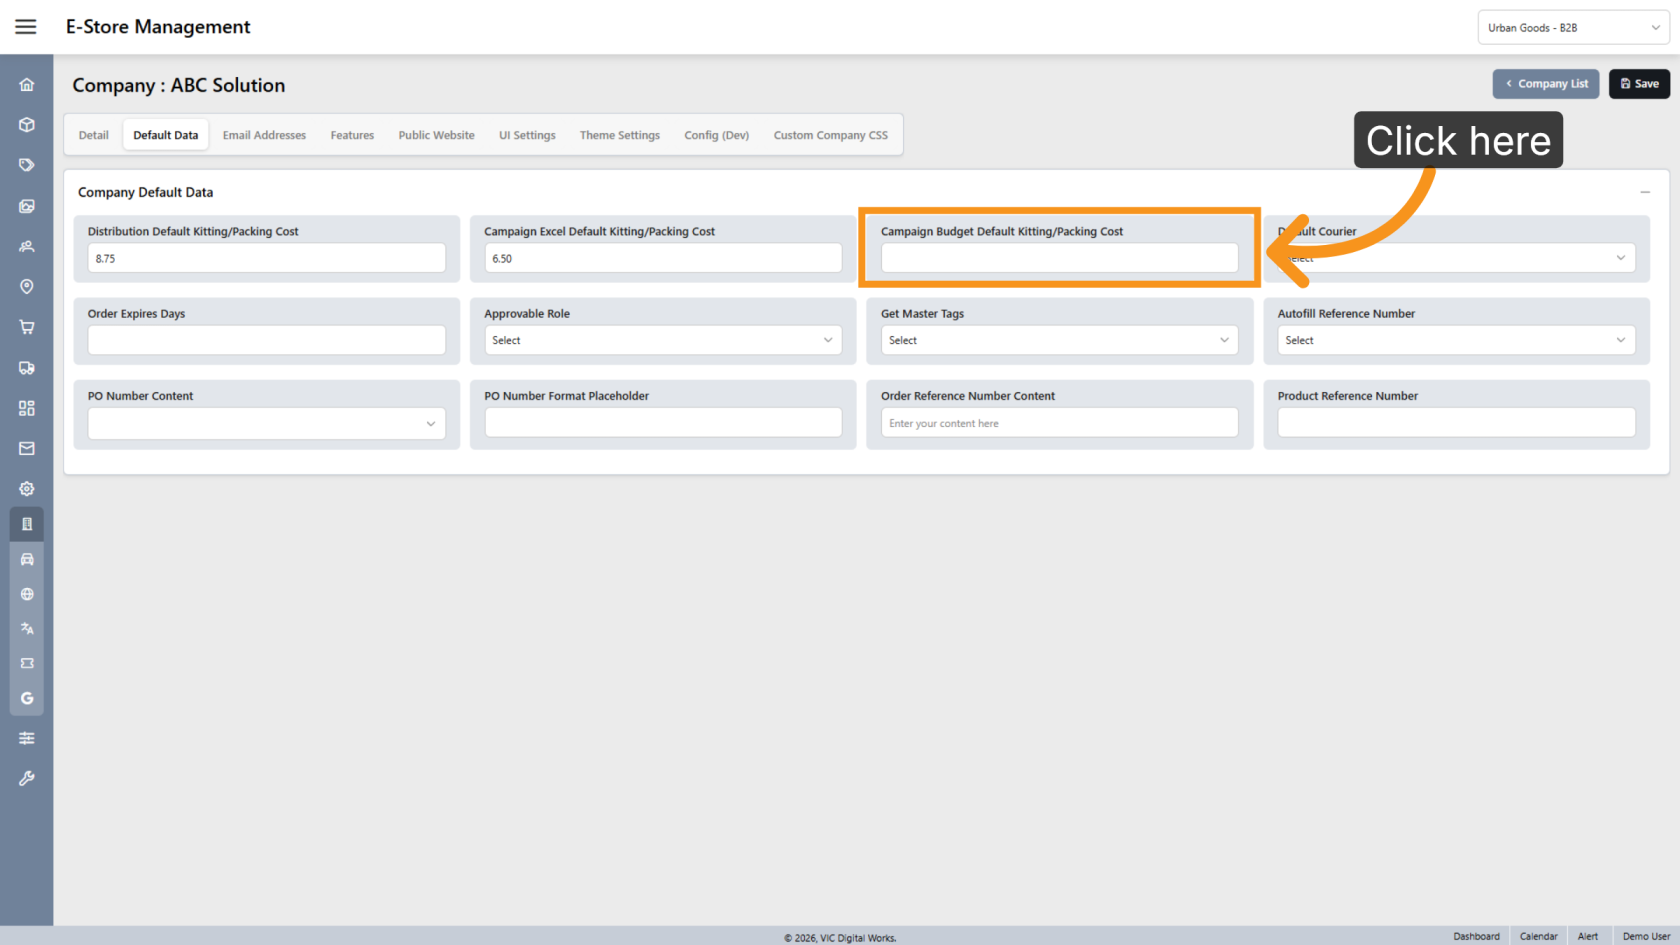
4. Configure Campaign Budget Cost
For campaigns created through Campaign Budget, enter a custom Kitting & Packing Cost if it should be different from the default value.
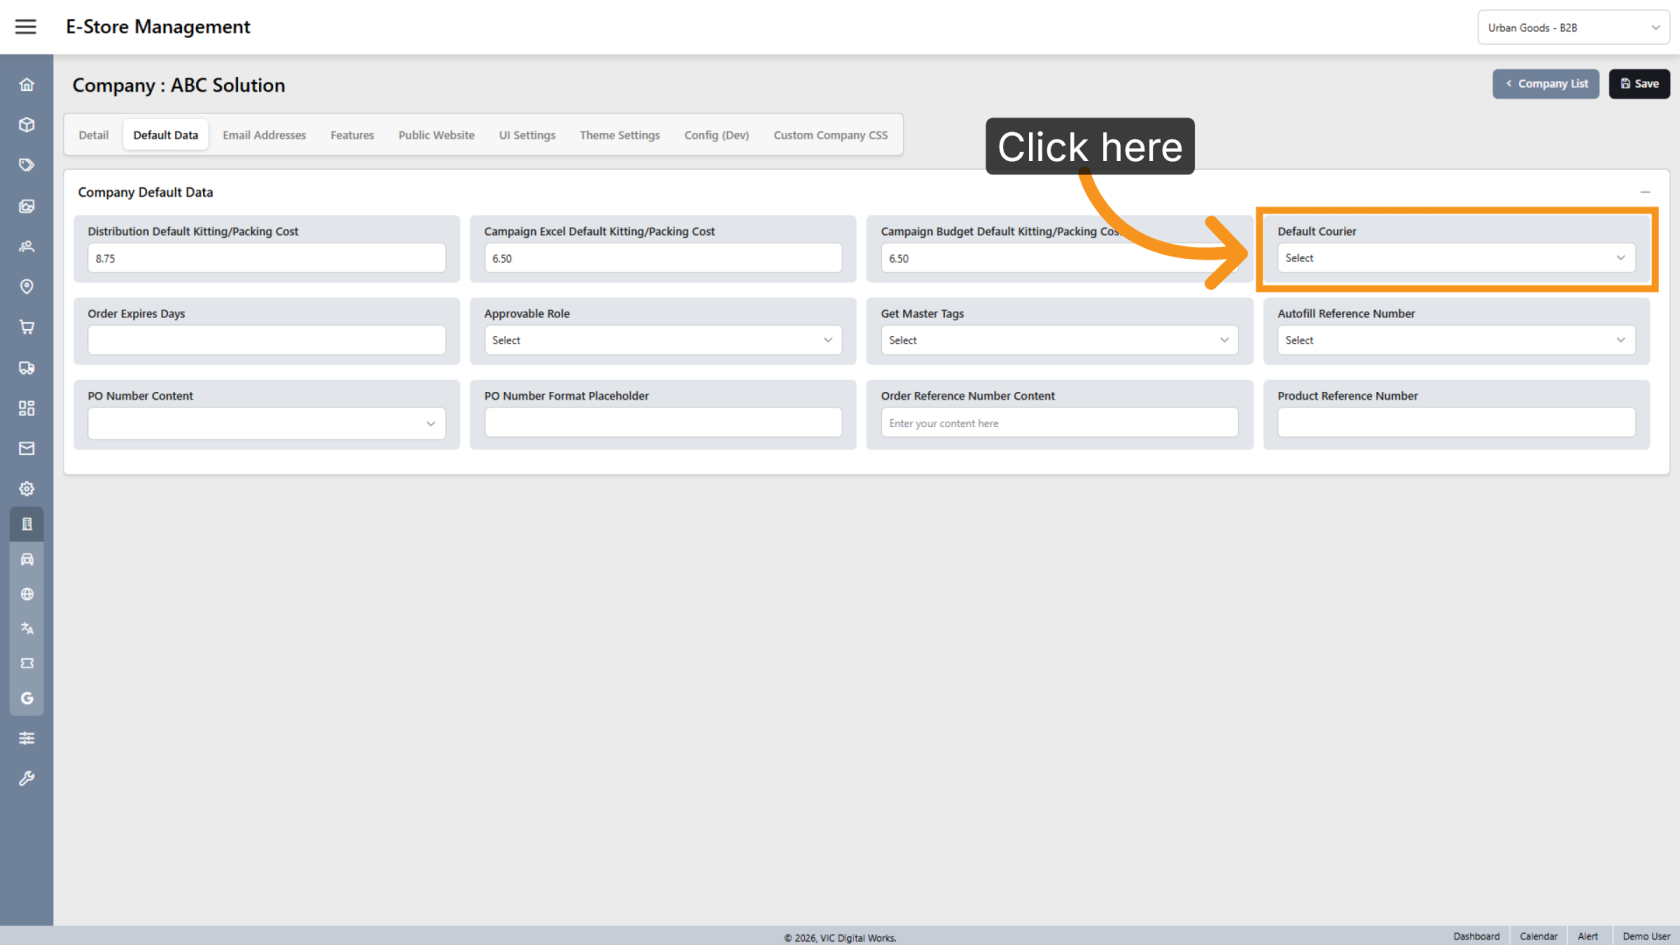
5. Select the Default Courier
Choose the Default Courier to be used for this B2B E-Store.
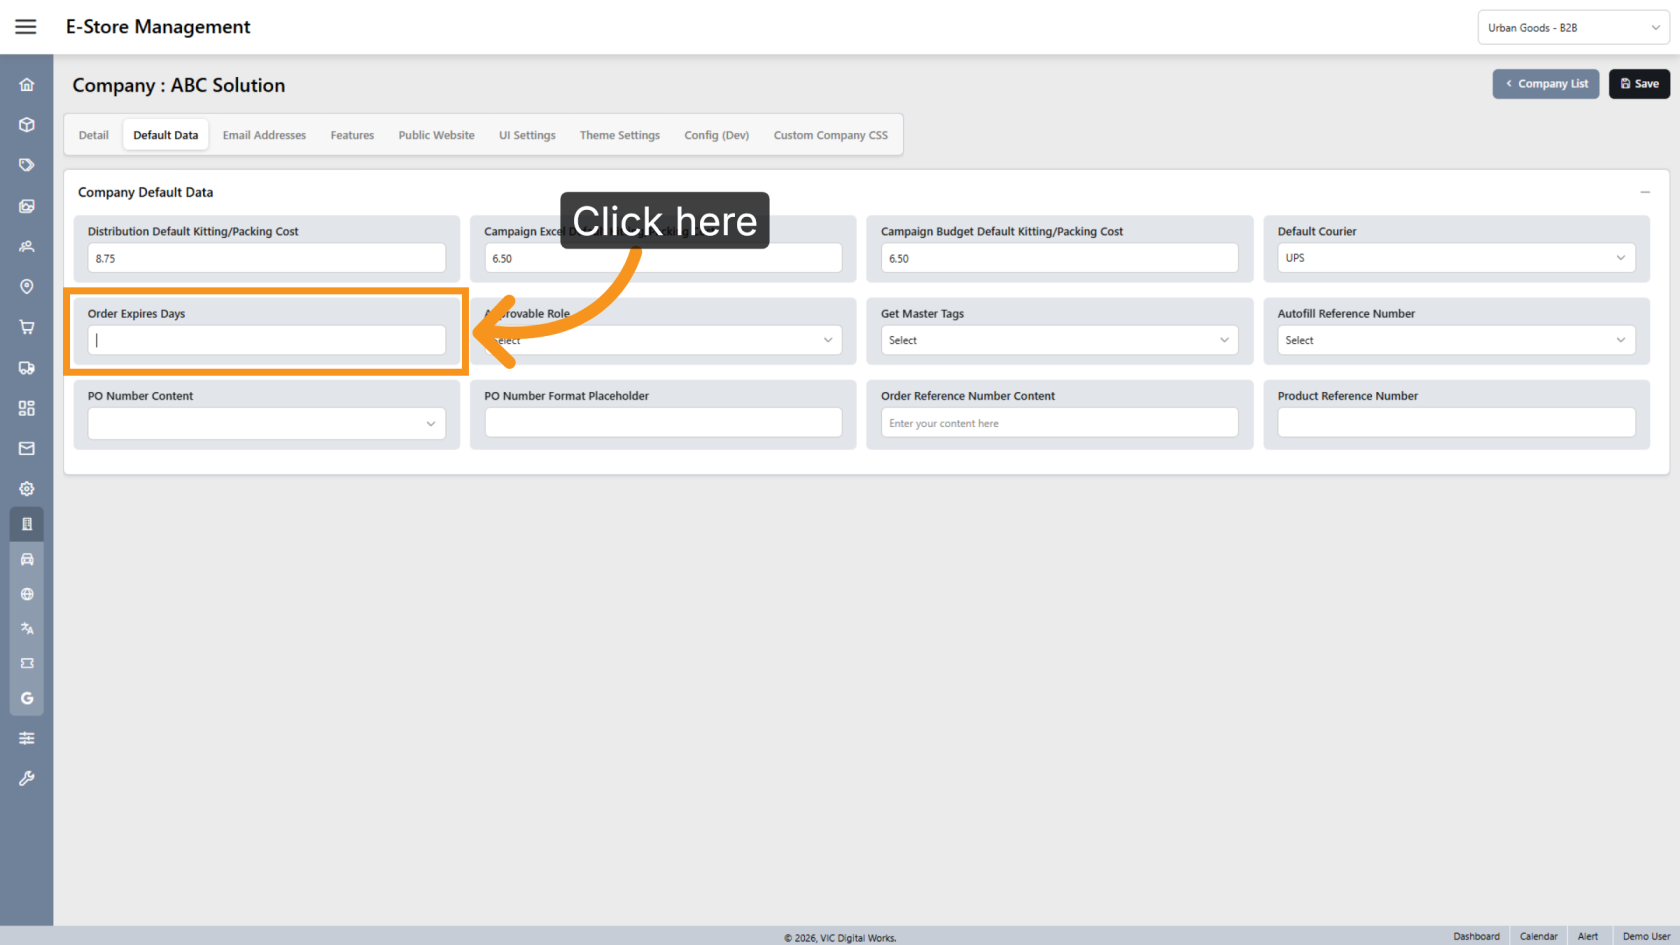
6. Set Order Expiry Days
Enter the number of days an order can remain in the shopping cart without being submitted. Once the expiry period is reached, the order will expire and the customer will need to create a new order.
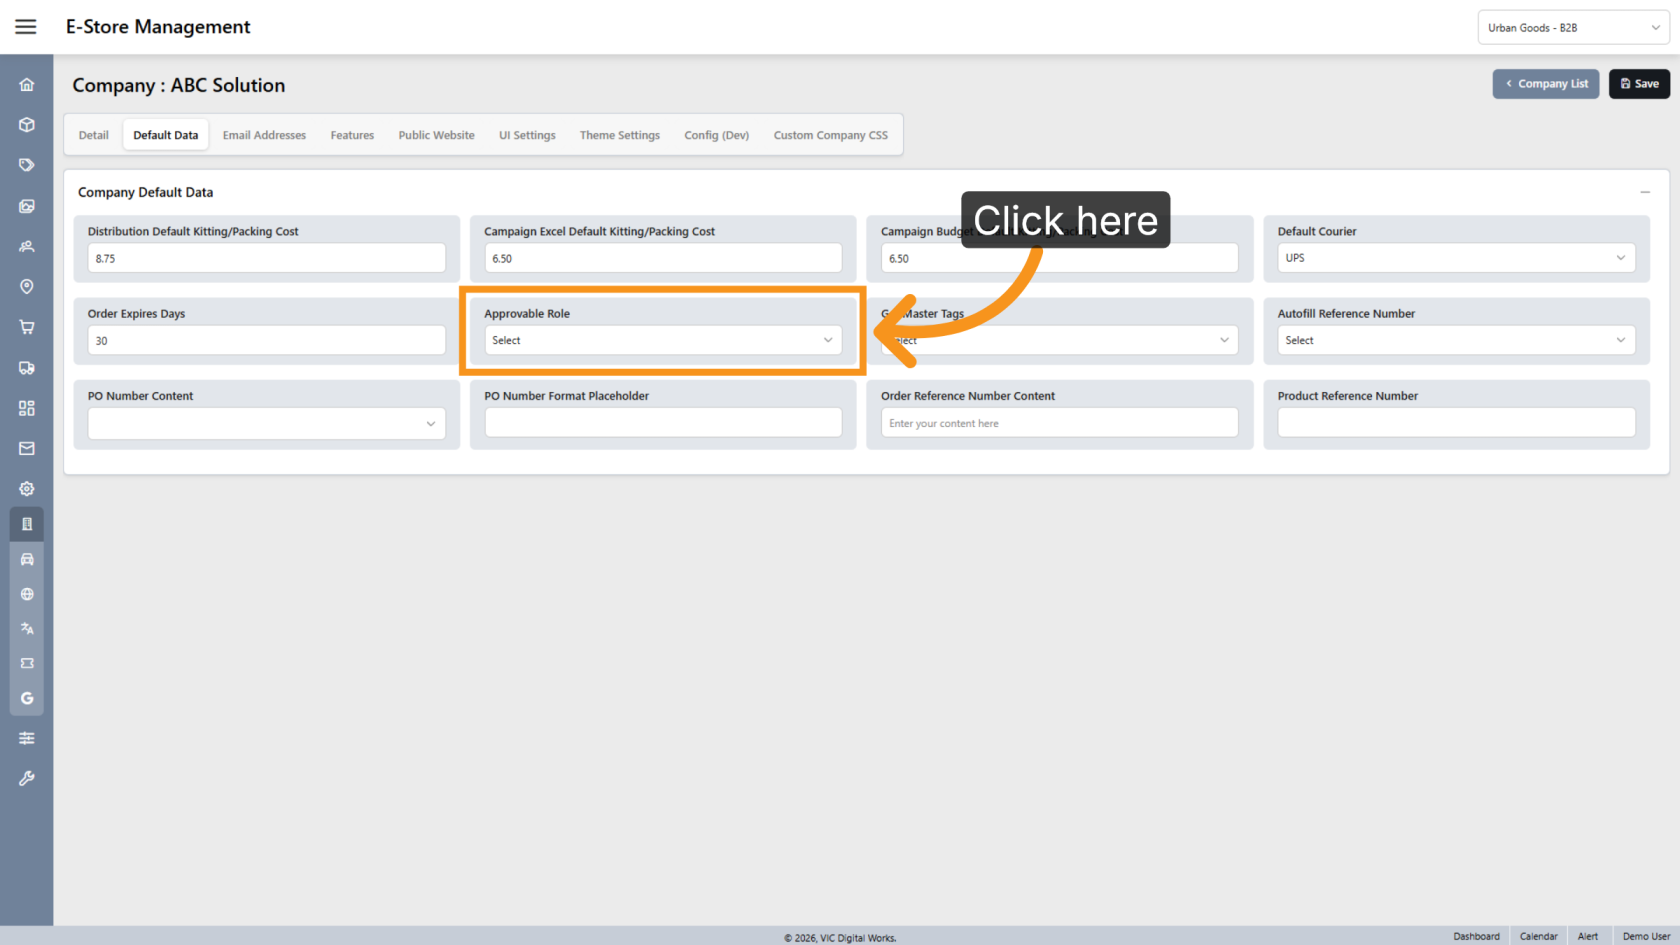
7. Select Approvable Roles
Click Approvable Role and select the roles authorized to approve orders.
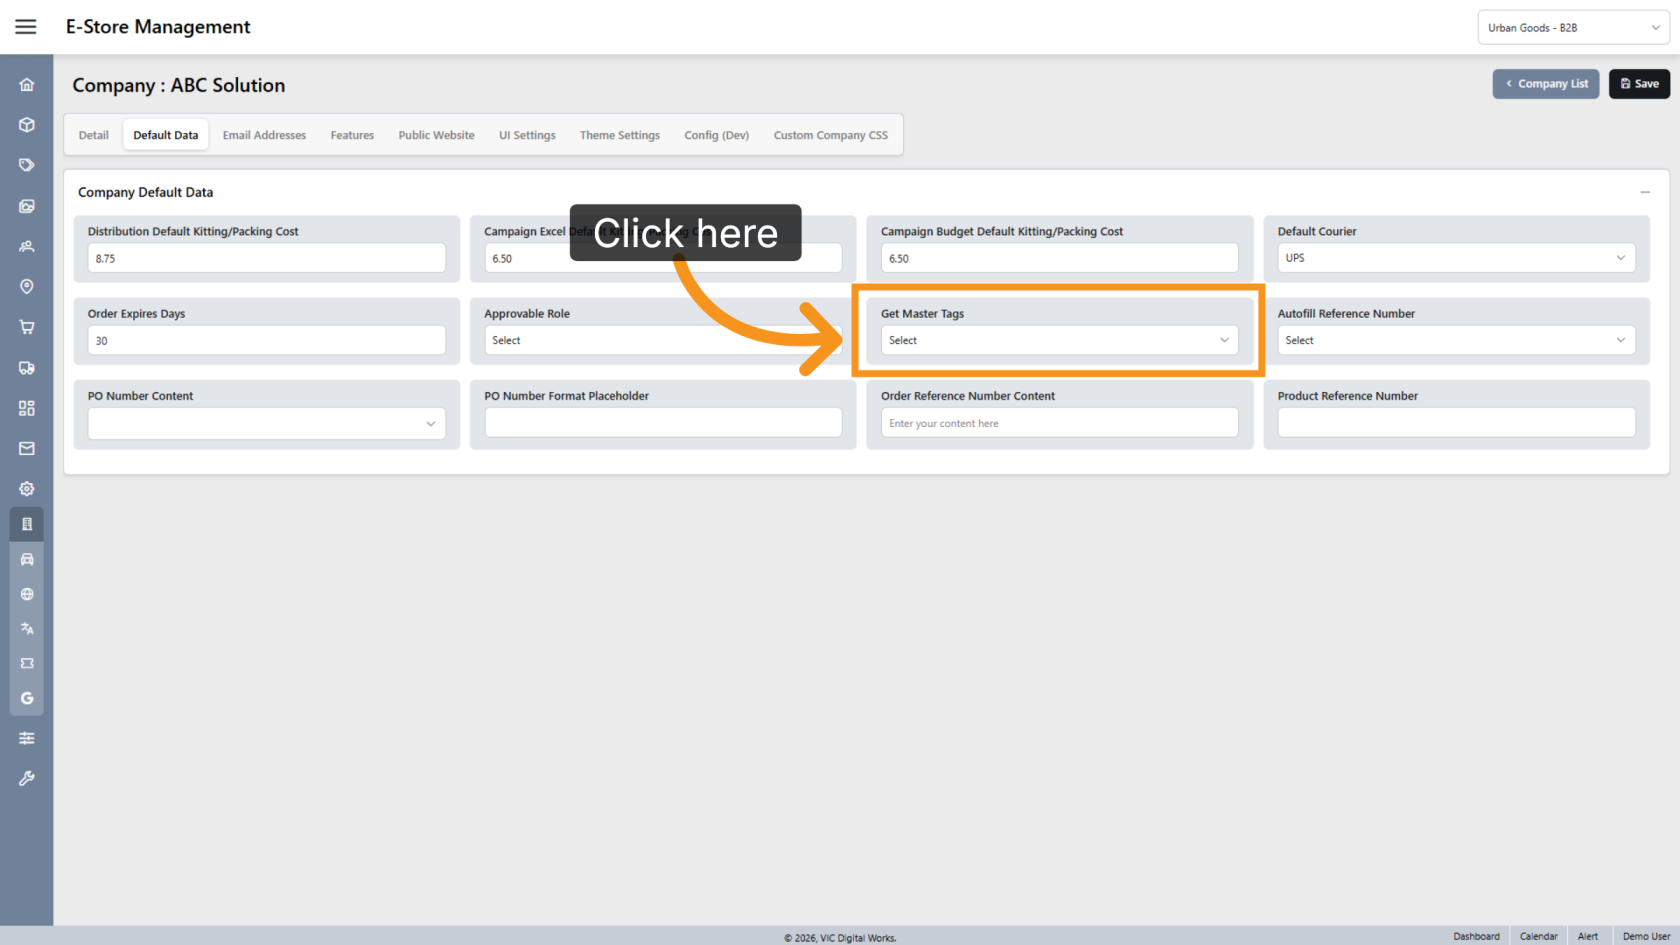
8. Enable Master Tags
Enable Get Master Tags if you want this B2B E-Store to inherit tags from the parent company.
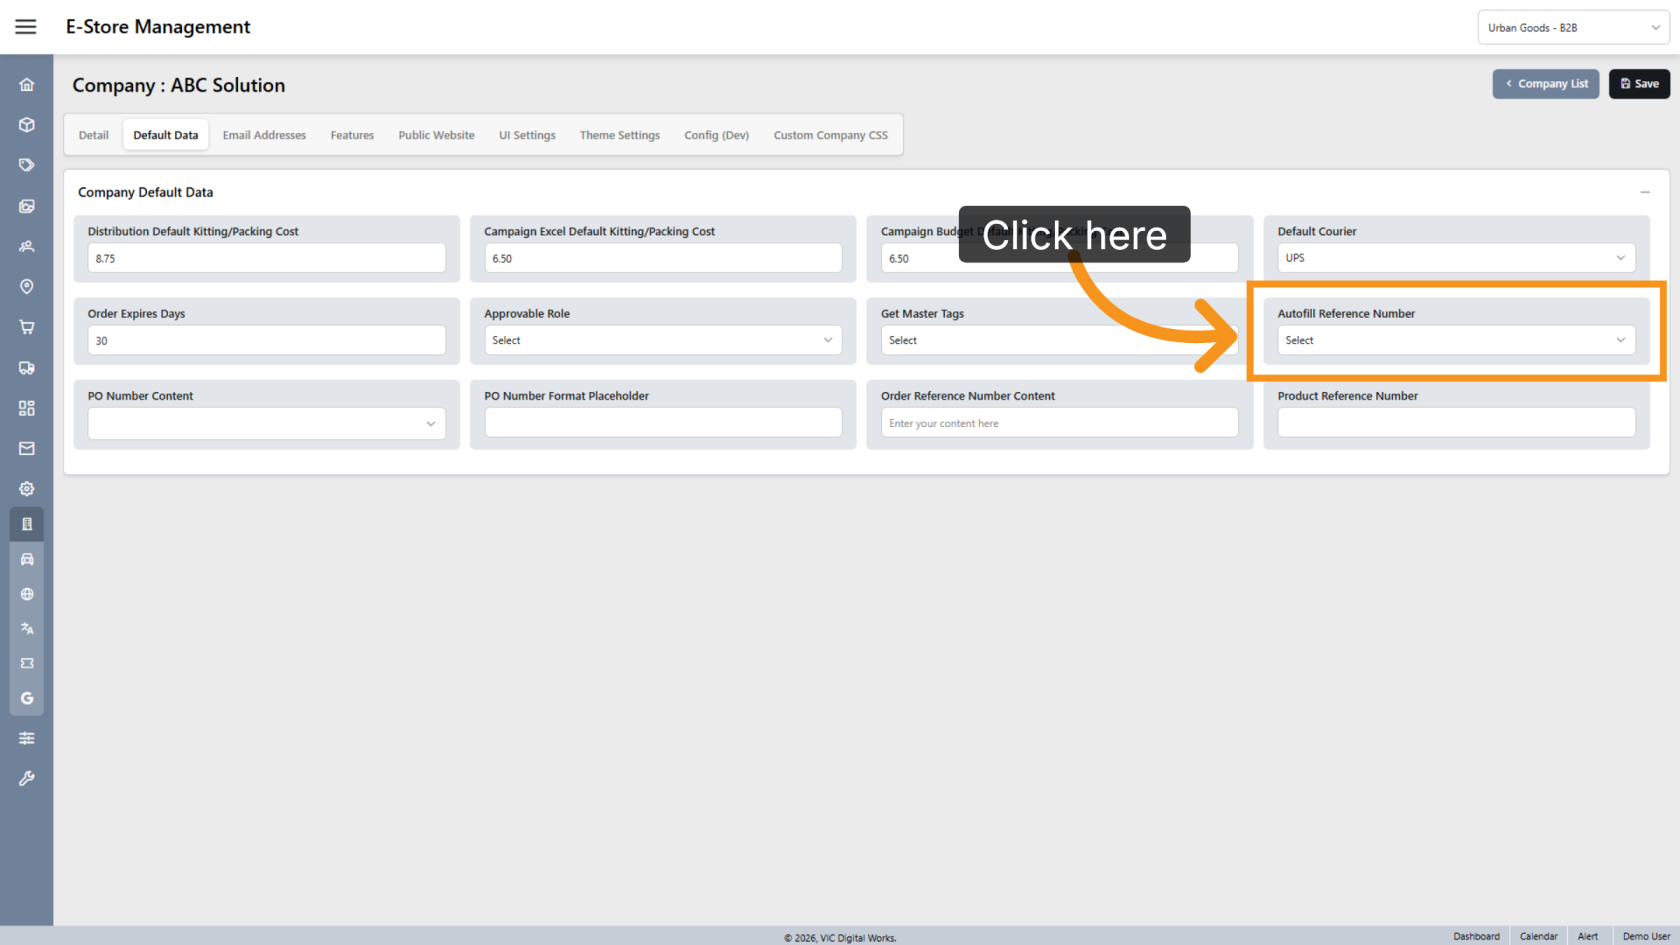
9. Enable Reference Number Autofill
Enable Autofill Reference Numbers to automatically display available reference number options during order entry.
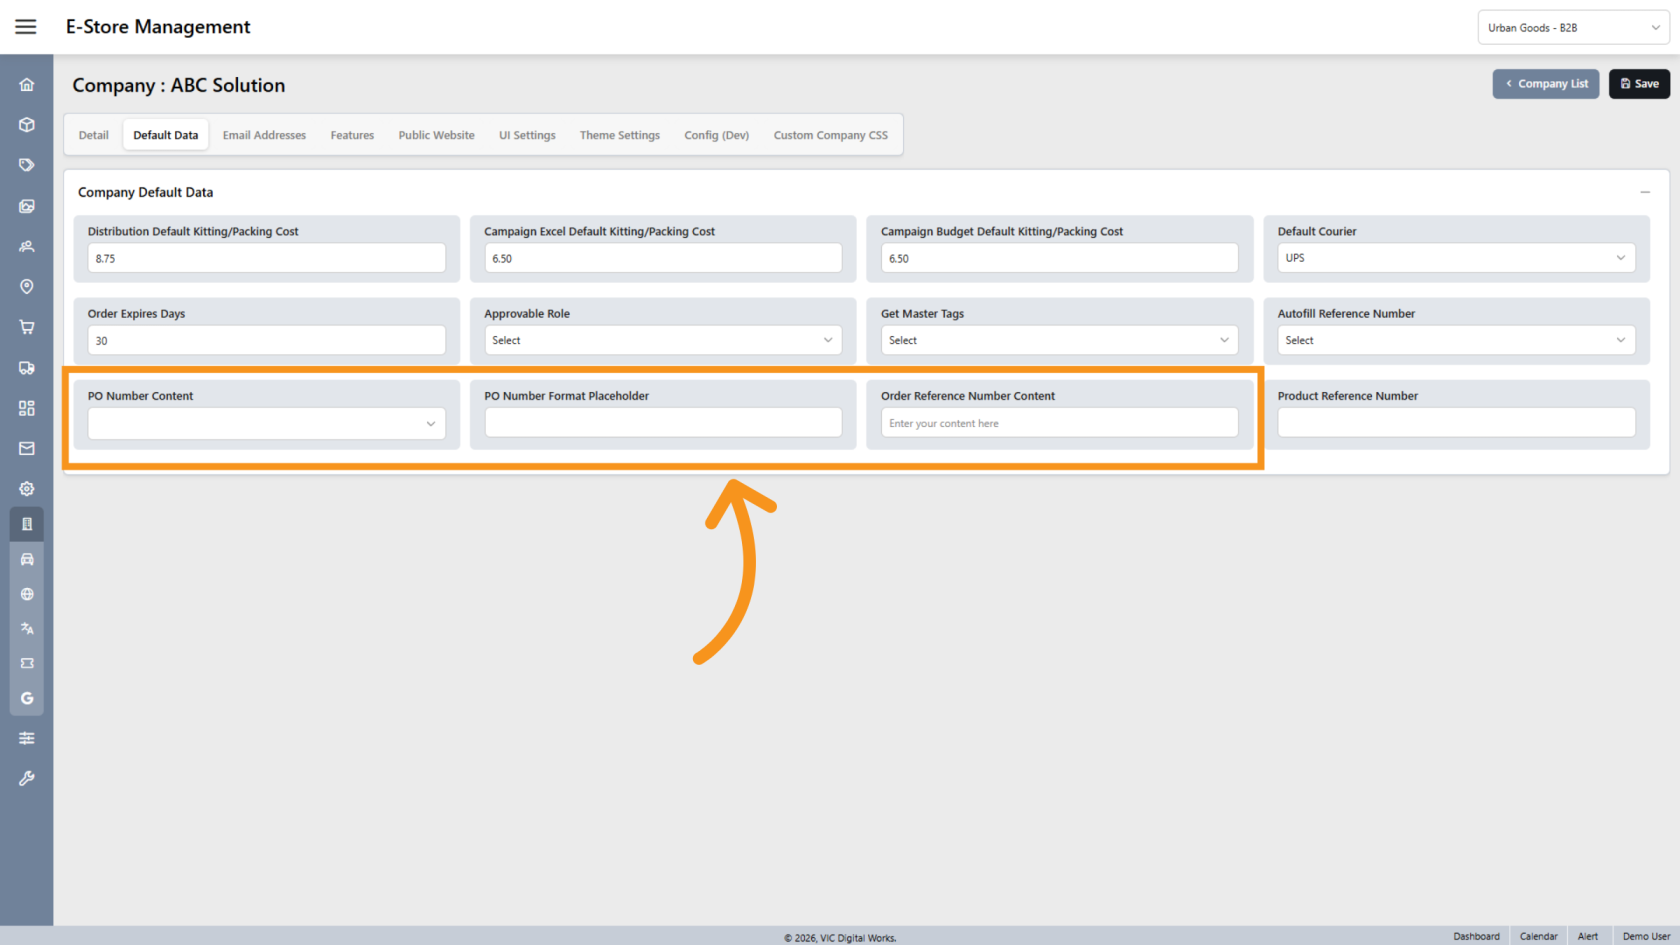
10. Configure Custom Detail Content
Enter any custom content you want to display in the available detail fields.
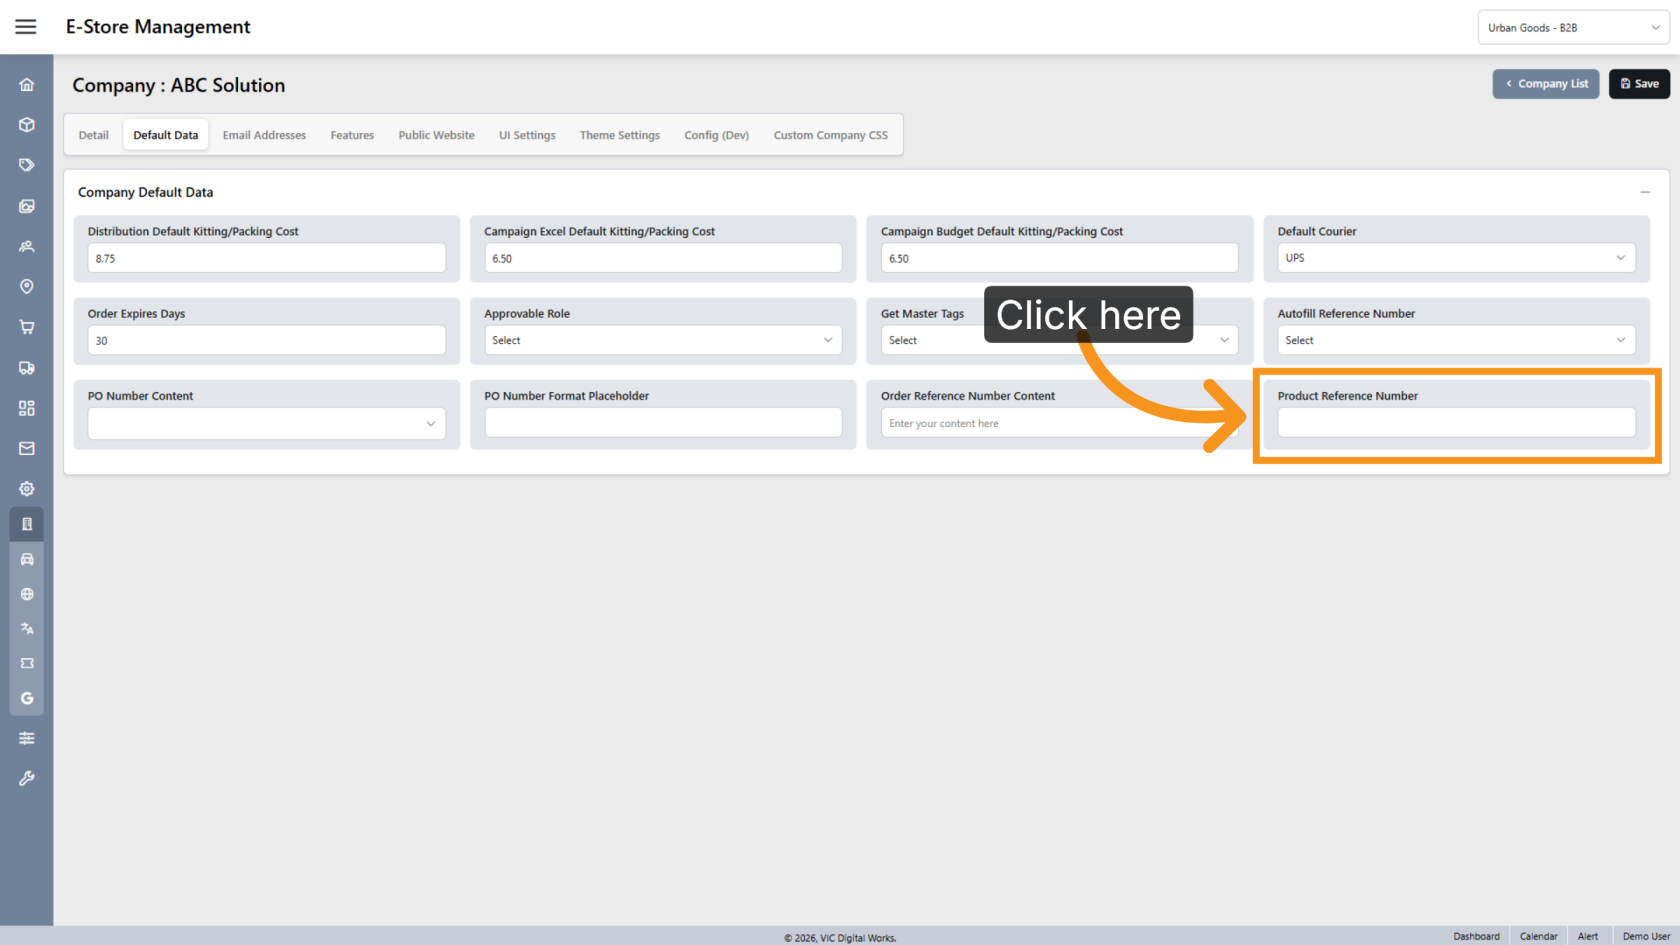
11. Set the Product Reference Prefix
Enter a two-digit product reference prefix. The two digits will be used as the beginning of all new product reference numbers created for this B2B E-Store, making it easier to identify products associated with the store.
You have successfully configured the default settings for a B2B E-Store. Review all values and preferences to ensure the store is configured correctly for your ordering, approval, and fulfillment workflows.