Create Sales Order for Billing
This tutorial guides you through creating a Sales Order for billing. Proper shipping location, heading format, and billing details are required to ensure accurate reporting and GL code allocation.
Video Tutorial
1. Review Shipping Information
For billing purposes, the shipping location is critical. Always select a location from the system instead of manually entering an address. This allows the system to identify the correct location and apply the appropriate GL code.

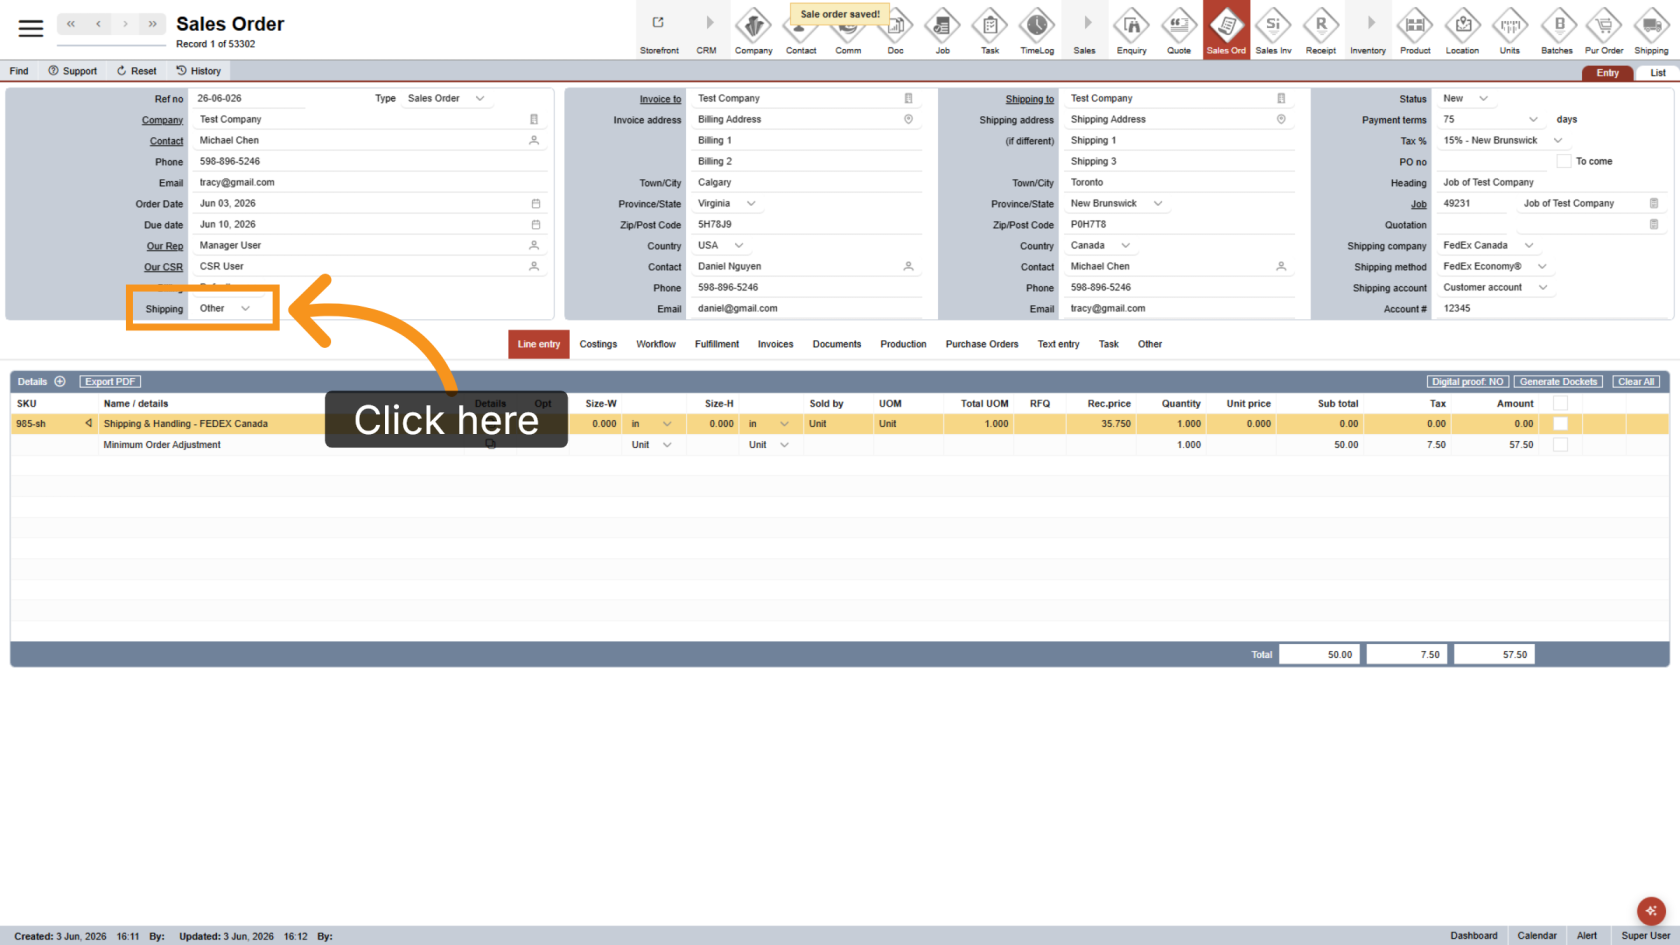
2. Change the Shipping Method
Select Shipping to Other to enable location selection.
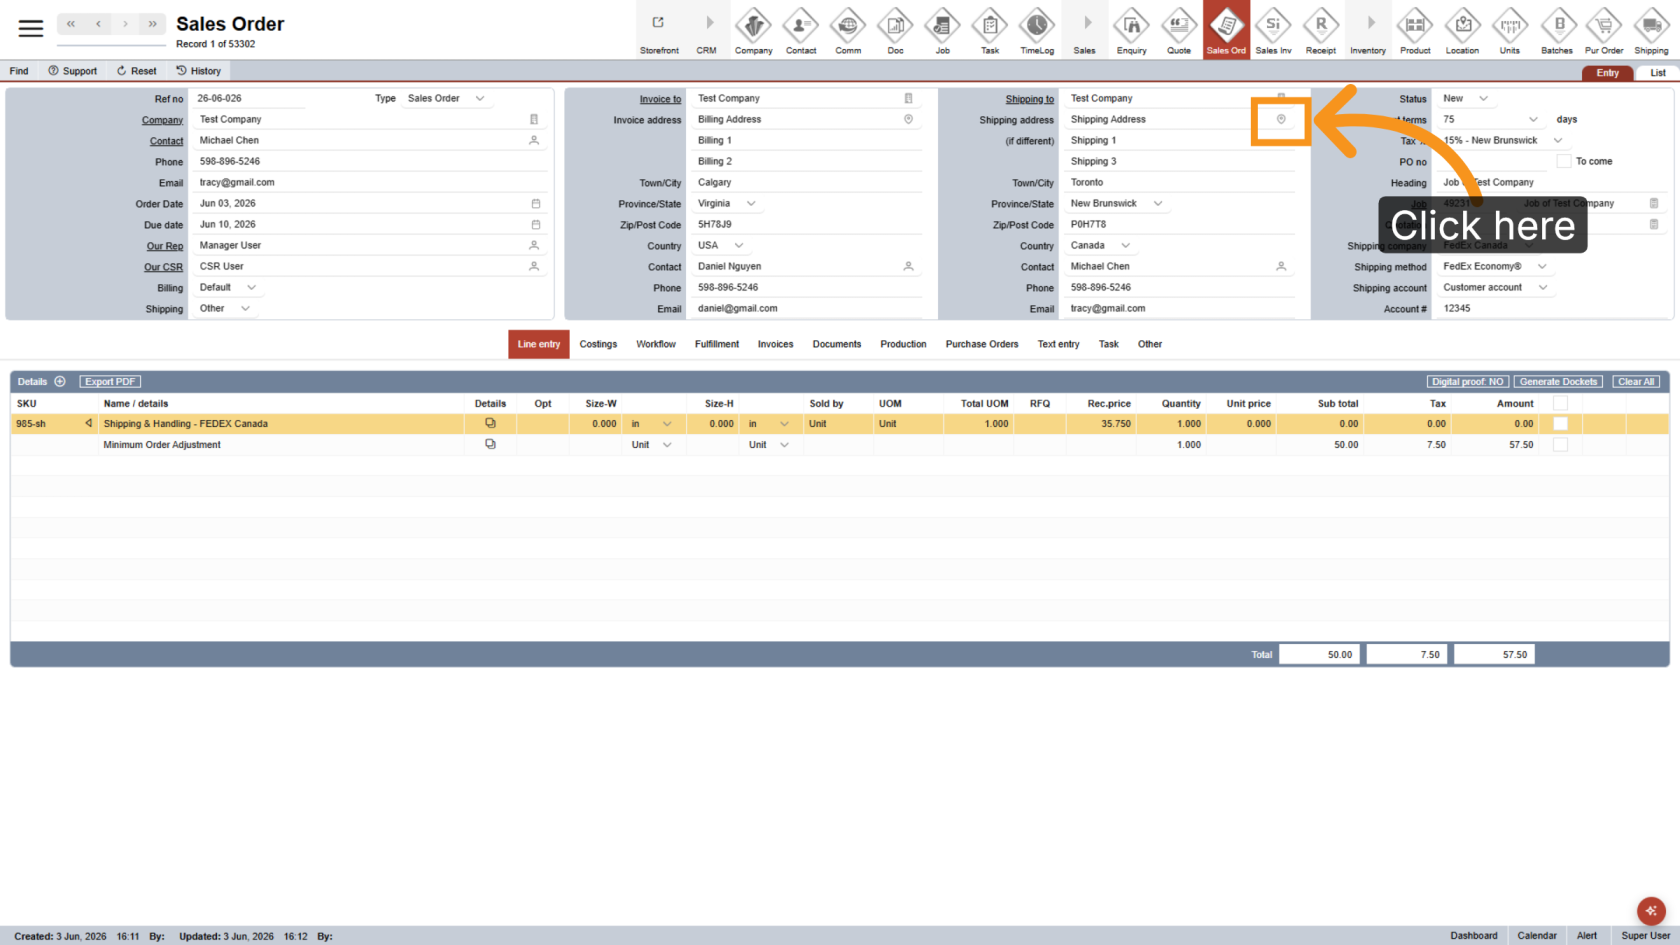
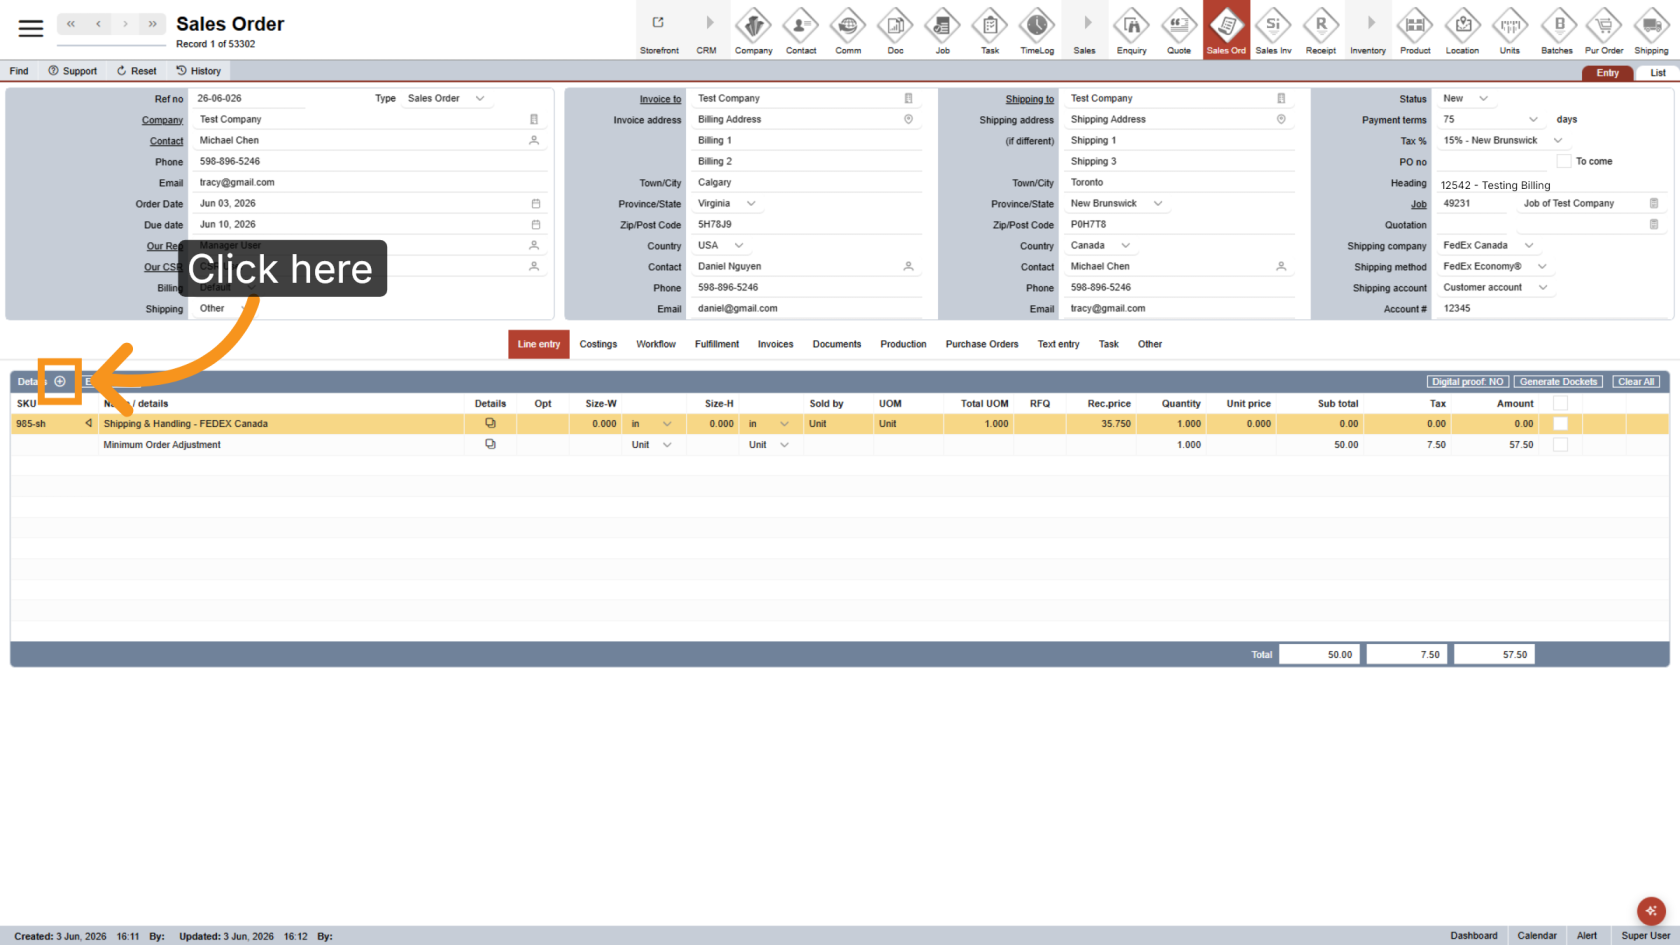
3. Select a Shipping Location
Click the location icon to select location for shipping
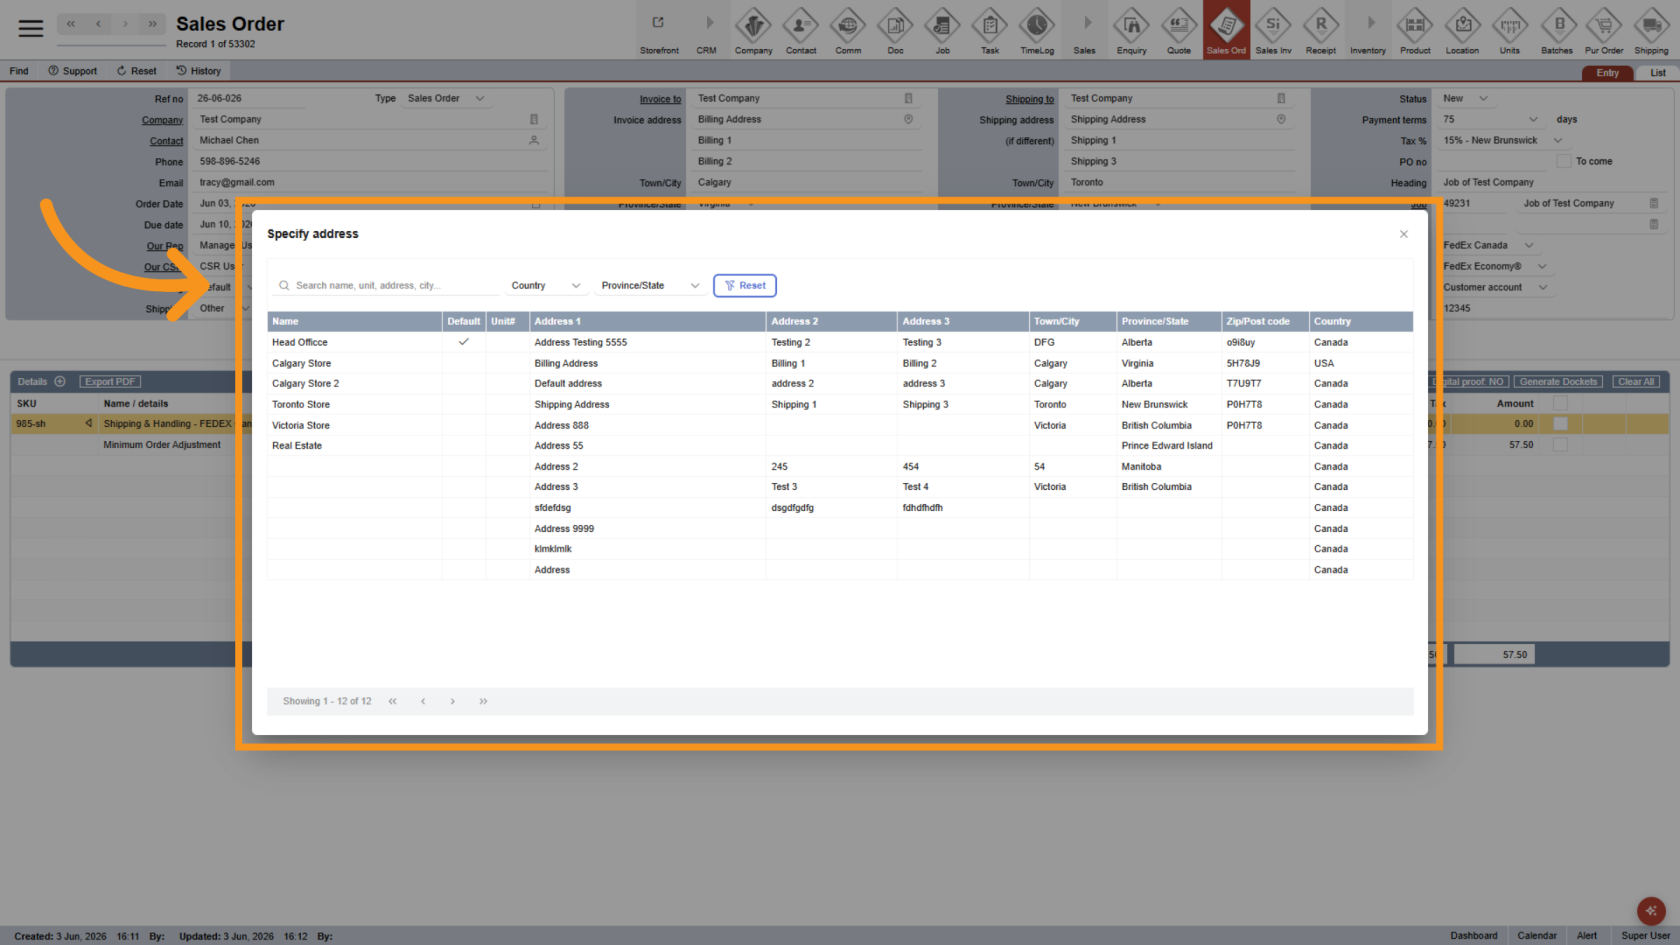
4. Choose the Address
The shipping location must be selected from the available location list. If the location is not available, add it to the company before creating the Sales Order.
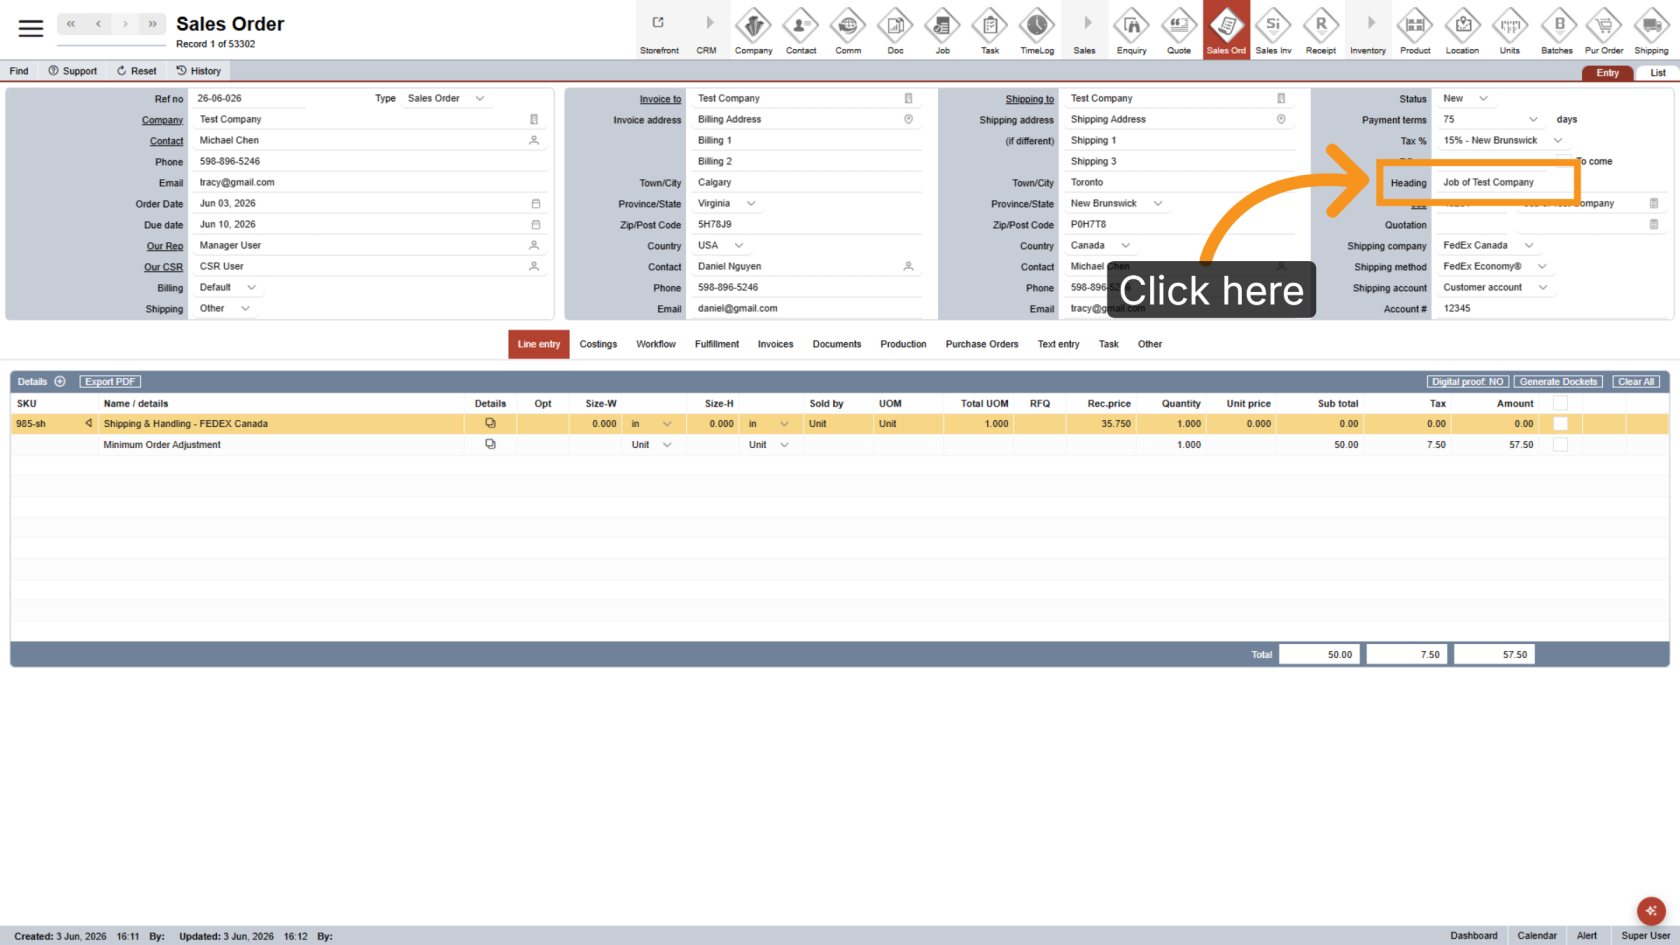
5. Enter the Heading
Headings can be configured differently for Monthly and Sign Run orders.
For Monthly orders, use the following format: Ticket Number - Campaign Type. The value before the dash is treated as the Ticket Number, and the value after the dash is treated as the Campaign Type. For E-Store orders, the system automatically uses the heading as the Ticket Number, so no custom formatting is required.
Example:
12345 - Grand Opening Campaign
Ticket Number: 12345
Campaign Type: Grand Opening Campaign
6. Enter the Sign Run Heading
For Sign Run orders, if the order is assigned to a specific week, enter the heading using the format: Week Number - Heading Value. The text before the dash identifies the week number in the report. If the order is not assigned to a specific week, no custom heading is required, and the system will automatically use the order number
Example:

7. Add Line Entry
Add products and services to the Sales Order as usual.
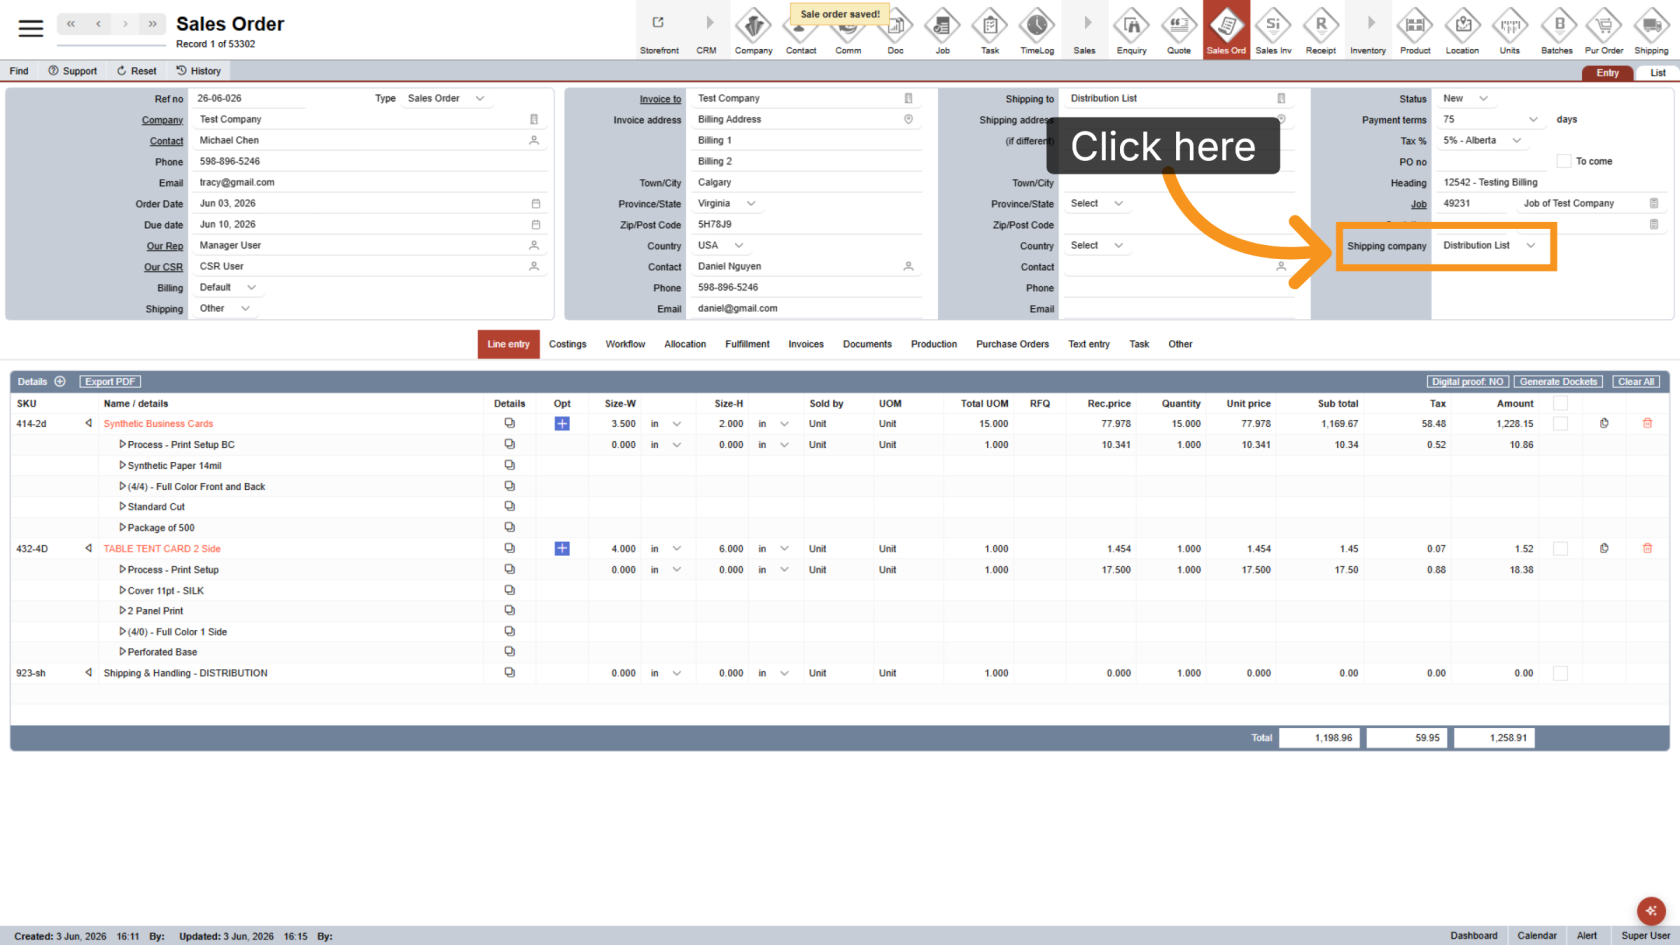
8. Configure a Distribution List (Optional)
IfFor theorders order needs to be shippedshipping to multiple locations, completeyou themust Lineconfigure Entry first, then selecta Shipping Company as the Distribution List. This allows the system to assign the correct locations and apply the appropriate GL codes.
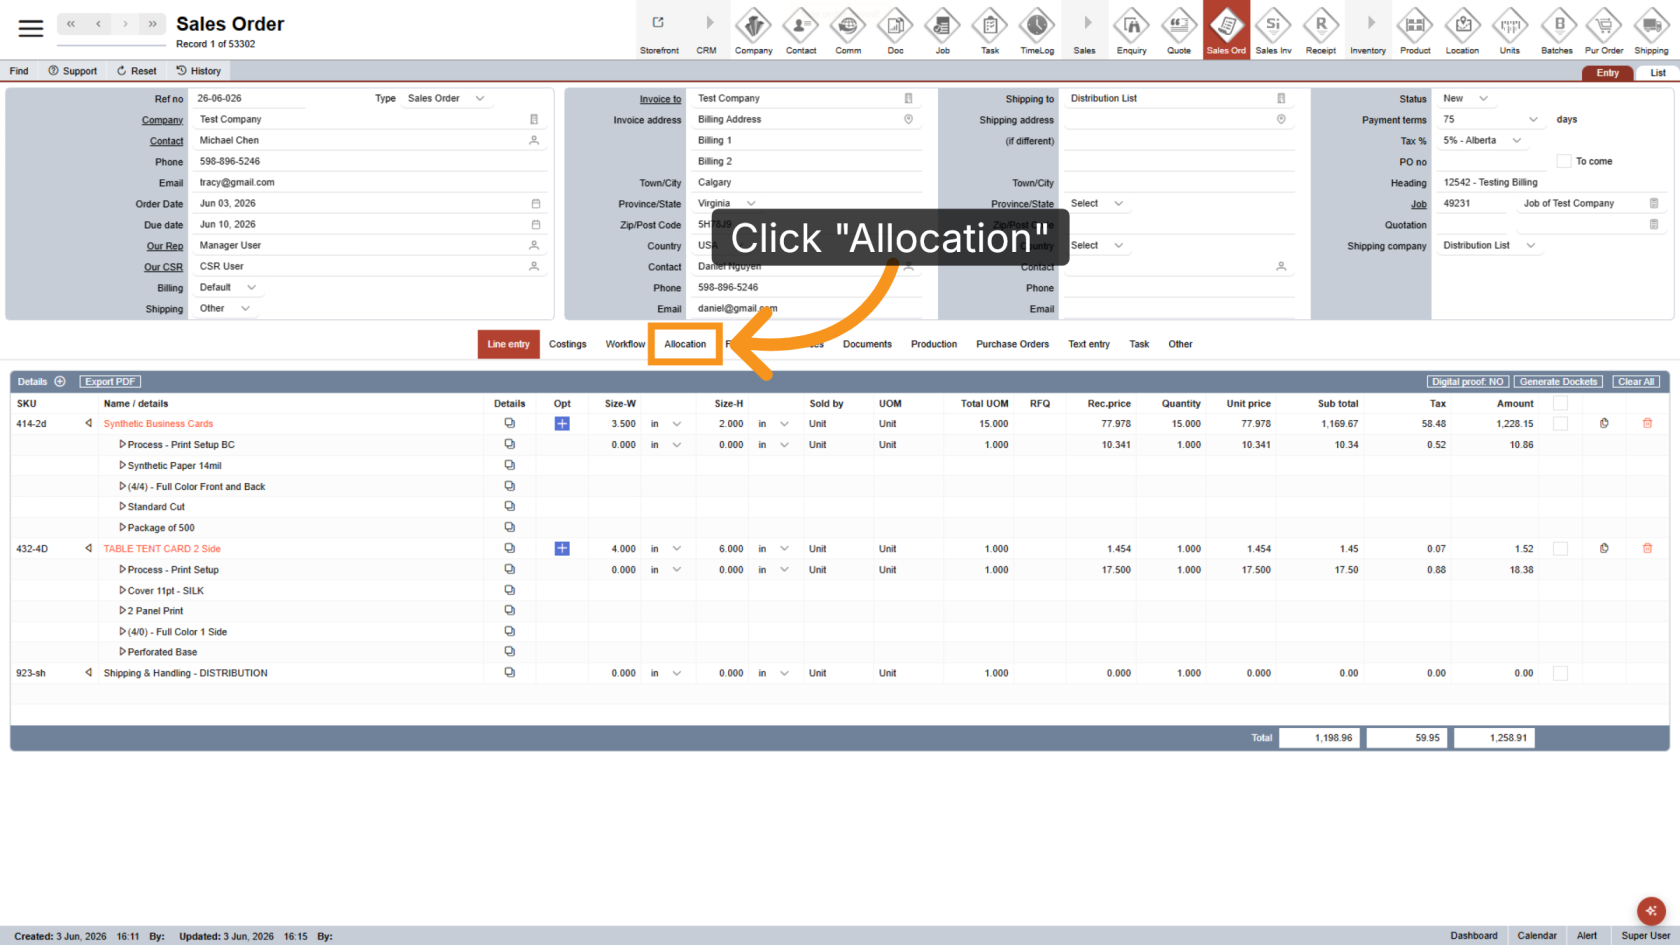
9. Open Allocation
Click Allocation to distribute items across locations.
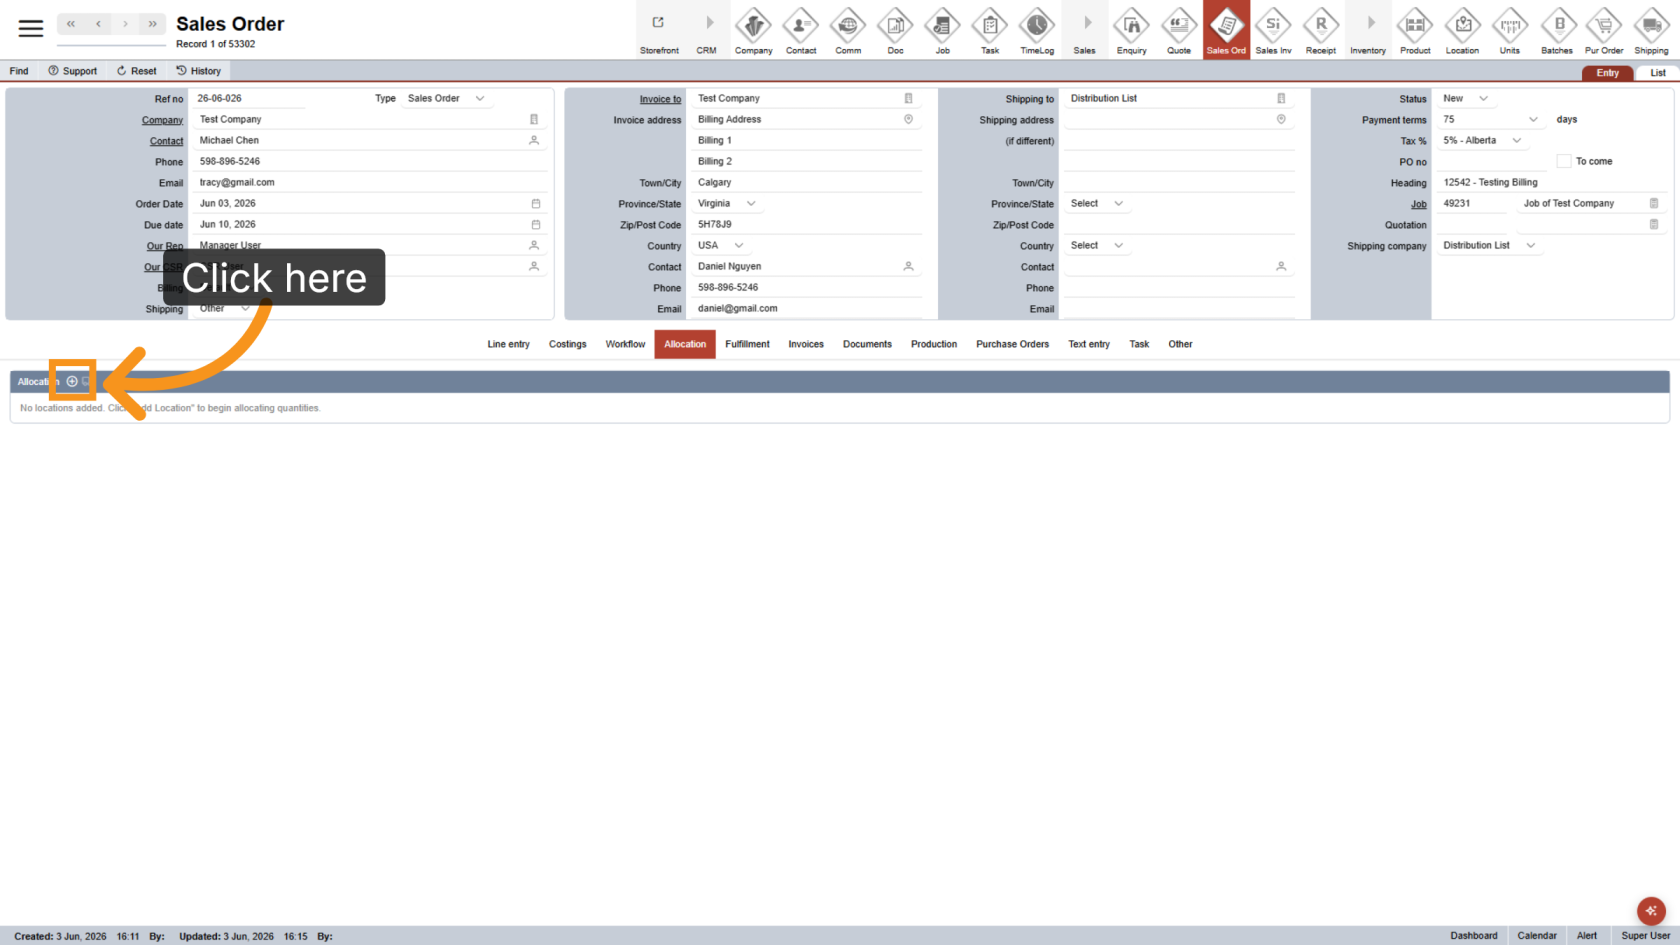
10. Configure Allocations
Add allocation details as required. Refer to the Sales Order Allocation tutorial for more information.
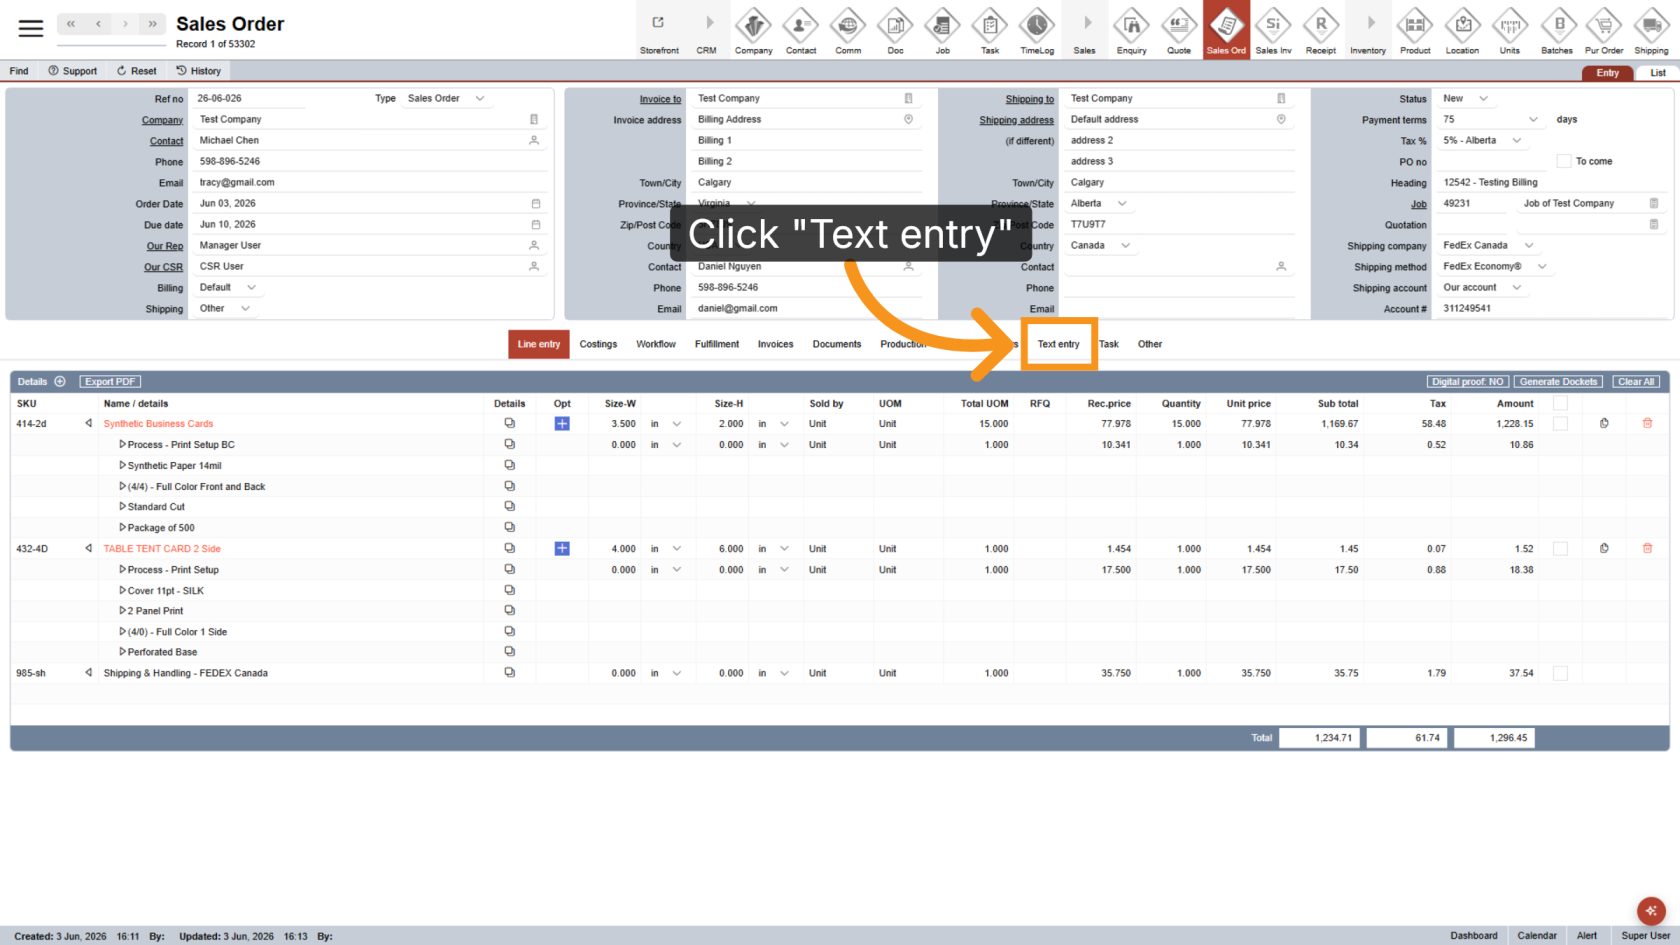
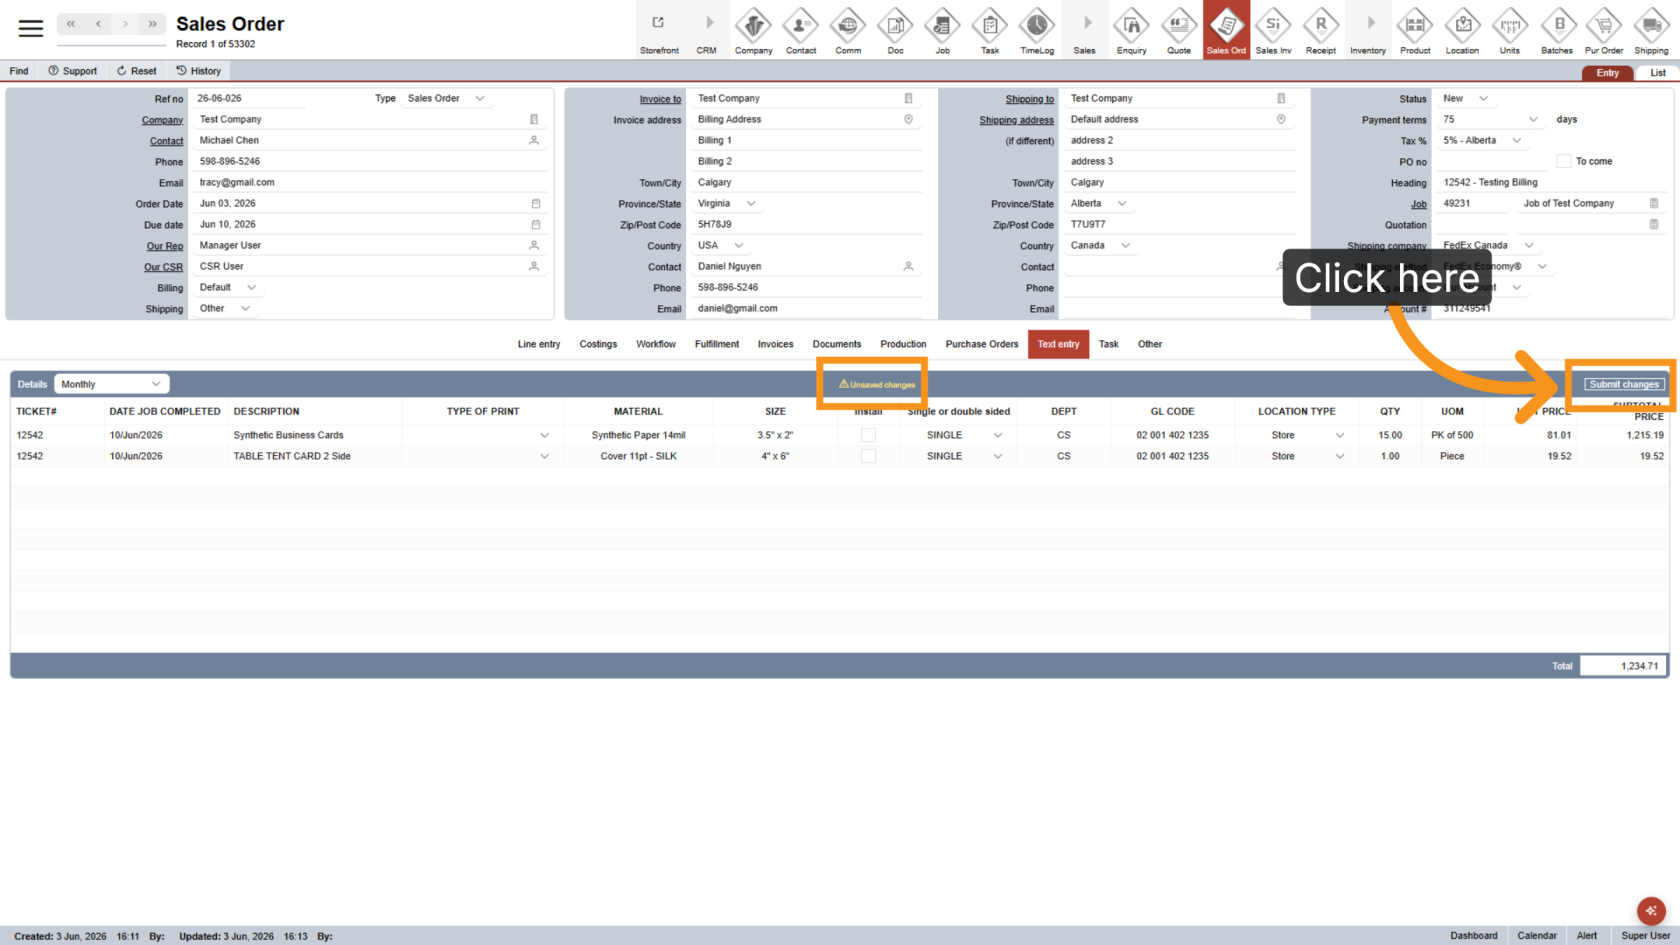
11. Open Text Entry
Click Text Entry to enter billing details.
Important: The Text Entry section does not automatically update when Line Entries or Headings change. Complete all Sales Order details before generating the Text Entry.
Regenerating the Text Entry will remove any previously entered custom information.
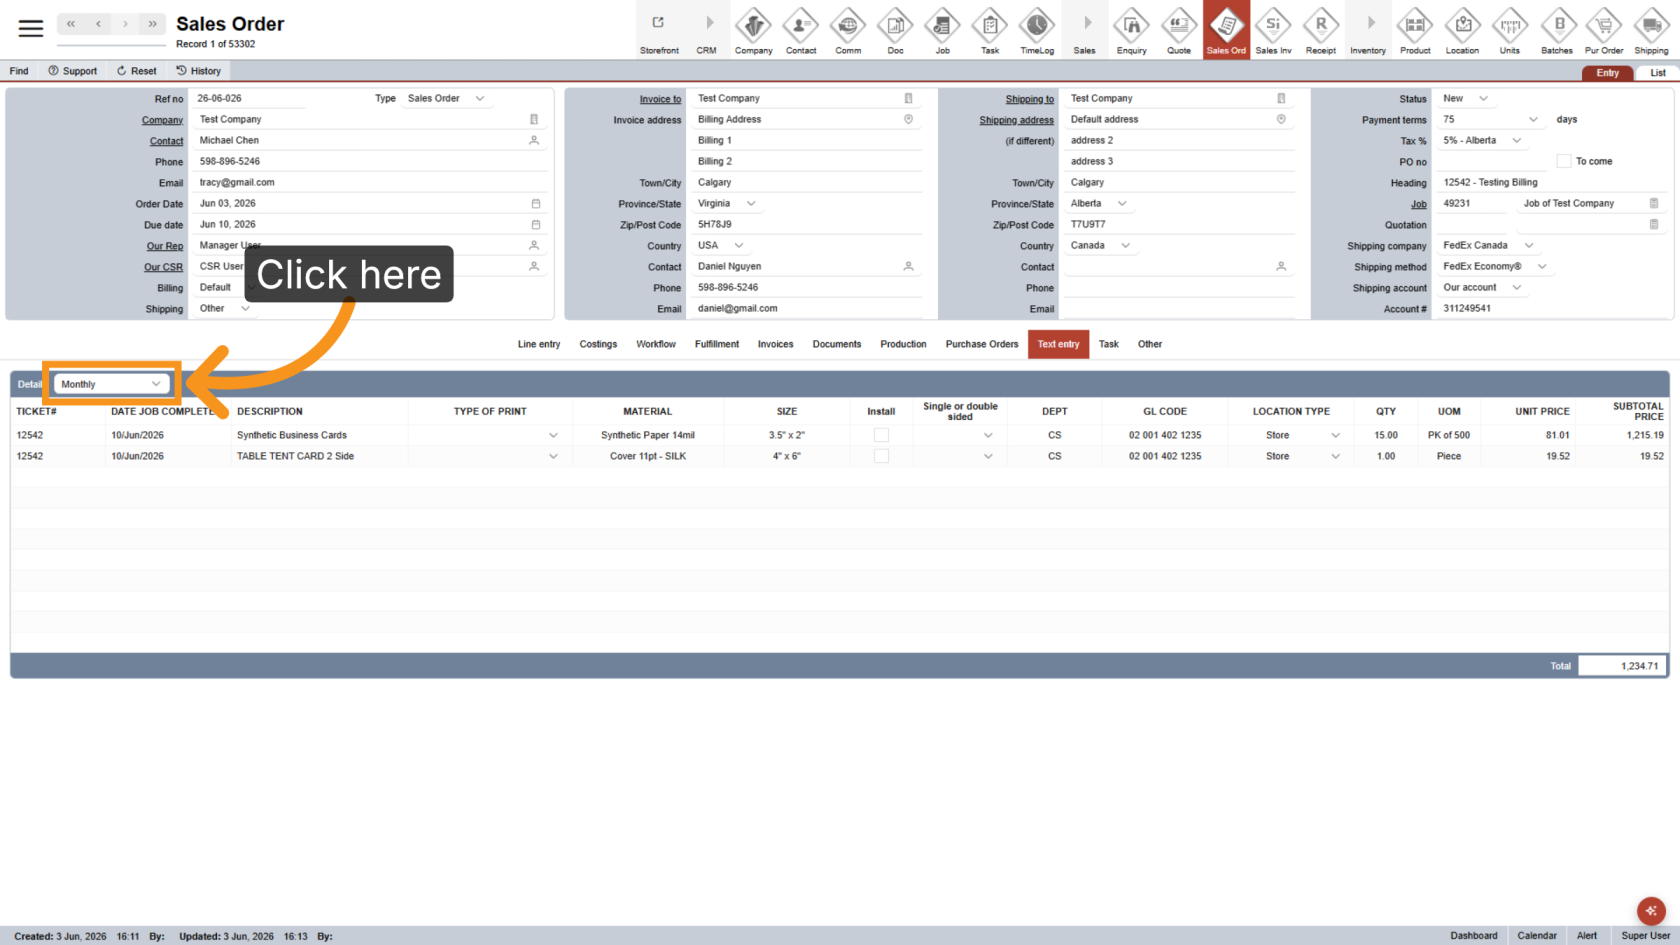
12. Select the Report Type
Choose the appropriate report type, such as Monthly or Sign Run.
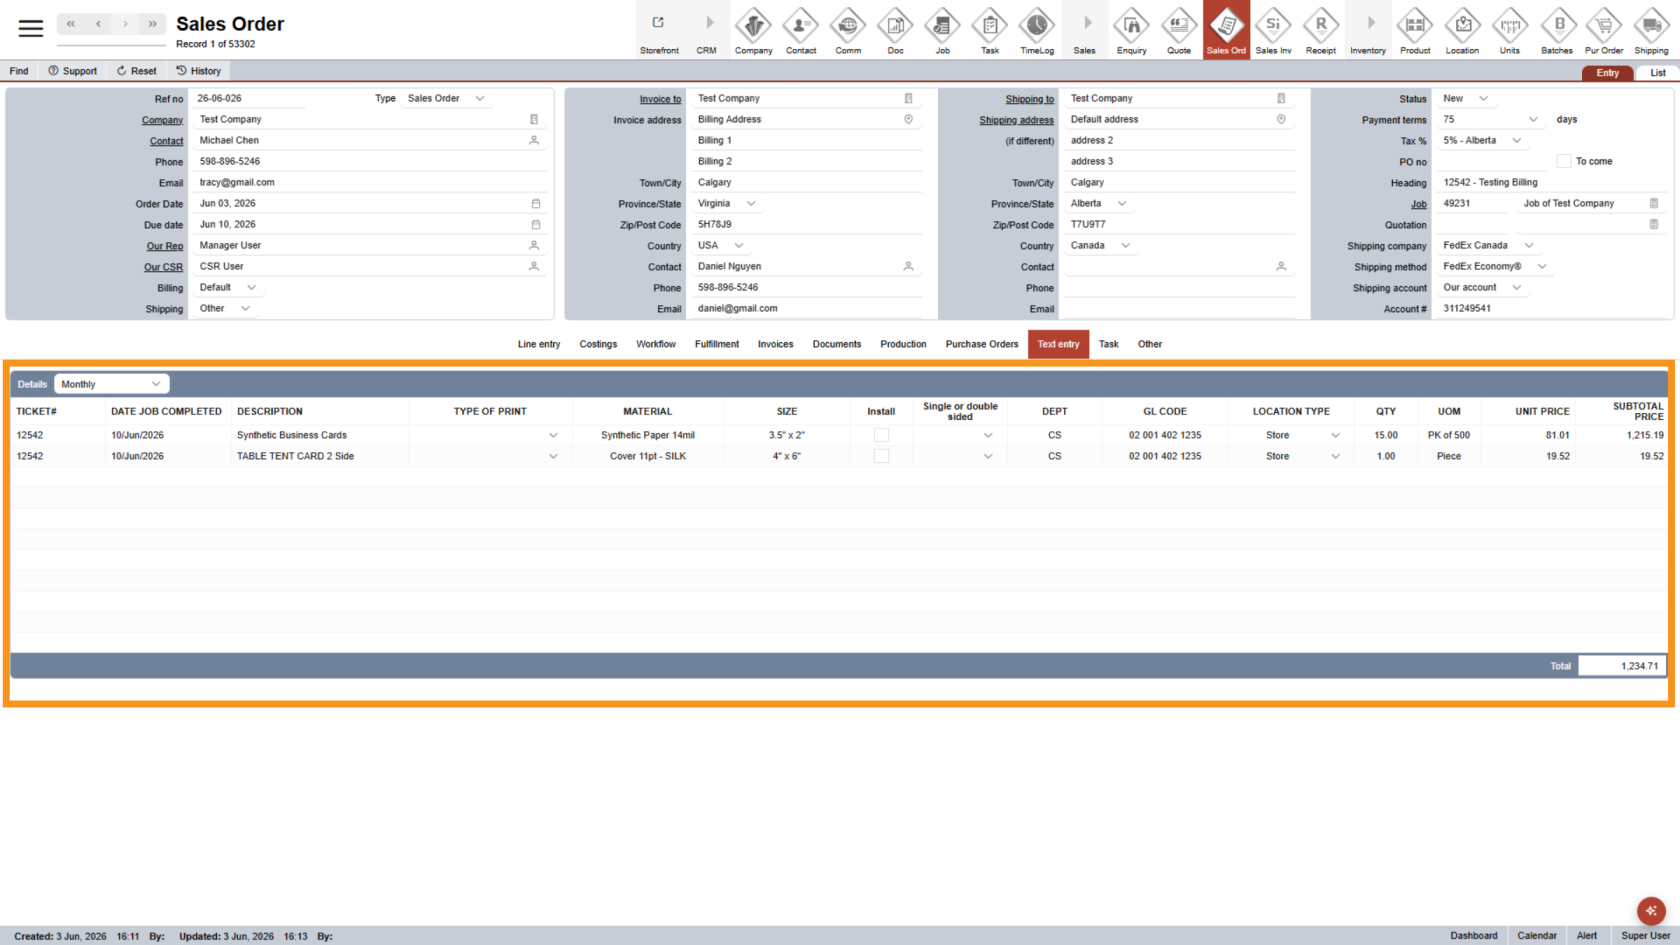
13. Review Billing Details
All billing details will appear in the table. Review and update the information that should appear in the billing report.
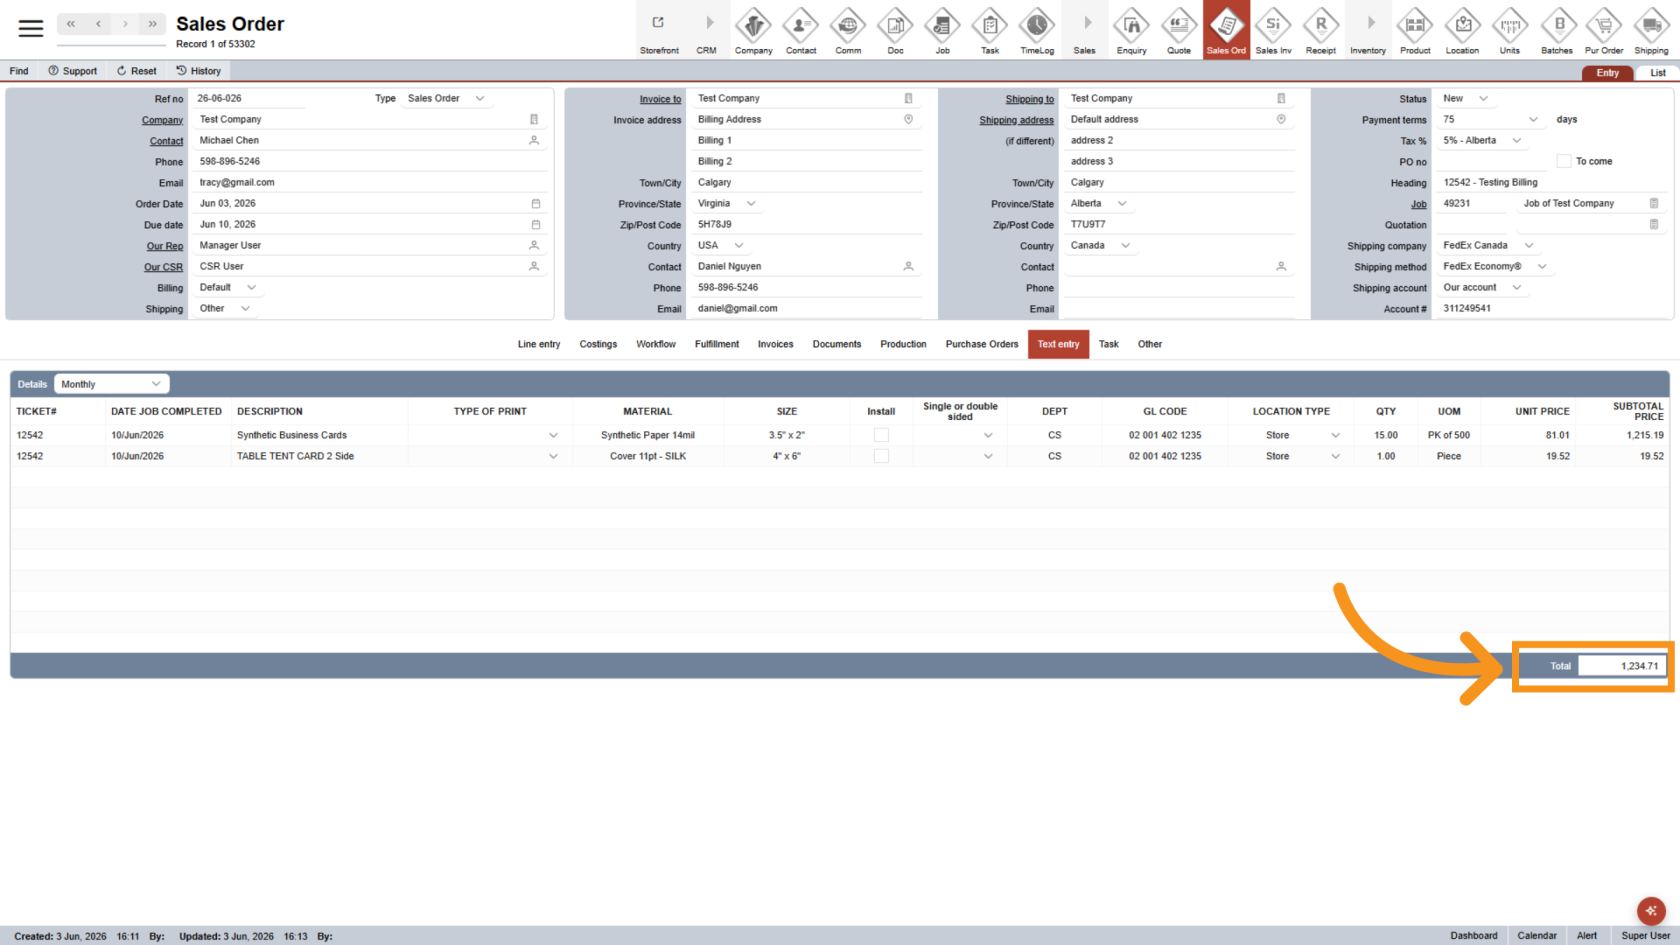
14. Double check Total Amount
Double-check if the total amount matches the Line Entry Sub Total
15. Save Changes
Click Submit Changes to save the billing information.
You have successfully created a Sales Order for billing. Review the shipping location, heading format, allocation details, and billing information to ensure accurate billing reports.