Create and Deploy a New Printing Demo Site
This tutorial guides you through the process of creating and deploying a demo site, ensuring that each customer has an individual site.
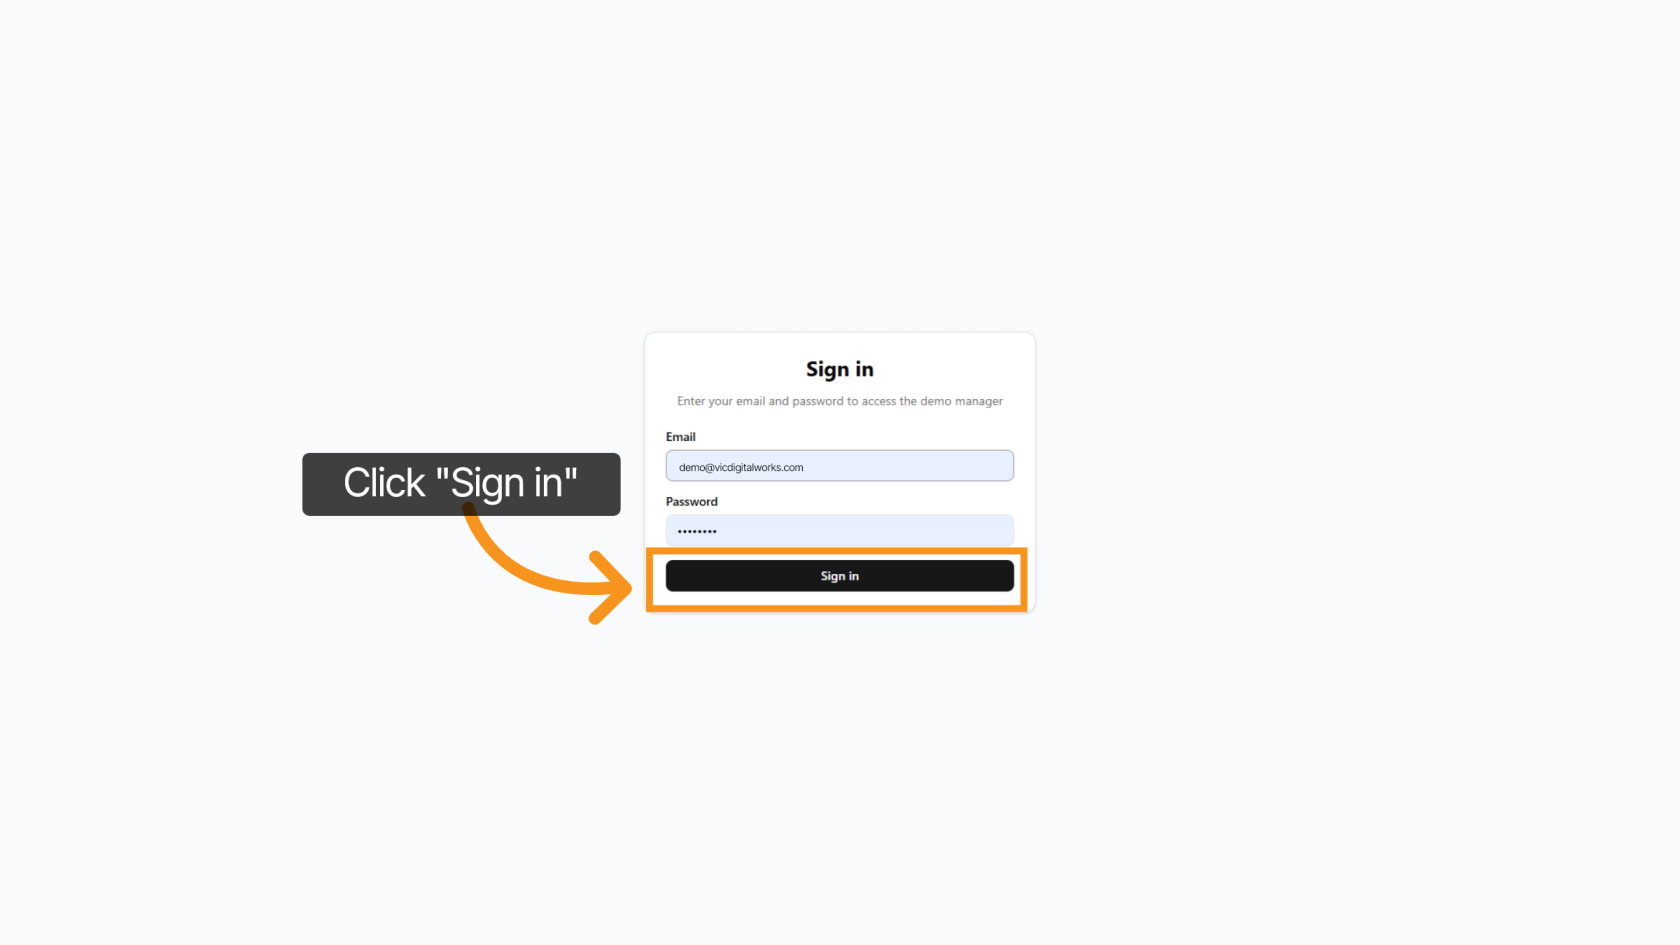
1. Log in to Admin Settings
Access to https://demo-printing.vicdigitalworks.com/, then enter your email and password, and after that click on 'Sign In'
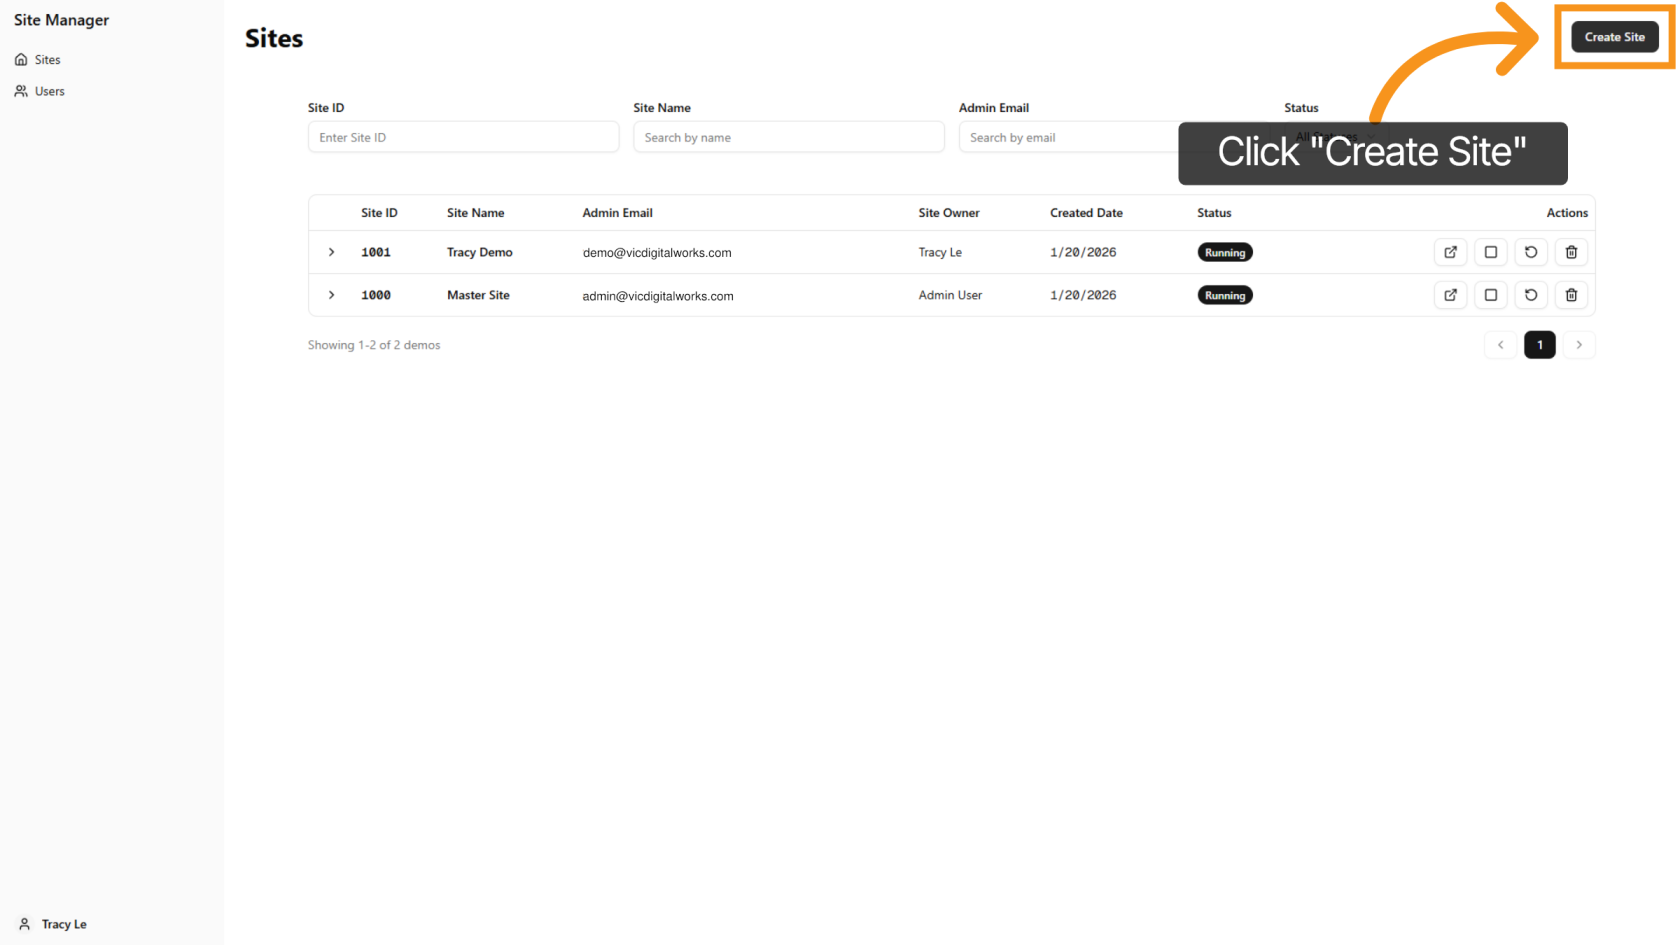
2. Create Demo Site
Click 'Create Site' to start setting up your new demo site.
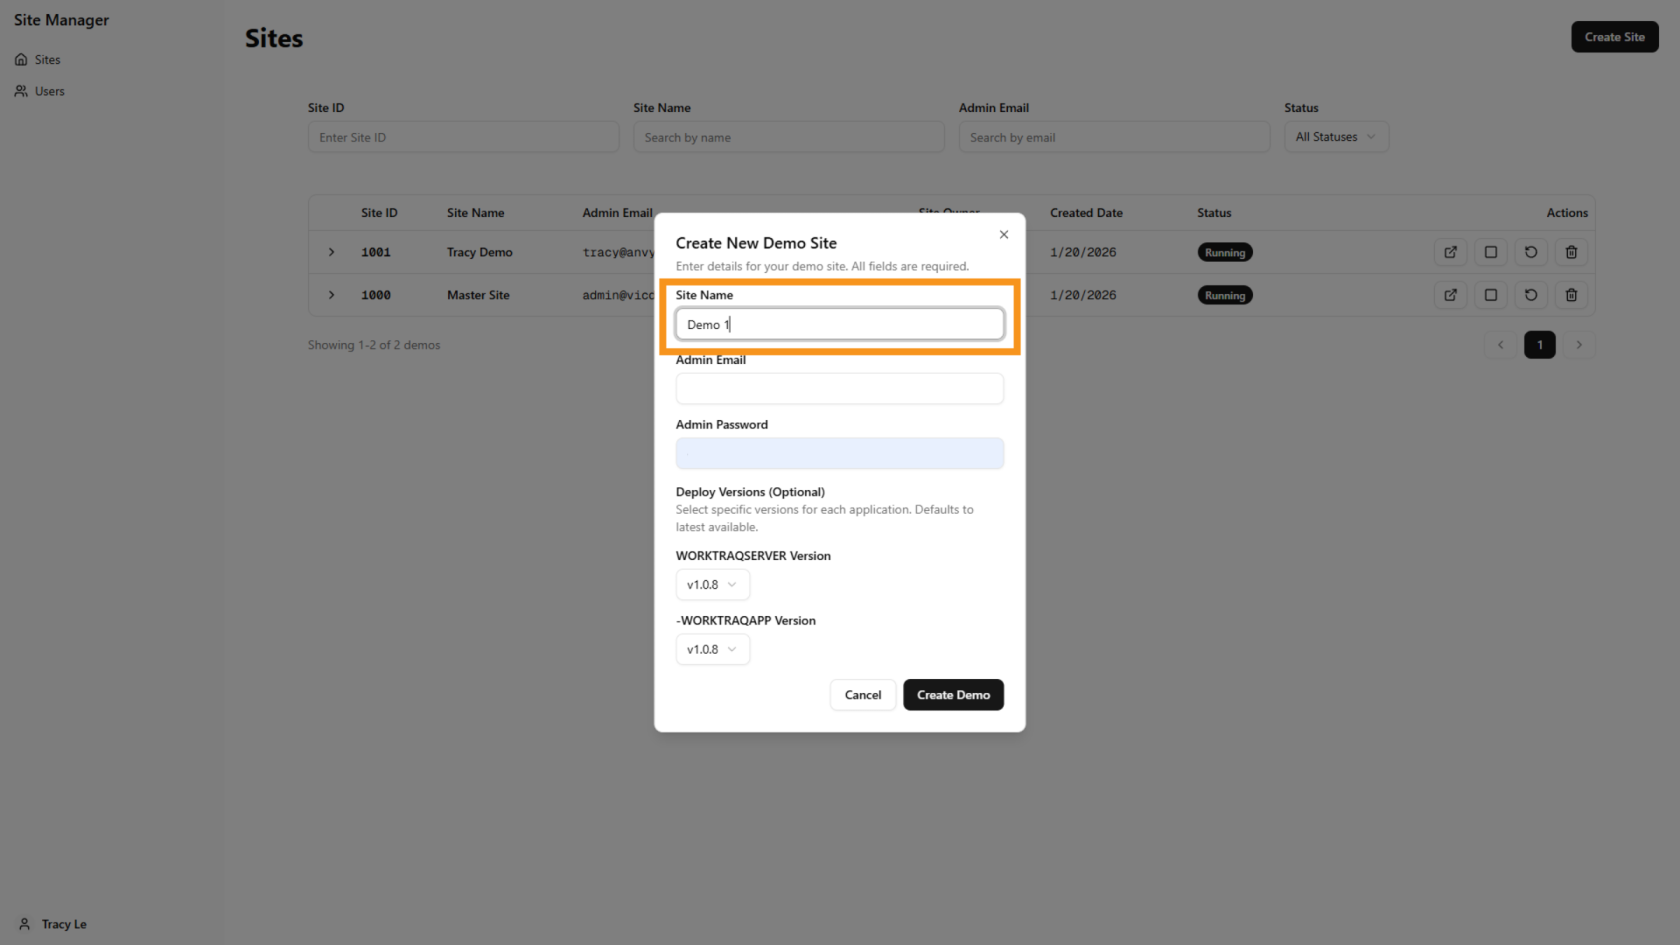
3. Enter Site Name
Enter your desired site name to identify your demo site.
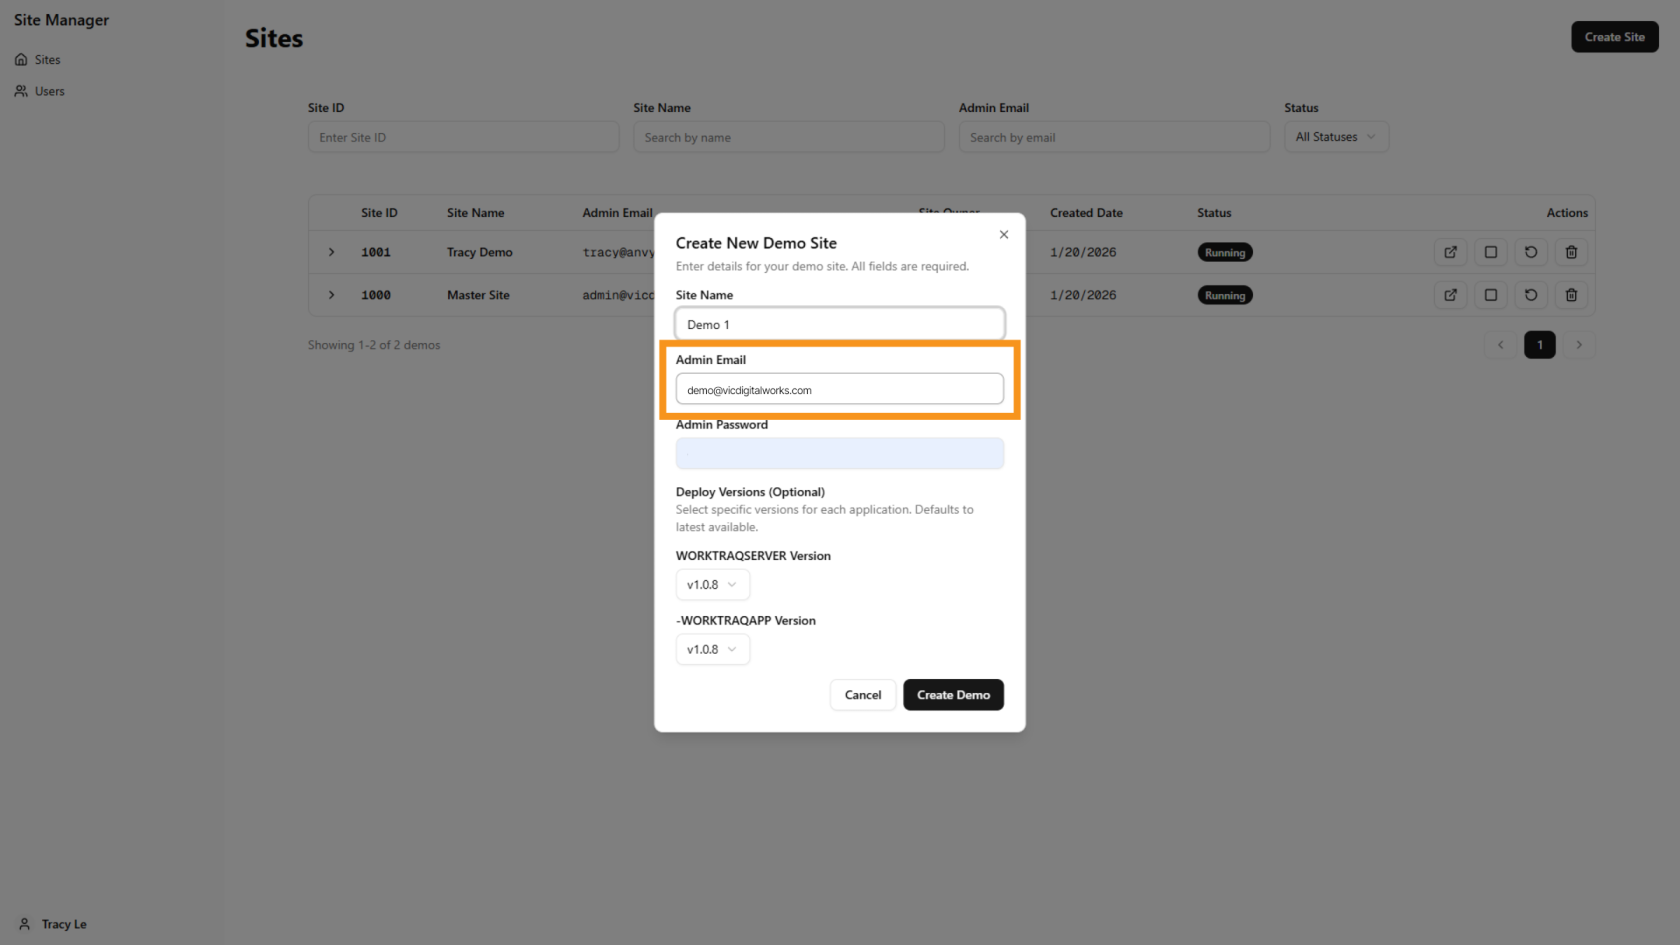
4. Enter Admin Email
In the 'Admin Email' field, please enter your customer email address, which is used to log in to the WorkTraq system.
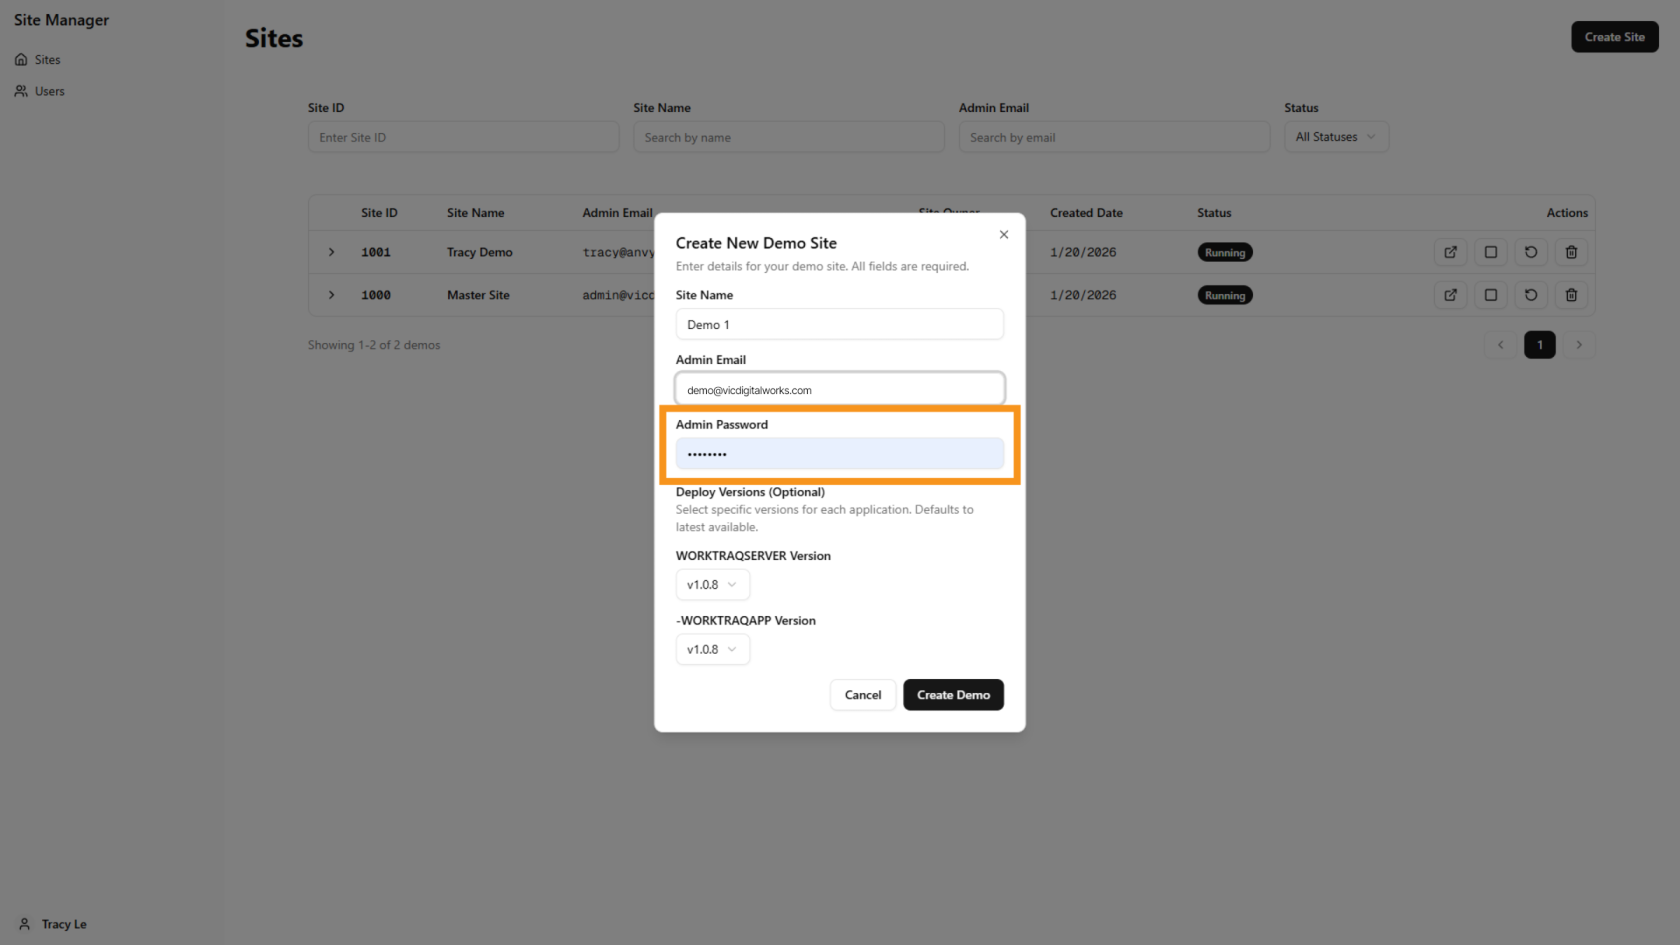
5. Enter Admin Email
In the 'Admin Password' field, please enter the password used to log in to the WorkTraq system.
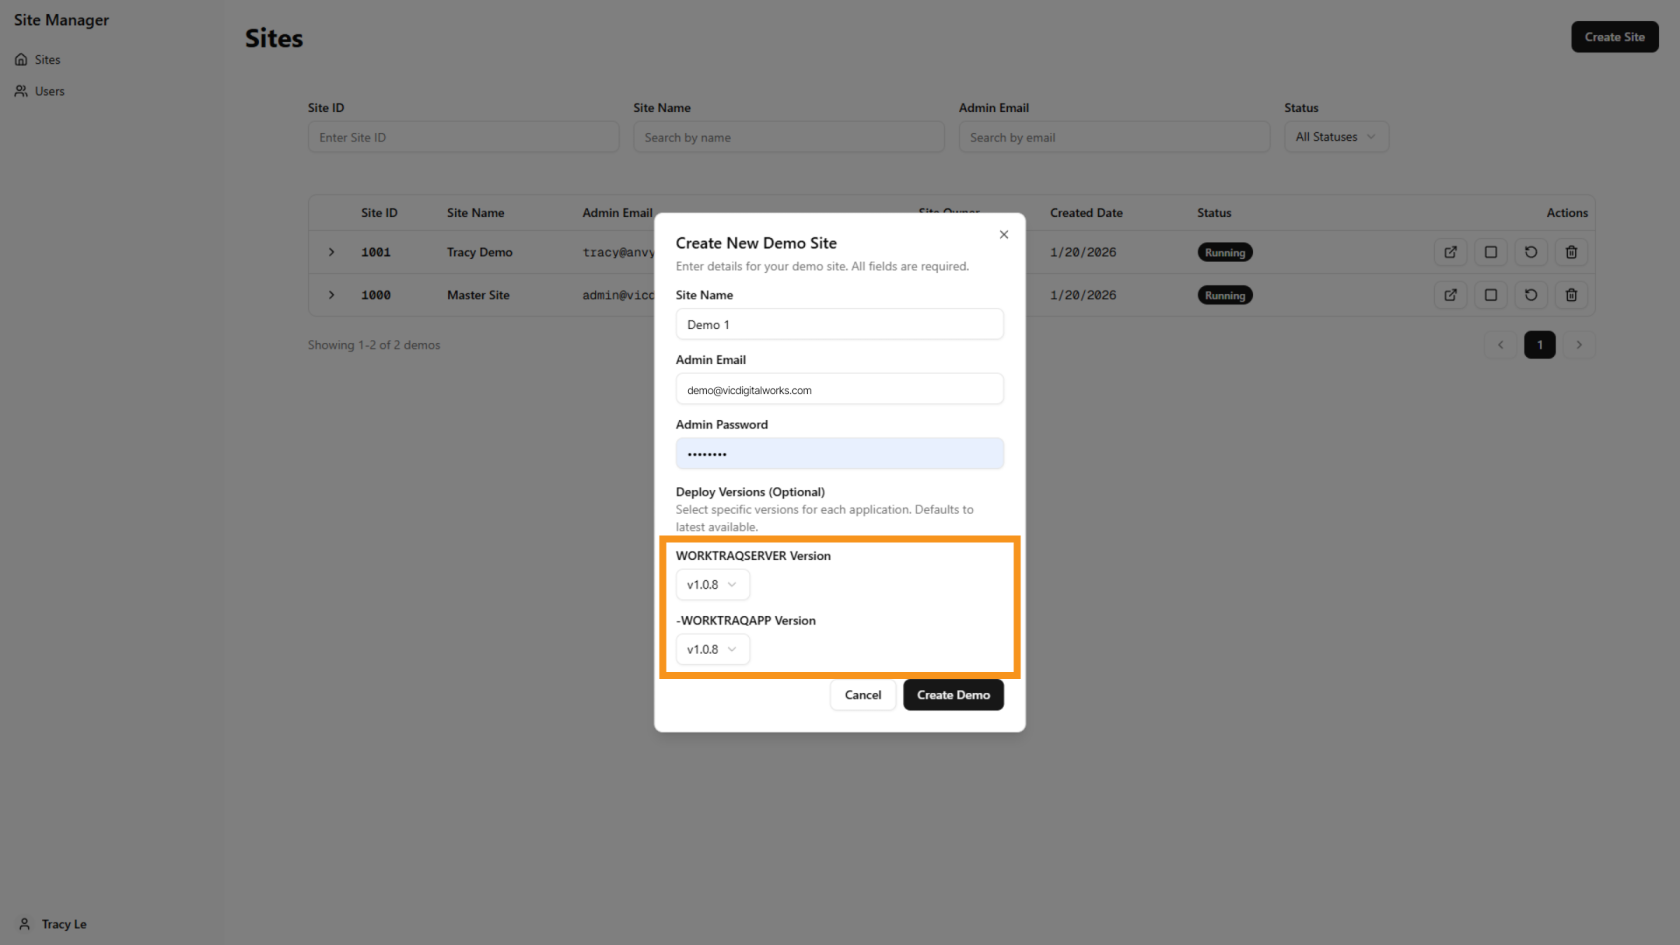
6. Select Version
The system will automatically select the latest version; however, you can customize the version you prefer. Please note that the older version will lack new functions.
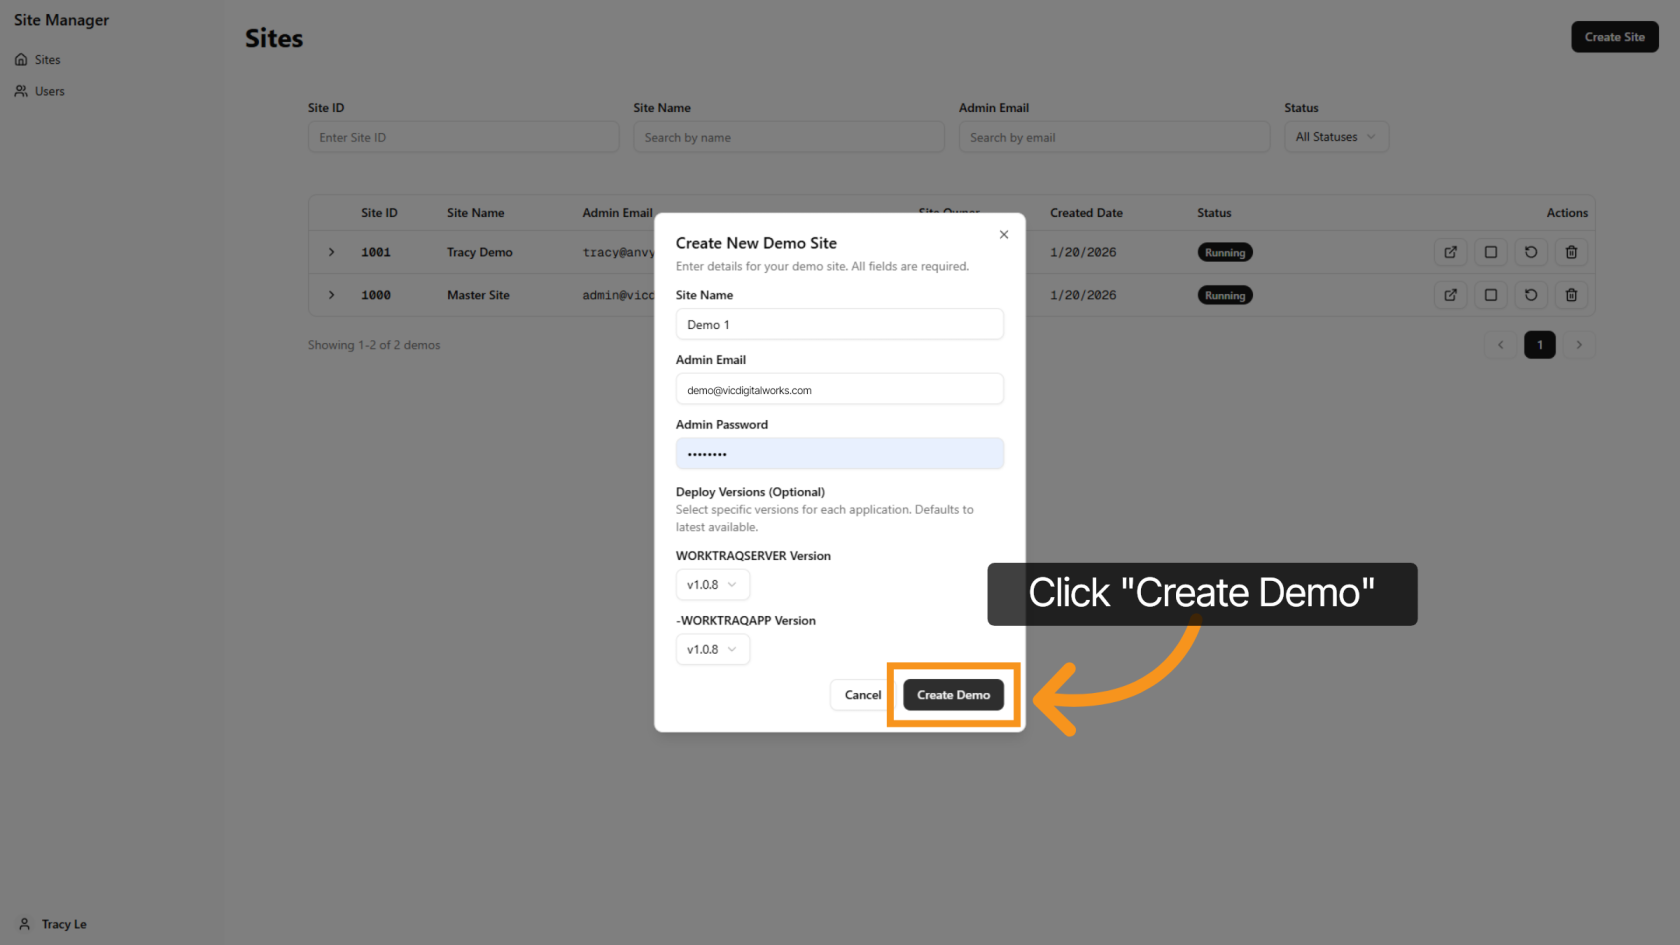
7. Click Create Demo
Click 'Create Demo' to initiate the demo site creation with your settings.
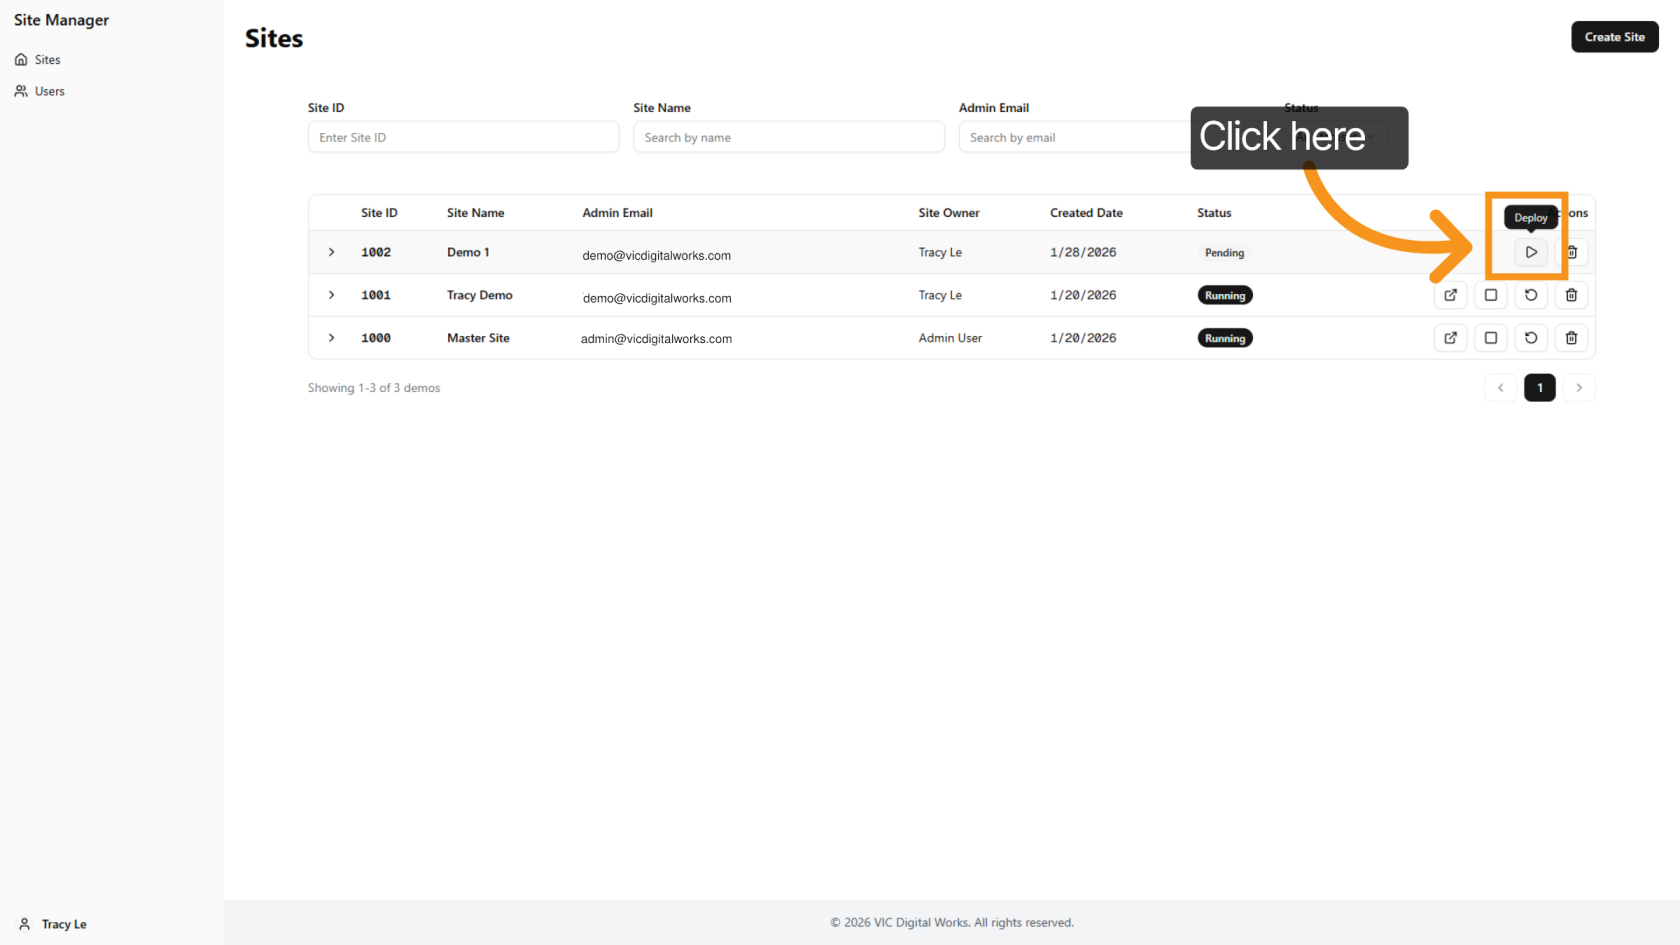
8. Deploy Demo Site
Returning to the main screen, you will notice that a new site has been added to the system. Click on the 'Deploy' icon to initiate the deployment of a new demo site.
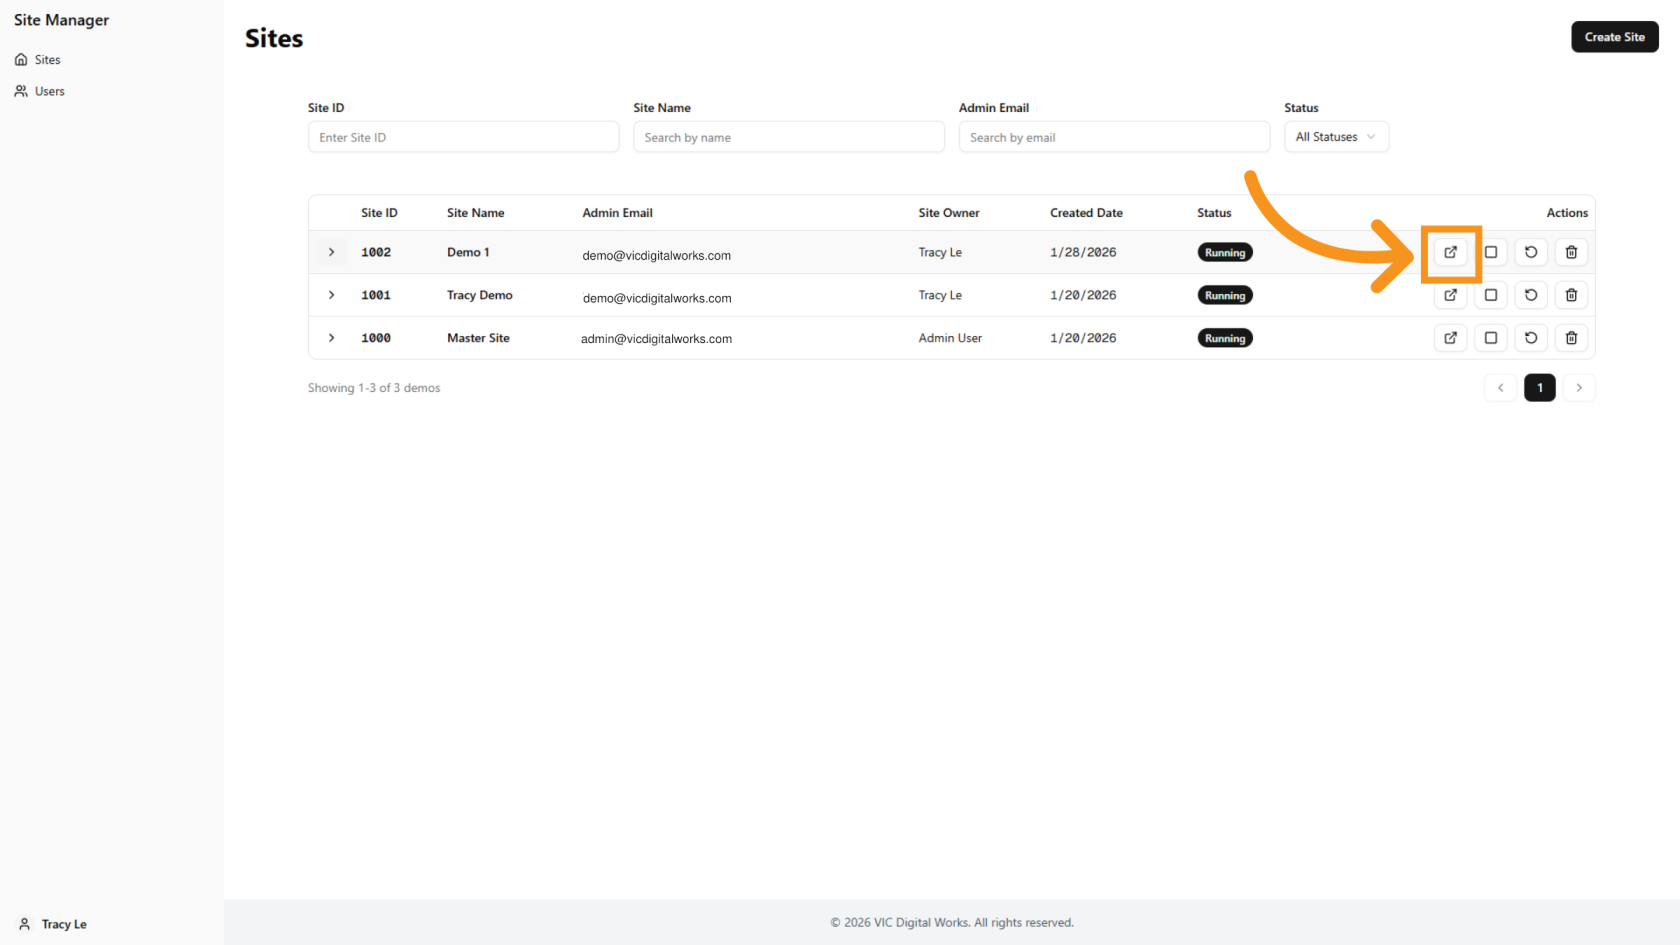
9. Successfully Deployed
Please wait a couple of minutes for the site to deploy. Once you see the "Open Deployment" icon, the demo will be successfully deployed.
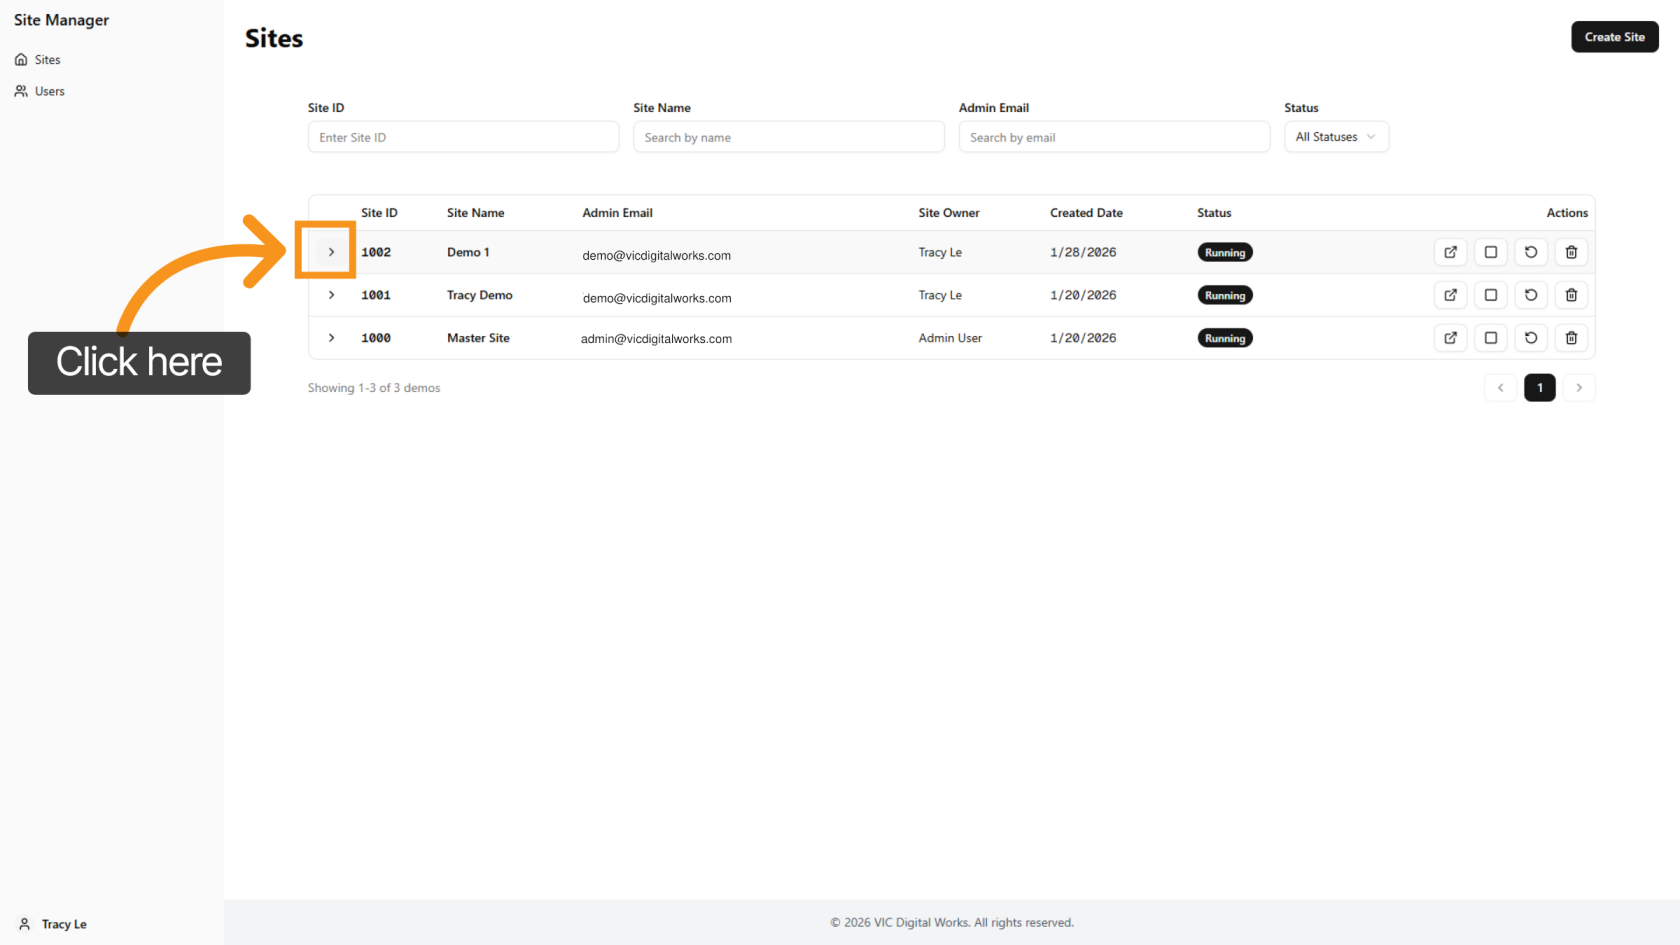
10. View Demo Site Details
Click the arrow icon to view all the new demo details.
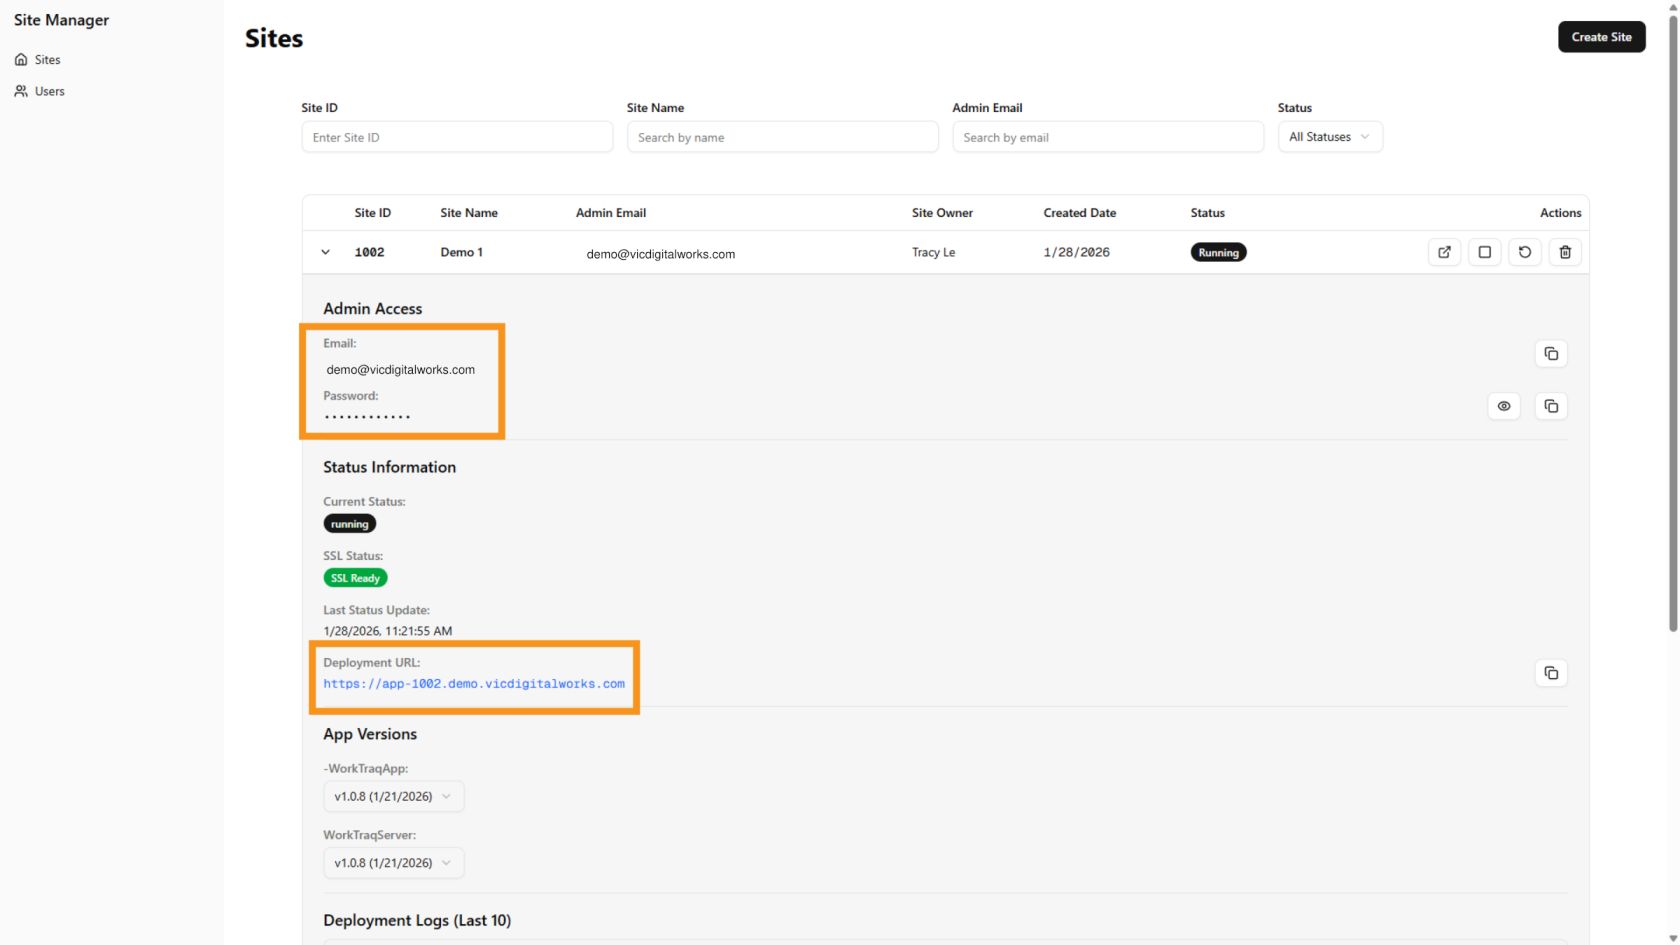
11. Essential Detail Log In to WorkTraq
In the details, you need to provide your customer with three pieces of information to log into the WorkTraq system: Deployment URL, Email, and Password.
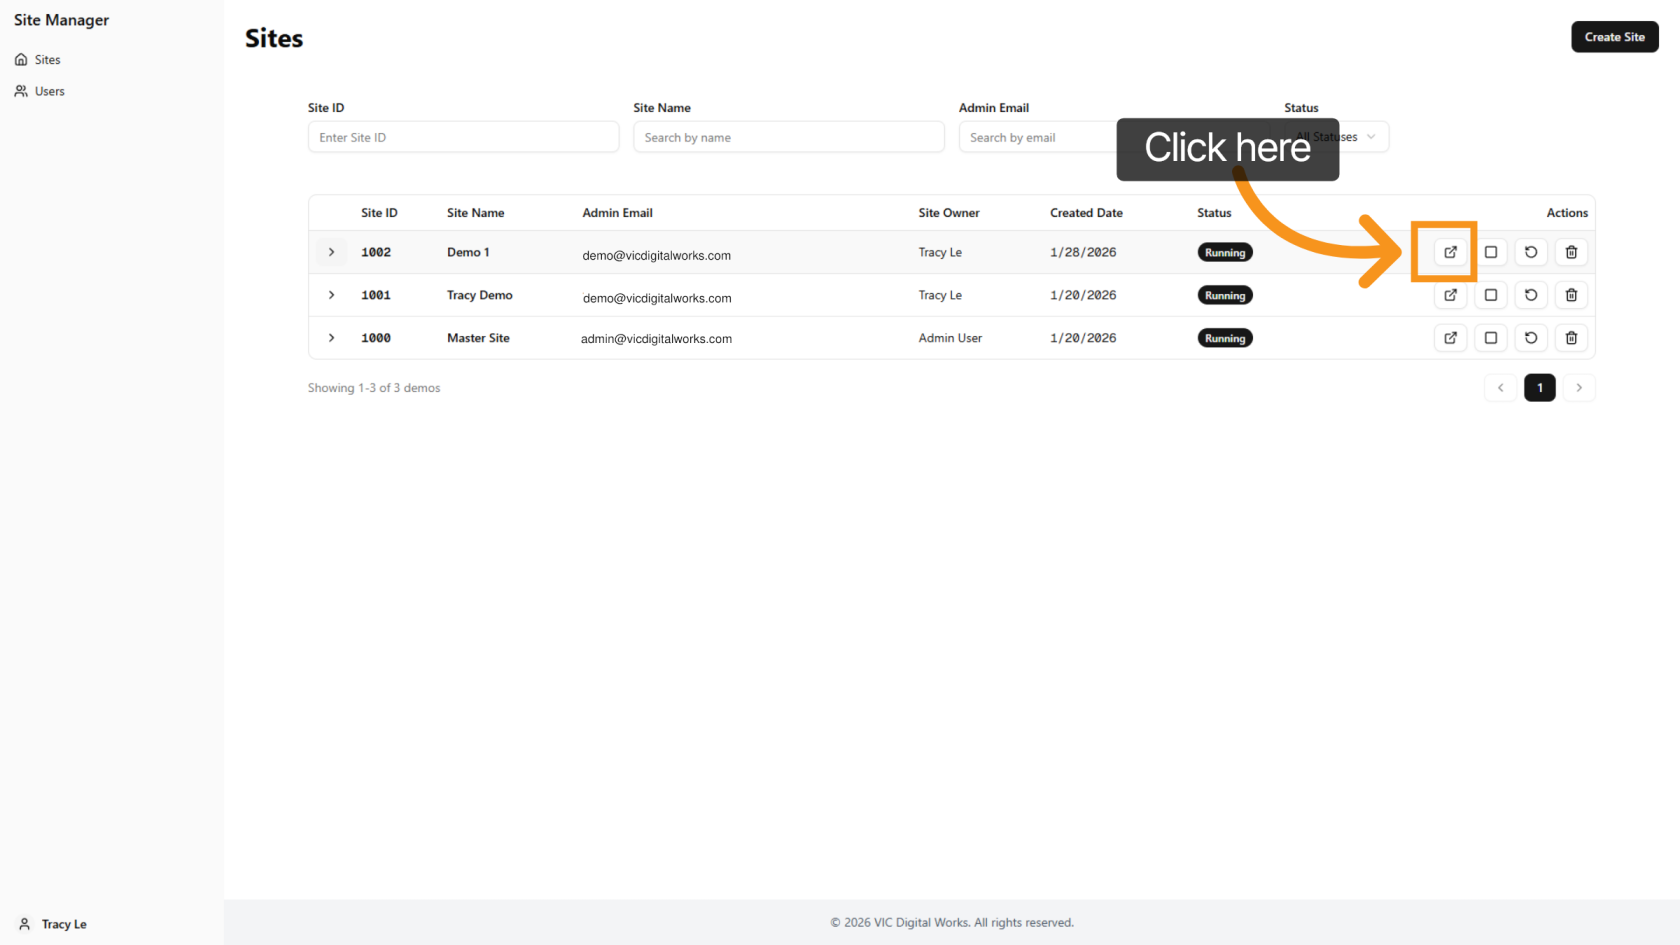
12. Quick Access to Customer Site
Click 'Open Deployment' next to each site to quickly navigate to the customer site.
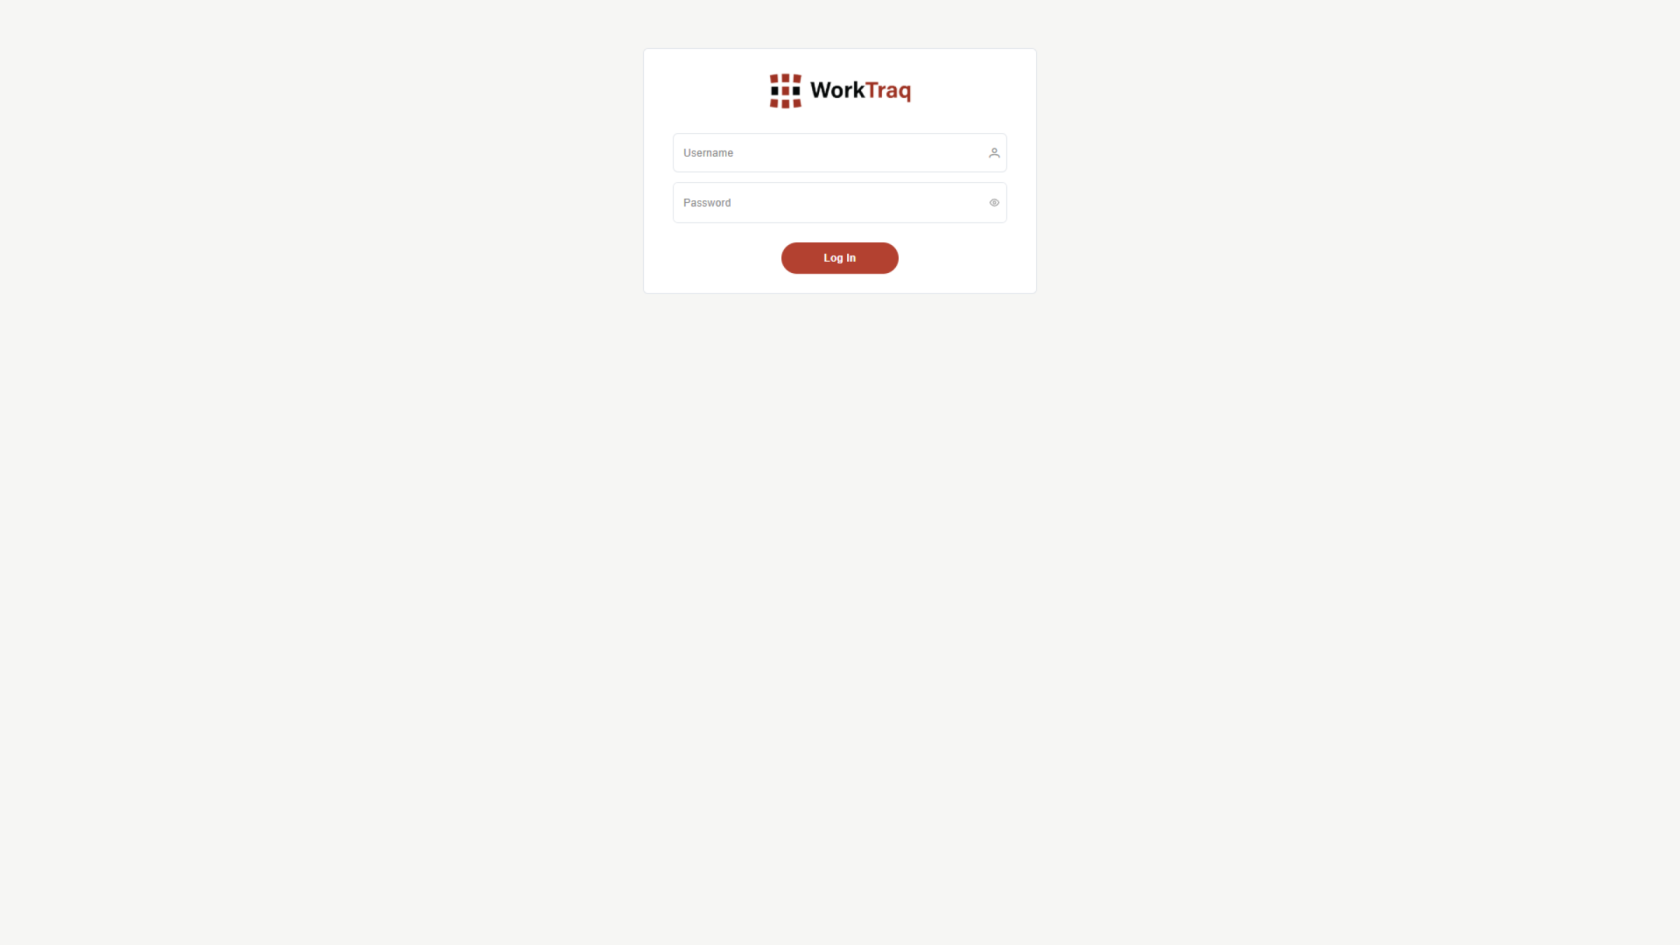
13. Log in WorkTraq
Use the Admin Email and Admin Password you created earlier to log in to the WorkTraq system.
You have successfully created and deployed a demo site.