Hide Non-Variant Object with Variant Object
This tutorial guides you through configuring non-variant objects to automatically hide when the related variant object is removed. Non-variant objects can include text, images, icons, or other design elements.
Video Tutorial
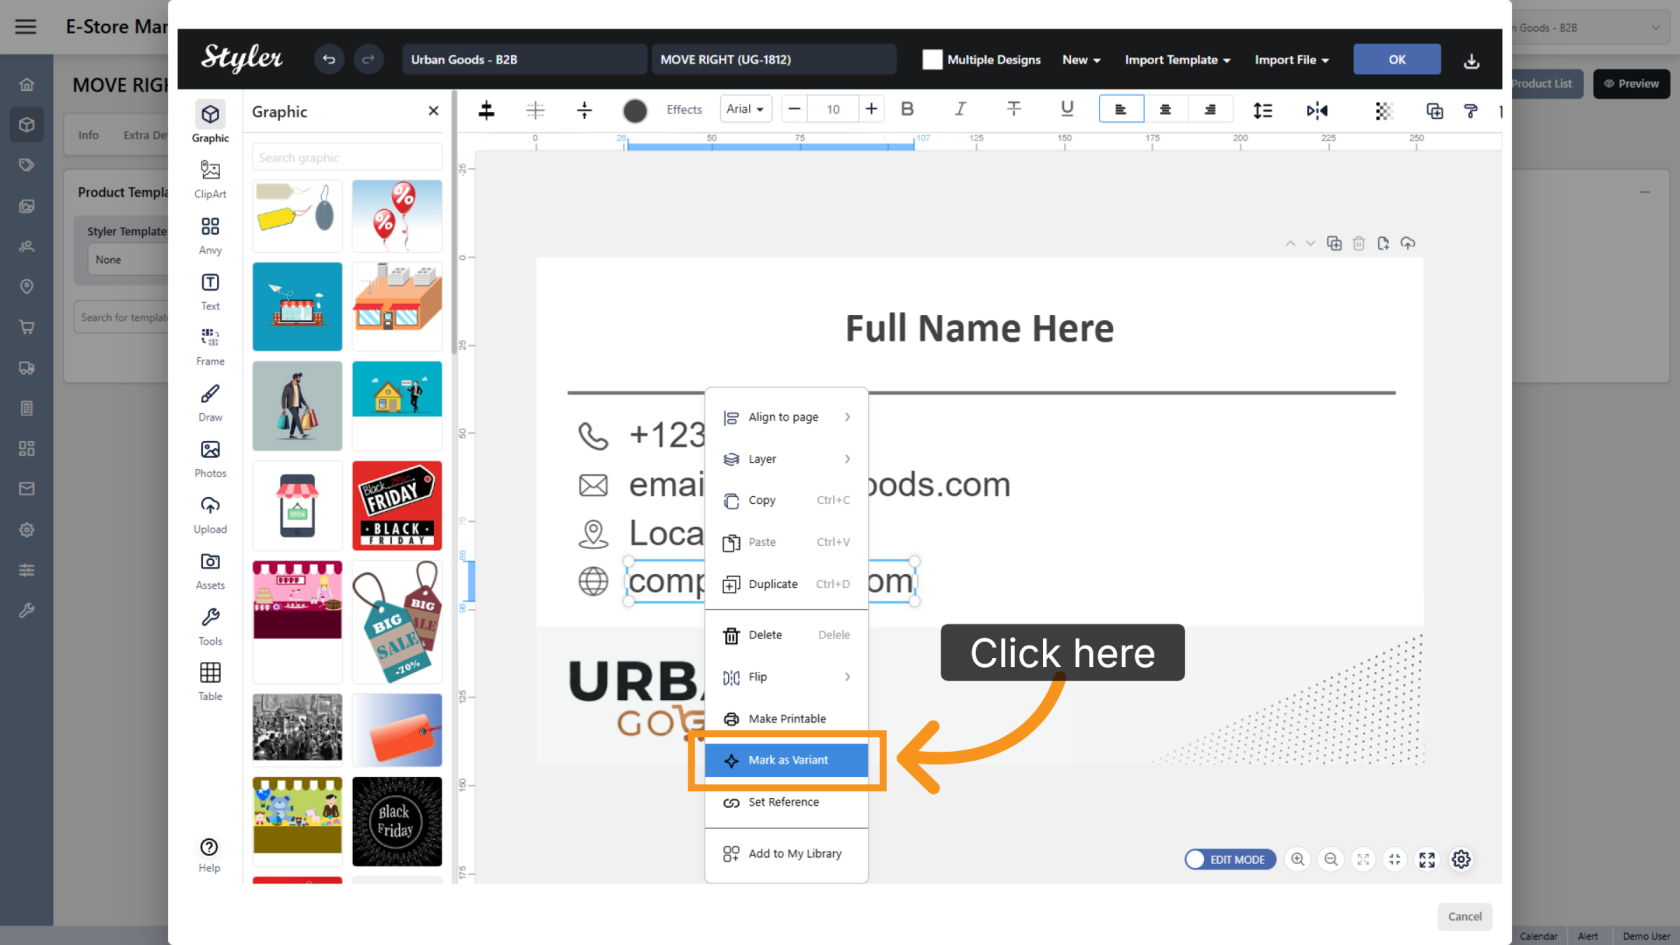
1. Mark an Object as a Variant
Right-click the object you want users to edit, then select Mark as Variant.
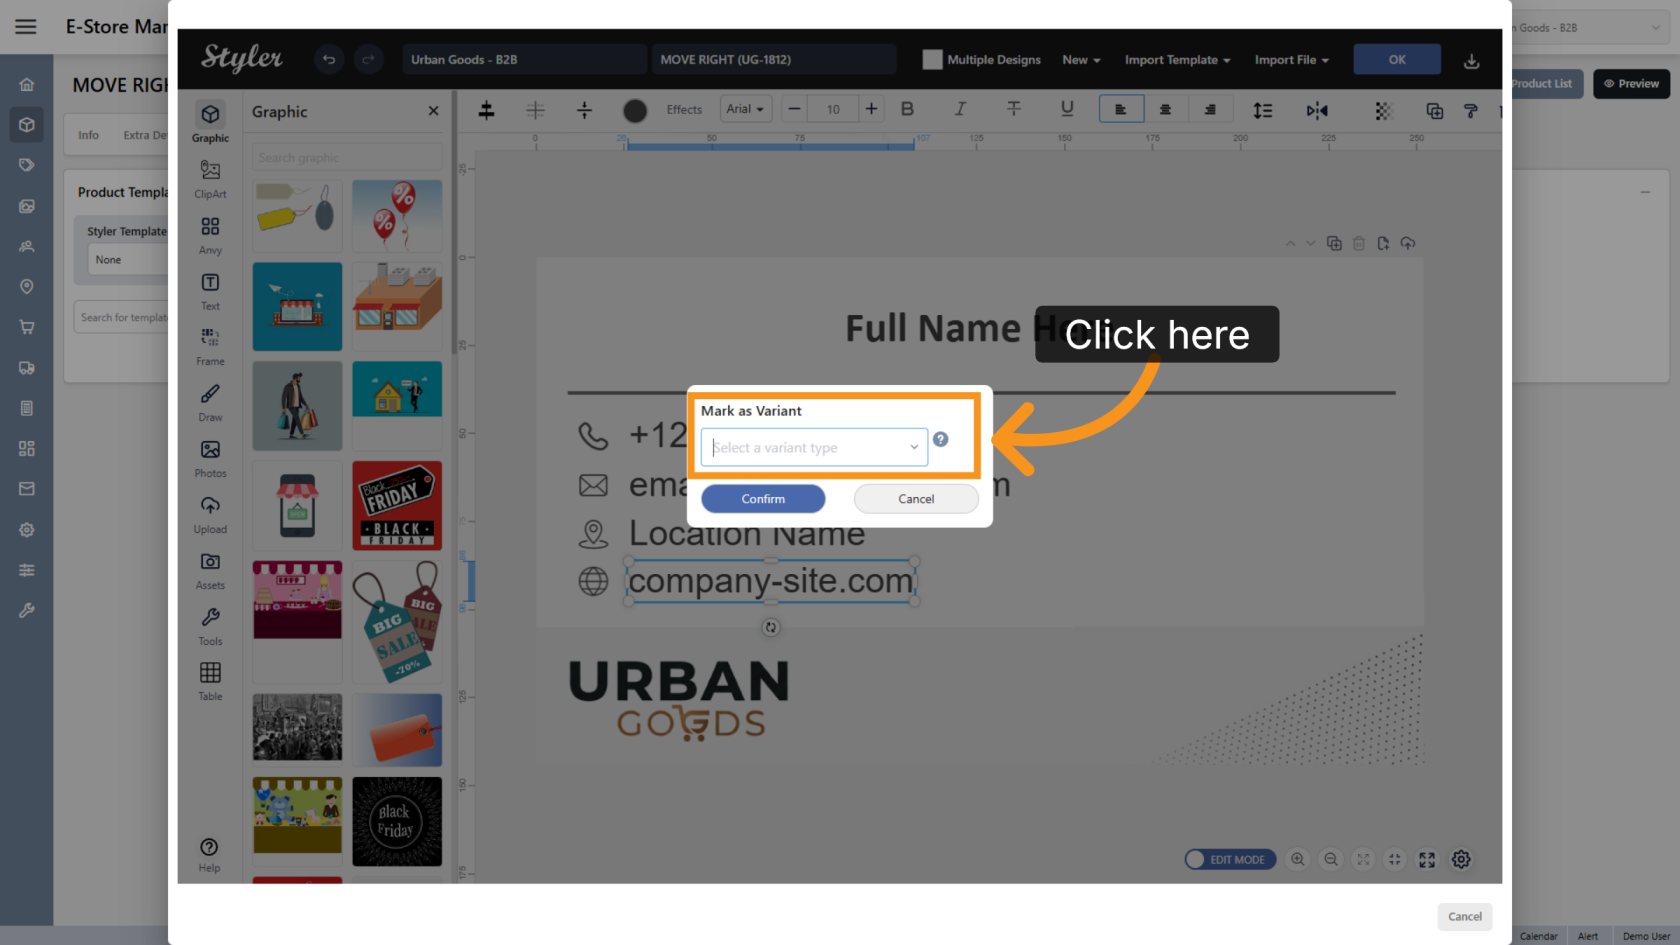
2. Choose a Variant Type
Click Select a variant type and choose the appropriate type for the editable field. The variant type should clearly describe the information users need to enter.
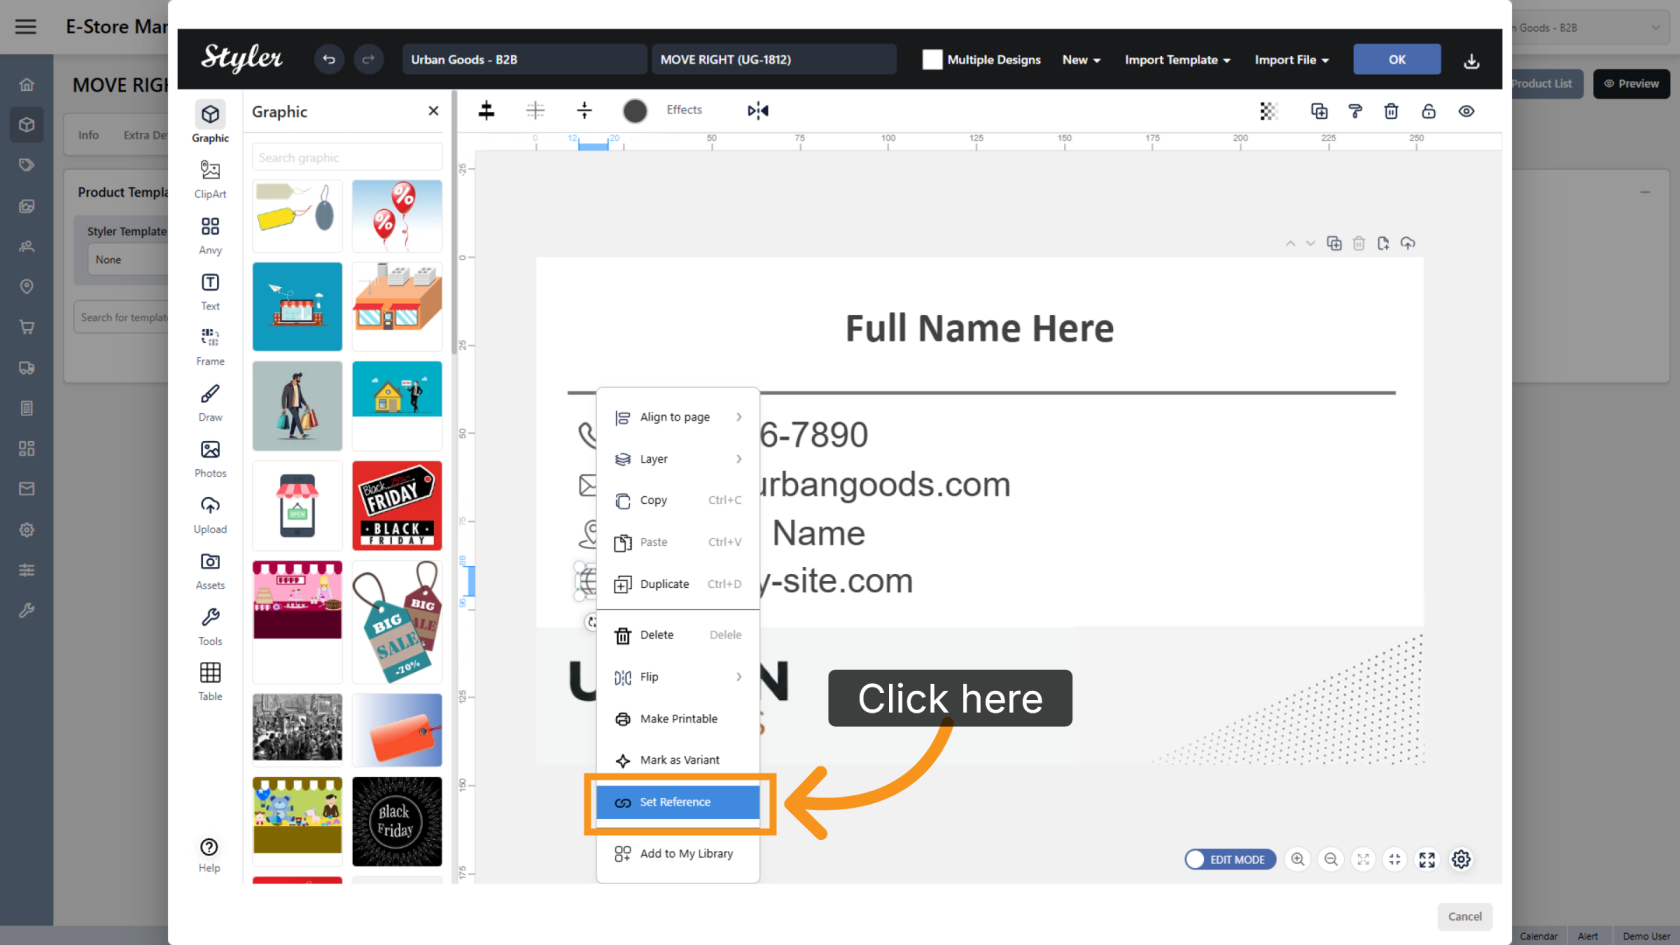
3. Open Reference Settings
Right-click the non-variant object that should hide when variant object delete, then select Set Reference.
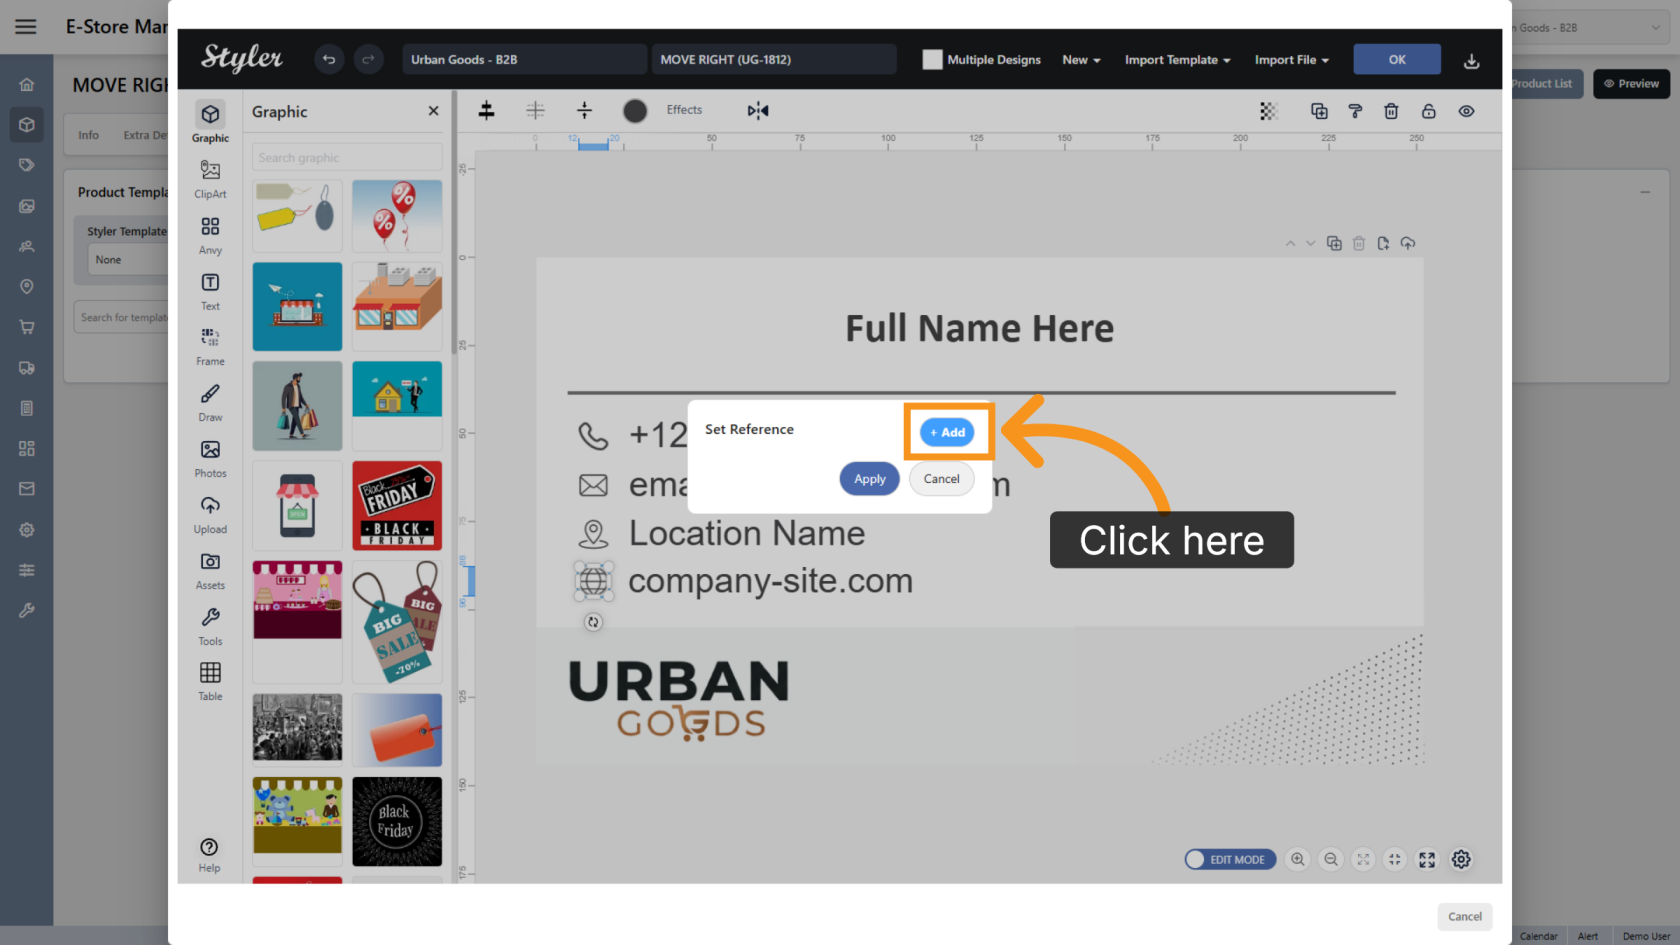
4. Add a New Reference
Click Add to create a new reference configuration.
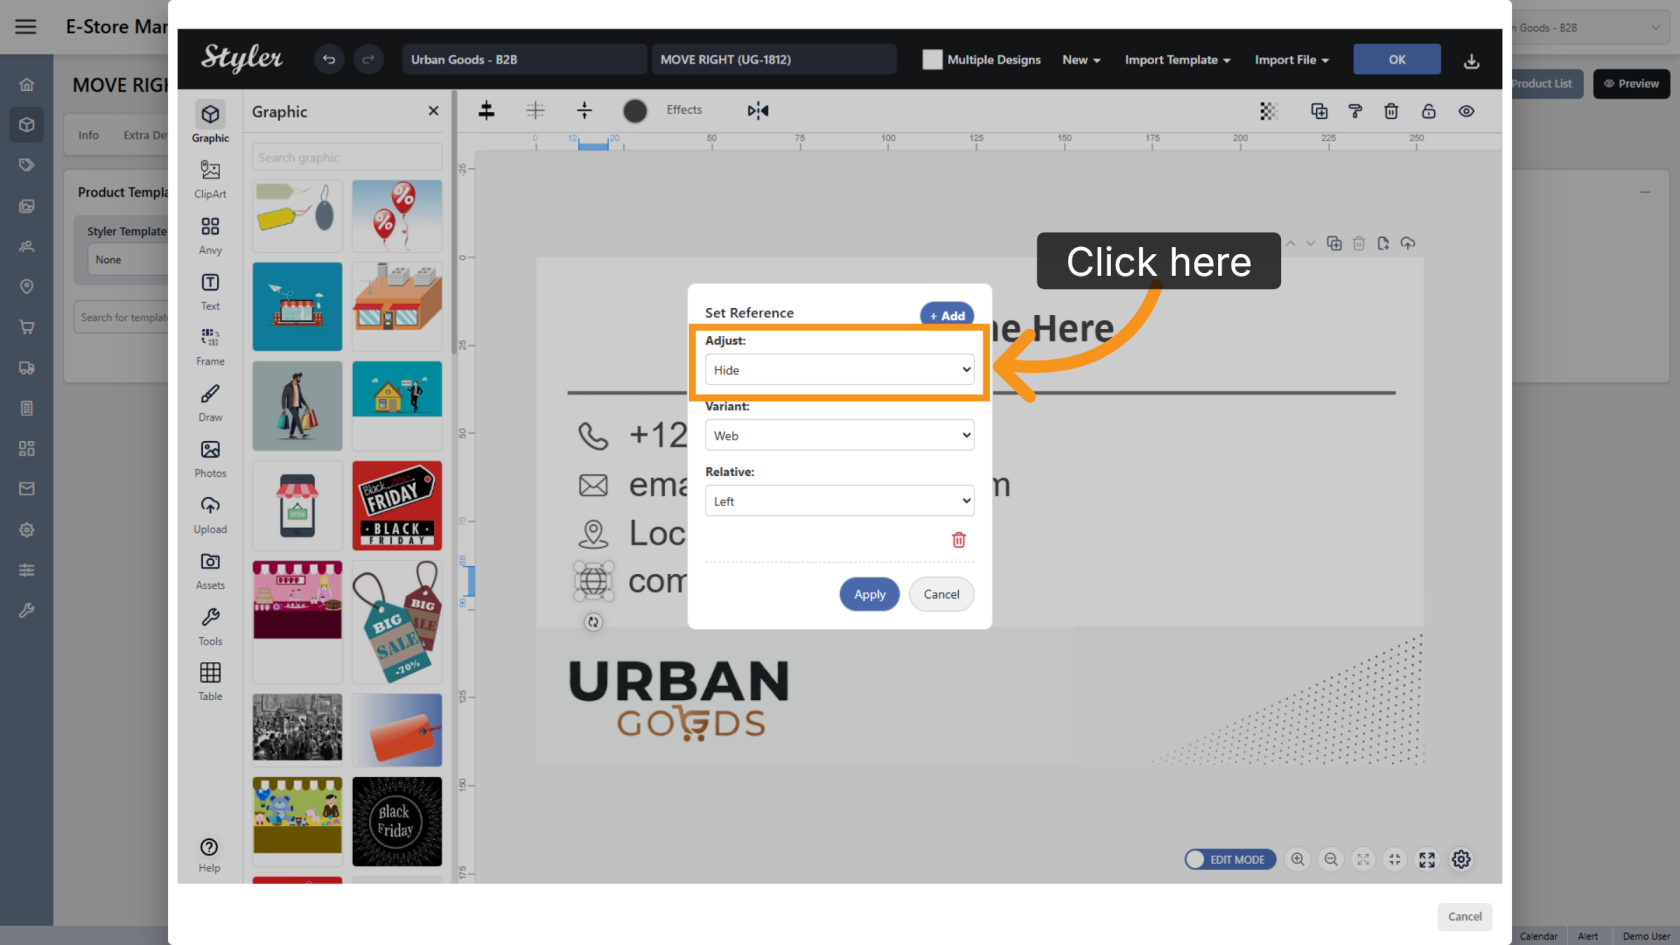
5. Configure the Adjust Direction
Set Adjust to Hide so the object can automatically hide when variant remove.
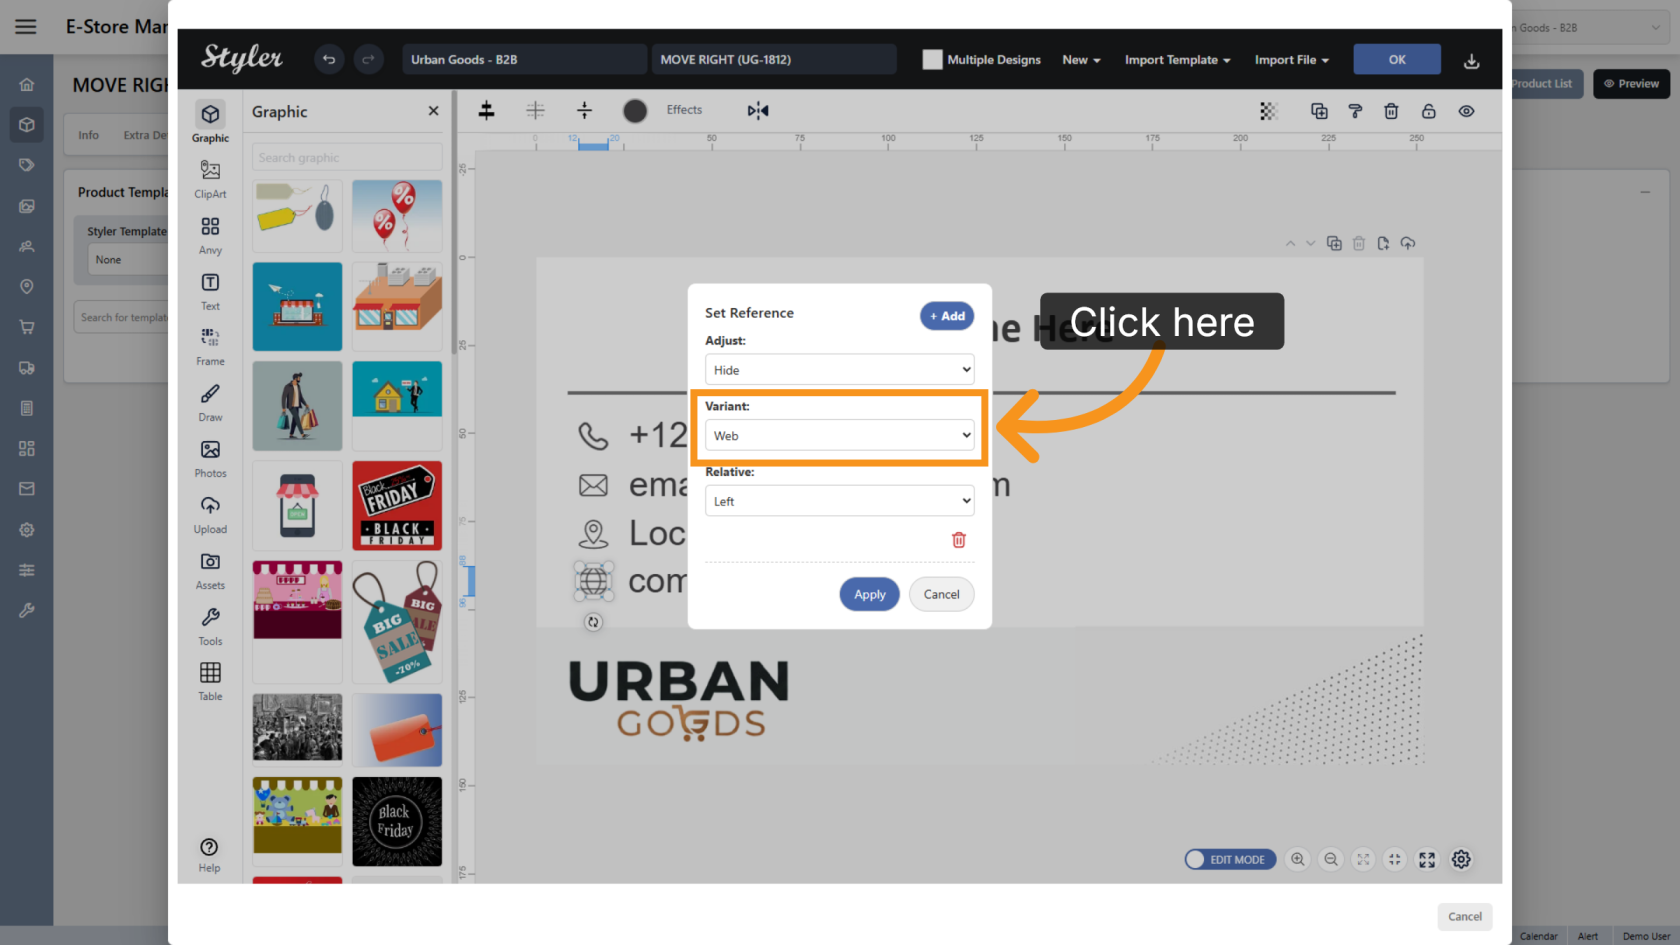
6. Select the Variant Reference
Choose the variant object you previously configured.
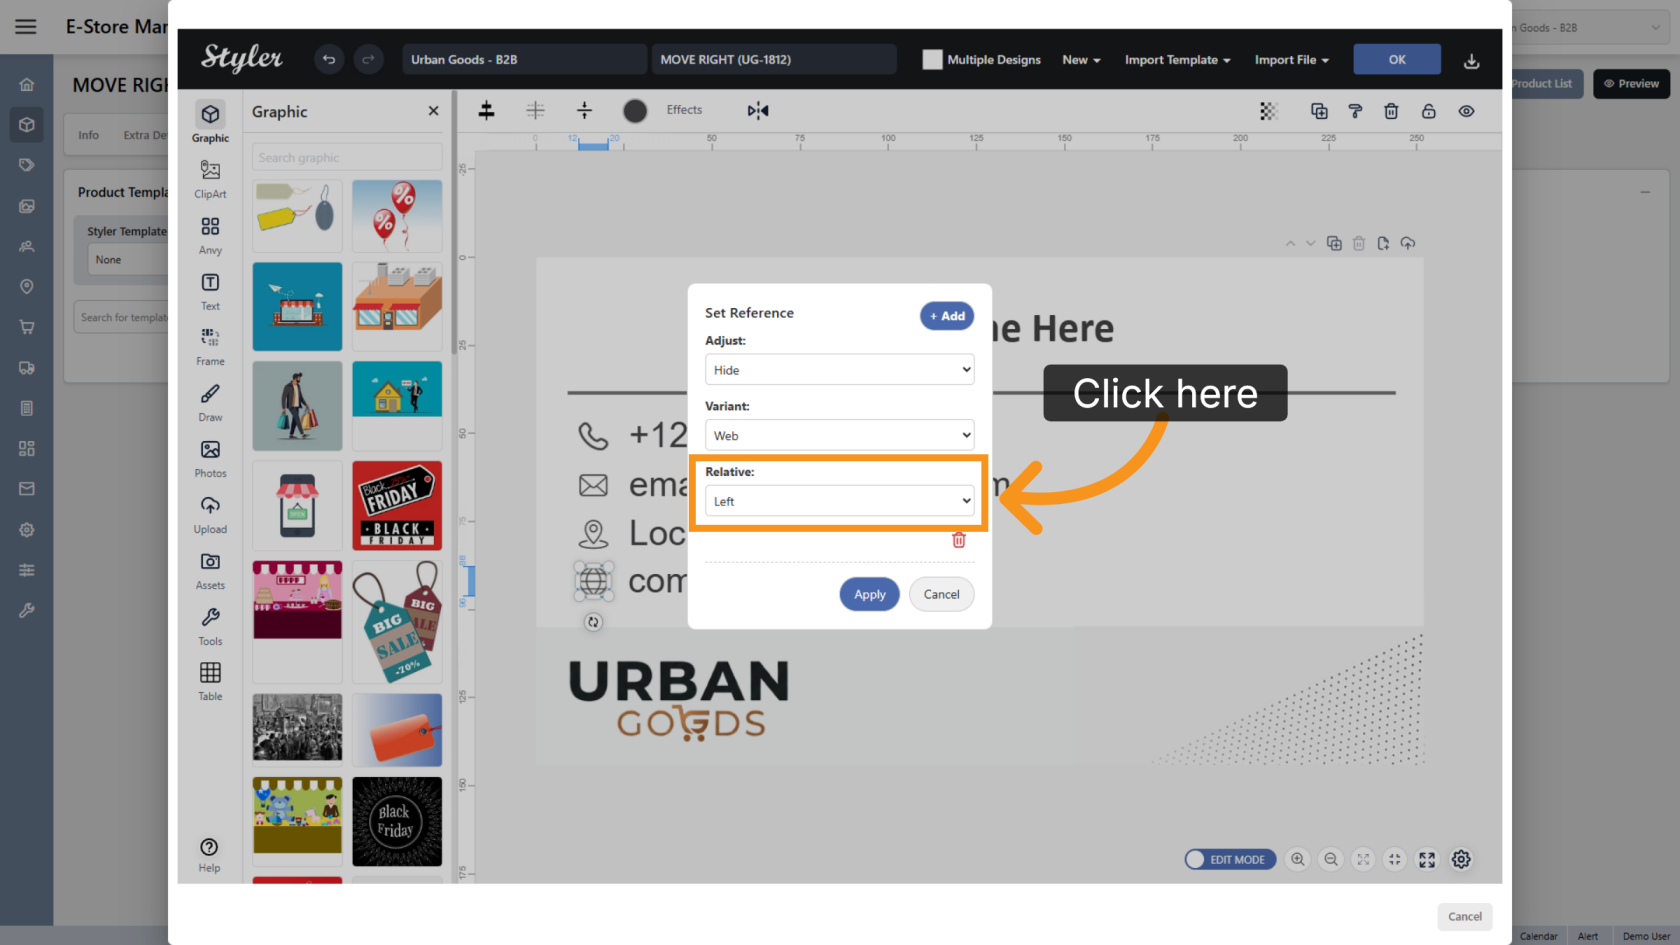
7. Configure the Relative Position
Select the relative position of the non-variant object compared to the variant object.
For example, if the object should stay on the left side of the variant text, select Left.
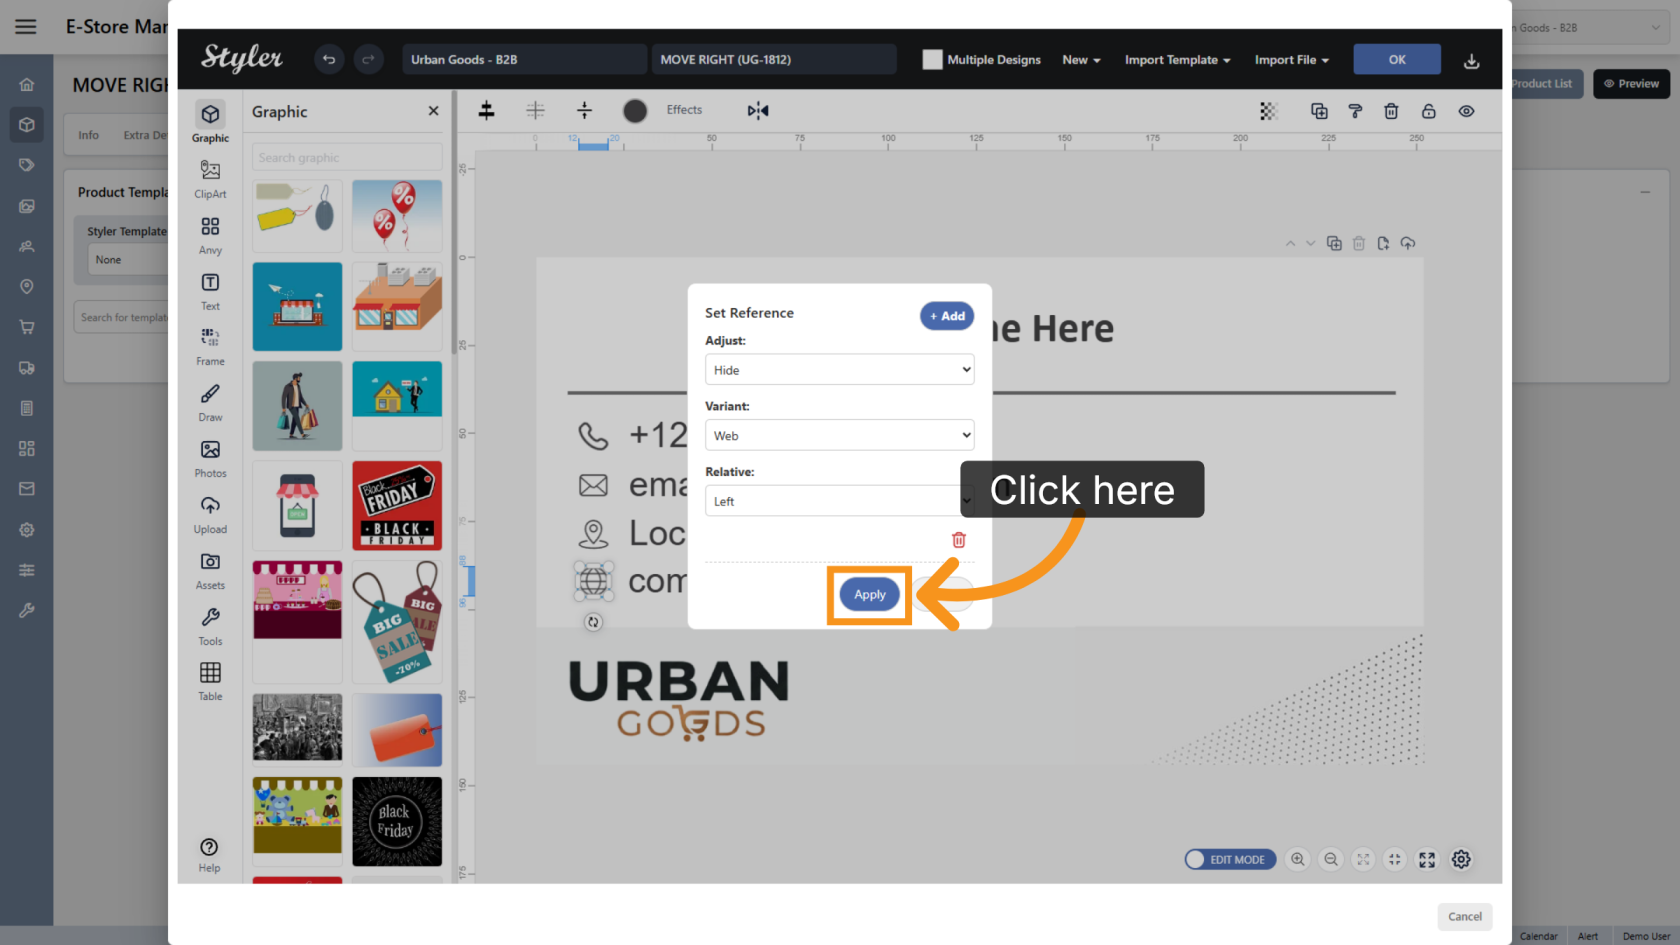
8. Apply the Reference Settings
Click Apply to save the reference configuration.
9. Confirm the Configuration
Click OK to finalize the settings.

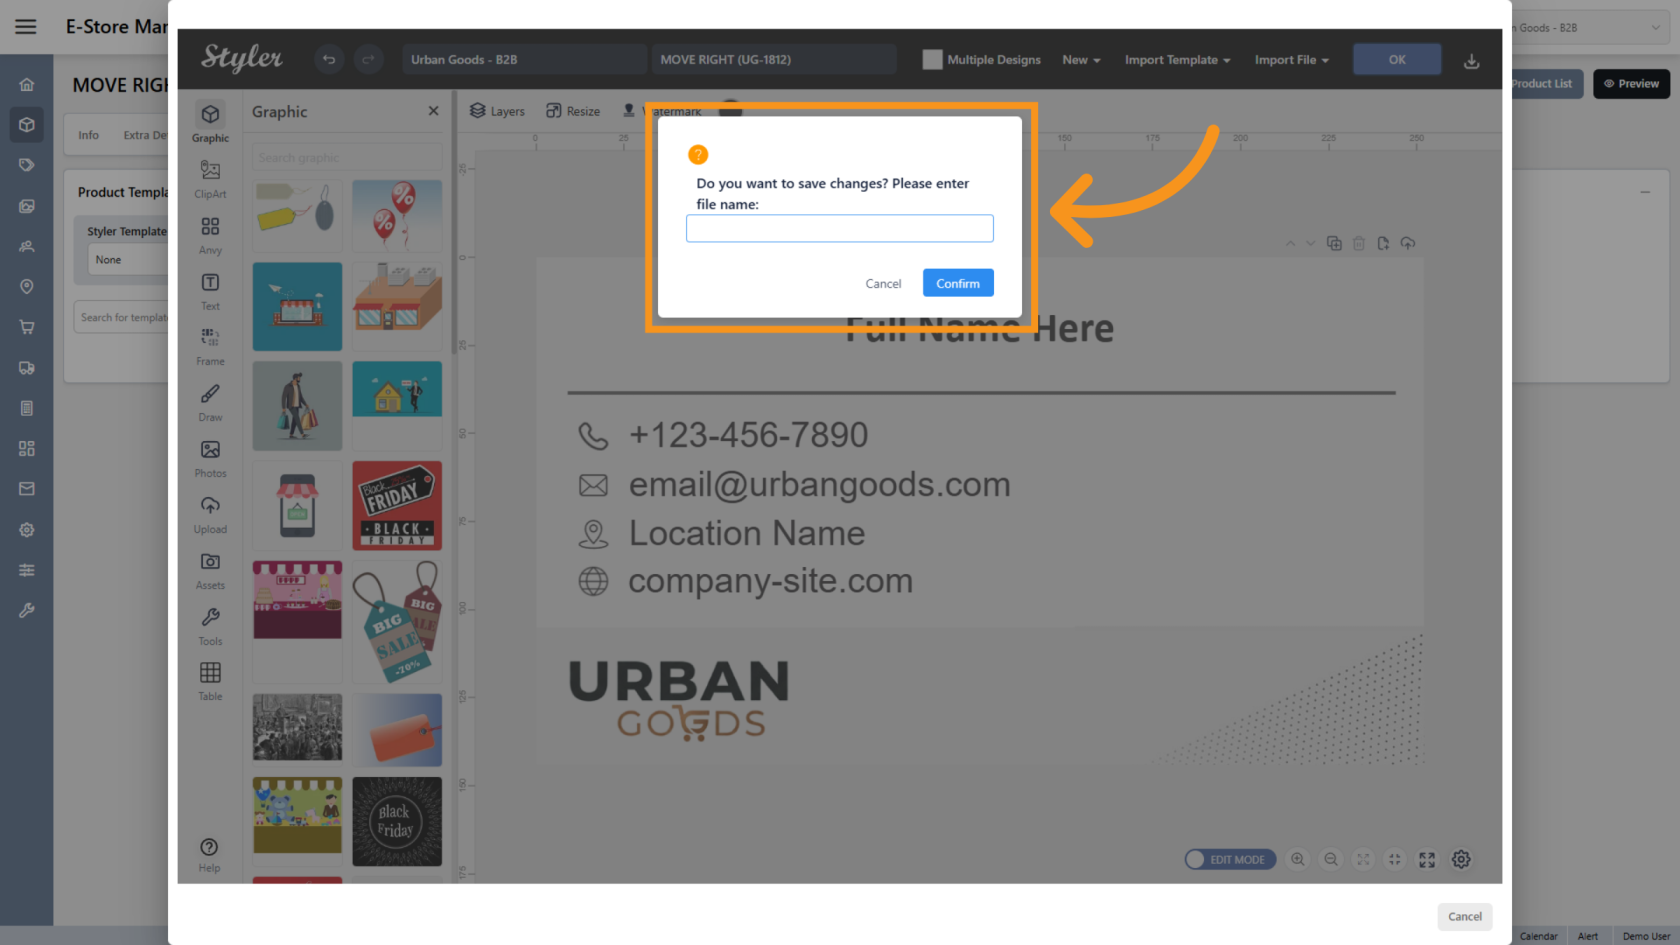
10. Enter the File Name
Enter the file name, then click Confirm.
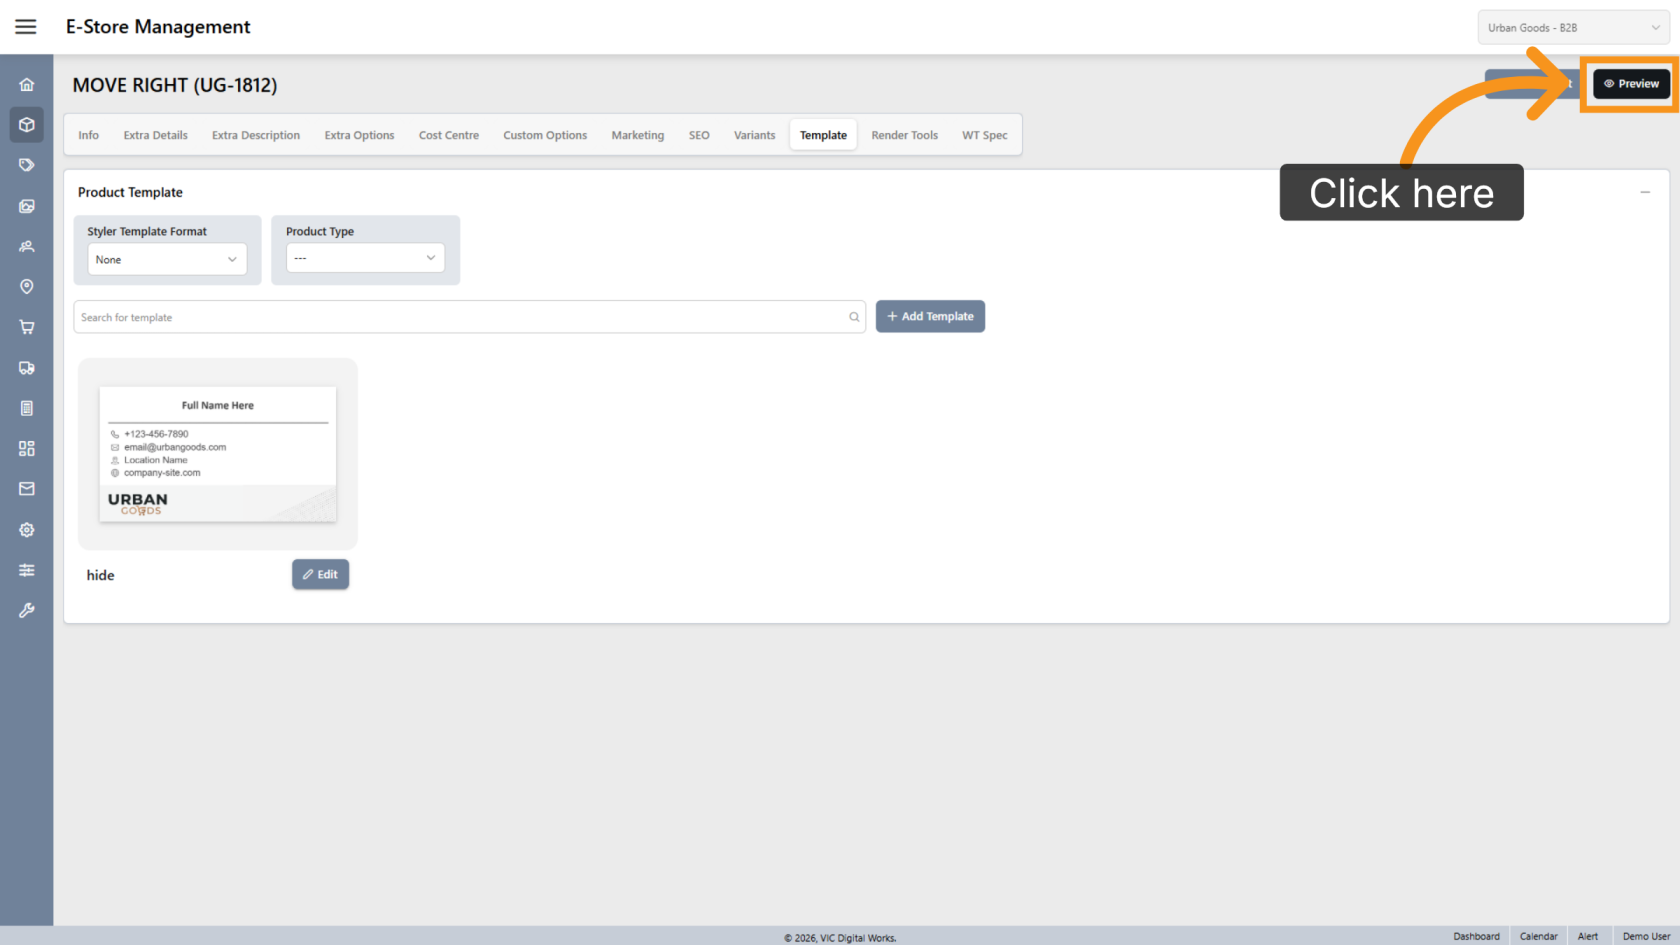
11. Preview the Design
Click Preview to review the final layout.
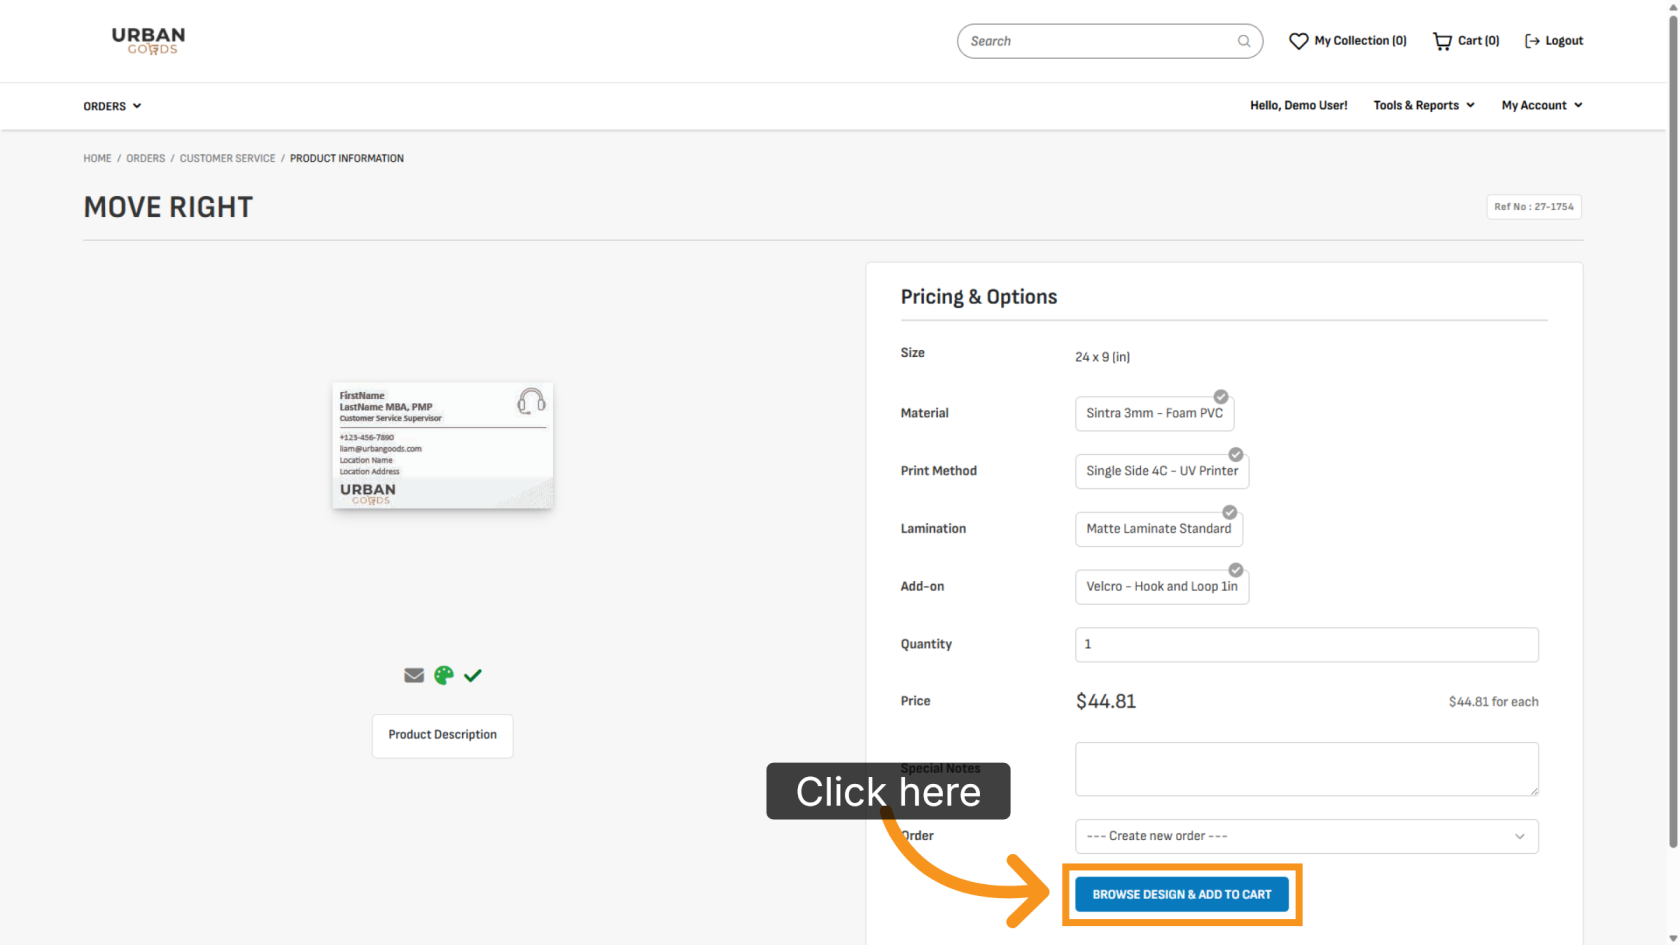
12. Browse Available Designs
Click BROWSE DESIGN & ADD TO CART to select a design for printing.
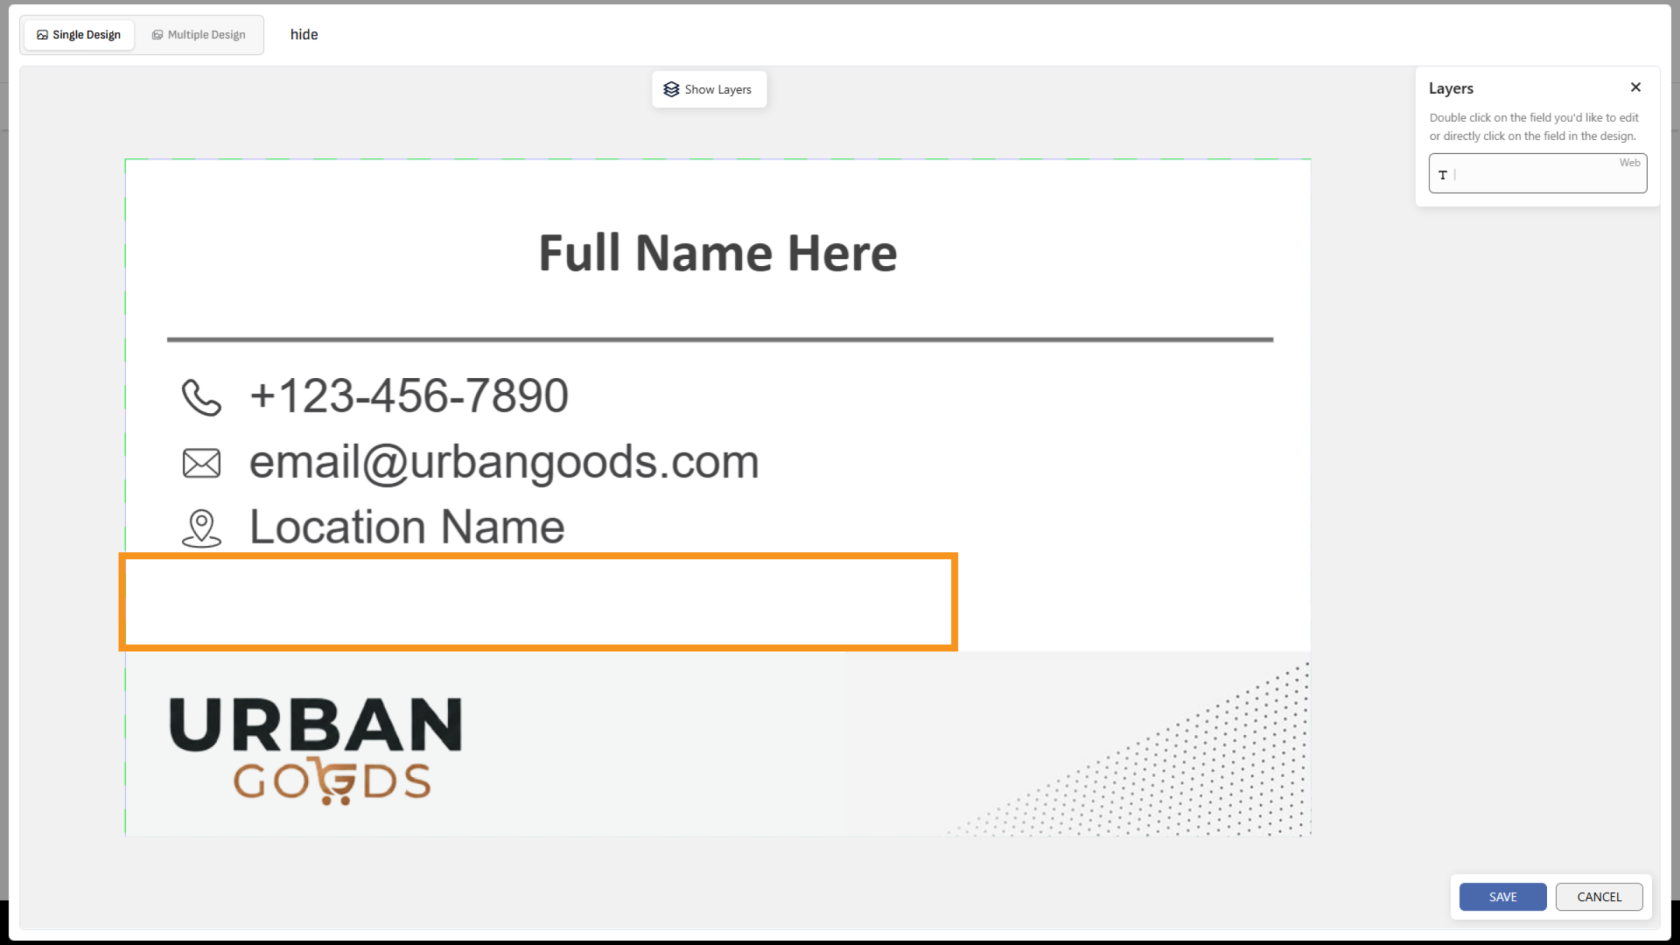
13. Remove the Variant Value
When the variant value is removed, the linked non-variant object will automatically disappear.
14. Add the Variant Value Again
Double-click the variant layer and enter a value. The linked non-variant object will appear again automatically.

You have successfully configured hide references between variant and non-variant objects, allowing design elements to dynamically appear or disappear based on variant content.