
QuickBooks Integration
This tutorial guides you through connecting and synchronizing QuickBooks with the WorkTraq application.
Video Tutorial
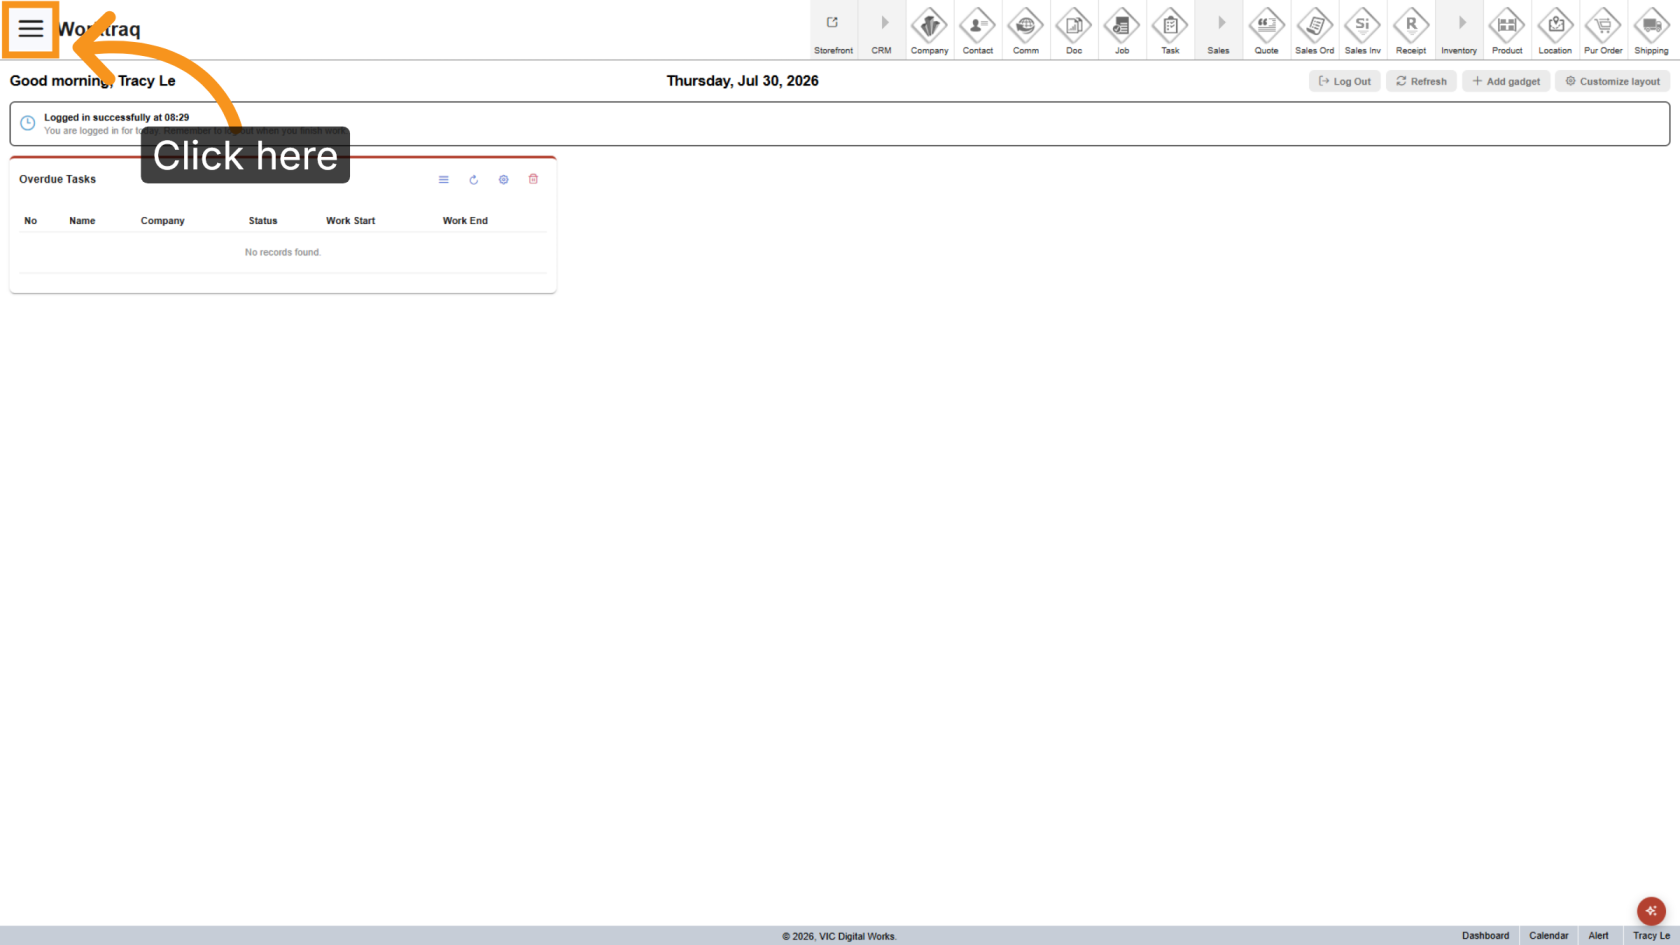
1. Open Main Menu
Click the  Main Menu icon.
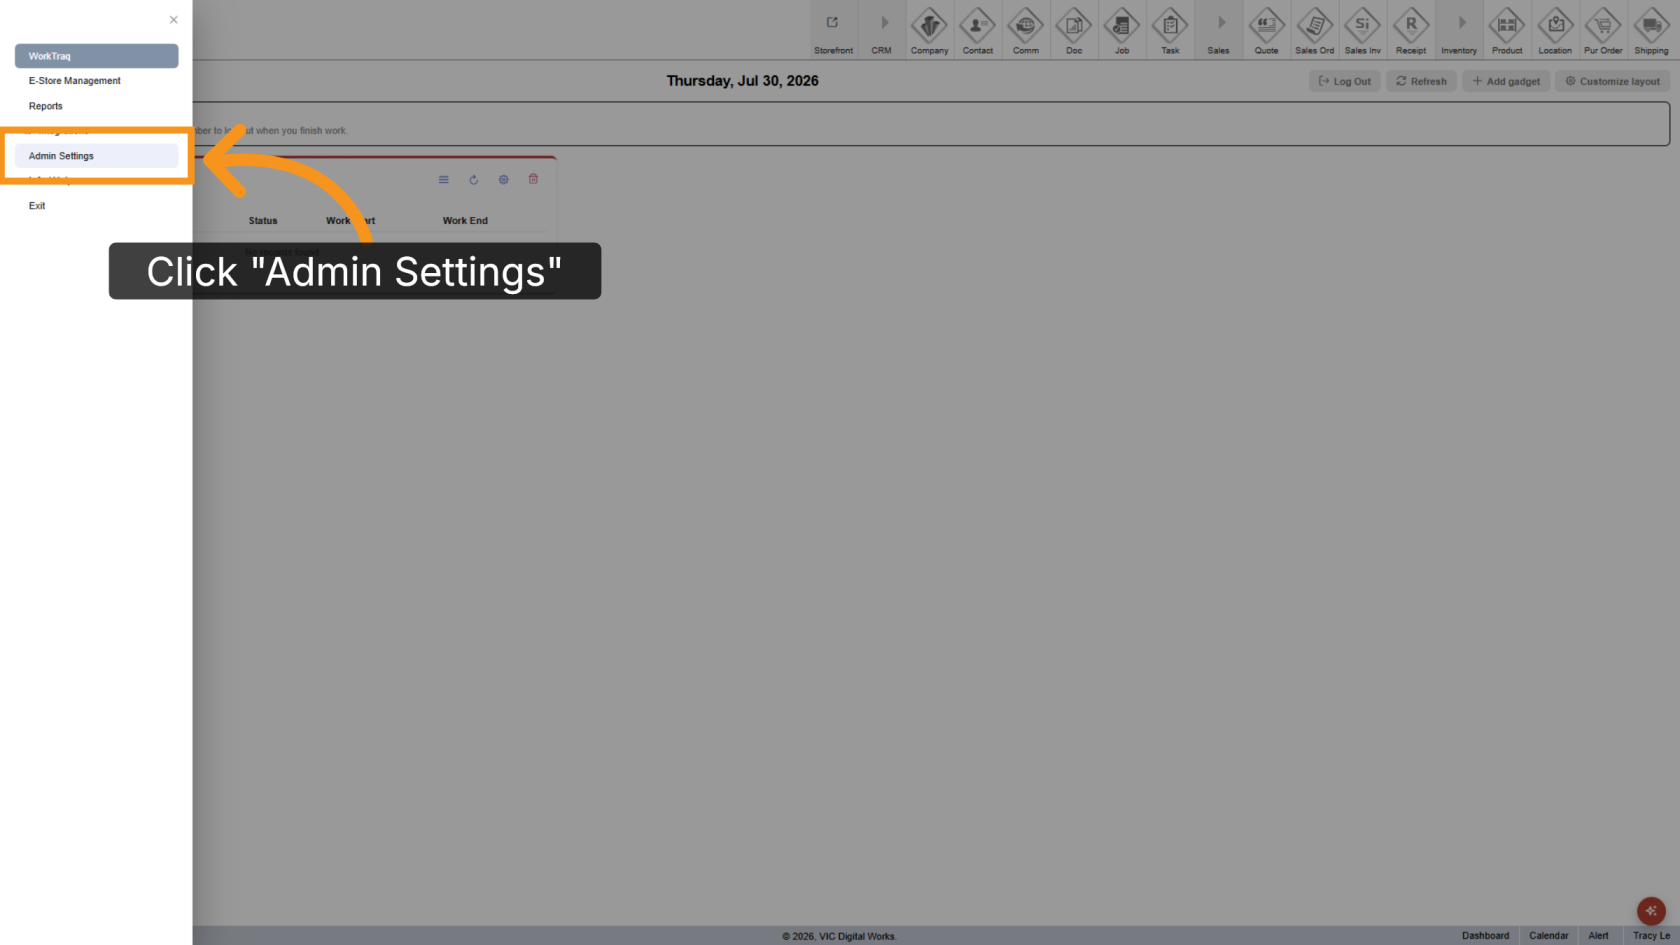
2. Open Admin Settings
Go to Admin Settings
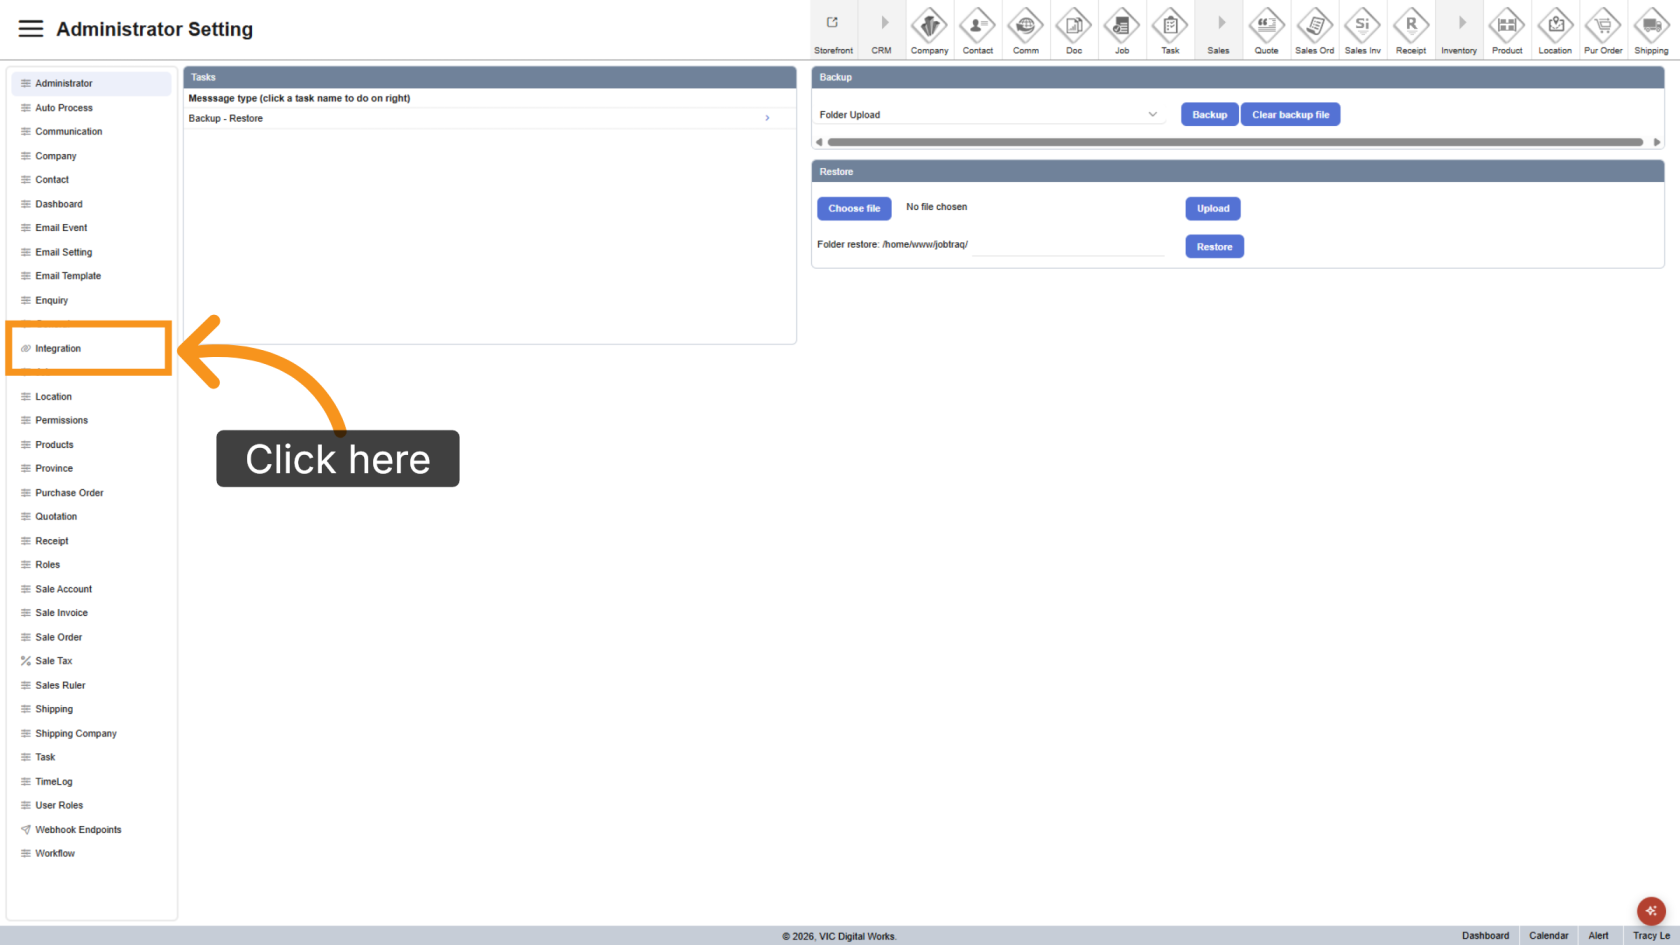
3. Select Integration
Select Integration
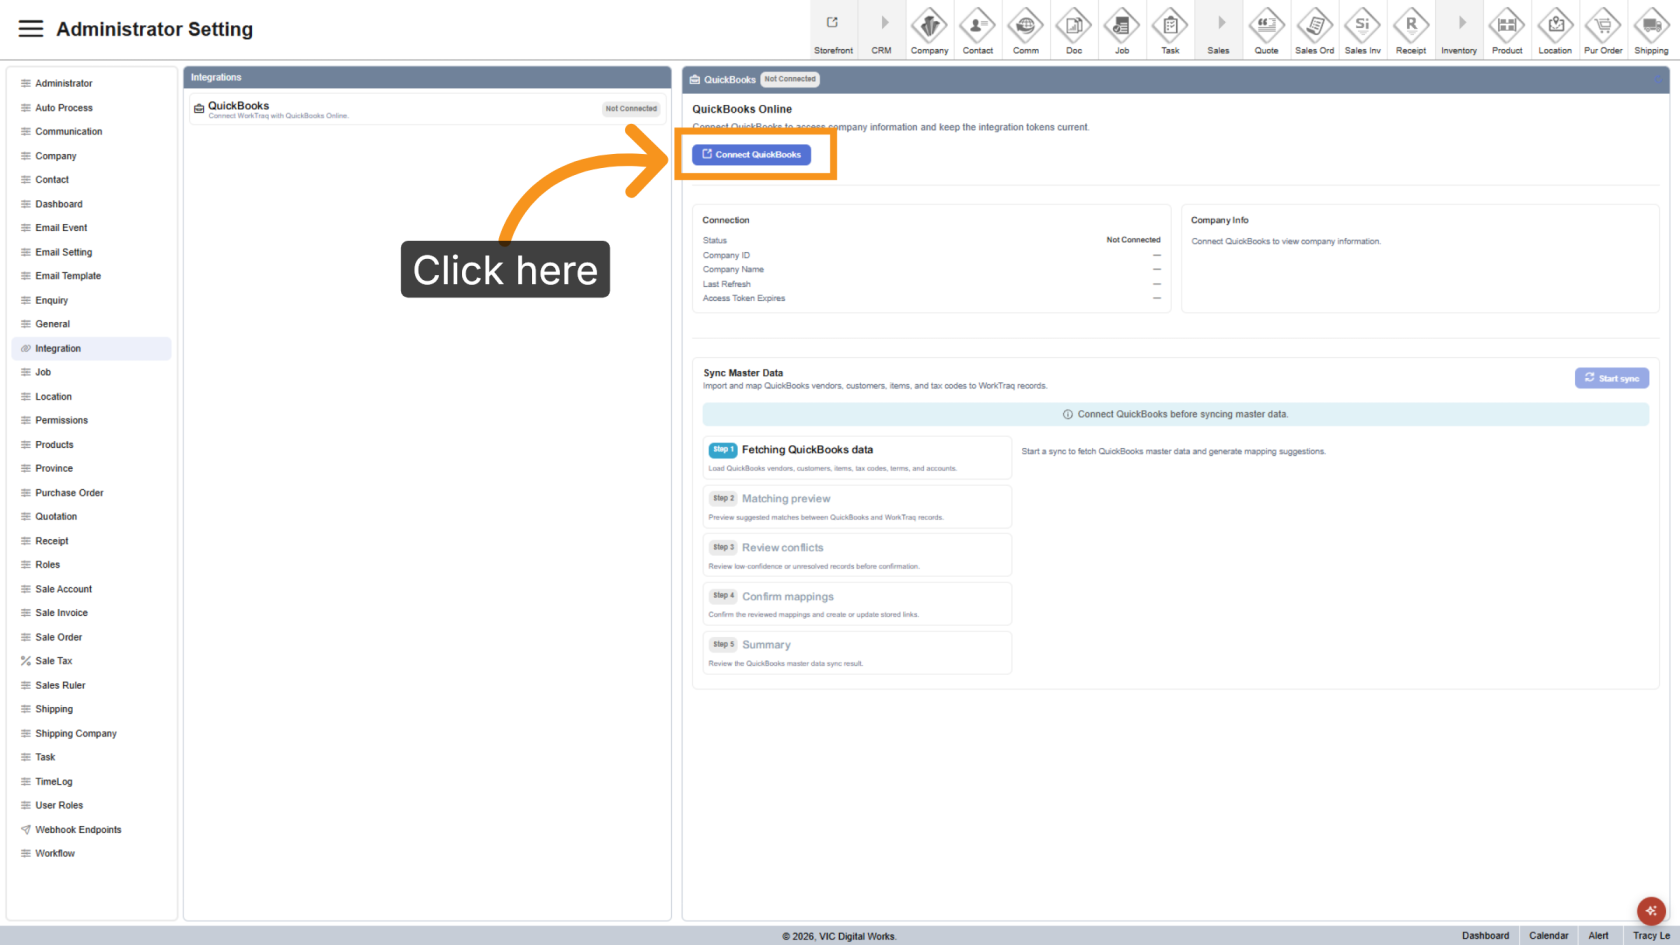
4. Connect QuickBooks
Click Connect QuickBooks. A new browser window will open. Sign in to the QuickBooks Online account you want to connect to WorkTraq.
Once the connection is successful, your QuickBooks account information will be displayed.
5. Start Data Sync
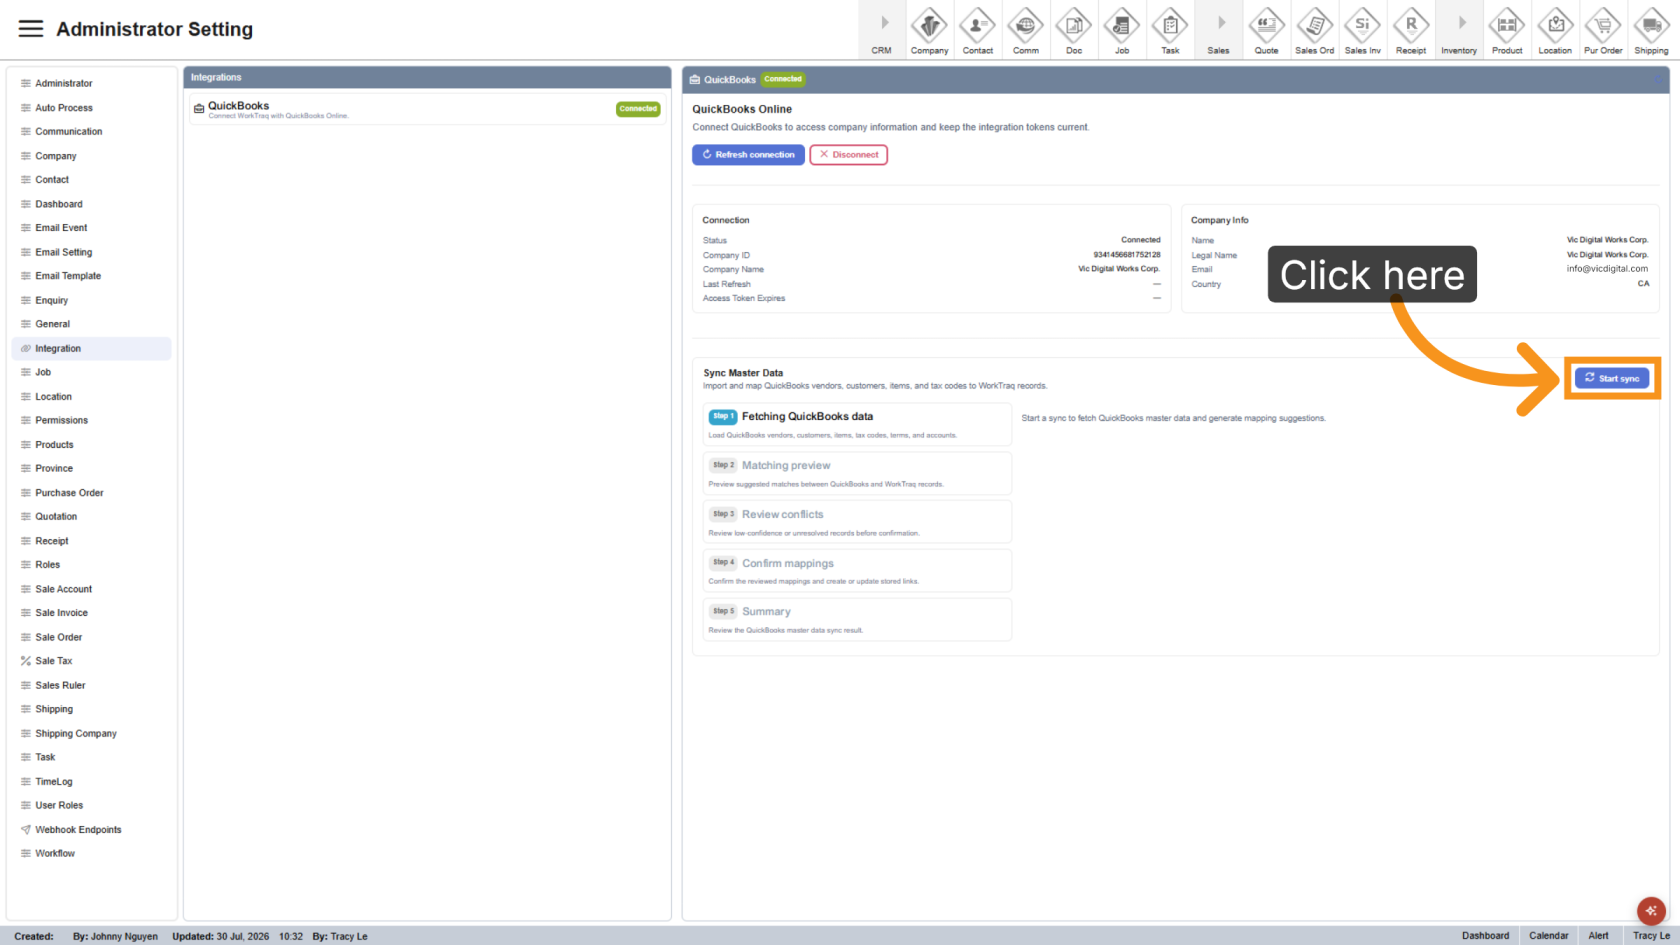
Click Start Sync to import your QuickBooks master data.
6. Review Suggested Mappings
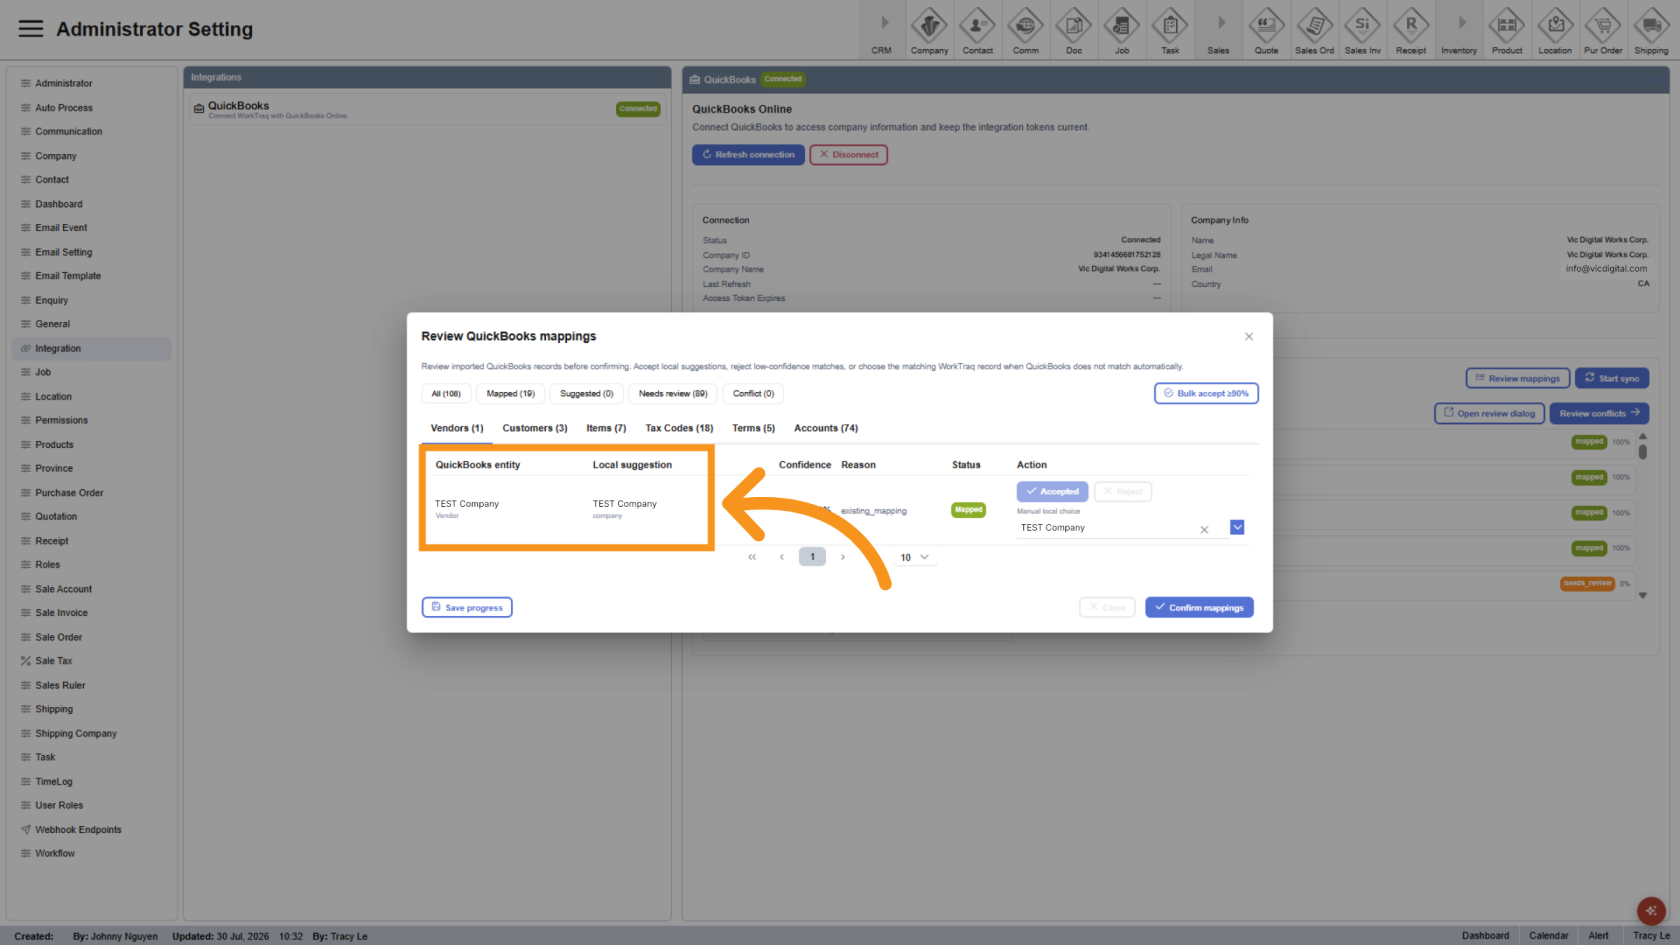
The mapping table displays your QuickBooks records in the first column and the suggested WorkTraq mappings in the second column. Review the suggested mappings before making any changes.
7. Complete the Mappings
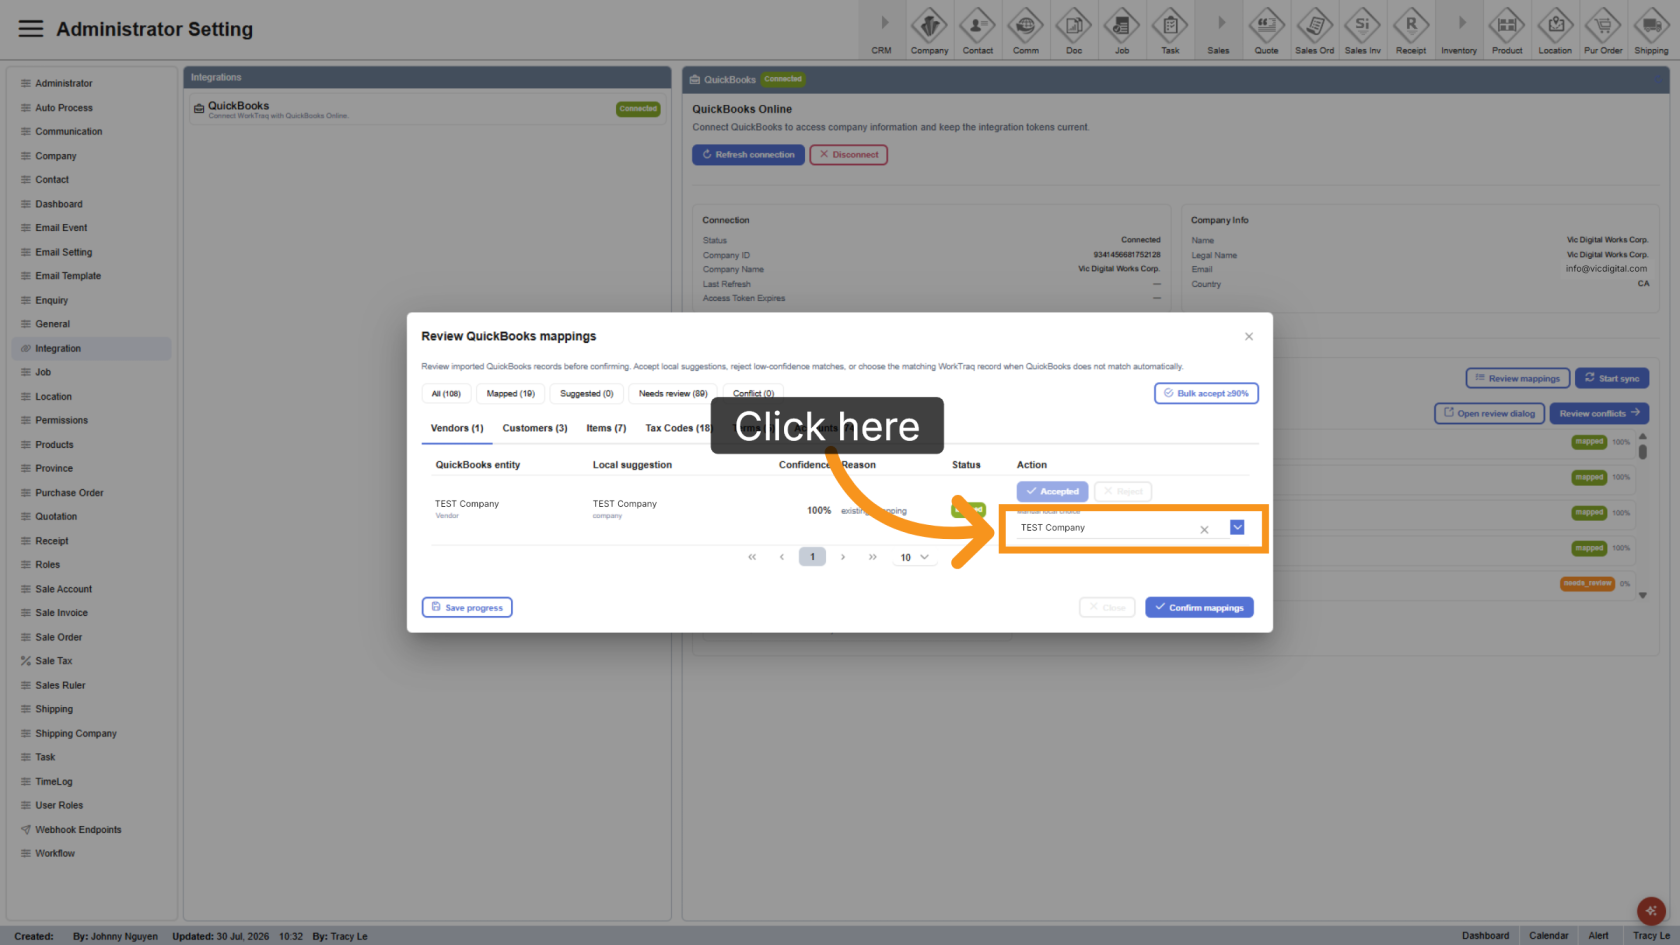
Go through each mapping tab and use the dropdown lists to select the appropriate WorkTraq record.
Complete the mappings for:
- Vendors
- Customers
- Items
- Tax Codes
- Terms
- Accounts
8. Configure Default Mappings
Some mapping tabs include additional options.
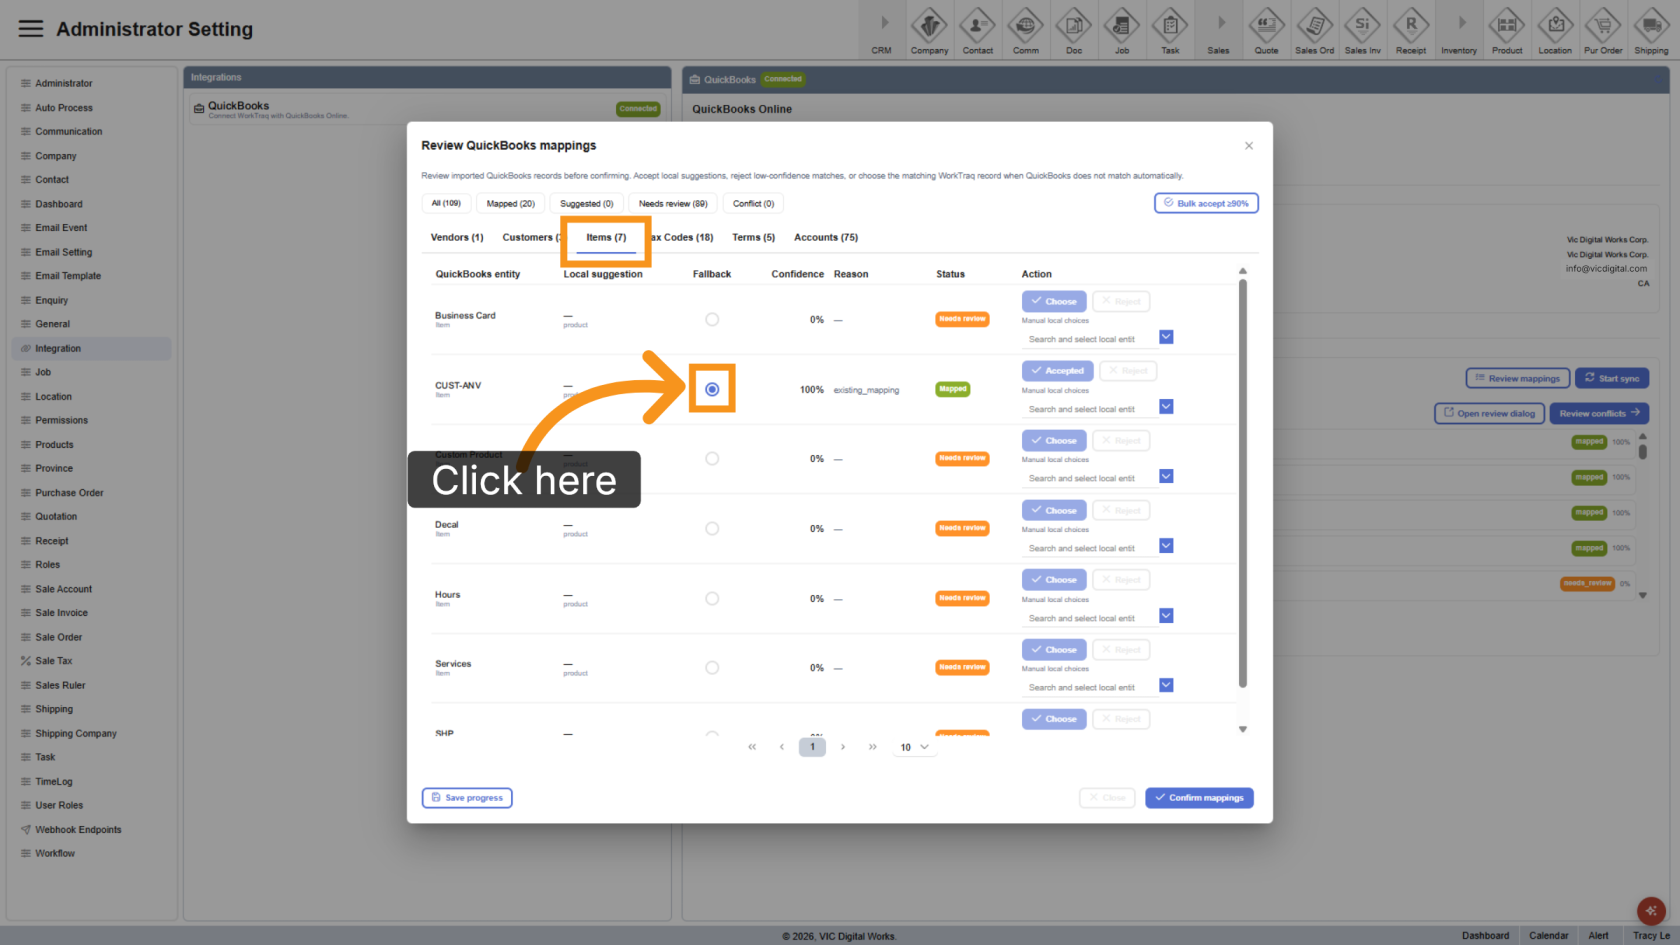
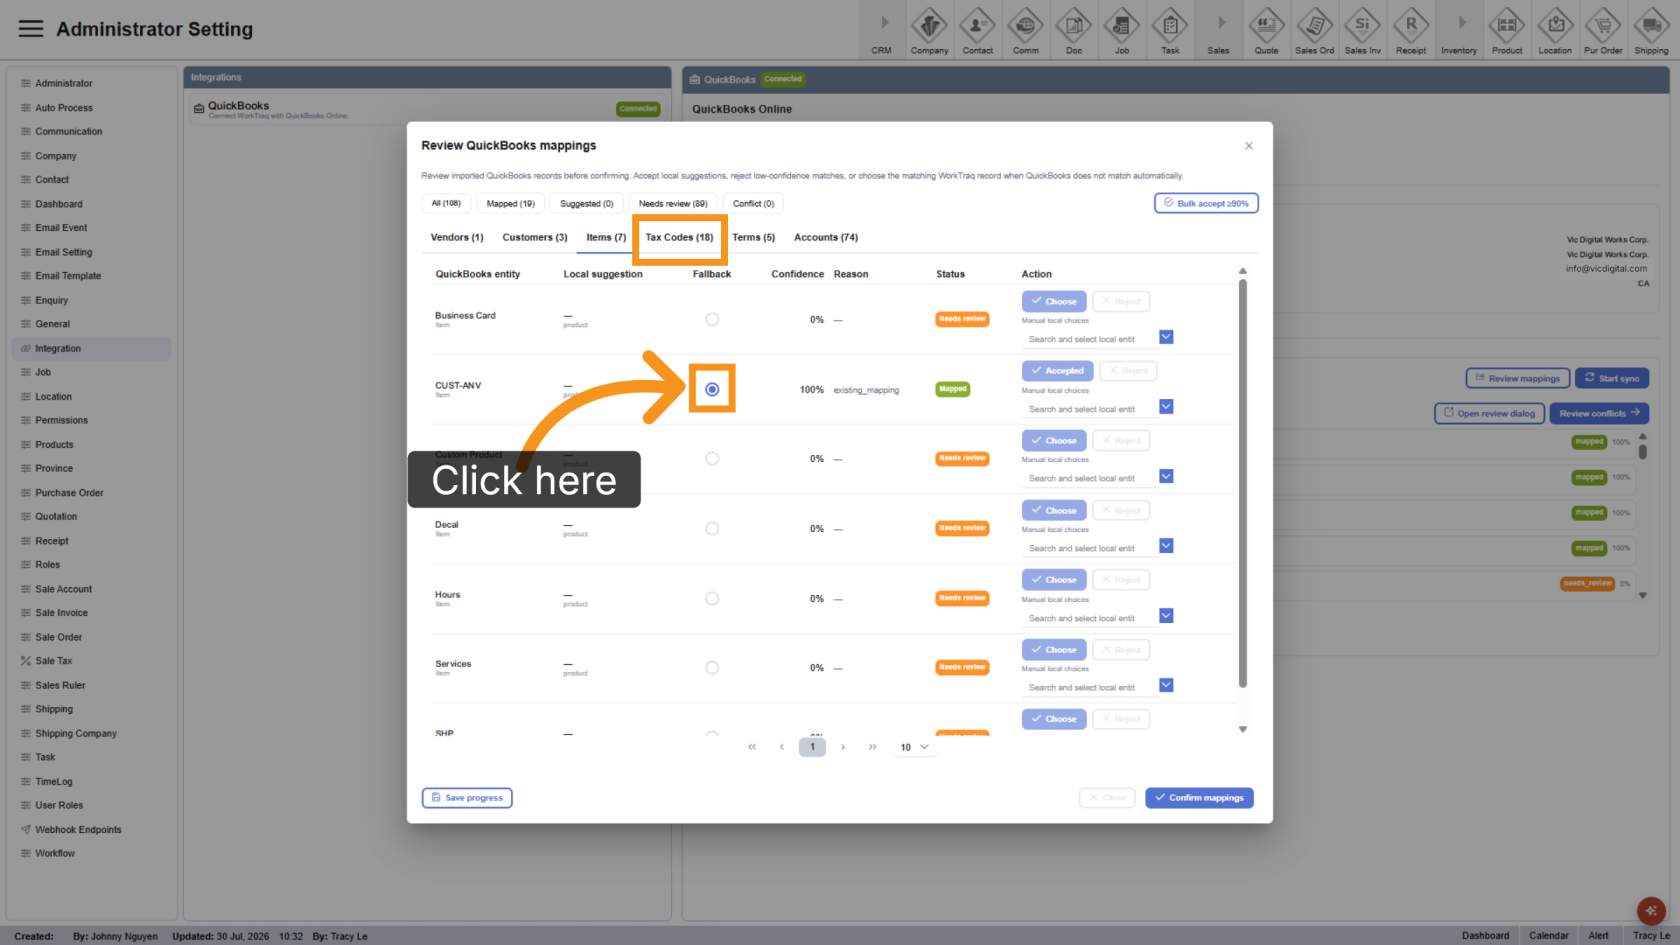
Items – Select the QuickBooks item used for WorkTraq products when creating an Invoice. You can map multiple WorkTraq products to the same QuickBooks item. If you use a single generic QuickBooks item, enable Fallback to use it as the default.
9. Tax Codes Default
Tax Codes – Select a Fallback tax code to use when WorkTraq encounters an unsupported QuickBooks tax code.
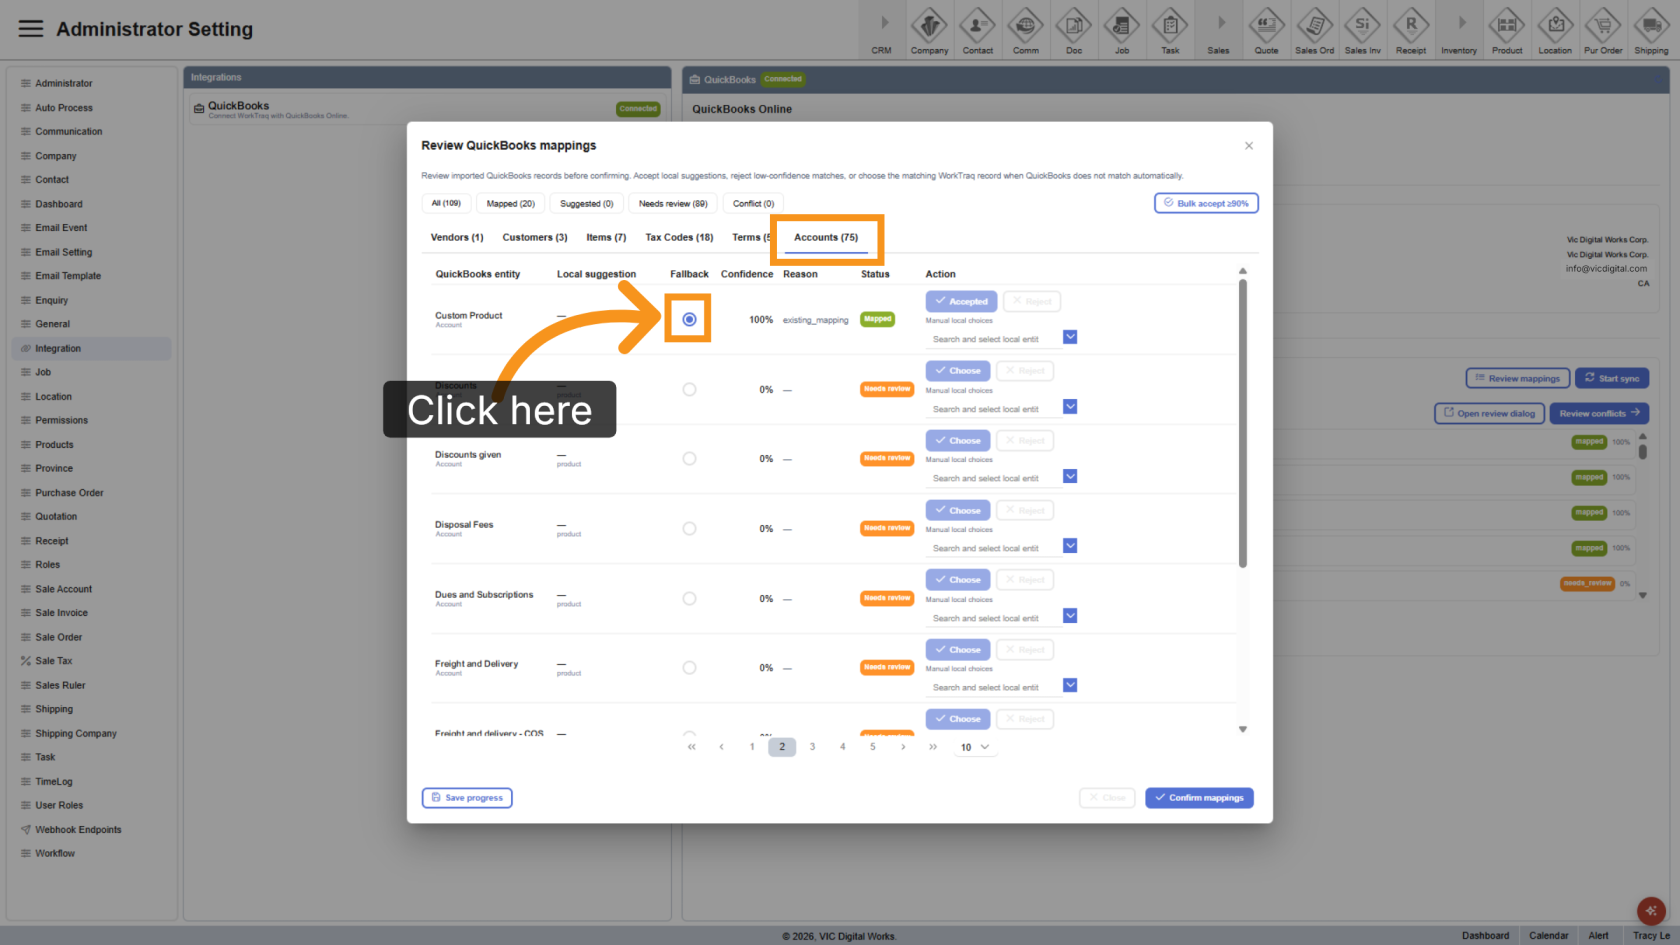
10. Account Default
Accounts – Select the QuickBooks account used for products when creating a Bill. You can map multiple products to the same account and select a Fallback Account as the default when no specific account is mapped.
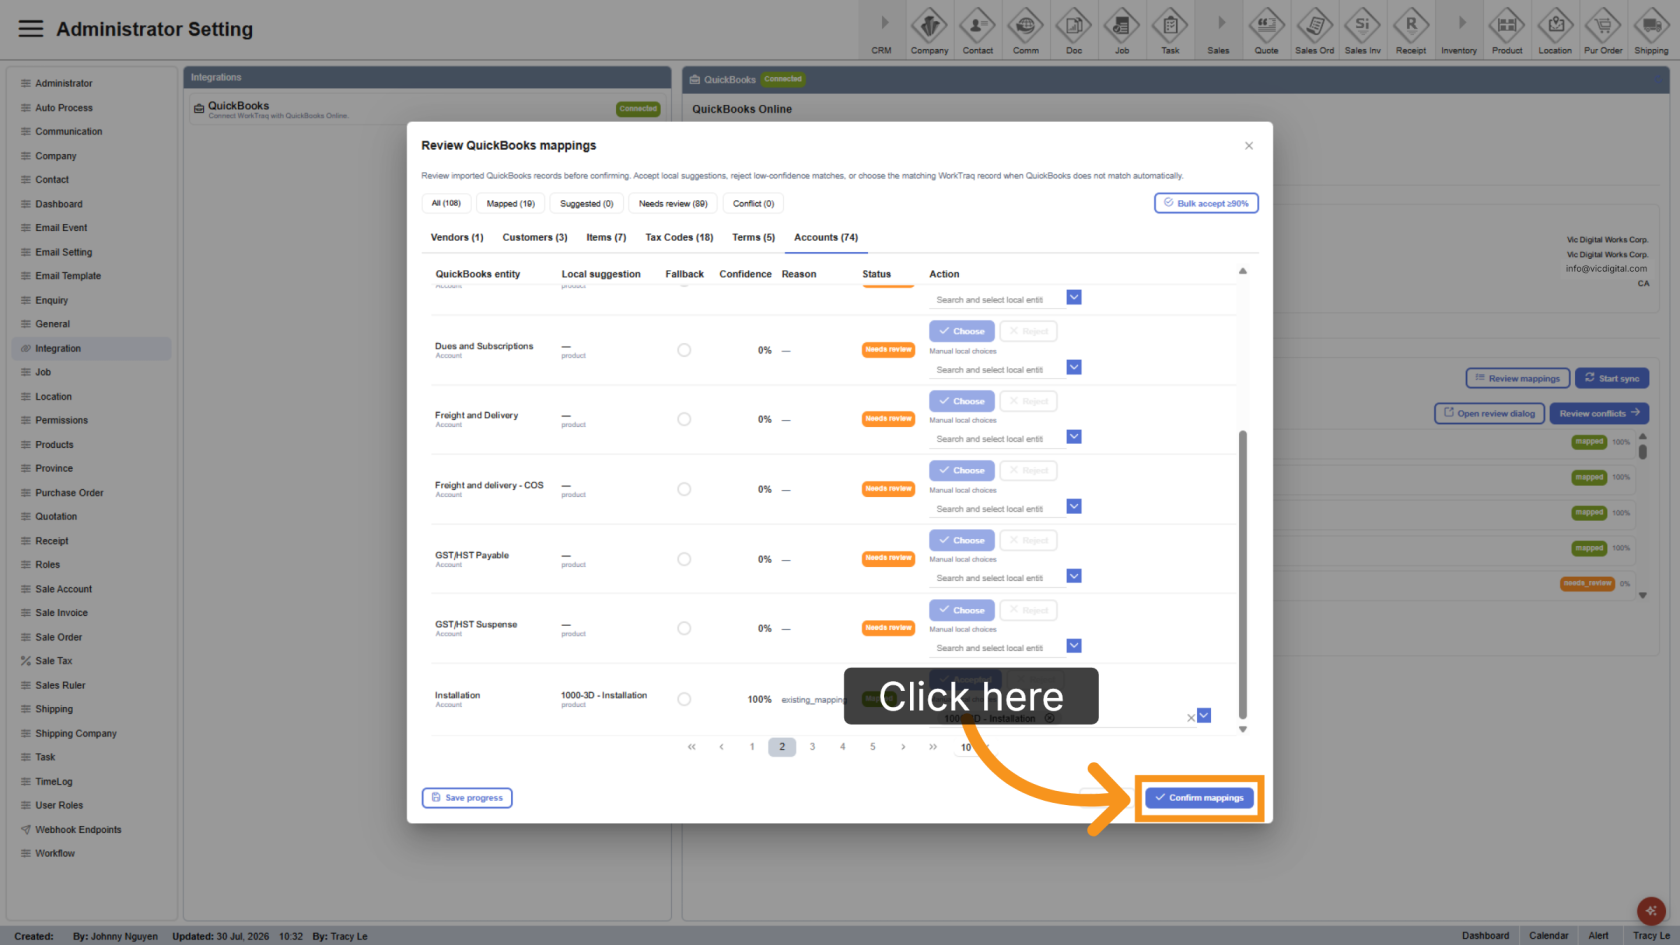
11. Confirm Mappings
Click Confirm Mappings to save all mapping settings.
12. Sync Again When Needed
Whenever you add or update vendors, customers, items, tax codes, payment terms, or accounts in QuickBooks, click Start Sync again. Previously mapped records are retained, so you only need to map newly added or updated records.
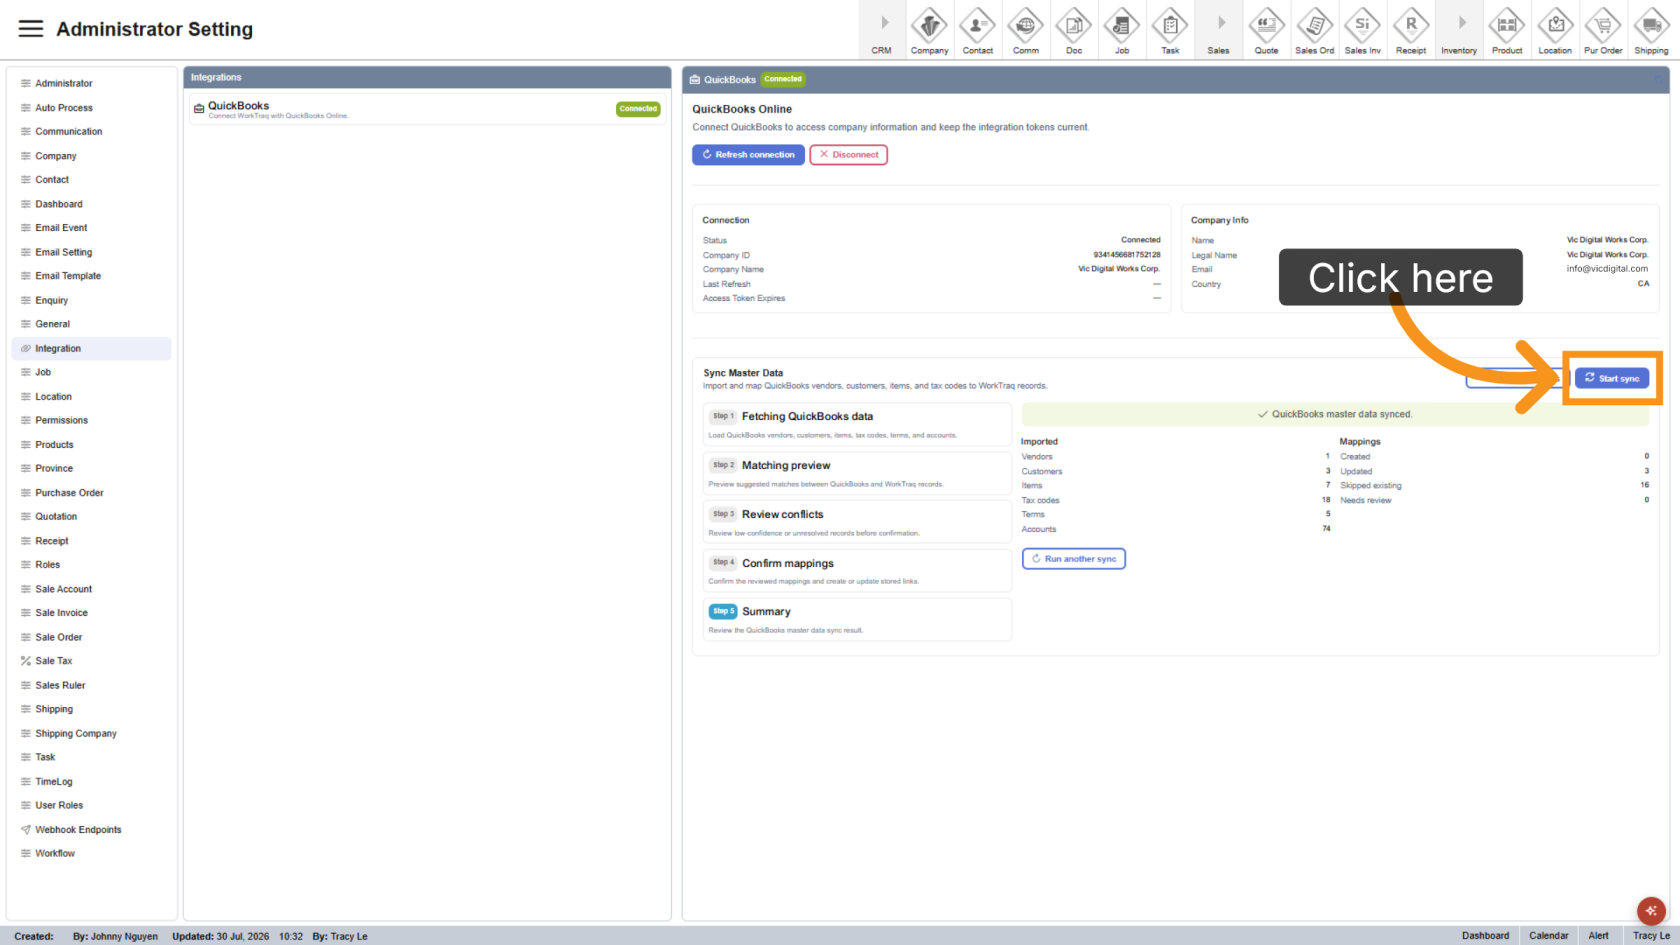
Your QuickBooks account is now connected to WorkTraq. Master data has been synchronized, and your mappings have been saved. WorkTraq is now ready to exchange data with QuickBooks using your configured mappings.