New Page Test
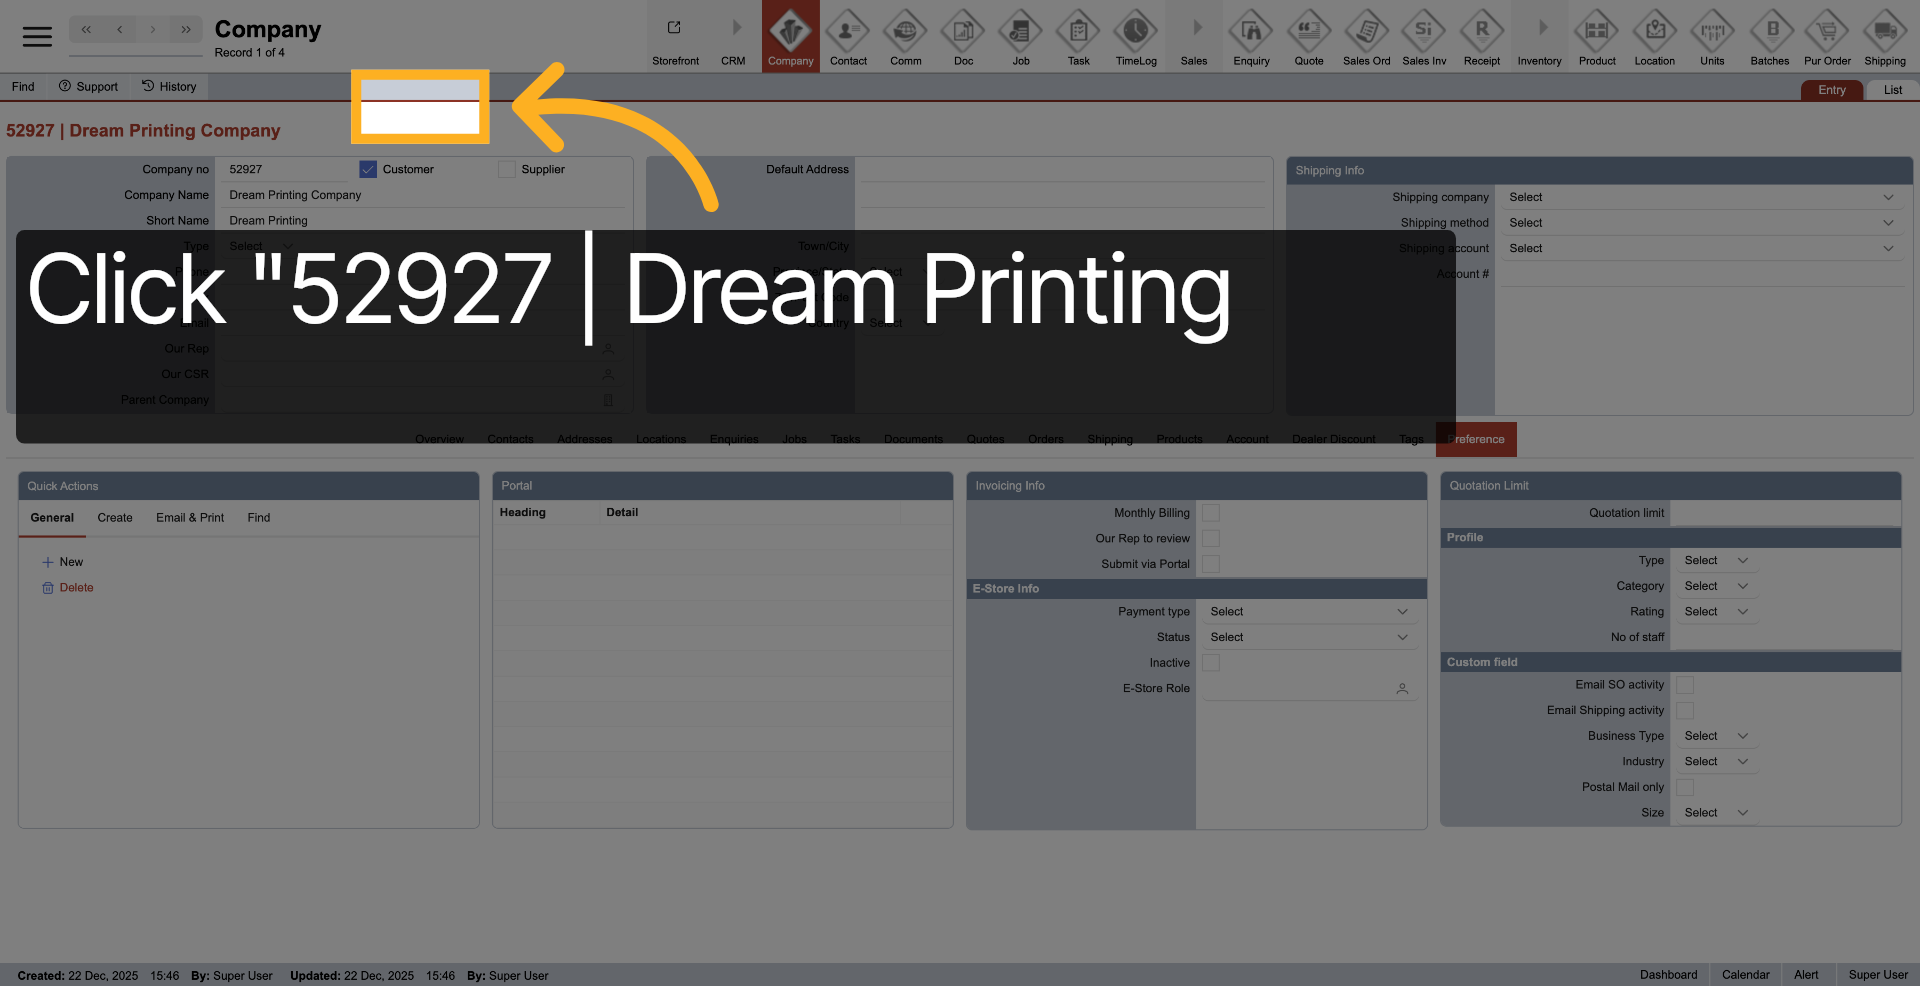
Create and Configure a New Company in Application

This tutorial guides you through creating and configuring a new company within the application
Go to localhost:4200
1. Introduction
You will learn how to set up company details, assign users, and configure shipping options.
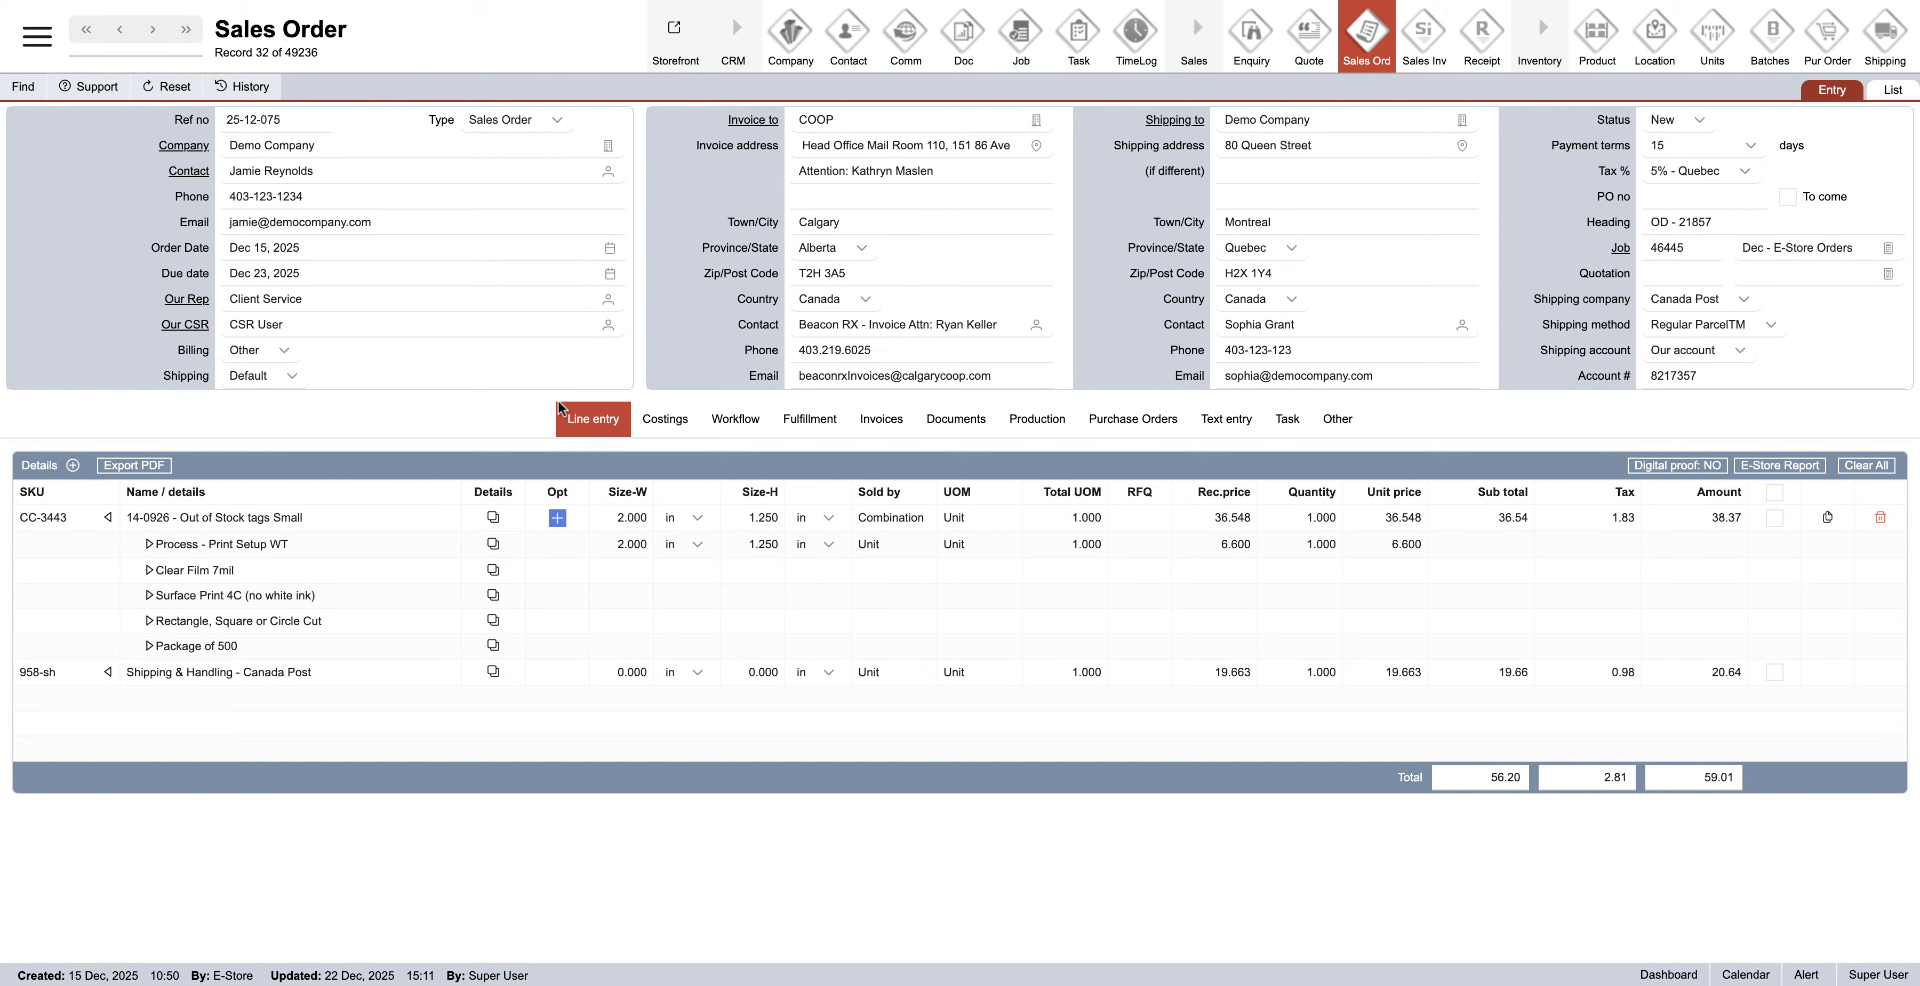
2. Open Preferences Menu
Click here to open the preferences menu where company settings are managed.
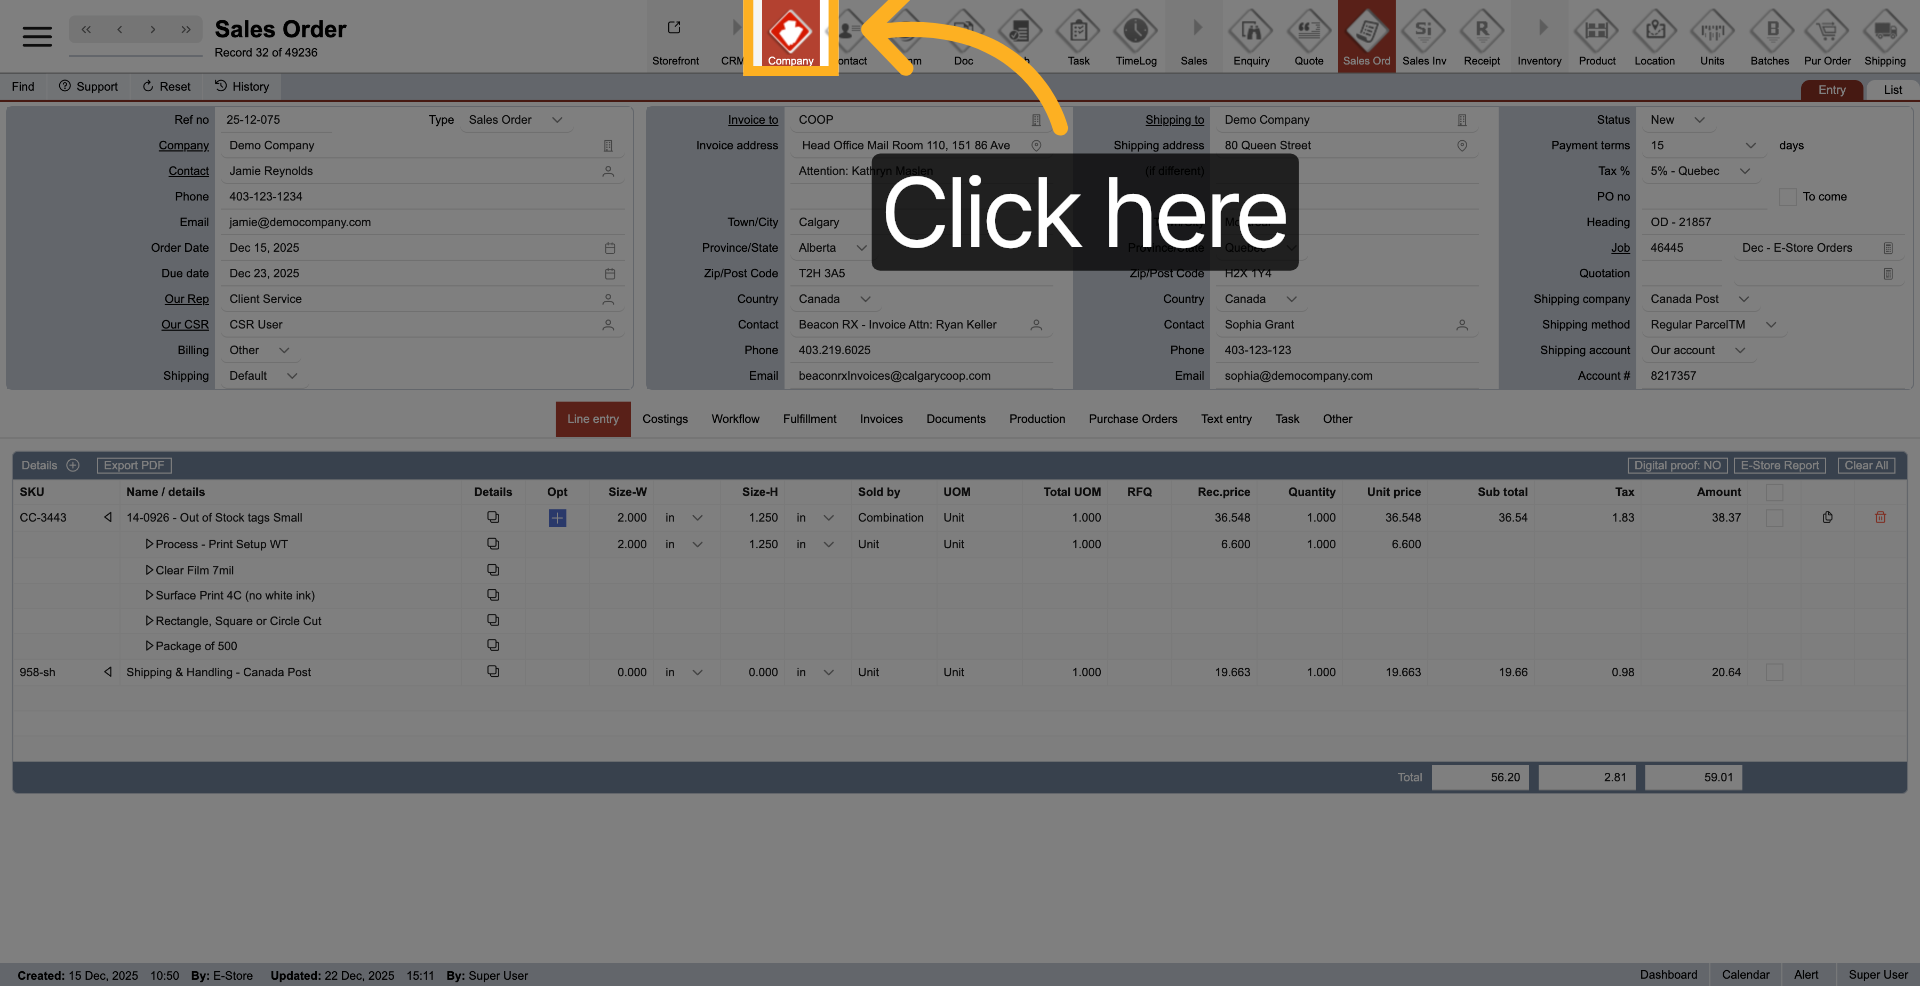
3. Select Preferences Option
Click "Preference" to access the preferences section for configuration.
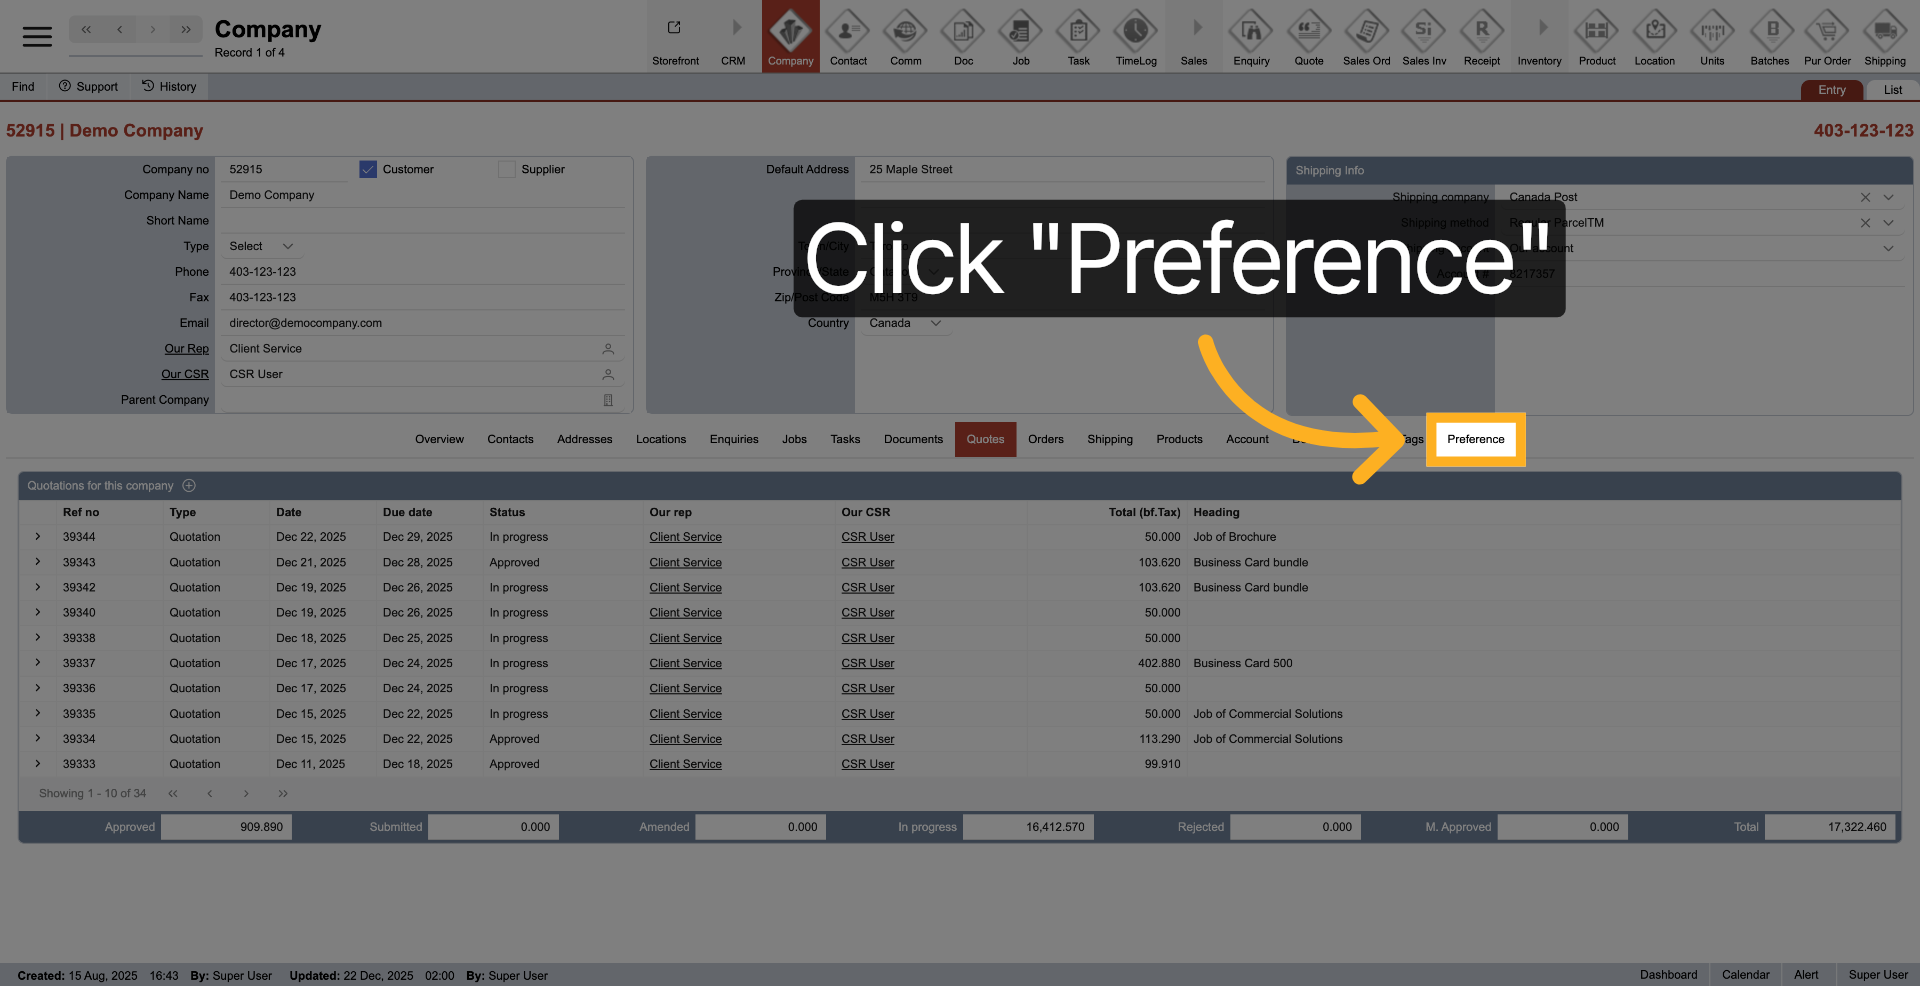
4. Initiate New Entry
Click "New" to start creating a new company entry.

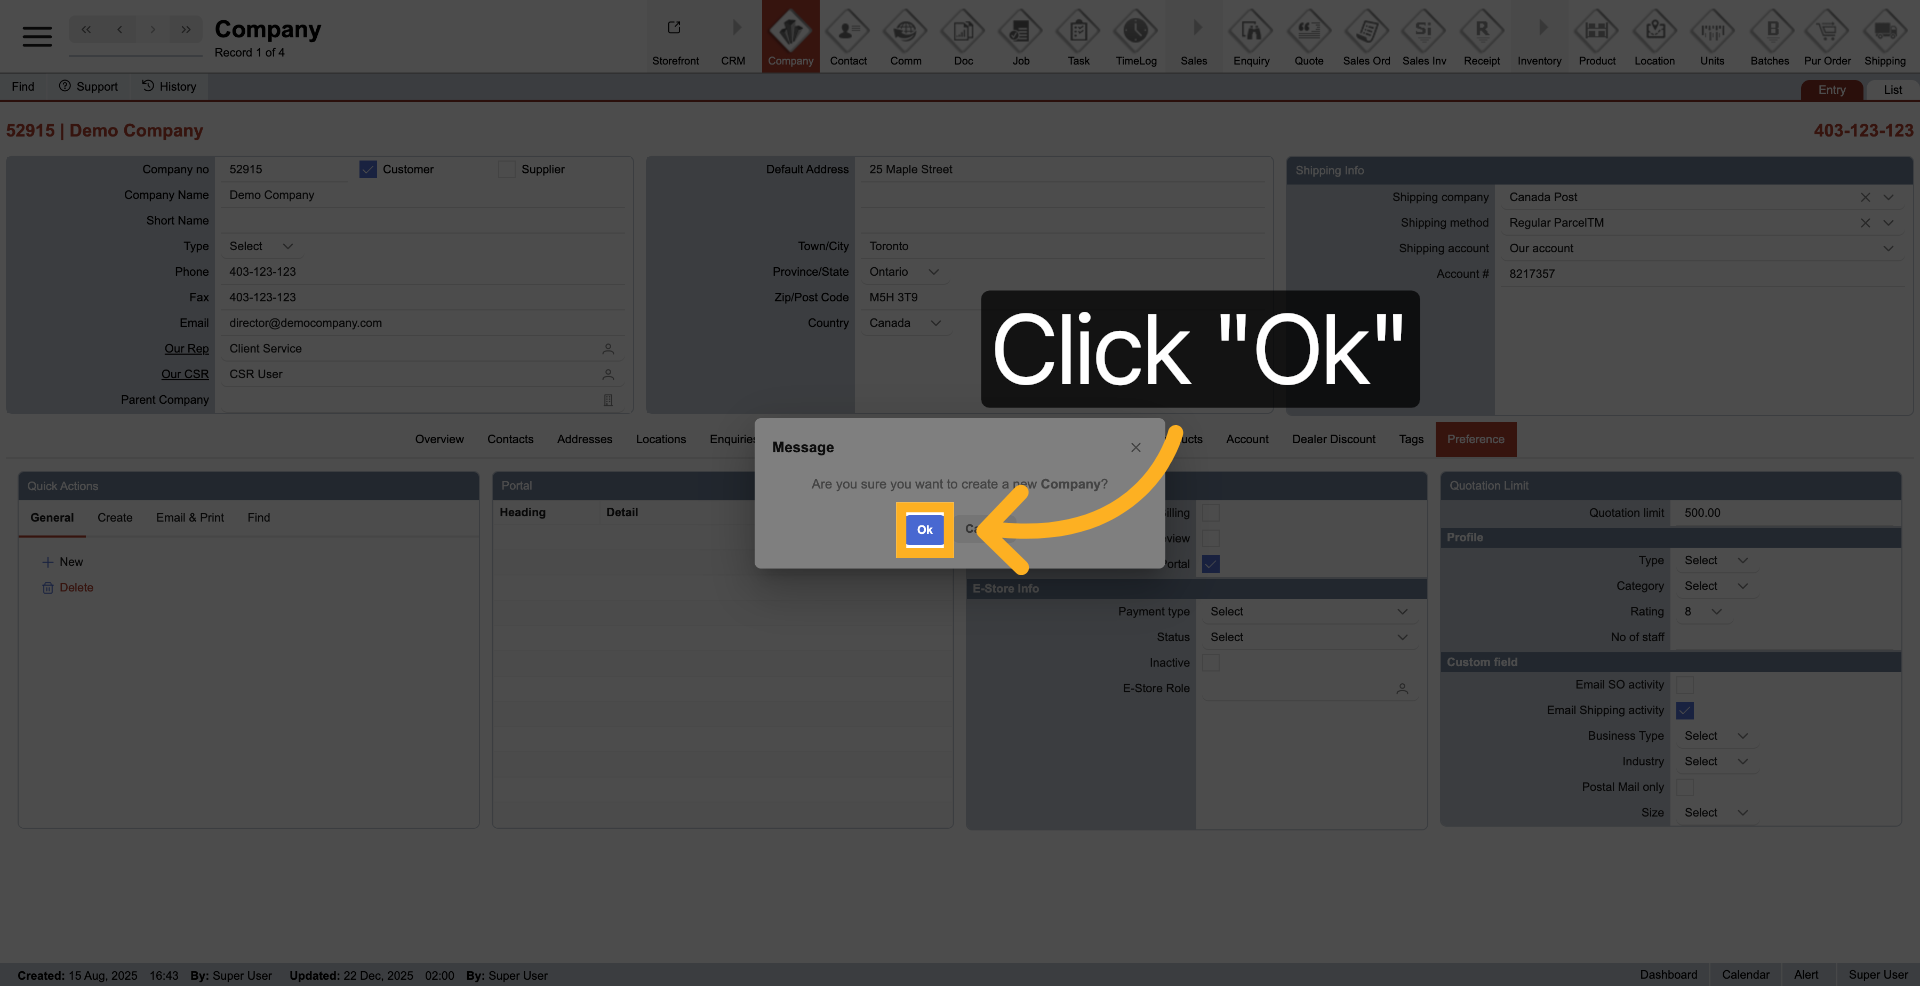
5. Confirm New Entry
Click "Ok" to confirm the creation of a new entry.
6. Access New Company Option
Click "New Company" to begin setting up a new company profile.
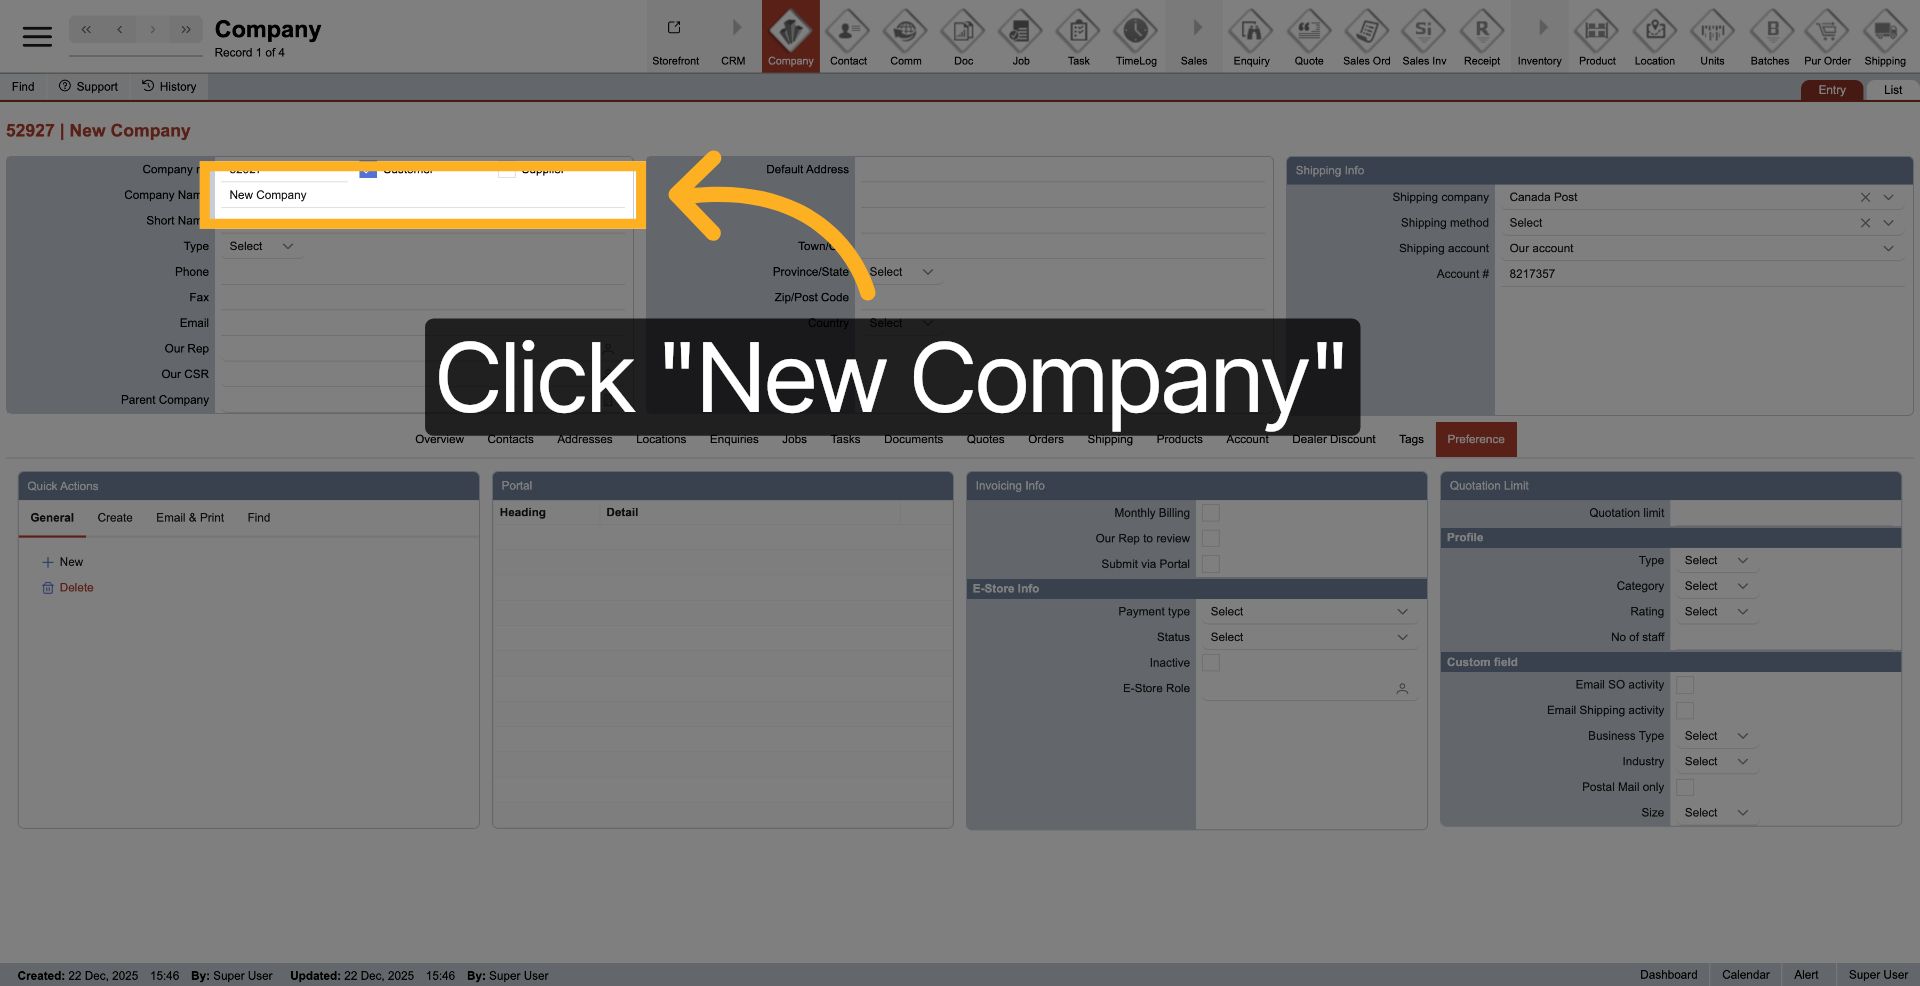
7. Select New Company Again
Click "New Company" to proceed with the company creation process.

8. Enter Company Name
Enter your company name to identify the new company within the system.

9. Select New Company Record
Click the new company record to open its details for editing.
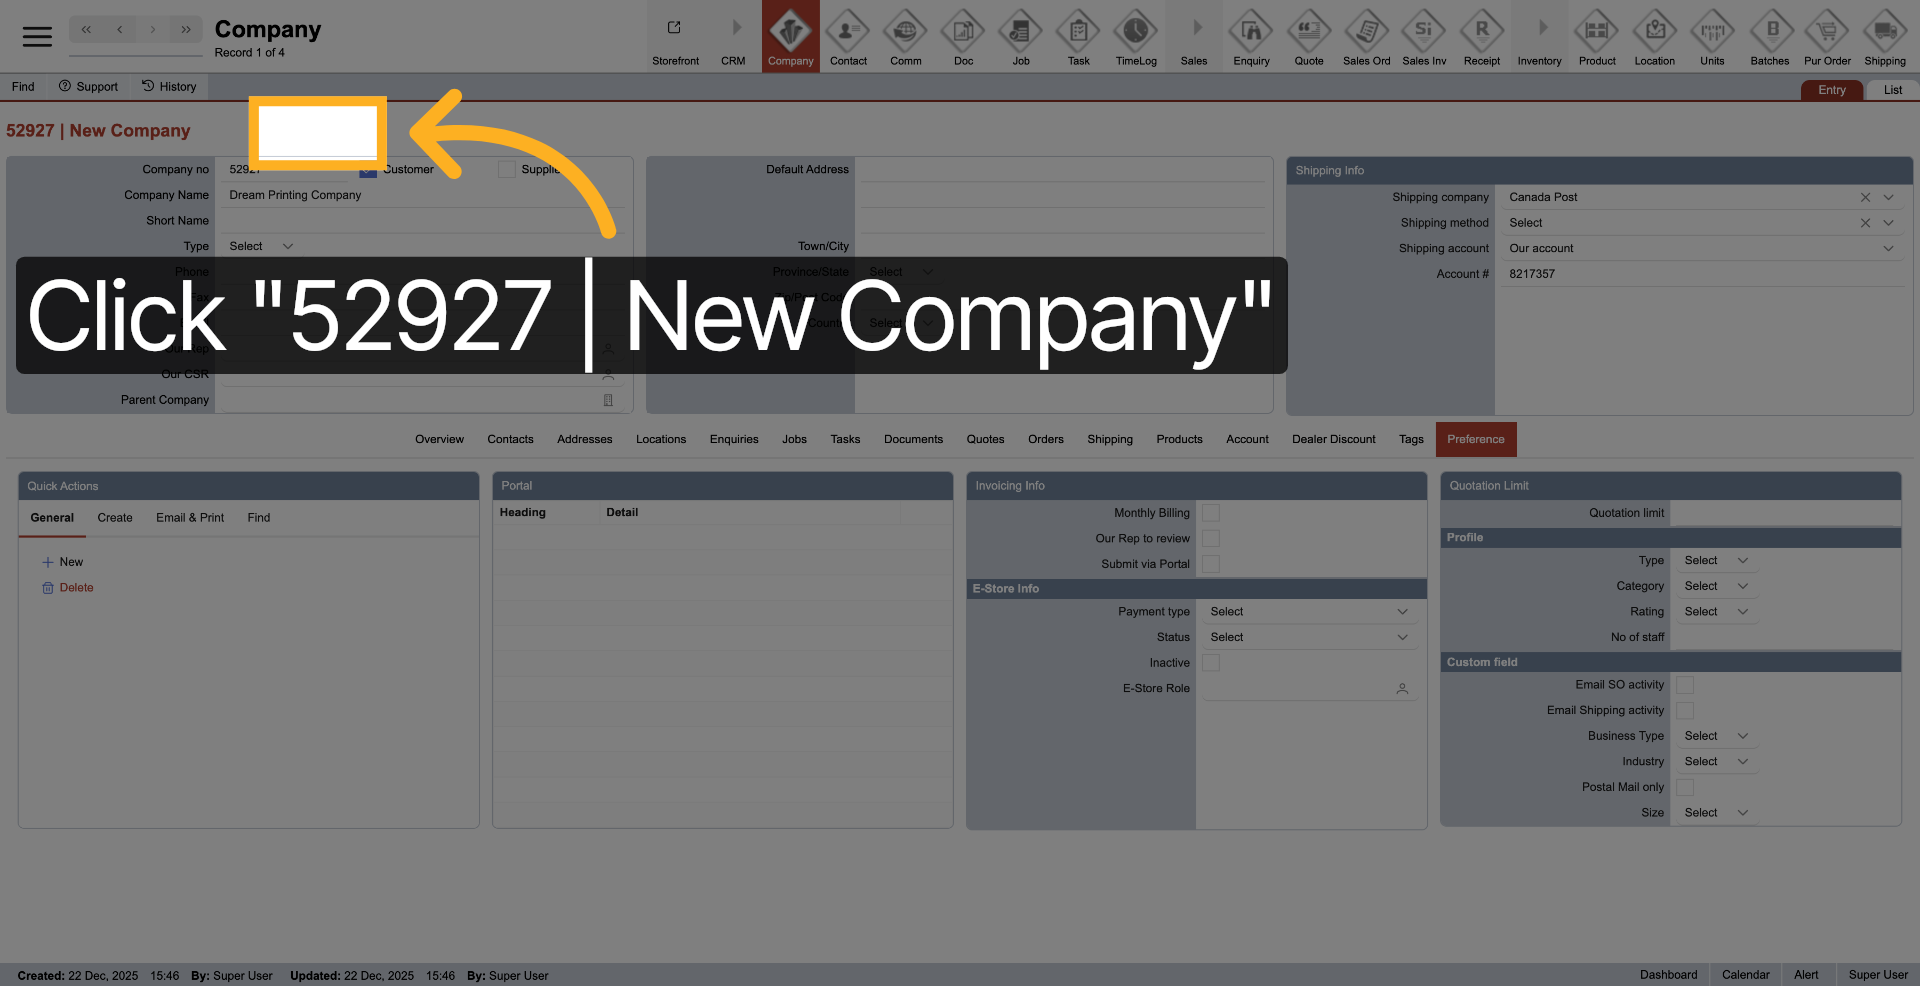
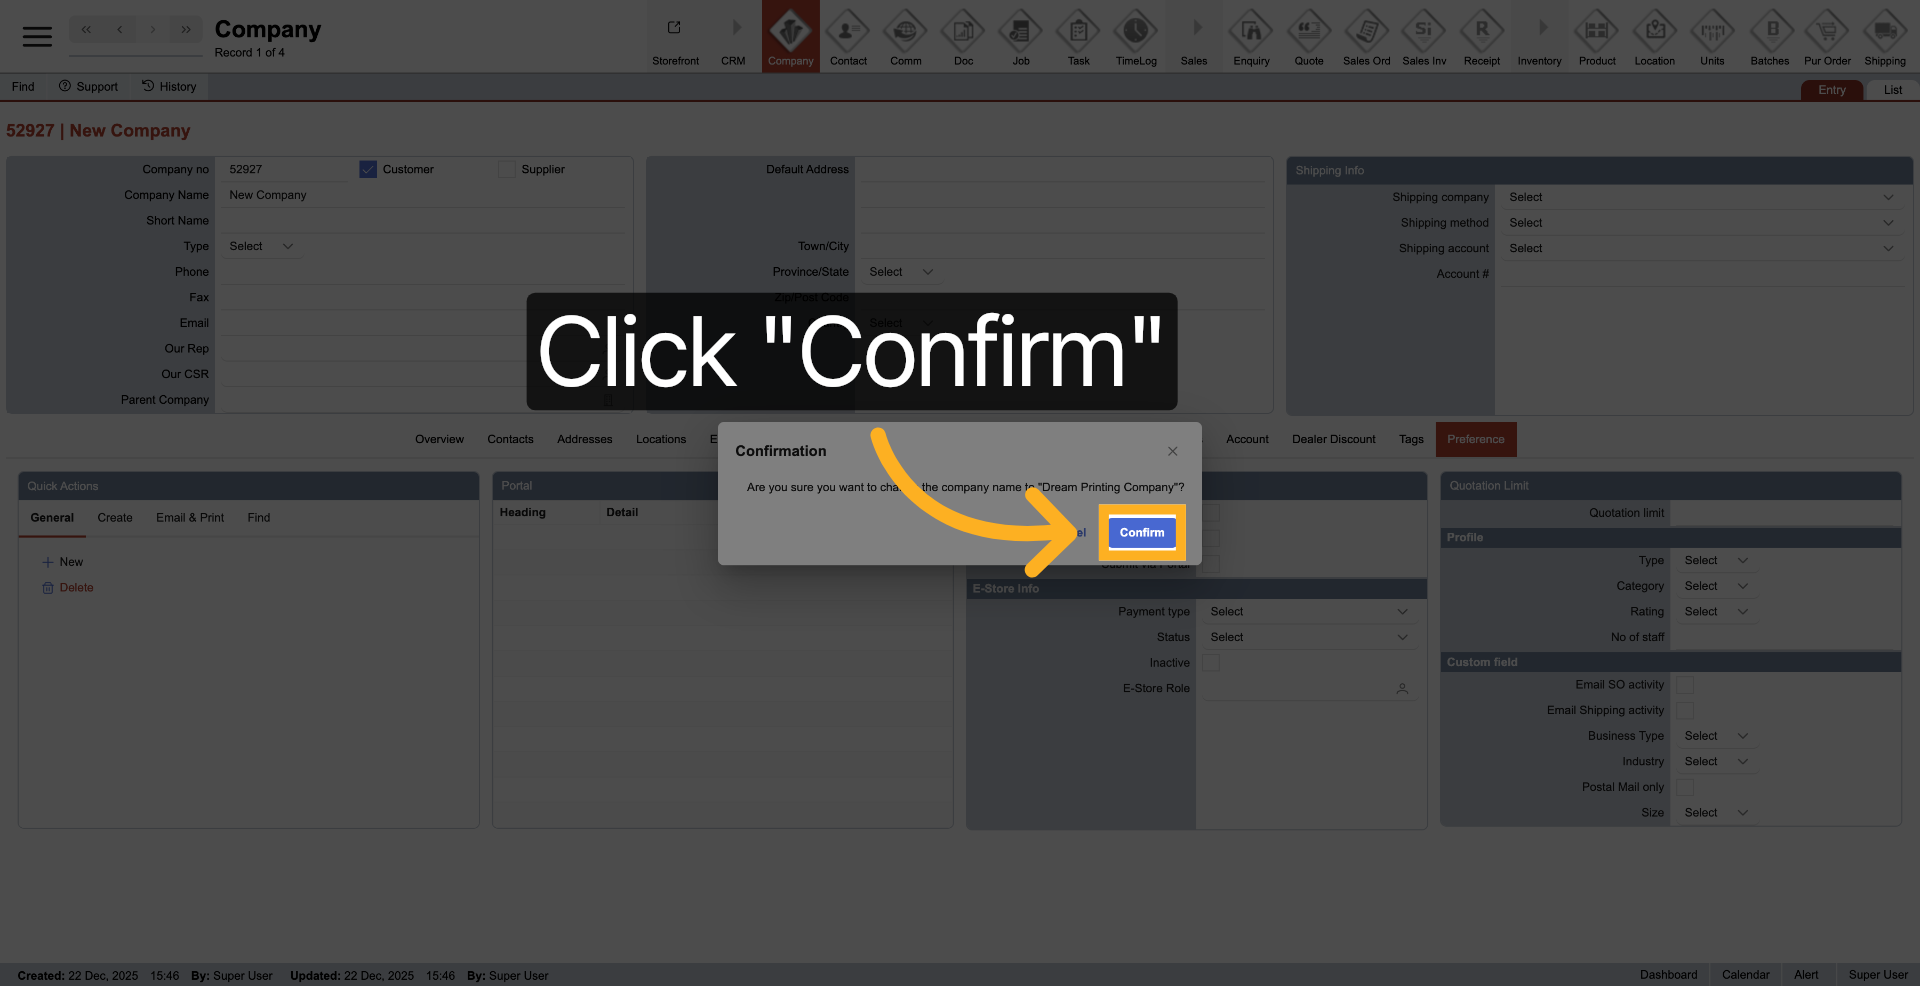
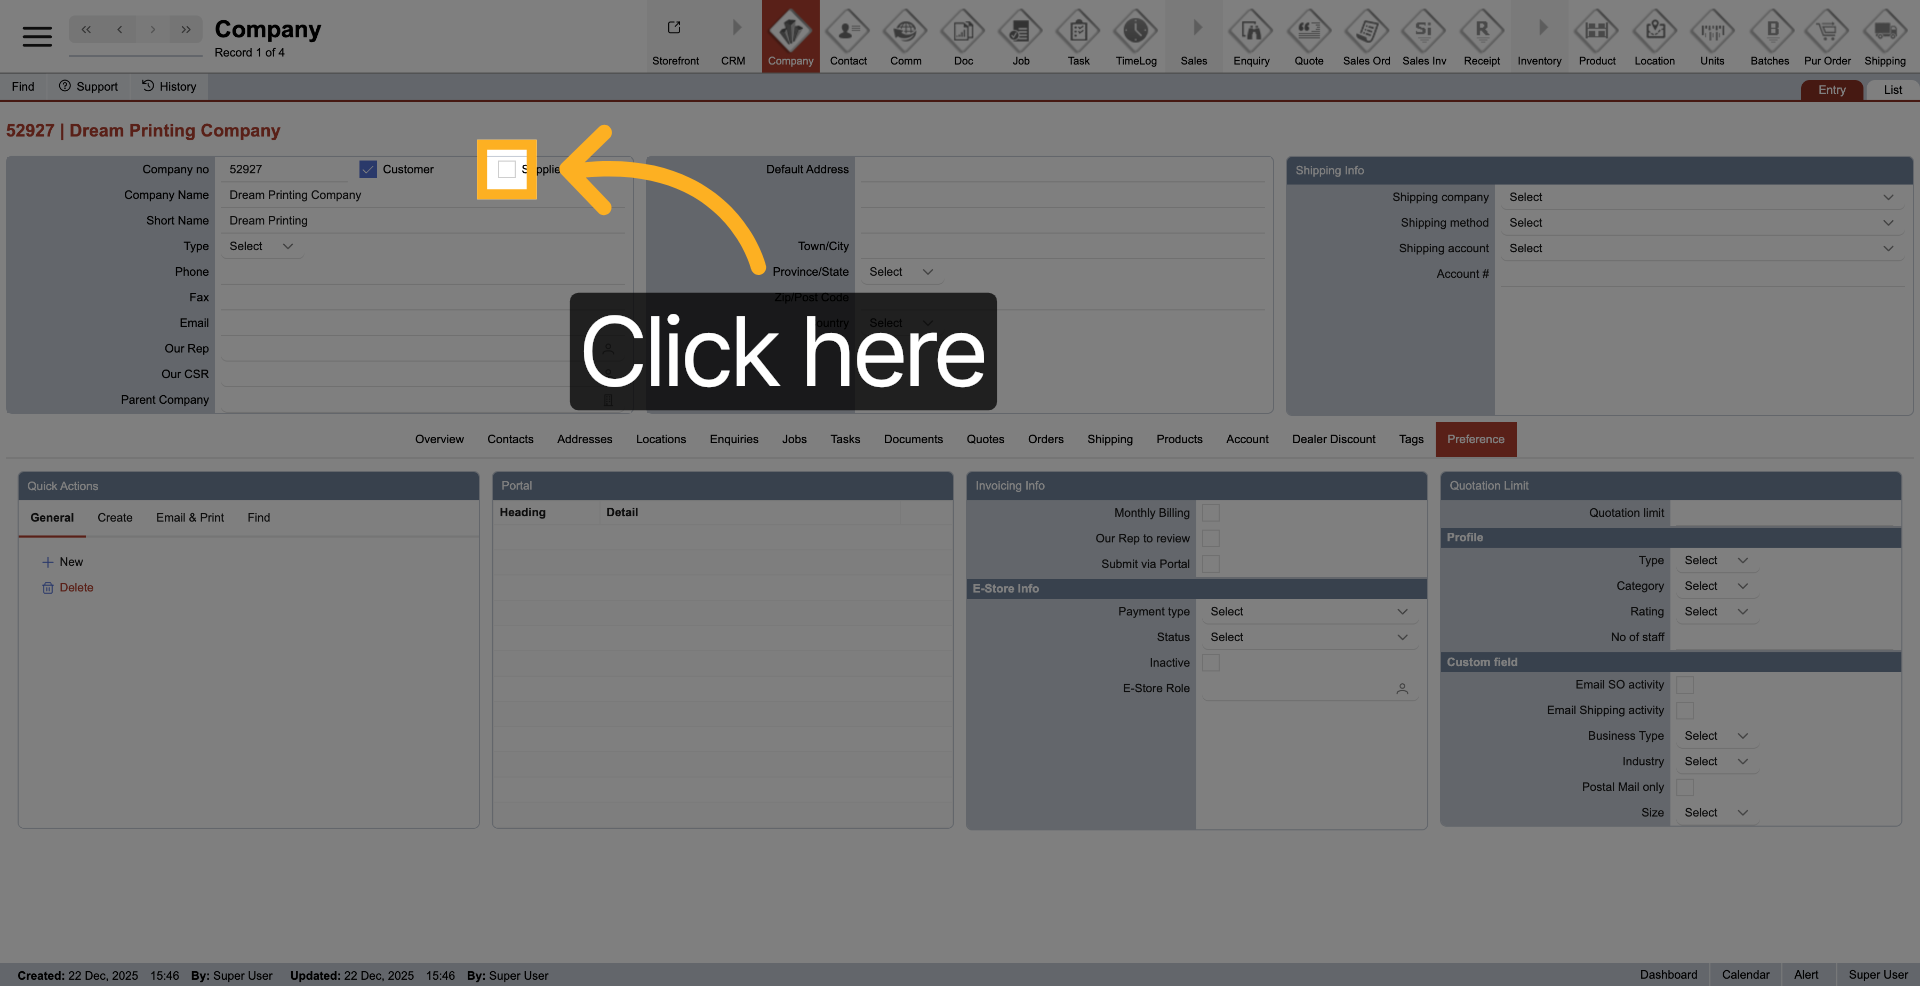
10. Confirm Company Selection
Click "Confirm" to finalize the selection of the new company.
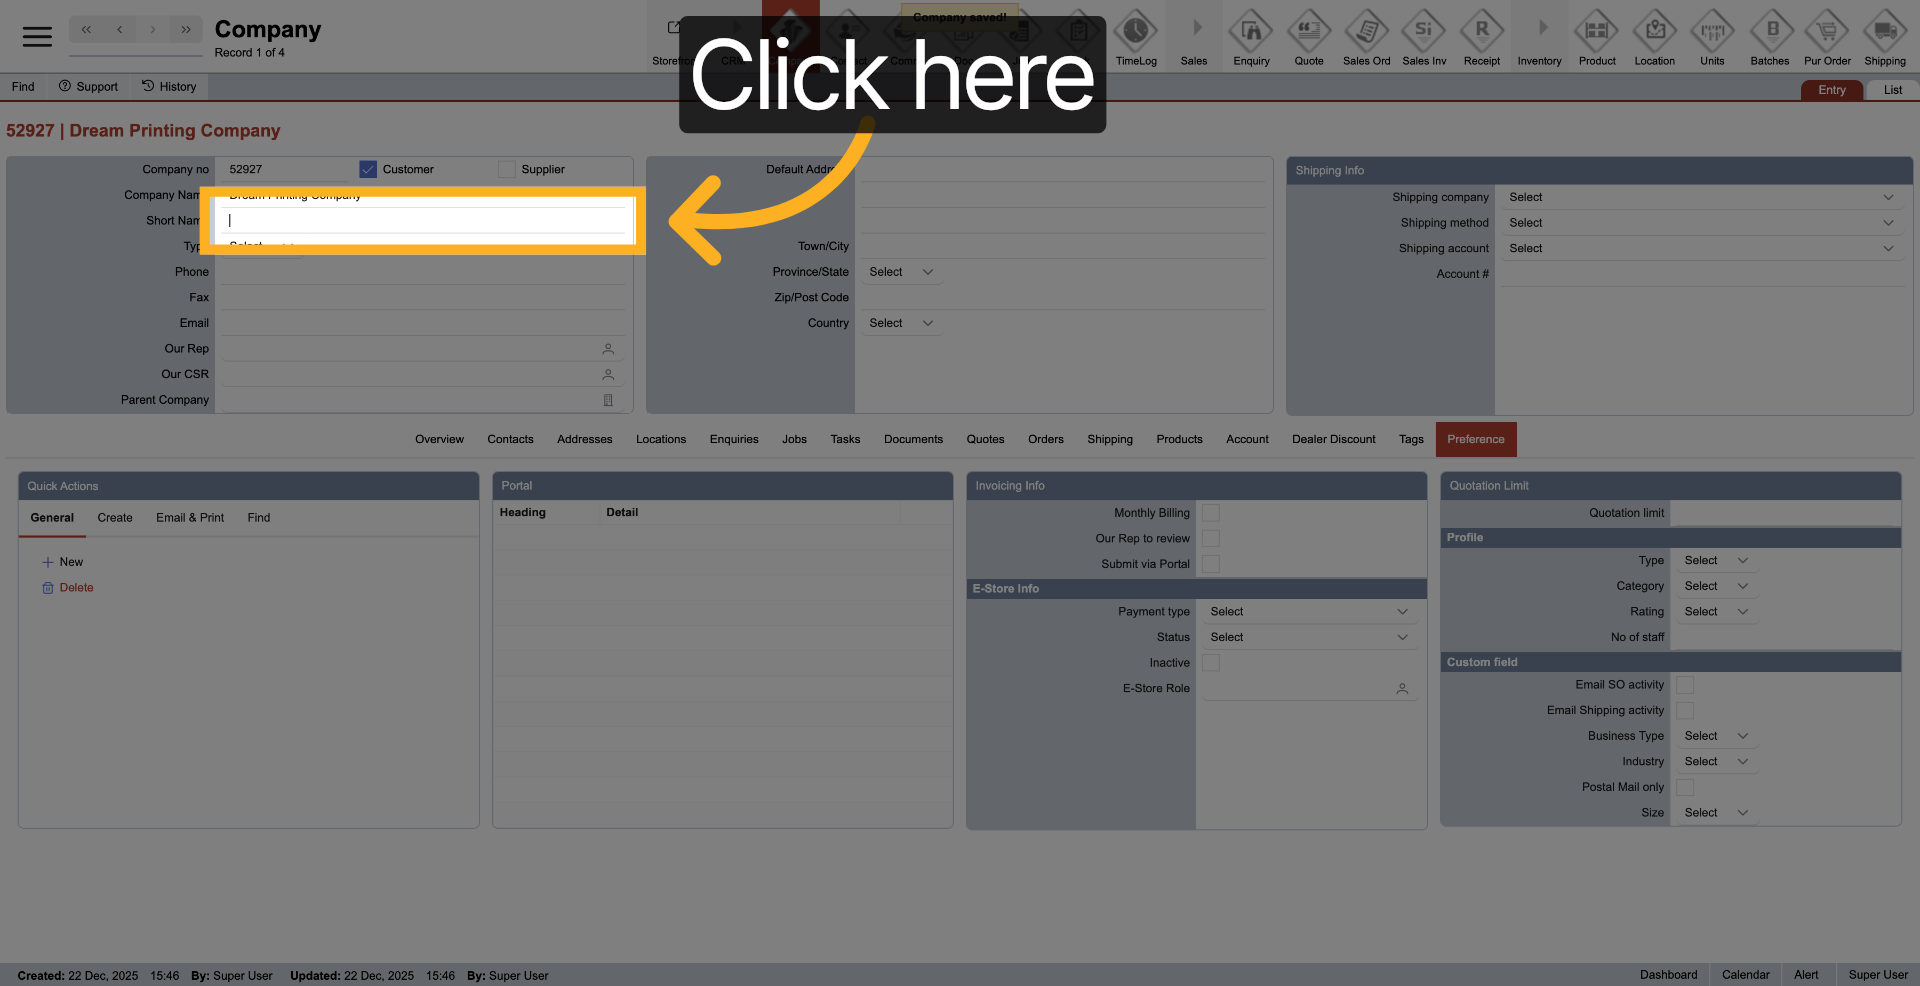
11. Open Company Details
Click here to access detailed settings for the newly created company.
12. Enter Company Short Name
Enter the short name for your company to use in abbreviated displays.

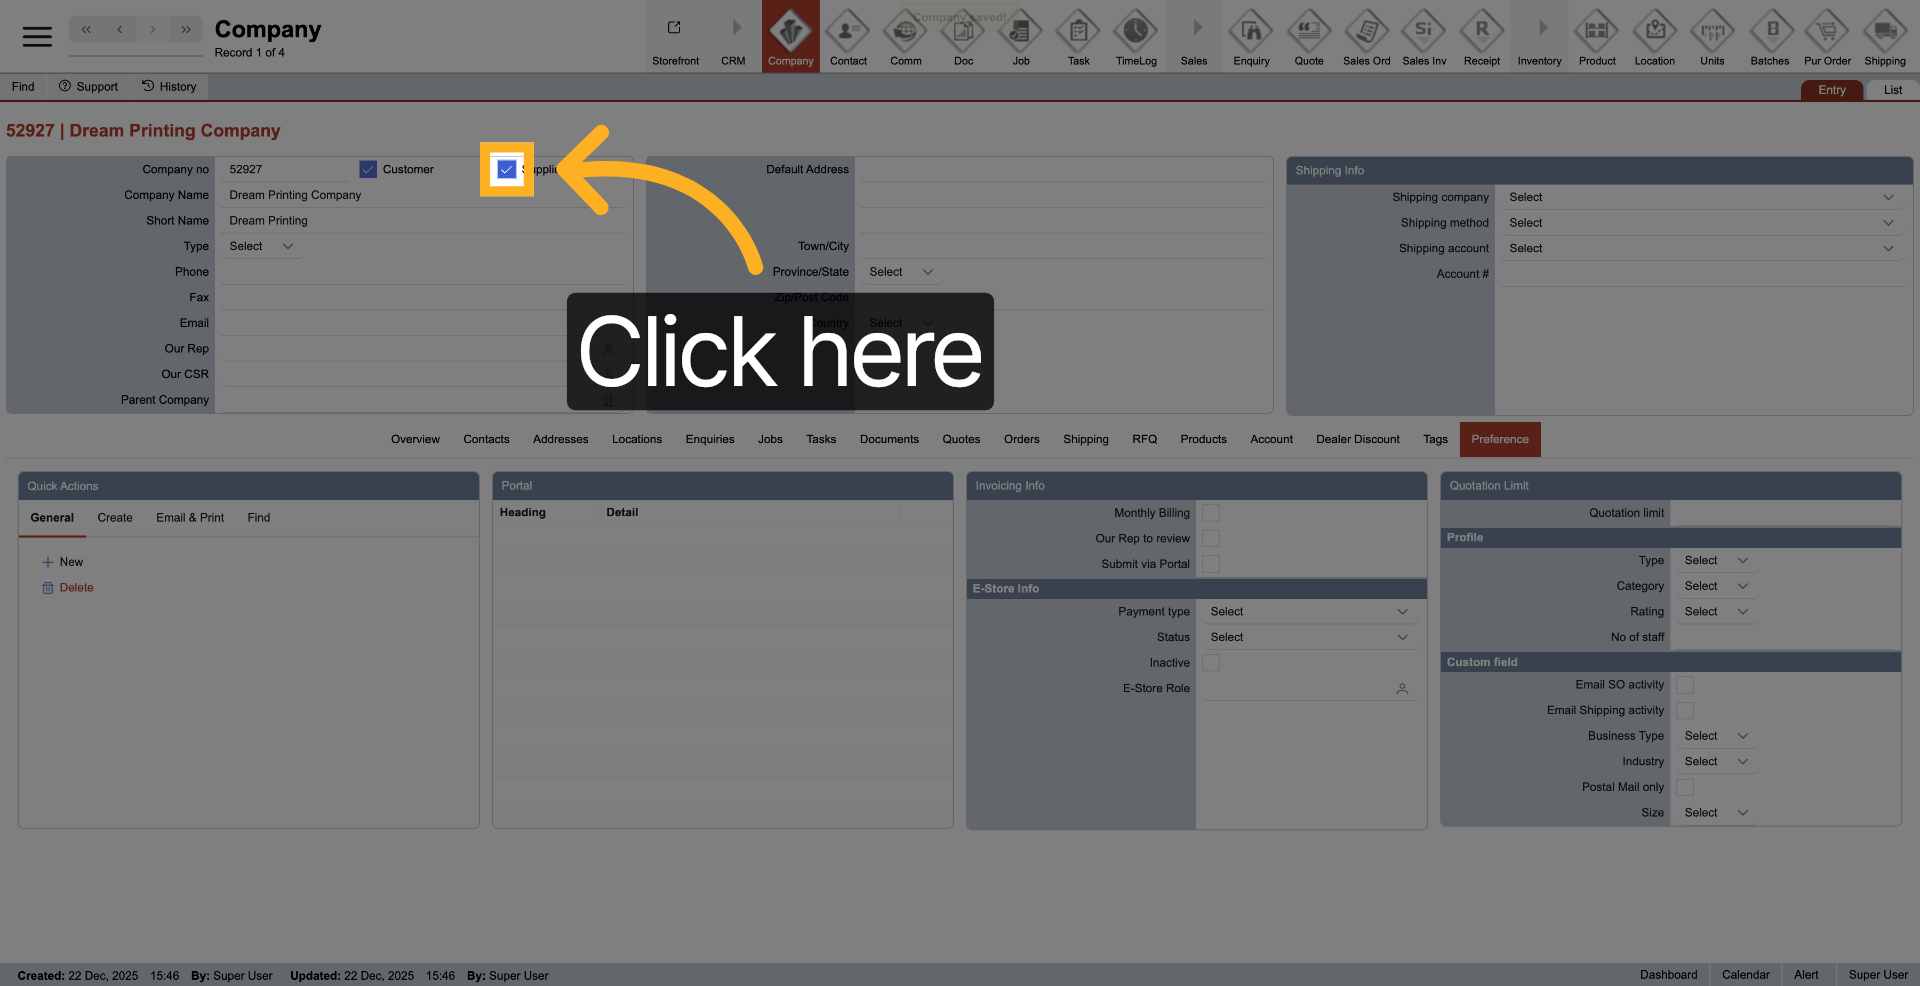
13. Select Company Record
Click the company record to continue editing company information.
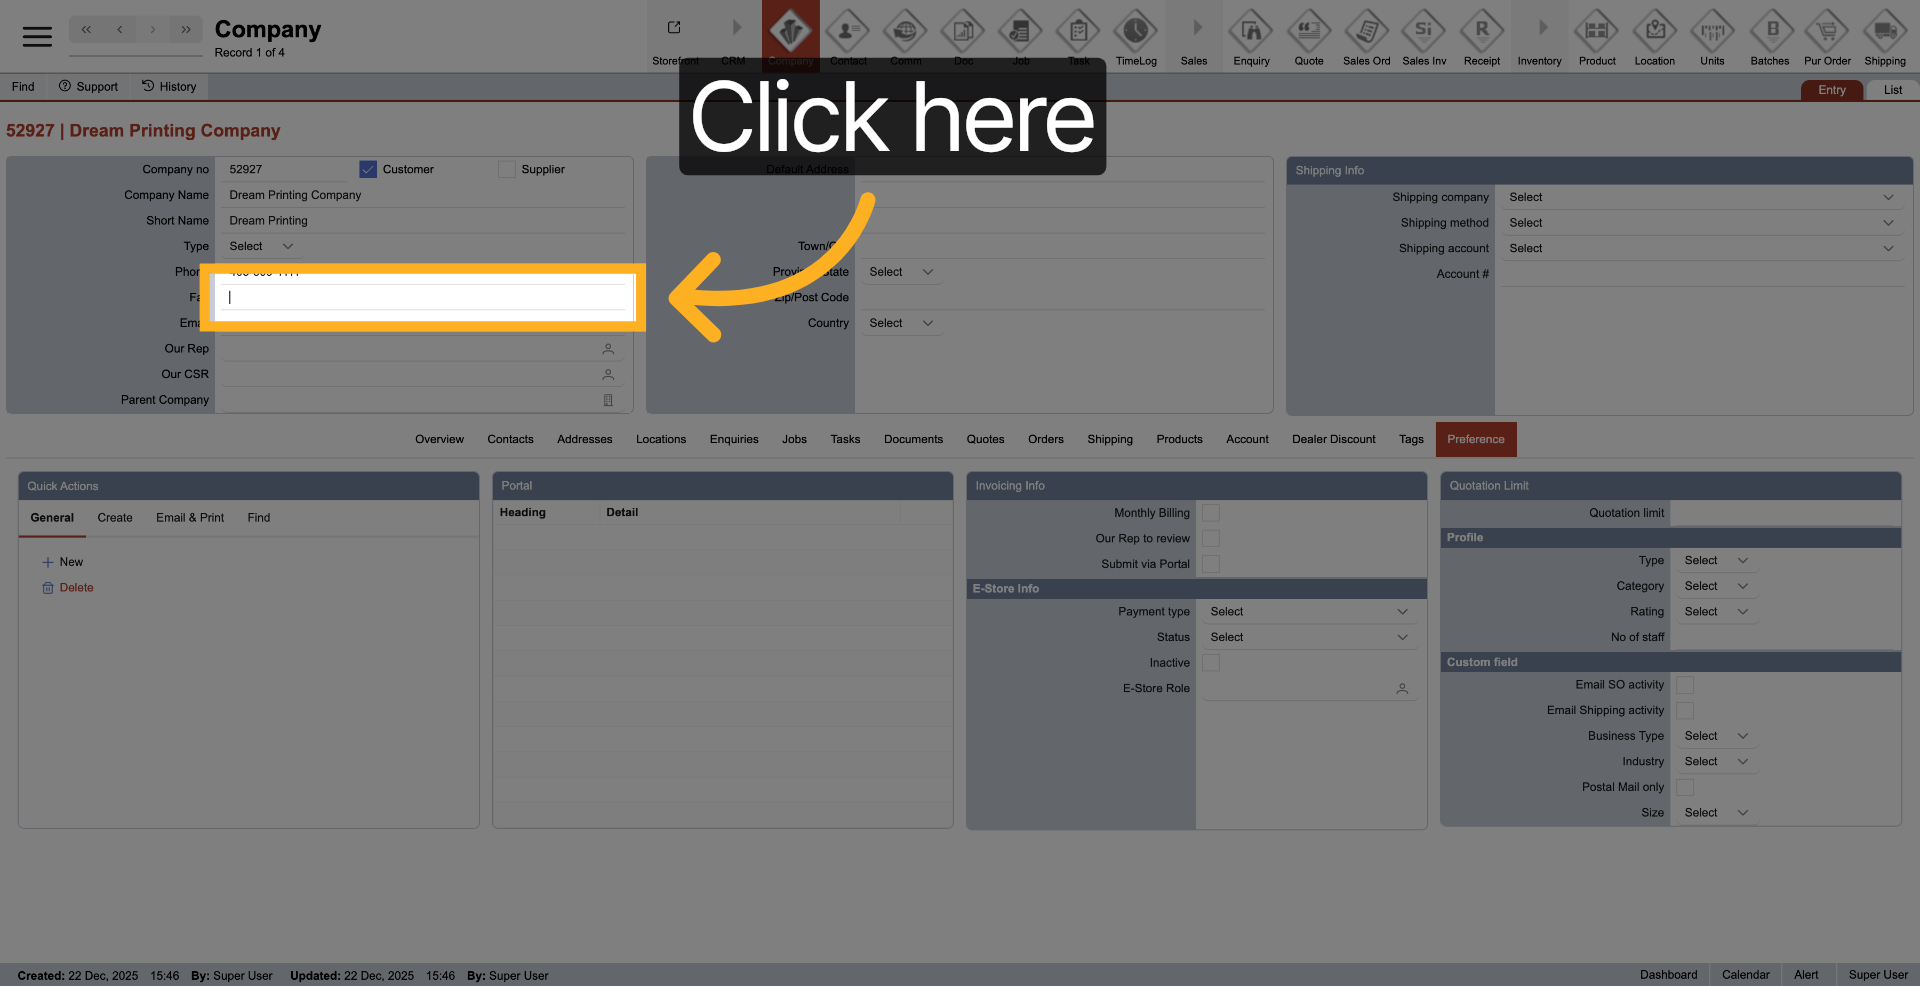
14. Access Additional Settings
Click here to open additional configuration options for the company.
15. Open Contact Information
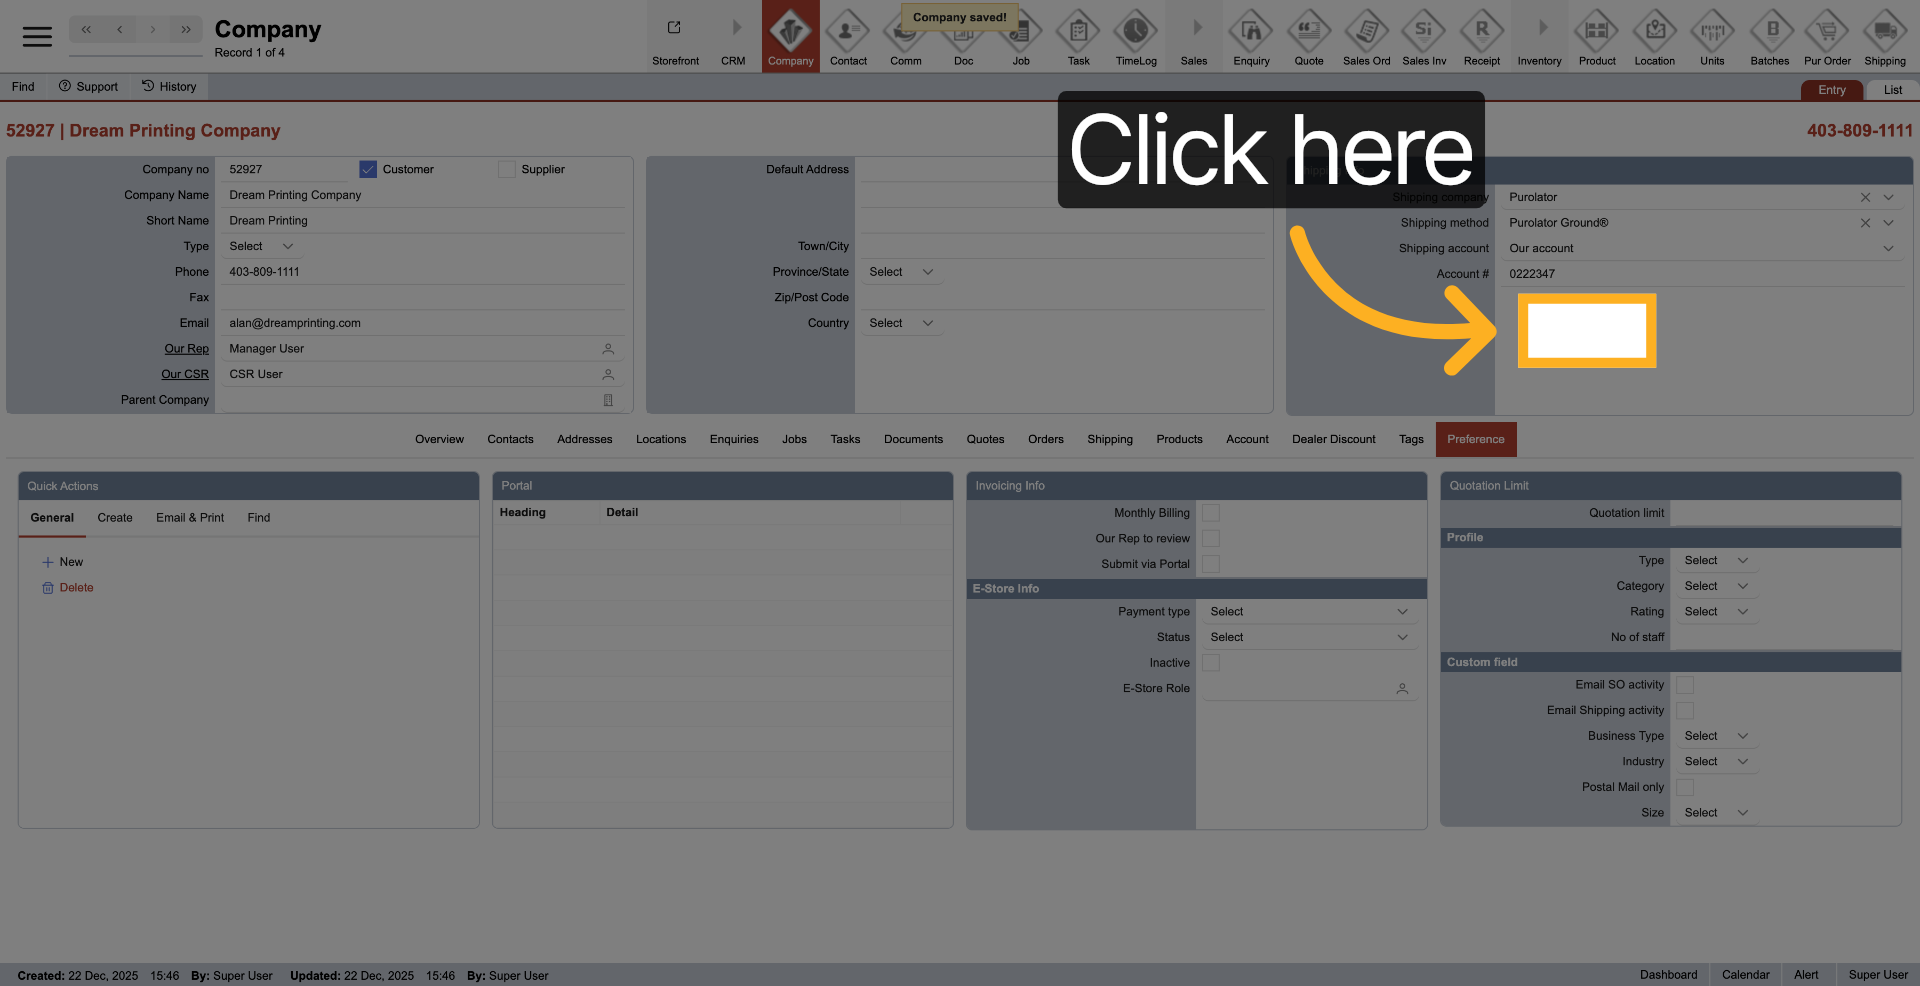
16. Access Phone Number Field
Click here to enter the company's phone number.

17. Enter Company Phone Number
Enter your company phone number for contact purposes.

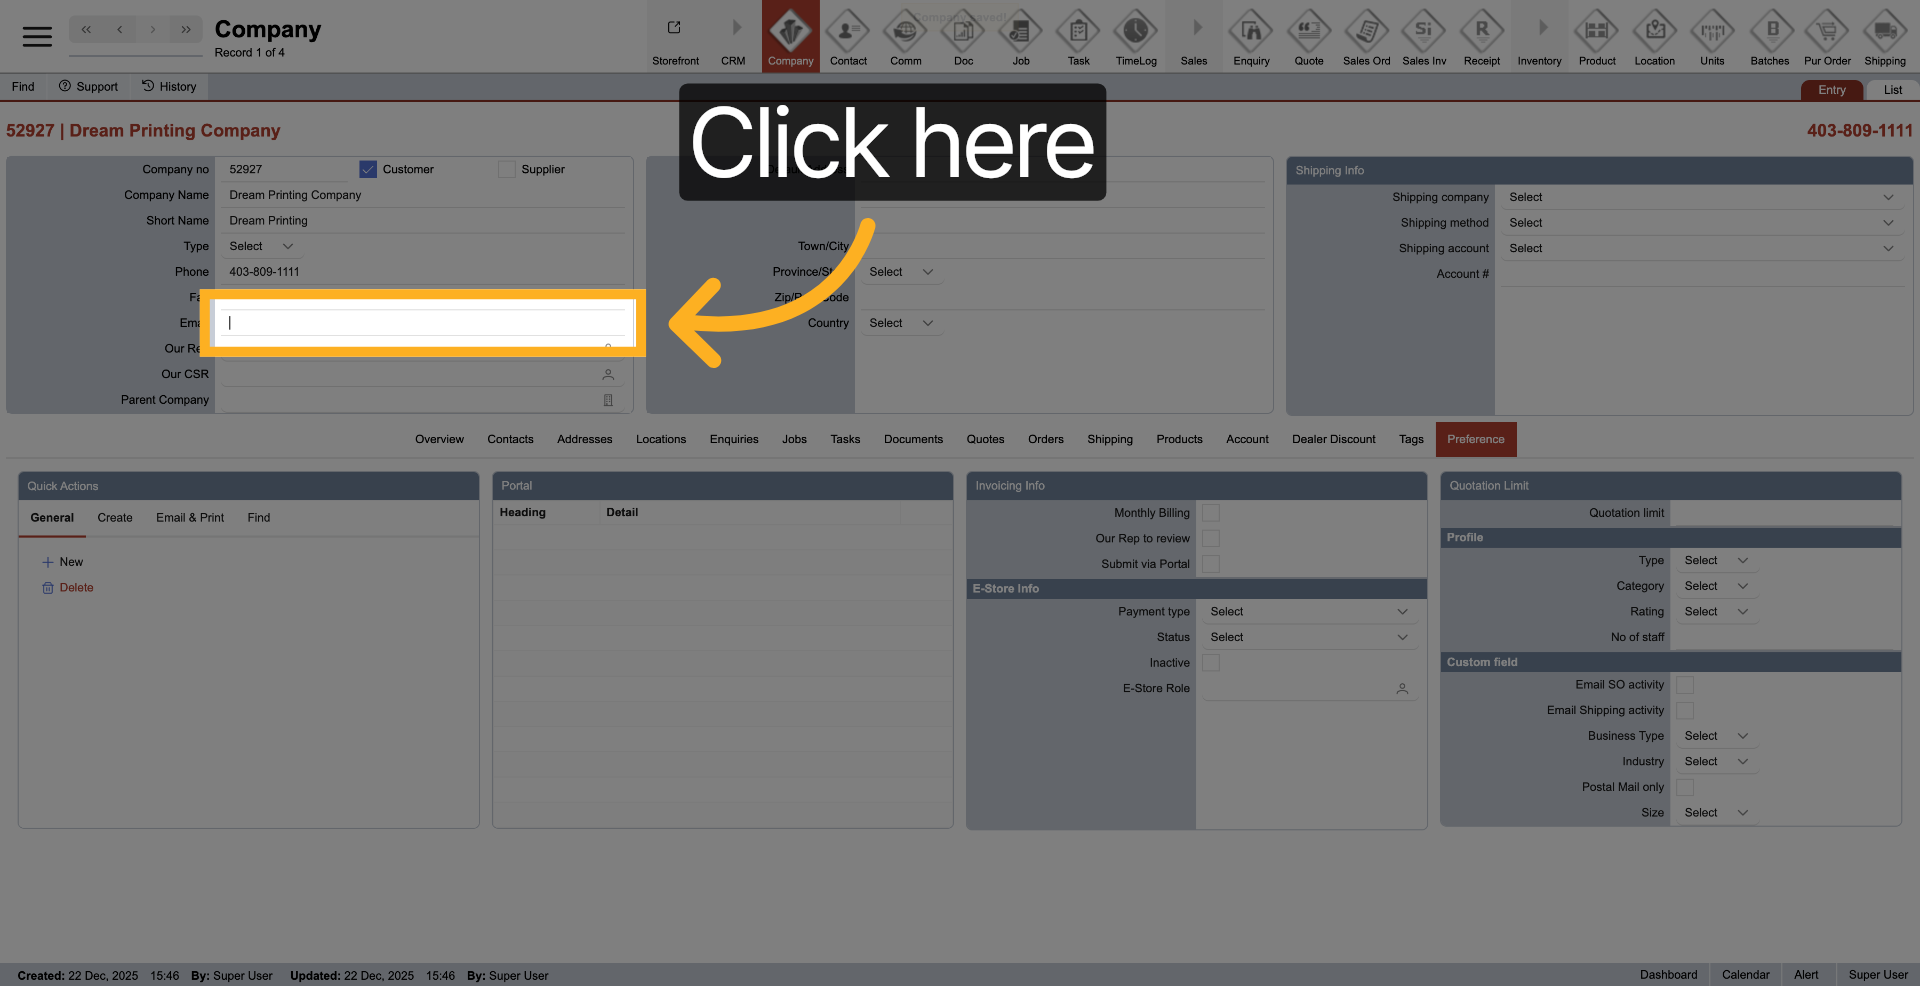
18. Open Email Settings
Click here to access the email settings for the company.
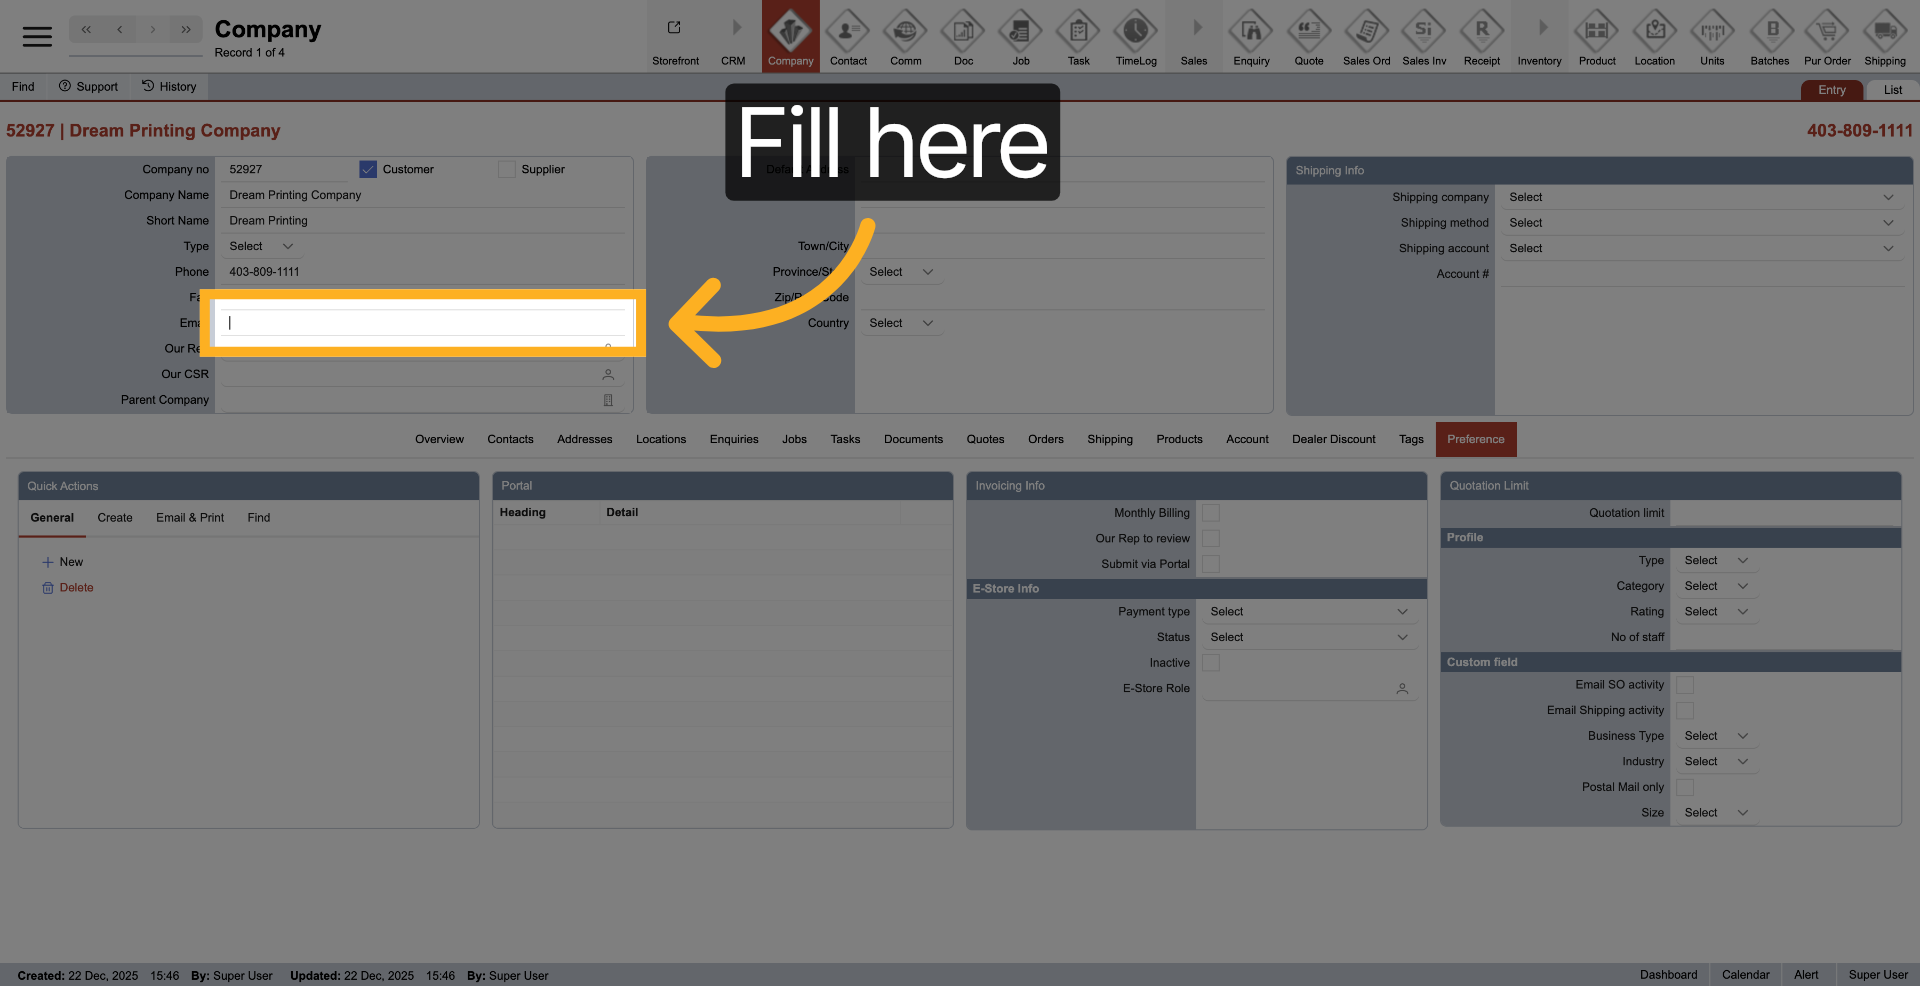
19. Access Email Input Field
Click here to enter the company's email address.
20. Enter Contact Name
Enter the contact name associated with the company for communication.
21. Fill Additional Contact Details
Fill in additional contact details to complete the contact profile.
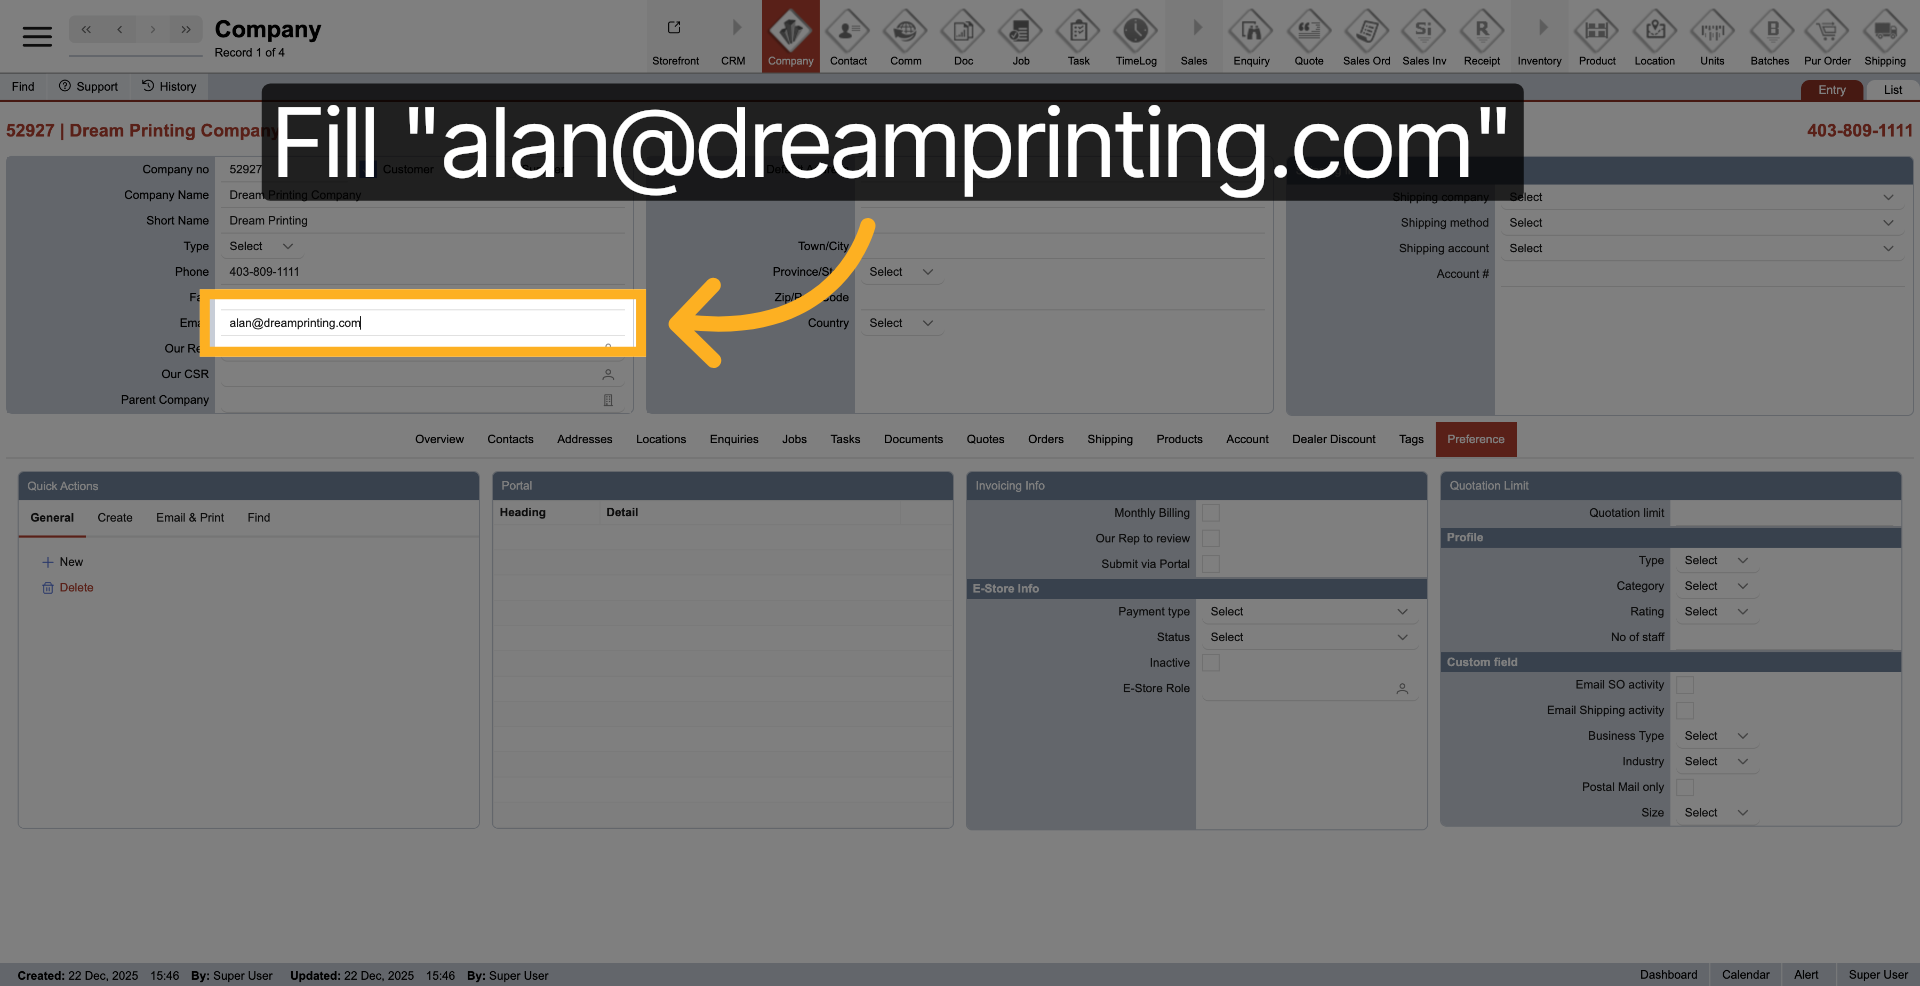
22. Enter Contact Email
Enter your contact email address to enable correspondence.
23. Open User Roles Section
Click here to manage user roles associated with the company.

24. Access User Role Options
Click here to view available user roles for assignment.

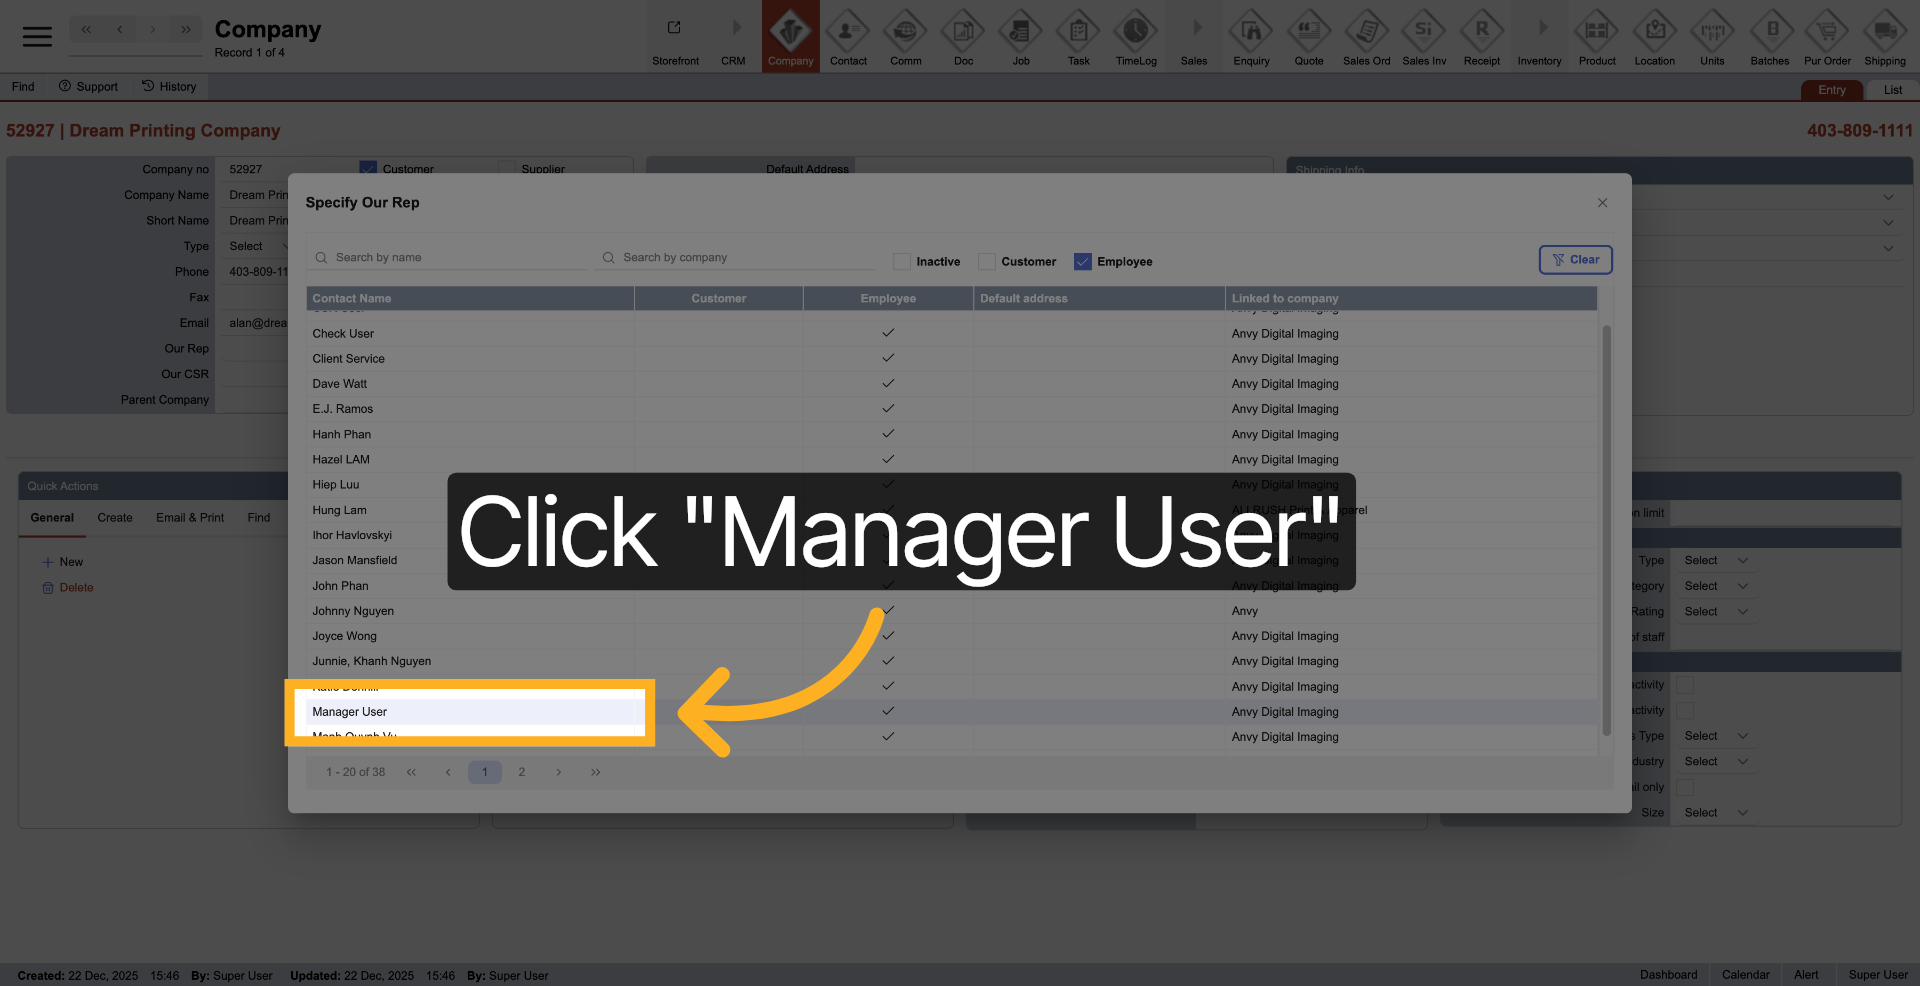
25. Select Manager Role
Click "Manager User" to assign managerial permissions to a user.
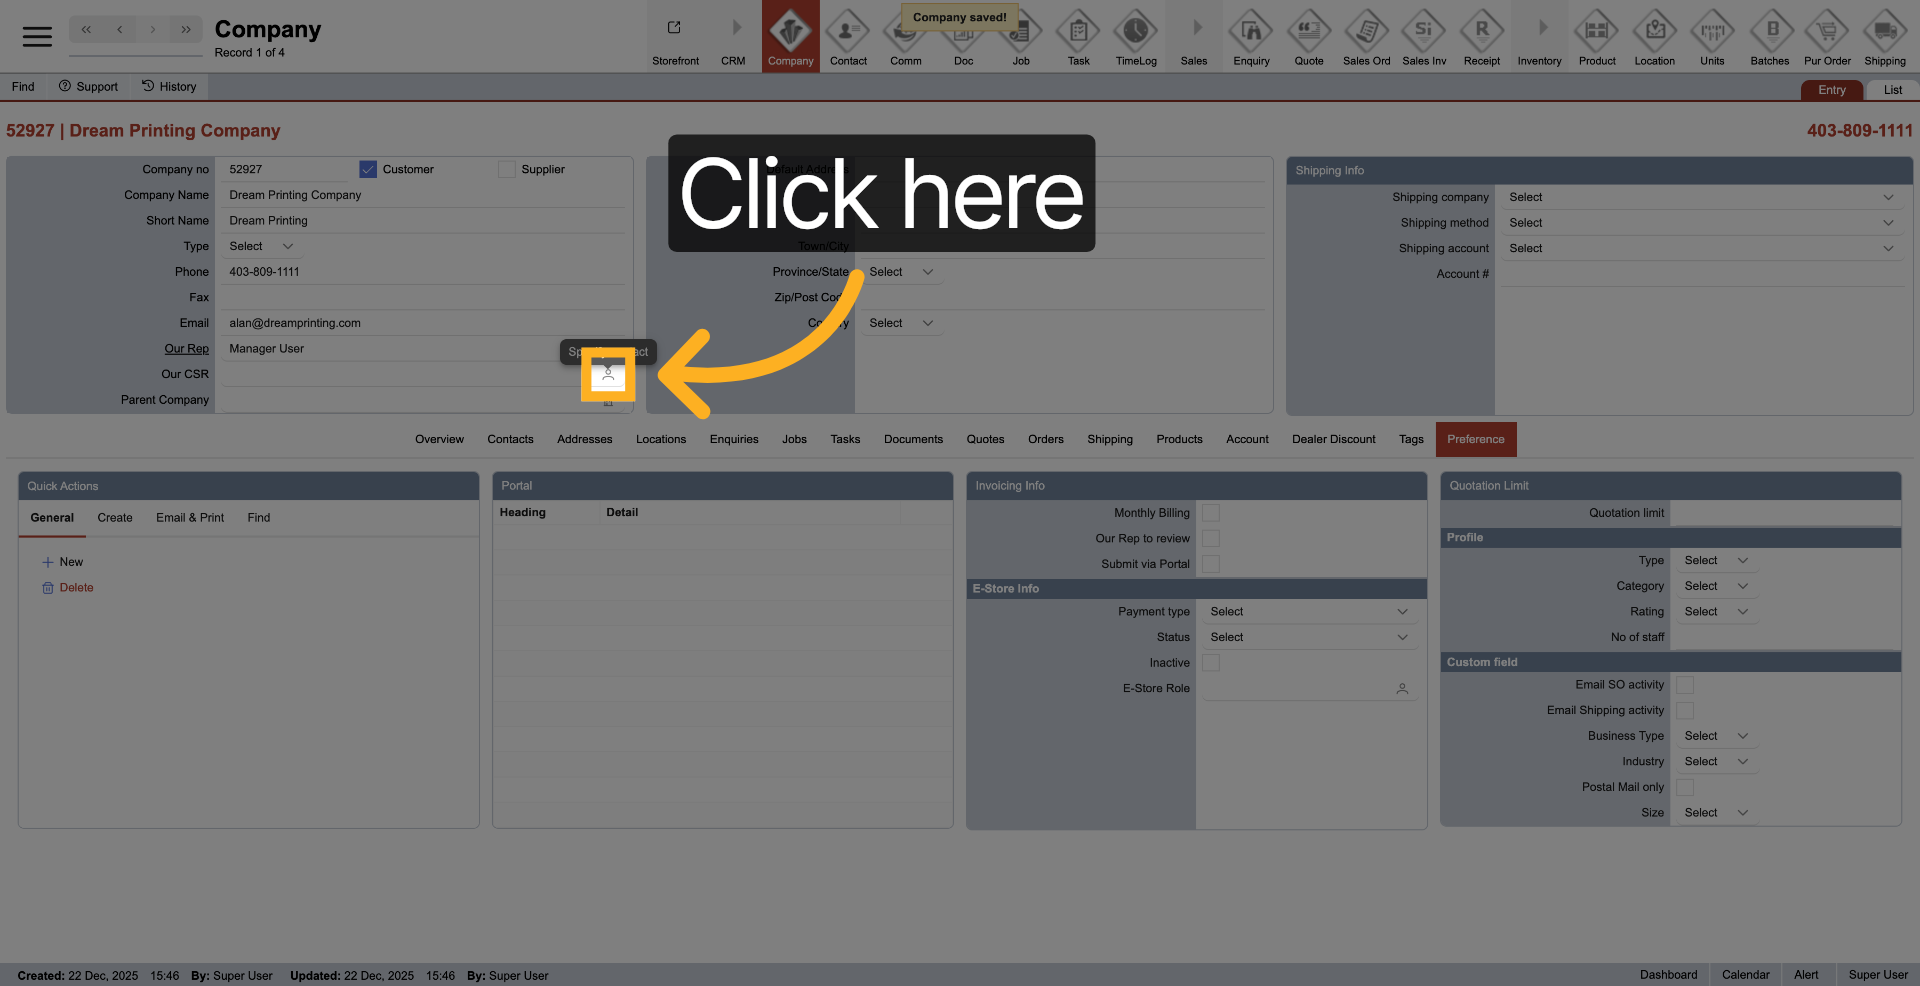
26. Open Role Assignment
Click here to proceed with assigning roles to users.
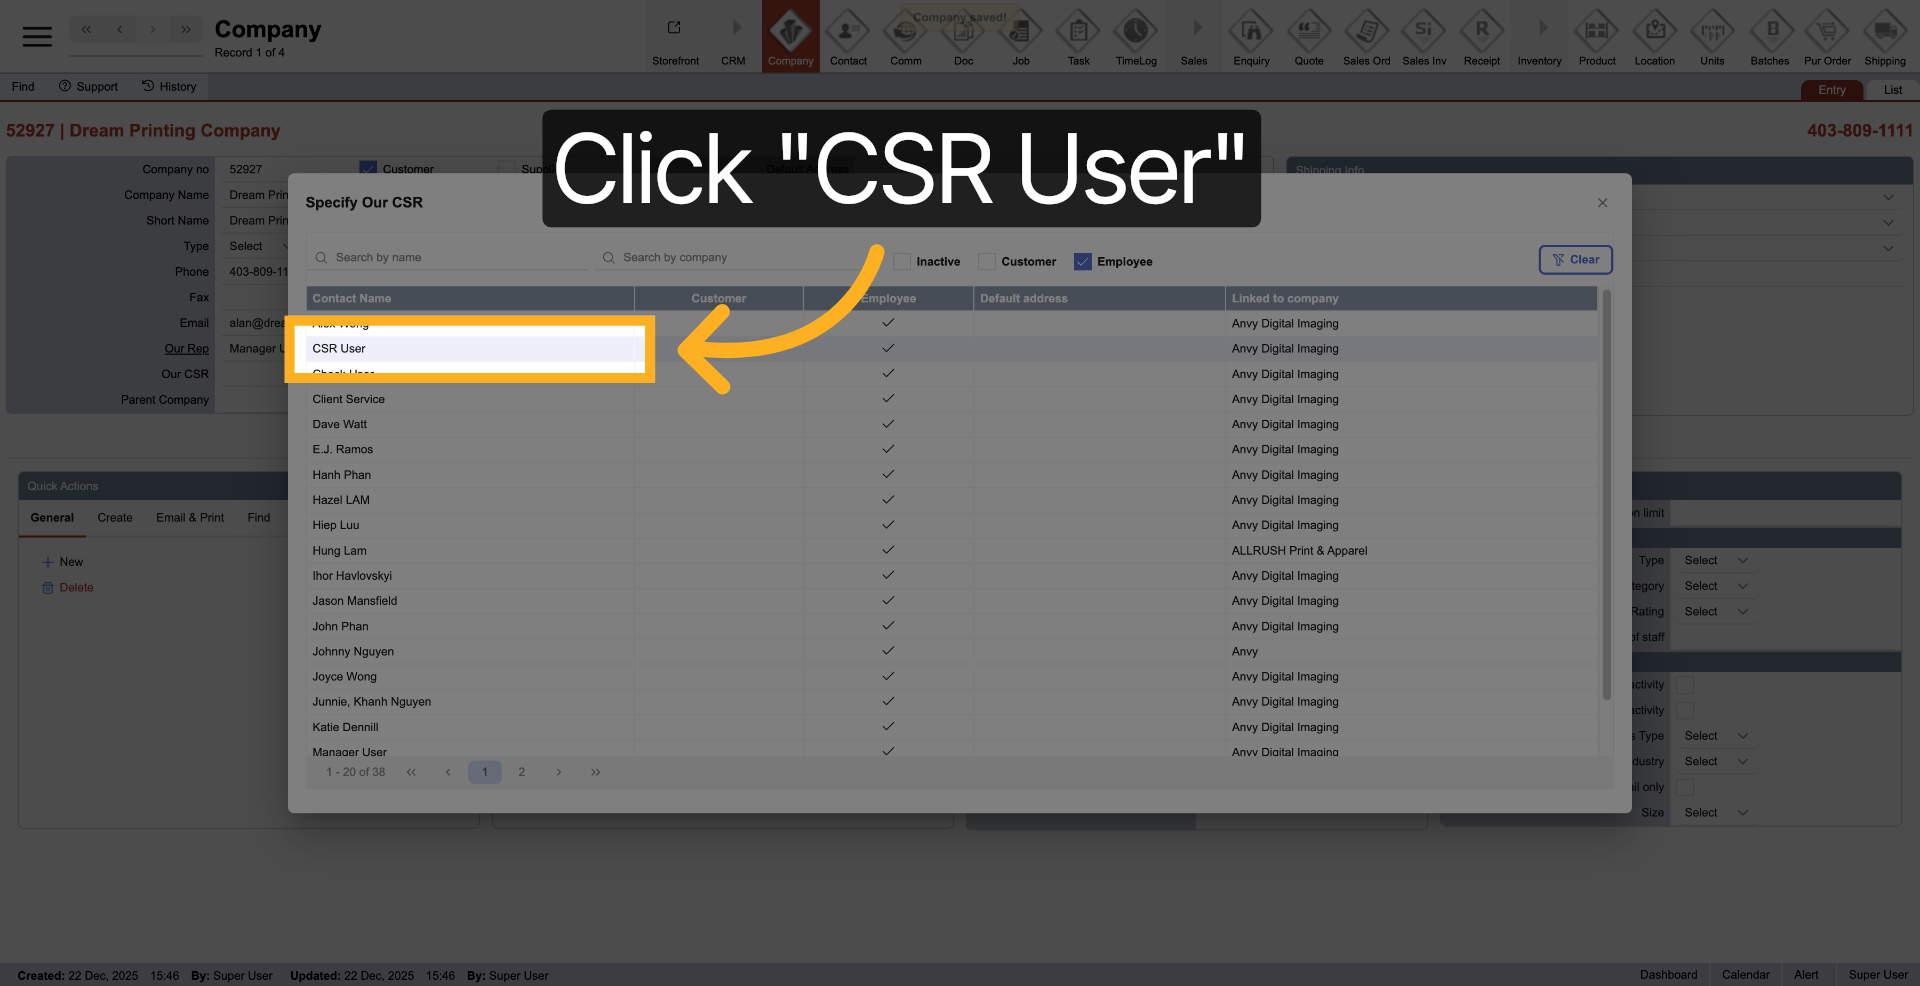
27. Select CSR Role
Click "CSR User" to assign customer service representative permissions.
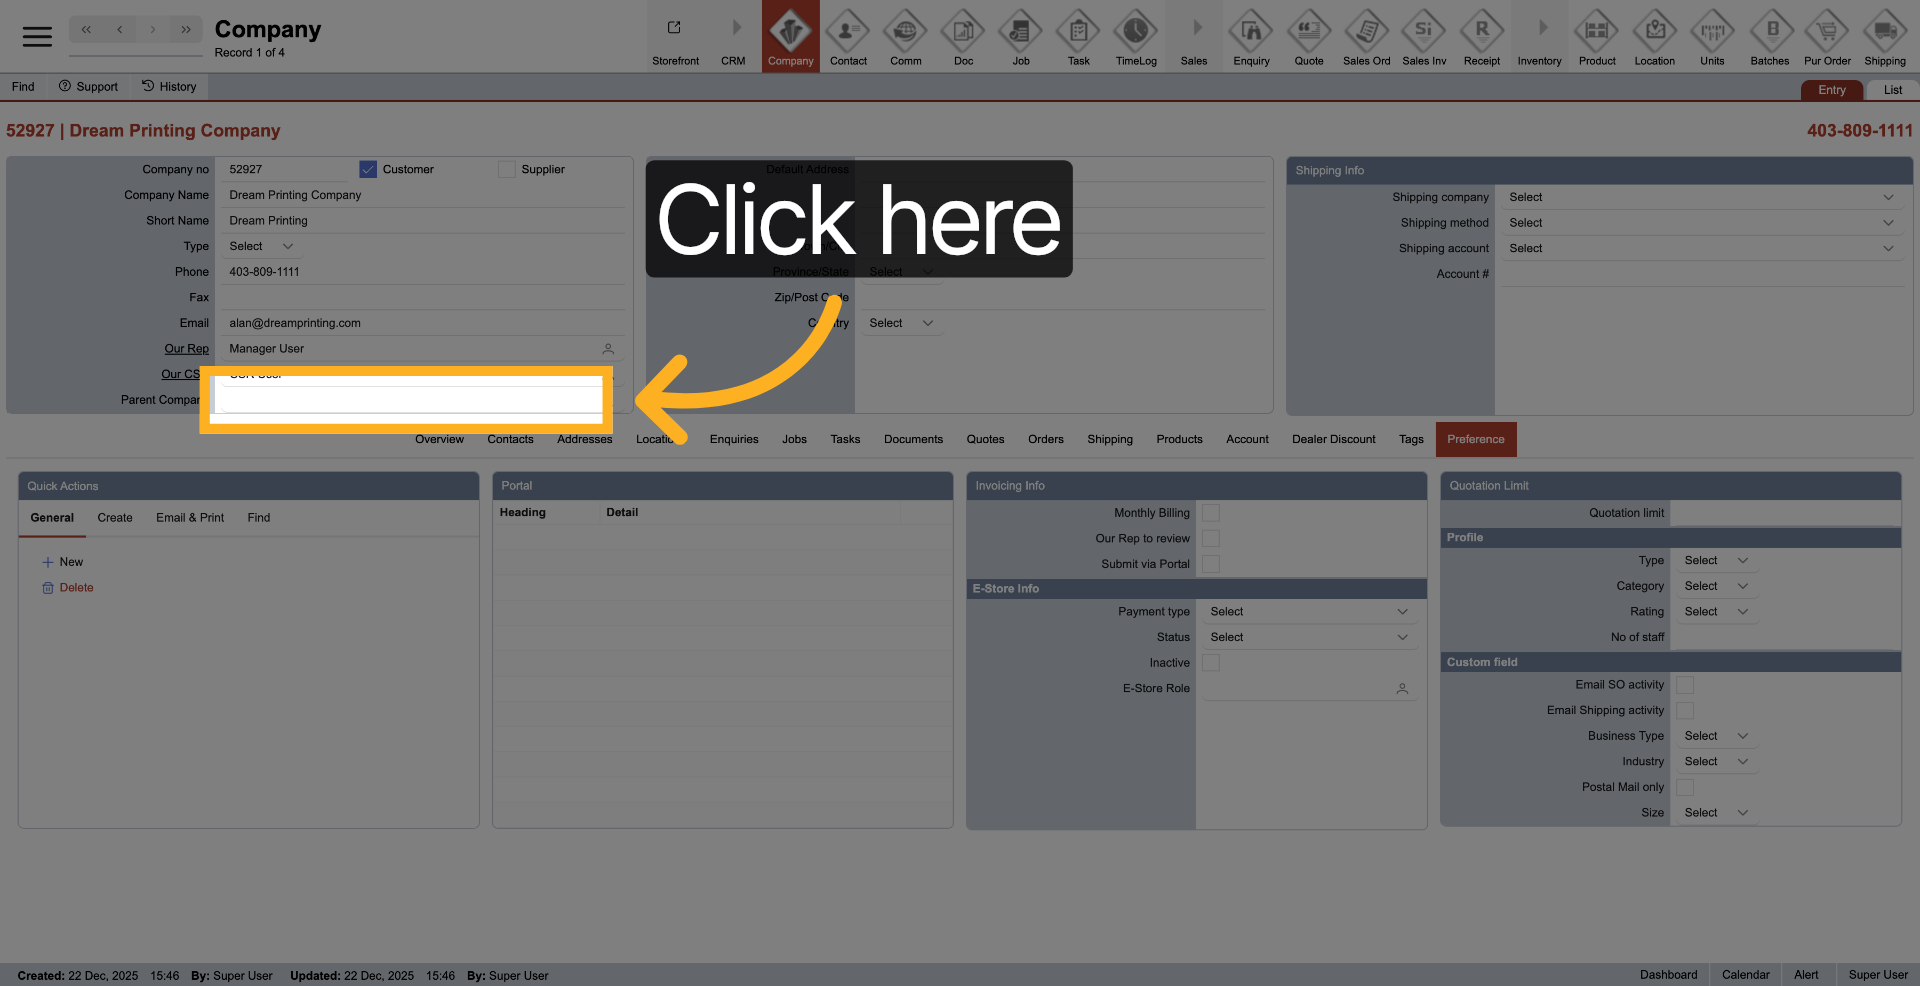
28. Open Shipping Options
Click here to access shipping configuration settings.
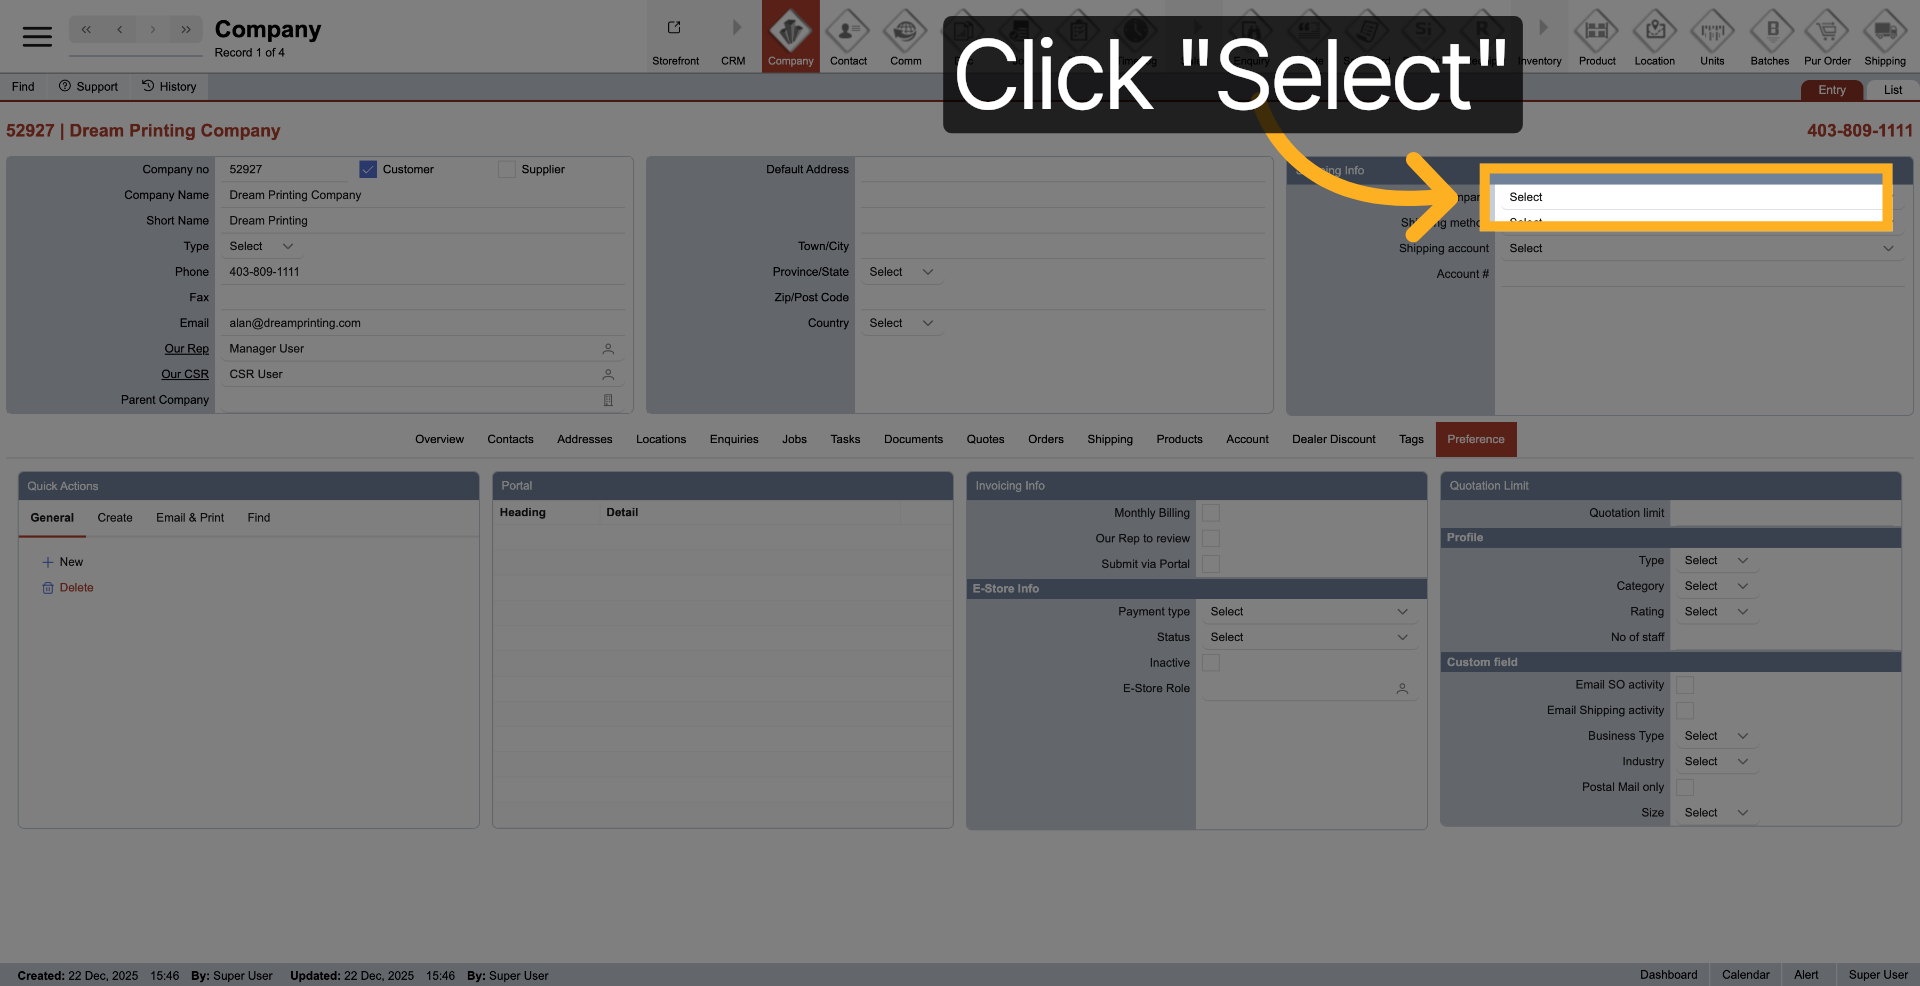
29. Select Shipping Carrier
Click "Select" to choose a shipping carrier for the company.
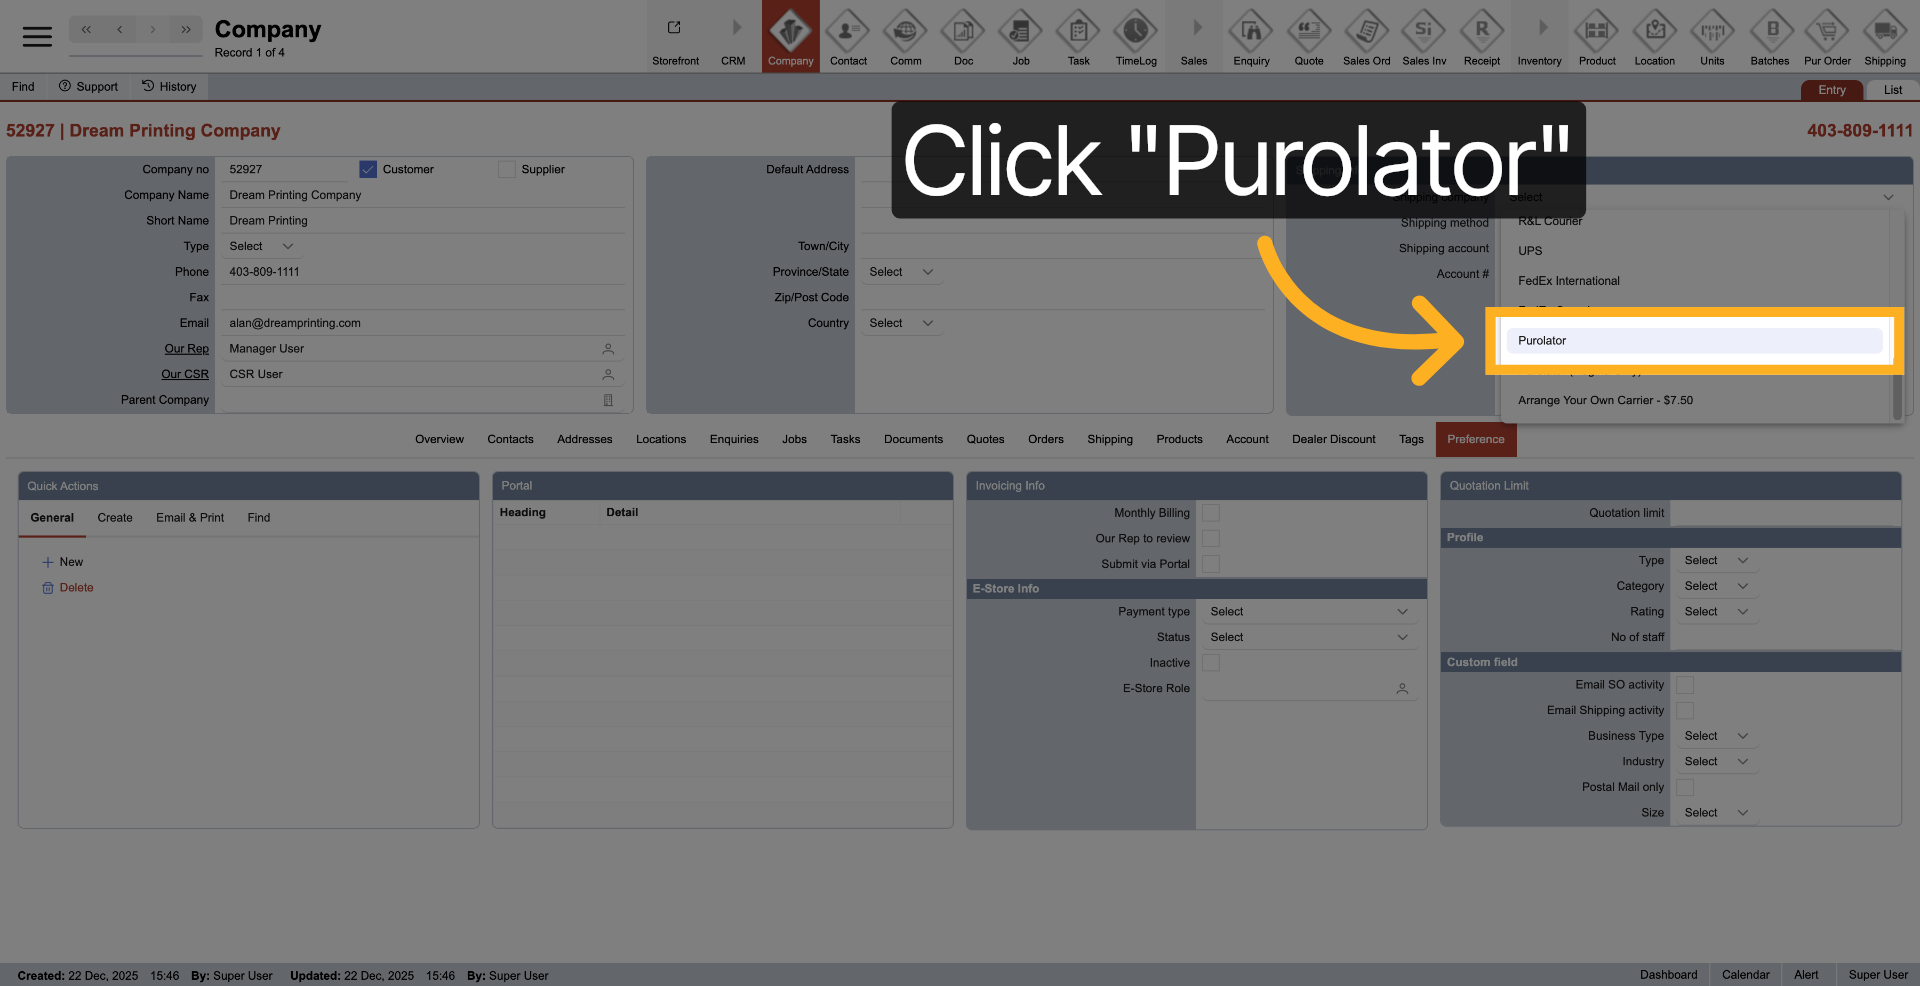
30. Choose Purolator Carrier
Click "Purolator" to select this carrier for shipping services.
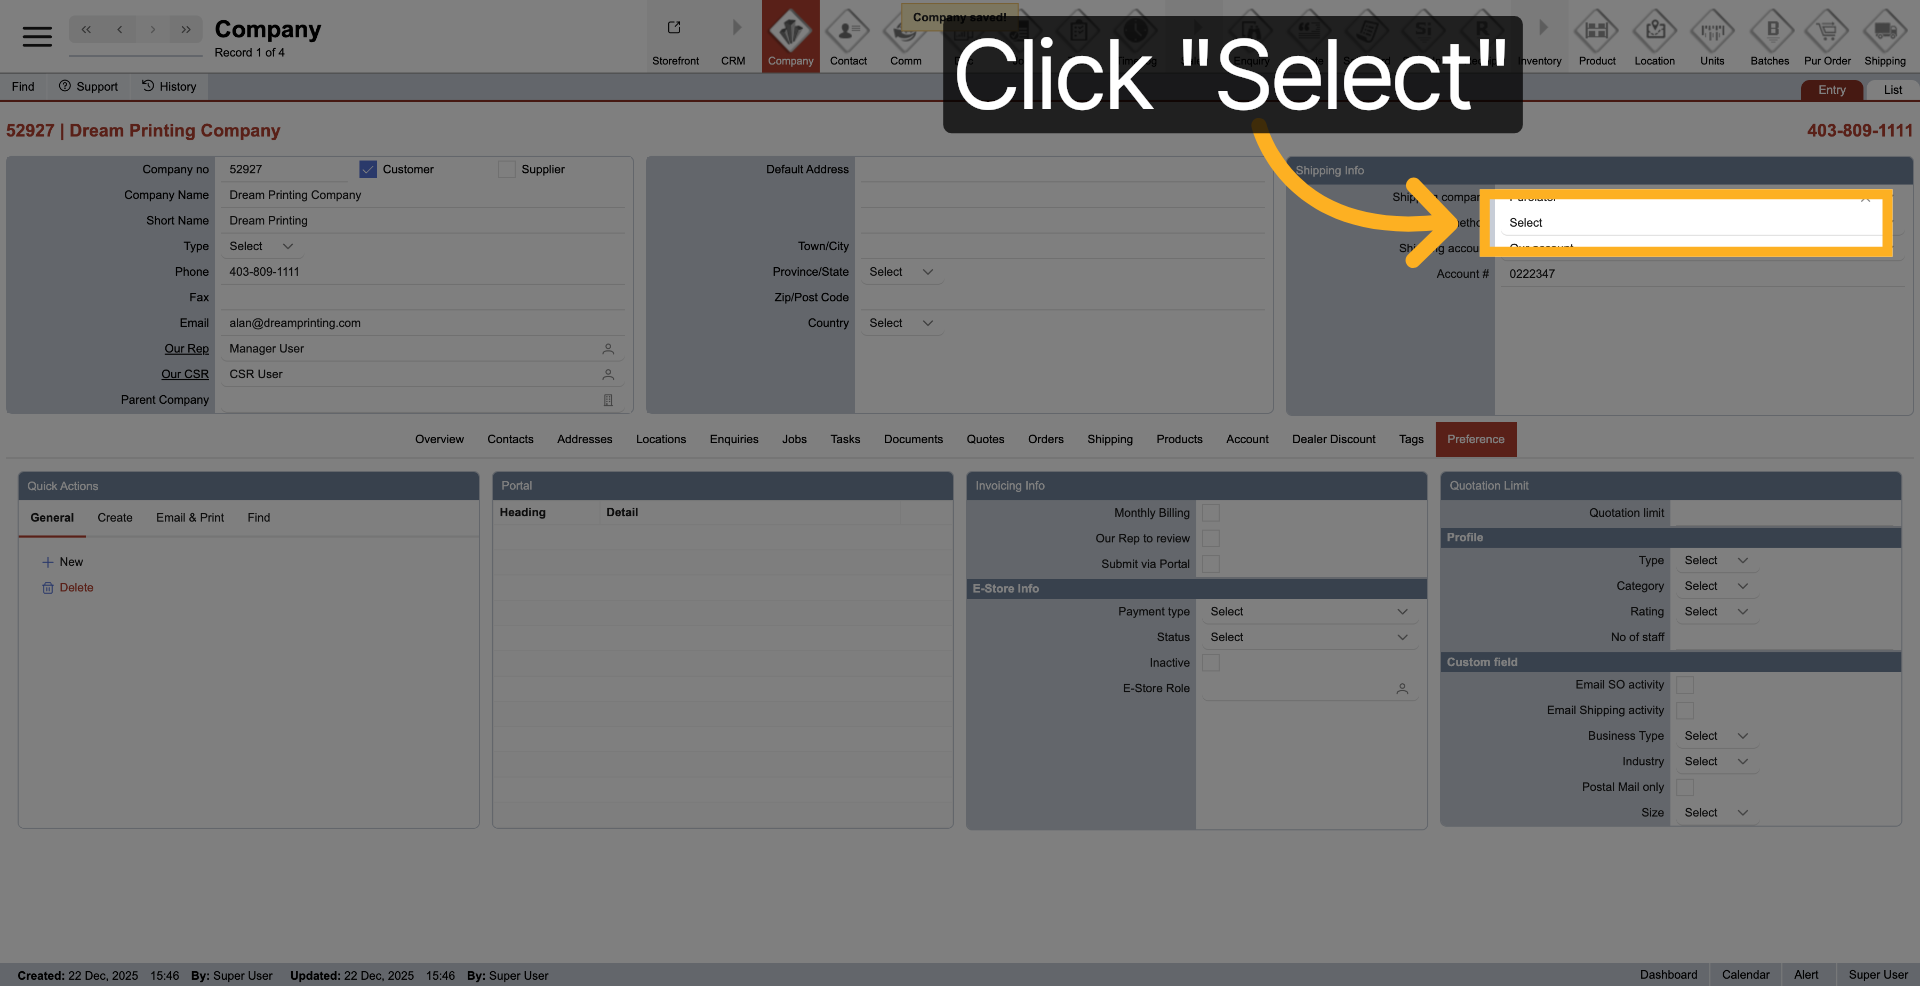
31. Confirm Carrier Selection
Click "Select" to confirm the chosen shipping carrier.
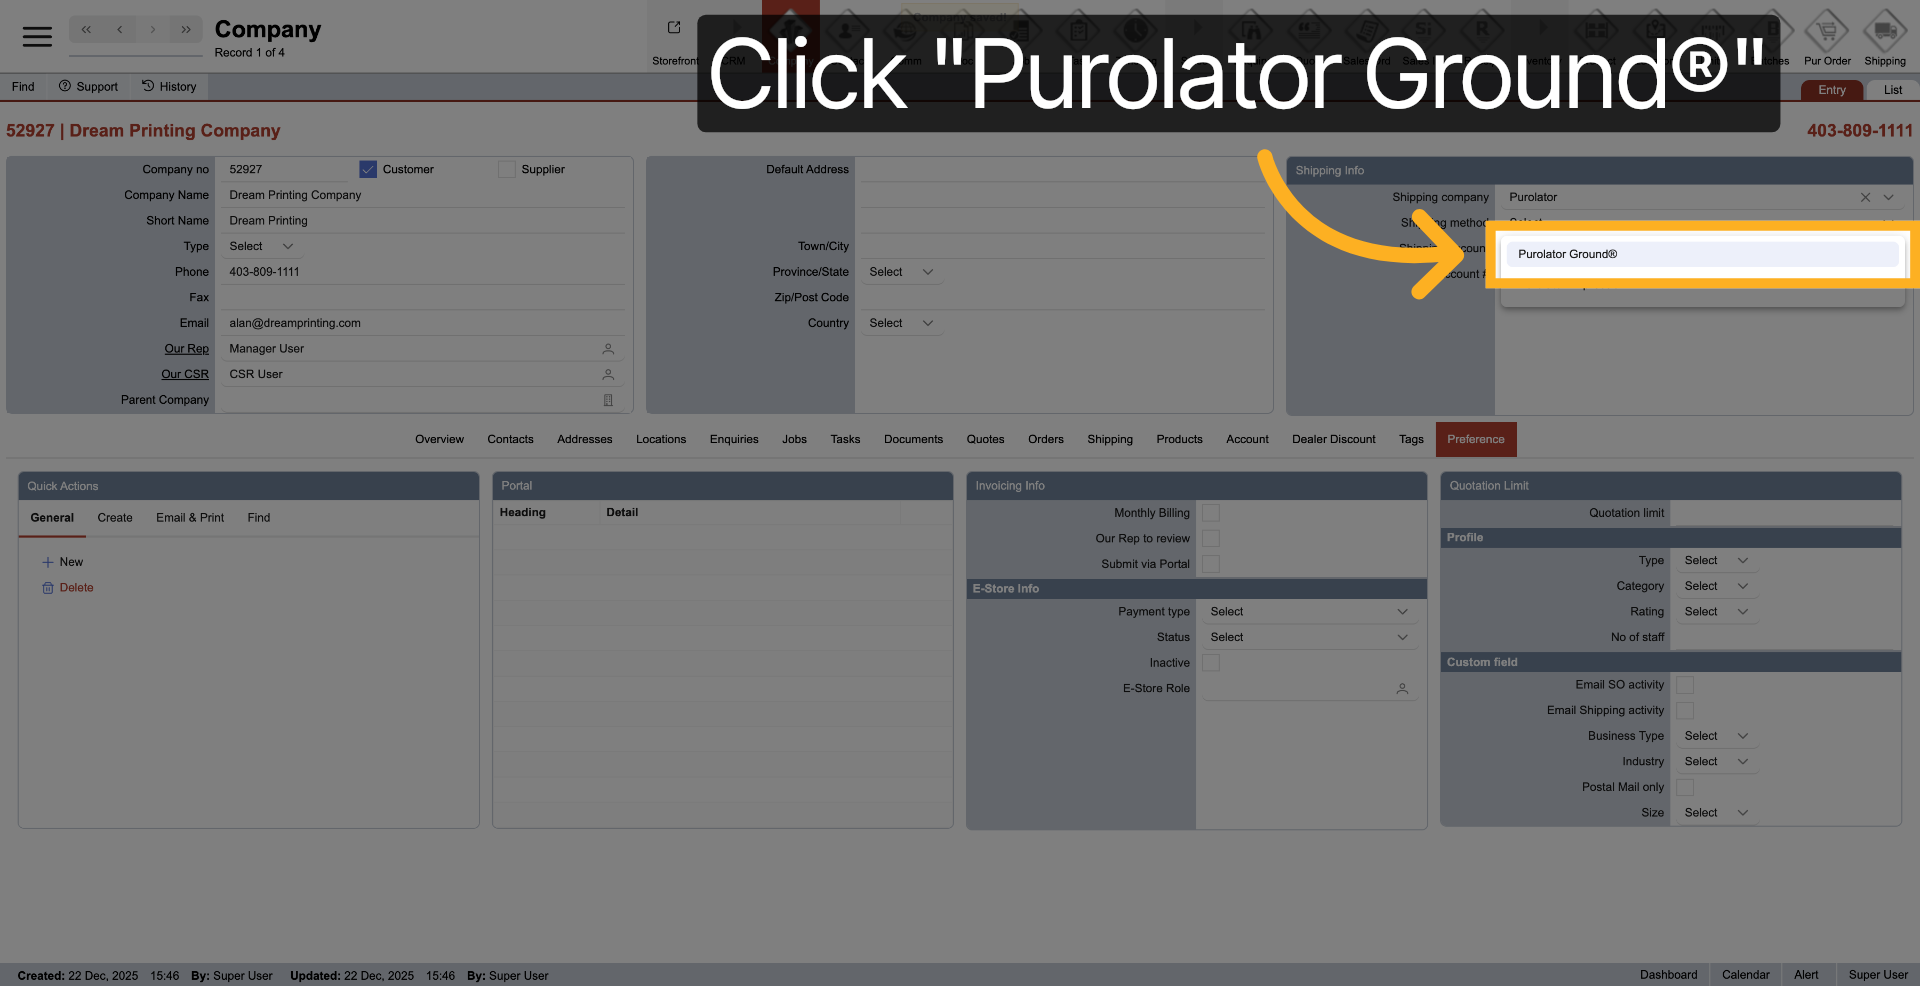
32. Choose Shipping Service
Click "Purolator Ground®" to select the specific shipping service.
33. Open Account Settings
Click here to access account-related settings for shipping.
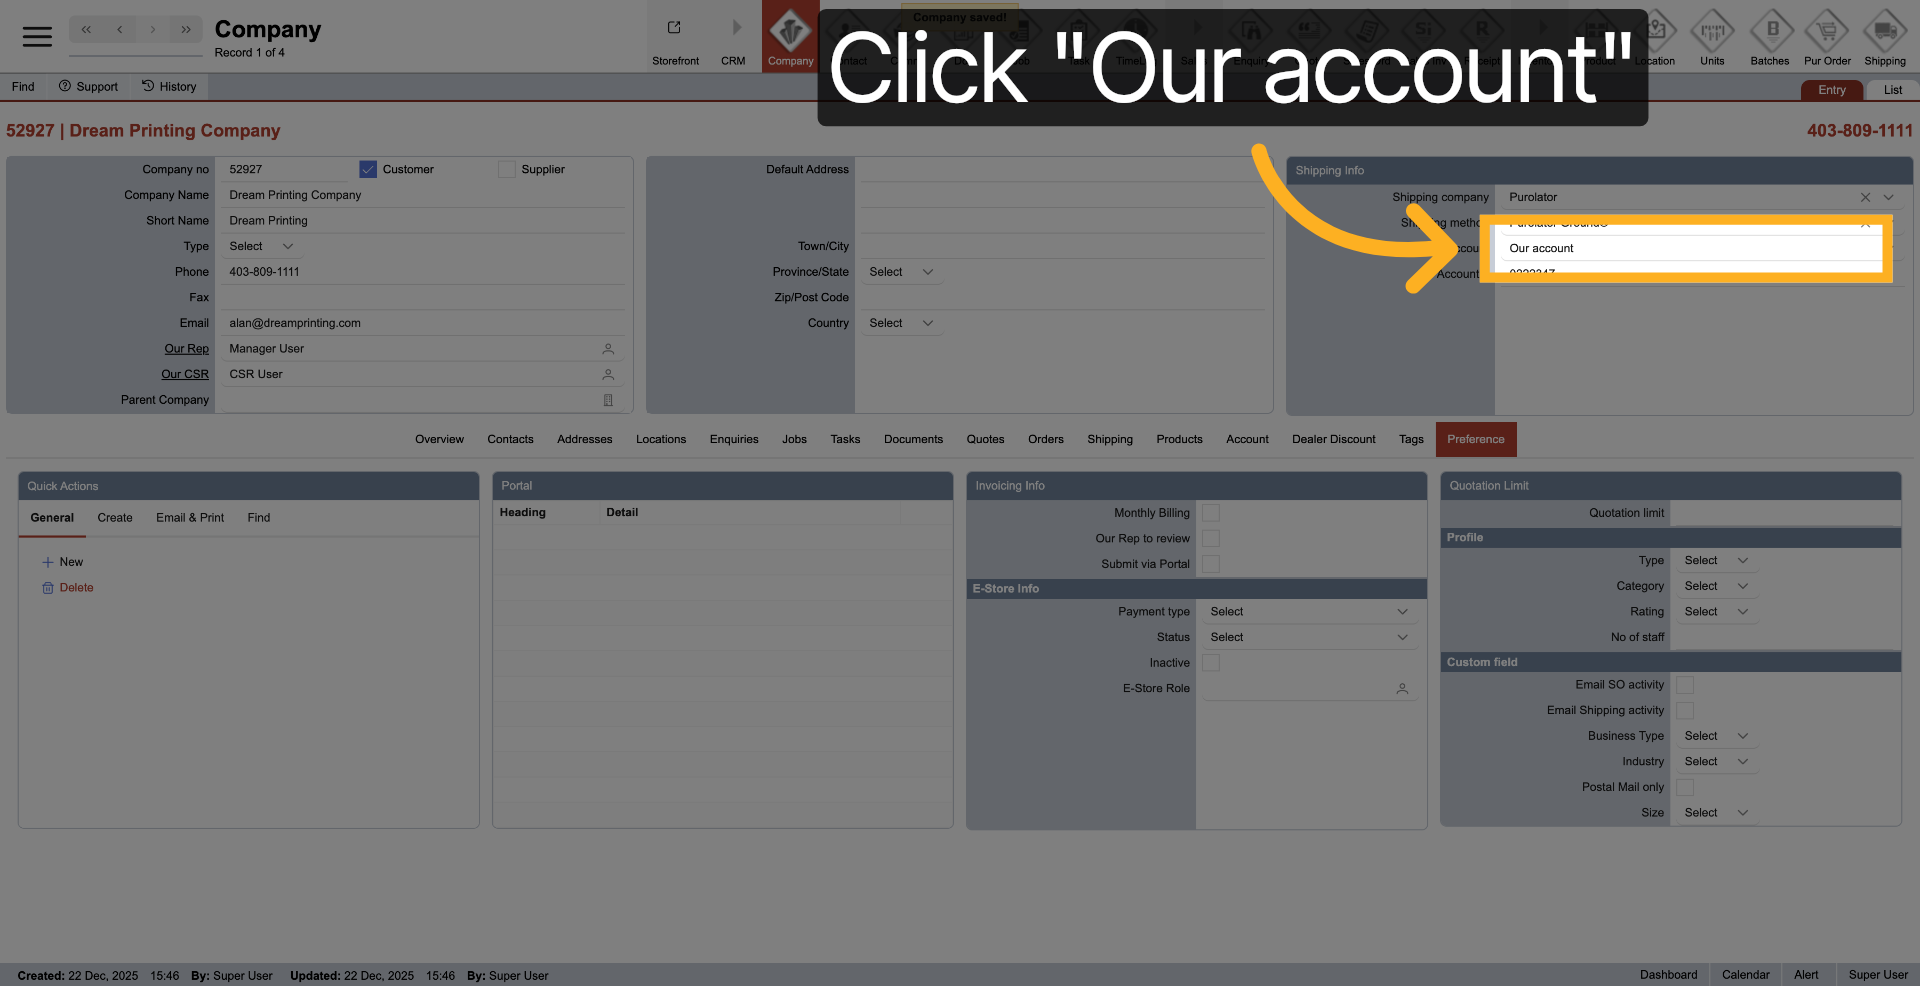
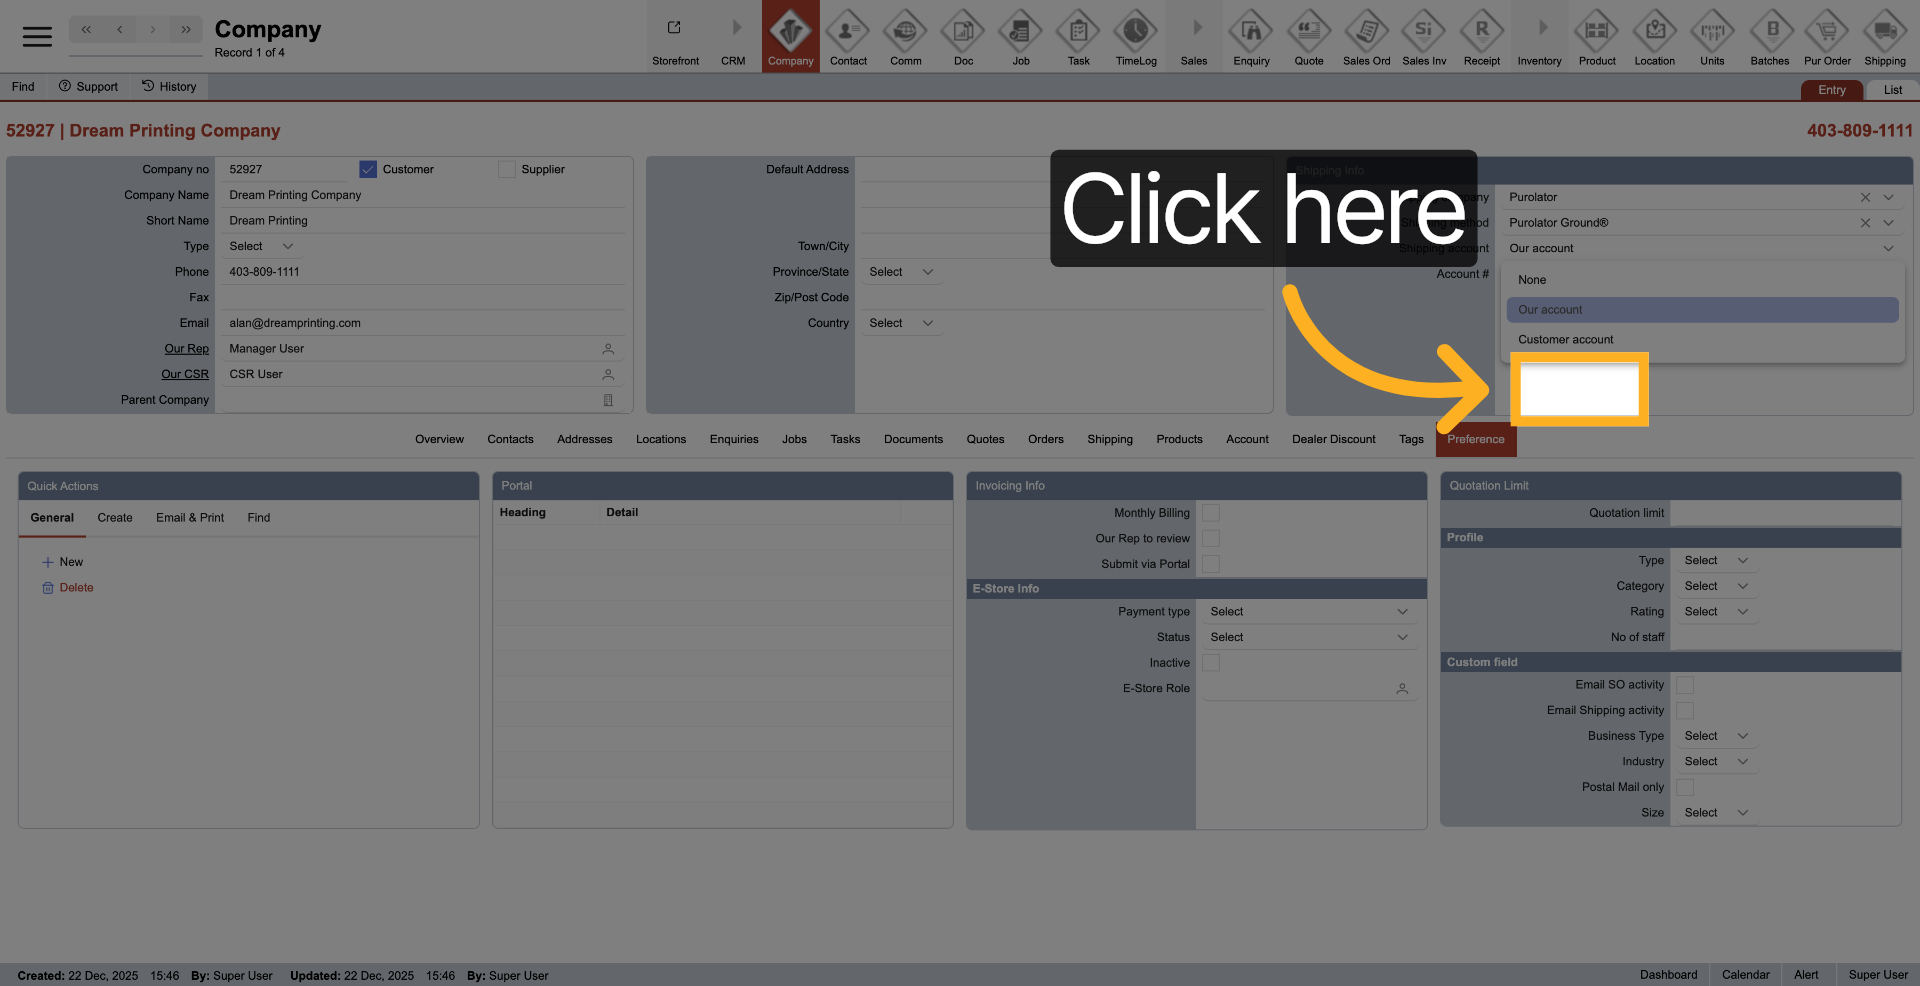
34. Select Account Option
Click "Our account" to link the company to the appropriate shipping account.
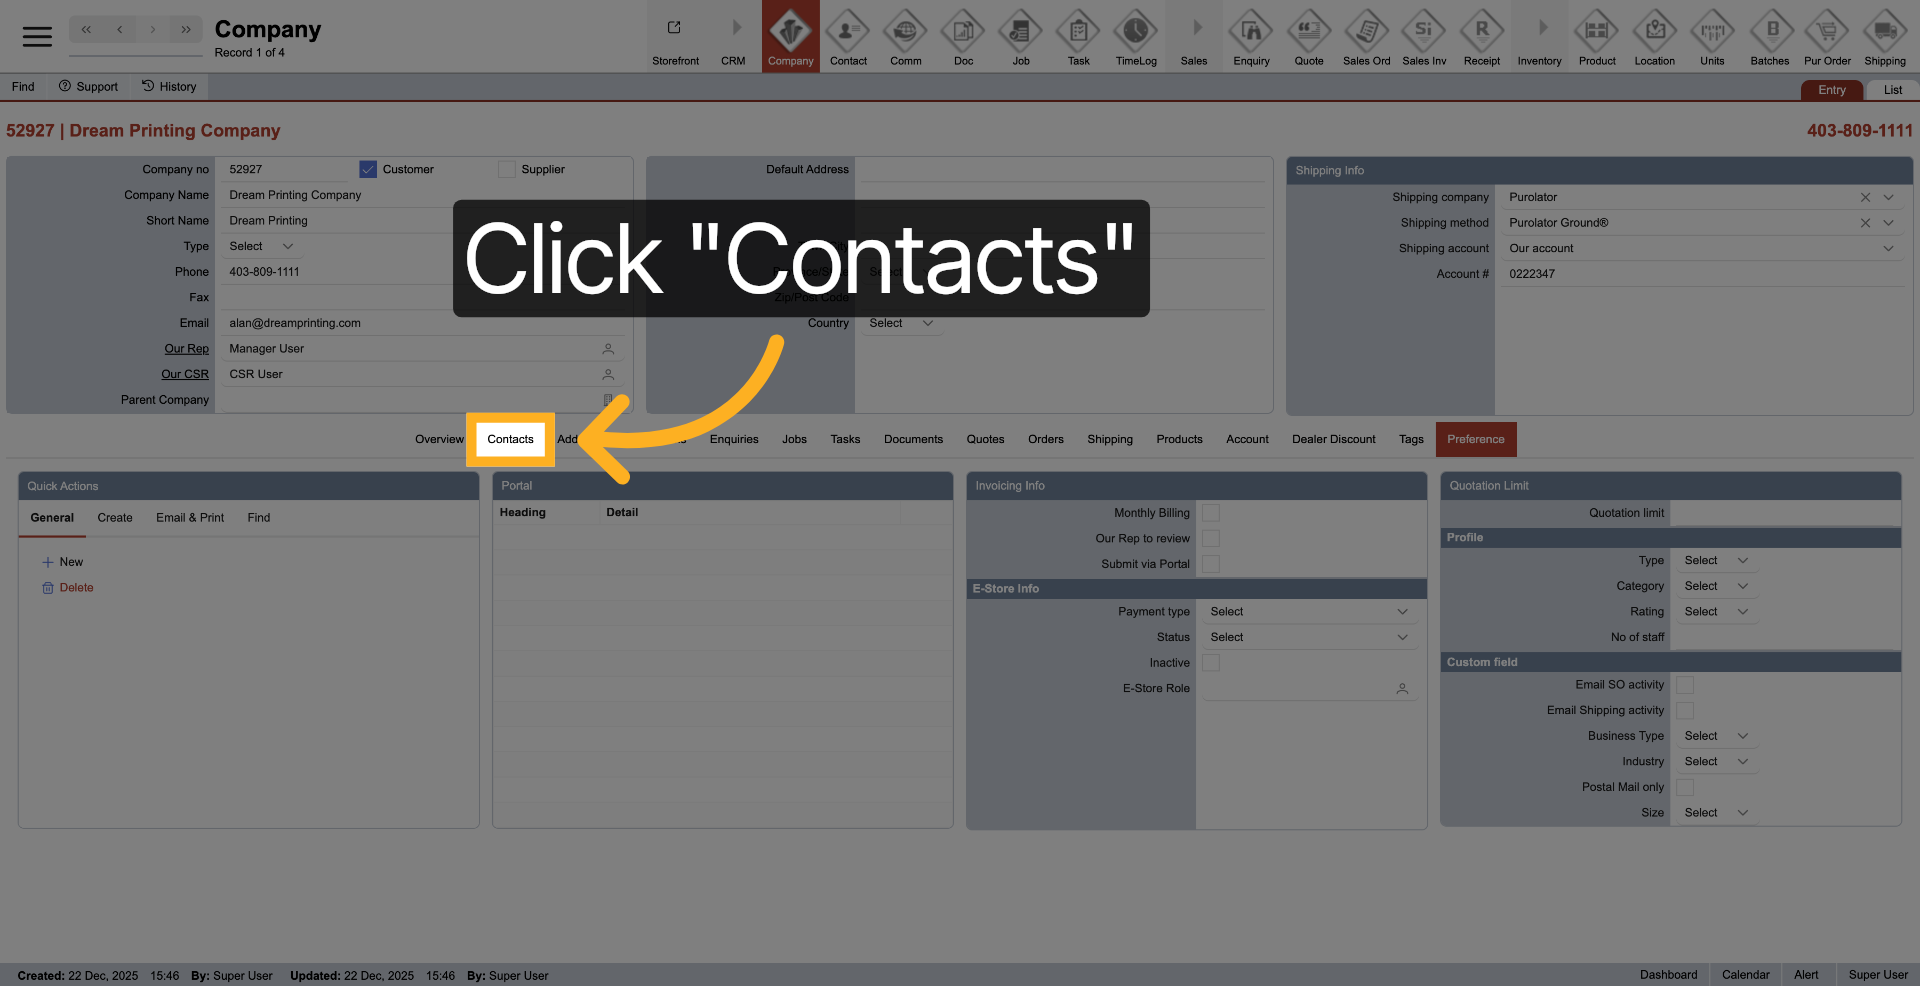
35. Access Contacts Section
36. Open Contacts Menu
Click "Contacts" to manage company contacts.
37. Access Overview and Preferences
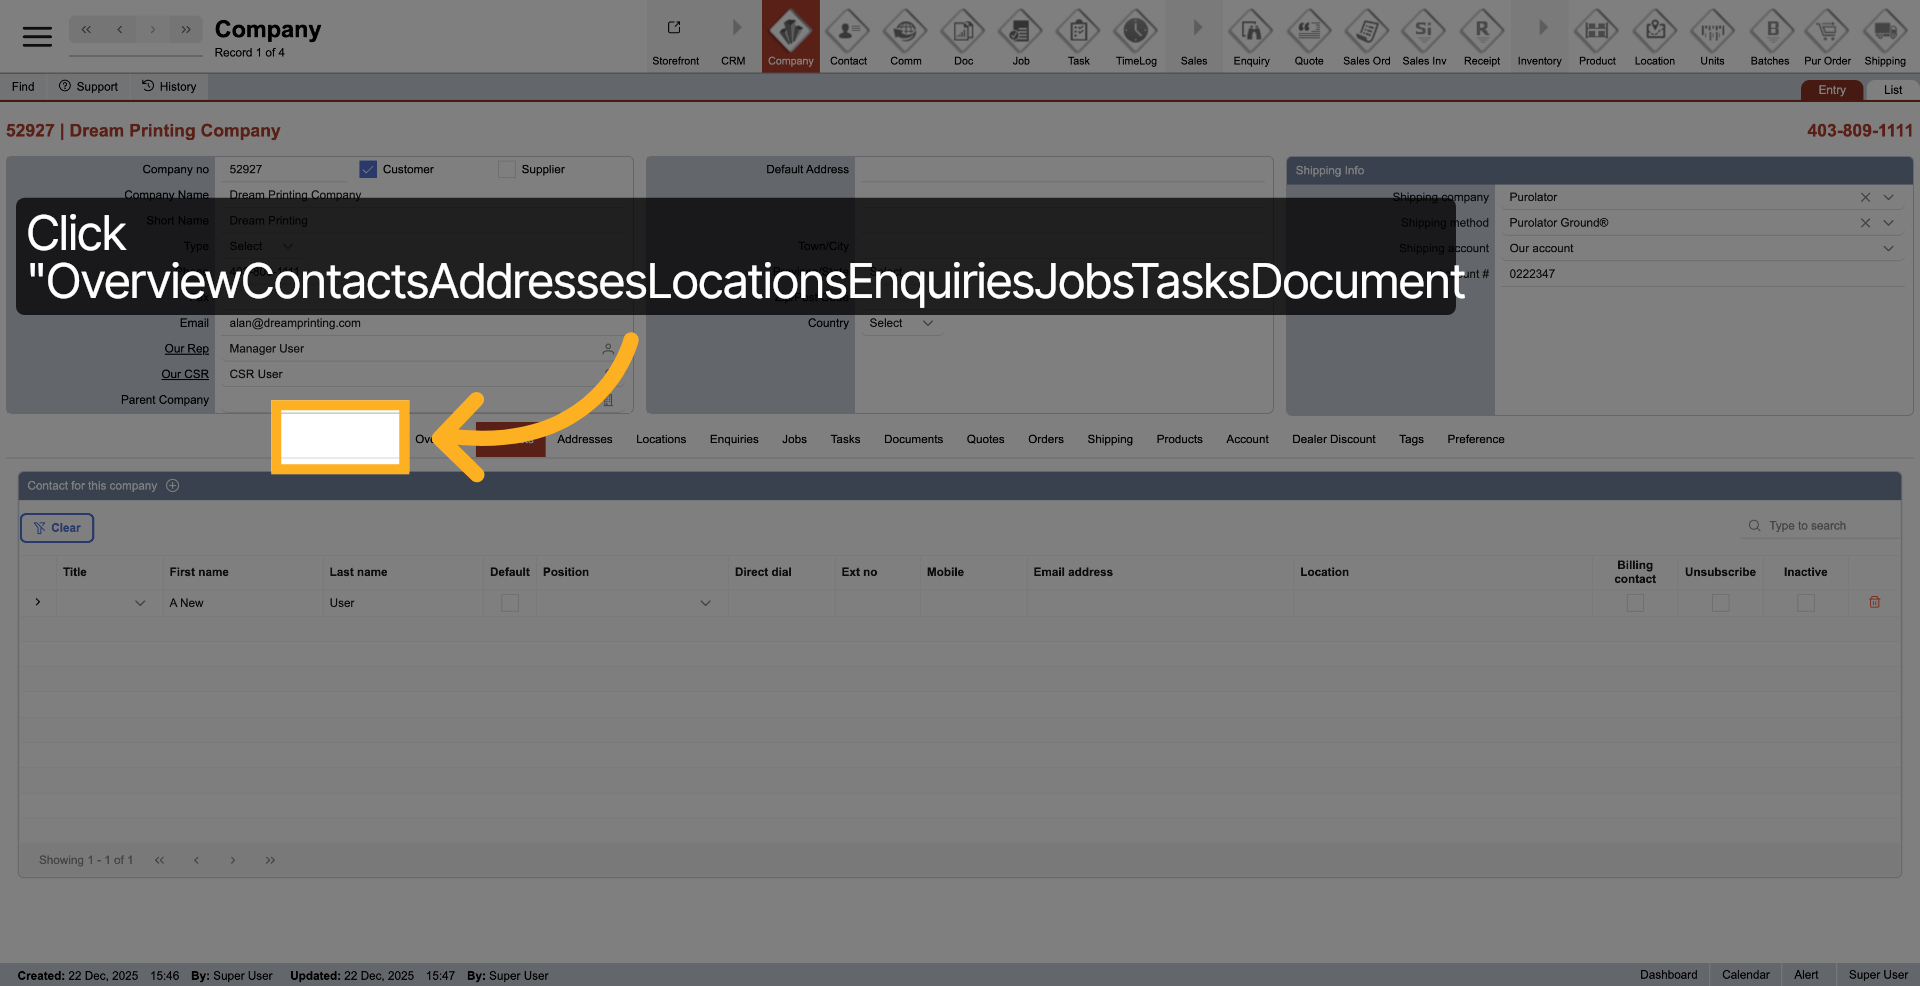
Click here to view the overview, contacts, addresses, locations, enquiries, jobs, tasks, documents, quotes, orders, shipping, RFQ, products, account, dealer discount, tags, and preference settings.

38. Click "OverviewContactsAddressesLocationsEnquiriesJobsTasksDocumentsQuotesOrdersShippingRFQProductsAccountDealer DiscountTagsPreference"
Click on "OverviewContactsAddressesLocationsEnquiriesJobsTasksDocumentsQuotesOrdersShippingRFQProductsAccountDealer DiscountTagsPreference"
You have successfully created and configured a new company, including setting company details, assigning user roles, and selecting shipping options. Next, you can manage contacts and further customize company preferences as needed.