Add Company Contact (WorkTraq)
Video Tutorial
This tutorial guides you through adding a company contact in the system.
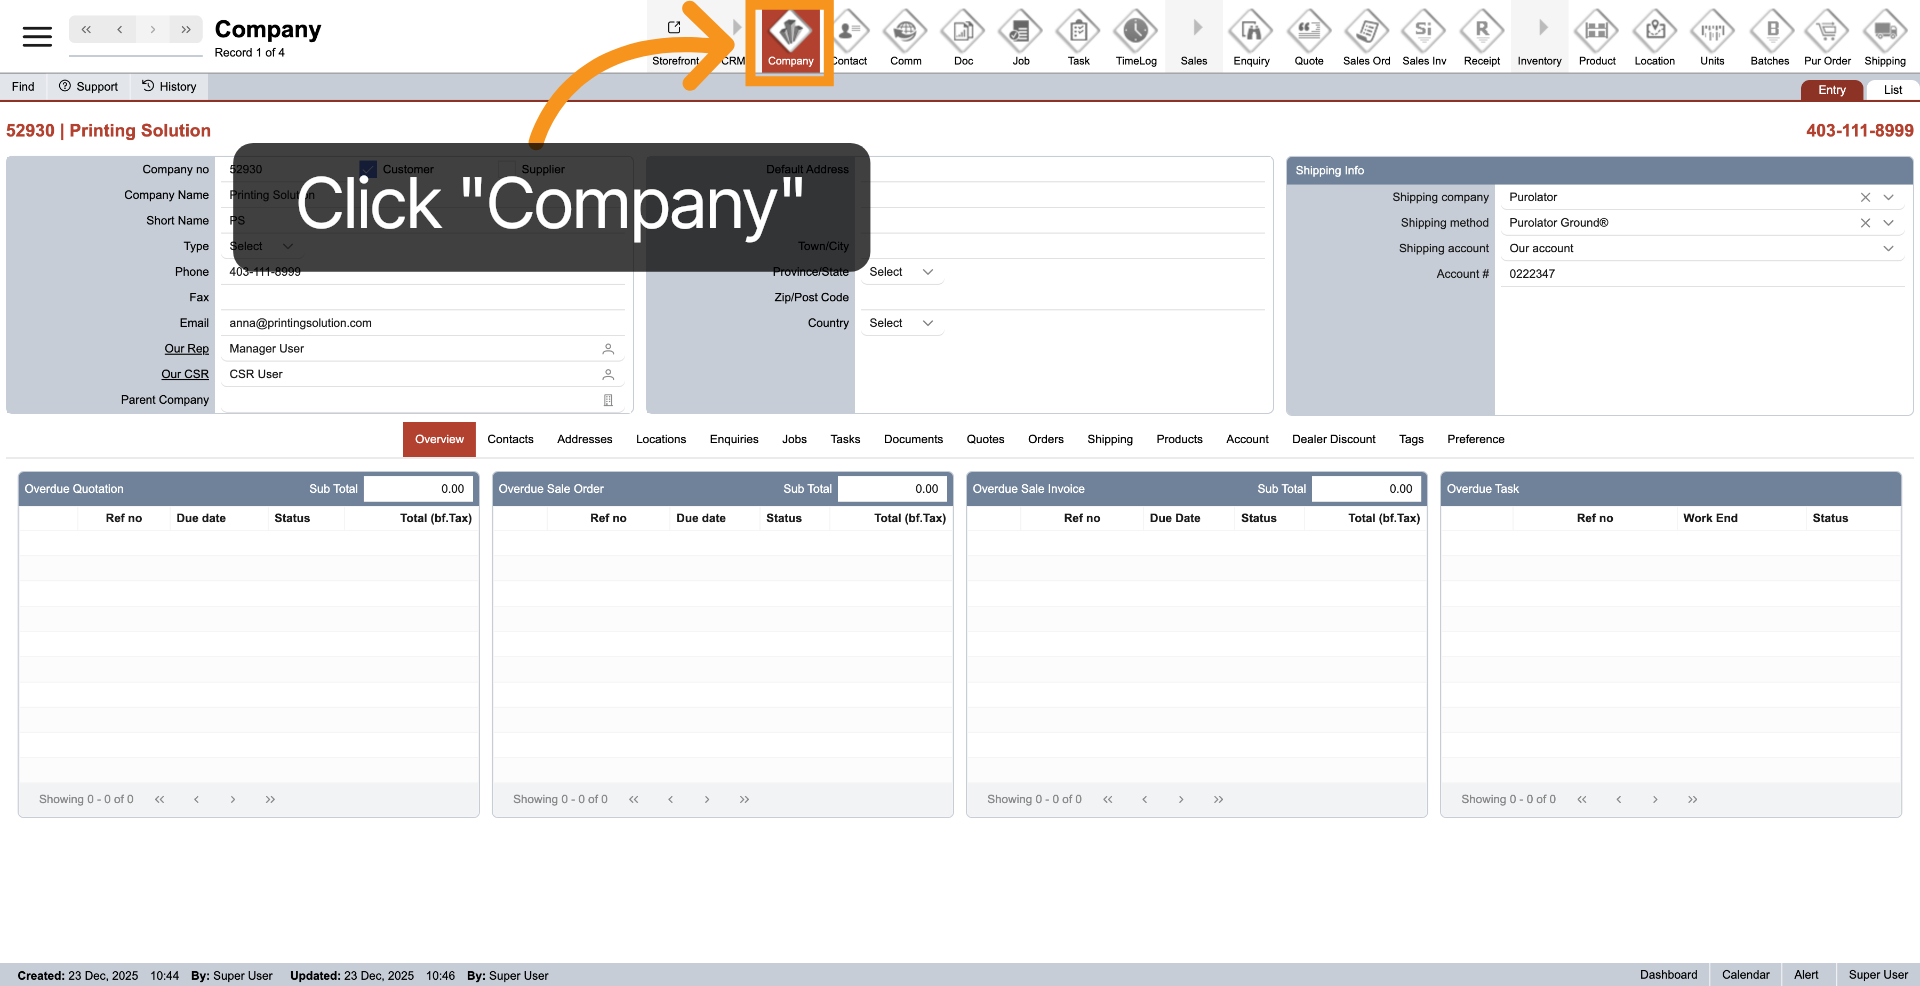
1. Open Company
Click "Company" from the main top menu to begin the process of adding a company contact.
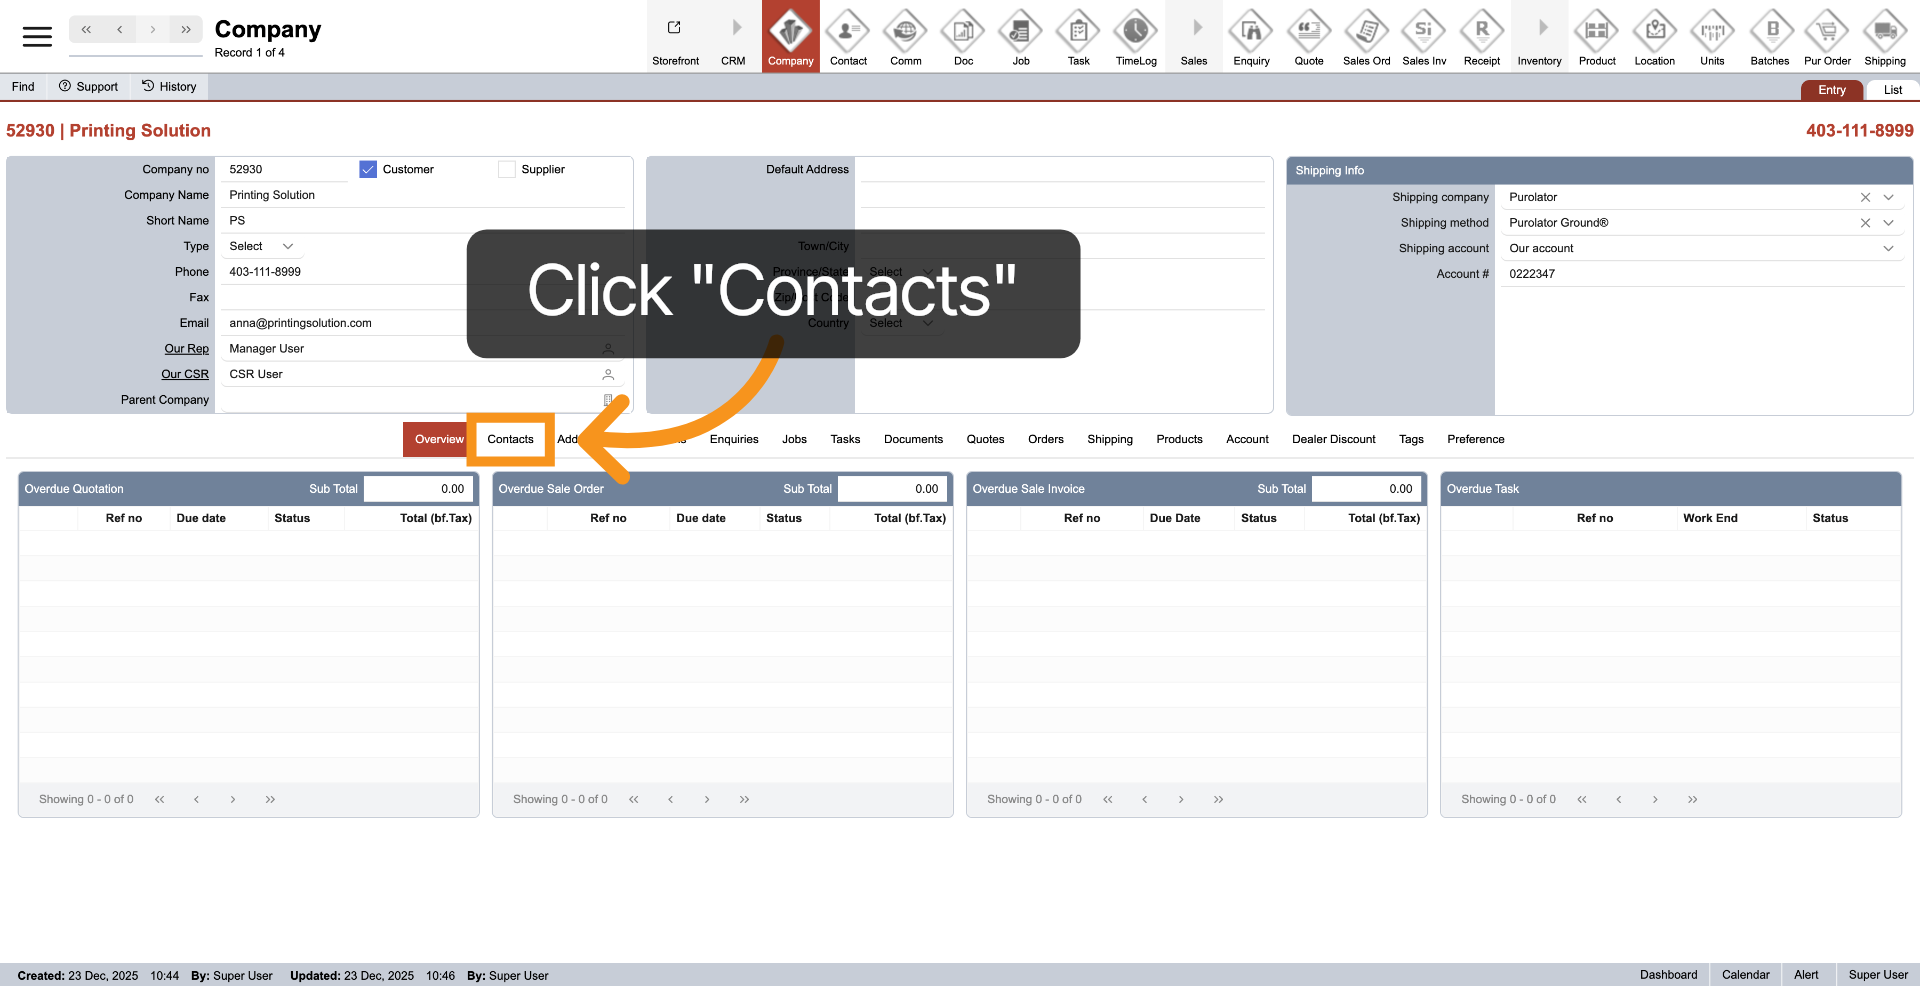
2. Navigate to Contacts Section
Select "Contacts" from the middle menu to enter the contacts management area.
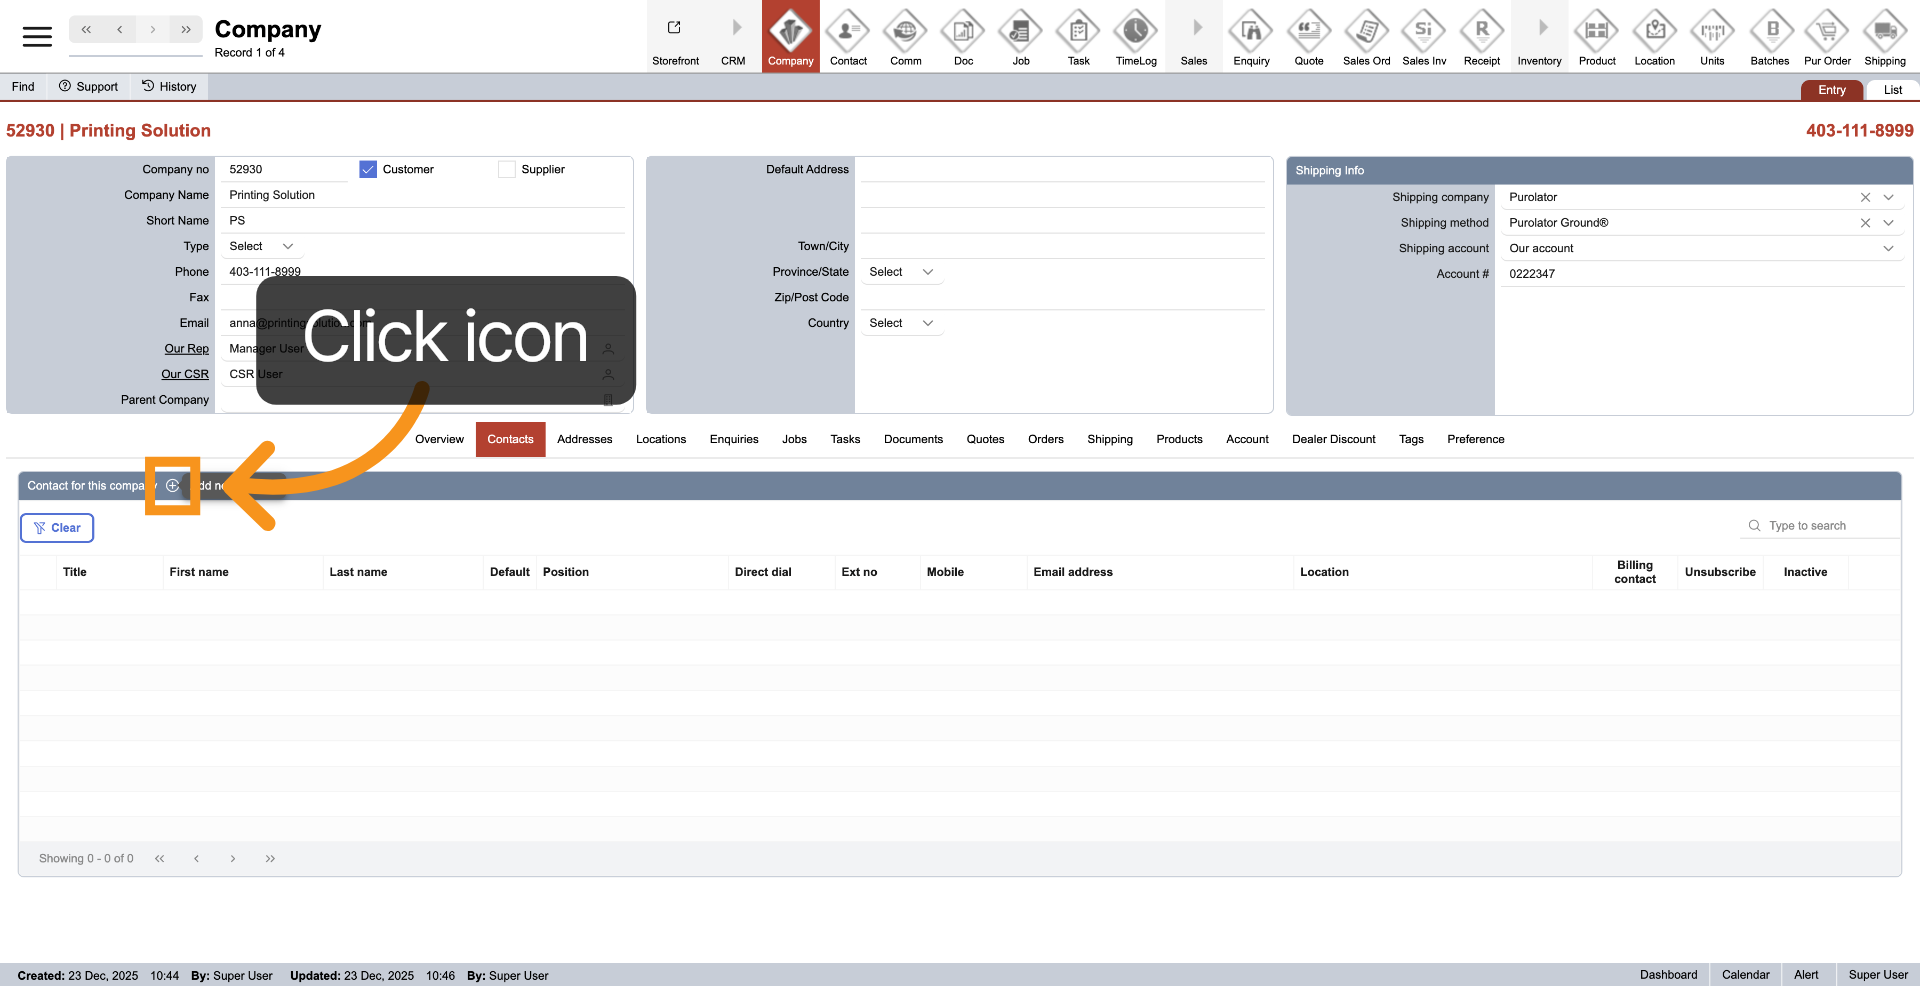
3. Add Contact
Click the plus icon in the contact table header to begin adding a new contact.
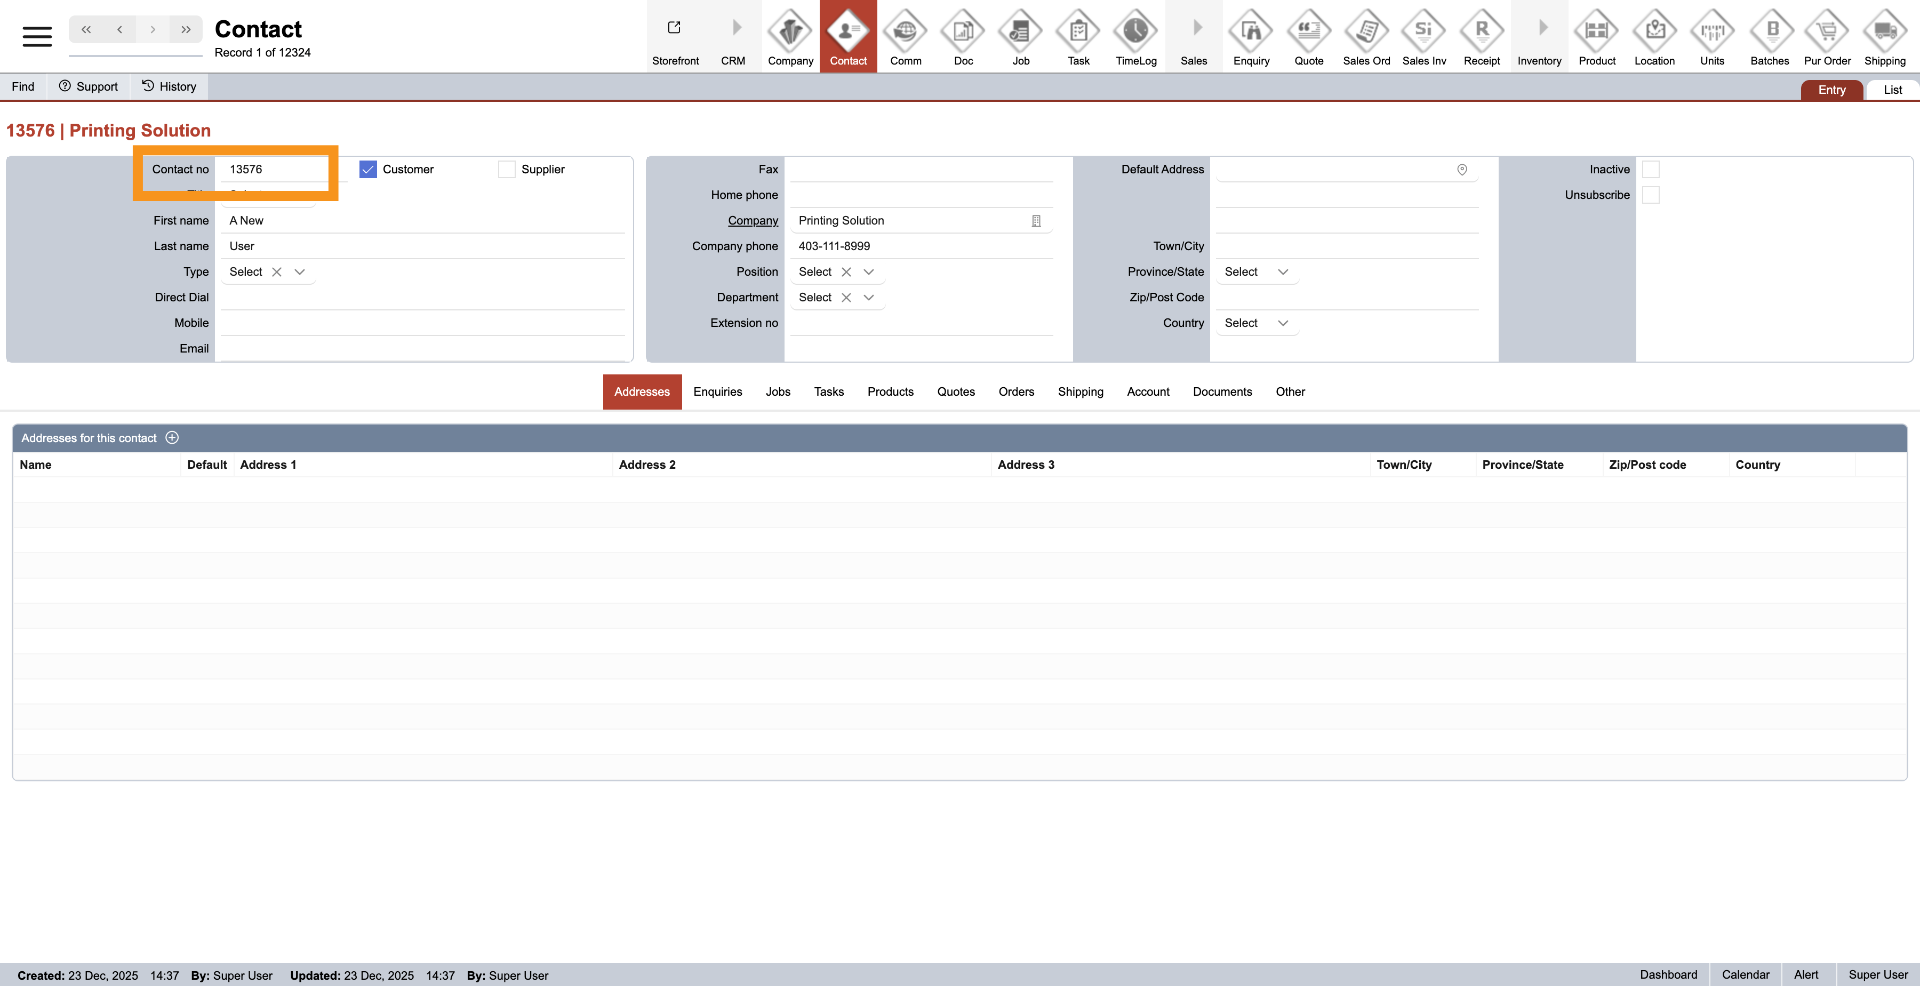
4. Contact Number
The system automatically generates the contact number, which cannot be edited.
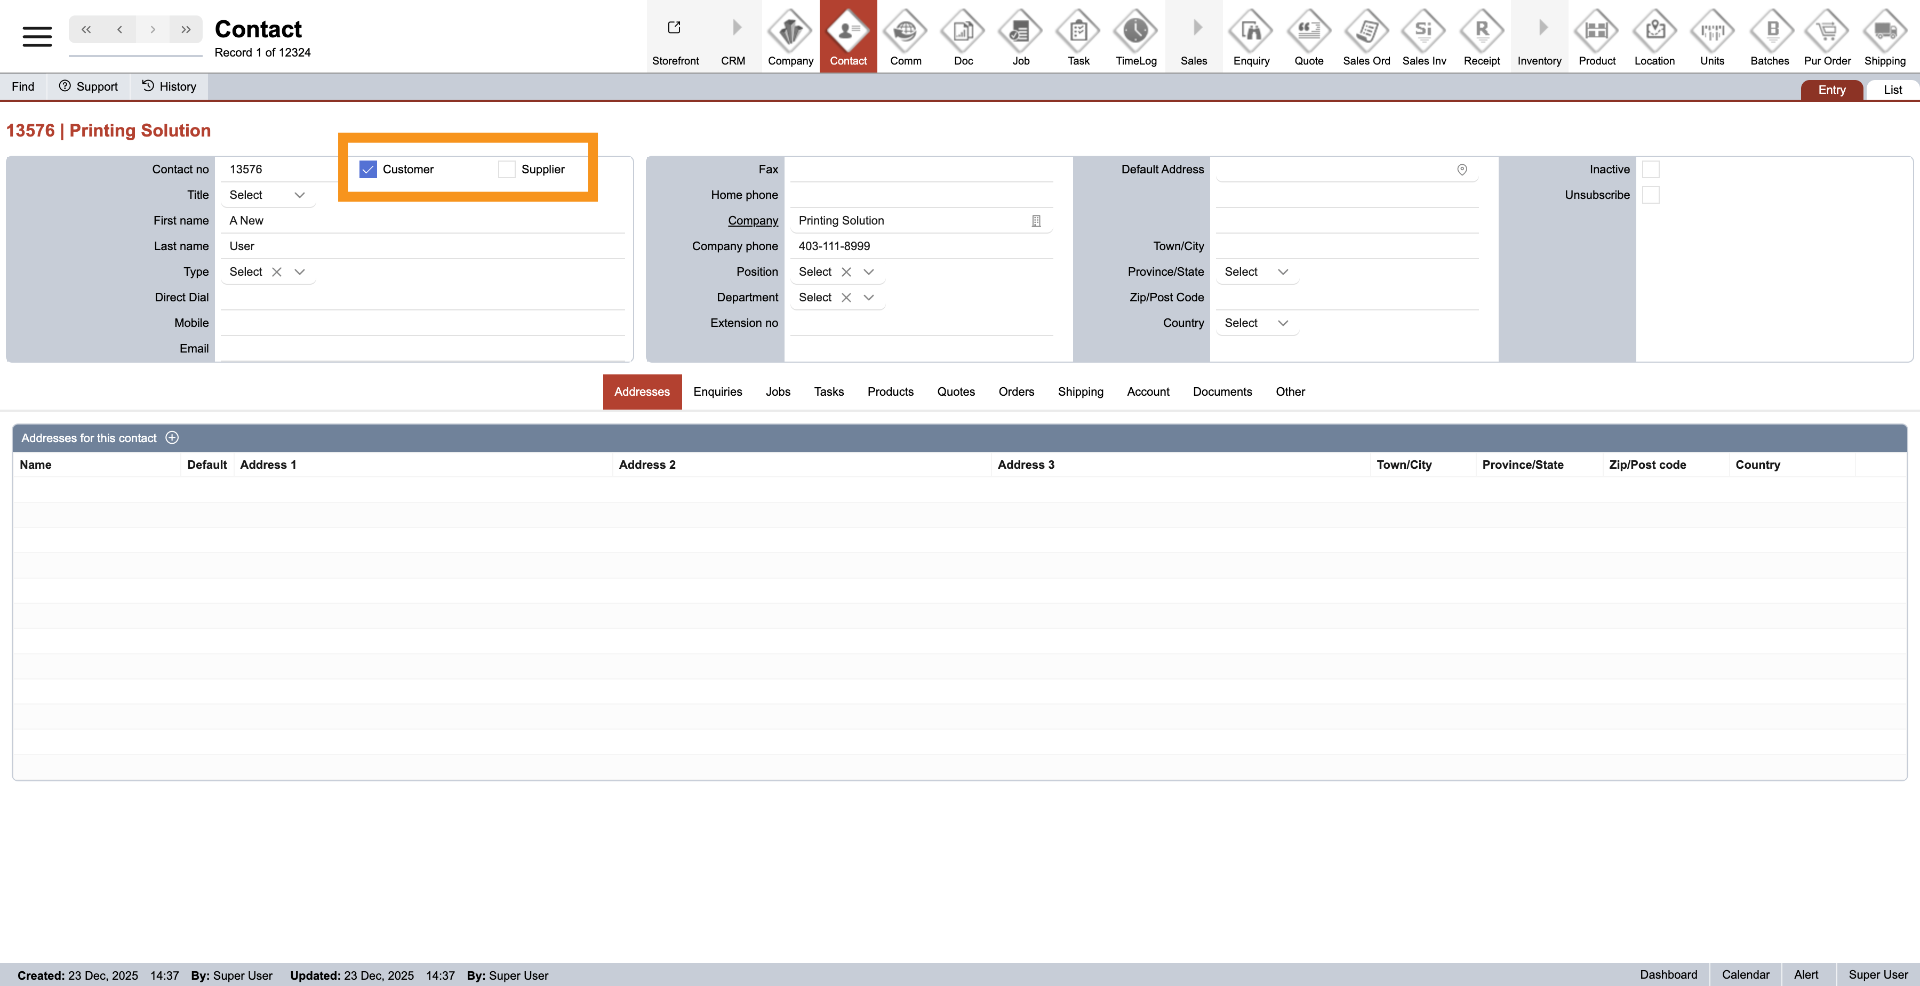
5. Choose Contact Category
To classify the contact as a customer, click "Customer." If you want to designate the company as a supplier, click "Supplier." You can also select both categories for a single contact.
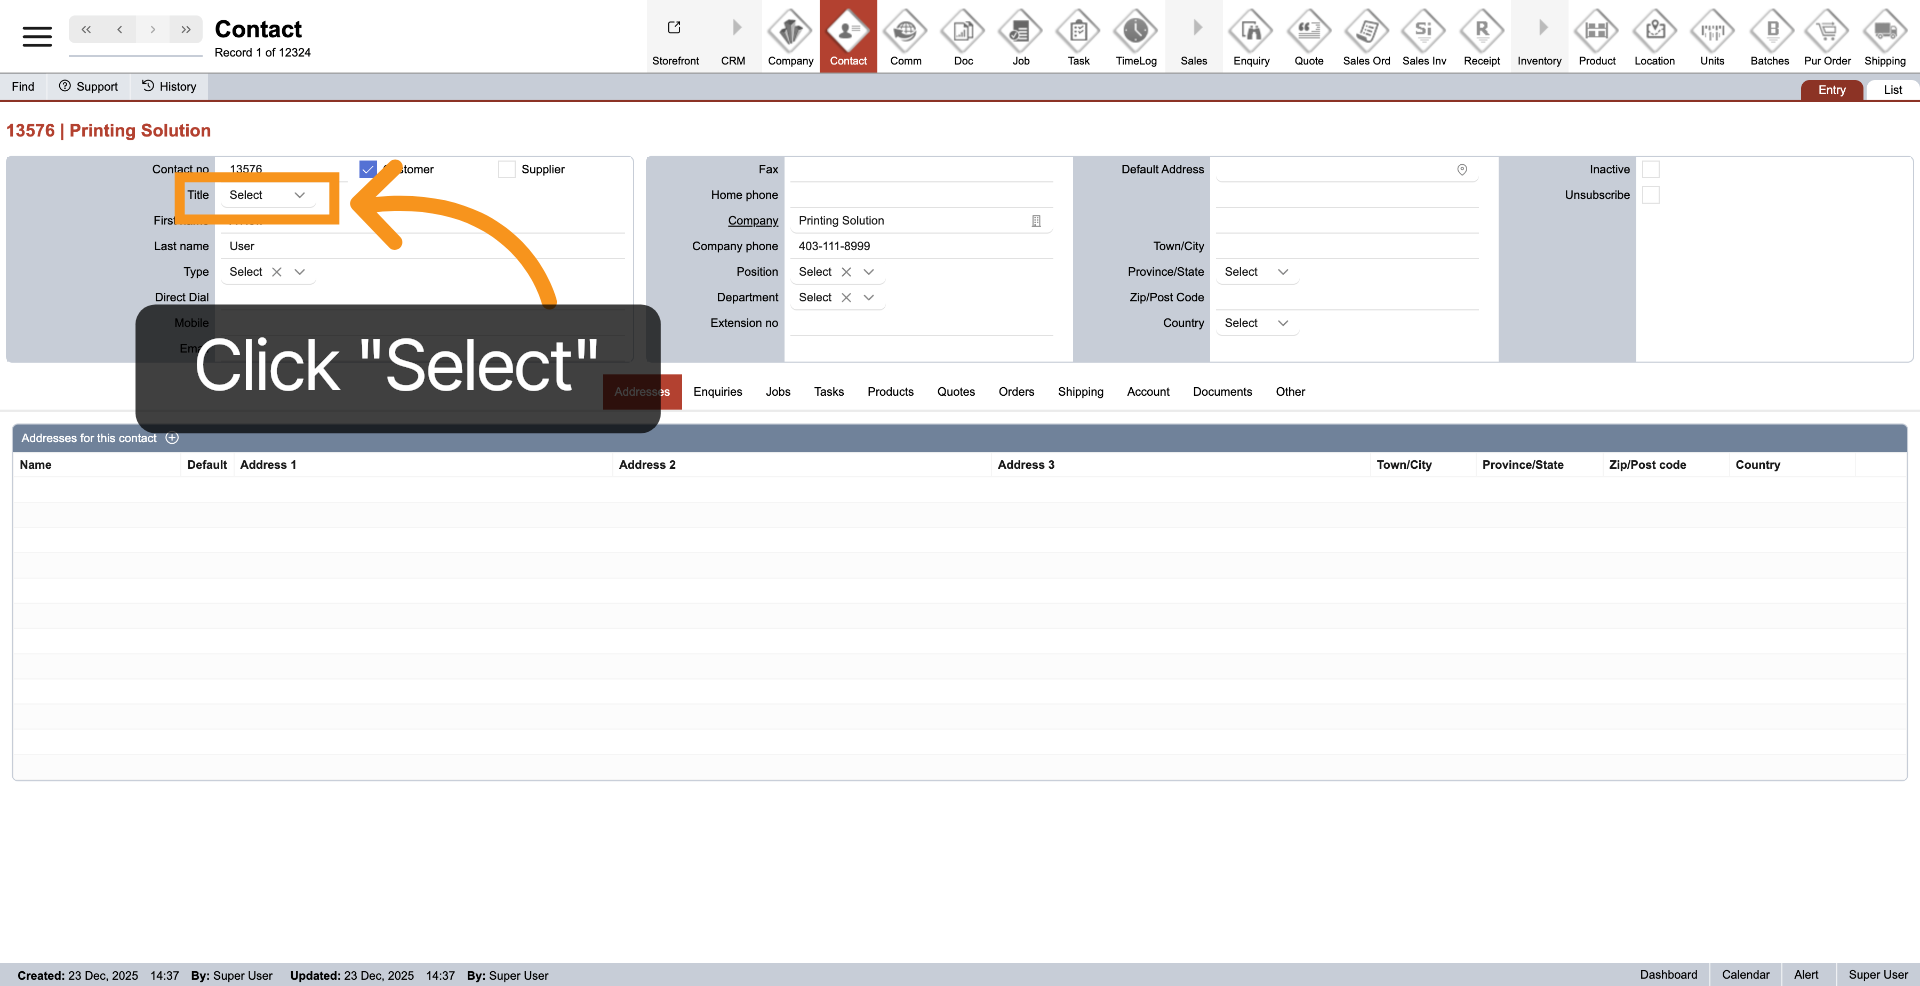
6. Select Contact Title
Click the dropdown menu next to "Title" to choose the contact title.
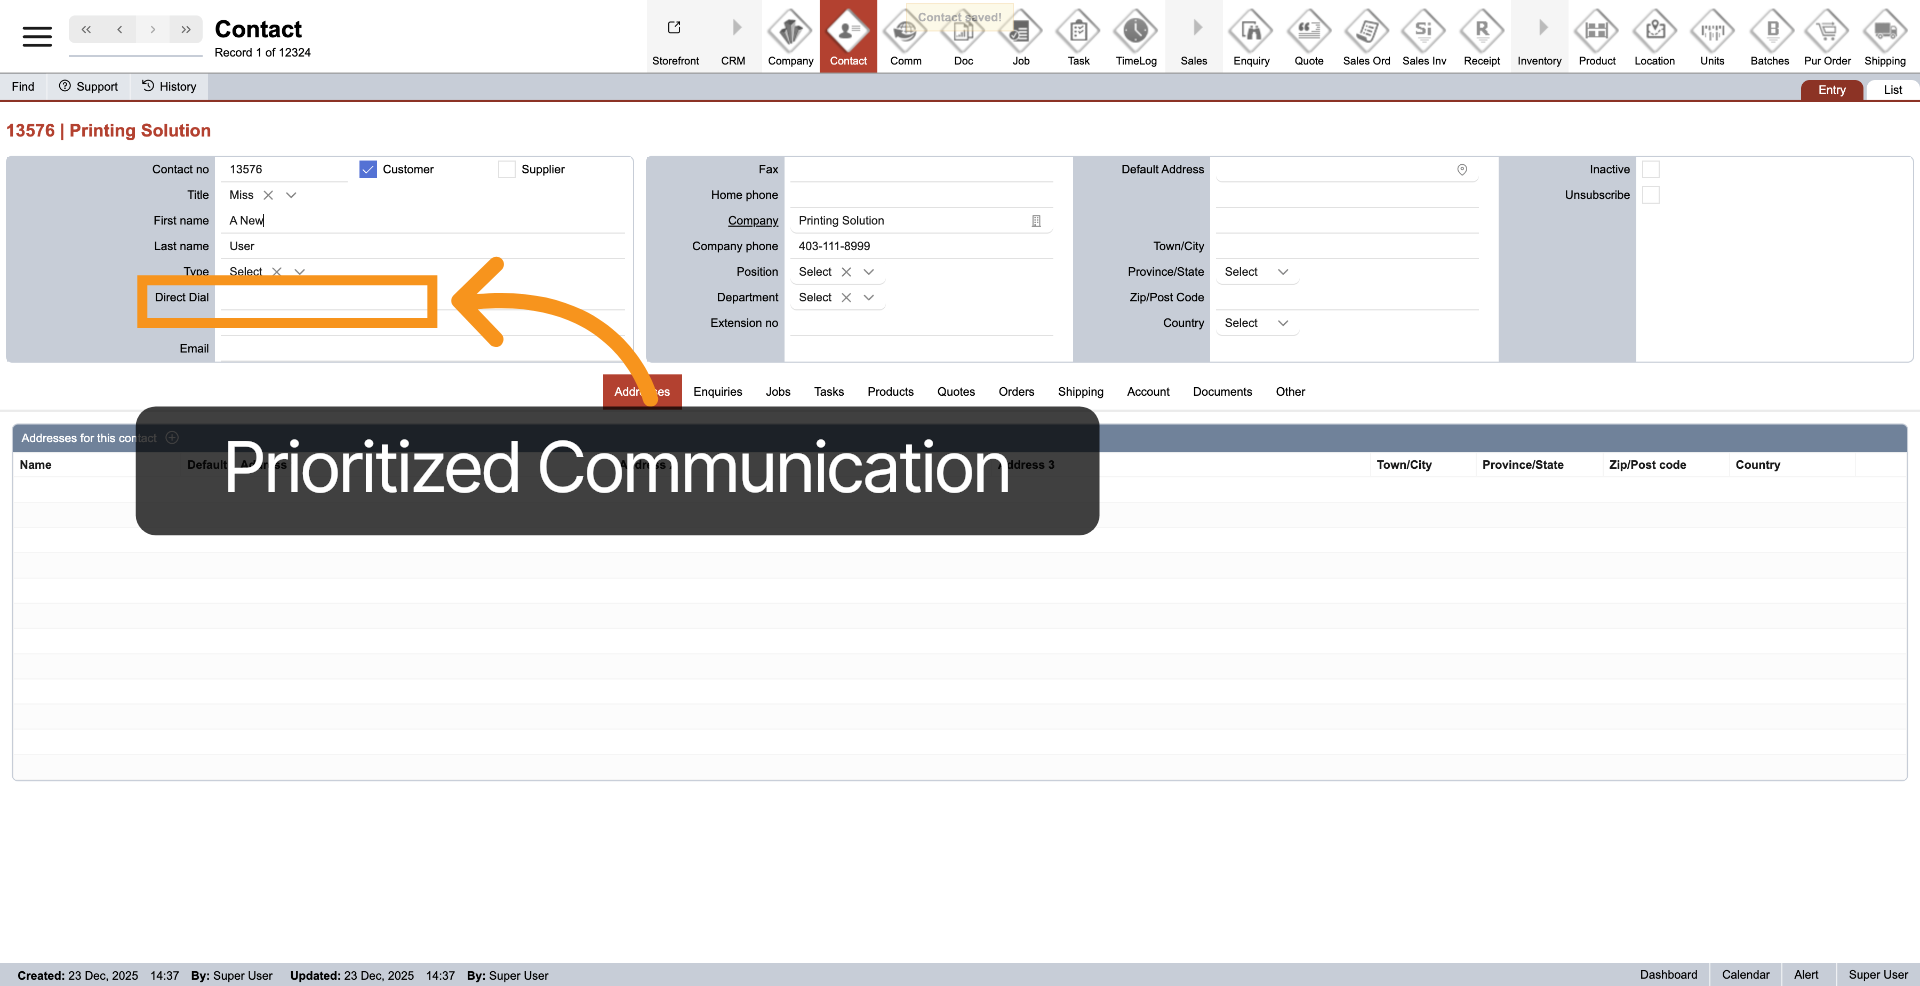
7. Enter Contact Details
Provide the contact details, including First Name, Last Name, Direct Dial, Mobile, Email, Fax, and Home Phone. The Direct Dial number will be prioritized for communication.
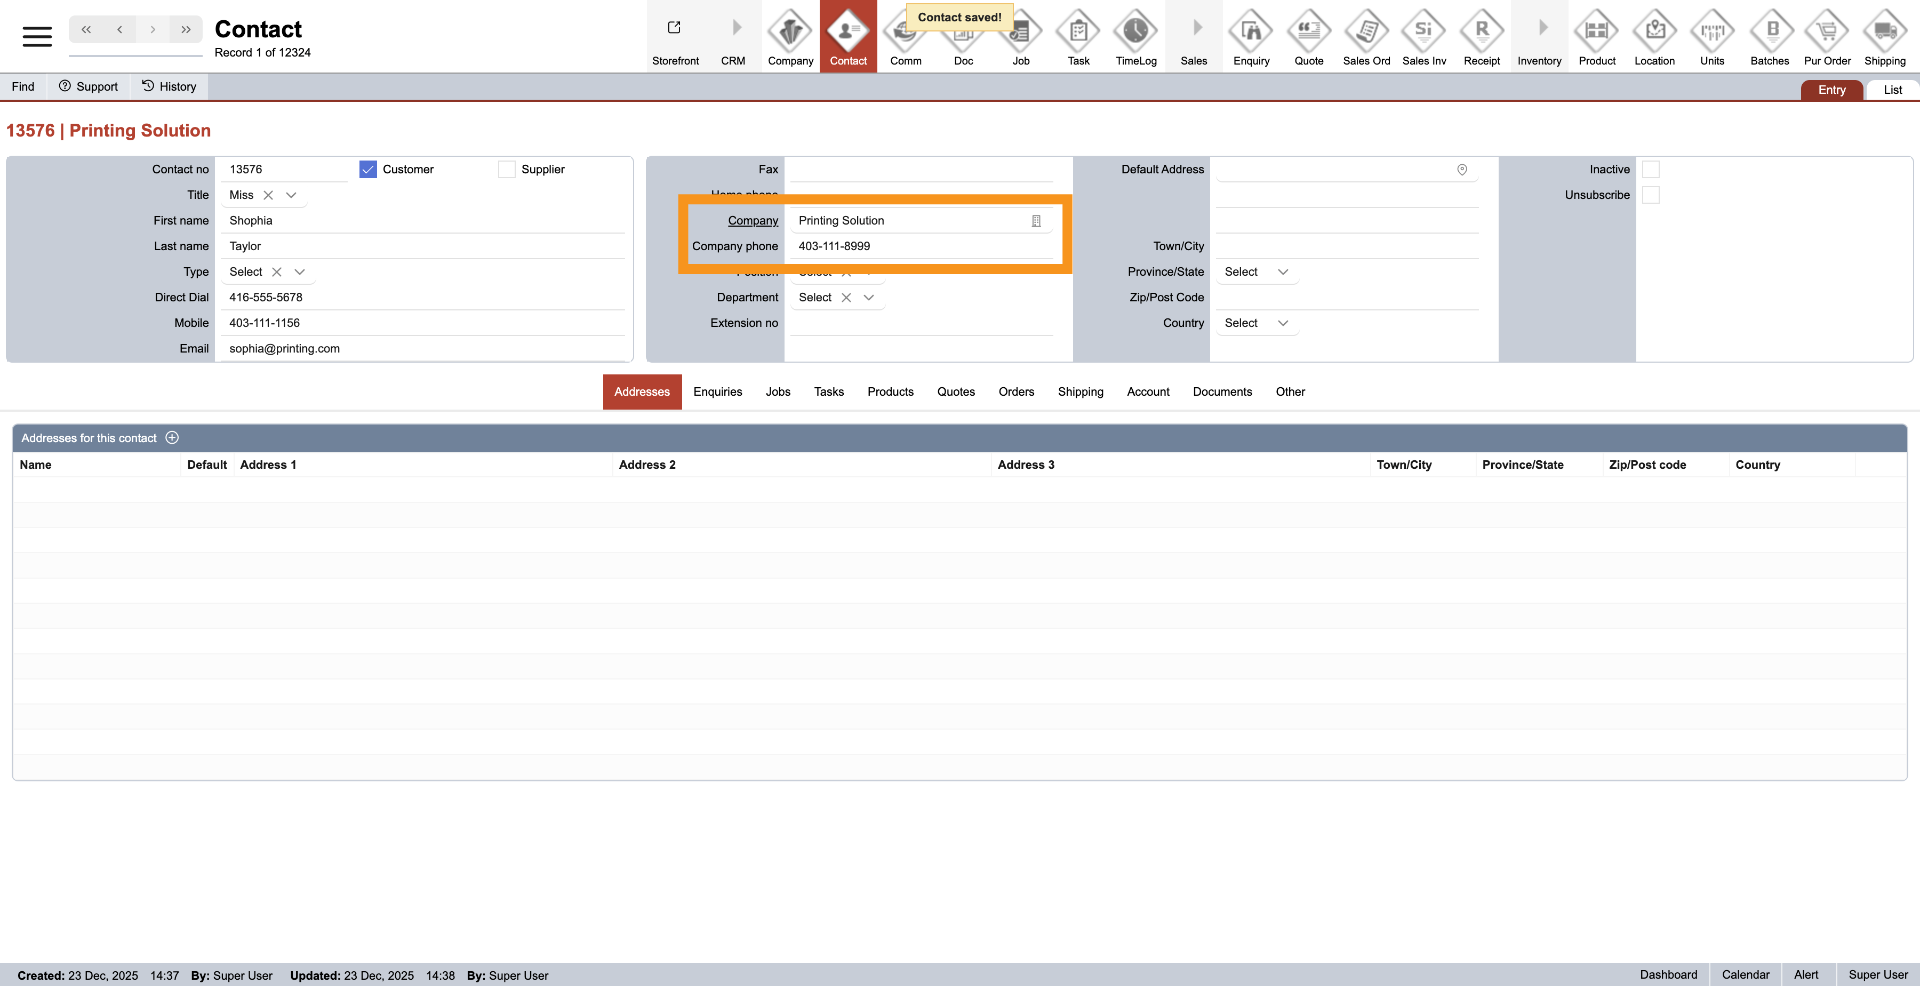
8. Contact Company Info
The system automatically links the company and its phone number. However, you can change them by clicking the company icon next to the company name.
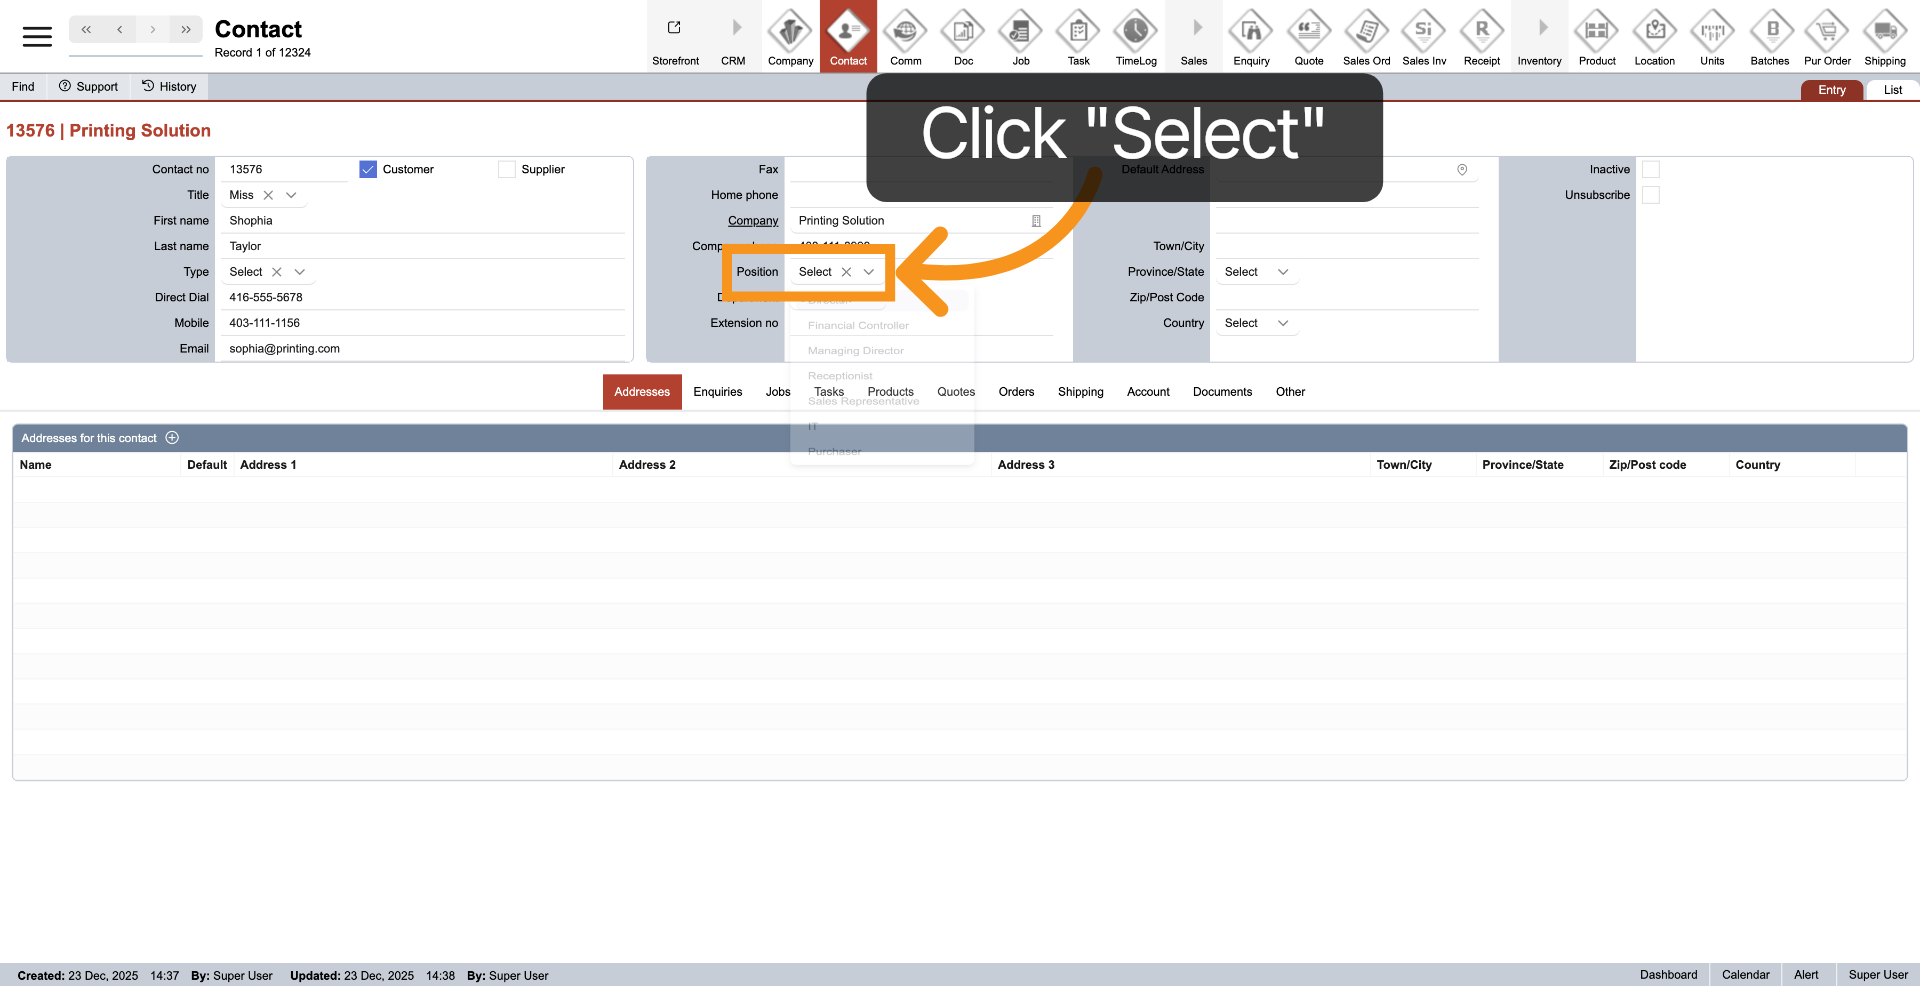
9. Contact Position
Click the dropdown next to "Position" to select a position value.
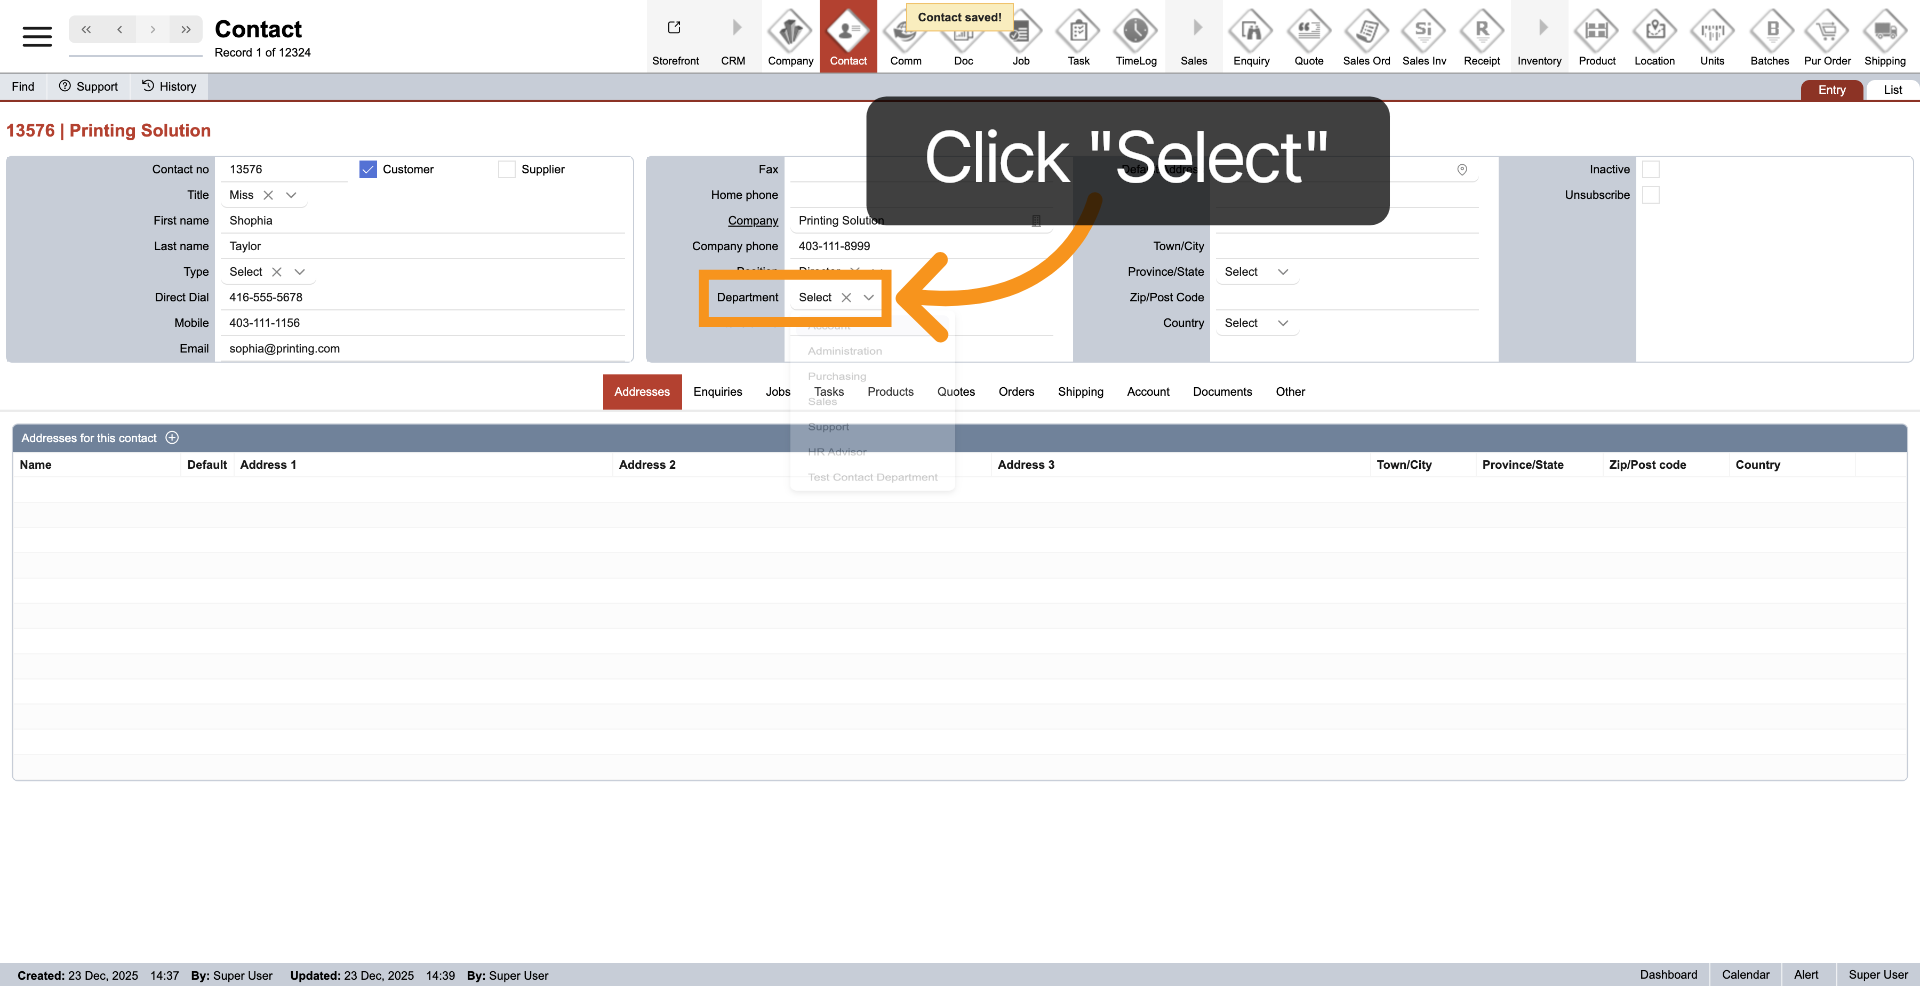
10. Contact Department
Click "Select" next to Department to assign a department.
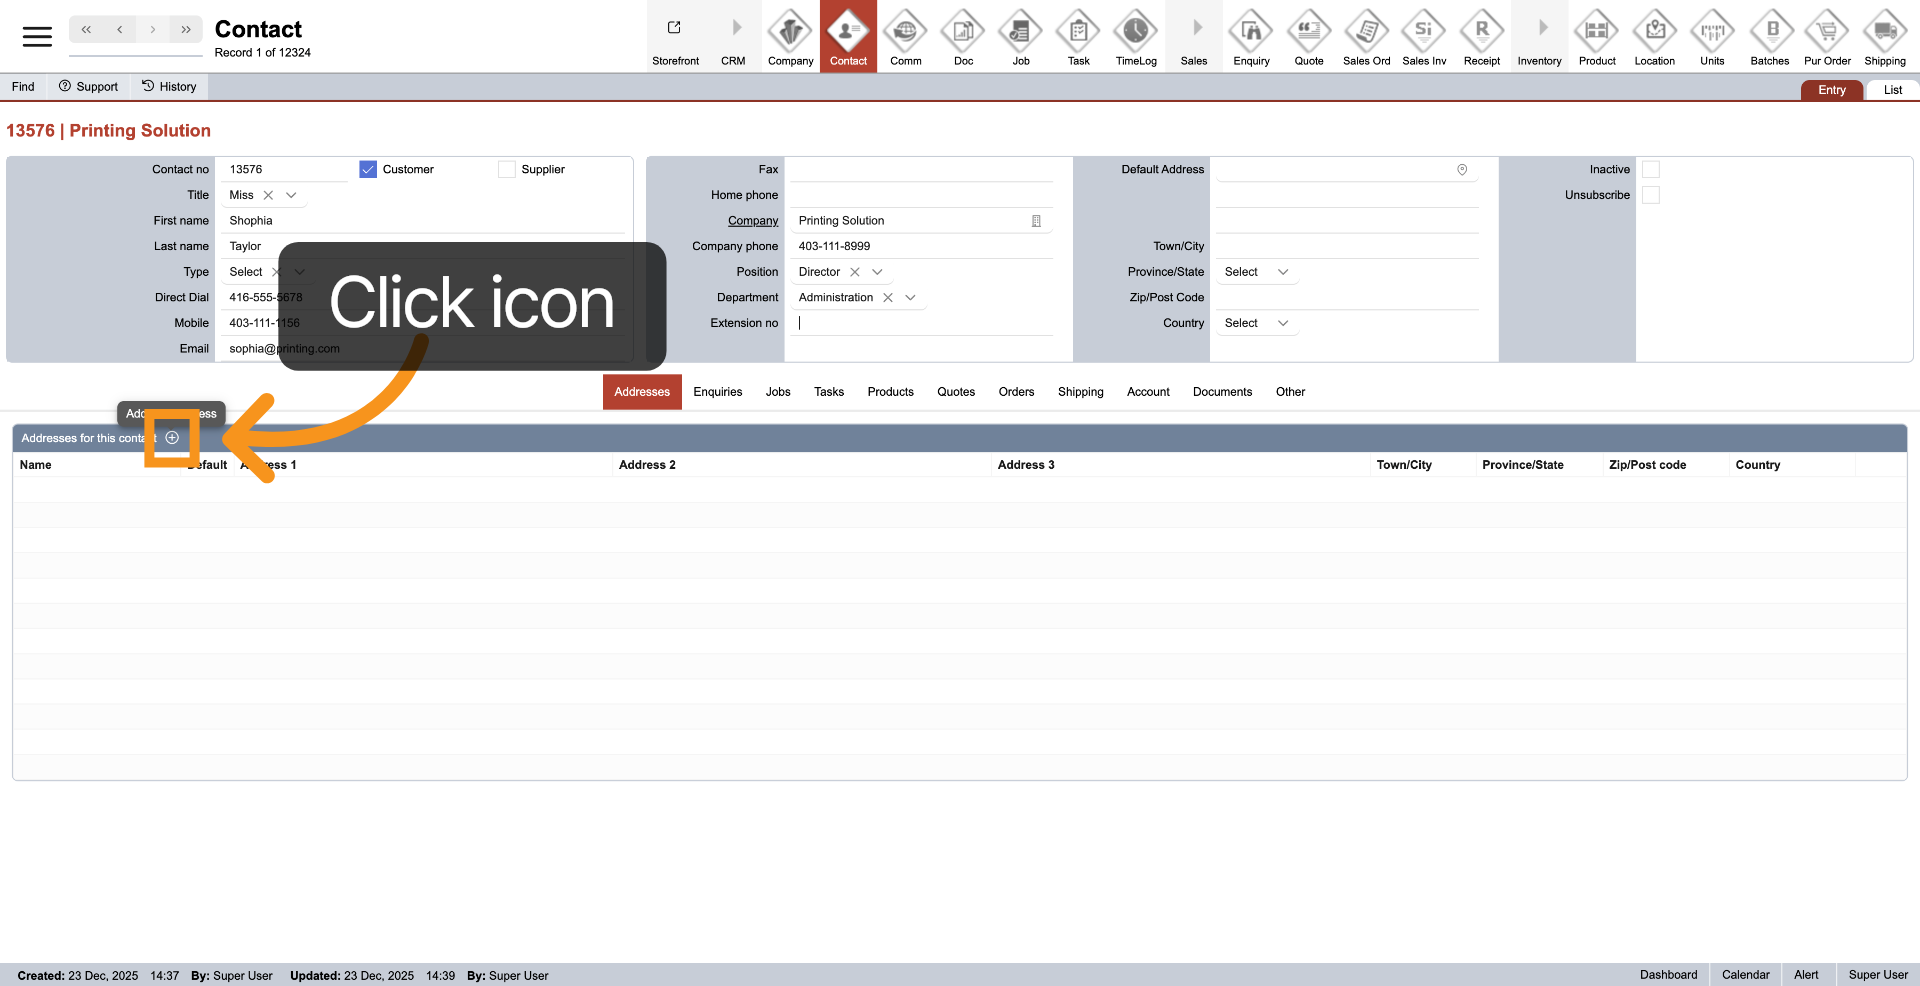
11. Add Contact Address
Click the plus icon in the "Address" header to add a new contact address.
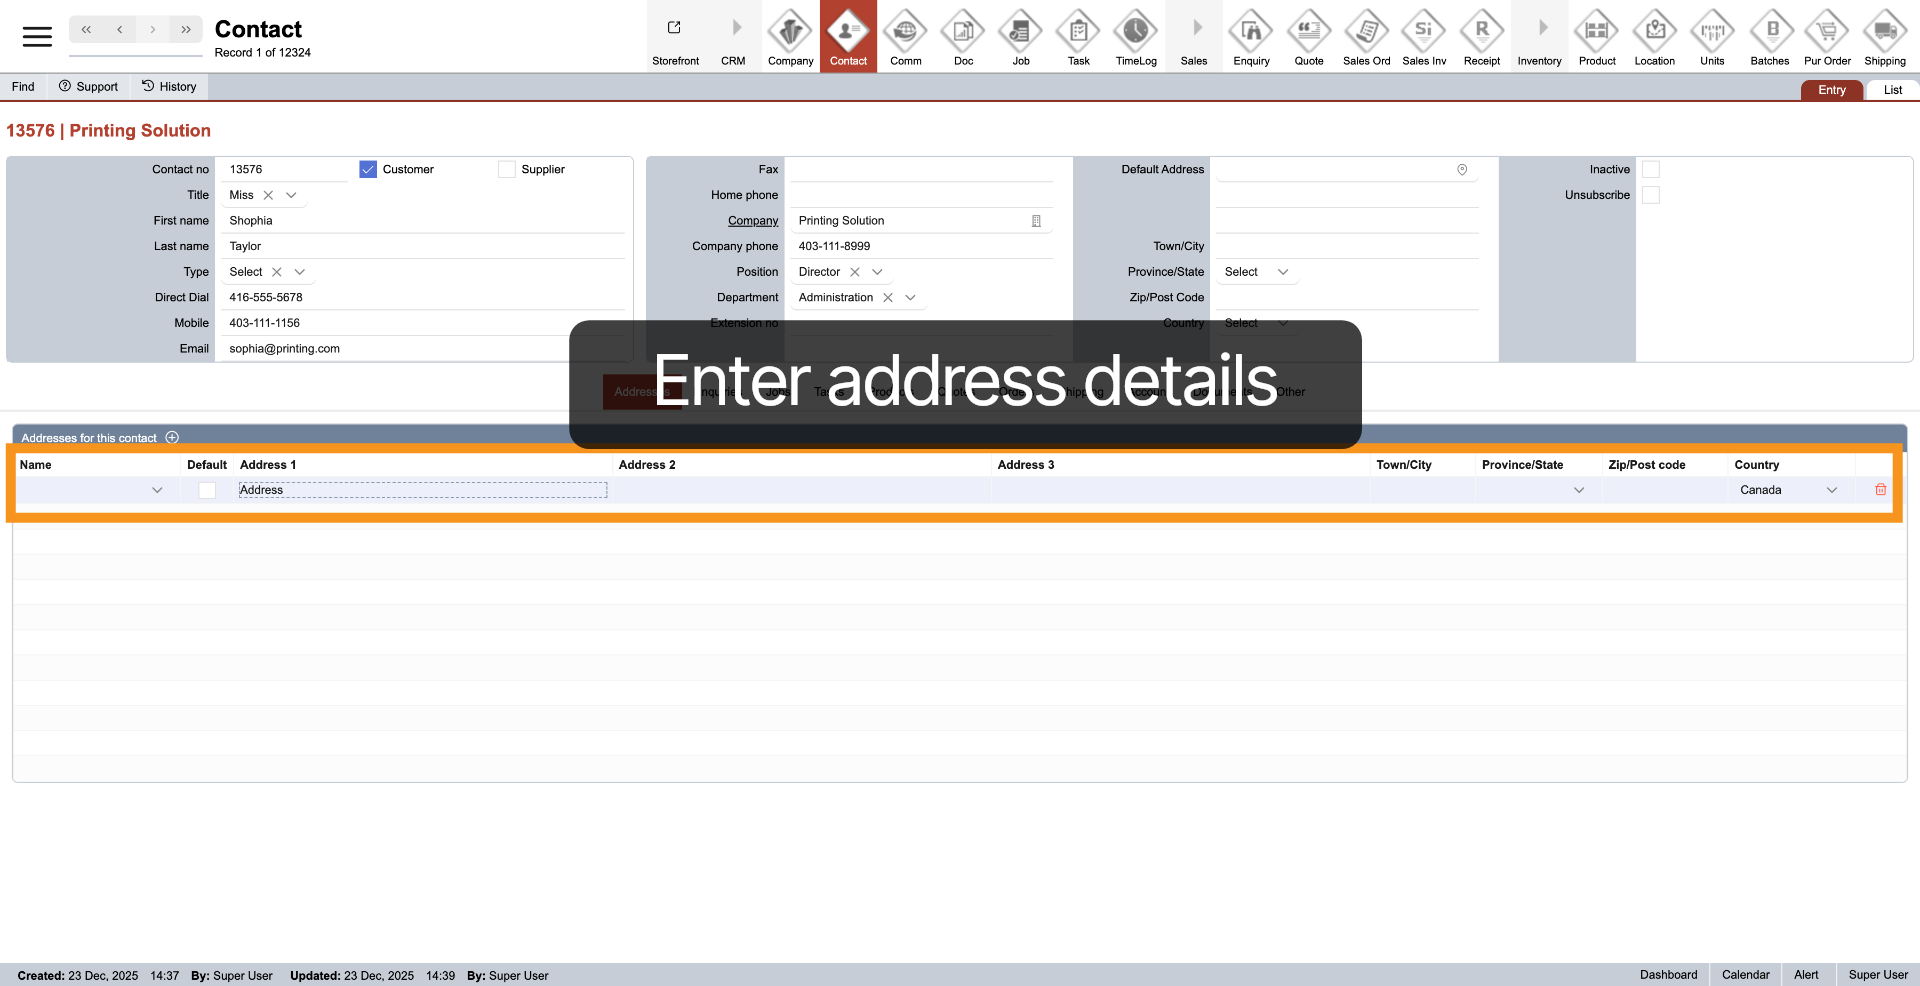
12. Update Contact Address
A new line will be added to the address table. Enter the contact address details, including the address number, street, city, province, postal code, and country.
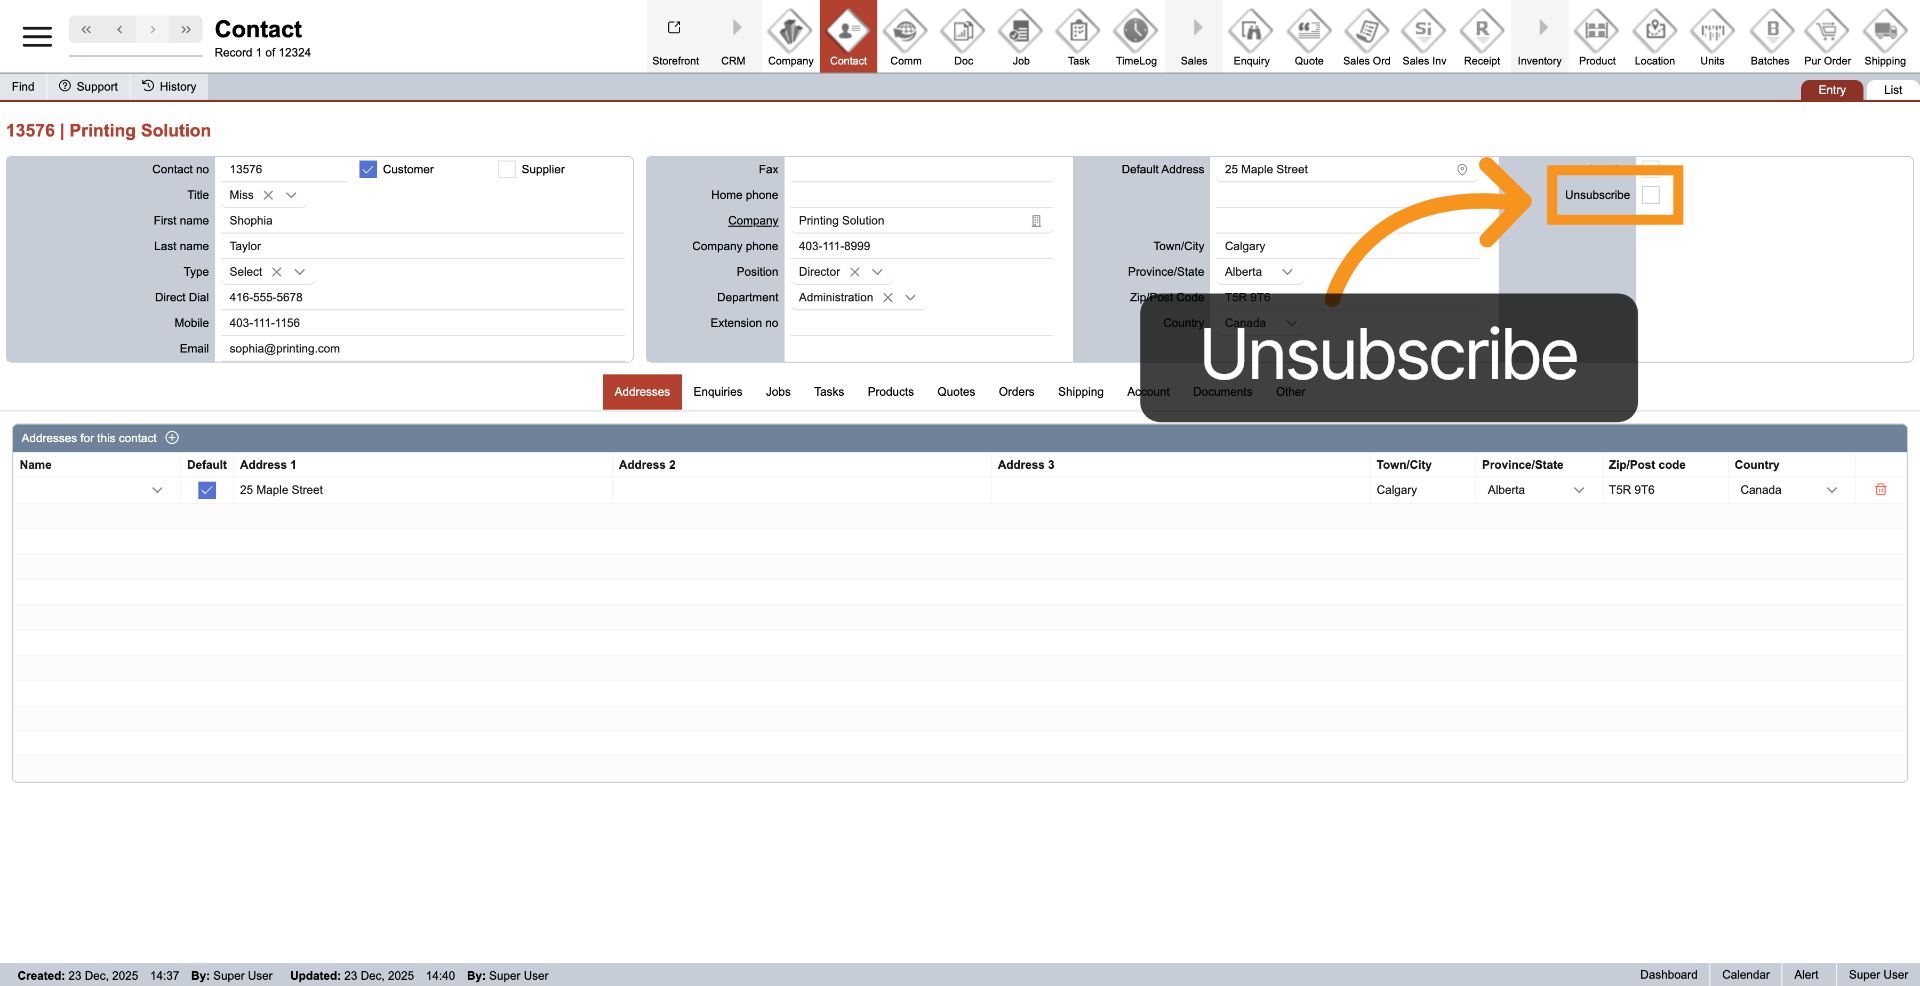
13. Contact Unsubscribe
Select "Unsubscribe" if the contact does not wish to receive newsletters or relevant company information.
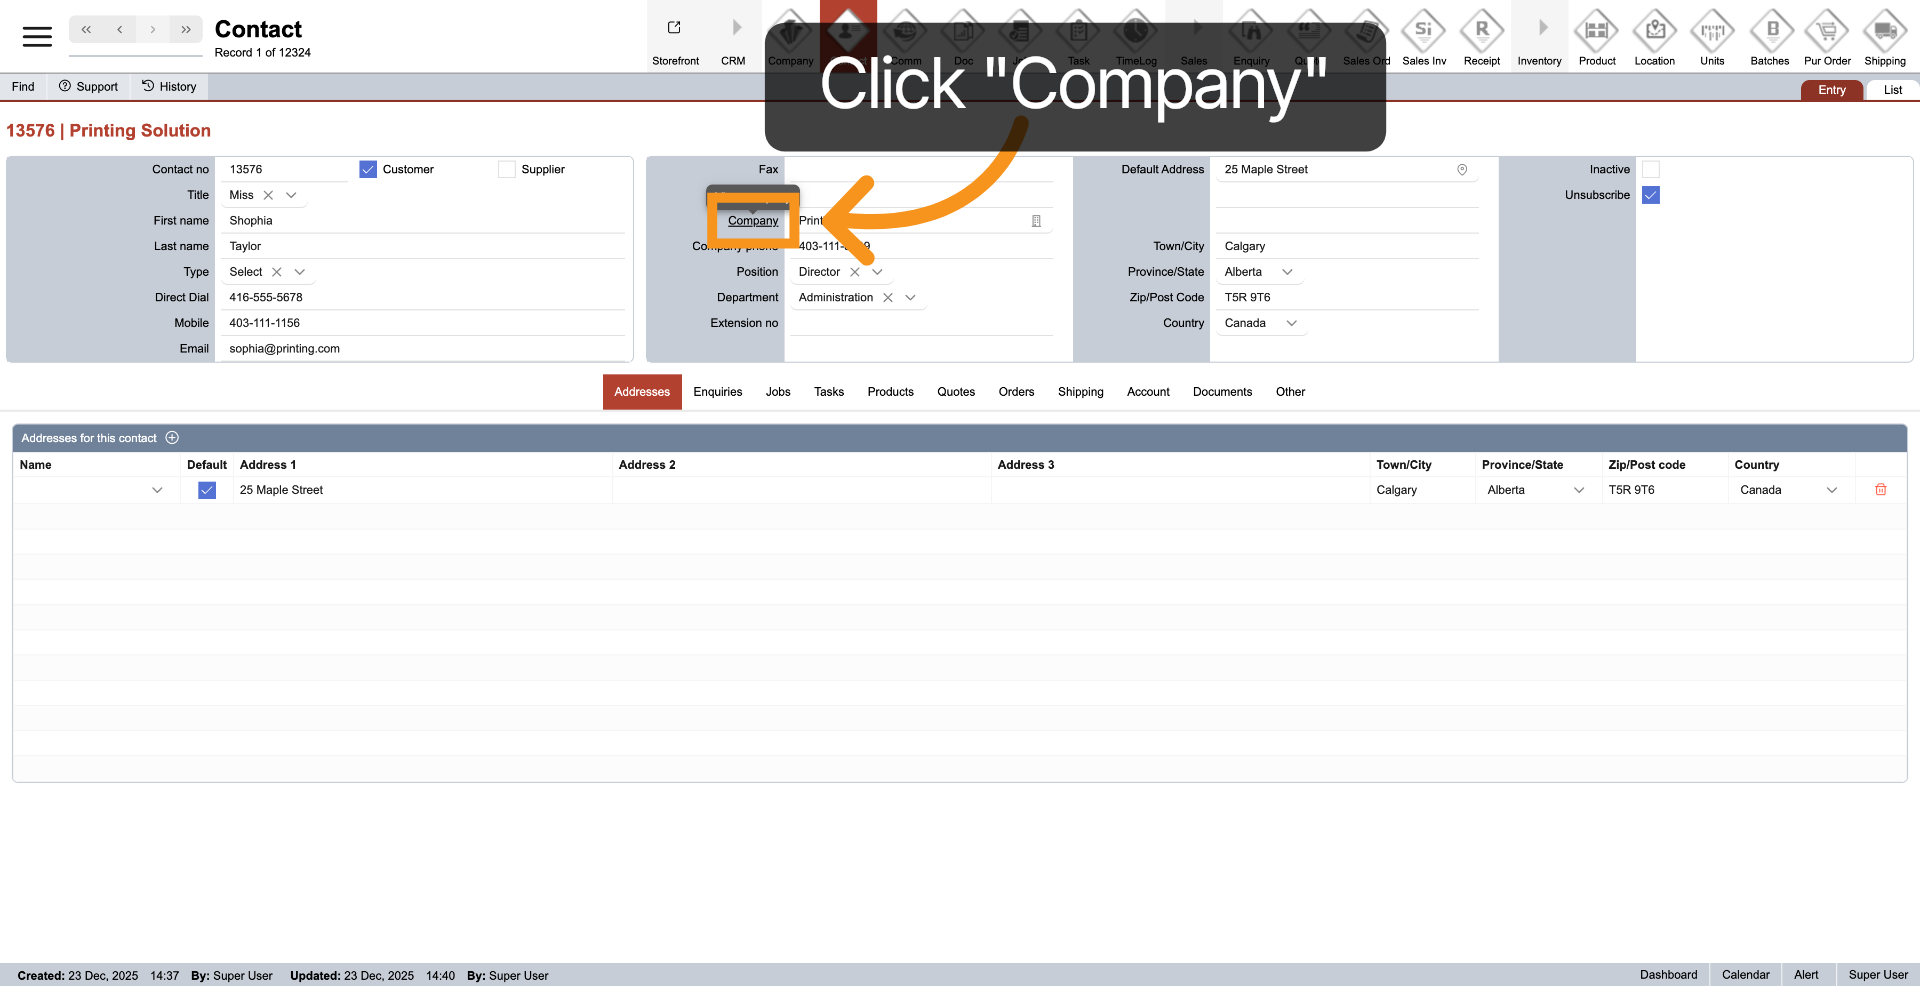
14. Back to Company
Click the "Company" link to return to the contact's company.
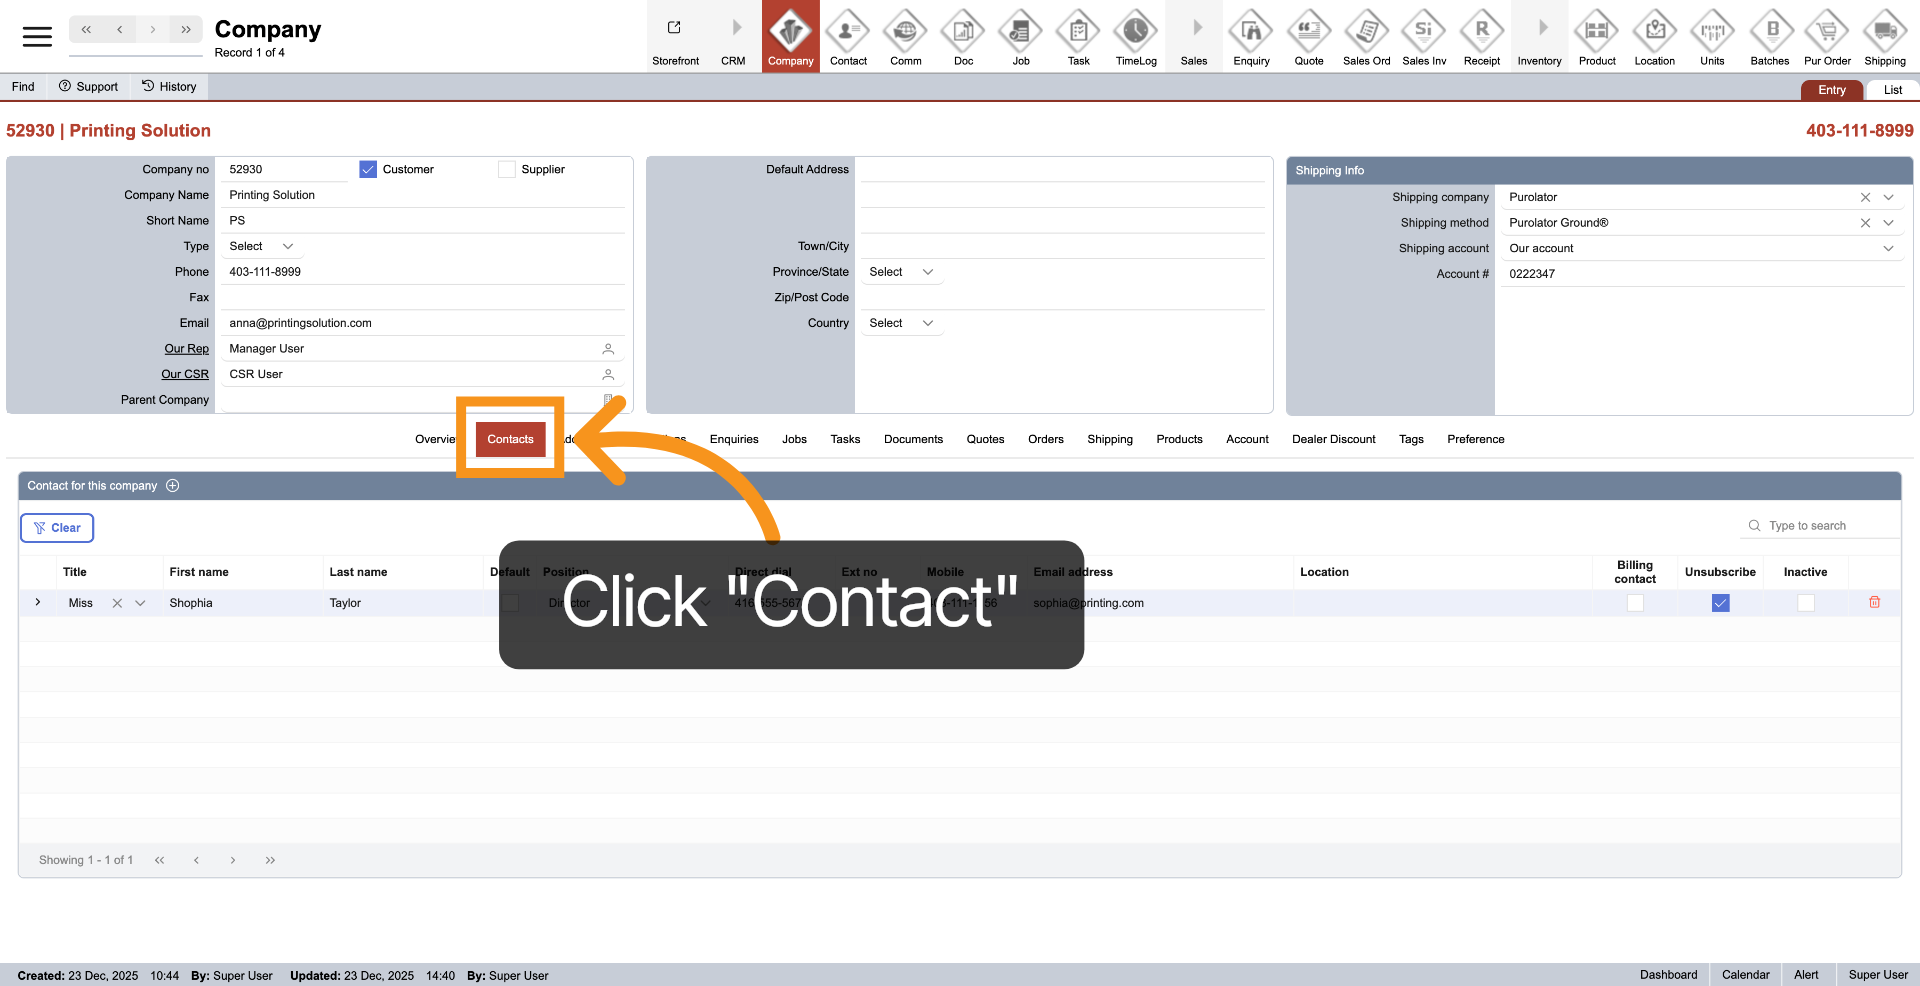
15. Select Contact Tab
In the "Company" module, click "Contact" in the middle menu to view the updated contact list displayed in the table.
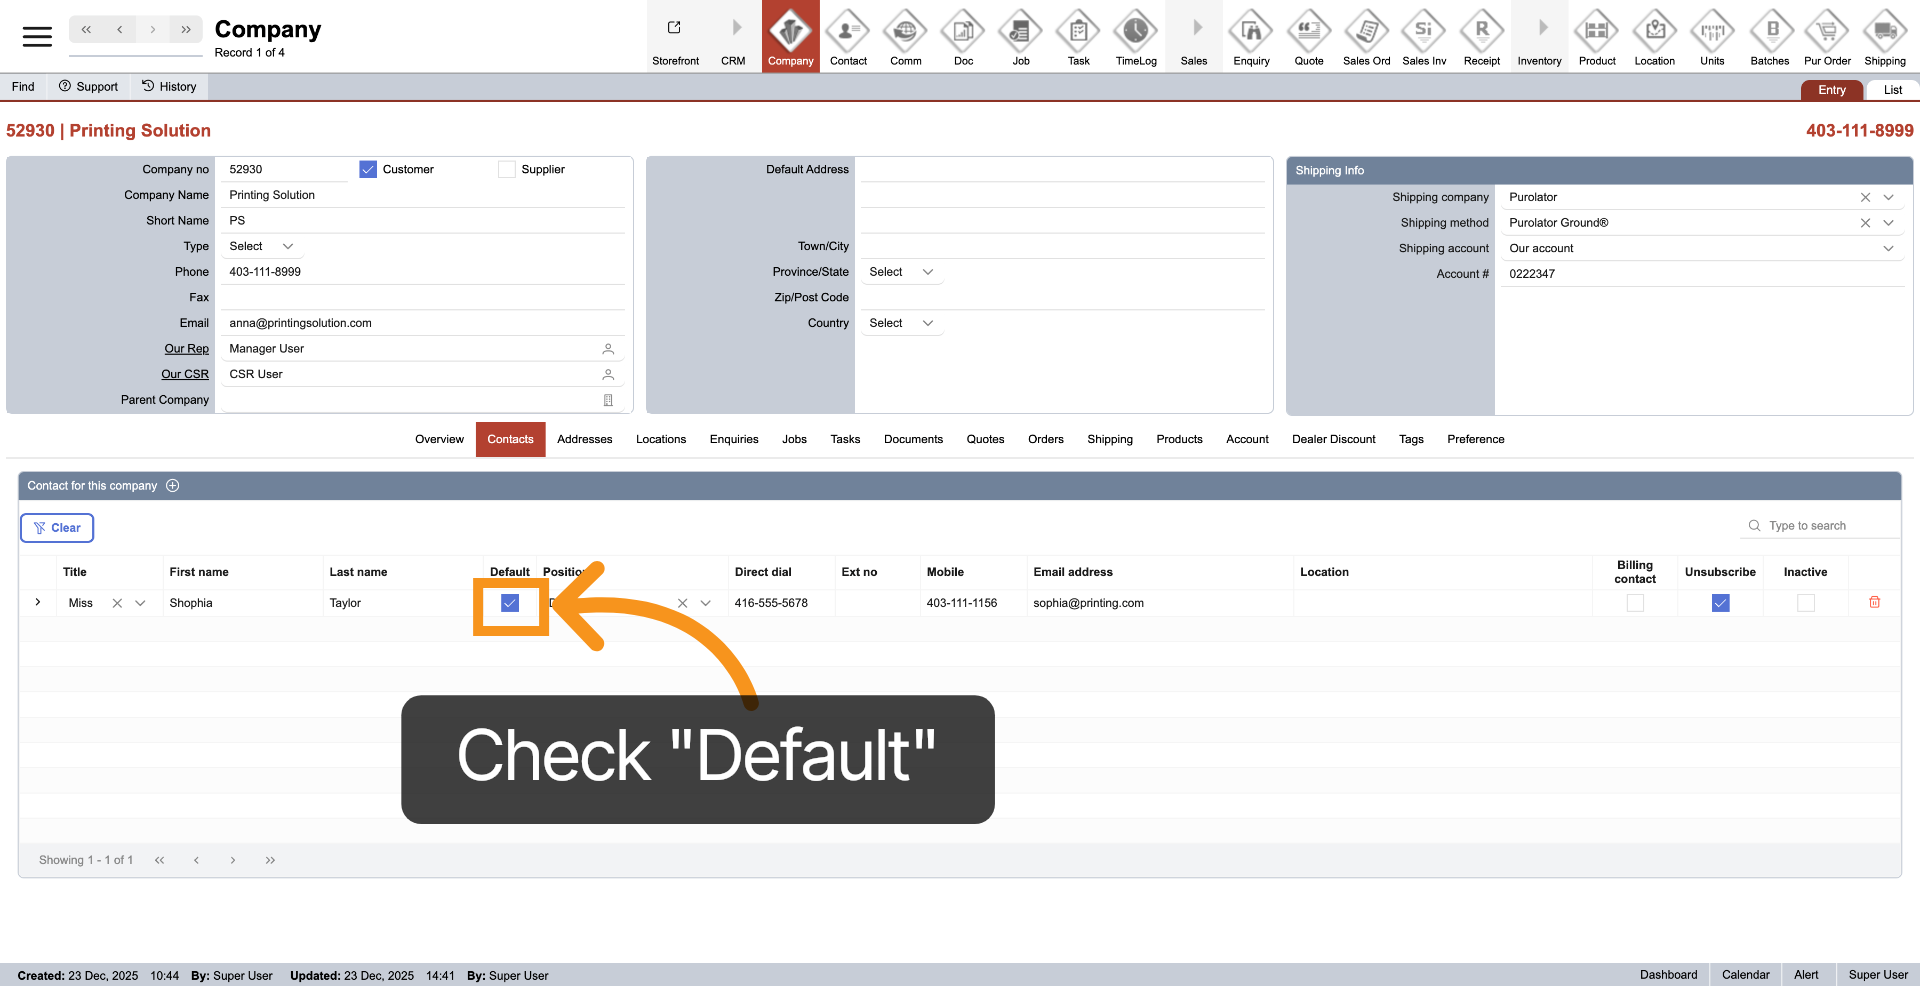
16. Default Contact
Ensure "Default" is selected to confirm whether the contact serves as the company's default representative.
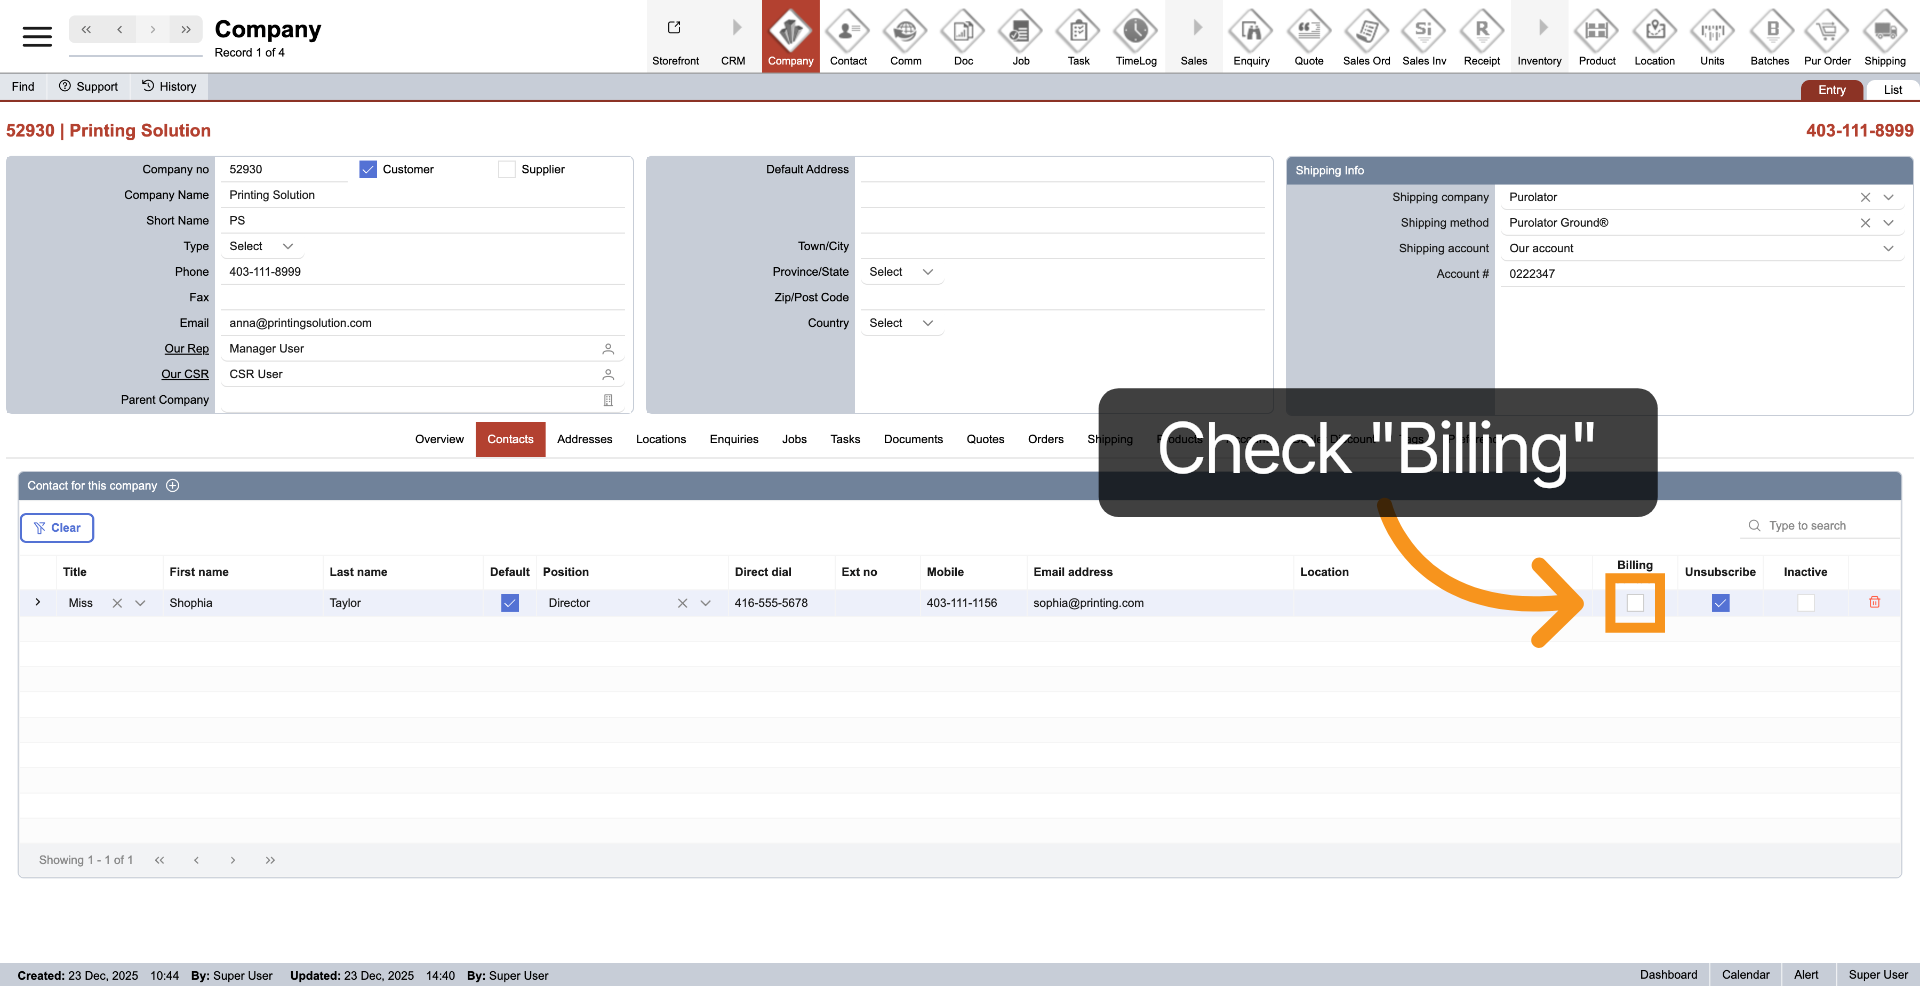
17. Billing Contact
By checking "Billing," the contact will receive invoice emails.
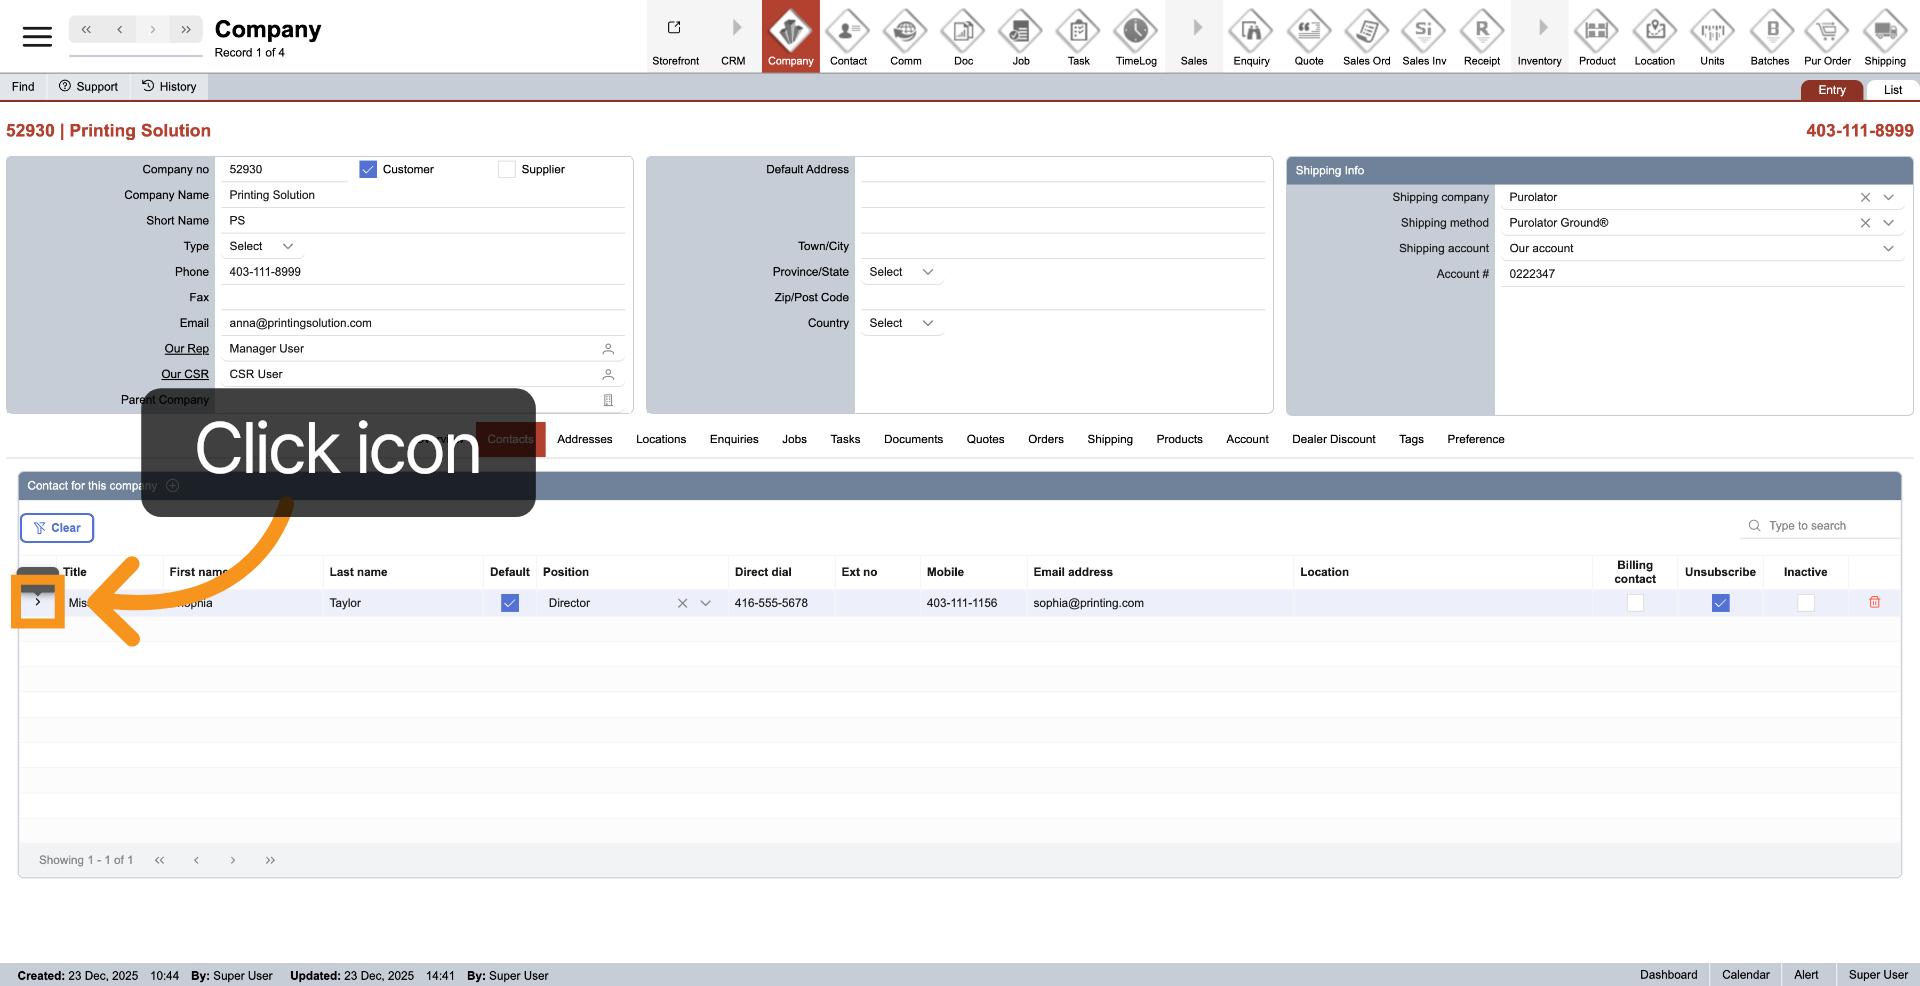
18. Open Specific Contact
Click the arrow icon to access the specific contact.
You have successfully added a company contact by entering all necessary personal and company details. To manage contacts further, explore editing existing contacts or adding new ones through the contacts section.