Add Line Entry Sale Order
This guide shows you how to add products, shipping, notes, and RFQ items to a Sales Order step by step.
Video Tutorial
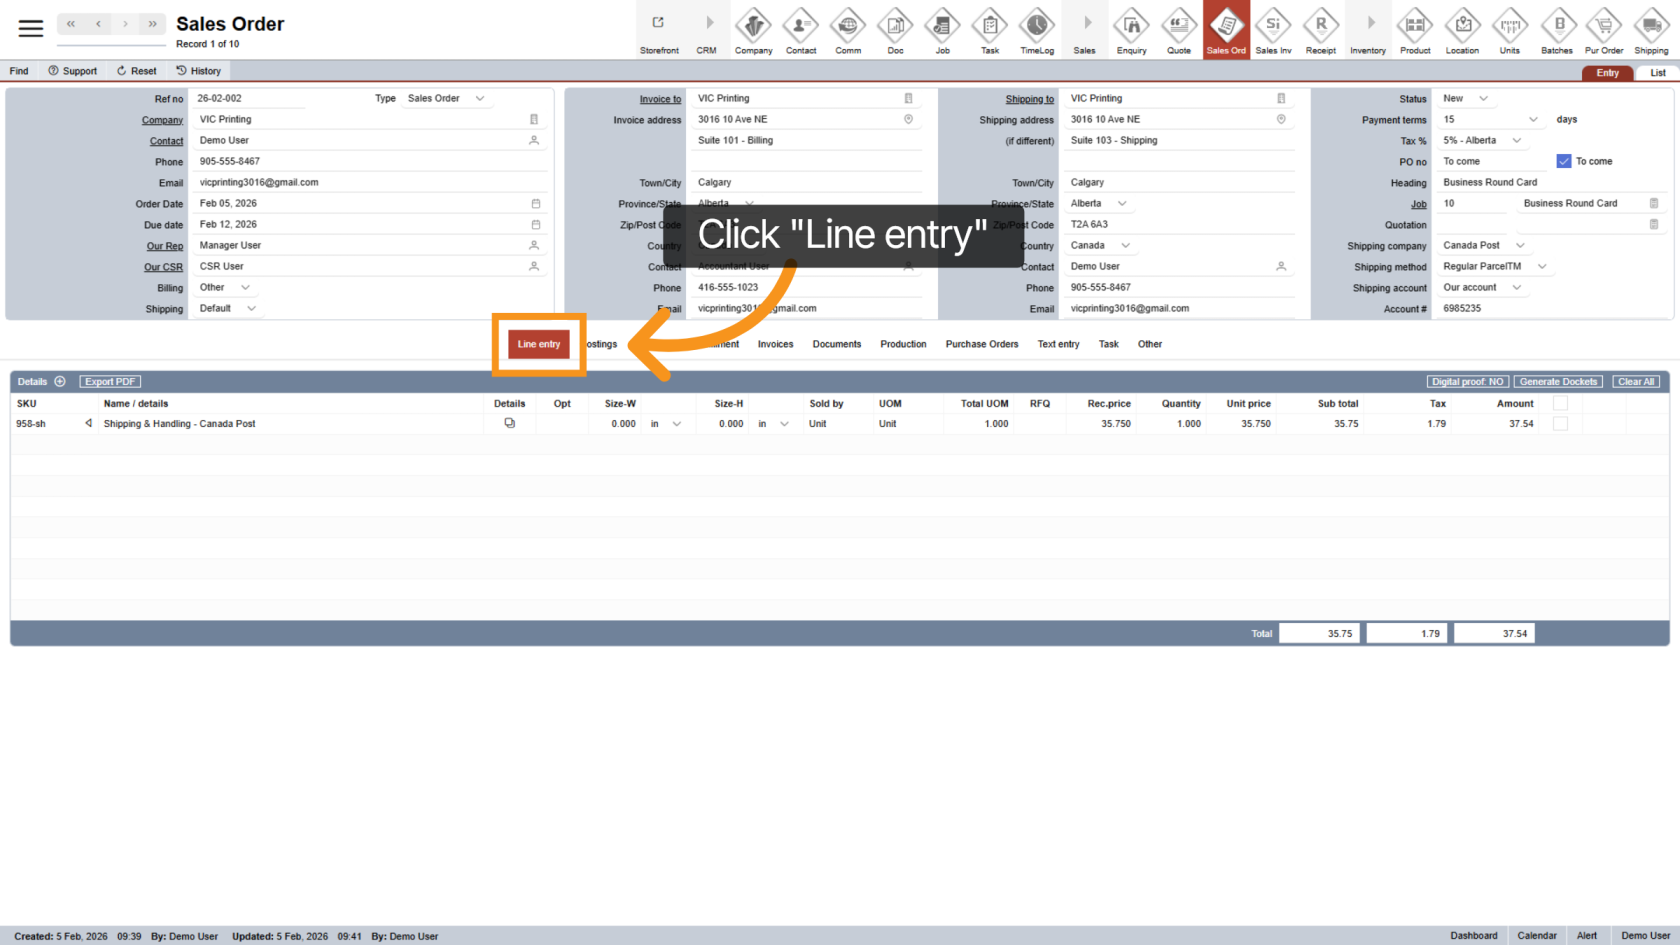
1. Open the Line Entry Tab
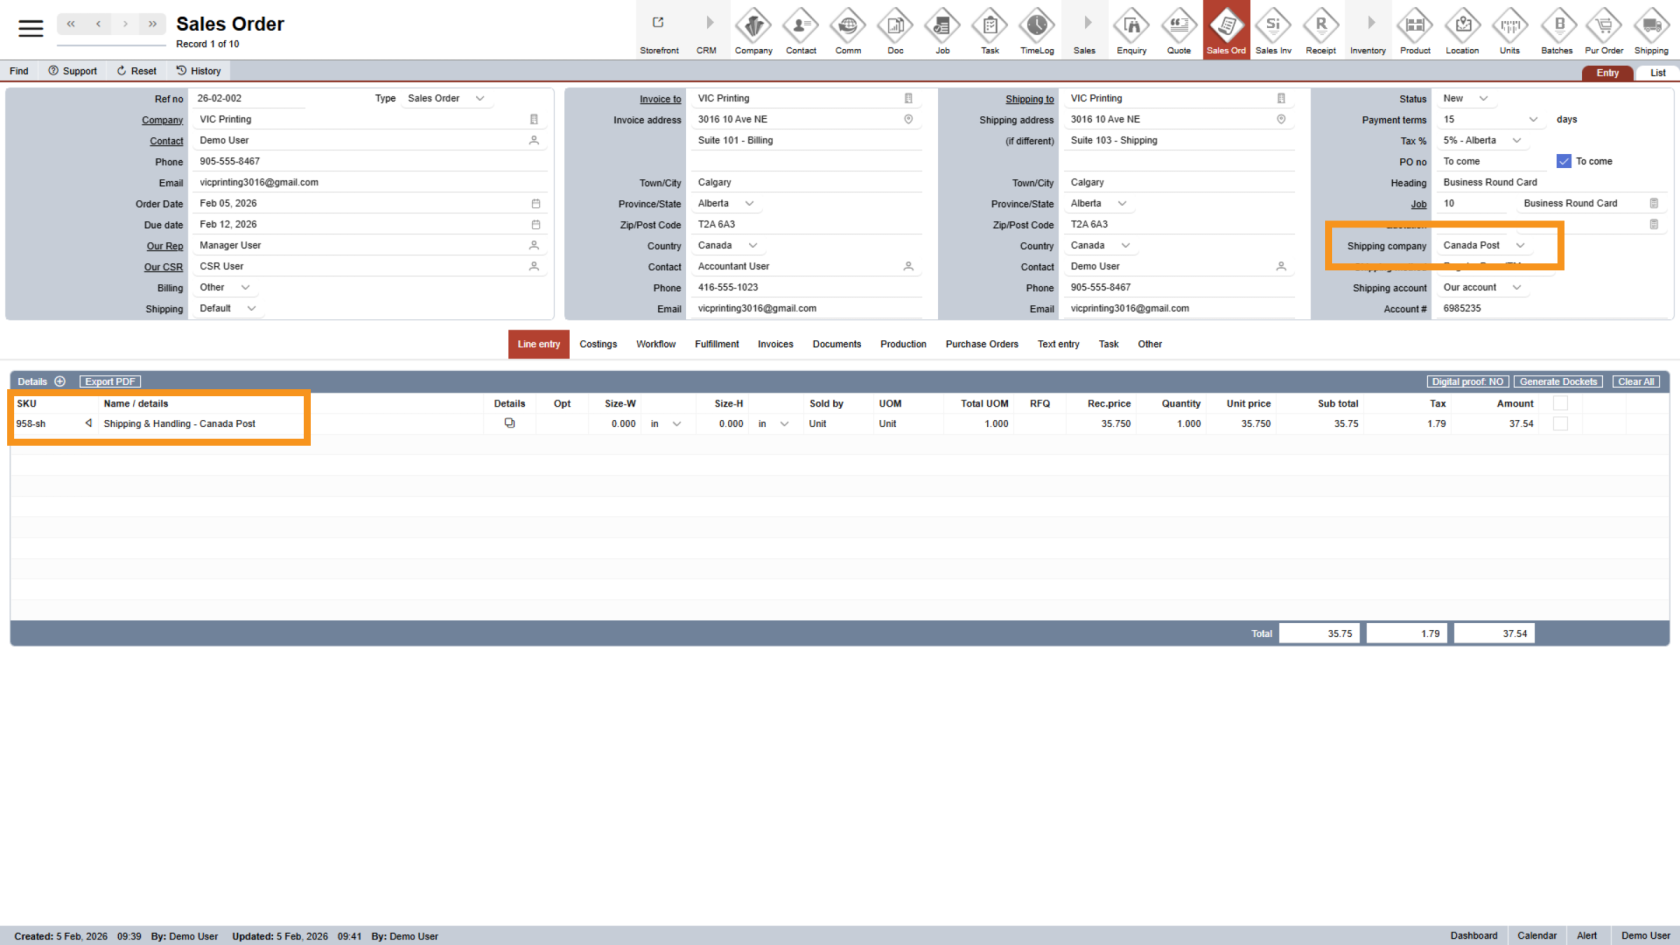
2. Review the Shipping Line
Based on the shipping company selected earlier, the system will automatically add a shipping line. This helps ensure shipping costs are included.
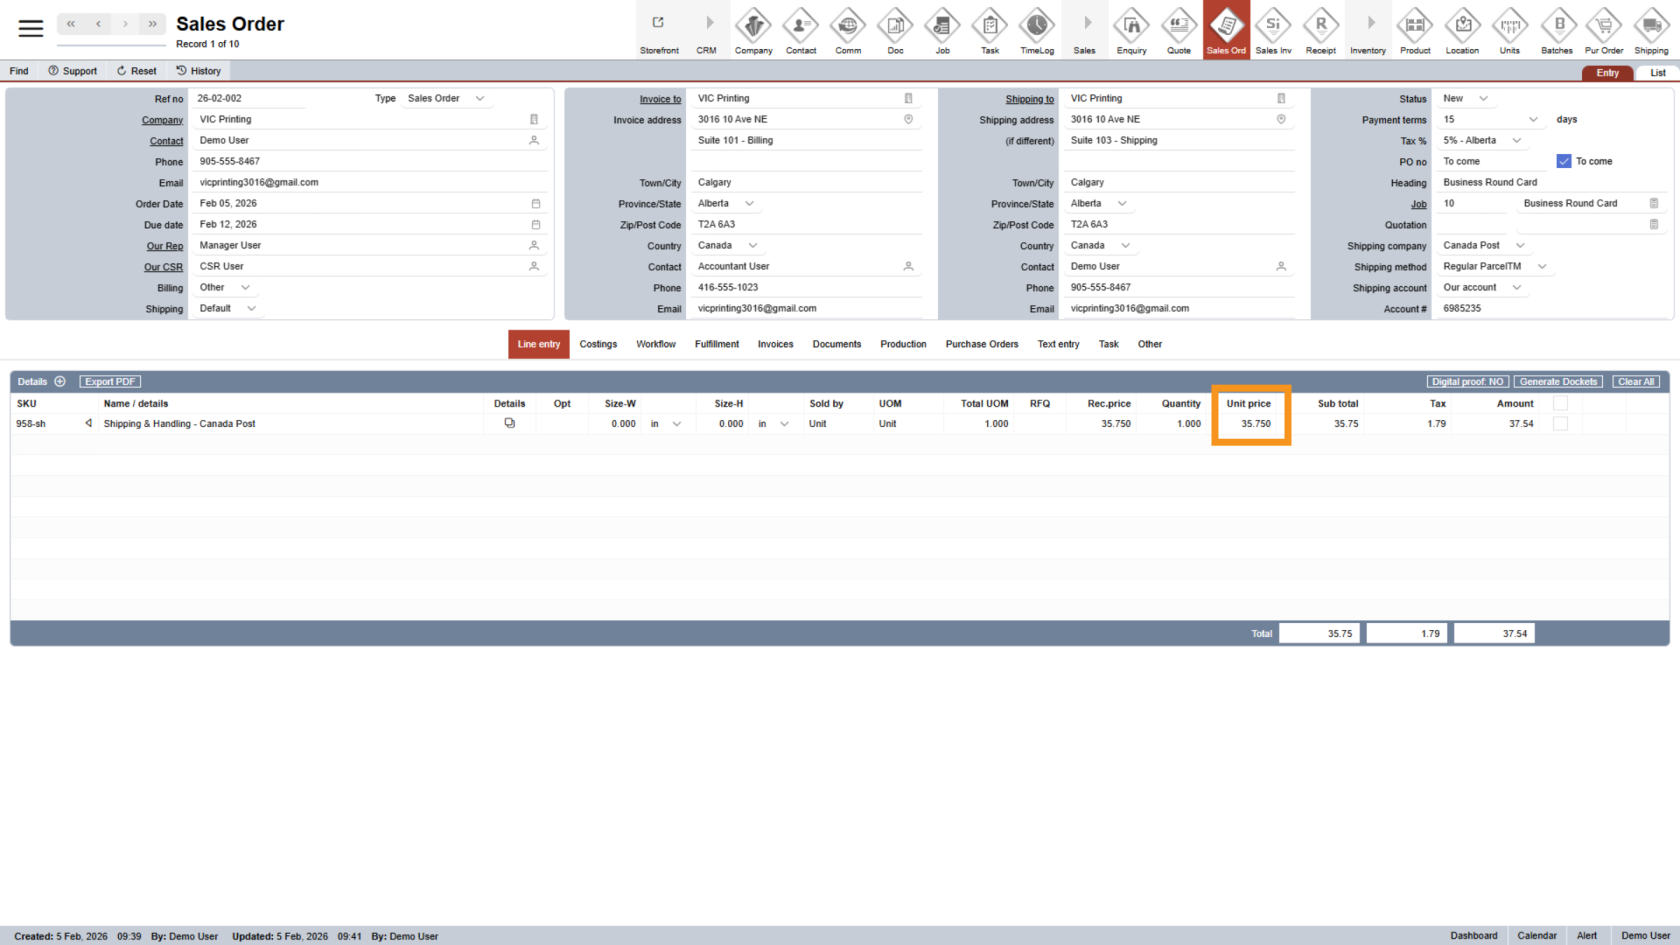
3. Adjust the Shipping Rate
Click Unit Price on the shipping line if you need to change the shipping cost.
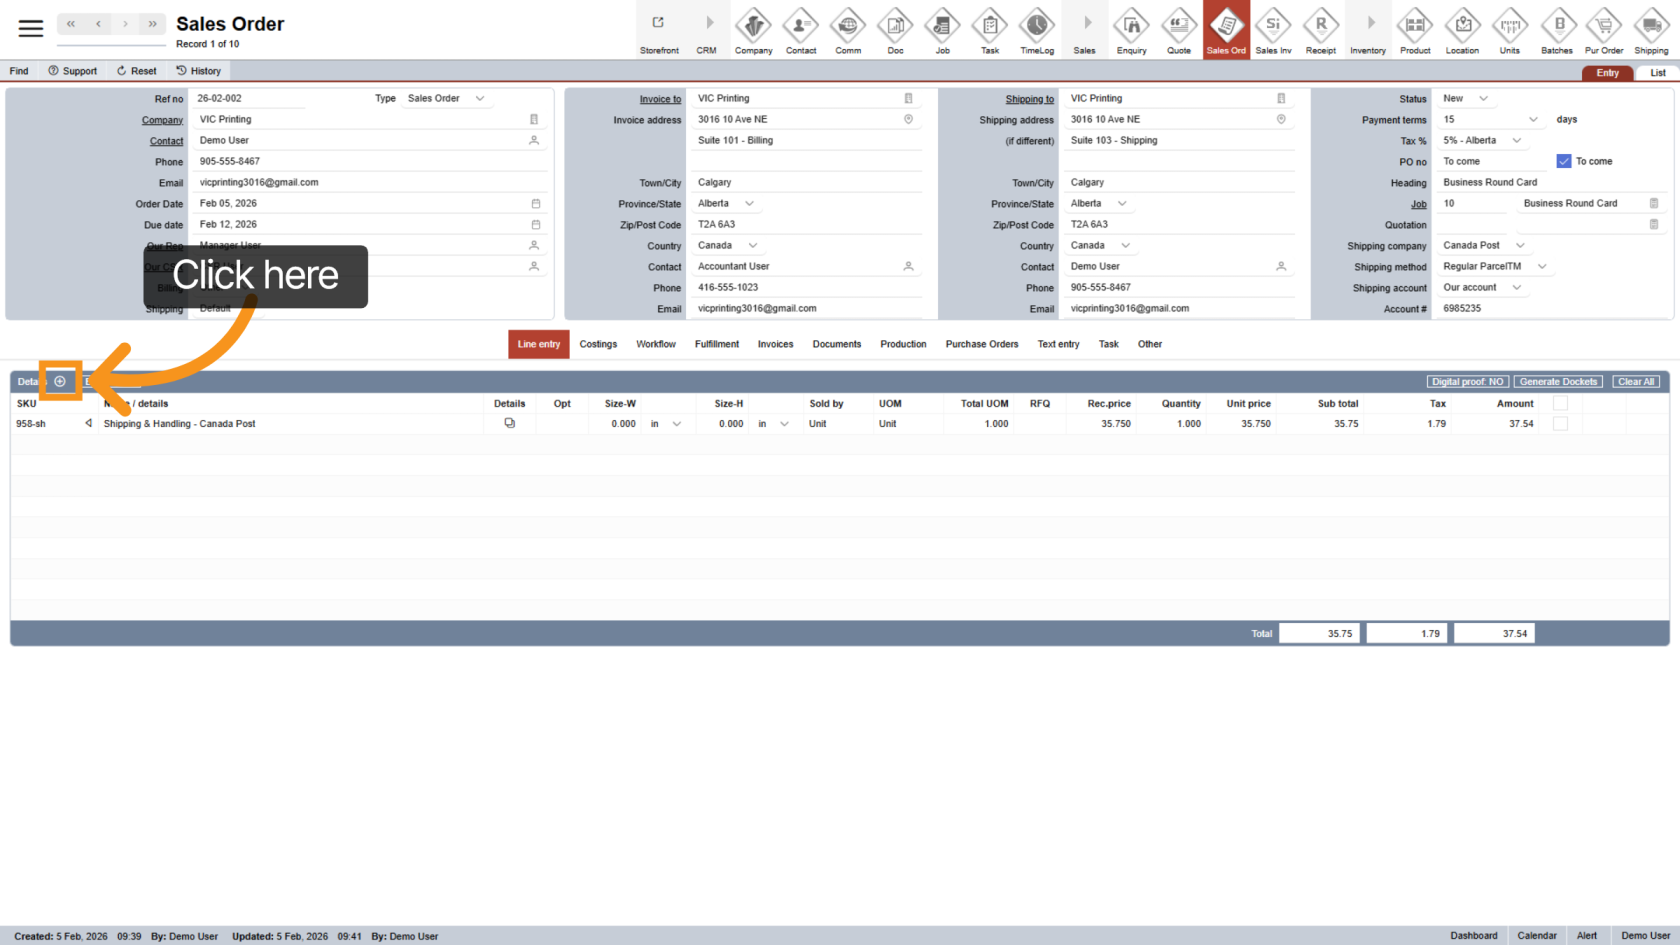
4. Add a New Line Item
Click the plus icon
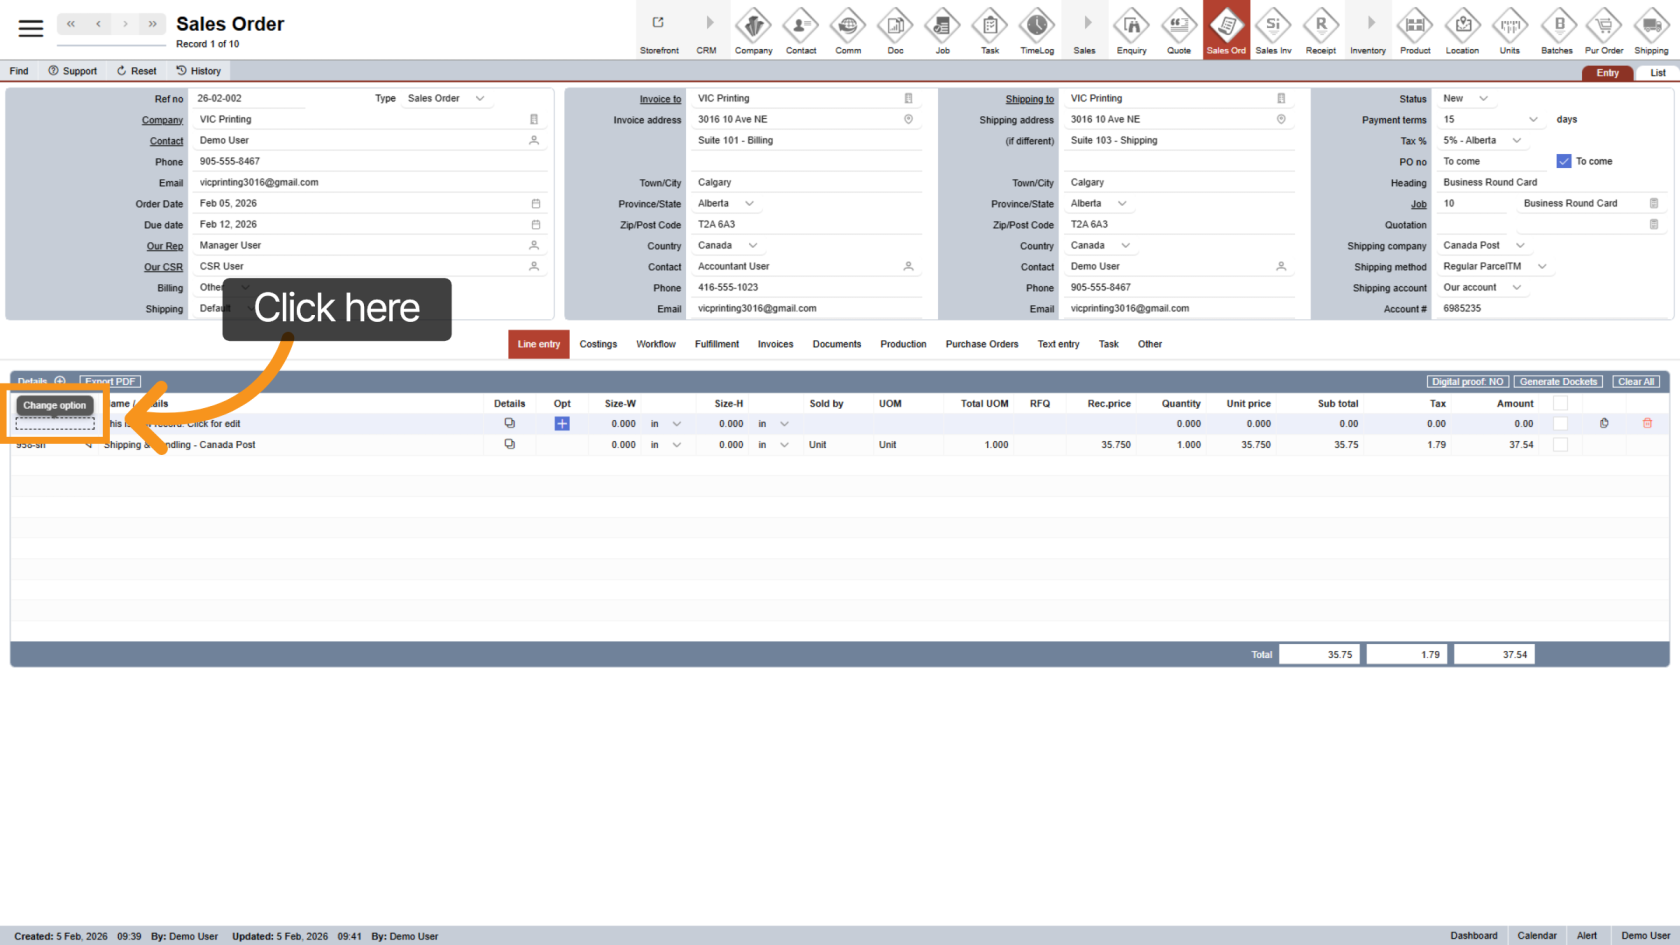
5. Add a Product
Click Change Option to start selecting a product.
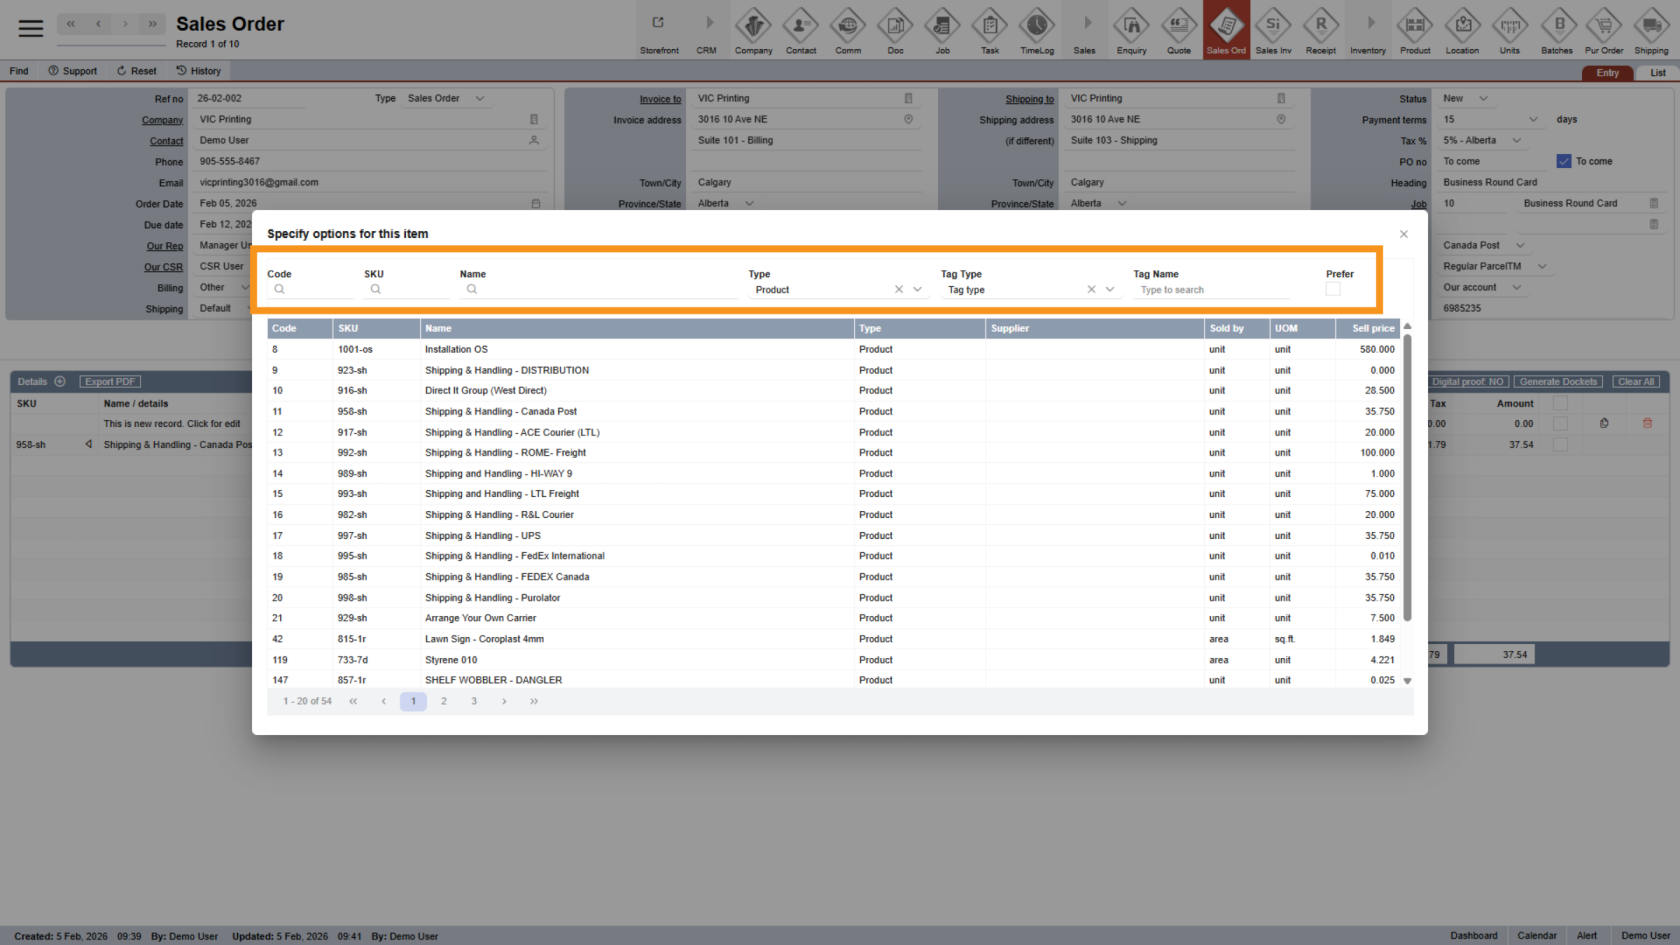
6. Find a Product
A pop-up window will appear. You can use the search bar to find the right product.
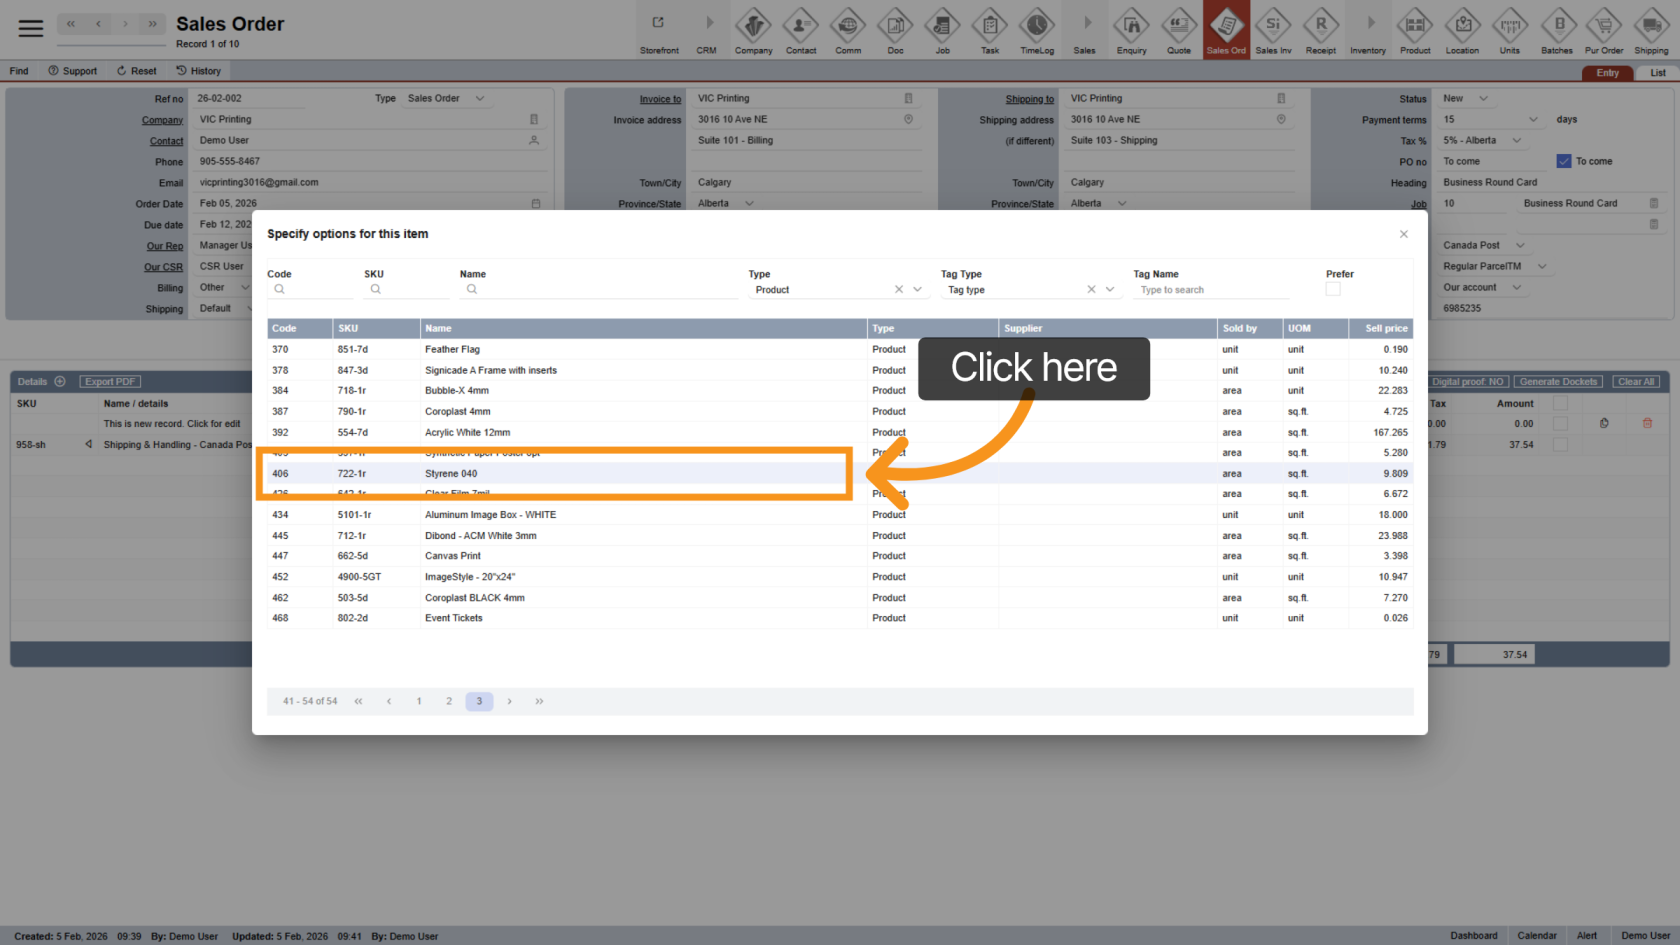
7. Select the Product
Click the product you want to add. It will be added to the sales order line.
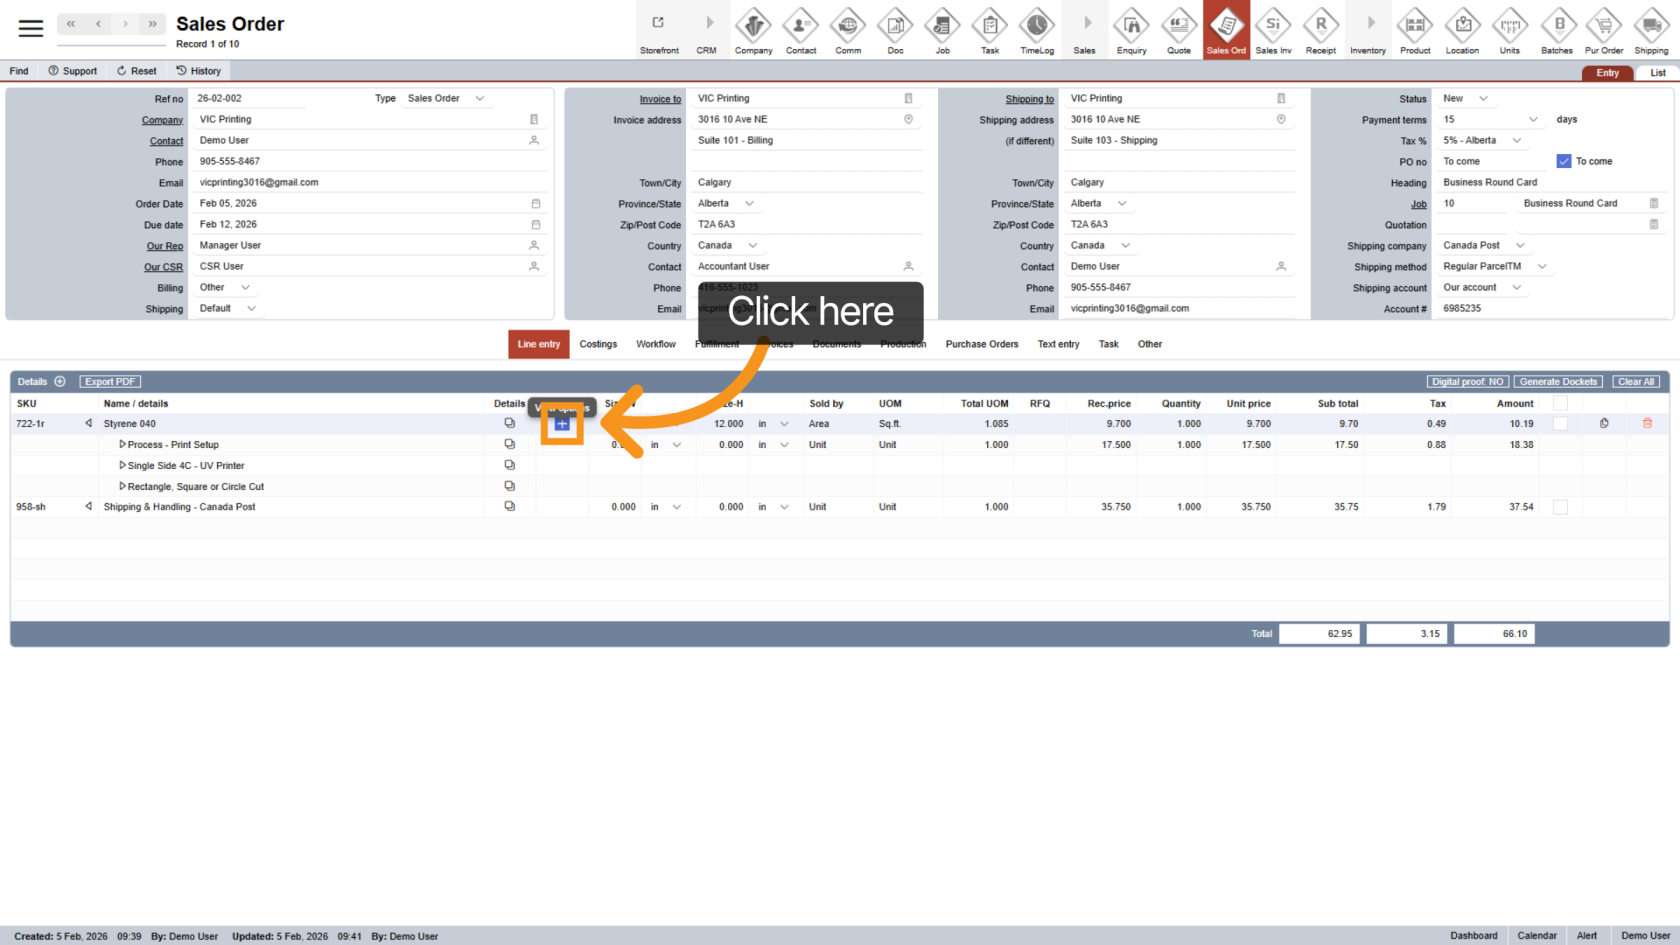
8. Update Product Options
After adding a product, you can adjust its options. Click on the plus icon next to it to change options based on customer needs.
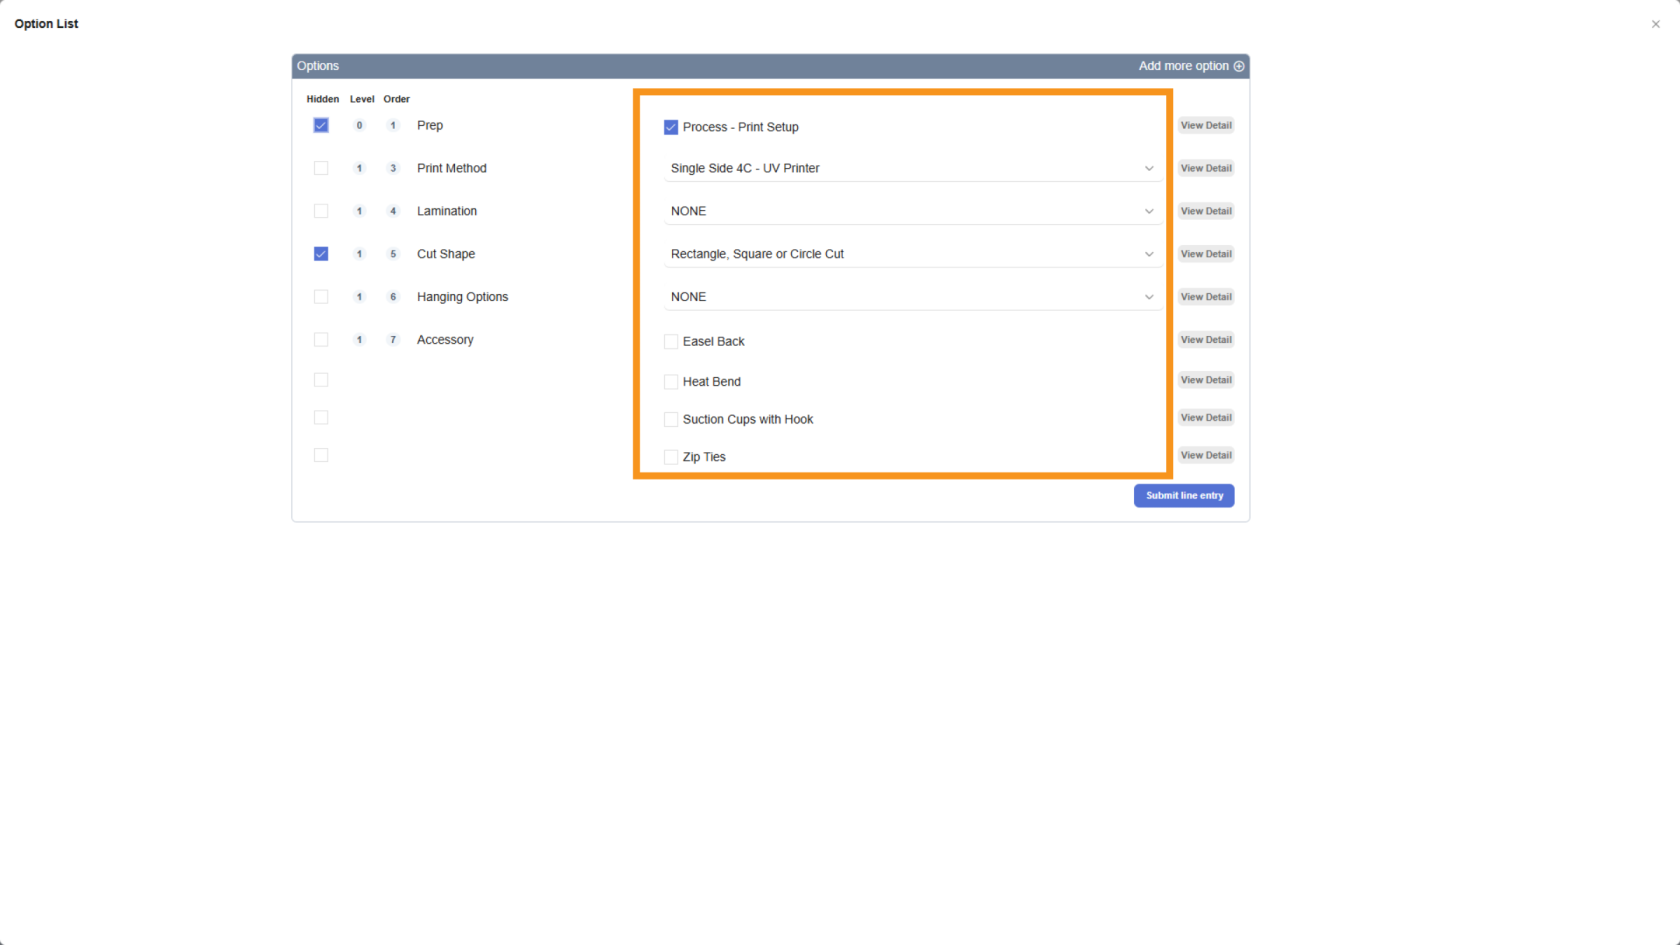
9. Customize Product Options
In the Option List, select or unselect options to match the customer’s requirements.
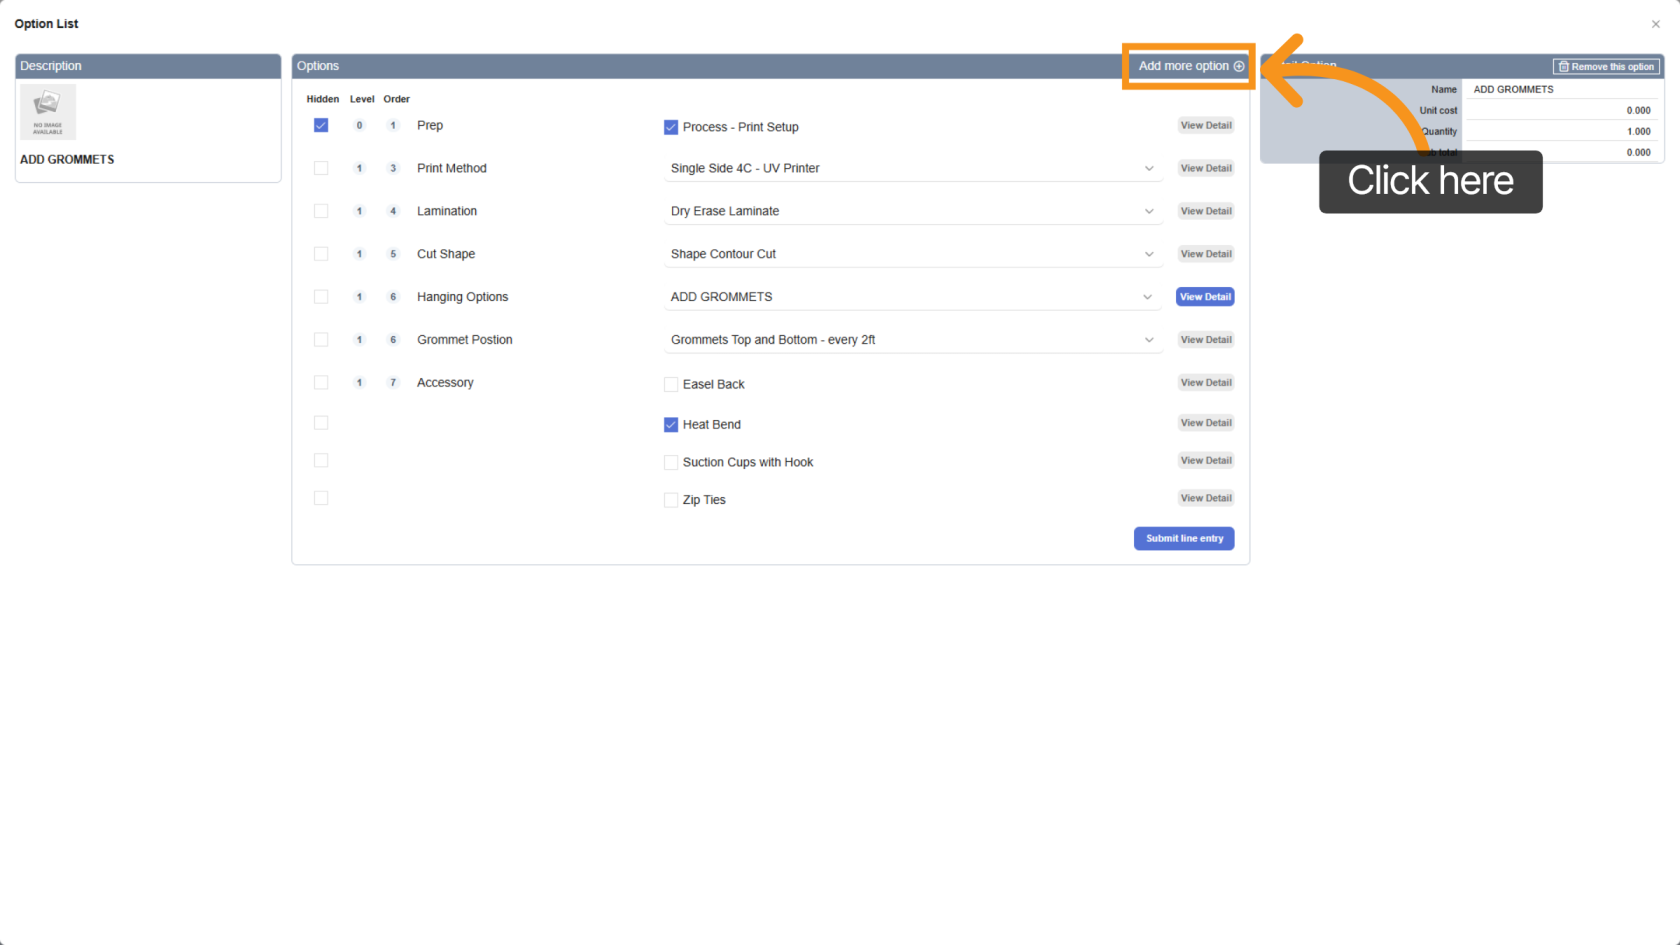
10. Add More Options
If an option is not part of the standard setup, click Add More Options to add it manually.
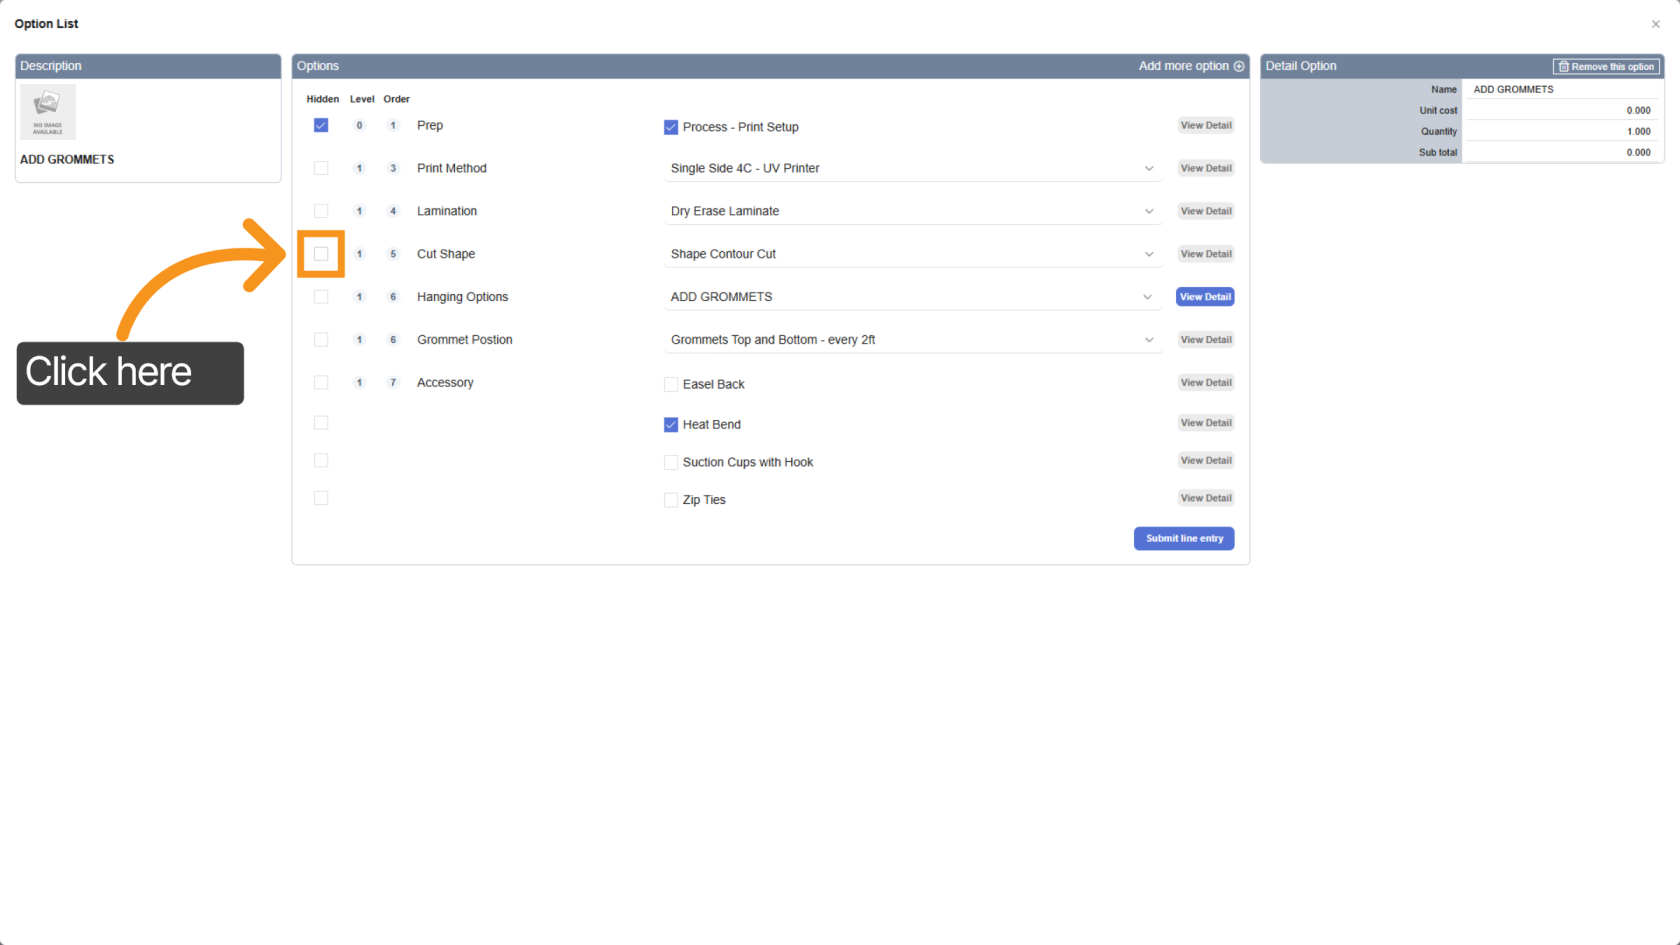
11. Hide Option Cost (Optional)
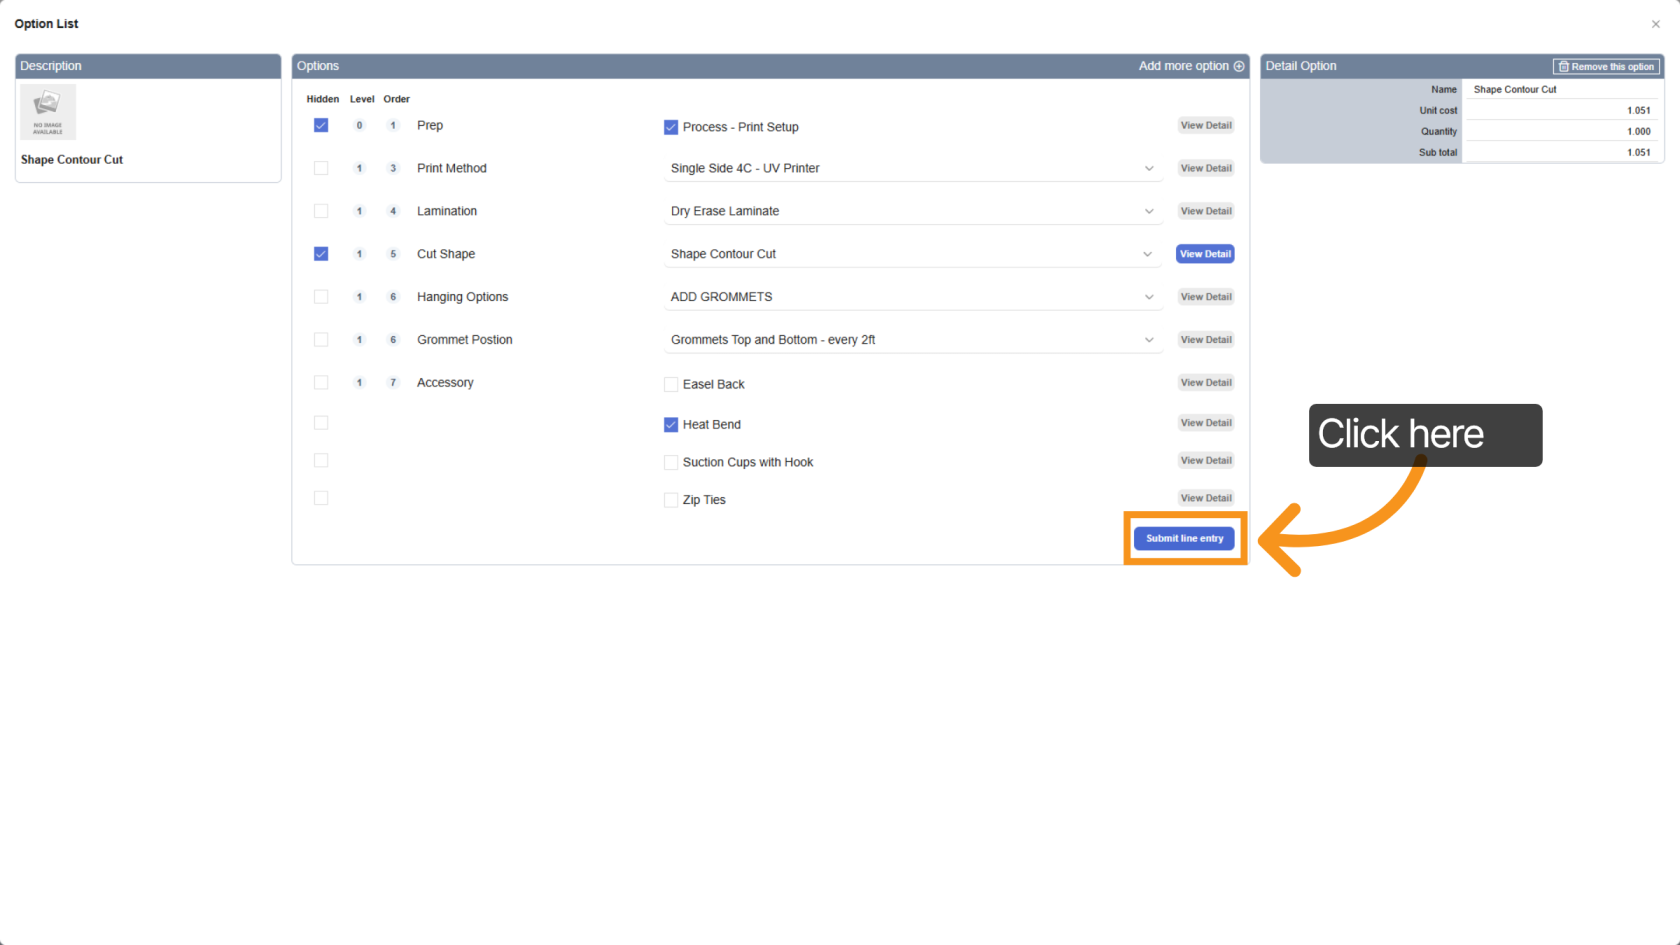
12. Save the Line Entry
Click Submit Line Entry to save the product and options.
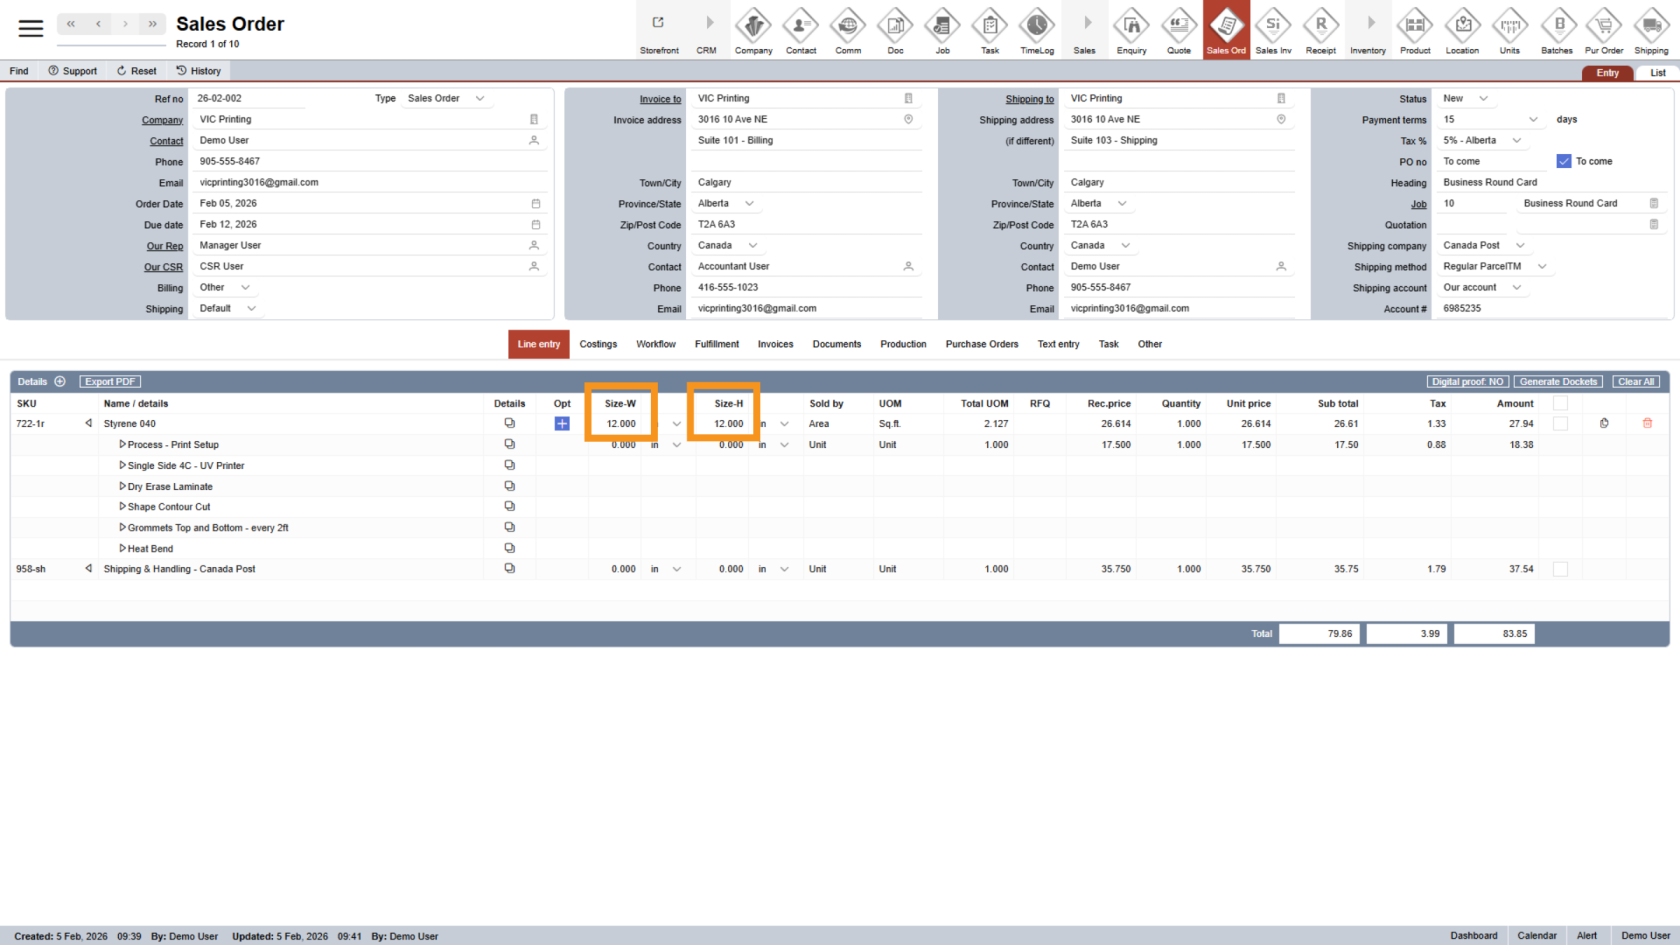
13. Enter Product Dimensions
If the product uses a custom size, enter the Width and Height values.
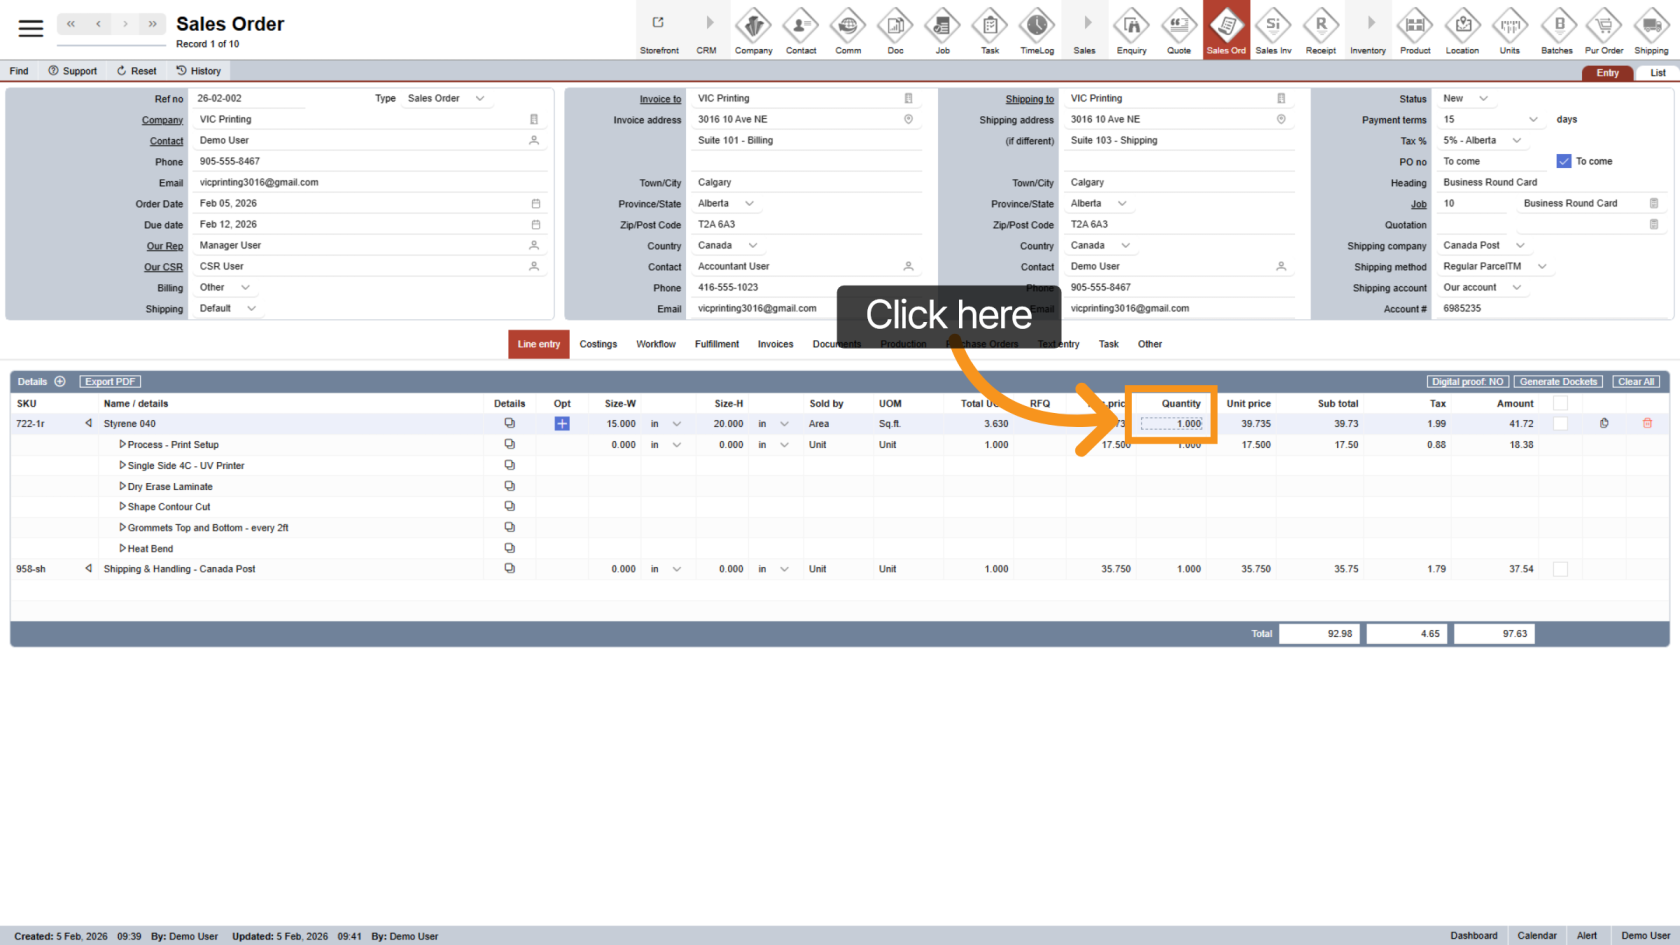
14. Enter Quantity
Enter the product quantity. The price may change automatically based on quantity breaks.
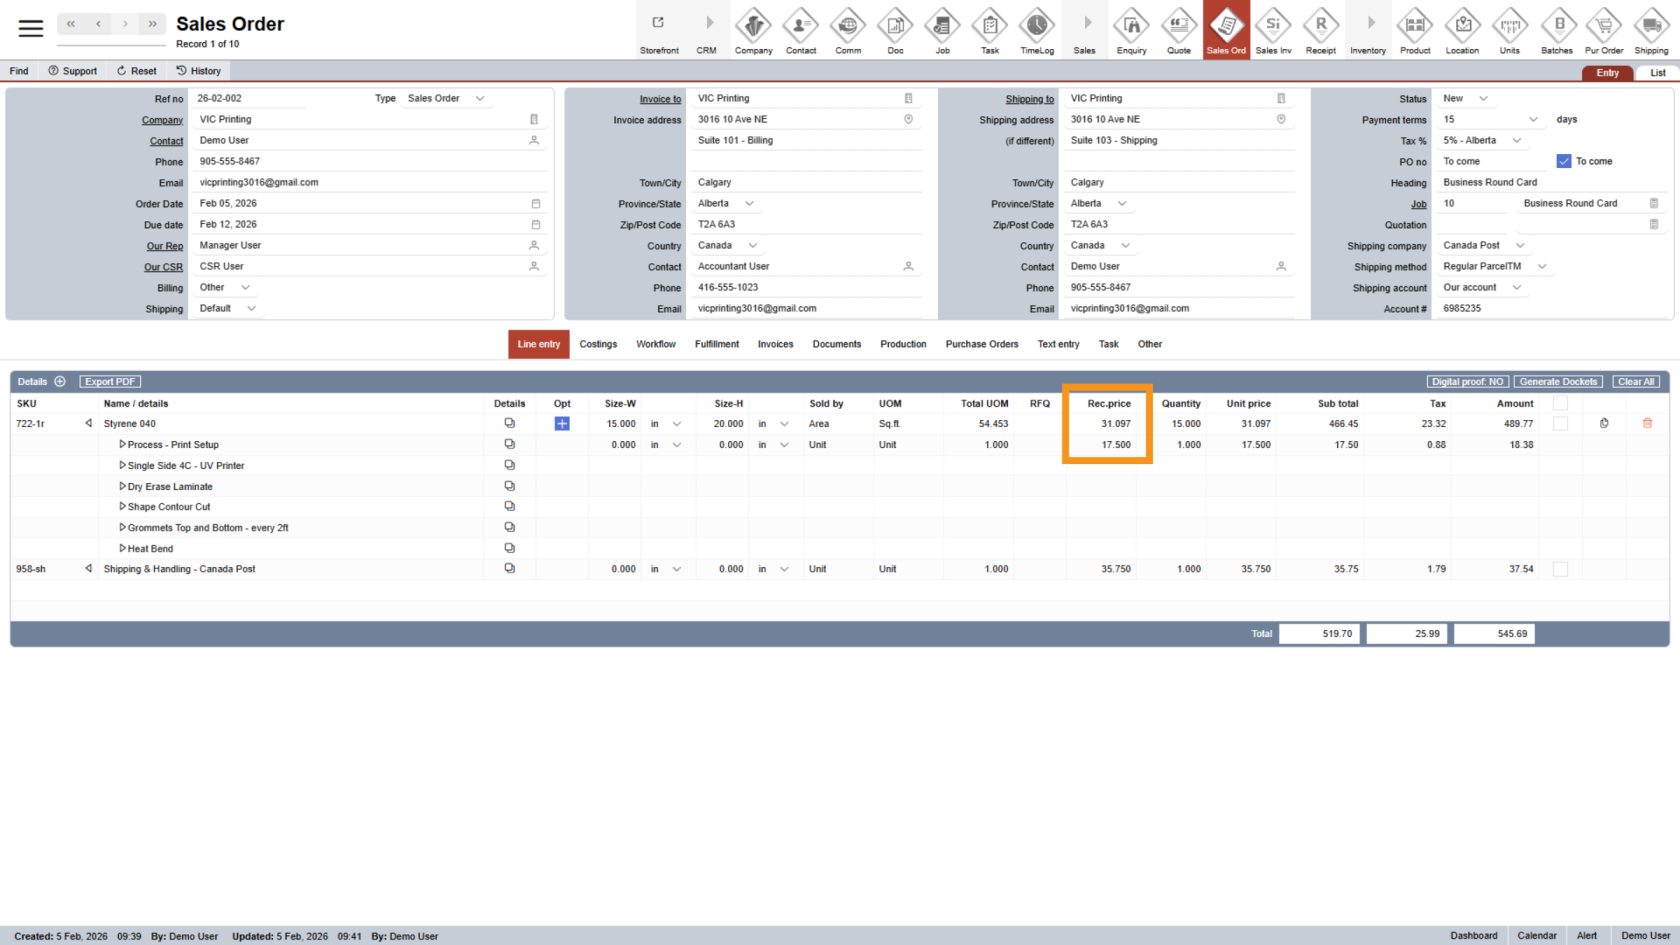
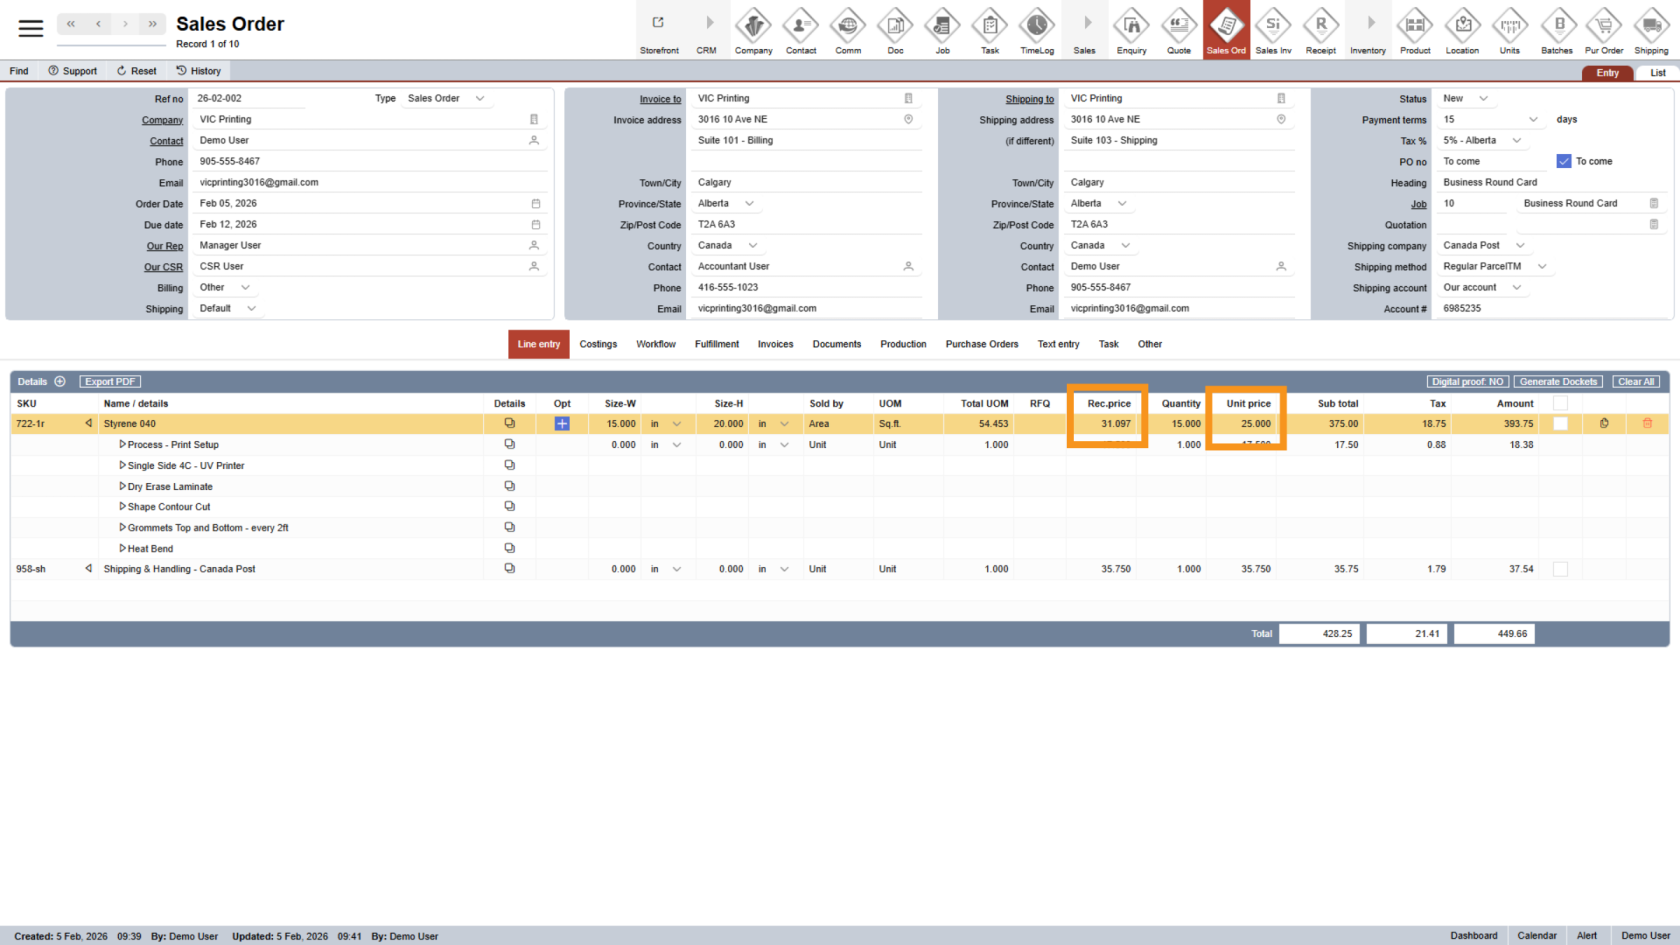
15. Recommended Price
The Recommended Price cannot be edited. It is shown as a pricing guideline.
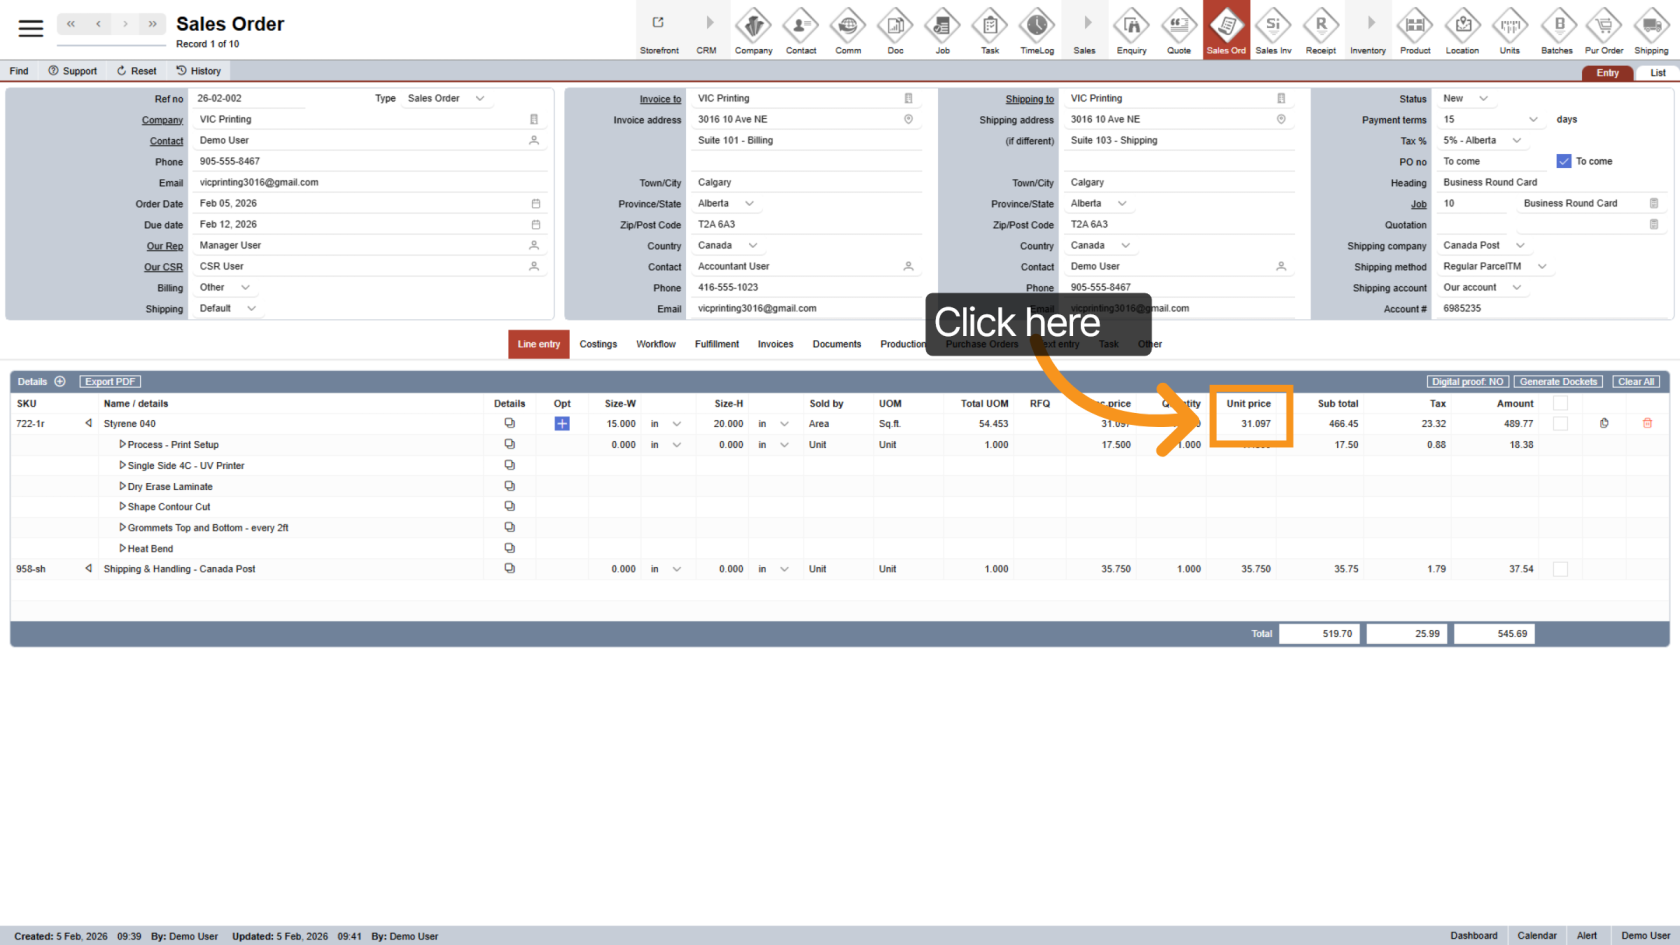
16. Adjust the Selling Price (Optional)
If needed, edit the Unit Price to set your selling price.
17. Low Price Warning
If the selling price is lower than the recommended price, the line will be highlighted. This indicates the sale may result in a loss.
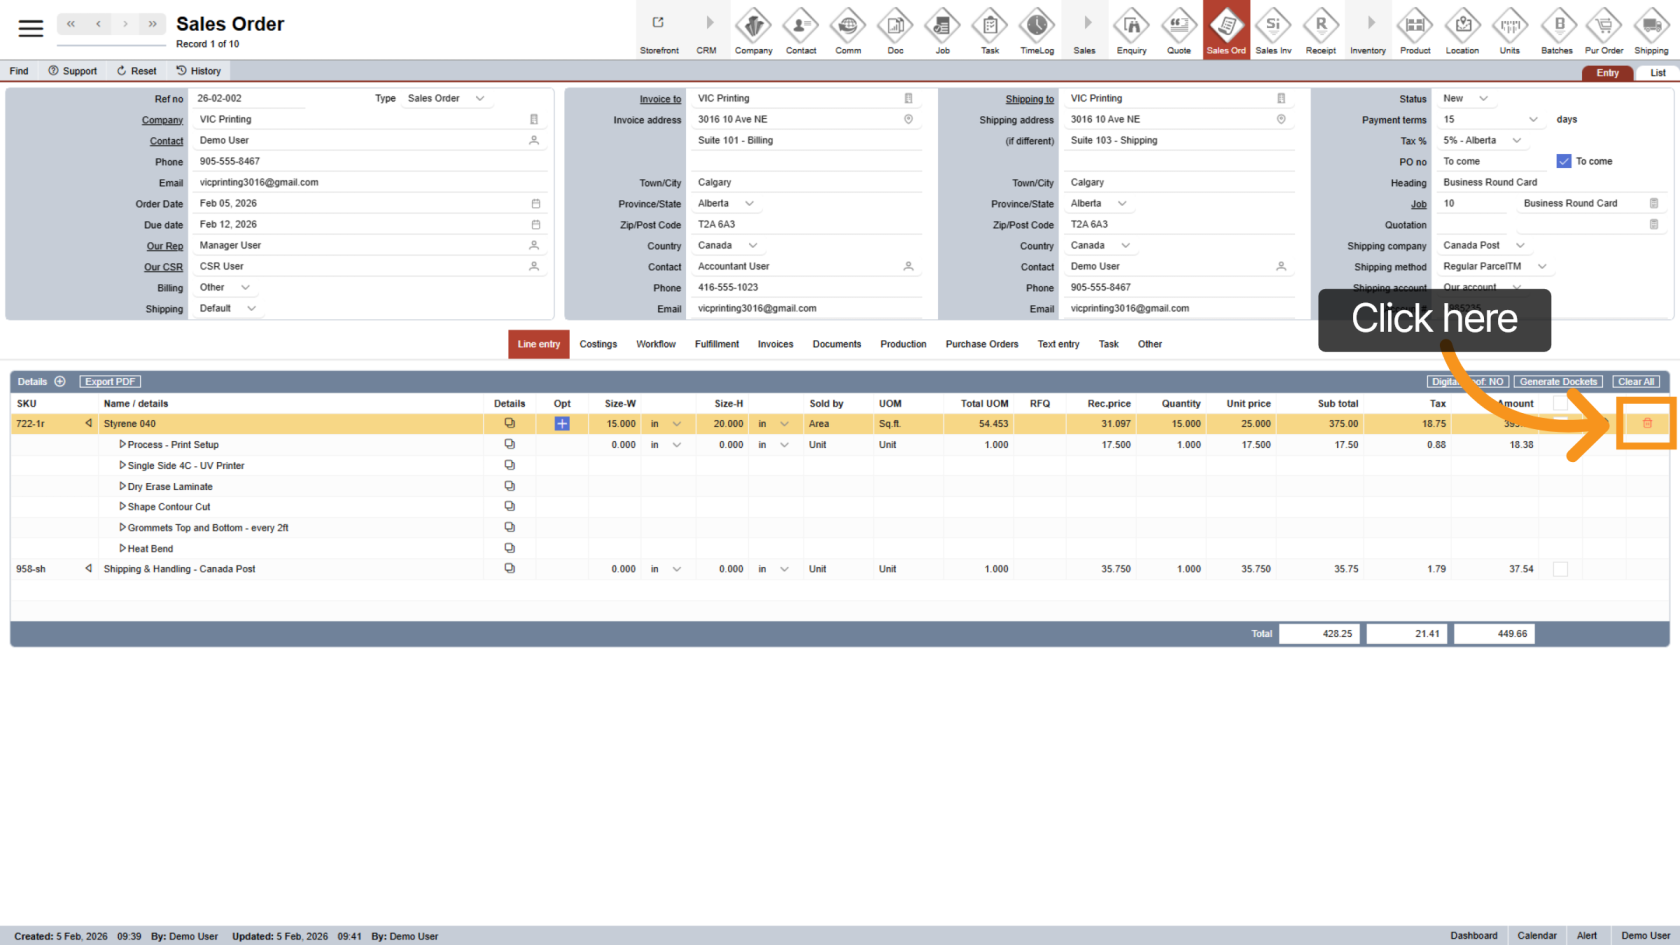
18. Delete a Line Entry
Click the delete icon to remove a line item from the sales order.
19. Duplicate a Line Entry
Click the duplicate icon to copy a line item. This is helpful when adding the same product with different sizes or quantities.

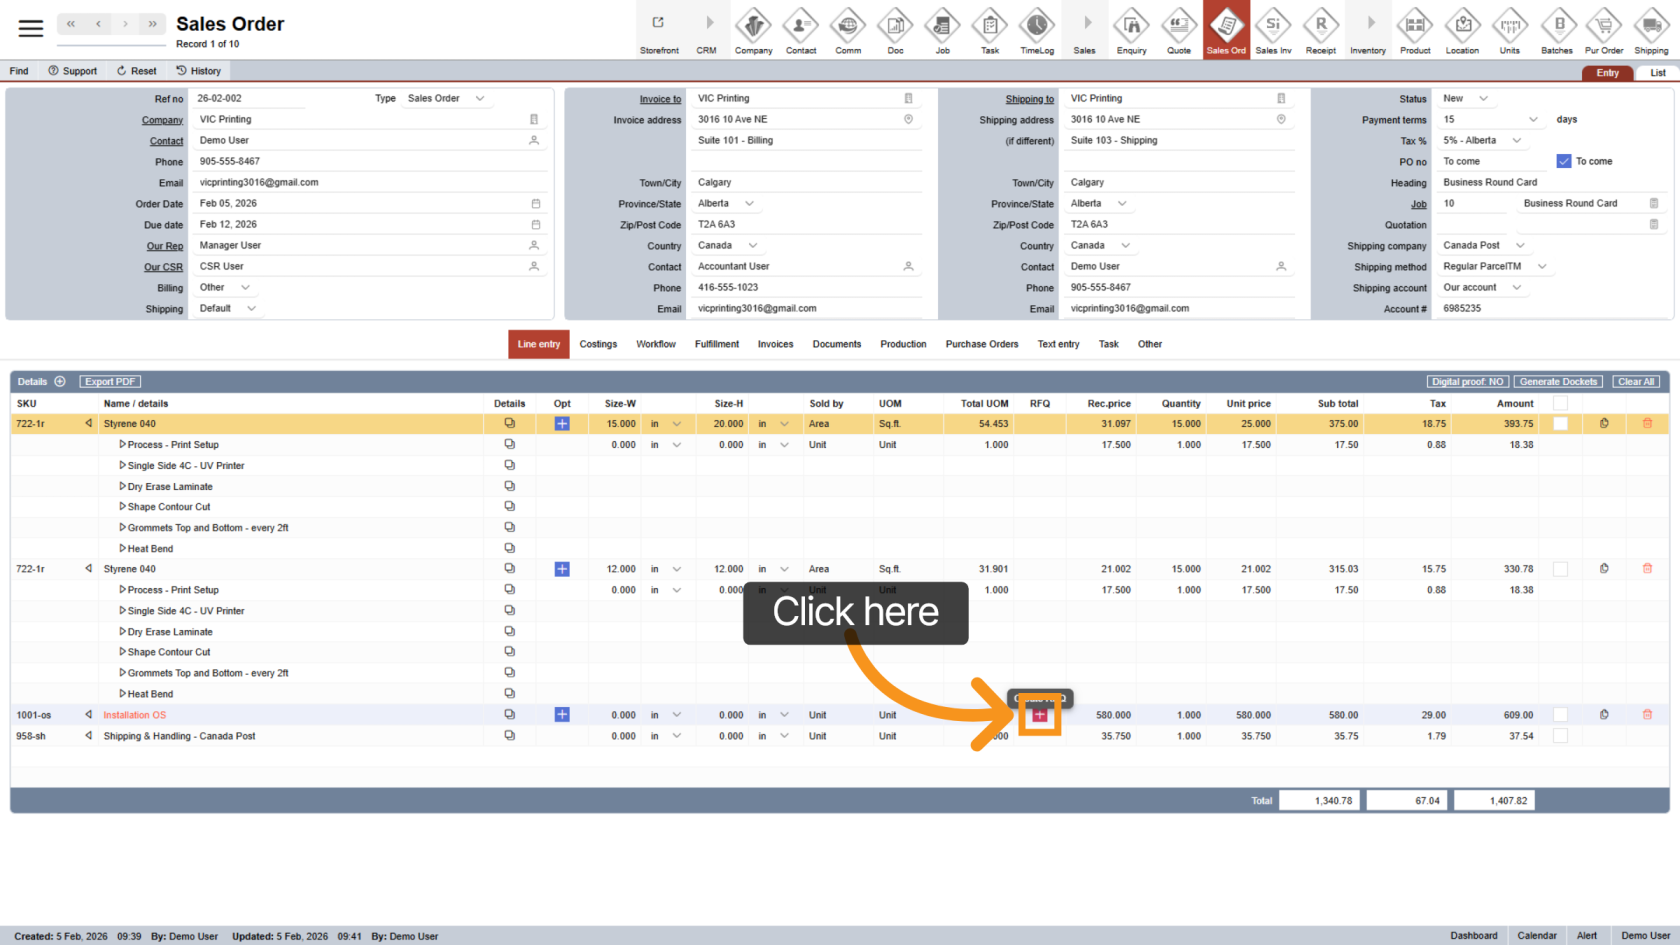
20. Add an RFQ (Request for Quote) Product
Click the plus icon on the RFQ line to request pricing for a custom or external product.
21. Select Vendor Company
Click the company icon to choose the vendor supplying the RFQ item.
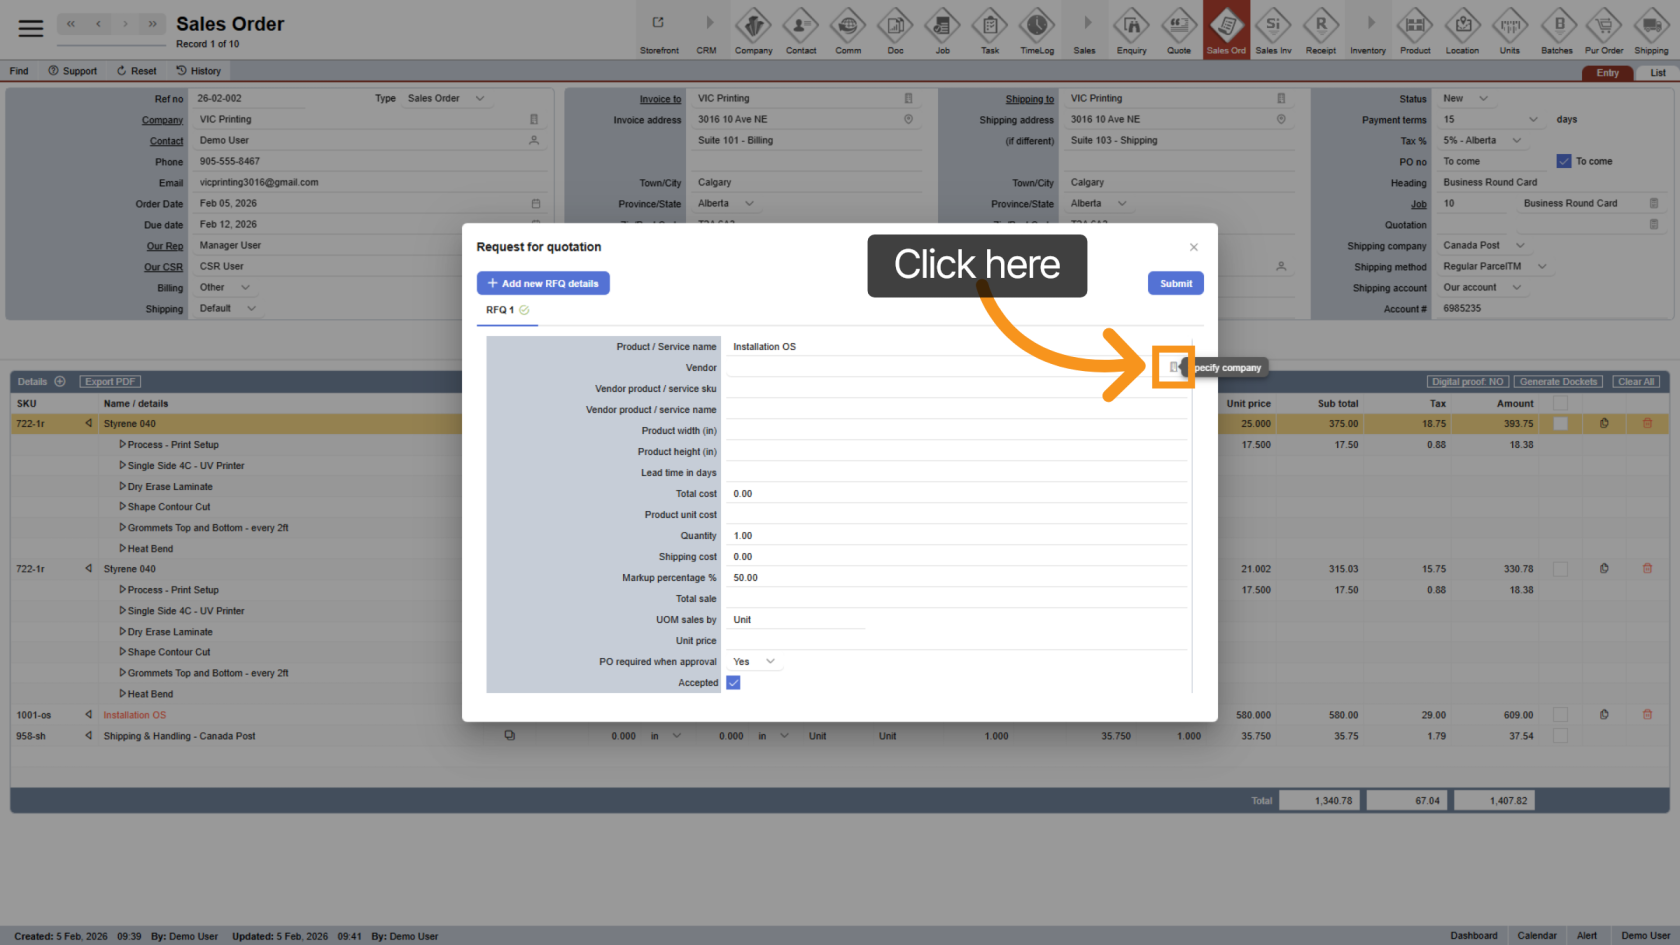
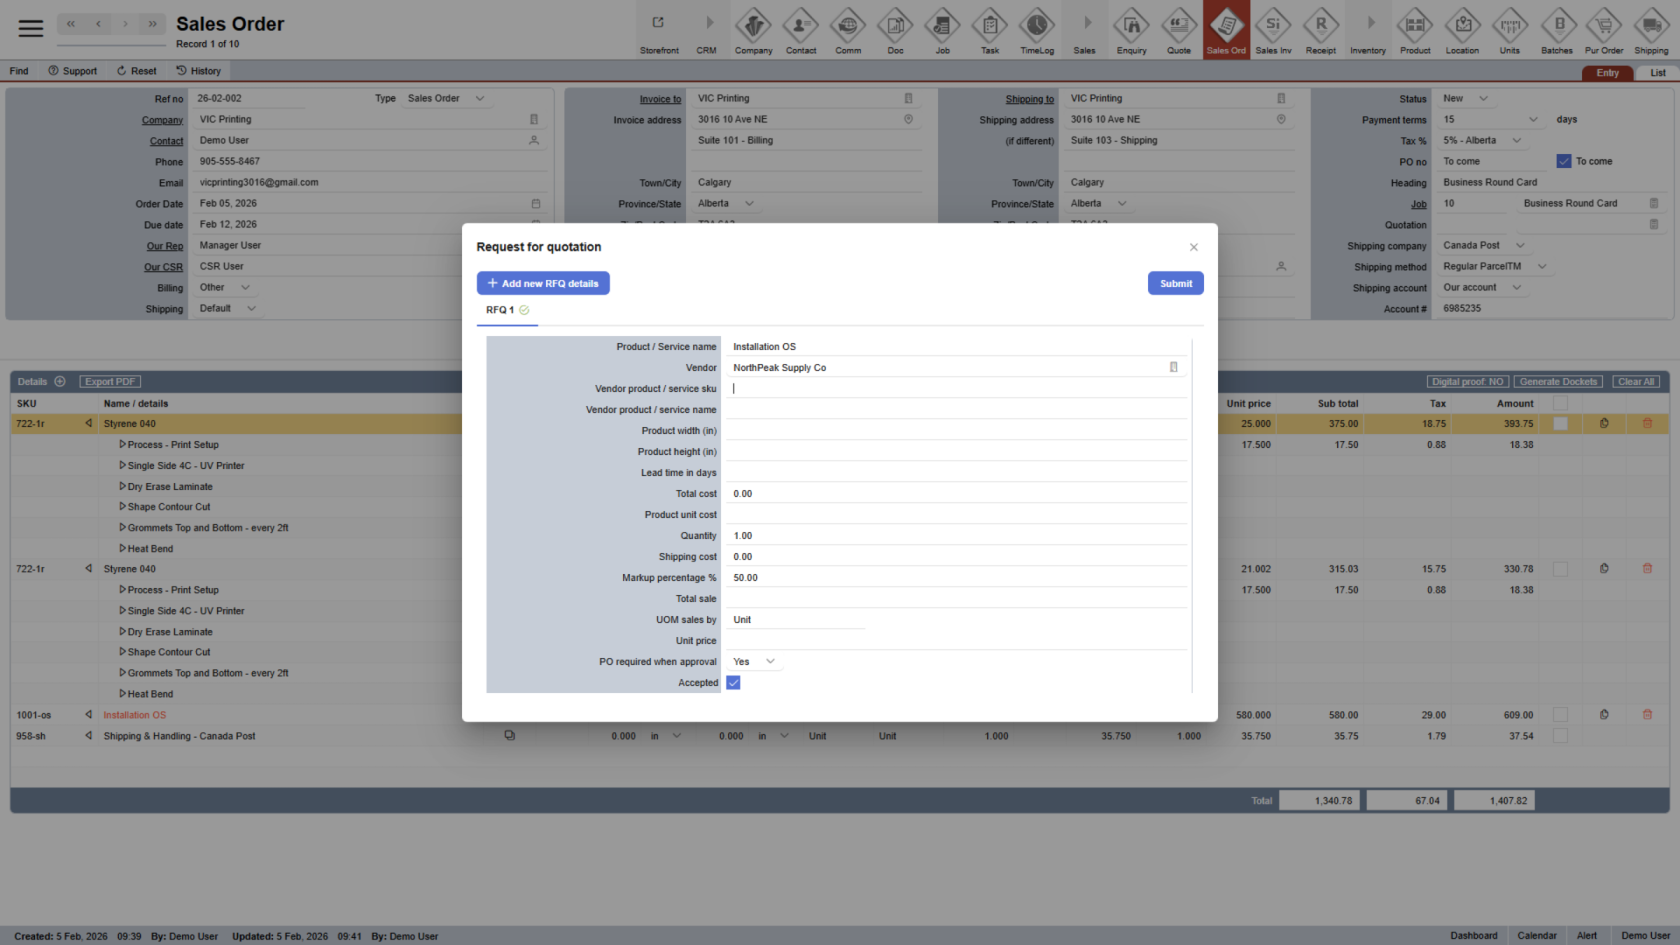
22. Enter RFQ Details
Fill in all required RFQ information.
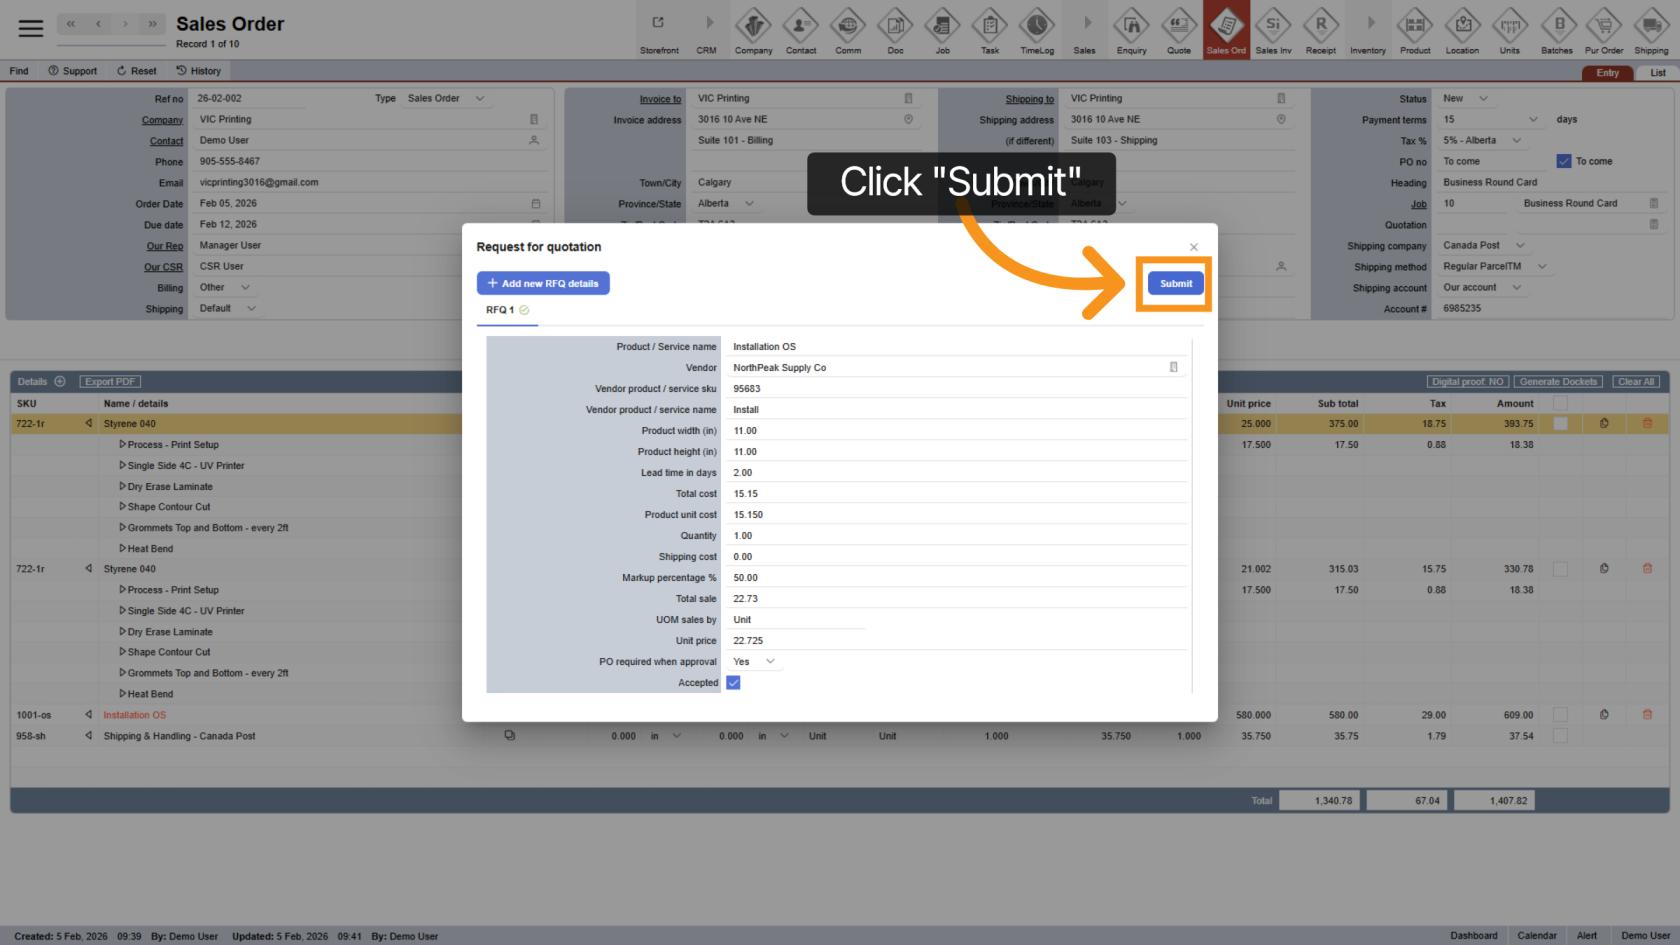
23. Submit the RFQ
Click Submit to save the RFQ details.
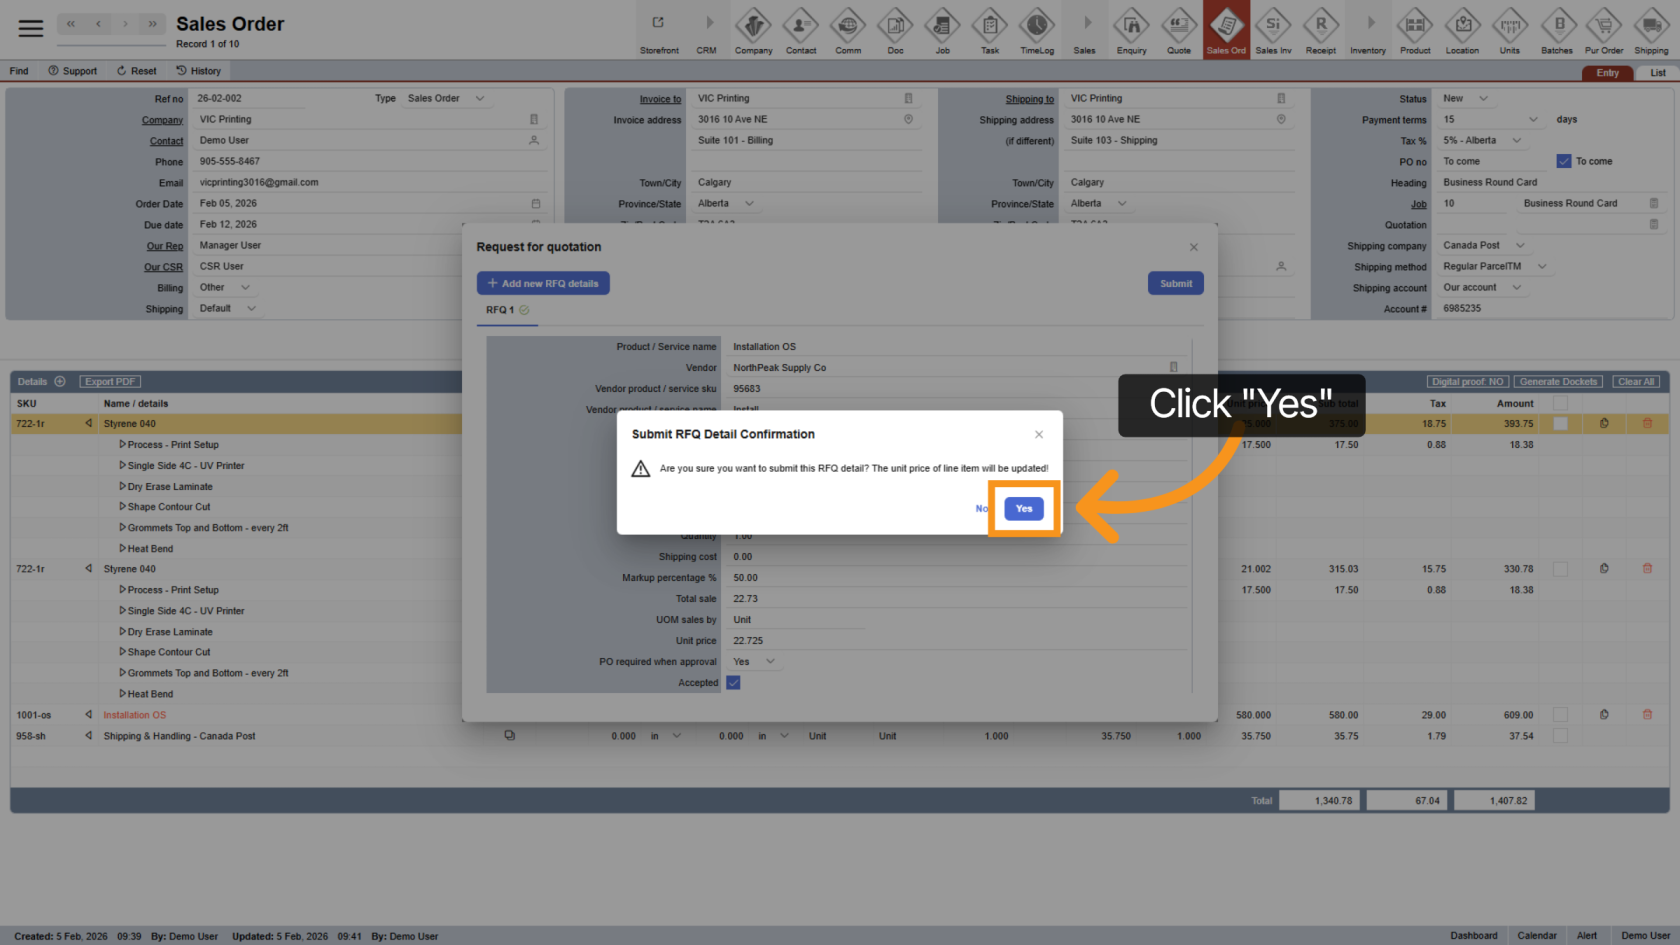
24. Confirm Submission
Click Yes to confirm and finalize the RFQ.
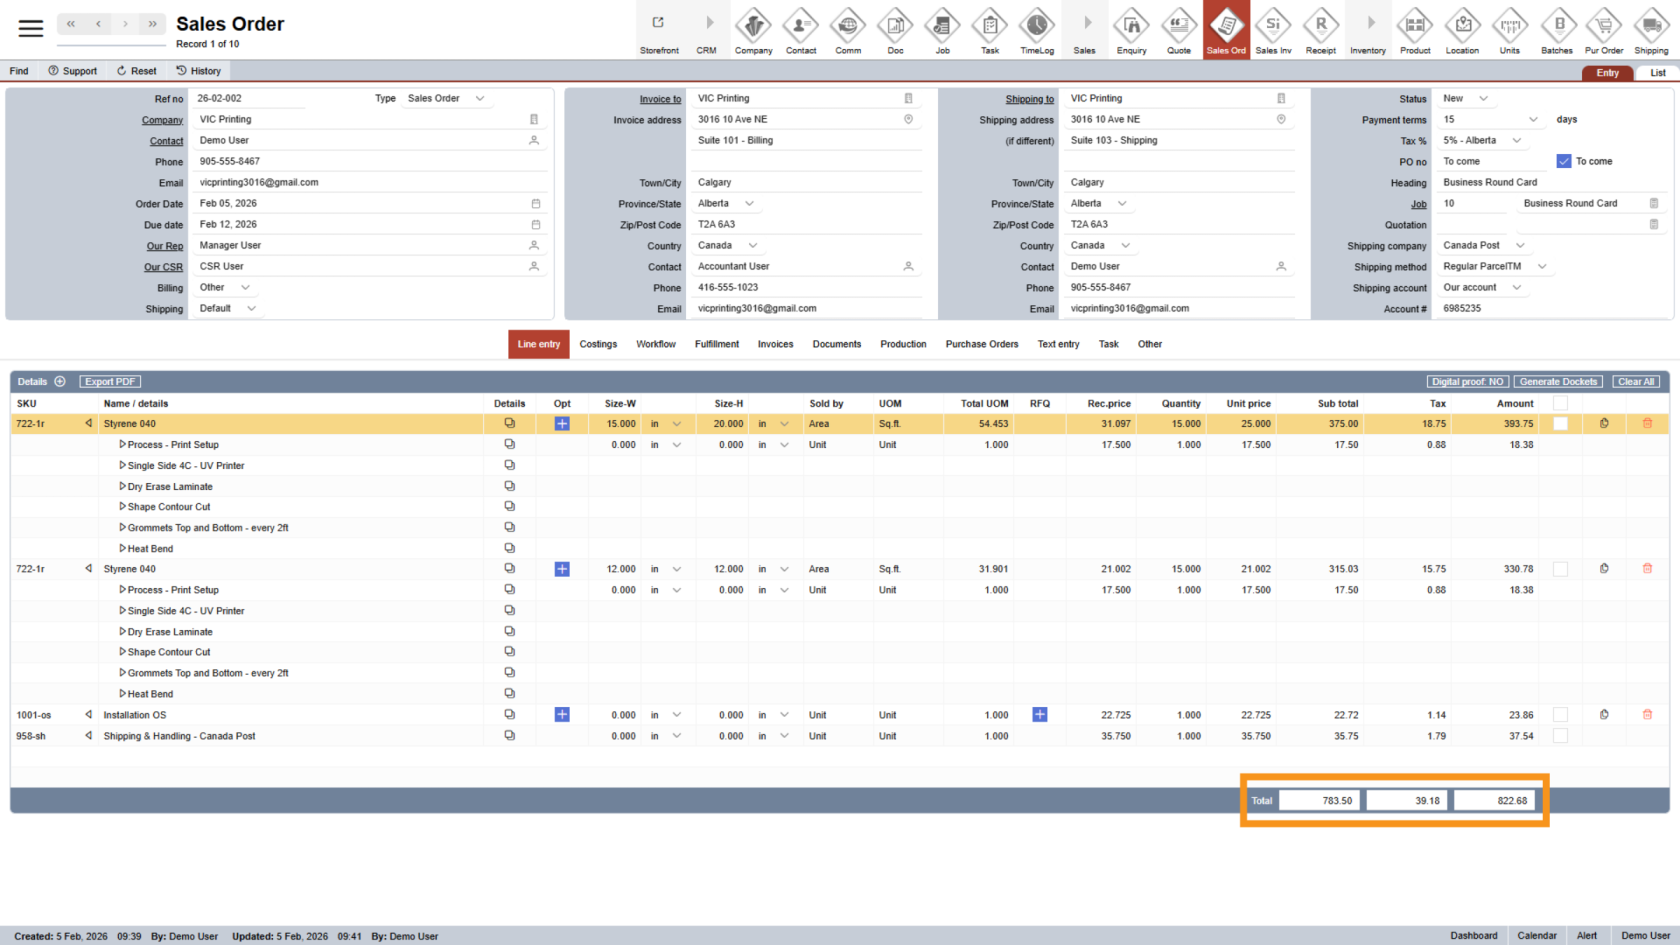
25. Review Quotation Totals
At the bottom of the Line Entry section, you will see: Sub Total, Total Tax, Overall sales order amount
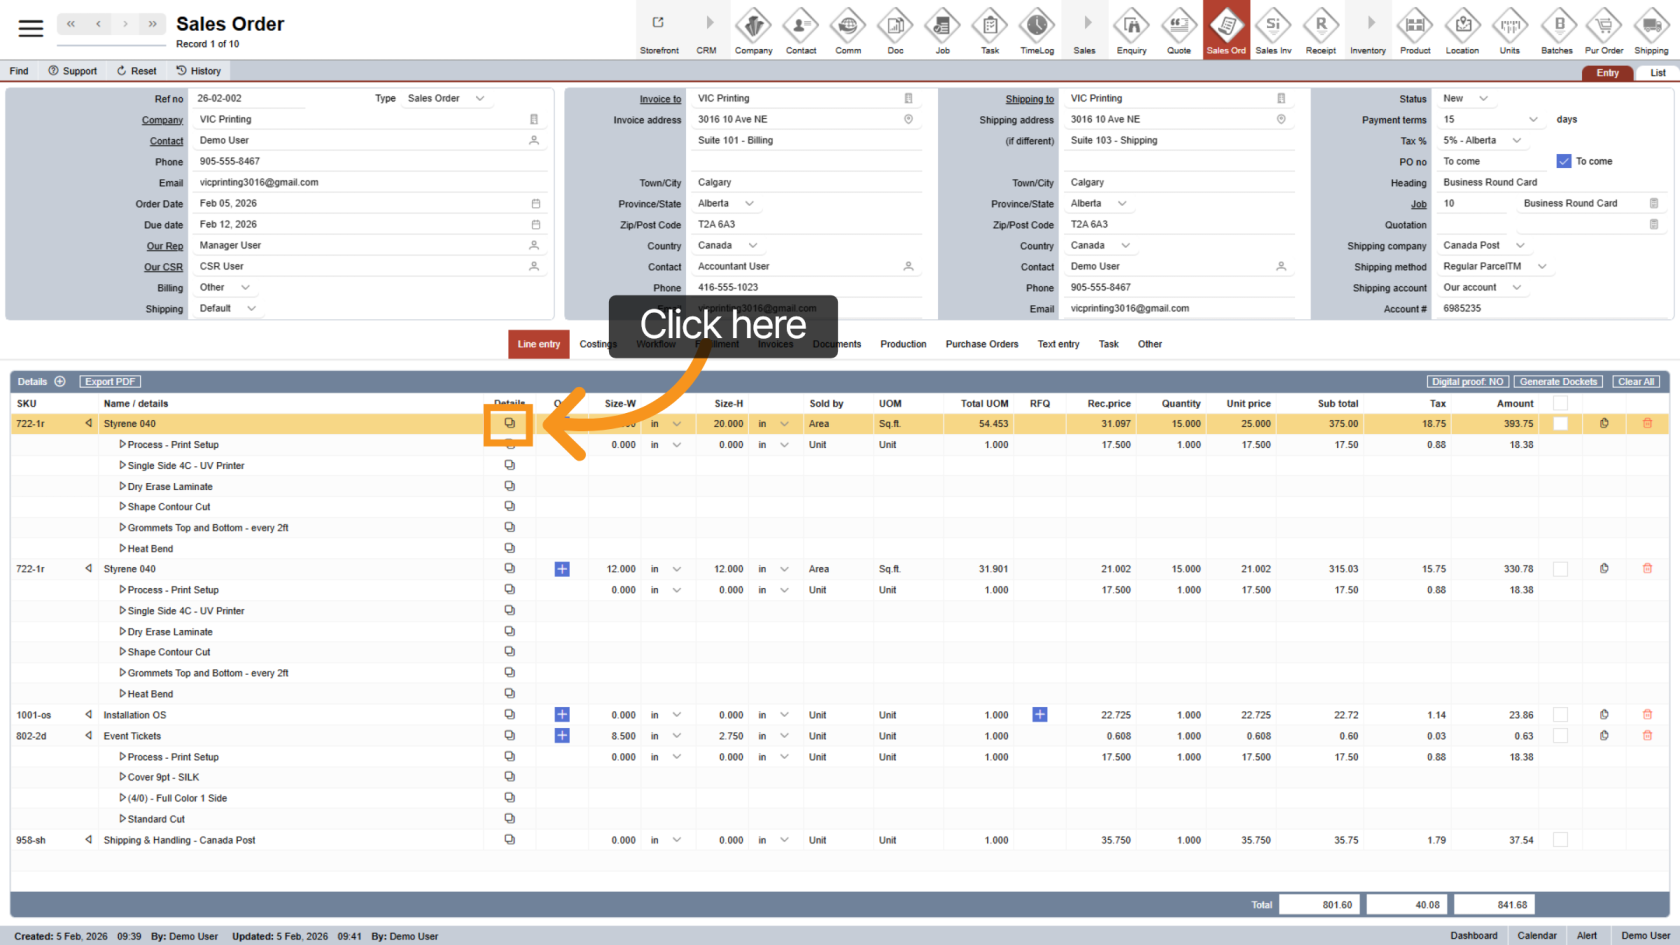
26. Add Notes to Products or Options
Click the detail icon to add notes to a product or option.
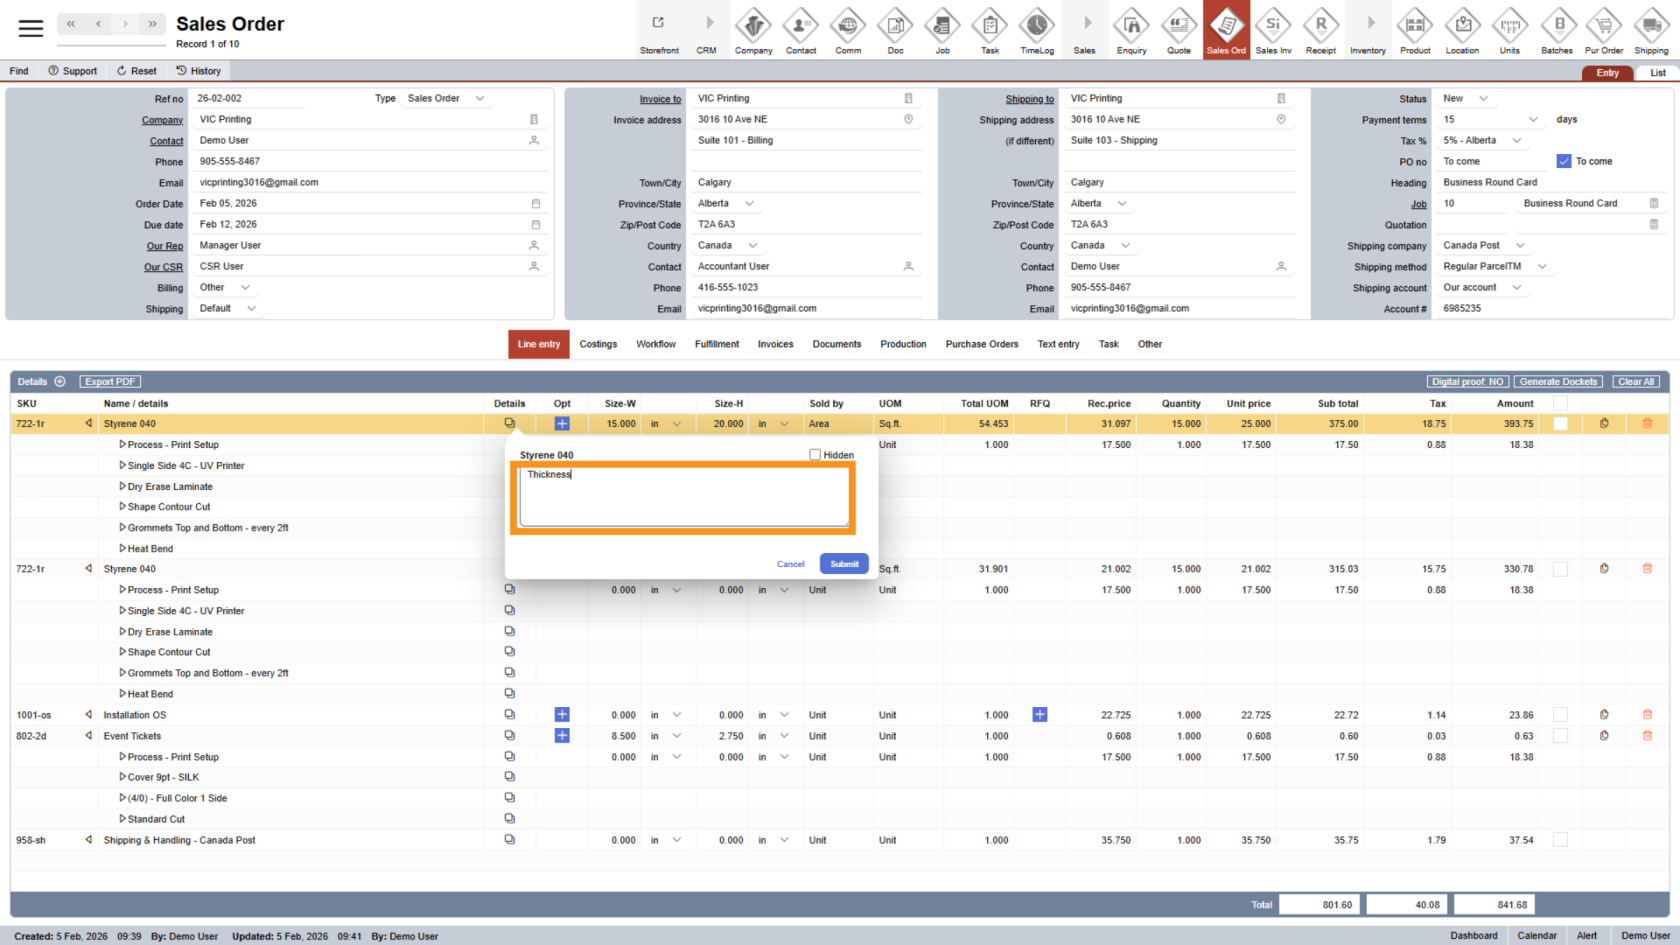
27. Enter Note
Type your note in the text box provided. Use this to add special instructions or internal comments.
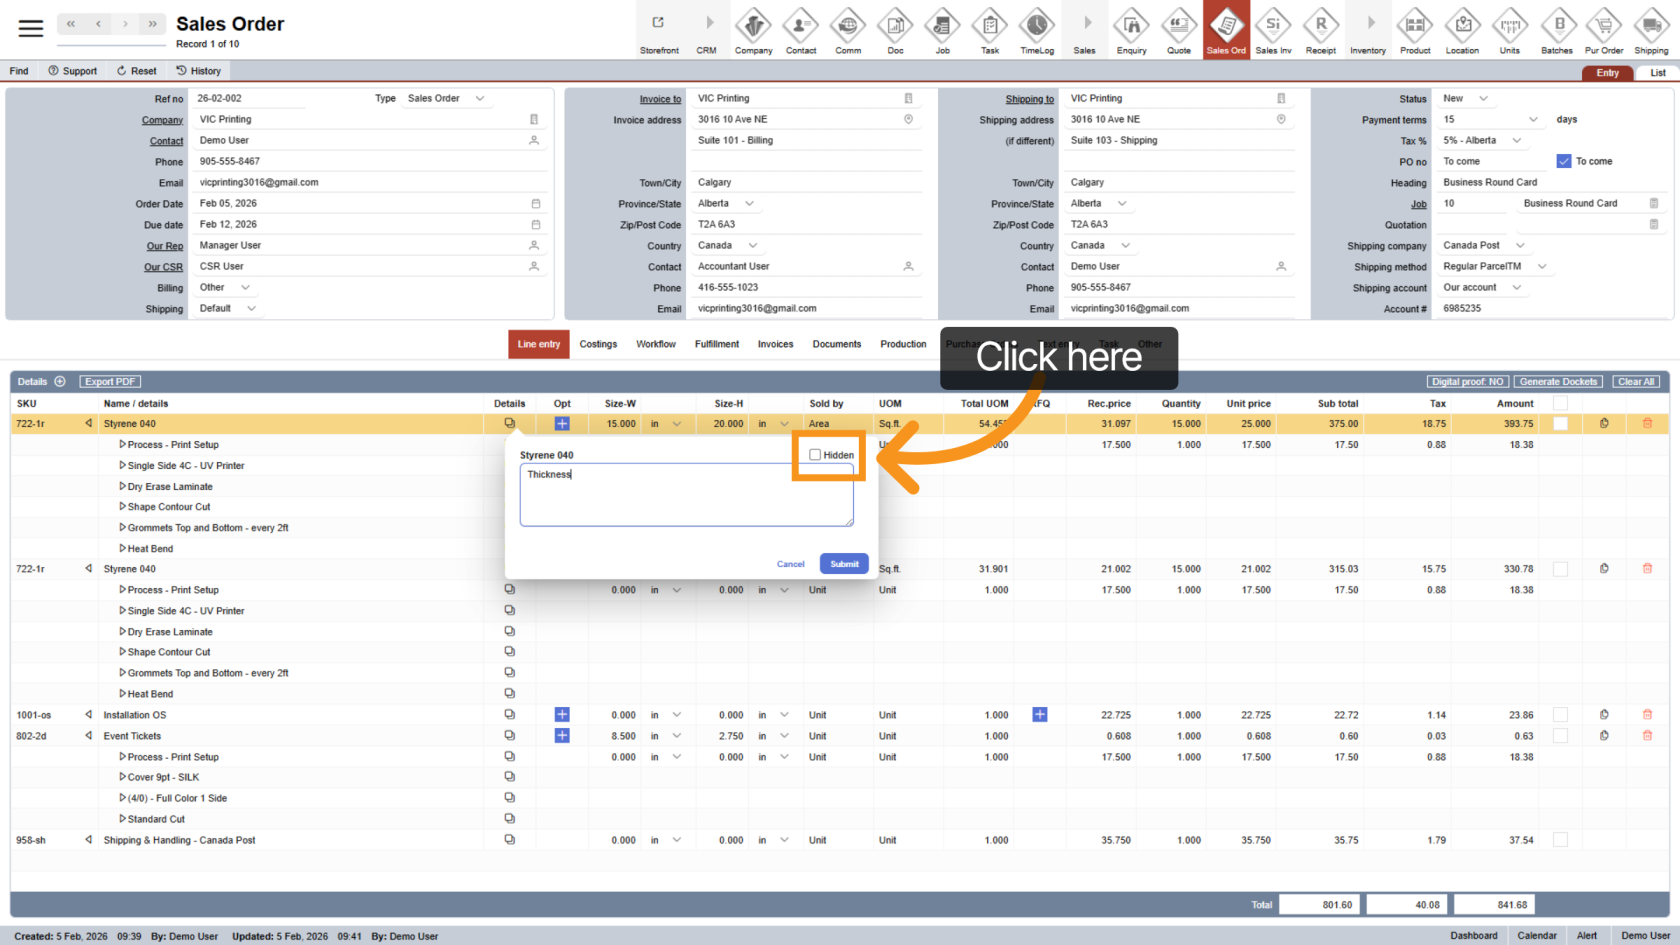
28. Hide Note (Optional)
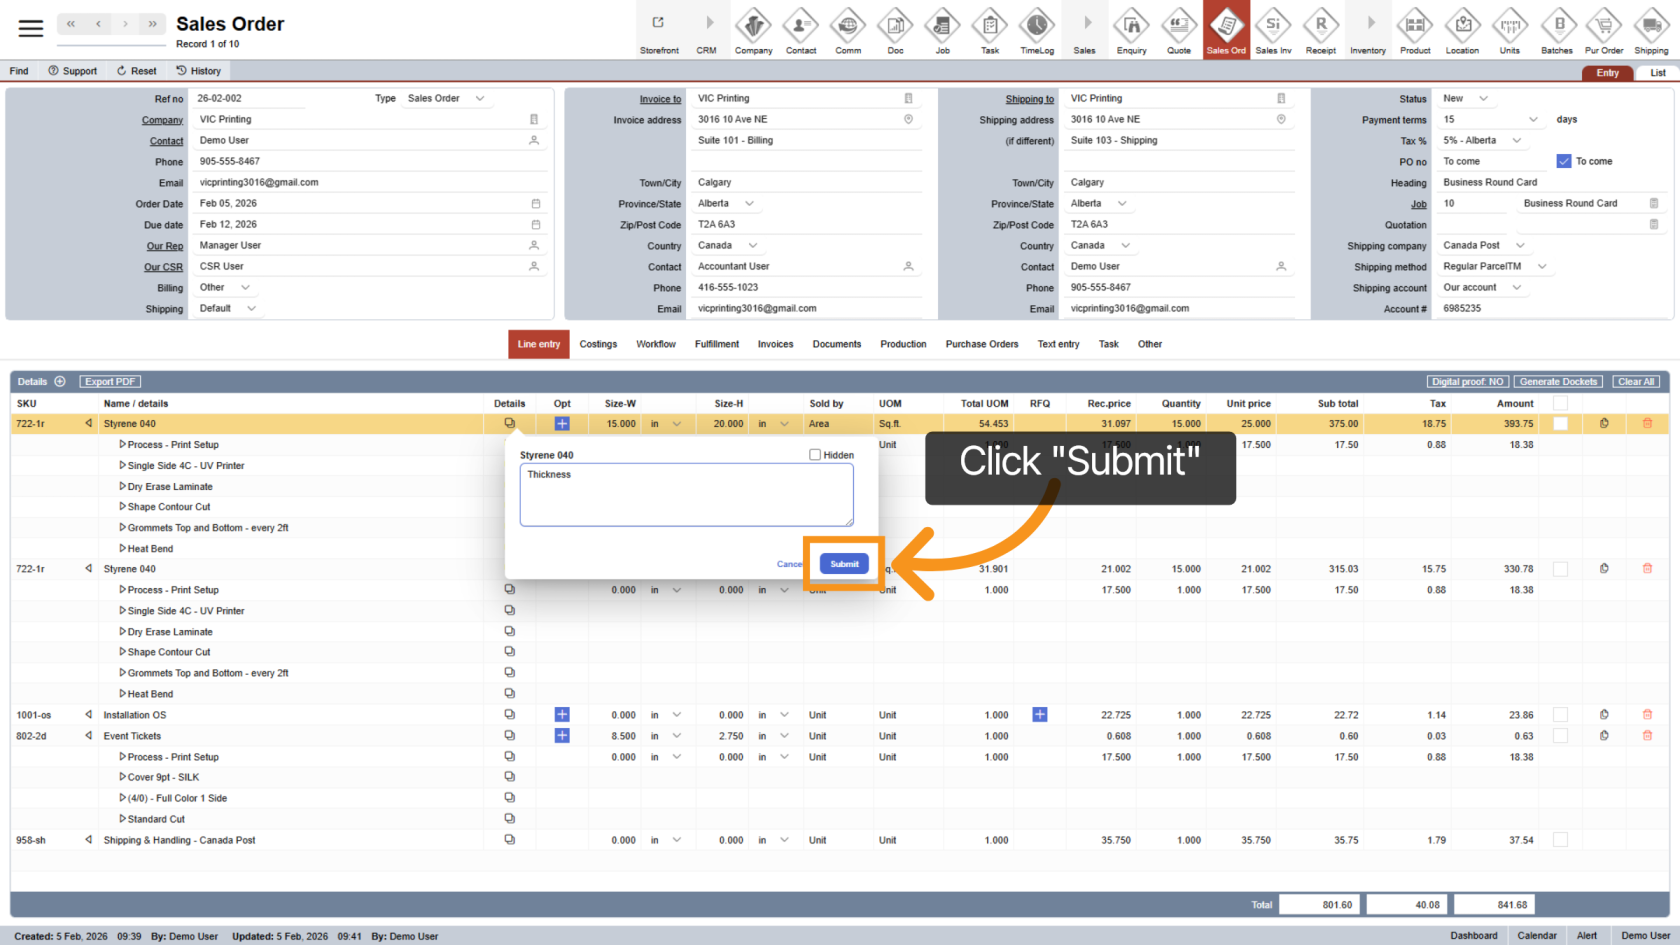
29. Save the Note
Enter your note and click Submit to save it.
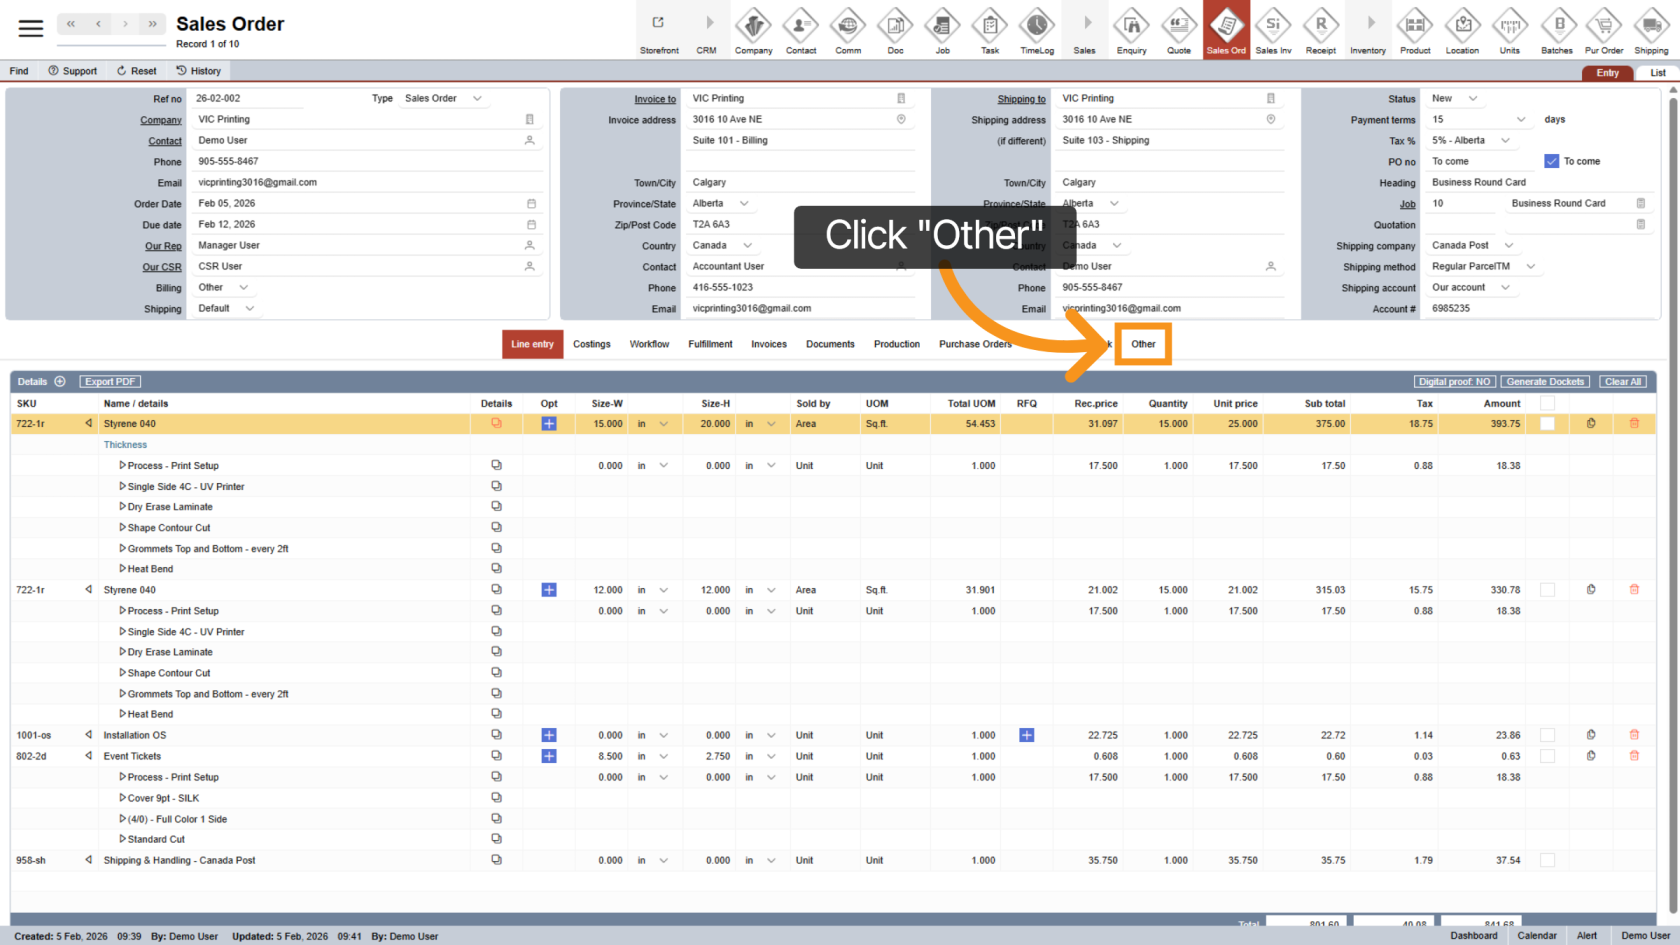
30. Add an Overall Sales Order Note
Click Other in the middle menu to add a general note for the sales order.
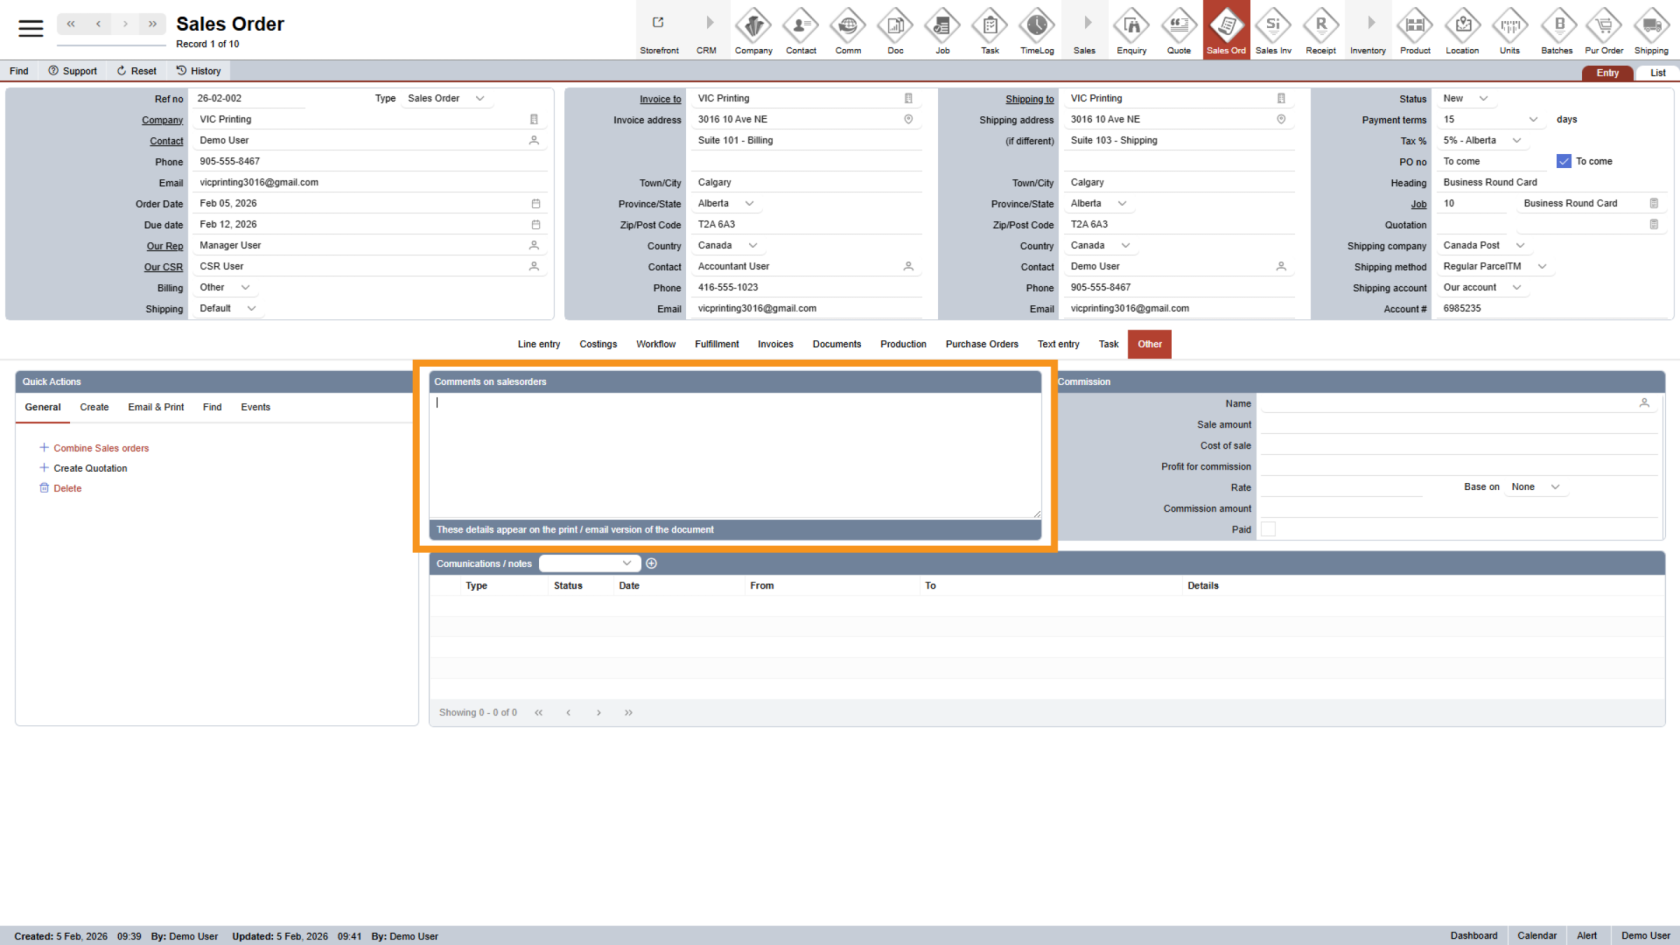
31. Enter Sales Order Note
In the Comments section, enter notes that apply to the entire sales order.
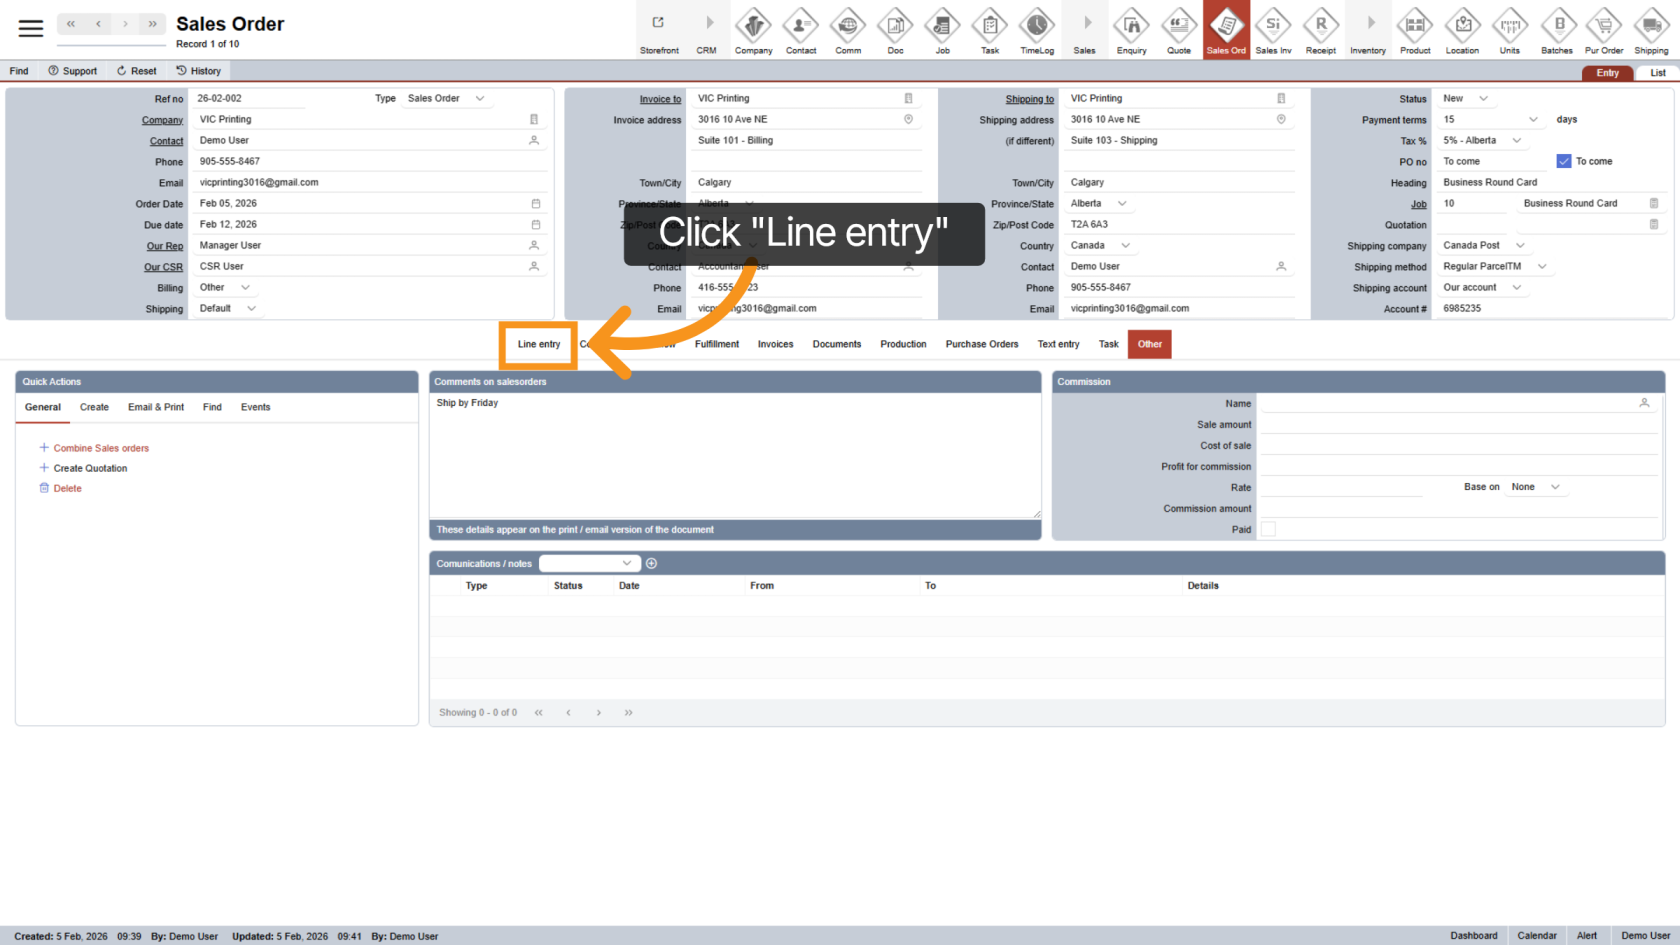
32. Return to Line Entry
Click Line Entry to return and continue working on the sales order.
You have successfully added line items to the Sales Order. Please review all details and proceed to the next step Review Sales Order Costing.