Configure Company Account
Video Tutorial
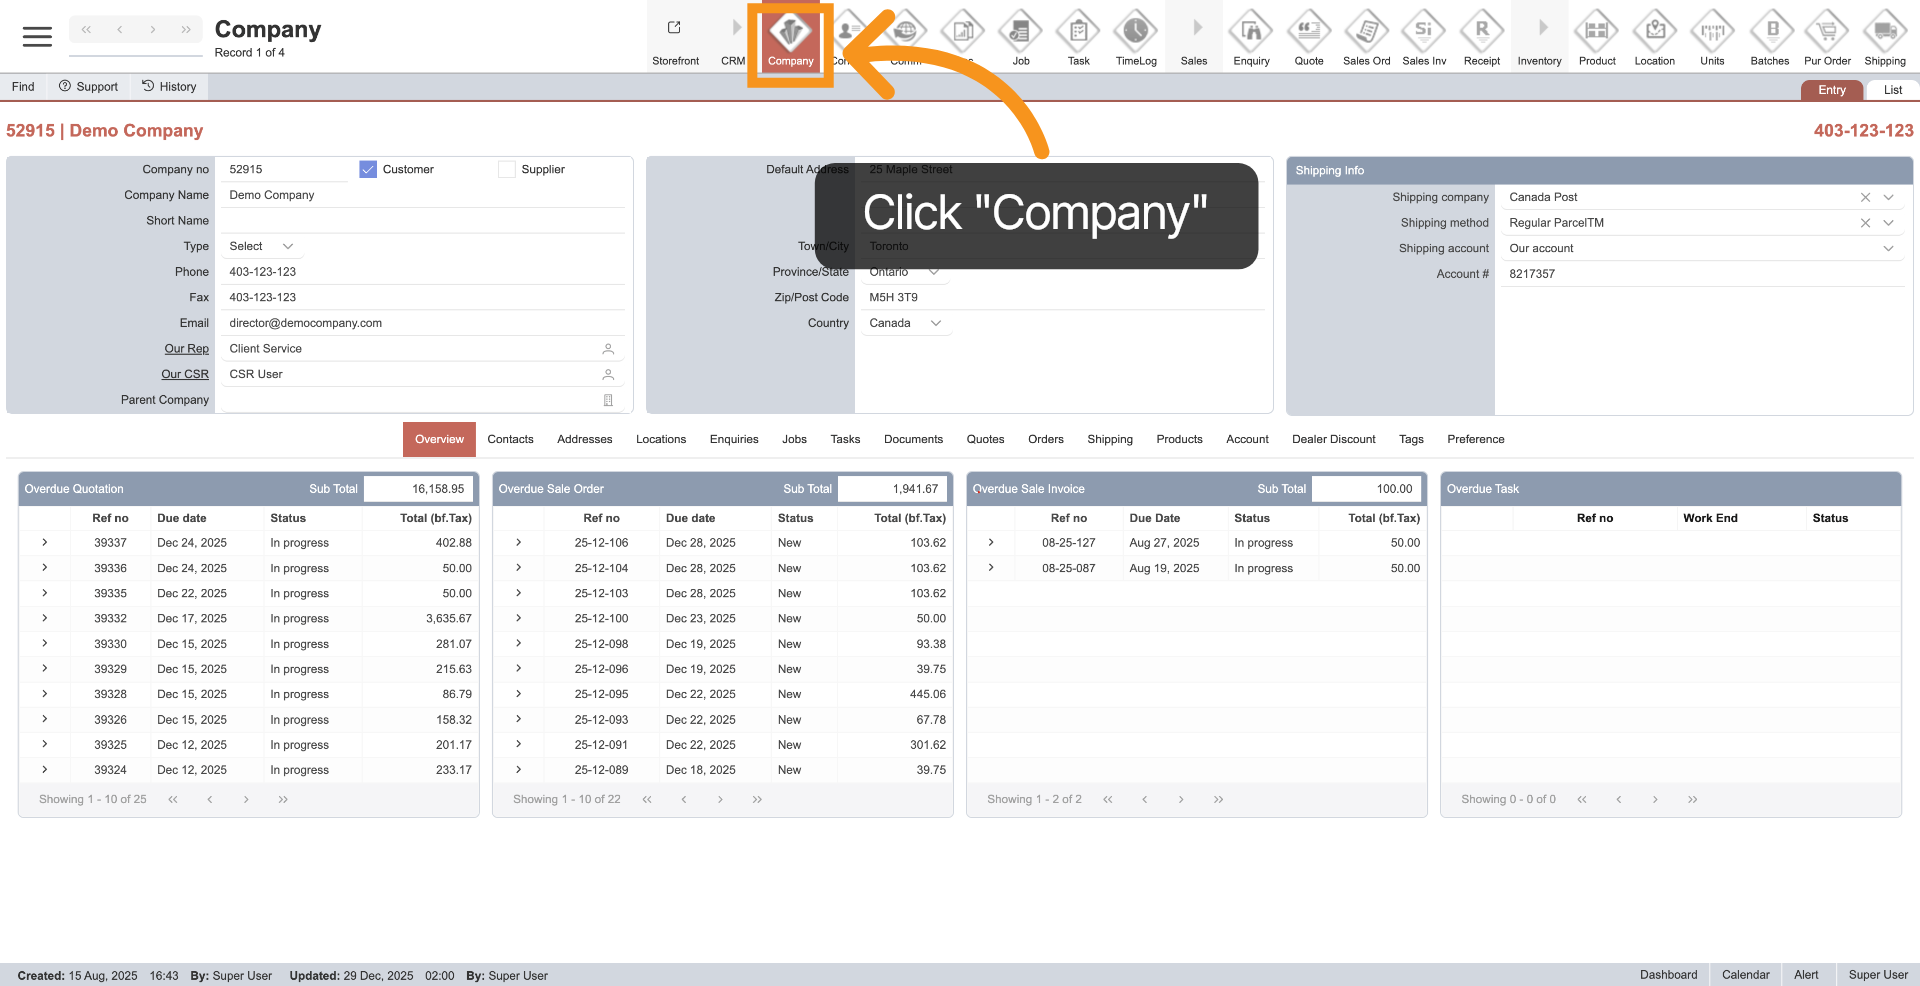
1. Open Company Module
Click "Company" in the main menu to access the company module.
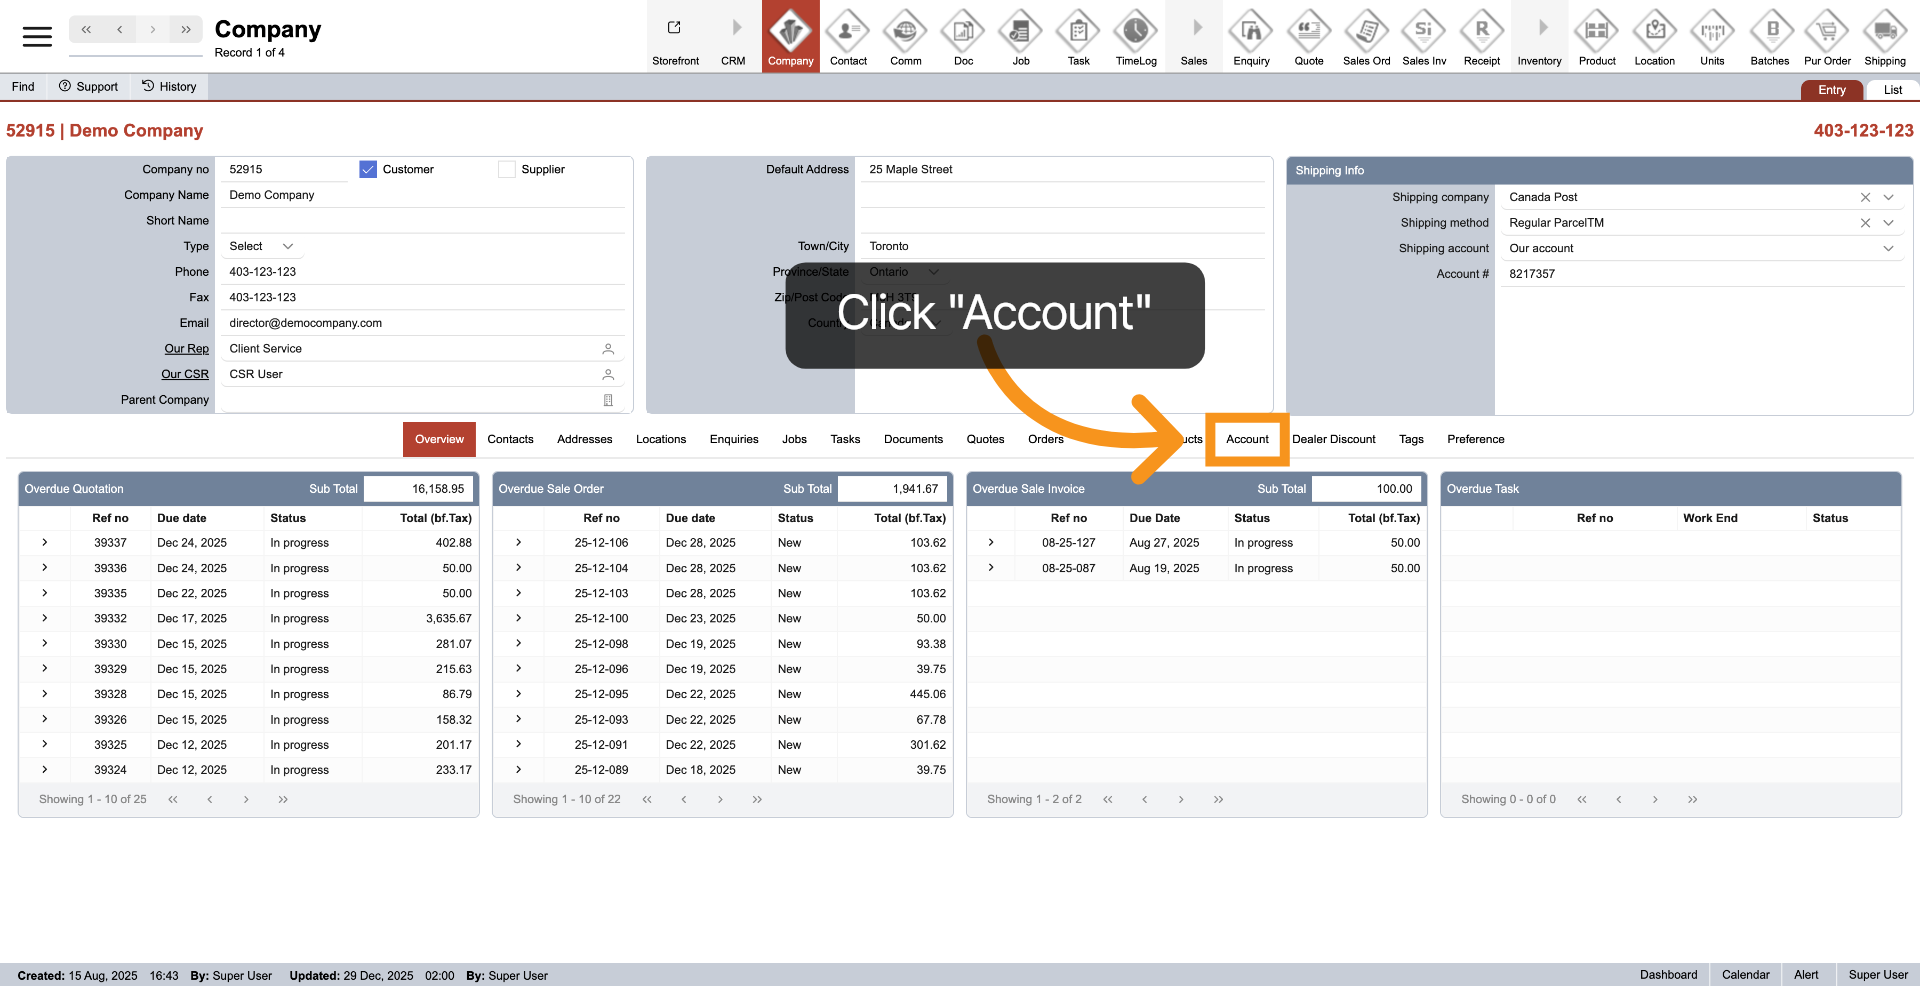
2. Select Account Tab
Click the "Account" tab in the middle menu to view and manage your company account details.
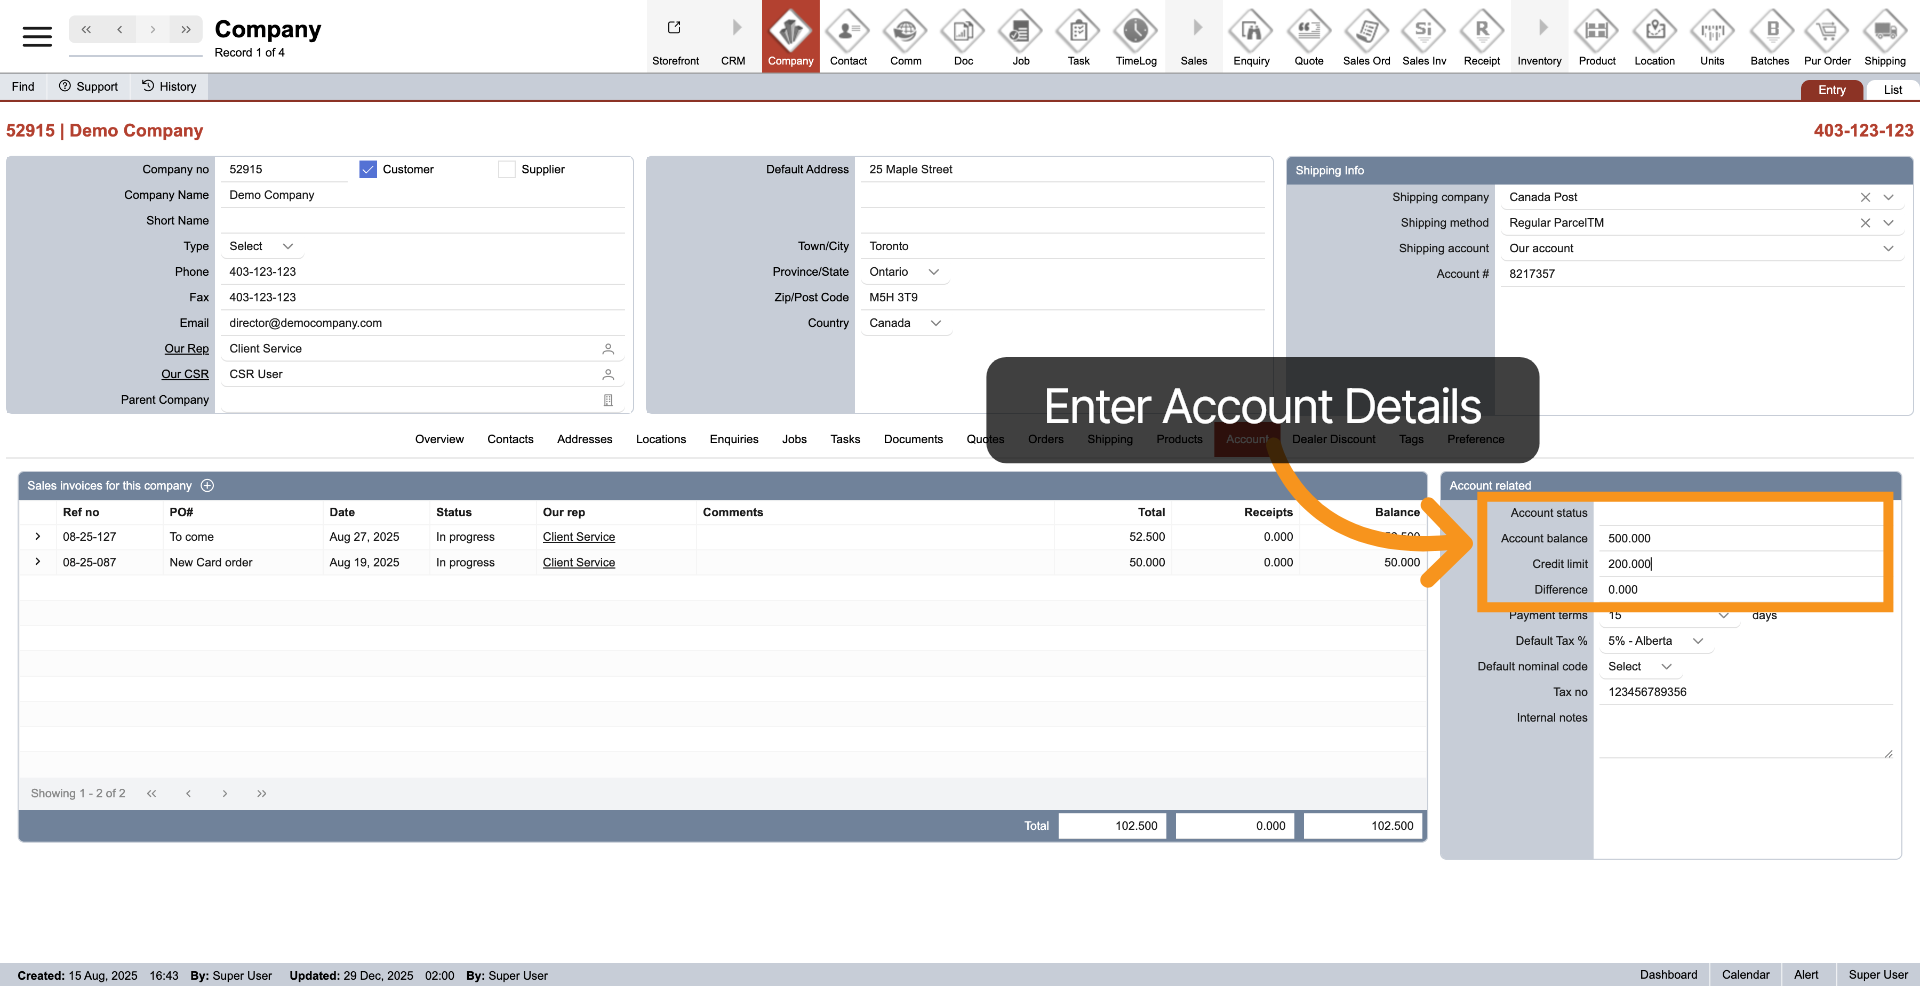
3. Input Company Detail
Provide your company account details, including account balance, credit limit, and any other relevant information.
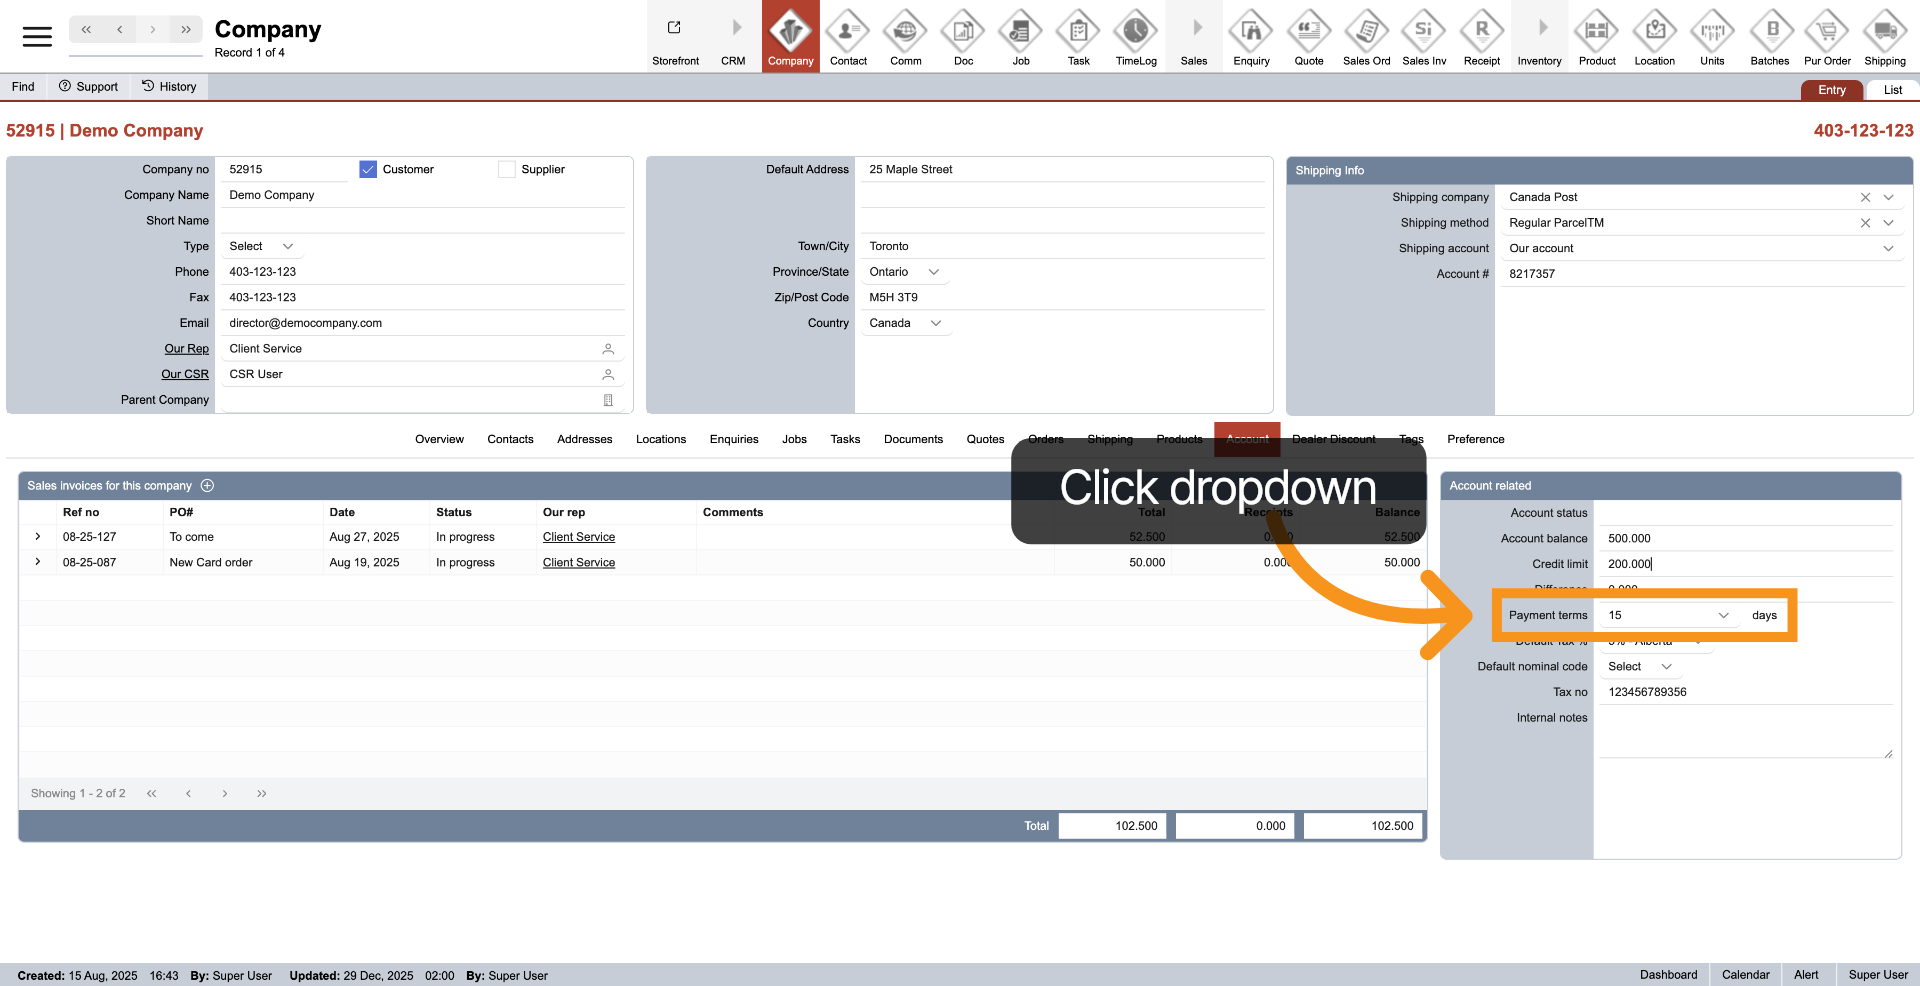
4. Payment Term Default
Click the dropdown next to "Payment Terms" to set the default company payment terms for billing purposes.
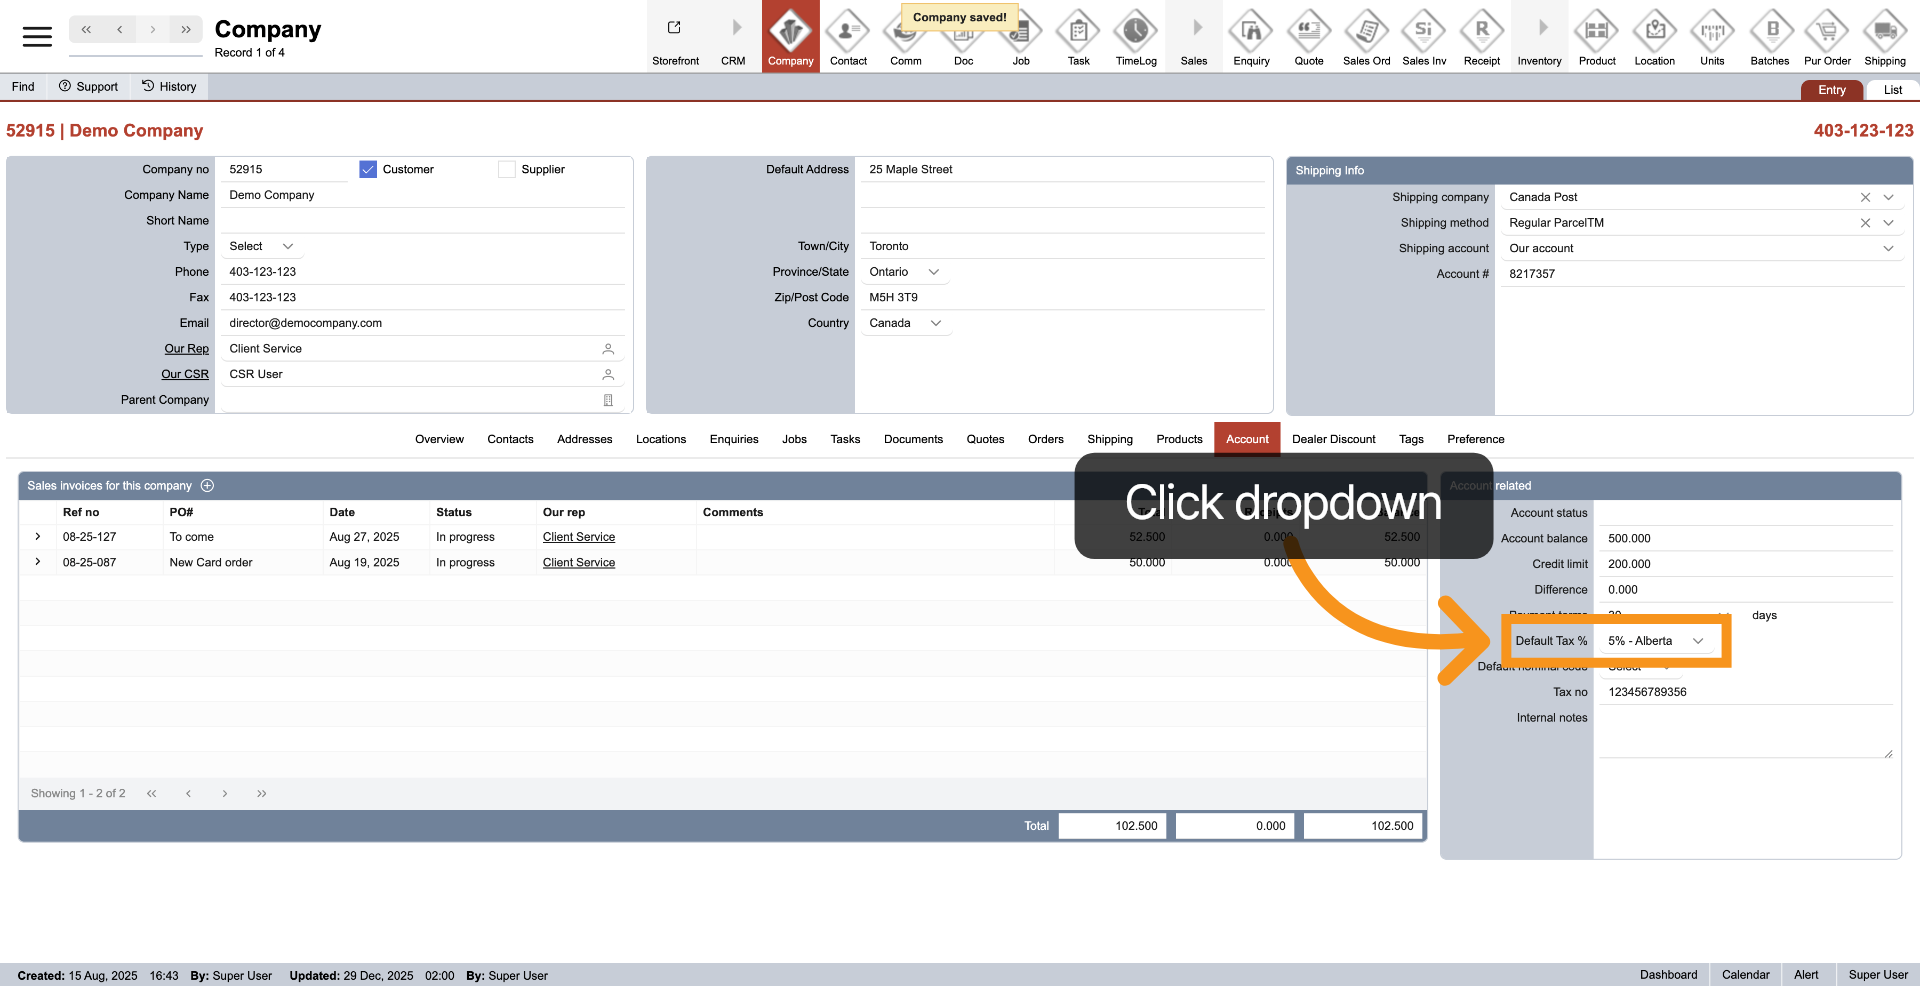
5. Default Tax %
The system will prioritize setting the tax percentage for orders based on the shipping province. However, it will also establish a default tax rate for any provinces that you have not defined in the system. Click on the dropdown next to "Default Tax %" to select the default tax percentage.
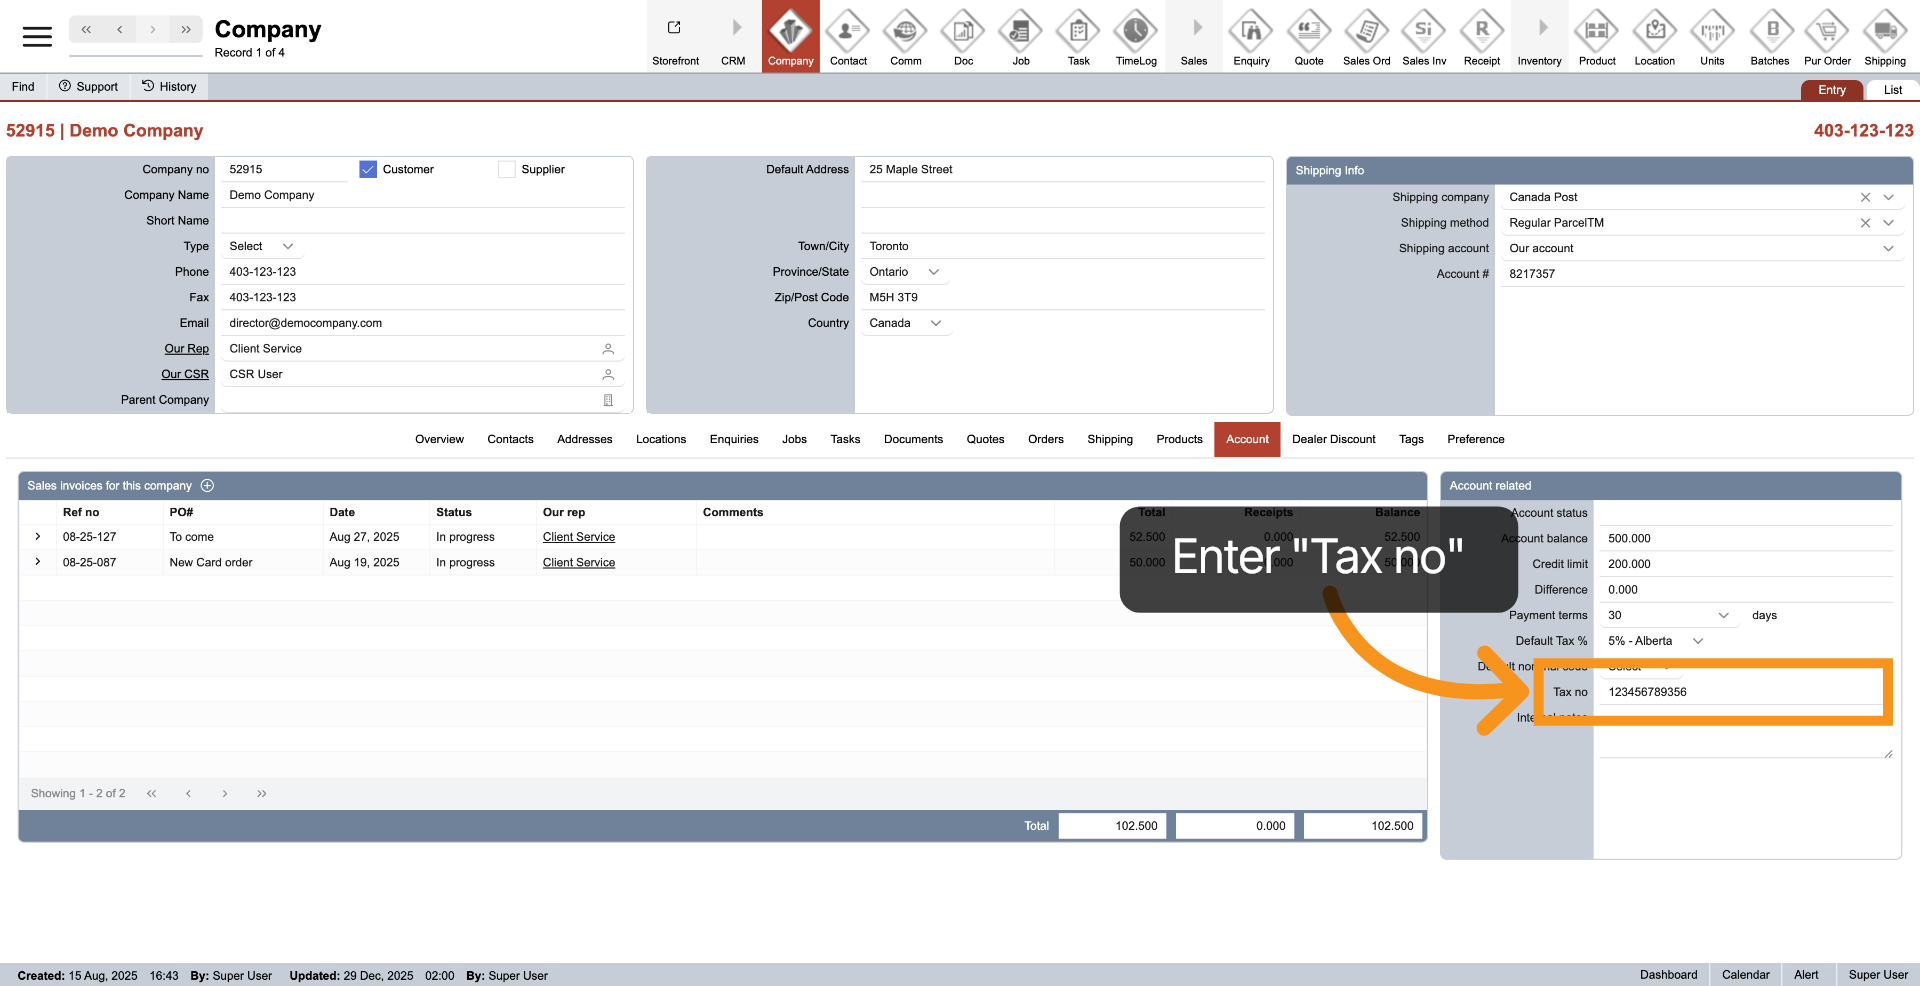
6. Enter Tax Number
Enter the tax number in the "Tax no" field for billing.
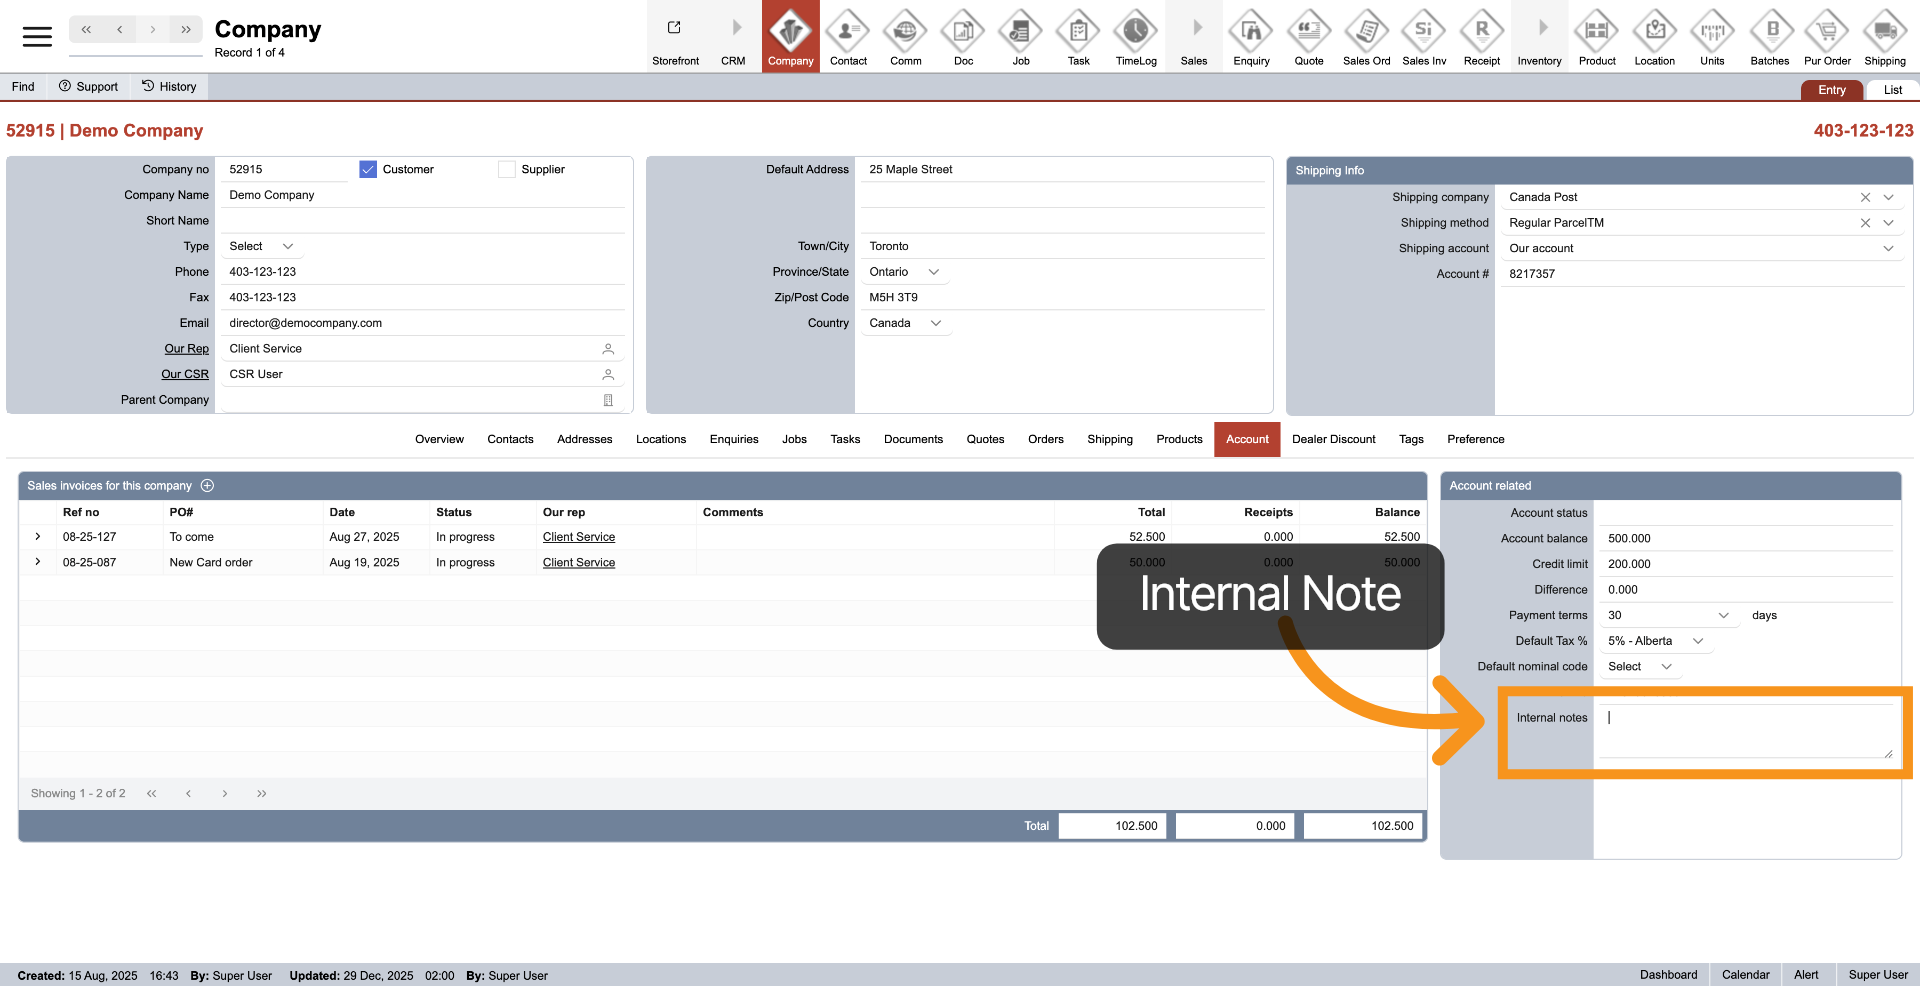
7. Enter Internal Note
Enter any billing notes for the company in the "Internal notes" section. This is for record-keeping purposes only; the note will not appear in any client document.
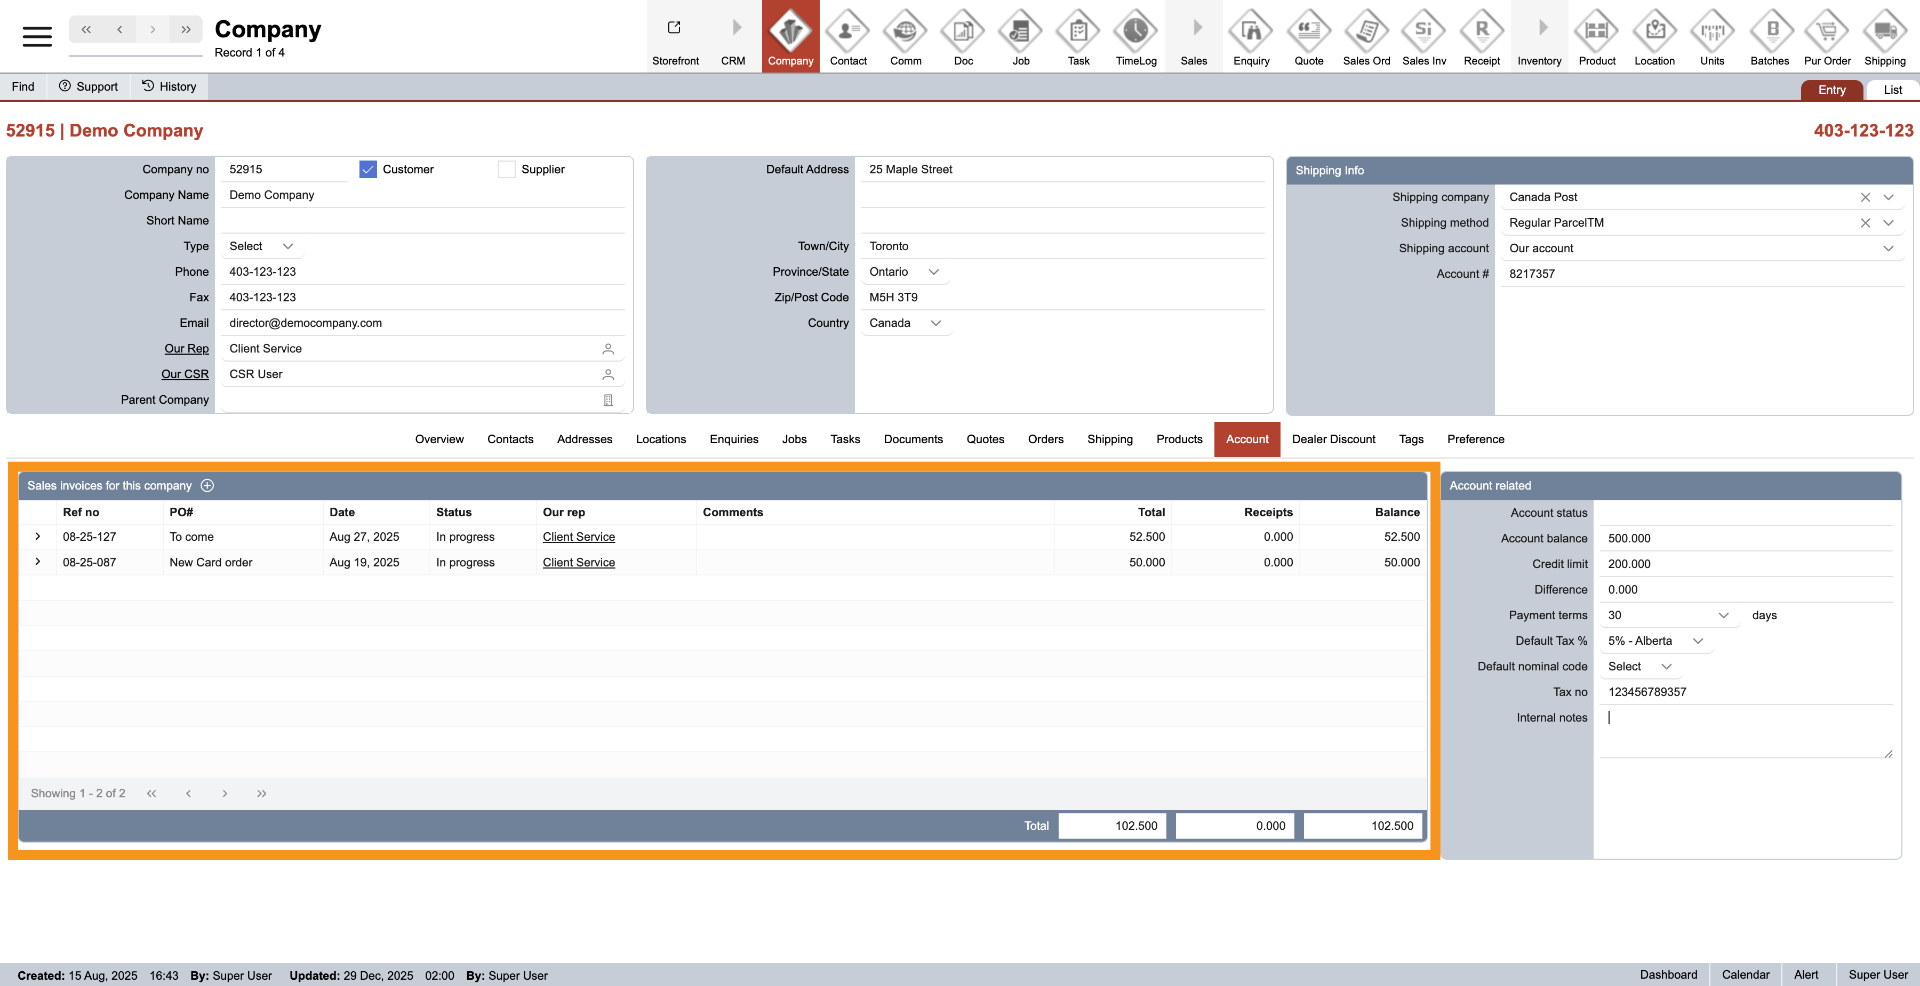
8. Invoicing Details
On the left side, all invoices related to the company will be listed. This helps you organize and view the company's invoicing quickly.
You have successfully configured your company account settings within the WorkTraq system.