Create a New Quotation
This guide walks you through the steps to create a quotation in the WorkTraq application.
Video Tutorial
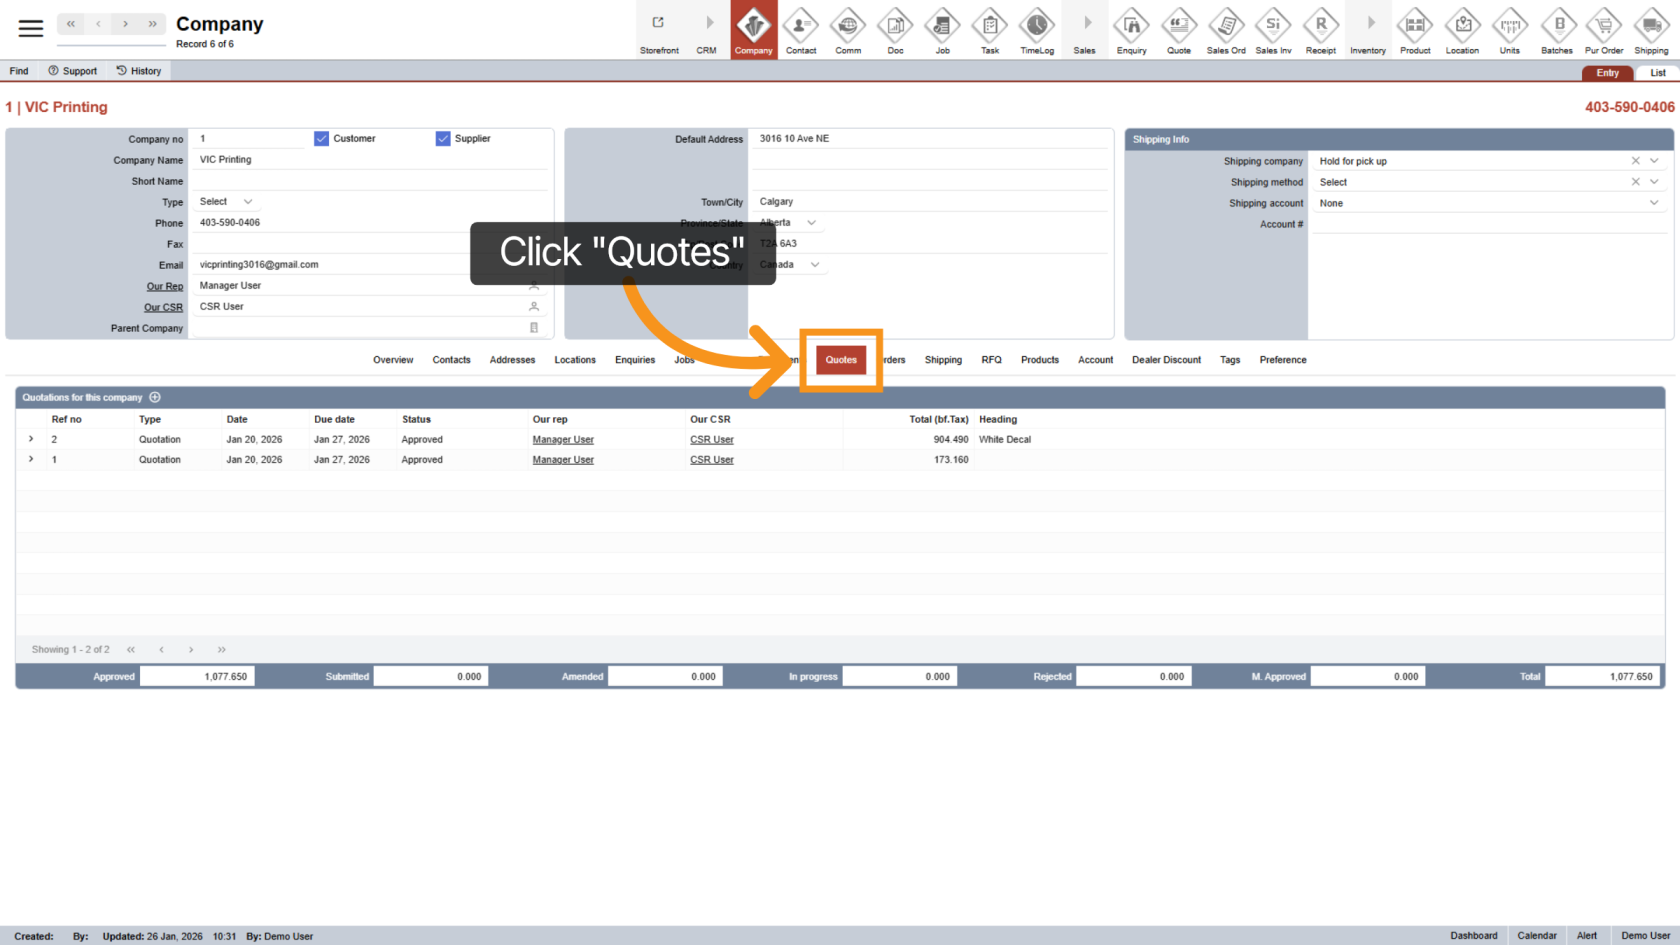
1. Go to the Quotes Section
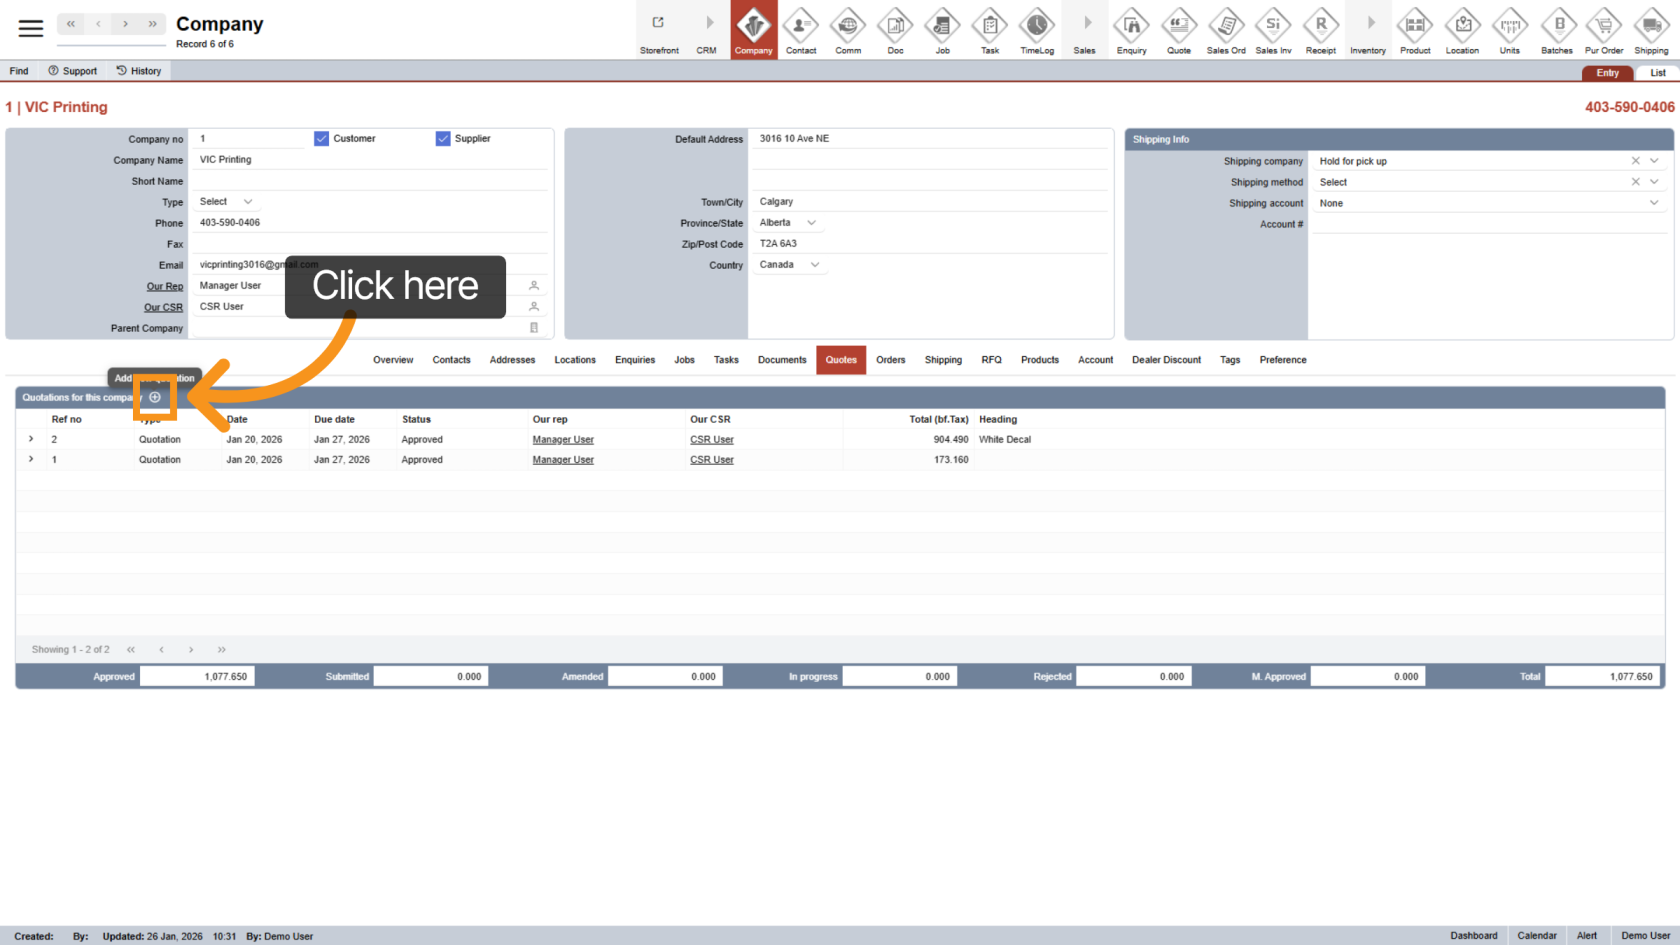
2. Create a New Quote
Click the ![]() plus icon to start a new quotation.
plus icon to start a new quotation.
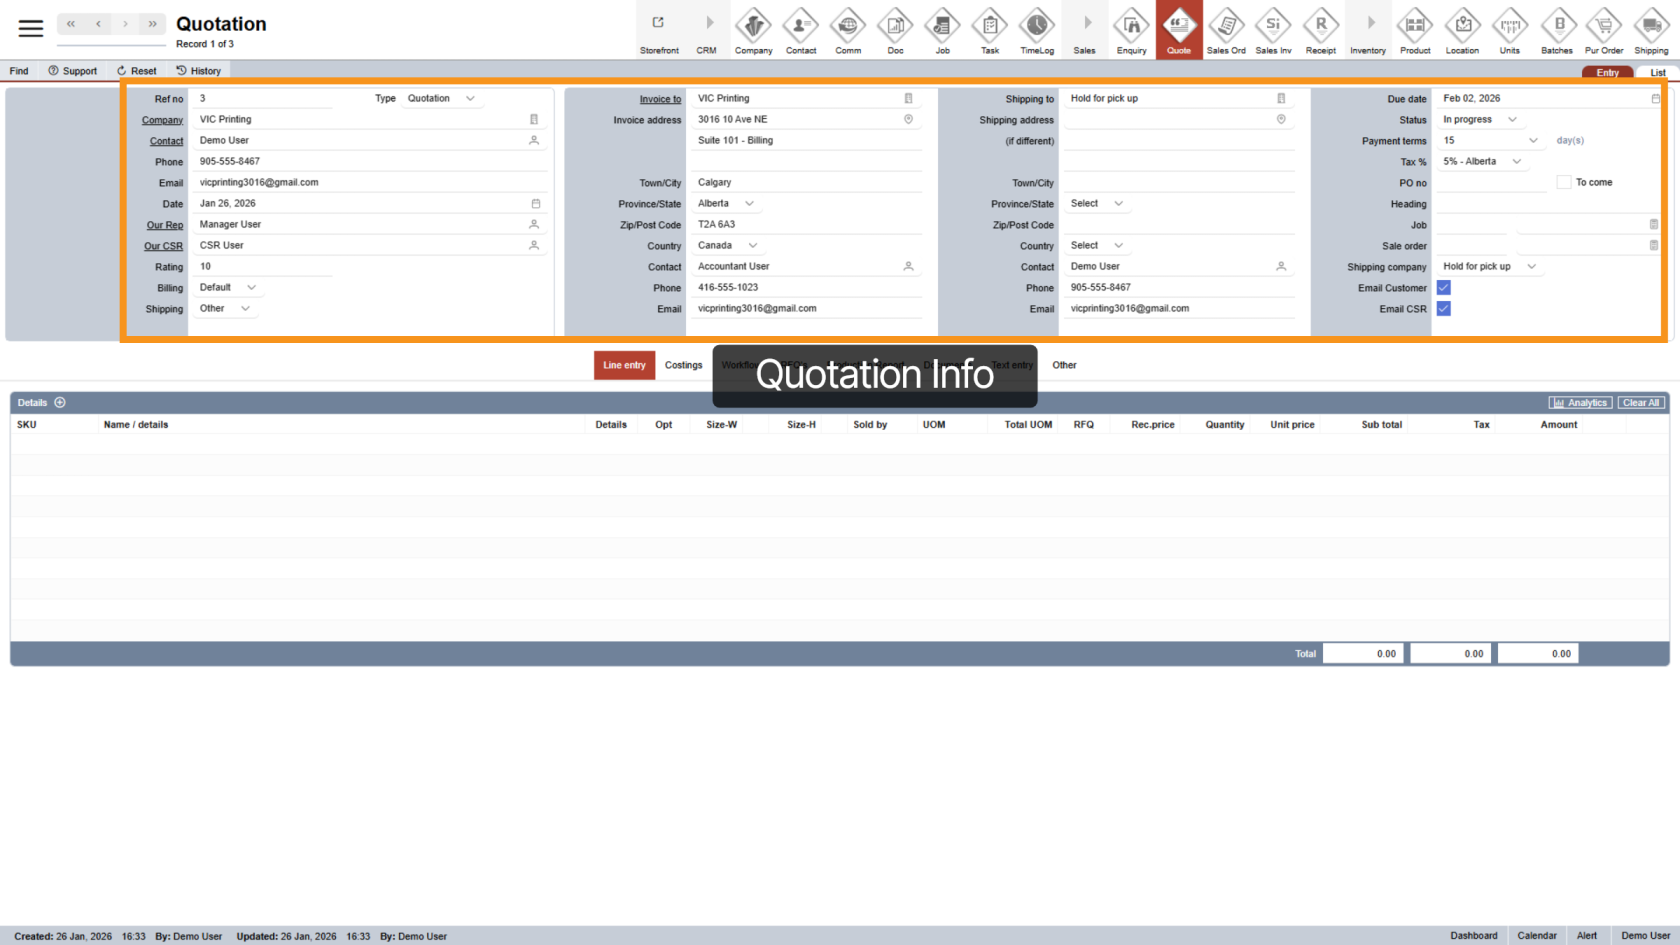
3. Quotation Details
At the top of the page, you’ll see the quotation’s general details. These are automatically filled based on the company’s setup. To edit any detail, click the icon next to the field.
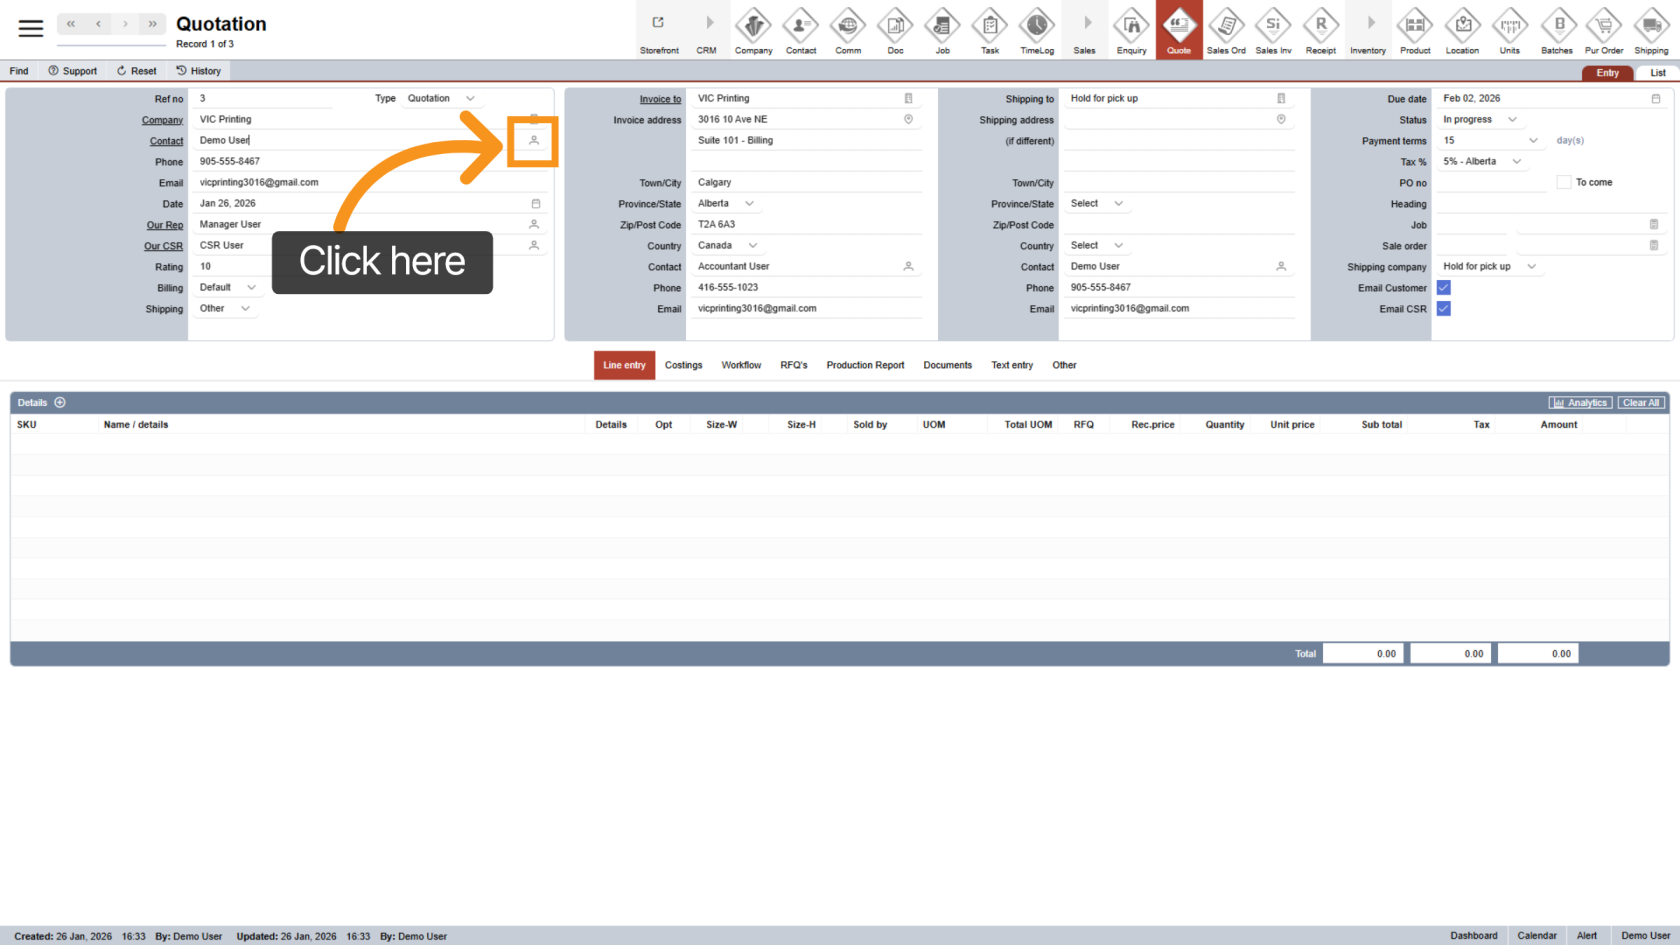
4. Change the Quotation Contact
Click the ![]() contact icon to select a different contact. The phone number and email will update automatically based on your selection.
contact icon to select a different contact. The phone number and email will update automatically based on your selection.
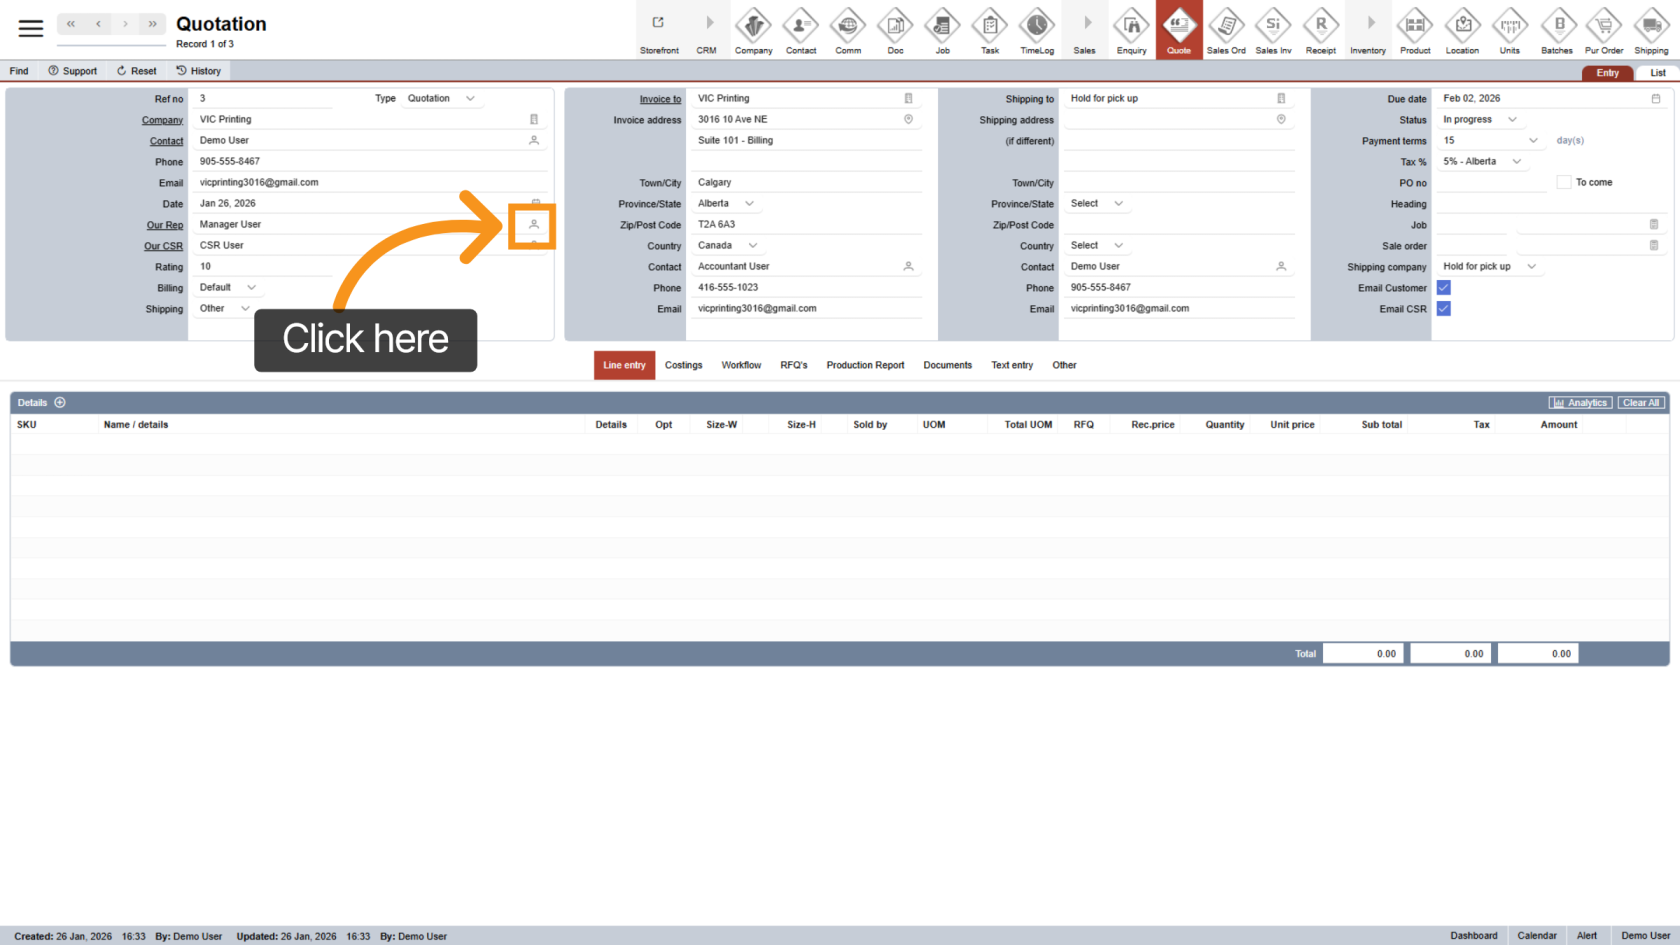
5. Select “Our Rep”
If needed, click the ![]() contact icon to change the sales representative assigned to the quotation.
contact icon to change the sales representative assigned to the quotation.
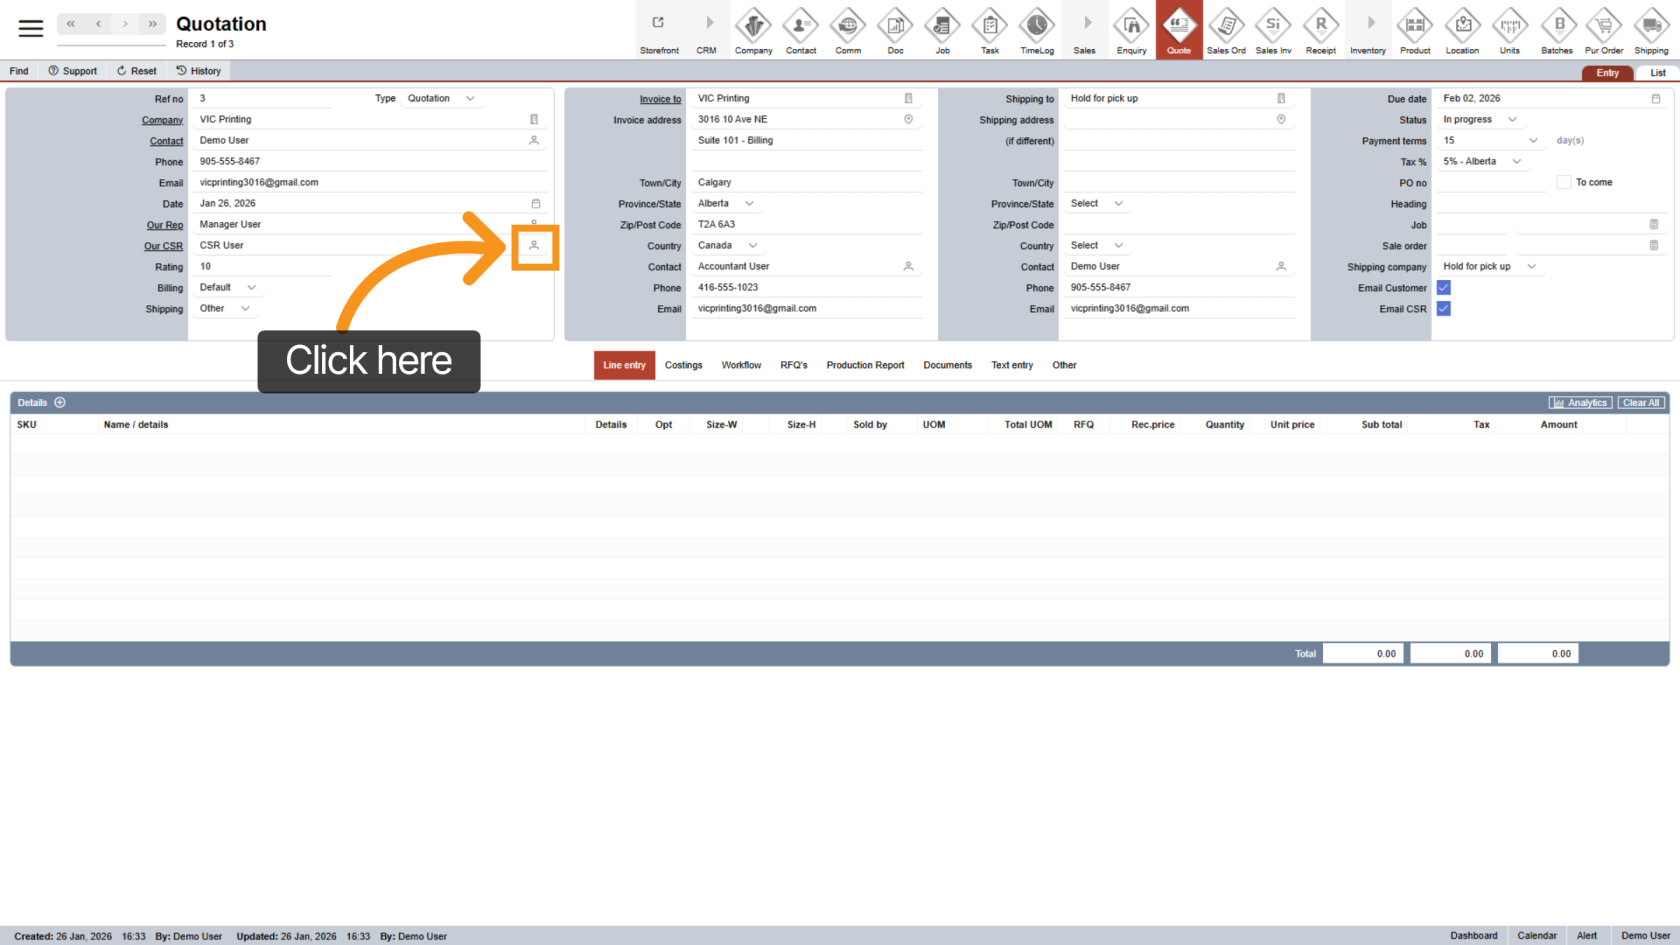
6. Select “Our CSR”
Click the ![]() contact icon to assign or update the CSR responsible for this quotation.
contact icon to assign or update the CSR responsible for this quotation.
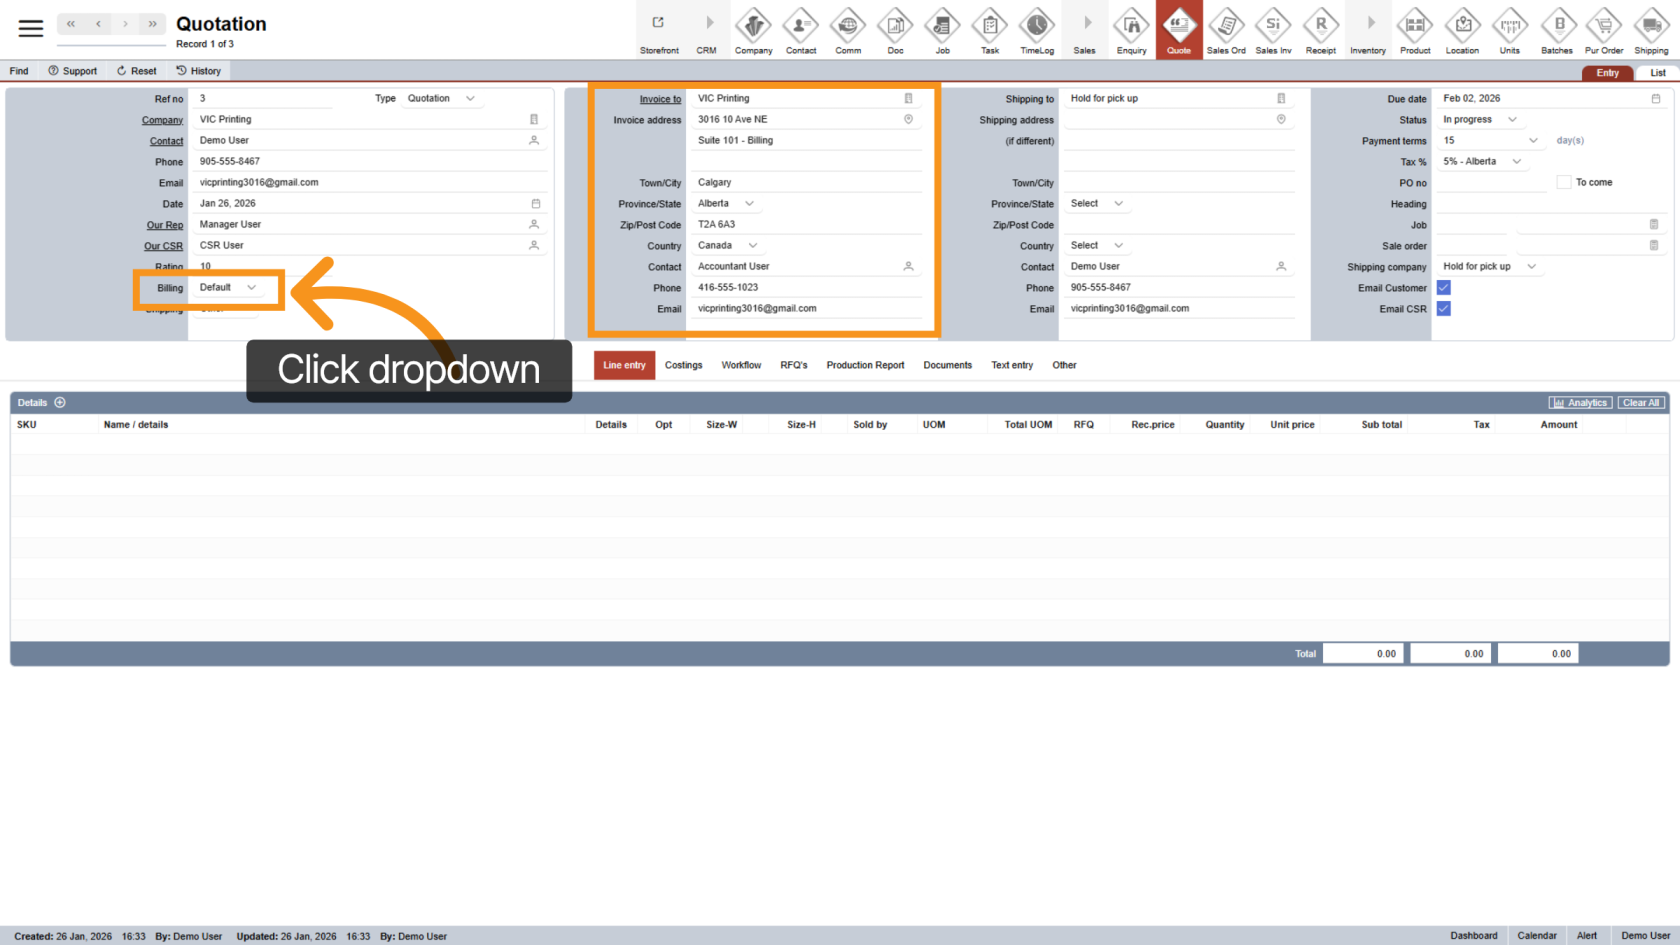
7. Update Billing Details
The second column shows billing information. To modify it, open the Billing dropdown and select "Other".
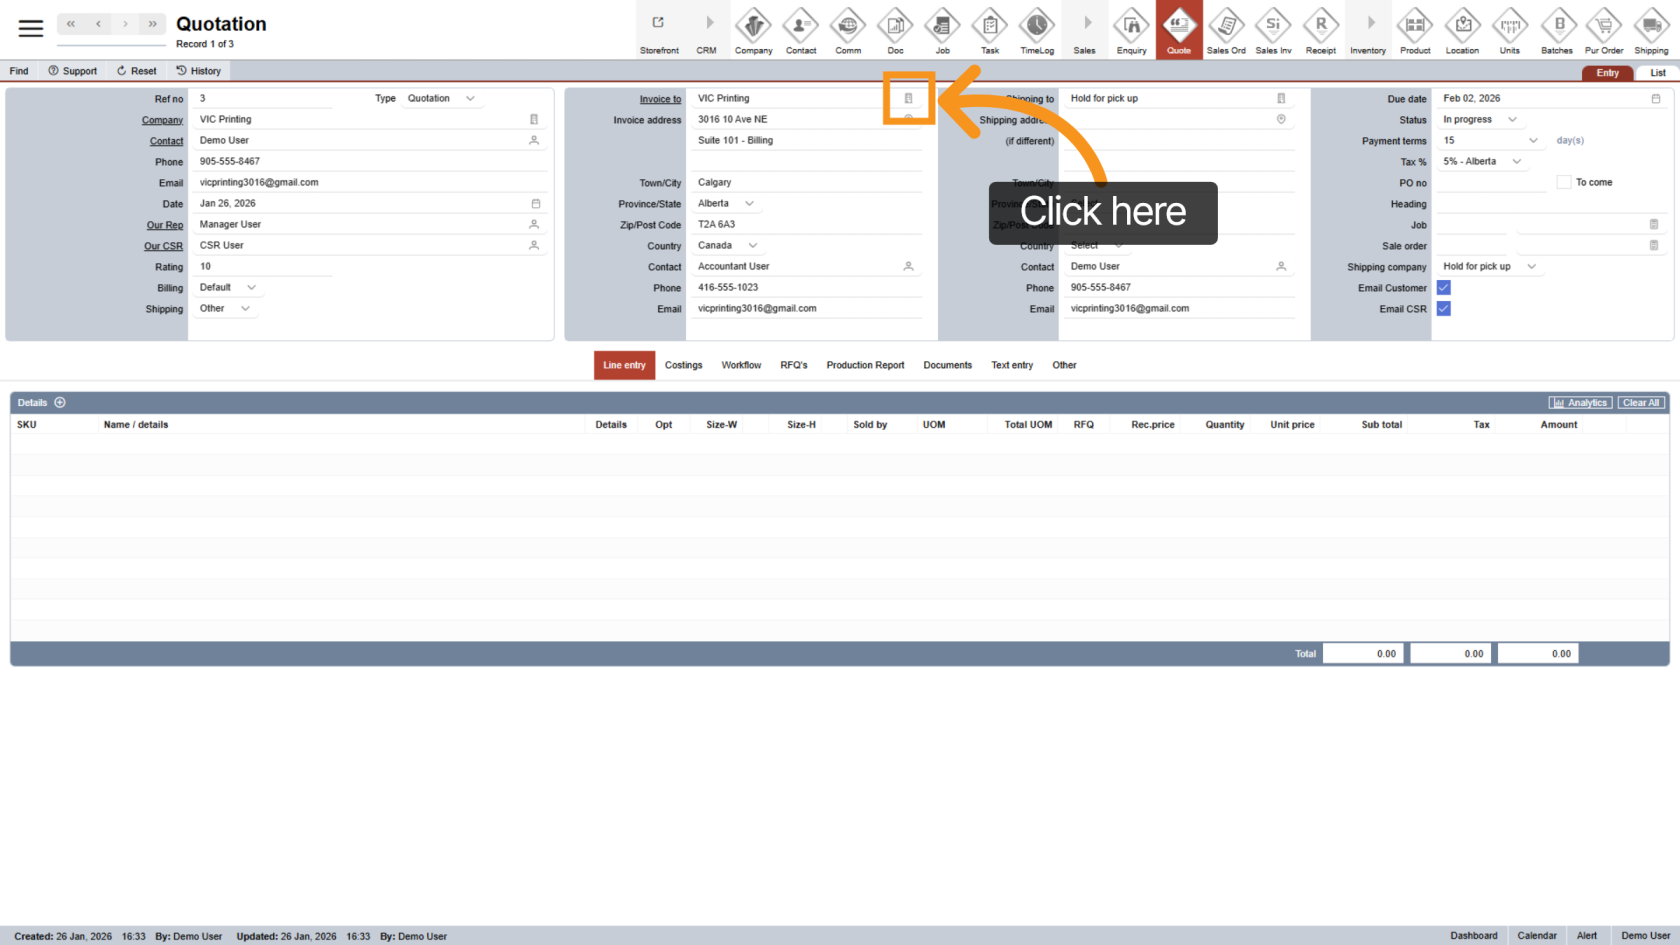
8. Change Billing Company
Click the ![]() company icon to choose a different billing company.
company icon to choose a different billing company.
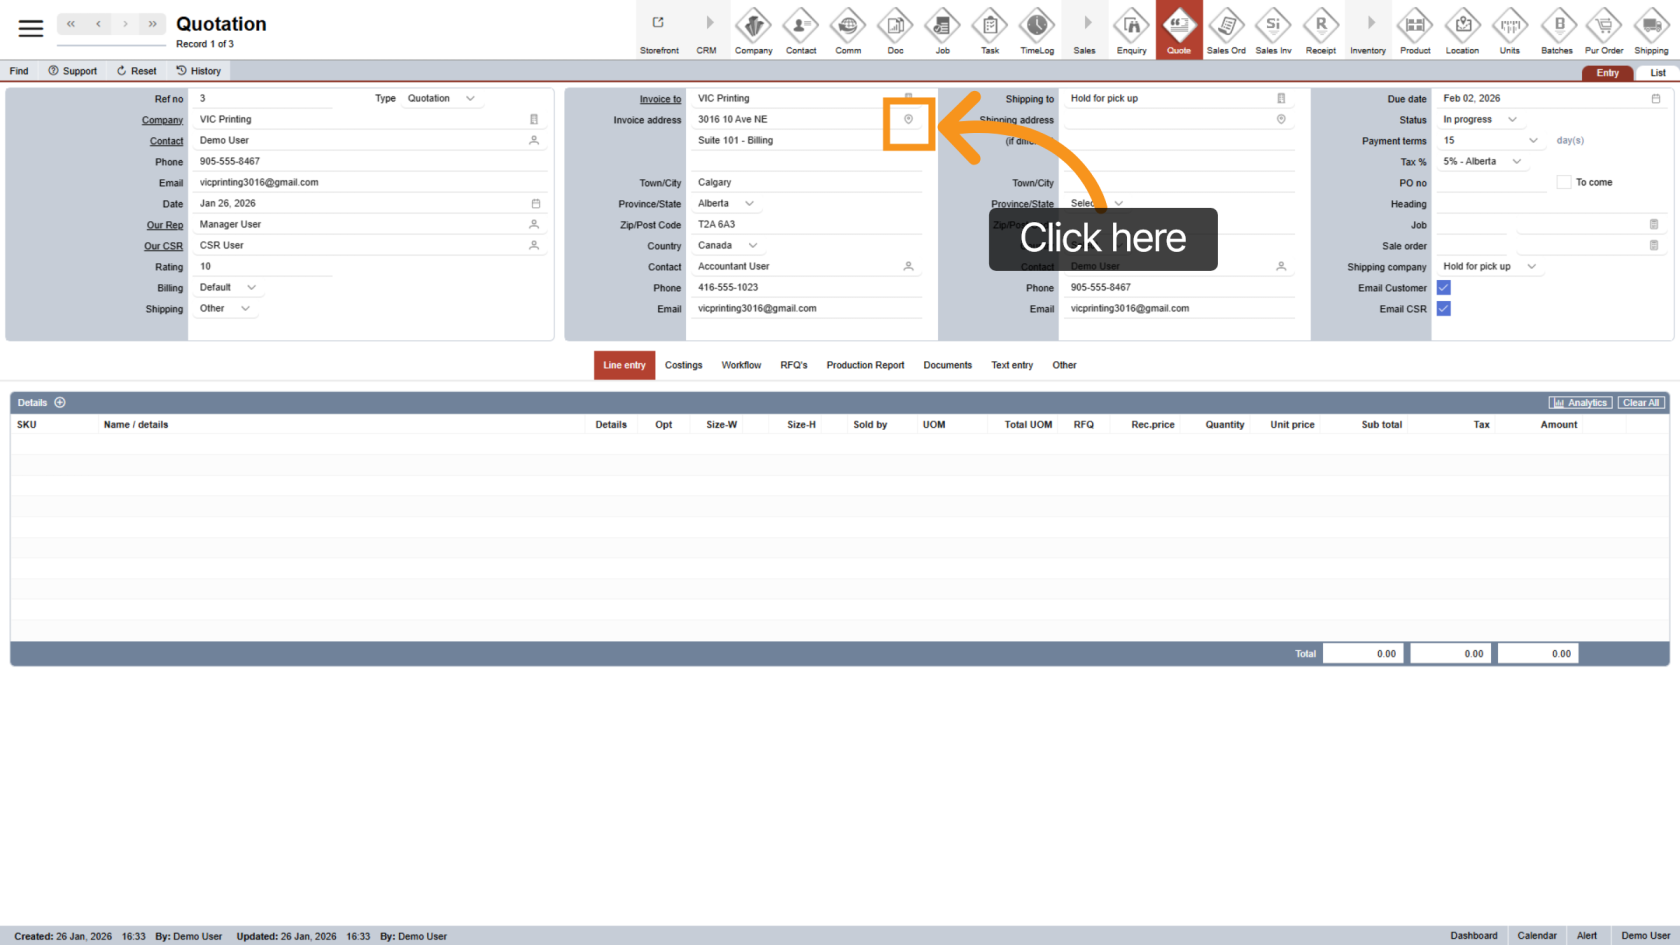
9. Change Billing Address
Click the ![]() address icon to update the billing address.
address icon to update the billing address.
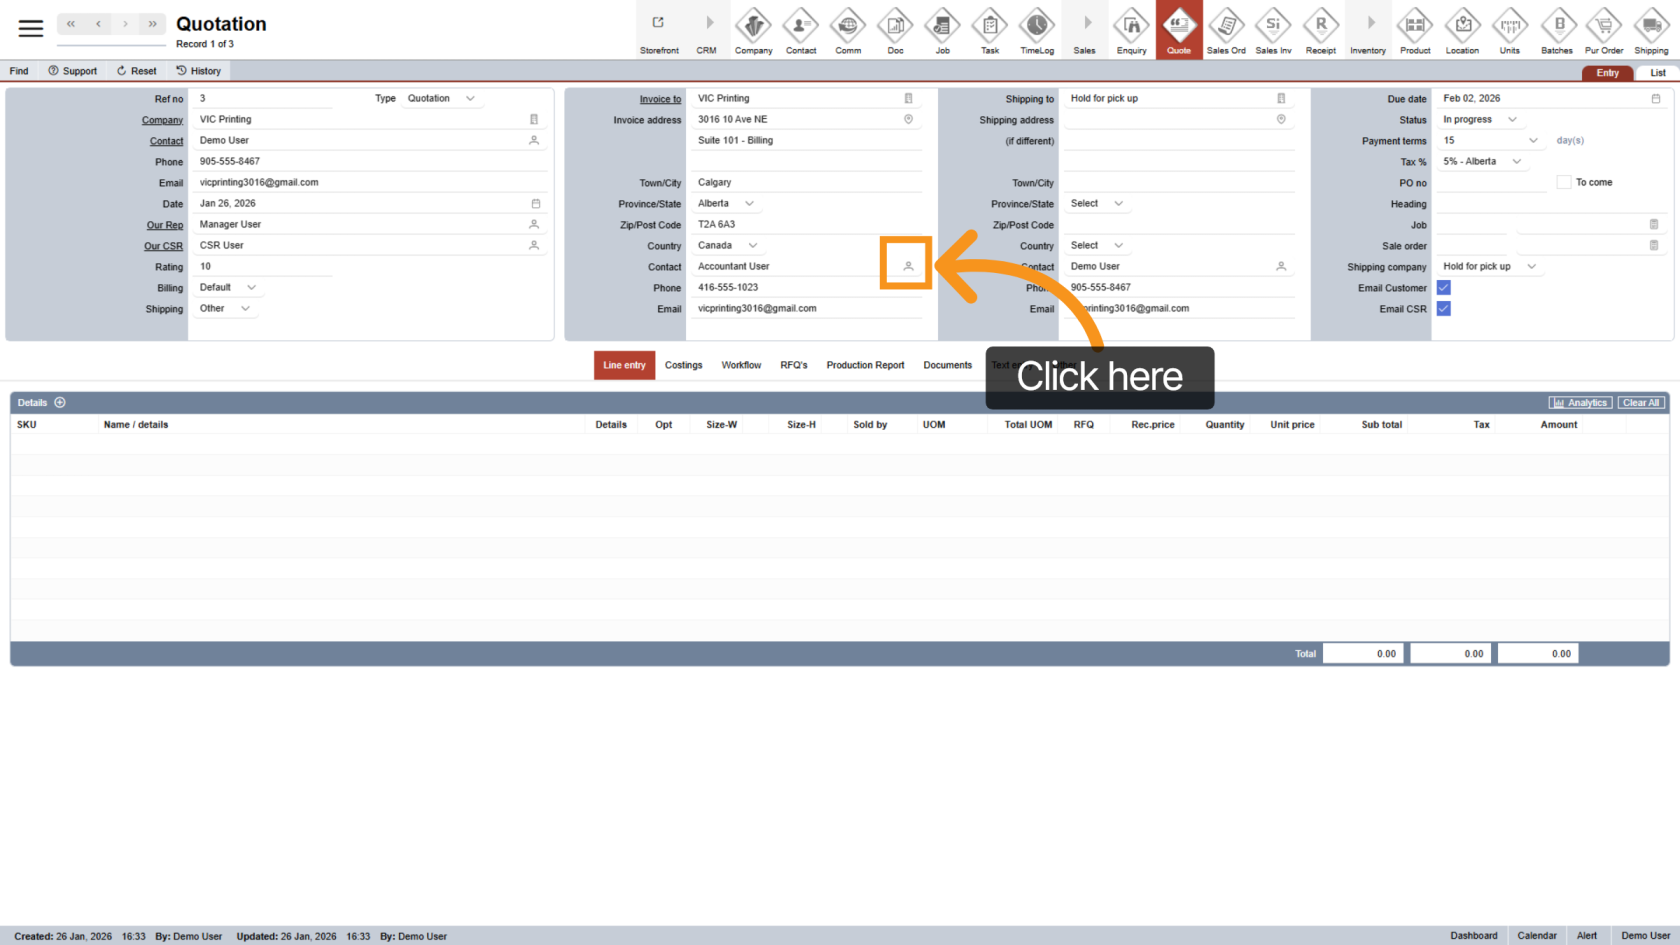
10. Change Billing Contact
Click the ![]() contact icon to change the billing contact.
contact icon to change the billing contact.
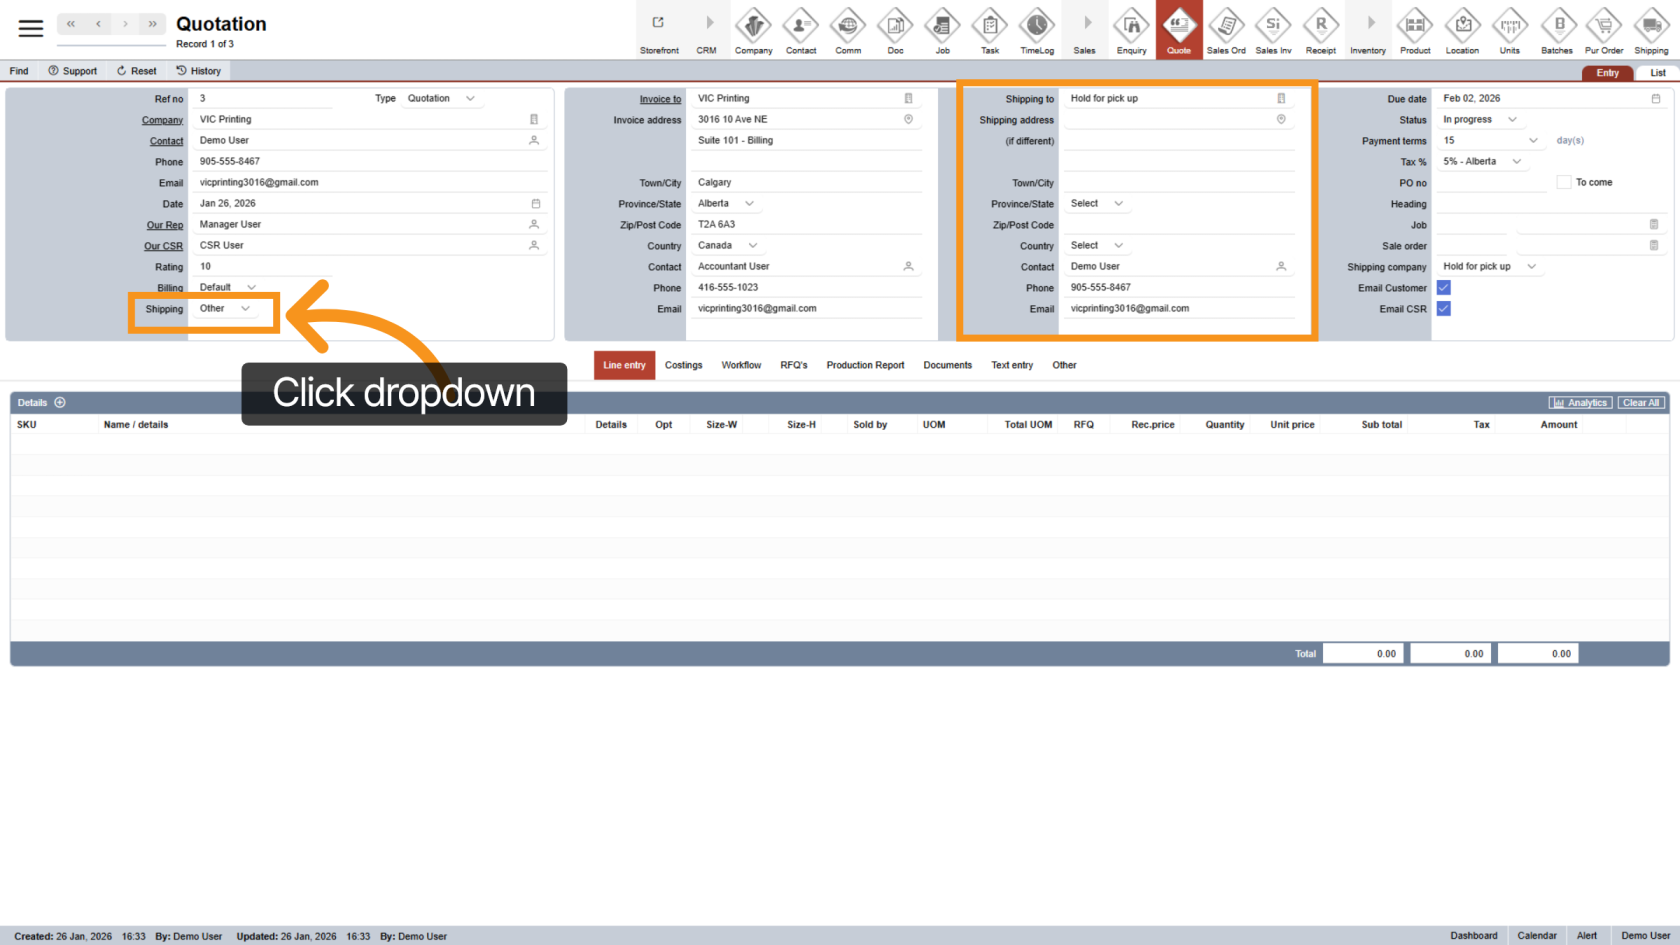
11. Update Shipping Details
The third column contains shipping information. To edit it, open the Shipping dropdown and select "Other".
12. Change Shipping Company
Click the ![]() company icon to select a different shipping company.
company icon to select a different shipping company.
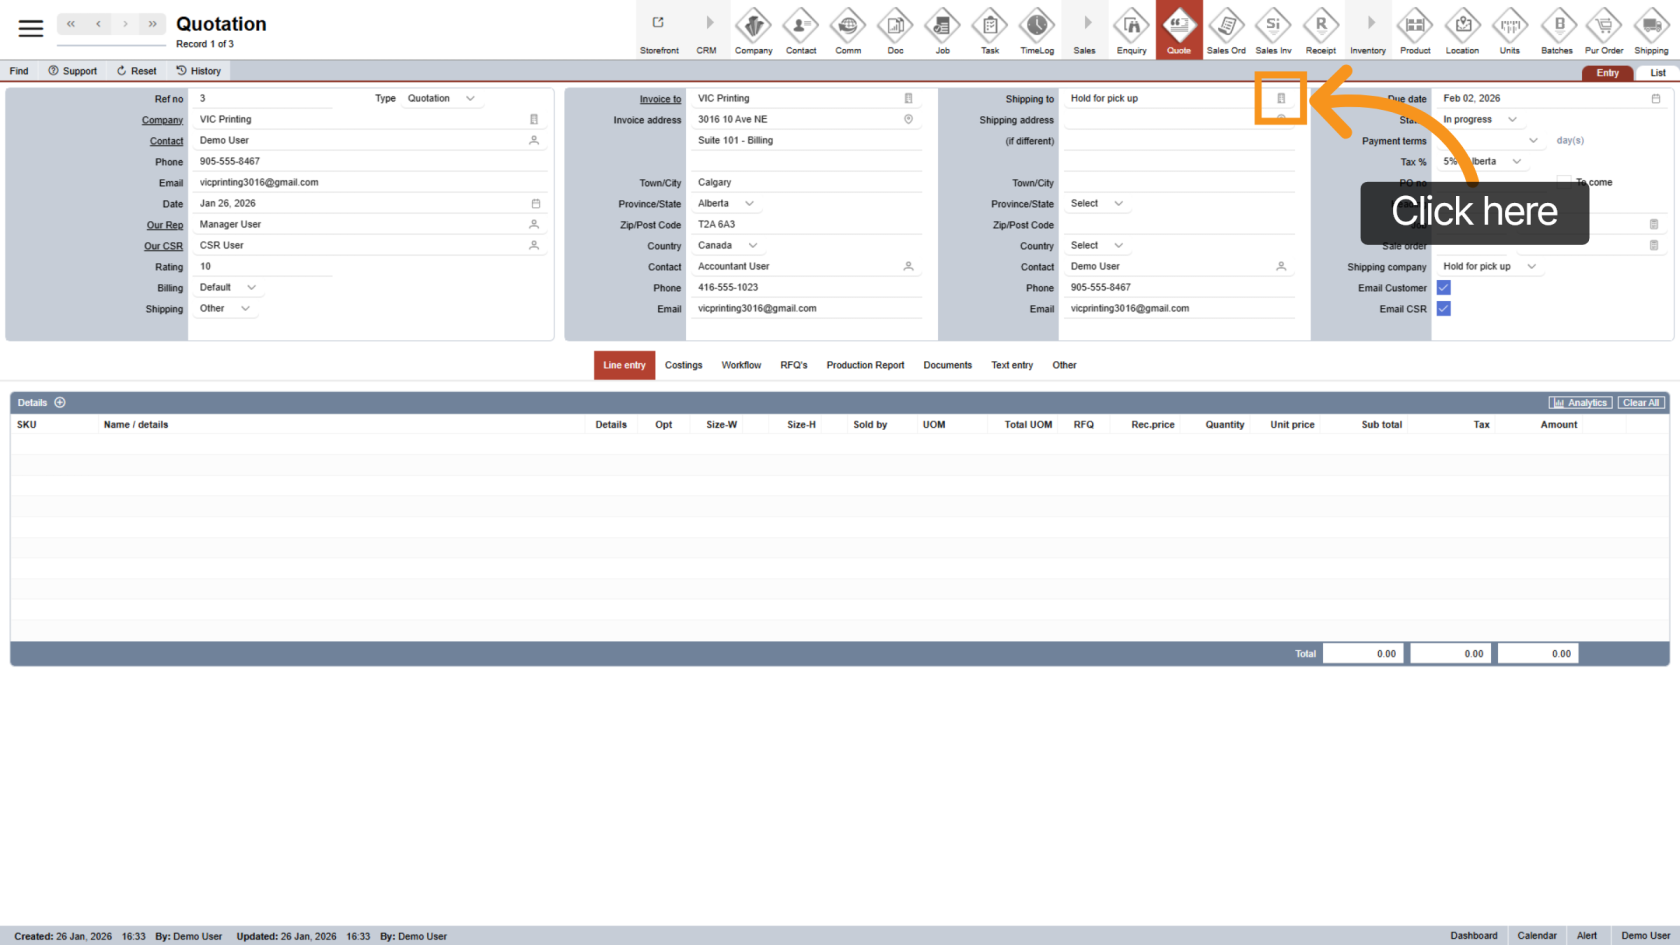
13. Change Shipping Address
Click the ![]() address icon to update the shipping address.
address icon to update the shipping address.
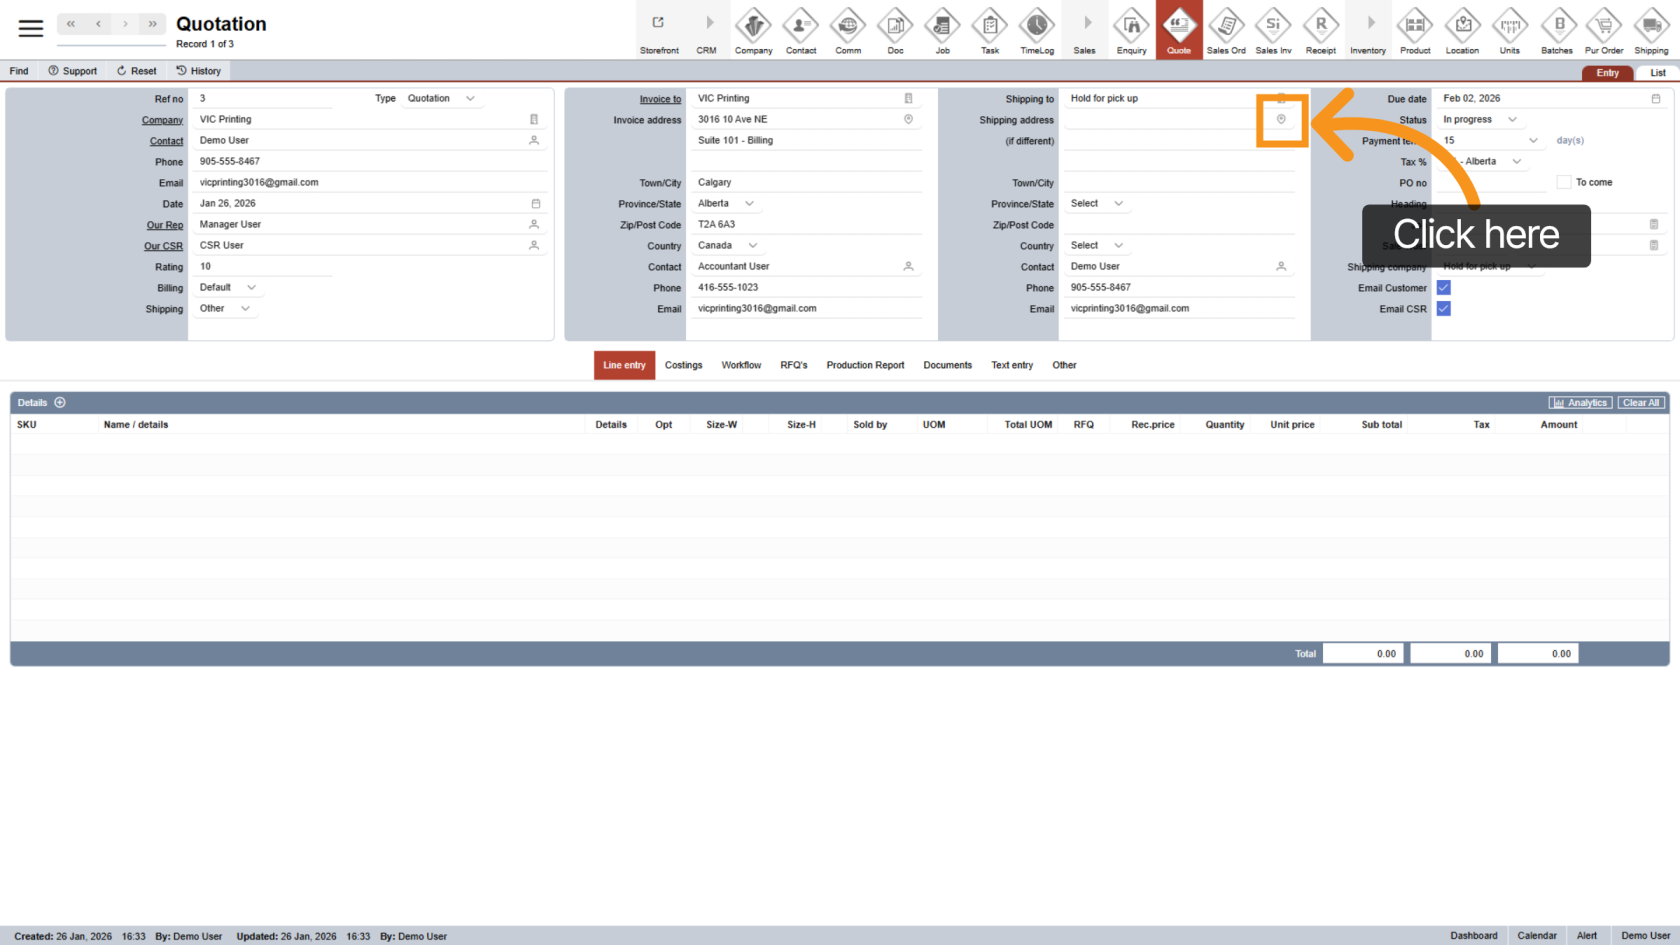
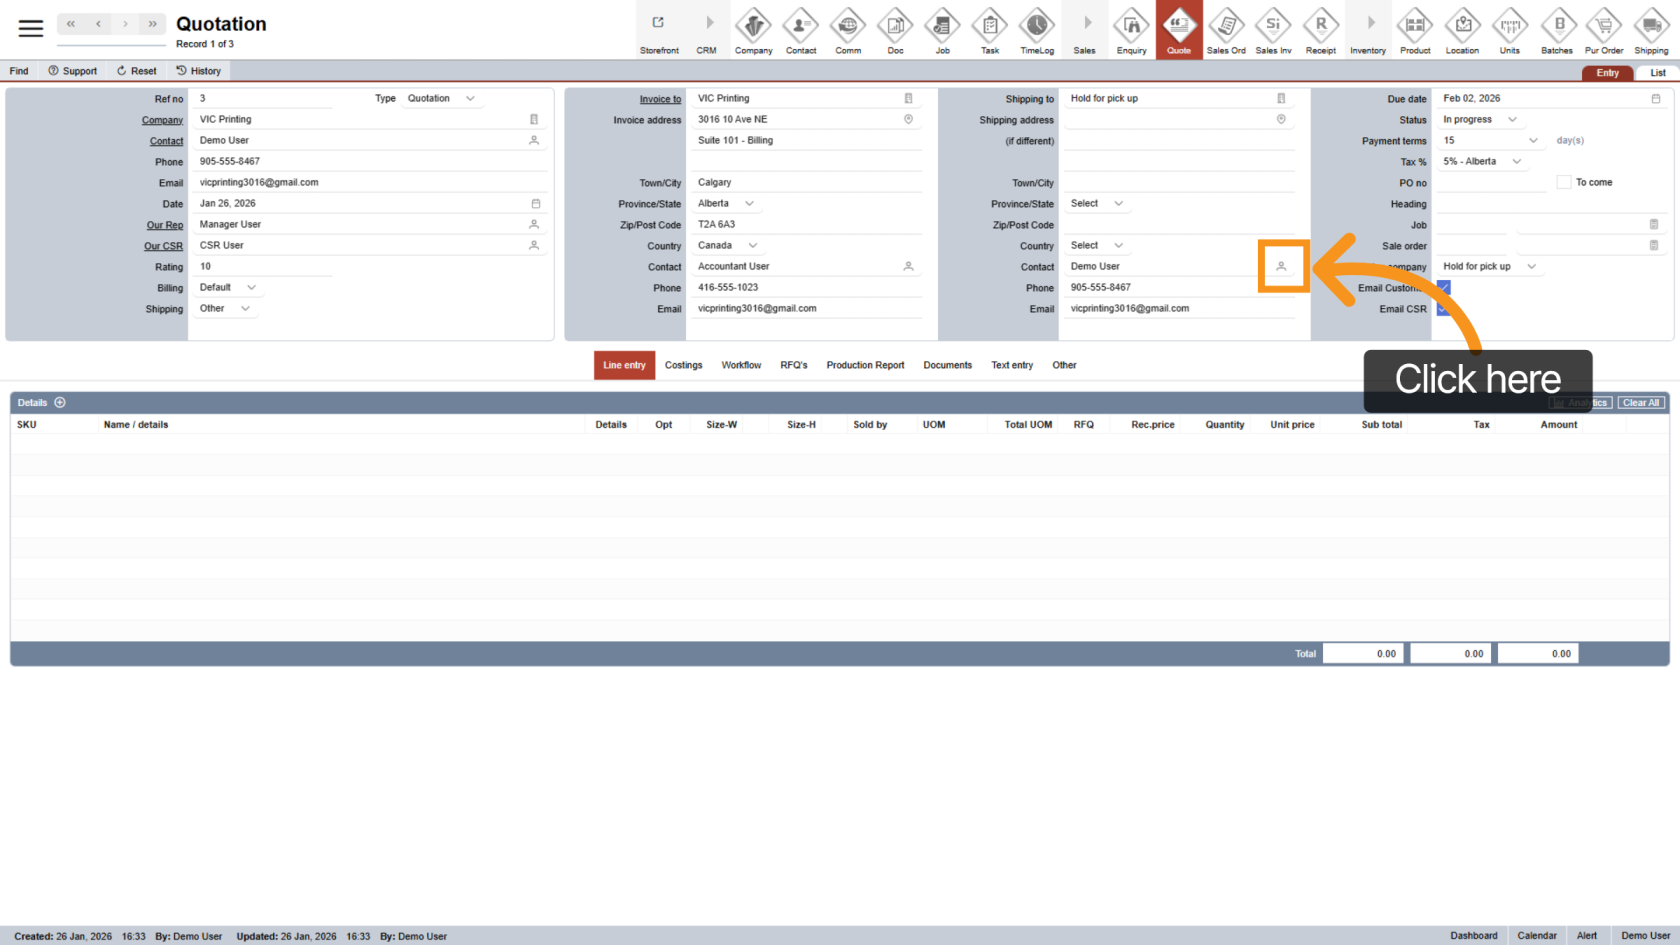
14. Change Shipping Contact
Click the ![]() contact icon to update the shipping contact.
contact icon to update the shipping contact.
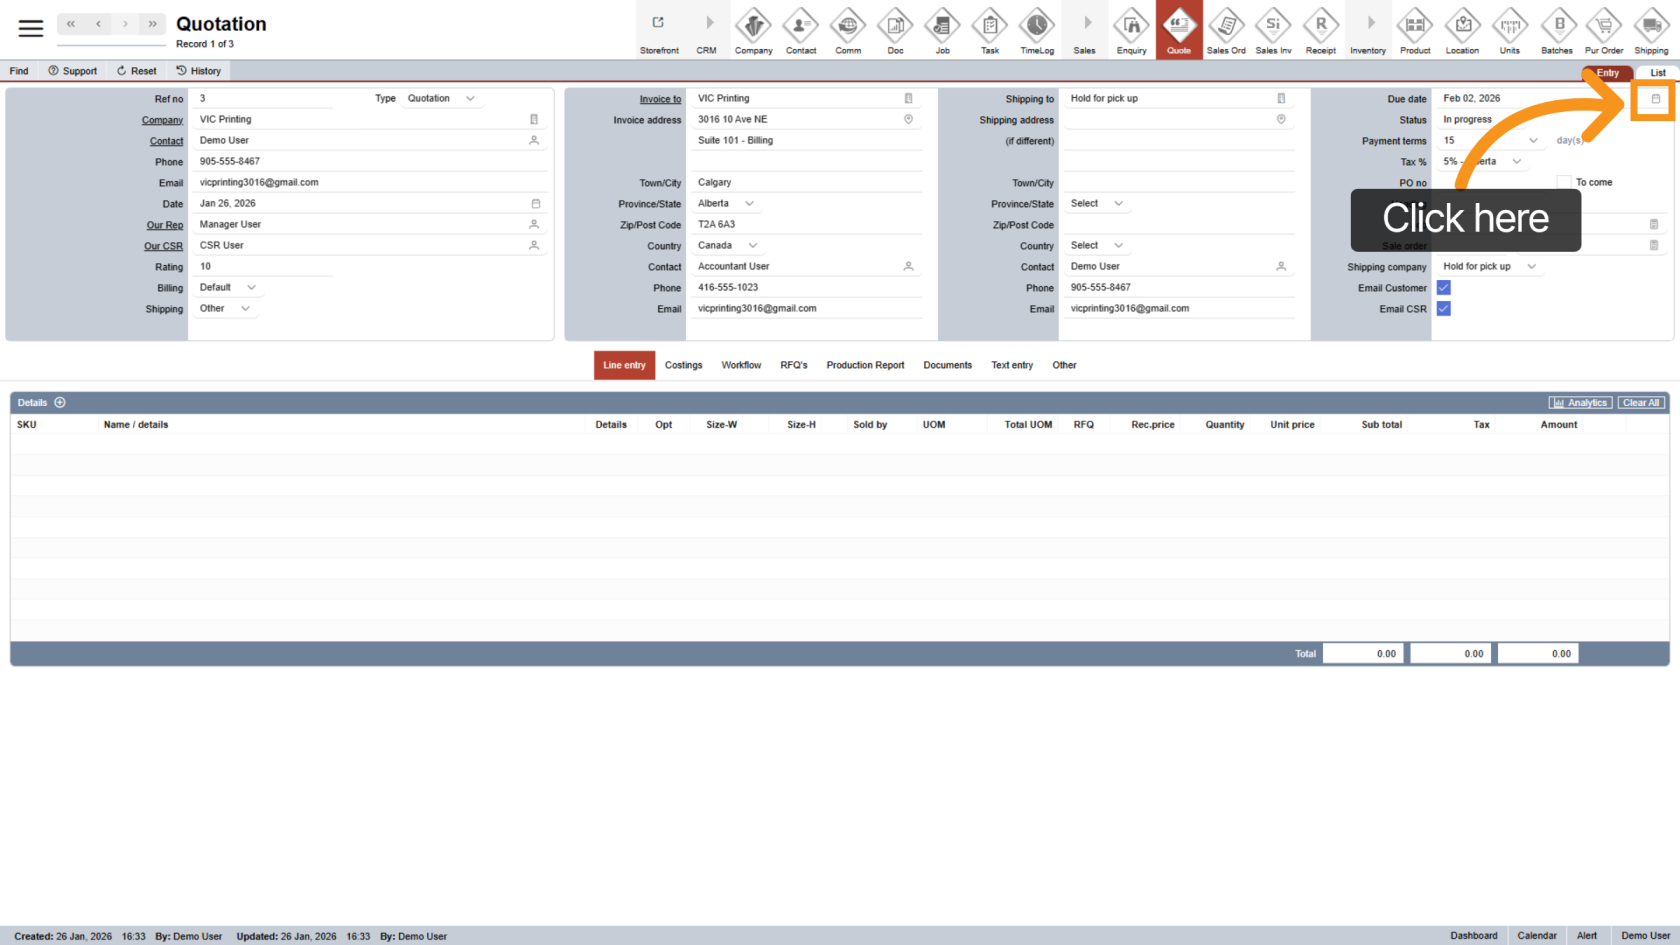
15. Set the Due Date
By default, the due date is set to 7 days from the quotation date. Click the ![]() date icon to change it.
date icon to change it.
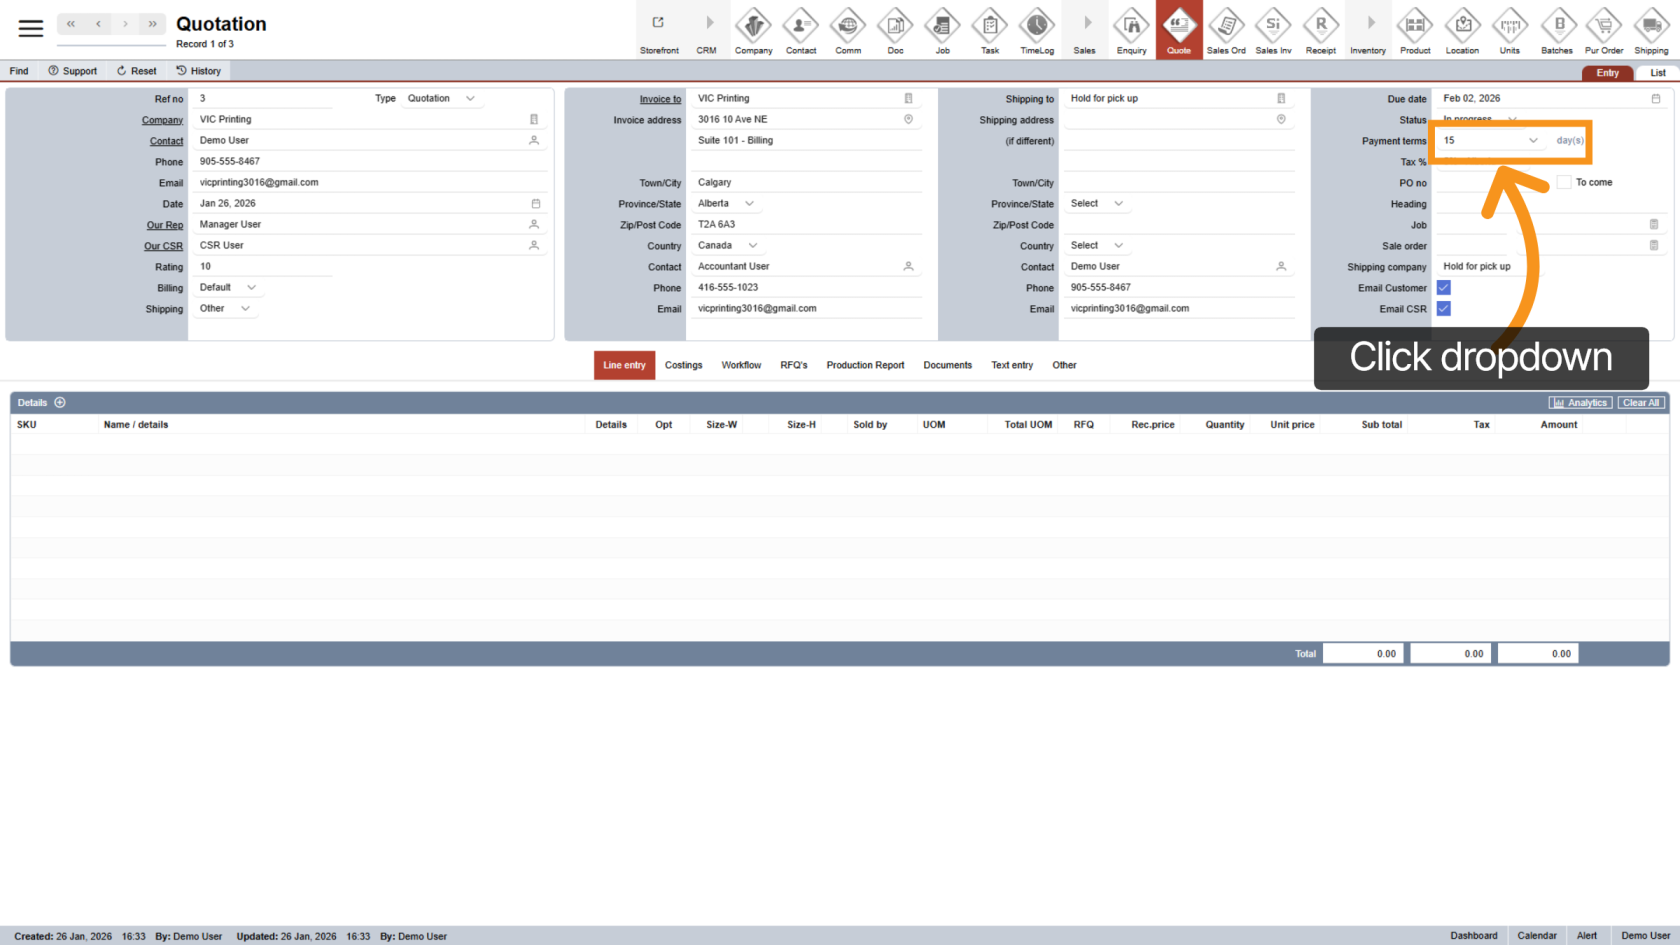
16. Select Payment Terms
Click the Payment Terms dropdown to define the agreed payment period.
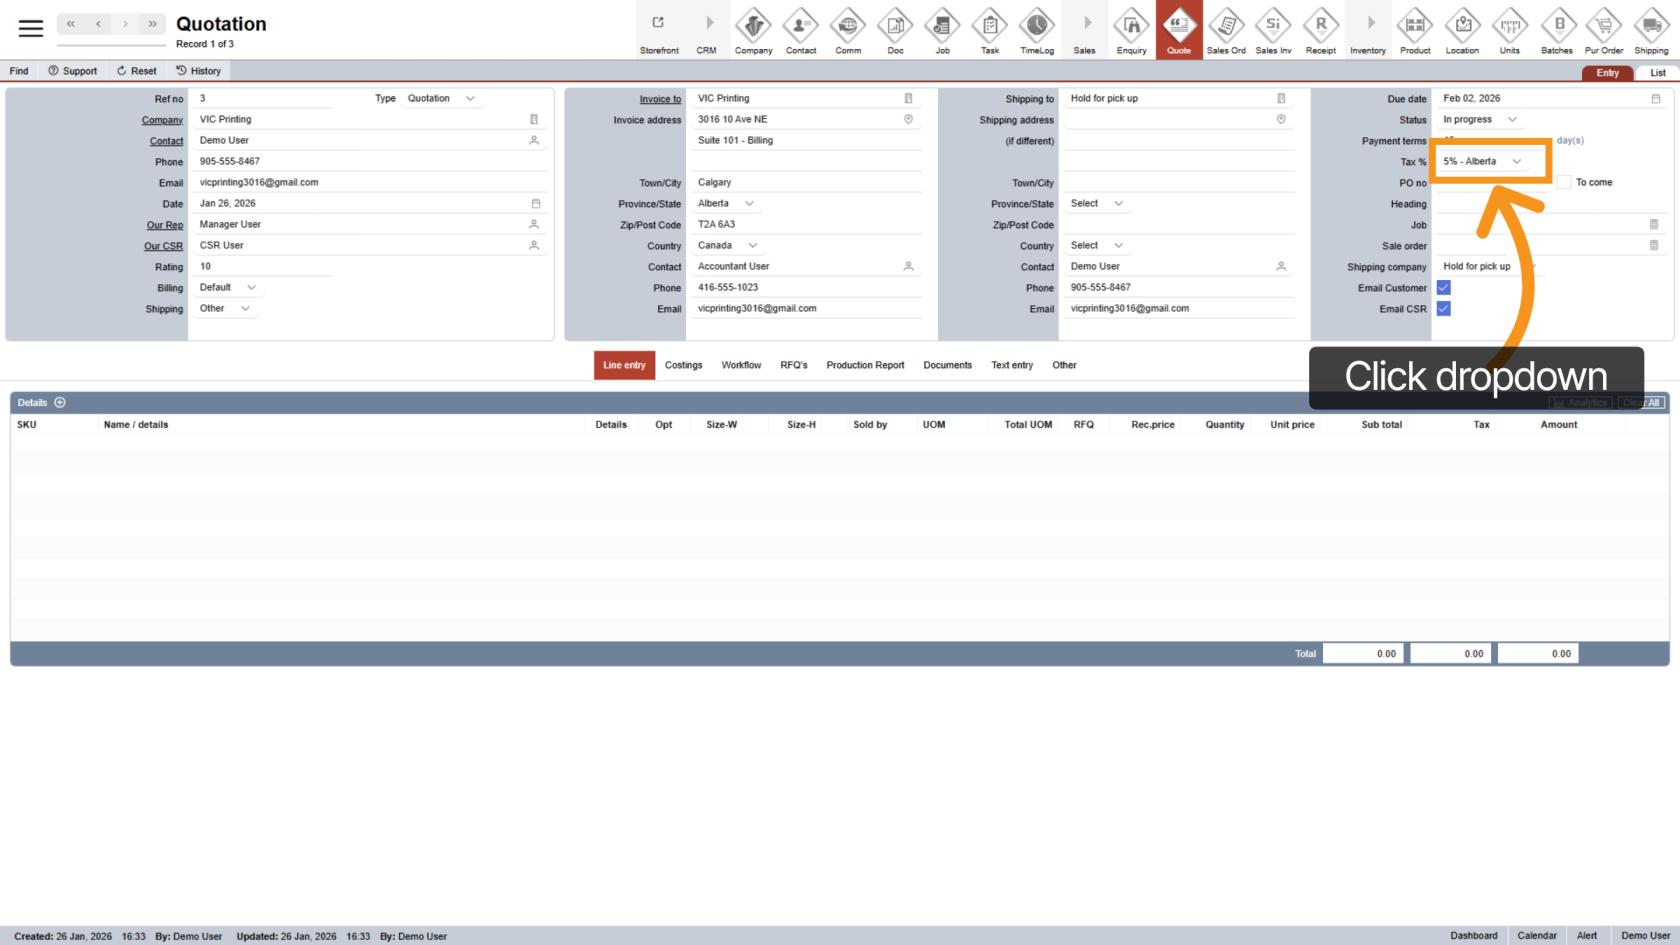
17. Tax Percentage
The tax rate is automatically calculated based on the shipping address. Click the Tax % dropdown if you need to adjust it.
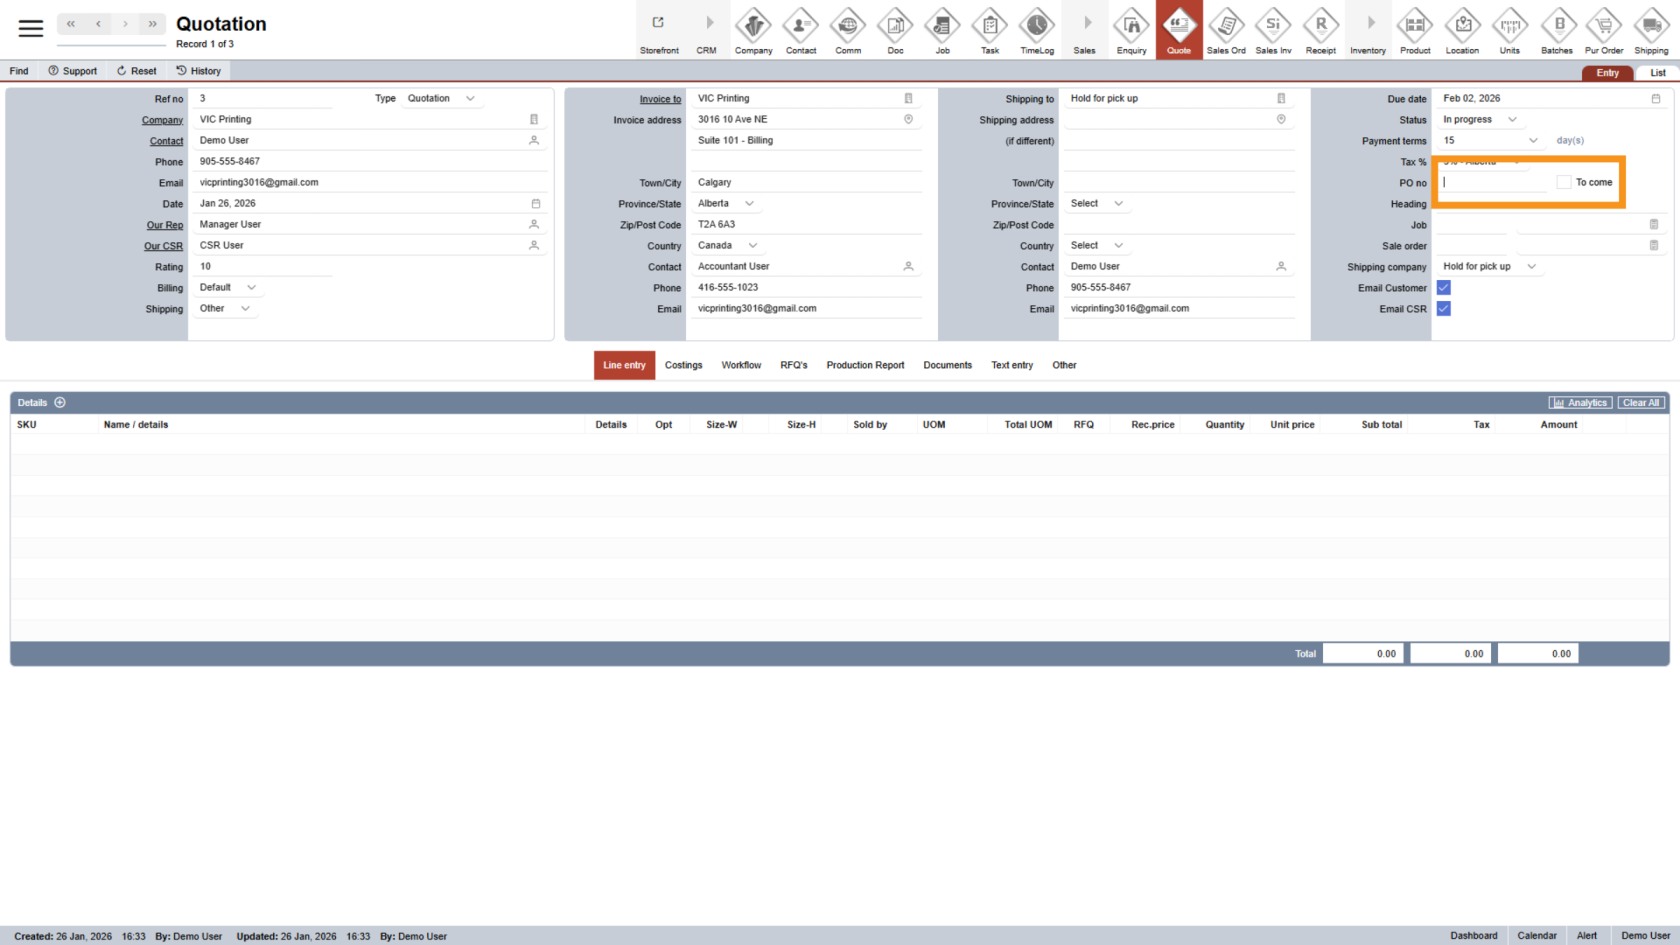
18. Enter PO Number
Enter the purchase order number. If it’s not available yet, select "To Come".
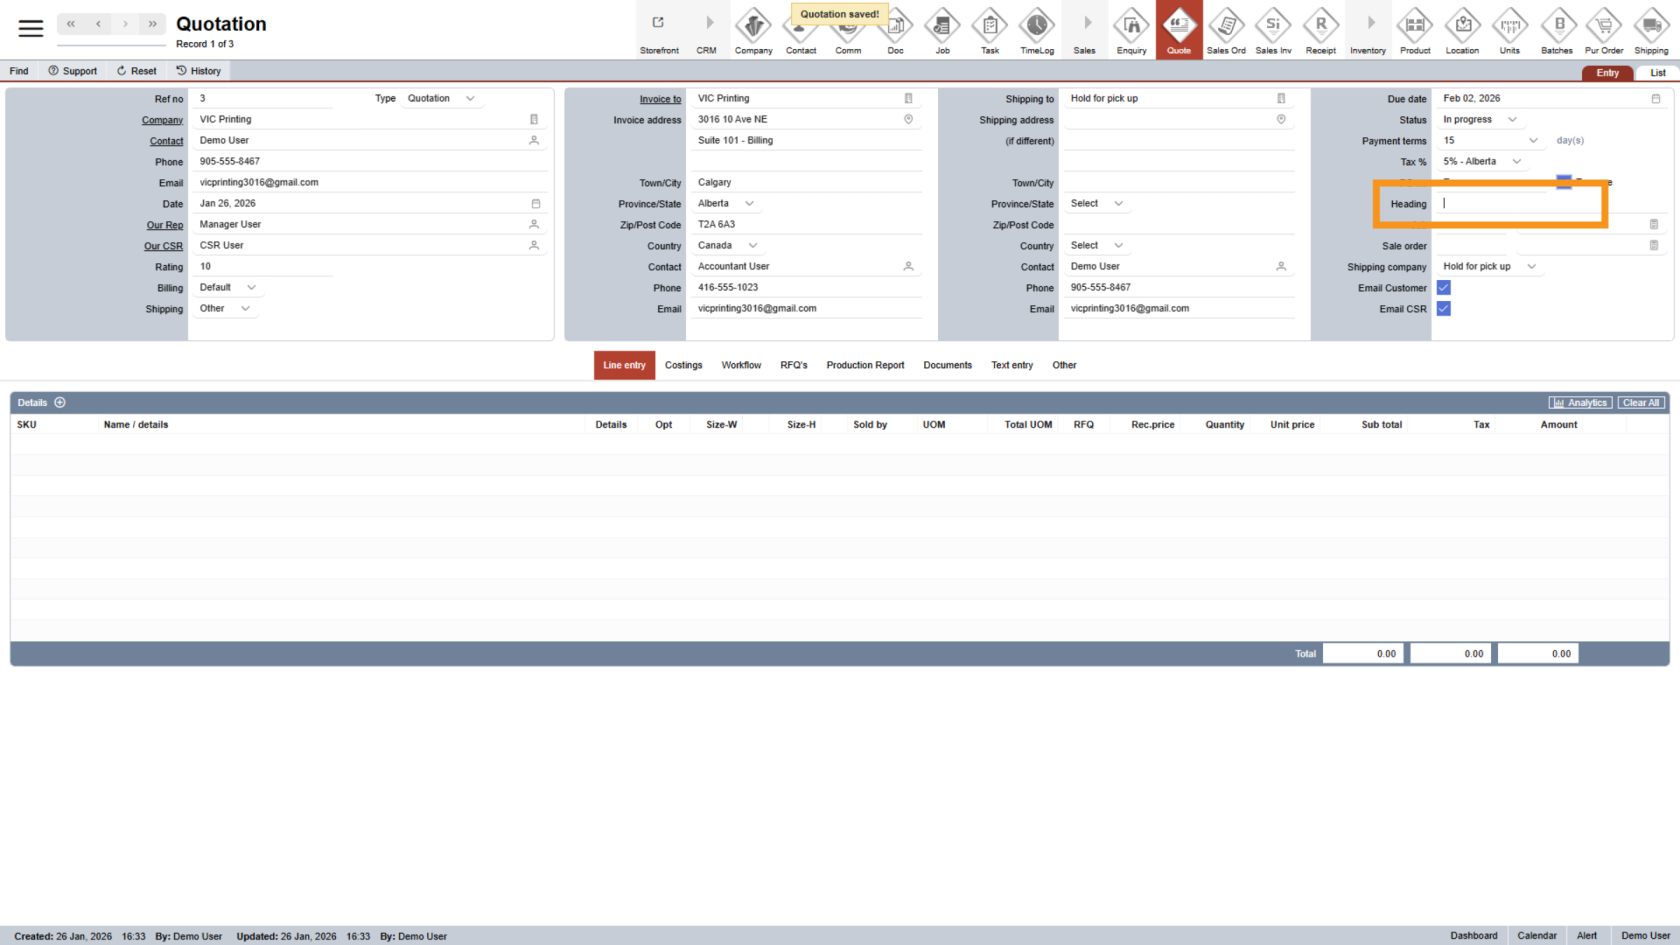
19. Add a Heading
Click the heading area to enter a title or short description for the quotation.
20. Choose Shipping Carrier
Select the Shipping Company dropdown that will handle delivery.

The quotation has been created successfully. Verify the quotation summary, billing, and shipping details before continuing to the next step.step Add Line Entry to a Quotation.