Create Sale Orders
This guide walks you through creating a new sales order in the WorkTraq application.
Note: If you want to convert a quotation into a sales order, please follow the Convert Quotation to Sales Order guide instead.
Video Tutorial
1. Open the Company Section

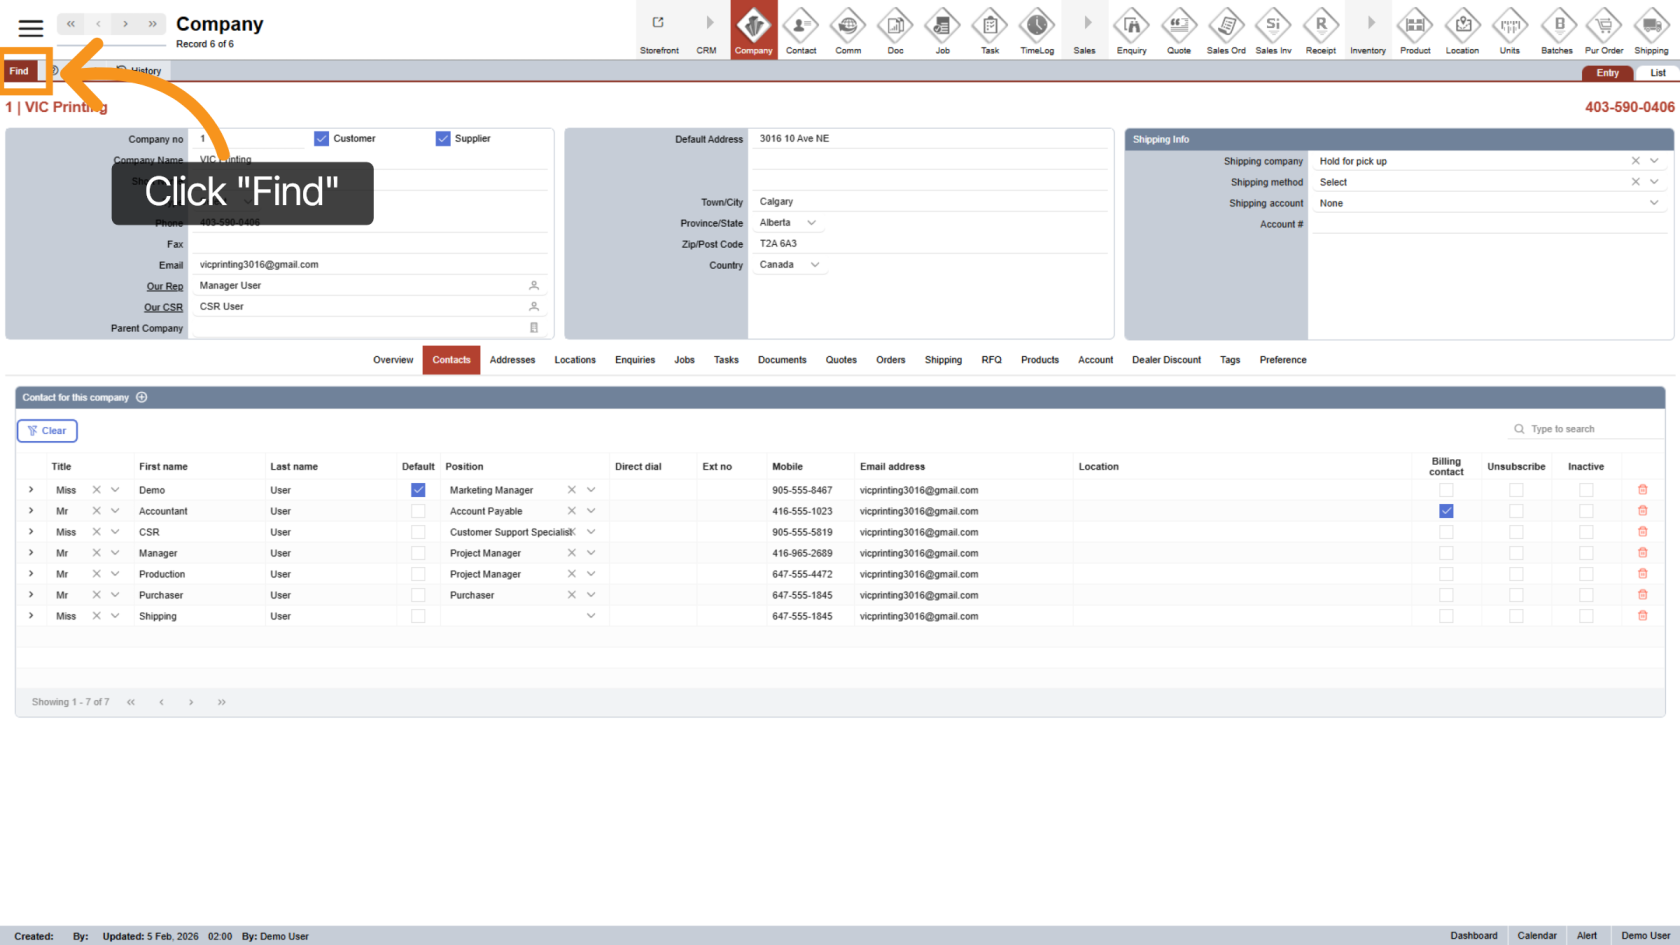
2. Find a Company
Click "Find" to search for the company you want to create the sales order for.
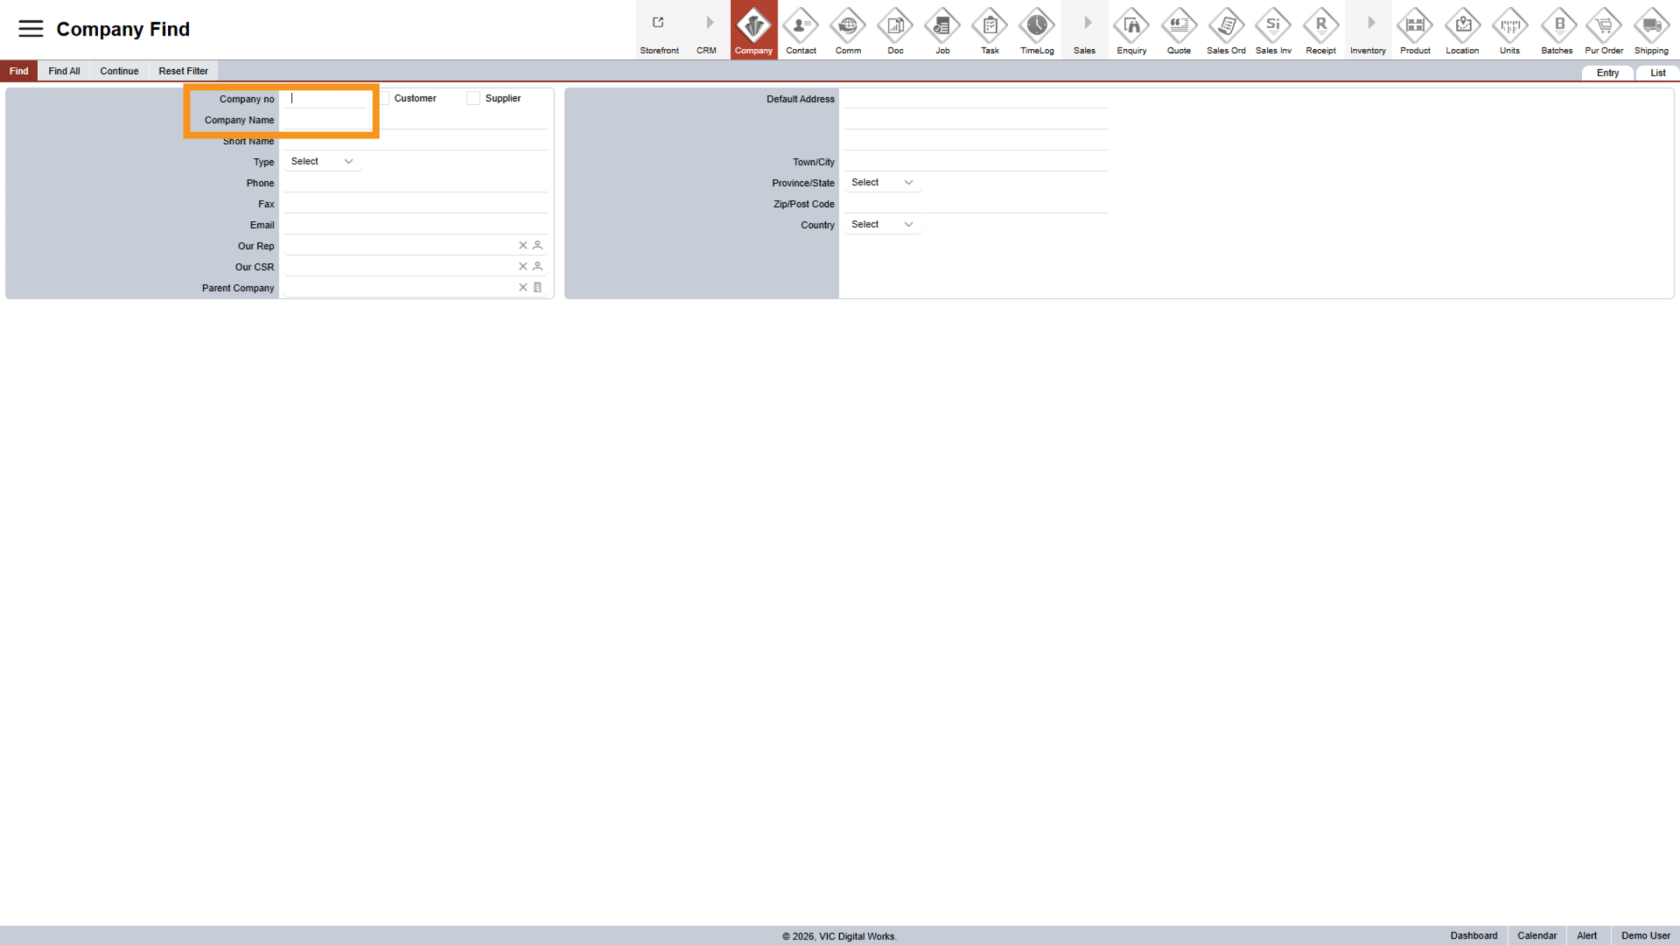
3. Enter Company Search Information
Use the search form to find the company by company name or company number.
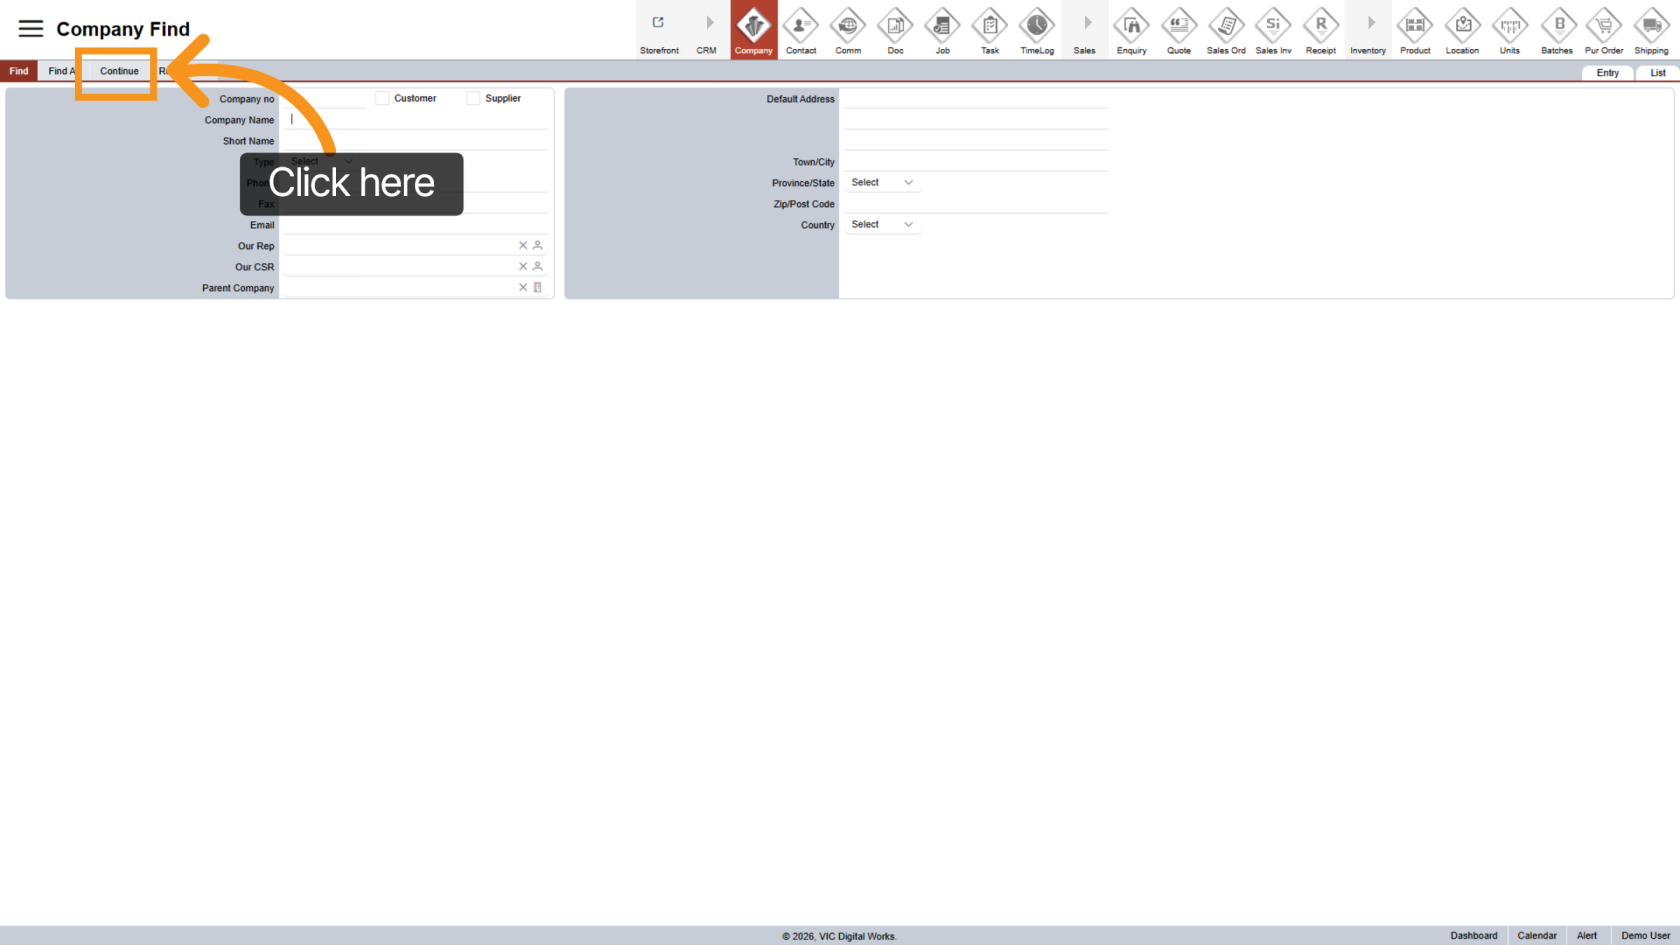
4. Start the Search
Click Continue to view the search results and open the selected company.
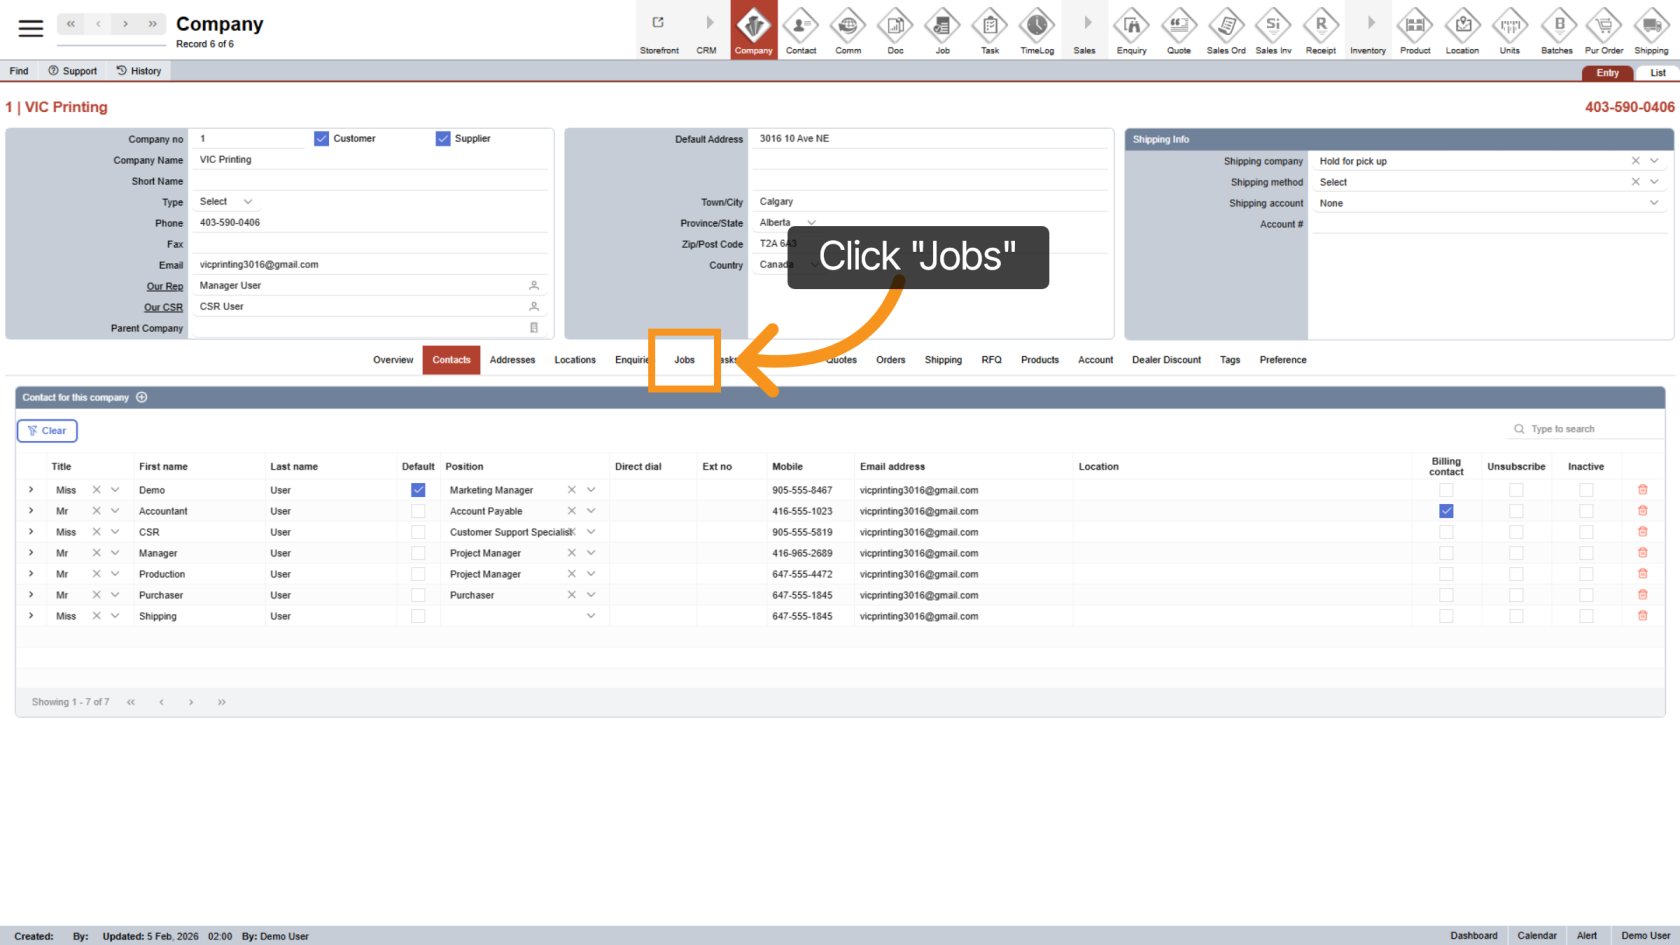
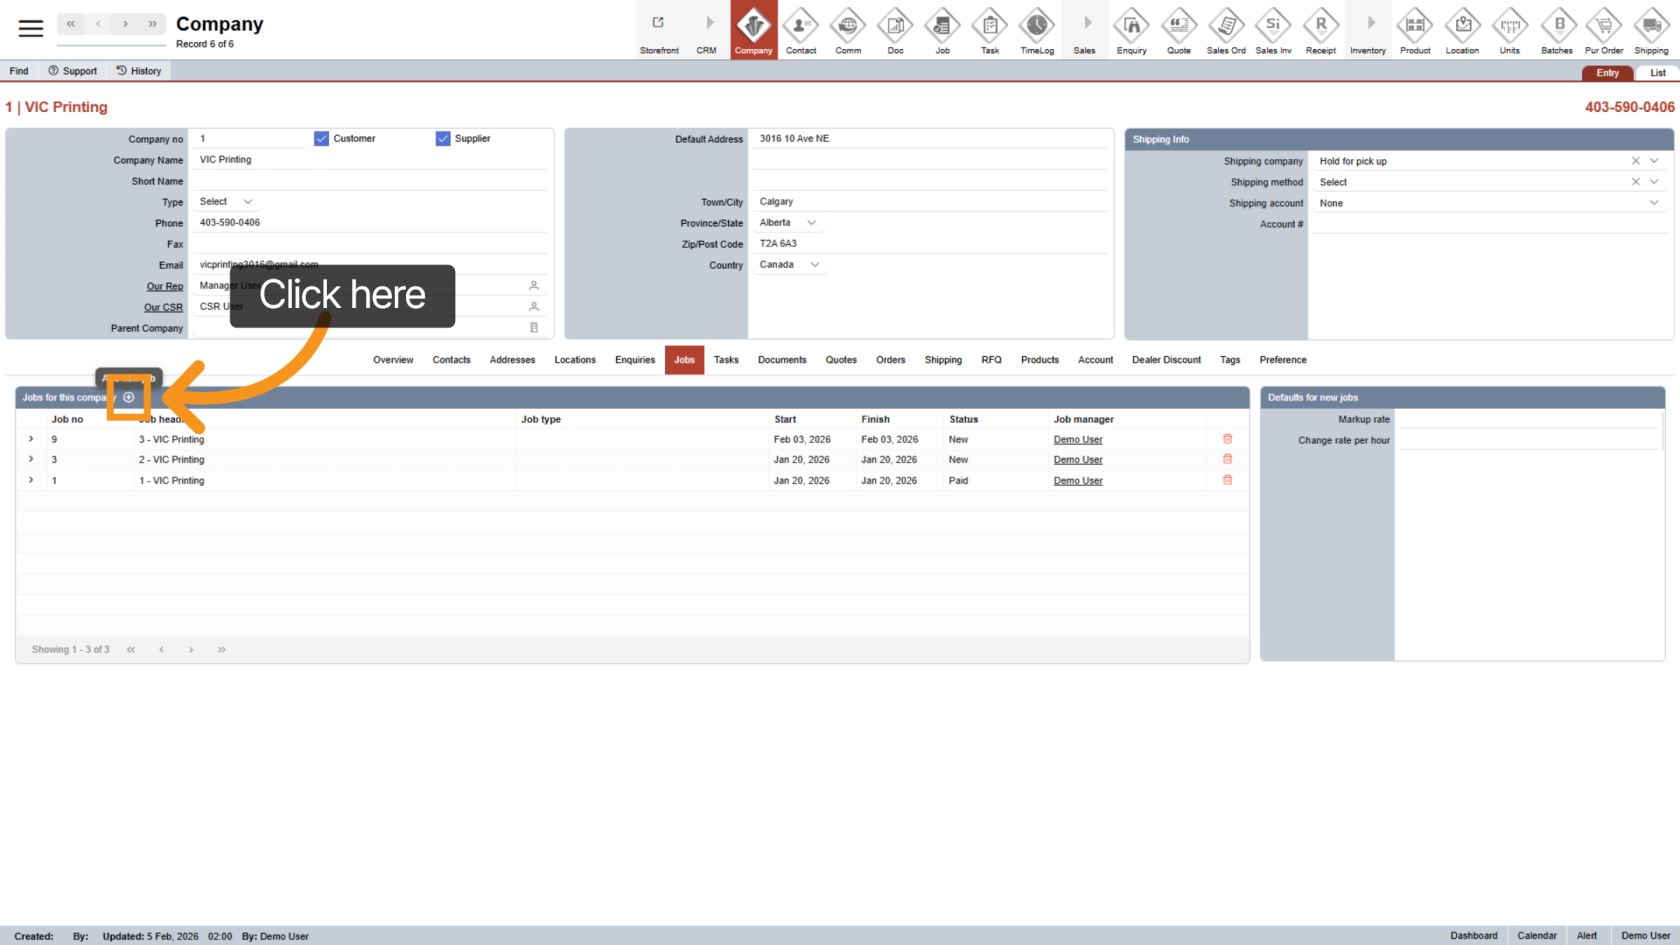
5. Open the Jobs Tab
Once the company opens, click the "Jobs" tab. Sales orders must be created from a job.
6. Create a New Job
Click the ![]() plus icon to create a new job.
plus icon to create a new job.
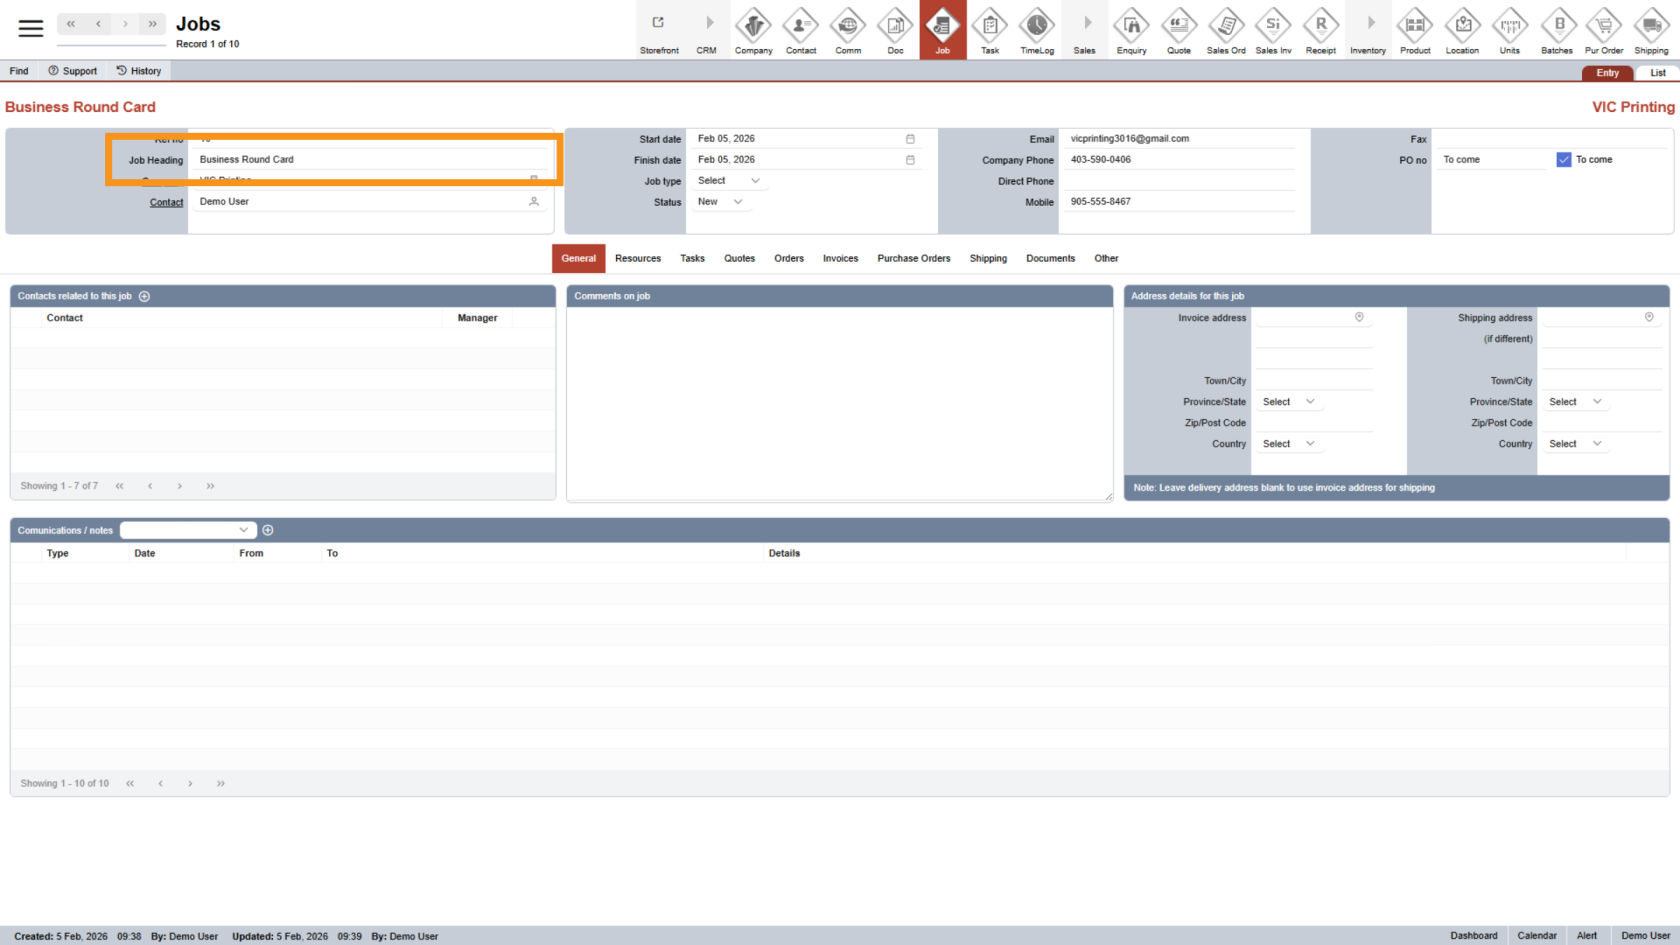
7. Enter Job Heading
Click the Job Heading field to enter a title or short description. This heading will also be used for the sales order.
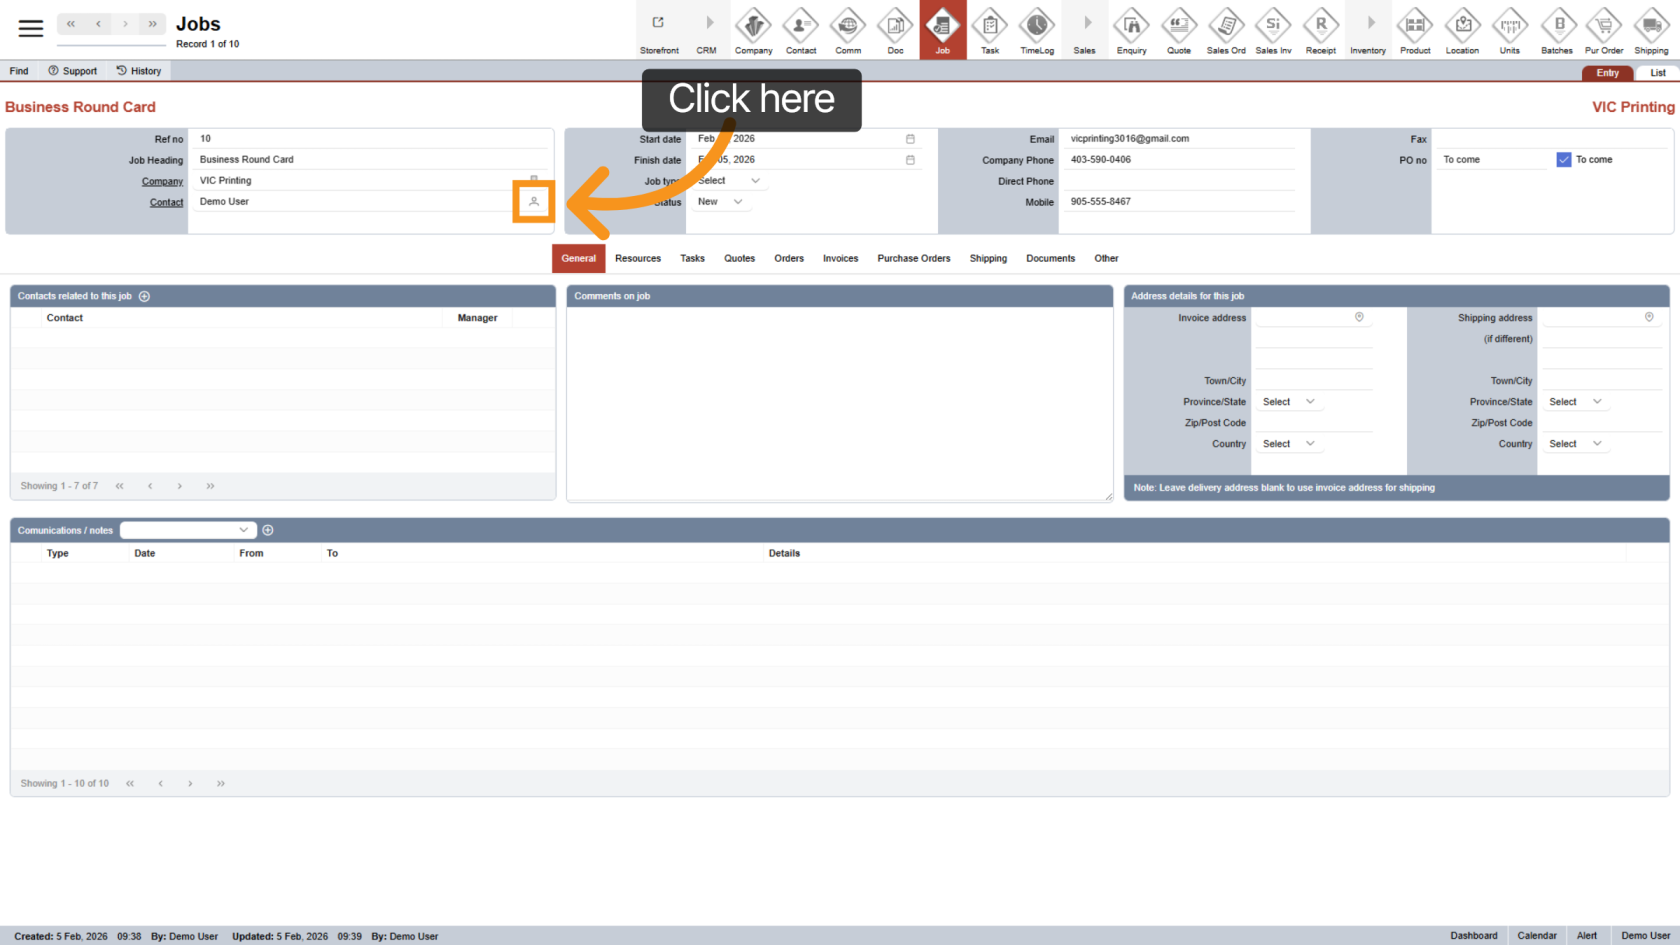
8. Select Primary Job Contact
Click the ![]() contact icon to choose the main contact for the job.
contact icon to choose the main contact for the job.
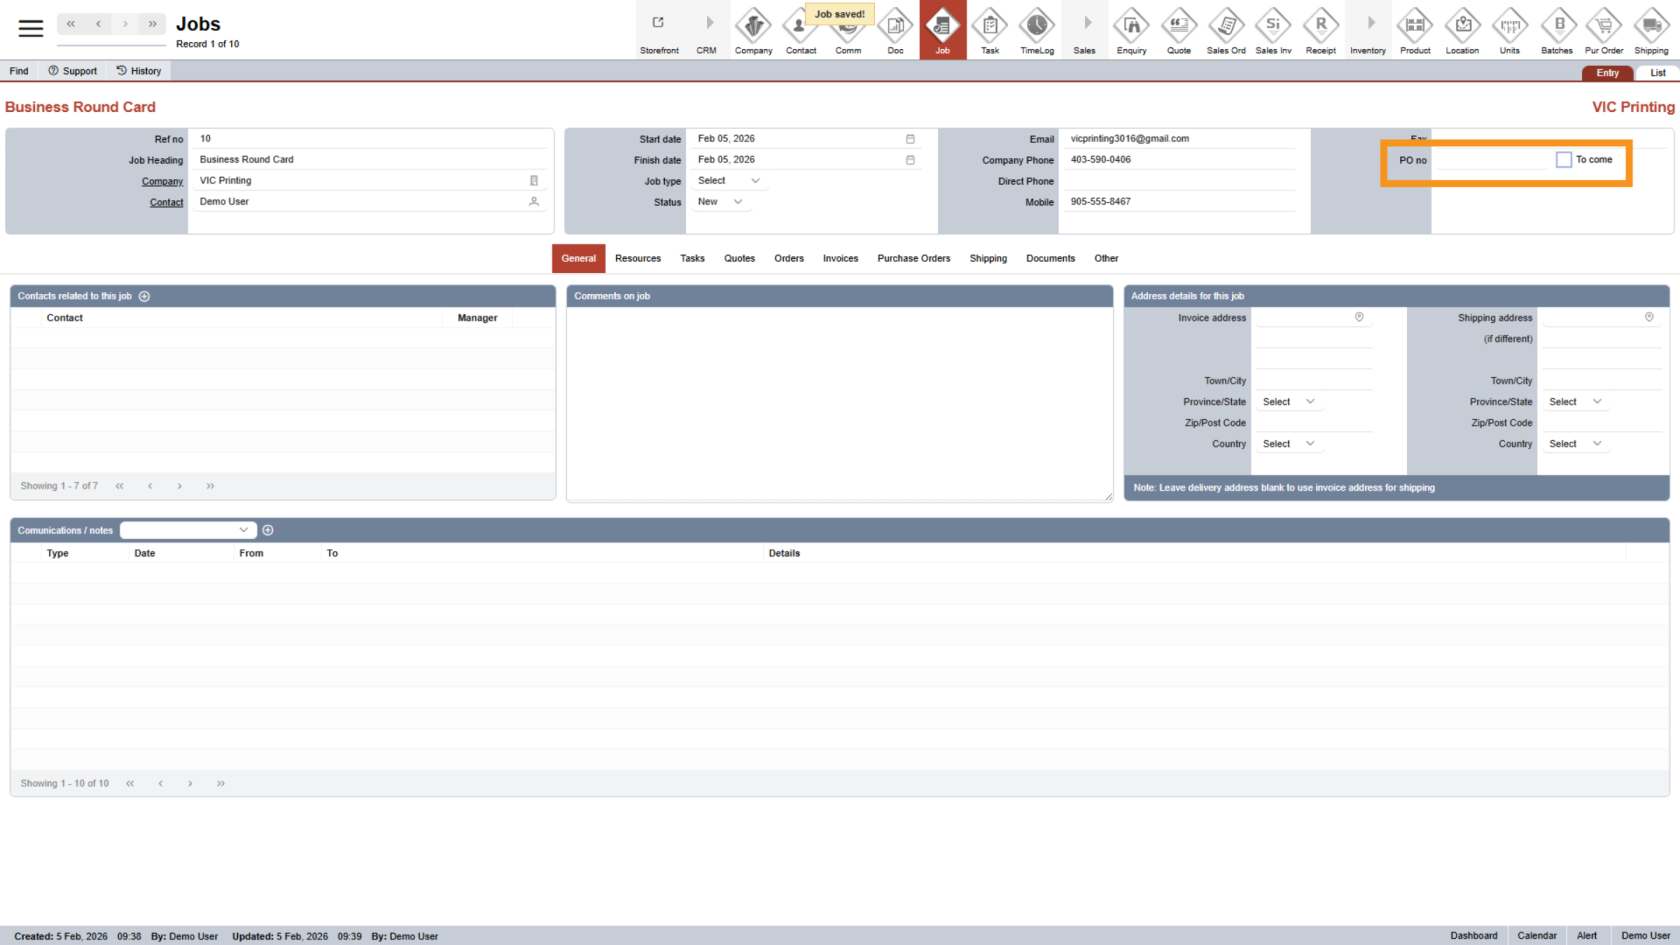
9. Enter POPurchase Order (PO) Number
Enter the Purchase Order (PO) number.number. If it’s not available yet, select To Come.Come.
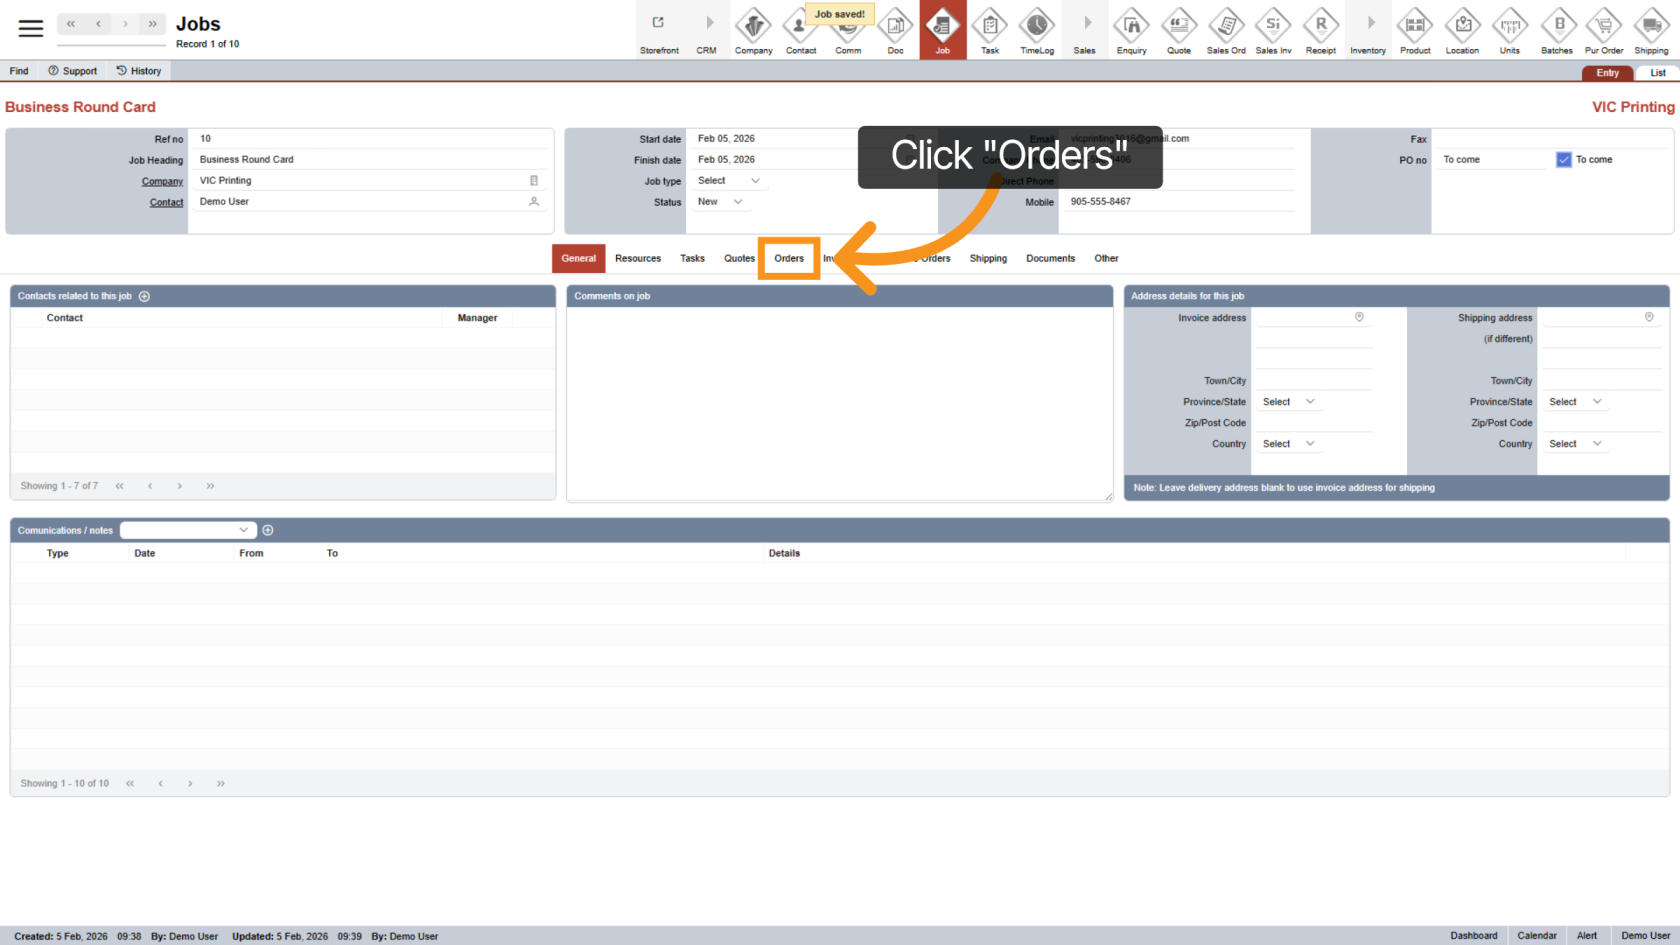
10. Open the Orders Tab
Click the Orders"Orders" tab in the middle menu to begin creating a sales order.
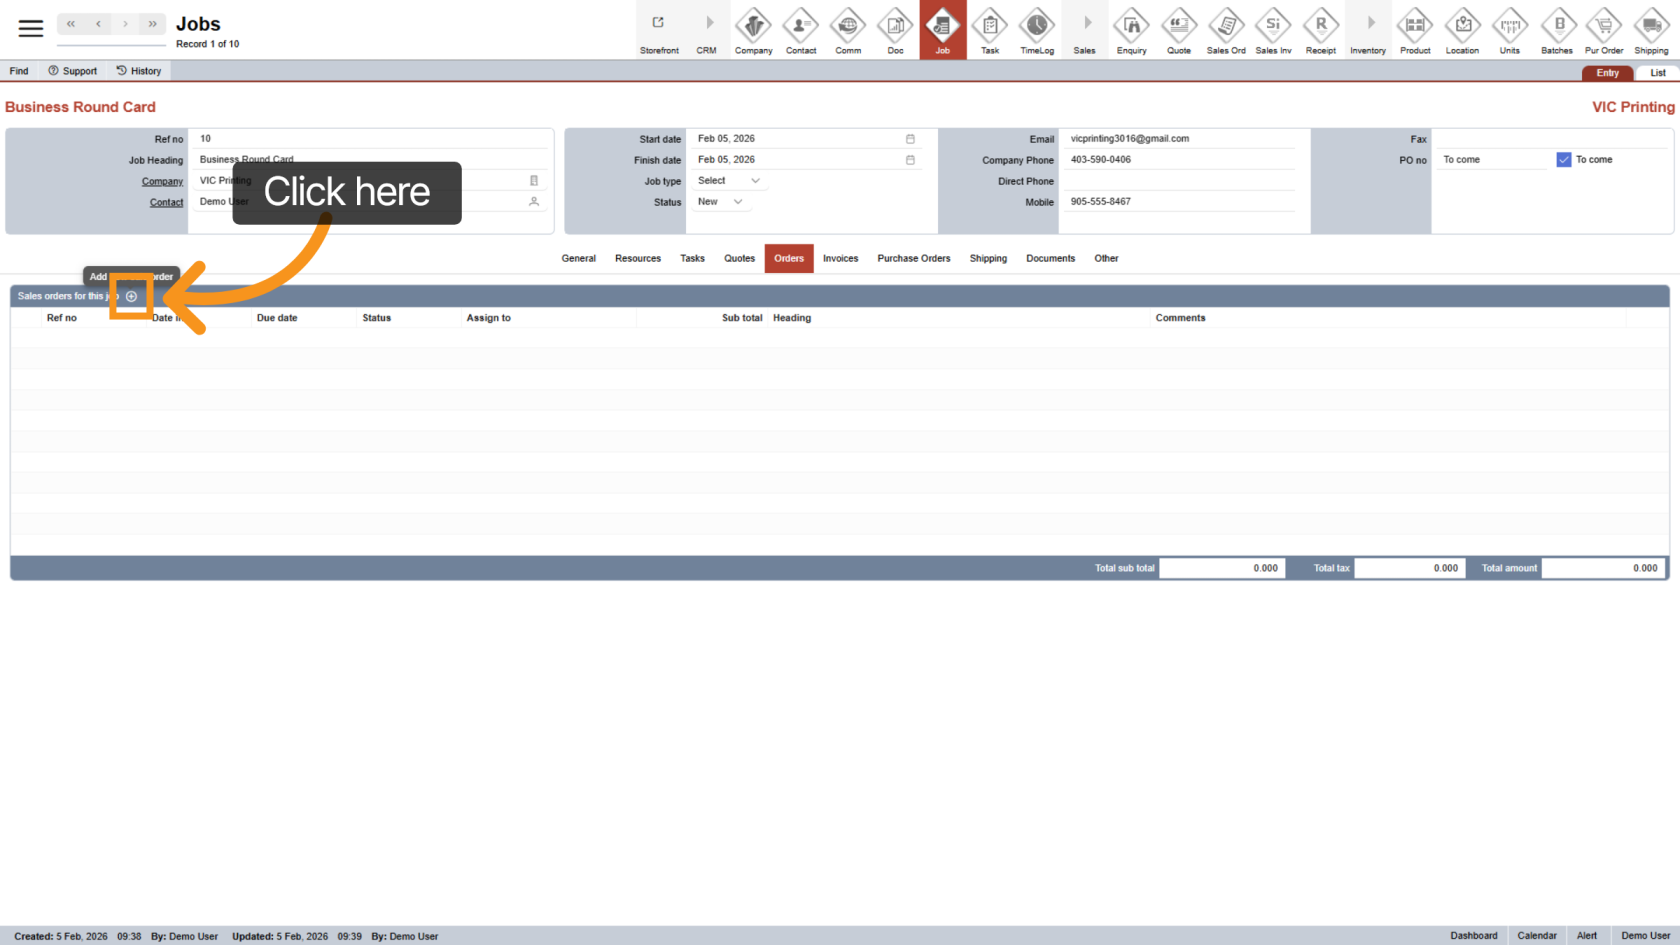
11. Create a Sales Order
Click the ![]() plus icon to initiate a new sales order.
plus icon to initiate a new sales order.
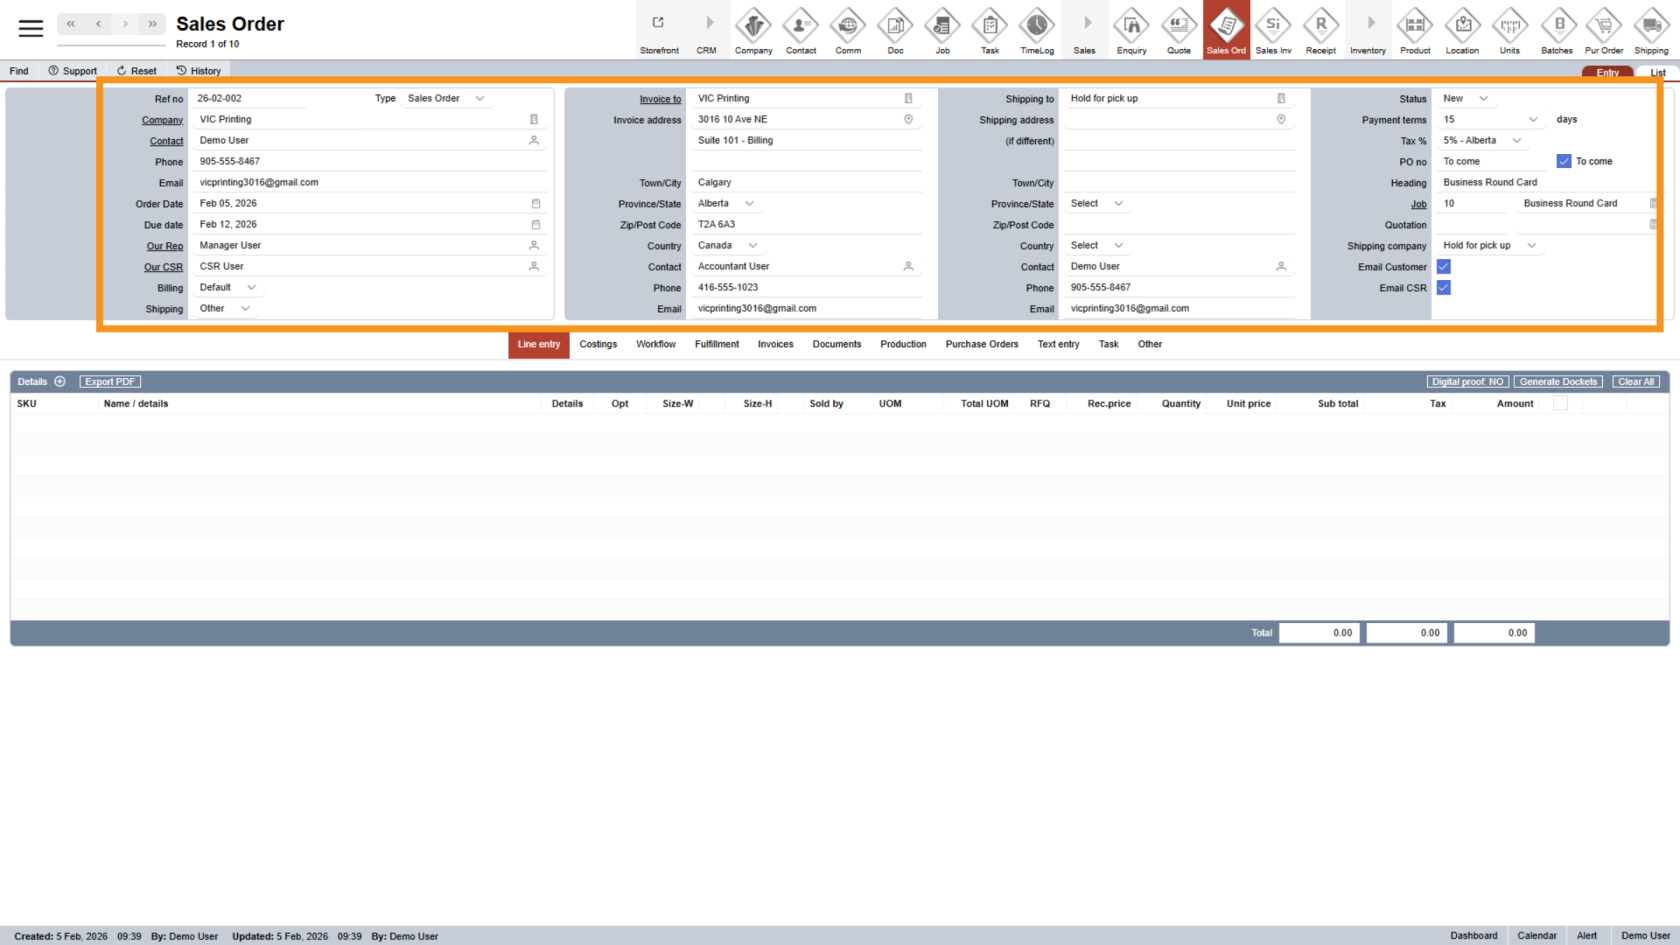
12. Review the New Sales Order
The system will automatically open the new sales order. Most information will be filled in for you.
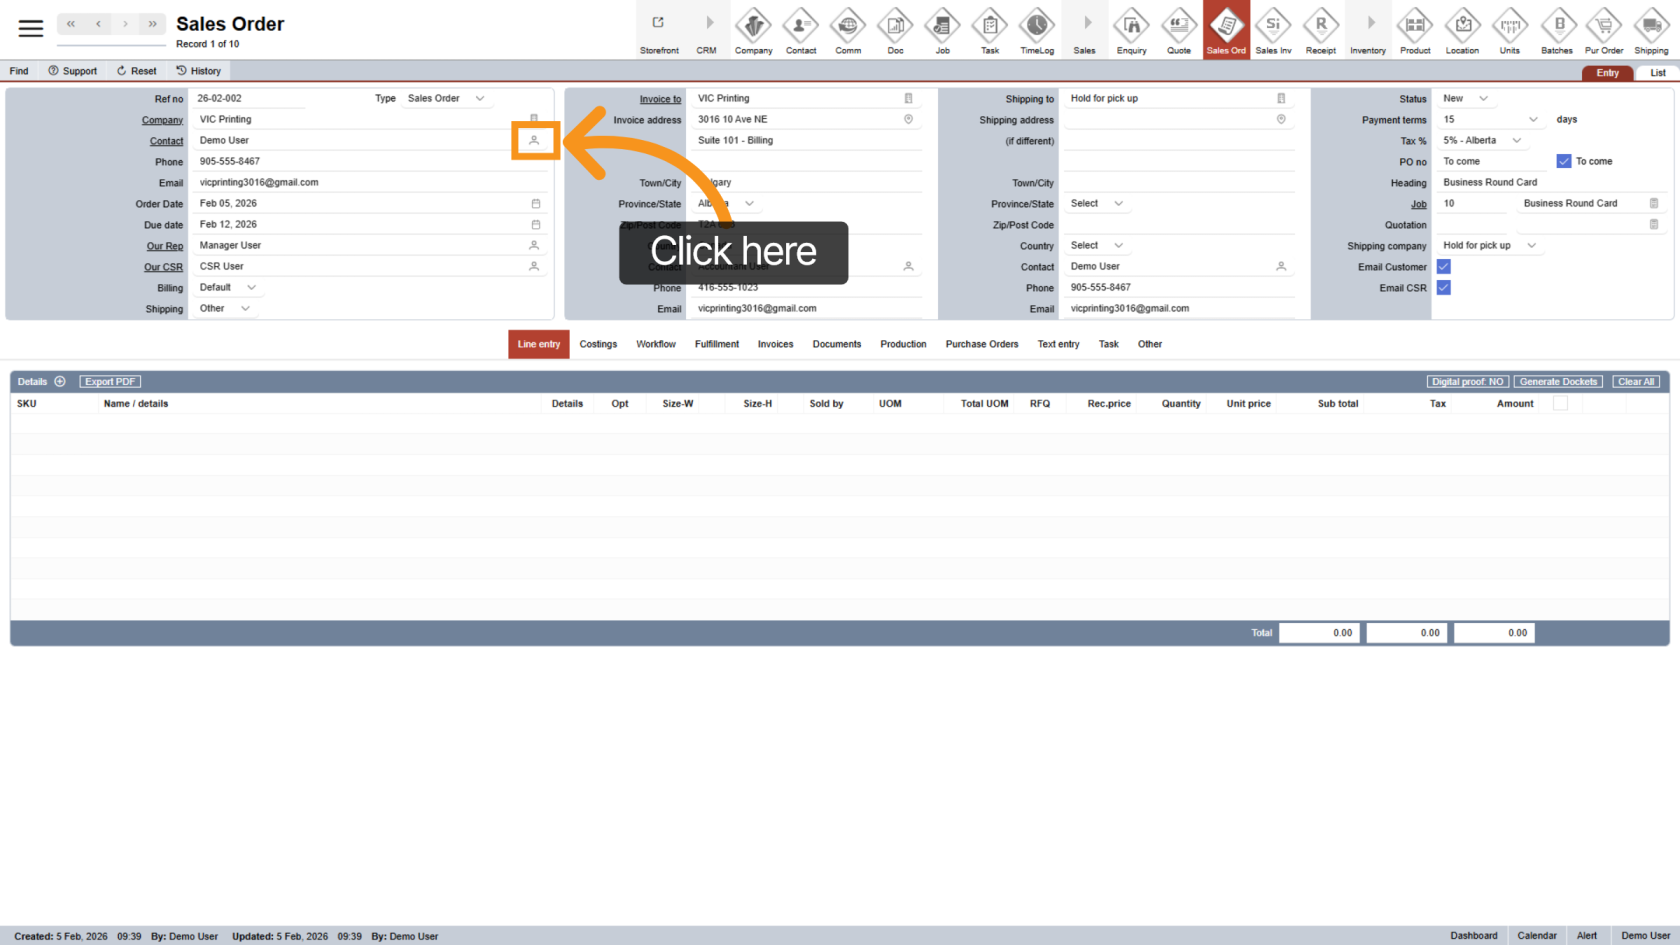
13. Change the Sale Order Contact
Click the ![]() contact icon to select a different contact. Phone number and email will update automatically.
contact icon to select a different contact. Phone number and email will update automatically.
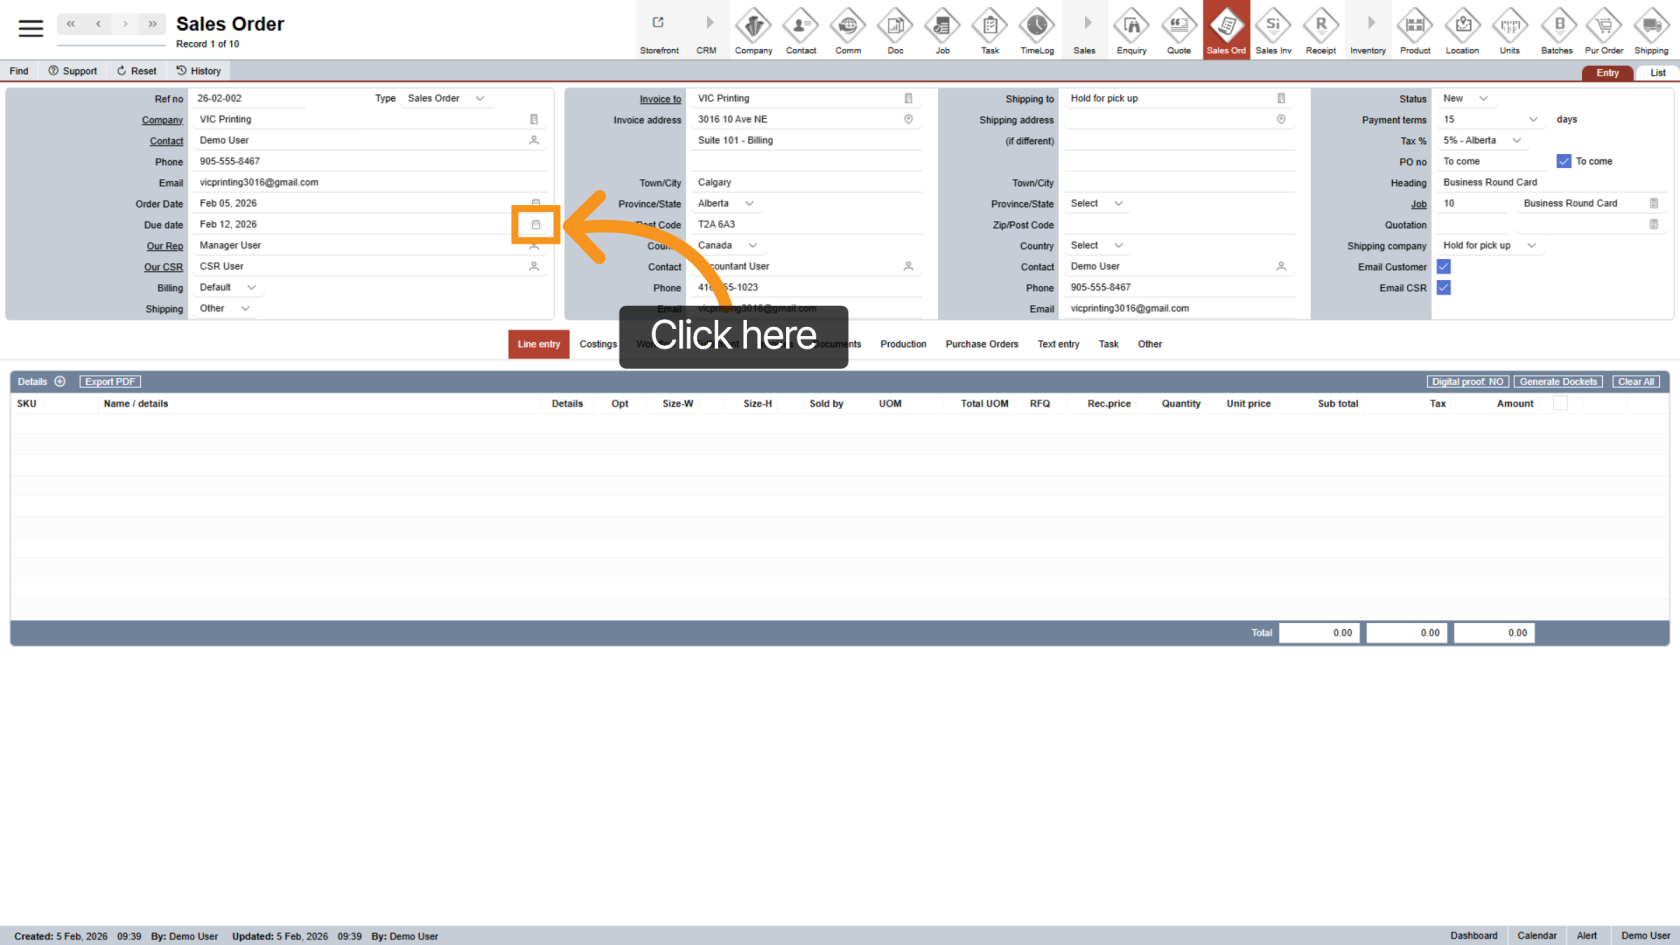
14. Update Due Date
Click the ![]() calendar icon to choose the correct due date.
calendar icon to choose the correct due date.
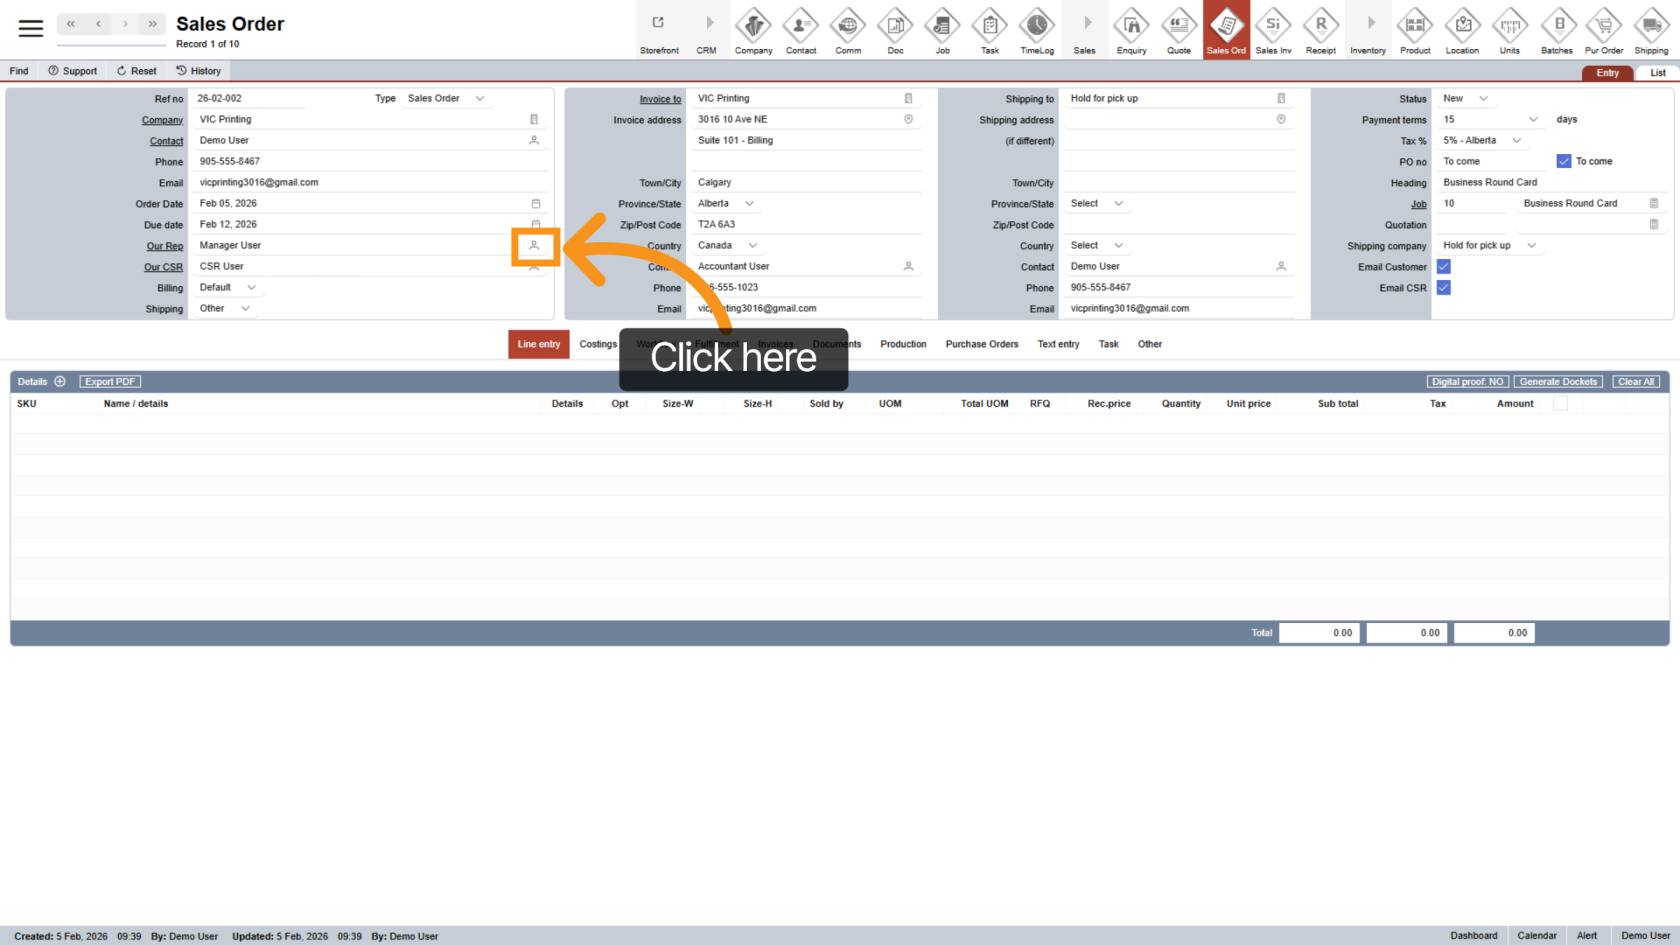
15. Select “Our Rep”
Click the ![]() contact icon to assign or change the sales representative.
contact icon to assign or change the sales representative.

16. Select “Our CSR”
Click the ![]() contact icon to assign or change the CSR for this sales order.
contact icon to assign or change the CSR for this sales order.
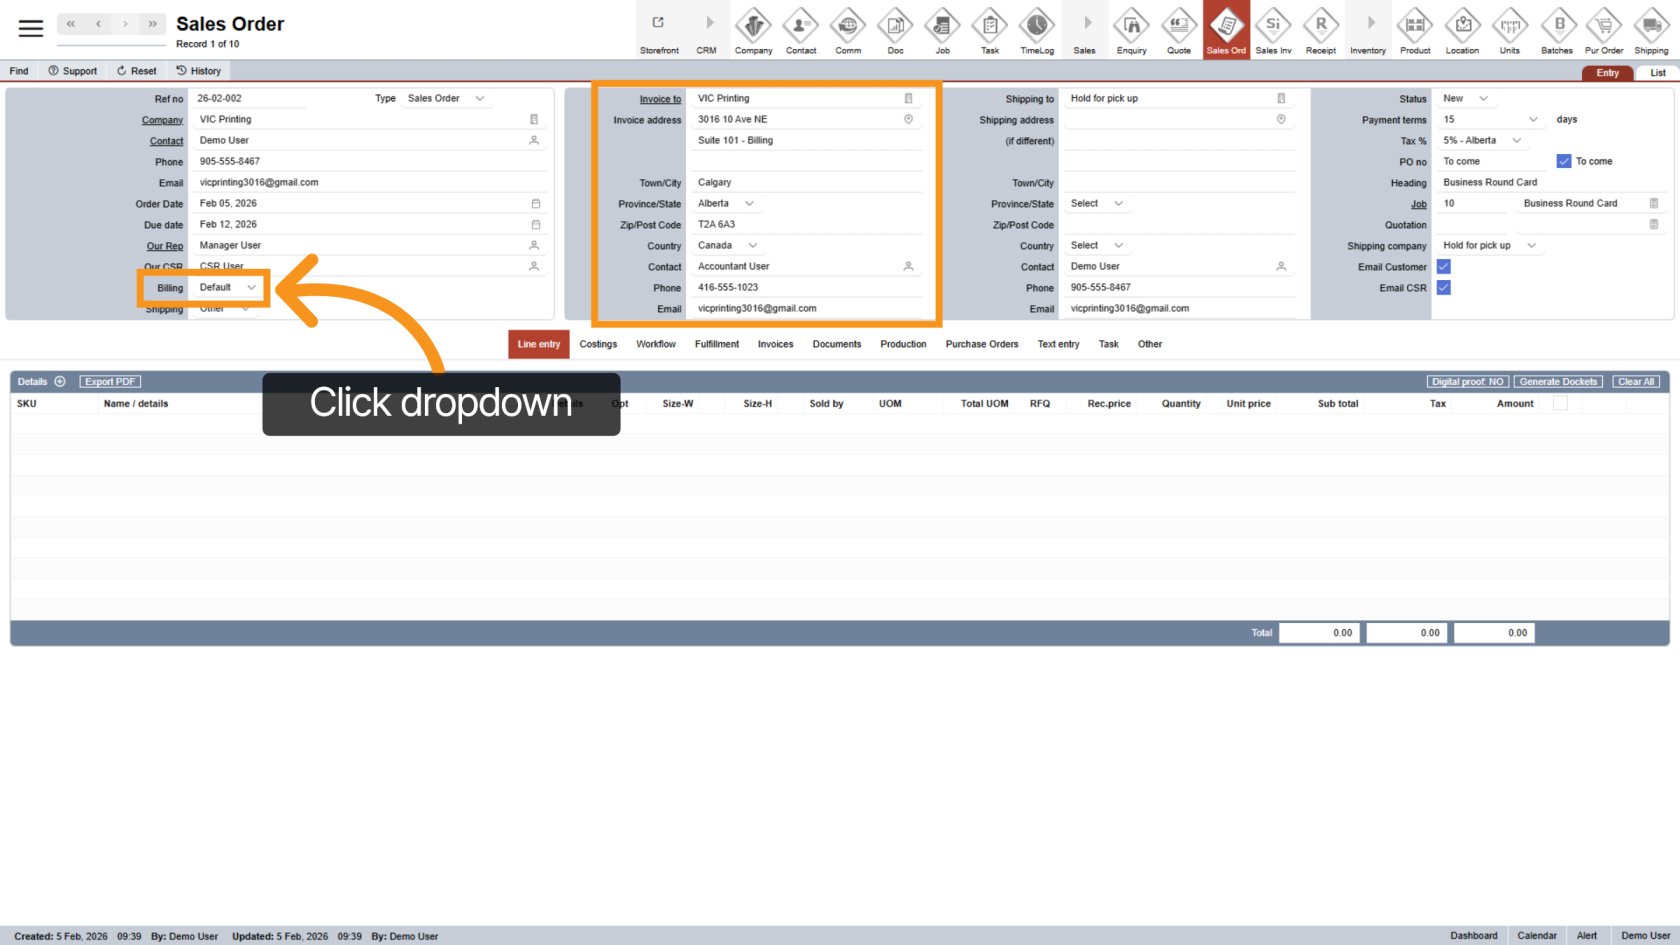
17. Update Billing Details
In the second column, open the Billing dropdown and select Other"Other" to make changes.
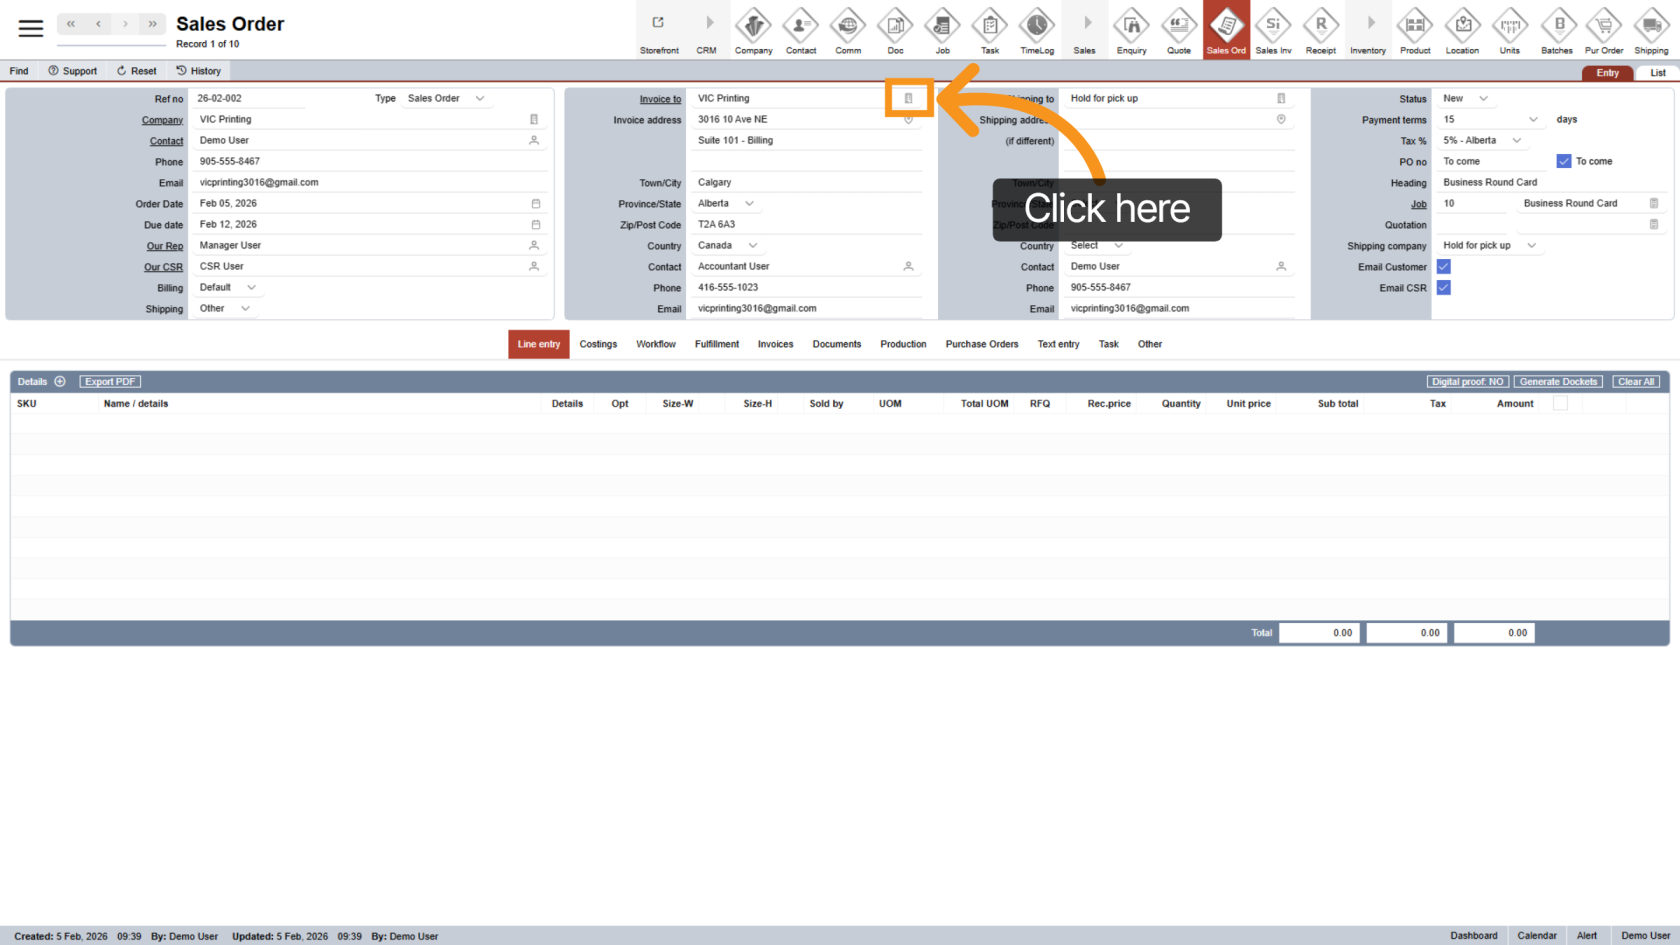
18. Change Billing Company
Click the ![]() company icon to choose a different billing company.
company icon to choose a different billing company.
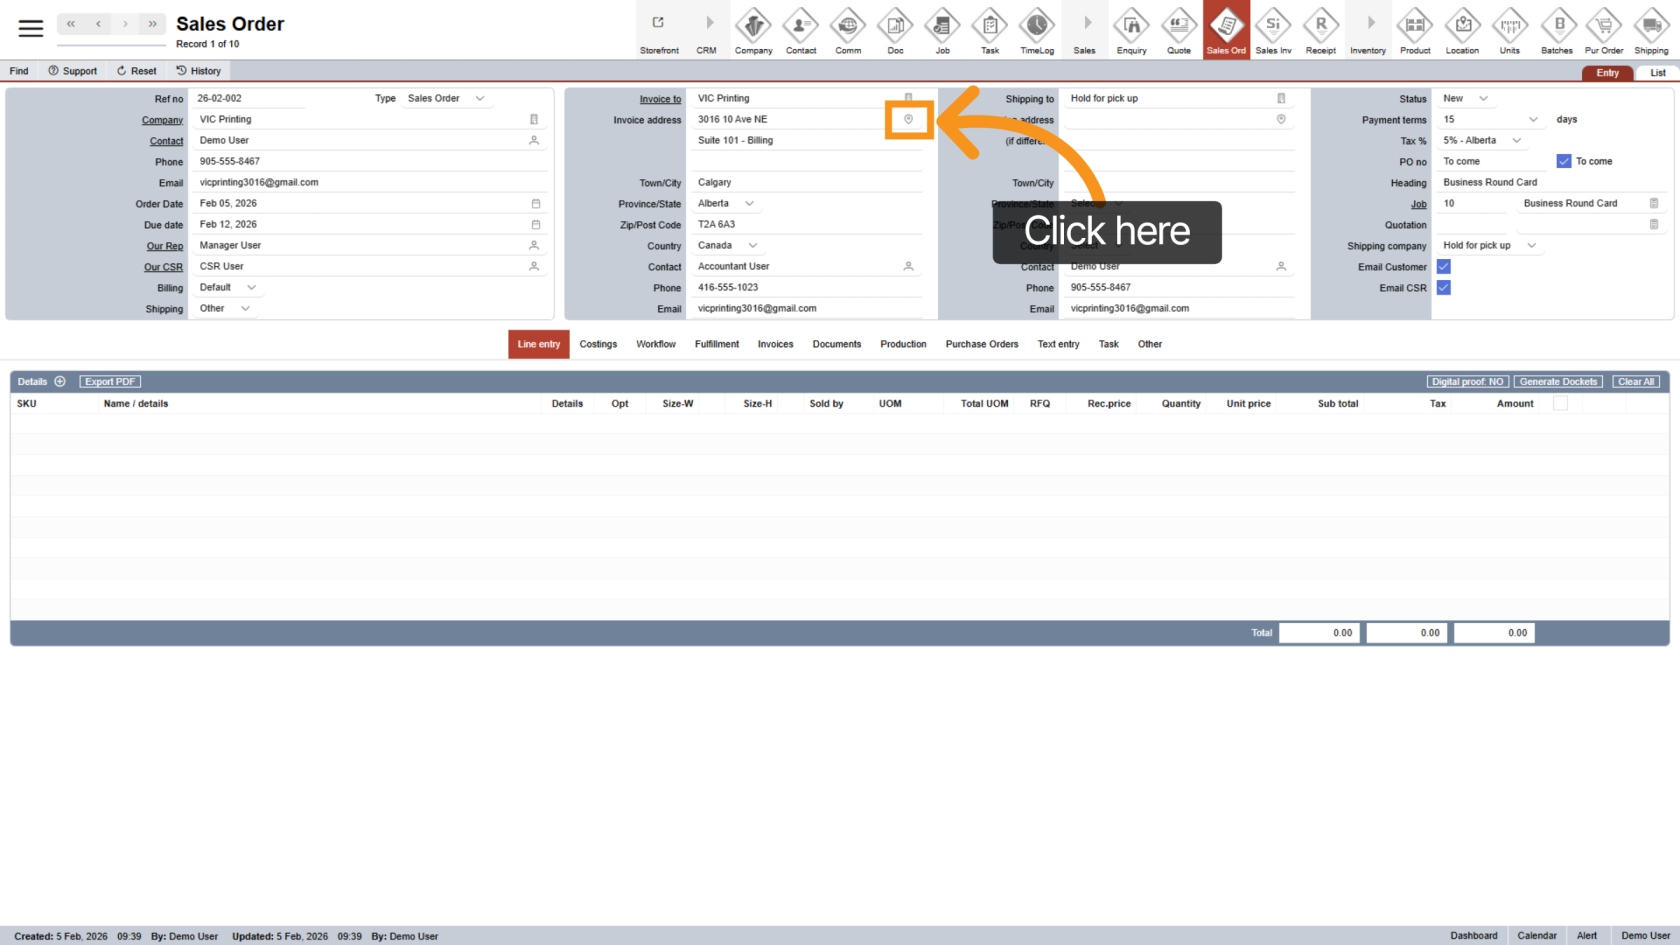
19. Change Billing Address
Click the ![]() address icon to update the billing address.
address icon to update the billing address.
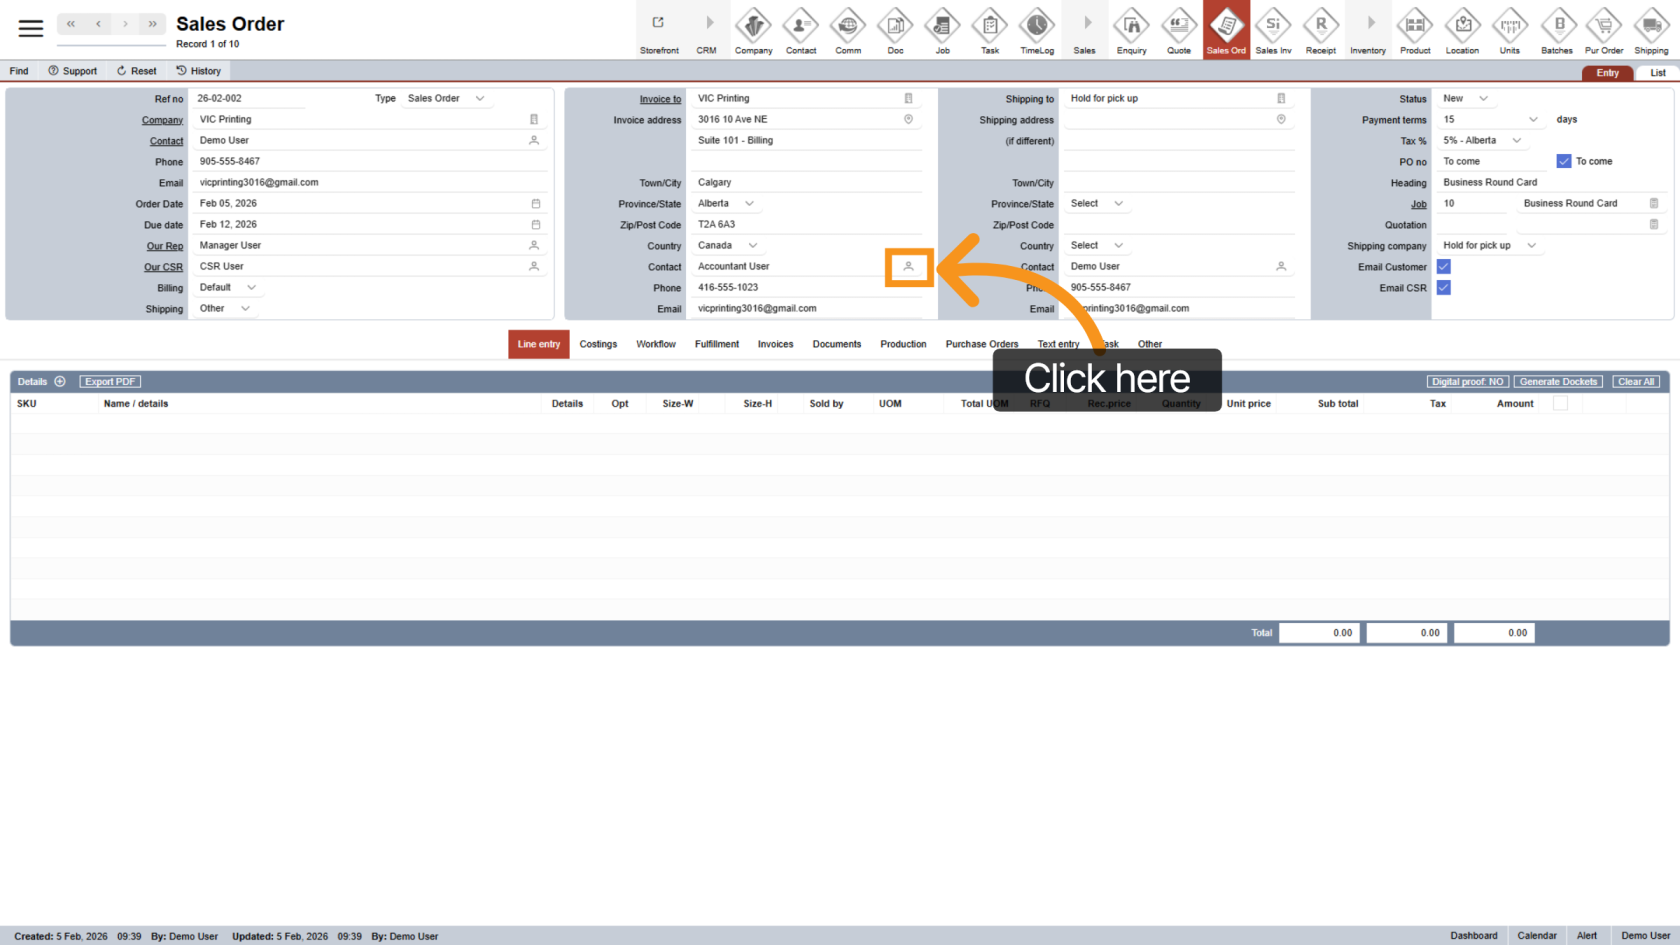
20. Change Billing Contact
Click the ![]() contact icon to change the billing contact.
contact icon to change the billing contact.
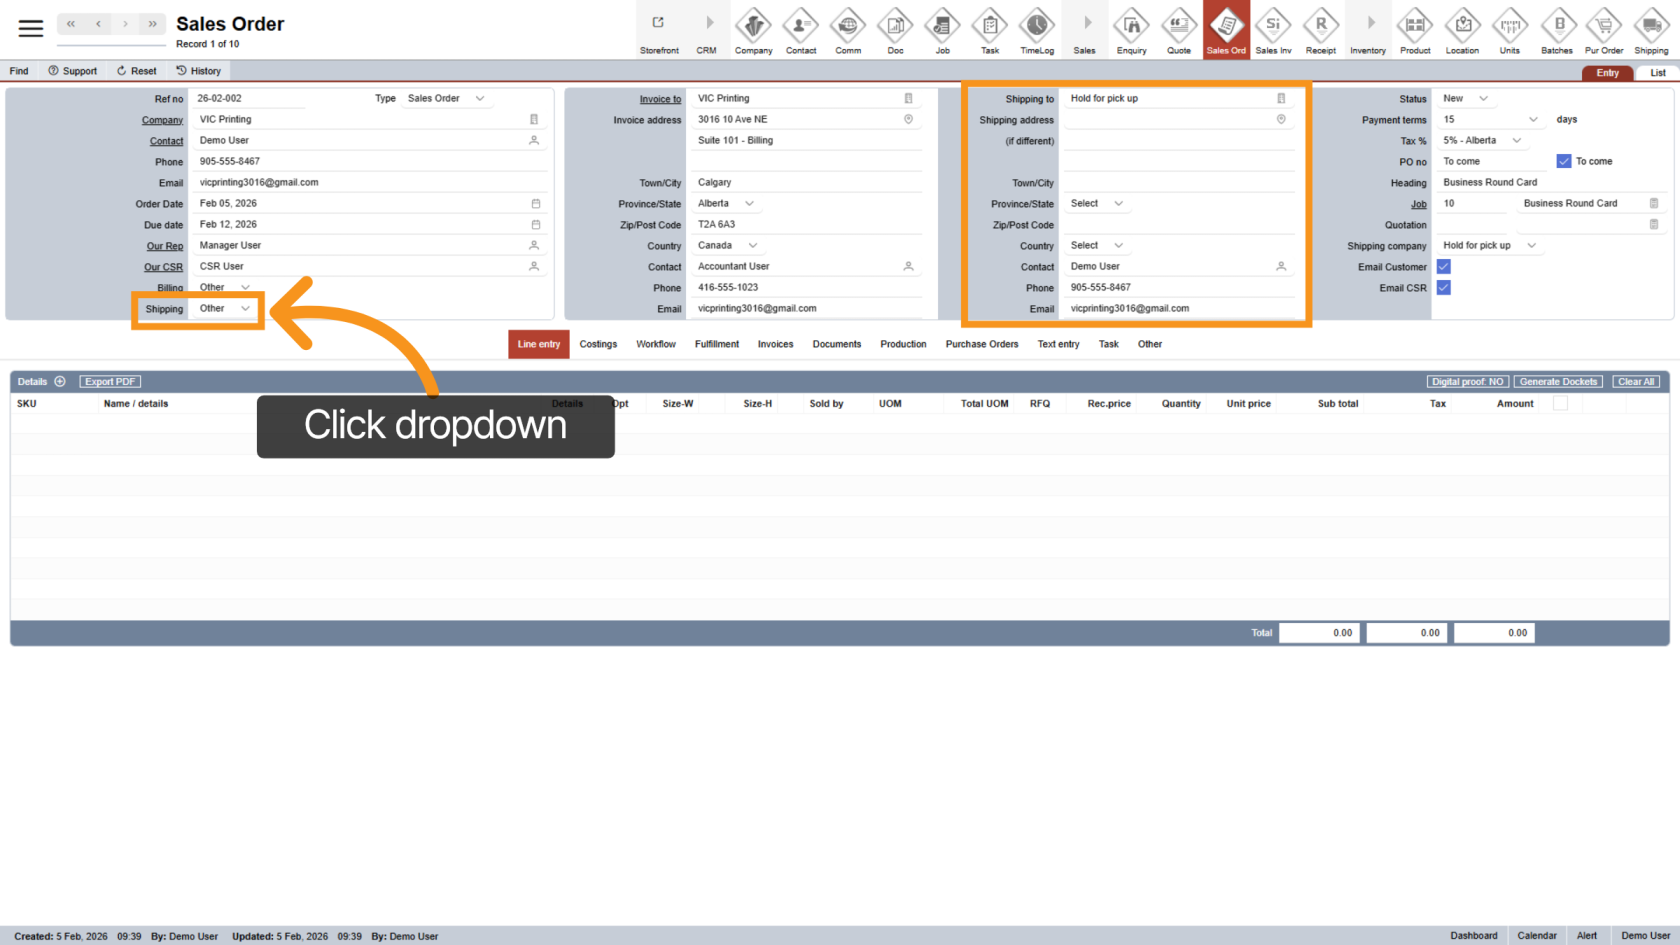
21. Update Shipping Details
The third column contains shipping information. To edit it, open the Shipping dropdown and select "Other".
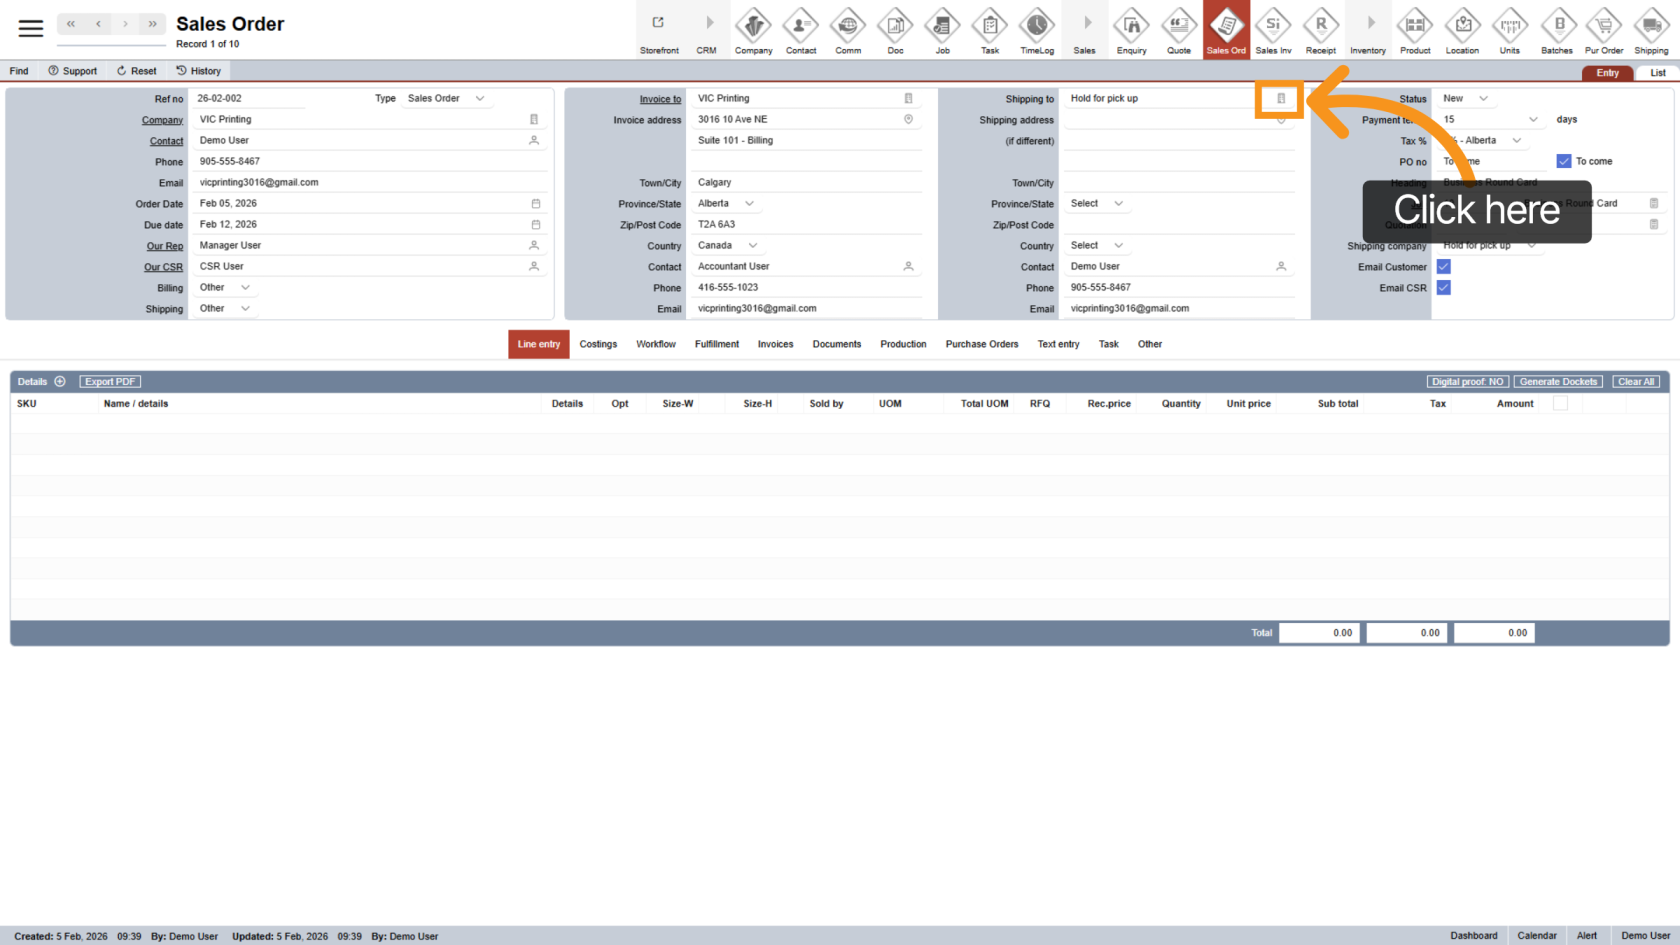
22. Change Shipping Company
Click the ![]() company icon to select a different shipping company.
company icon to select a different shipping company.
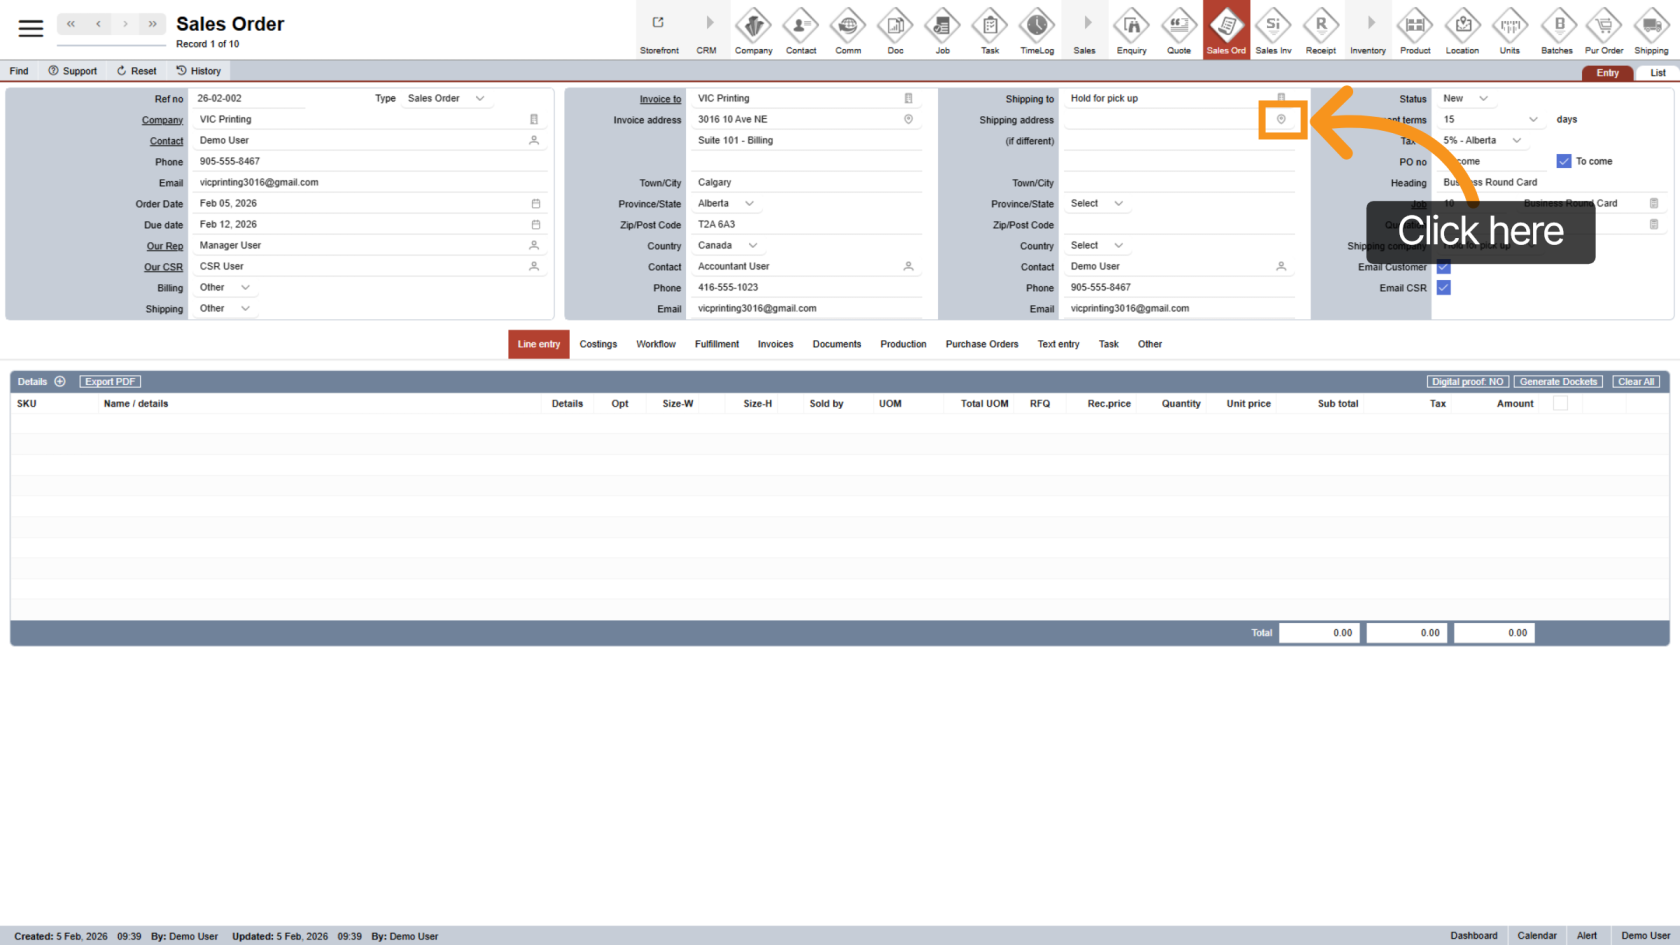
23. Change Shipping Address
Click the ![]() address icon to update the shipping address.
address icon to update the shipping address.
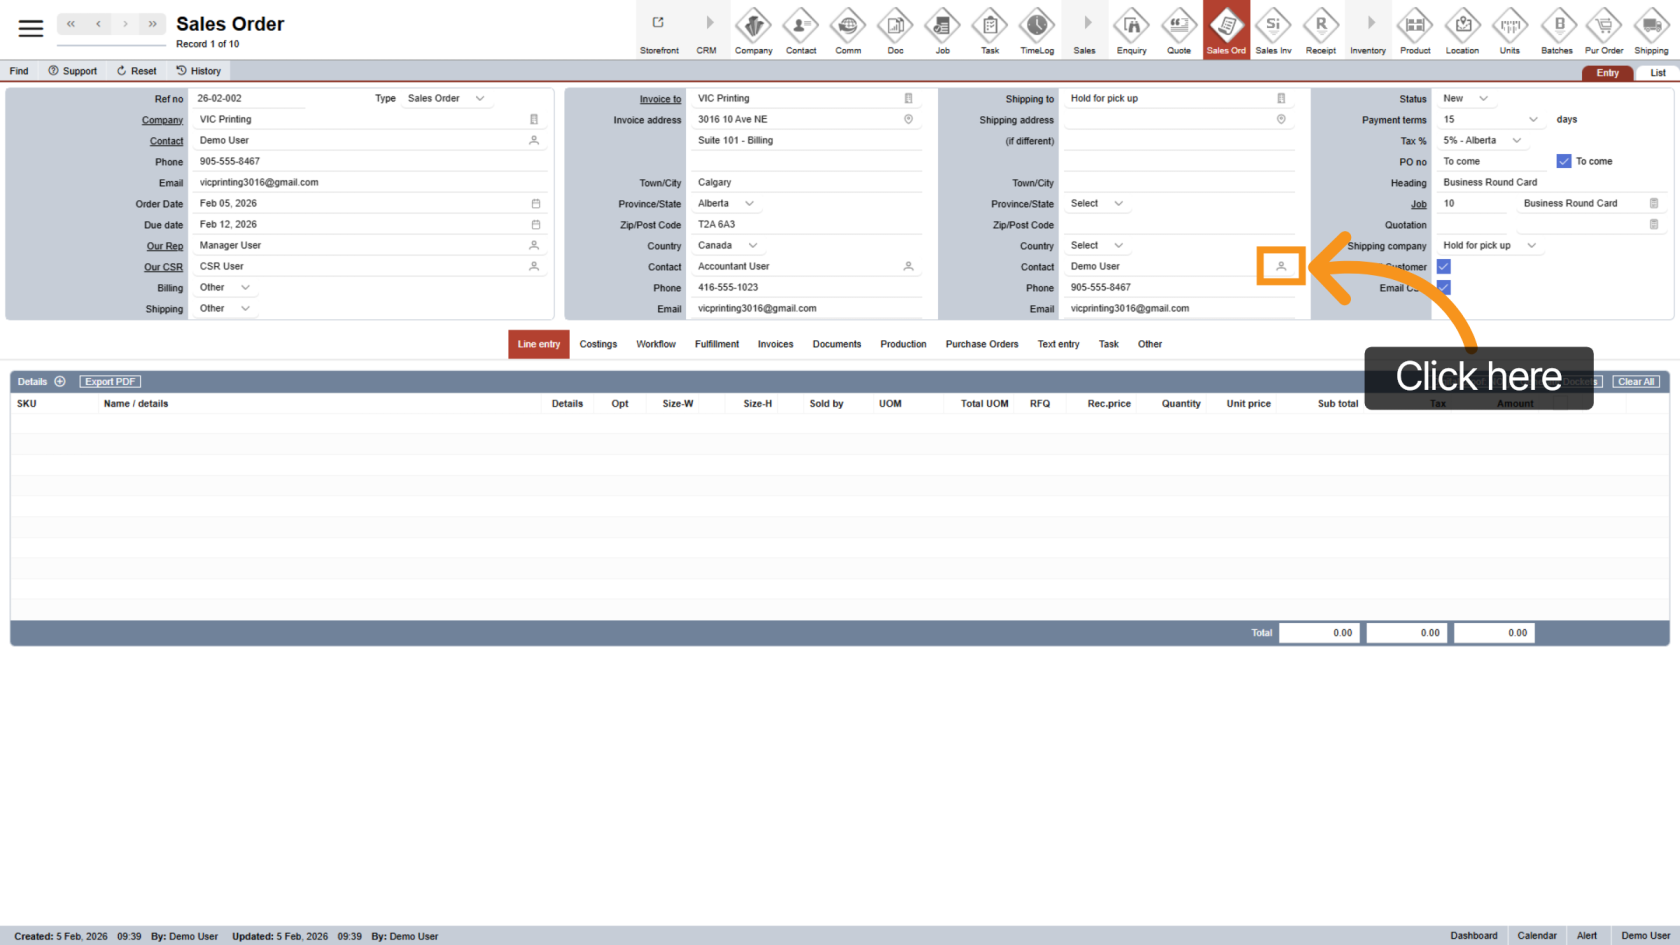
24. Change Shipping Contact
Click the ![]() contact icon to update the shipping contact.
contact icon to update the shipping contact.
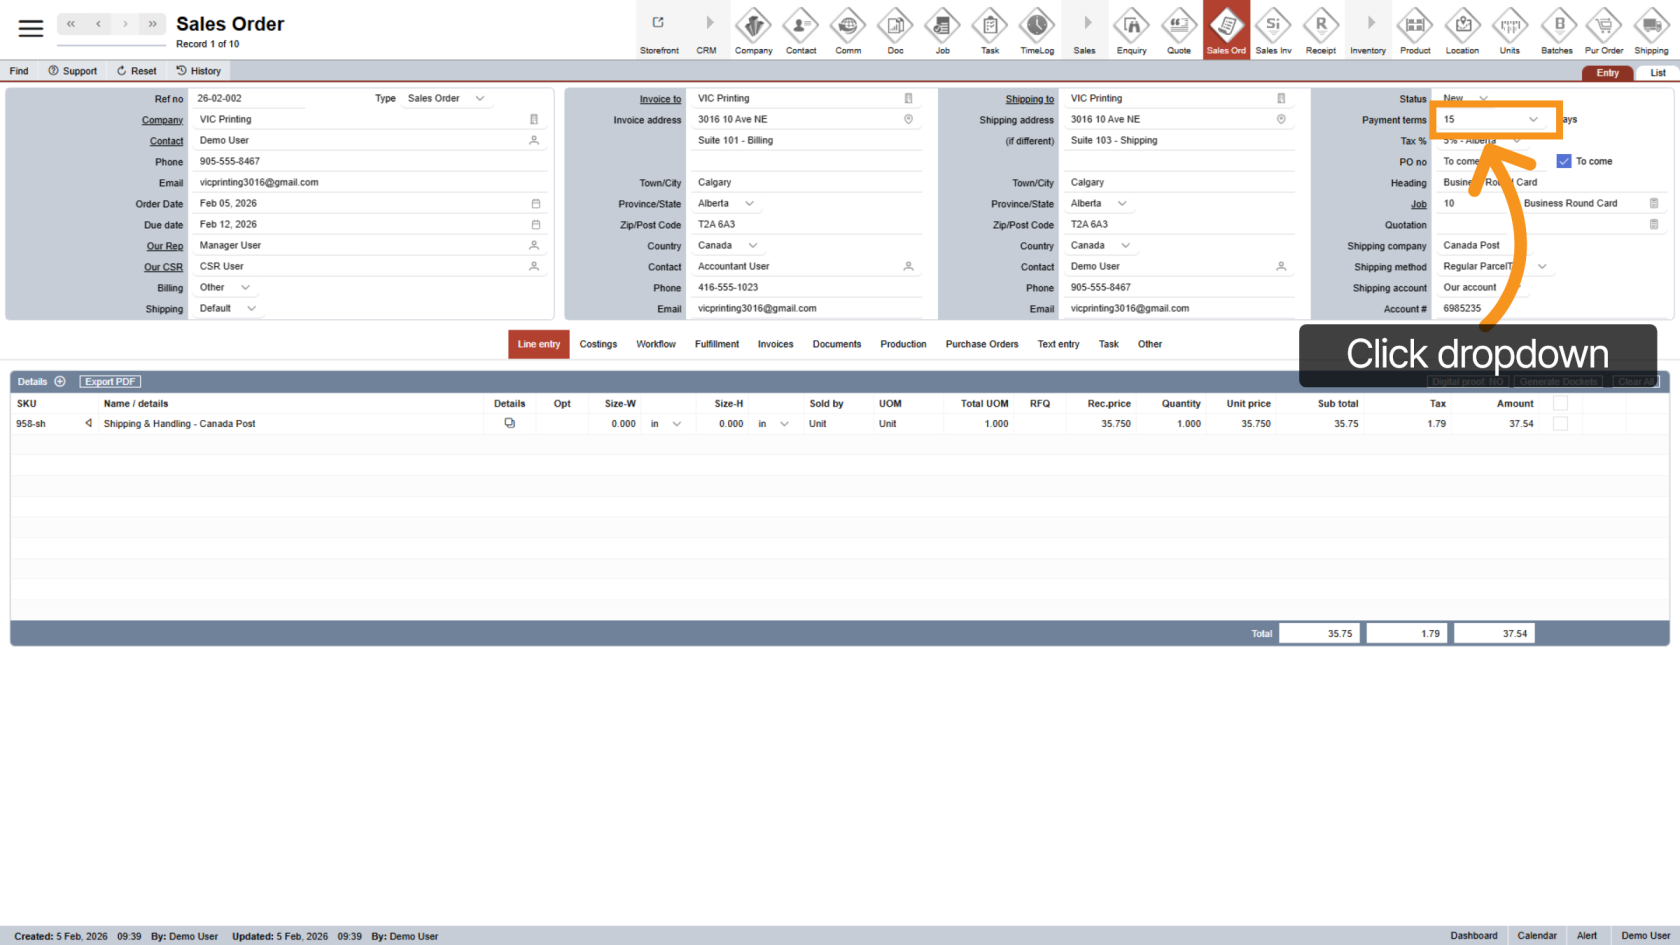
25. Select Payment term Days
Click the Payment Terms dropdown to choose the agreed payment period.
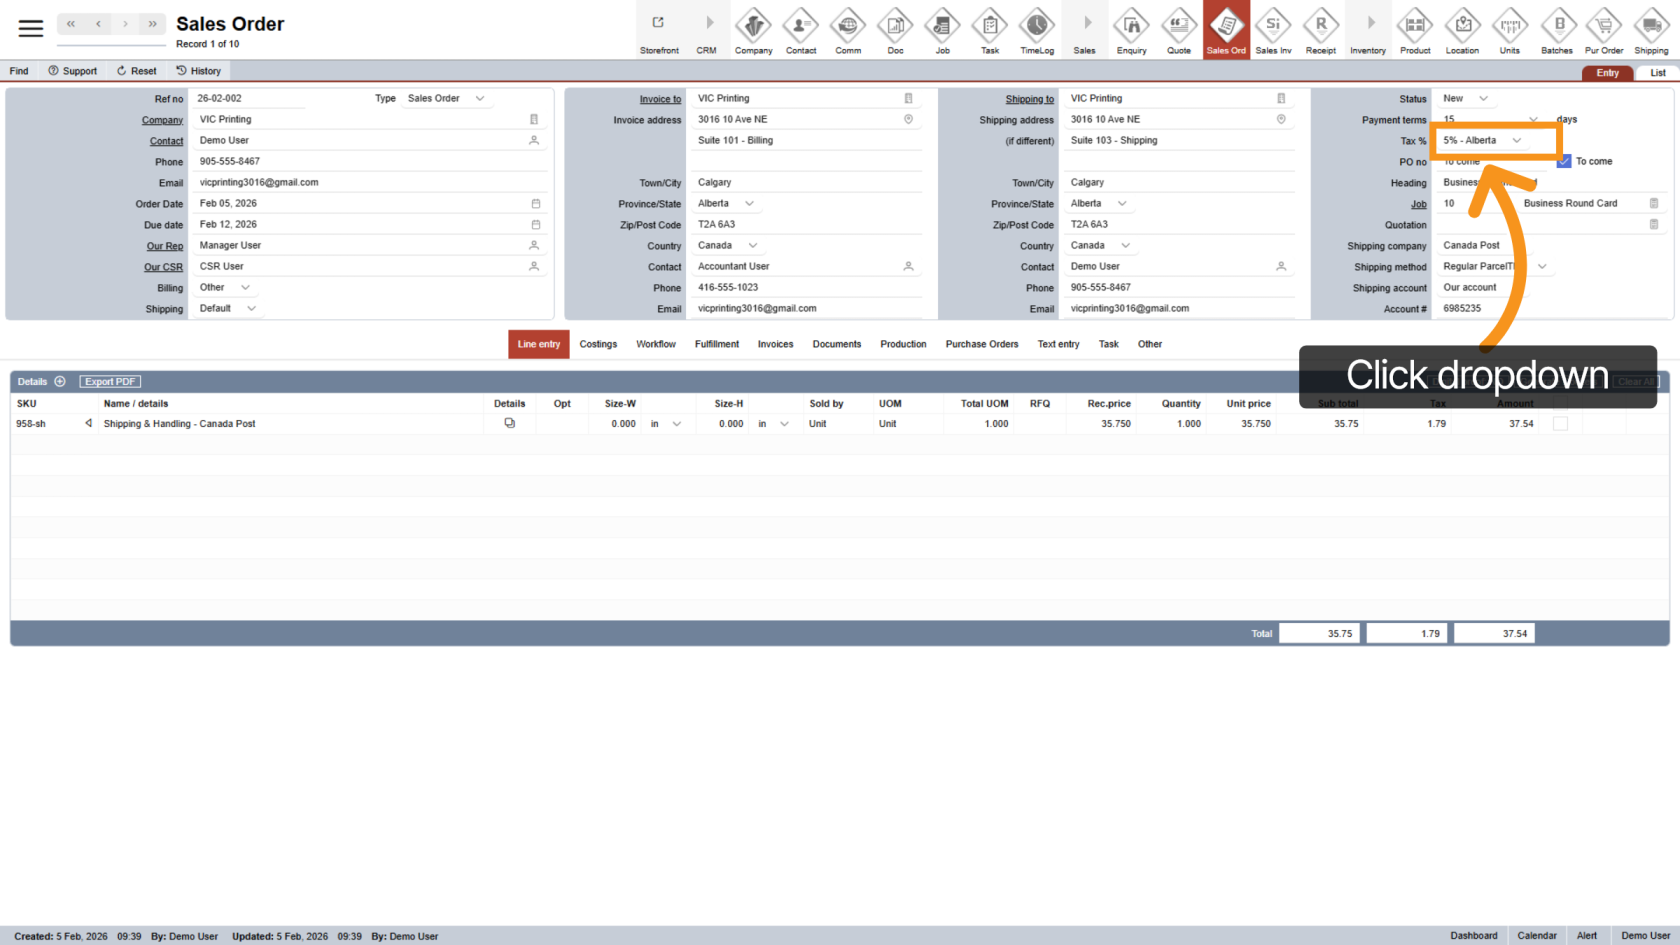
26. Review or Update Tax Rate
The tax rate is automatically set based on the shipping address. Click Tax % if adjustments are needed.
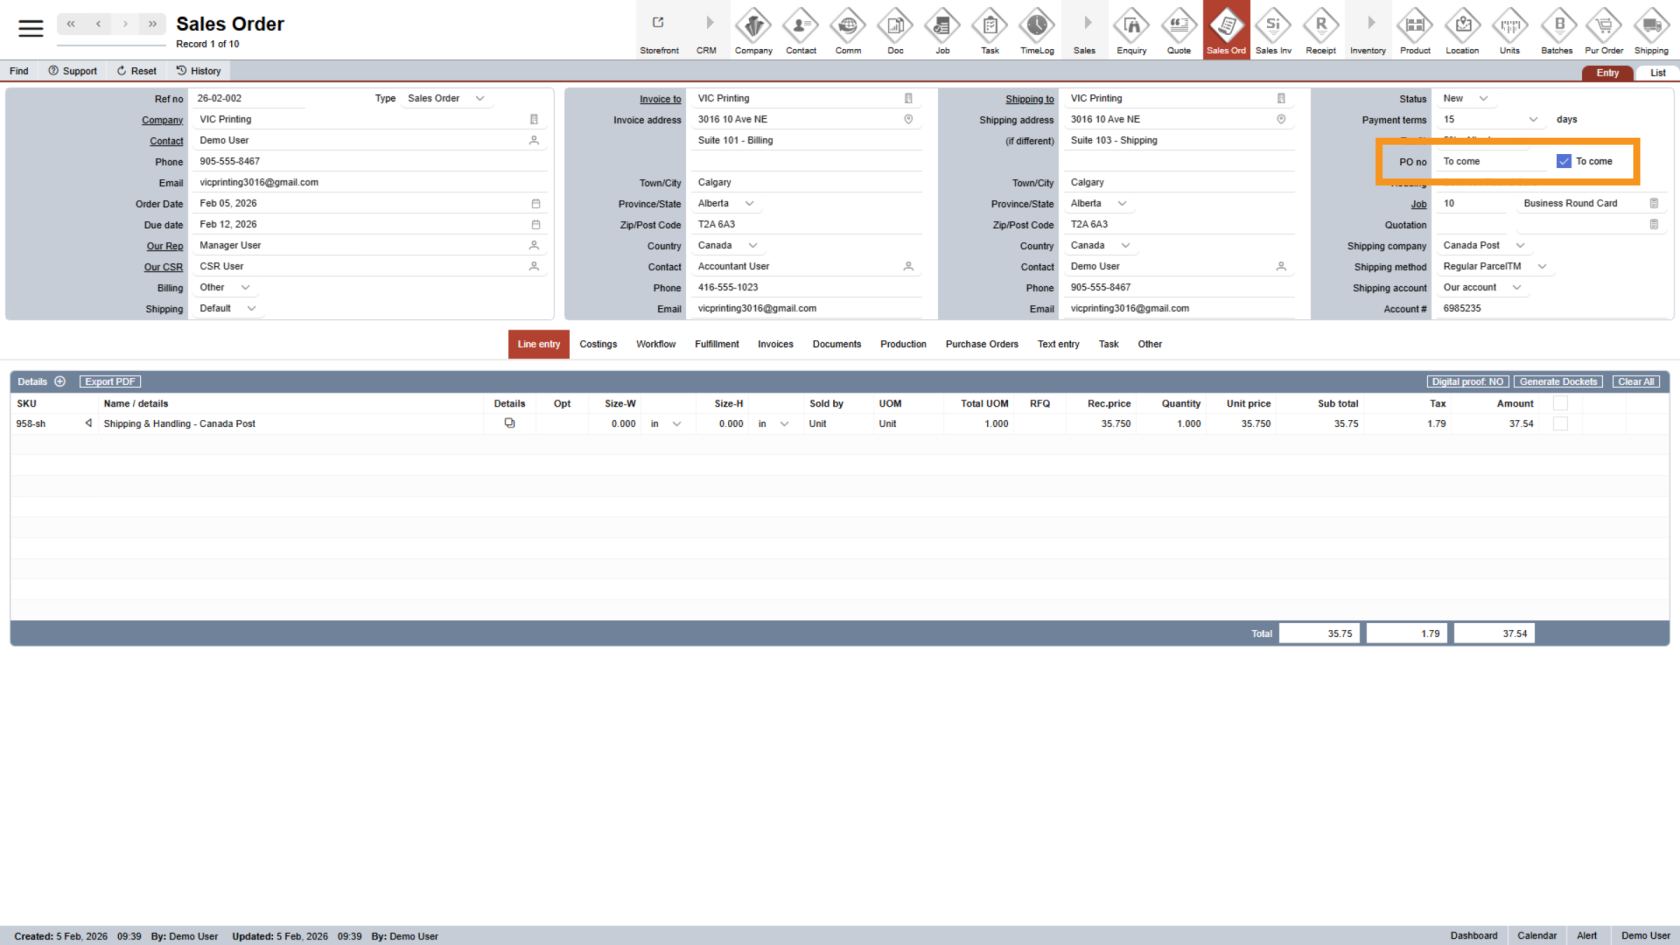
27. Review PO Number
The PO number is carried over from the job. You can update it here, and it will remain linked to the job.
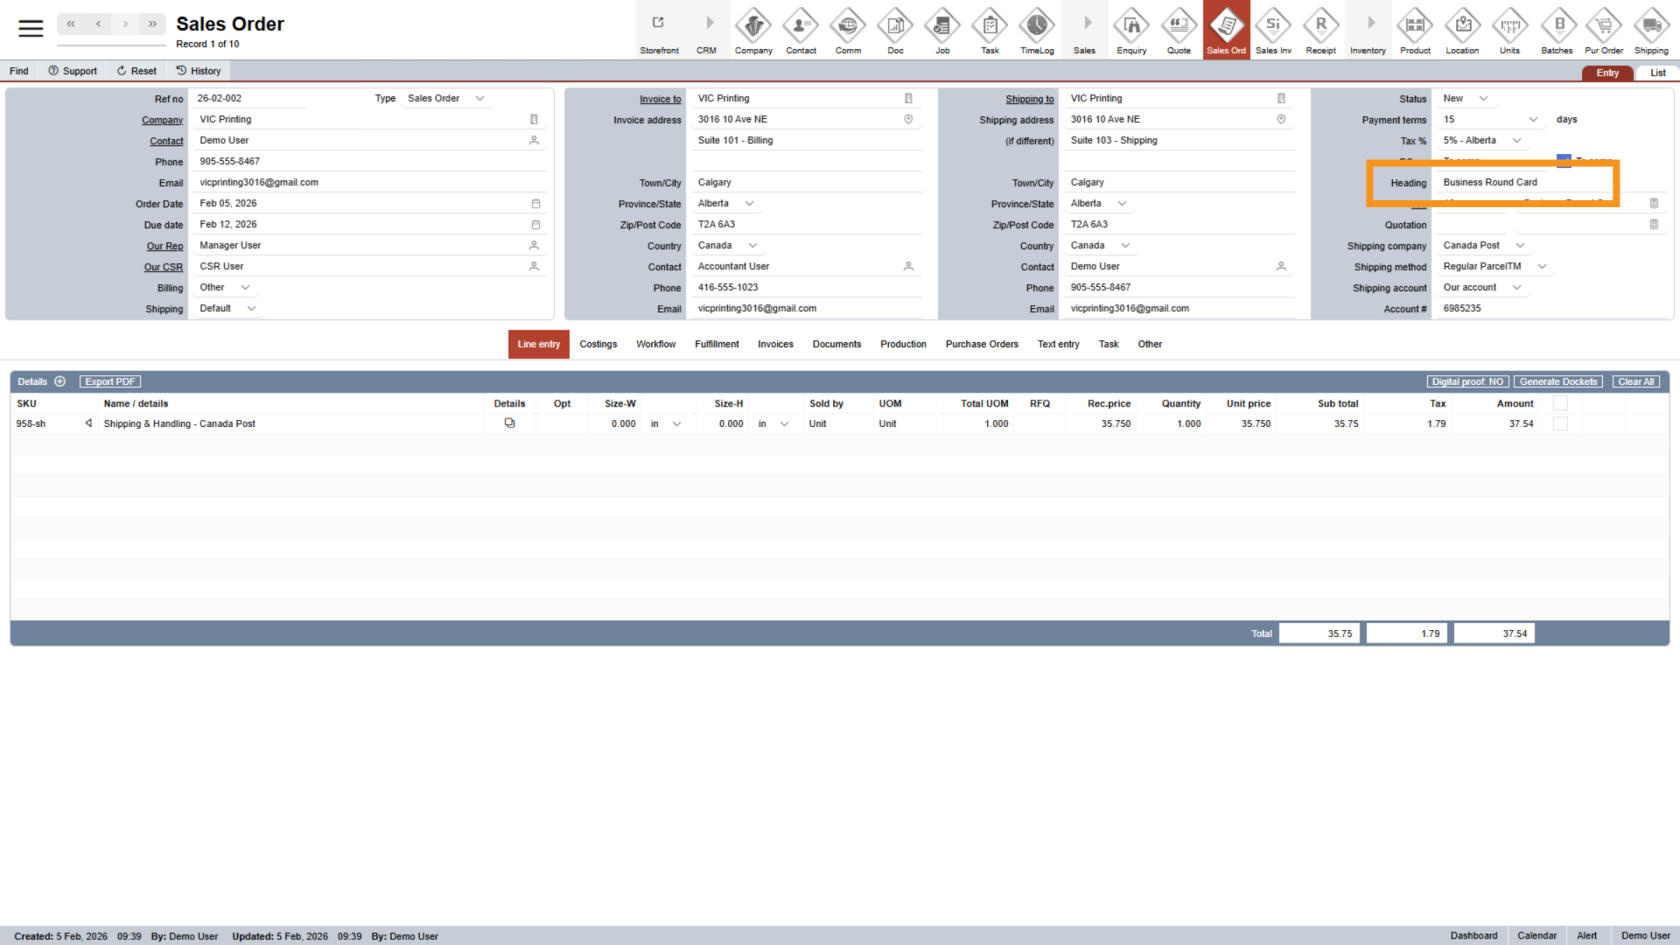
28. Review Sales Order Heading
The sales order heading comes from the jobjob, but can be updated if needed.
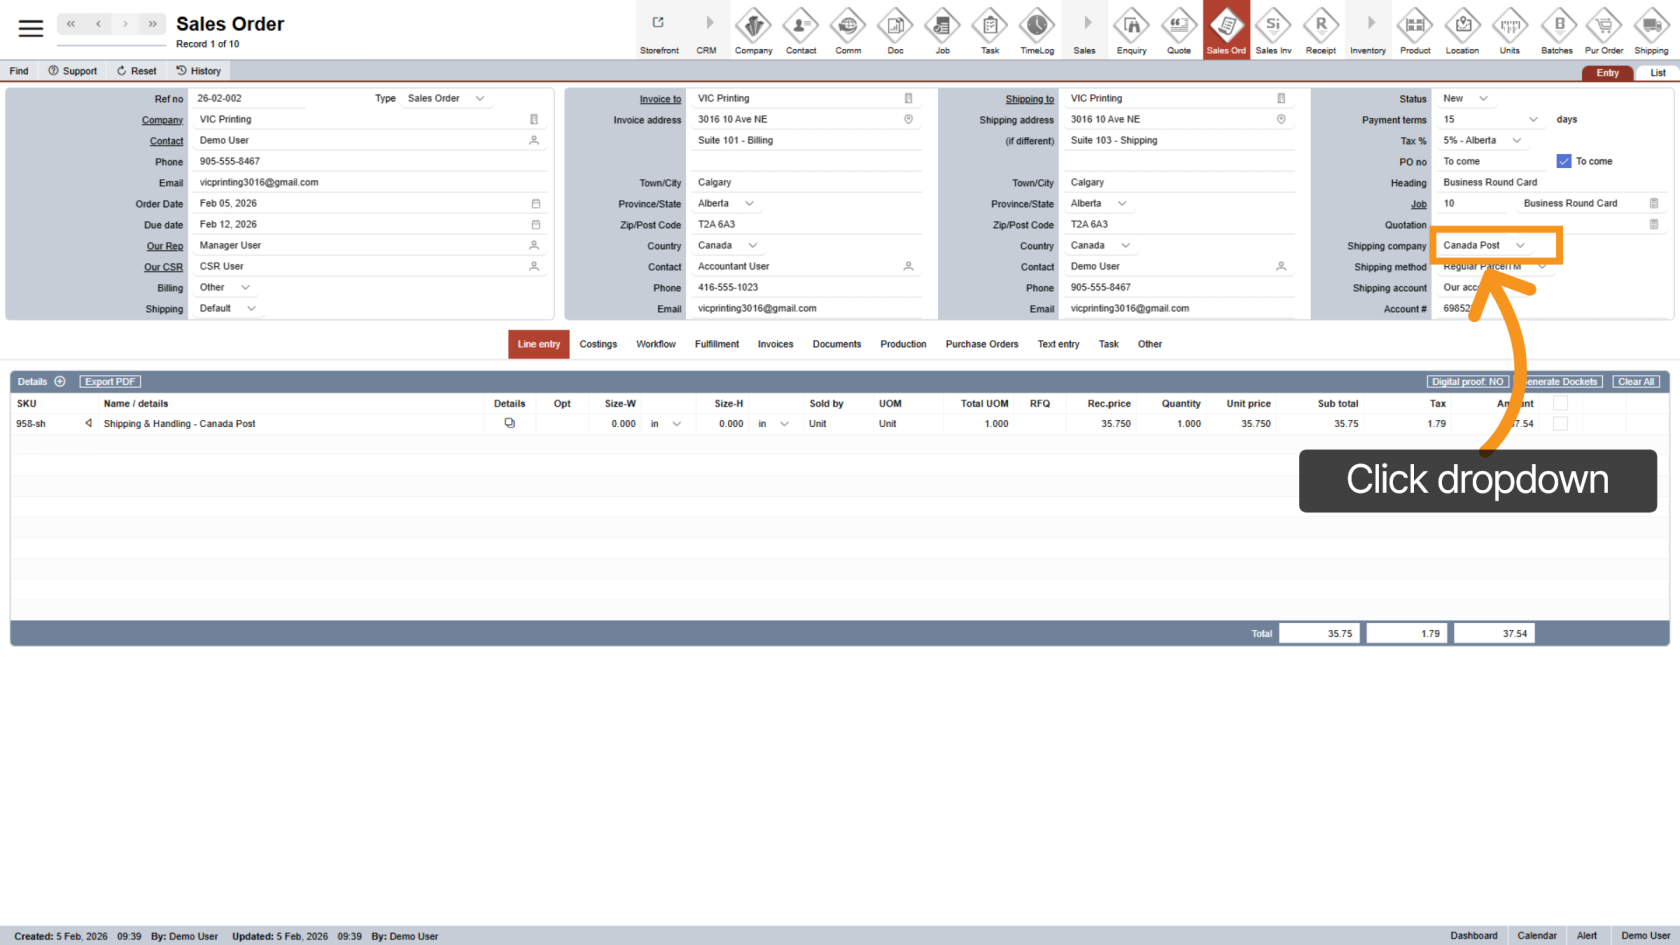
29. Choose Shipping Carrier
Select the "Shipping CompanyCompany" that will handle delivery.
You have successfully created a sales order. Please review all details carefully before proceeding to add Line Entry to the sales order.