Creating a new company
This tutorial guides you through creating a new company profile within the application. You will learn how to configure essential company details and settings for proper setup.
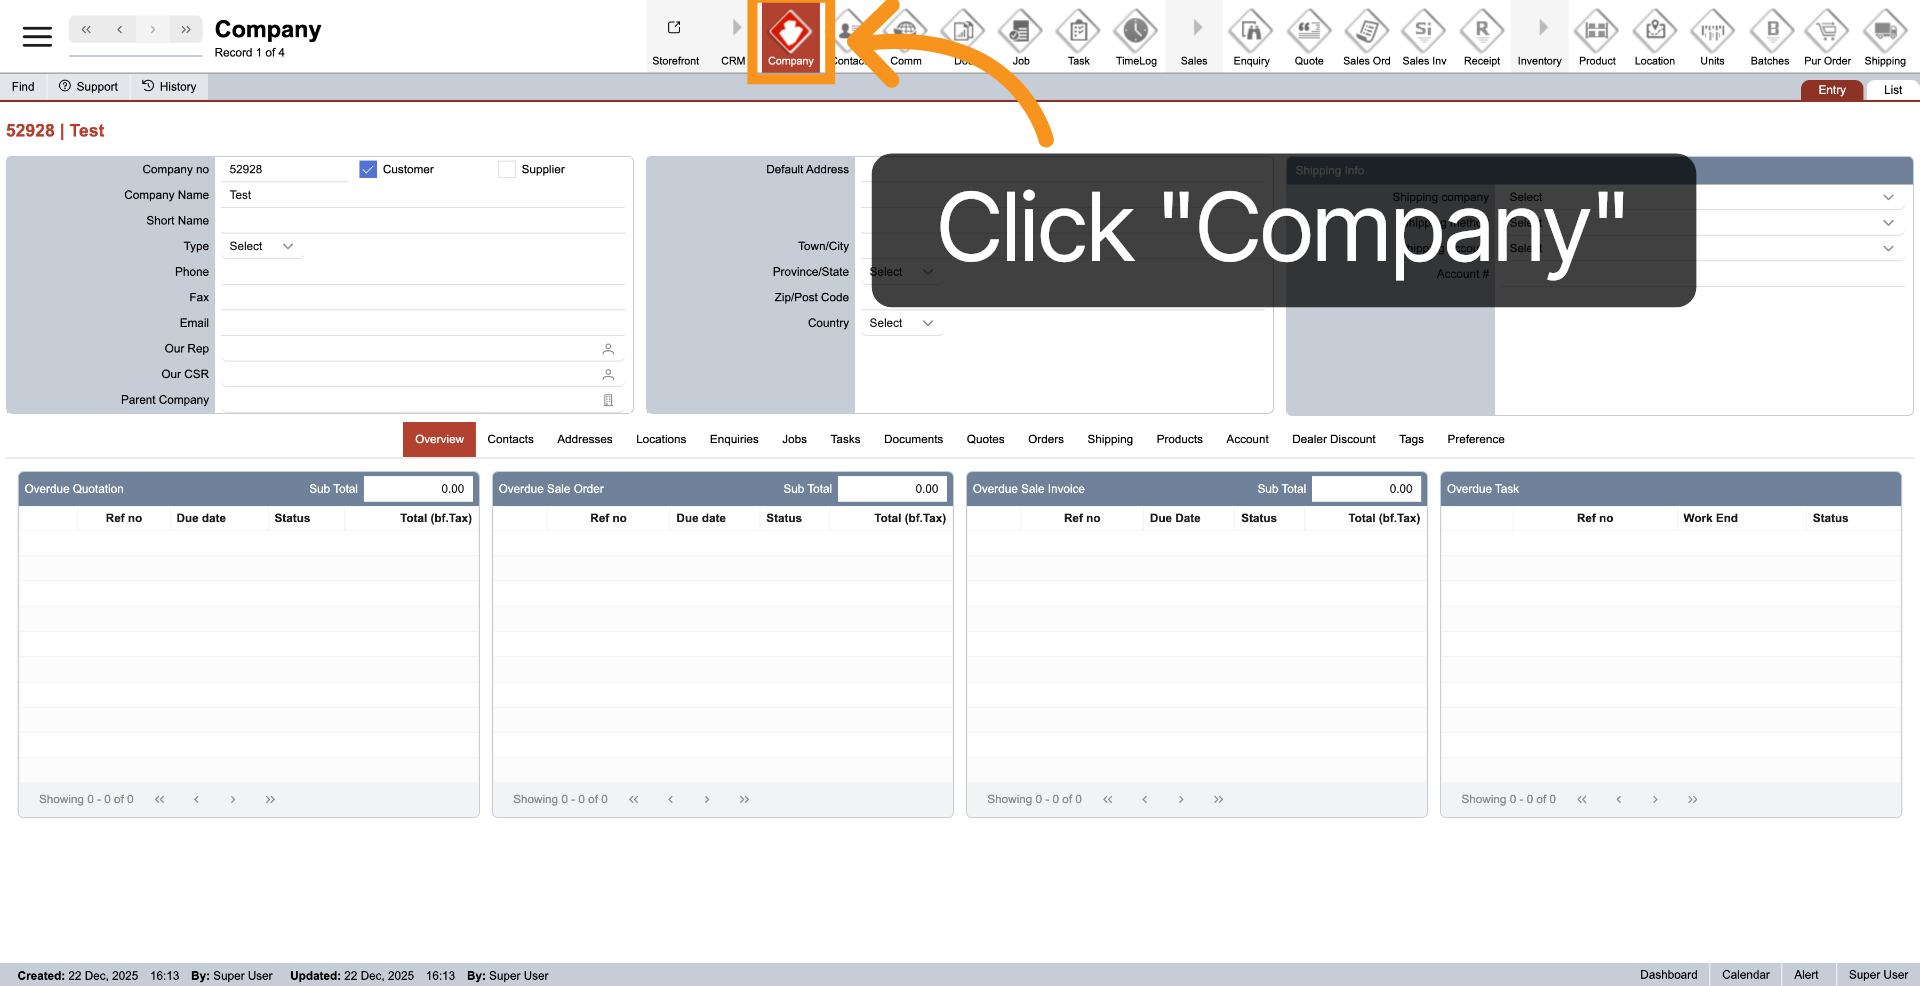
1. Open Company Module
From the top main menu, click on "Company" to access the company module.
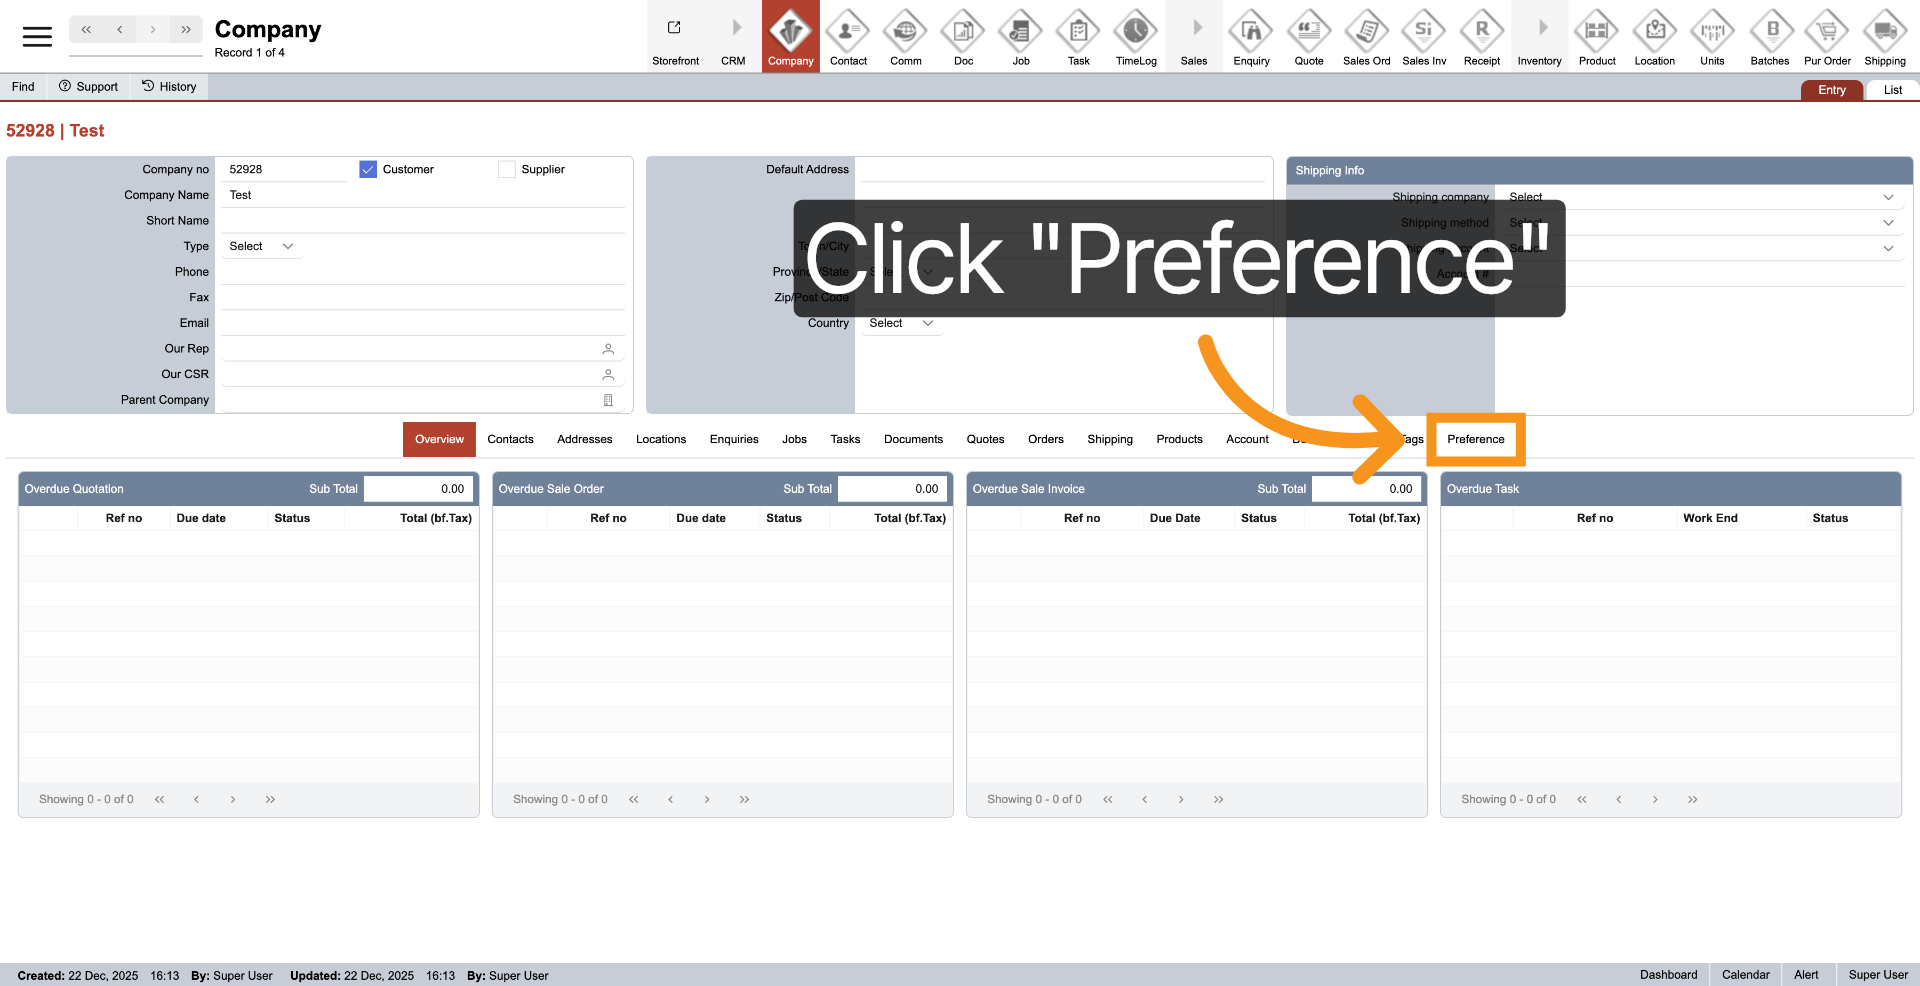
2. Select Preferences Option
Select "Preferences" to access the configuration section for creating new company.
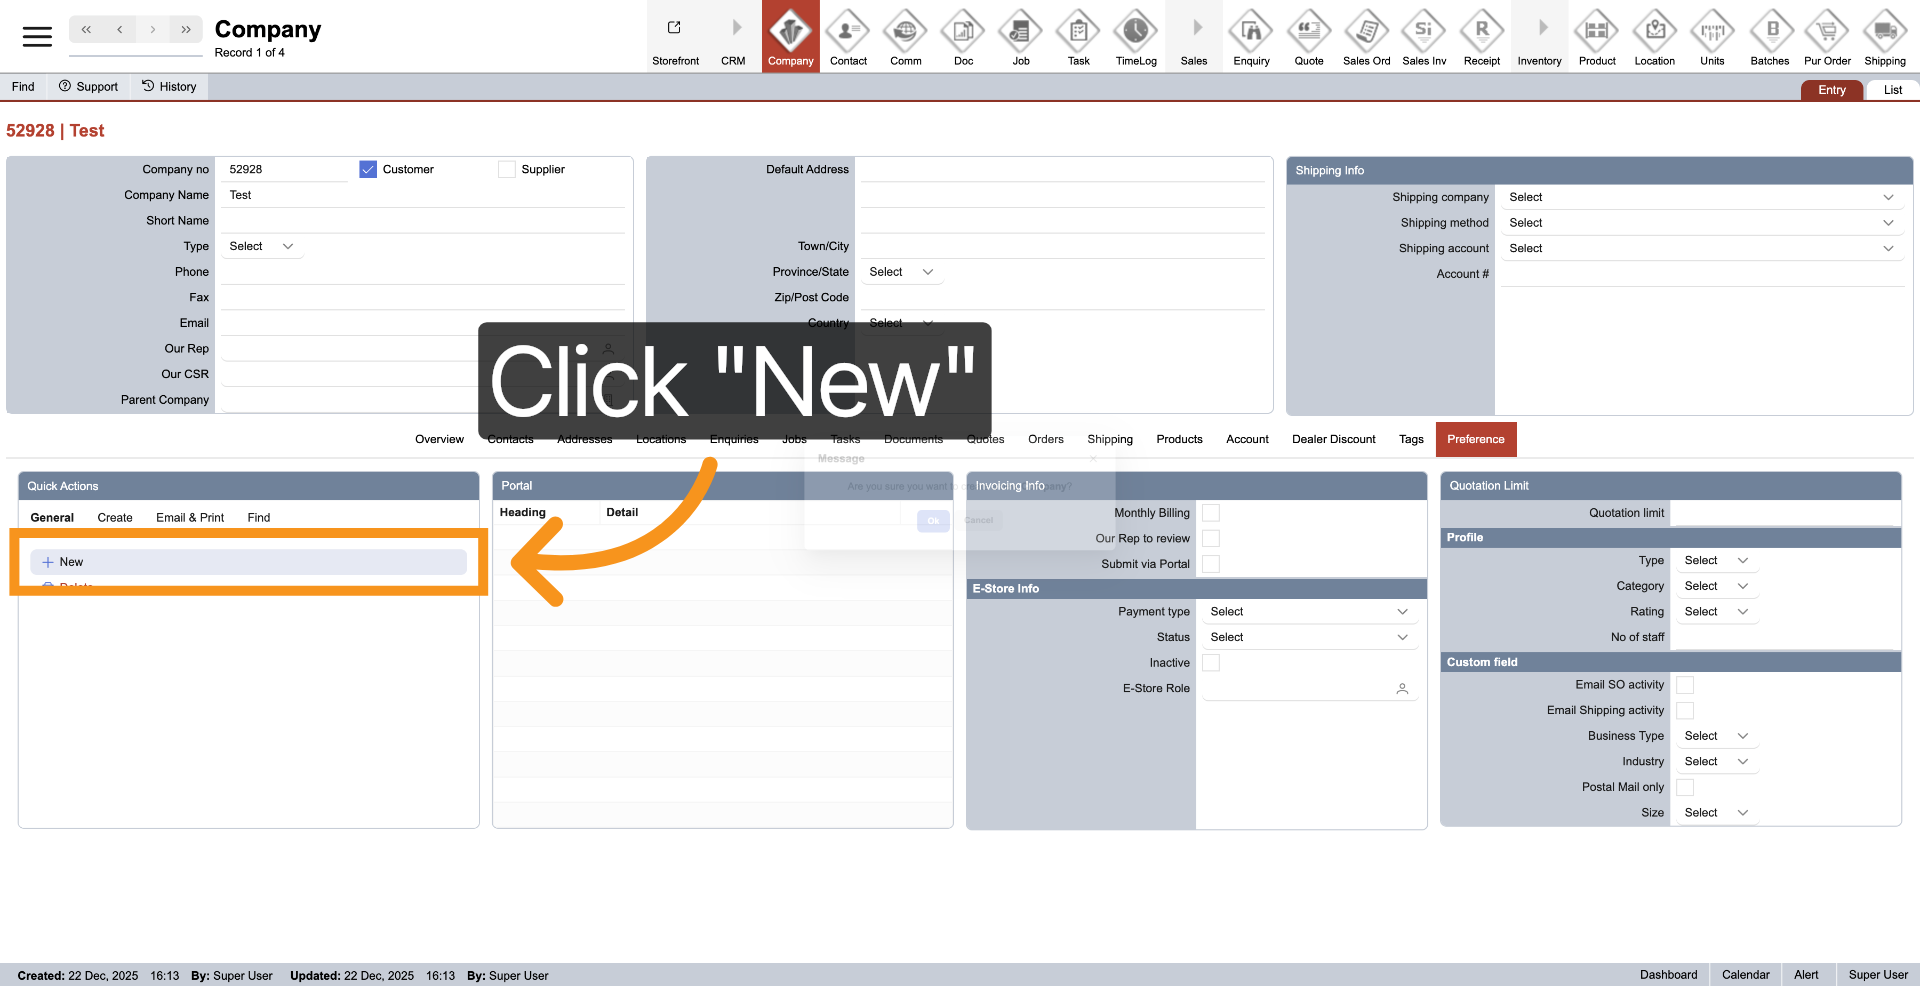
3. Initiate New Company
Click "New" to start creating a new company profile.
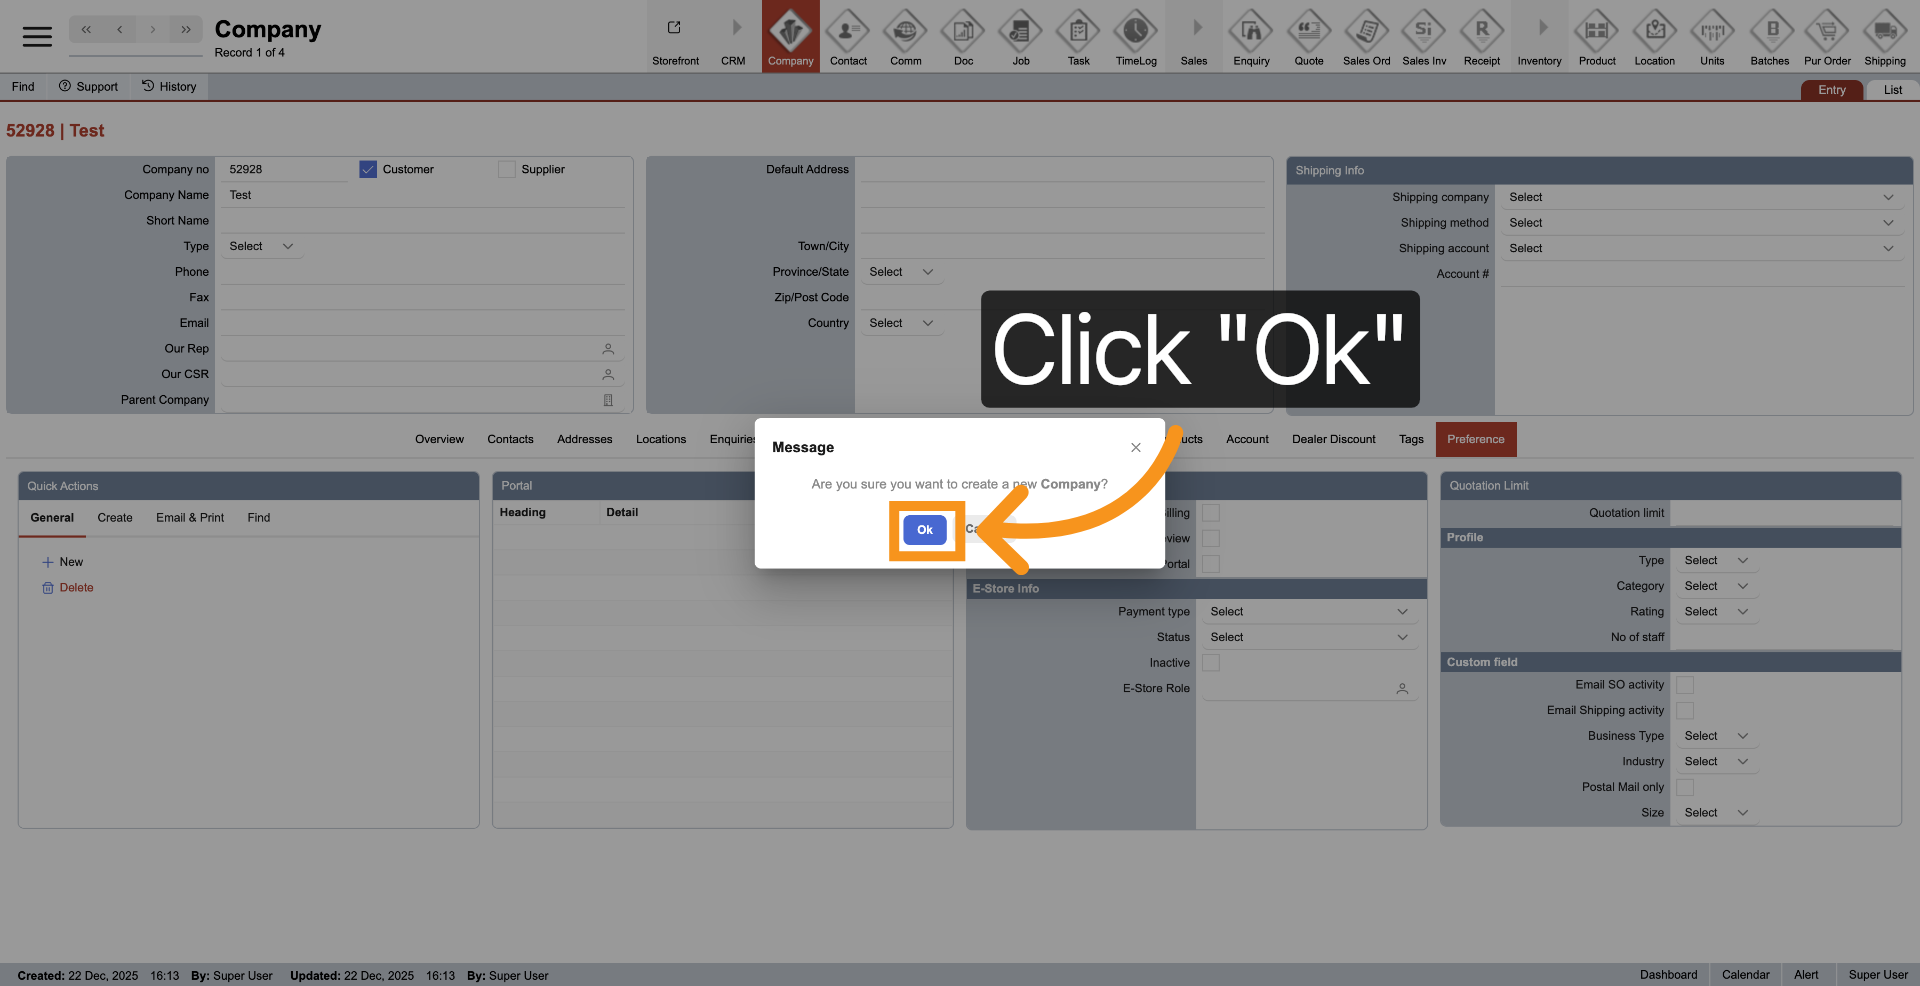
4. Confirm New Entry
Click "Ok" to confirm the creation of a new company entry.
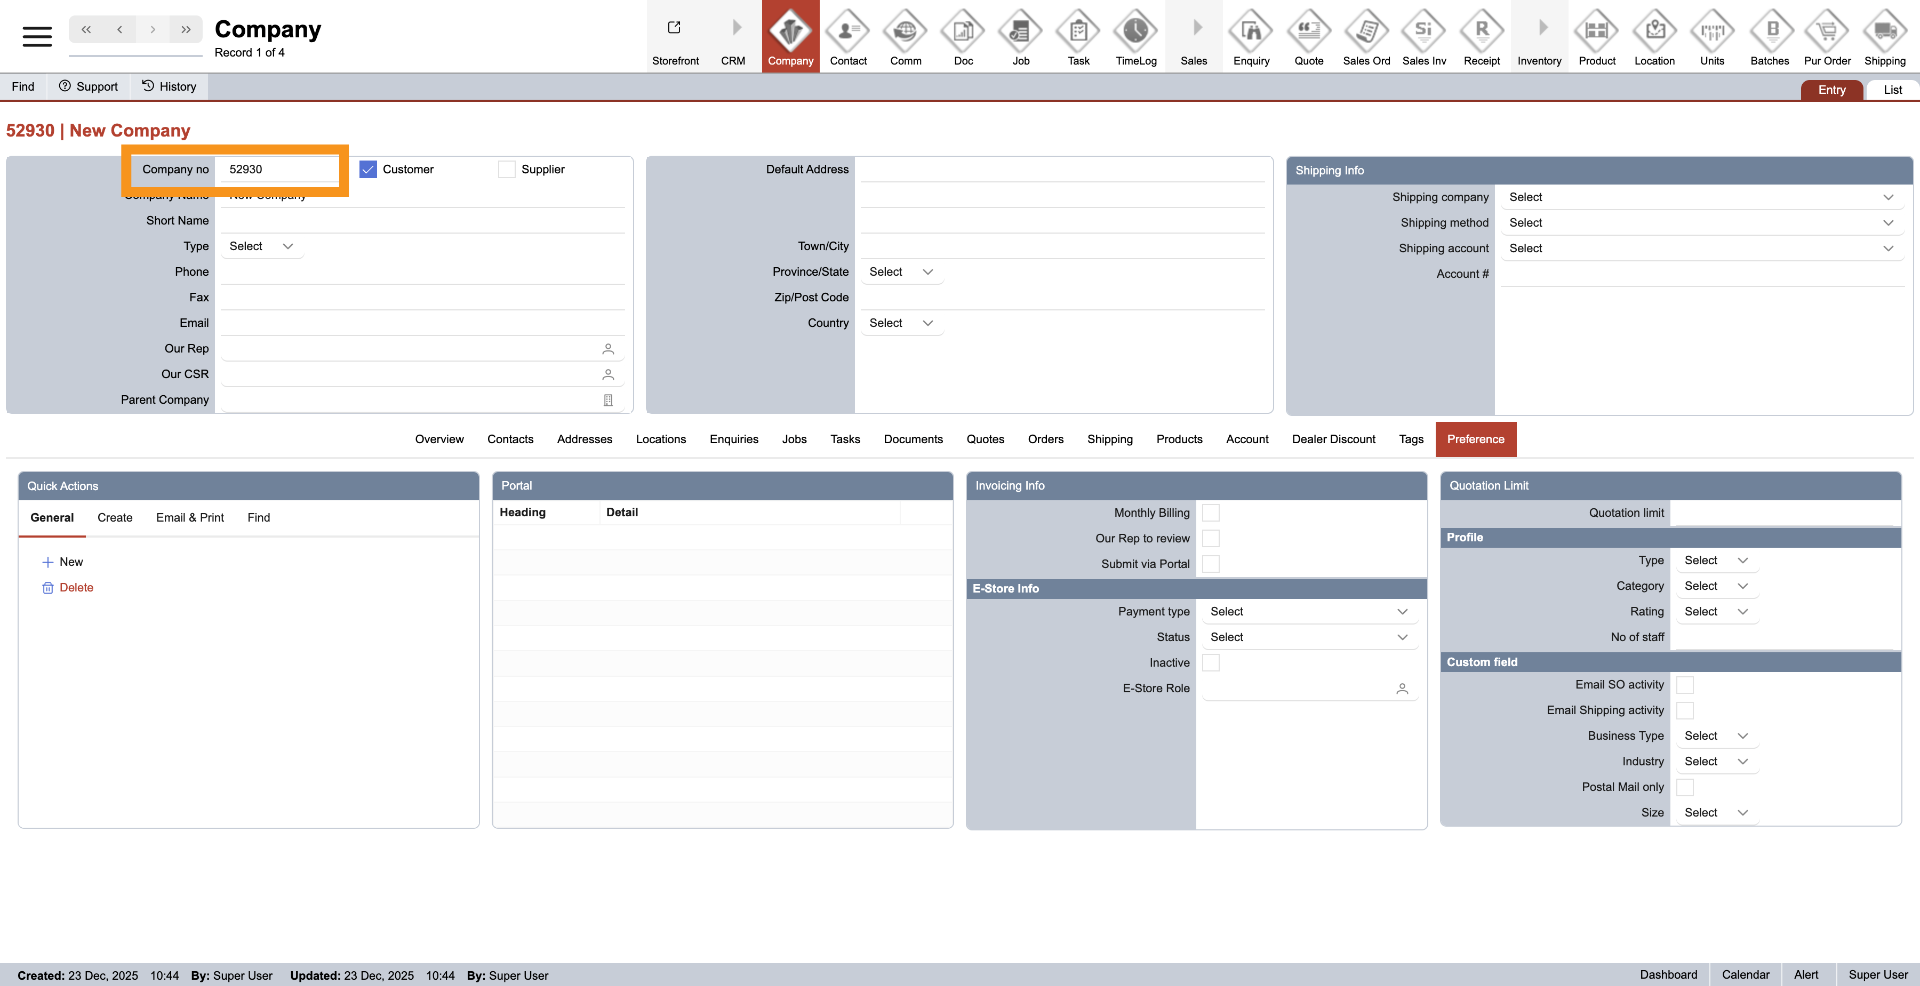
5. Company Number
The company number is automatically generated by the system and cannot be modified.
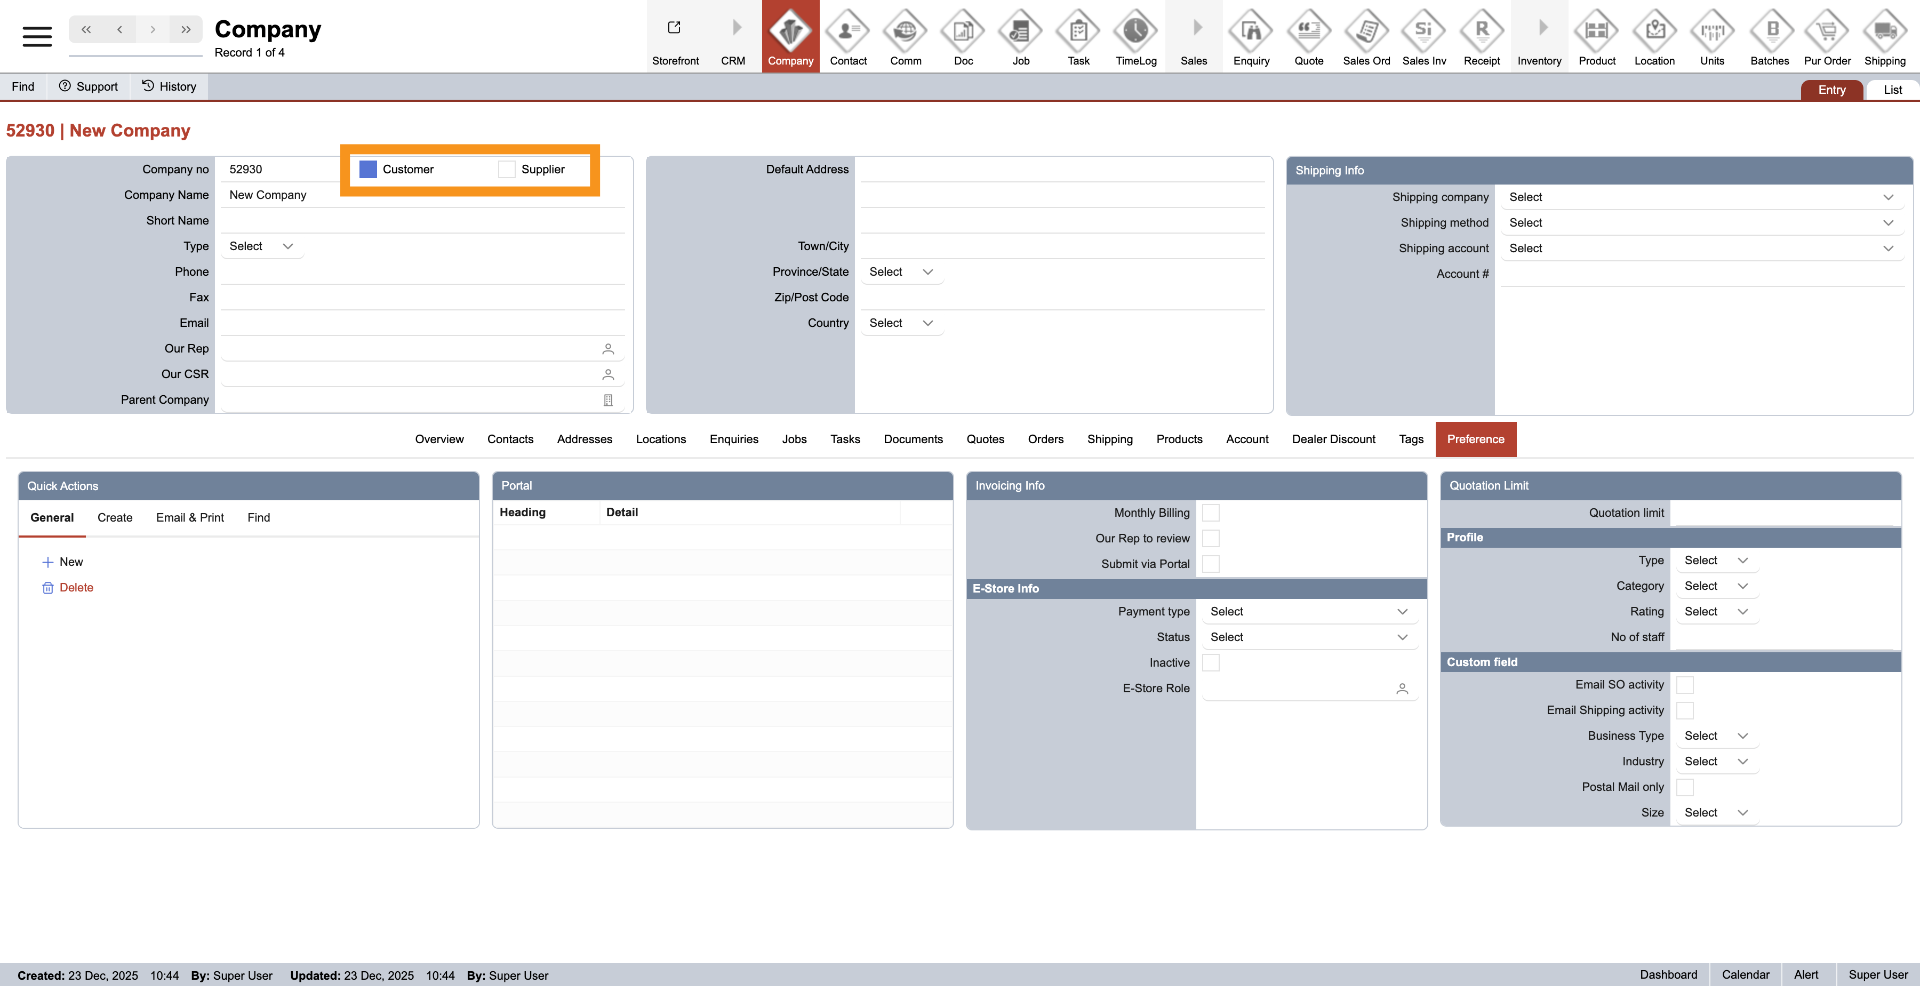
6. Choose Customer Category
To categorize the company as a customer, click "Customer." Alternatively, click "Supplier" to designate the company as a supplier. It is possible to select both categories for a single company.
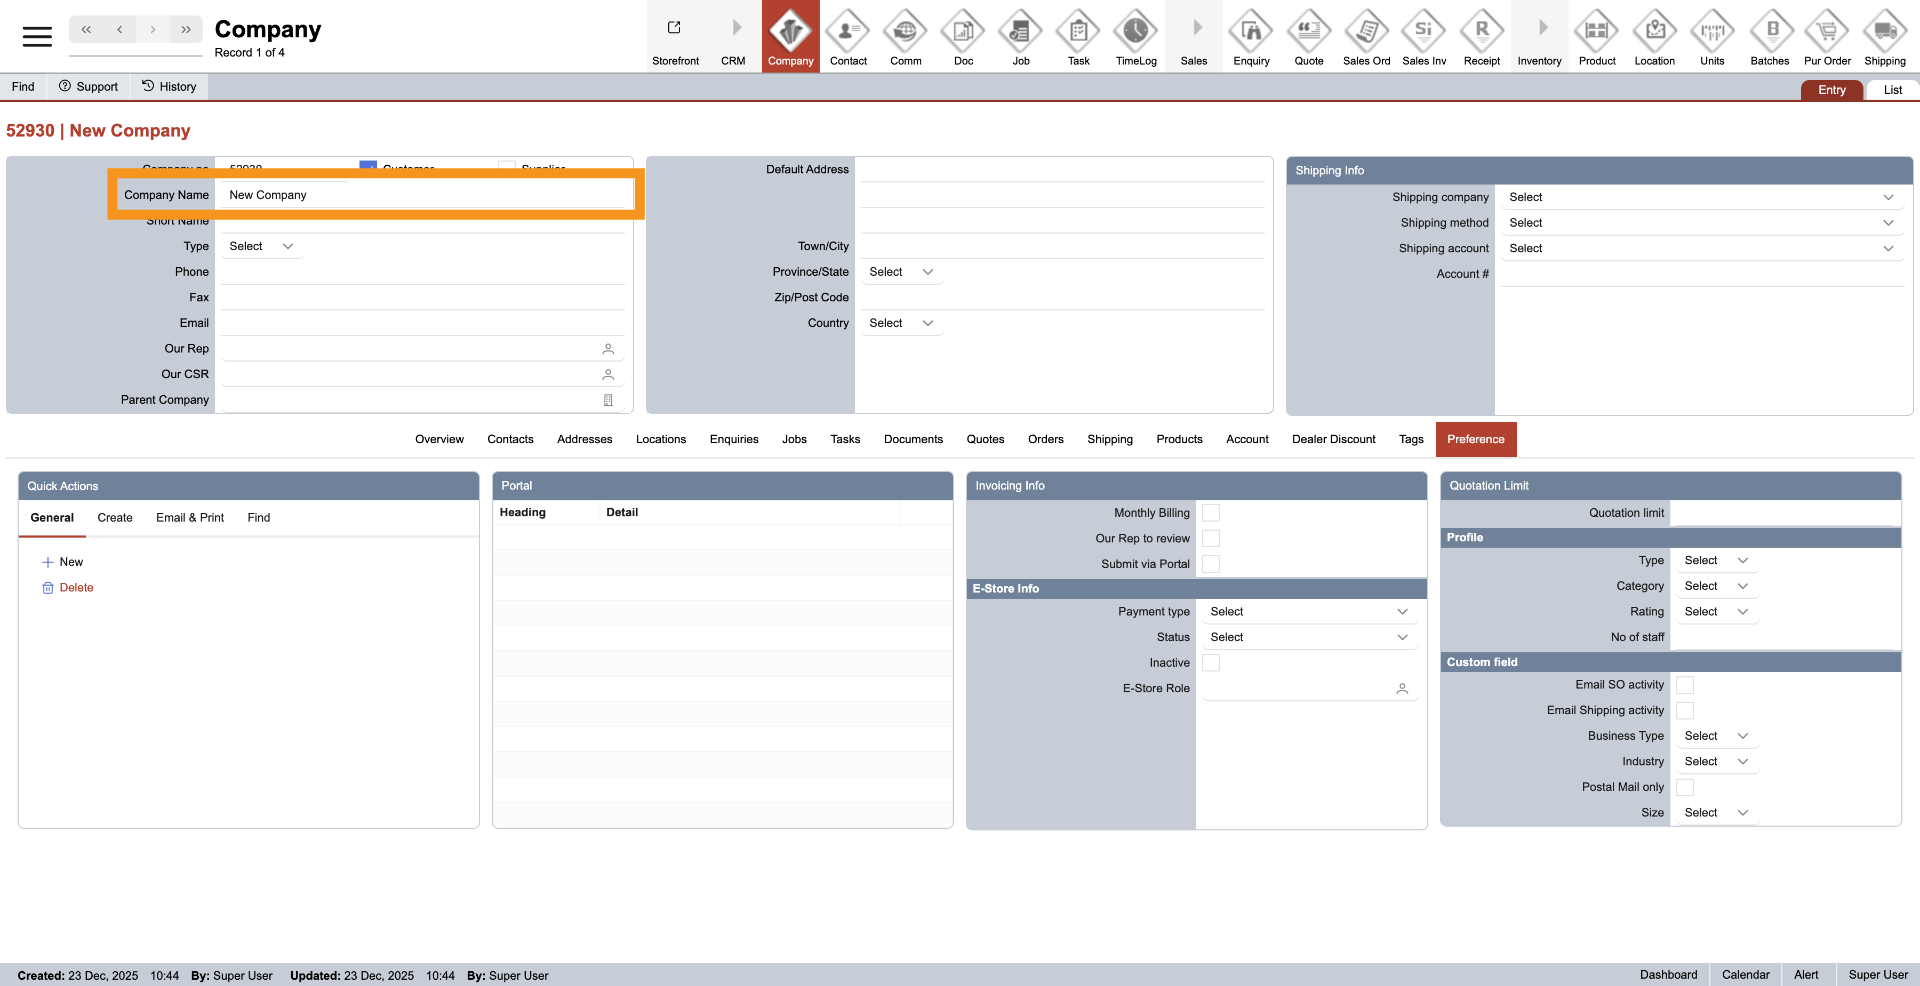
7. Enter Company Name
Input your company name in the designated field to identify the new company.
8. Confirm Company Details
Click "Confirm" to save the entered company details.

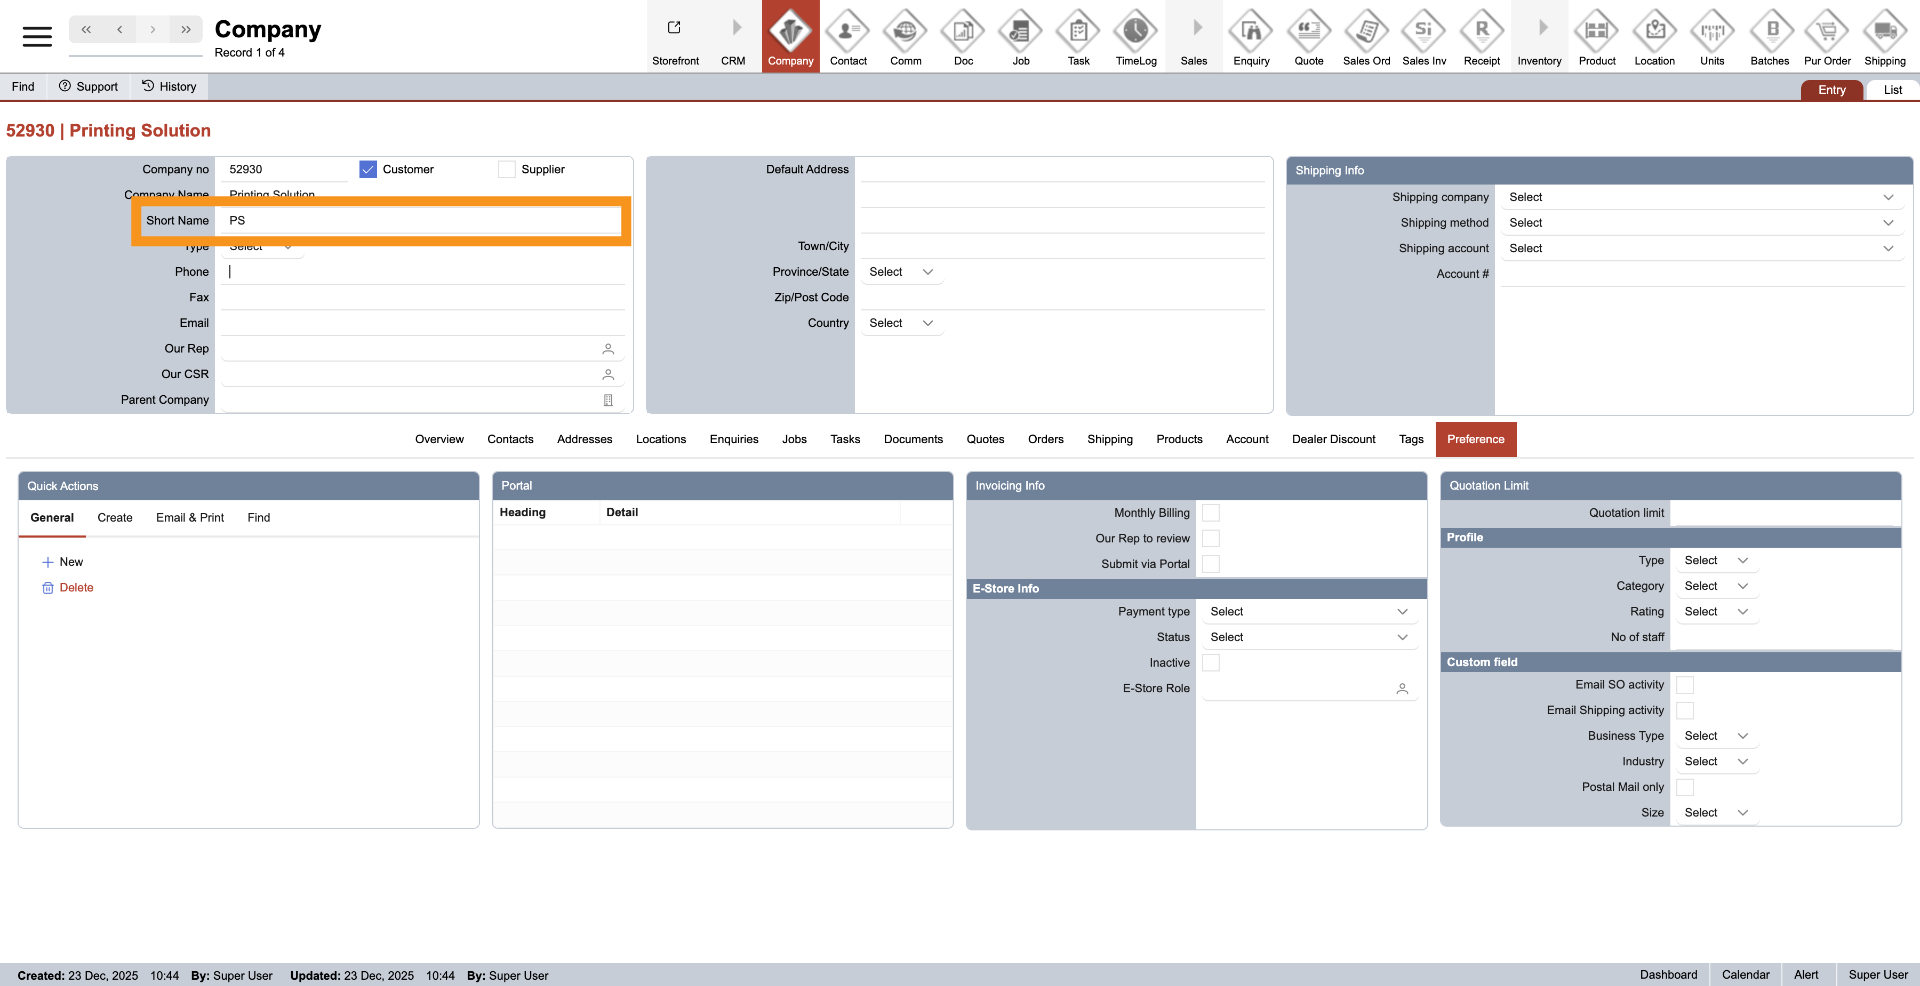
9. Enter Company Short Name
Provide your company's short name for convenient reference.
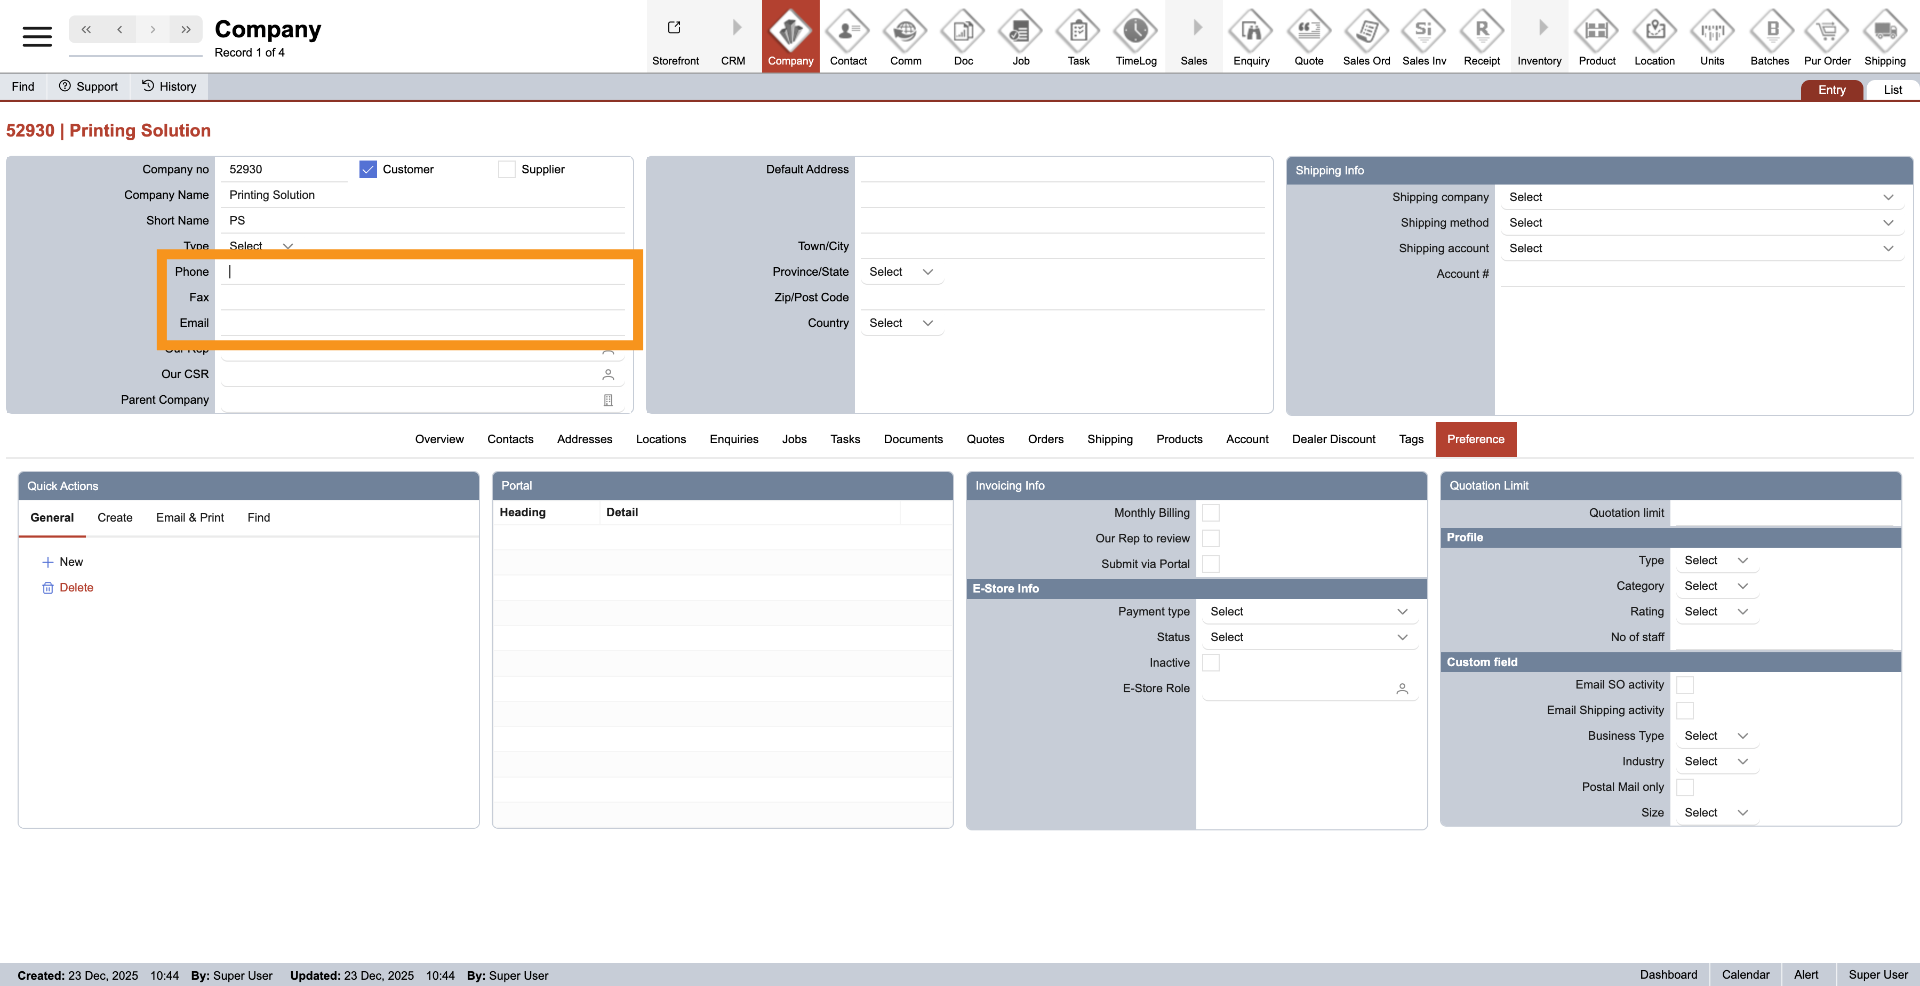
10. Enter Company Details
Provide your company's phone number, fax number, and email address for communication purposes.
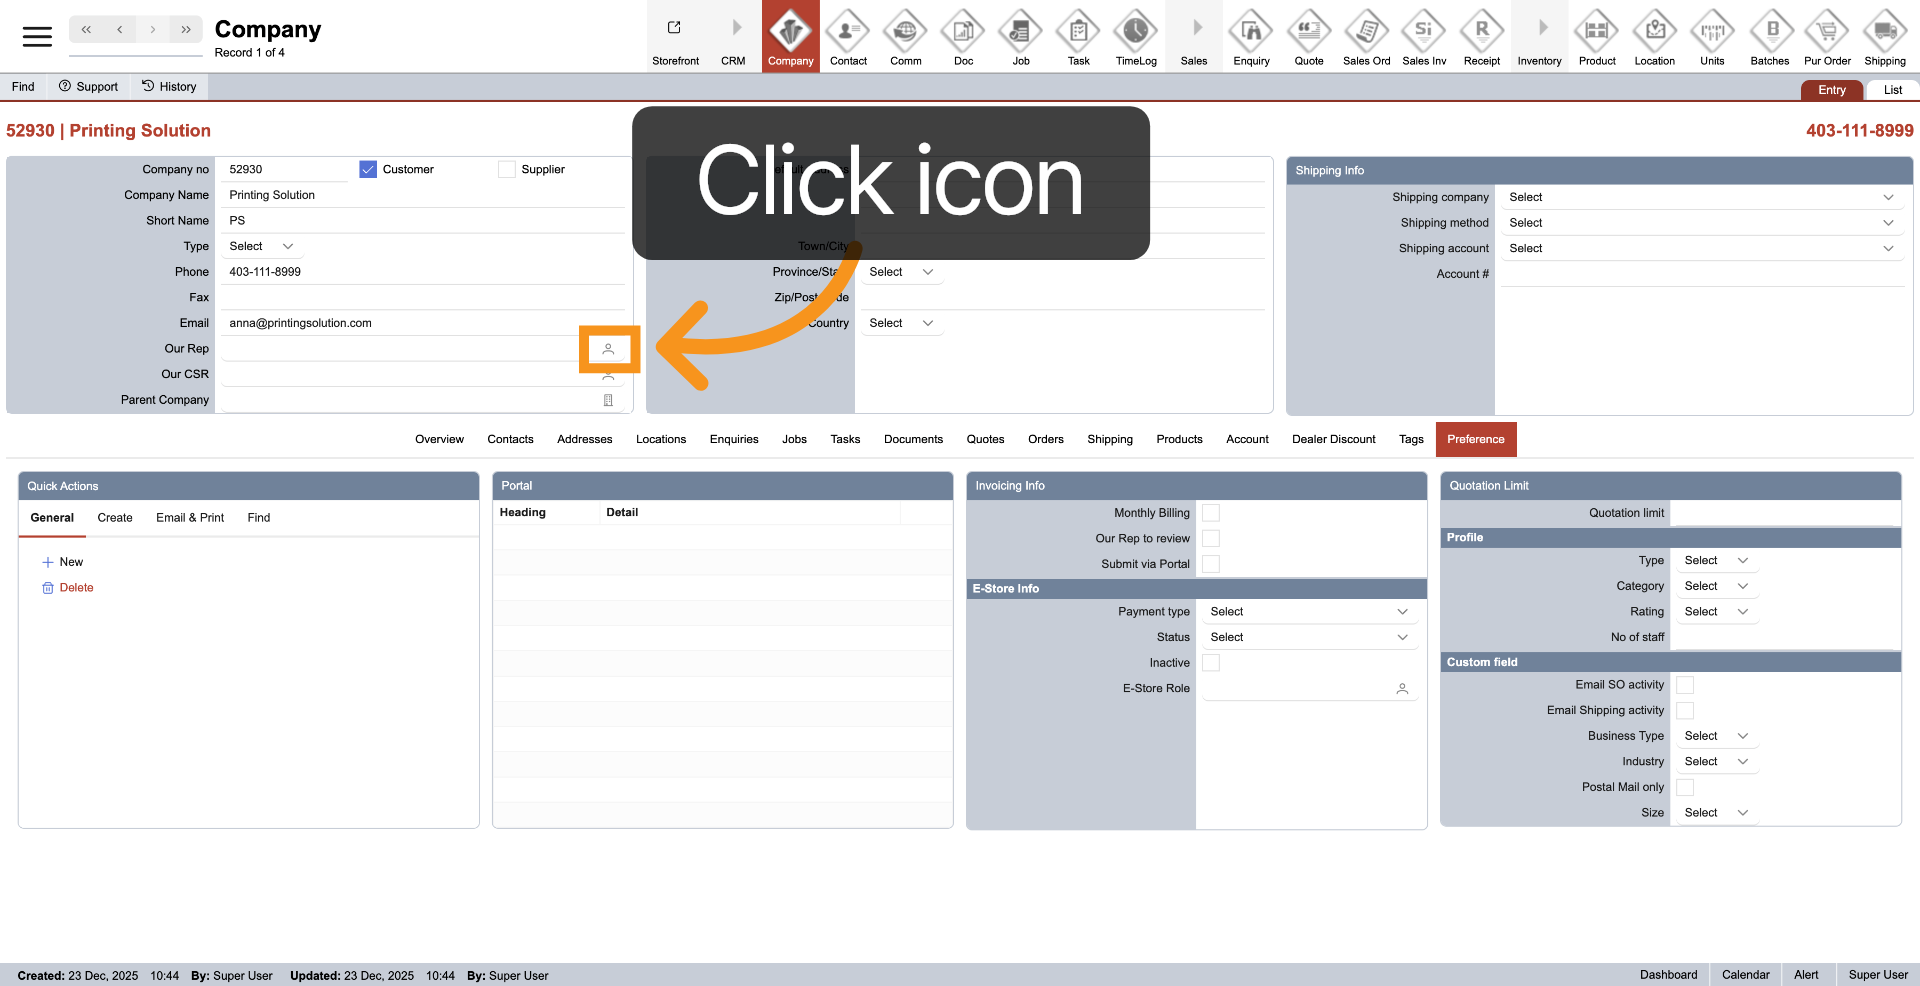
11. Select Sale Representative
To assign a sales representative, click the contact icon next to it
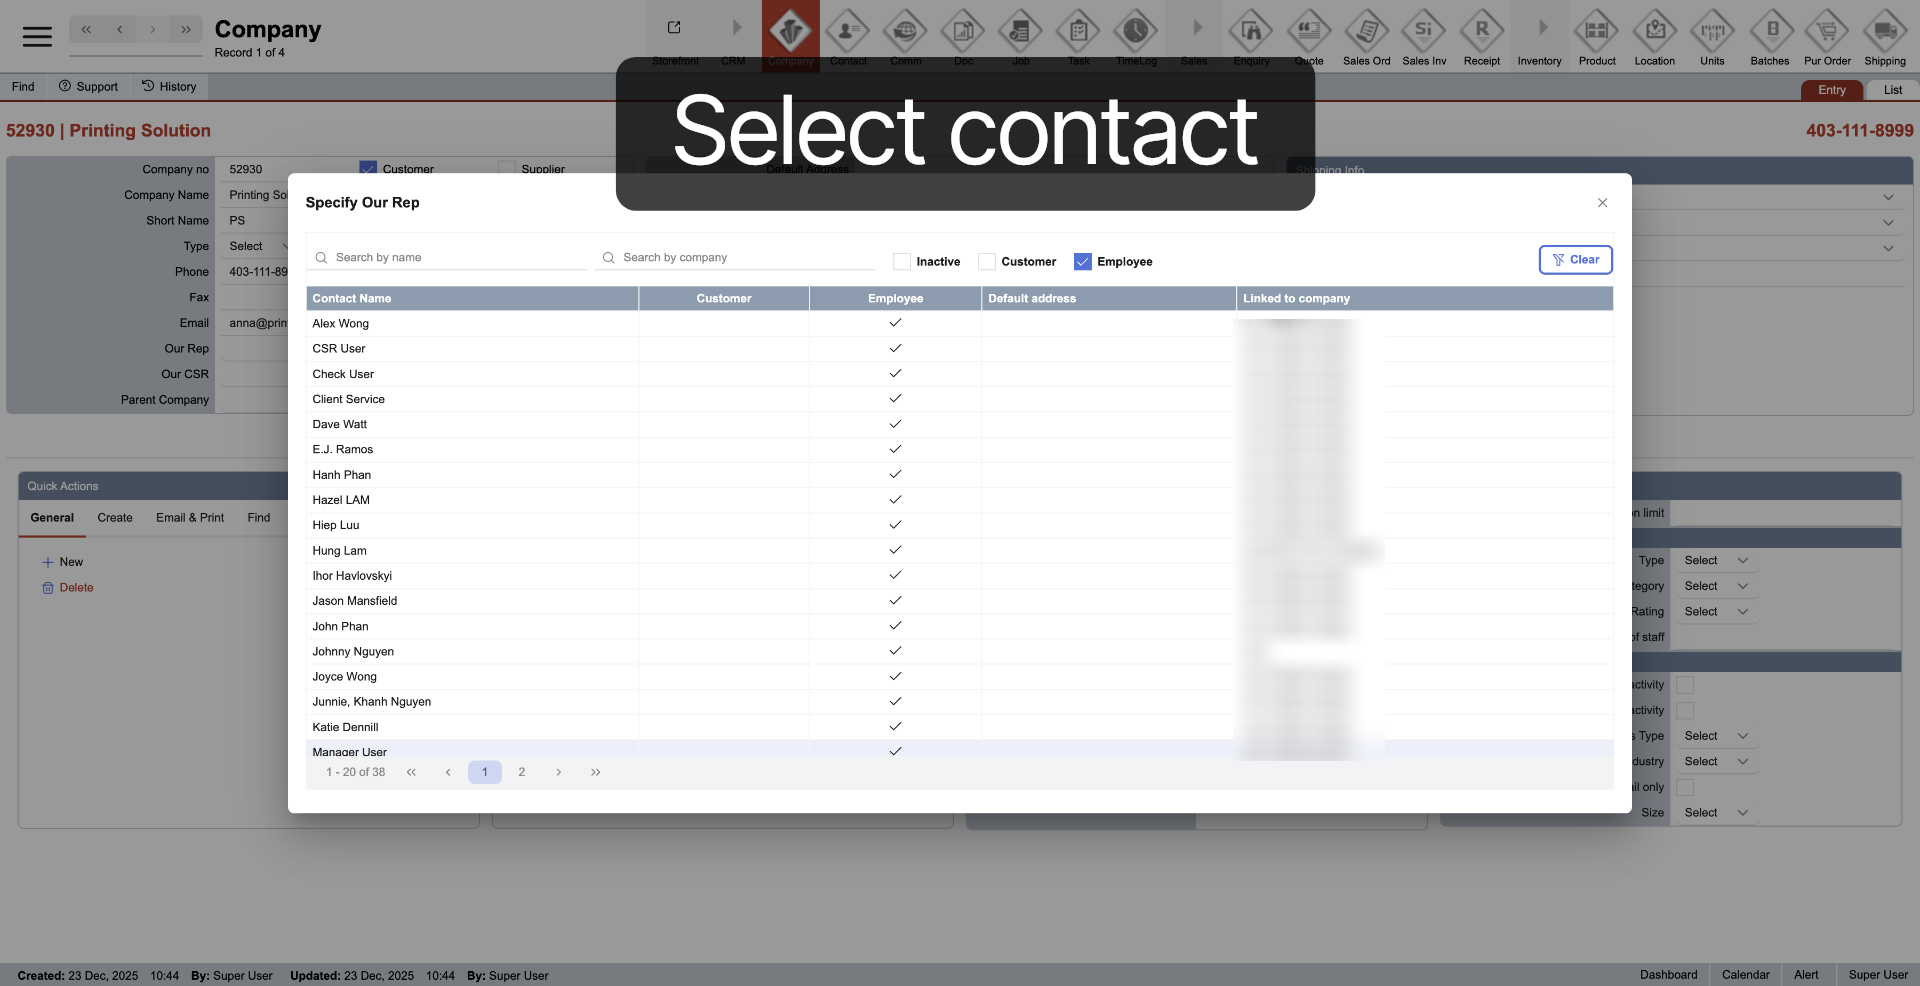
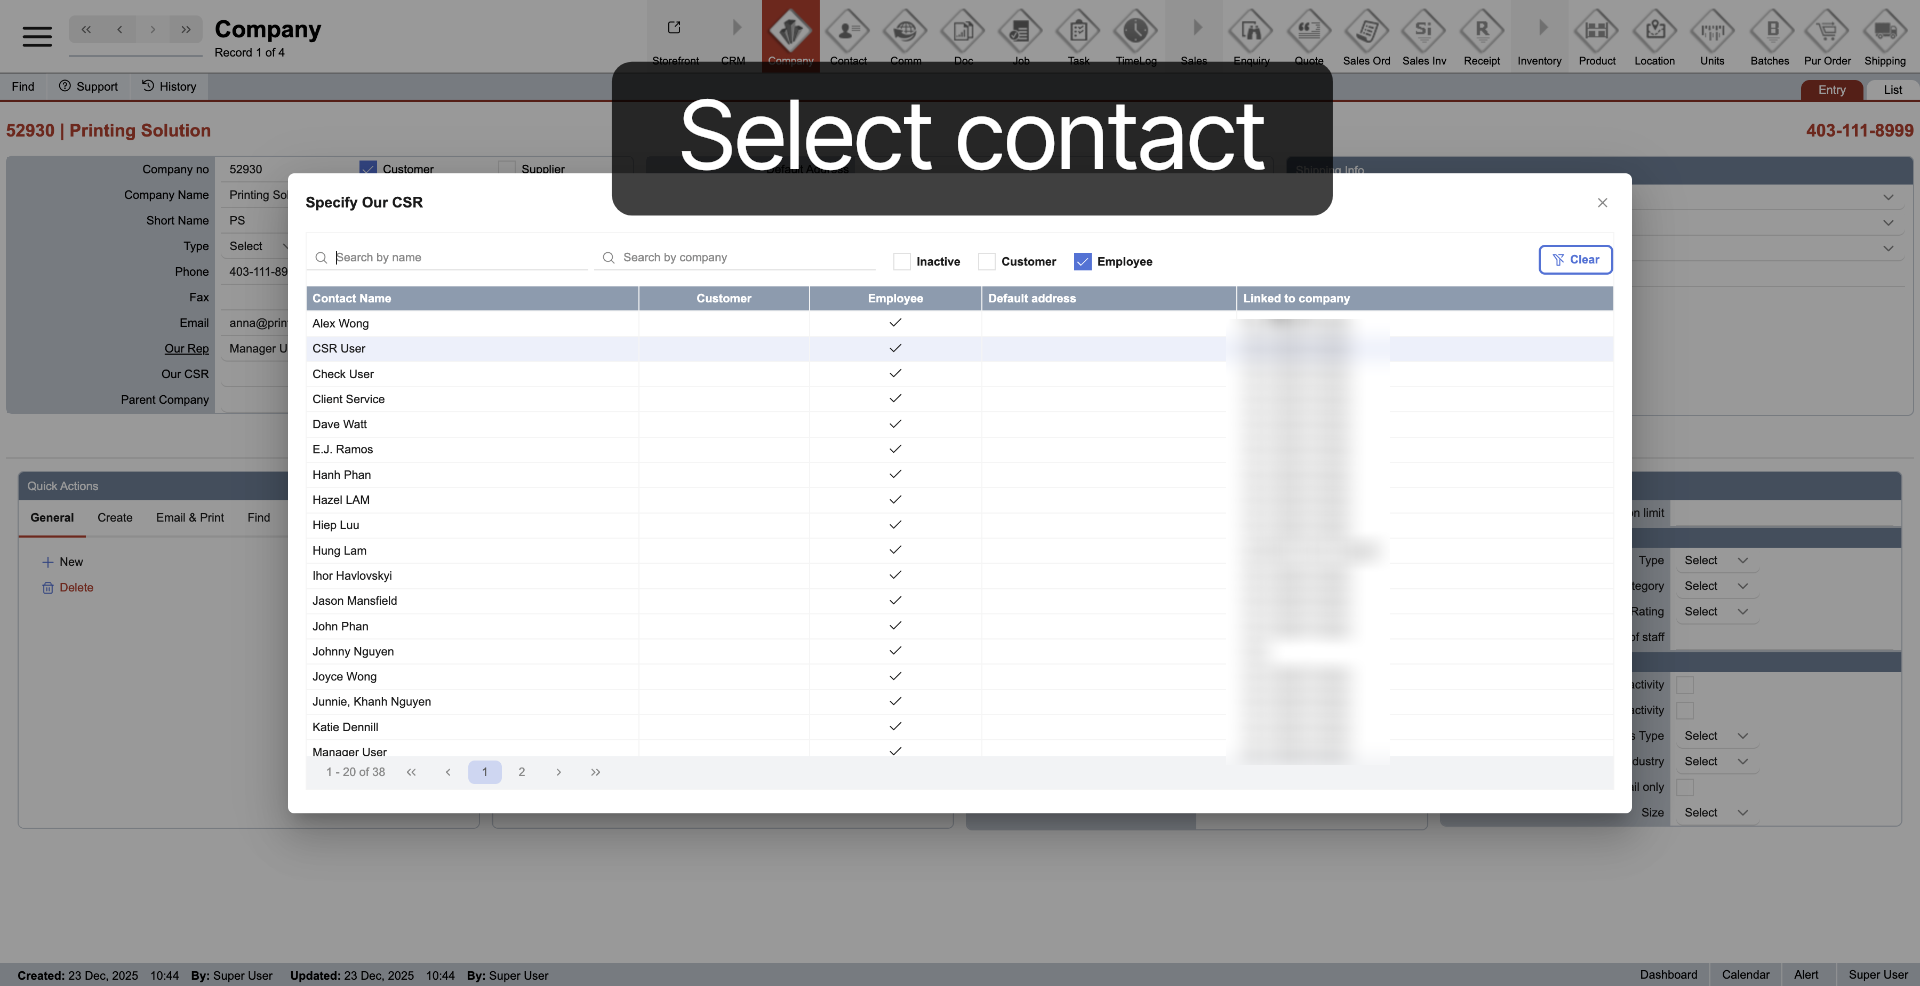
12. Select Contact
Select "Contact" to reach a sales representative.
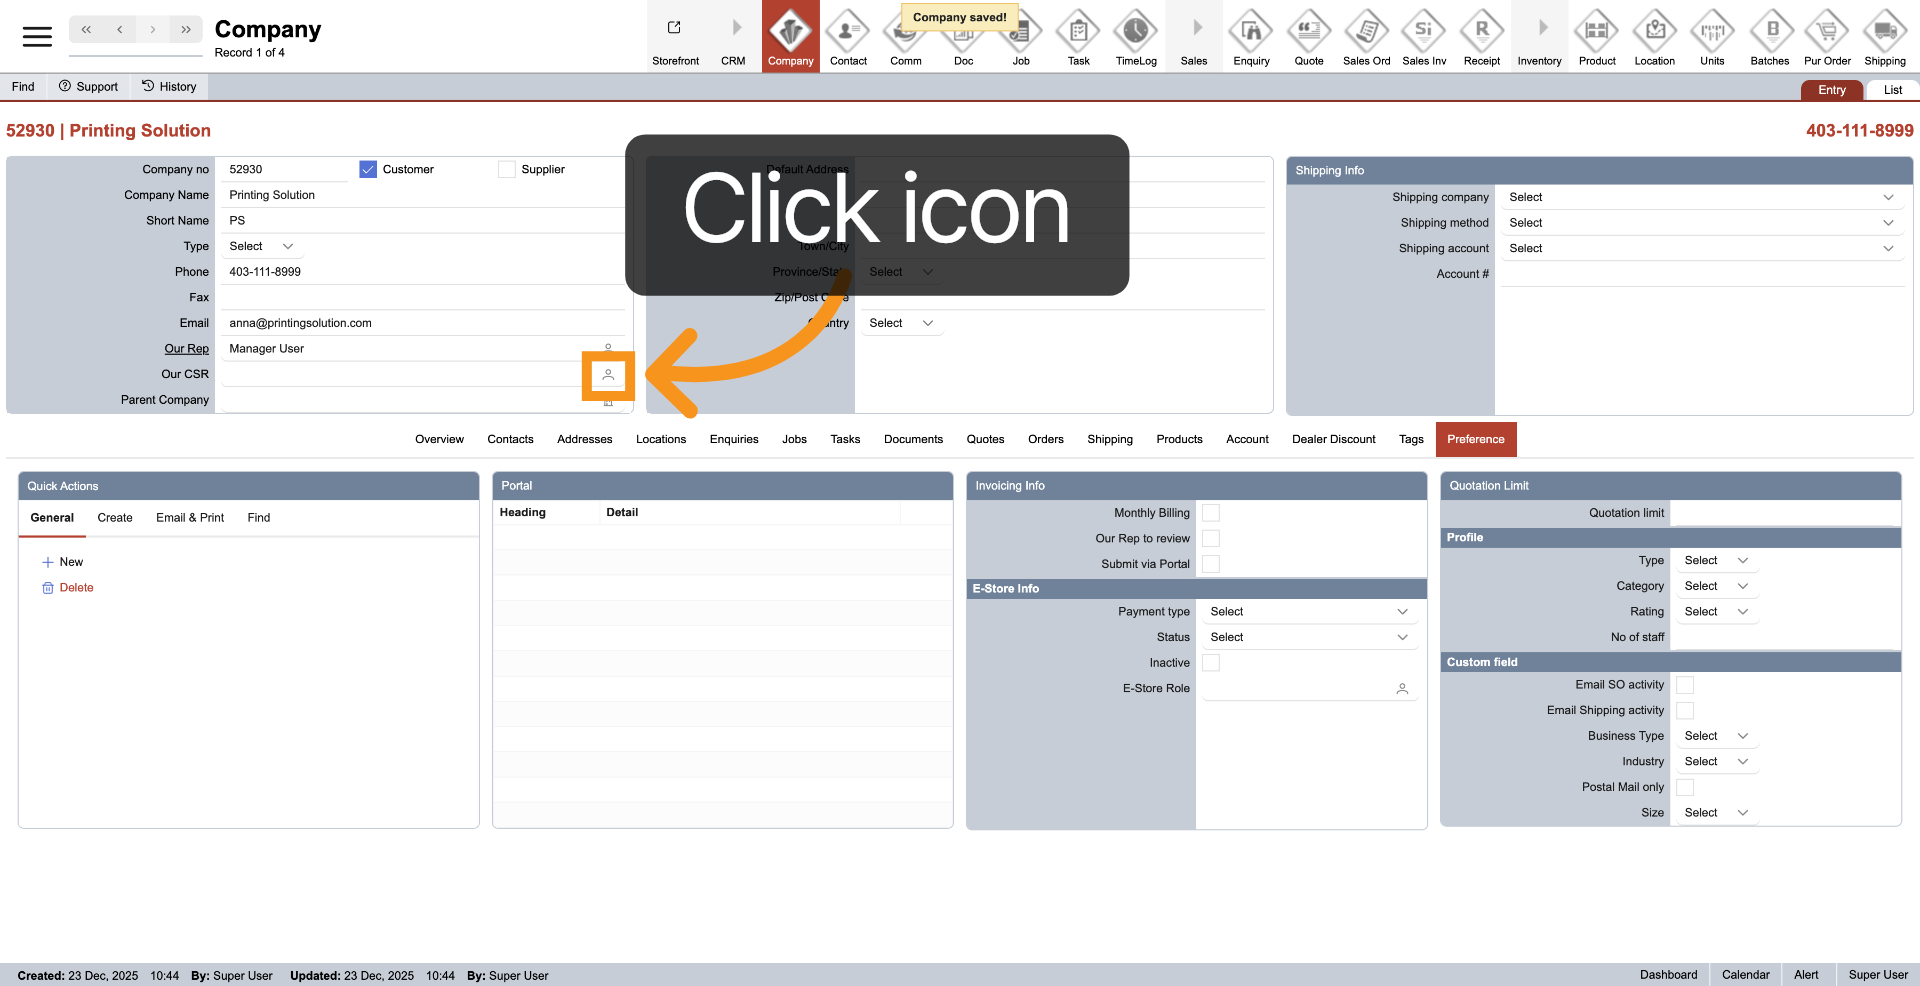
13. Select Customer Service Representative
To assign customer service representative, click the contact icon next to it
14. Select CSR Role
Click contact to assign the customer service representative.
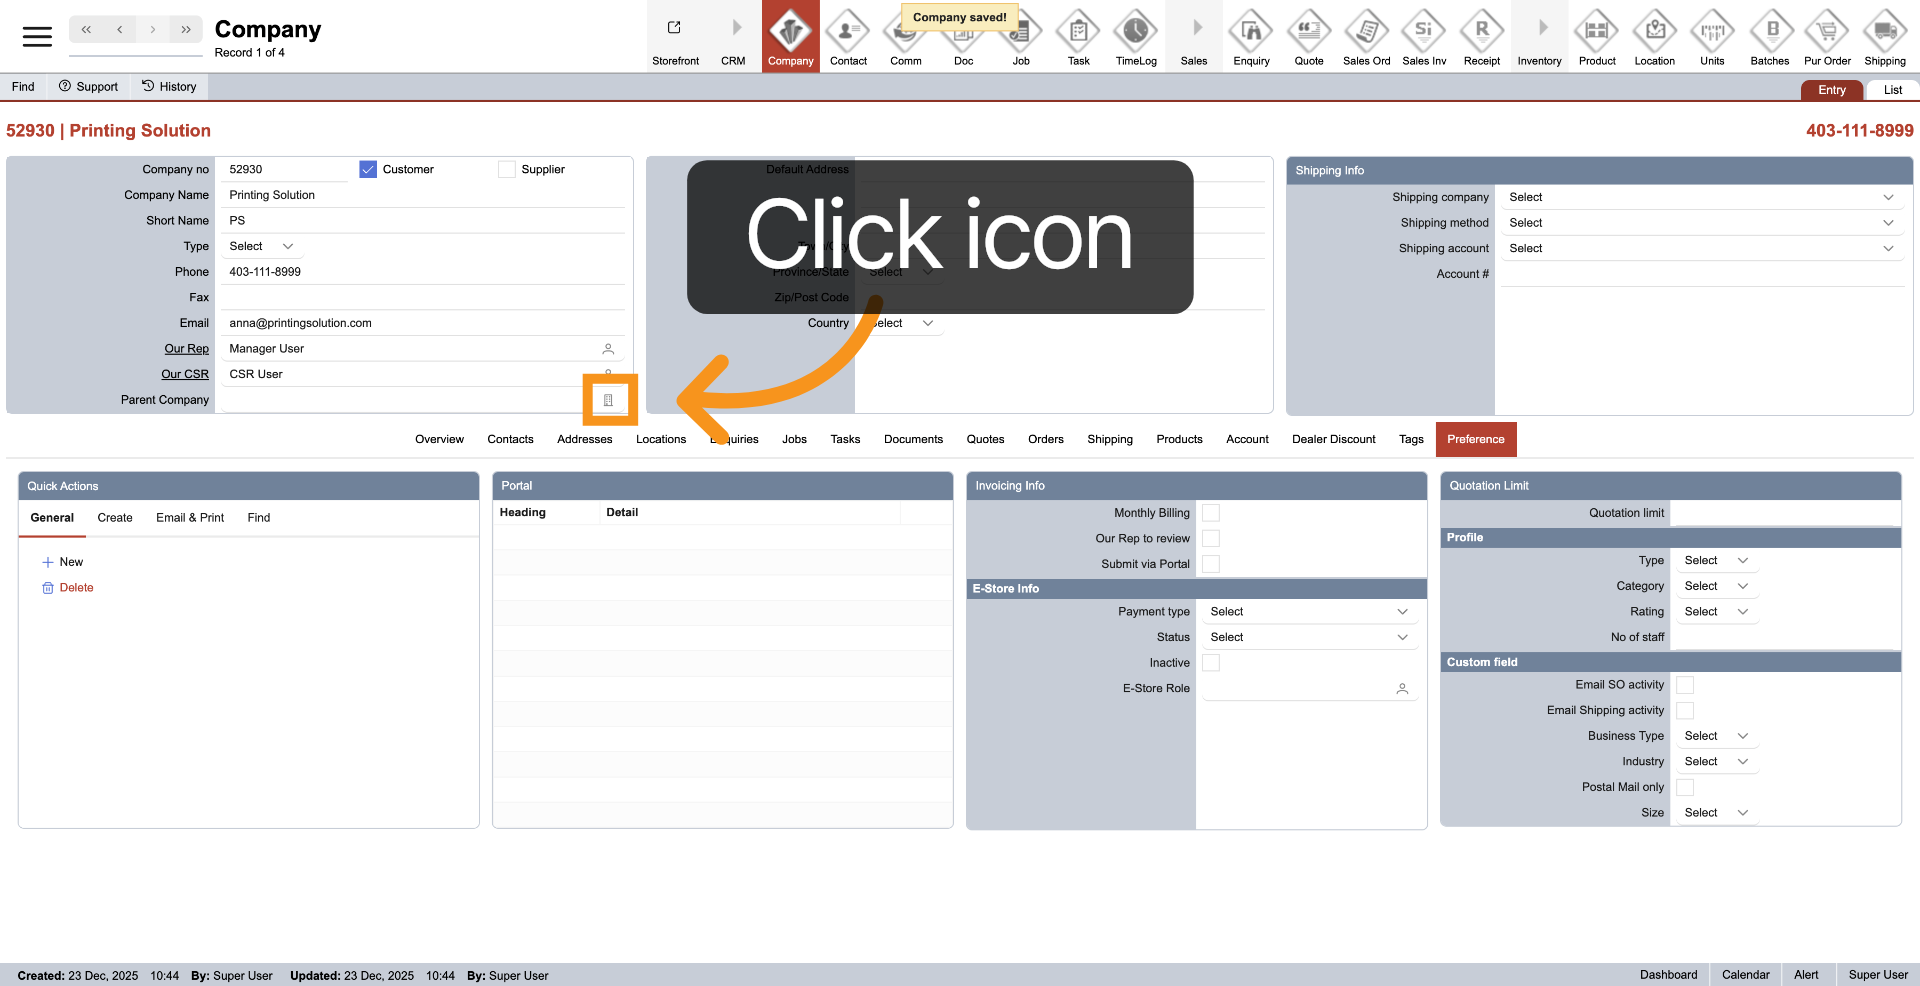
15. Select Parent Company (Optional)
Just click the company icon to connect to the parent company
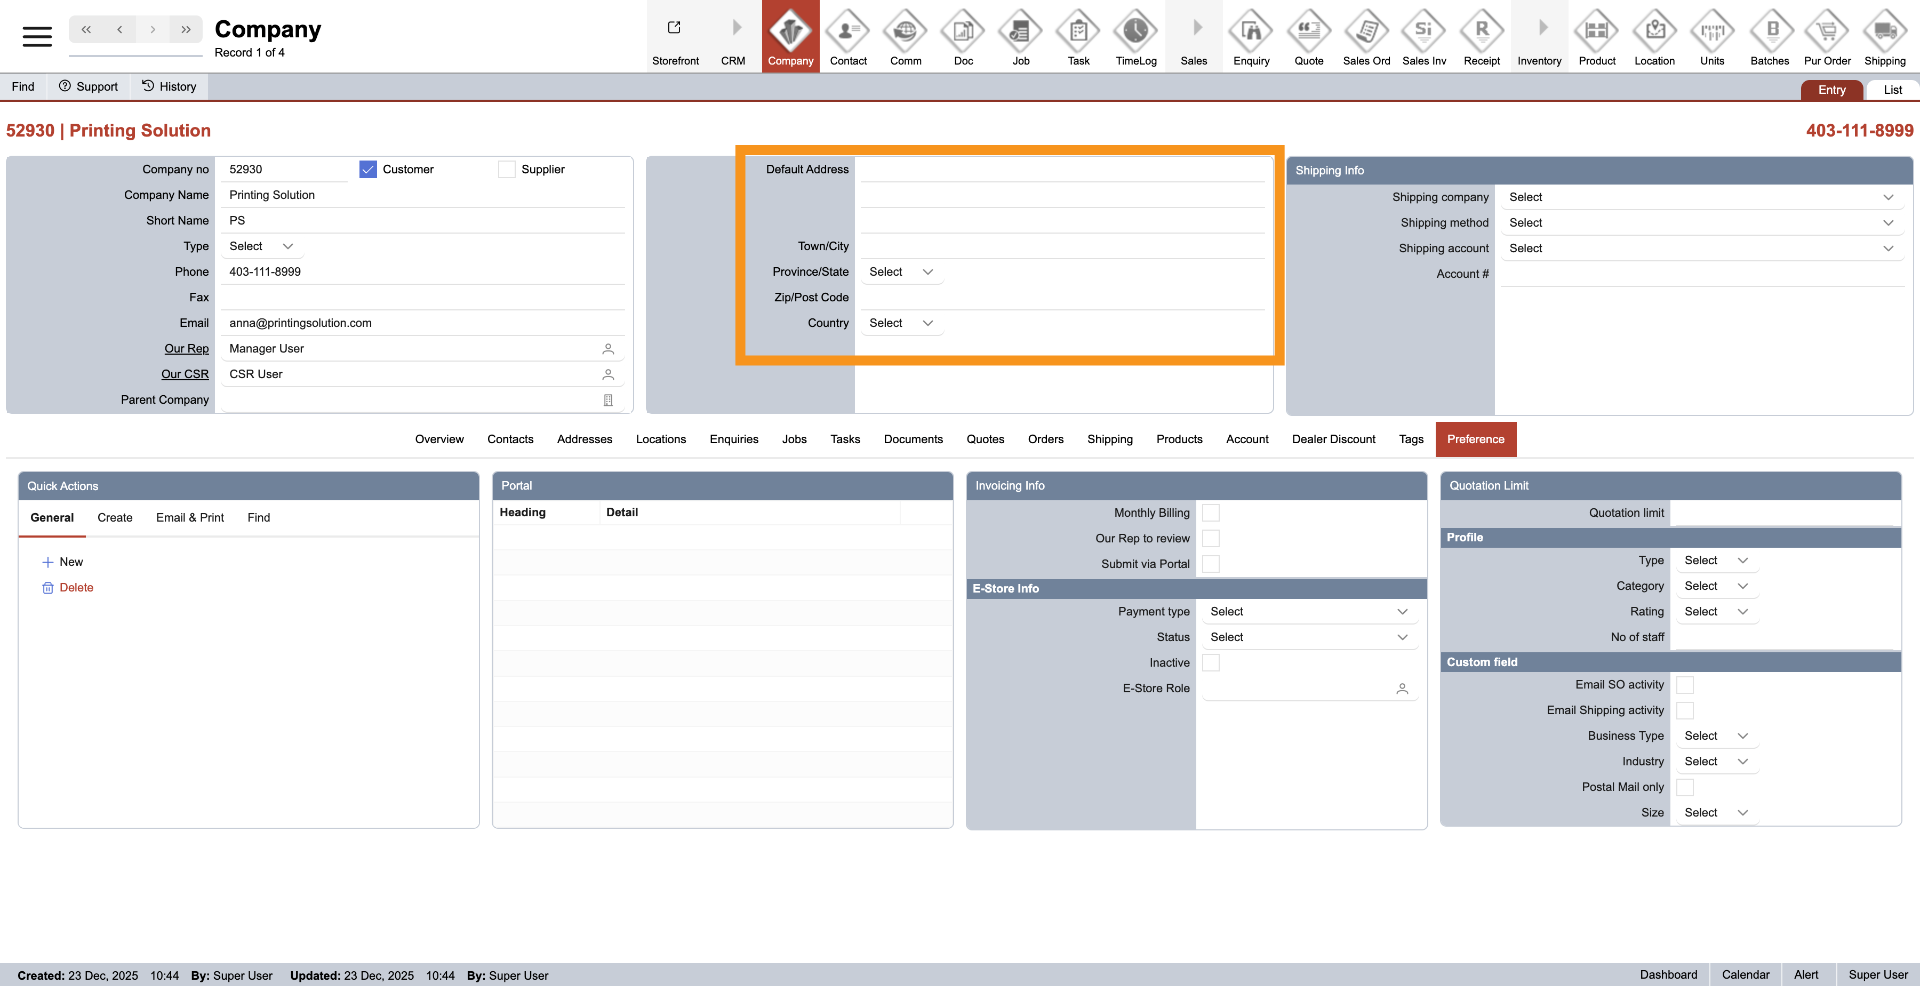
16. Default Address
The company default address will be updated once the company address is added.
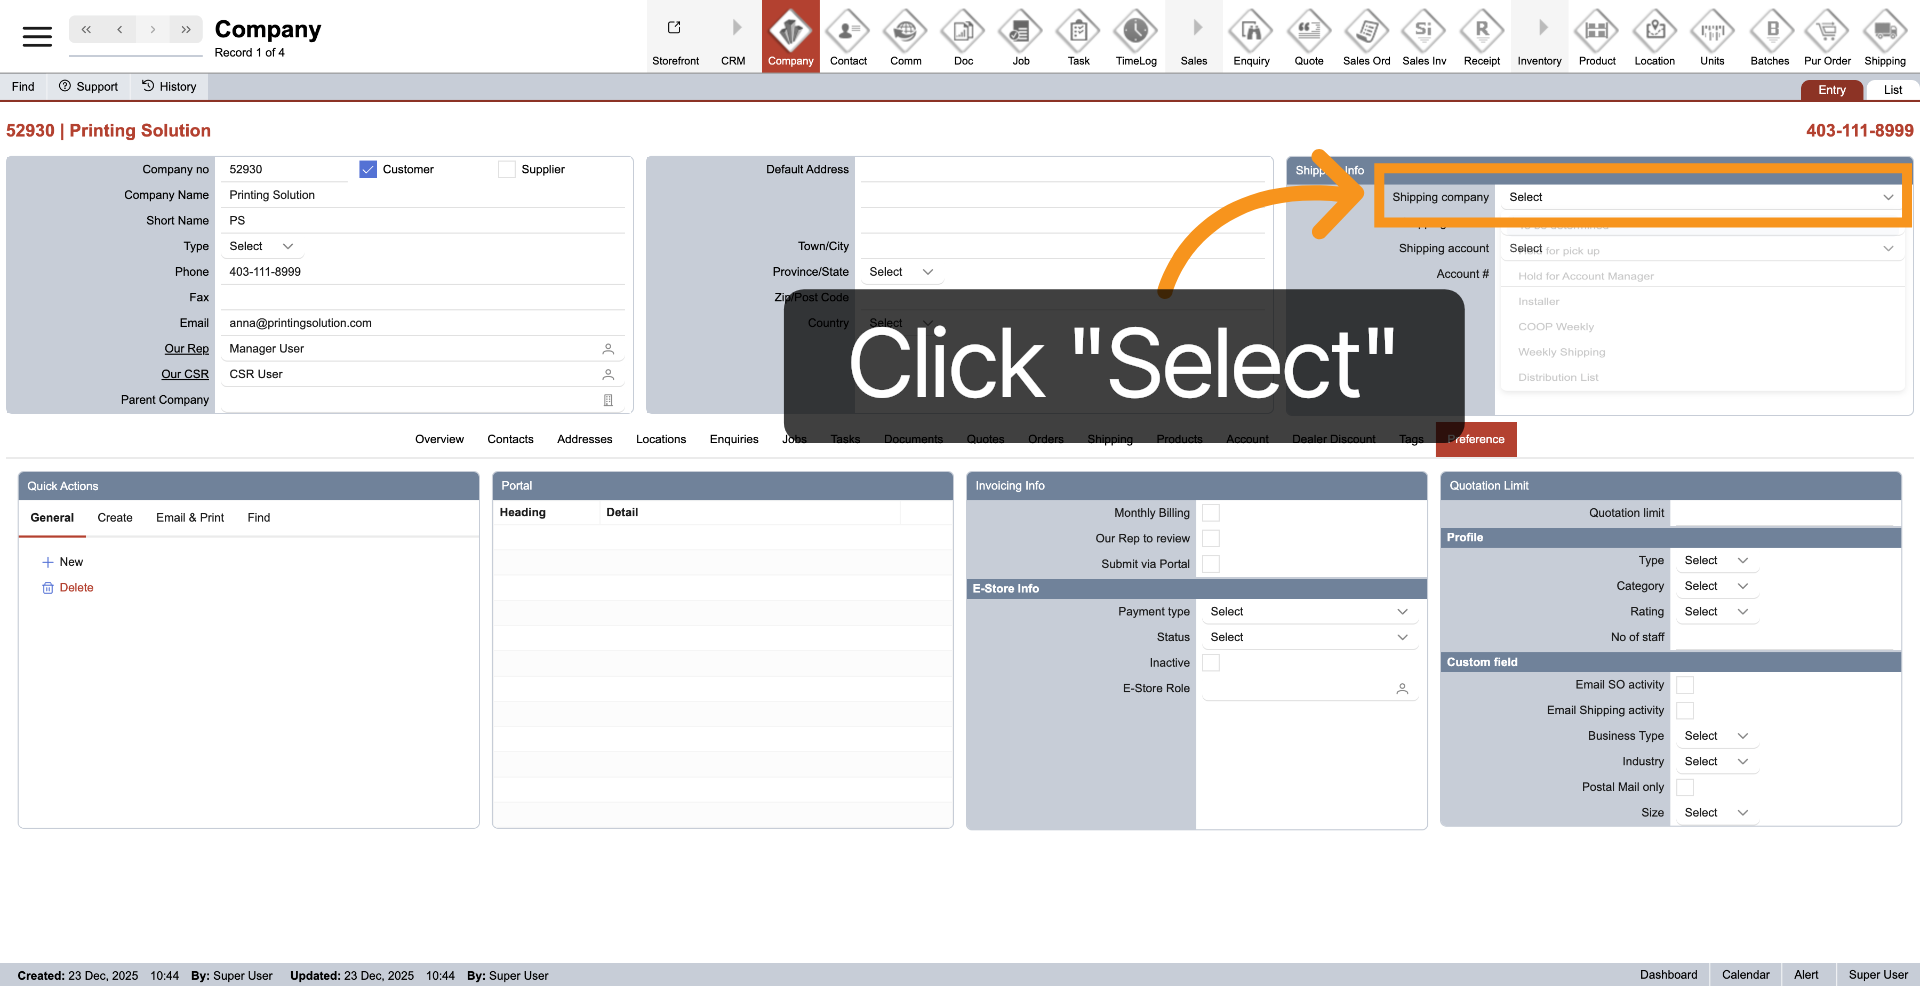
17. Select Carrier
Click "Select" next to "Shipping Company" to confirm your chosen shipping carrier.
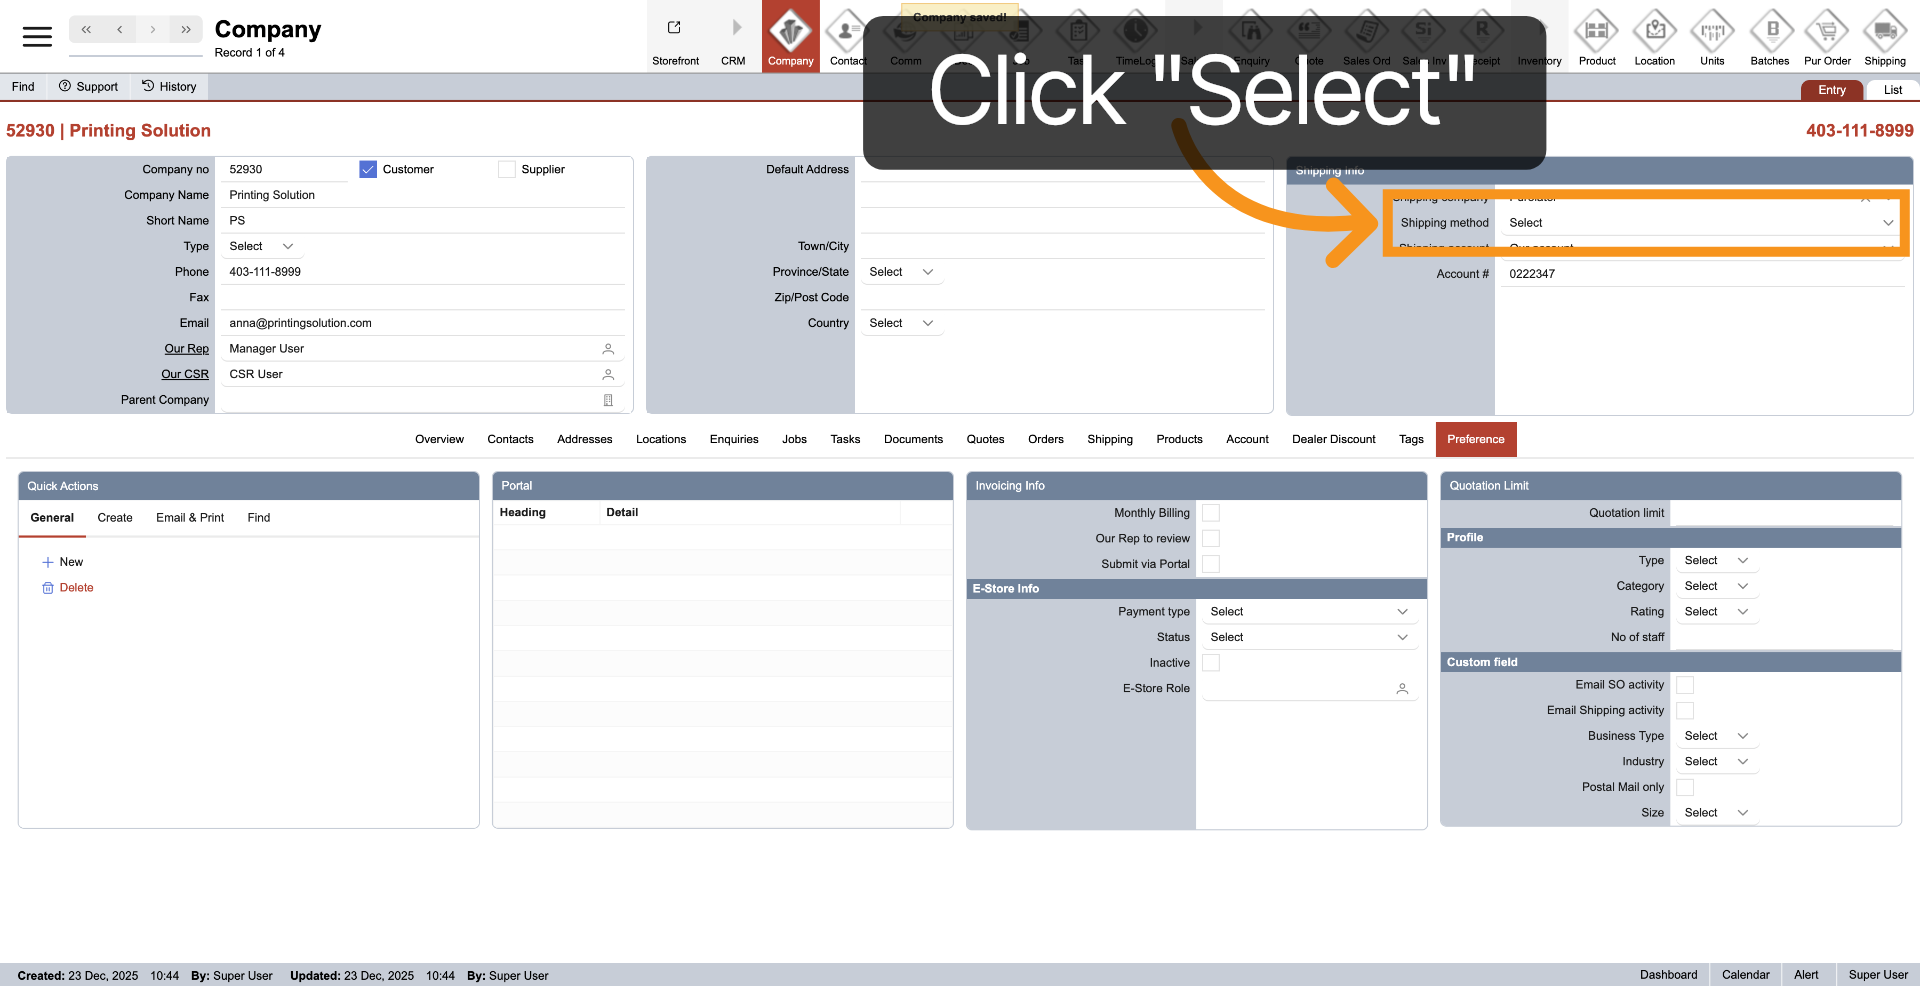
18. Confirm Carrier Selection
Click "Select" next to "Shipping method" to finalize the carrier choice.
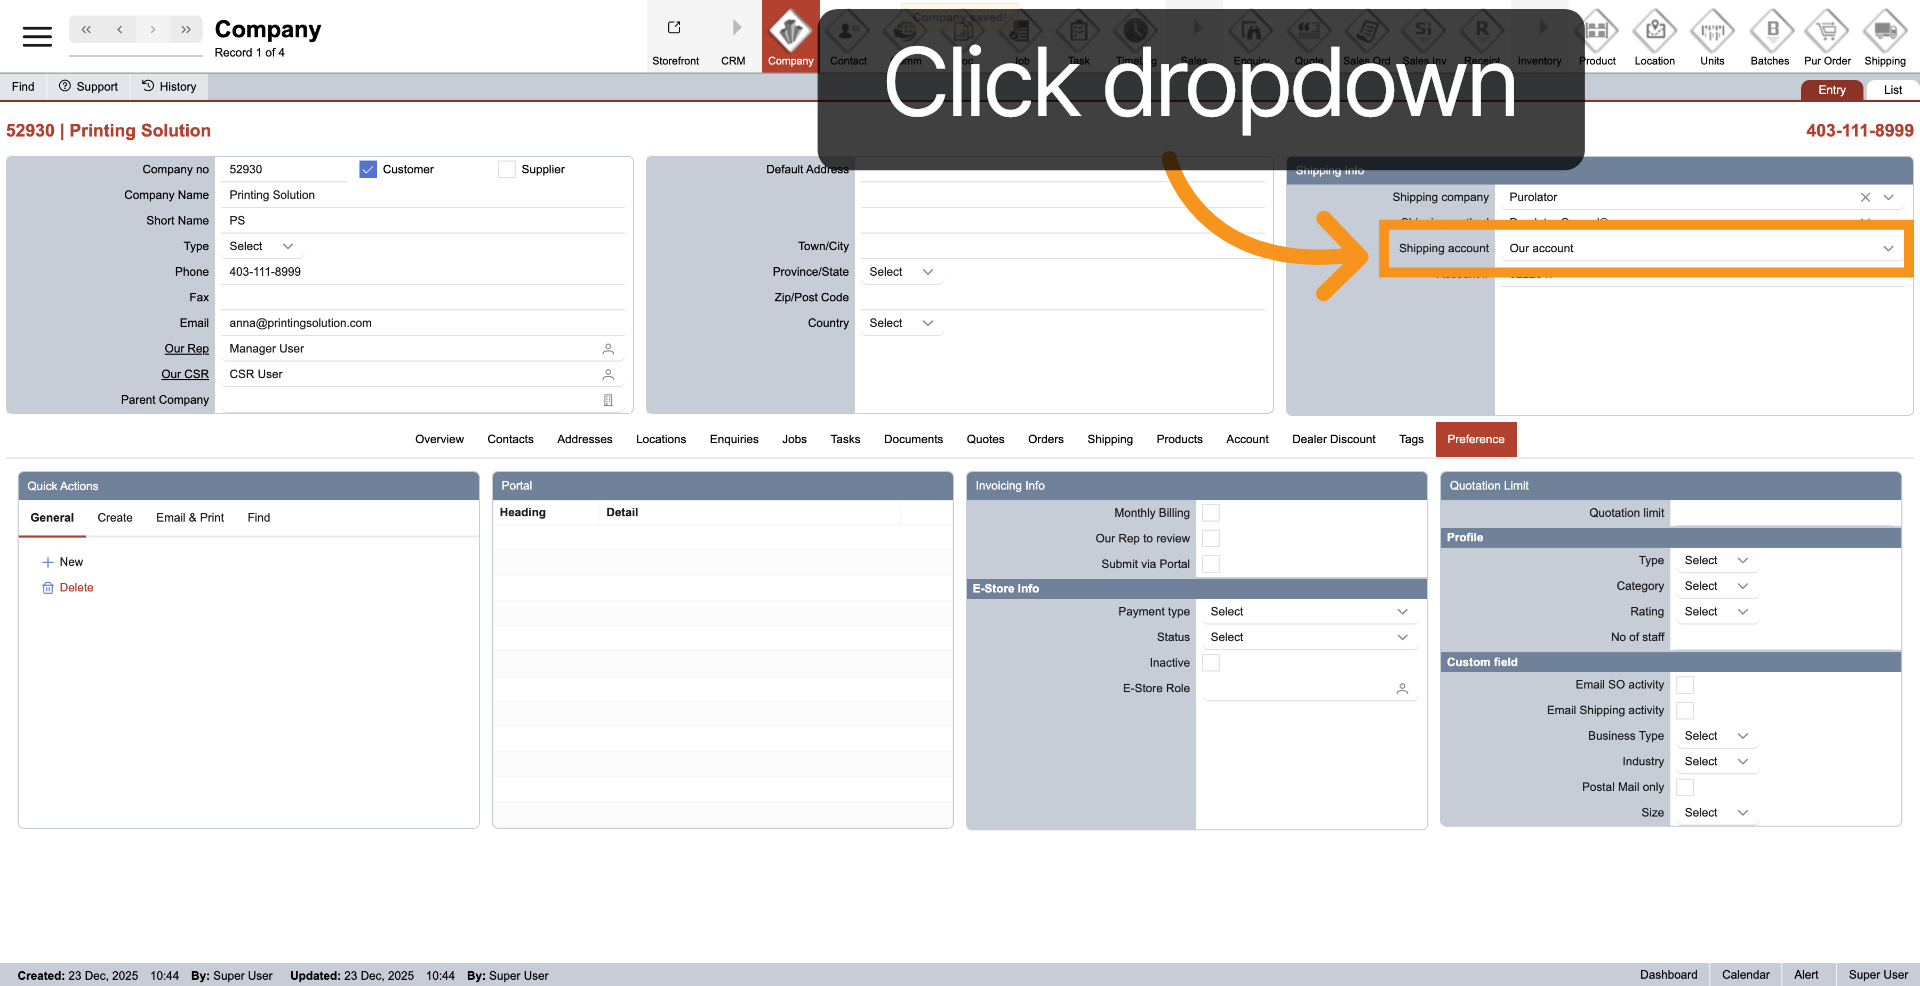
19. Choose Shipping Account Type
Click the dropdown next to "Shipping account" to select the billing account for shipments.
You have successfully created and configured a new company profile with essential details, user roles, and shipping preferences.