Generate Dockets
This tutorial shows you how to create dockets for your order.
Video Tutorial
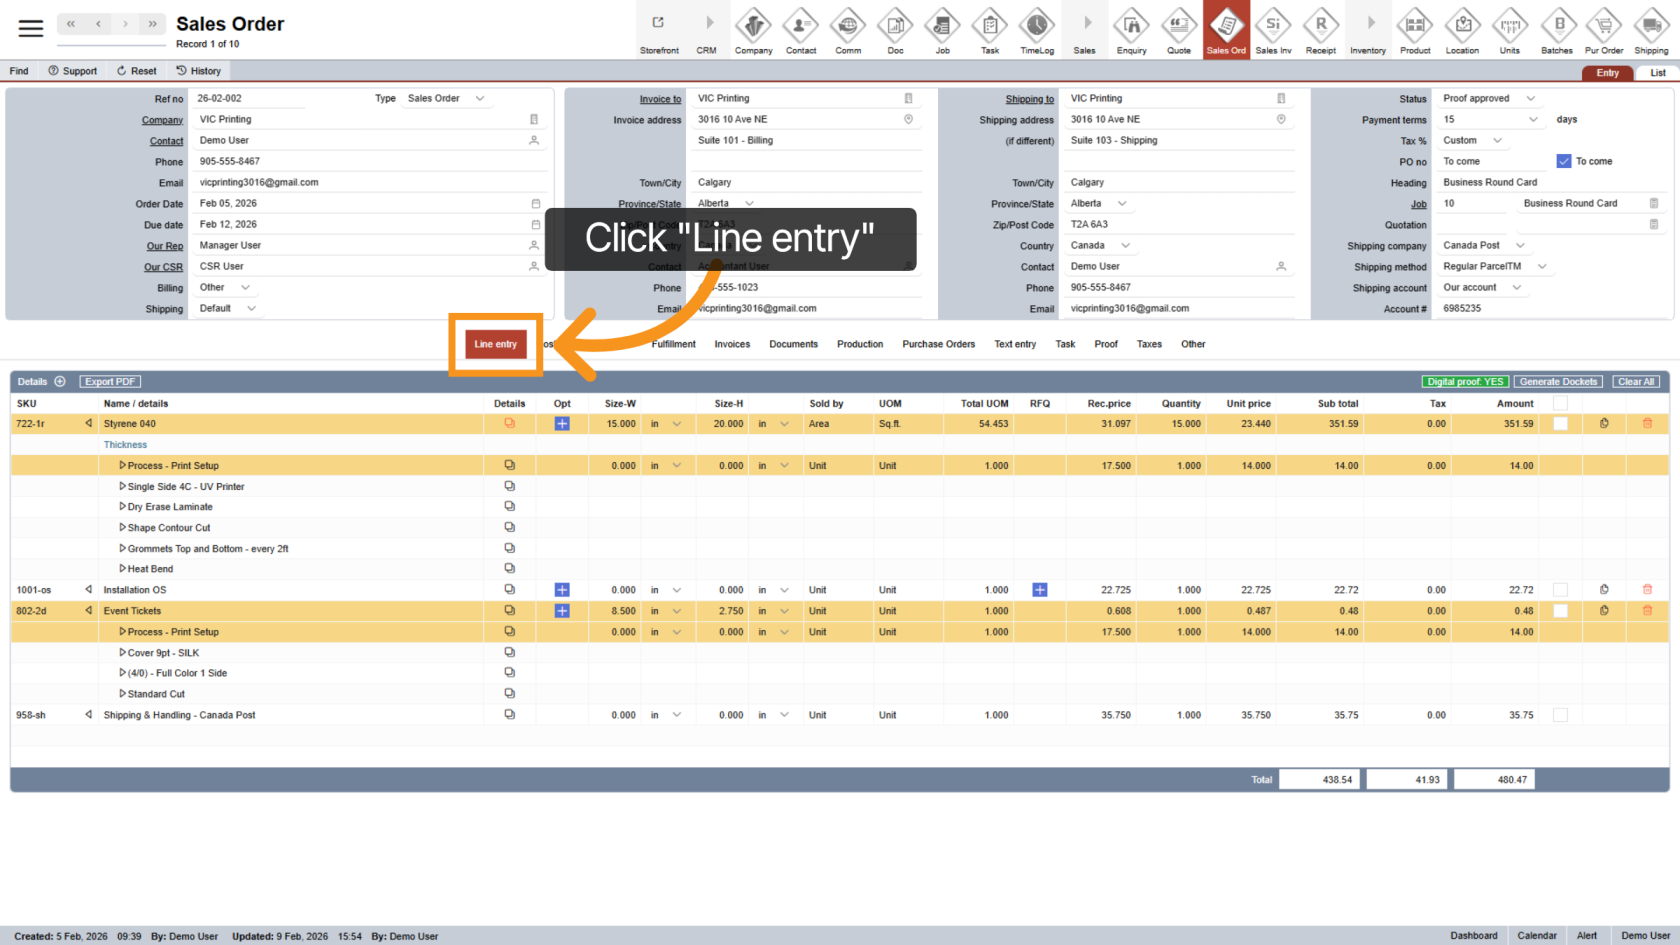
1. Open Line Entry
Click "Line Entry". This is where you start creating your docket.
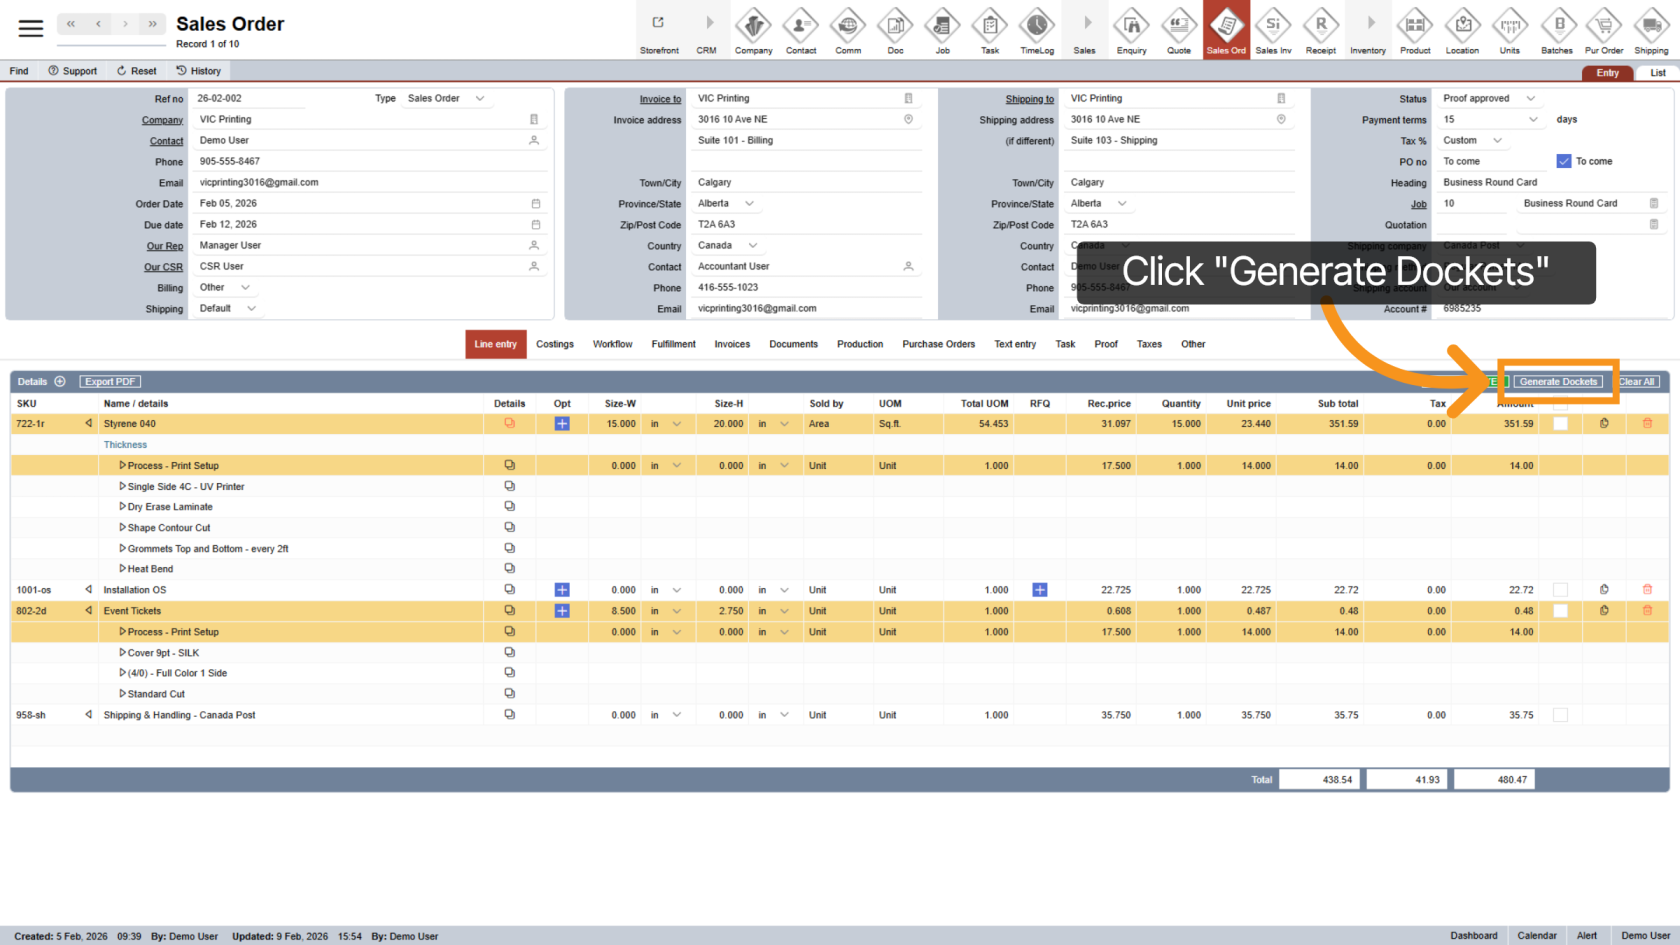
2. Generate Dockets
Click the "Generate Dockets" button.
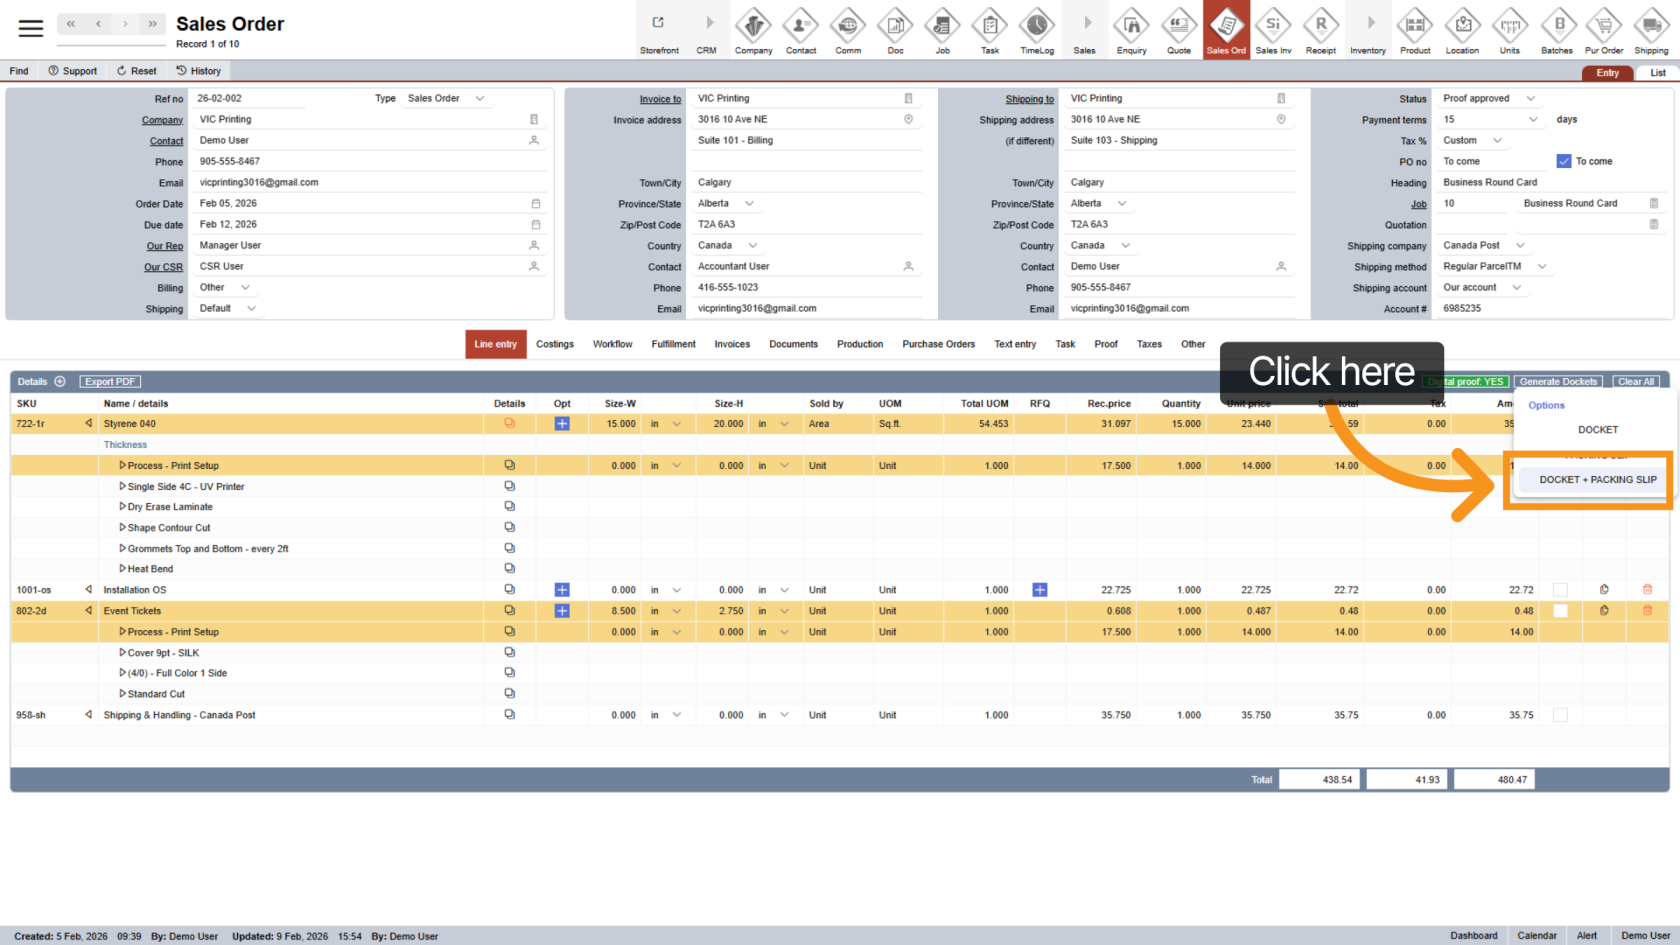
3. Select Document Type
Select "DOCKET + PACKING SLIP" to properly generate the docket. Choosing other options will not complete the full docket process and may skip important automatic steps.
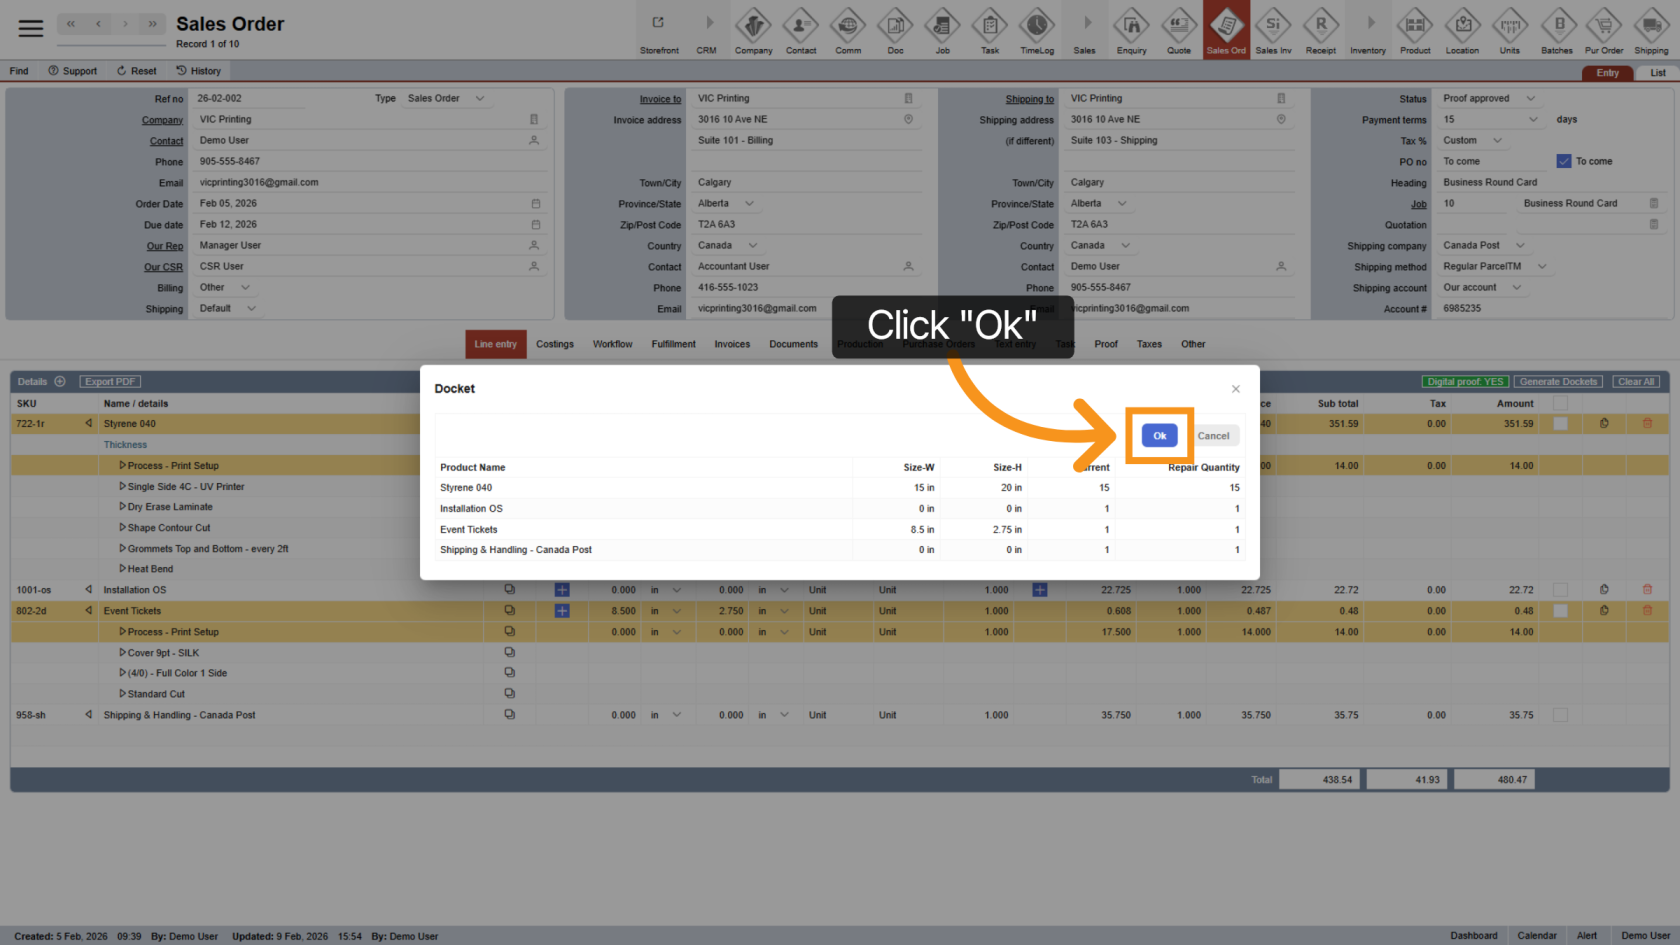
4. Confirm
Click "OK" to continue.
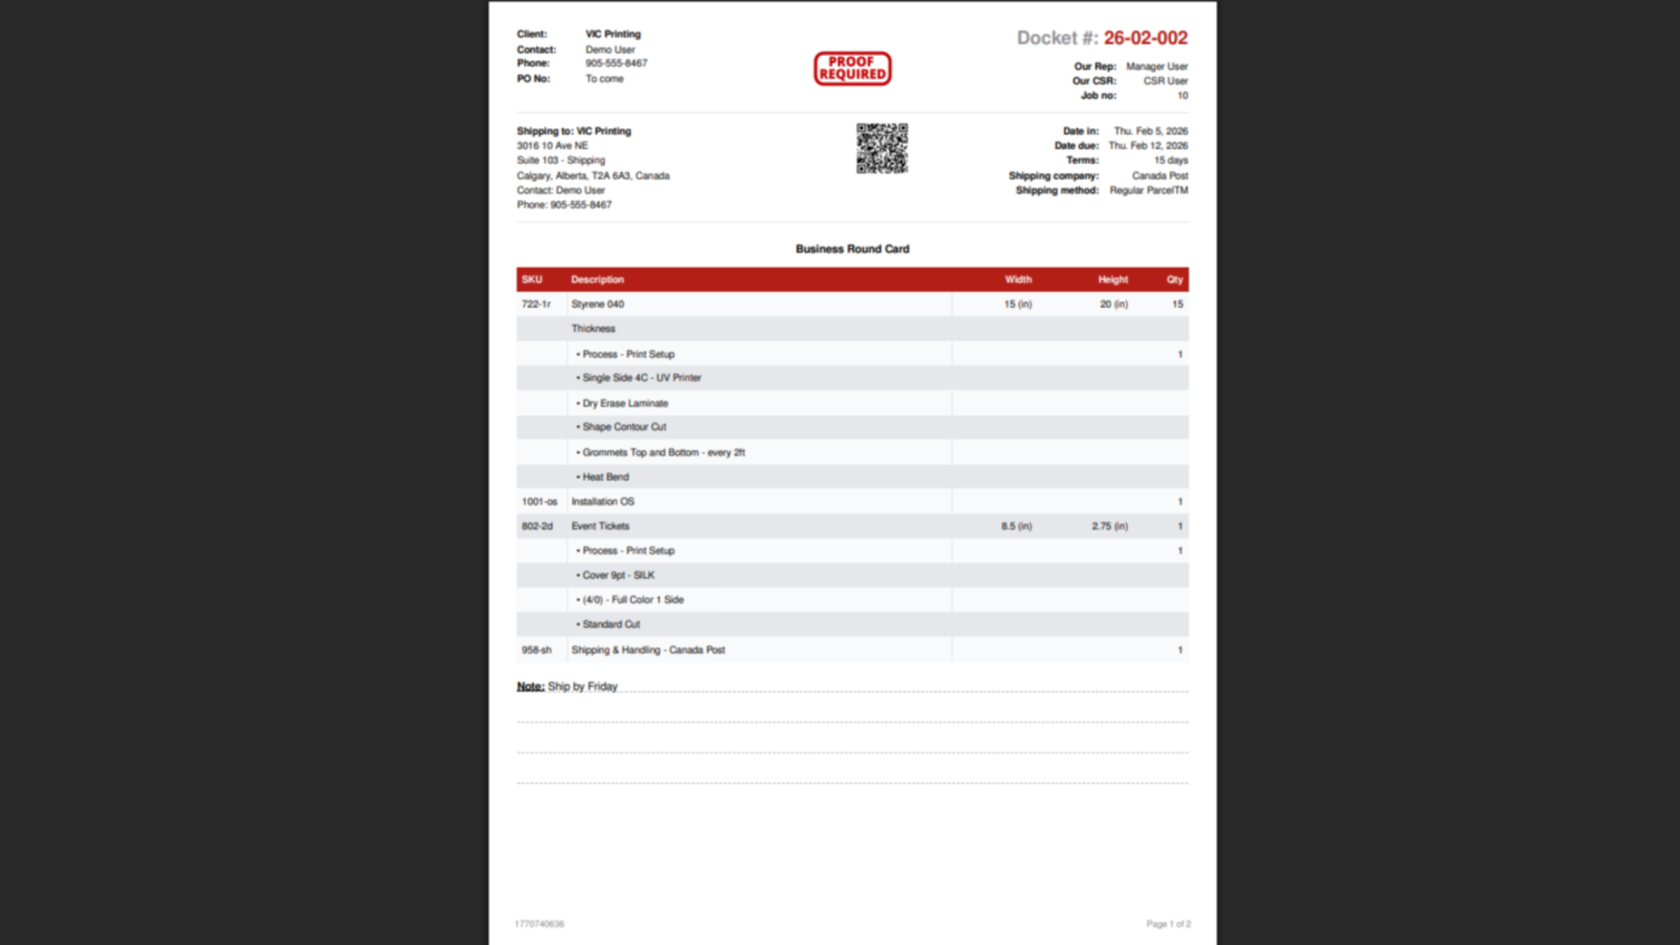
5. View the Docket
A new window will open showing your Docket and Packing Slip PDF. You can now review or print the documents.
6. System Automatically Creates Related Records
After generating the docket, the system will automatically create:
- Shipment details
- Purchase Orders (if RFQs that require POs are included)
- Production tasks
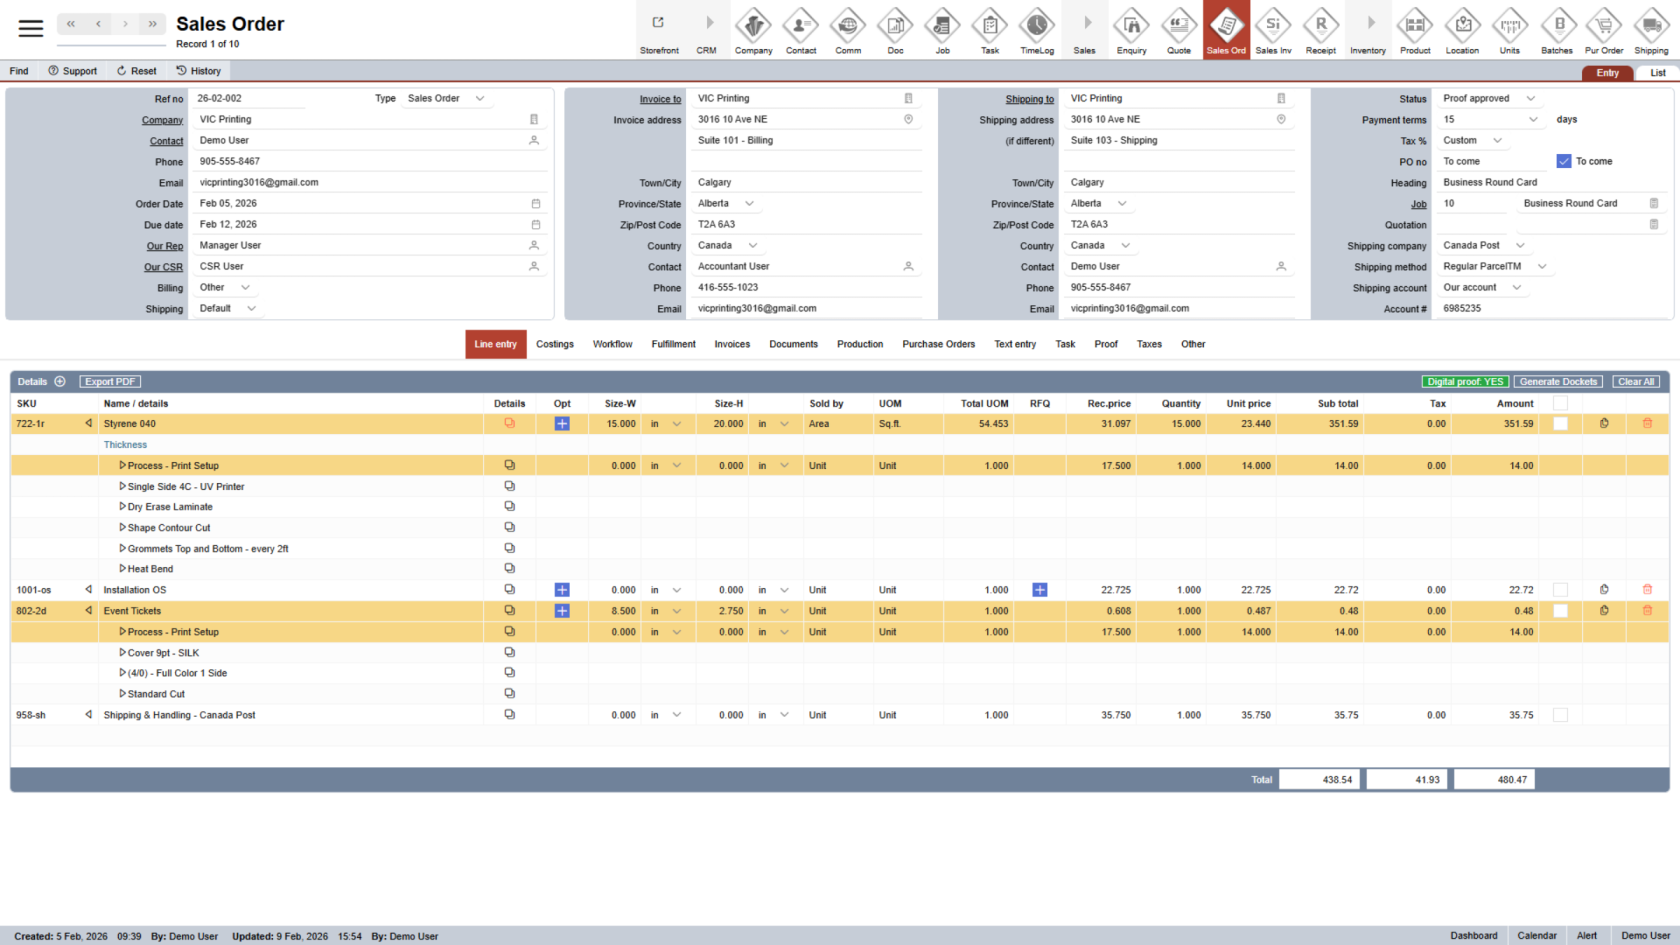
7. Check Shipment Details
Click the "Fulfillment" section. This shows shipping and delivery information.
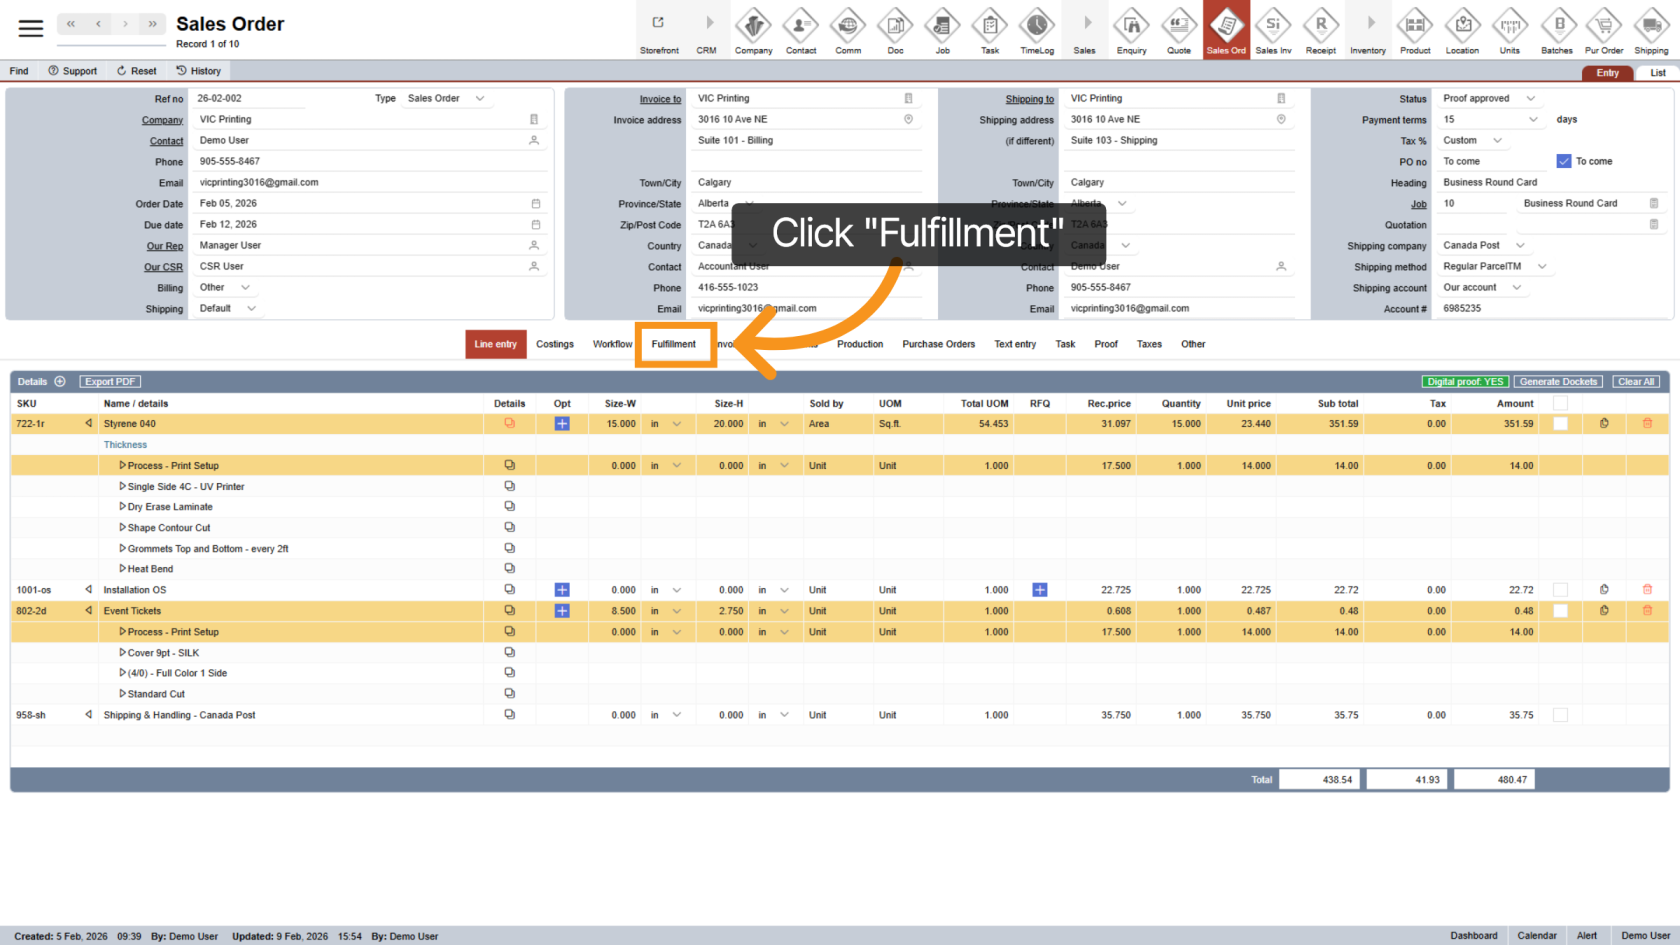
8. Review Shipment
Click the ![]() arrow icon to see shipment details.
arrow icon to see shipment details.
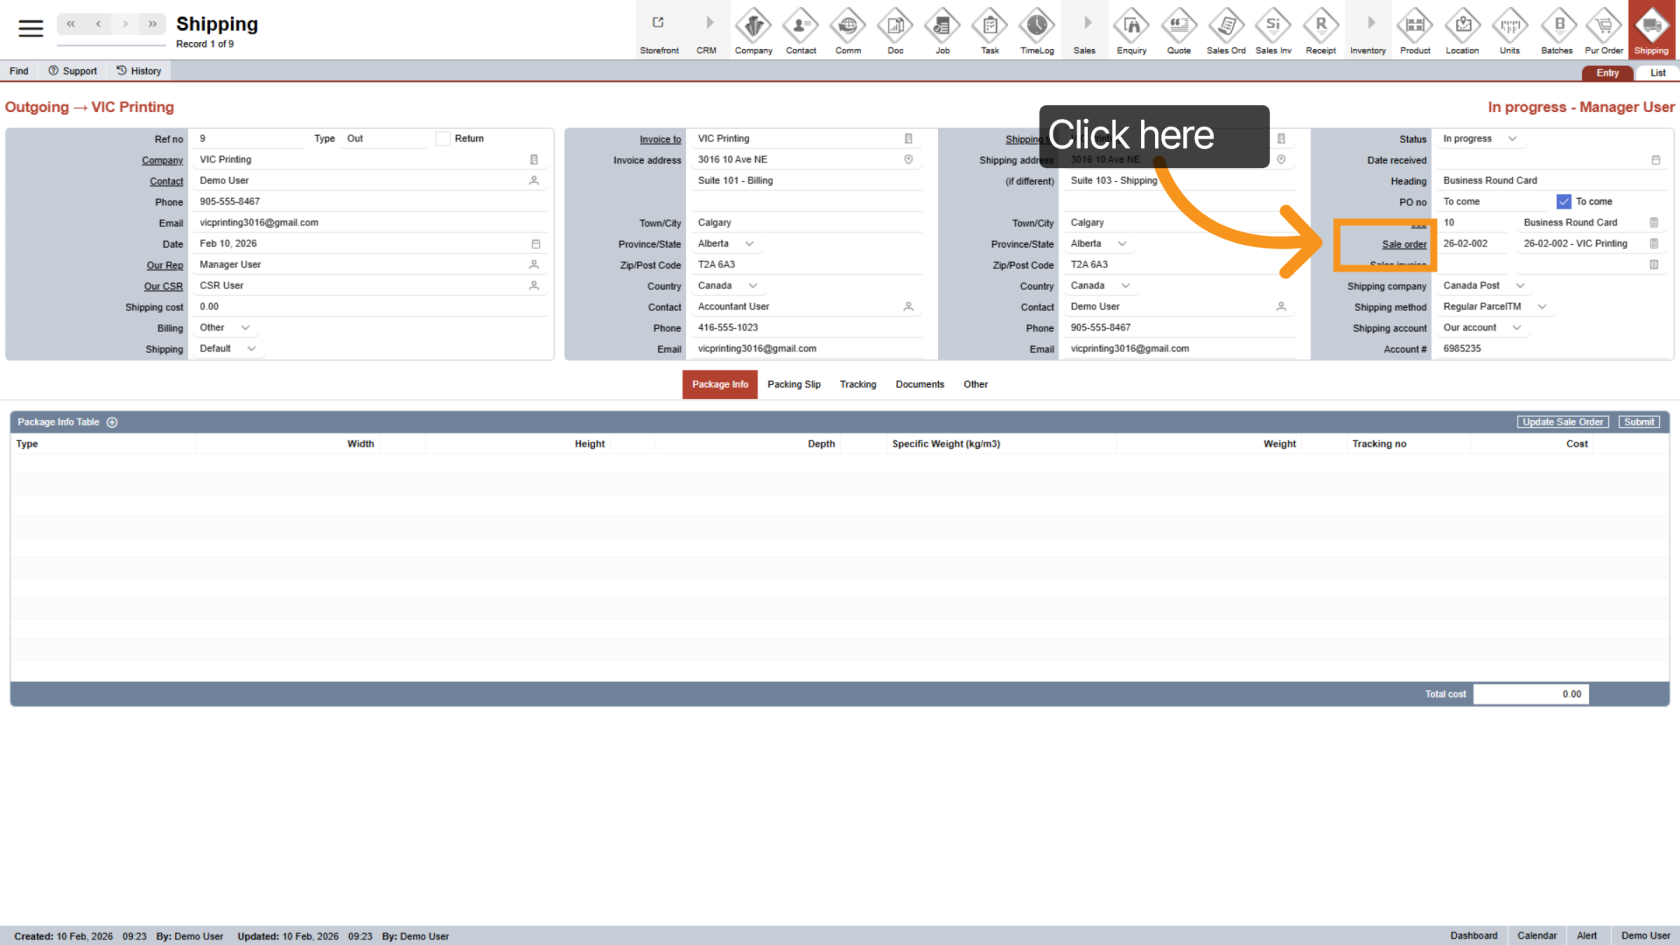
9. Return to Sale Order
Click the underlined Sale Order to go back to the order.
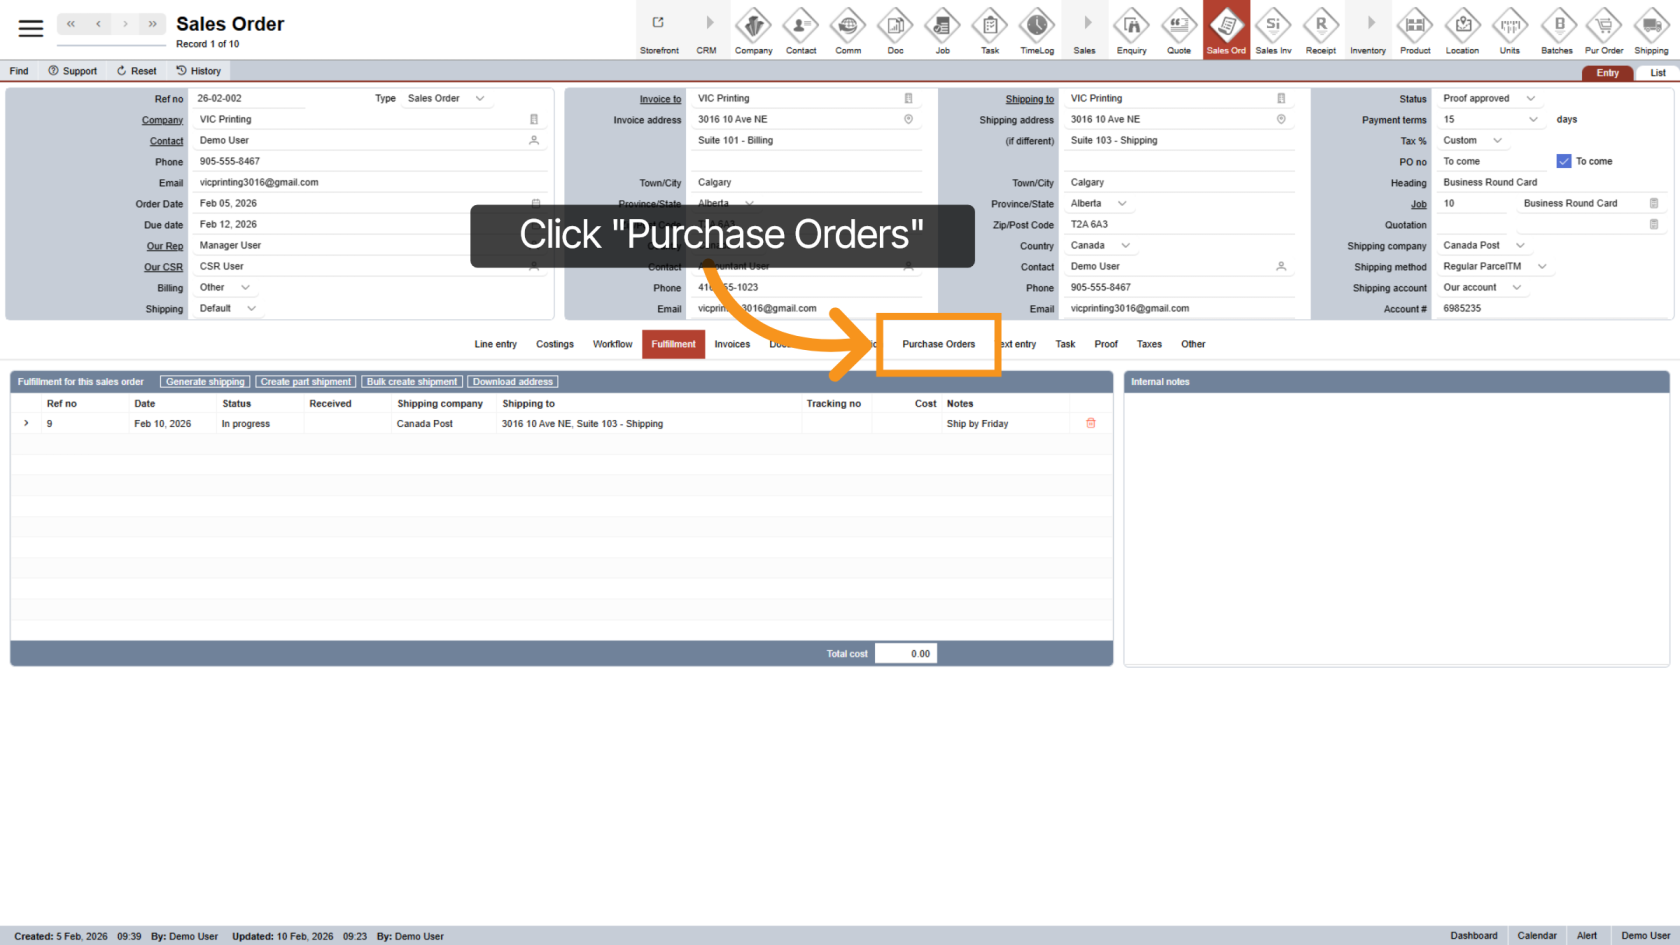
10. Check Purchase Orders (If Available)
If your docket includes an RFQ, a Purchase Order (PO) will be created automatically.
Click "Purchase Order" to open it.
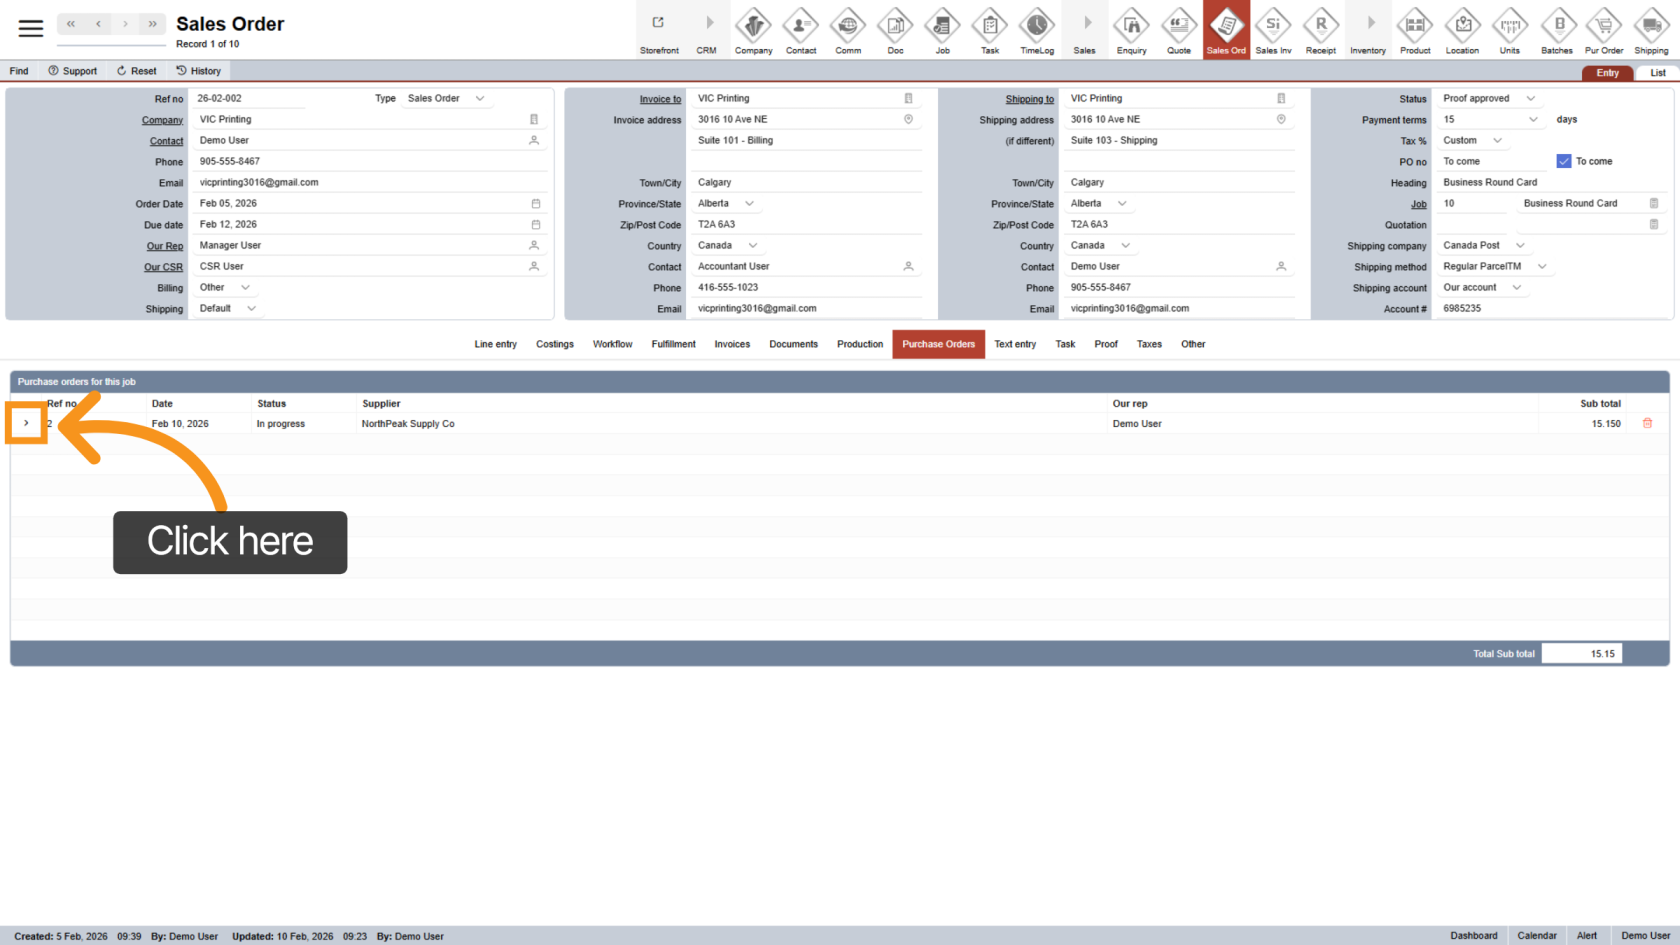
11. Review Purchase Order
Click the ![]() arrow icon to view PO details.
arrow icon to view PO details.
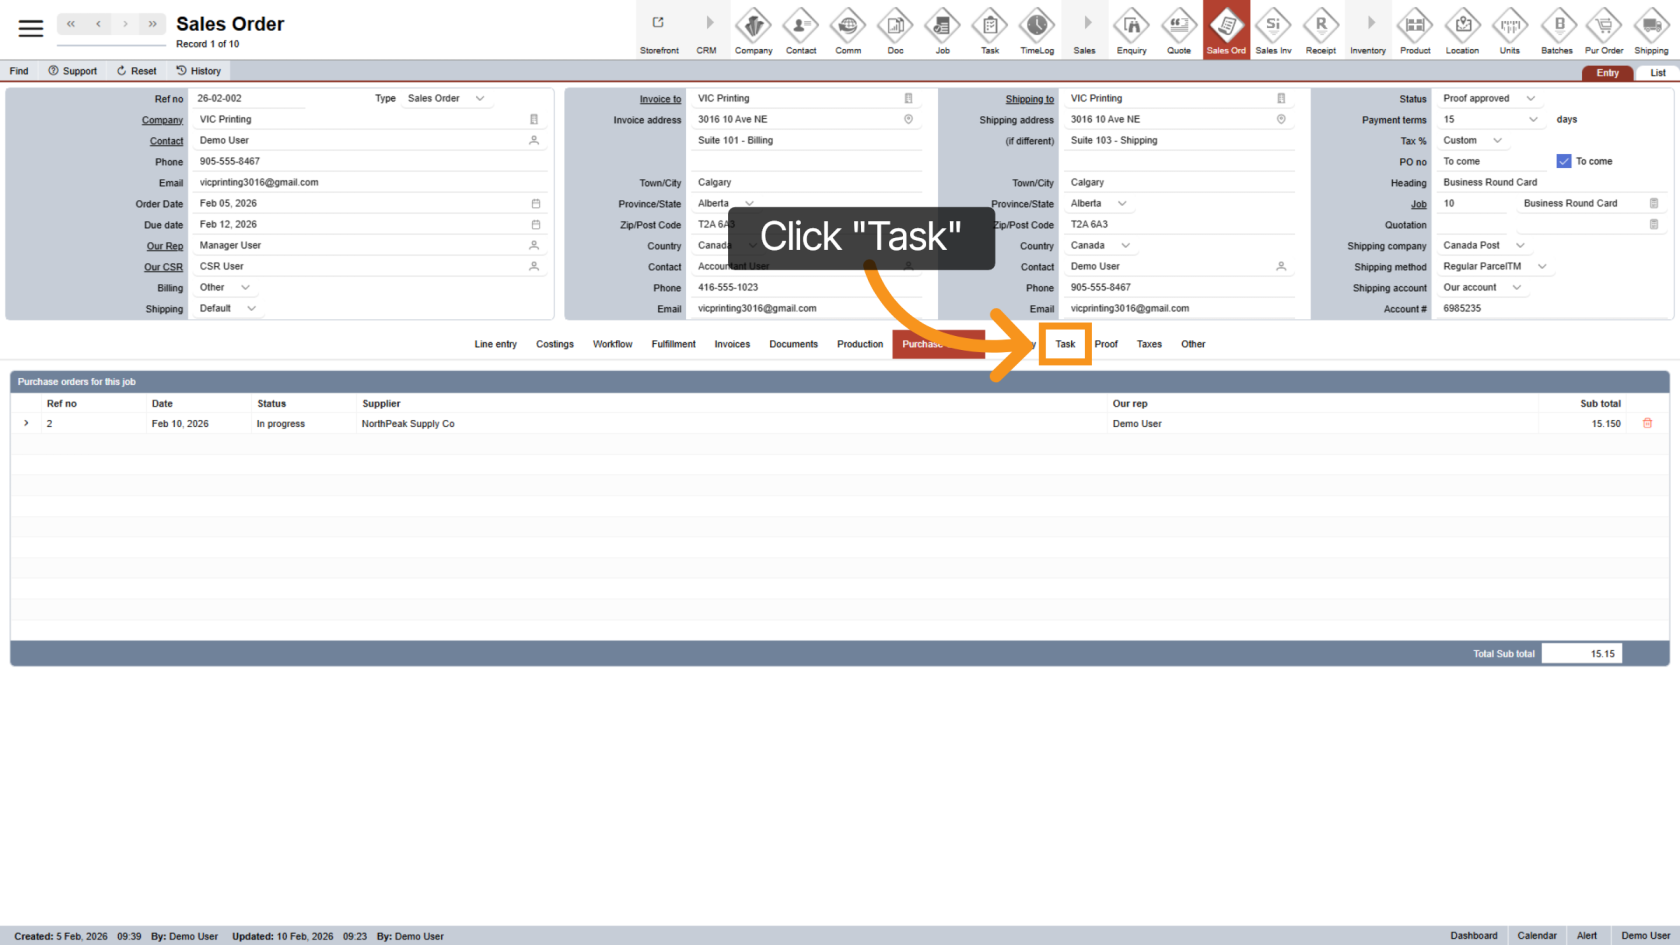
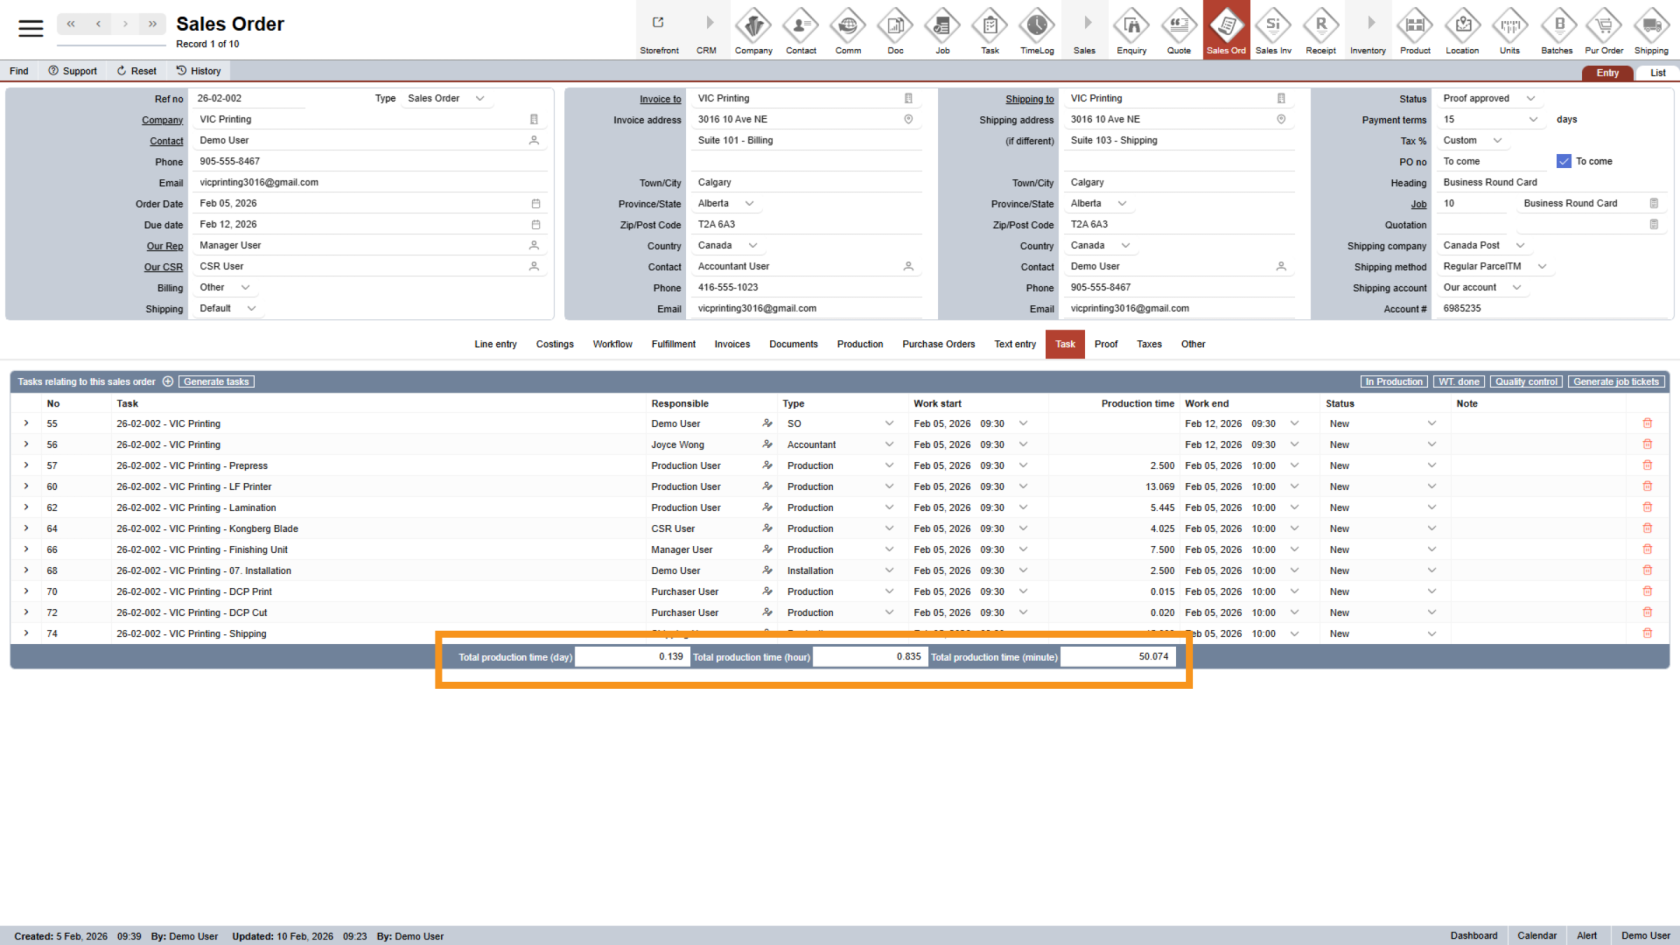
12. View Tasks
Click the "Task" tab. This shows production tasks for the order.
13. Review Production Time
The task list shows the total time required to complete the job.
You have successfully generated your dockets. These documents help ensure your order details are correct and ready for production.
After production is completed, proceed to the Submit Shipment steps to continue the workflow.