Product Costing
This tutorial walks you through how product costing works in the WorkTraq system, helping you understand cost calculations, apply markups, and prevent negative costing.
Video Tutorial
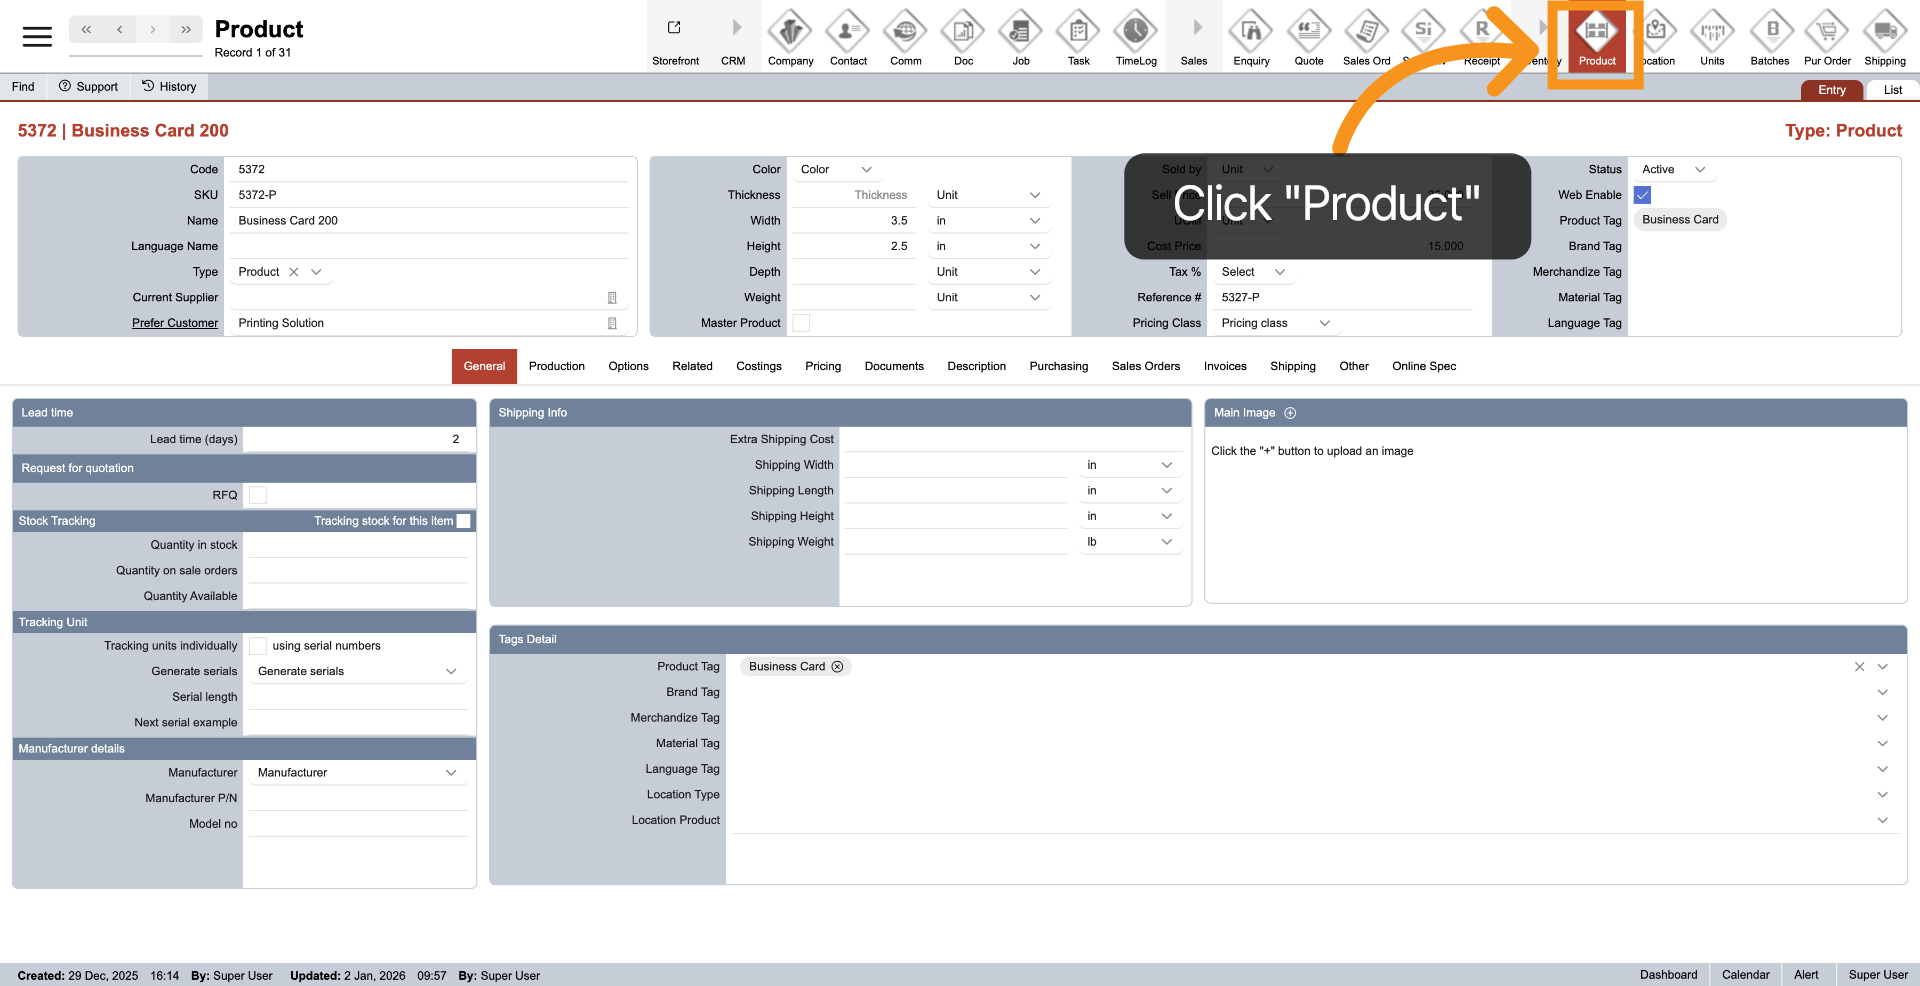
1. Open Product Module
Click Product in the main top menu to access the Product module.
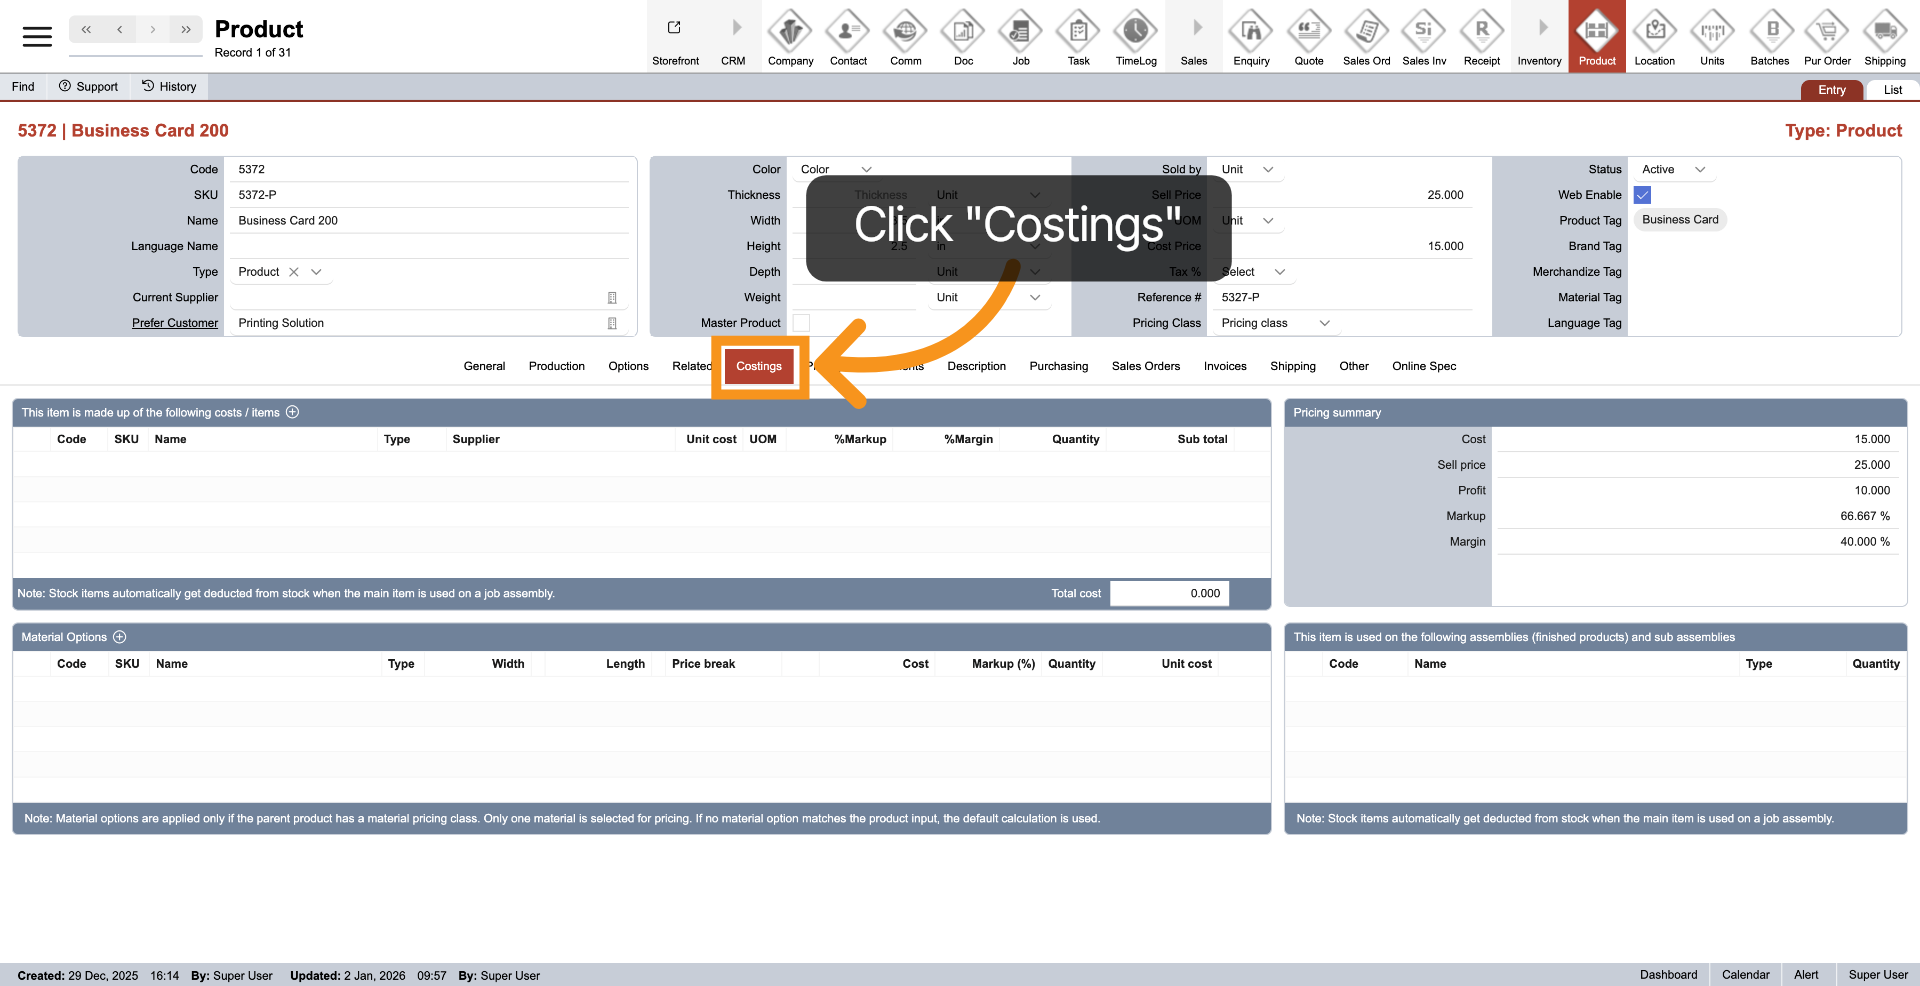
2. Access Costings Section
Click Costings in the middle menu to view the product costing options.
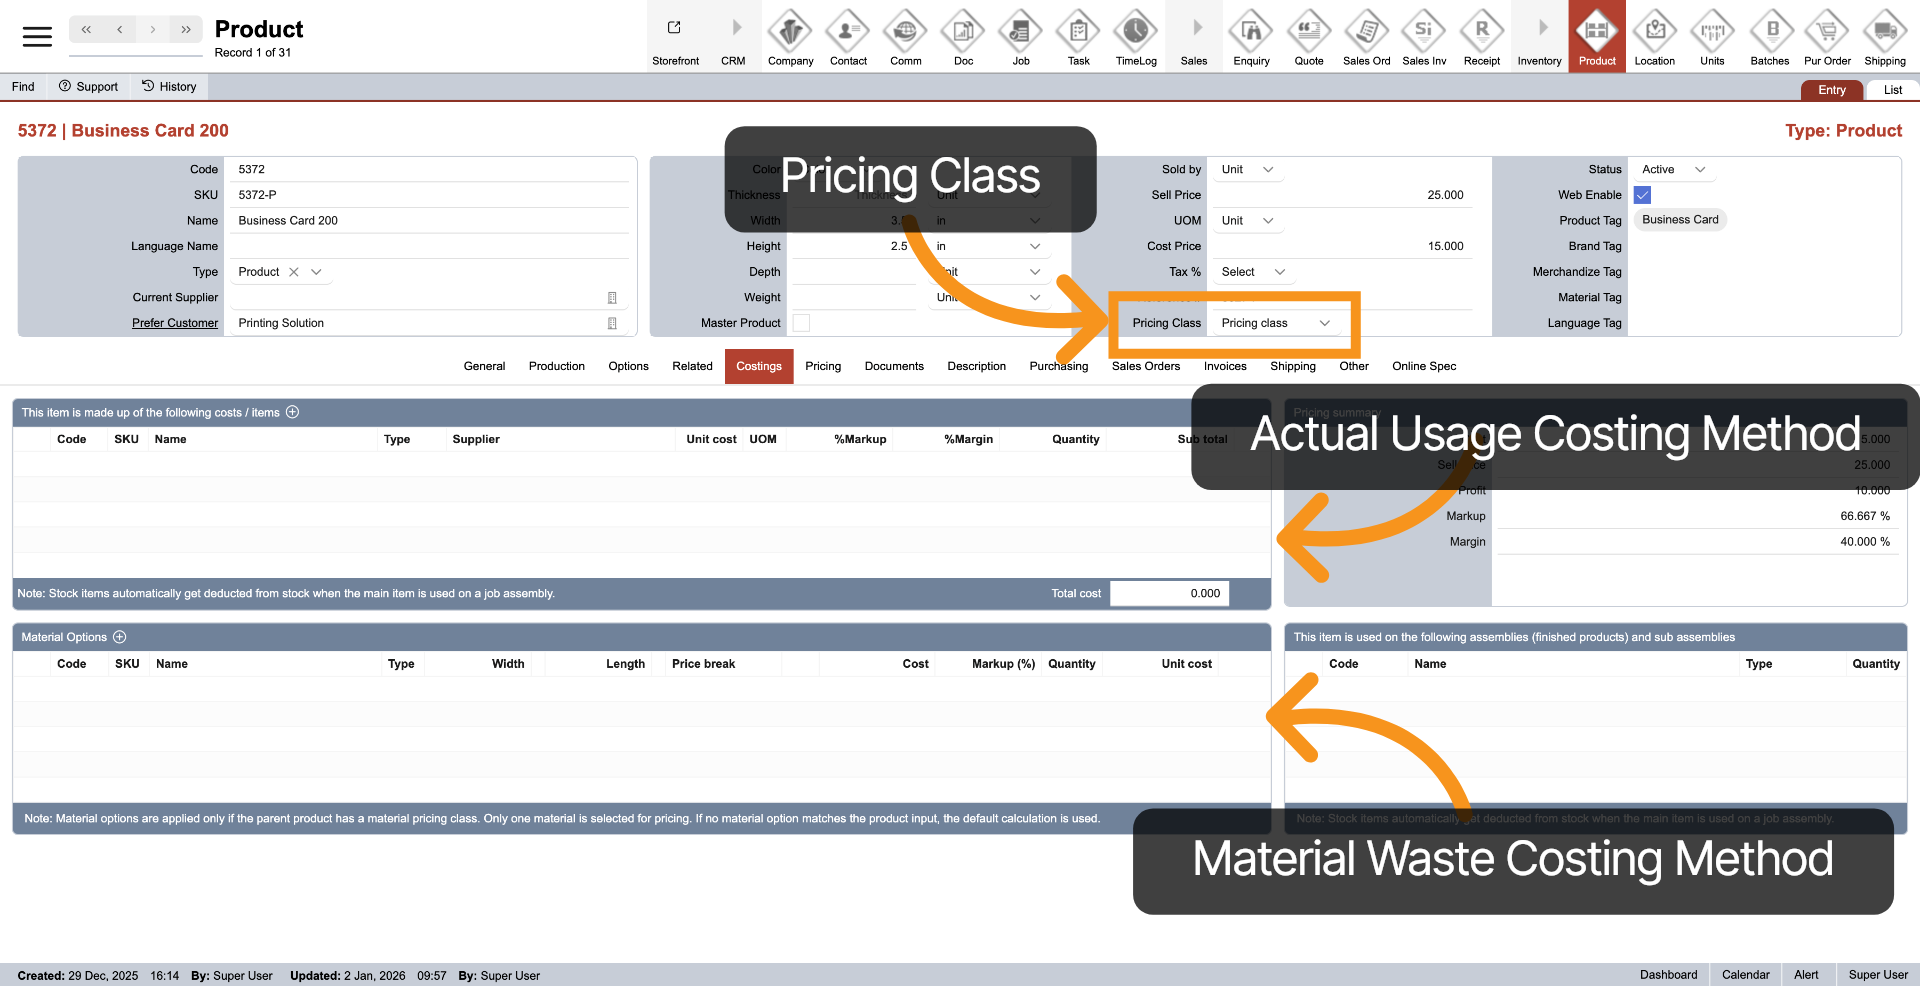
3. View Cost Components
On the left side, you can define product costing using one of two methods. The top table calculates cost from the actual area used. The bottom table accounts for material waste and is applied automatically when the parent product uses the Material pricing class, with all related options following the same method. Only one costing method applies per product, and only Vendor Stock items can be used for costing.
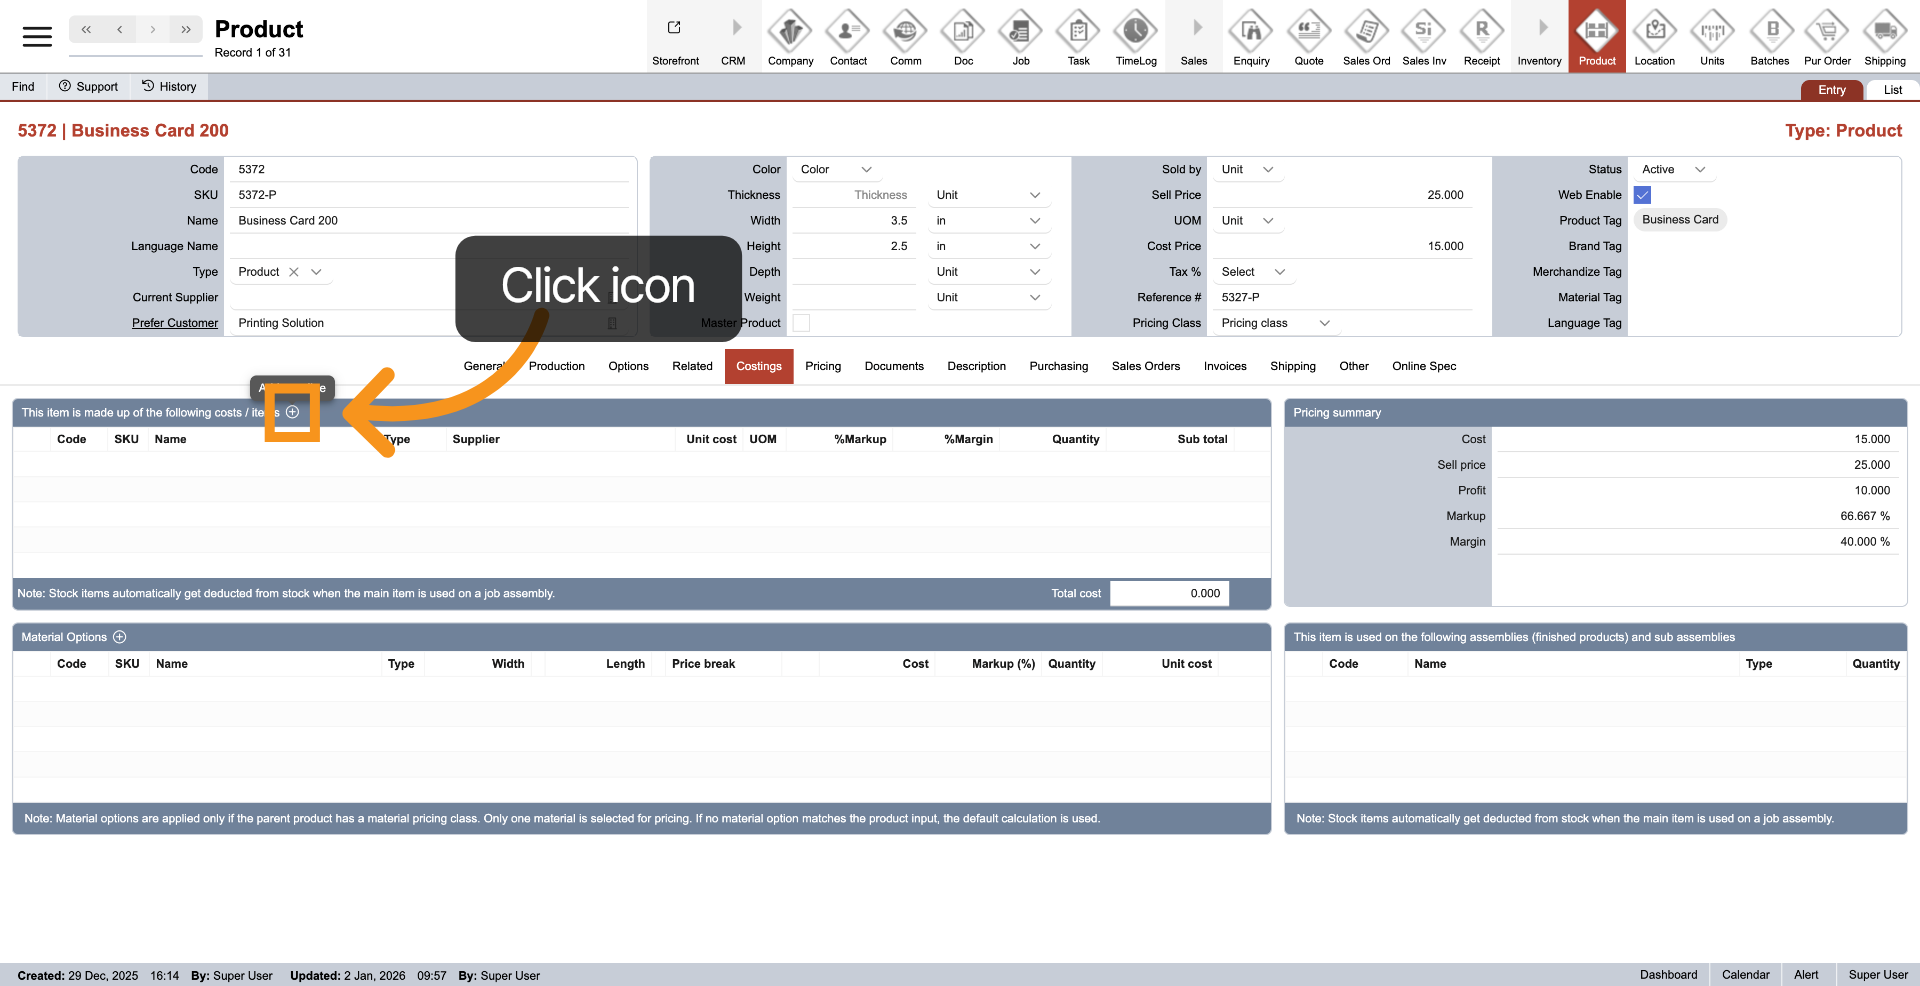
4. First Method: Costing on Actual Using
Let’s start with the first costing method. Click the plus icon in the header of the top table to add a costing entry. You can add multiple Vendor Stock items to this table, and the system will calculate the product’s final cost based on all Vendor Stock entries listed.
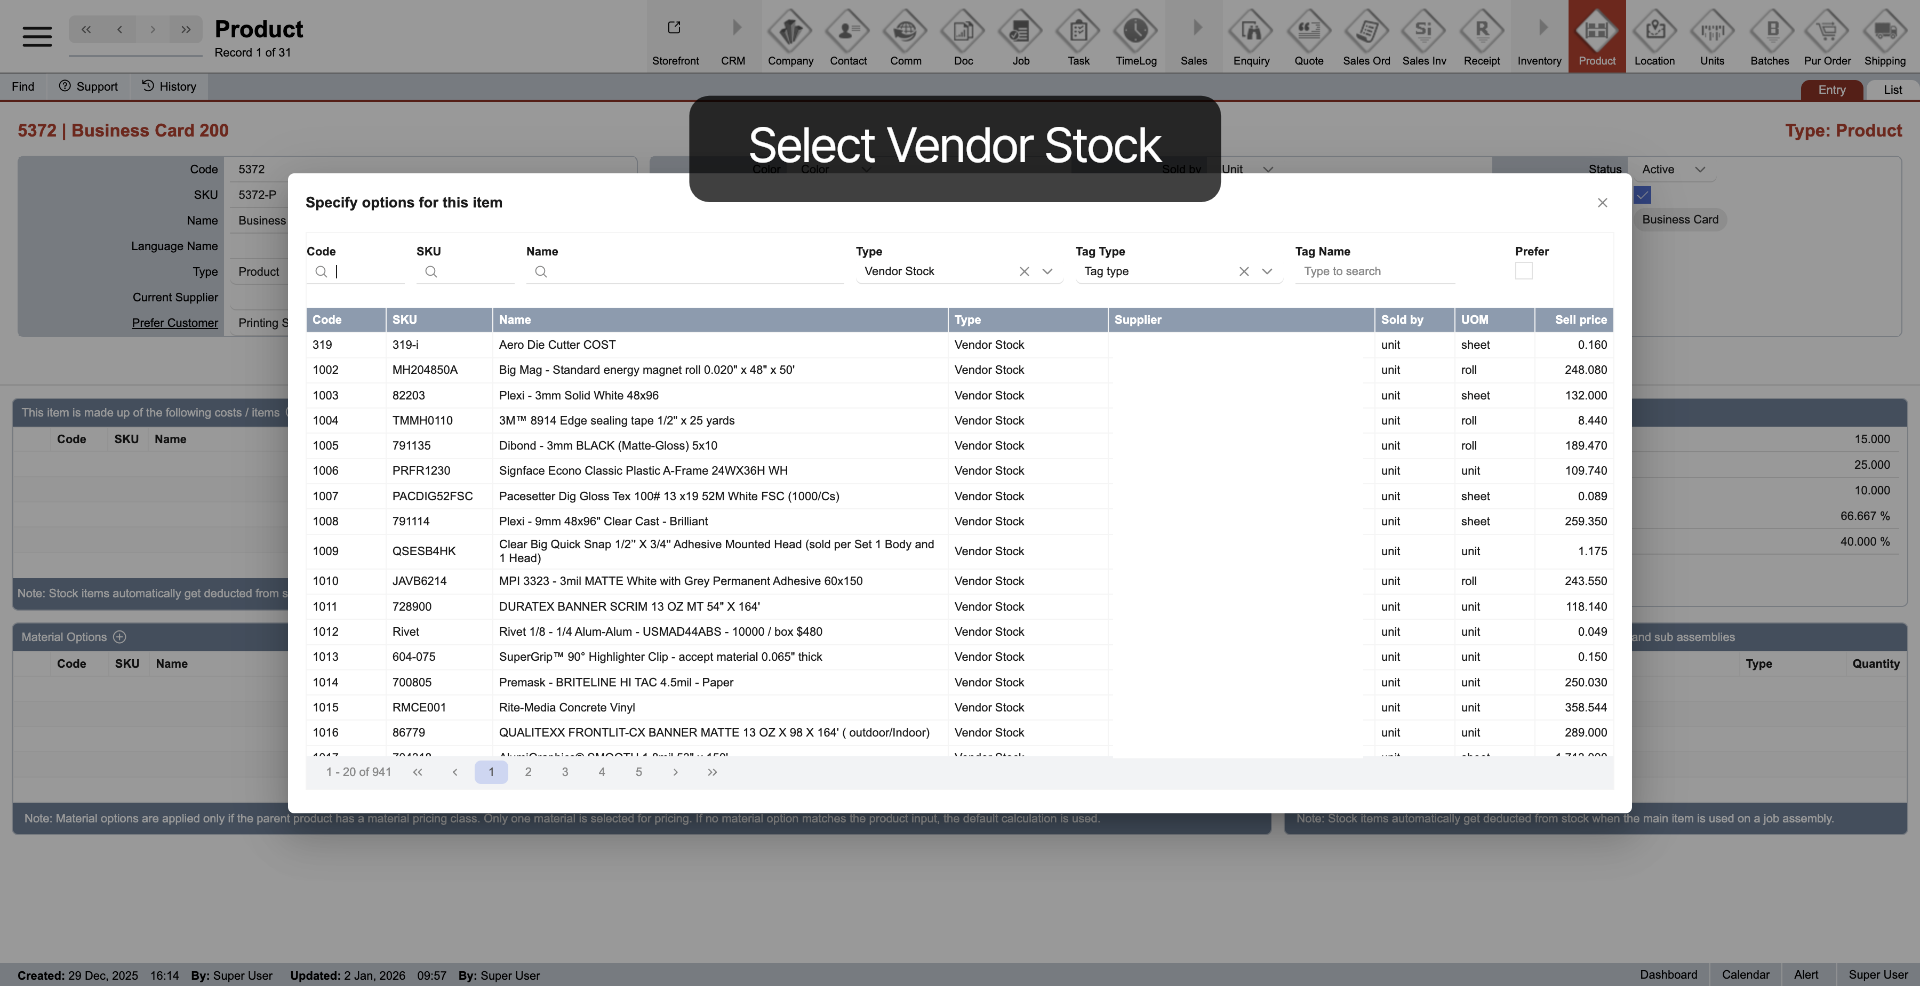
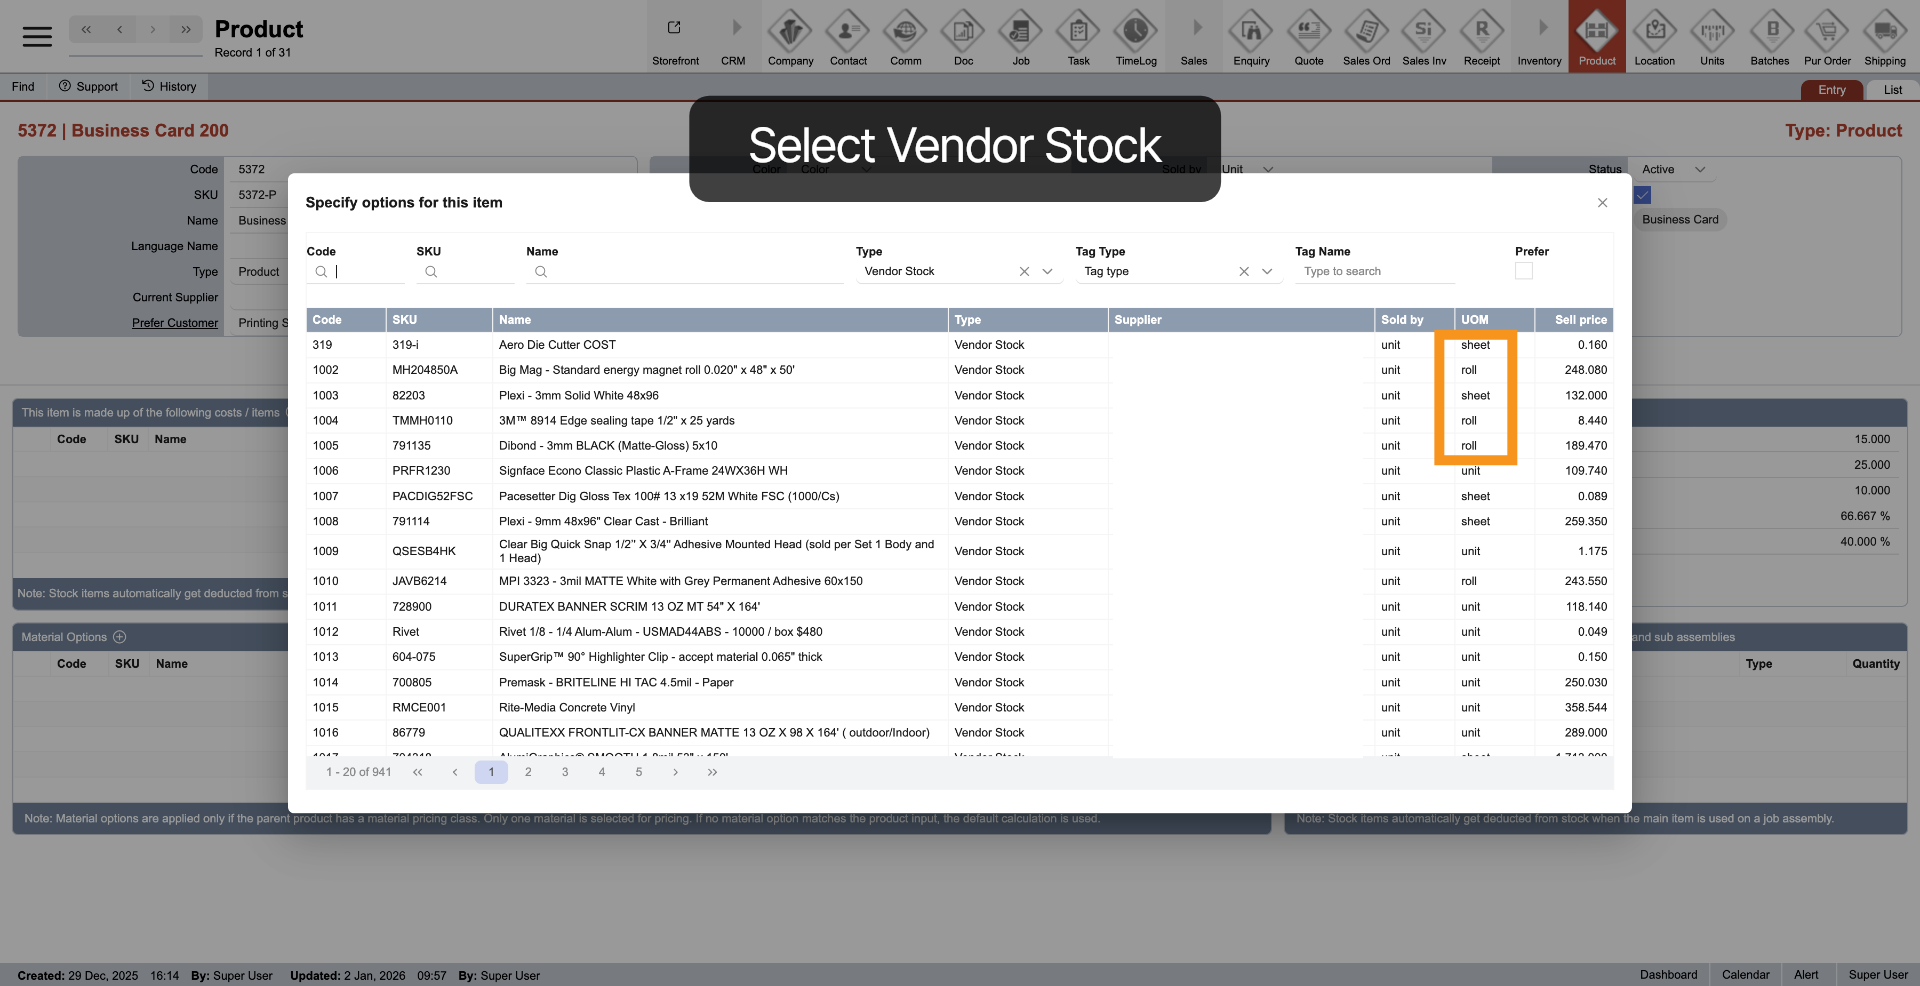
5. Select Vendor Stock
A pop-up window will appear—find and select the Vendor Stock you want to use for costing, then click it to add it to the table.
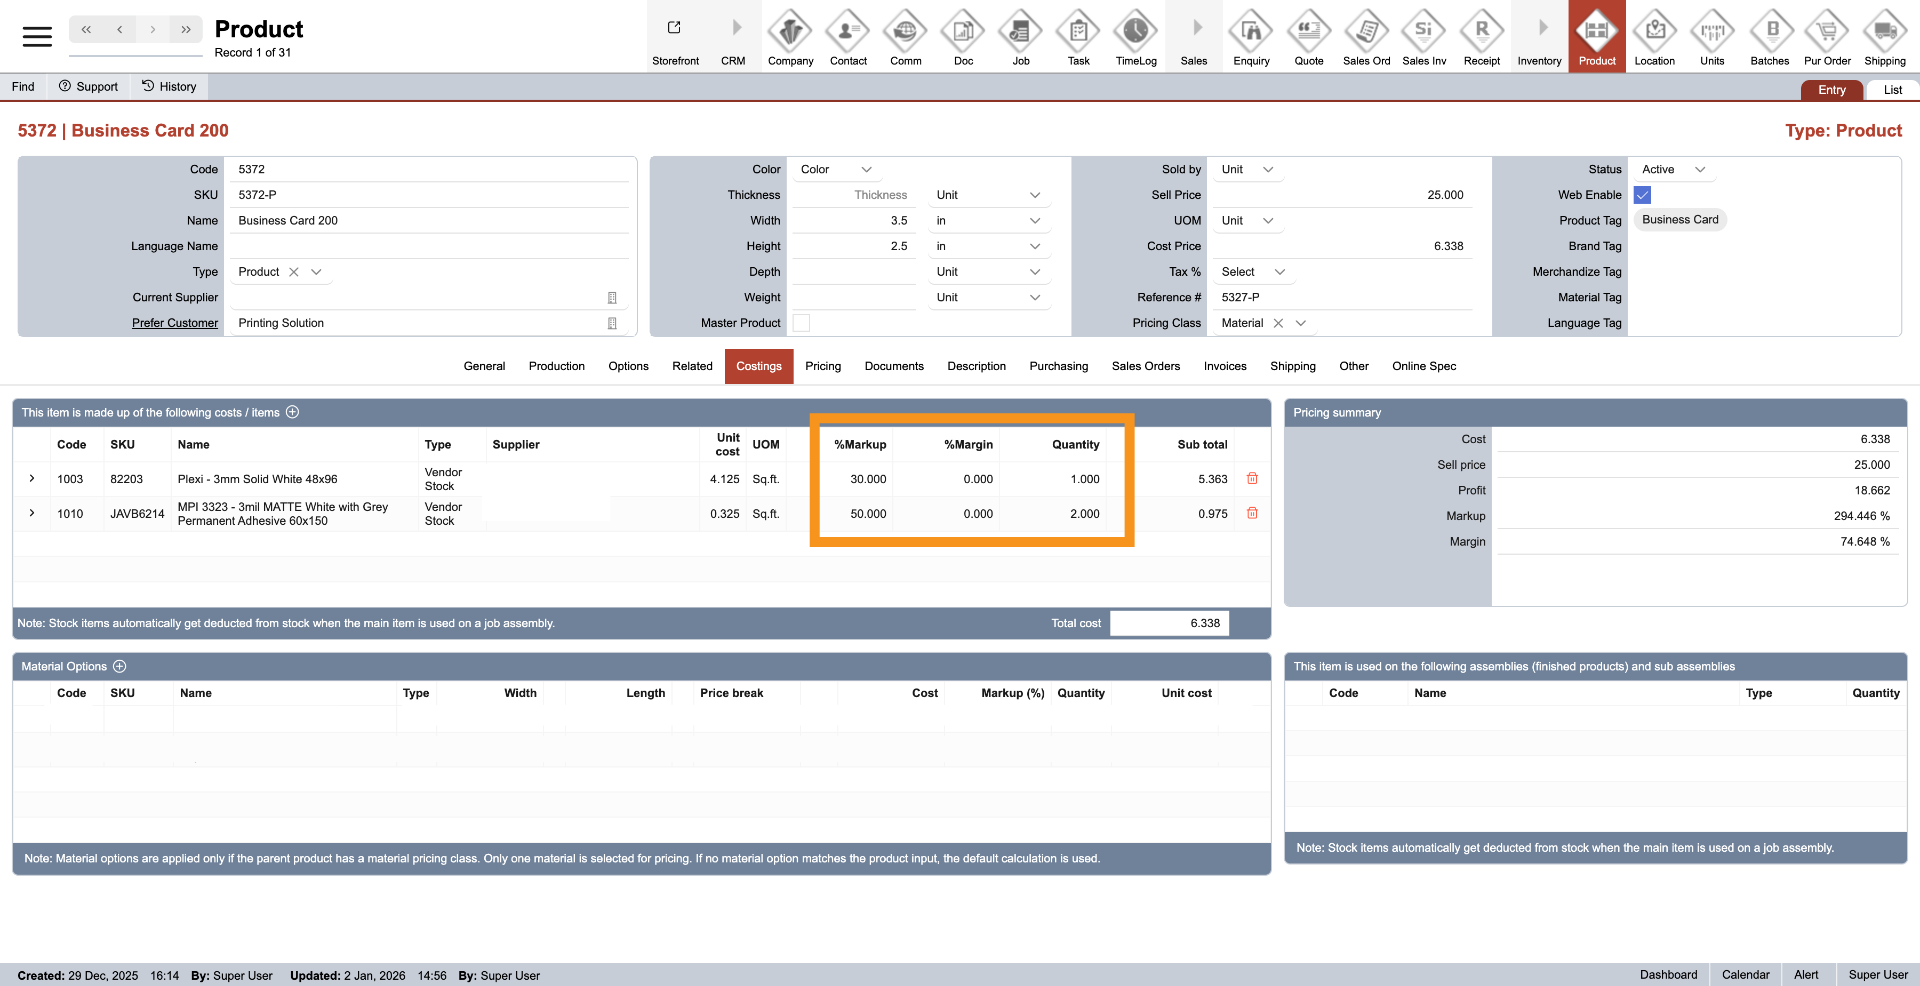
6. Add Mark up, Margin and Quantity
After selecting a Vendor Stock, you can set a markup or margin percentage and specify the quantity to add a safety buffer to your costing. The system automatically calculates the product cost based on your settings. Whenever the Vendor Stock price changes, the system updates the related costing automatically—helping you stay up to date and save time.
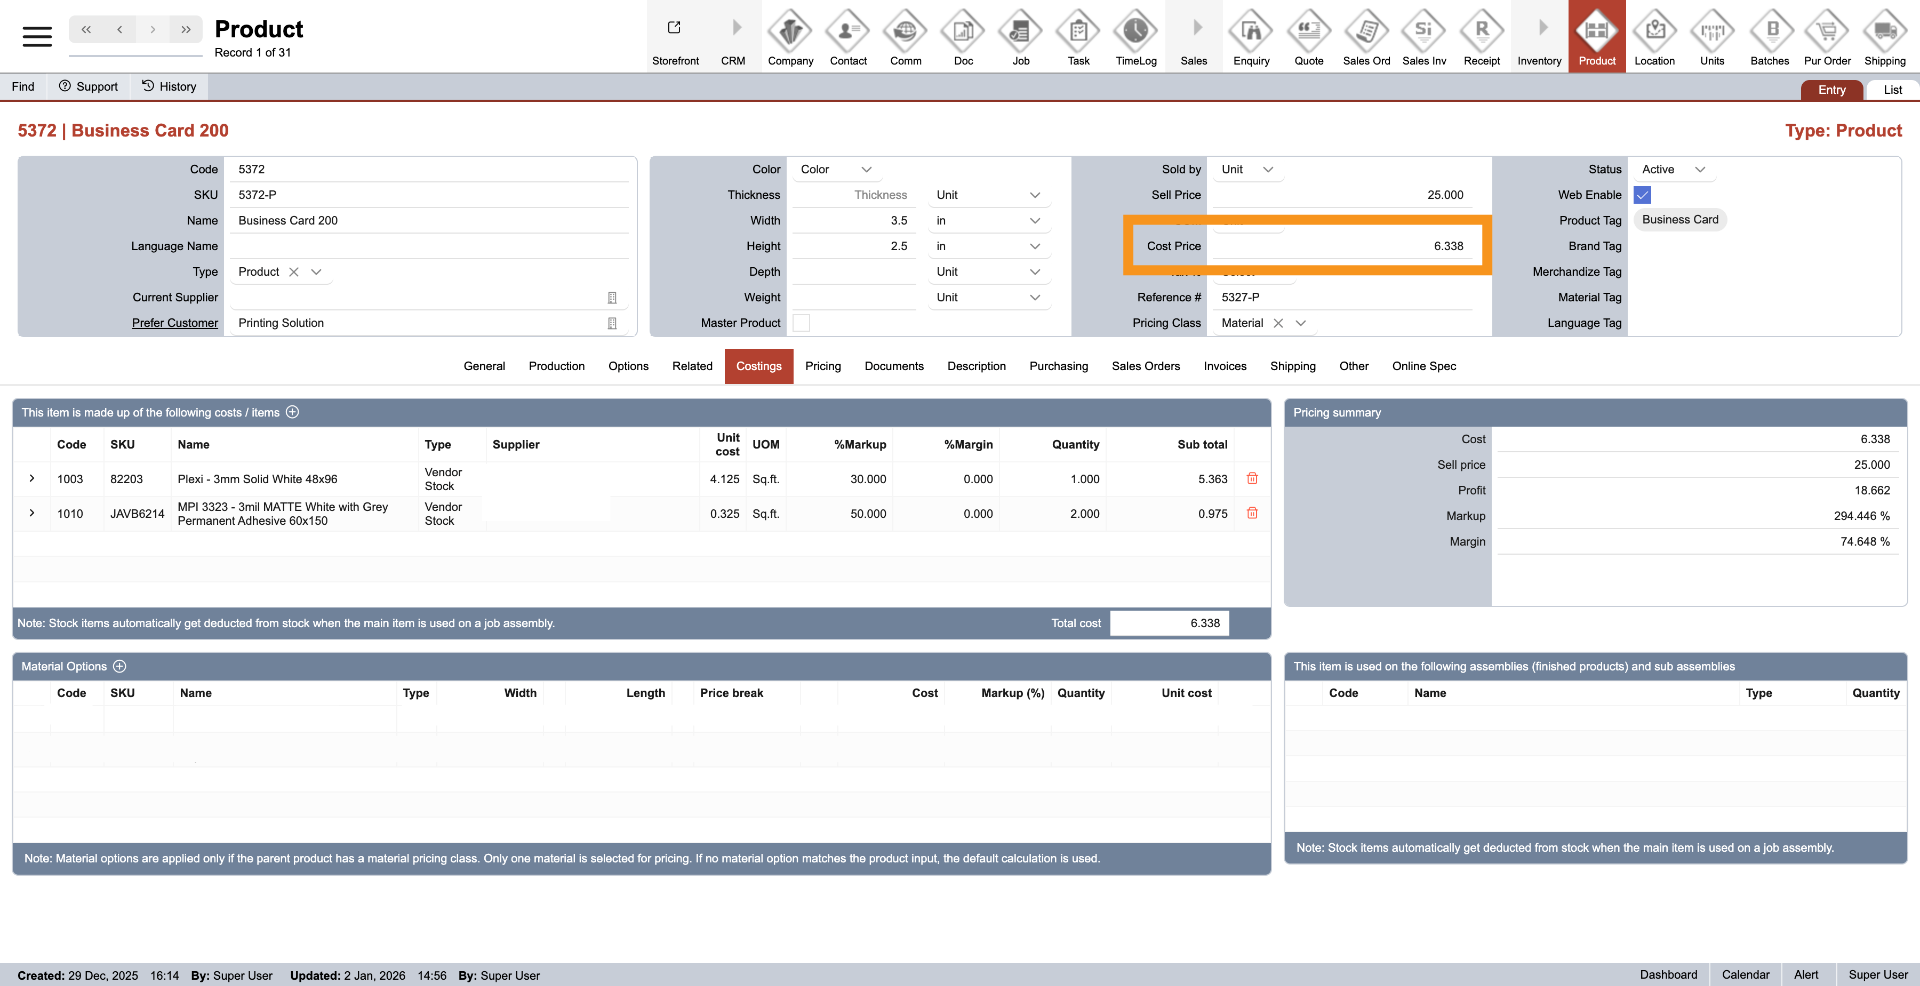
7. Locking Product Costing
This completes the setup for the first costing method based on actual usage. Once a Vendor Stock is added to the costing table, the product cost becomes locked, meaning the parent product’s cost price field can no longer be edited directly. All cost updates must be made through the costing table.
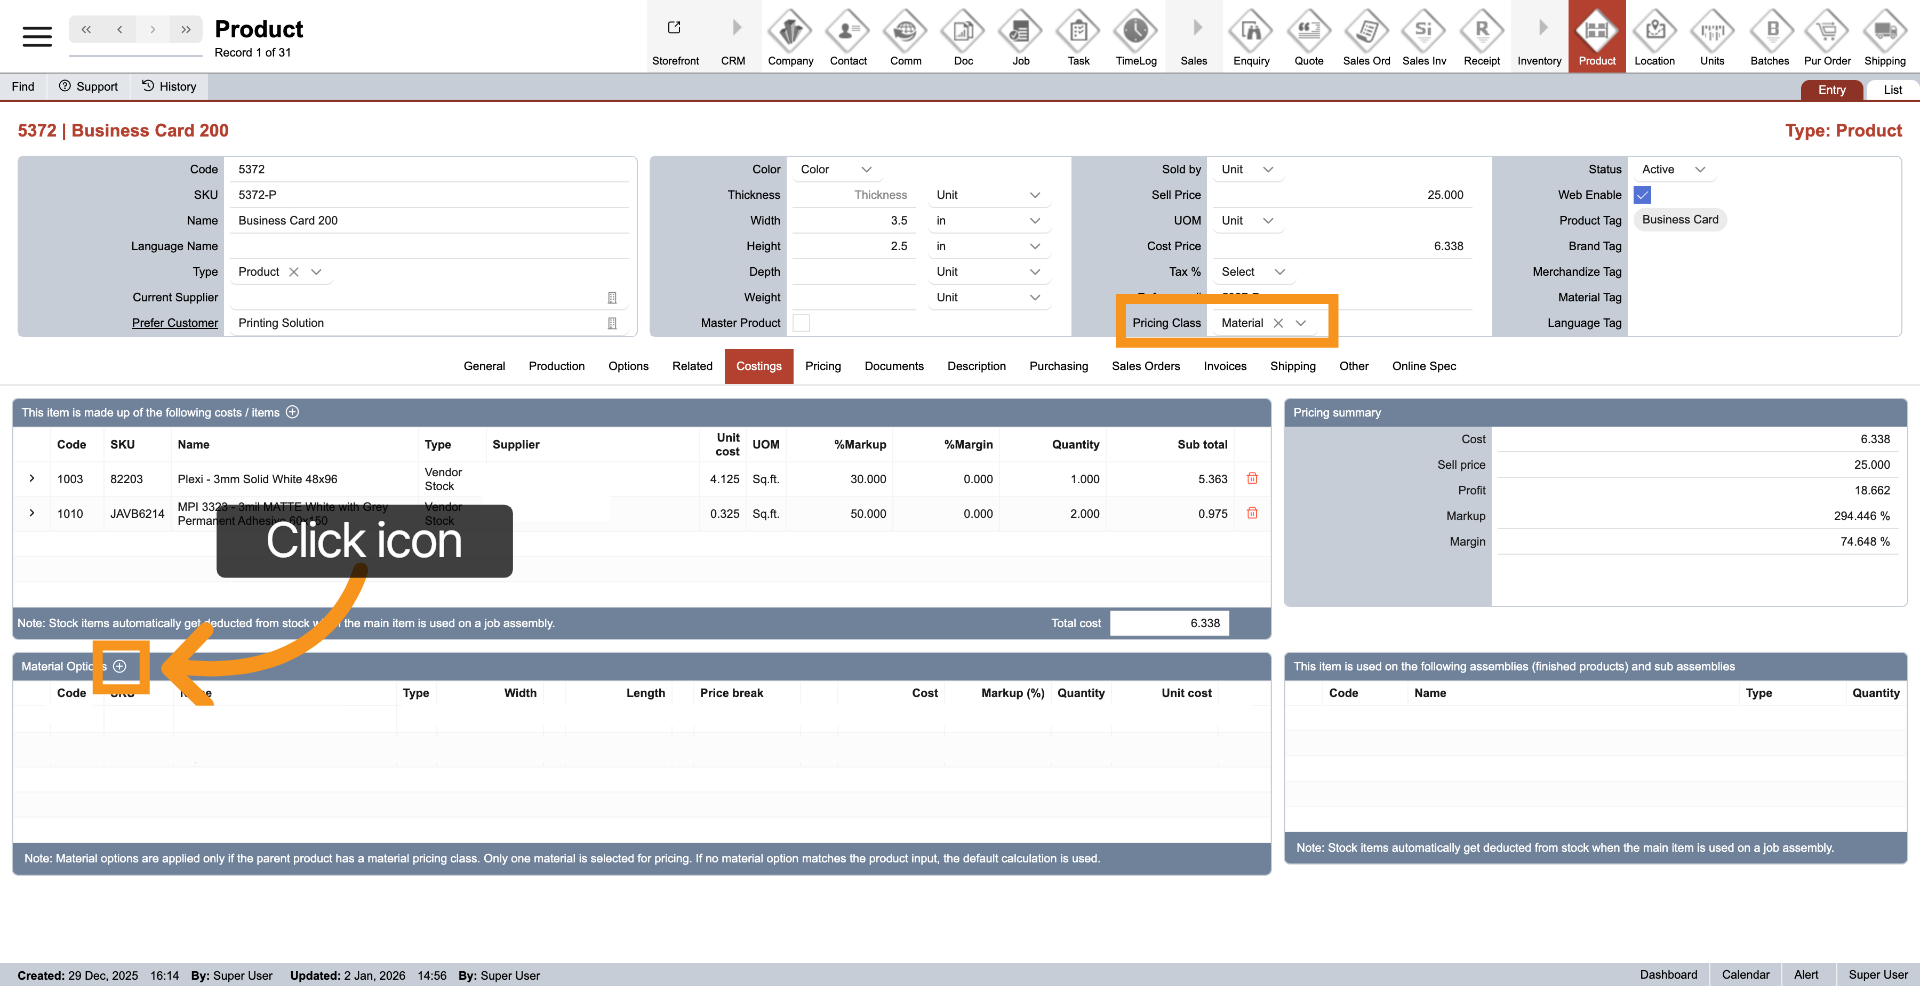
8. Second Method: Costing Including Material Waste
Next, let’s move to the second costing method, which calculates cost including material waste. This method is triggered when the pricing class is set to Material. To add a costing entry, click the plus icon in the header of the bottom table. Unlike the first method, you can add multiple entries, but the system automatically selects the most efficient material option and applies only one costing to the product.
9. Find and Select Vendor Stock
Similar to the first method, a pop-up window will appear where you can find and select the Vendor Stock to use for costing, then click to add it to the table. Please note that only Vendor Stock with a purchase UOM of Sheet or Roll can be added to this table.
10. Add Mark up and Quantity
Once a Vendor Stock is selected, you can define a markup percentage and quantity to build a safety buffer into your costing. The system then calculates the product cost automatically based on these values. Any future changes to the Vendor Stock price are reflected automatically in the costing, keeping everything up to date and saving you time.

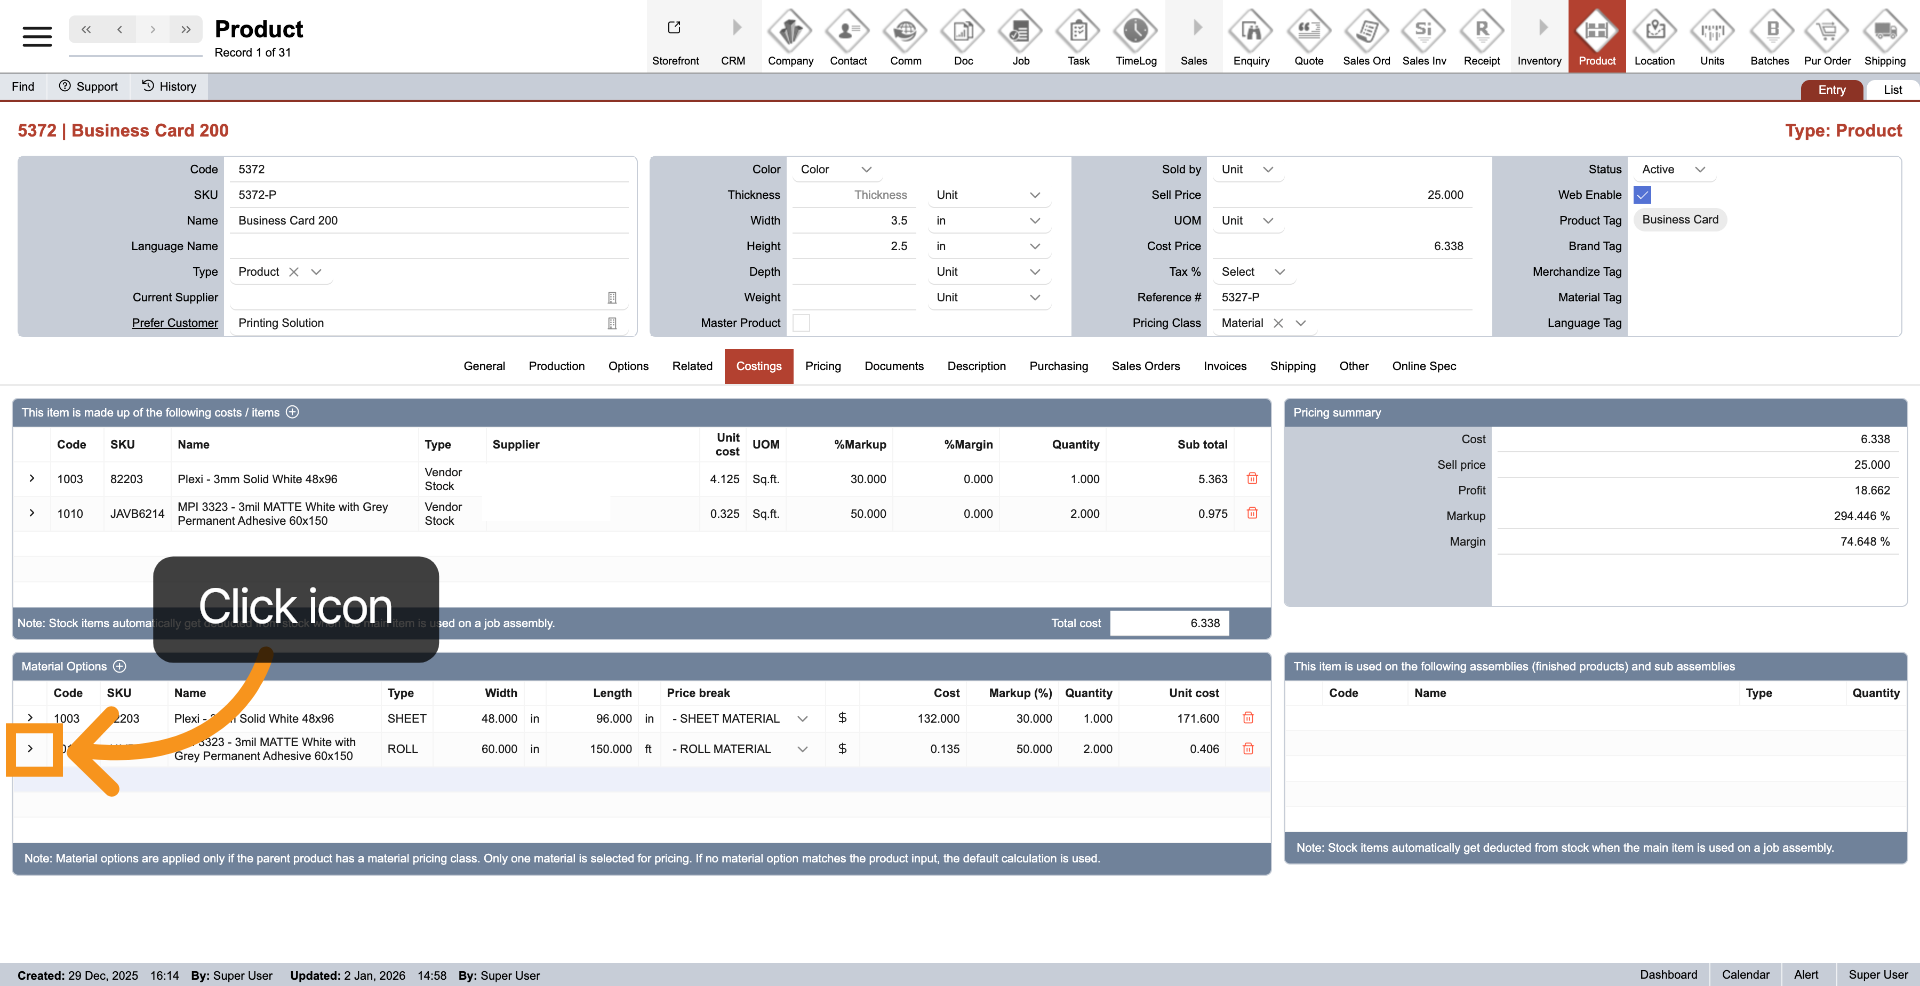
11. Navigate to Vendor Stock
Click the arrow next to the Vendor Stock item to quickly view its full details.
12. Delete Vendor Stock
Click the delete icon at the end of the Vendor Stock item to remove the items out of costing

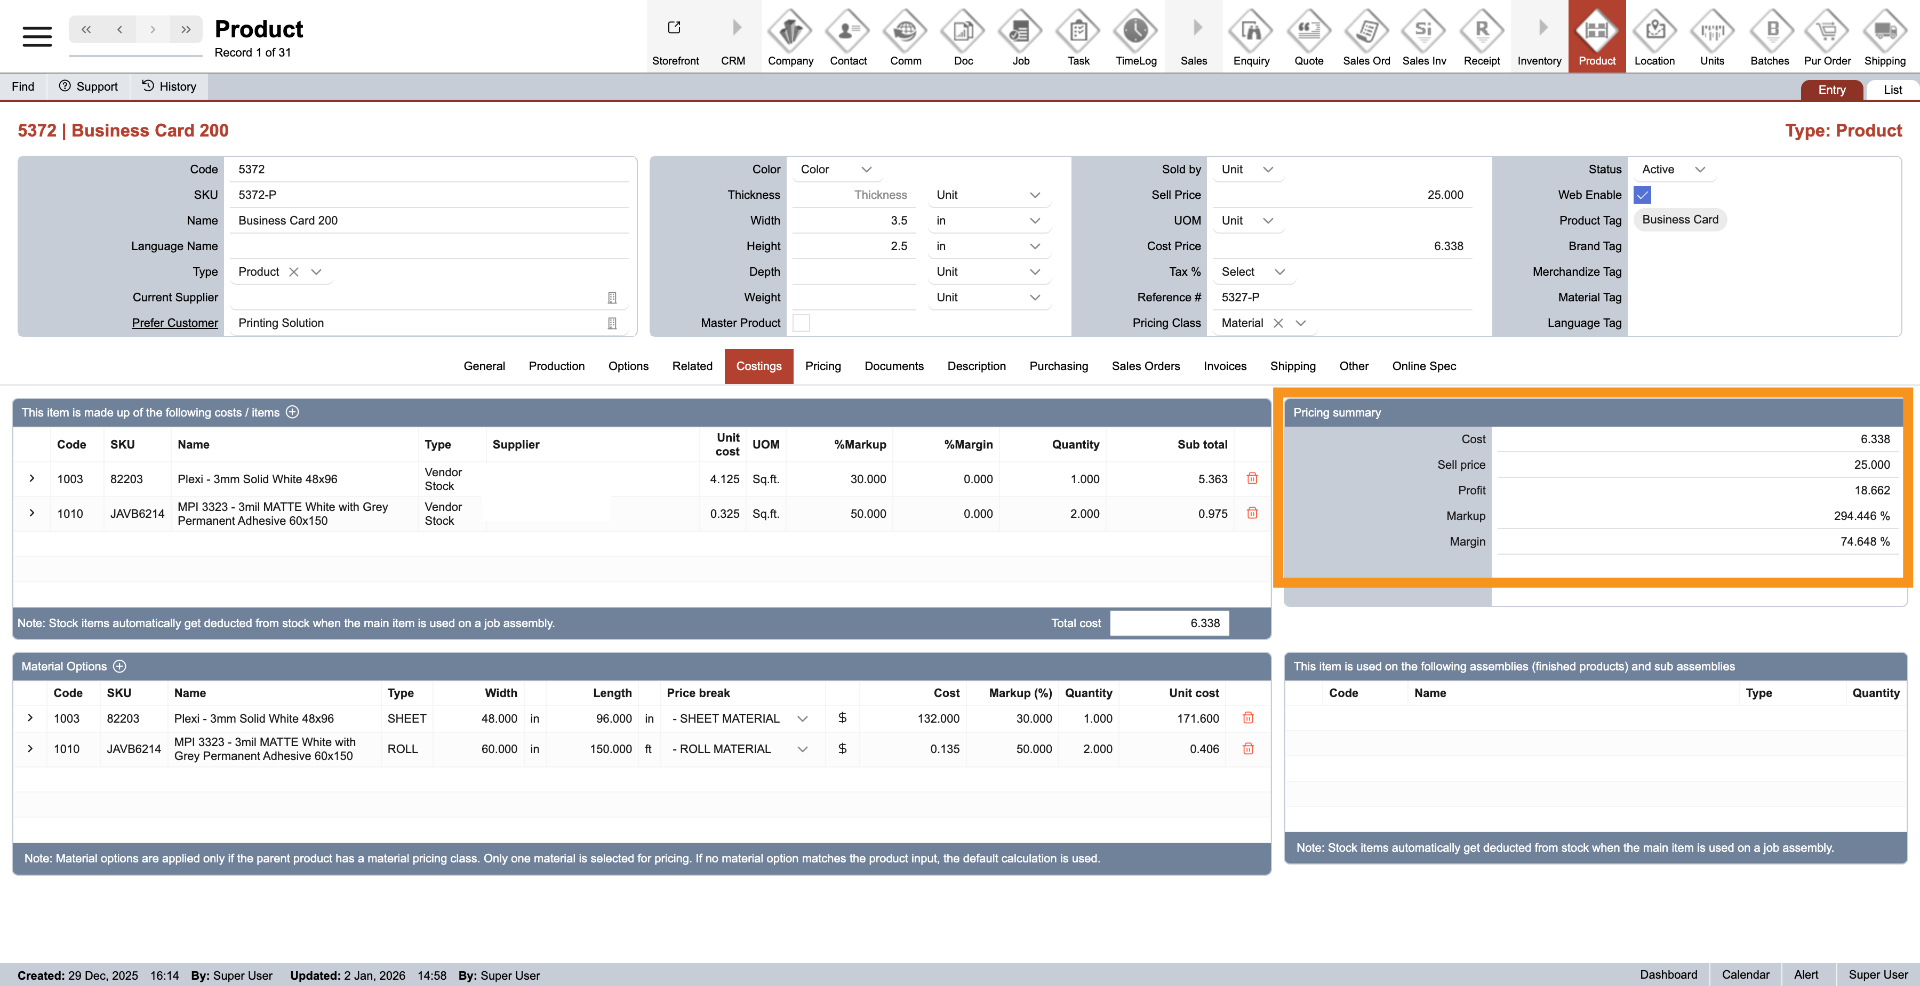
13. Pricing Summary
On the right side, the top table displays a pricing summary, helping you understand the product’s profit.
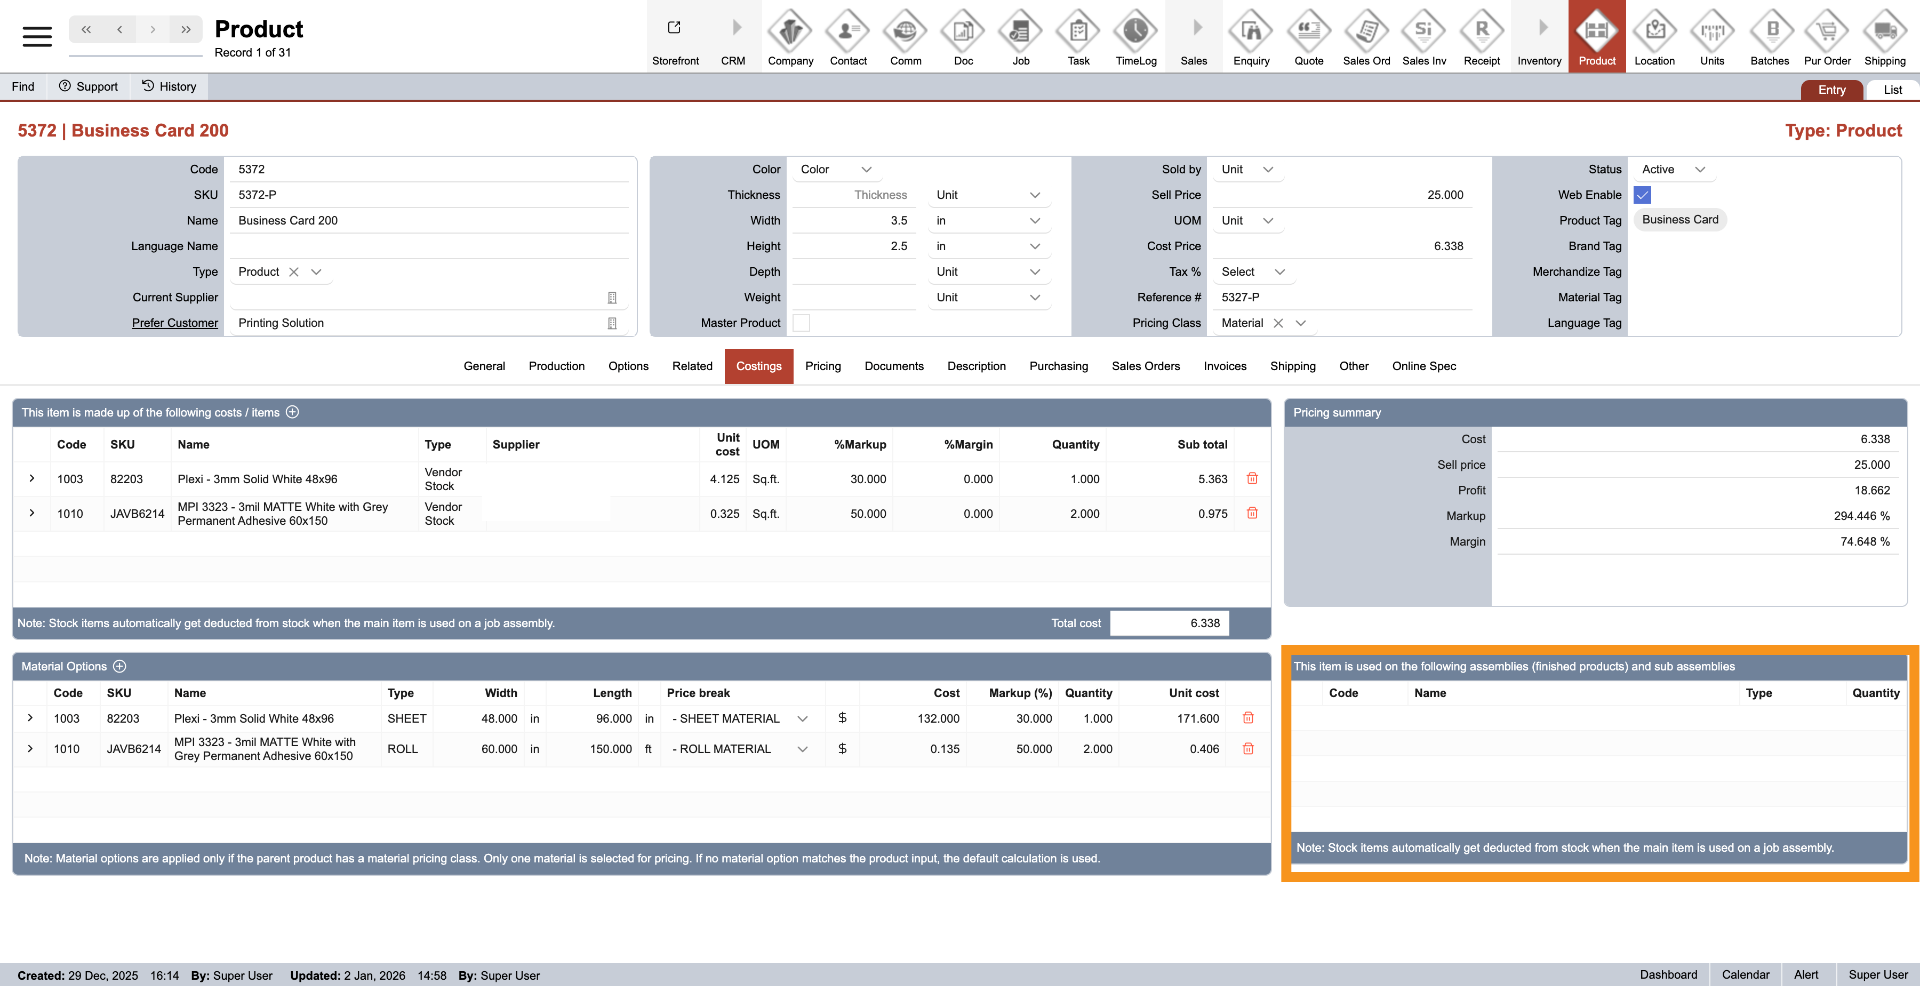
14. View Assemblies
The table below lists all products that use the current product in their costing, helping you understand how many products this item contributes to in overall cost calculations.
You have successfully configured product costing by managing cost components, material options, and pricing details within the WorkTraq App.