
Create New Product
This tutorial provides comprehensivestep-by-step instructions for creating and configuring a new product withinin the WorkTraq system.
Video Tutorial
1. Open Product Module
To access the Product module, click "Product" in the main menu at the top of the page.
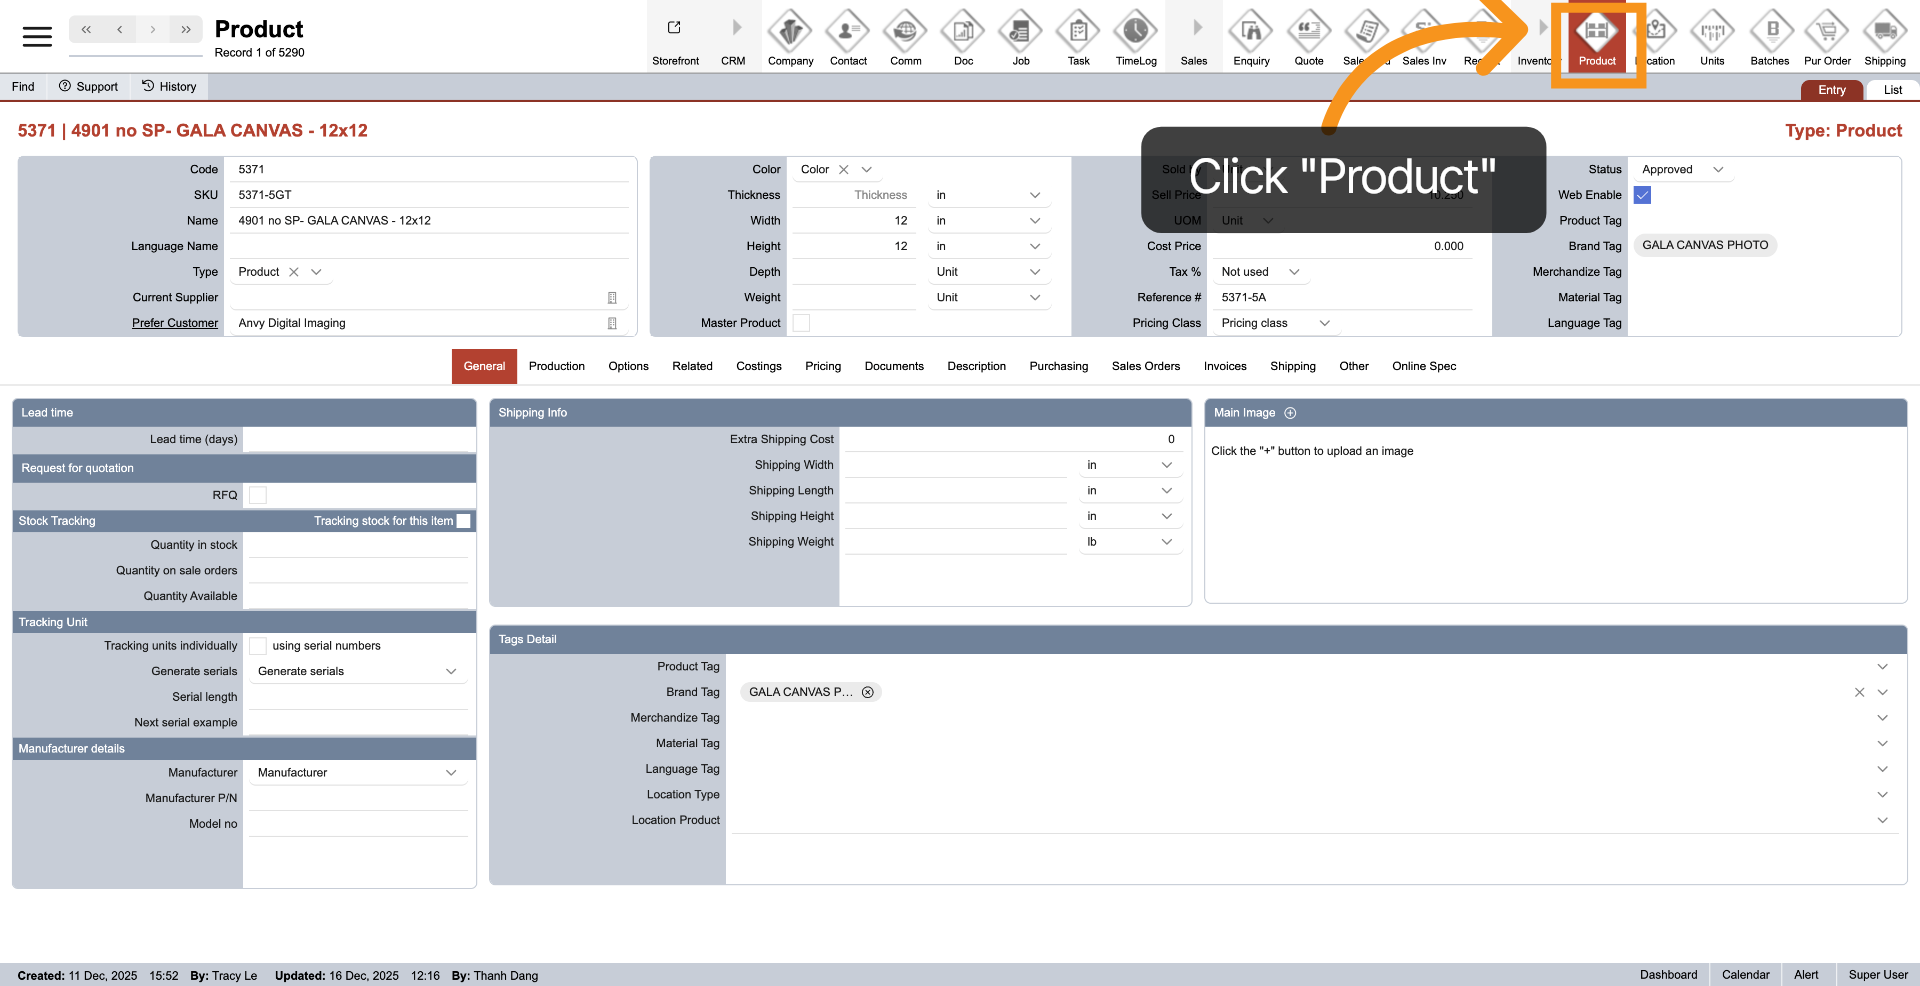
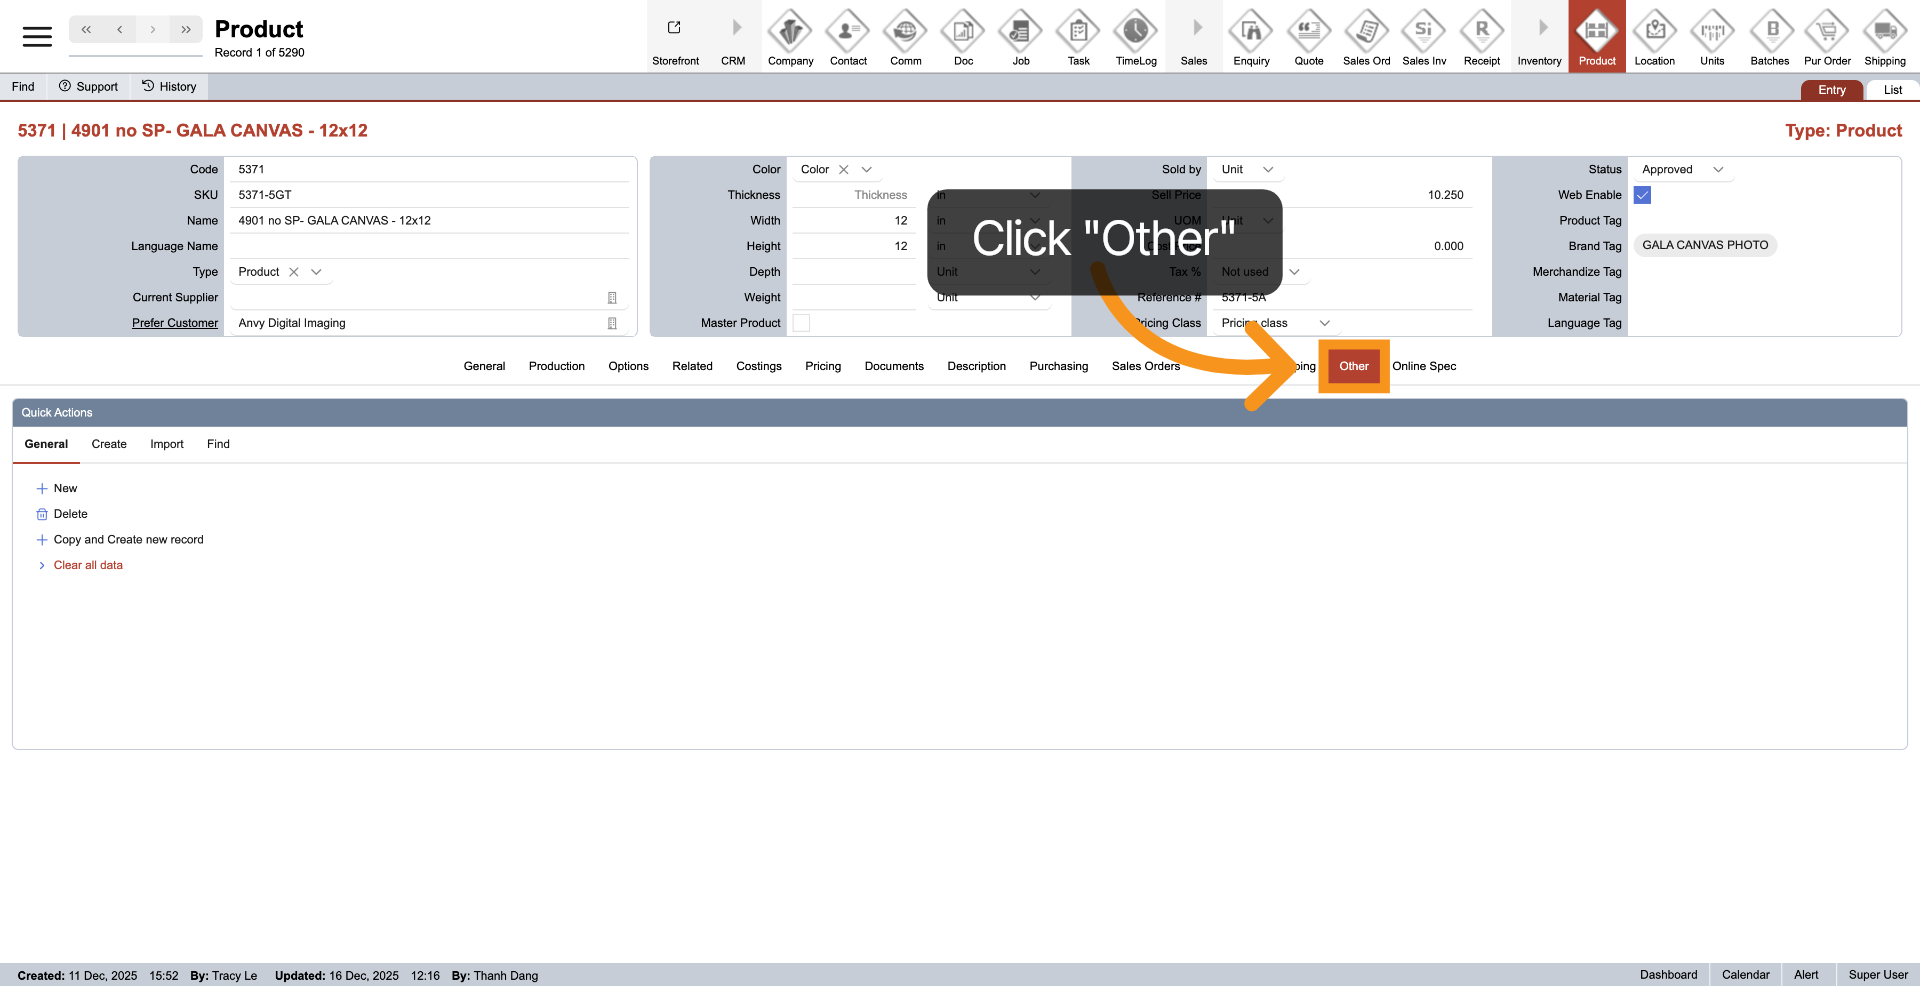
2. Select Other Section
ToClick the "Other" tab to access the "Quick Action"Action menu, click on the 'Other' tab.menu.
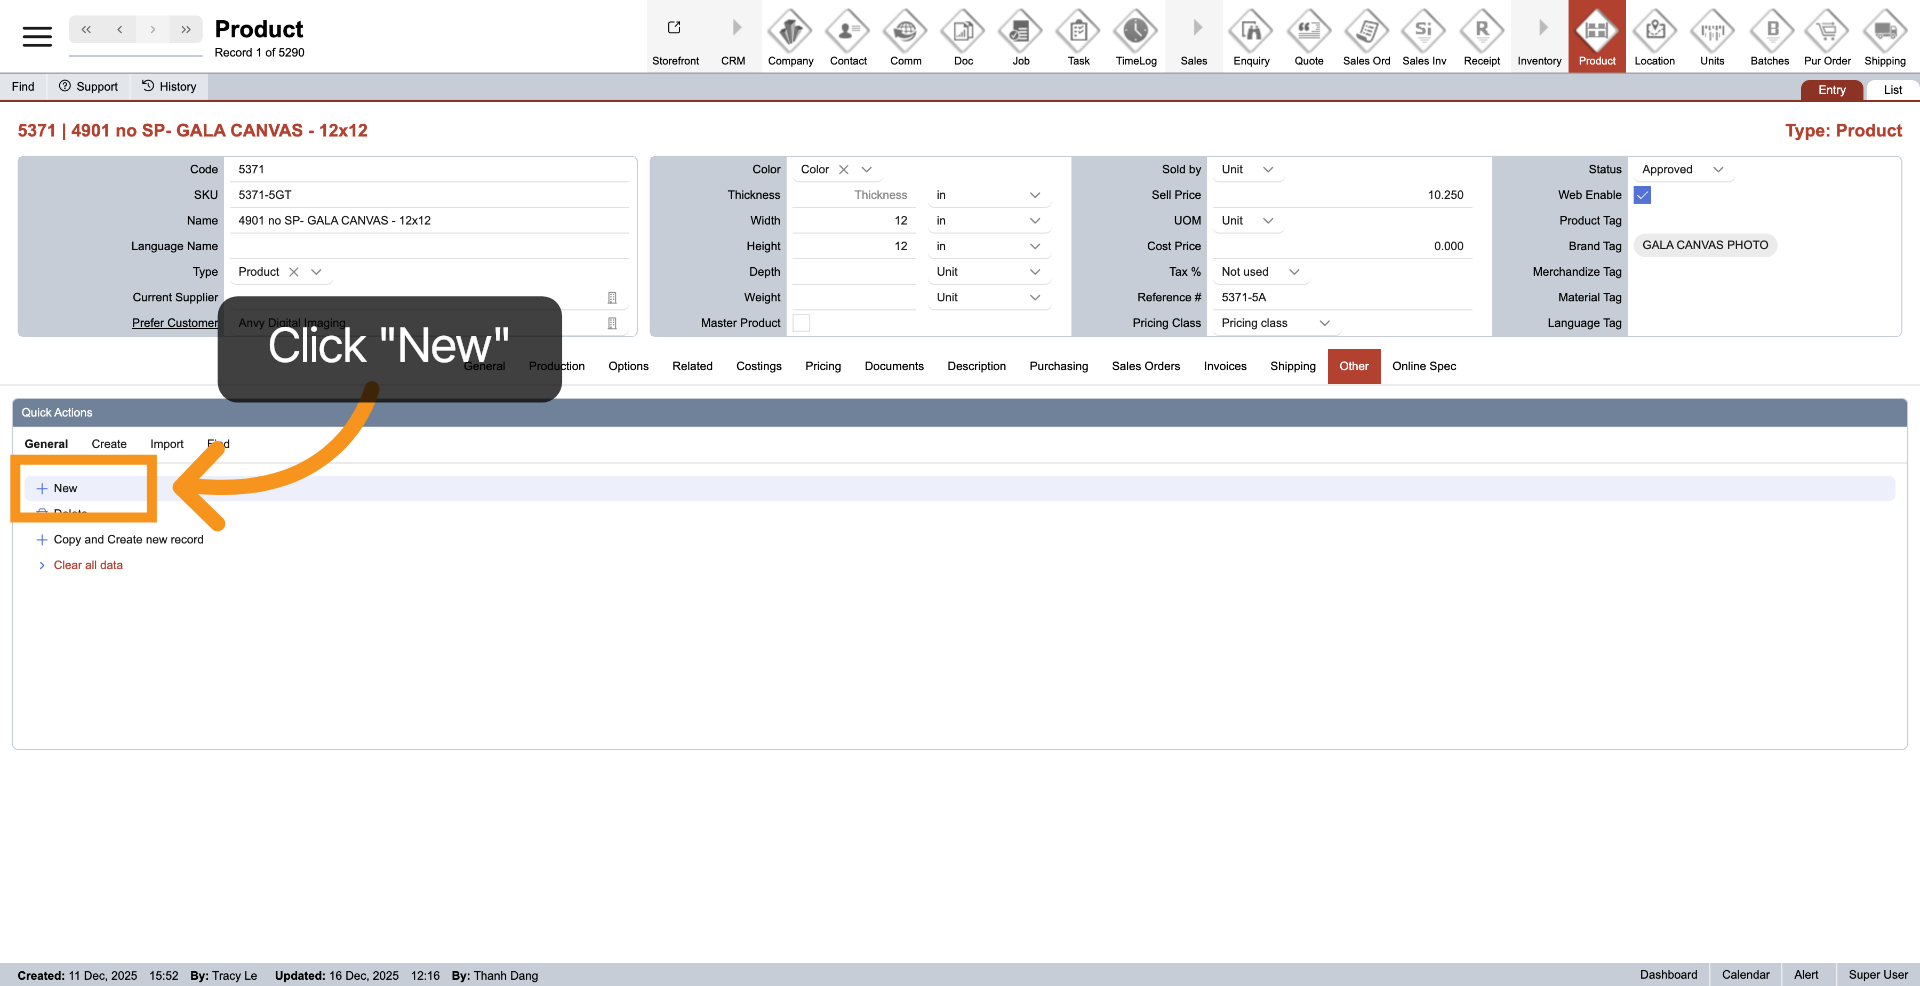
3. Initiate New Product Creation
Click 'New'"New" to startbegin the process of addingcreating a new product.
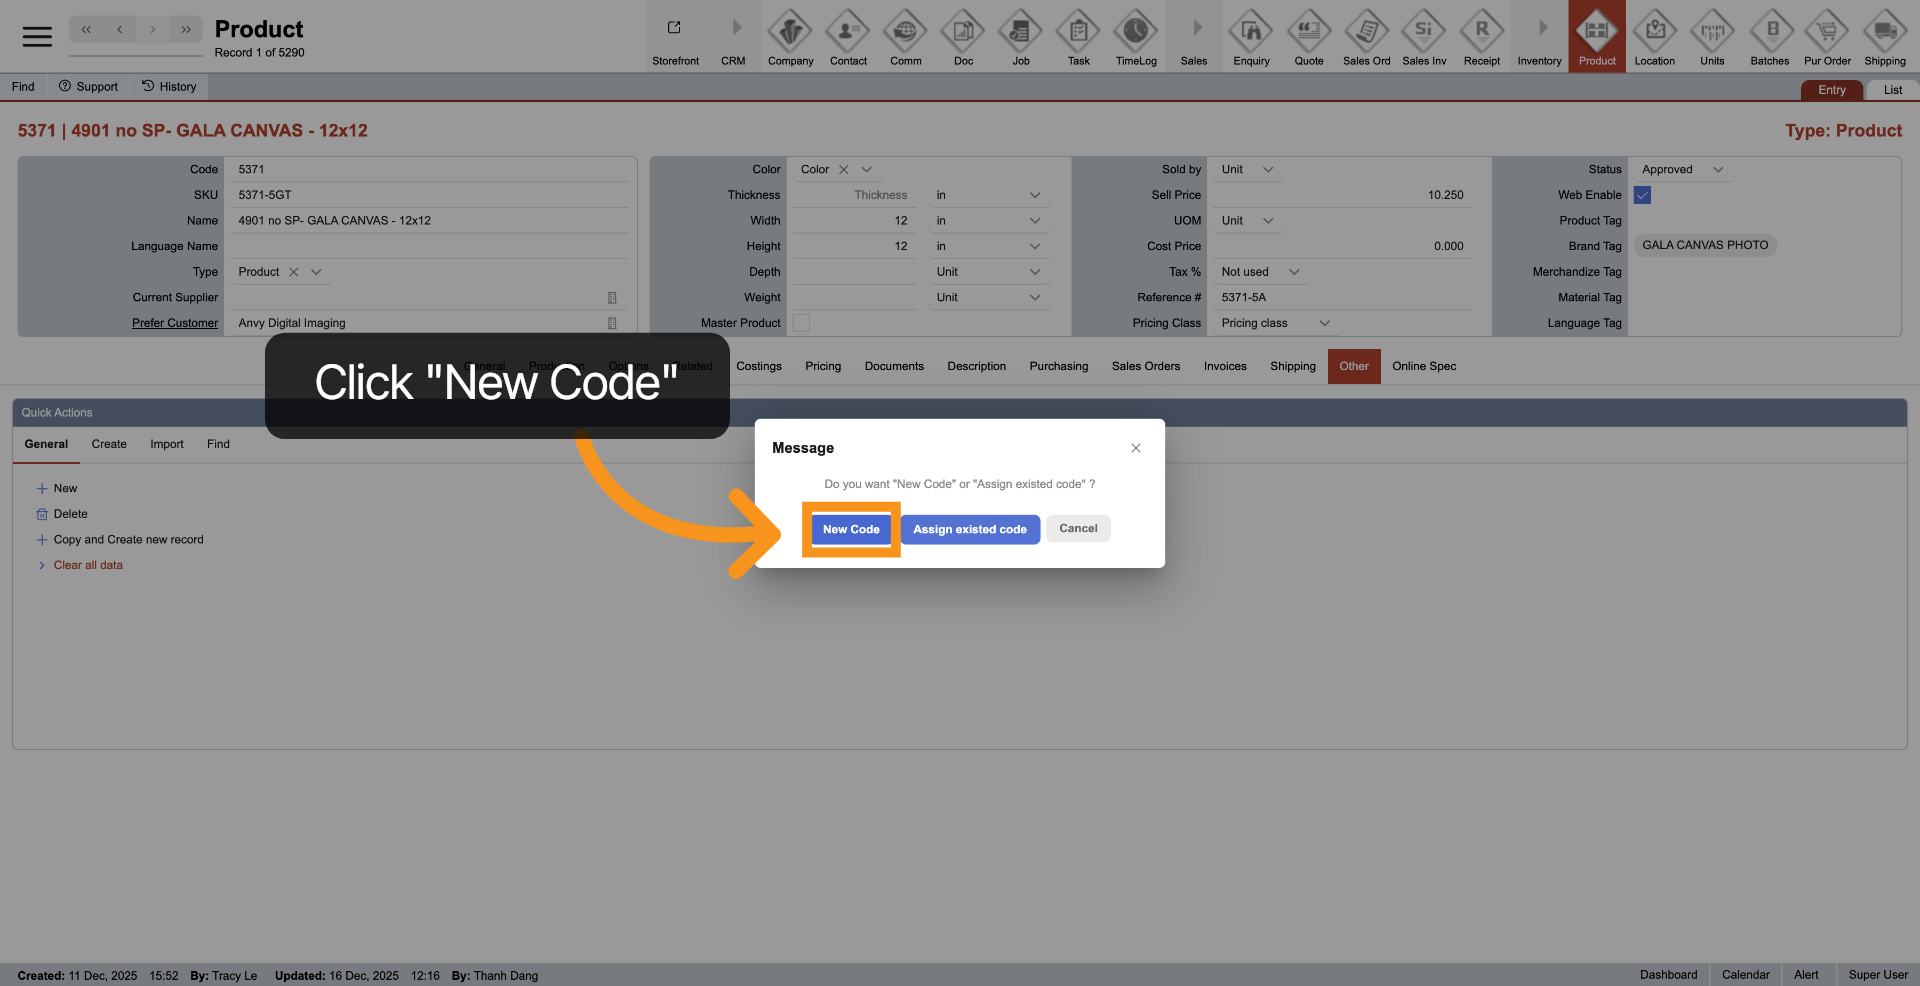
4. Choose Options
You have two options for creating a product: 1.
- New
Code"CodetoisgenerateGenerate a newidentifierproductforidentifier.the product. 2. Choose " - Assign Existing
Code"CodetoisreplaceReuseonlyathepreviously deleted product code.Now,
Proceed proceedby withselecting creatingNew a new code.Code.
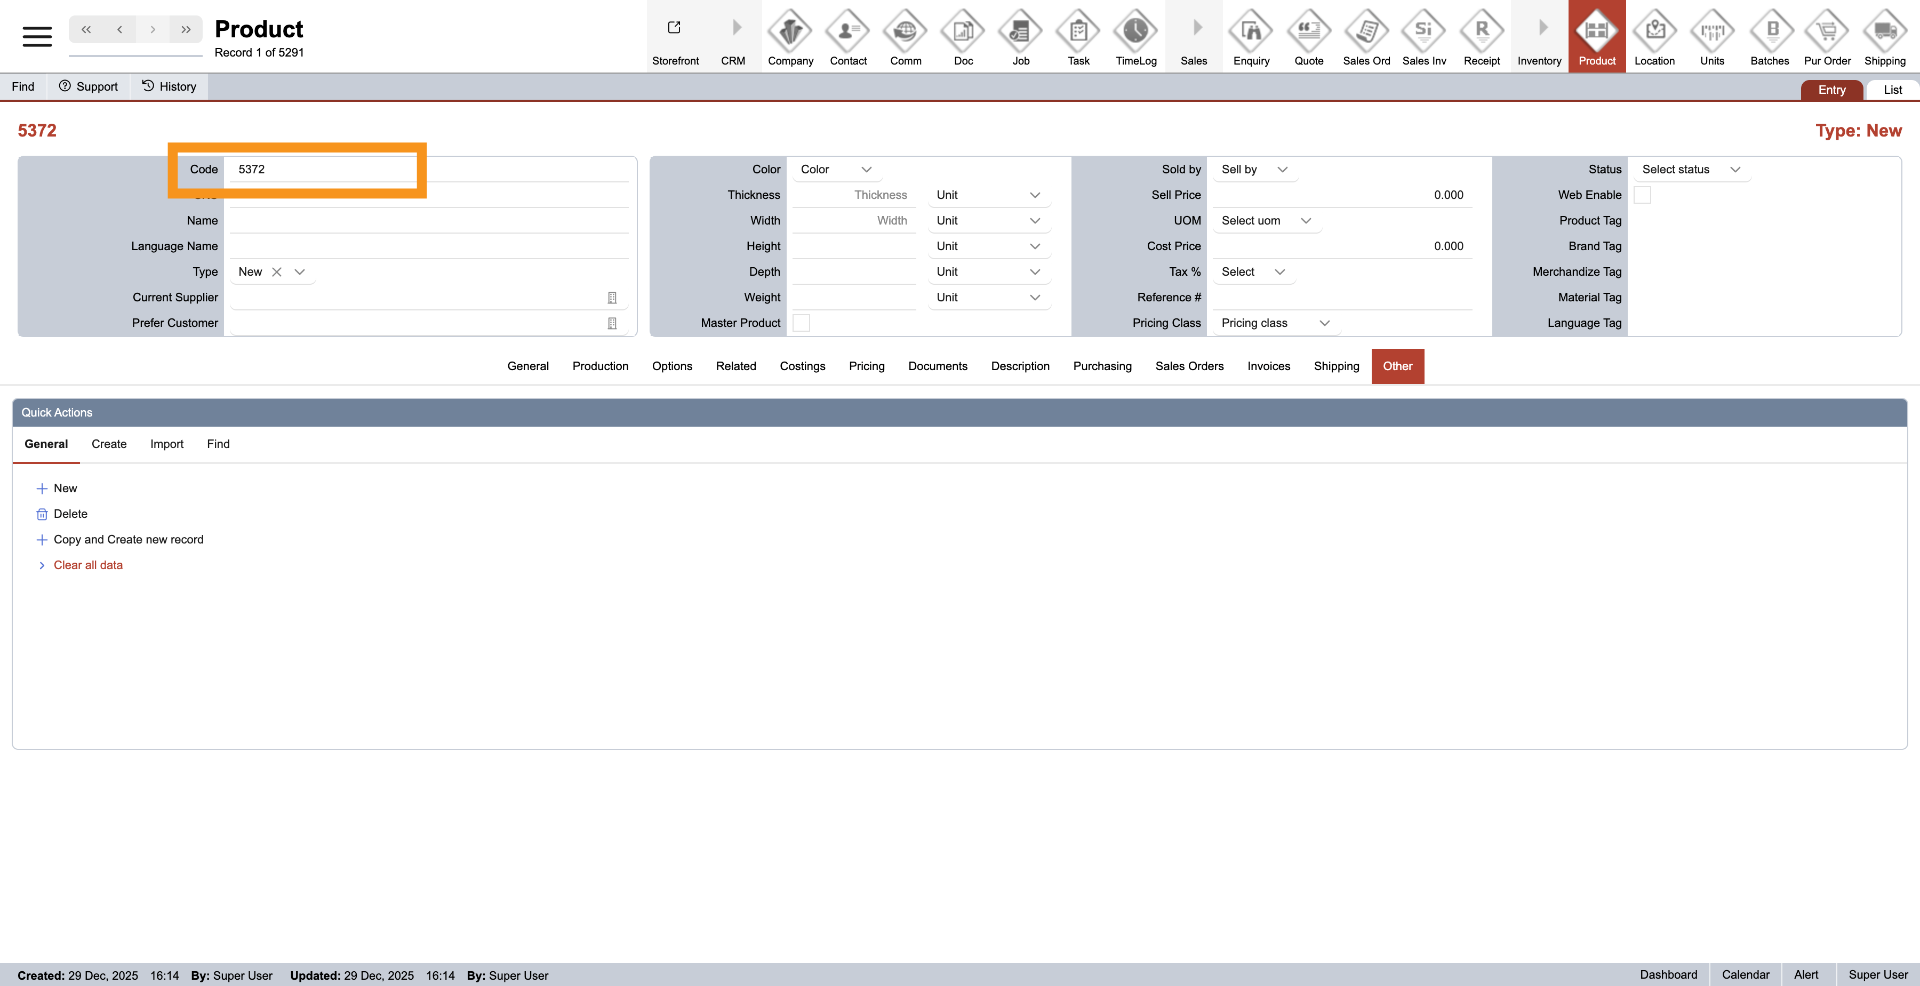
5. Product Code
The product code is generated automatically by the system and cannot be changed.modified.
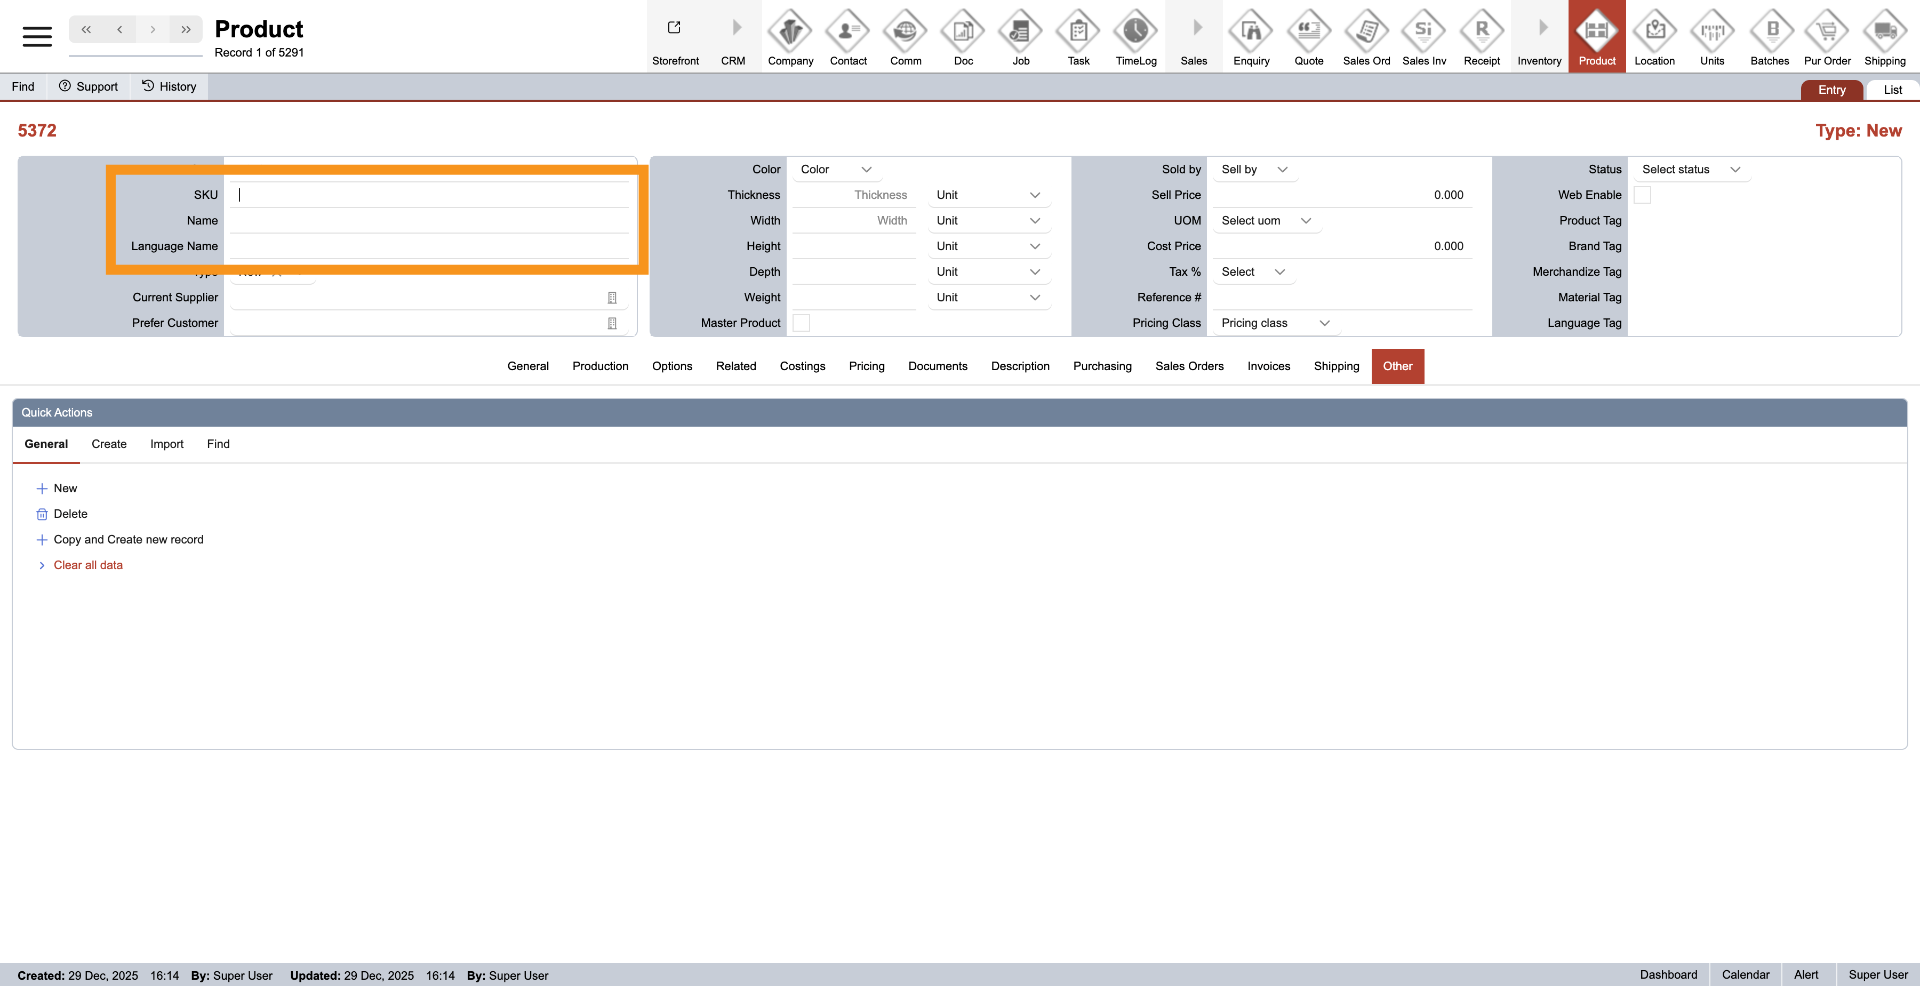
6. Enter Product SKU, nameName, and Language Name
Enter the productProduct SKU,SKU, Name,Name, and optional Language Name; the language name is optional.Name.
7. Product Type
Click the dropdown next to "Type" to selectSelect the product type,type from the Type dropdown, such as Product or Options. This will help you betterhelps organize and locatestructure items,products makingwithin the systemsystem. clearer and more structured.
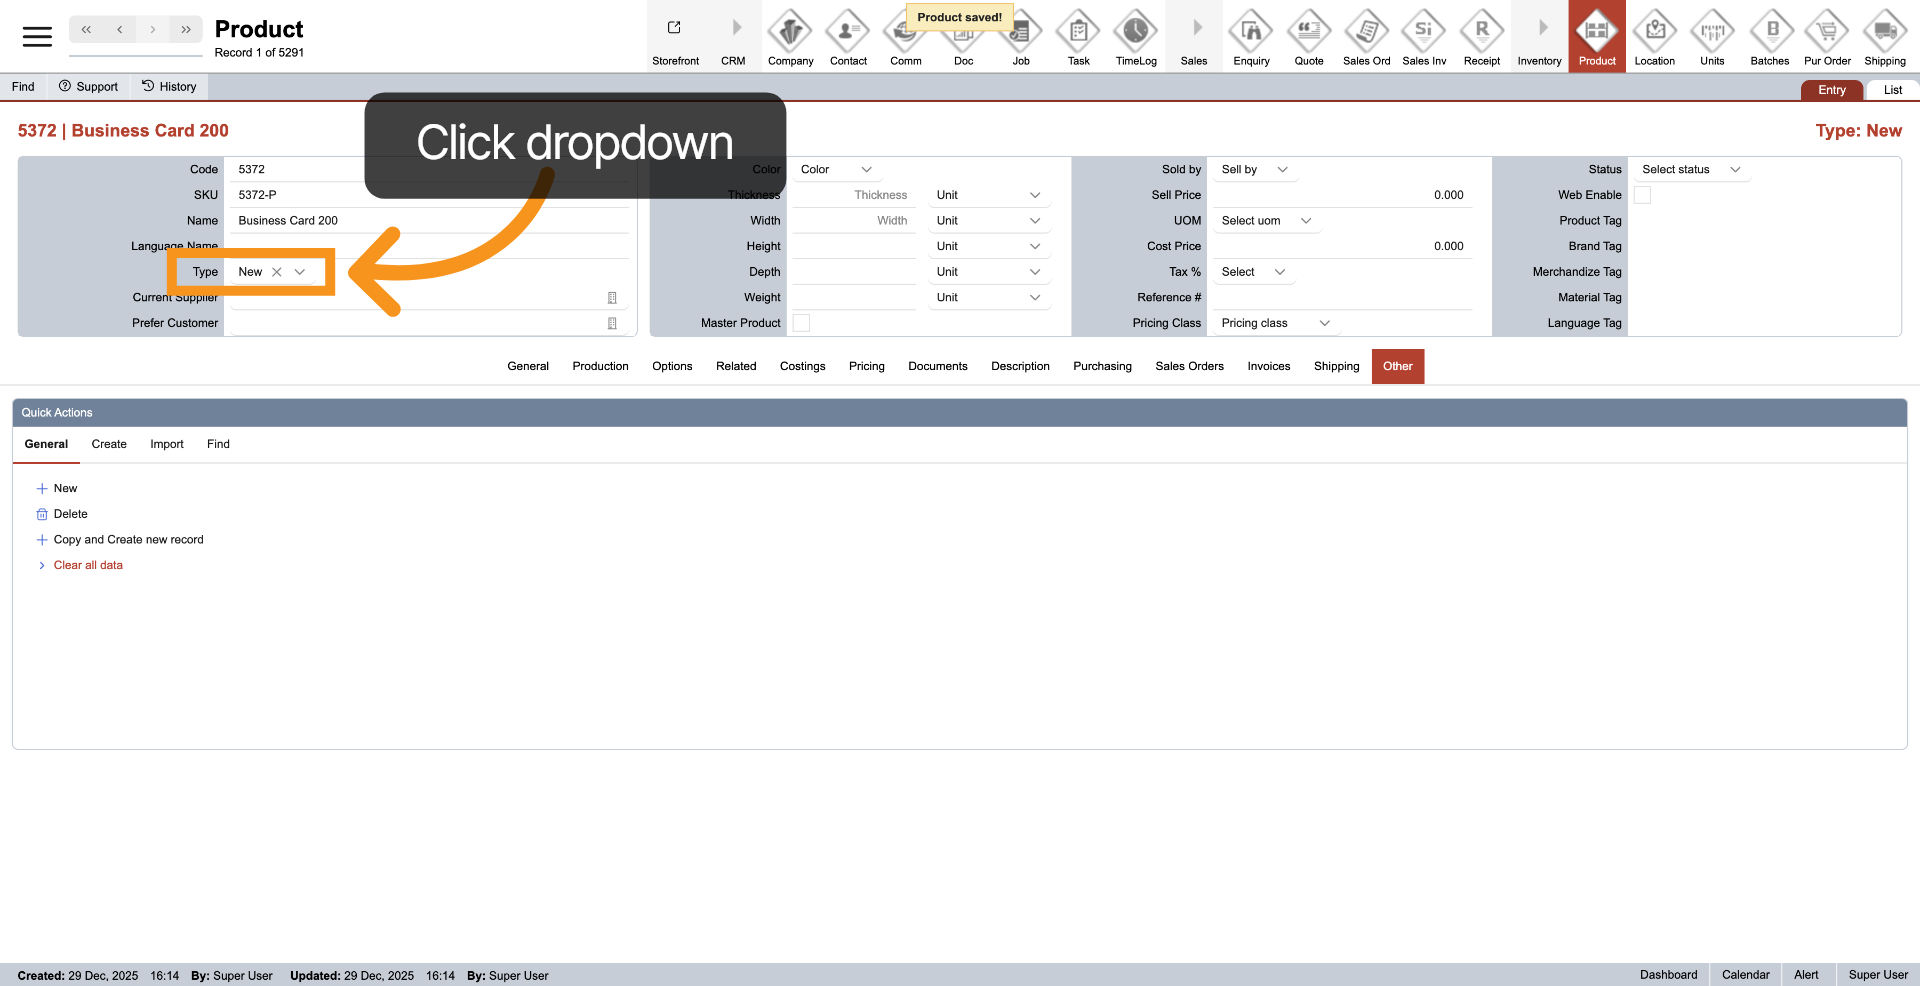
- Selector - used when a product contains multiple selectable options.
- Size - used for products that is size measurements.
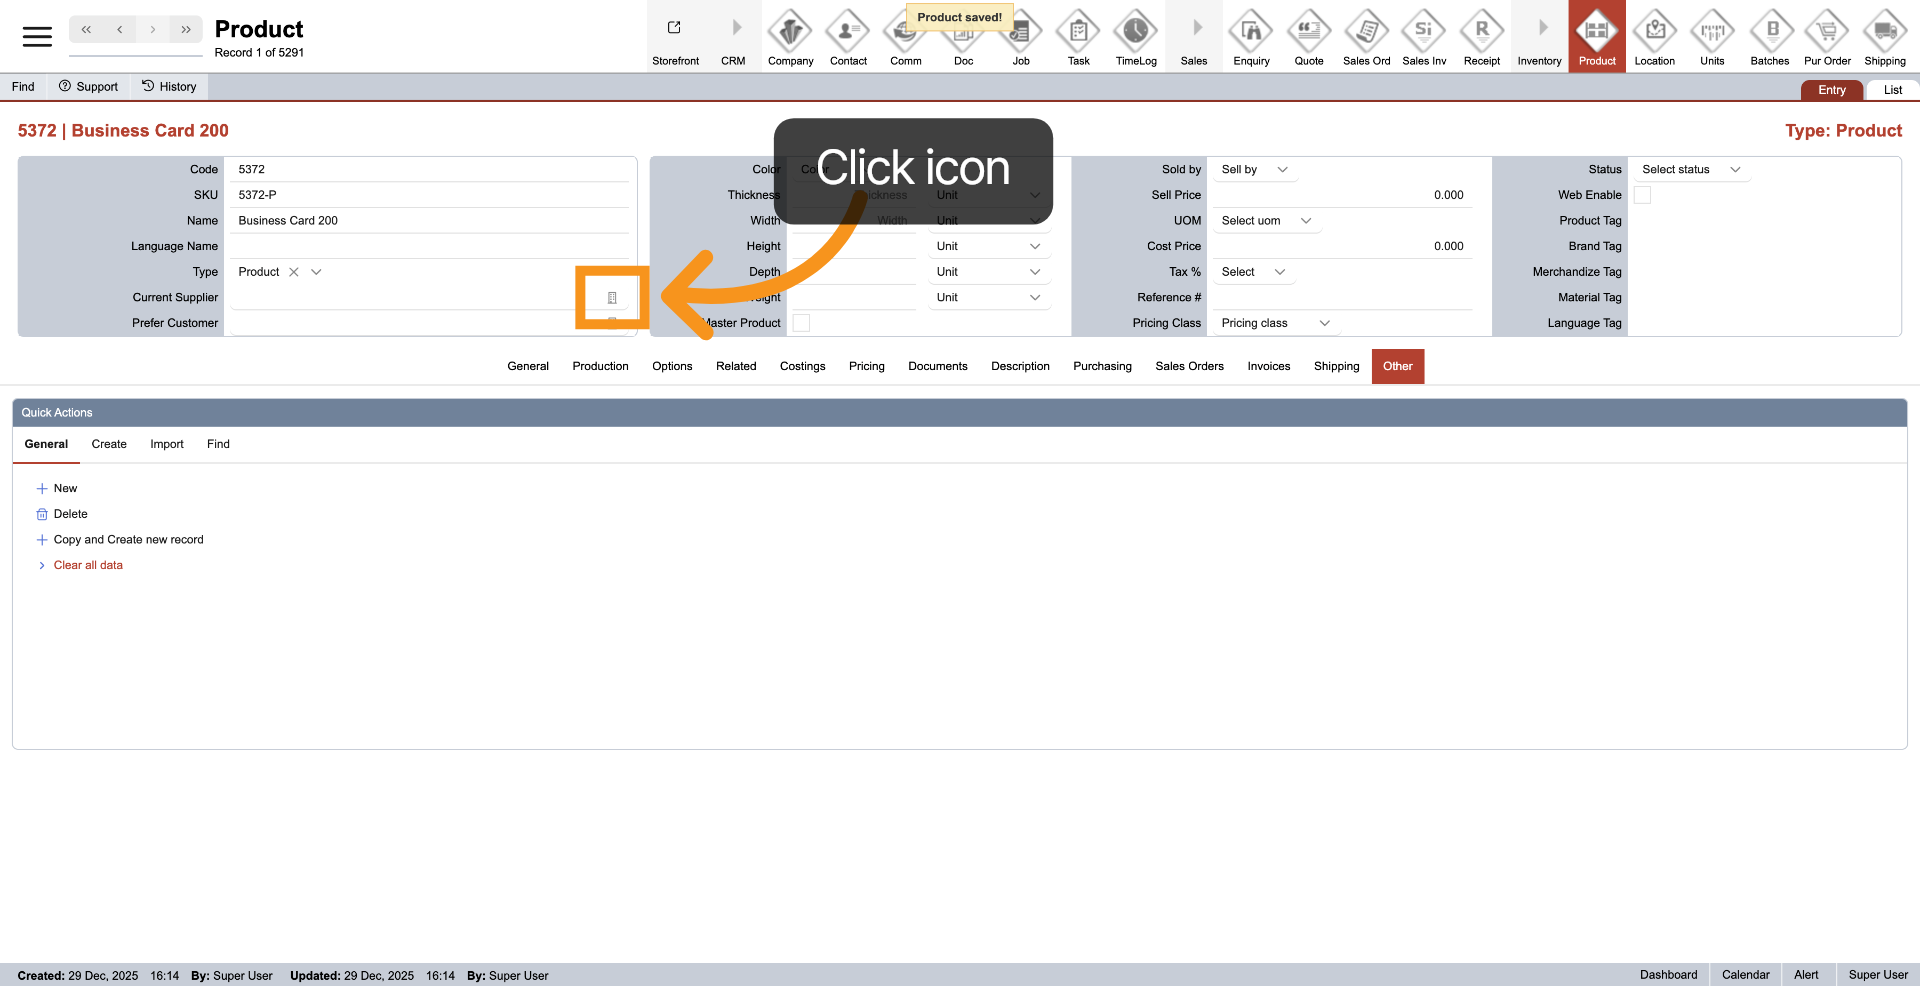
8. Assign Supplier
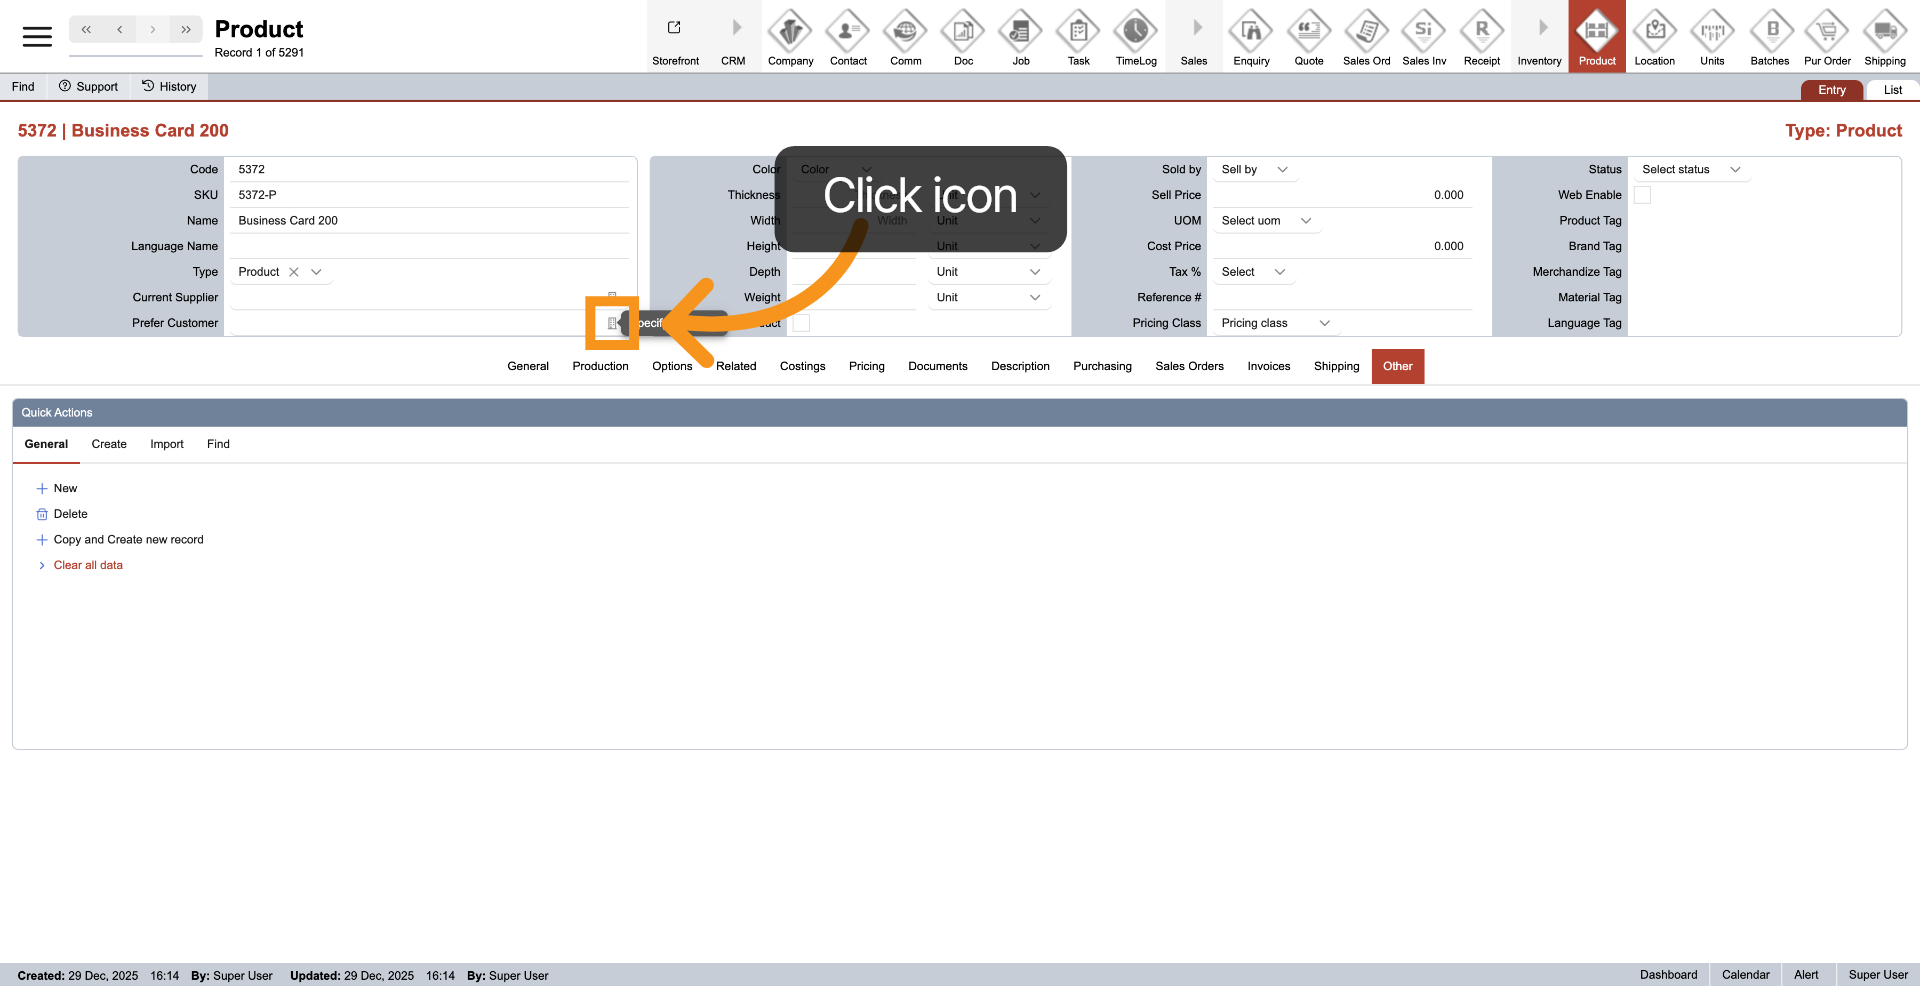
To assign a supplier, clickClick the  icon next to
 the "Current Supplier"Supplier field.to assign a supplier. This simplifies the purchase order creationprocess. processLeave for your staff. If you do not have a specific supplier, you may leave thethis field empty.blank if no supplier is required.
9. Assign PreferPreferred Customer
Click the icon next to "Prefer Customer"Customer toif indicate that thisthe product willis onlyintended be sold tofor a specific customer.customer Additionally,only. product
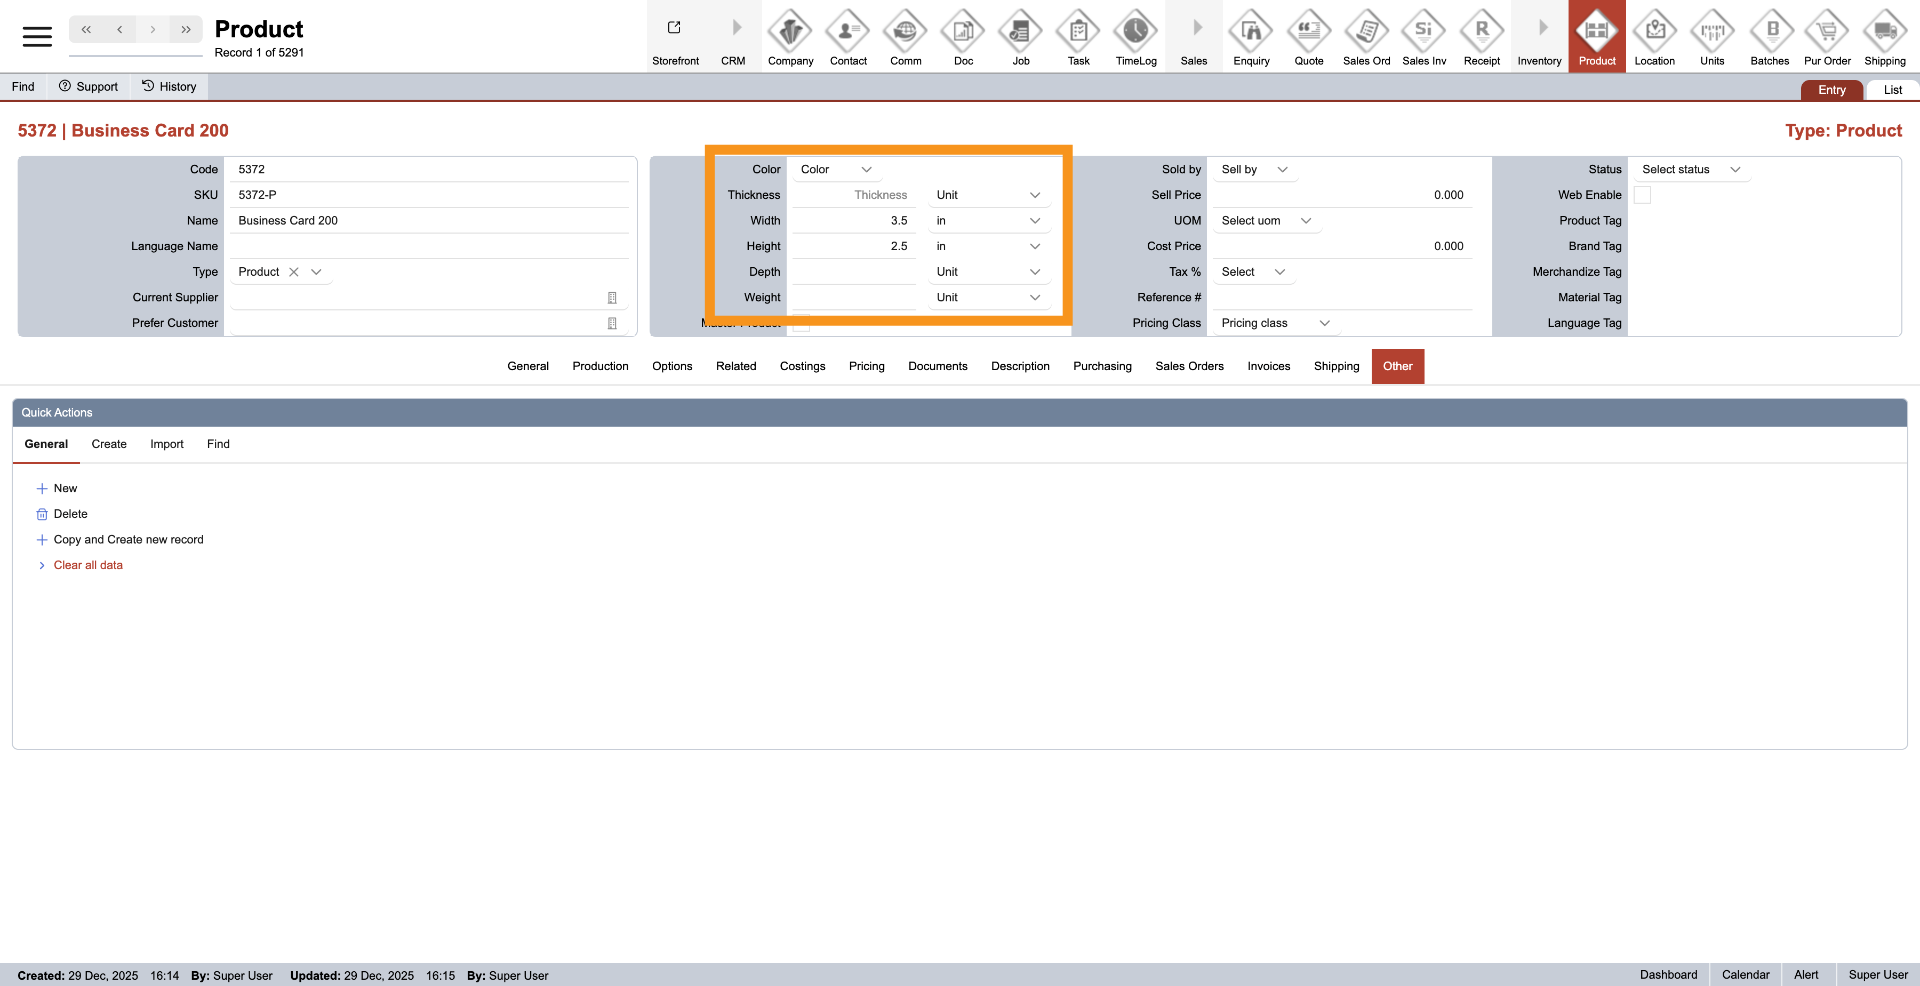
10. Enter dimensionsDimensions
ProvideEnter the dimensionsproduct of the product,dimensions, including its width, height, and any other relevantrequired measurements.
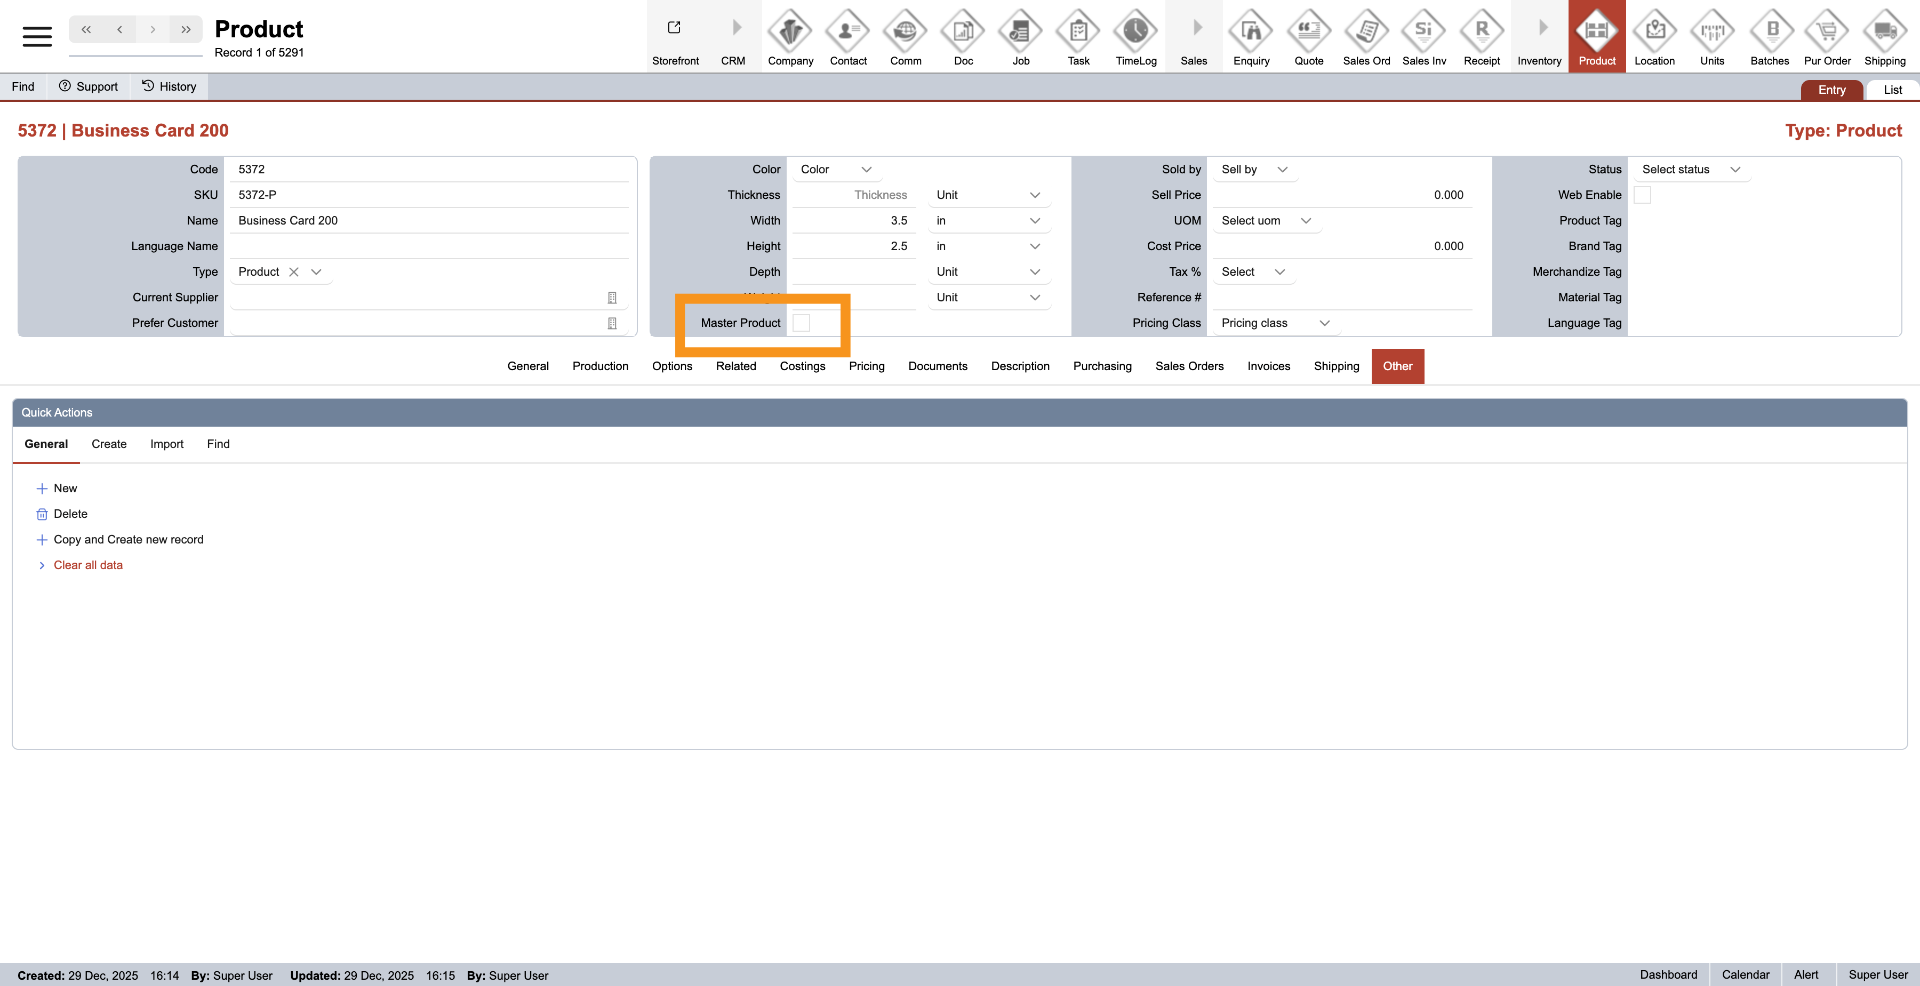
11. Select Master Product
ClickEnable 'Master Product'Product to designateif this item will be used as a master product withinin the E-store system. Doing soThis allows you to clone it into multiple child products,products whichand saves time whenduring creating items in the E-store.setup. If you have not designated ano master product yet,is pleaserequired, leave this fieldoption blank.
12. Sold By
Select the appropriate Sold By option.
Important notes
- Factor - Used for bundle-style pricing or quantity-based calculations.
- Addition - Used for additional charges. This type is charged only once, even if the main product quantity is greater than one.
- Selection - Used for grouped product options. If the main product uses Selector, the related product options should be set as Selection.
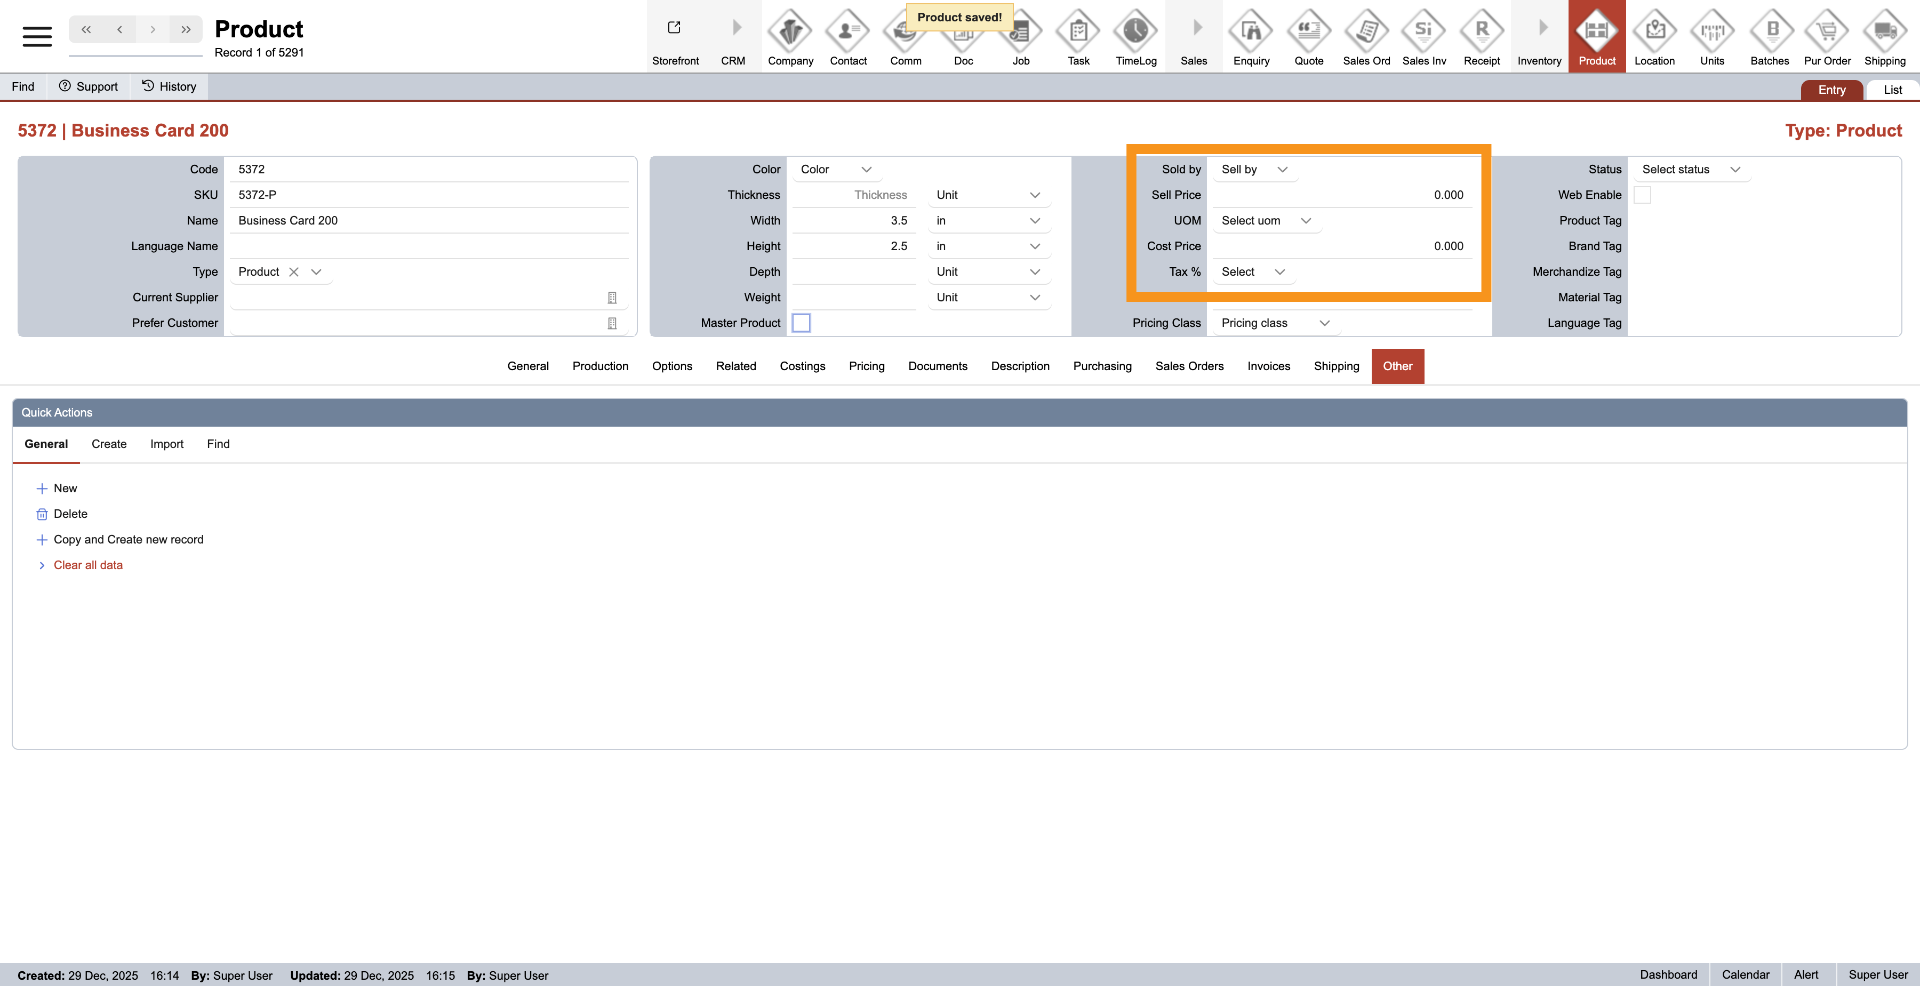
13. Enter Pricing Detail
ContinueEnter topricing provide details for pricing,details, design theunits, unit,sales units of measure, costs, and specifypricing theinformation. unit
Costing and price breaksbreak inconfigurations thecan future.be updated later if needed.
13.14. Reference Number
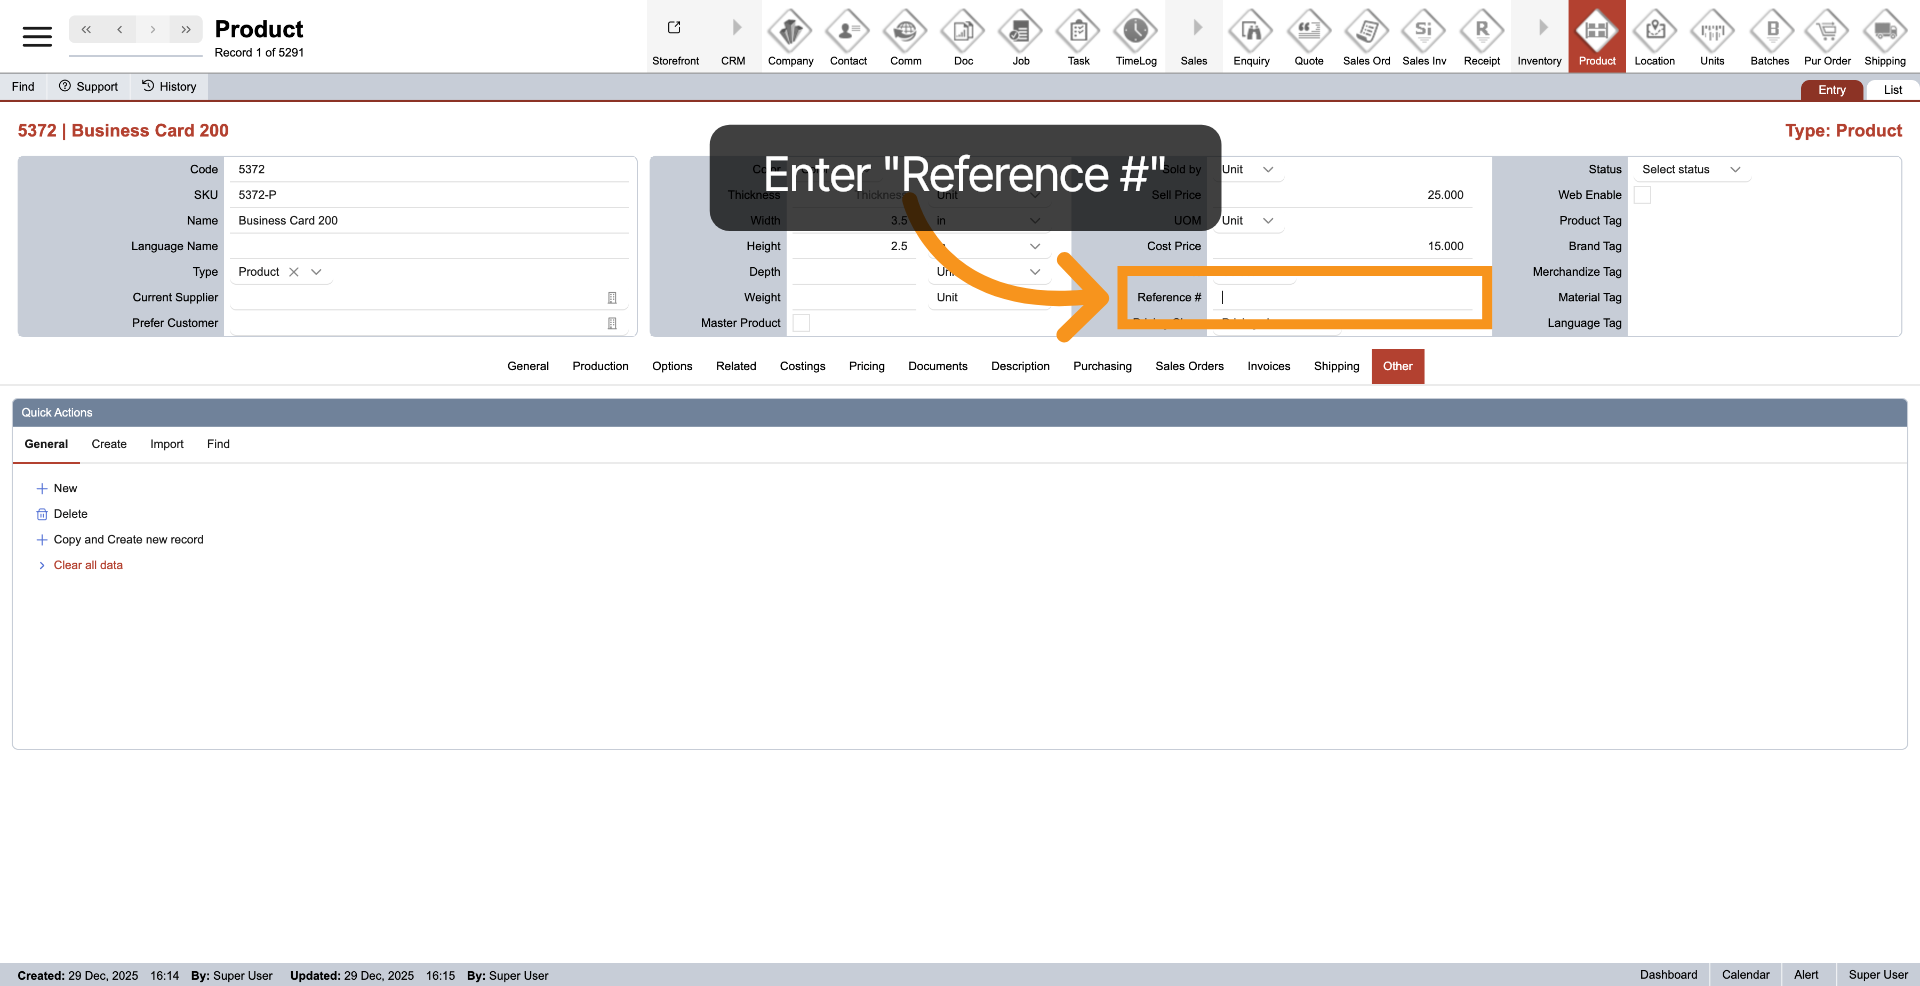
TheA reference number mustis be providedrequired for products sold onthrough the E-store.
14.15. OpenPricing Tag SelectionClass
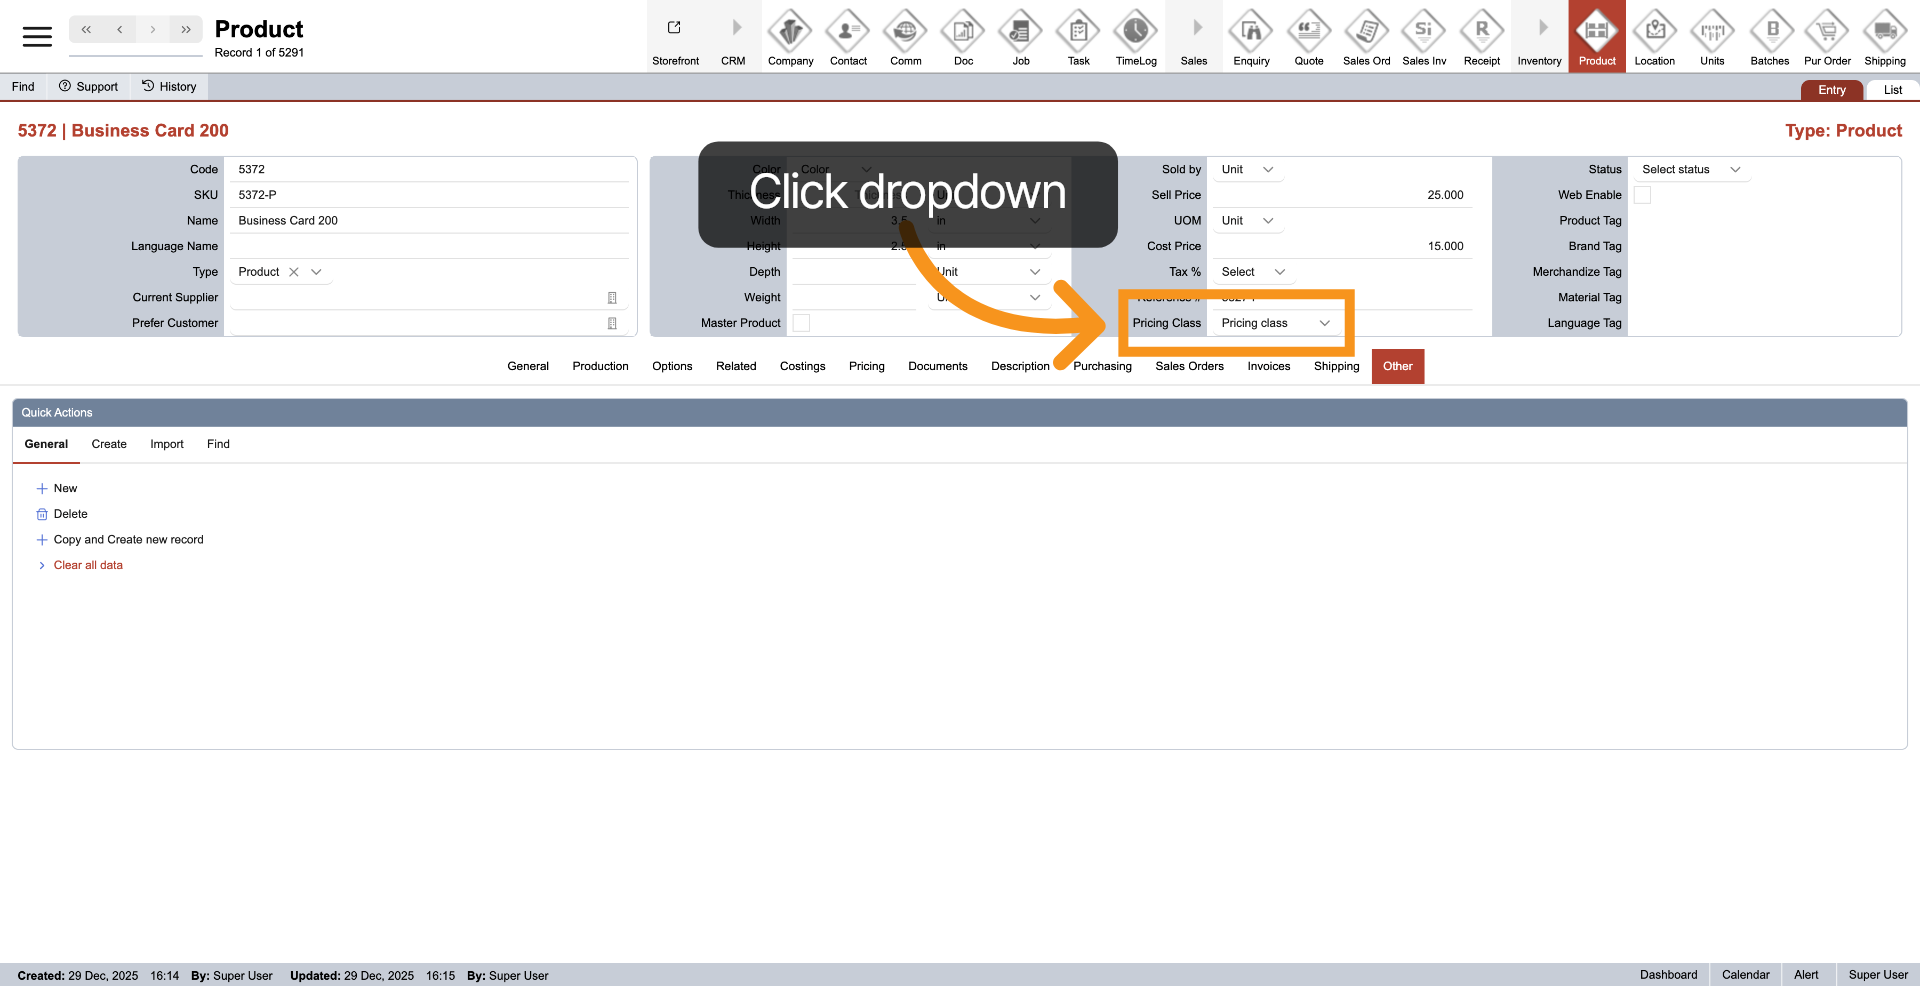
The systempricing offersclass twodetermines methodshow forpricing calculatingis productcalculated. pricing.
- Print:
can specify your preferred calculation method here. 1. If you opt to calculatecharged based ontheactualareausage.used, - Material:
eitherchargesleave the option blank or select any choice other than "Material." 2. If you prefer to calculate based on material, please select "Material." This option will also consider any wasteinclude materialthat will not be utilized in the product. Furthermore, the pricing class only needs to be established for the main product, and this will apply to all options included in the product.waste.
15.16. Select Status
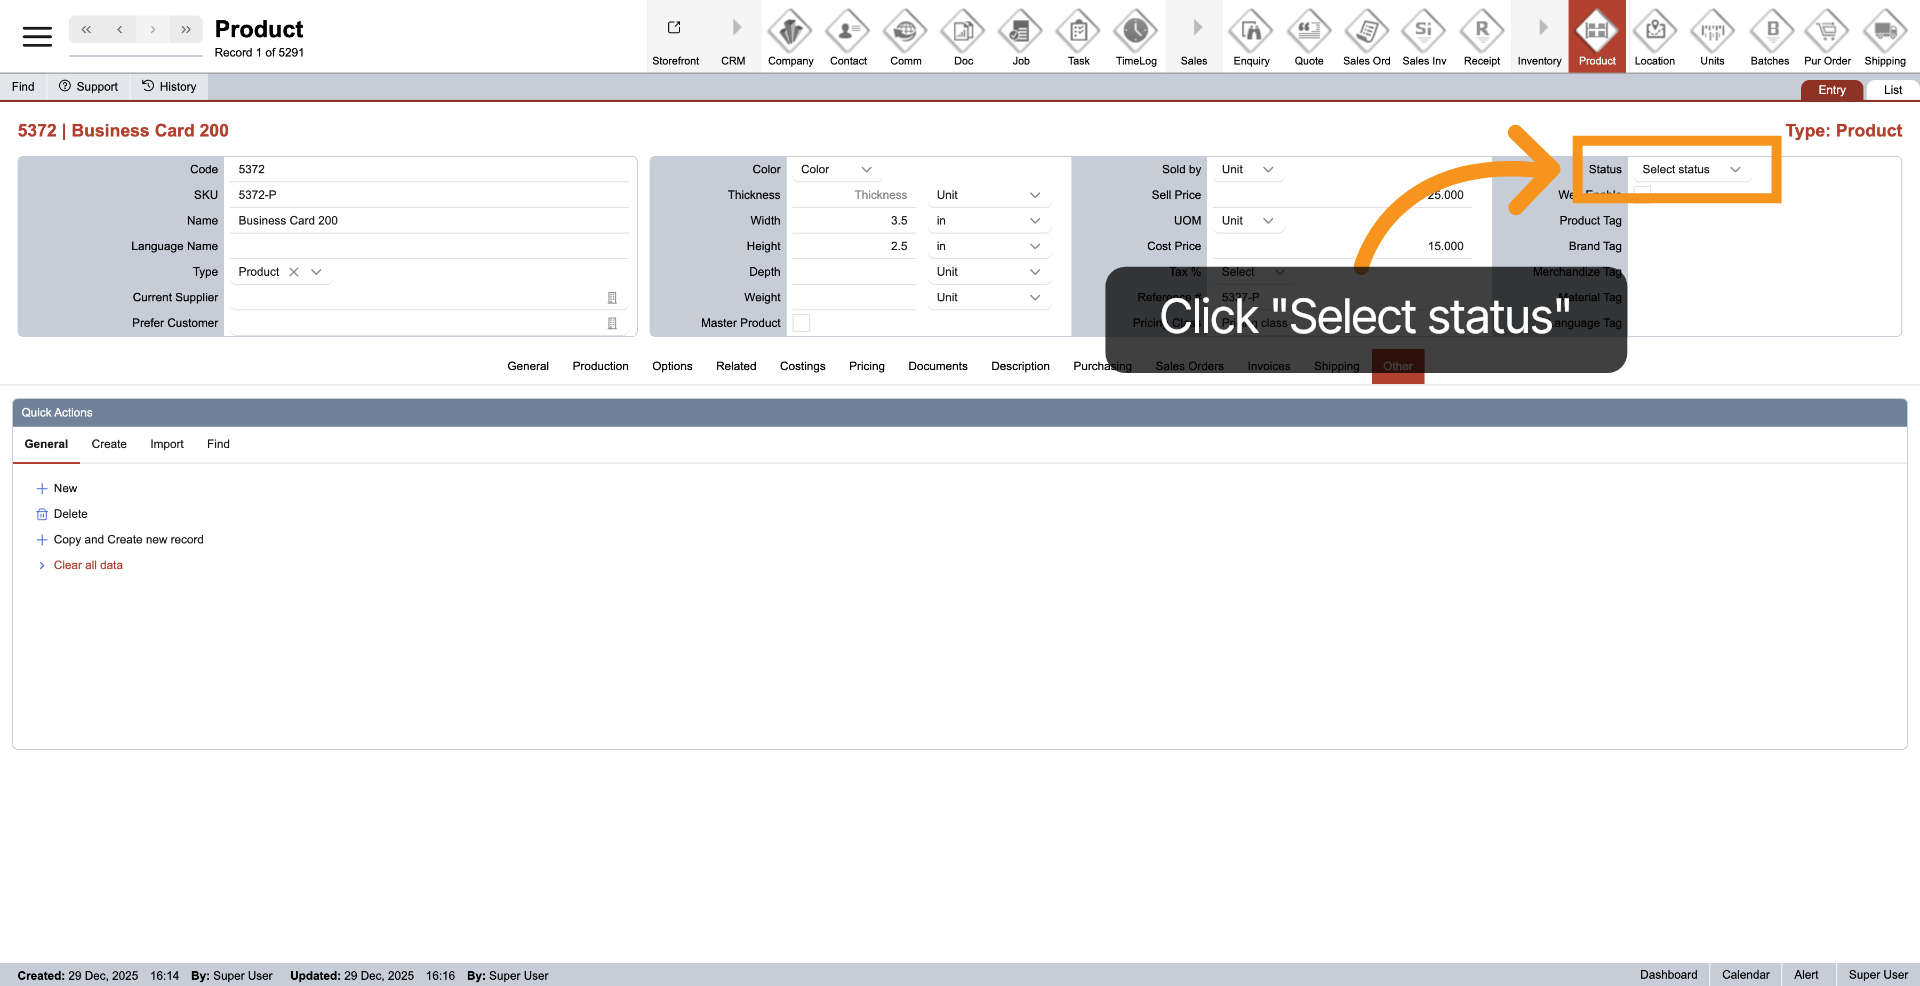
ClickSelect the dropdownproduct nextstatus to 'Status' to selectfrom the currentStatus statusdropdown. of the product.
- Active - Product is usable but may require manager approval in certain situations, such as quotations.
- Approved - Product is fully approved and can be used without any restrictions or additional approval requirements.
- Inactive - Product is hidden and unavailable for use.
16.17. Web Enable
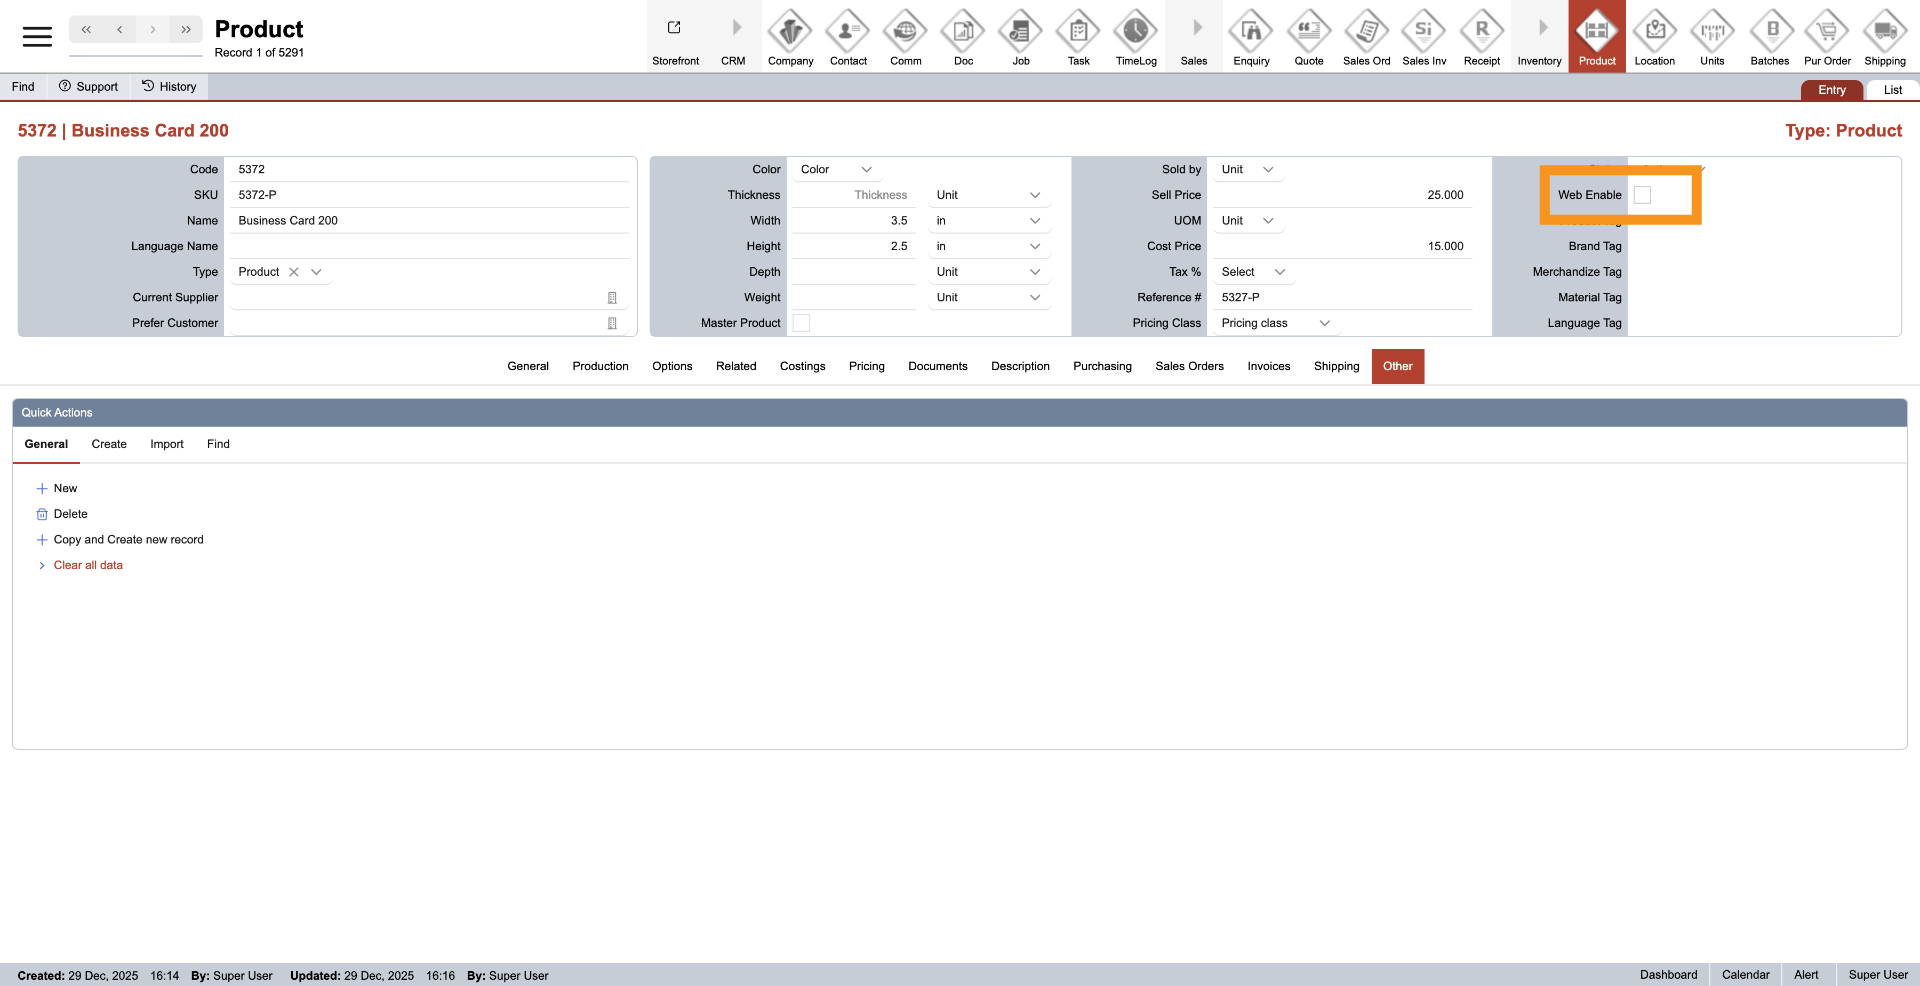
SelectEnable "Web Enable"Enable if you plan to sell the product inwill anbe sold through the online store.
17.18. Product Tags
in 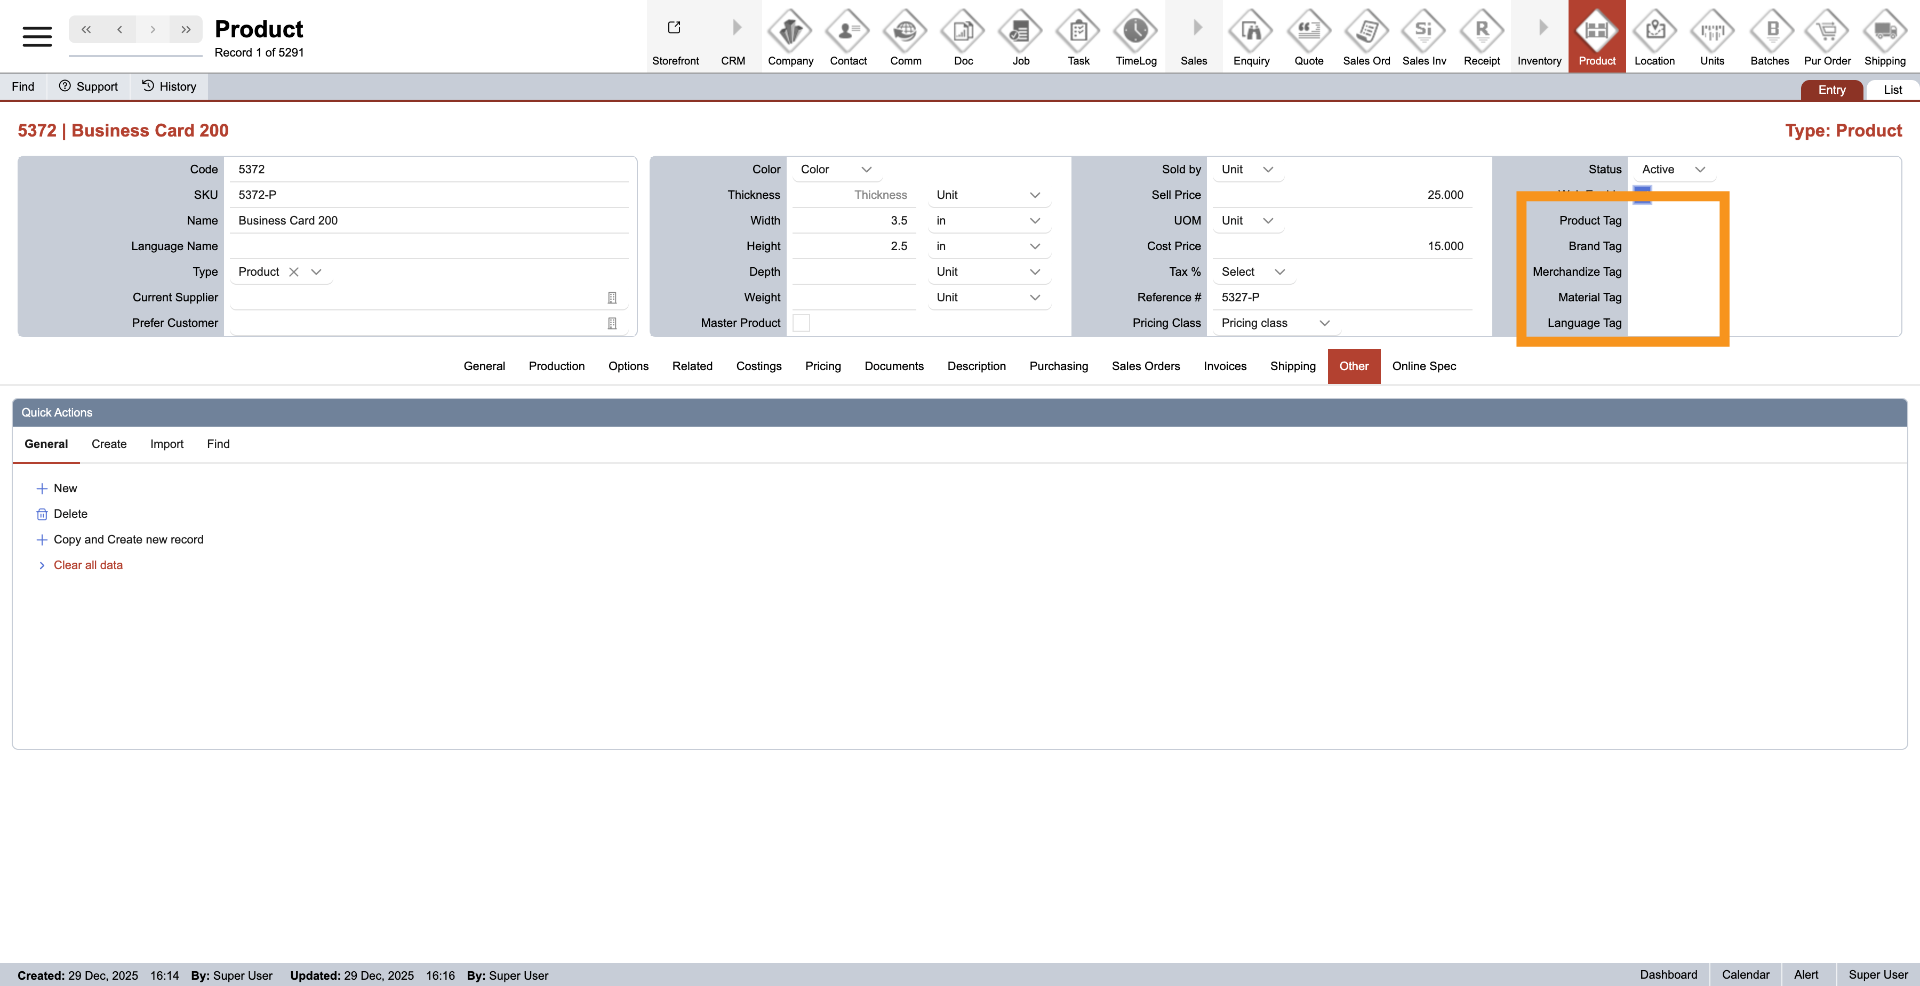
You have successfully created and configured a new product in the WorkTraq system.App. Before proceeding with sales, verify that all product details, pricing, and status settings are correct.