
Product General
This tutorial shows you how to configure the general settings for a product in WorkTraq.
Video Tutorial
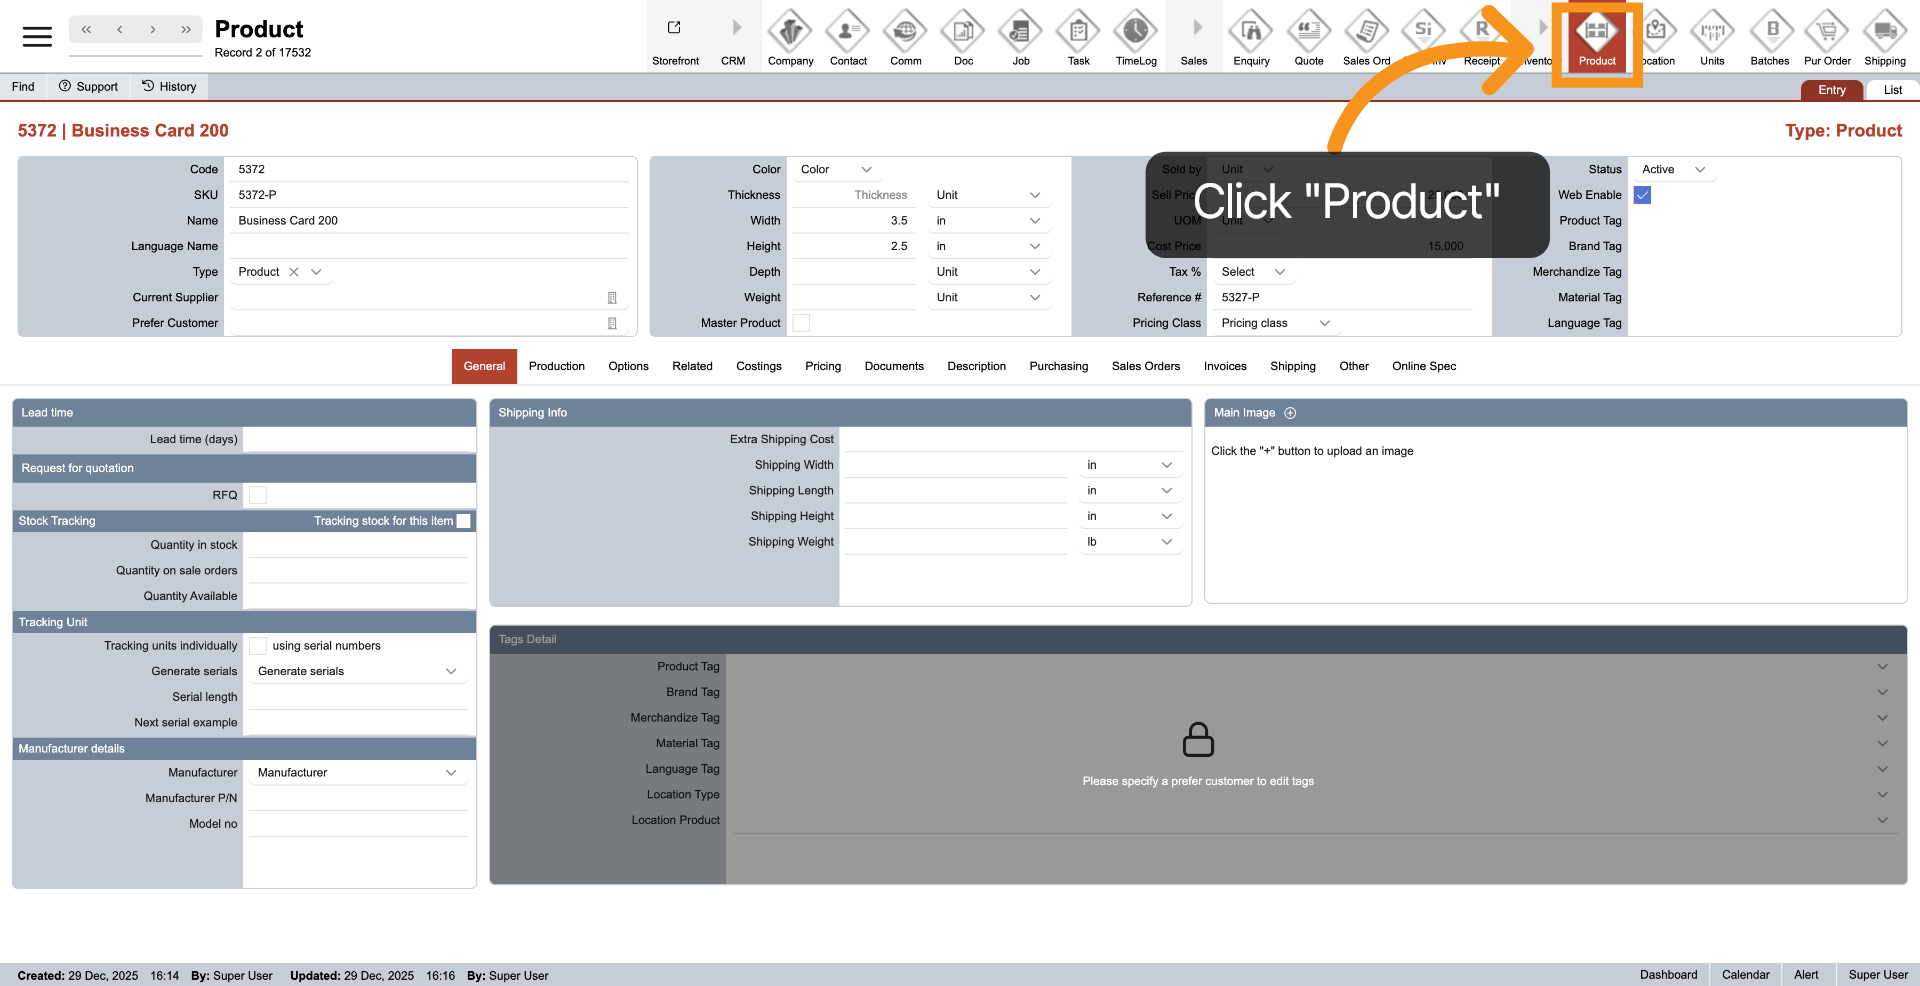
1. Open the Product Module
Click Product in the main menu to access and manage products.
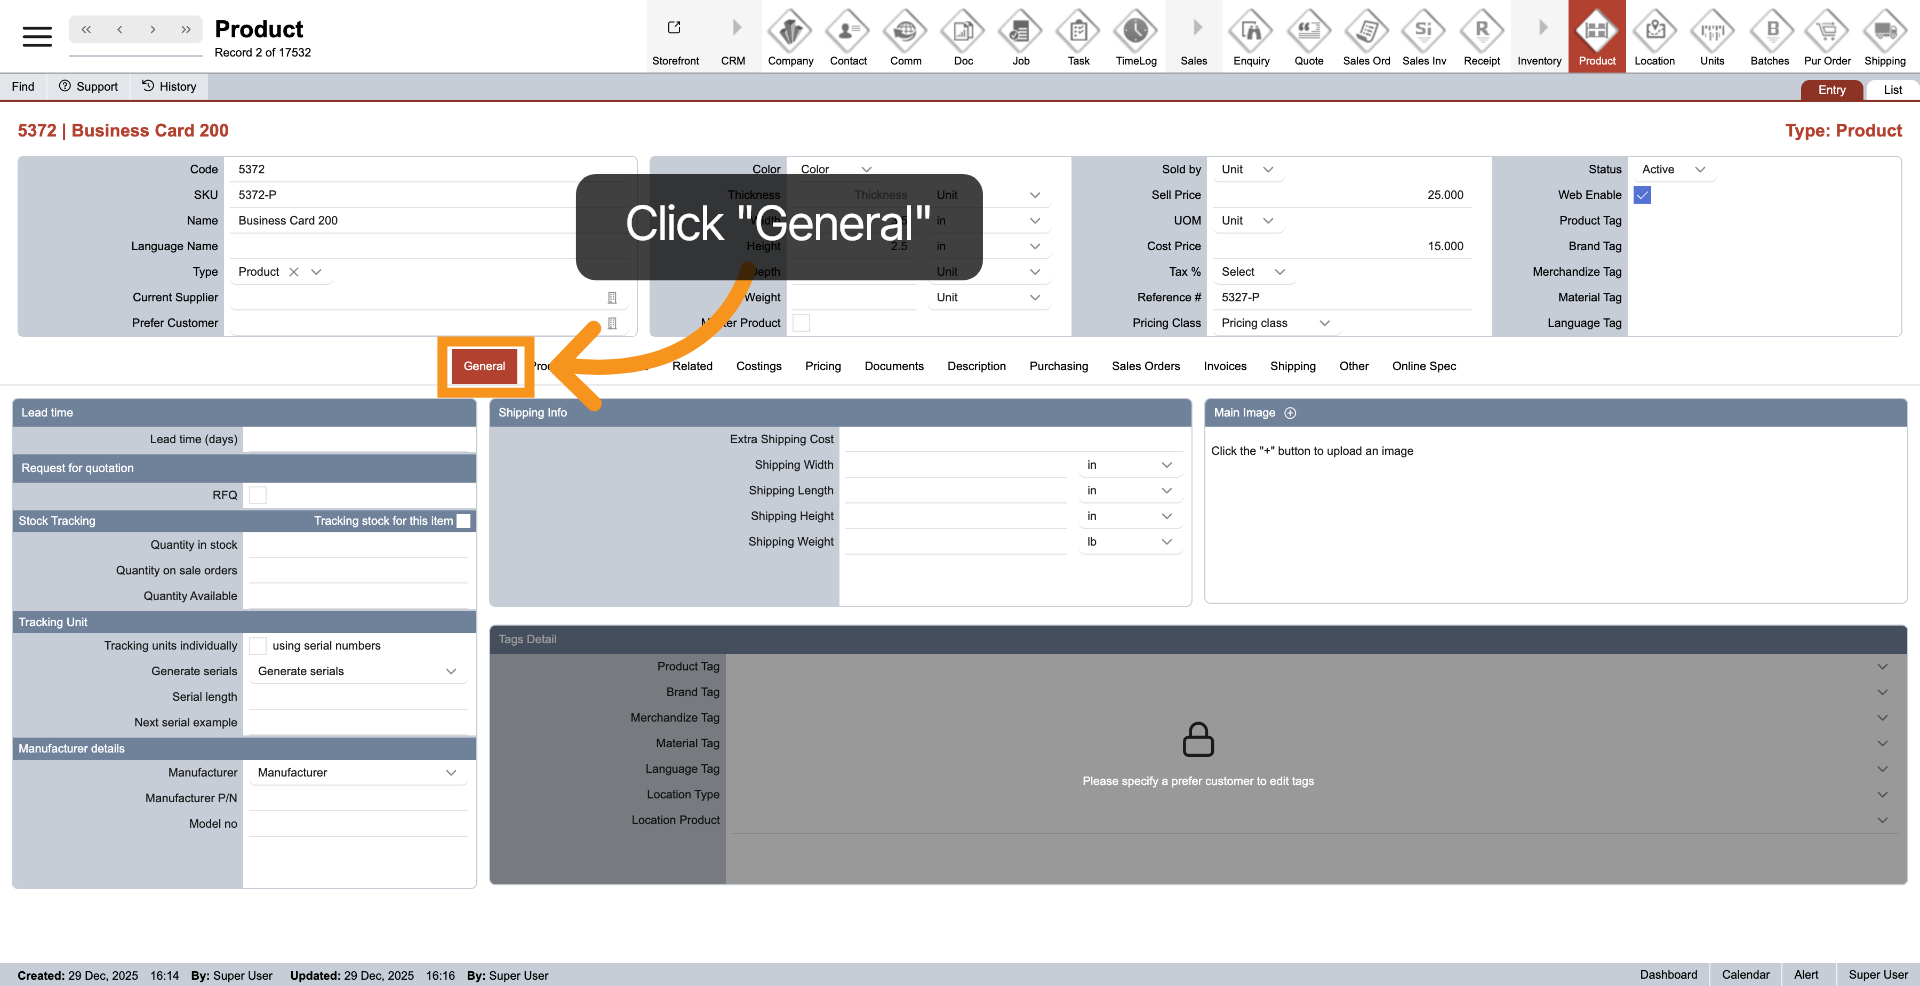
2. Open General Settings
Click the General tab to view and configure the product's general settings.
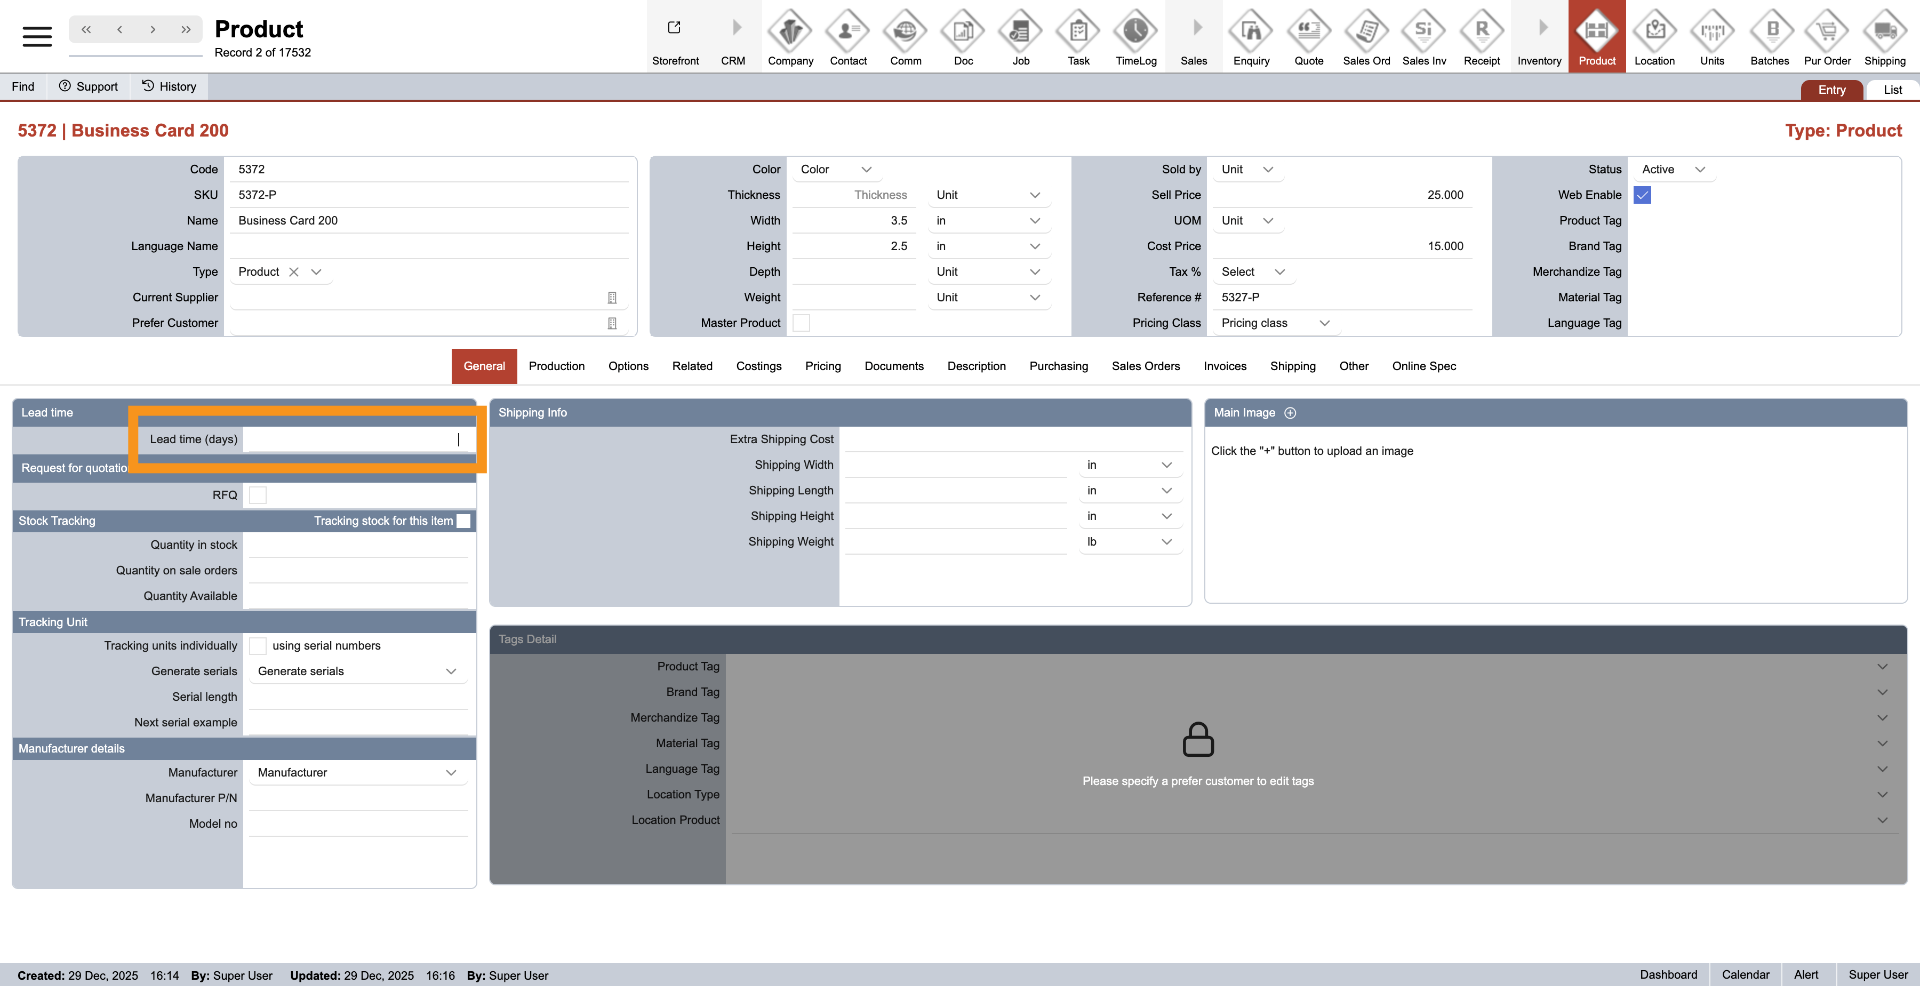
3. Enter Lead Days
Enter the Lead Days if additional waiting time is required for the product.
Note: Lead days are added to the production time when creating a quotation or sales order, helping staff estimate the order completion time more accurately.
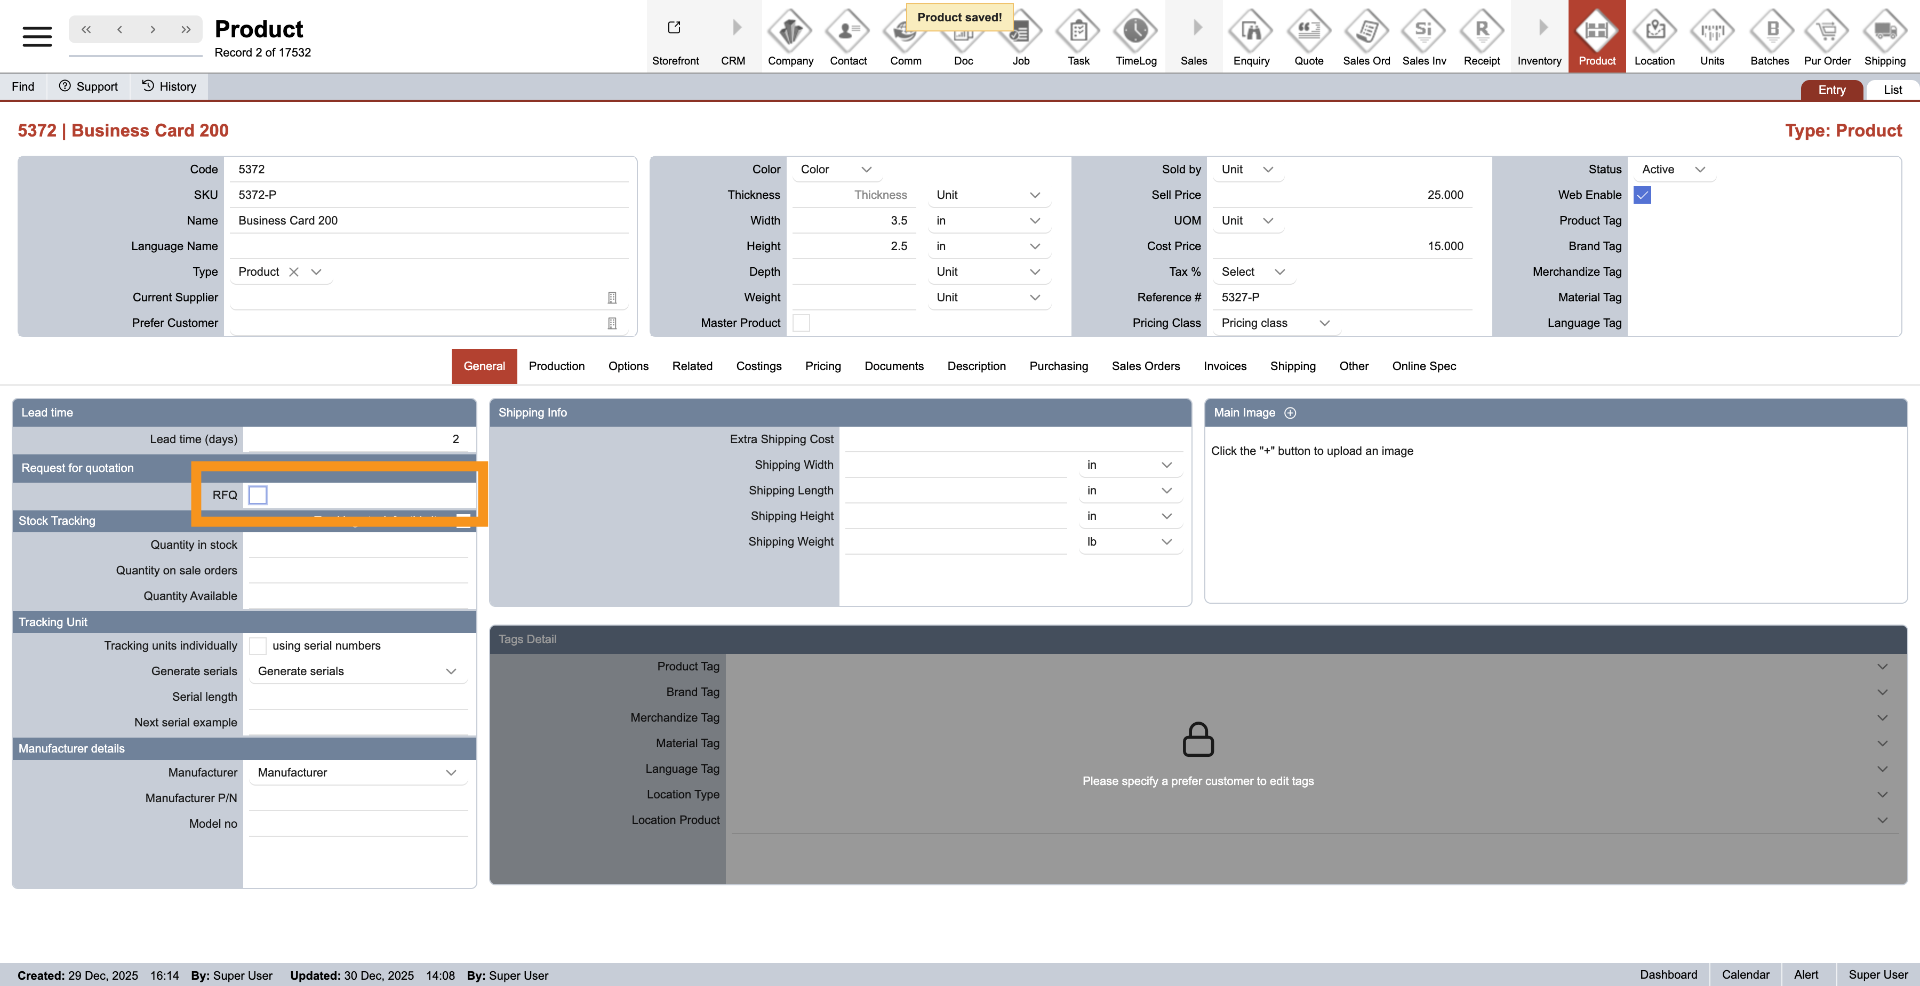
4. Enable RFQ
Enable RFQ if pricing must be requested before the product can be included in a quotation or sales order.
When enabled, WorkTraq requires an RFQ before processing a quotation or sales order containing this product. This helps prevent missing or negative costs for outsourced products or services.
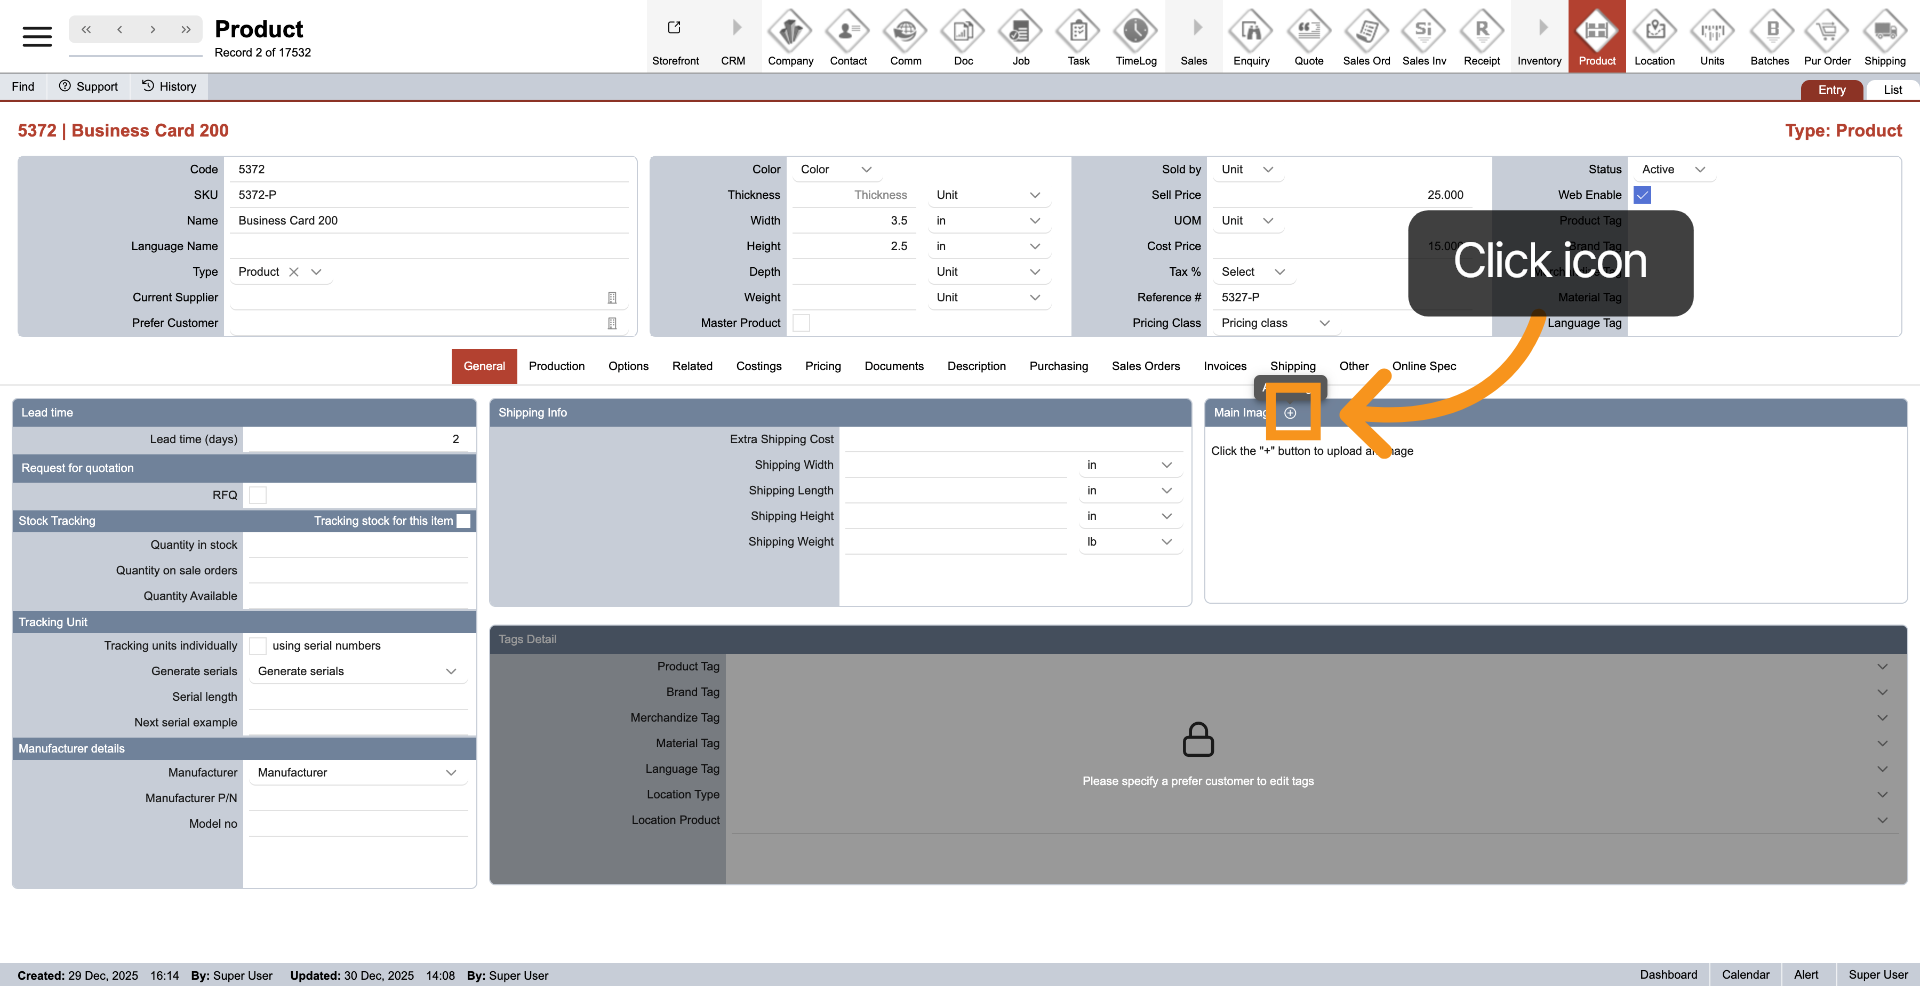
5. Add Main Image
Click the  plus icon to upload the product's main image. A main image is required for a parent product that will be sold through the online store.
Note: Master products do not require a main image.
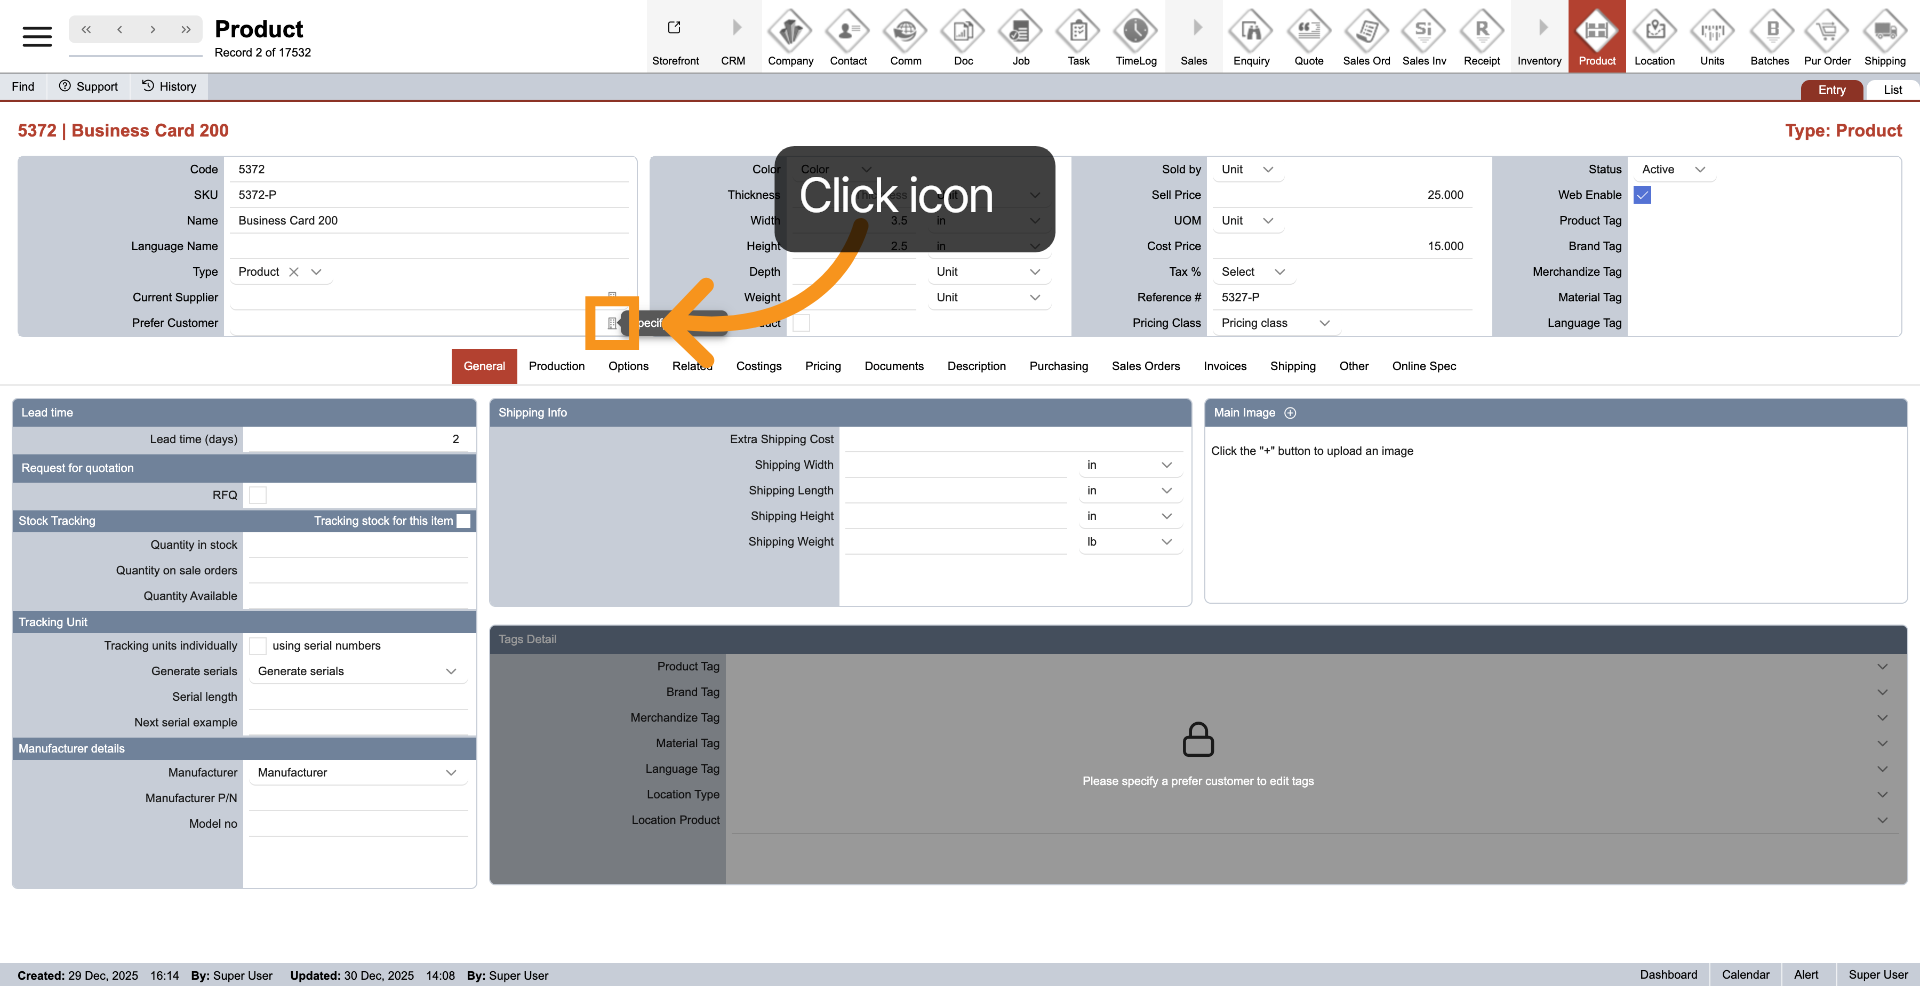
6. Select a Preferred Customer
Before adding customer-specific tags, click the icon next to Preferred Customer and select the appropriate customer.
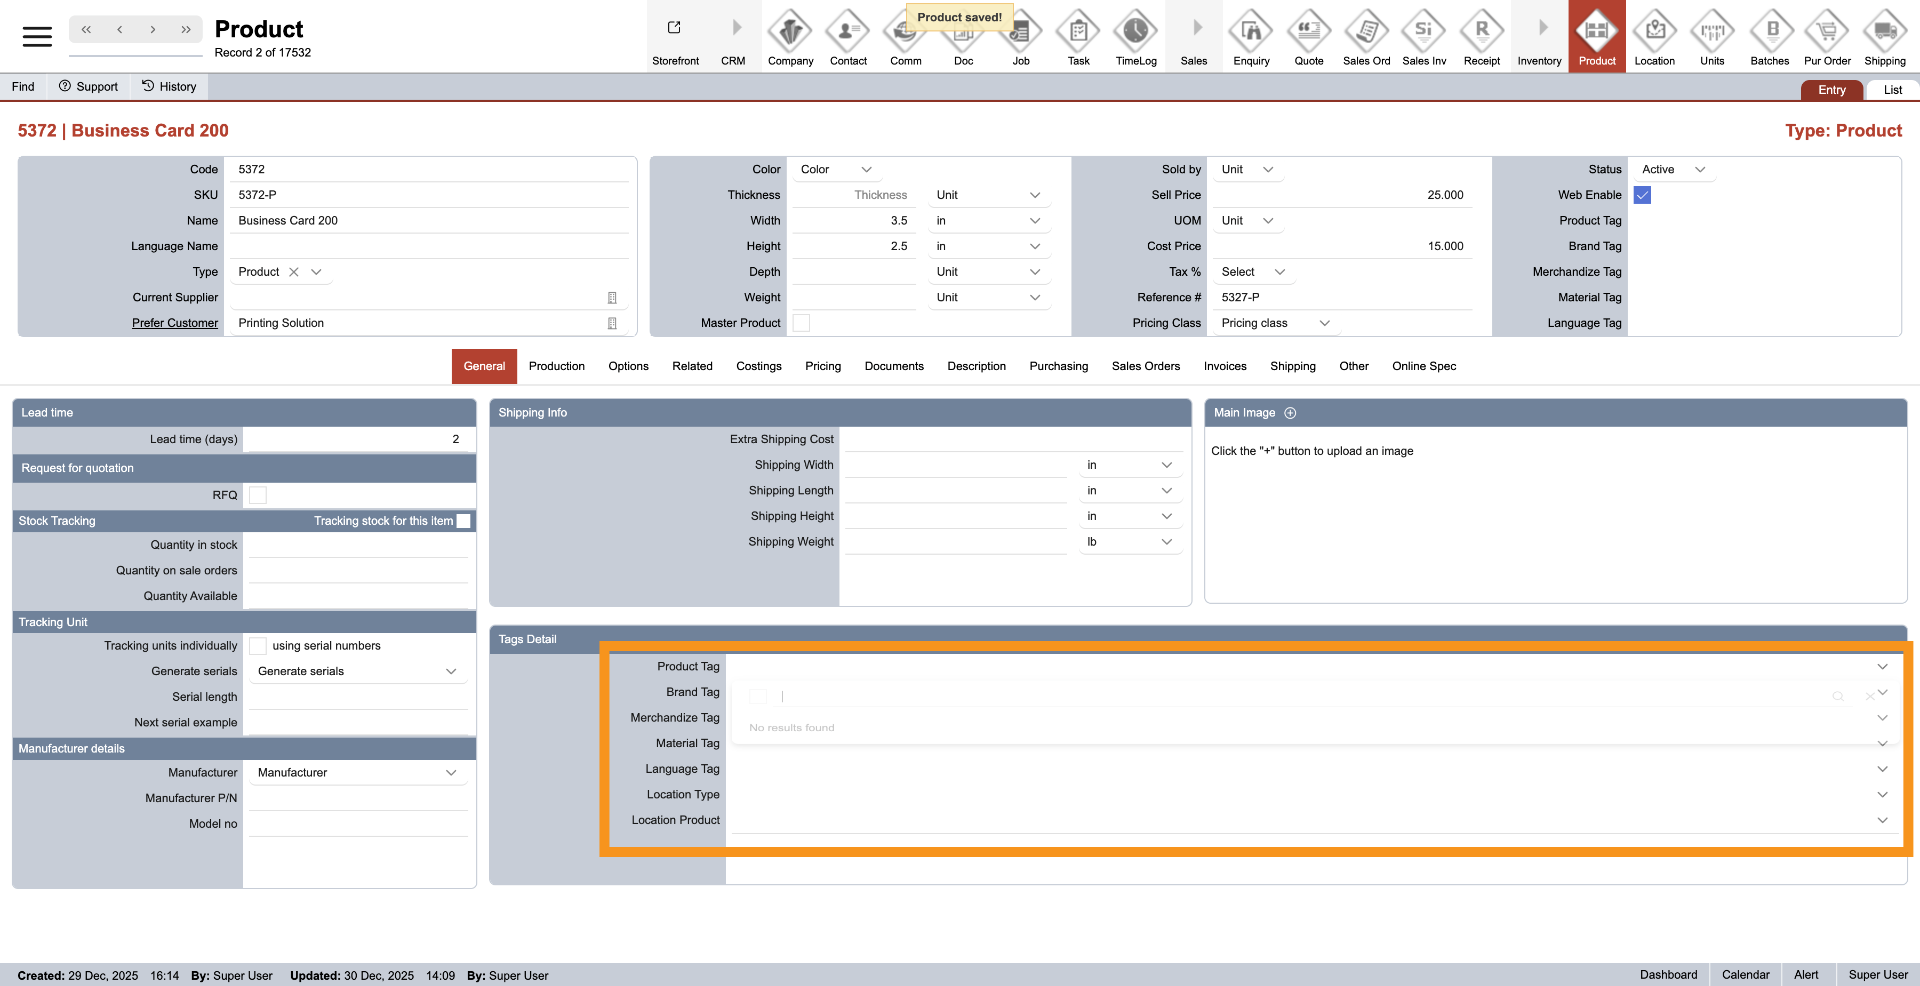
7. Add Product Tags
Open the appropriate Category Tag dropdown and select the tag you want to assign to the product.
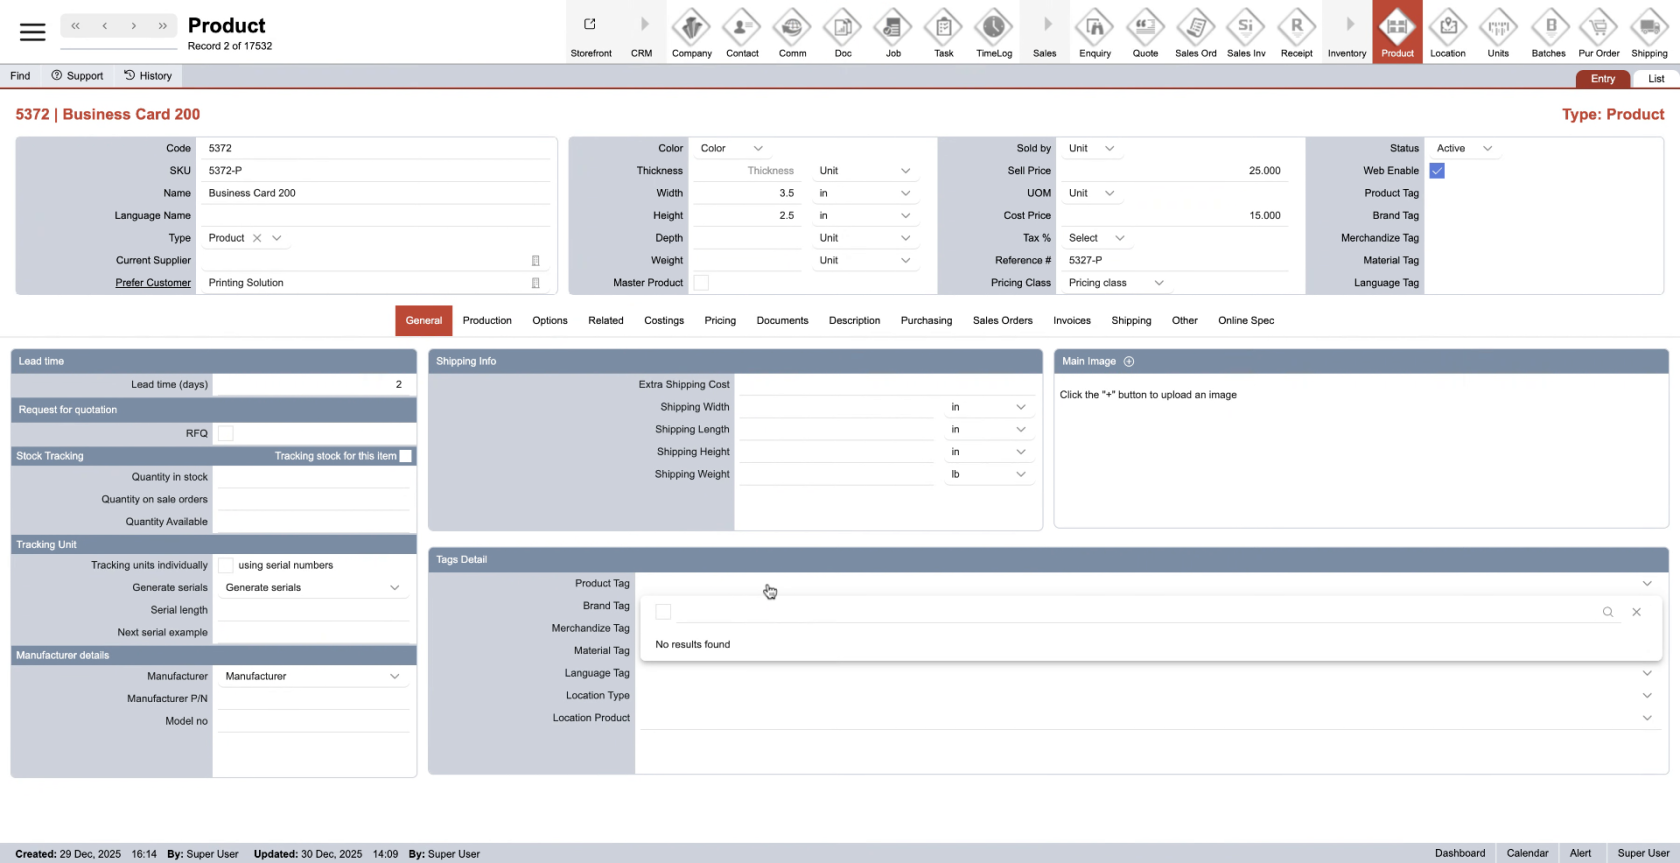
8. Create new tag
If the required tag is not available, enter a new tag in the search field and press Enter to create it.
You have successfully configured the general settings for a product in WorkTraq.