Add Categories
This tutorial explains how to add and configure a new category in the E-Store.
Video Tutorial
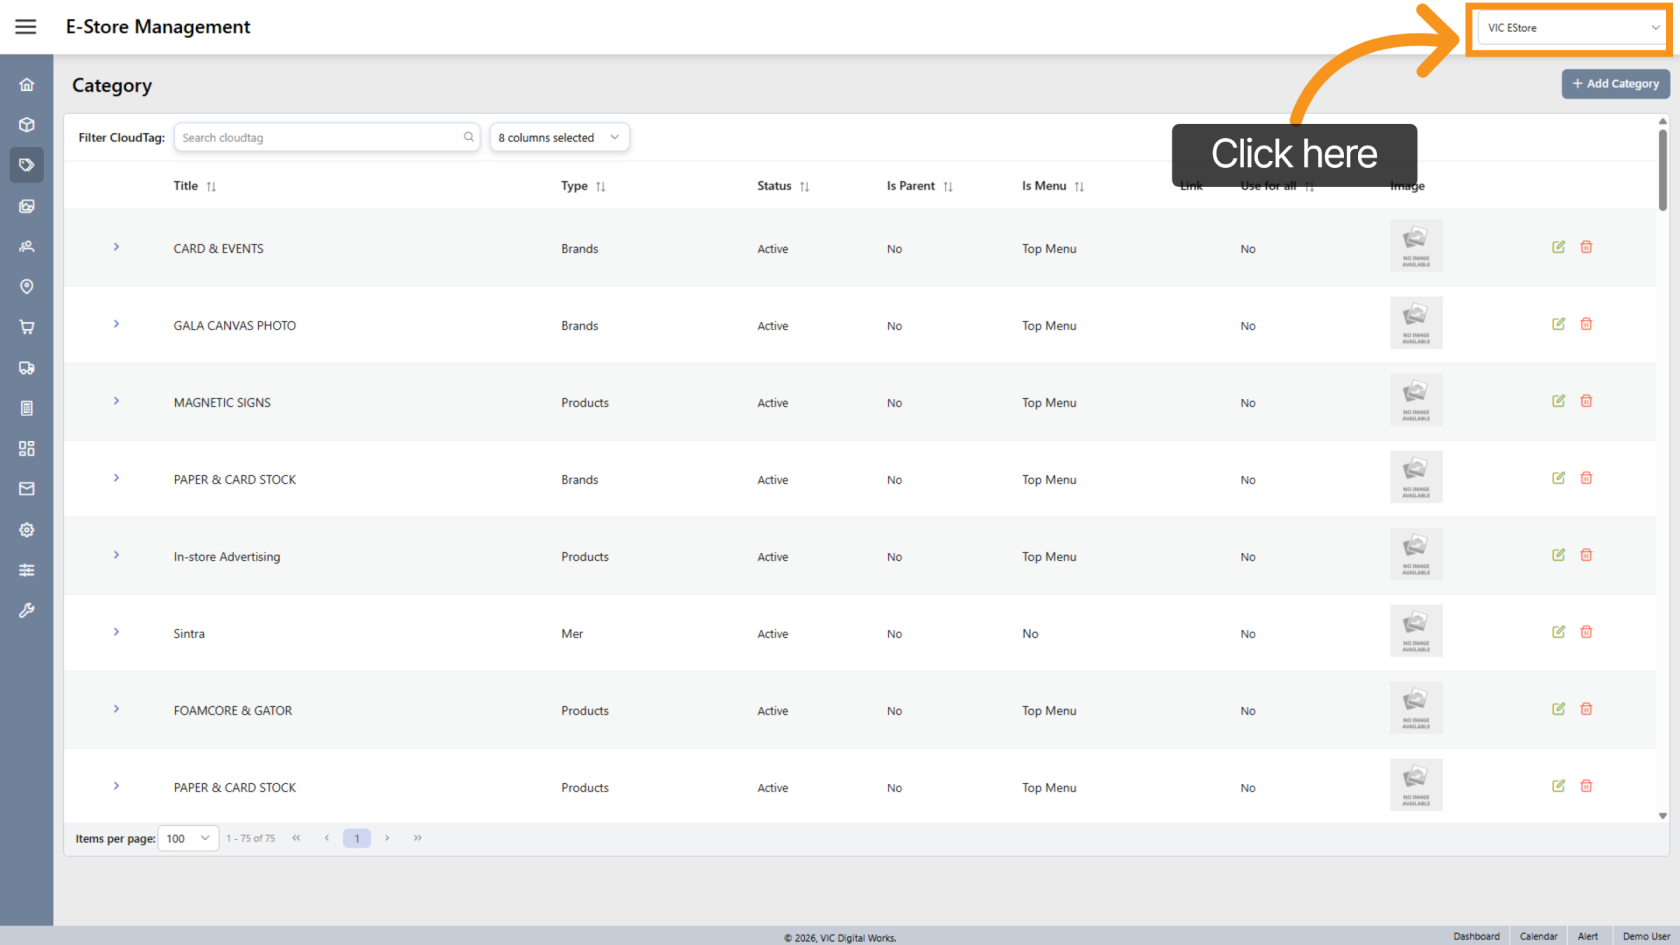
1. Select Company Store
Make sure you are in the correct company store where you want to add the category.
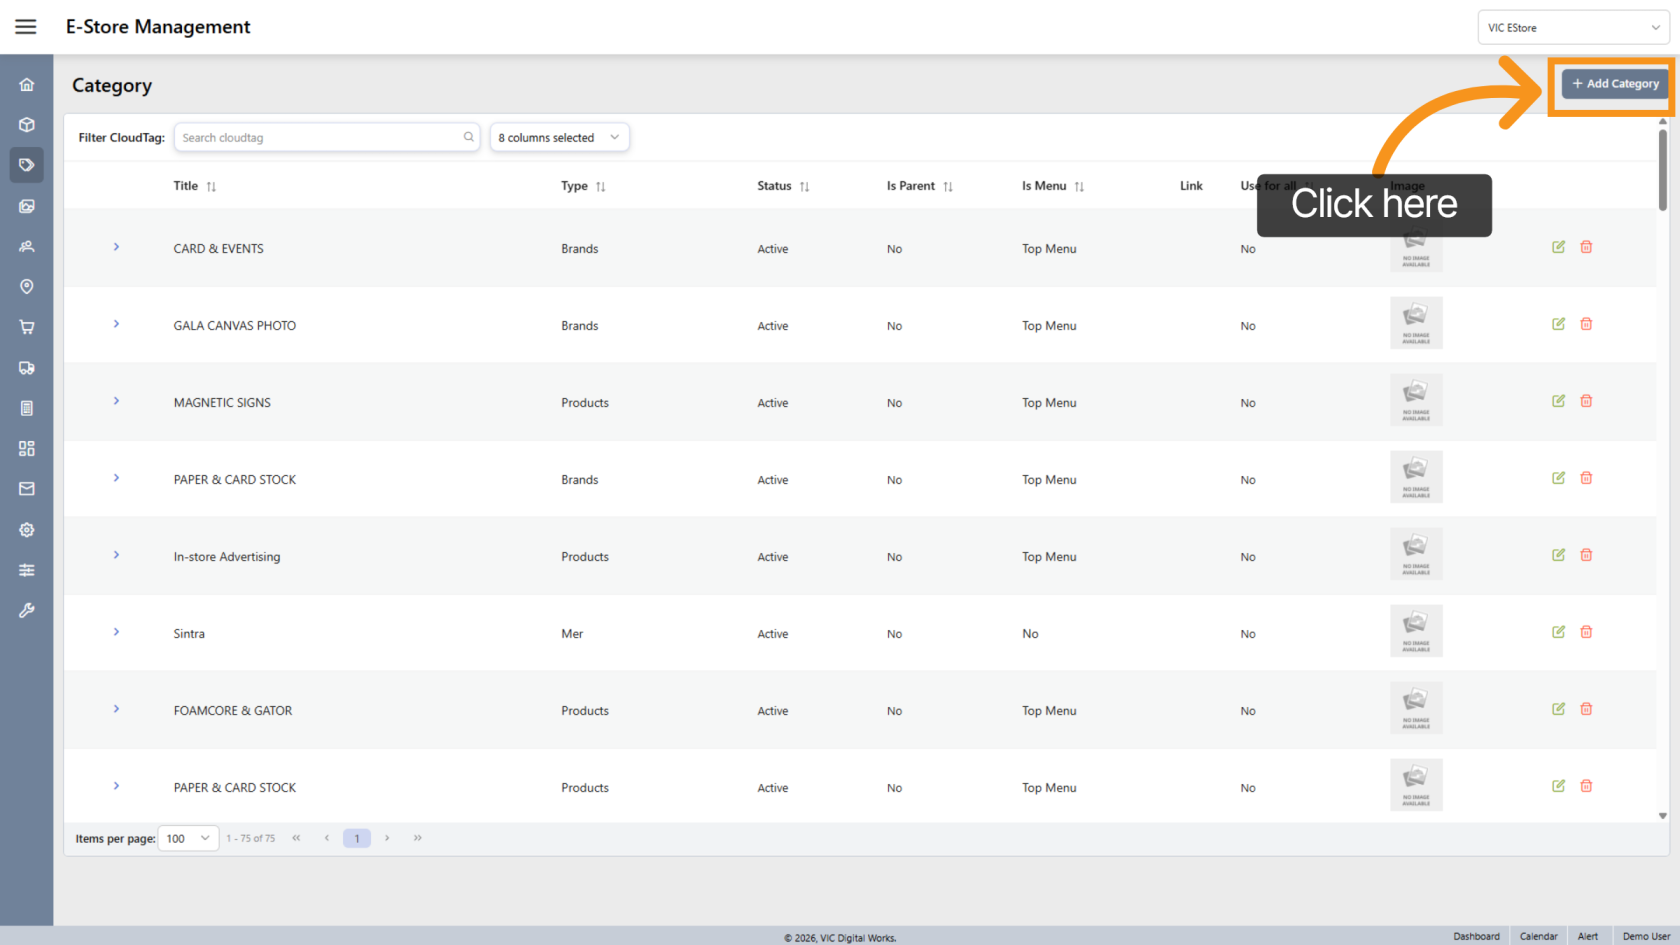
2. Add Category
Click "Add Category" to begin creating a new category.
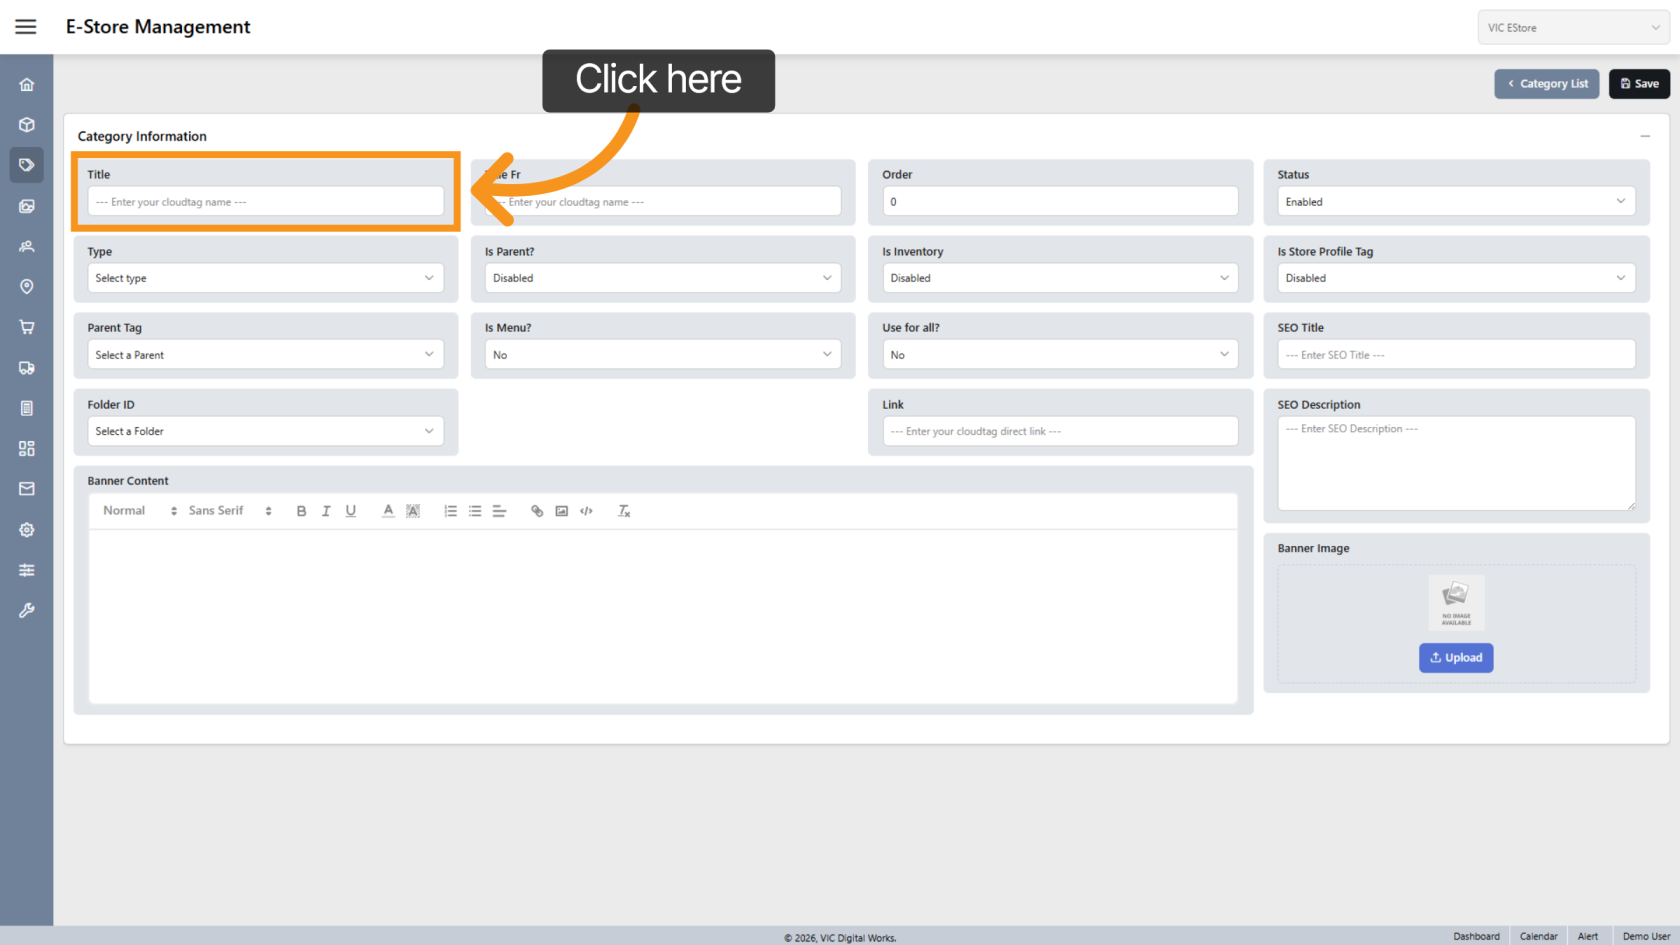
3. Enter Category Name
In the Title field, enter the category name.
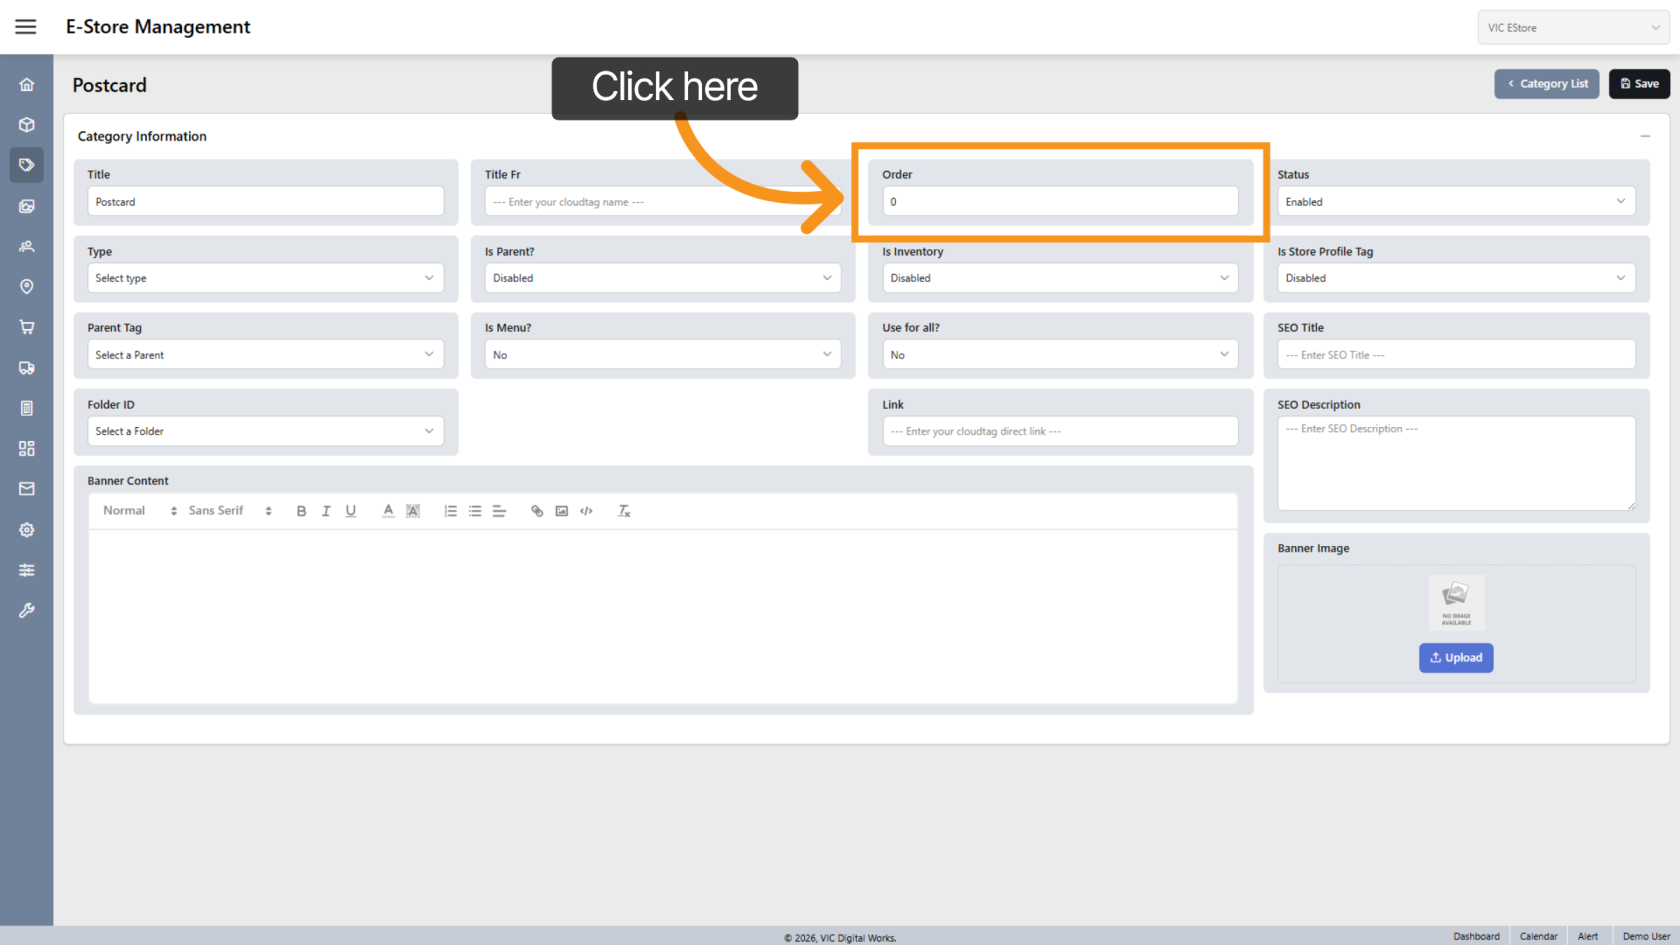
4. Set Display Order
Enter a number in the Order field to control how the category is displayed in the list.
By default, the value is set to 0, and the system will automatically sort the categories if no specific order is provided.
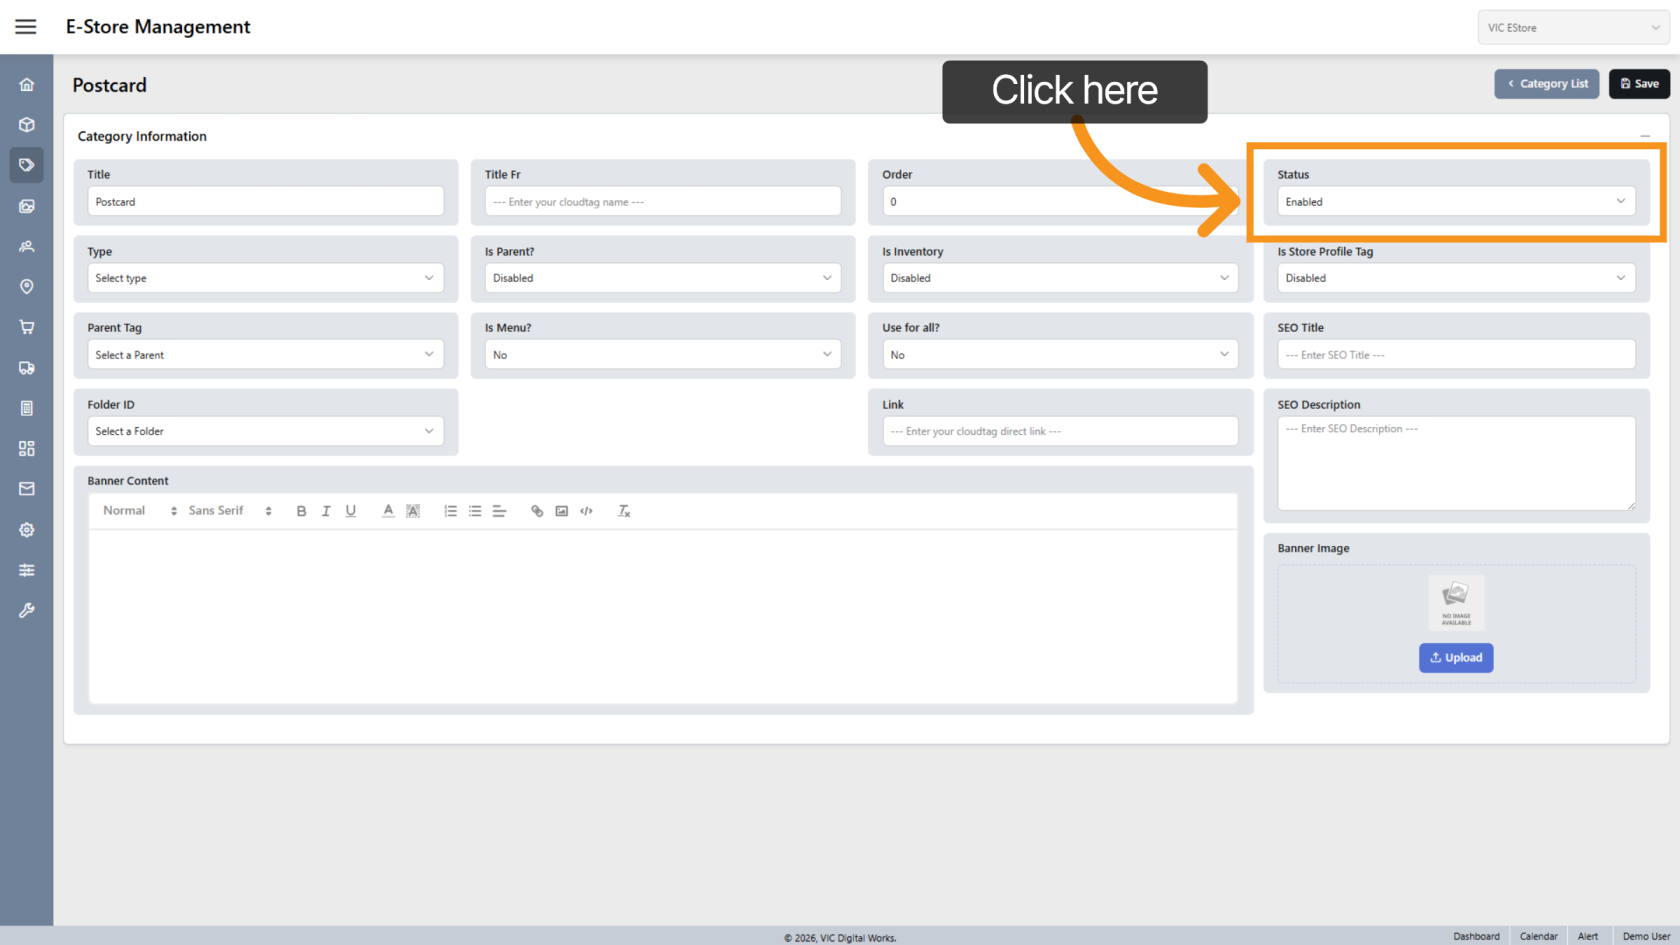
5. Update Status
Click Status to activate or deactivate the category.
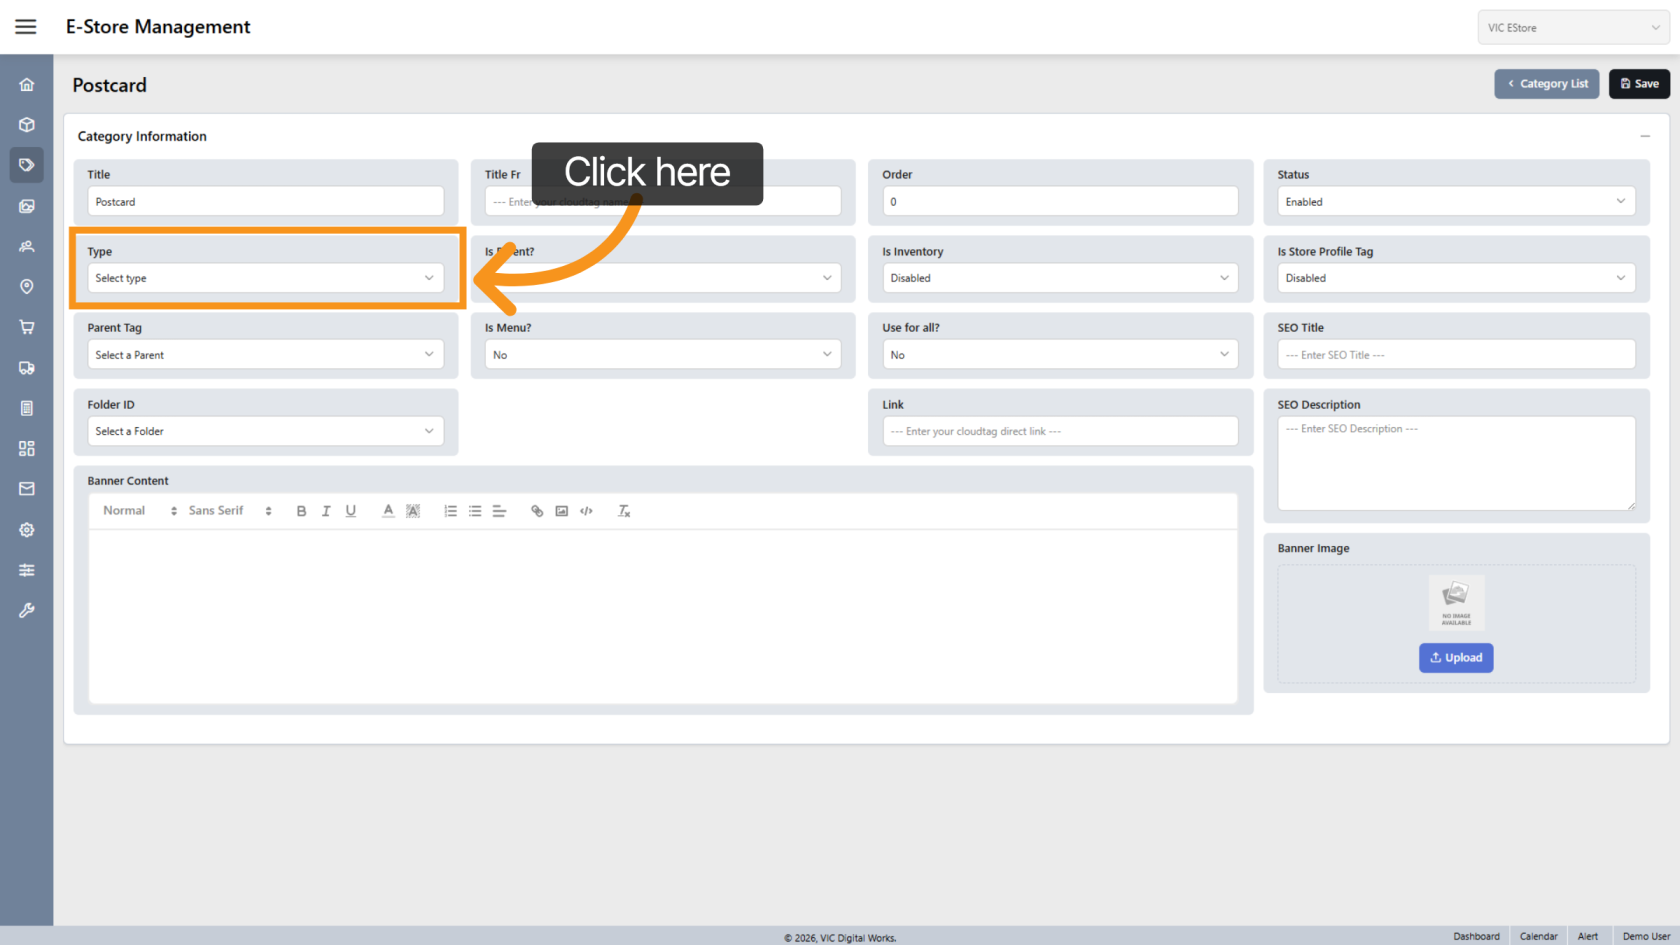
6. Select Category Type
Click "Select Type" to choose the category type.
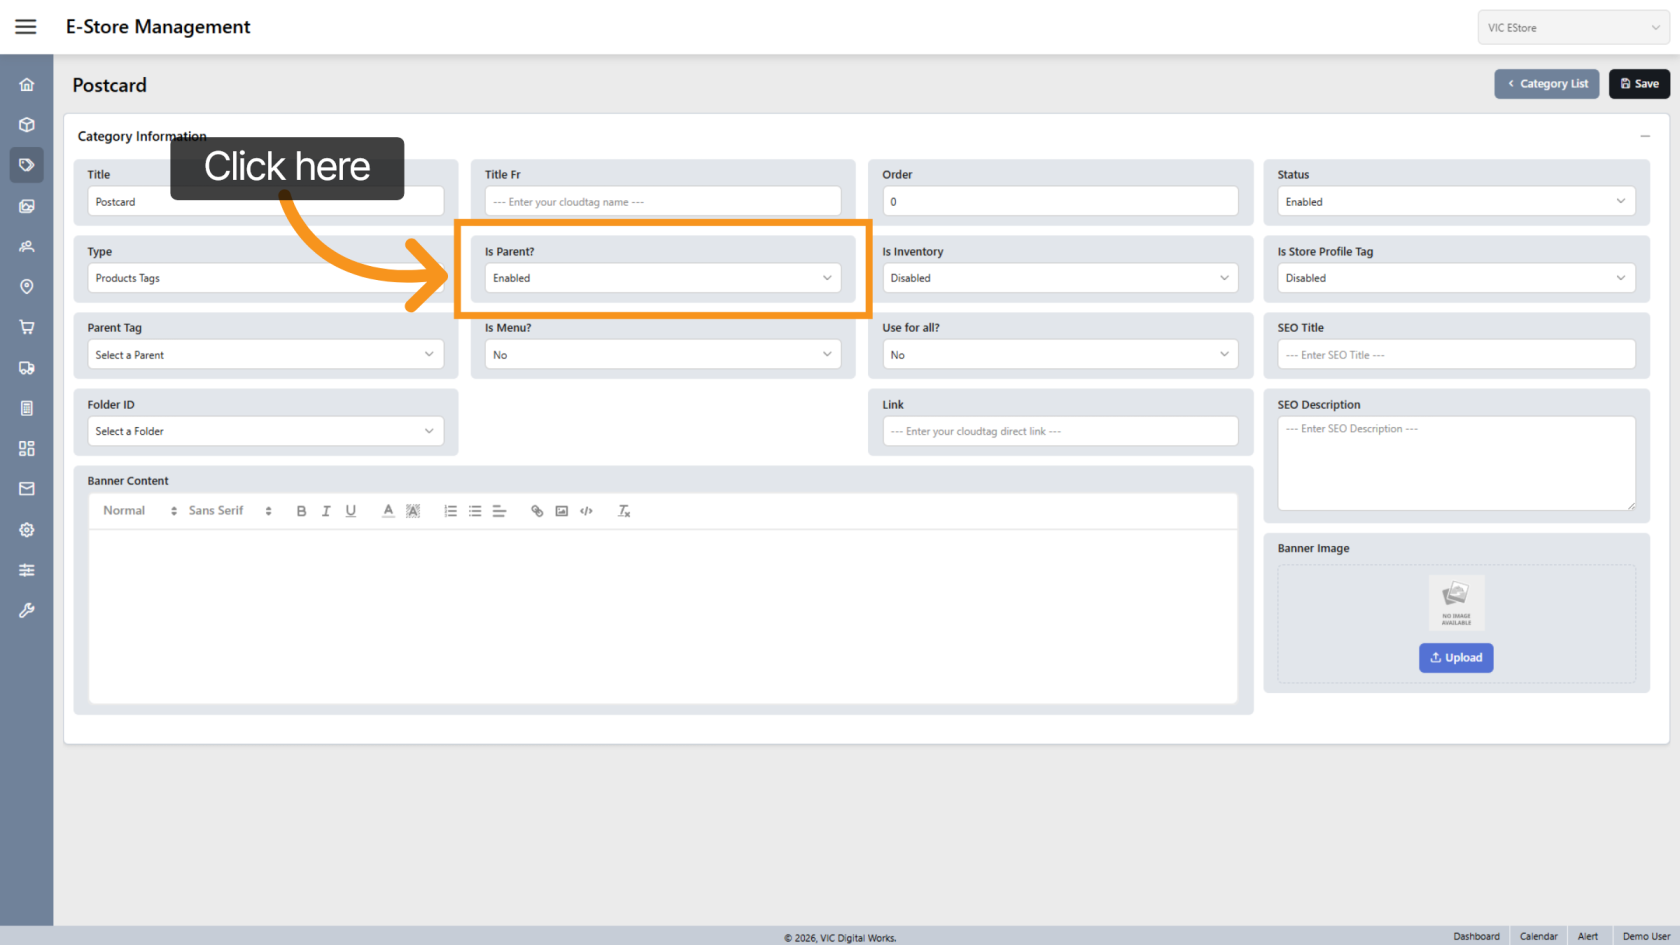
7. Set as Parent Category
Enable Is Parent if this category will be a parent category.
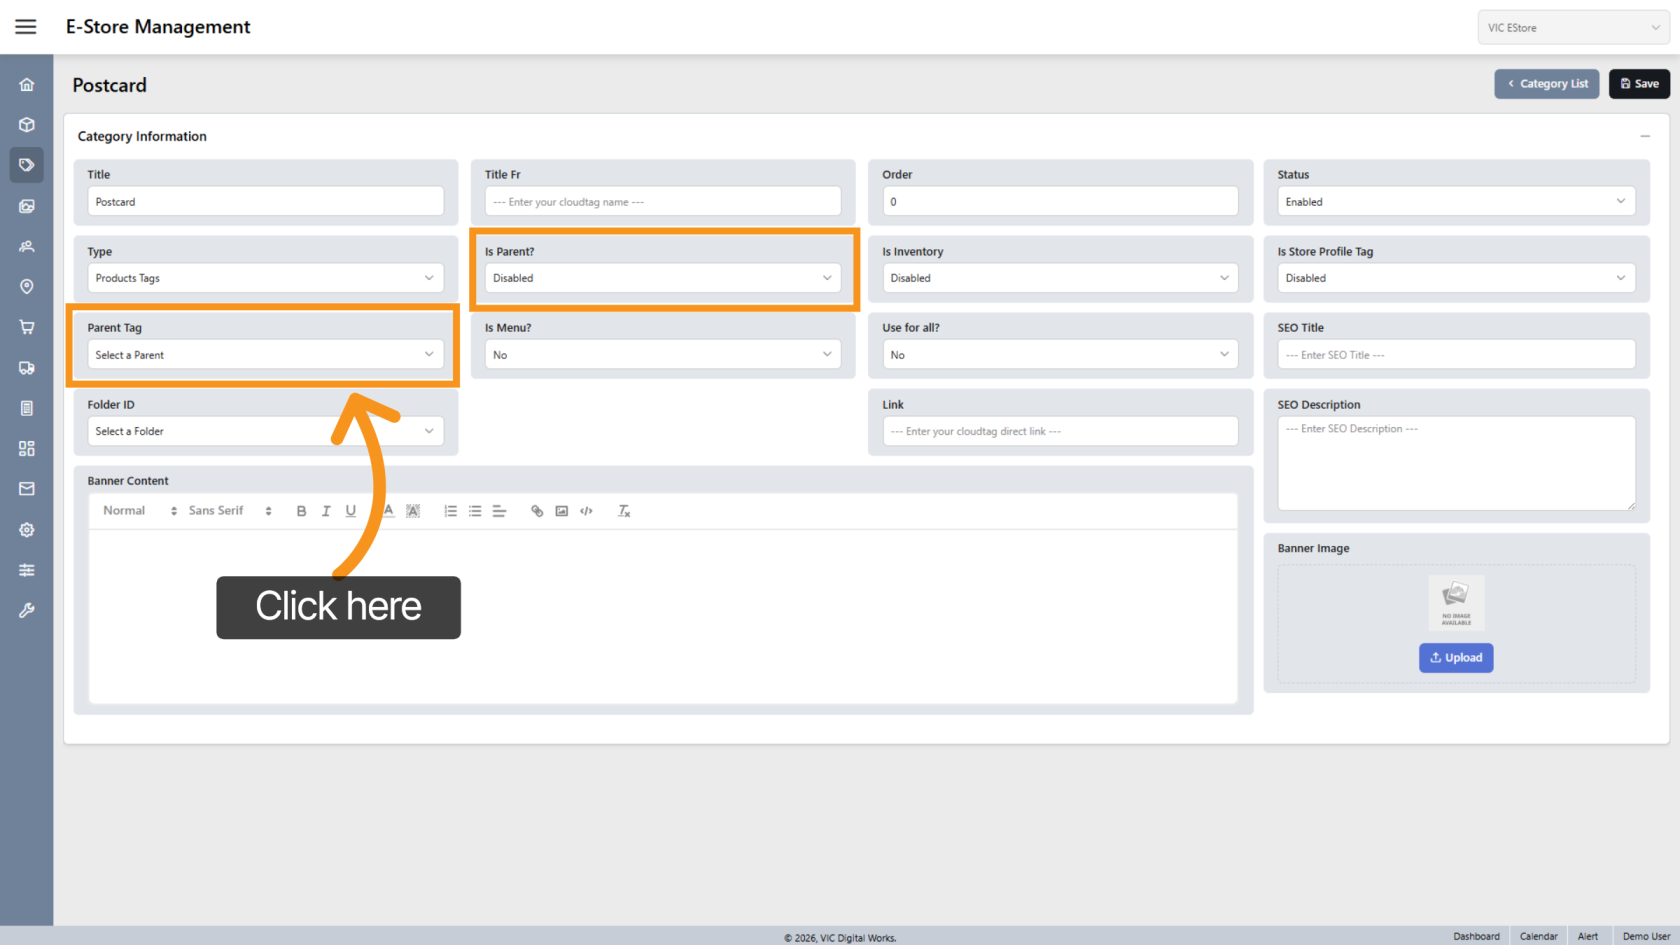
8. Choose Parent Category
If Is Parent is disabled, select a parent category to define where this category belongs.
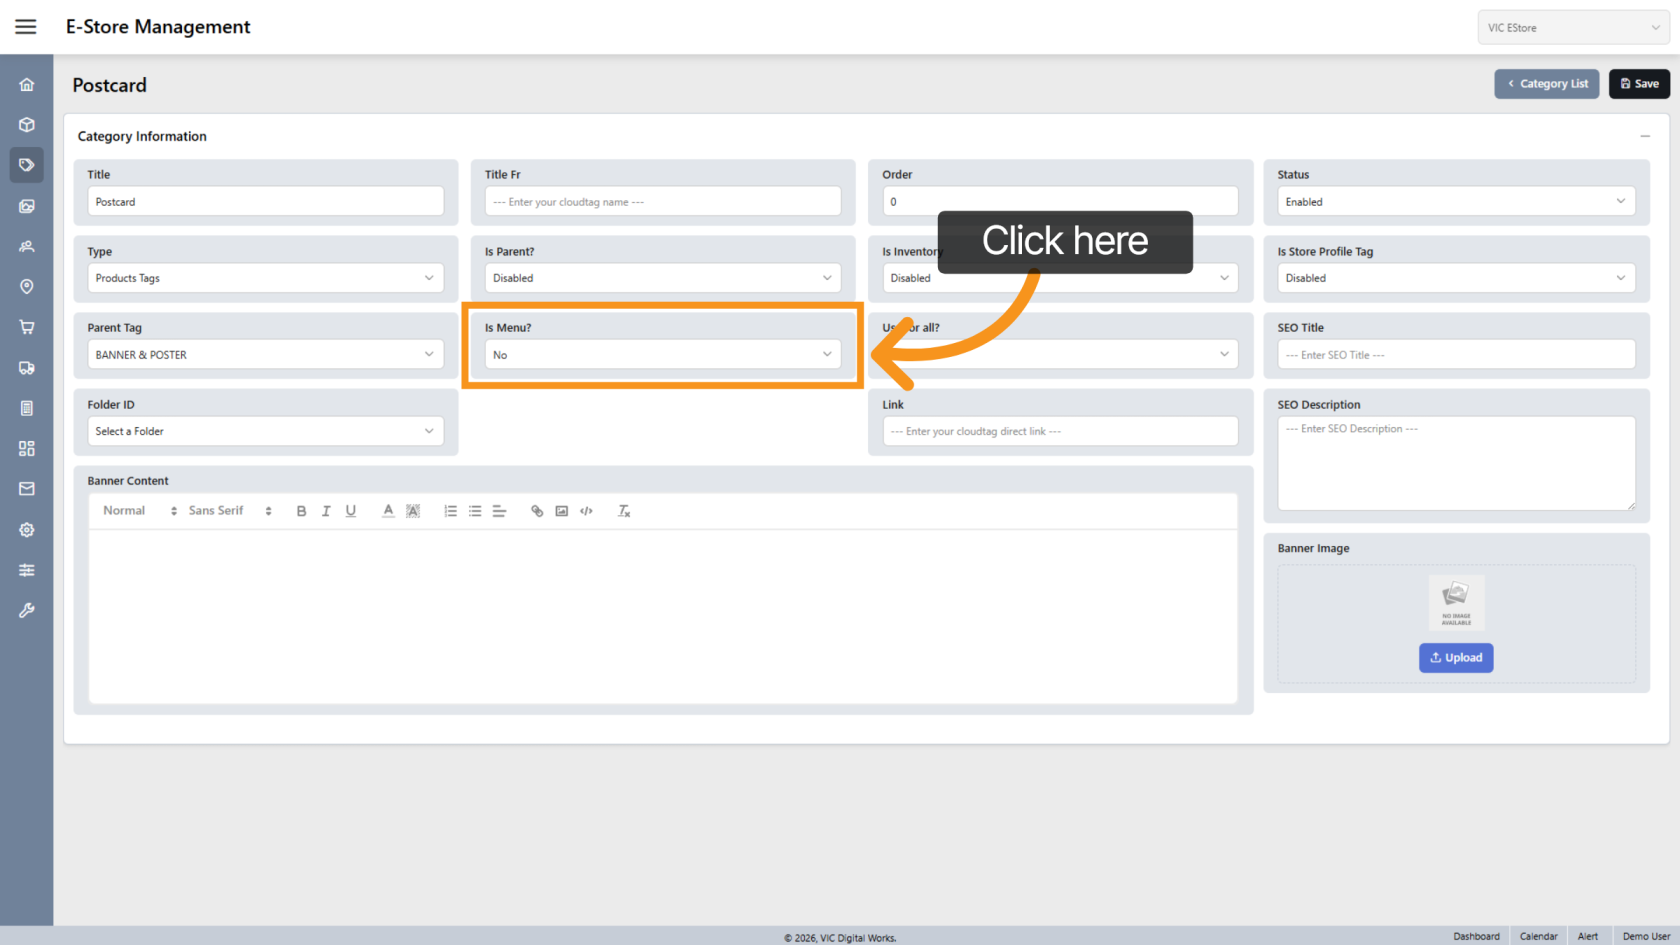
9. Show in Top Menu
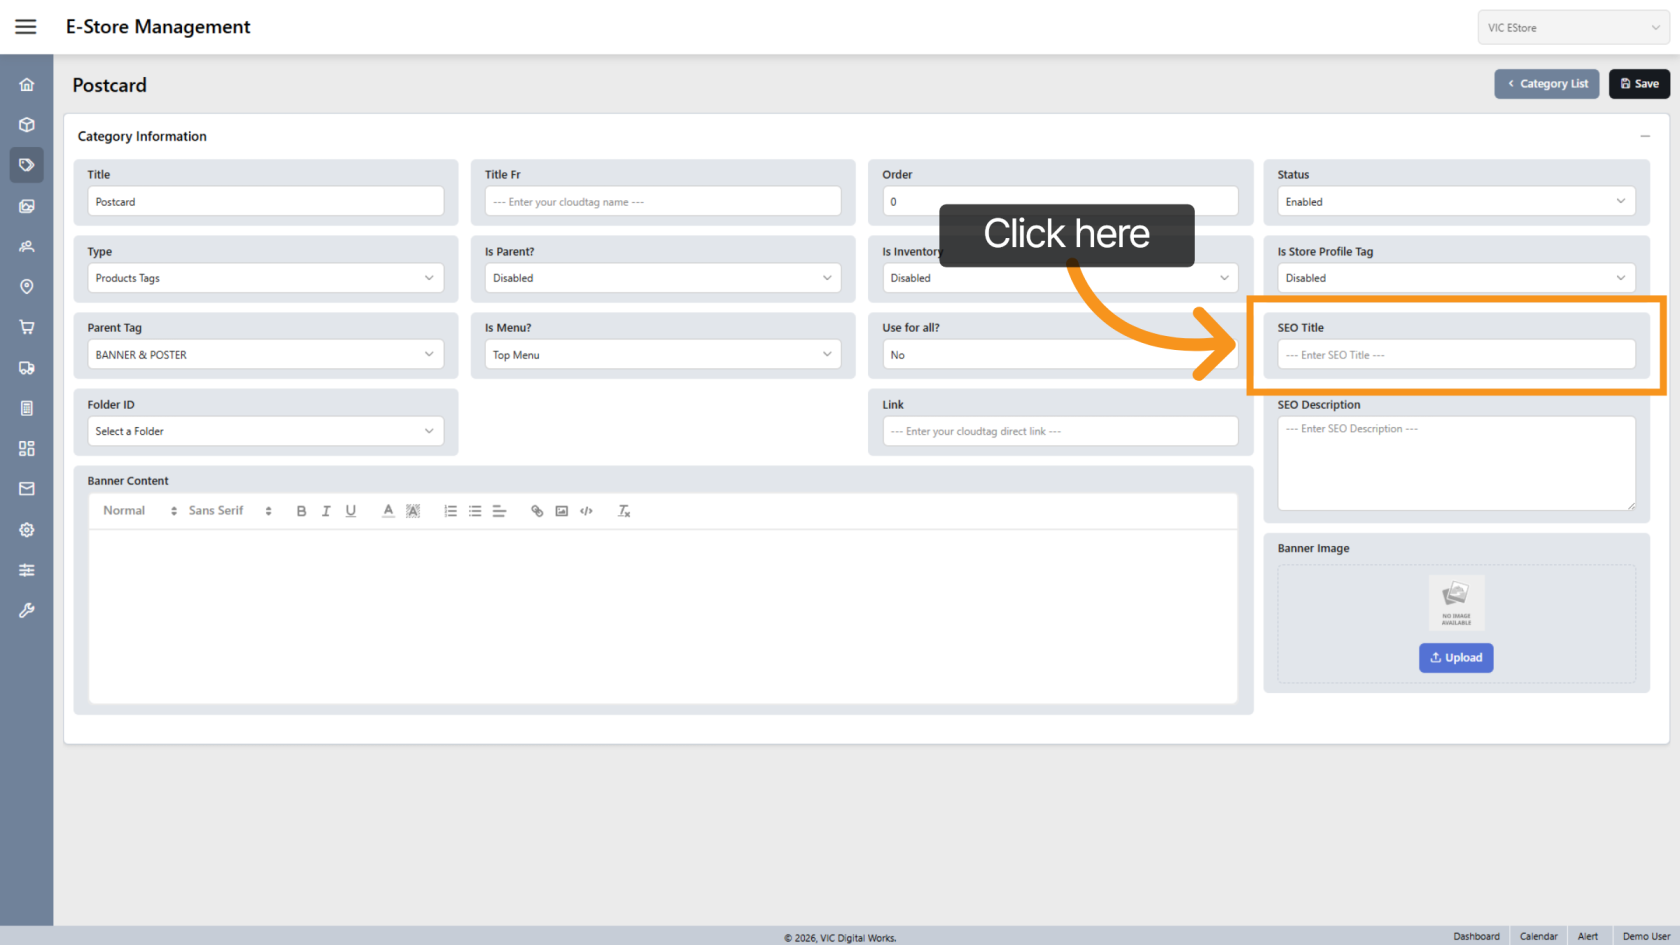
10. Enter SEO Title
Click SEO Title to enter the SEO title for the category.
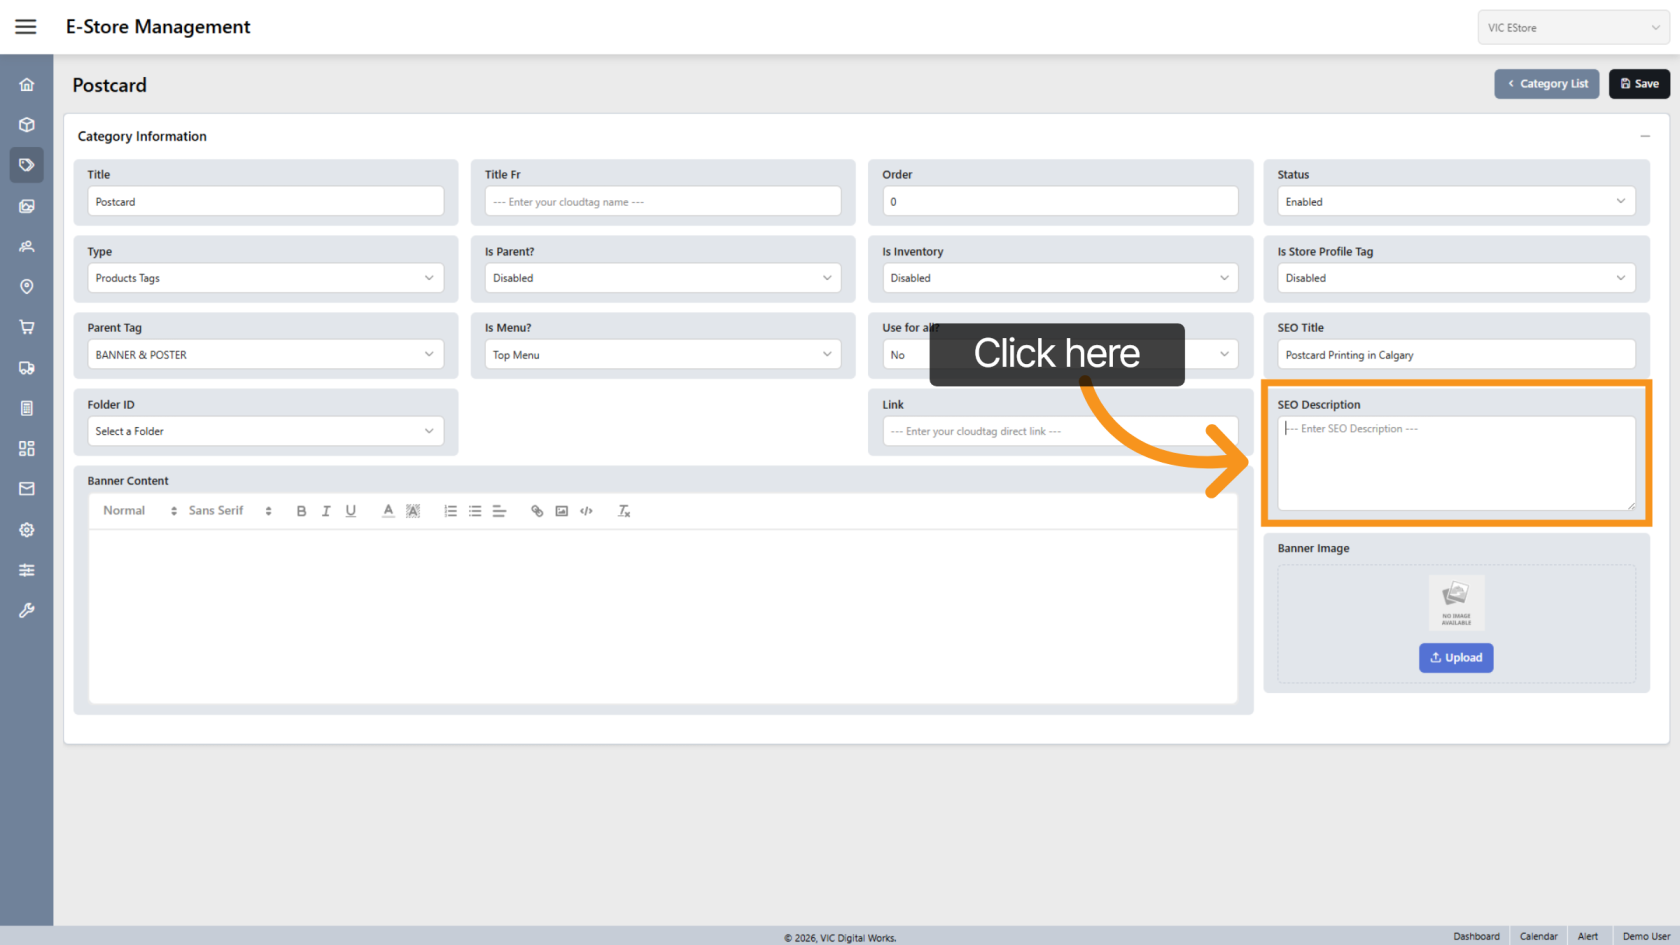
11. Enter SEO Description
Add a short SEO description to improve search visibility.
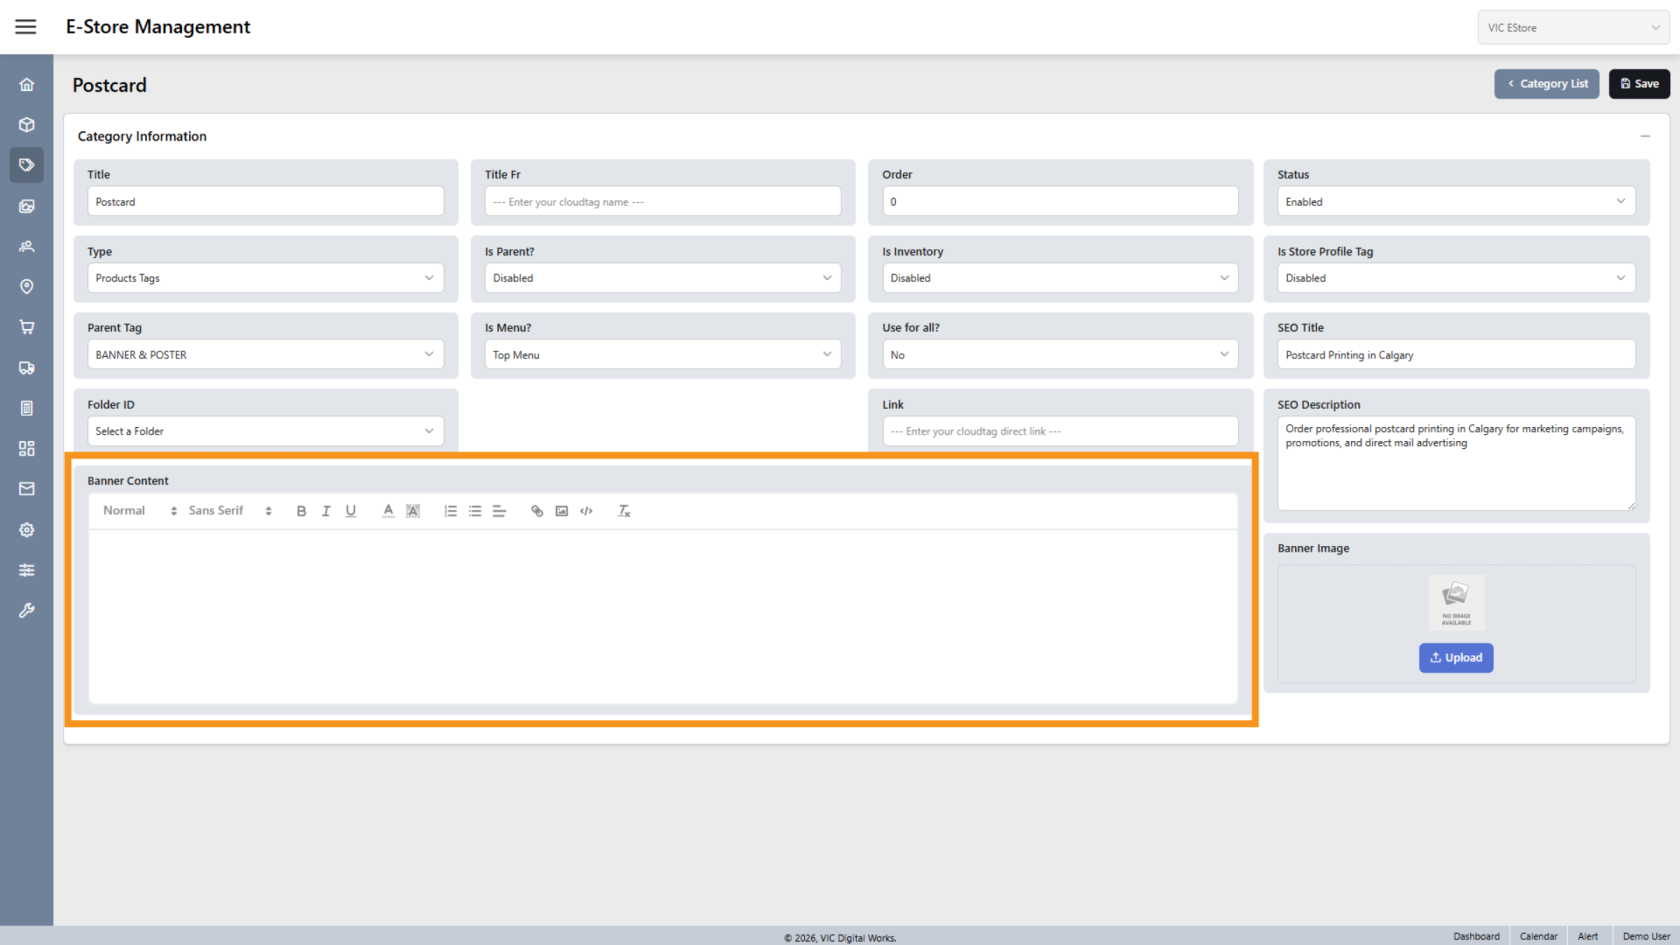
12. Add Banner Content
Leave this field blank if you do not want to display a category banner.
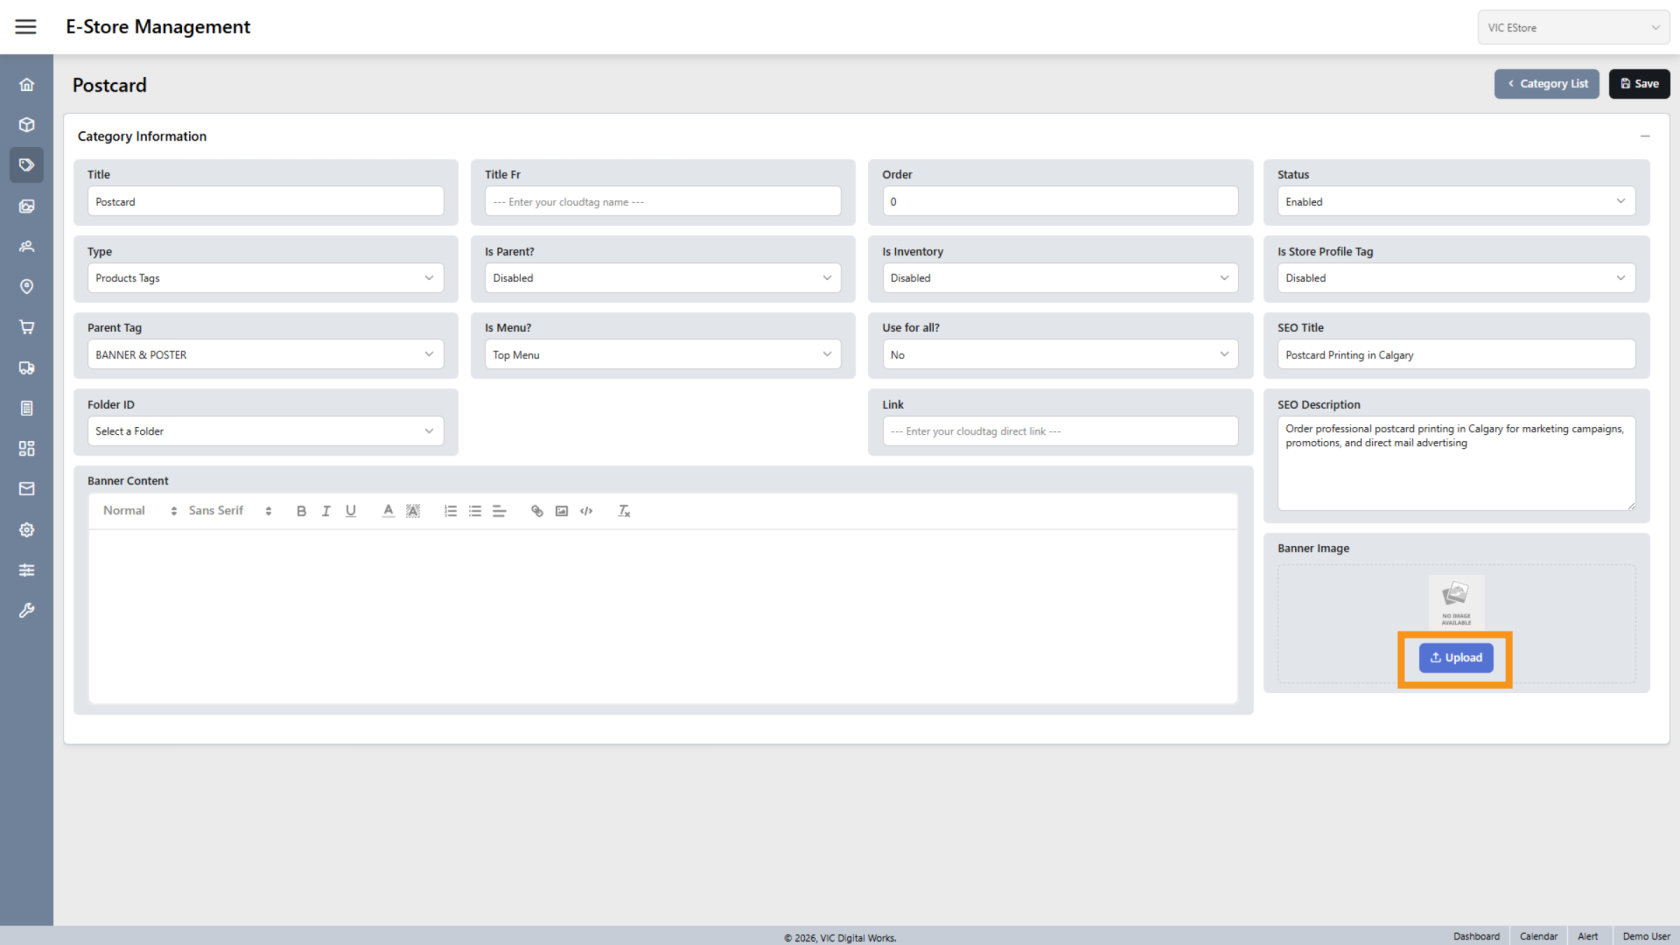
13. Upload Category Image
Click Upload to add an image for the category.
This image will appear as the category banner.
Leave this field blank if you do not want to display a category banner image.
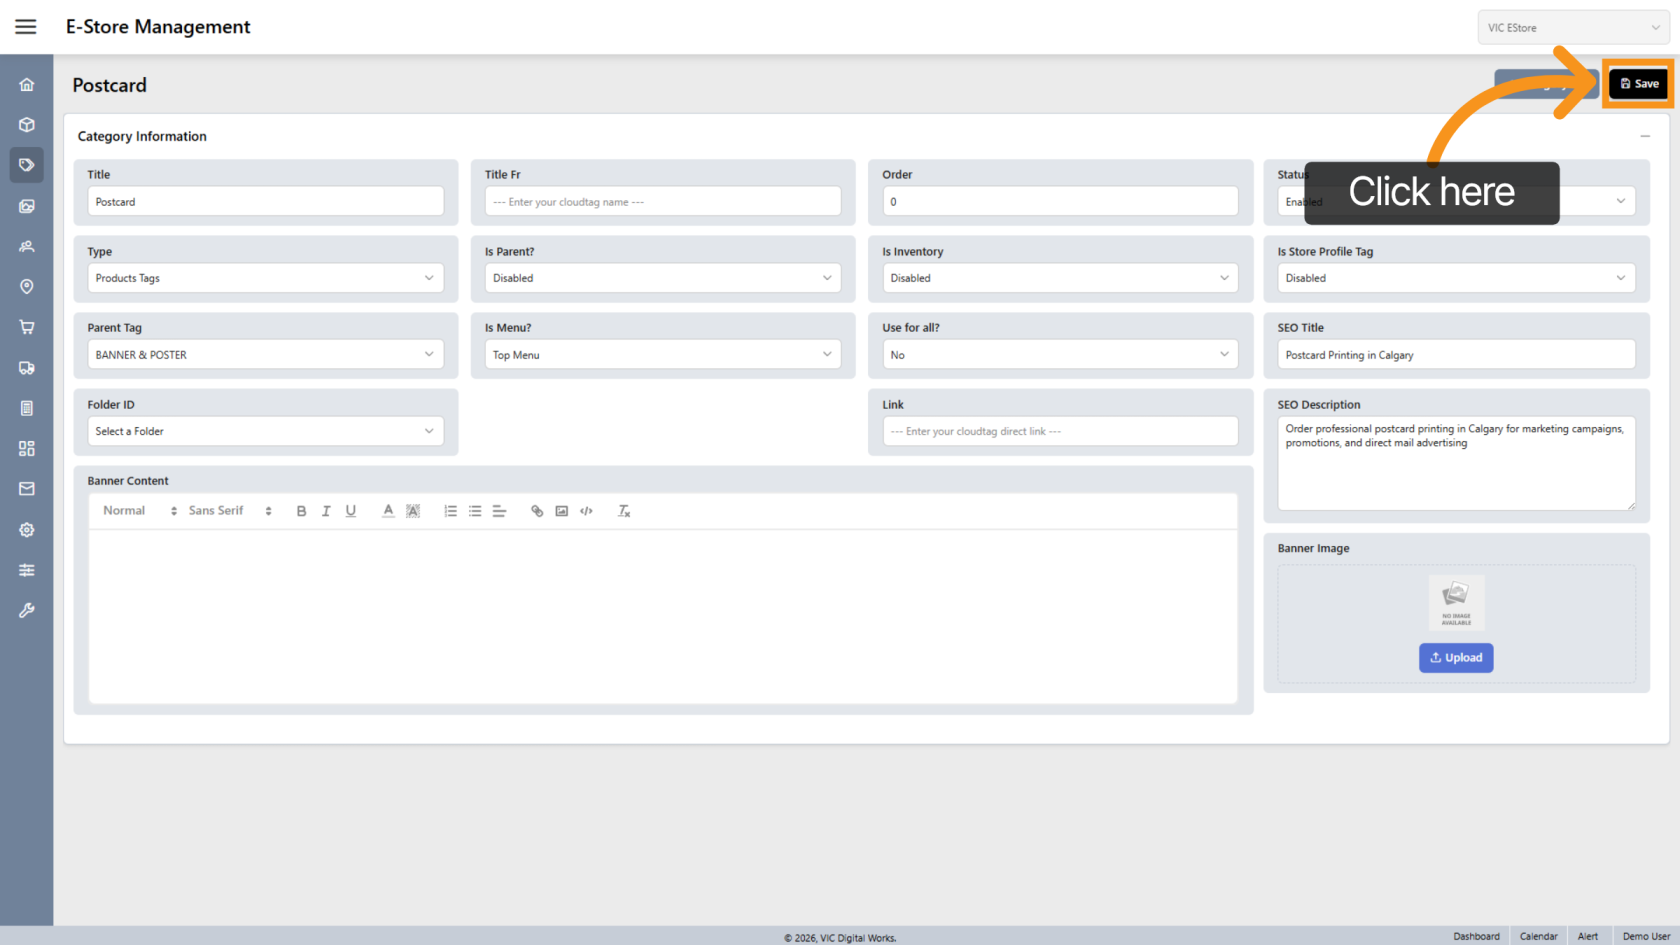
14. Save Category
Click "Save" to apply your changes.
15. Return to Category List
Click "Category List" to view all categories.
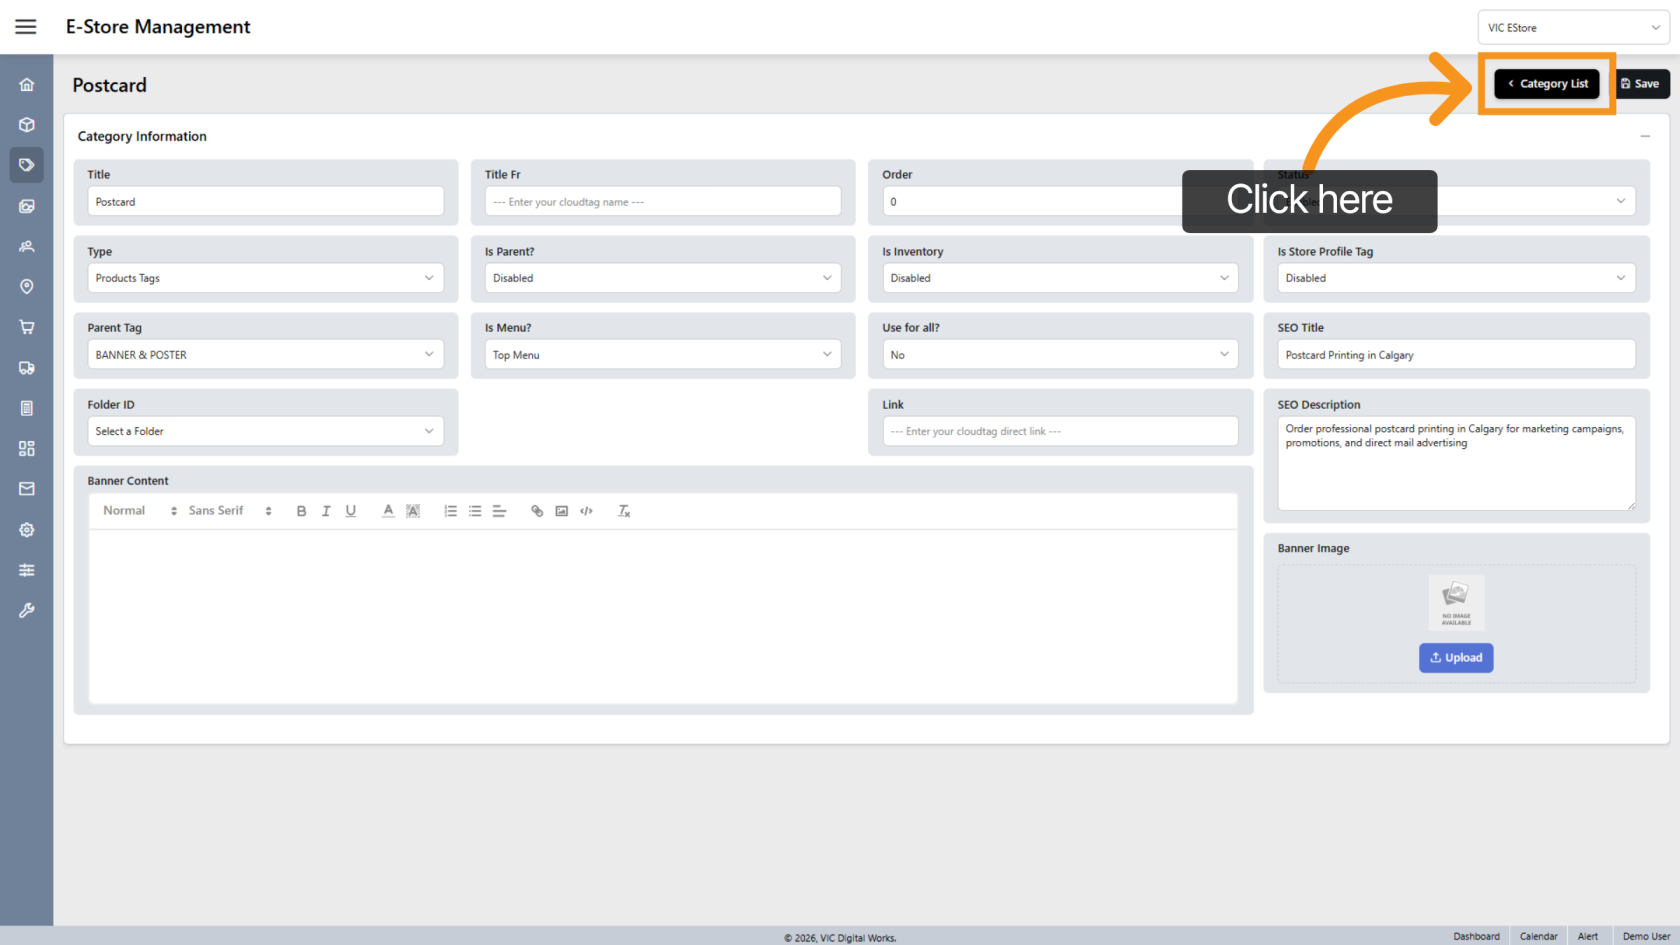
You have successfully added and configured a new category in the E-Store, including display settings and SEO details.