Configure Product Information in E-store
This tutorial explains how to manage and update product information in the E-Store.
Video Tutorial
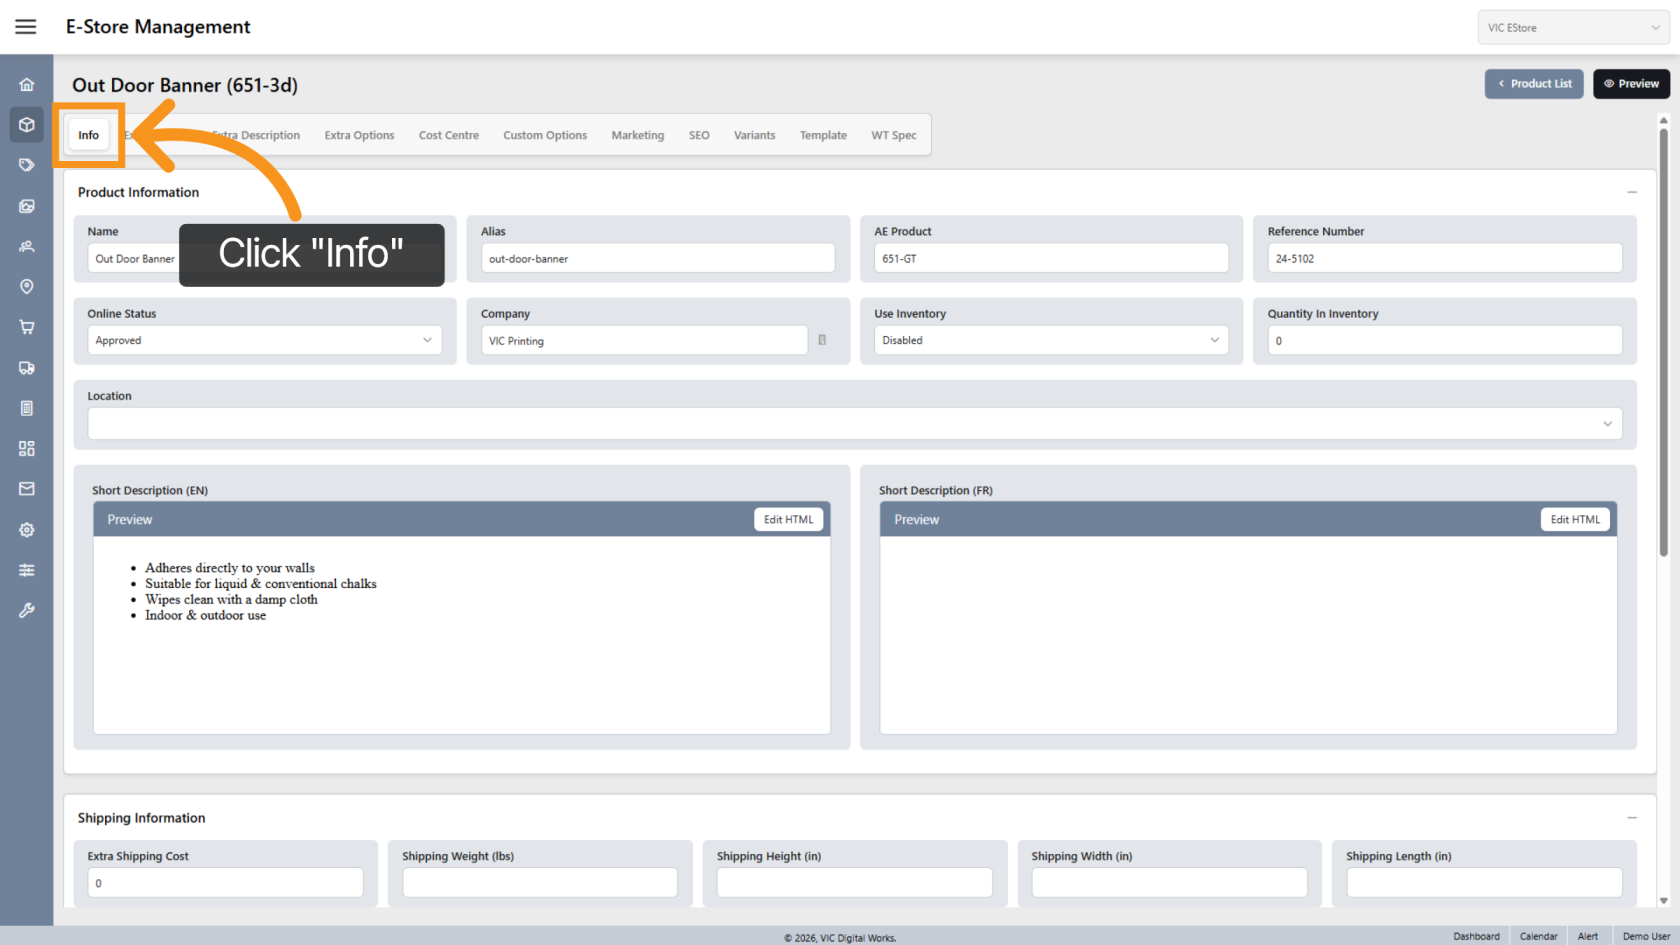
1. Open the Info Tab
Click the Info tab to access general product information.
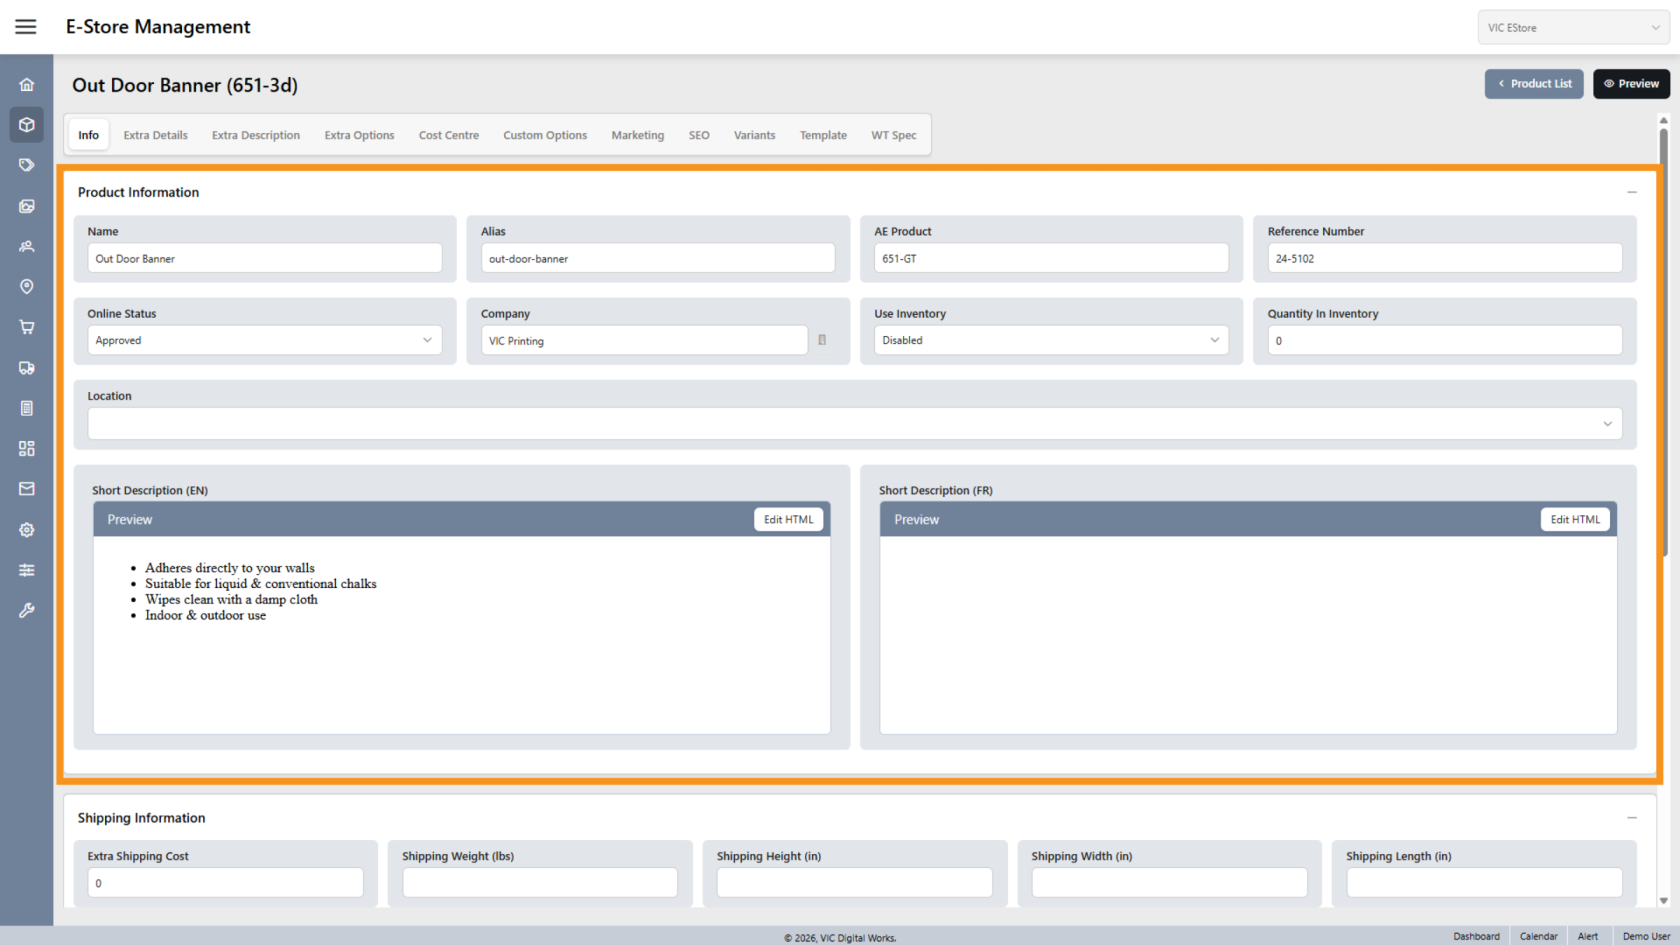
2. Review Product Information
In this section, you can view and update details such as:
- Product name
- Alias
- Online status
- etc.
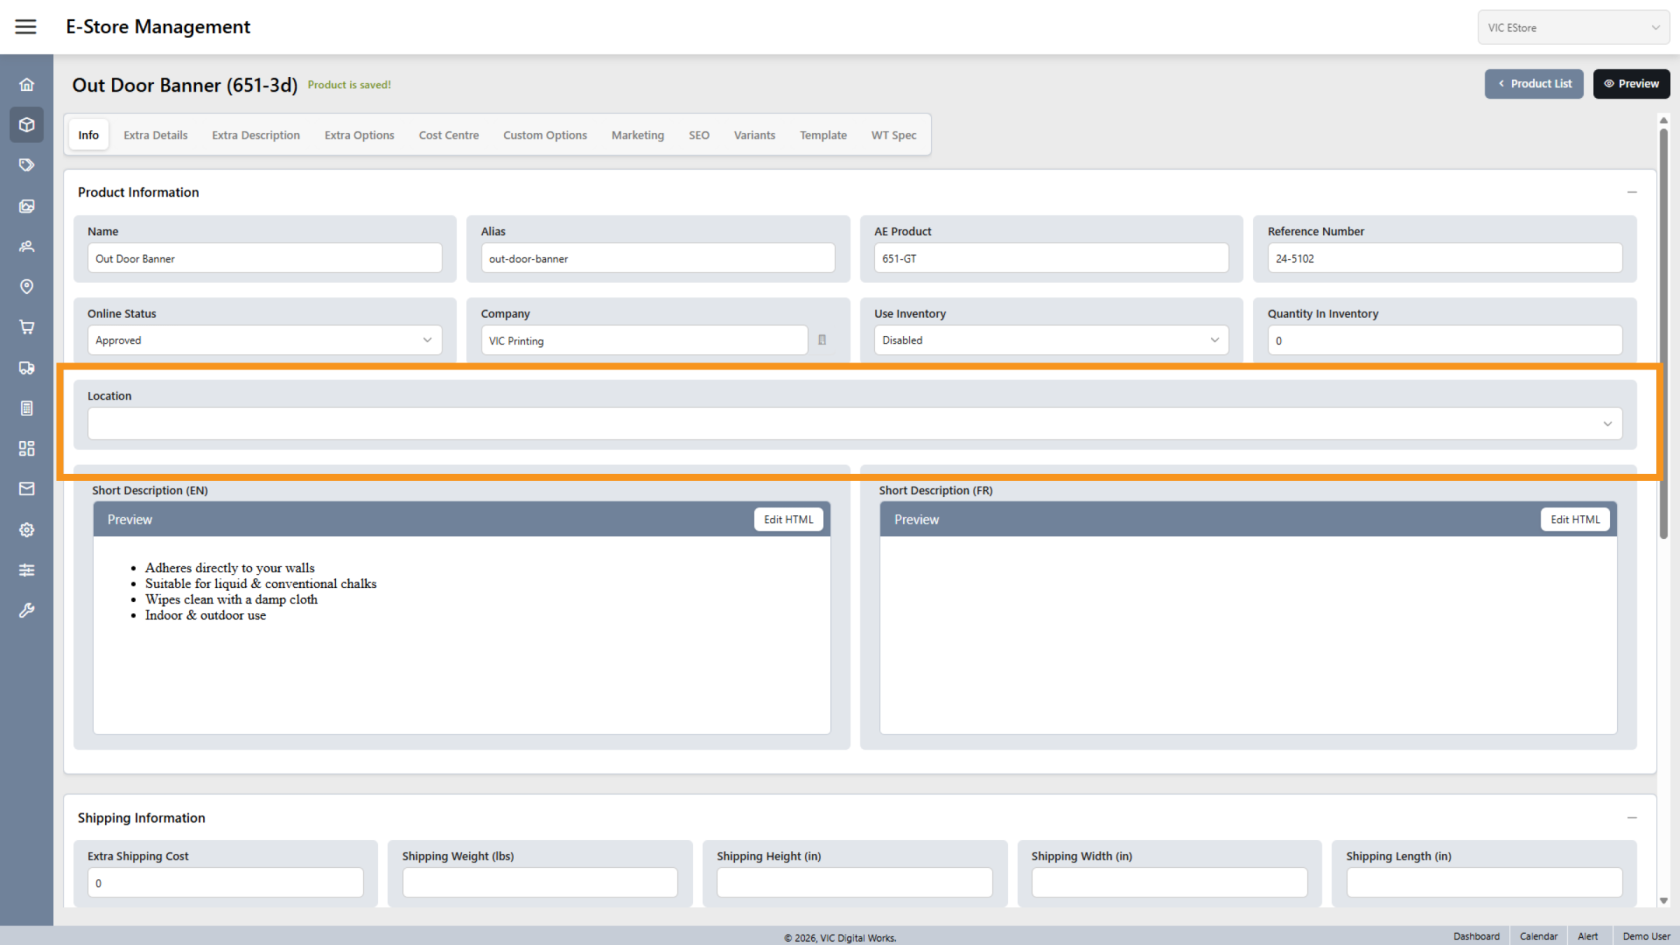
3. Open Location Settings
Click Location to manage where the product is available.
This allows you to assign the product to specific corporate or store locations.
Note: If left blank, the product will be available at all locations.
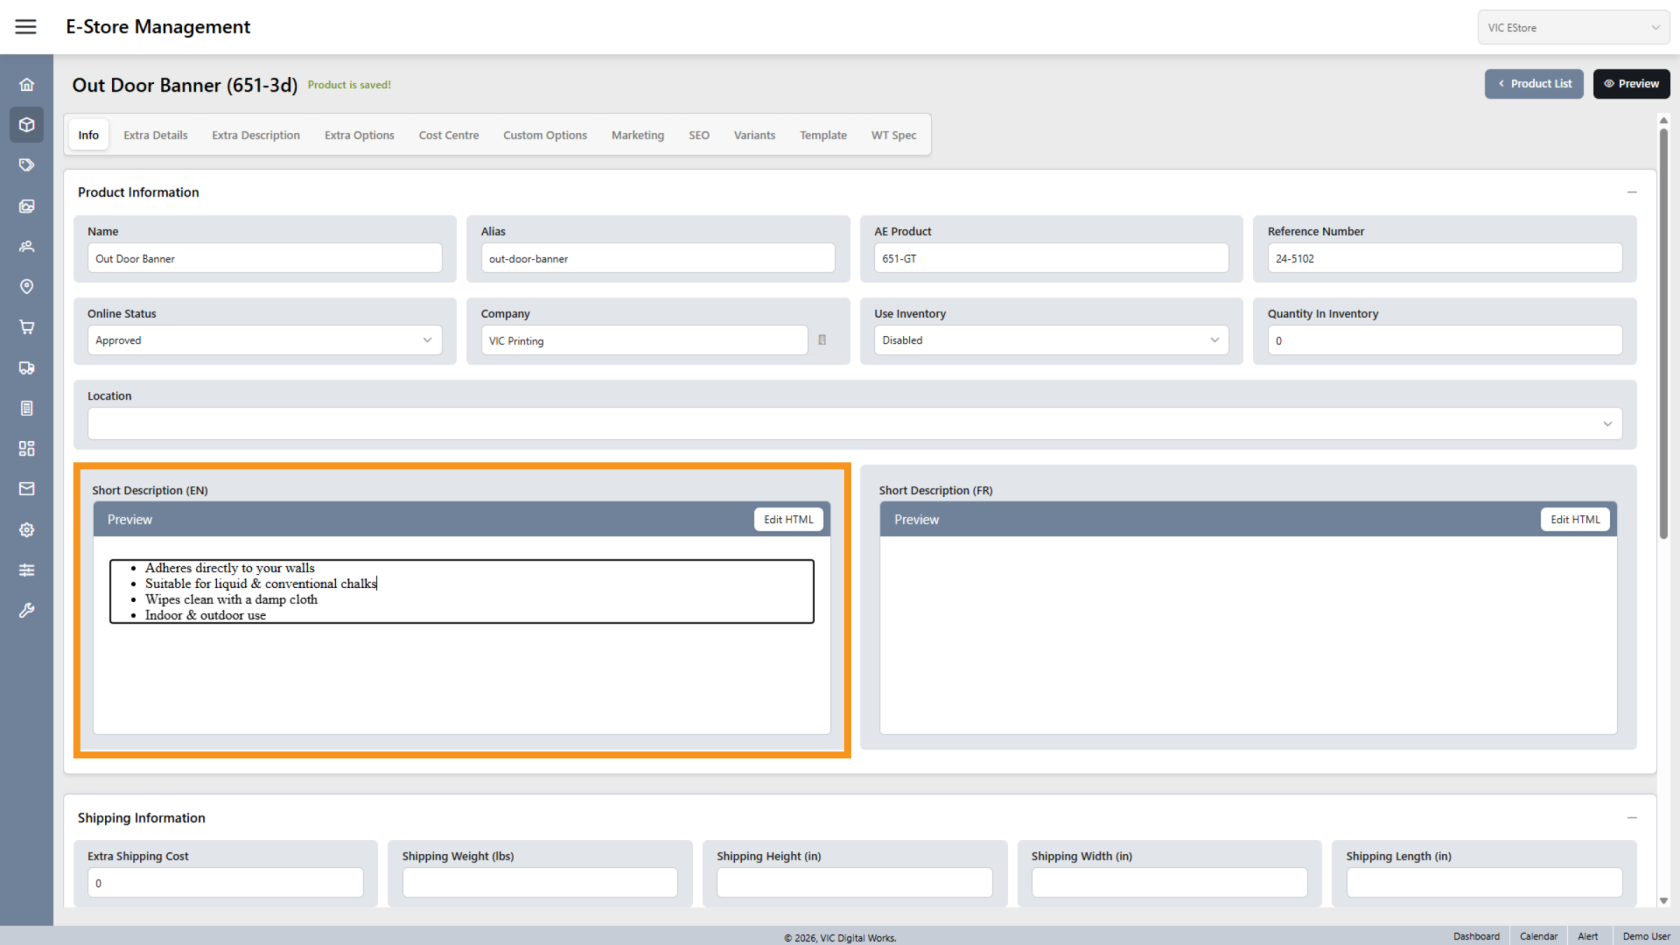
4. Edit Product Description
Click Description to update the product description shown in the E-Store.
5. Manage Category Tags
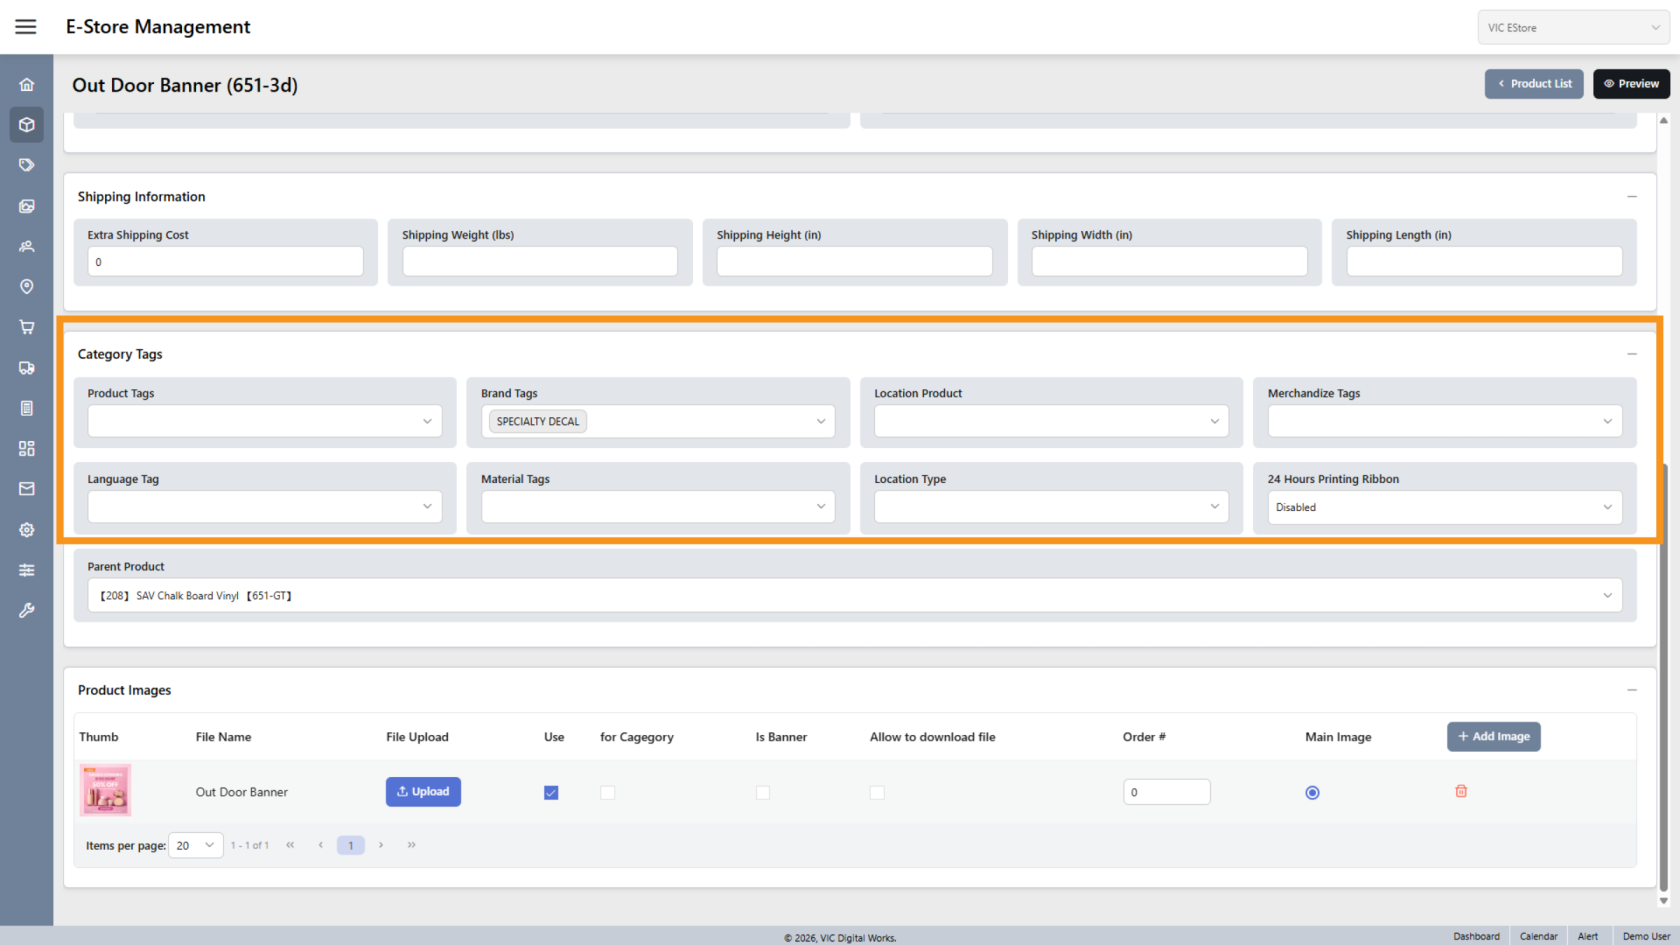
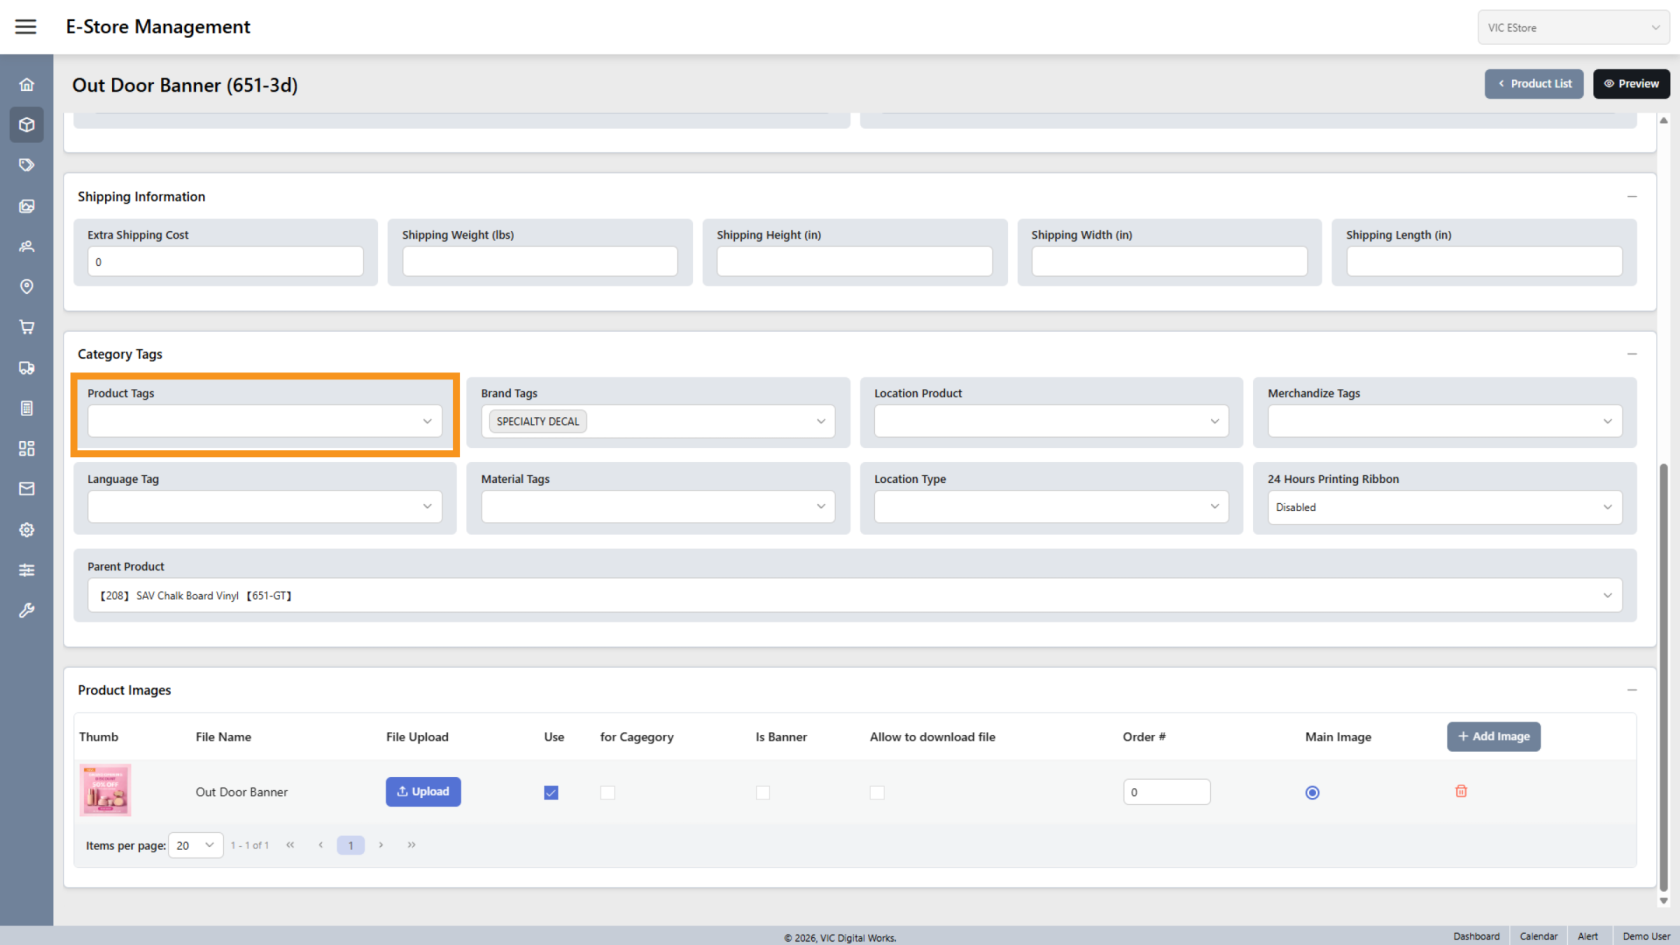
6. Assign Tags
Click the dropdown for the tag type you want to assign to the product.
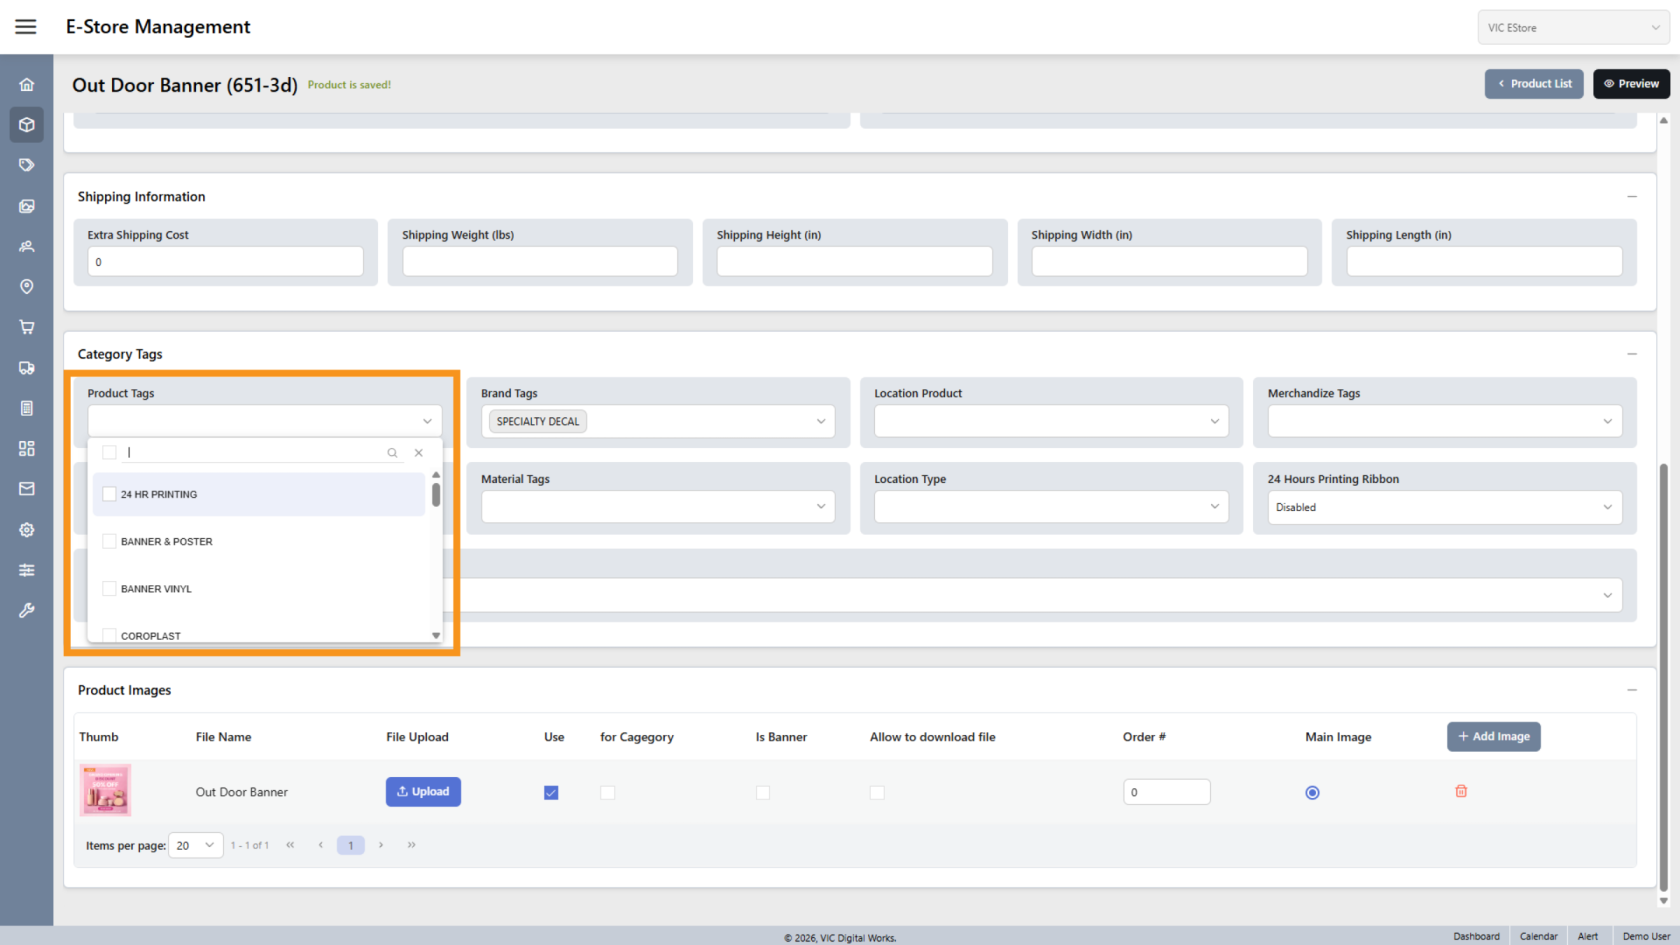
7. Select Tags
Click the tag name you want to assign.
You can select multiple tags within the same tag type if needed.
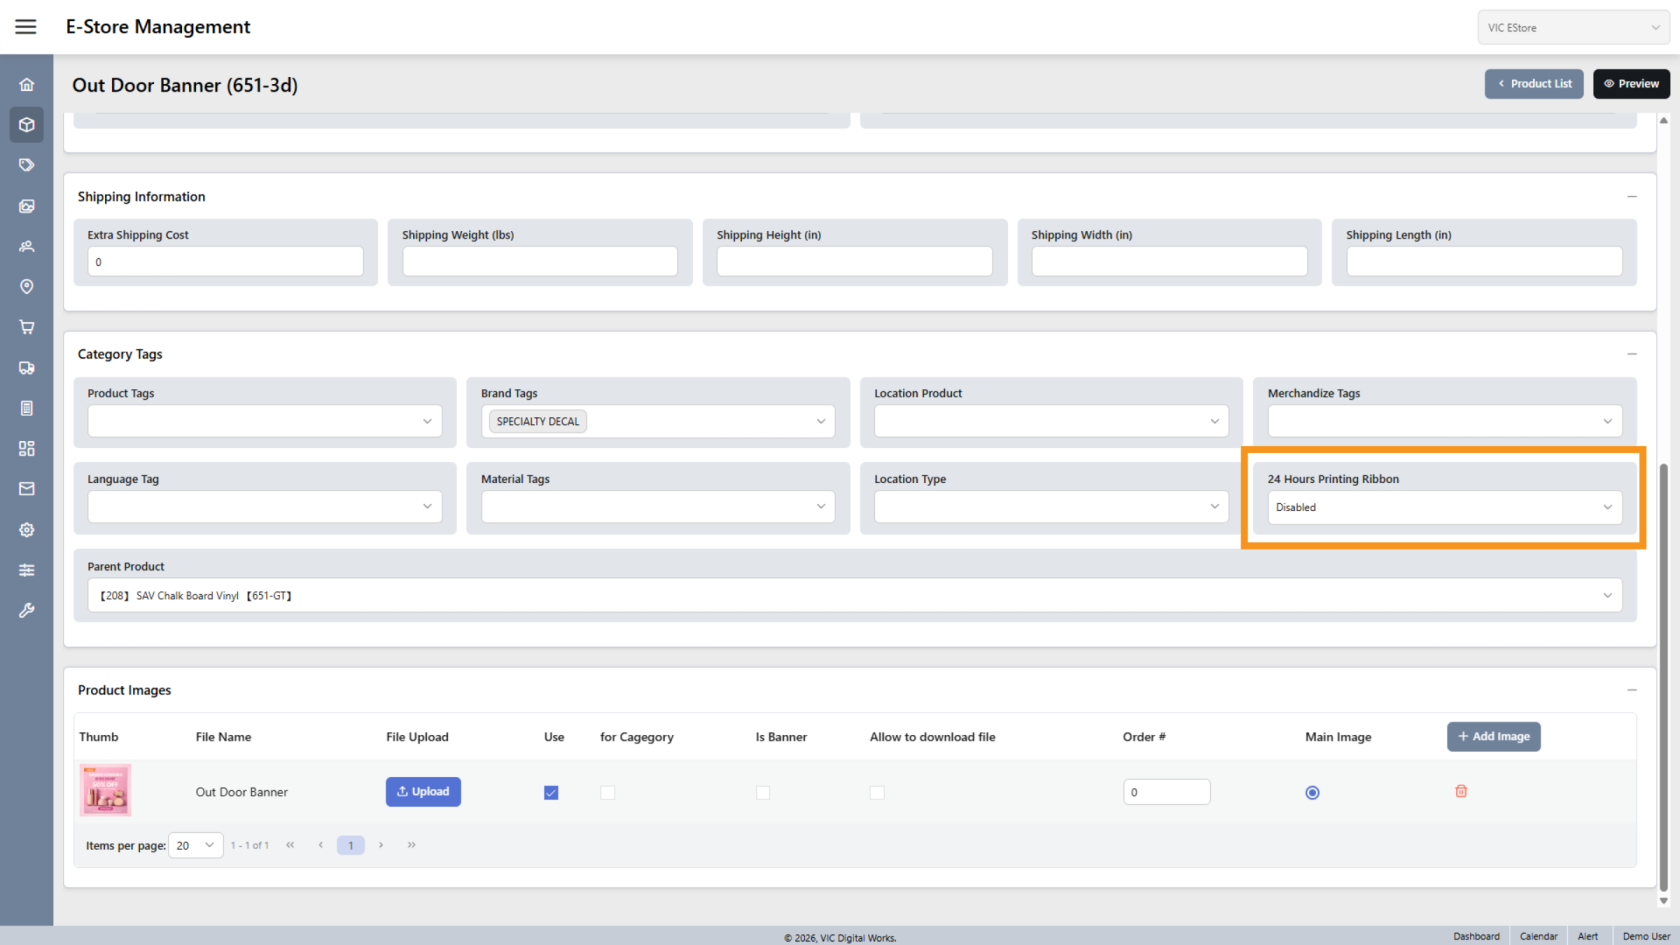
8. 24 Hours Ribbon
Enable this option if you want to display a 24h ribbon on the product.
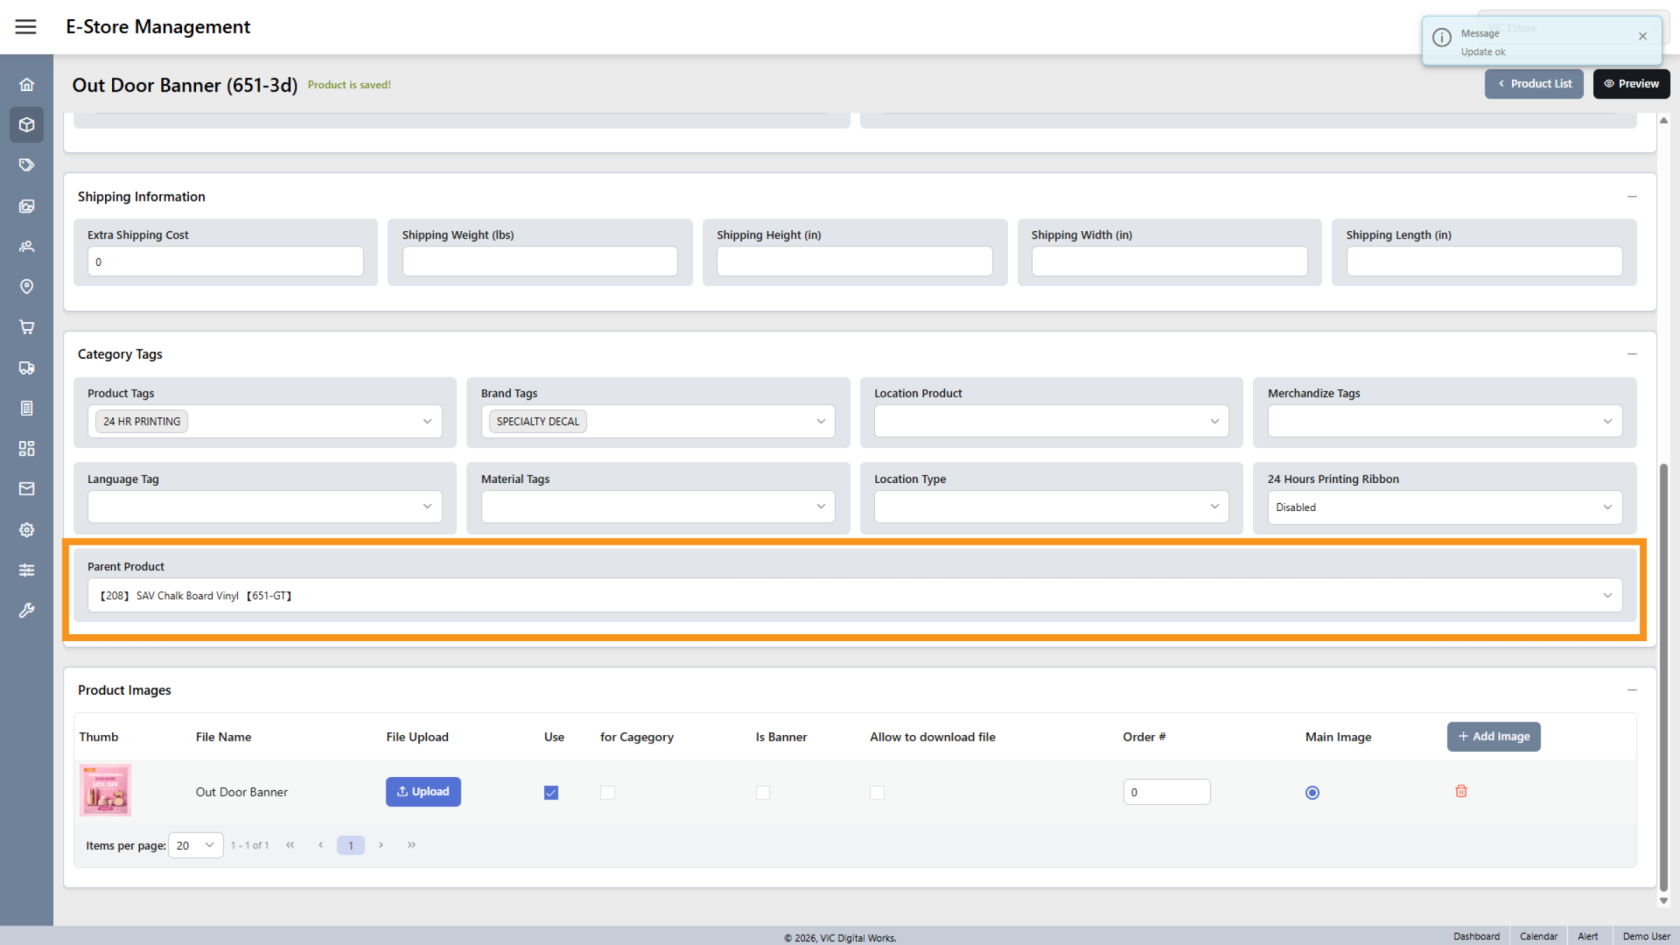
9. View Parent Product
The Parent Product field shows the original master product.
Note: If this field is empty, the product may be a master or standalone product.
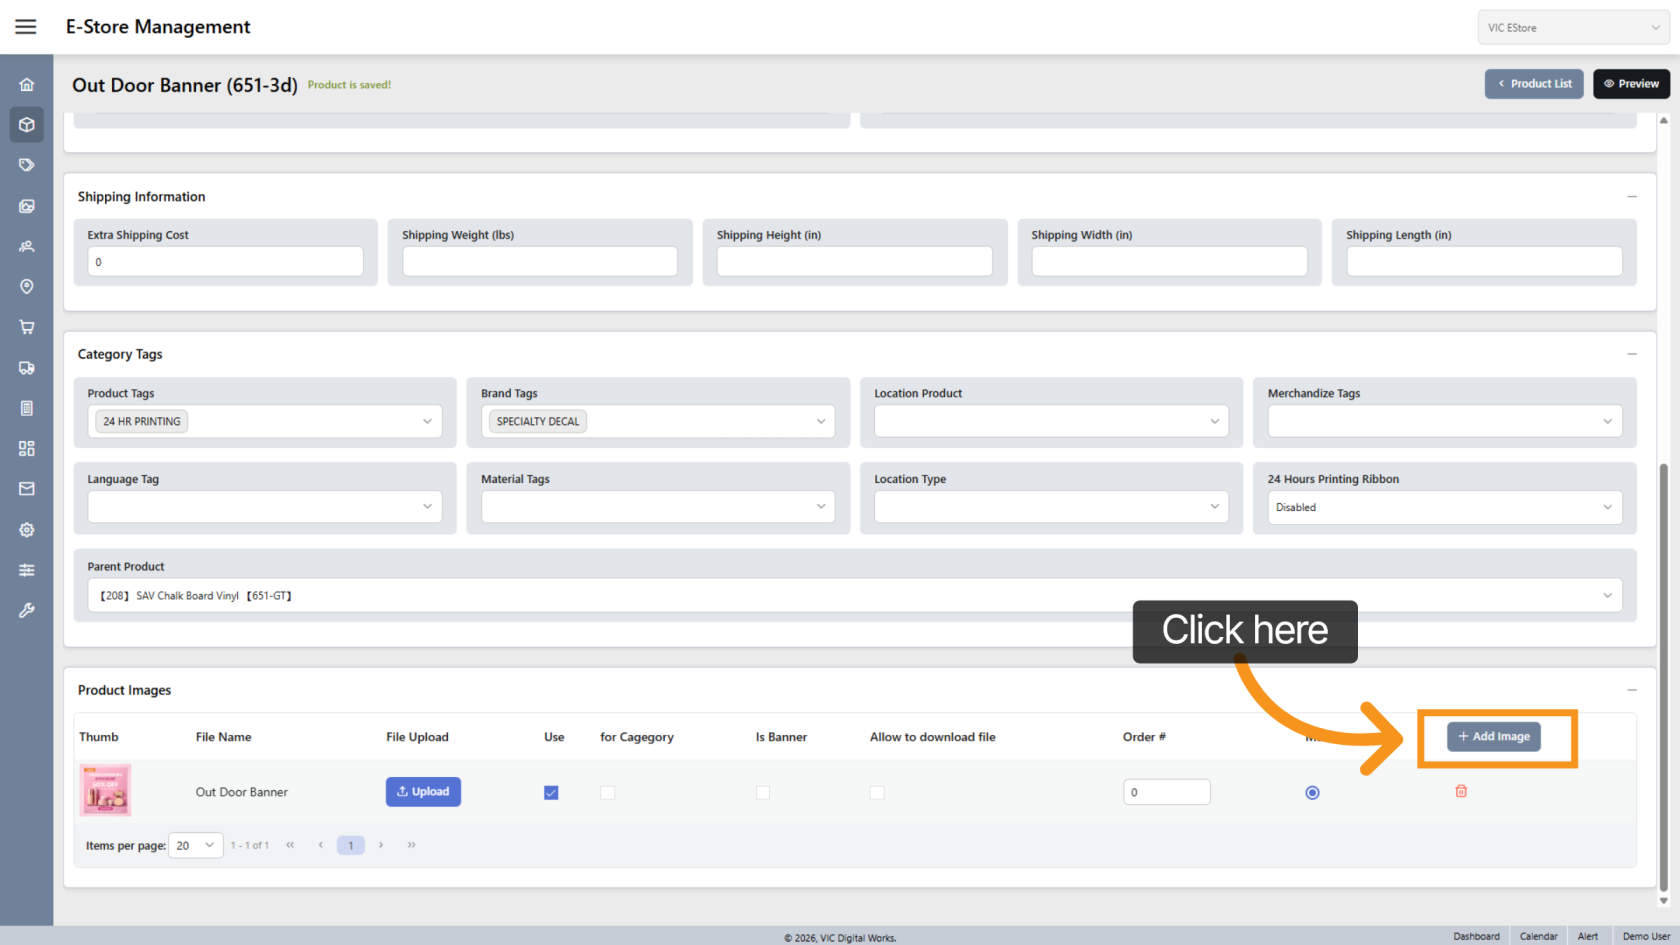
10. Add an Image
Click Add Image to add a new product image.
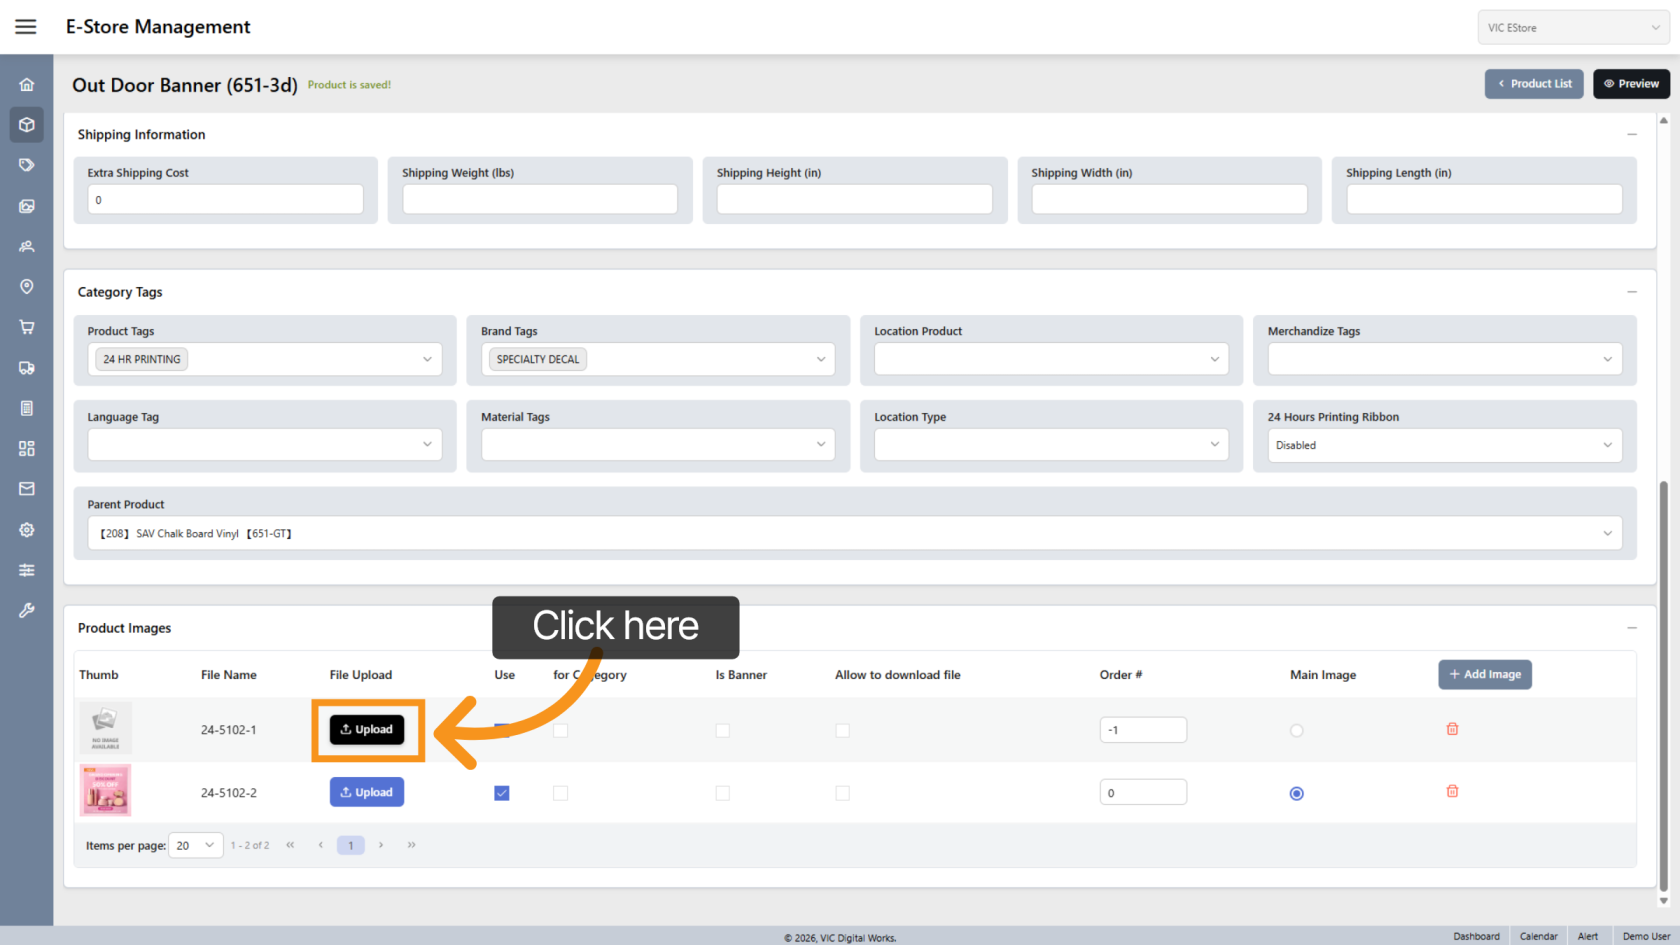
11. Upload Image
Click Upload to select and upload an image from your device.
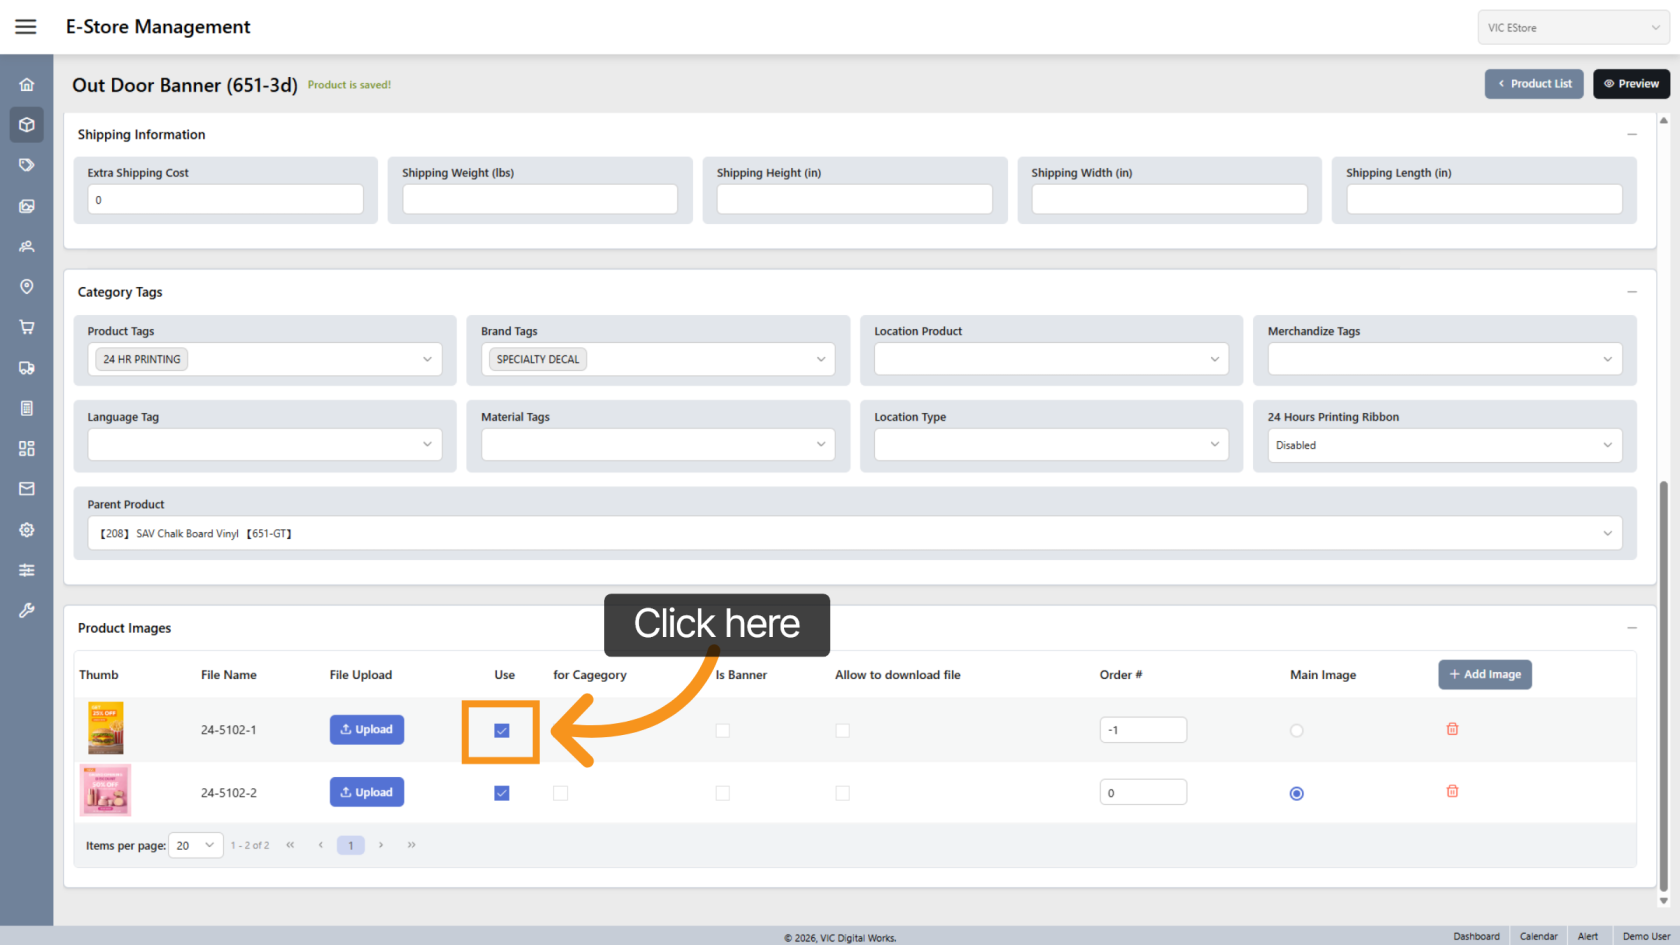
12. Enable Image
Check Use to display the image in your store.
(The system selects this by default.)
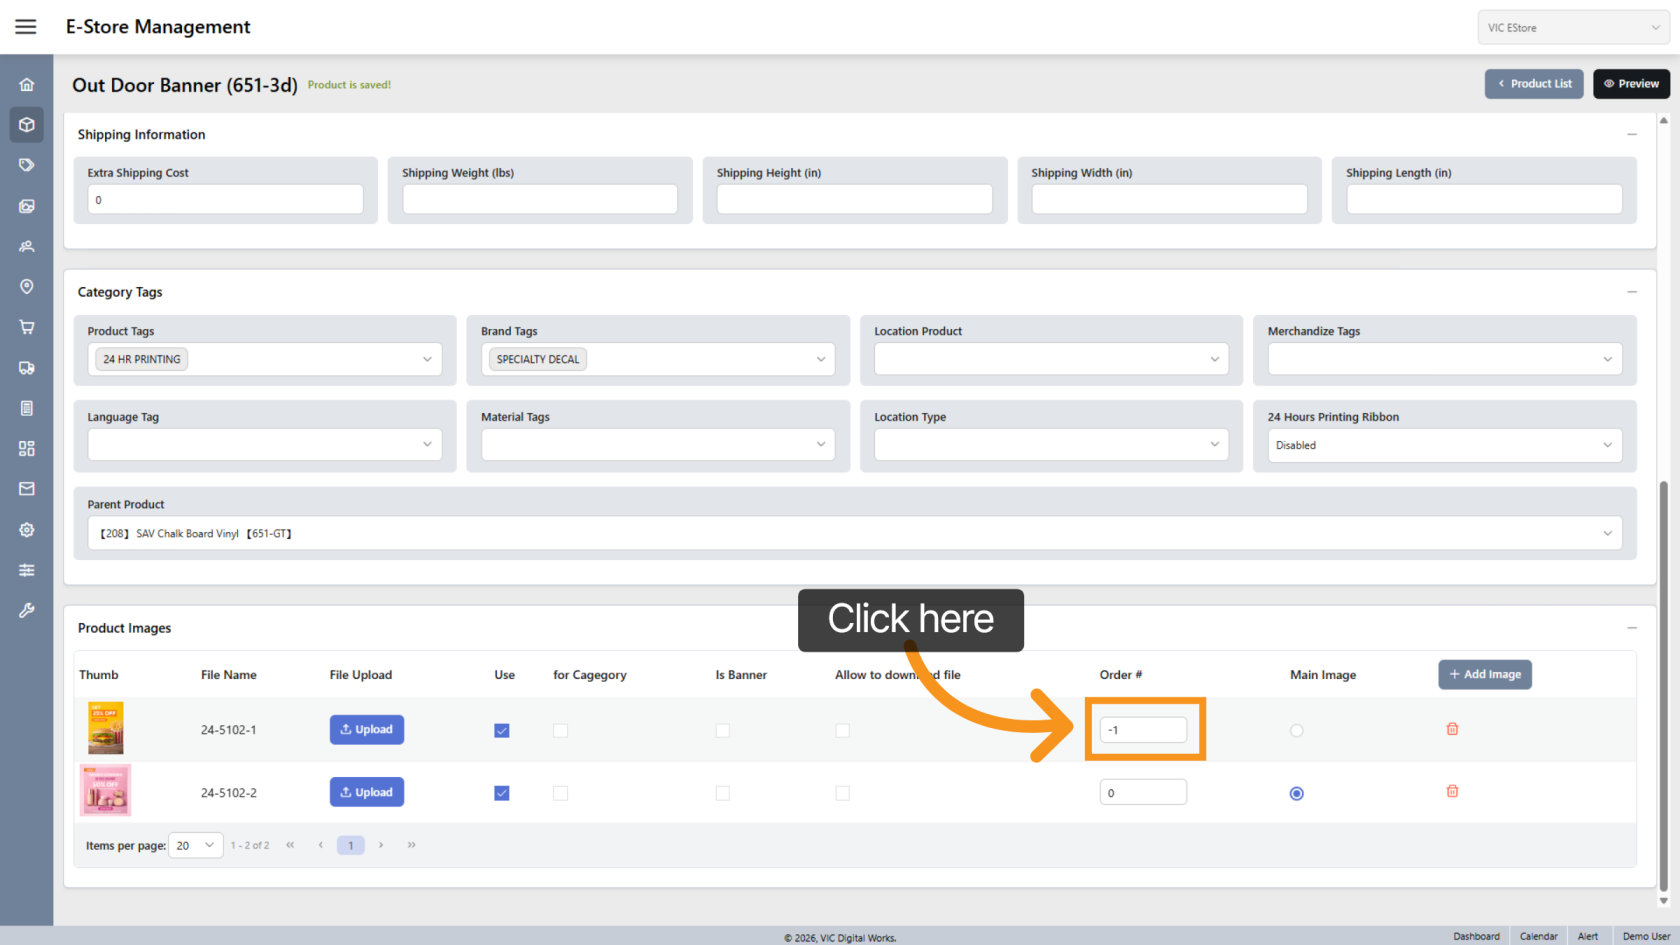
13. Adjust Image Order
The system automatically assigns image order, but you can rearrange the order if needed.
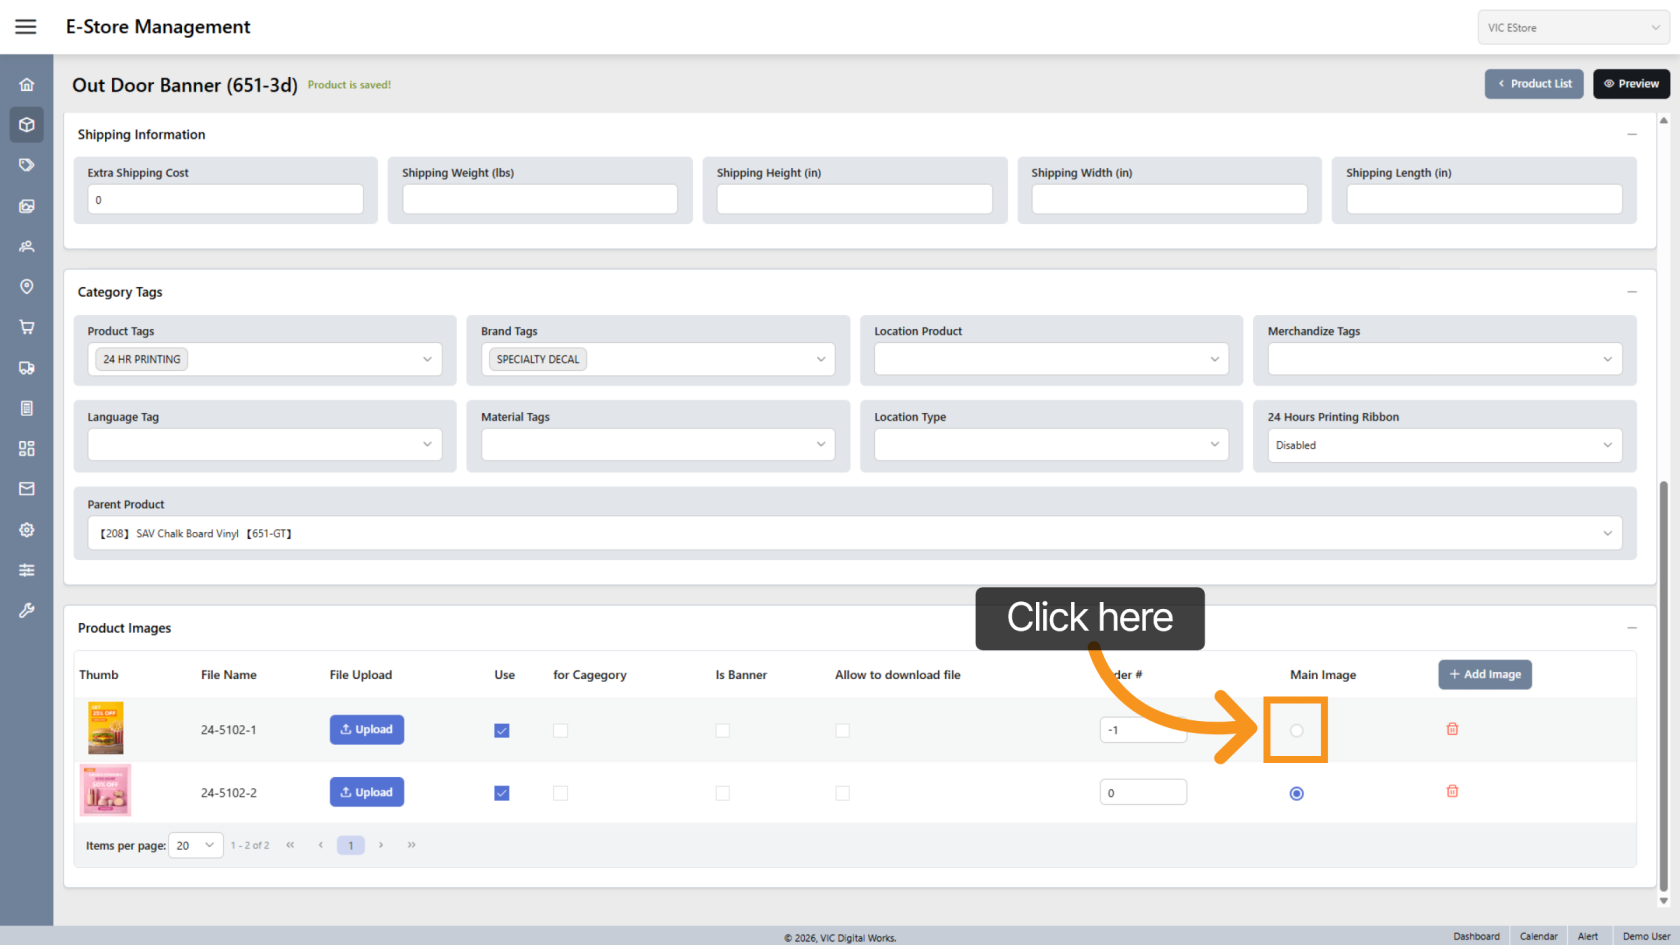
14. Set Main Image
Select Main Image to display that image as the primary product image.
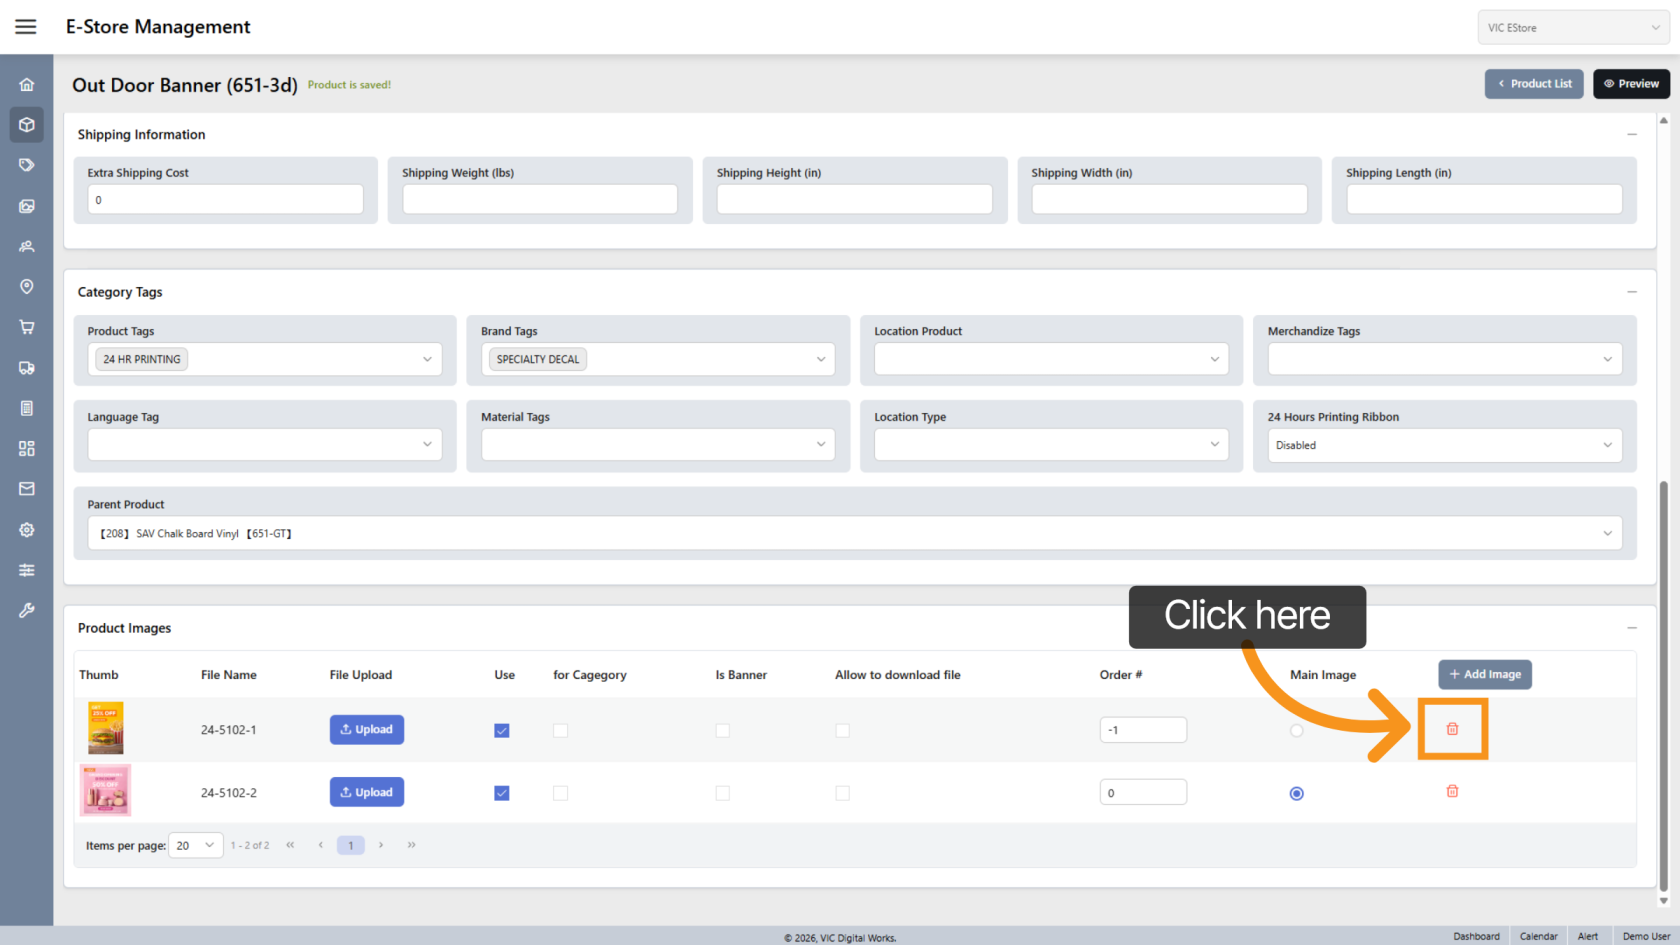
15. Delete Image
Click the ![]() delete icon to remove an image.
delete icon to remove an image.
You have successfully configured and updated product information in the E-Store.