Create E-store Products
This tutorial explains how to create and configure a product in the E-Store.
Video Tutorial
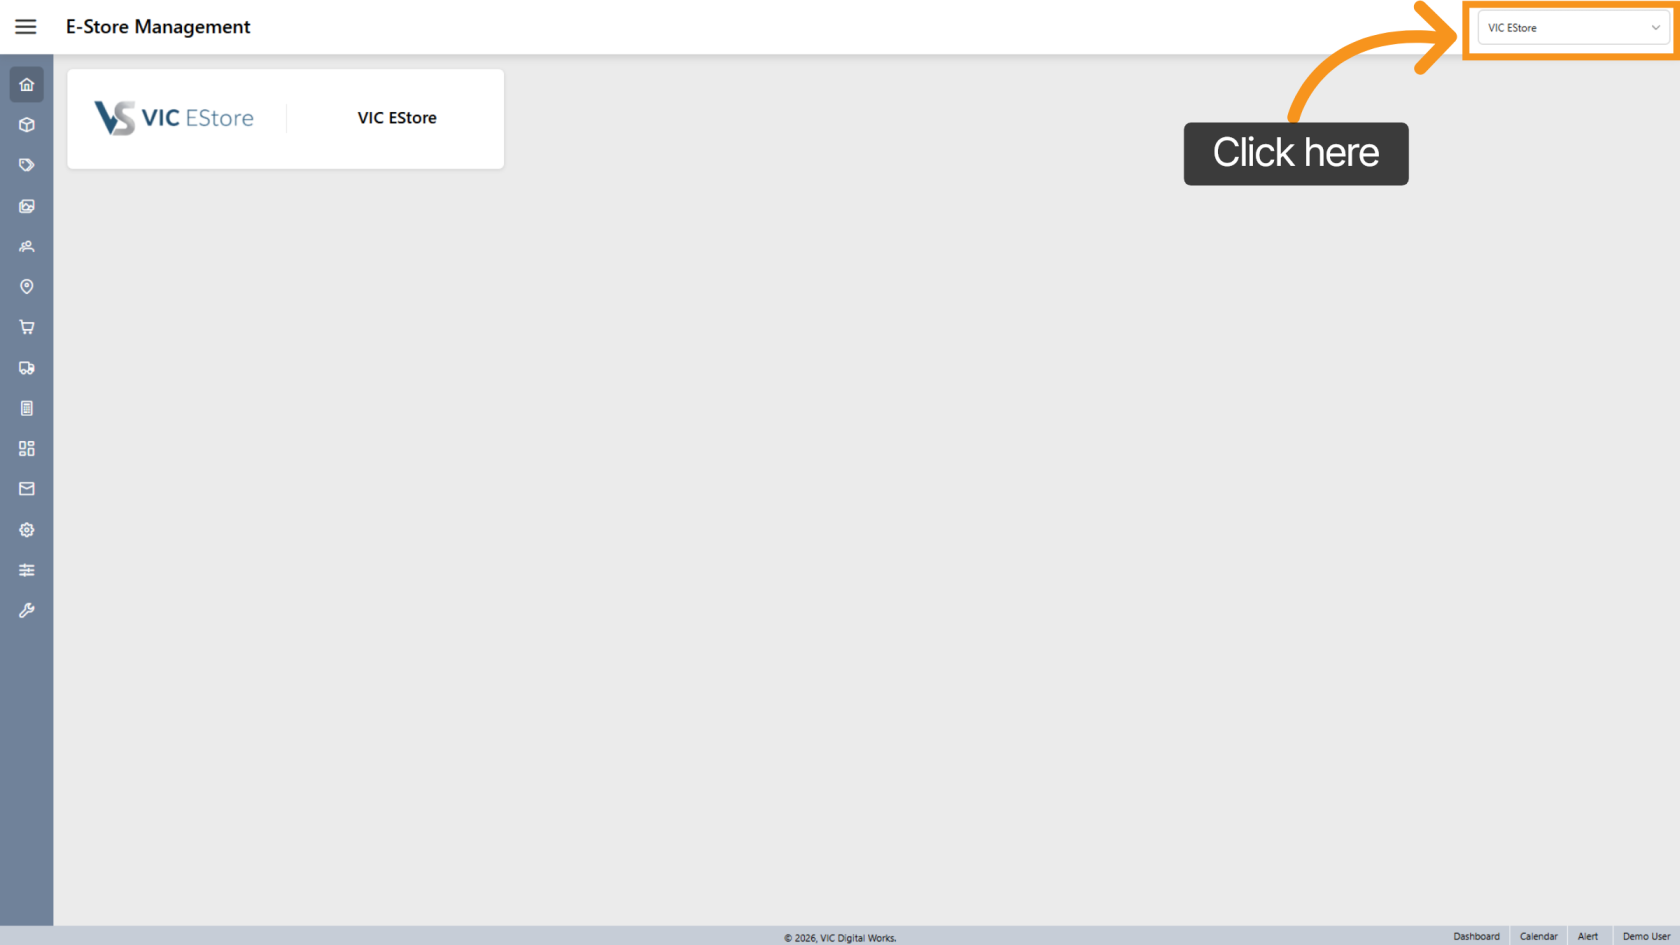
1. Select E-Store Company
Click the dropdown menu and choose the correct company where you want to create the new E-Store product.
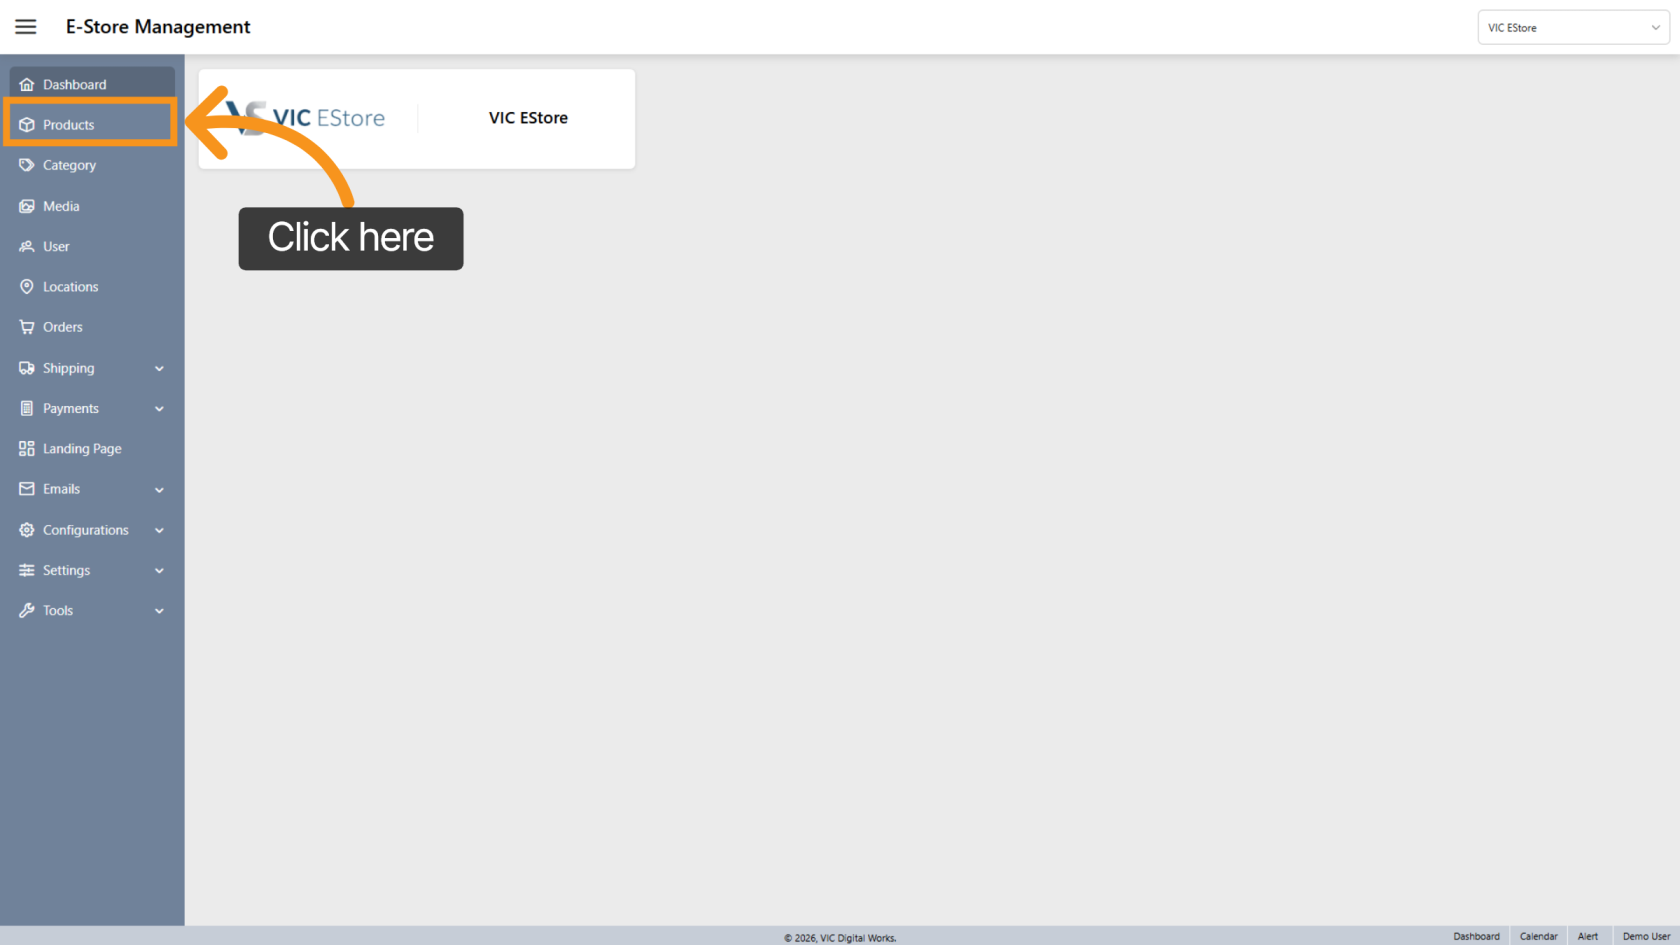
2. Open Products
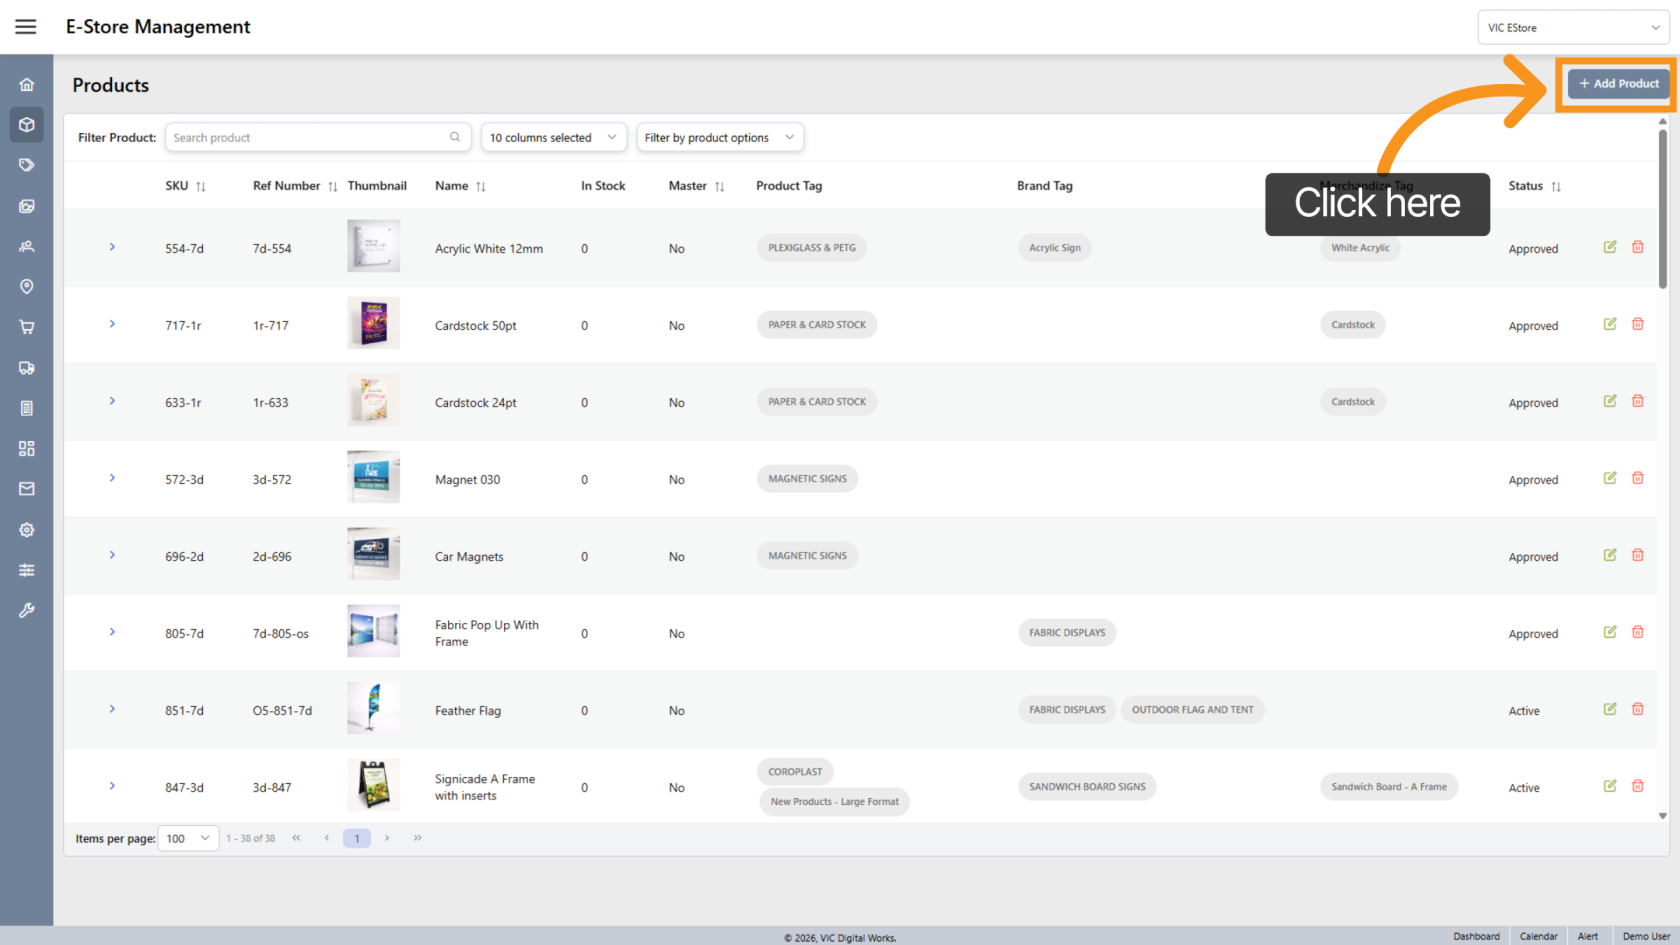
3. Add a New Product
Click Add Product to start creating a new product for your store.
4. Understand the Product Rule
In the E-Store, you cannot create an independent product.
You must clone a child product from a master product.
Note: All cloned products are listed only in the E-Store and will not appear in the WorkTraq system.
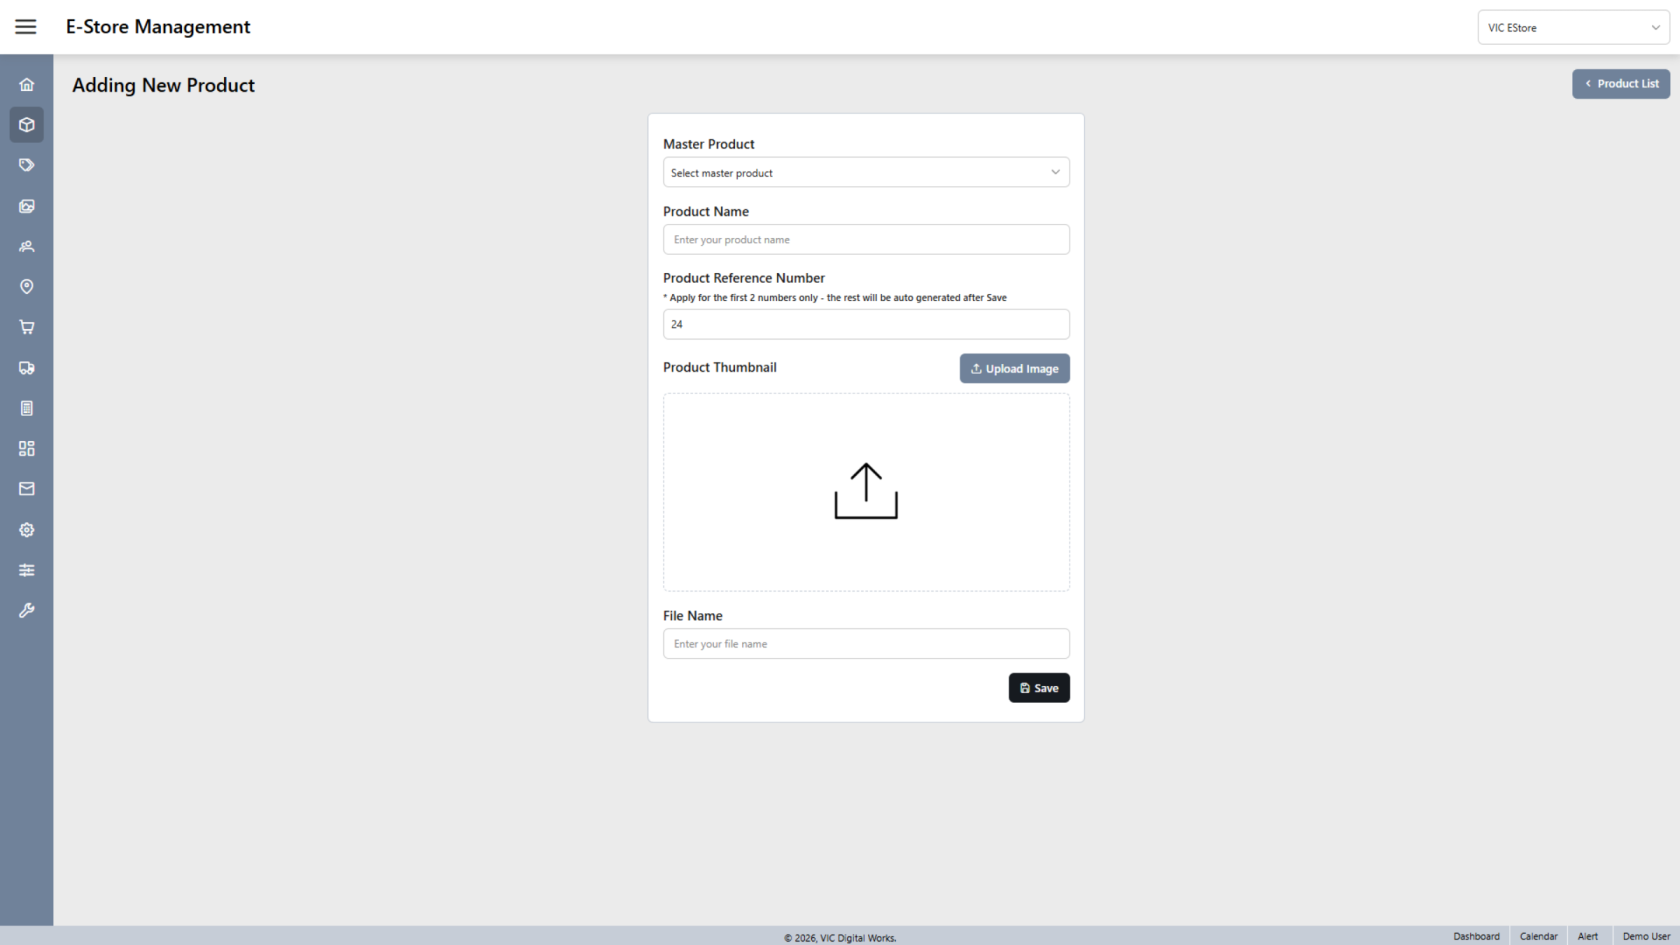
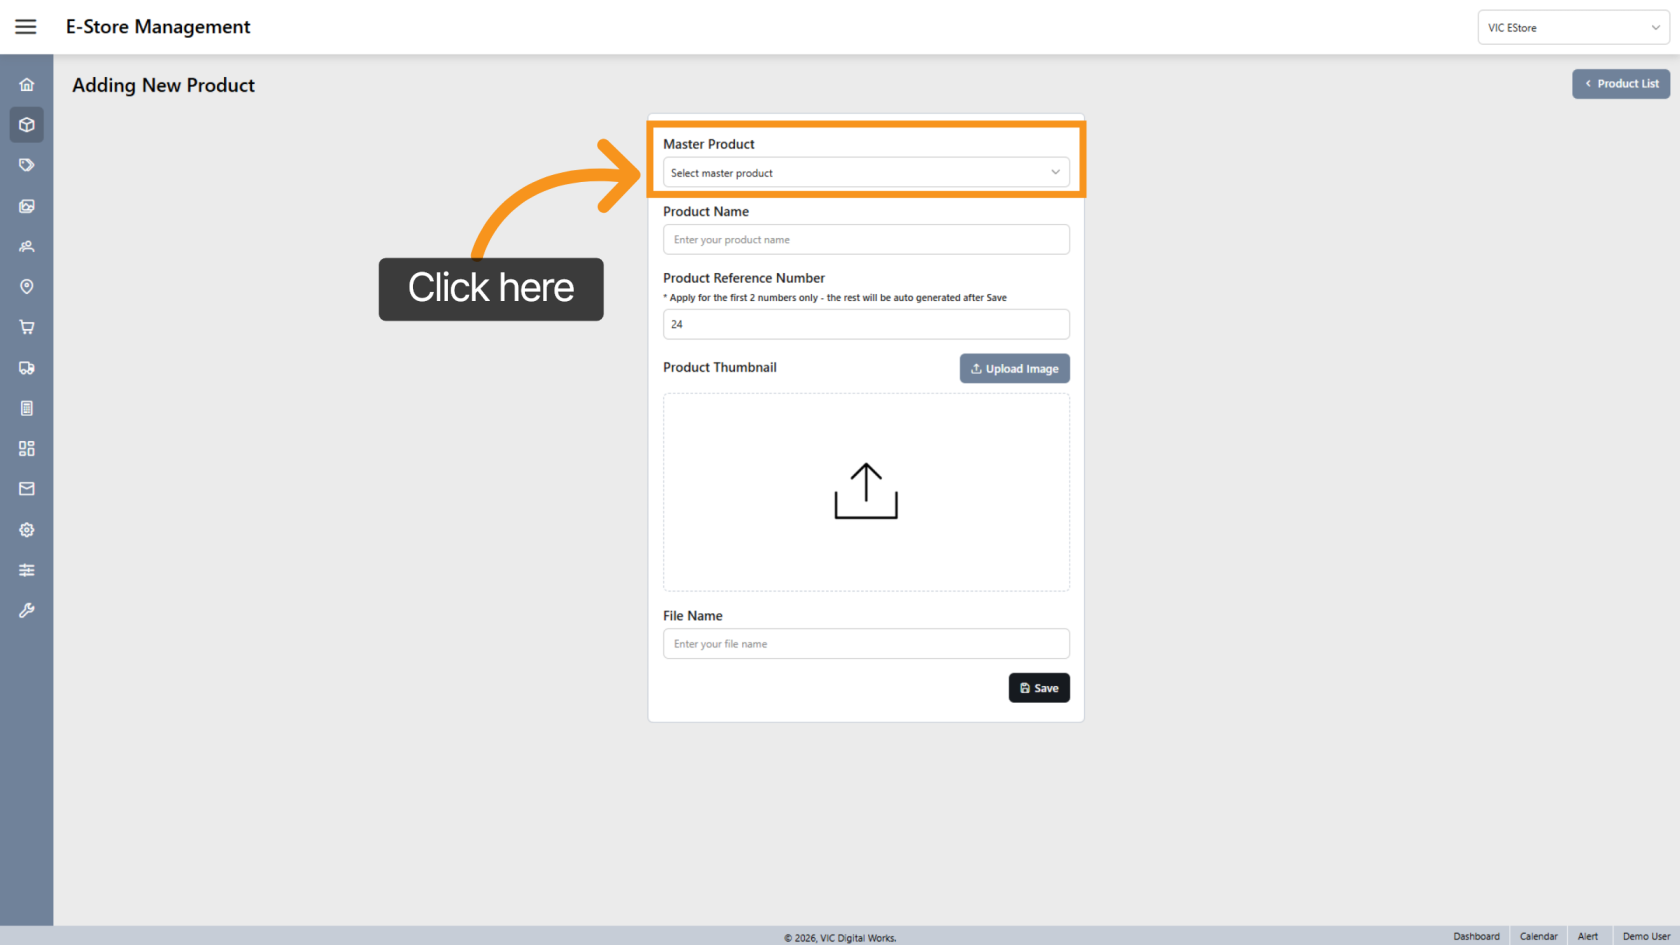
5. Select a Master Product
Click Select Master Product to choose the base product template.
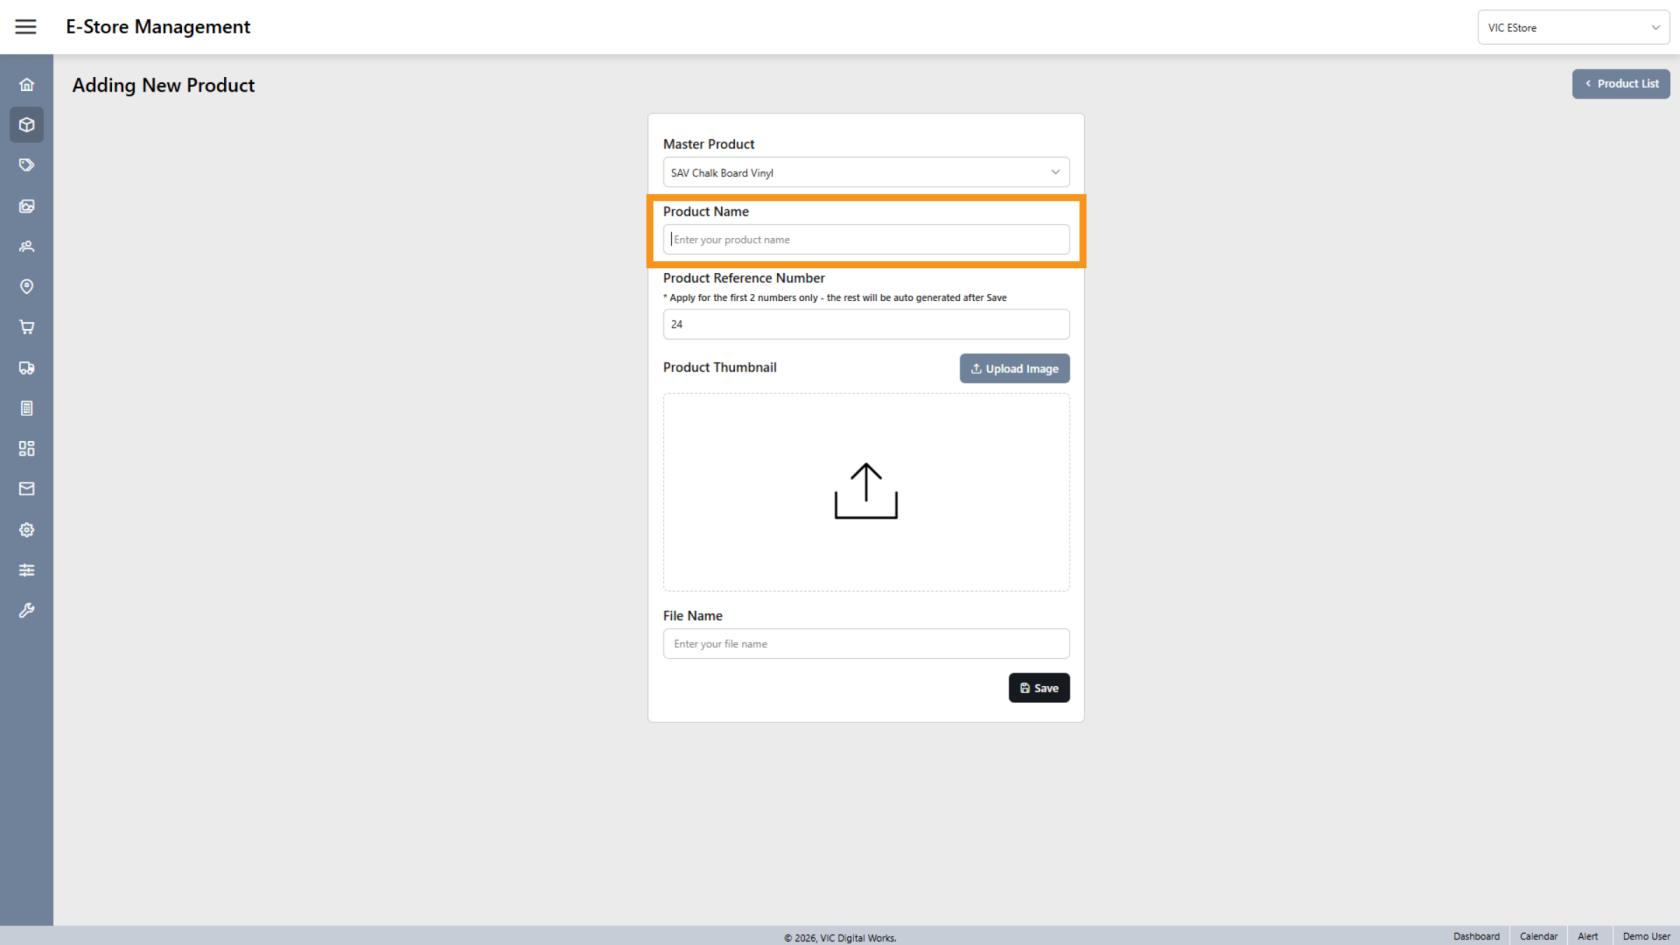
6. Enter Product Name
Click the Product Name field and enter the name of your new product.
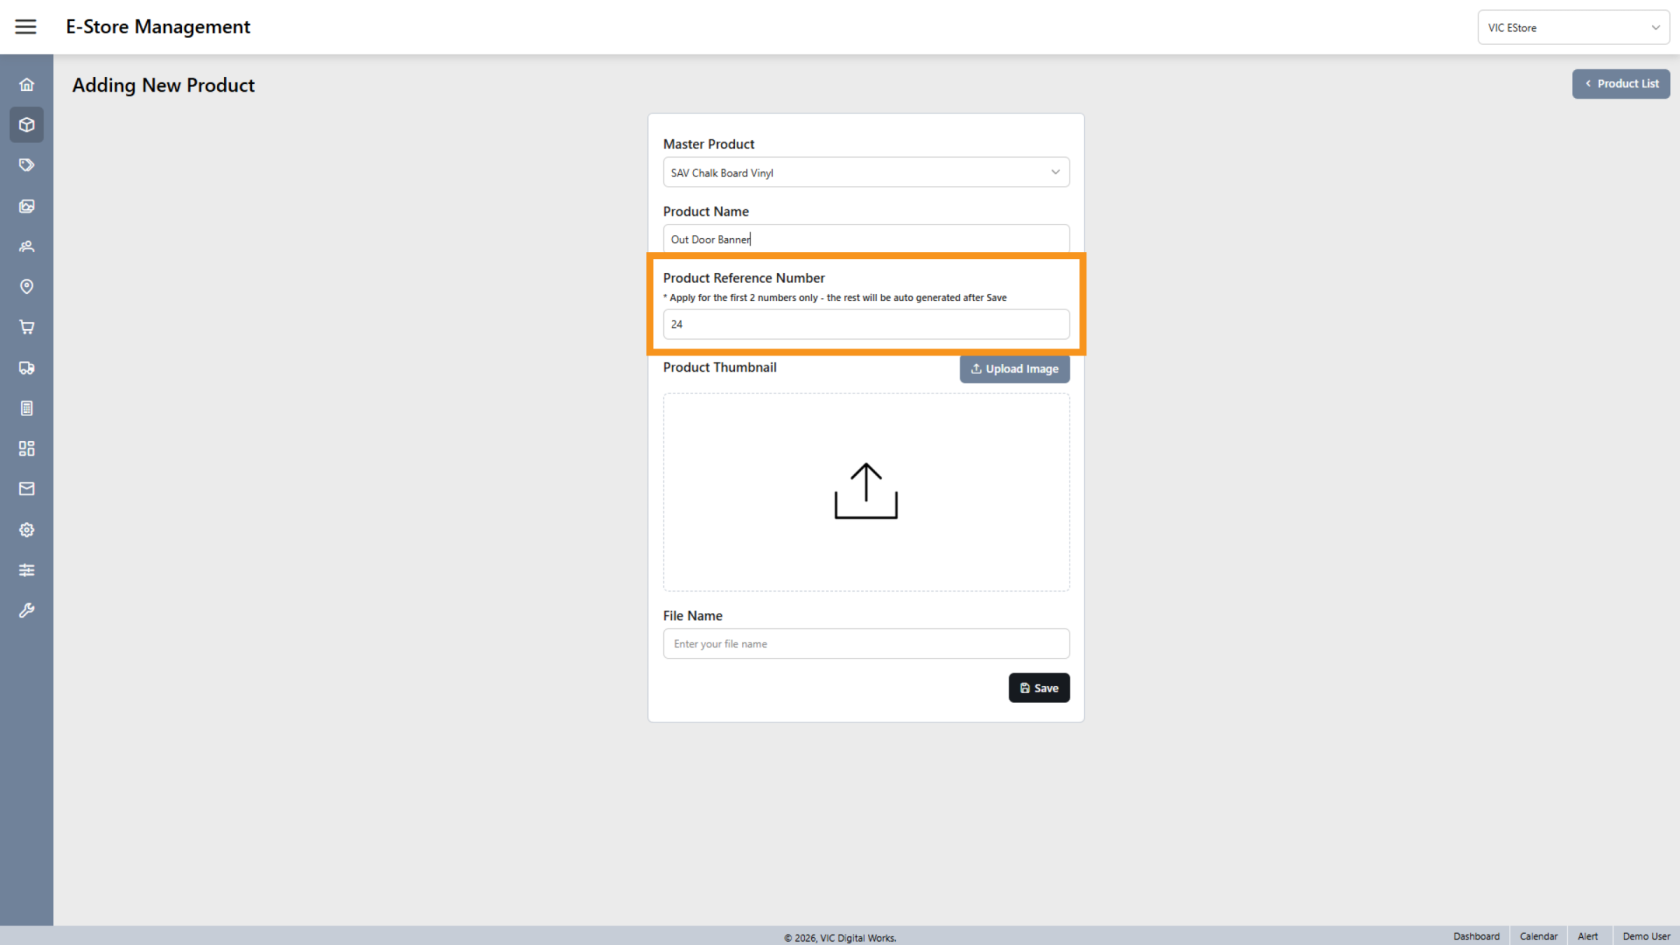
7. Enter Reference Number
Enter the first two digits only — the system will automatically generate the remaining numbers.
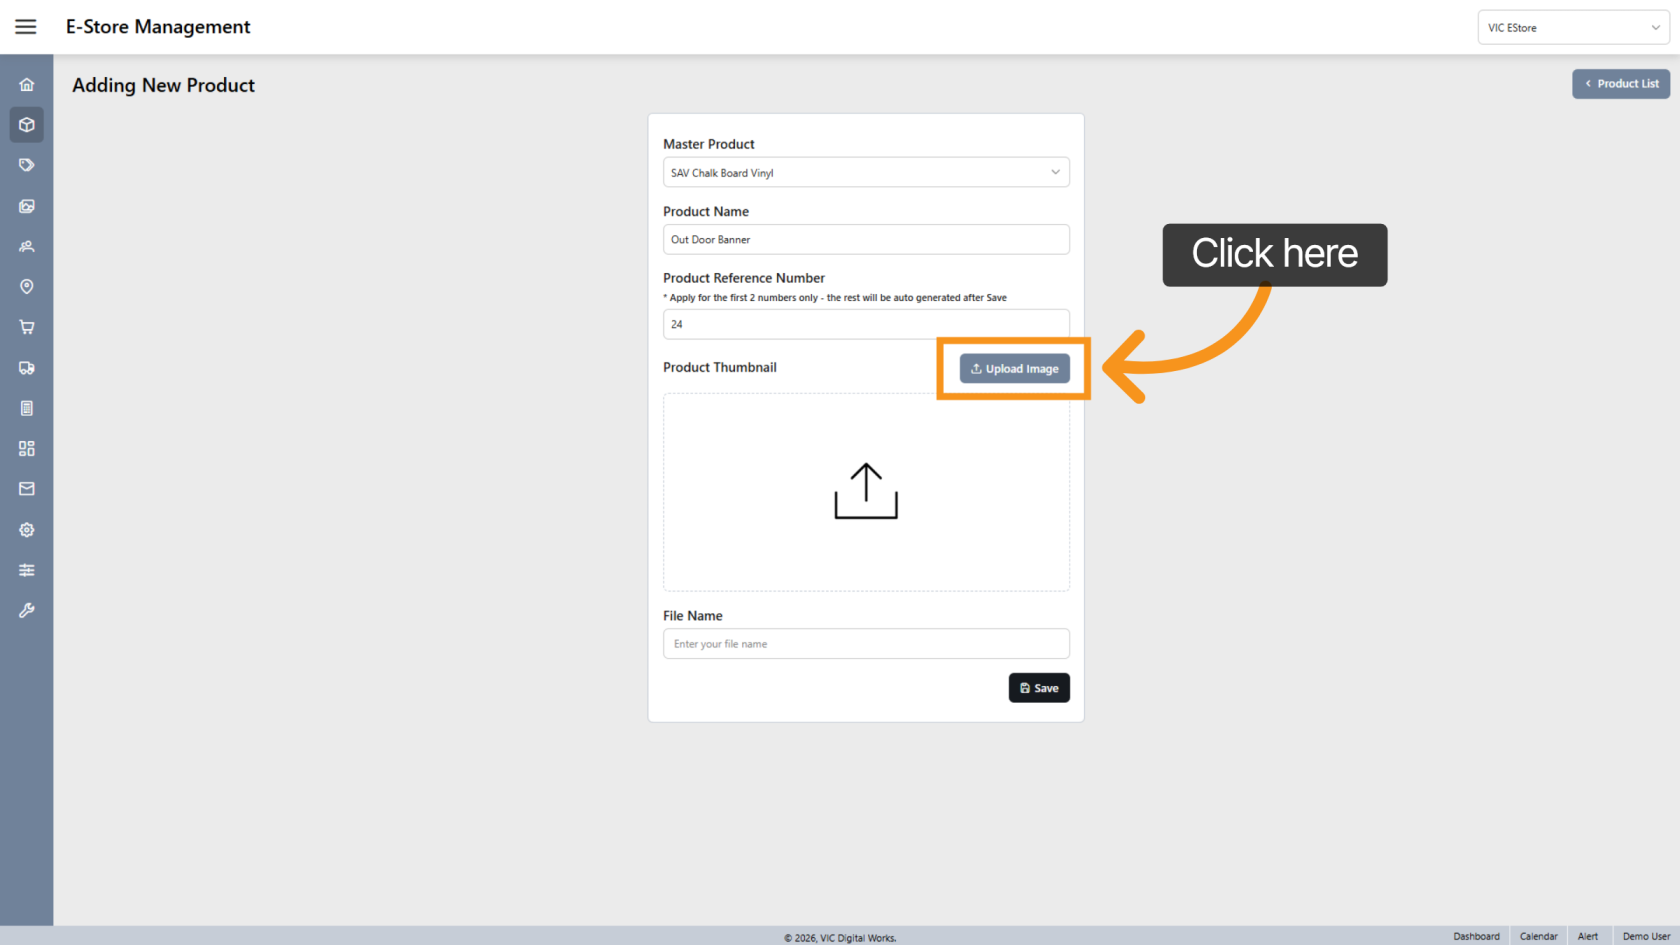
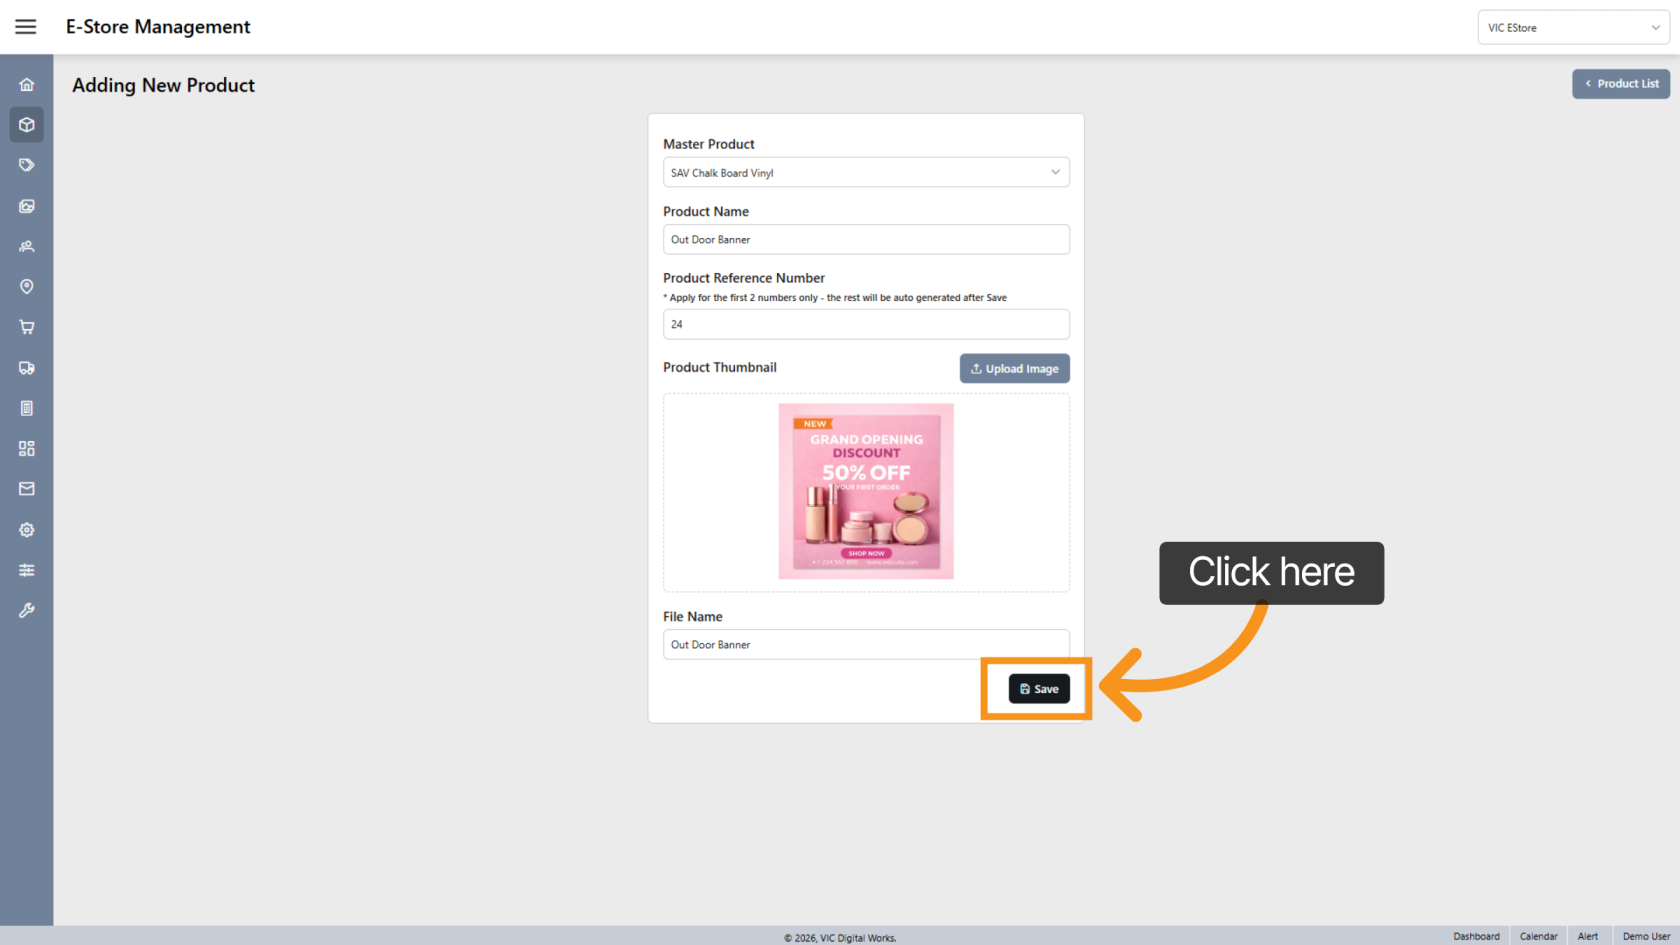
8. Upload Product Thumbnail
Click Upload Image to add a thumbnail image for the product.
9. Save Product
Click Save to apply your changes and create the product.
10. Open the New Product
After saving, the system will automatically open the new product.
All product features will be inherited from the master product, and you can modify them as needed.
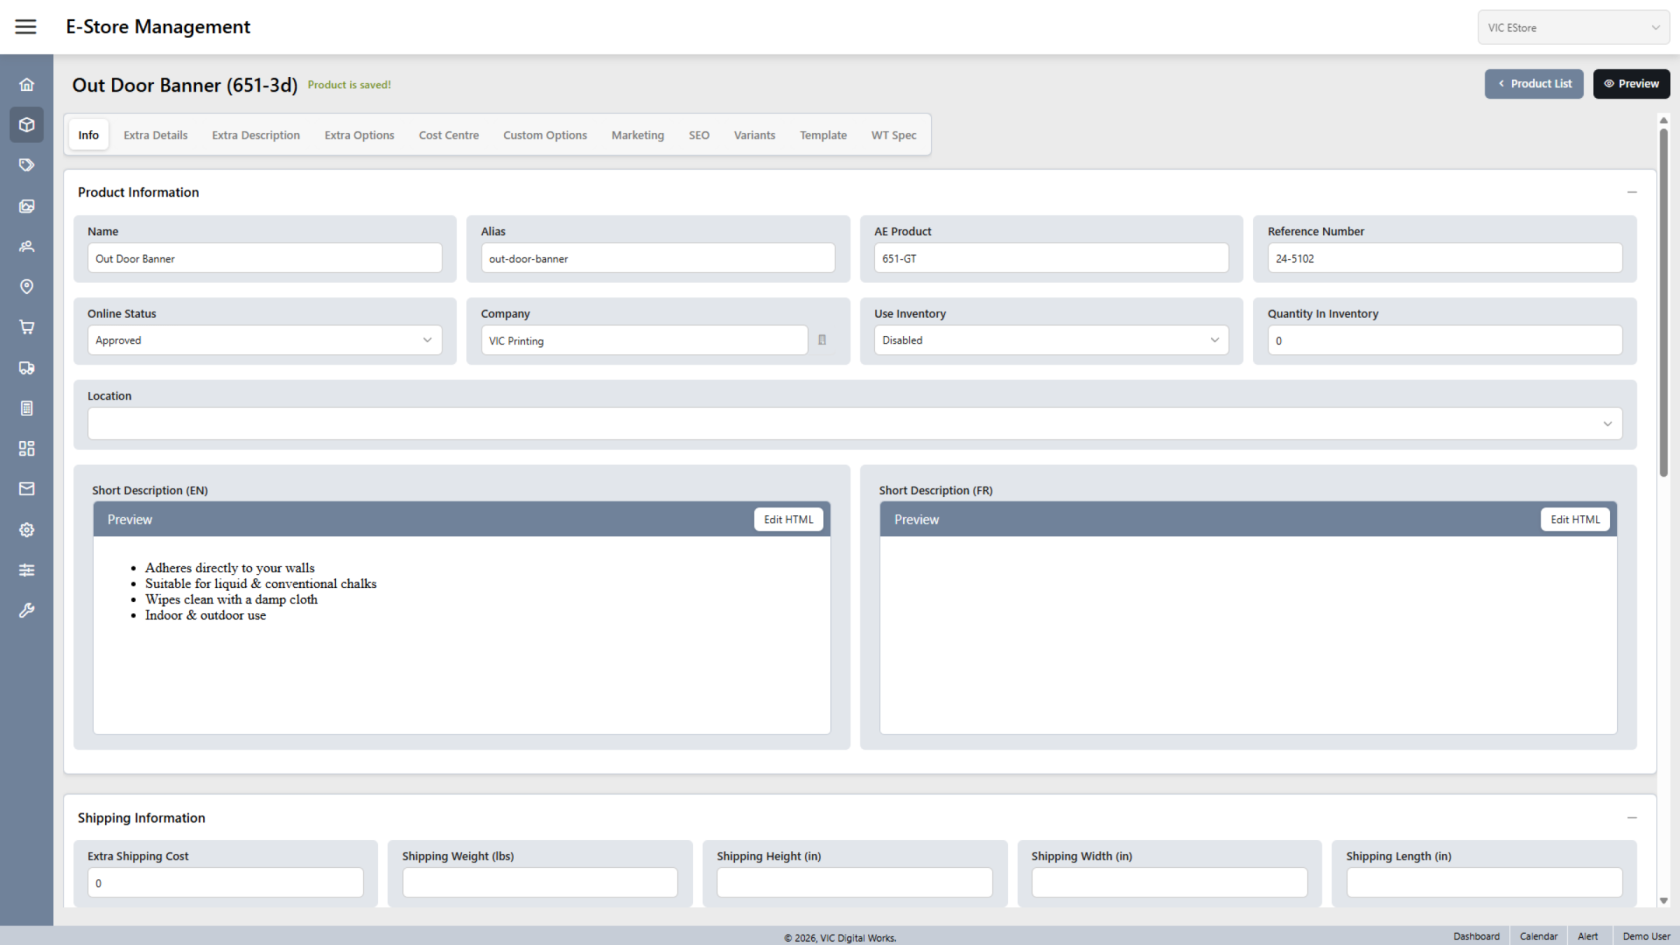
You have successfully created and configured a new E-Store product, including product details and images.
Next step: Configure Product Information in E-store