Create Users
This tutorial explains how to create and configure a new user in the App.
Video Tutorial
1. Open User Section
Click "User" in the sidebar to access user settings.

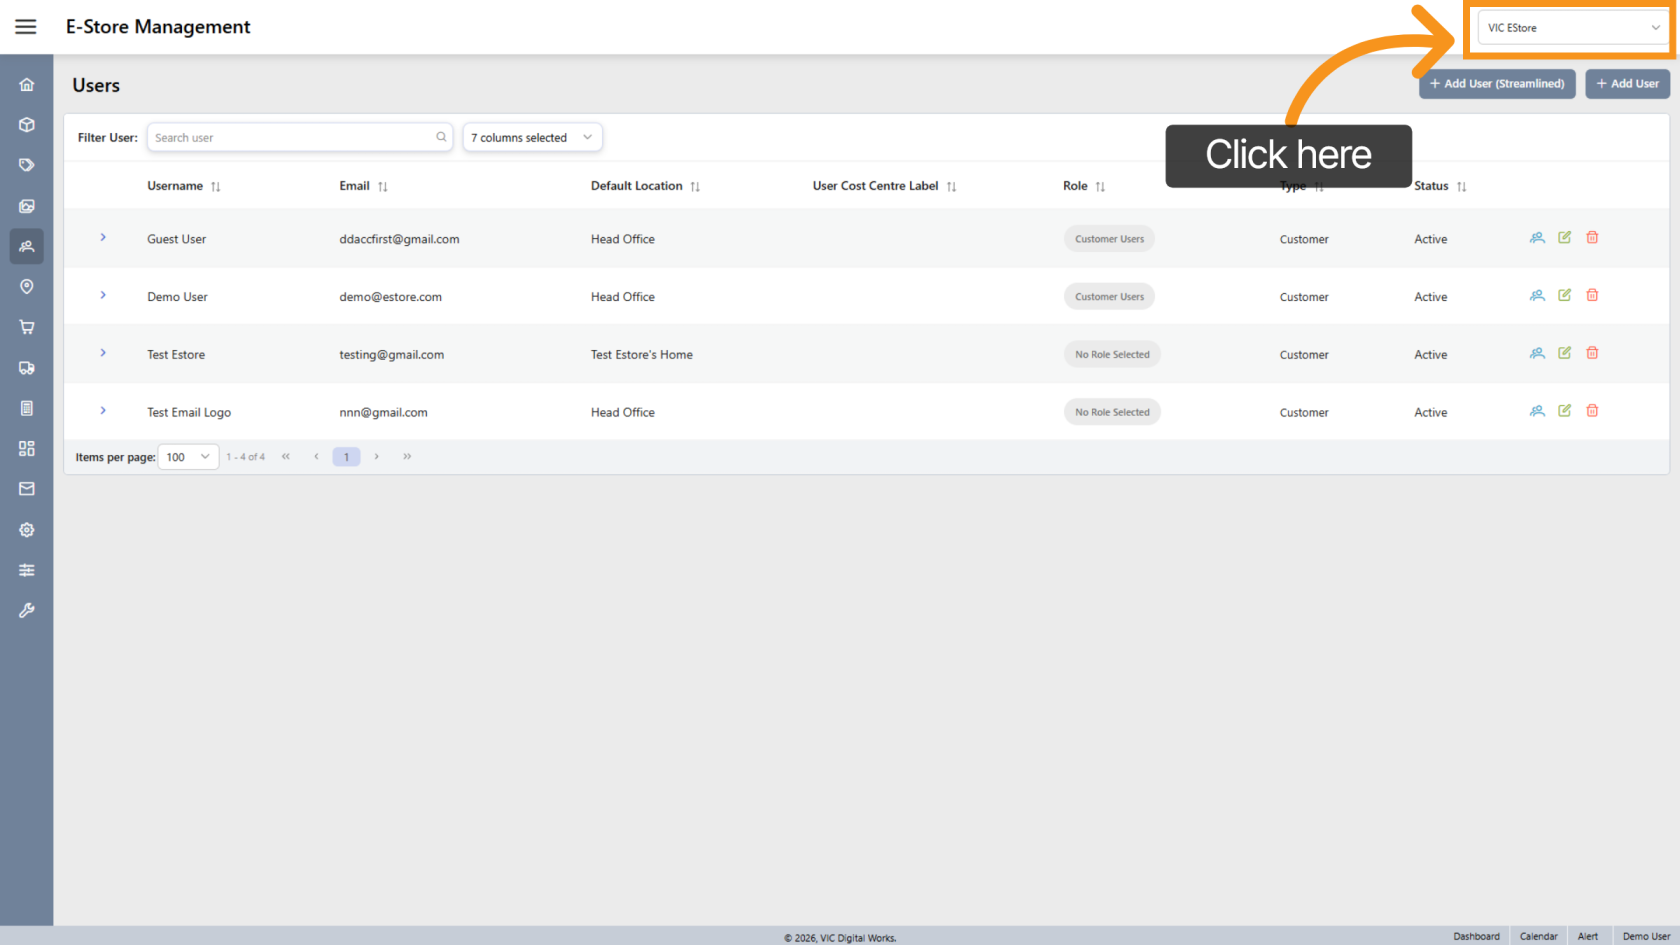
2. Select Company Store
Make sure you are in the correct Company Store where you want to add the user.
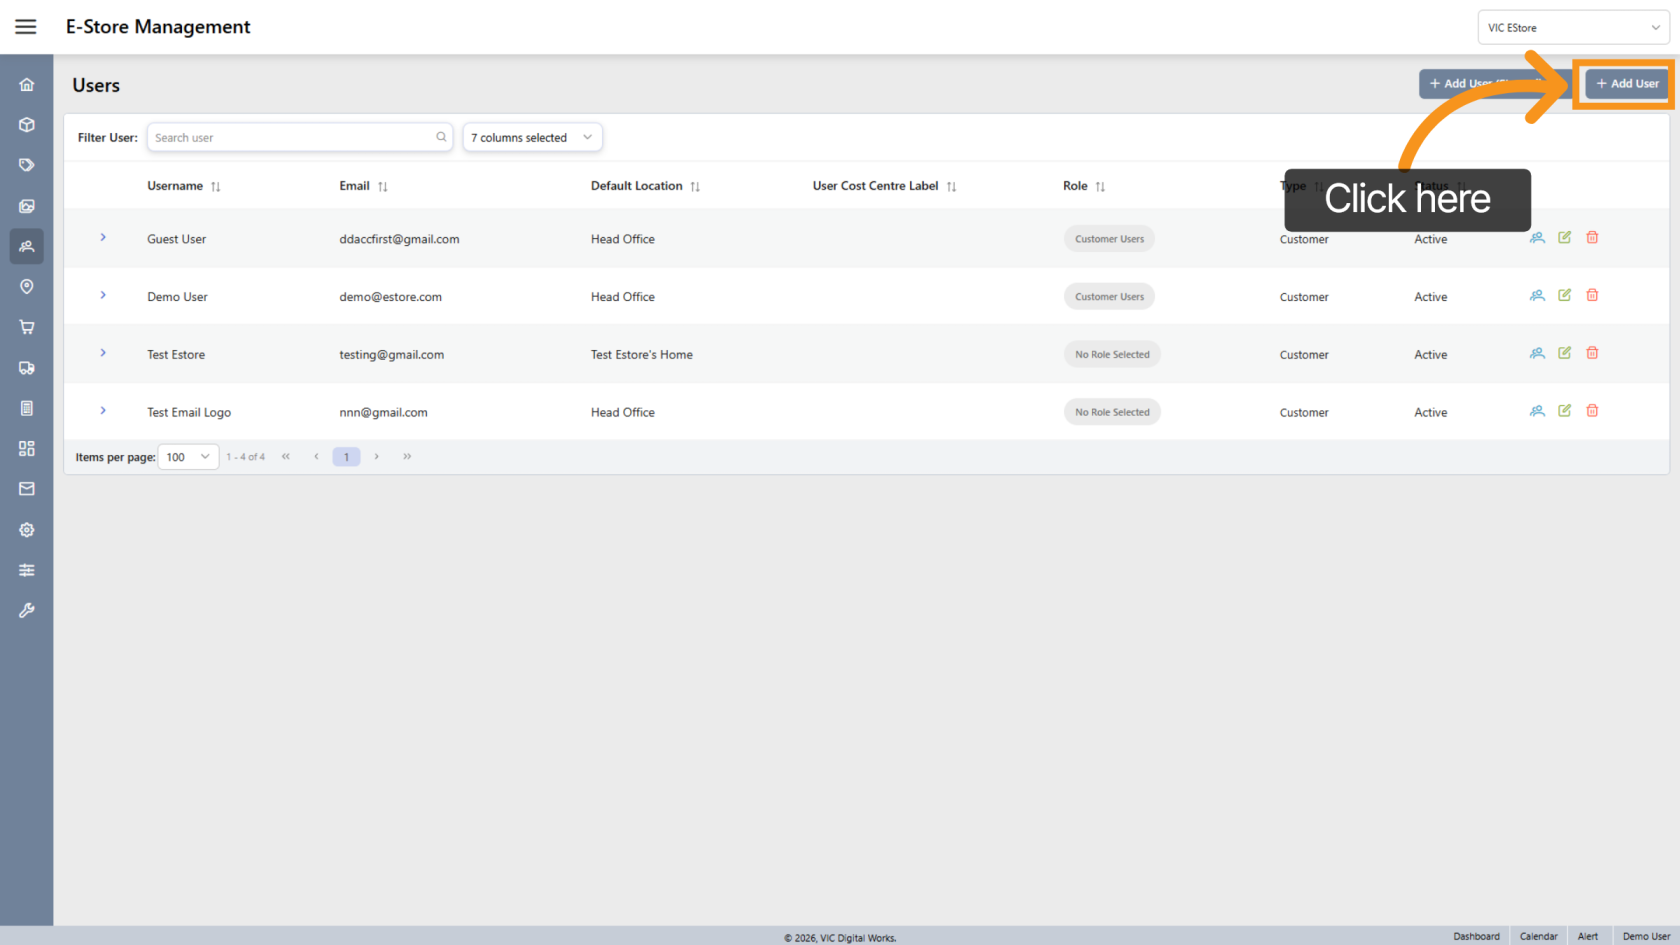
3. Add New User
Click "Add User" to create a new user.
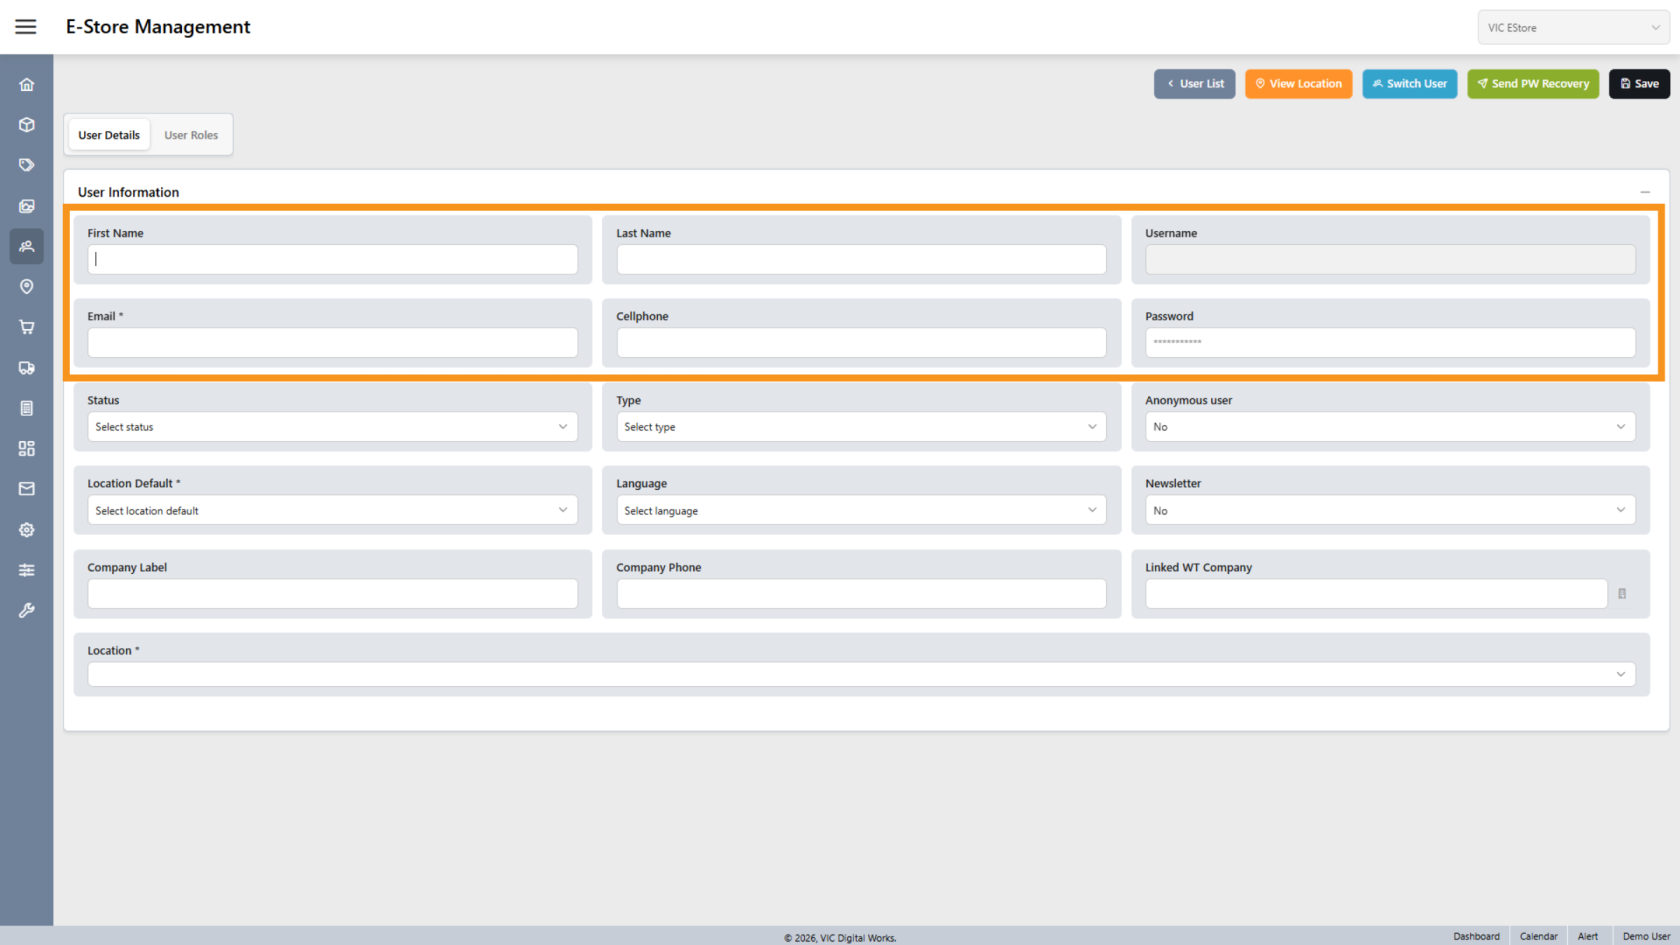
4. Enter User Information
Fill in the required details, including:
- First Name
- Last Name
- Cellphone
- Password
Note: Email and password are required for store login
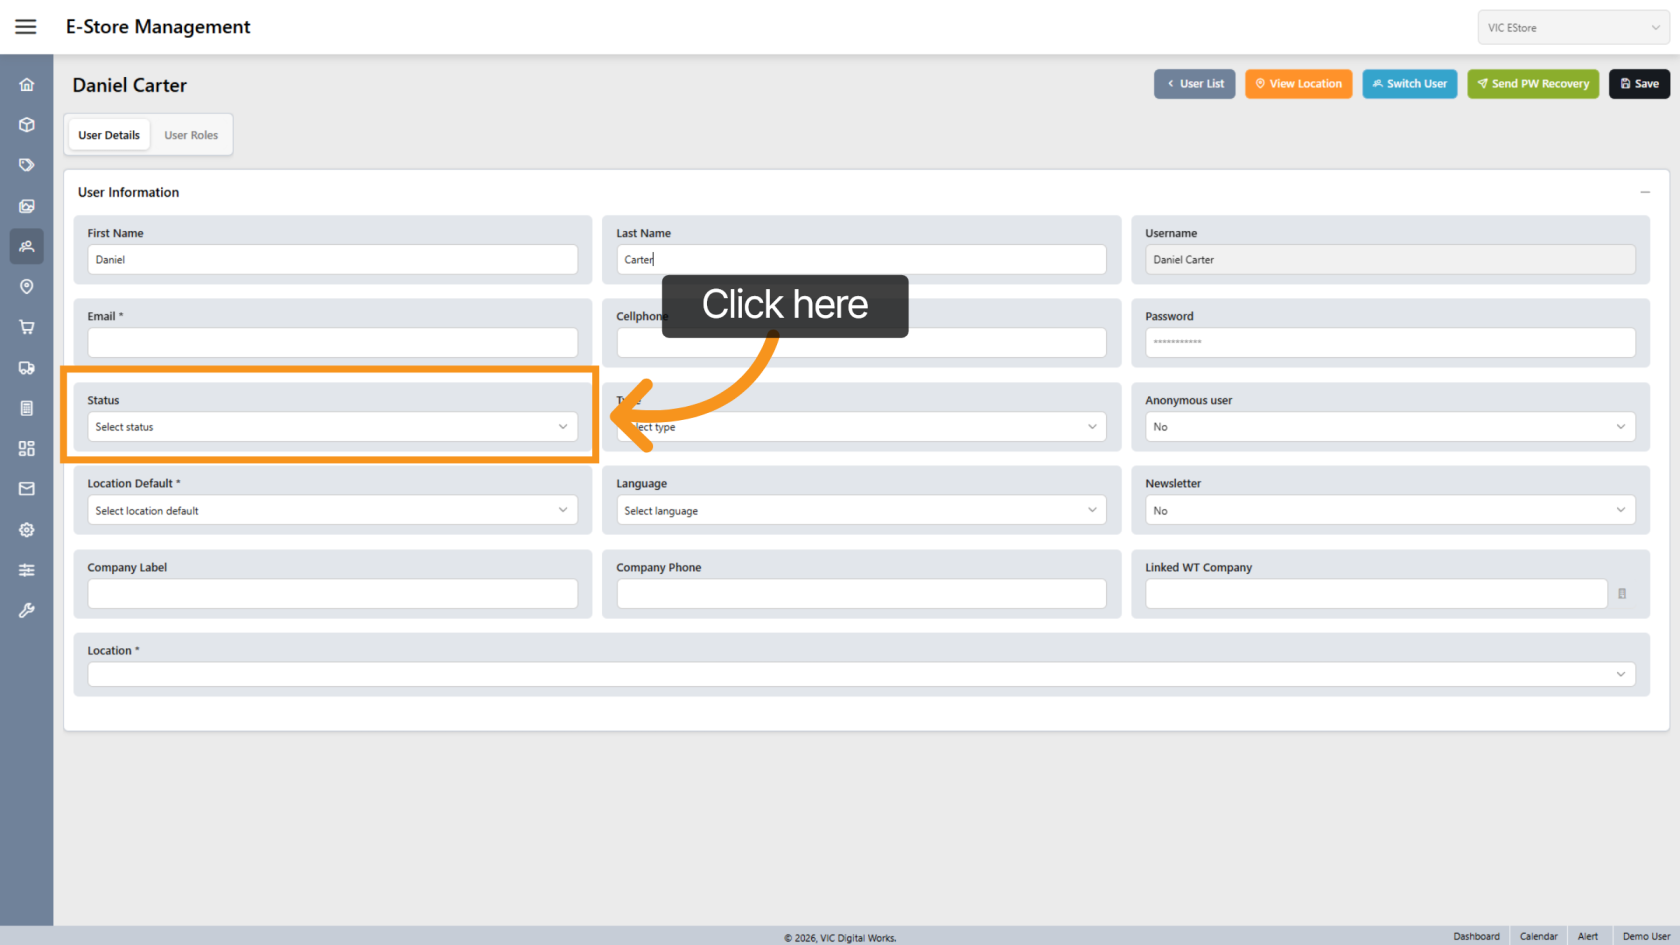
5. Set Status
Change the status to Active to allow the user to log in.
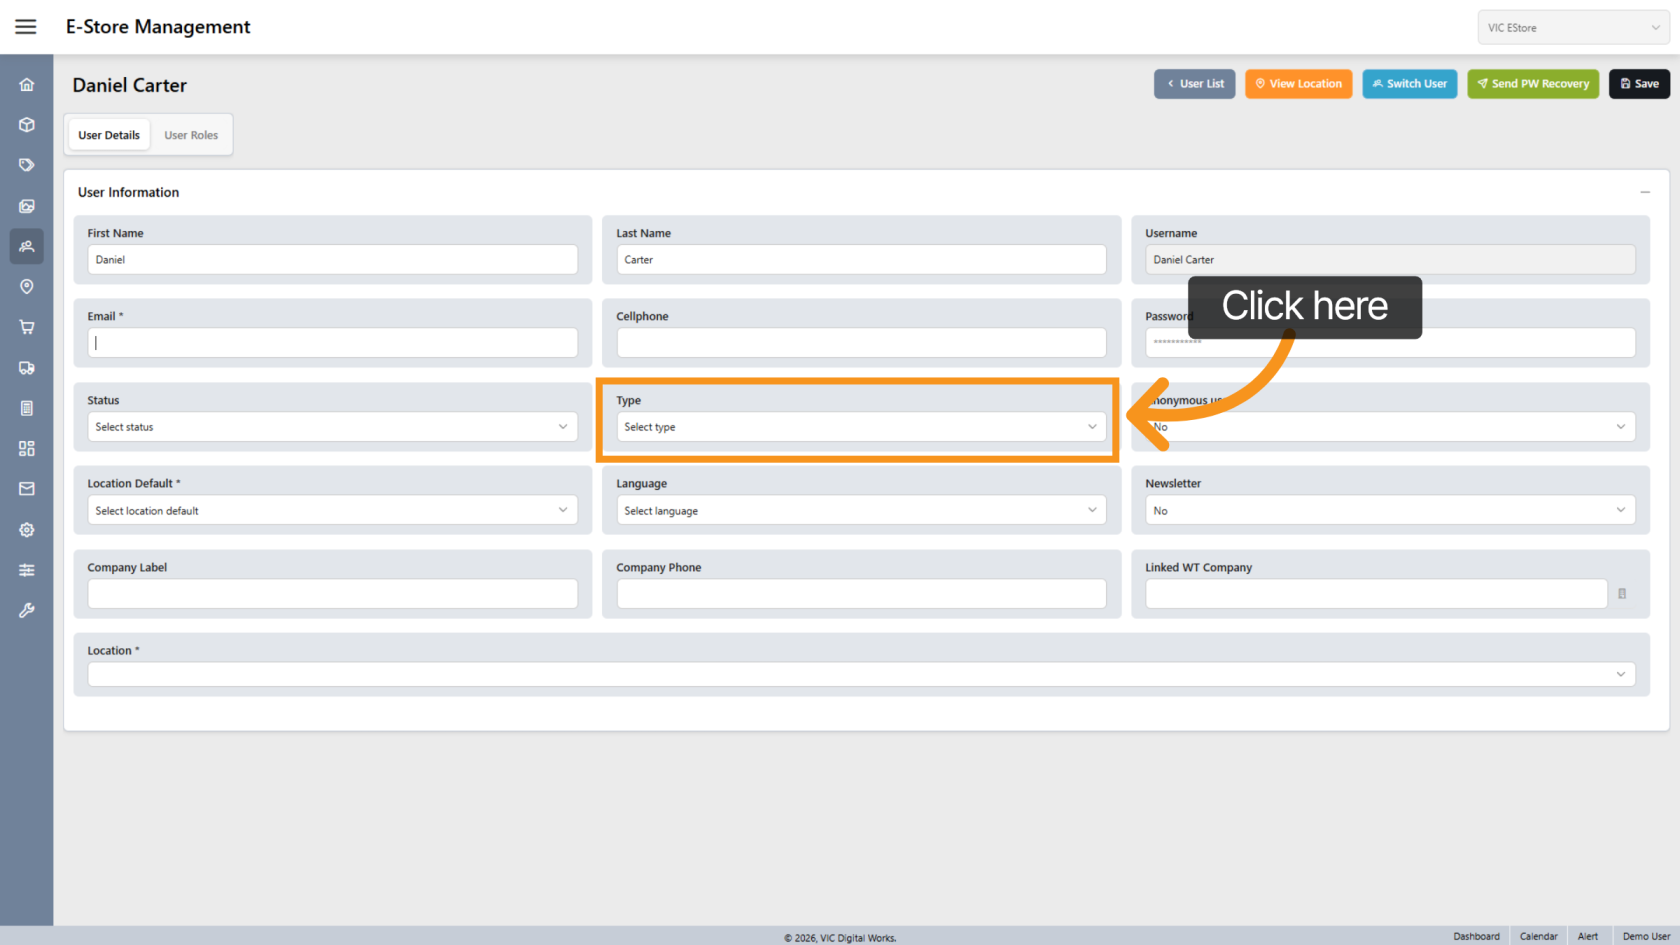
6. Select User Type
- Choose Customer for a standard user
- Choose Admin for an administrator
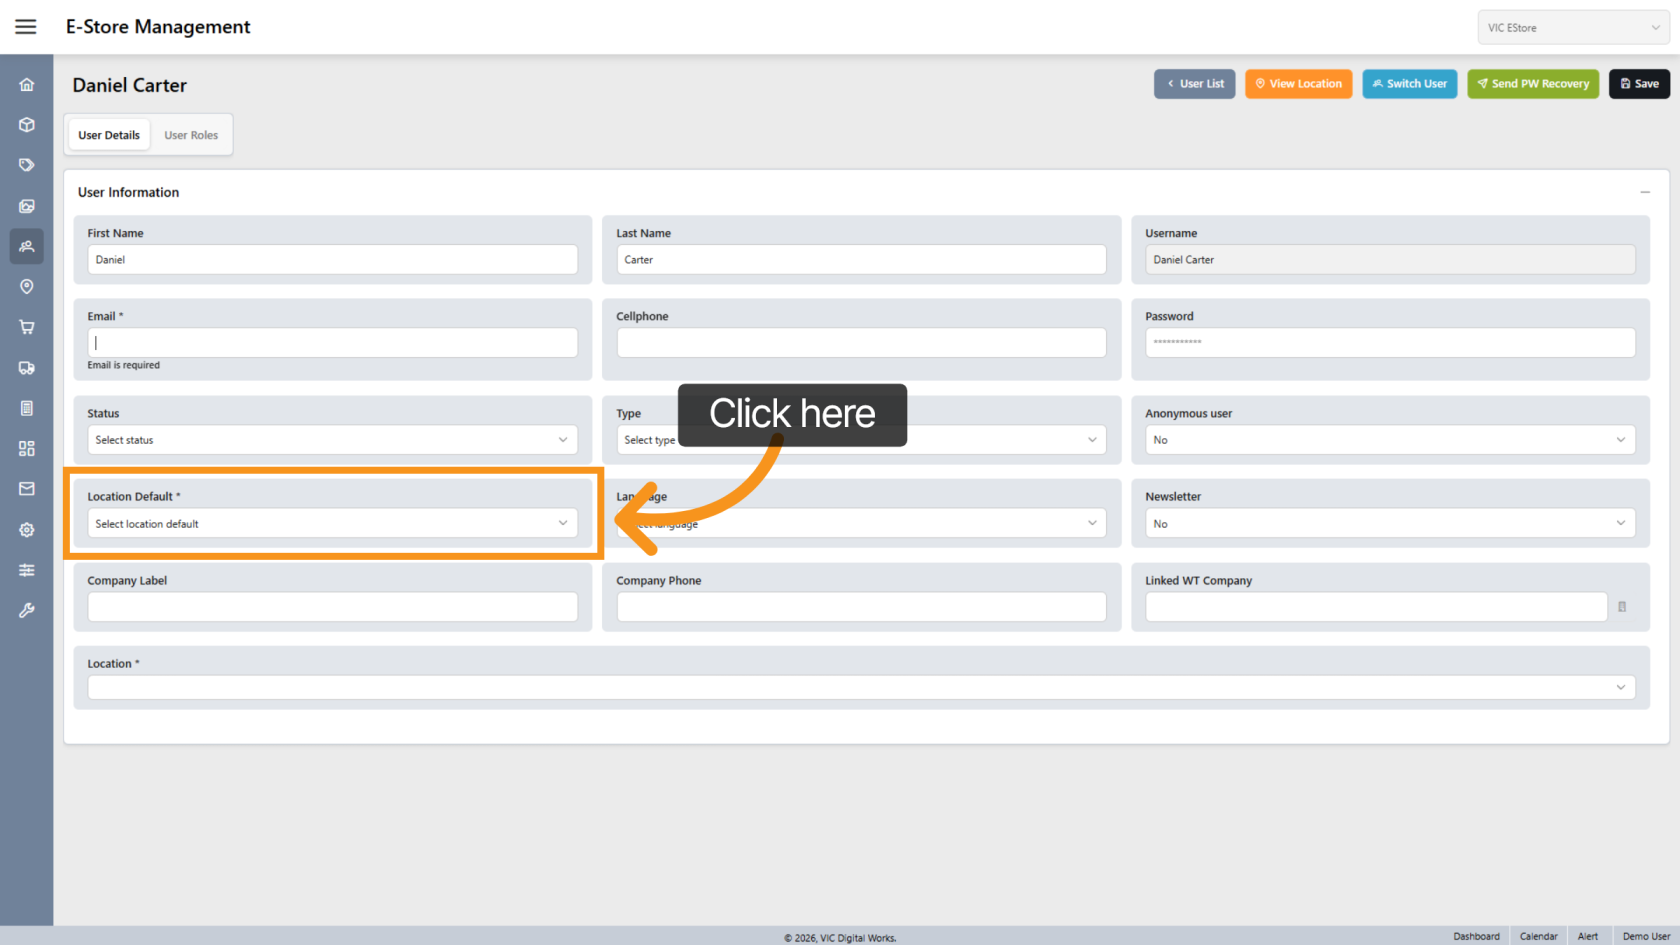
7. Set Default Location
Assign a default location for the user.
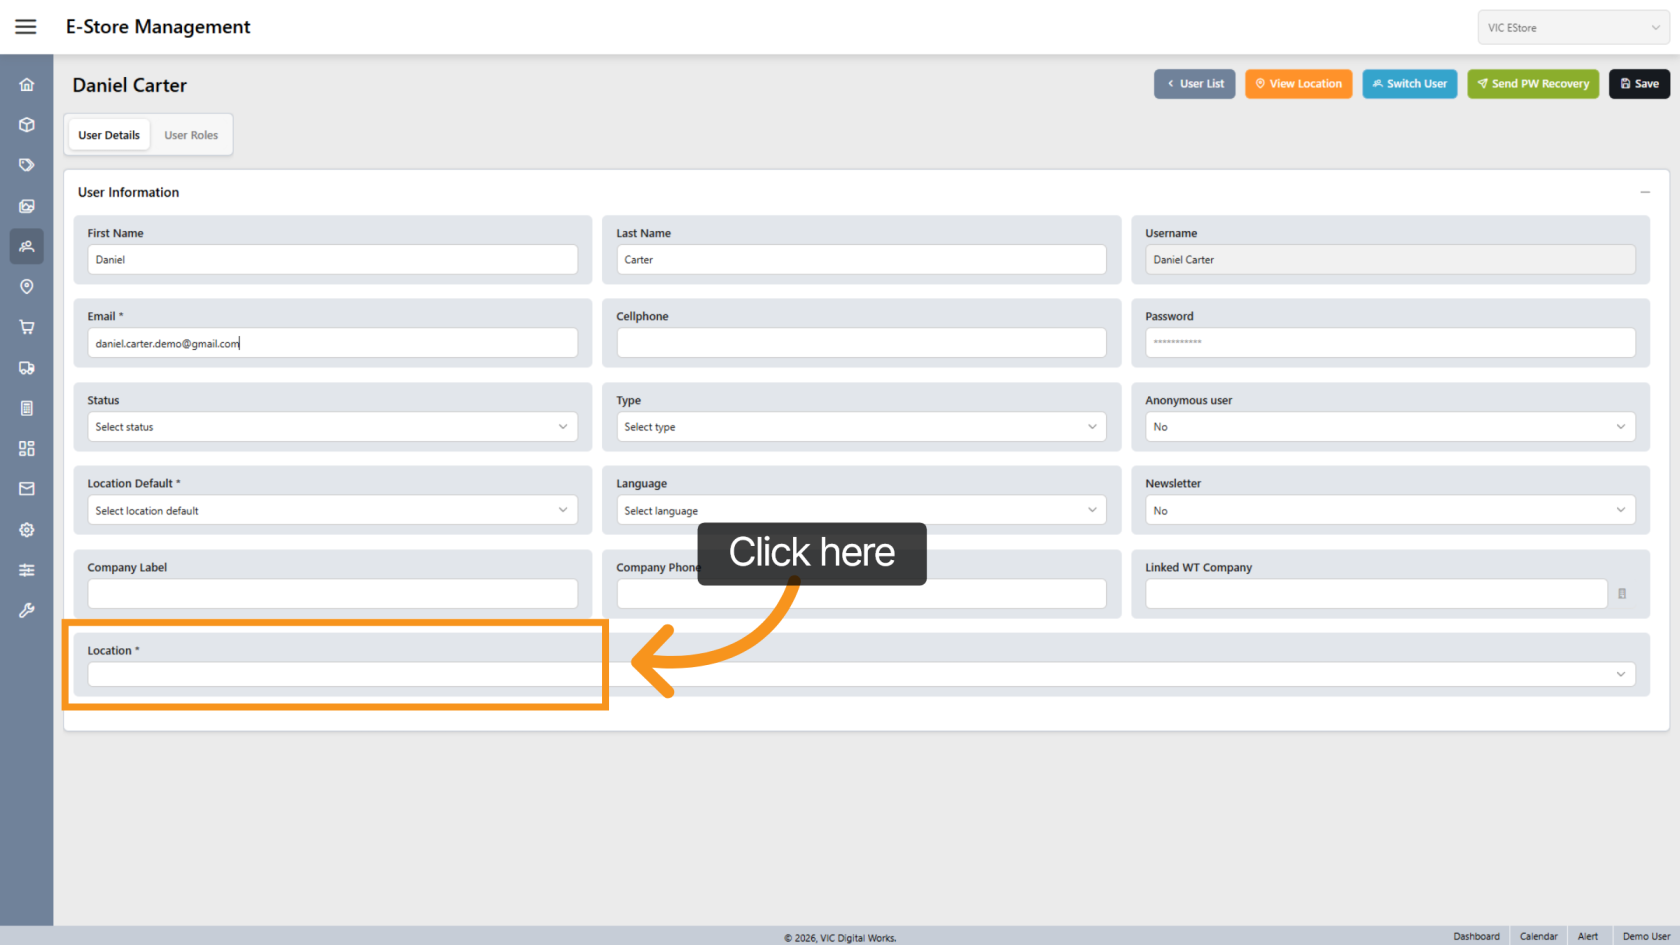
8. Assign Locations
Select the locations the user can access.
You may assign multiple locations if needed.
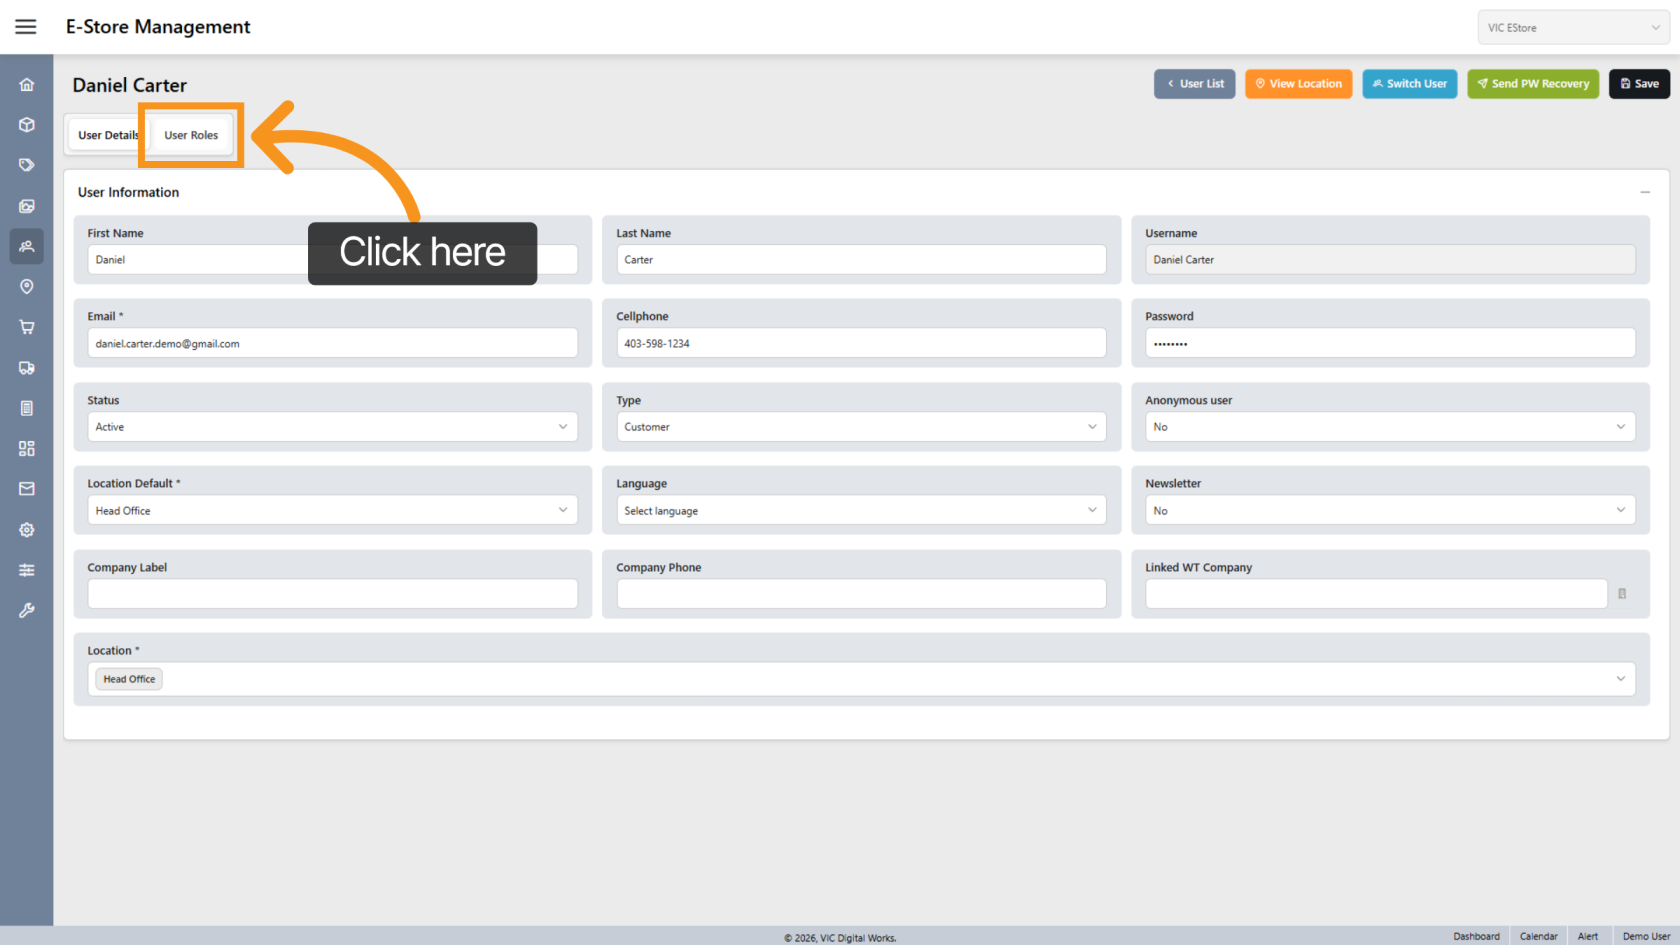
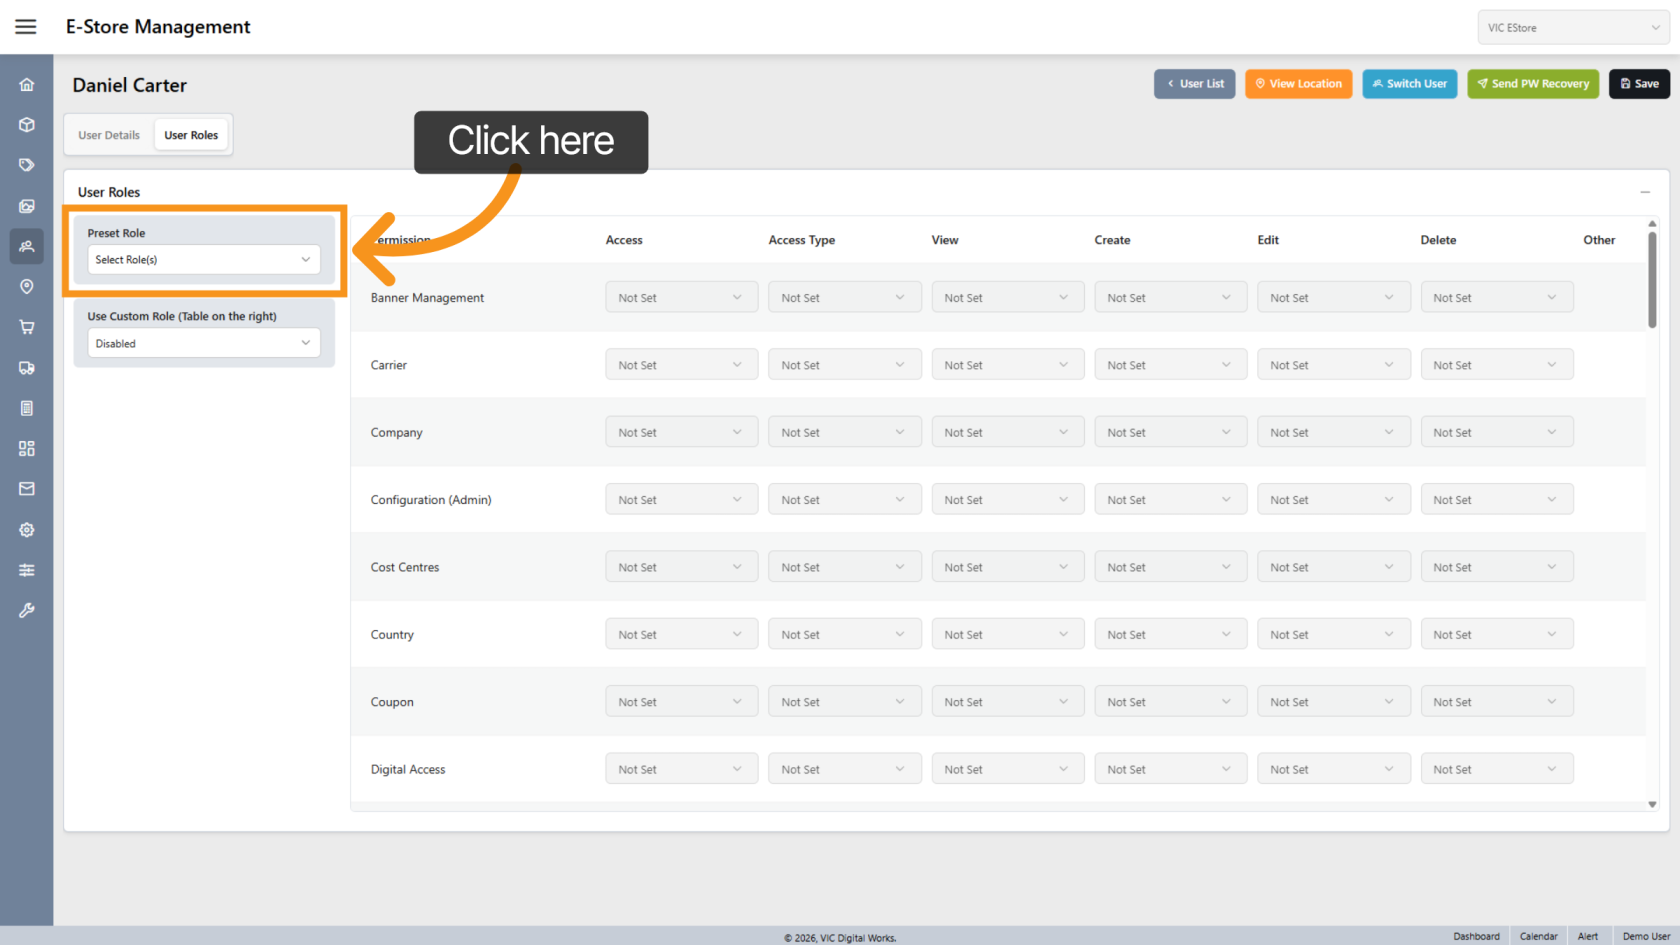
9. Set Up User Roles
Click "User Roles" to configure permissions.
10. Assign Role
Click "Select Role" to assign one or more roles to the user.
(Refer to the Create Role guide for details on role setup.)
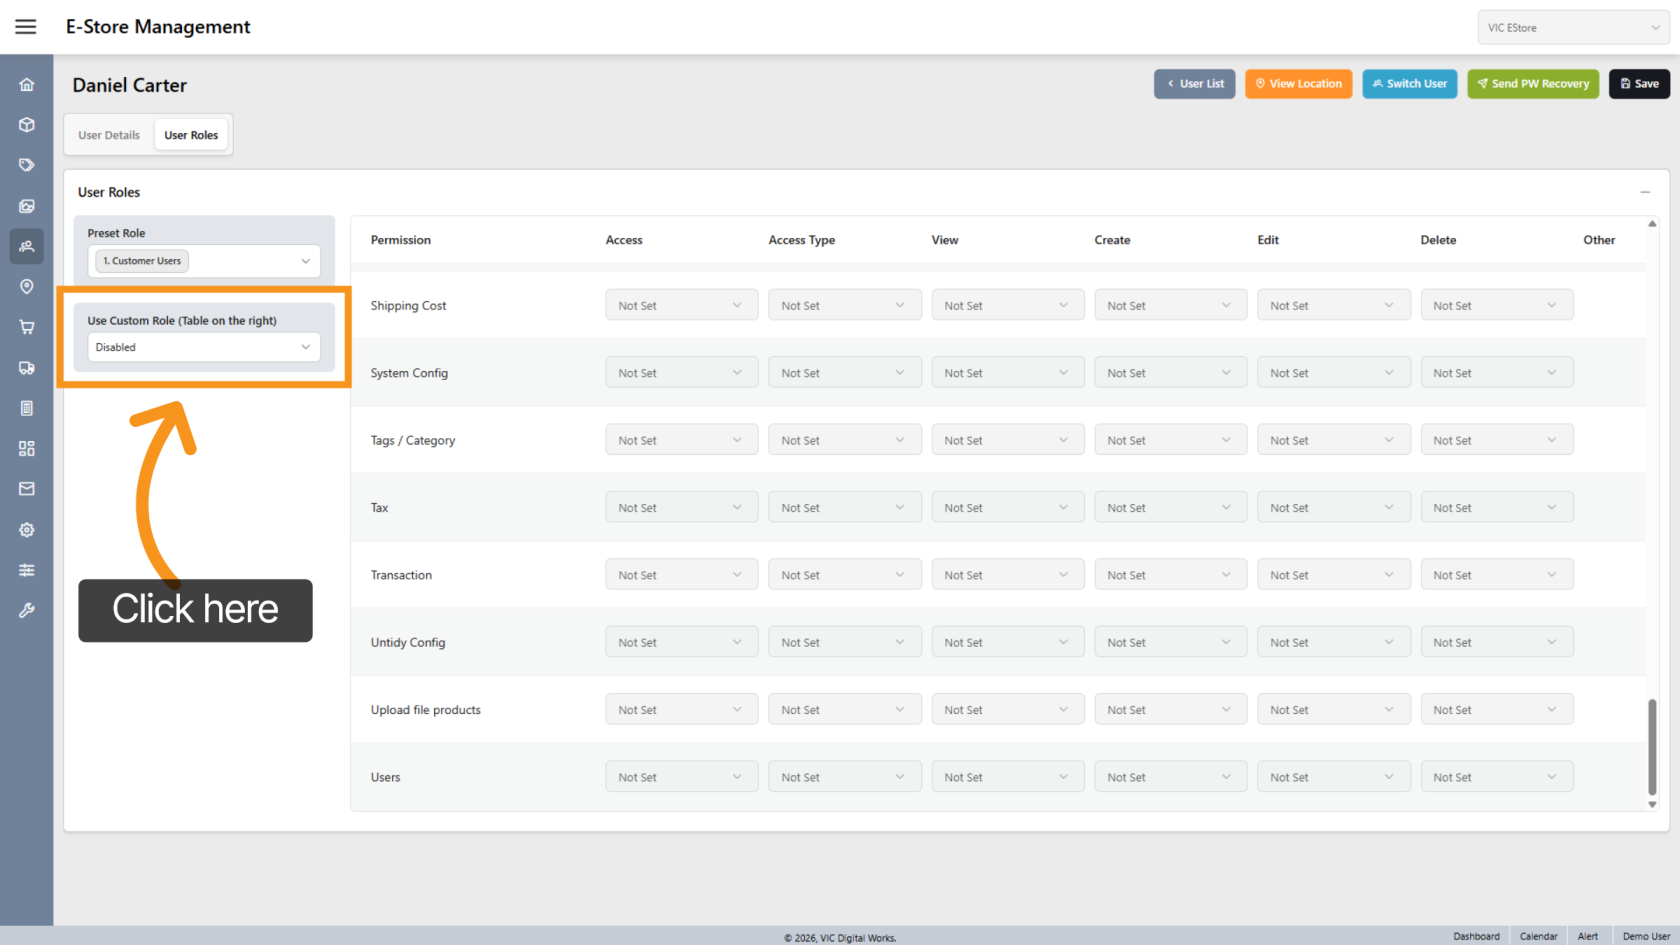
11. Custom Role (Optional)
Enable Custom Role to define specific permissions manually.
However, it is recommended to use predefined roles for better organization.
If needed, create a new role with specific permissions and assign it to the user.
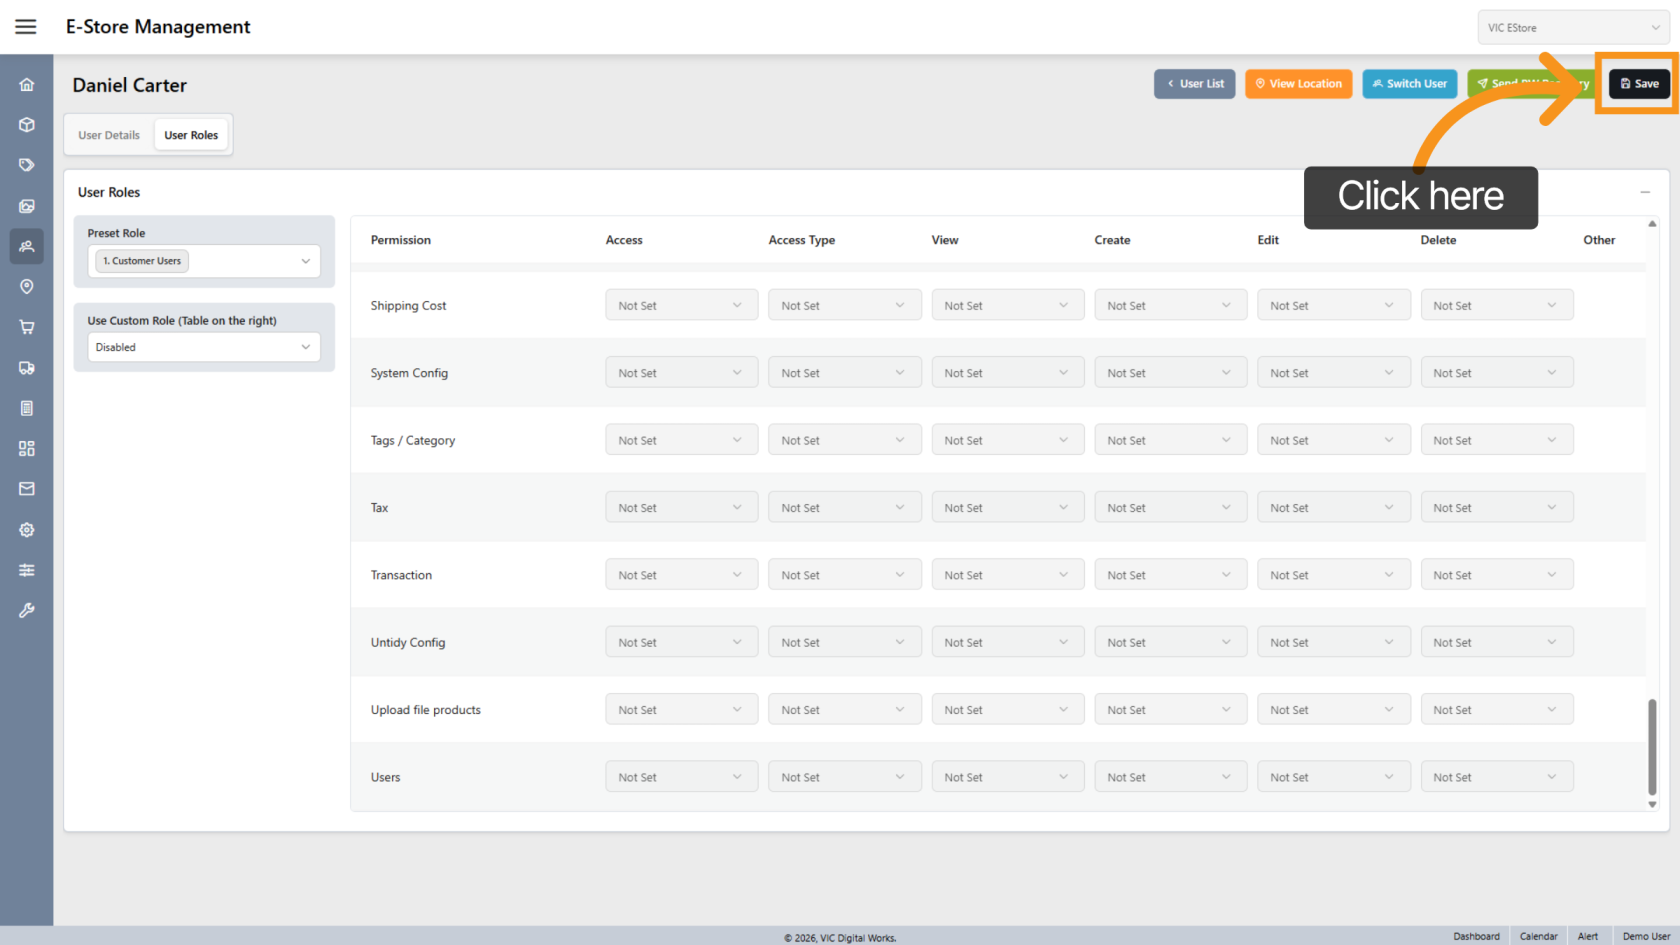
12. Save User
Click "Save" to apply all changes.
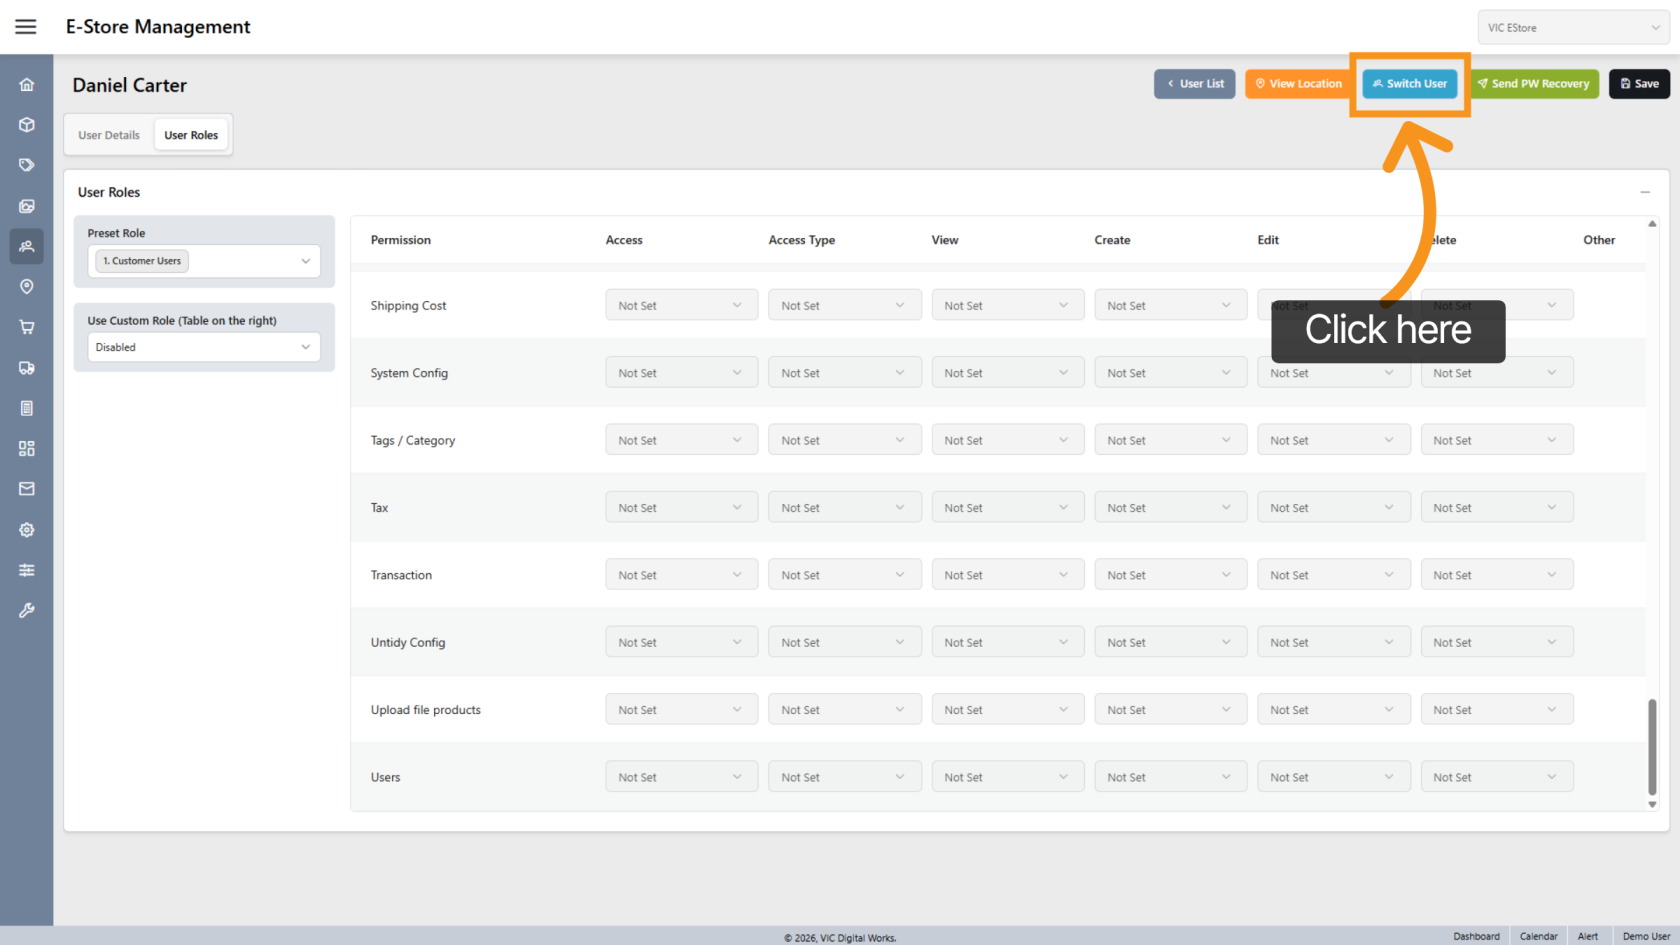
13. Preview User Settings
Click "Switch User" to view the store from the new user’s perspective.
14. Final Check
Confirm that the user’s settings and permissions are working correctly in the store.
You have successfully created and configured a new user. The user is now ready to access the system based on the assigned roles and permissions.