Digital Proof Approval
This guide explains how to set up and manage the Digital Proof process for a sales order in WorkTraq.
Video Tutorial
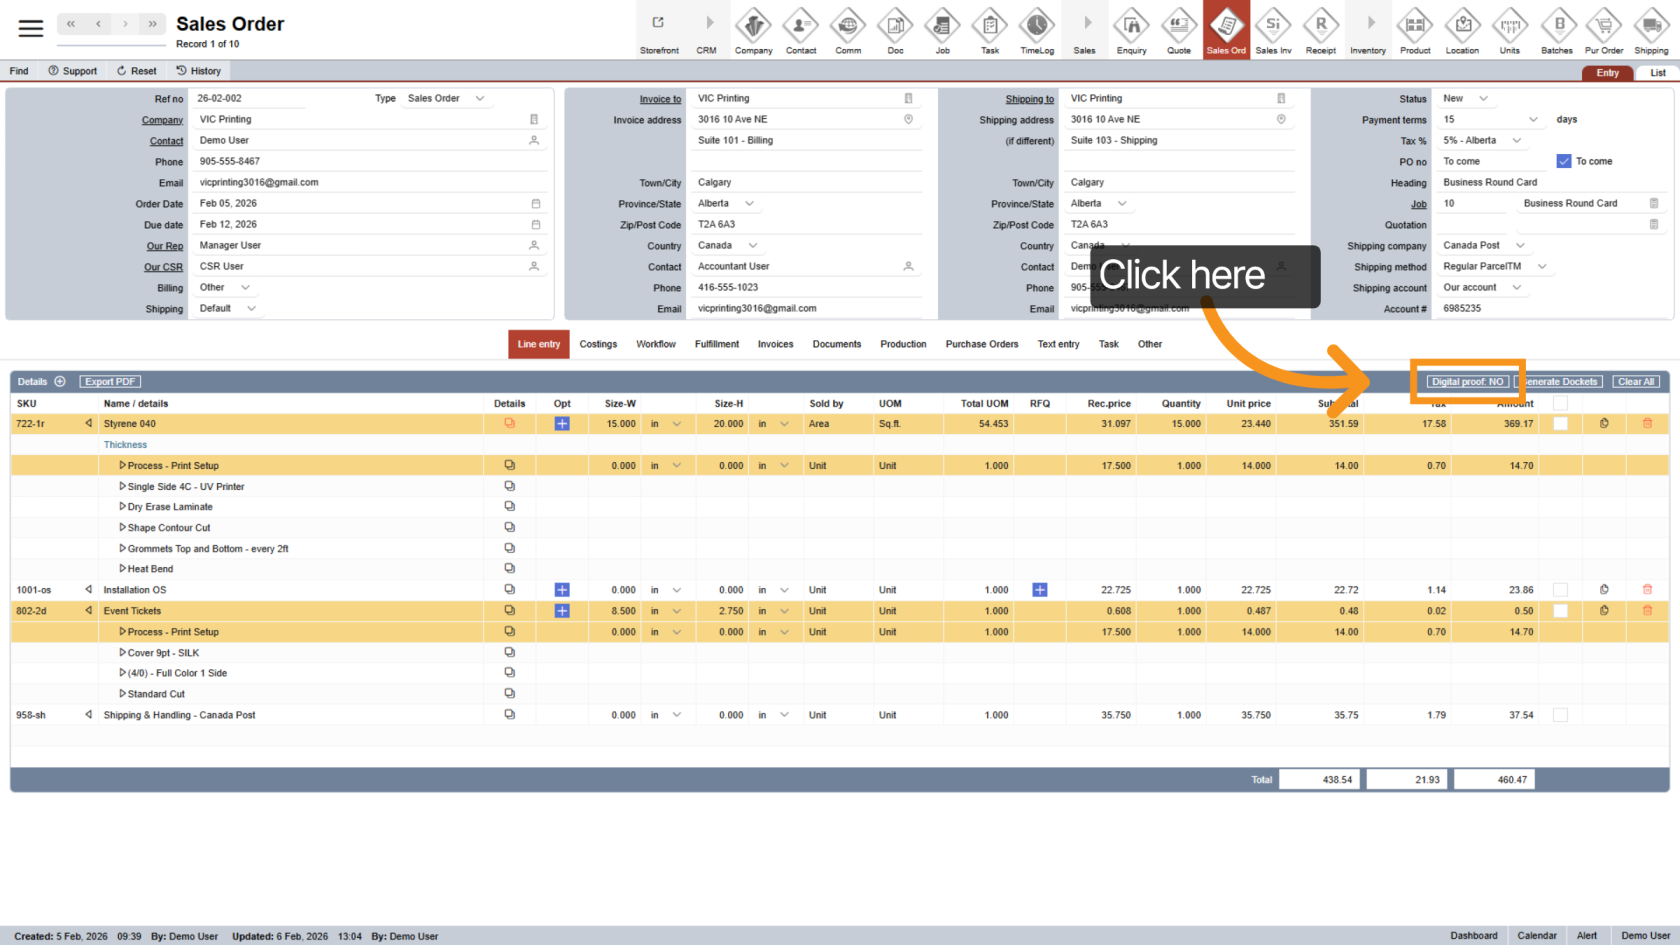
1. Enable Digital Proof
Click "Digital Proof" and change the option from No to Yes to begin setting up digital proof.
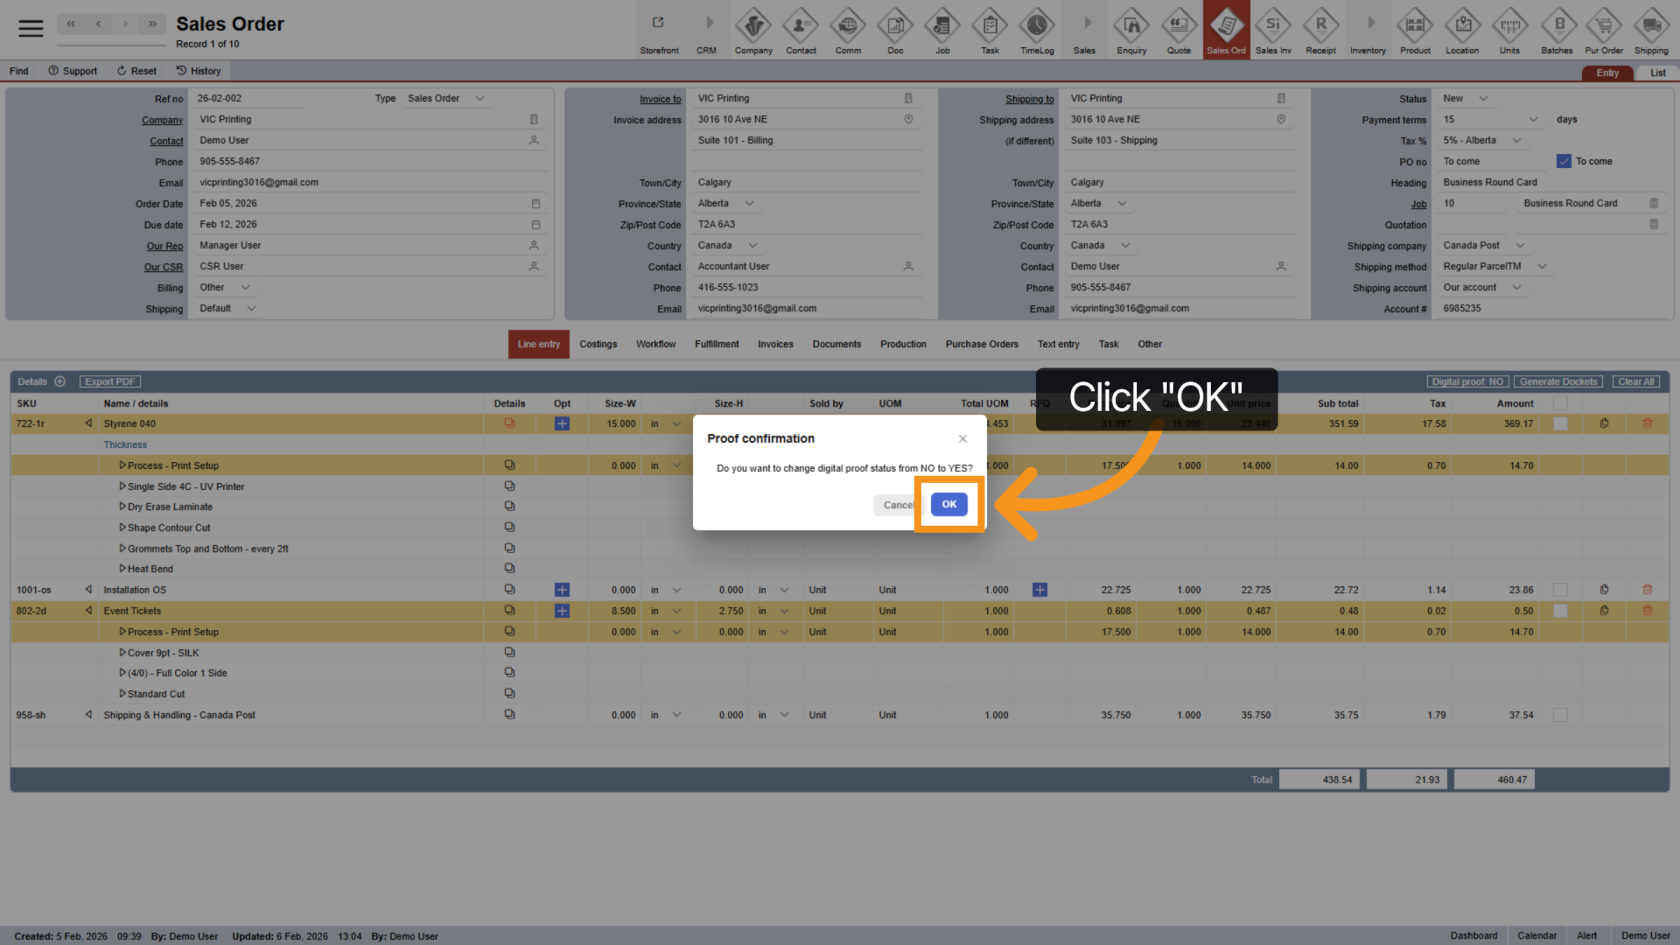
2. Confirm Digital Proof
Click "OK" to confirm your selection and continue.
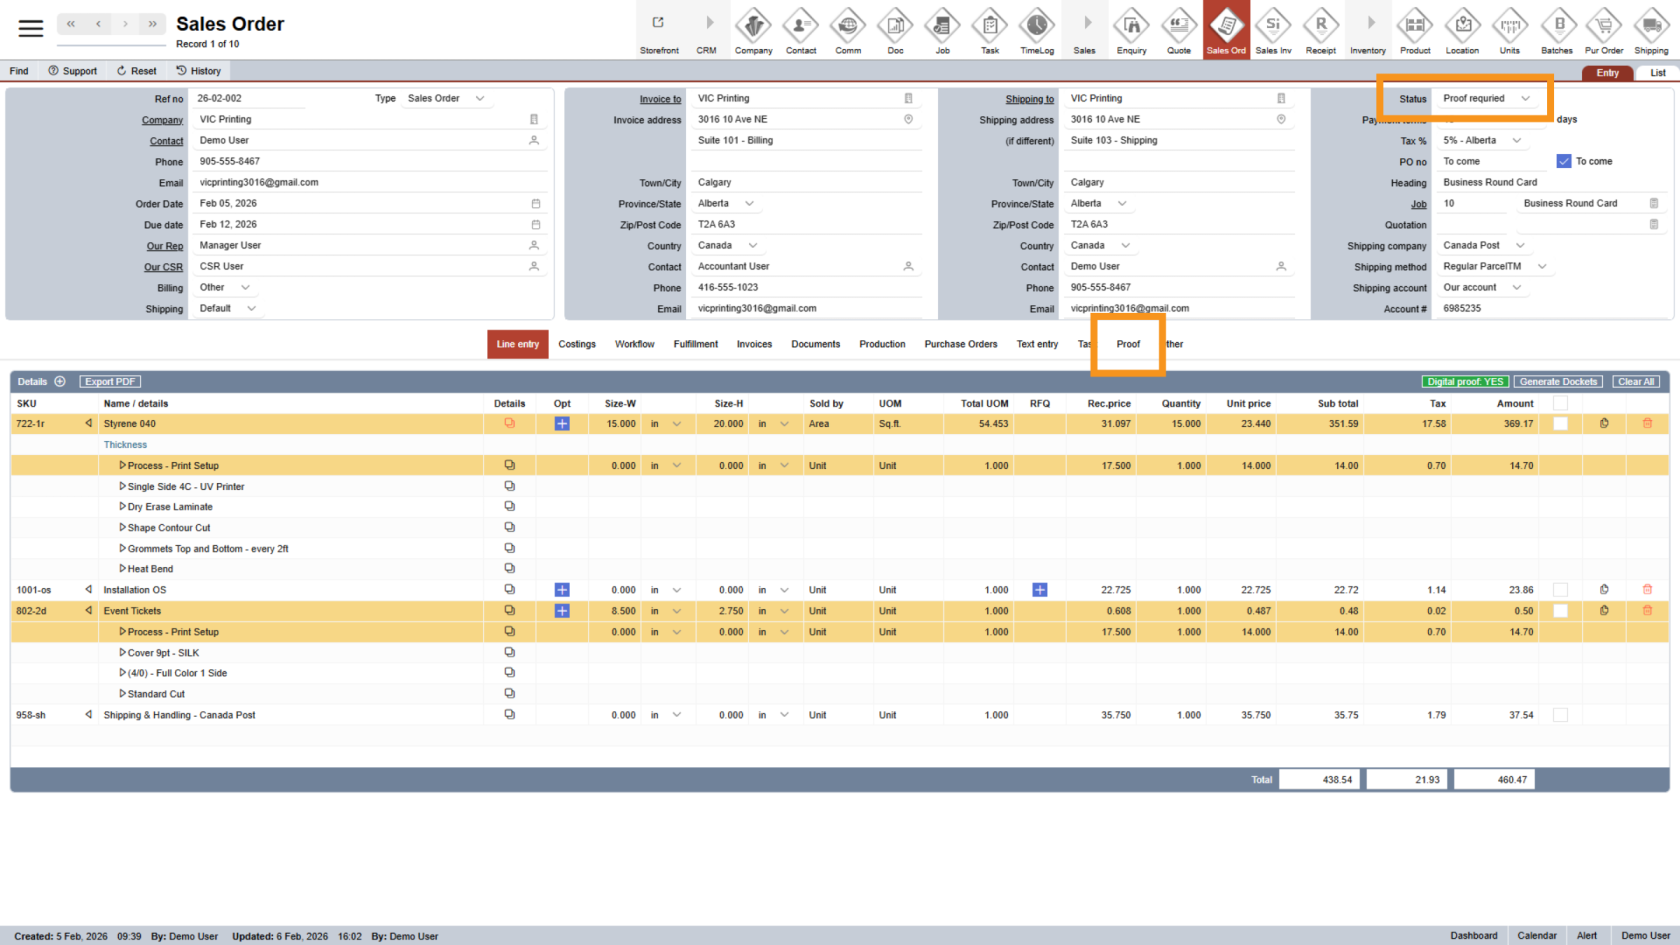
3. Proof Section Added
Once enabled:
- The Proof section will appear in the middle menu
- The sales order status will automatically change to Proof Required
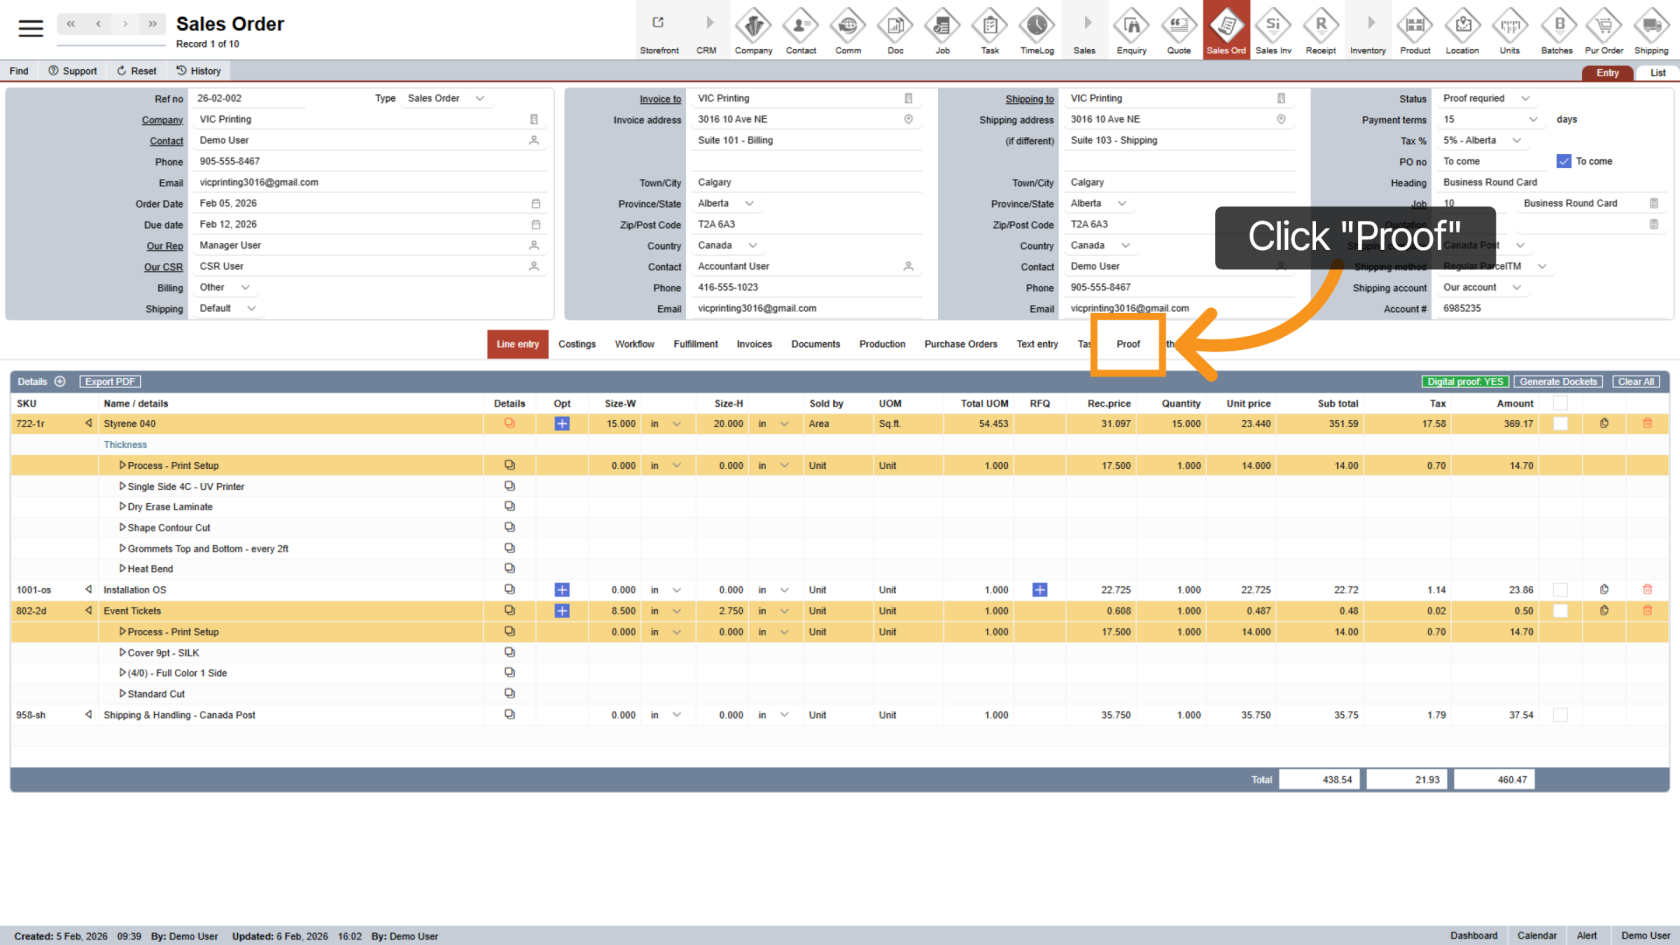
4. Open the Proof Section
Click "Proof" in the middle menu to open the proof management area.
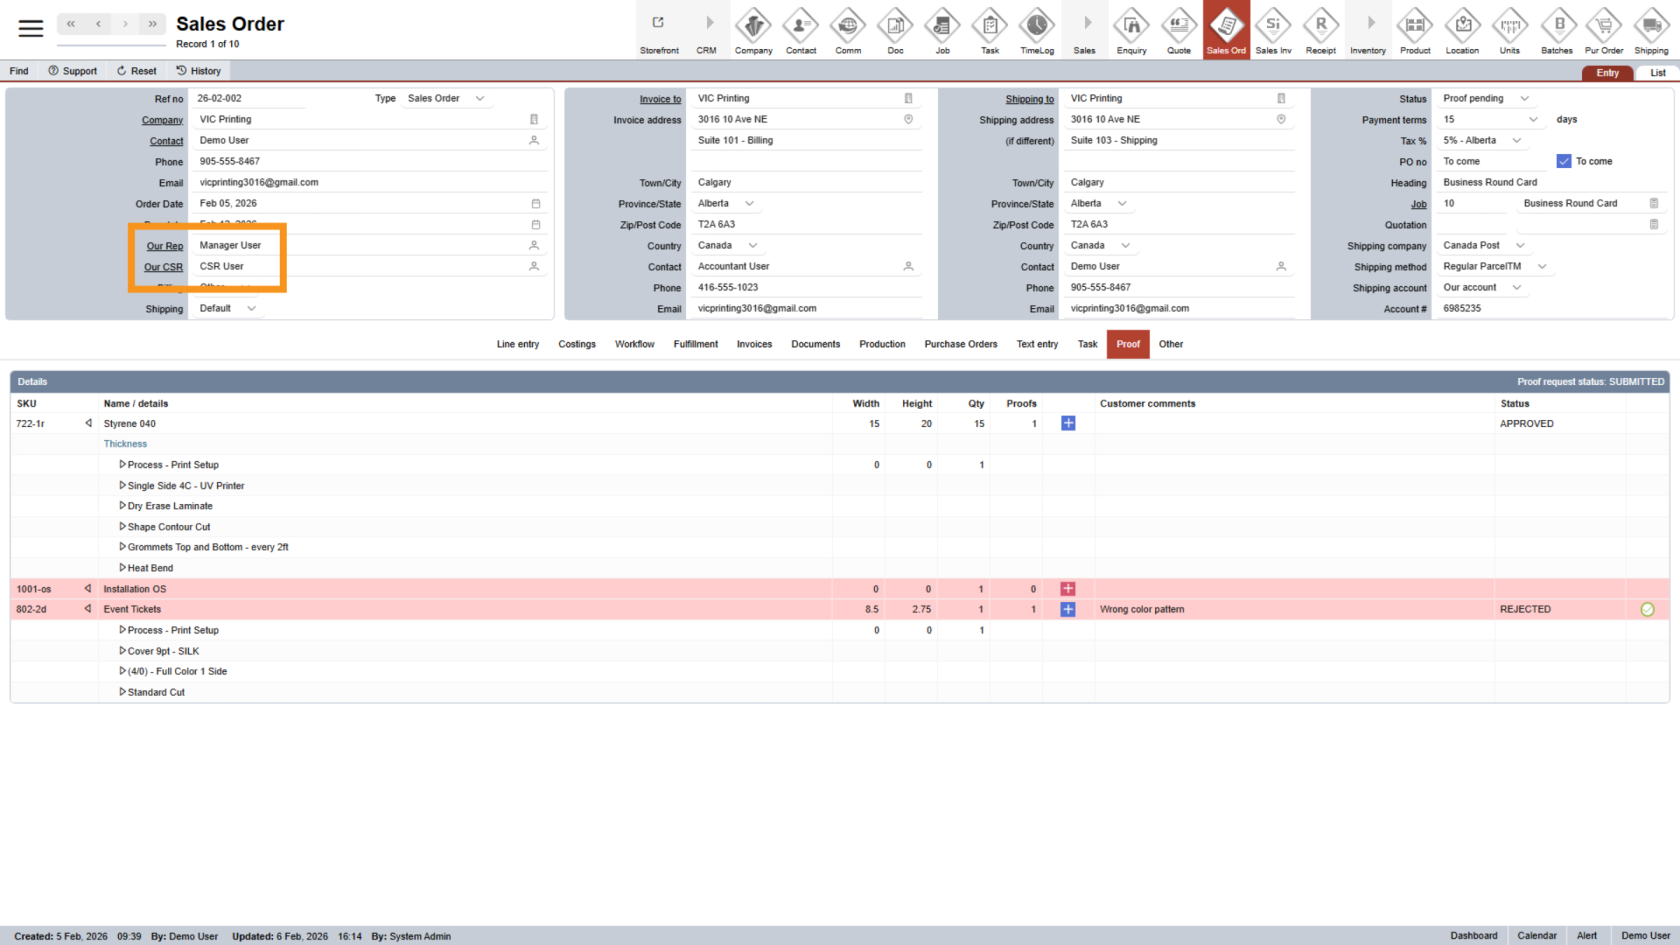
5. Proof Status Indicators
- A
 red plus icon means no proof has been added
 - Proofs that are not yet approved will also be highlighted in red.

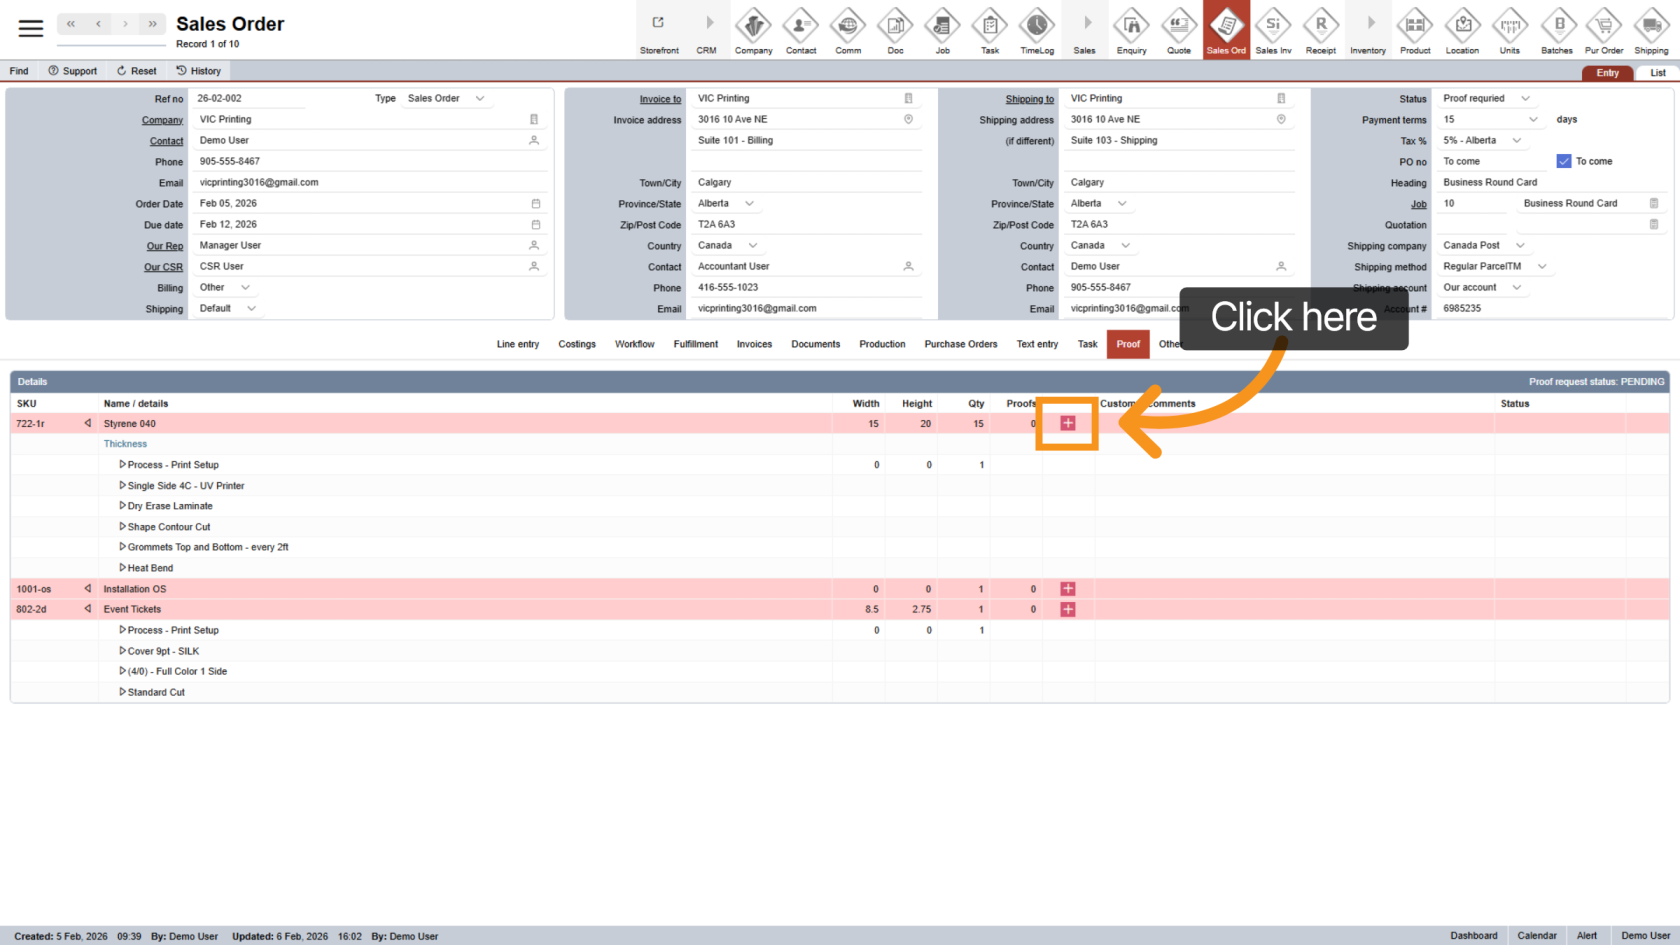
6. Add a Proof
Click the ![]() plus icon to add a proof file.
plus icon to add a proof file.
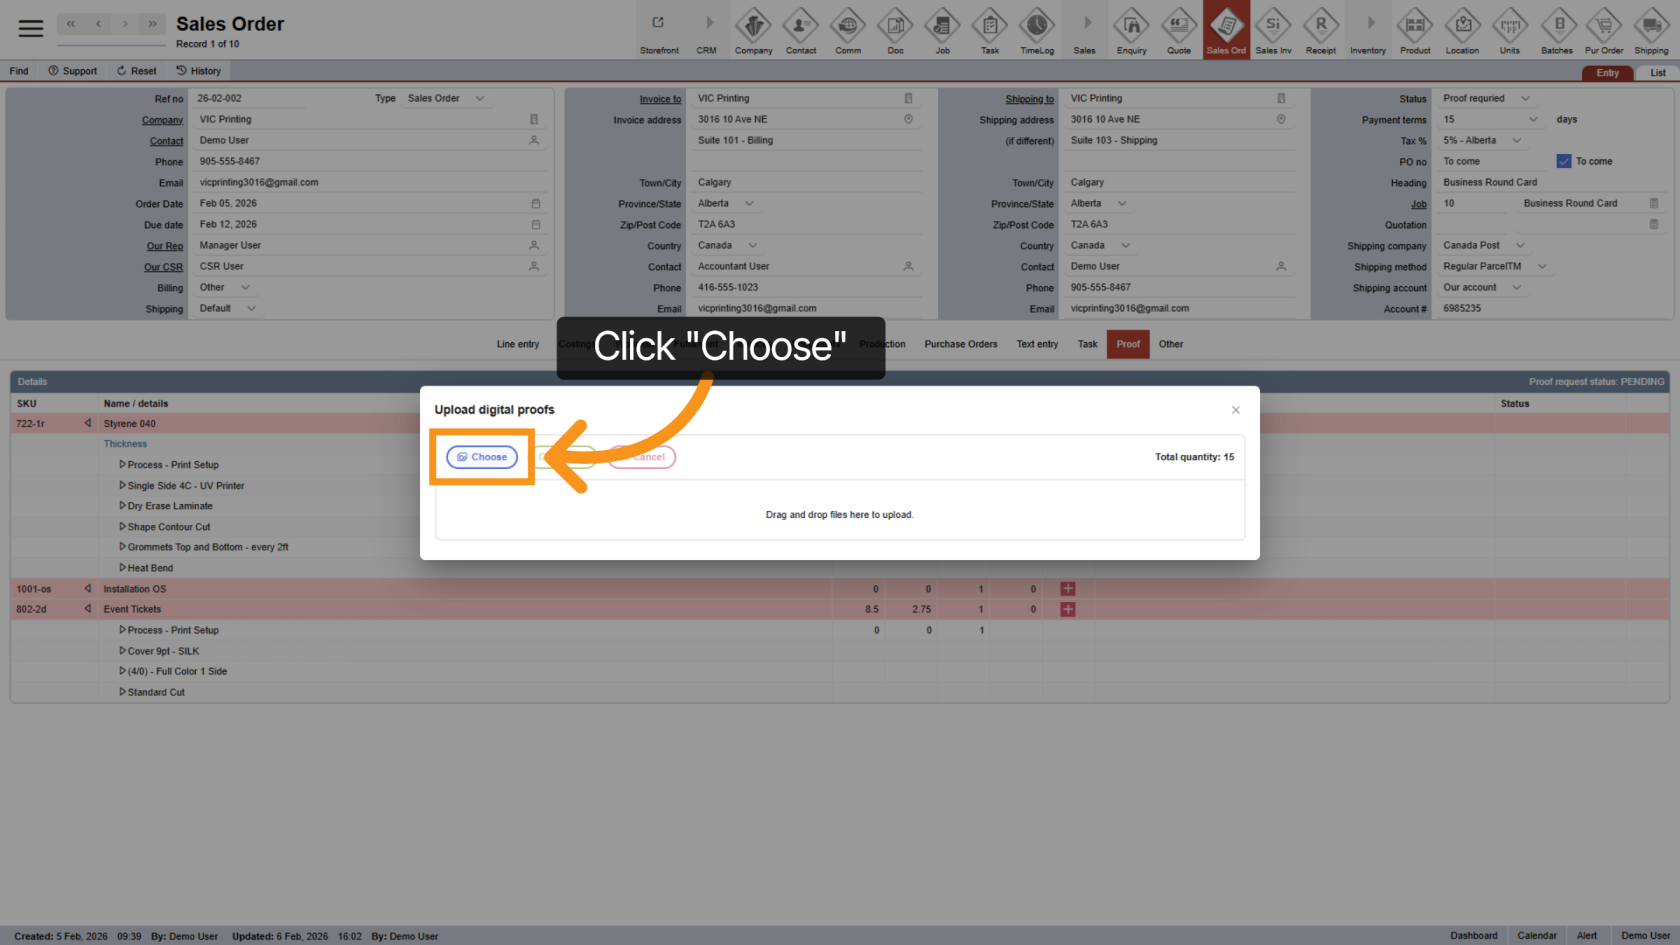
7. Choose a File to Upload
Click "Choose" to open the file browser and select the proof file.
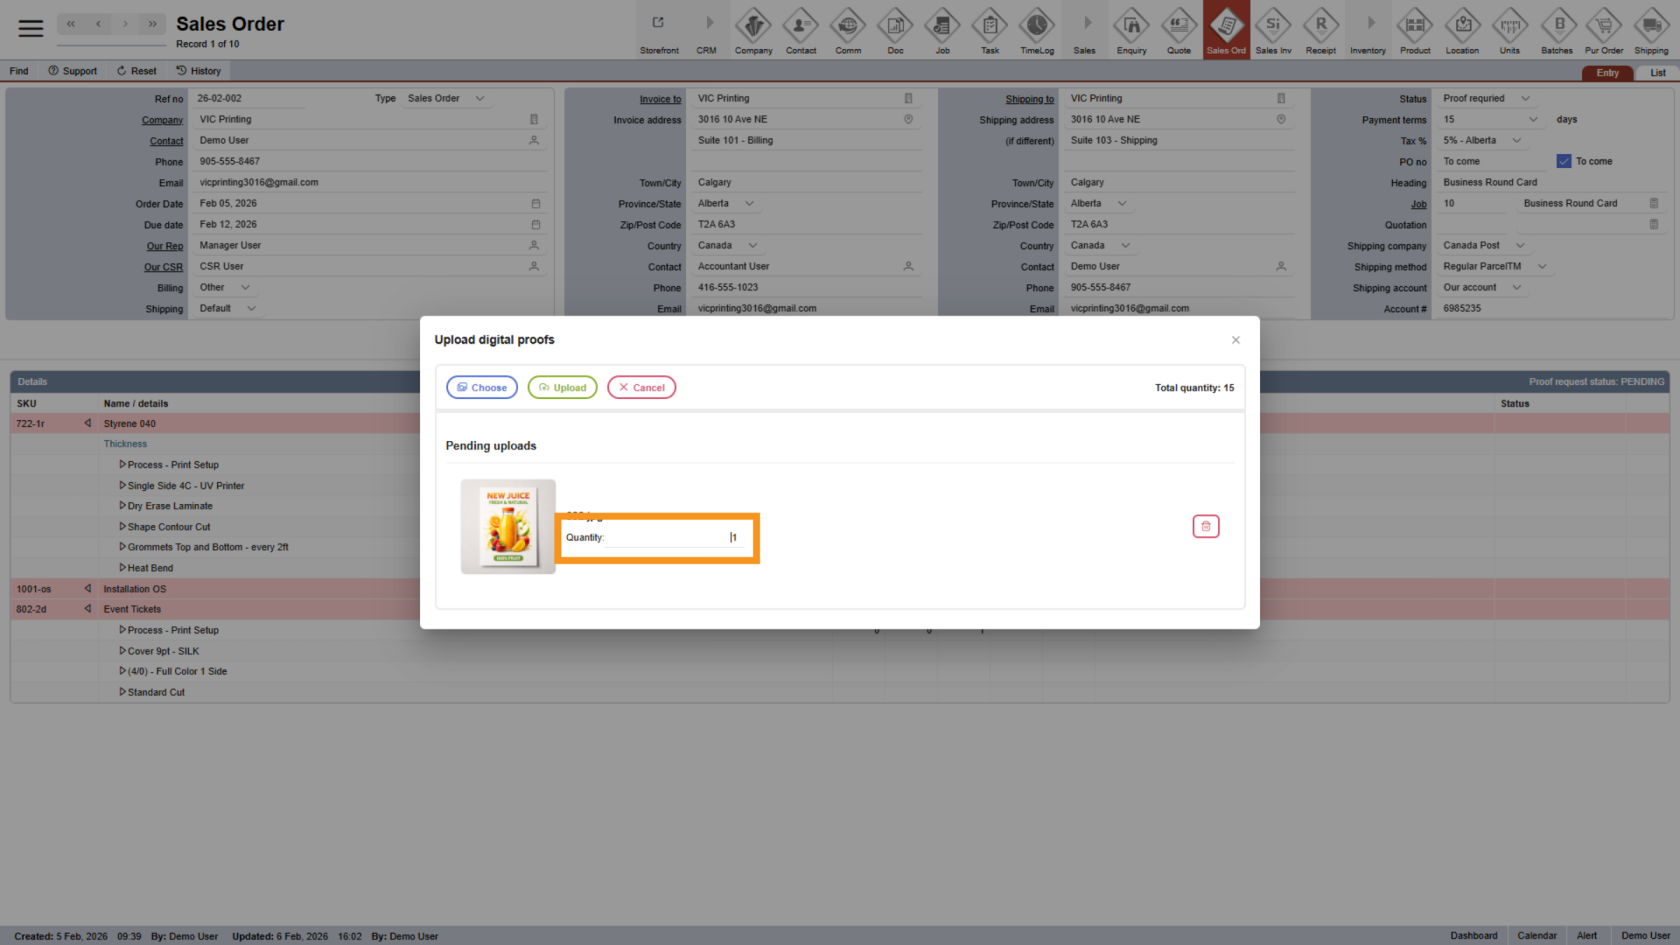
8. Select Quantity
Choose the quantity option related to this proof.
9. Remove a Selected File (Optional)
Click the ![]() delete icon if you need to remove the selected file before uploading.
delete icon if you need to remove the selected file before uploading.

10. Upload the File
Click "Upload" to send the selected proof file to the system.

11. Close Upload Window
After the upload is complete, click "Close" to continue.
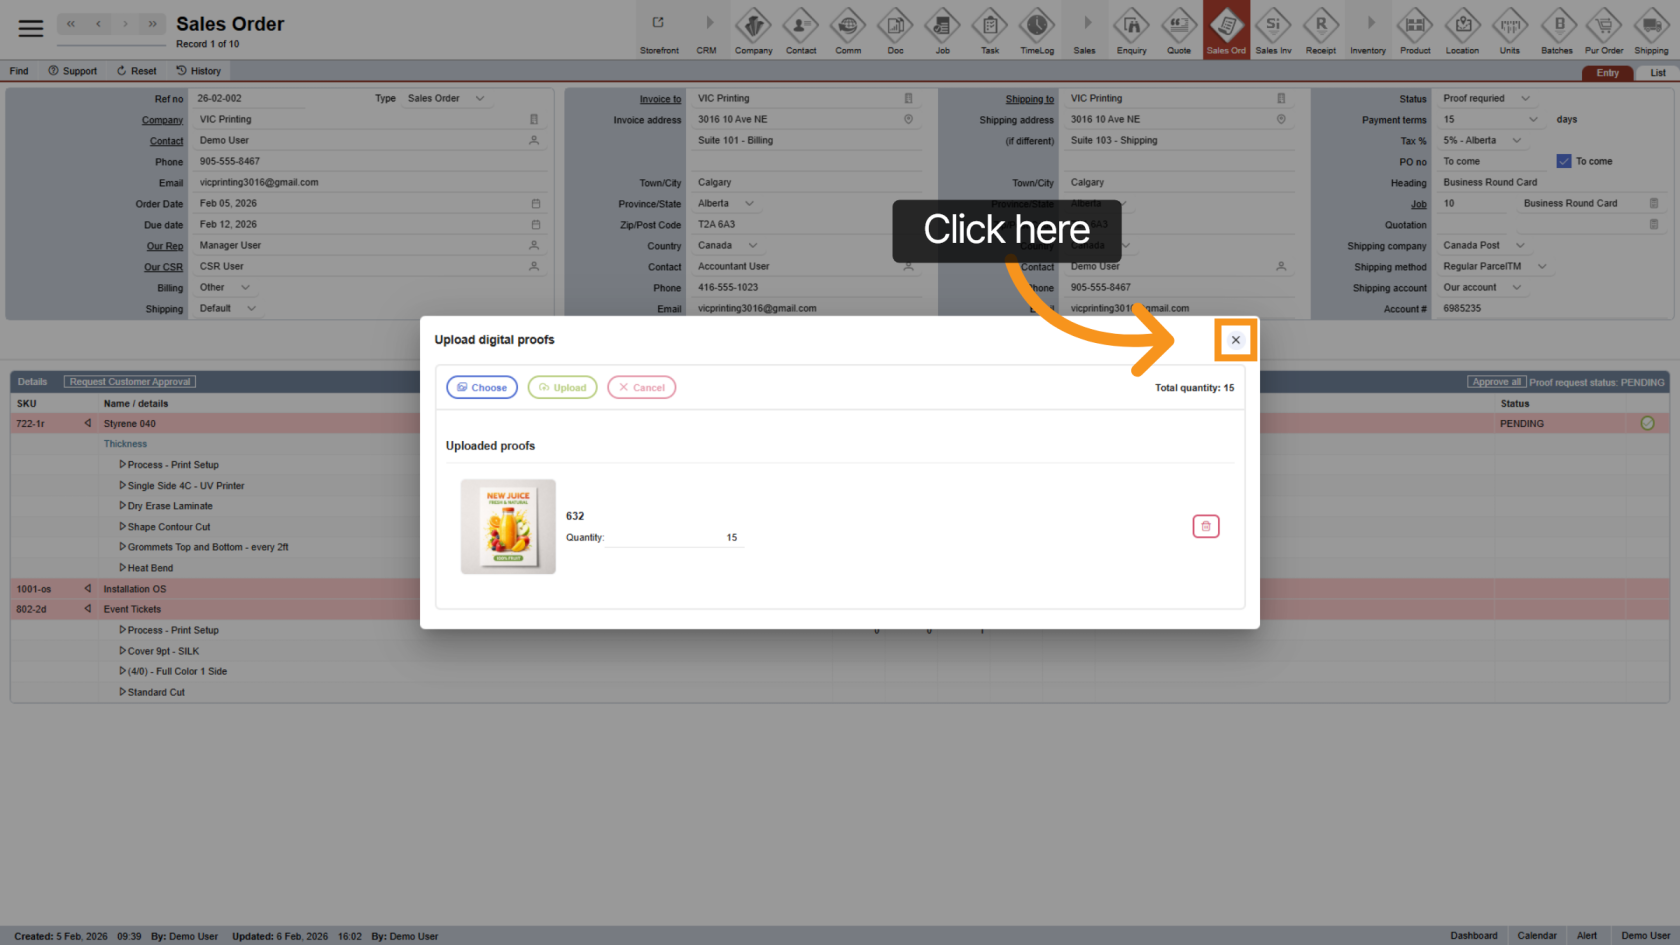
12. Proof Added Successfully
Once the proof is added, the ![]() plus icon will turn blue, indicating the proof has been uploaded.
plus icon will turn blue, indicating the proof has been uploaded.
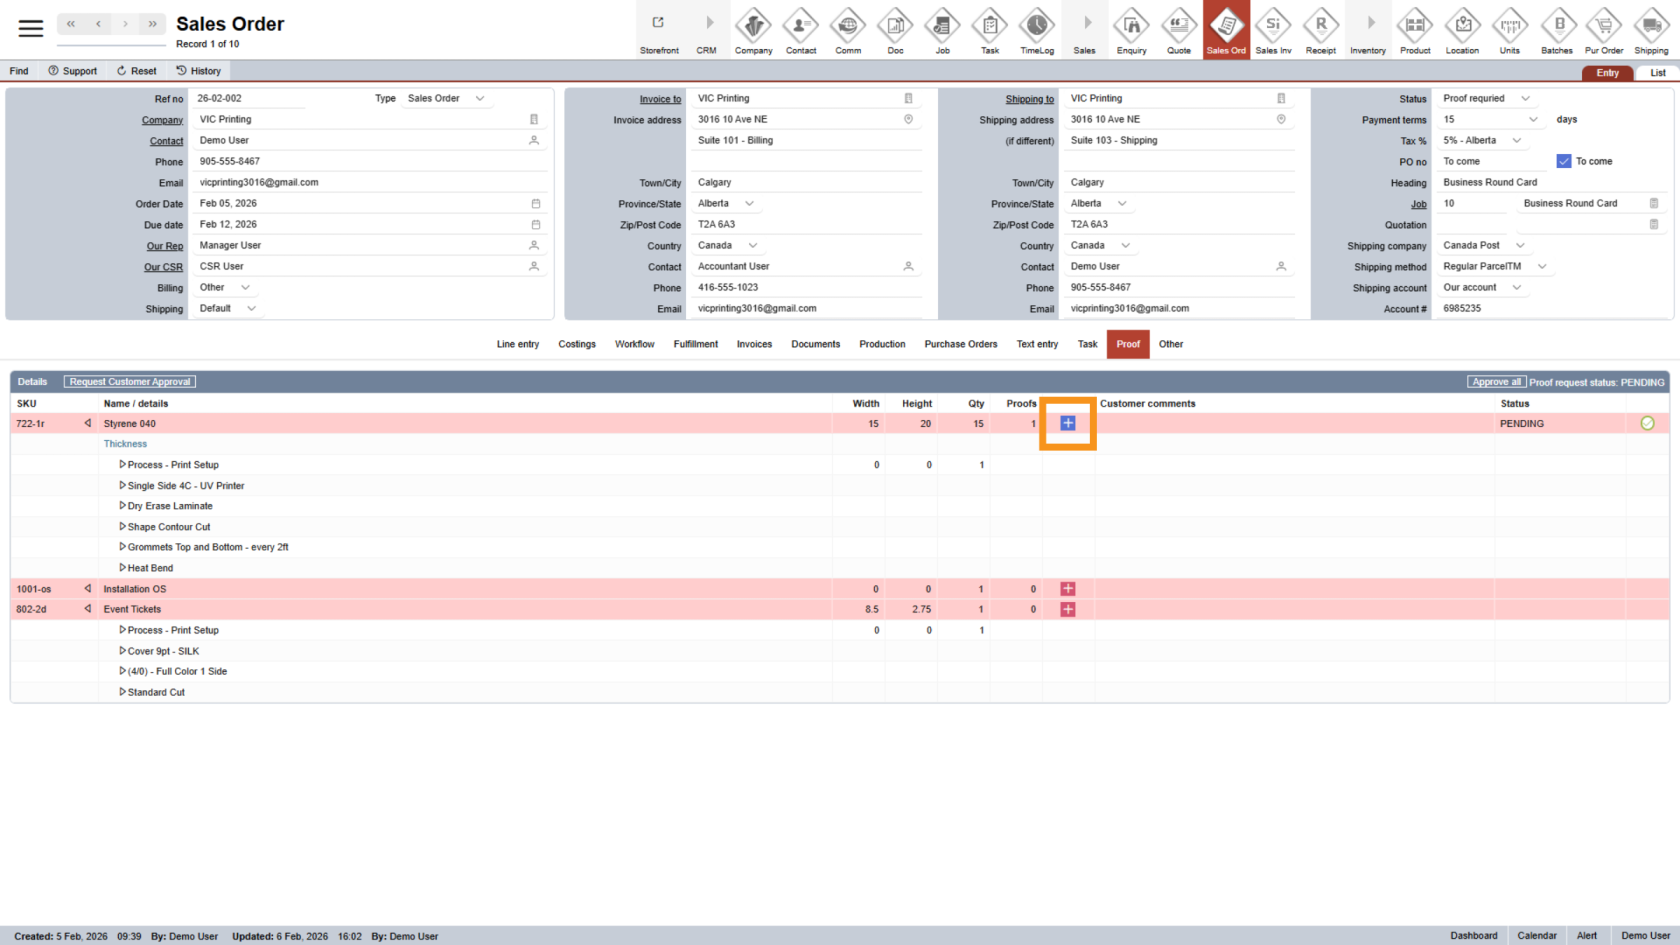
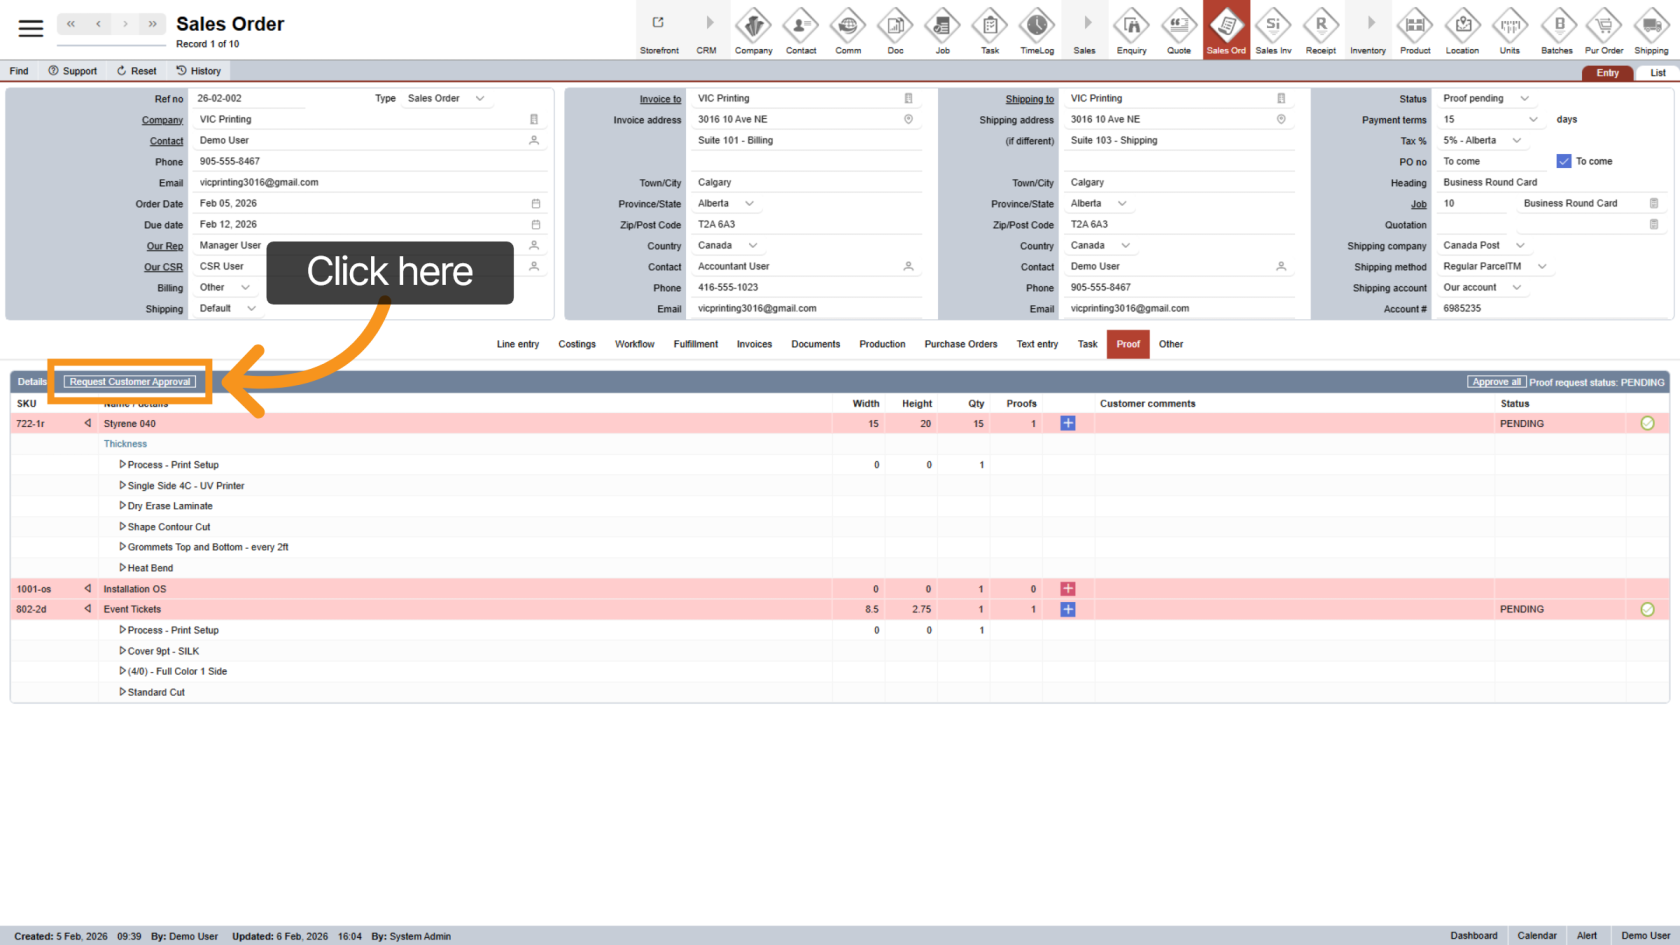
13. Request Customer Approval
After all proofs are uploaded, click "Request Customer Approval" to notify the customer.
14. Email Sent to Customer
The system will send an email to the order contact requesting proof approval.
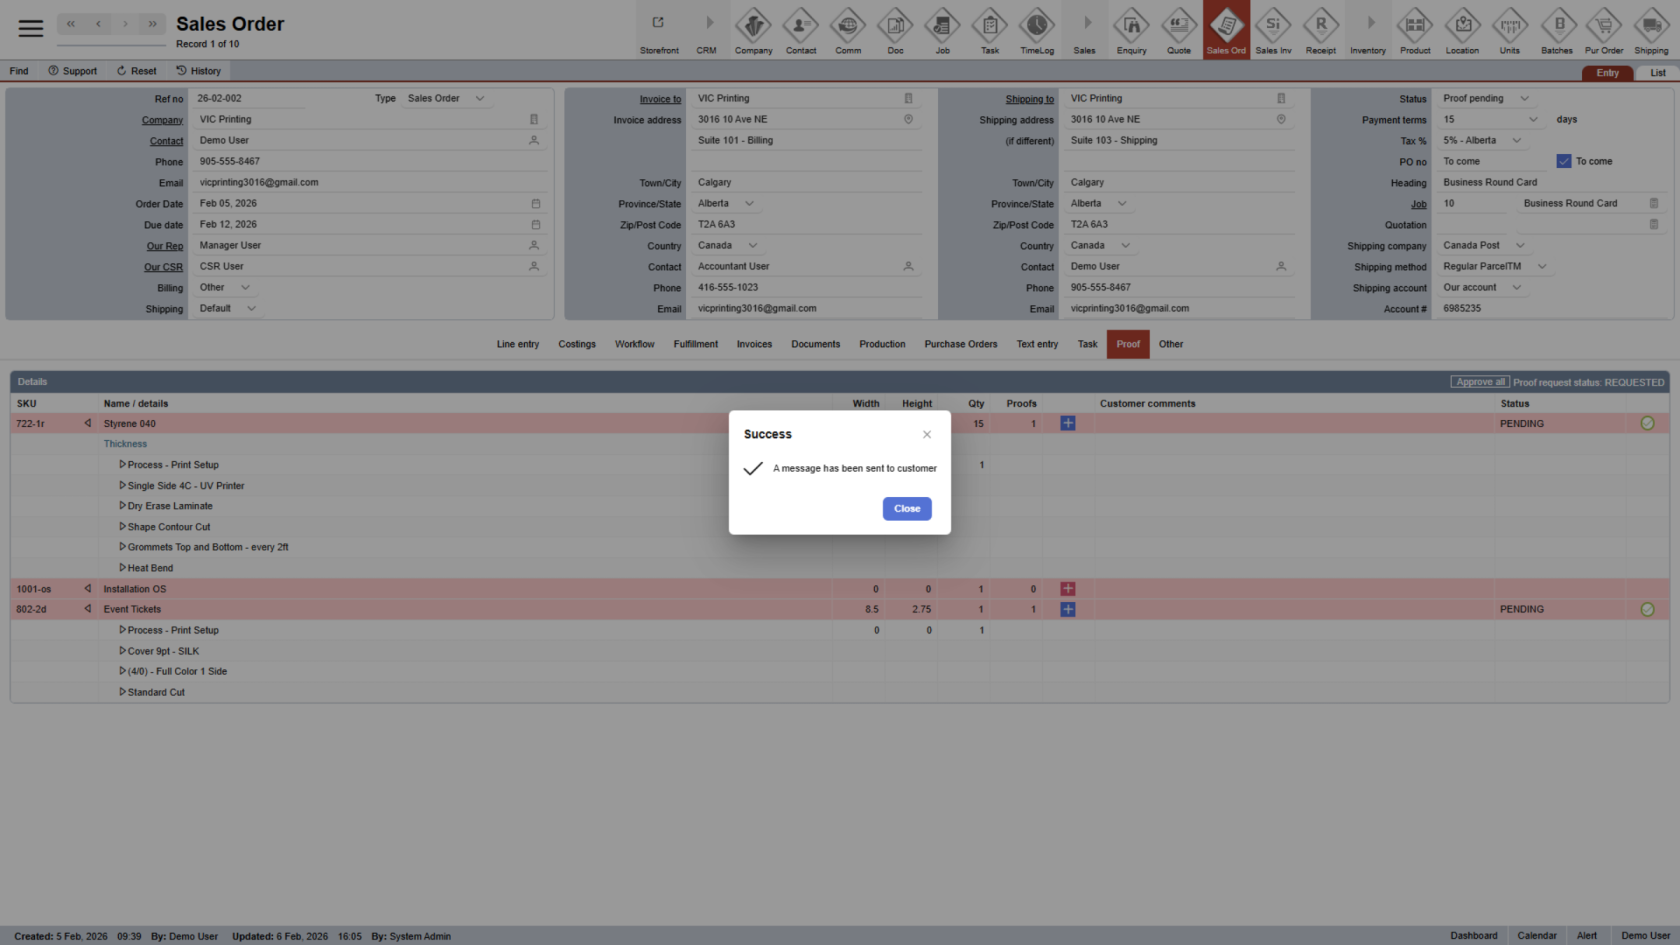
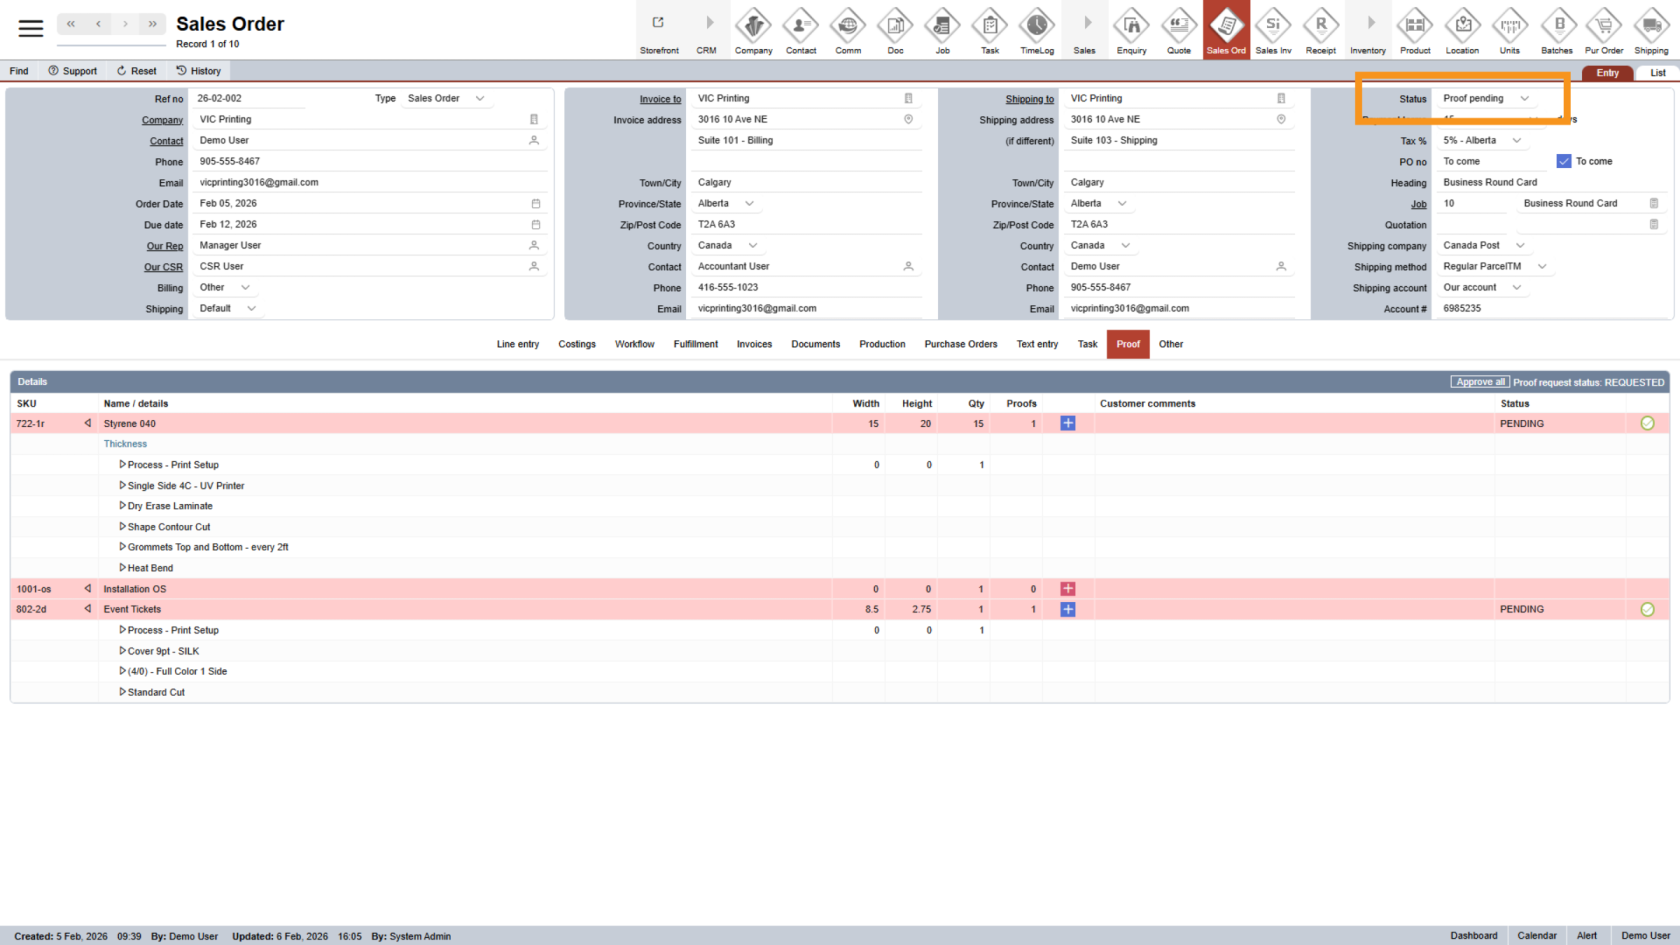
15. Sales Order Status Updated
After the email is sent, the sales order status will automatically change to Proof Pending.
16. Continue After Customer Response
When the customer reviews the proof, the system will notify the Sales Rep and CSR by email to continue processing the sales order. (To see how customers review and submit proofs, click here.)
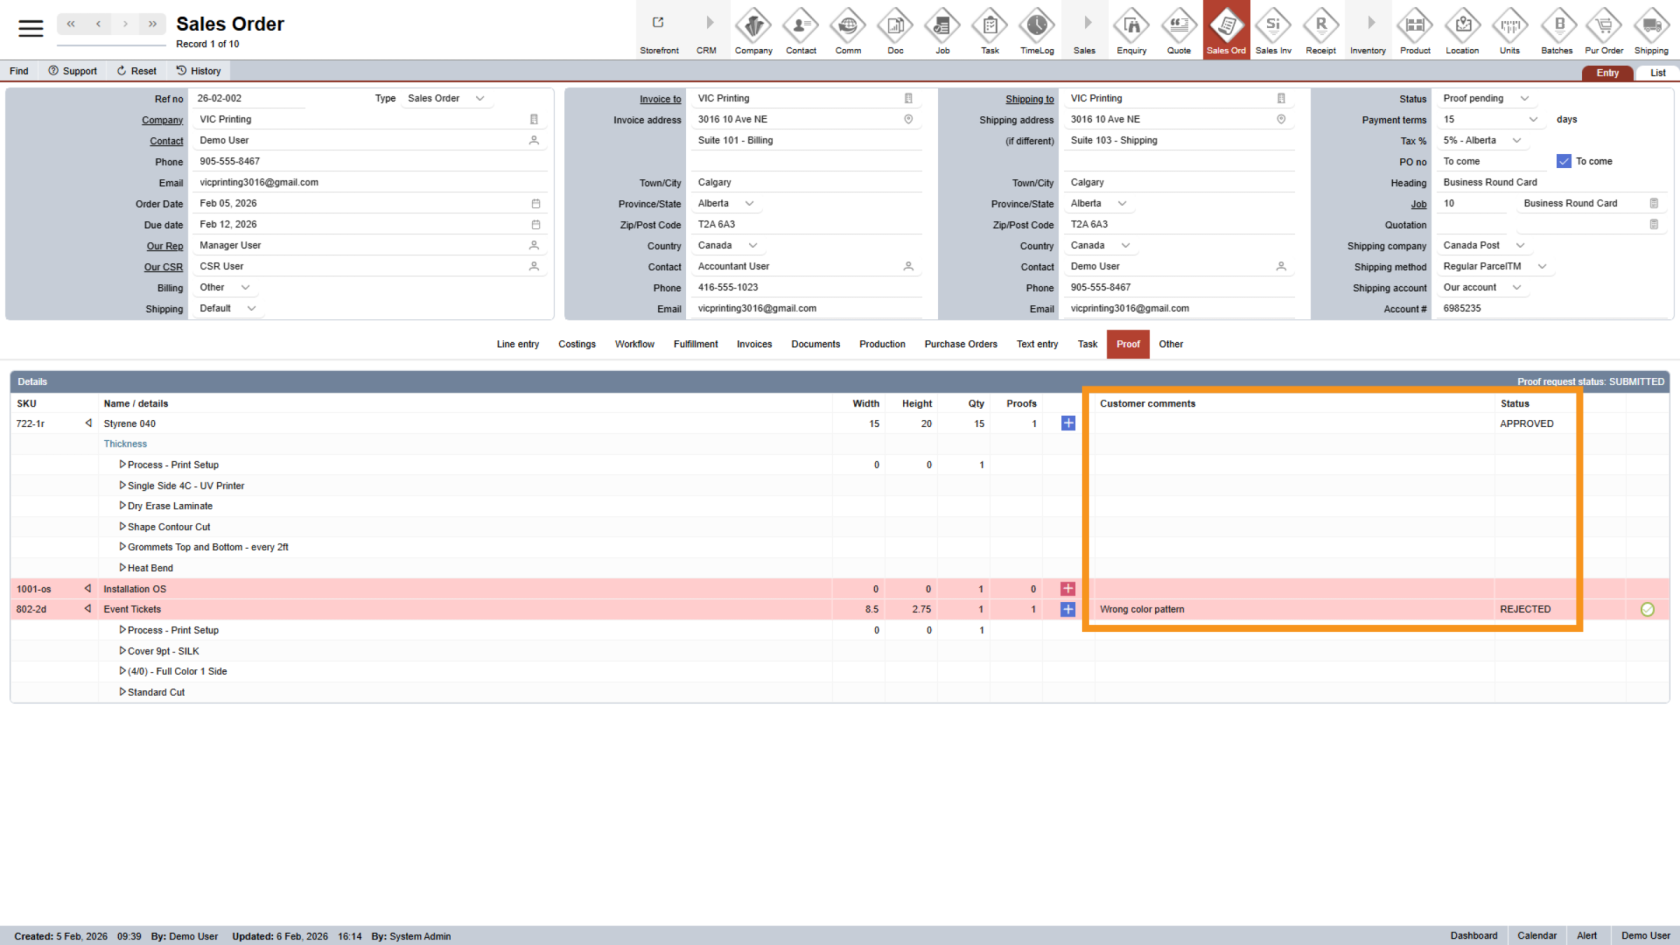
17. Review Proof Status and Comments
In the Proof section, you can see:
- Proof approval status
- Customer comments or rejection reasons
If a proof is rejected, upload a new proof by following the same steps above
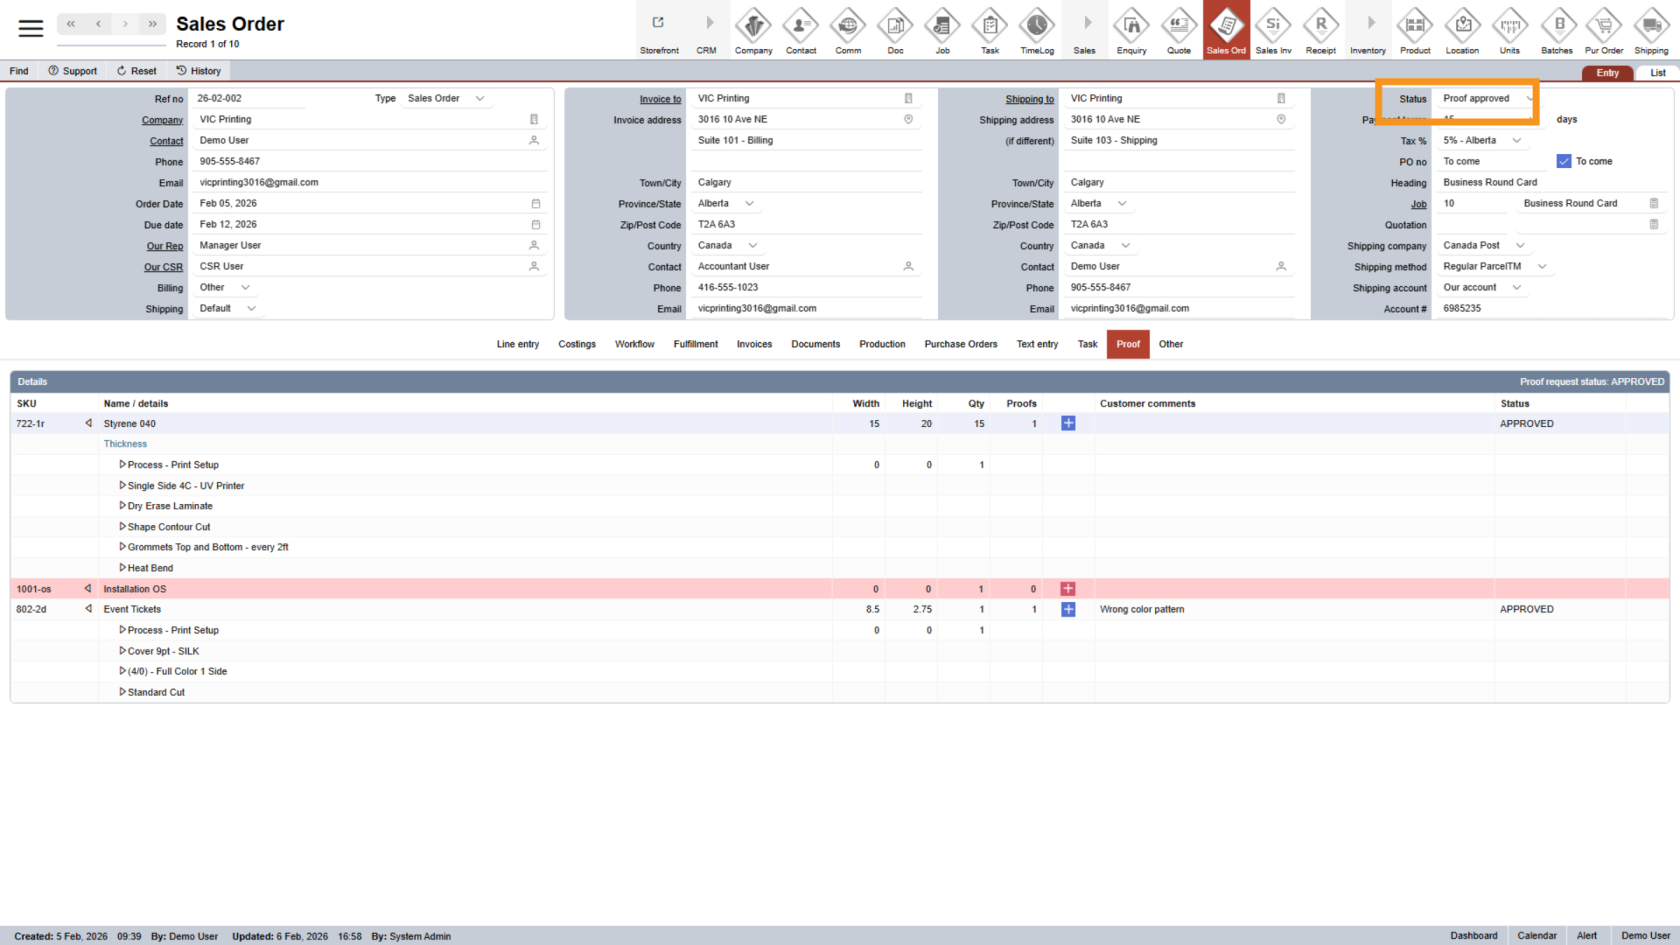
18. Proof Approved
Once all proofs are approved, the sales order status will update to Proof Approved, and the order will be ready for production.
You have successfully completed the Digital Proof workflow in WorkTraq. This process ensures customer approval before production begins, helping reduce errors and rework.