Create and Configure Ingredients in Worktraq
In this video, we’re going to look at a real example: creating a new Vietnamese signature sub. Before we can build the sub itself, we first need to set up all of the ingredients. So today, I’ll be showing you how to create a new ingredient in Worktraq. The main reason we create ingredients is to track raw food costs. Later on, when we start creating products using these ingredients, Worktraq will automatically calculate the total cost and your net profit for you. The more detailed your ingredient setup is, the more accurate your food cost will be. If you’d rather skip this step for now, that’s totally fine—you can move on to the next video, where we’ll walk through how to create a new product.
Go to serviz.ca
1. Open Your Worktraq
First, open your worktraq.
2. Open Product Module
To access the Product module, click "Product" in the main menu at the top of the page.

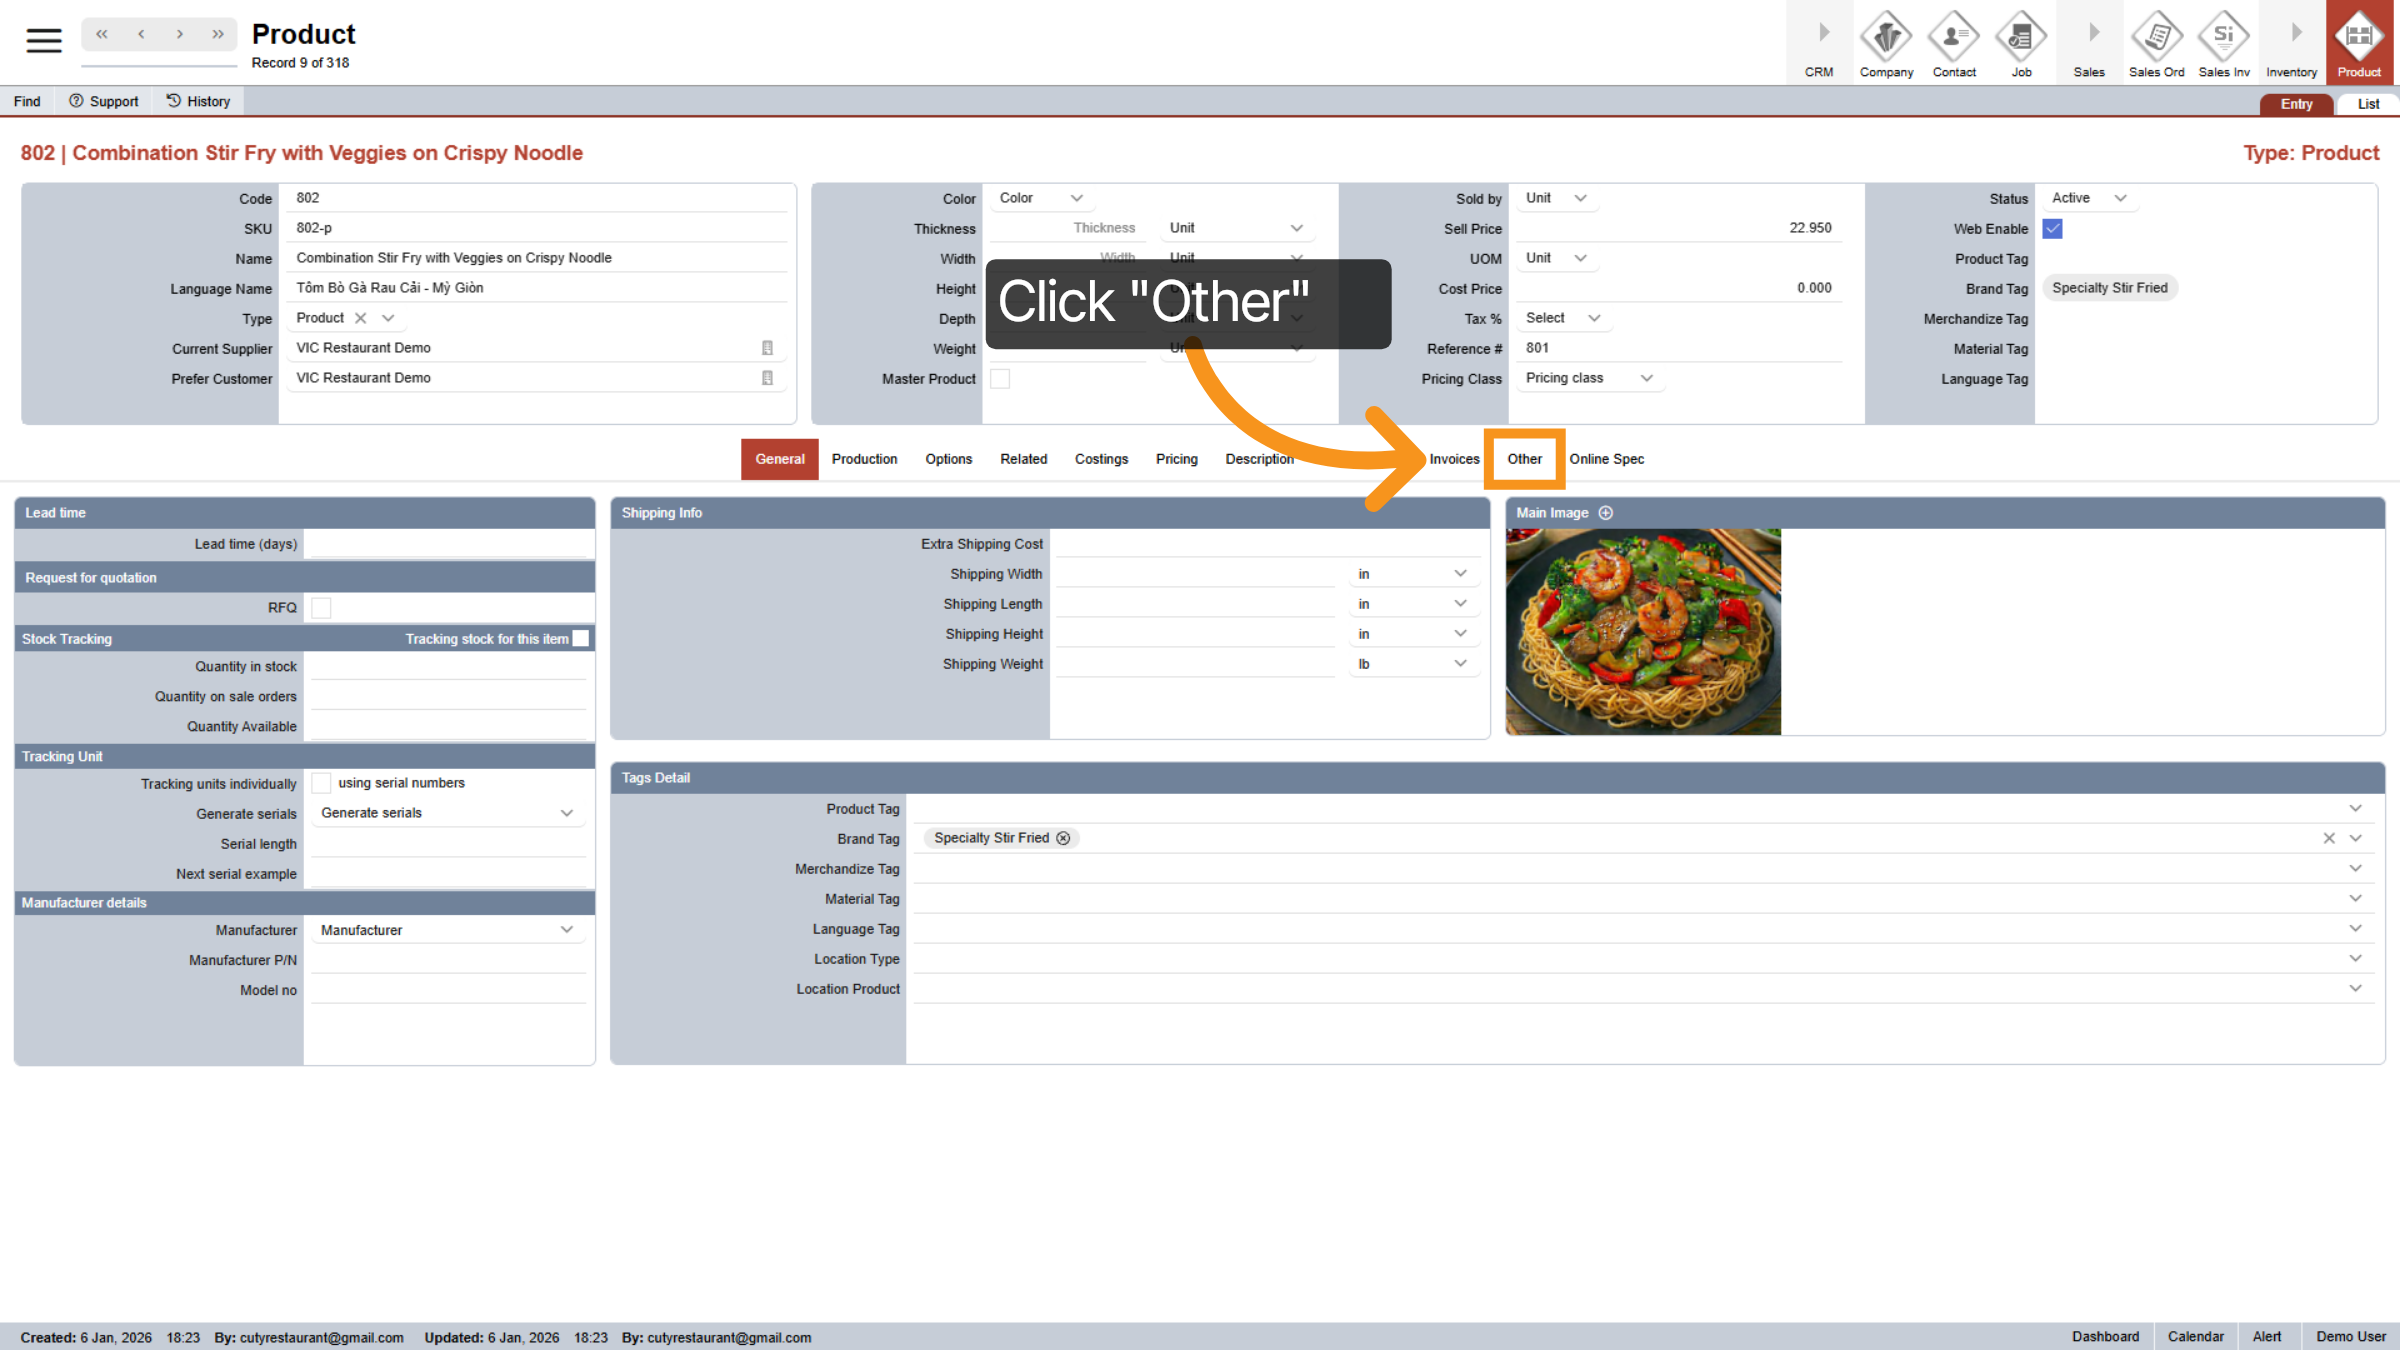
3. Select "Other" Tab
To access the "Quick Action" menu, click on the 'Other' tab.
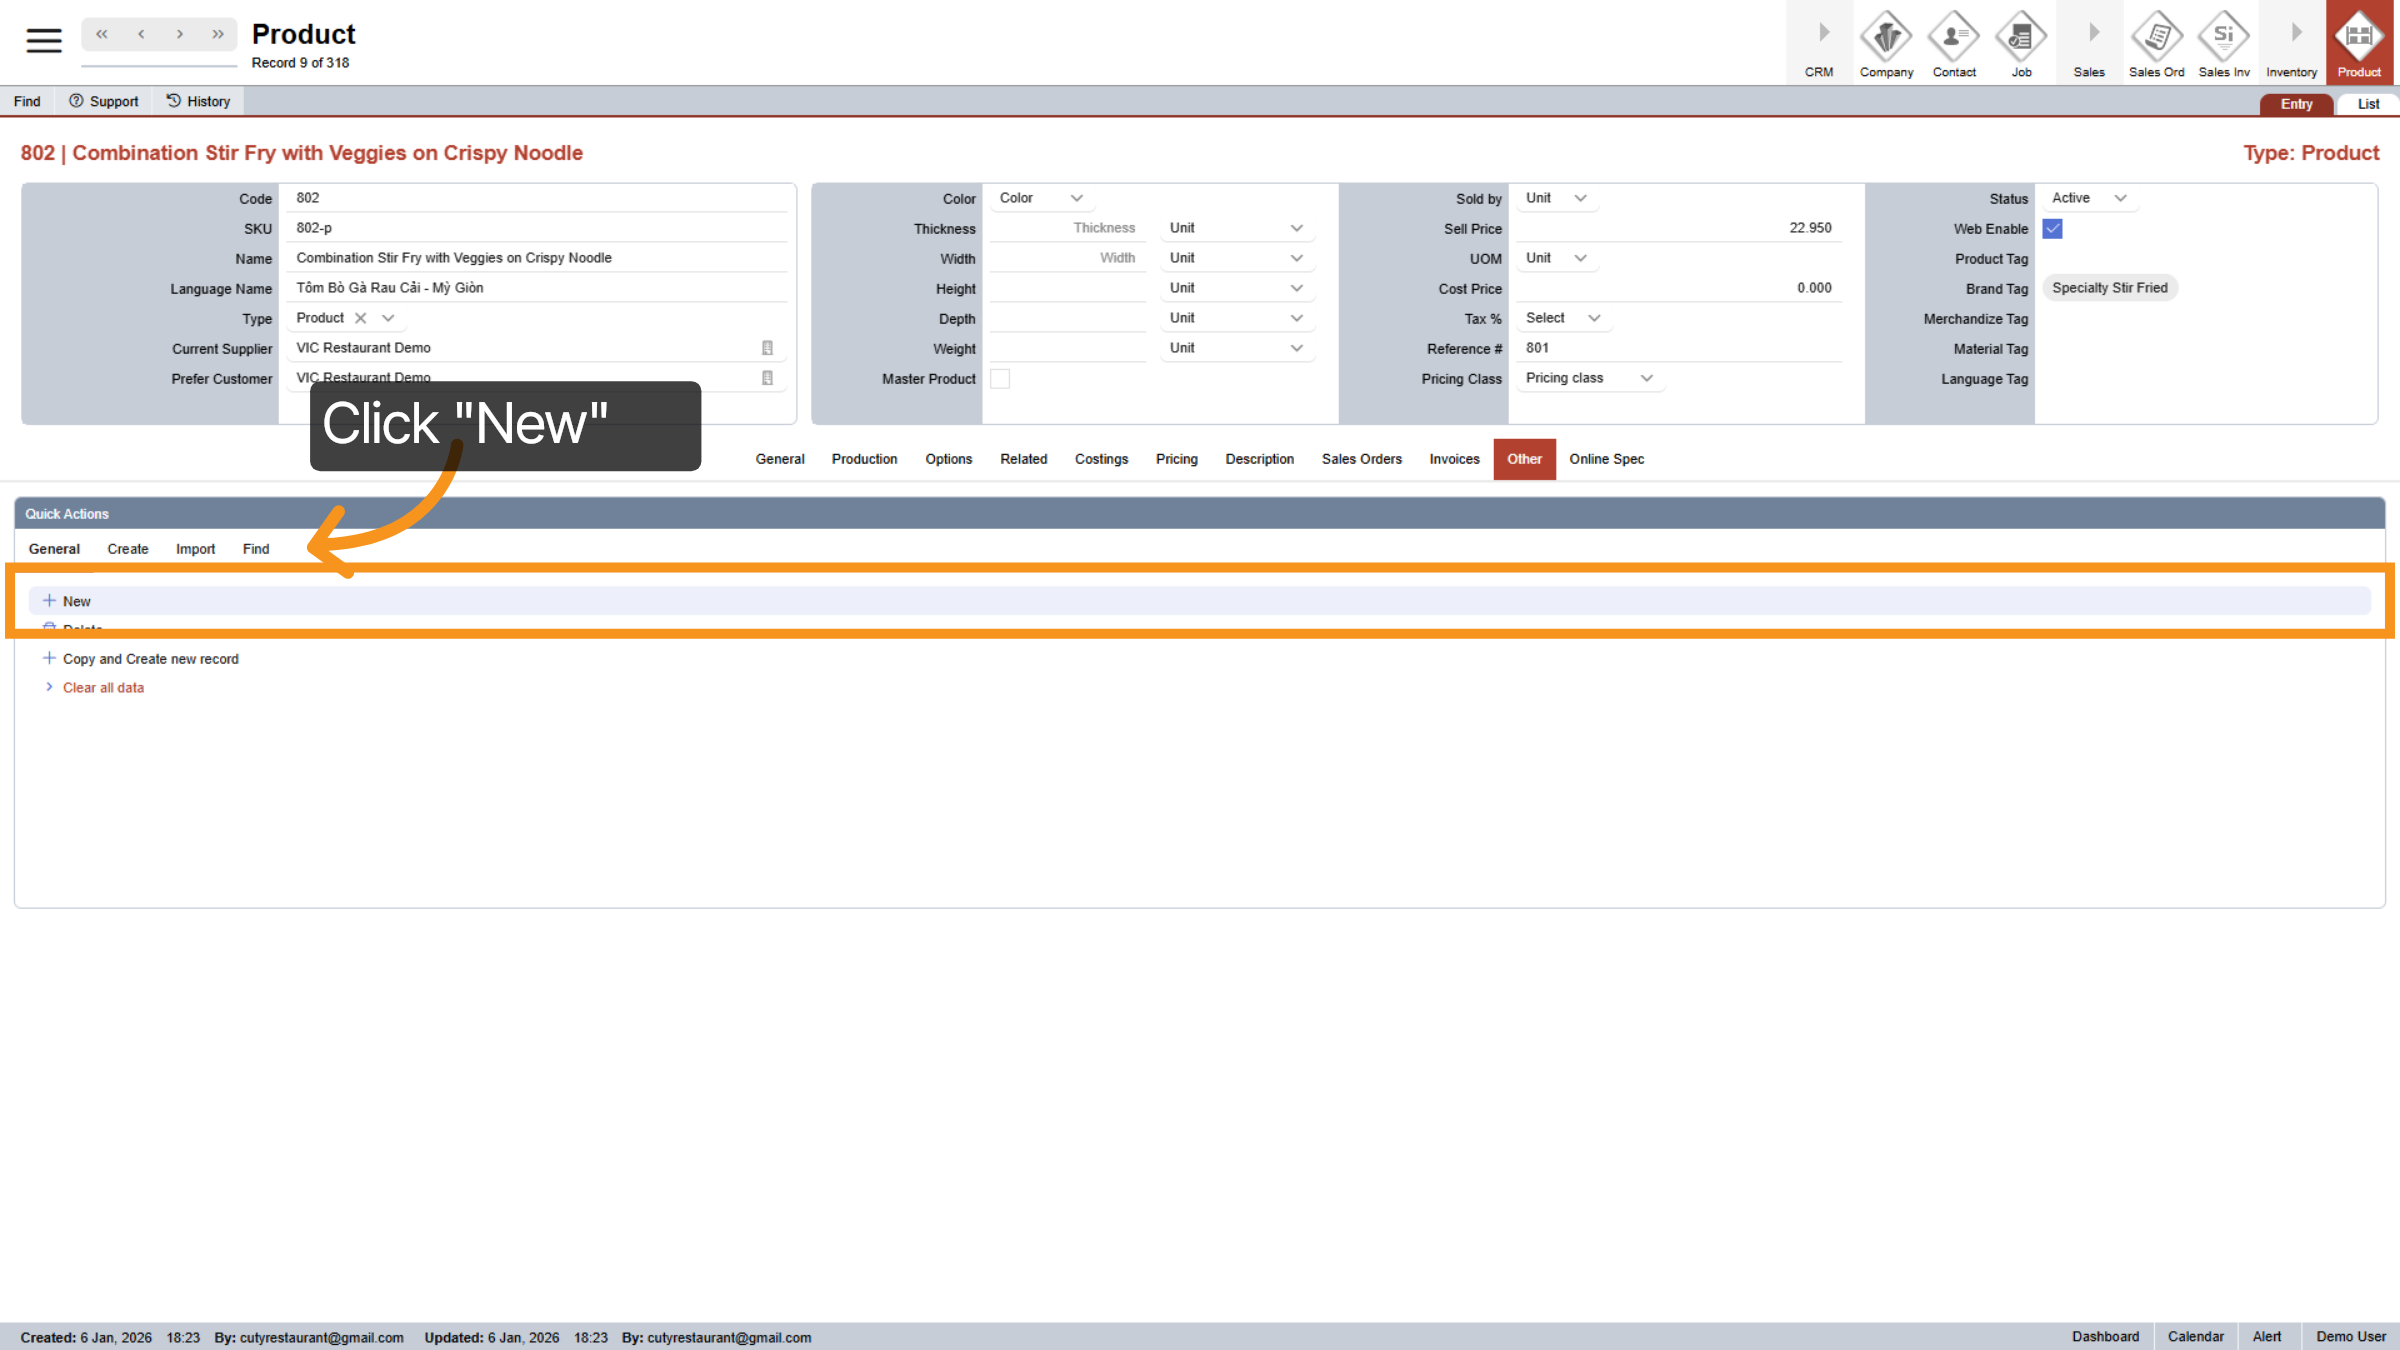
4. Initiate New Ingredient
Click 'New' to start the process of adding a new product.
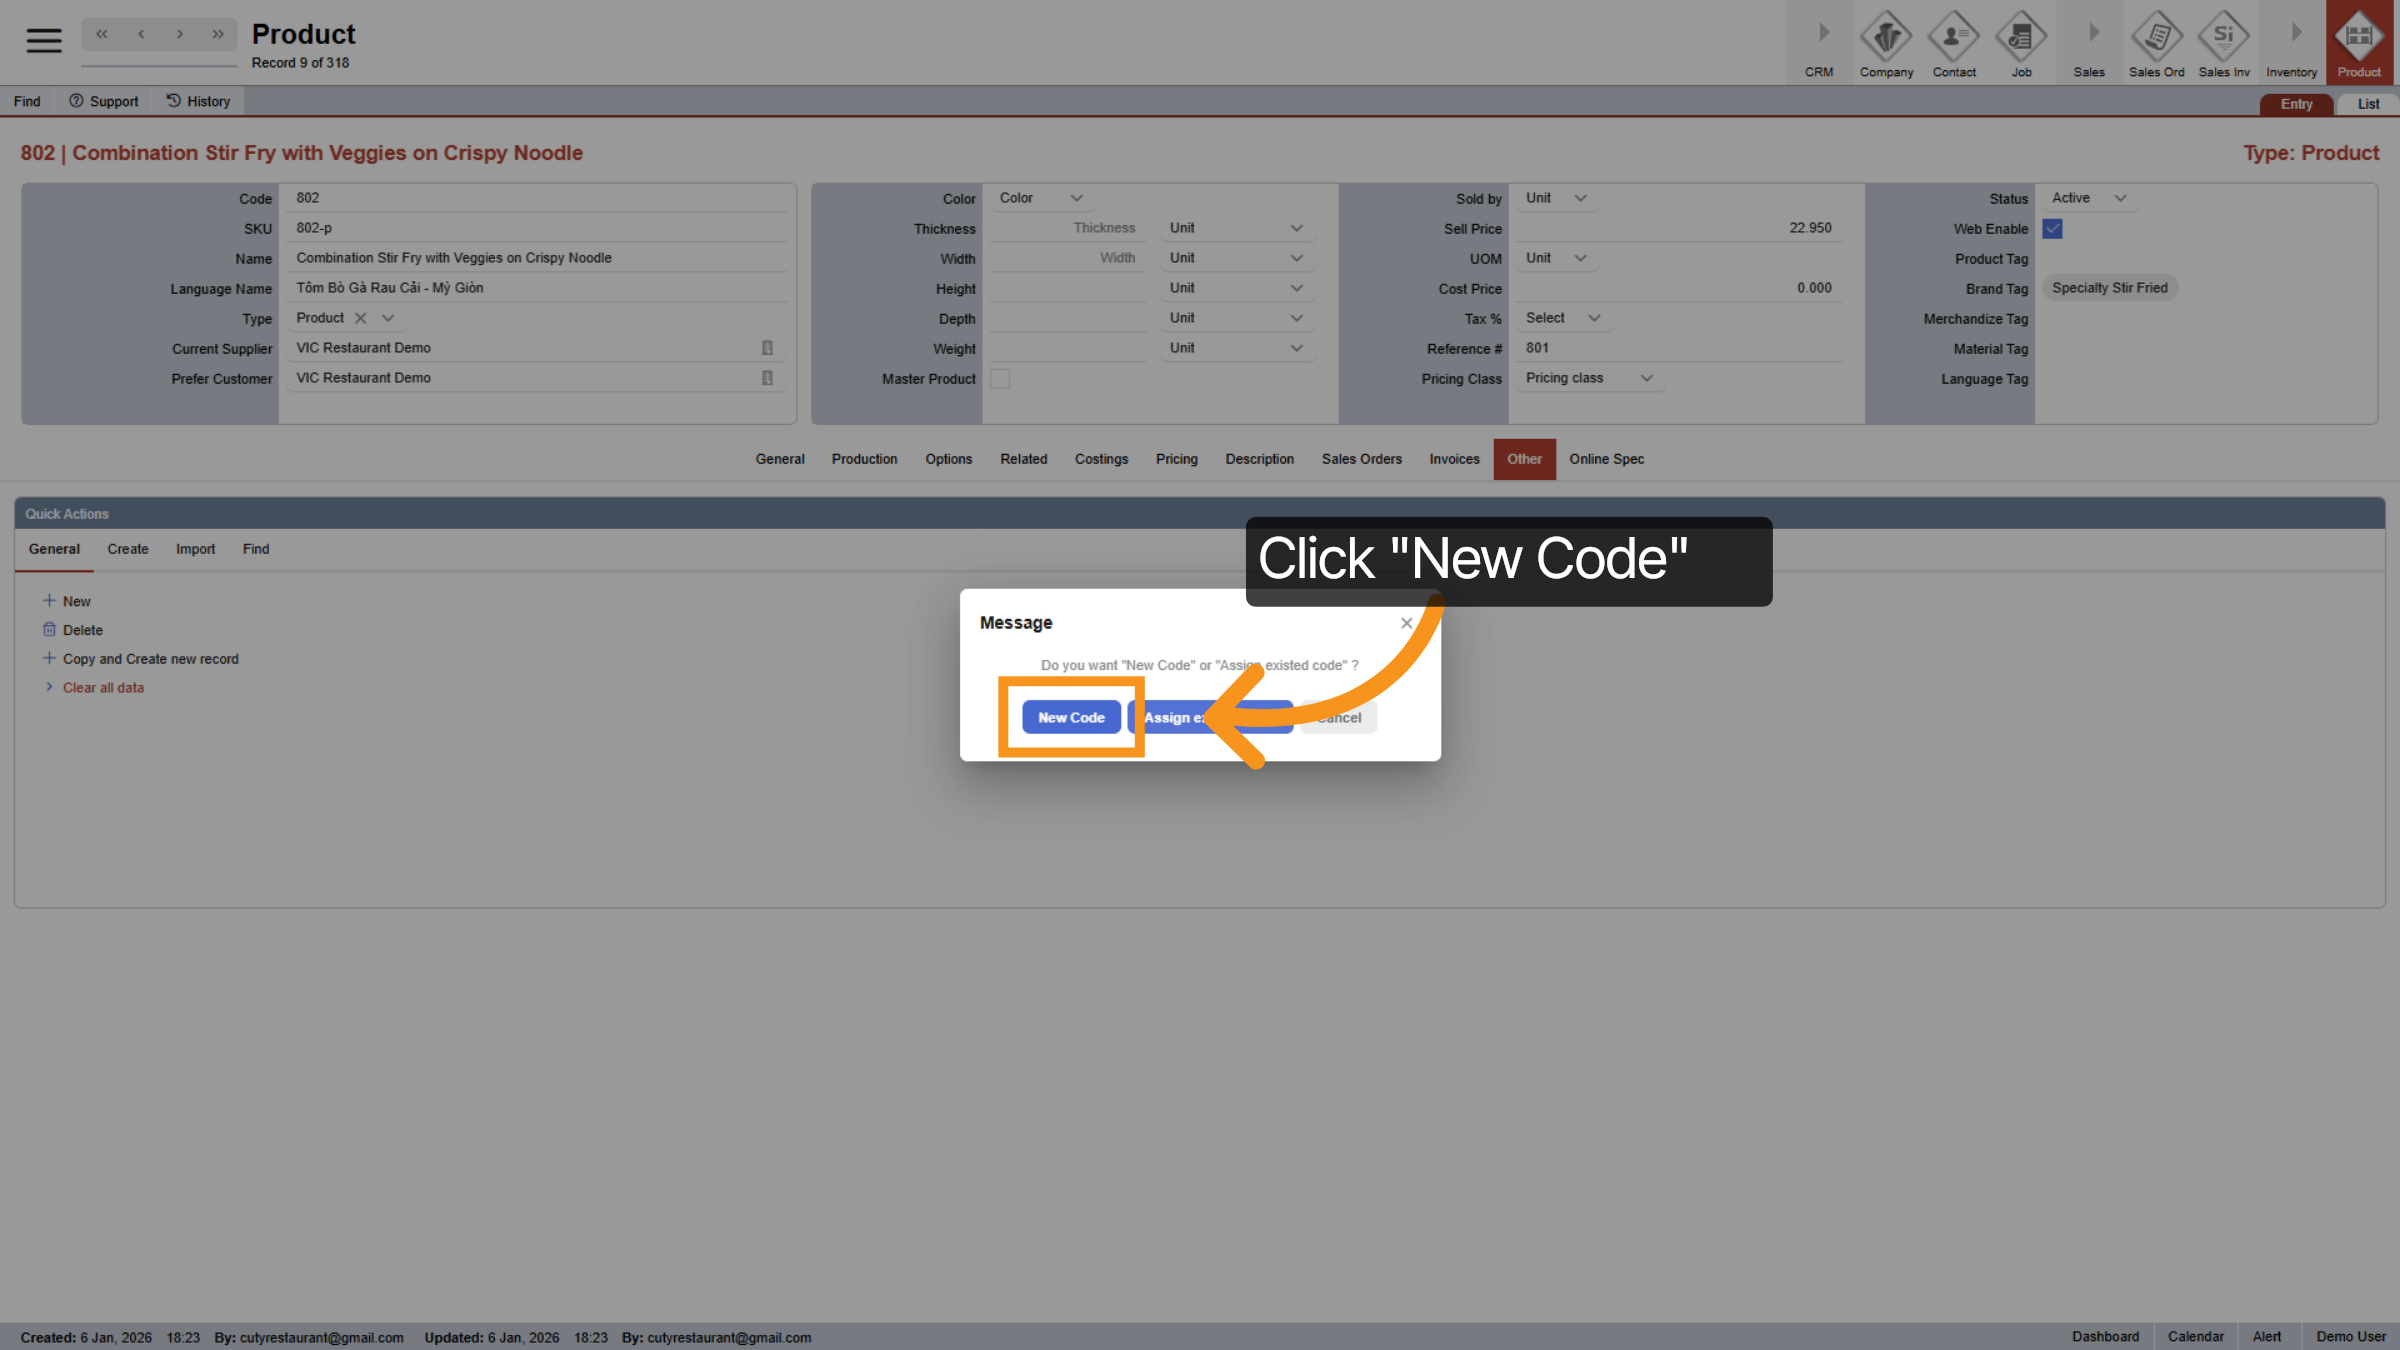
5. Select New Code Option
You have two options for creating a product: 1. Use "New Code" to generate a new identifier for the product. 2. Choose "Assign Existing Code" to replace only the deleted code. Now, let’s proceed with creating a new code.
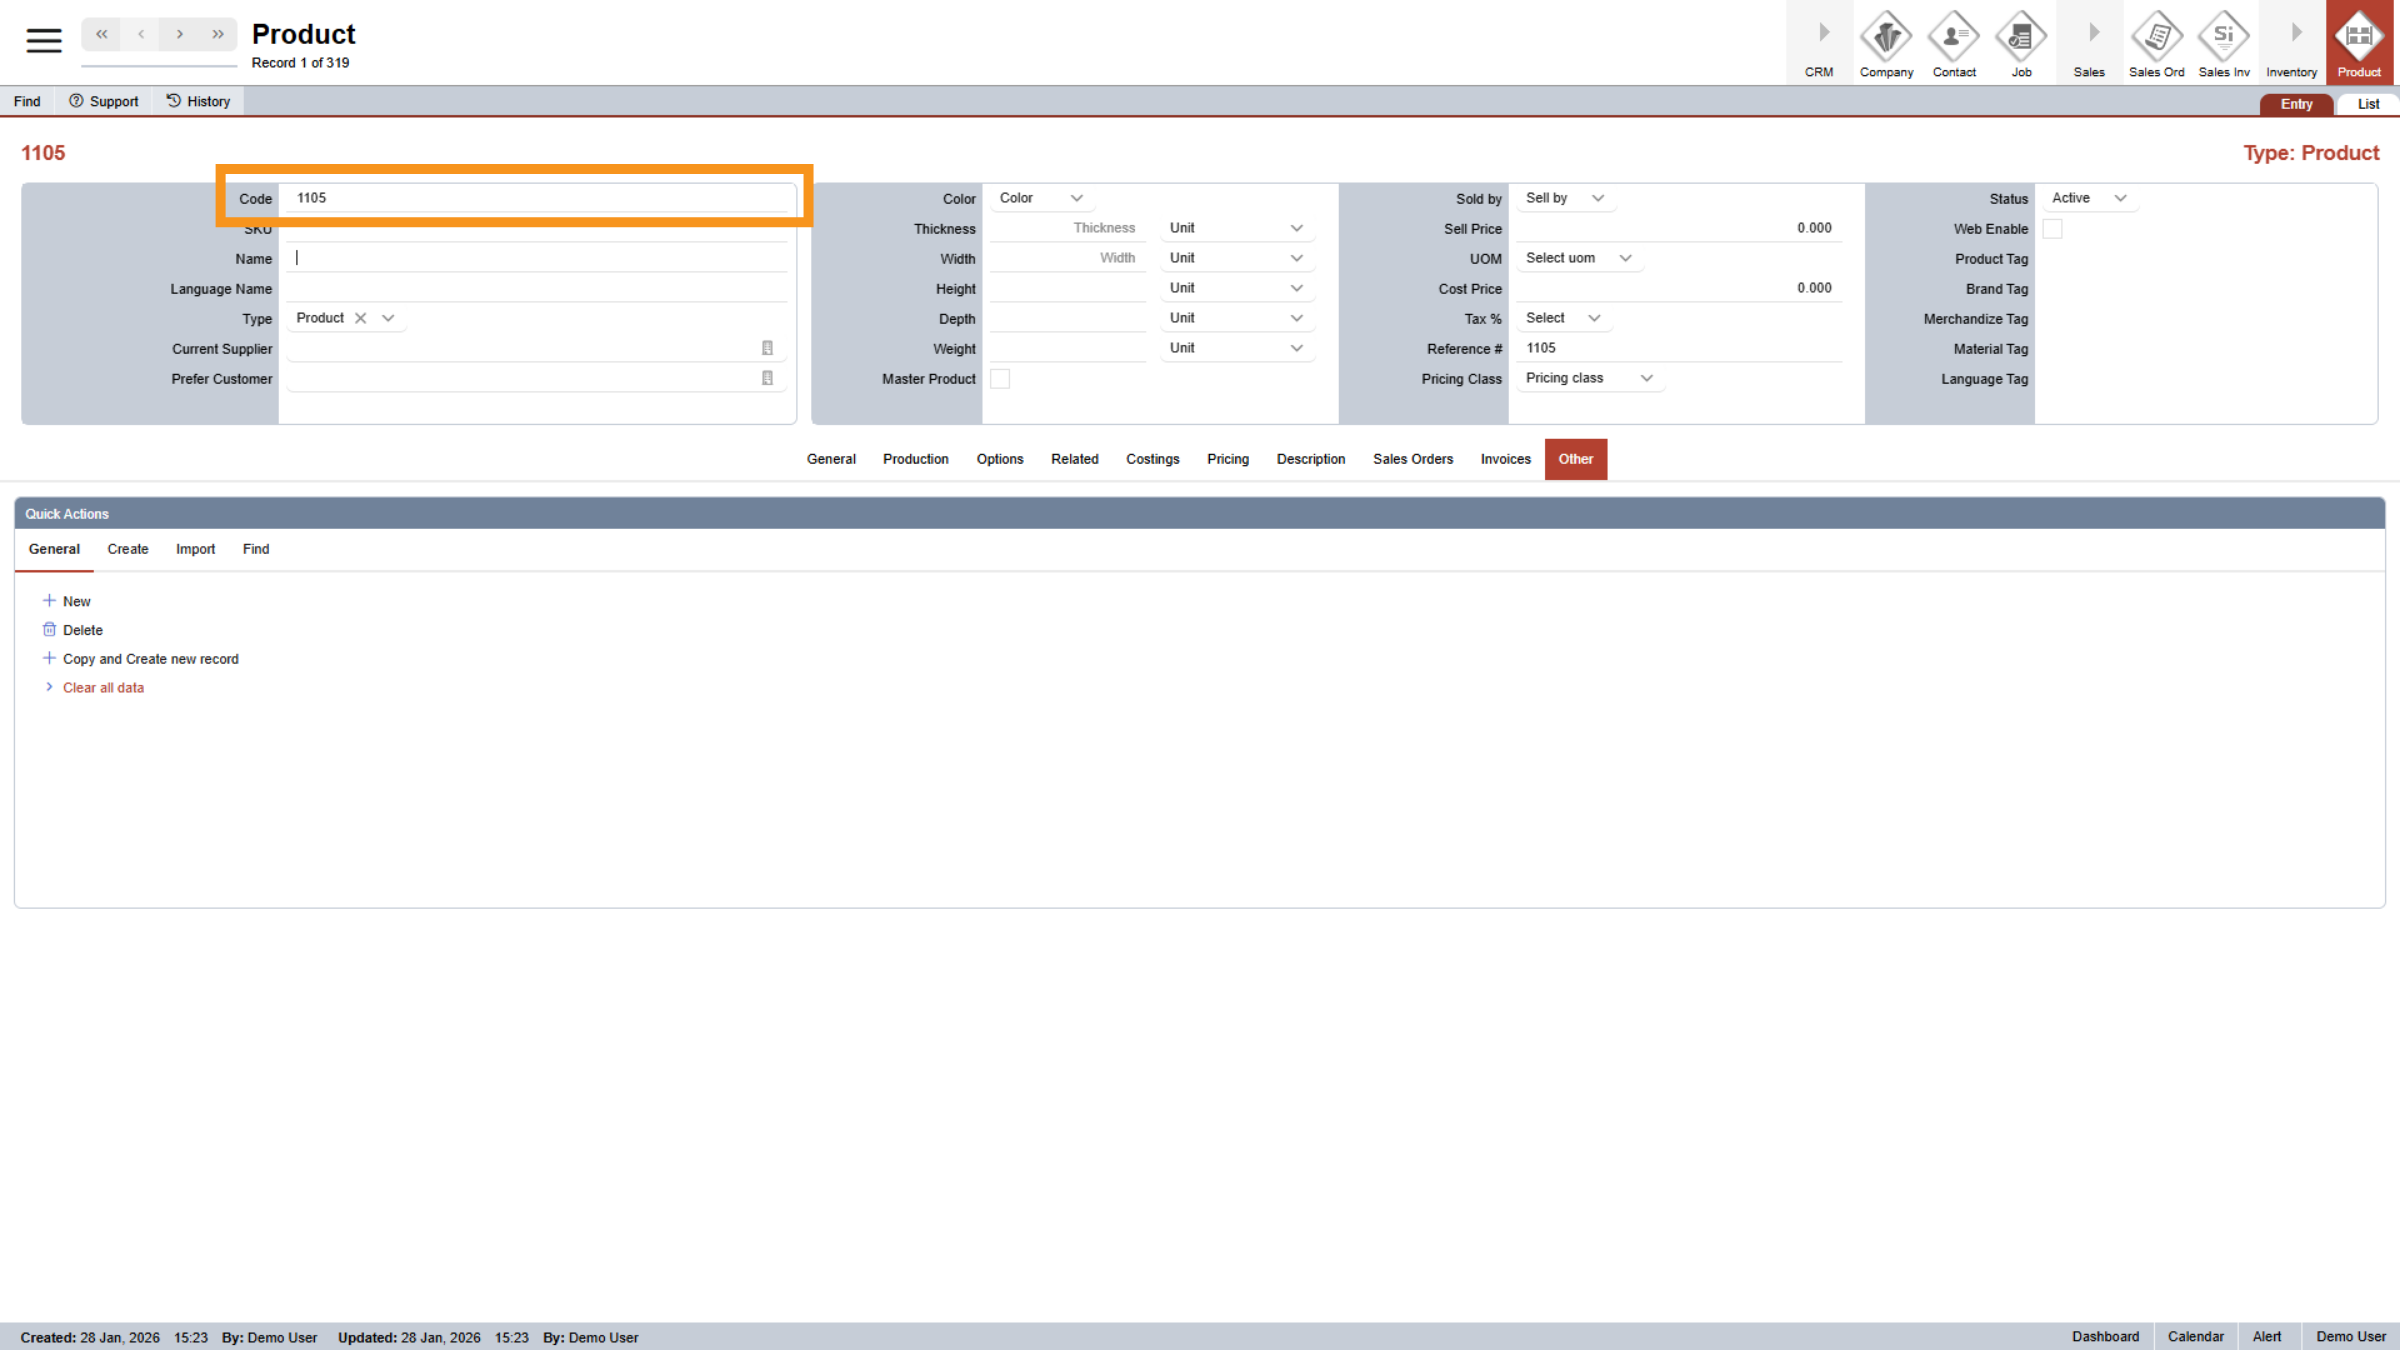
6. Product Code
The product code is generated automatically by the system and cannot be changed.
7. Enter SKU and Product's Name
Next, enter the product SKU and Name as required fields.

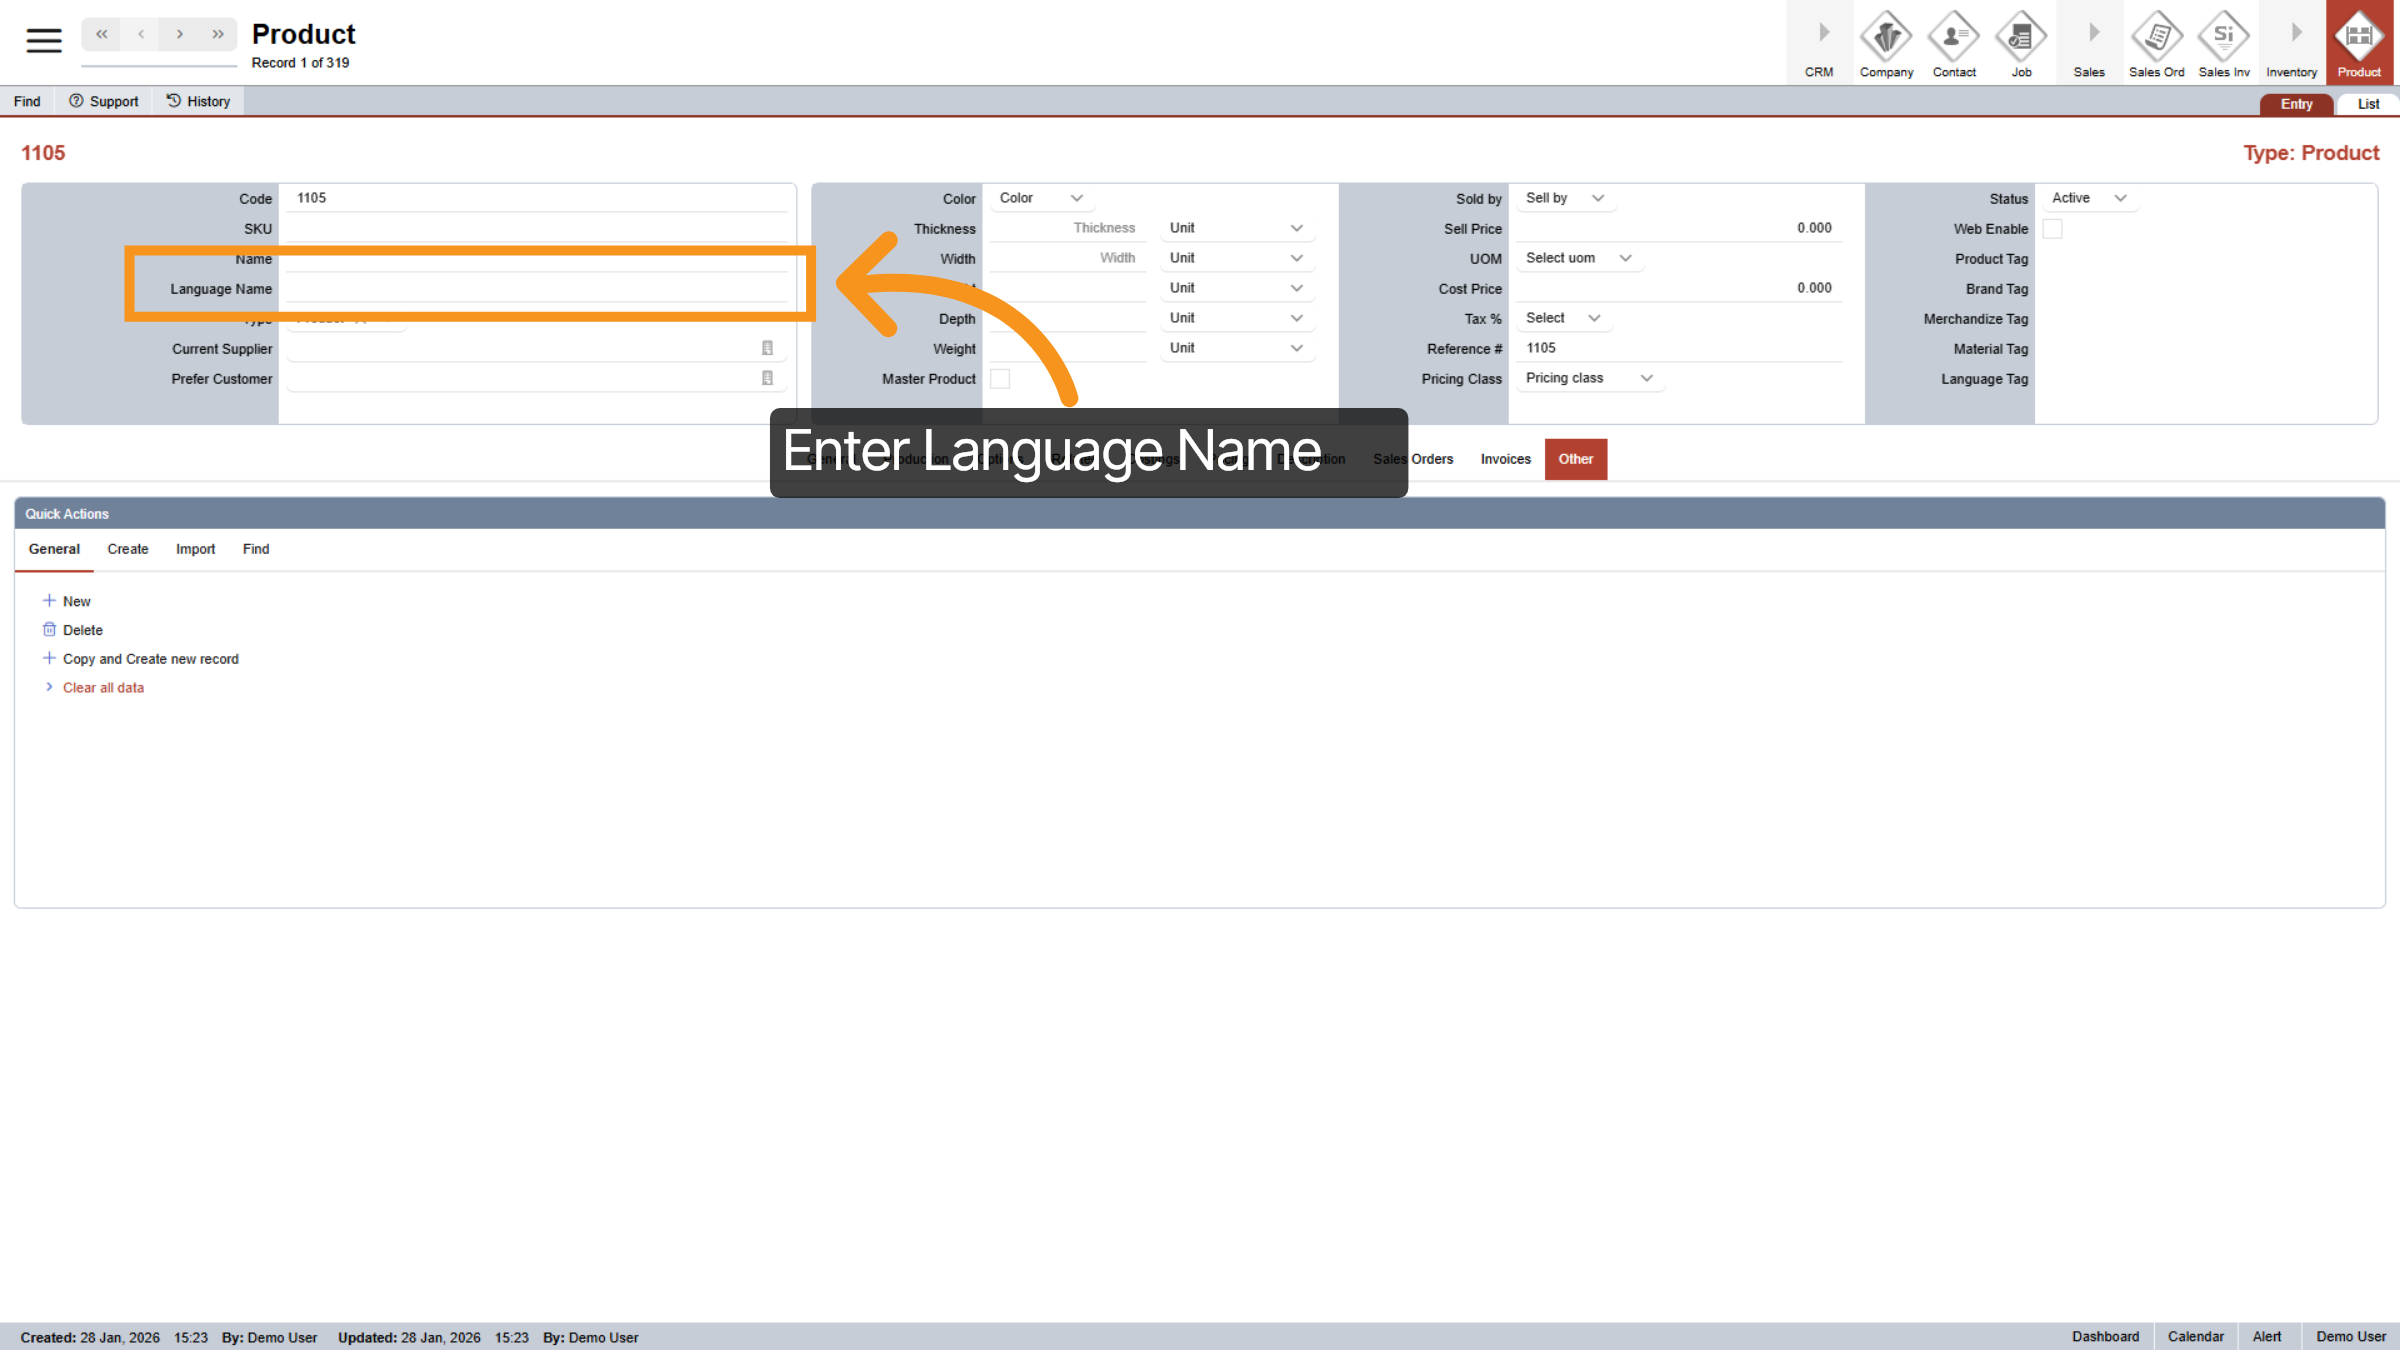
8. Enter Language Name *Optional
The language name is optional. "Language Name" is where you enter the product name in your preferred language. In this example, I’m using a Vietnamese name, which will be displayed in the kitchen and on your website if you’ve enabled it.
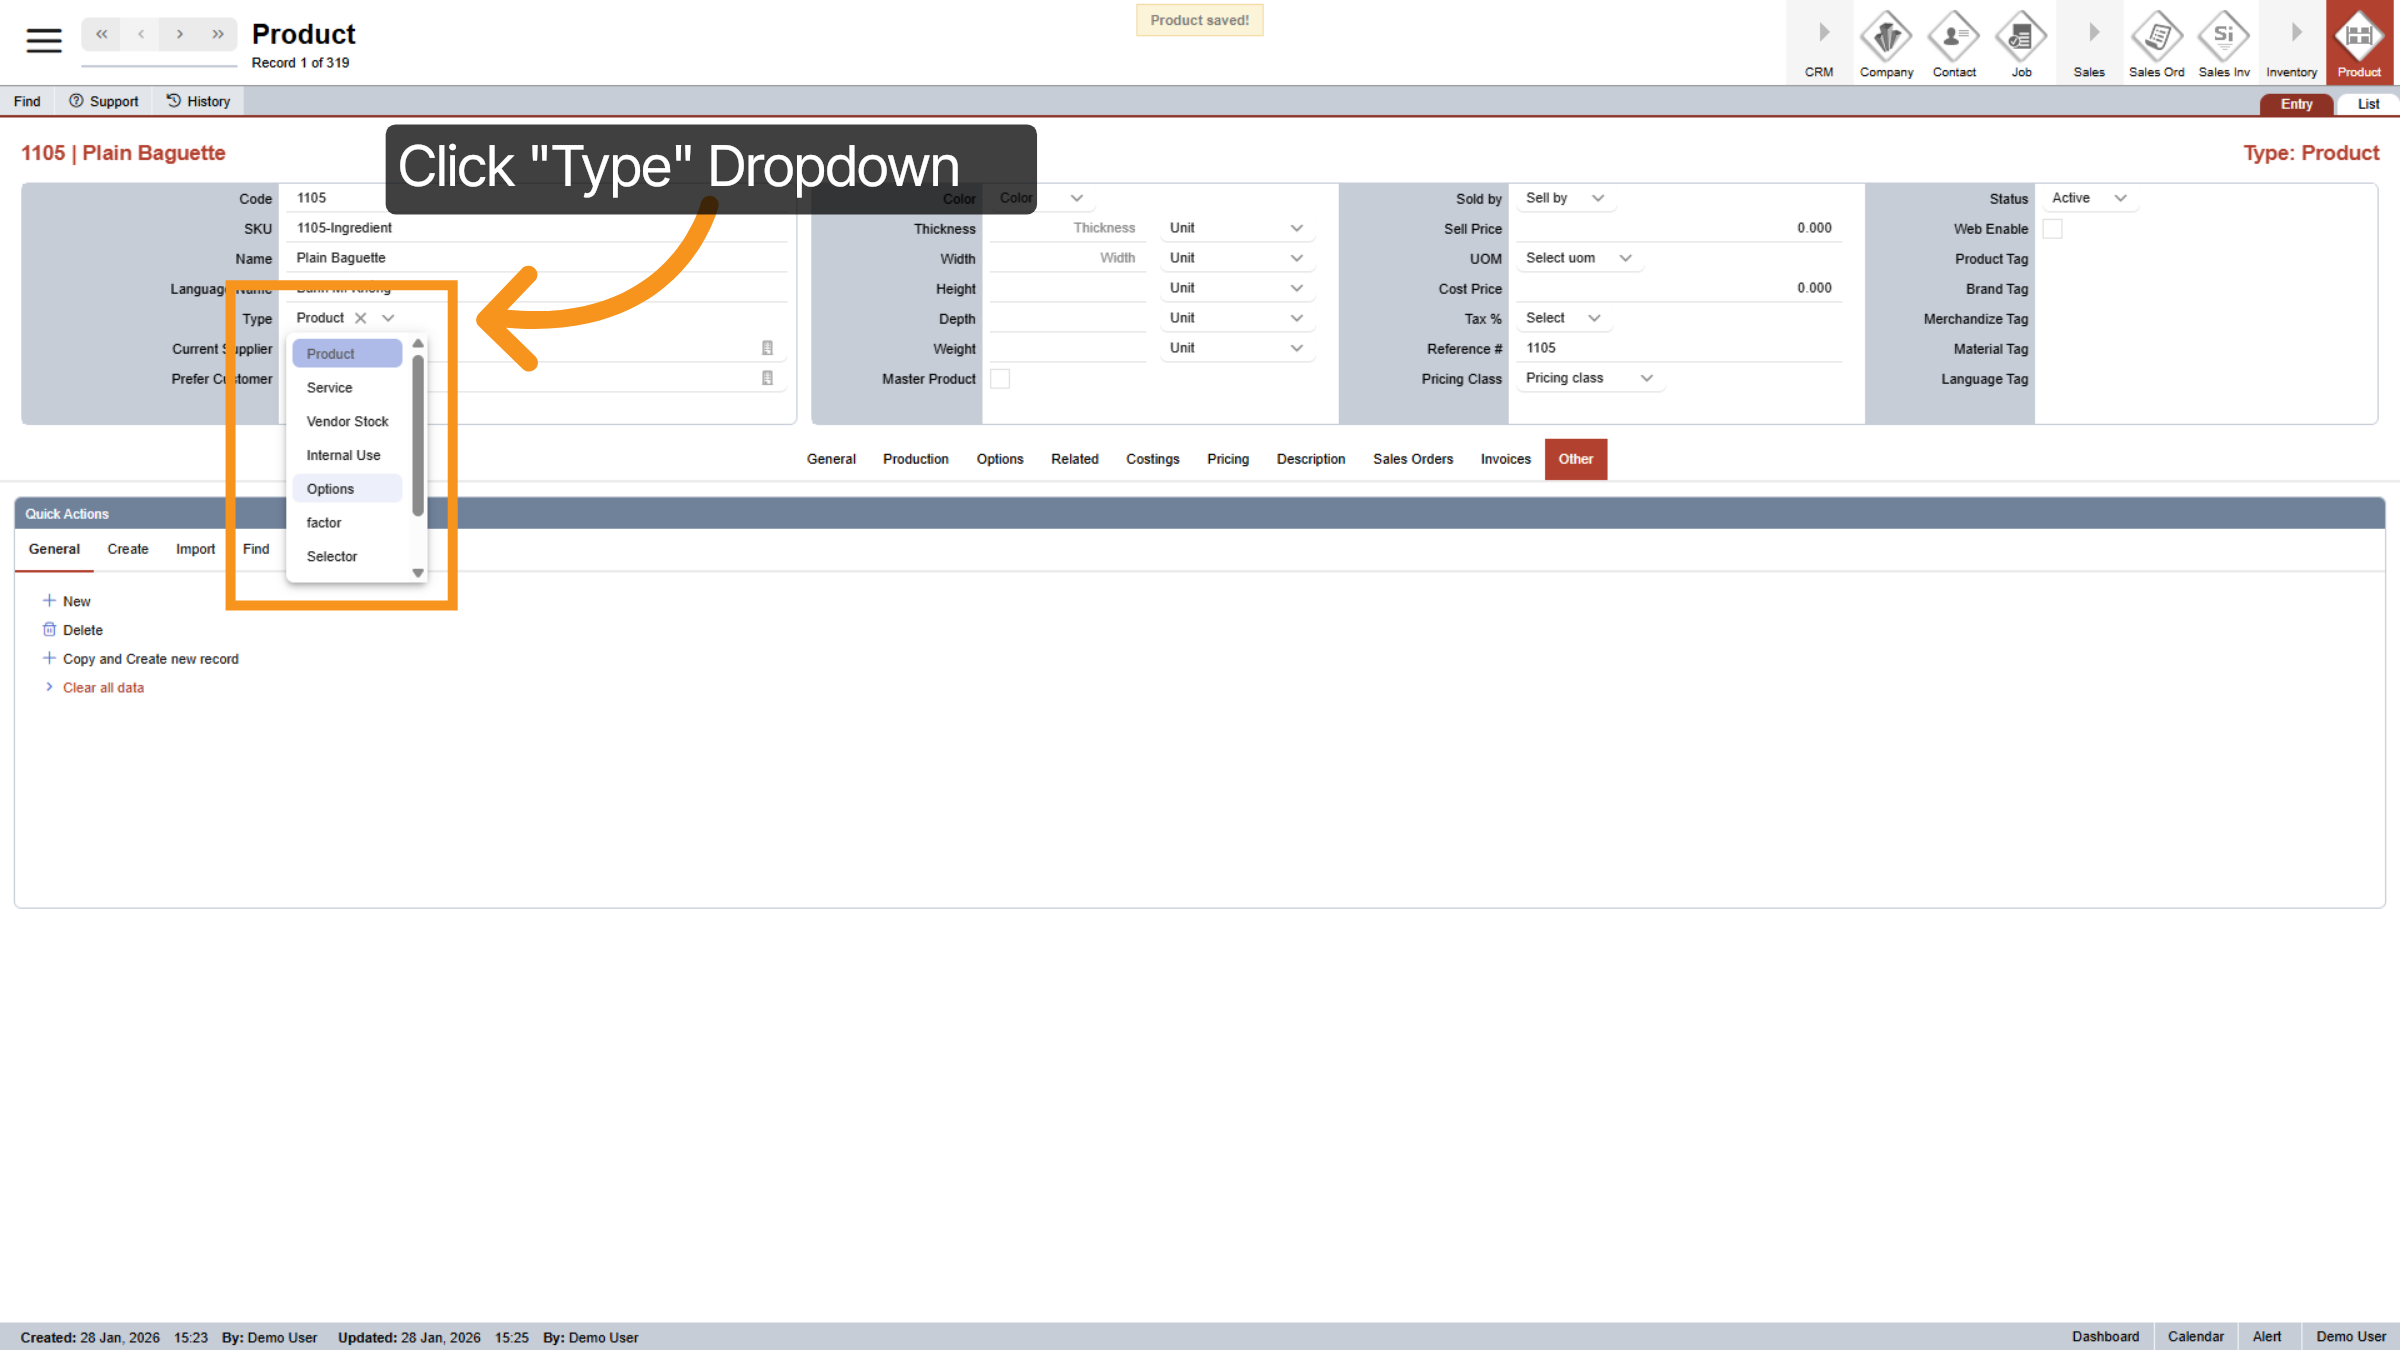
9. Select Product Type
Click the dropdown next to "Type" to select the product type, such as "Product", "Options", or "Selectors". This will assist you in organizing and locating items more effectively, resulting in a clearer and more structured system.
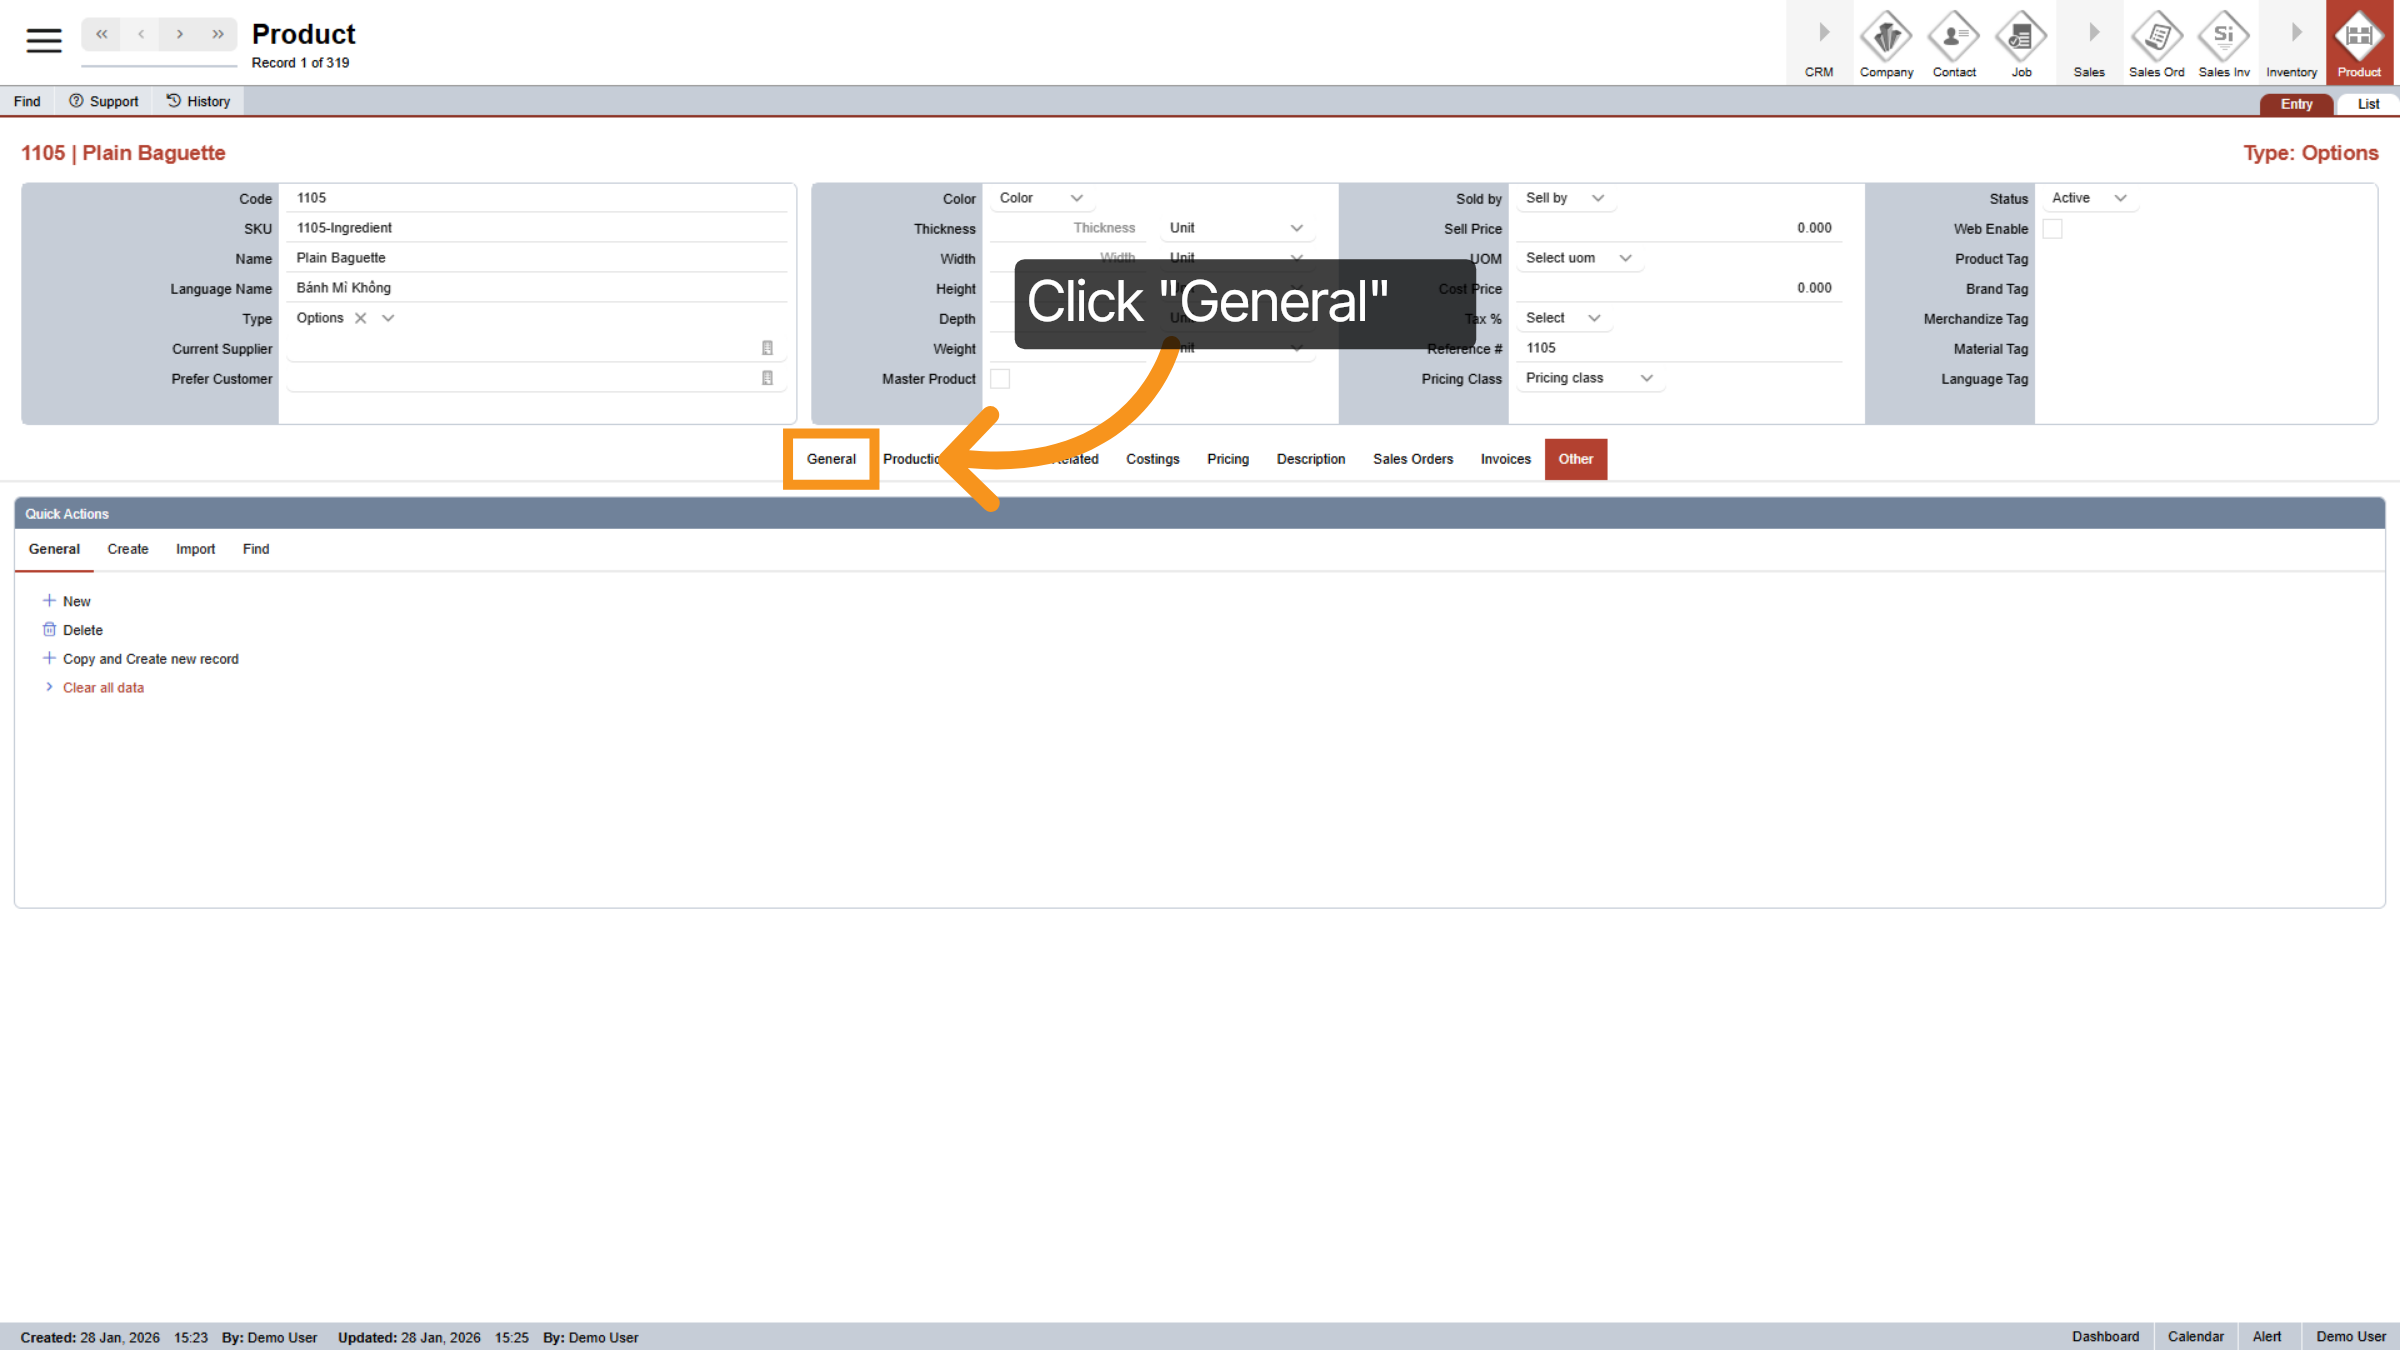
10. Select General Tab
To enhance your understanding of the upcoming concepts, I will navigate to the "General" tab in the center menu.
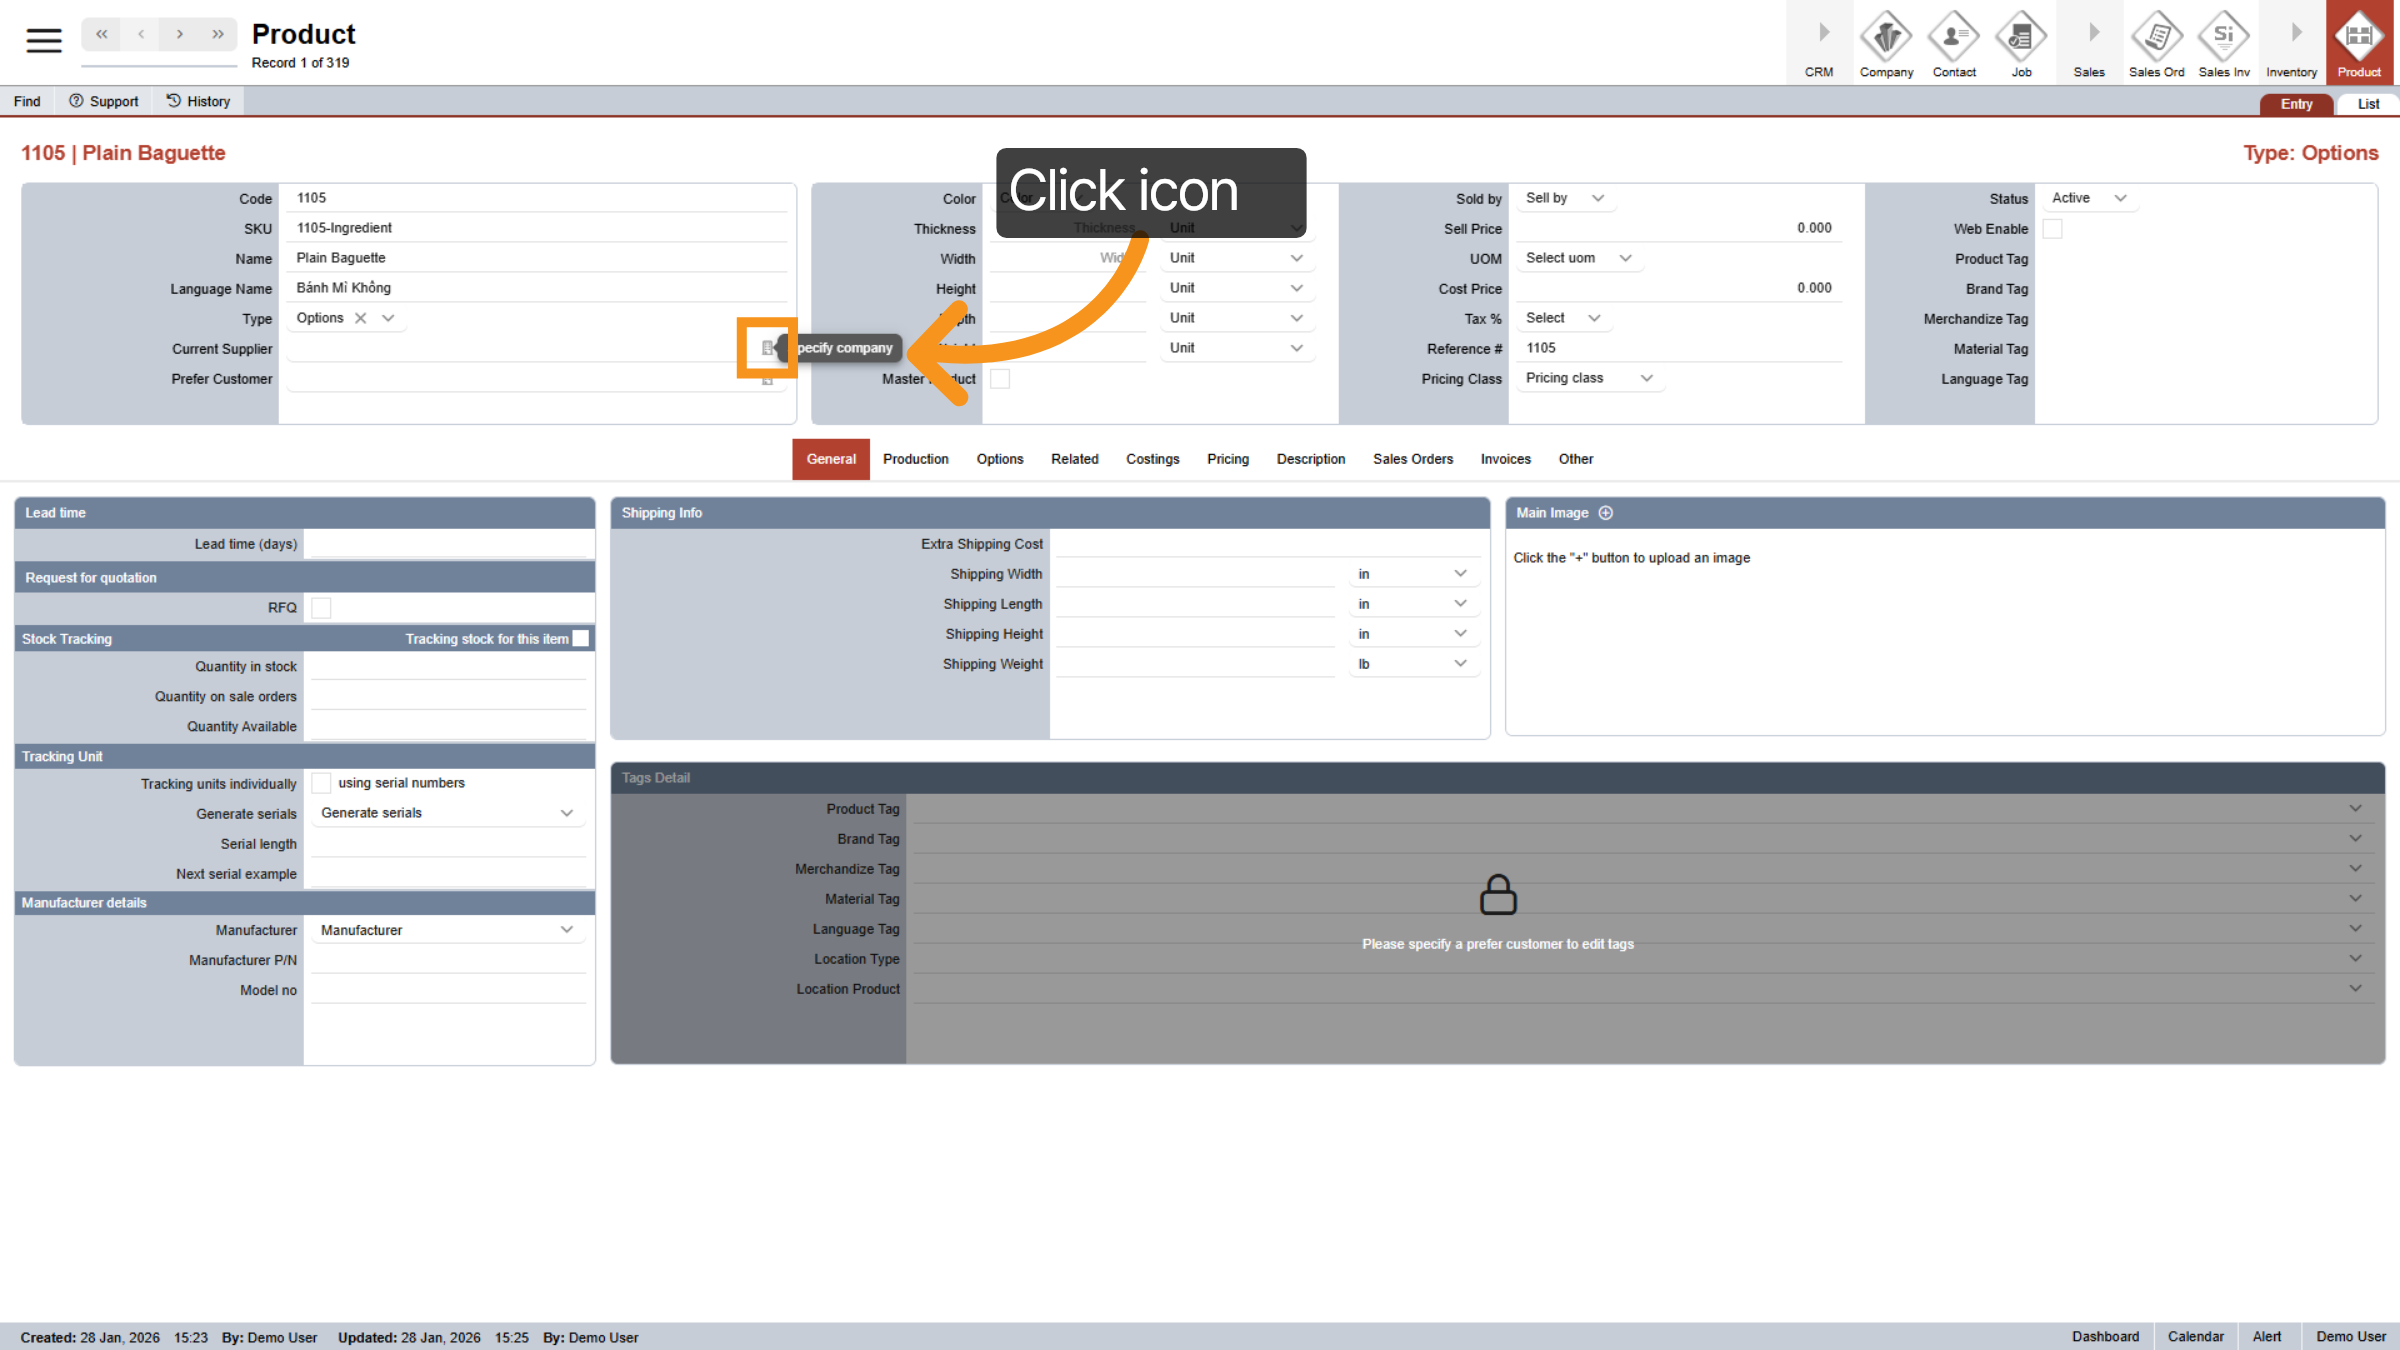
11. Initiate Add Supplier
Now, let's add a supplier for your product. To assign one, simply click the icon next to the Current Supplier field. This will help your staff create purchase orders more efficiently in the future. If you don’t have a specific supplier for this ingredient, that’s perfectly fine—you can leave this field empty.
12. Select Supplier

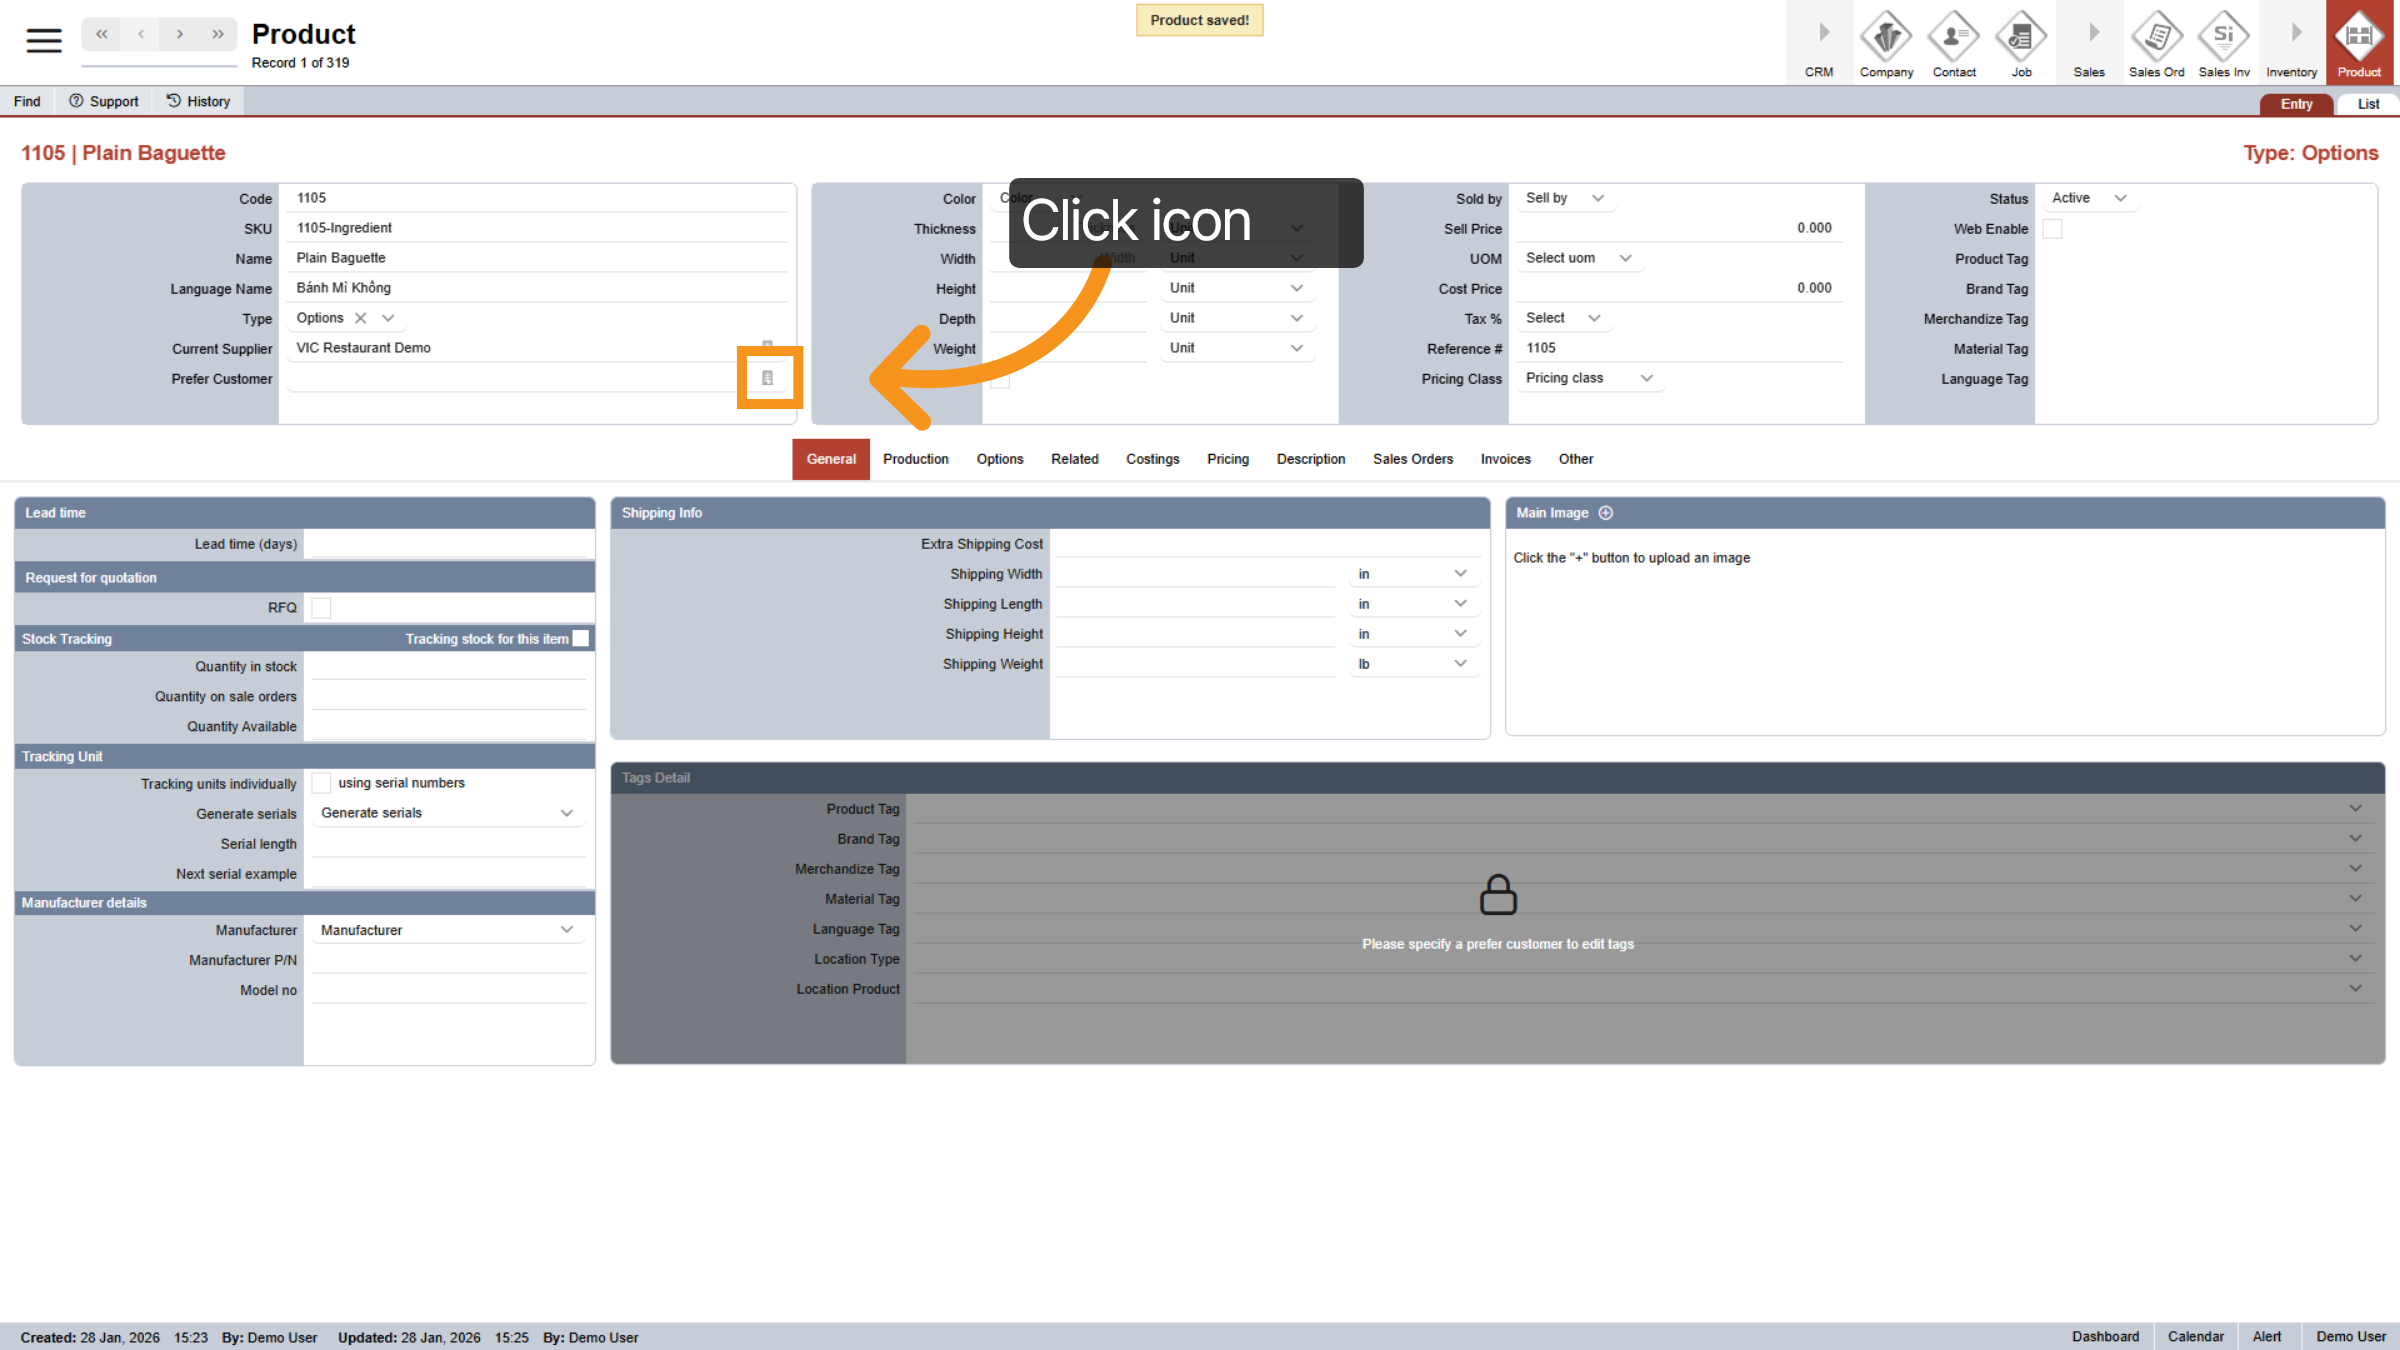
13. Assign Prefer Customer/ Restaurant location
Click the icon next to “Preferred Customer” to indicate that this product will only be sold to a specific customer. You can think of this as choosing which store location the product is available at.
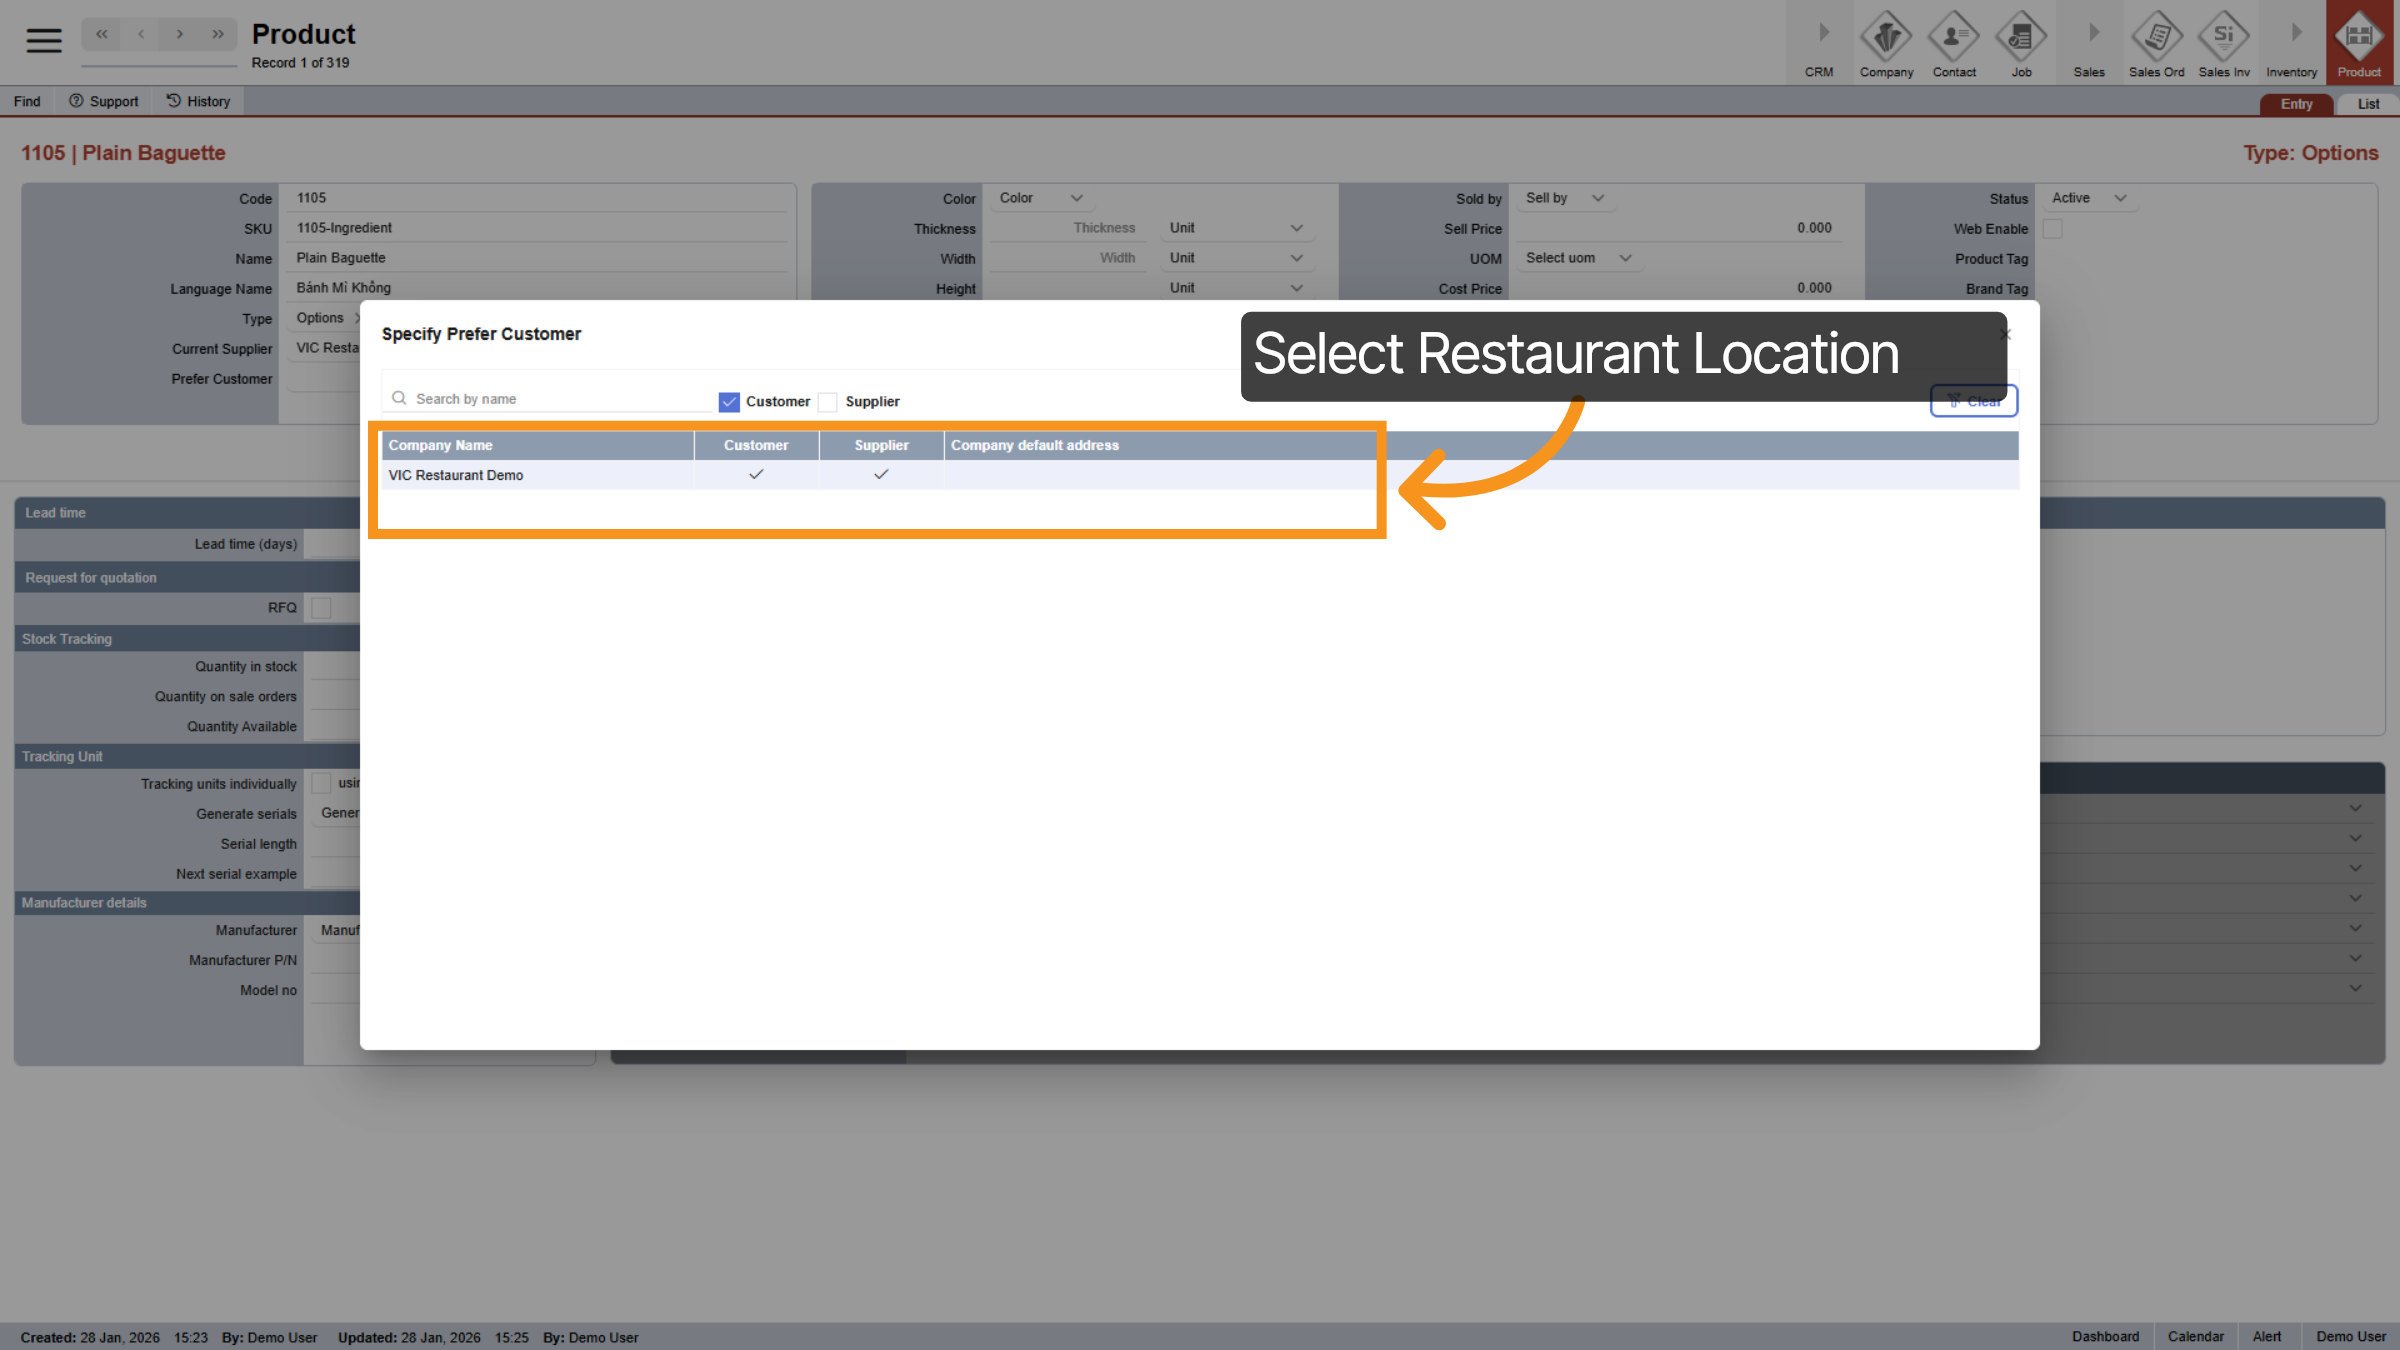
14. Select Restaurant Location
For example, if you have two restaurants in different locations, this option allows you to control where the product can be sold. Once Preferred Customer is selected, you can also set up product tags for this item.
15. Tag Detail Unlock
Once you assign a "Prefer Customer," the "Tag Details" section will be unlocked. You can now add a Product Tag, Brand Tags, Merchandised Tag, or Material Tag if desired. In this case, since I am creating an ingredient that I do not want to display in the main menu, I will leave it blank for the product tags and brand tags.
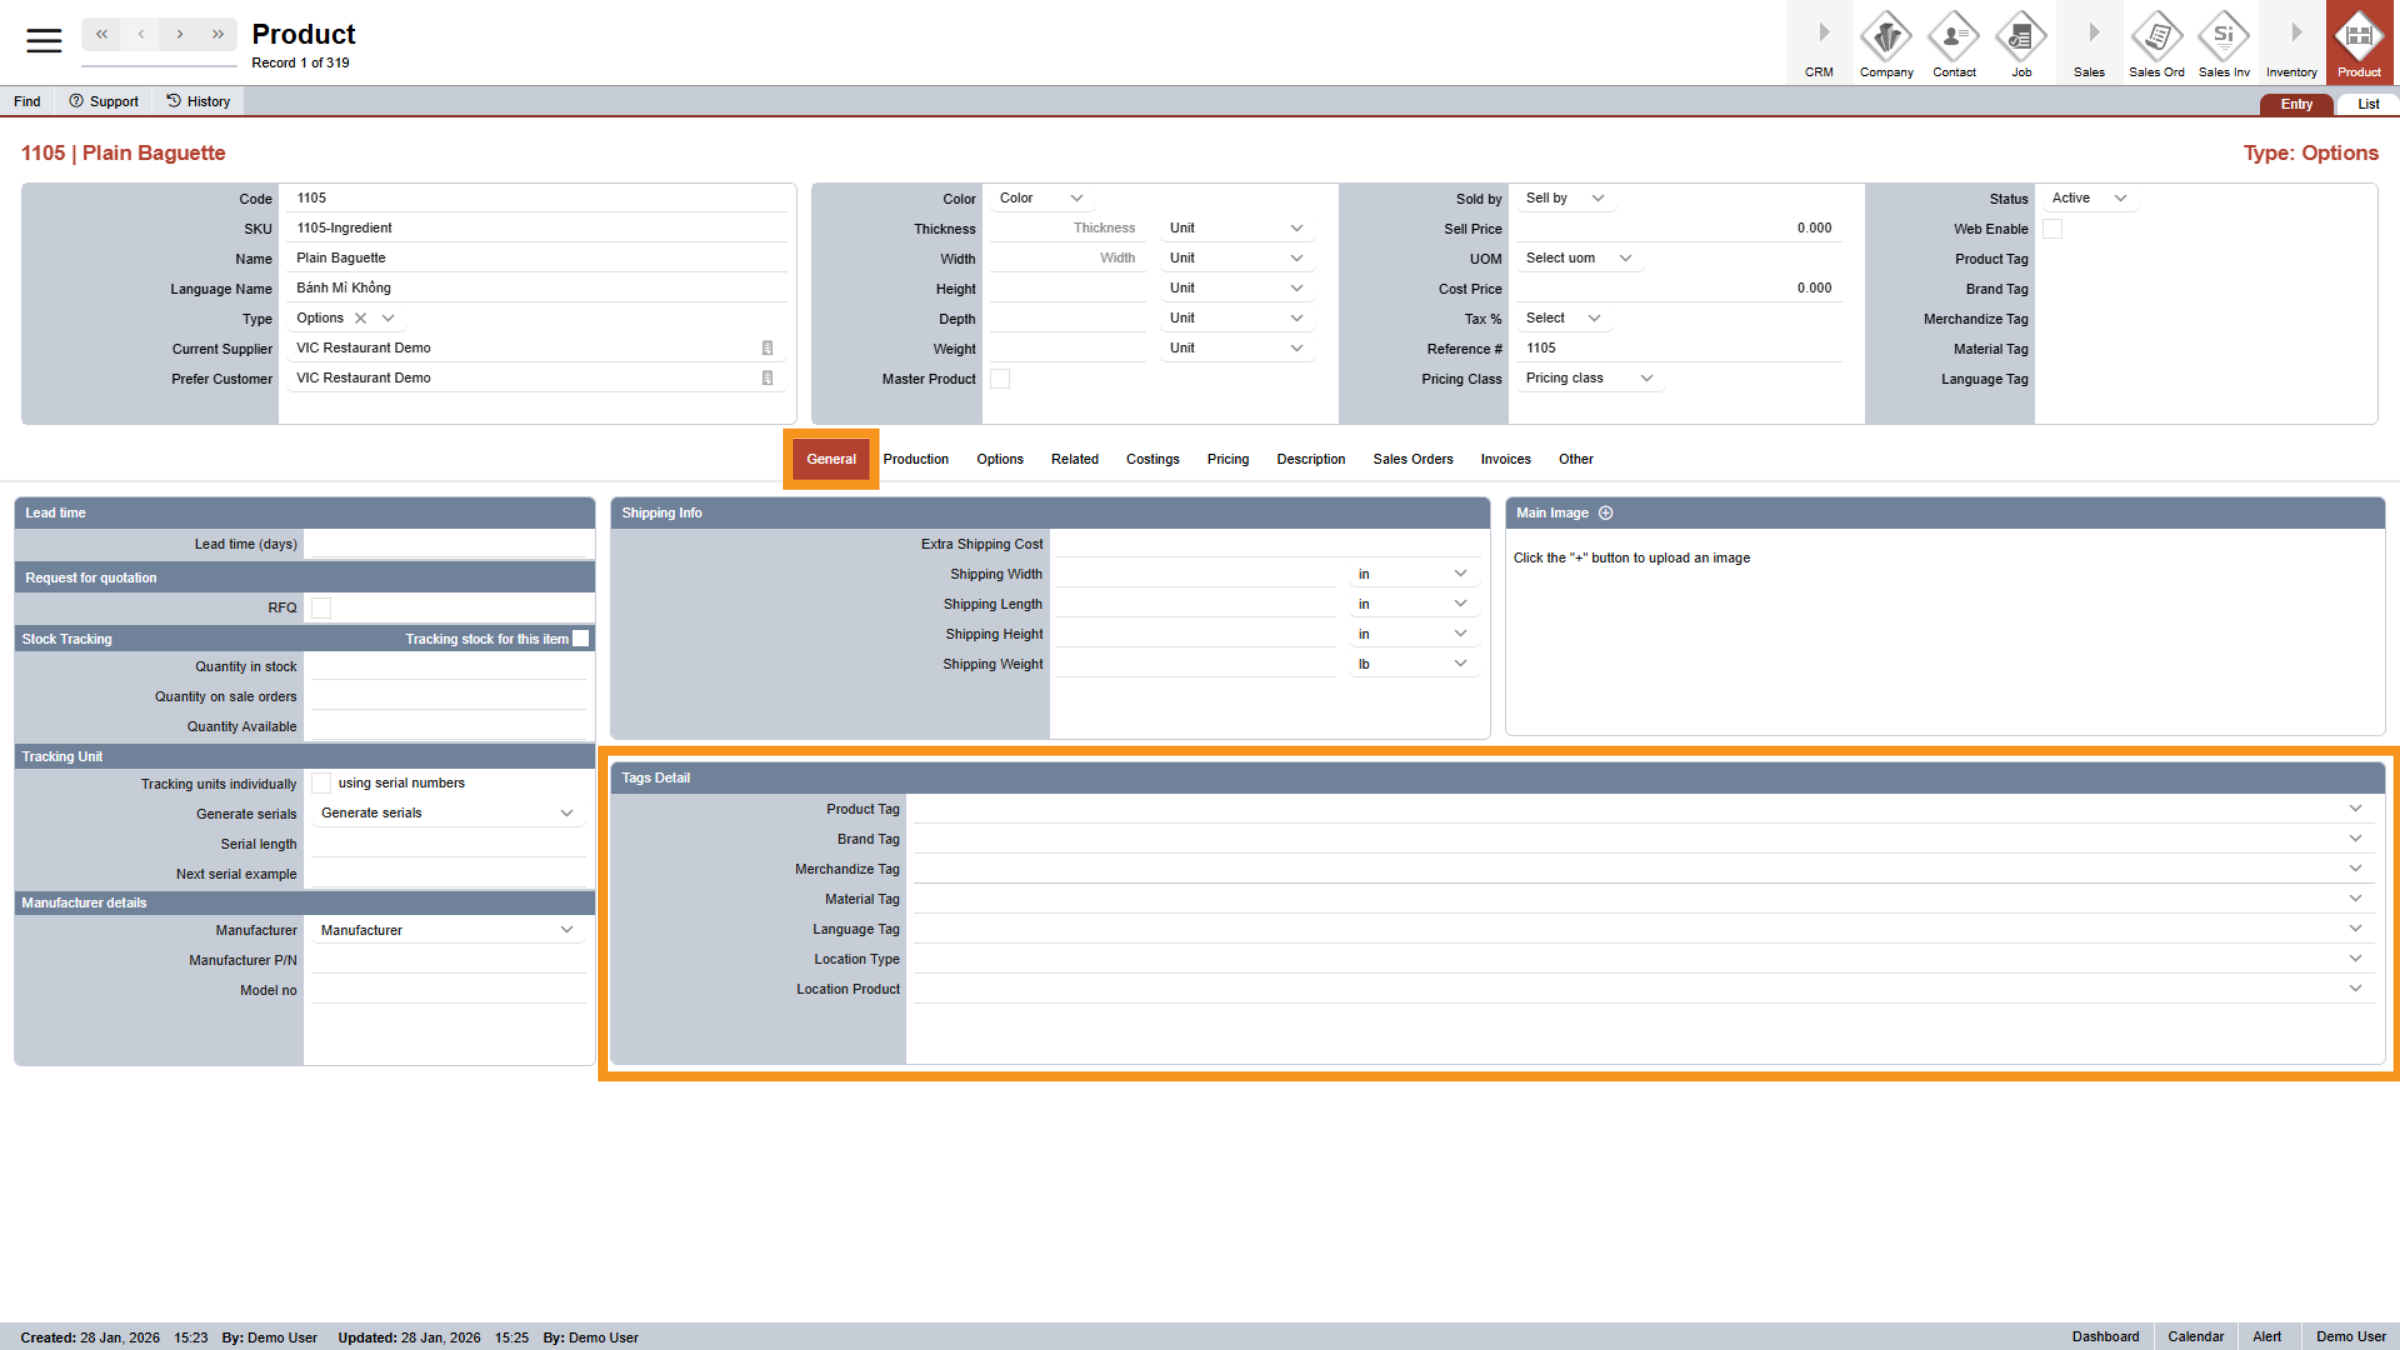
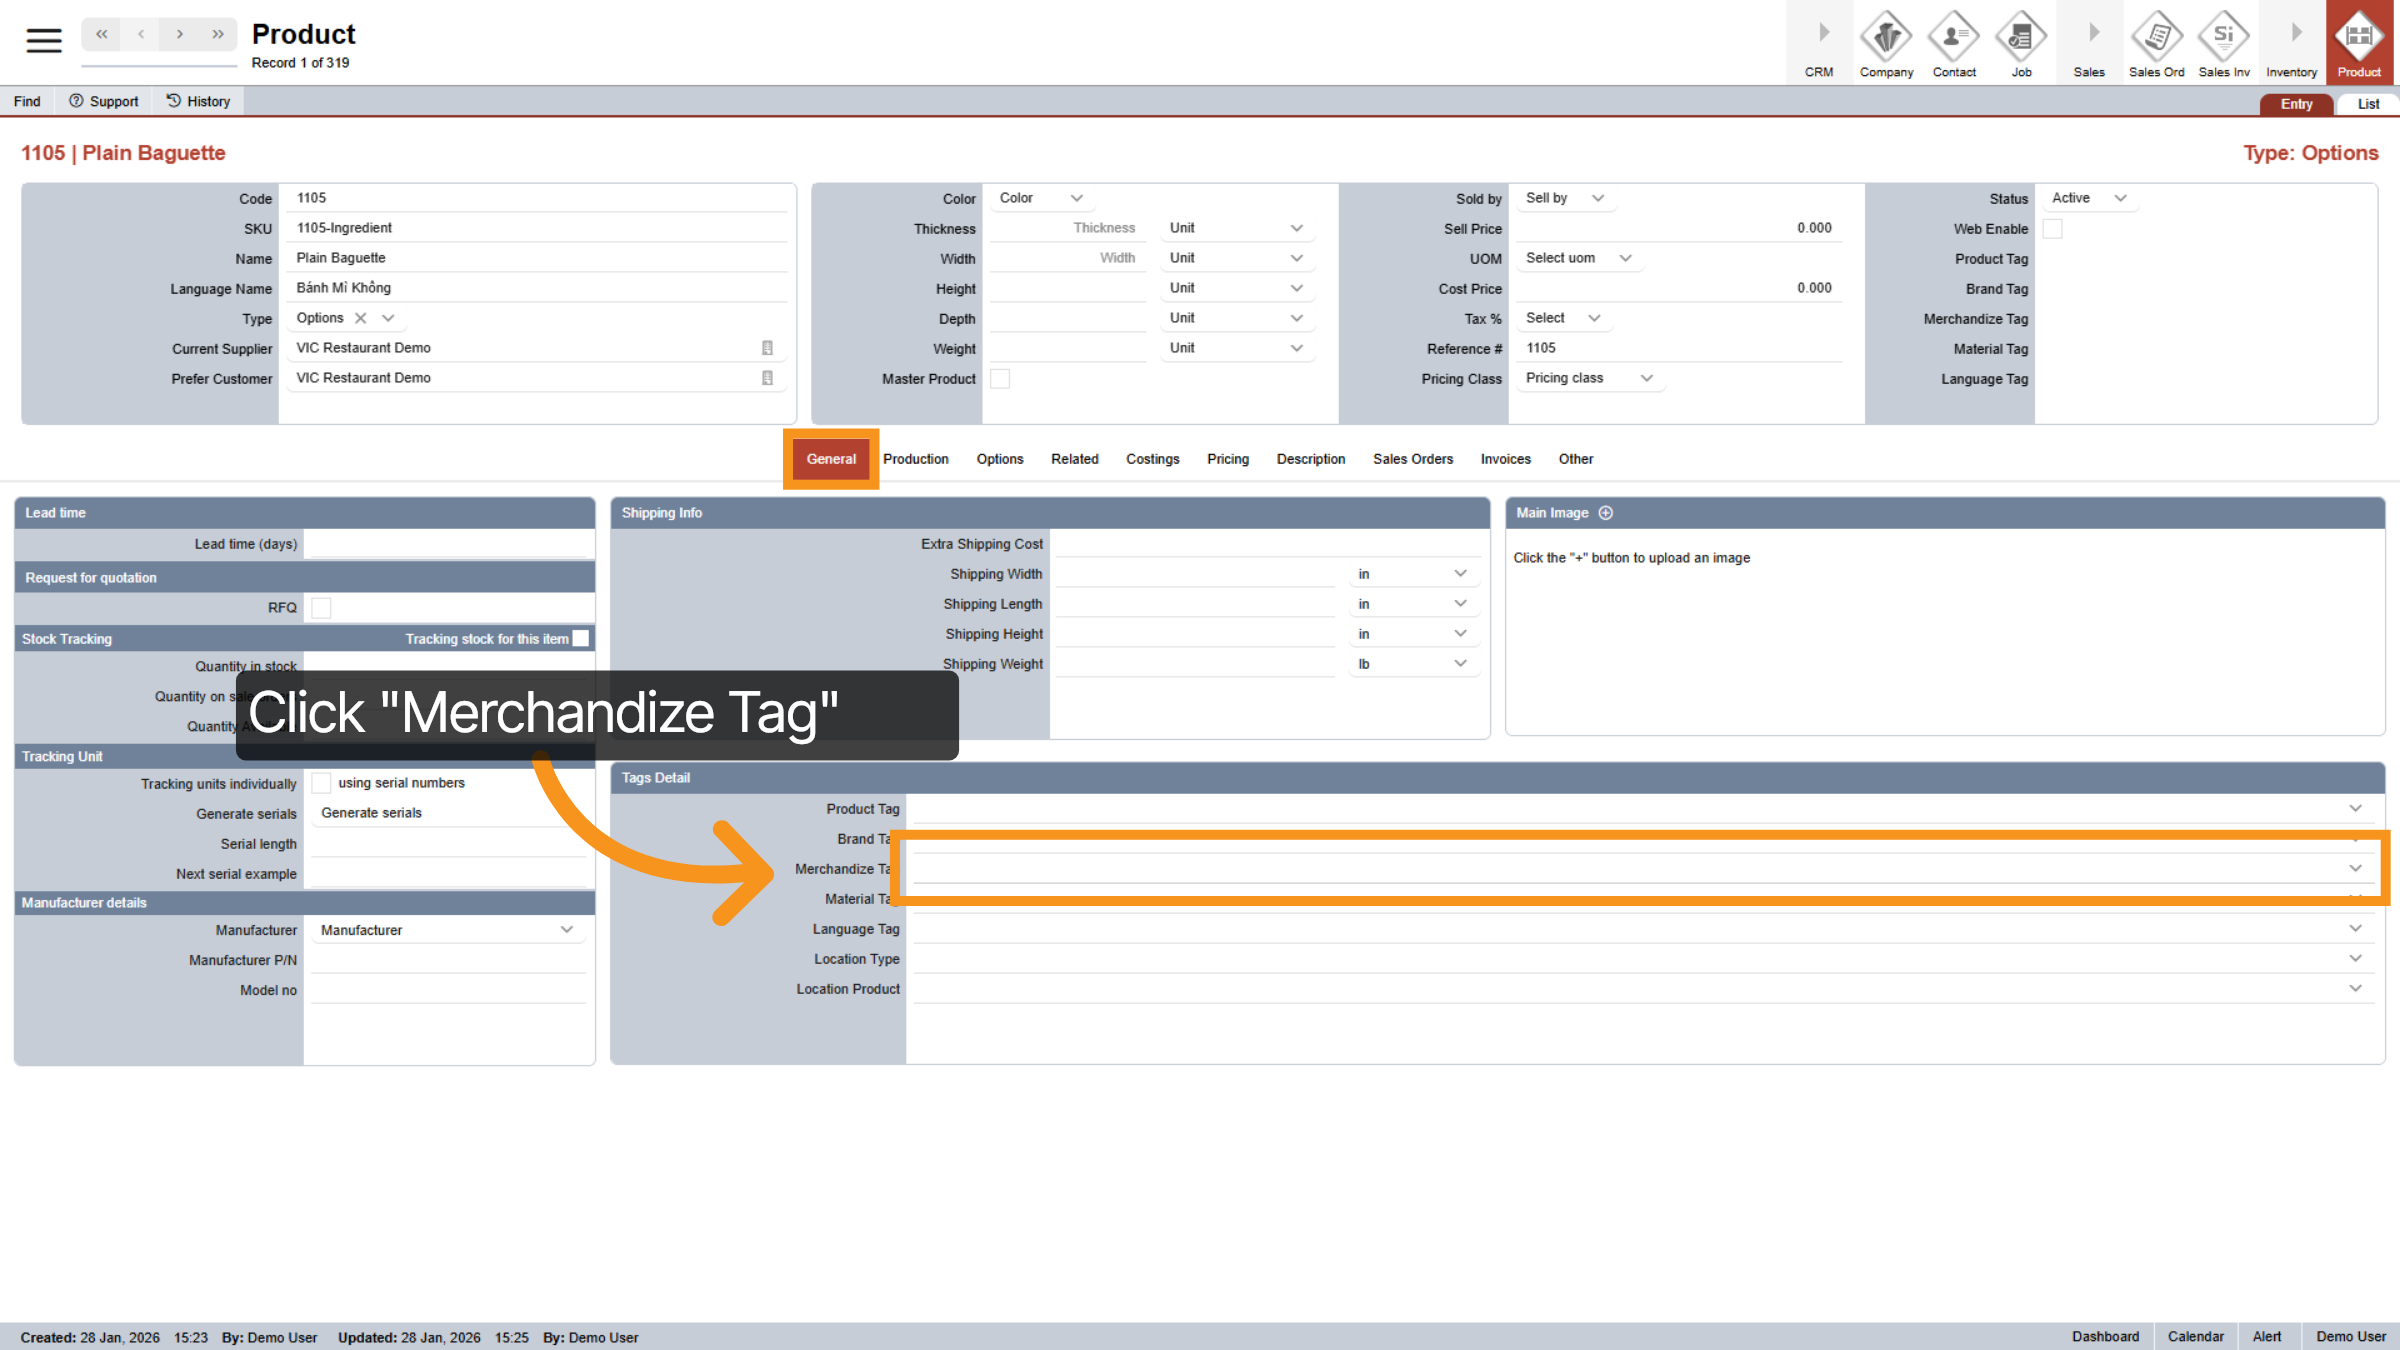
16. Select Merchadize Tag
For the ingredient product, the only tag I will add is the Merchandise Tag, which will assist me in filtering products later. You can click on the dropdown for the merchandise tag and select your preferred option. If you're uncertain about how to create merchandise tags, please refer back to the previous videos where I demonstrate the process of adding a merchandise tag in E-Store Management. You can return and update these tags at any time as needed.
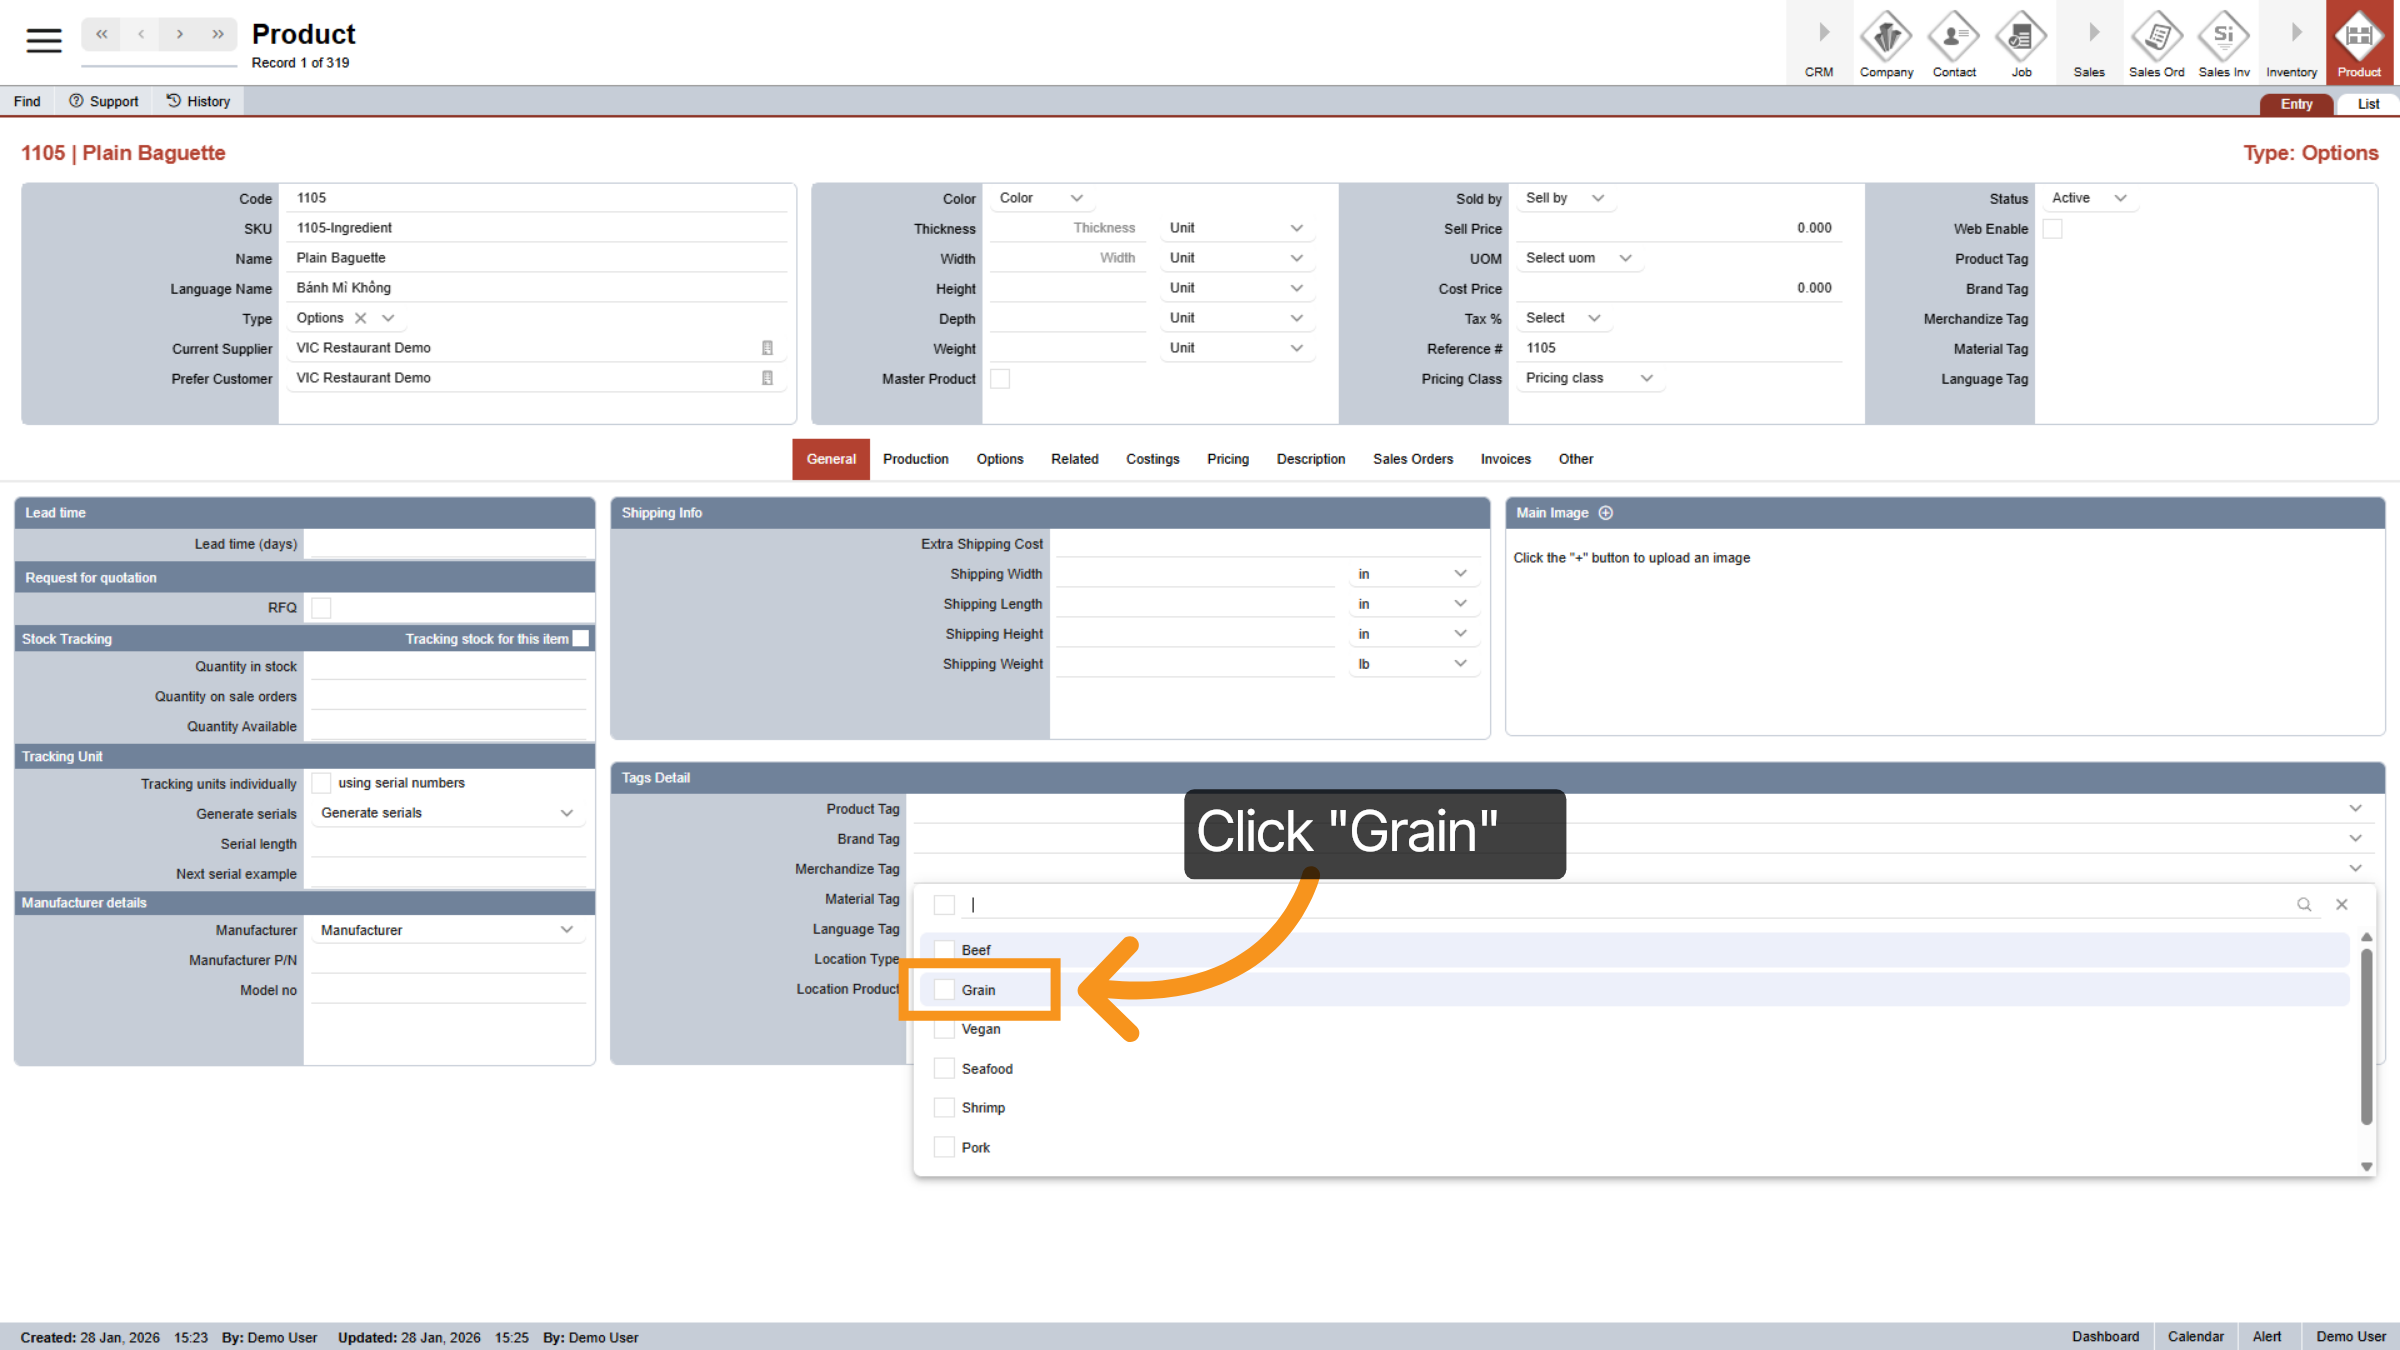
17. Select "Grain" for "Merchandize Tag"
In this example, I choose "Grain" to accurately categorize the ingredient.
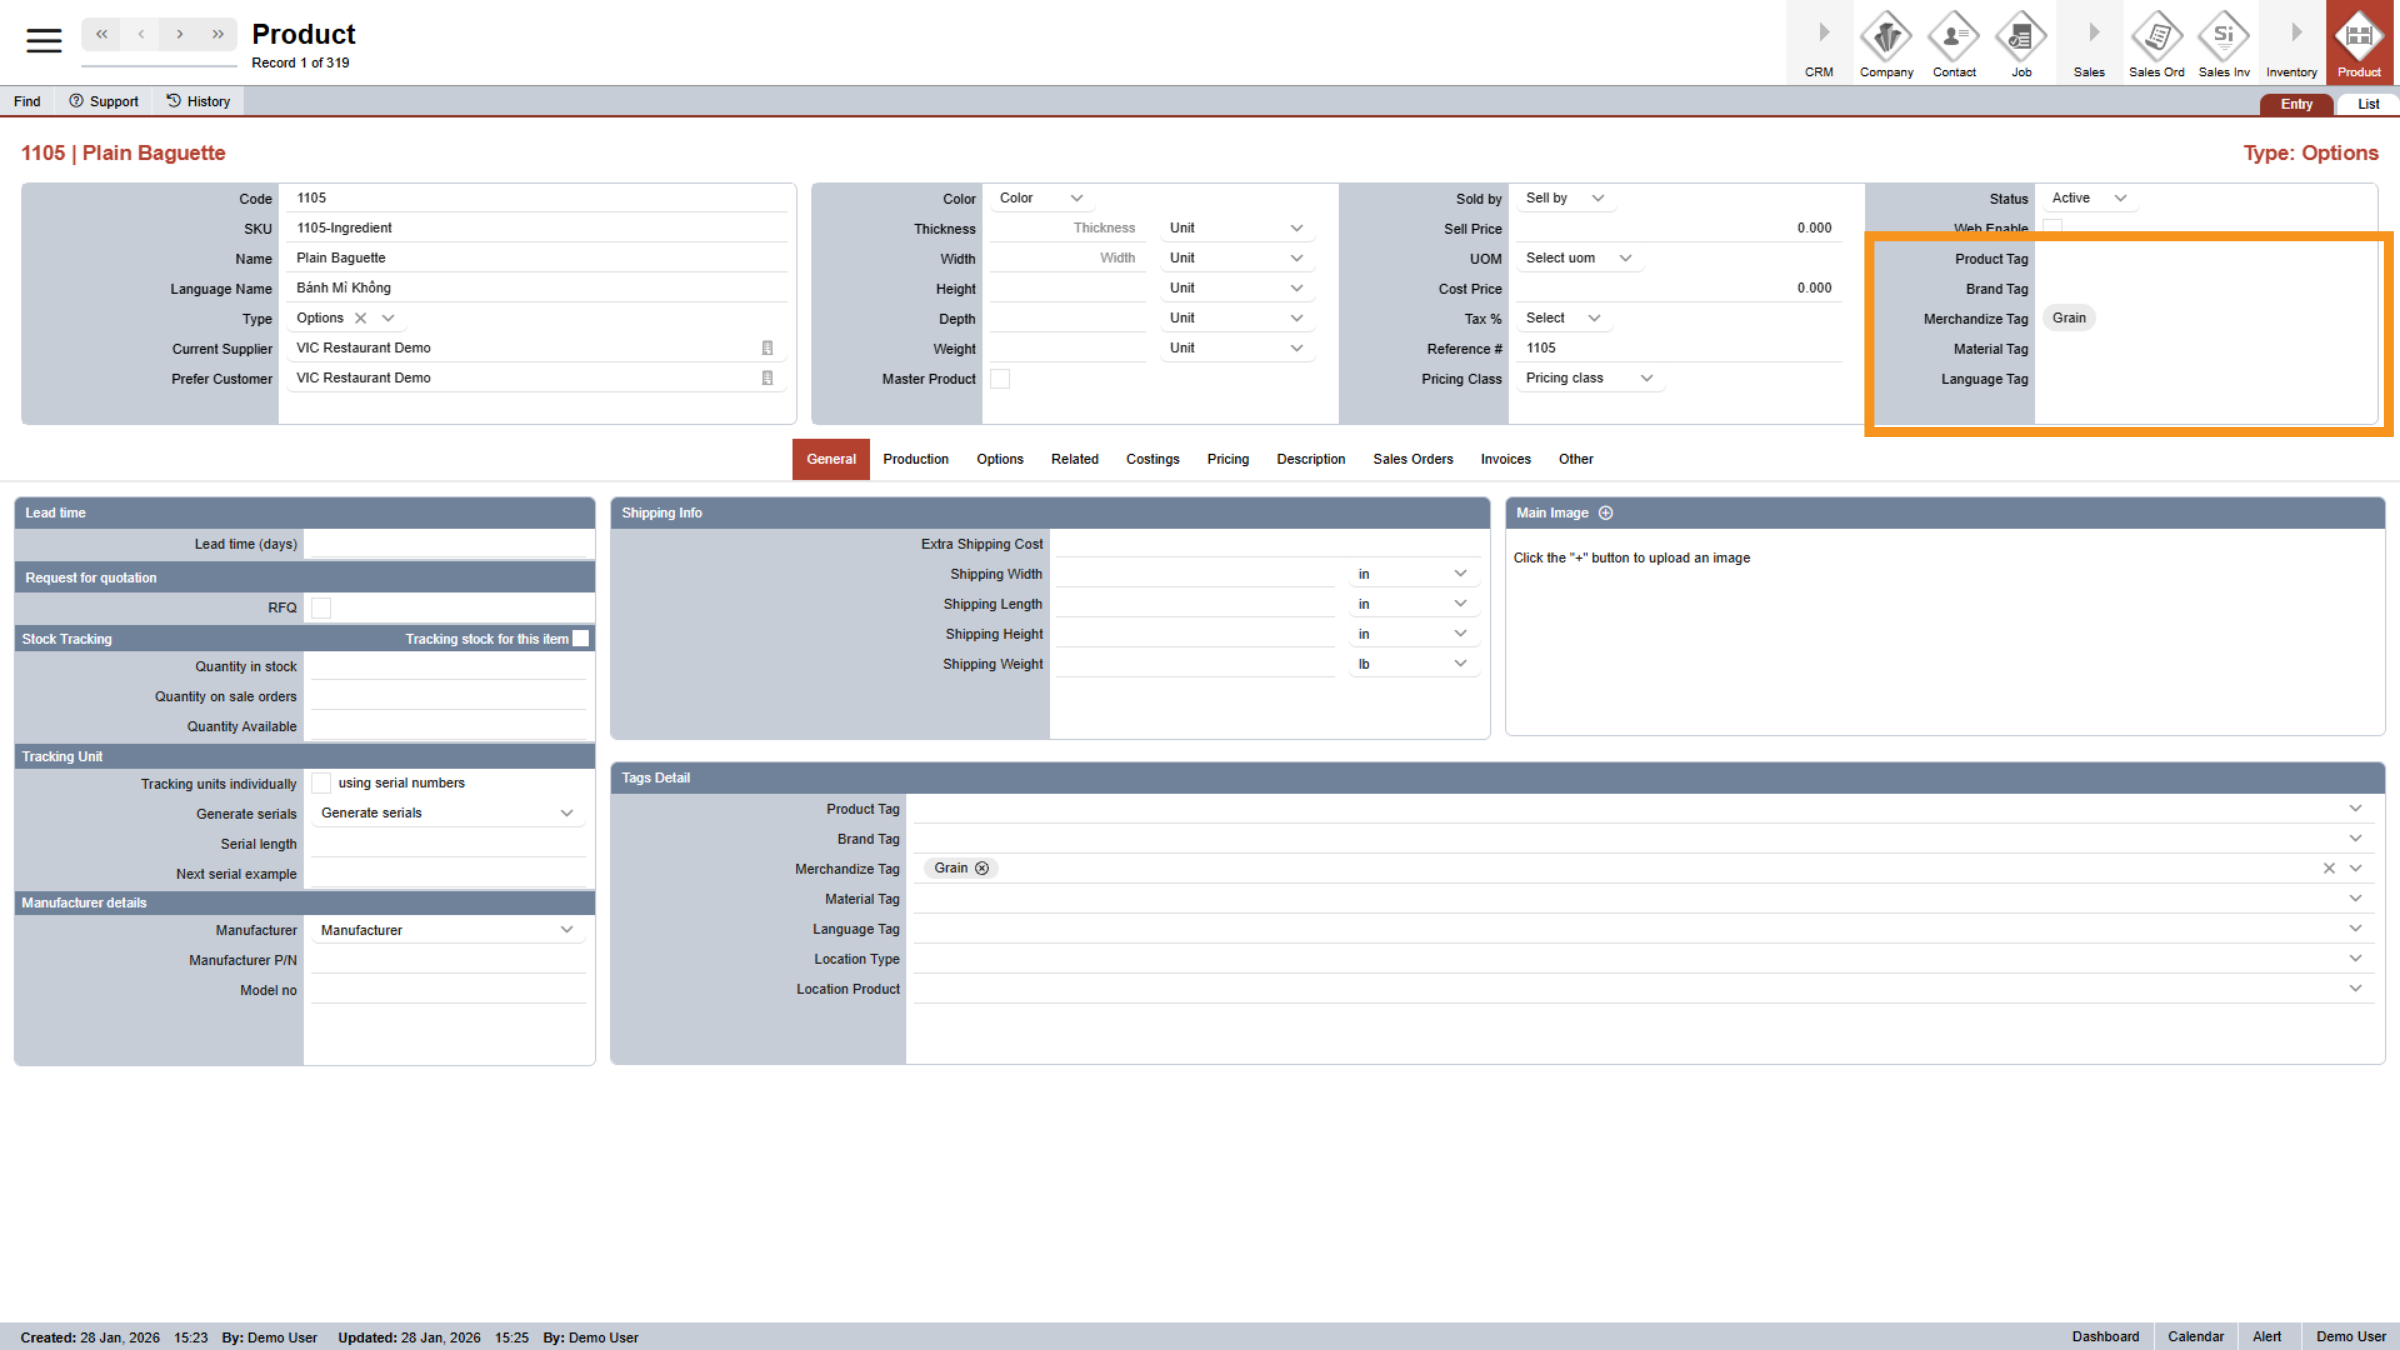
18. Tags Status Updated
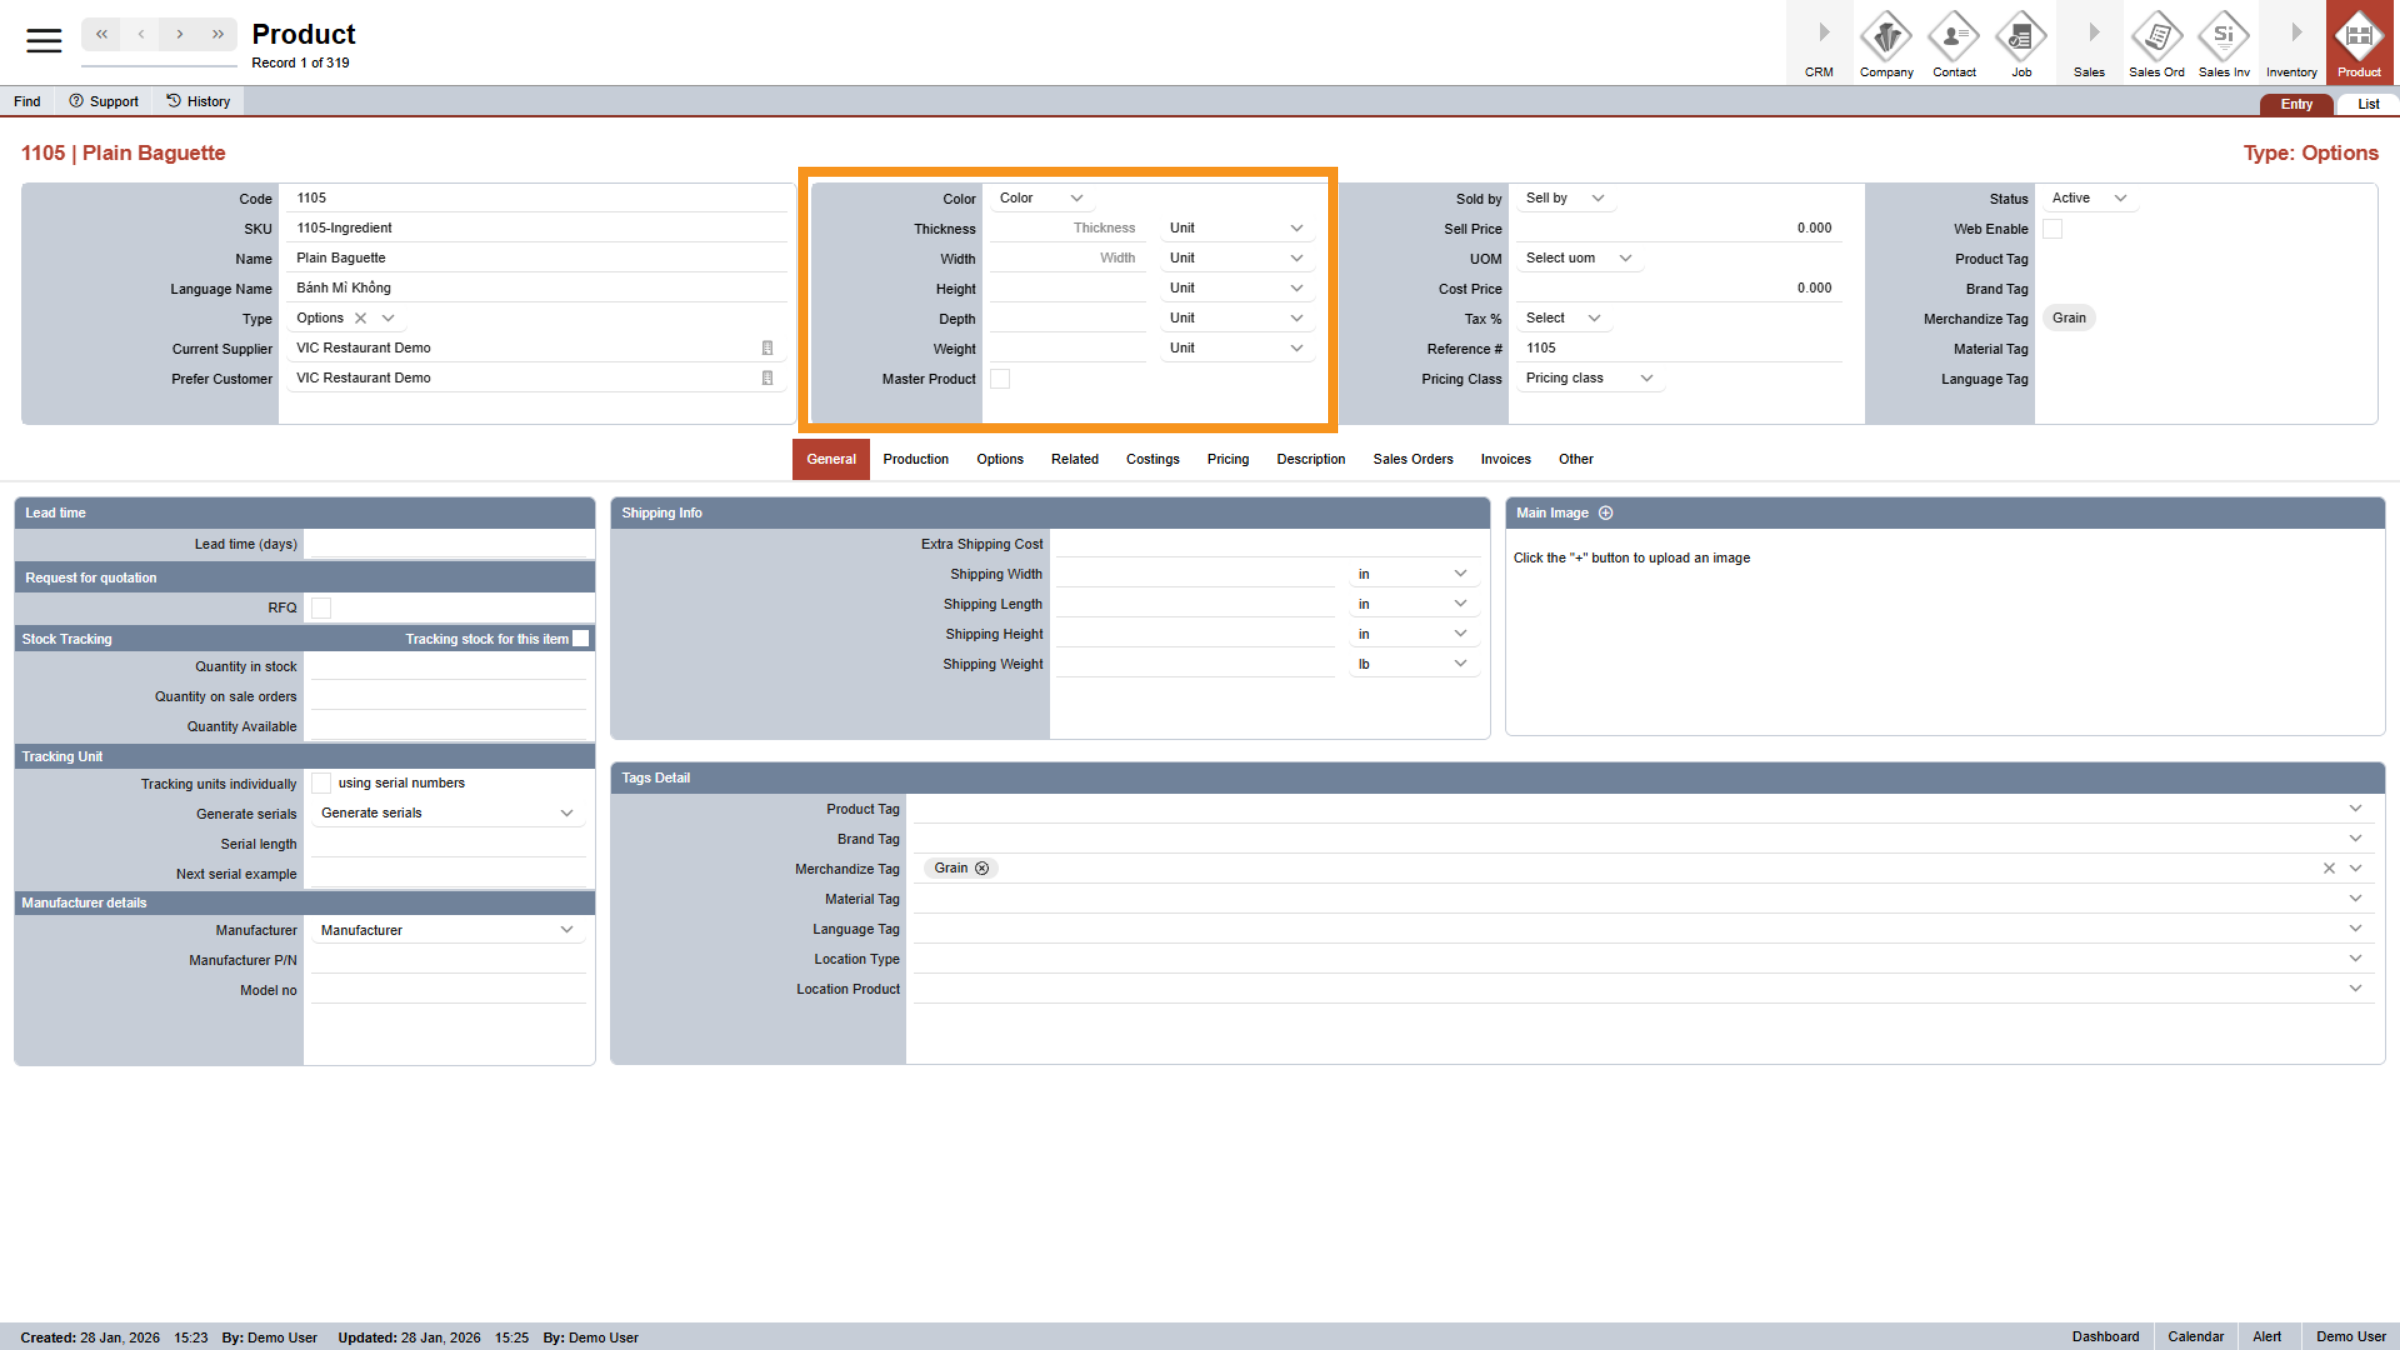
19. Enter Product dimensions *Optional
You can enter the product dimensions, including width, height, and any other relevant measurements in this section. These fields are optional.
20. Enter Pricing Detail
Next, let’s move onto this section where you can input all pricing details.
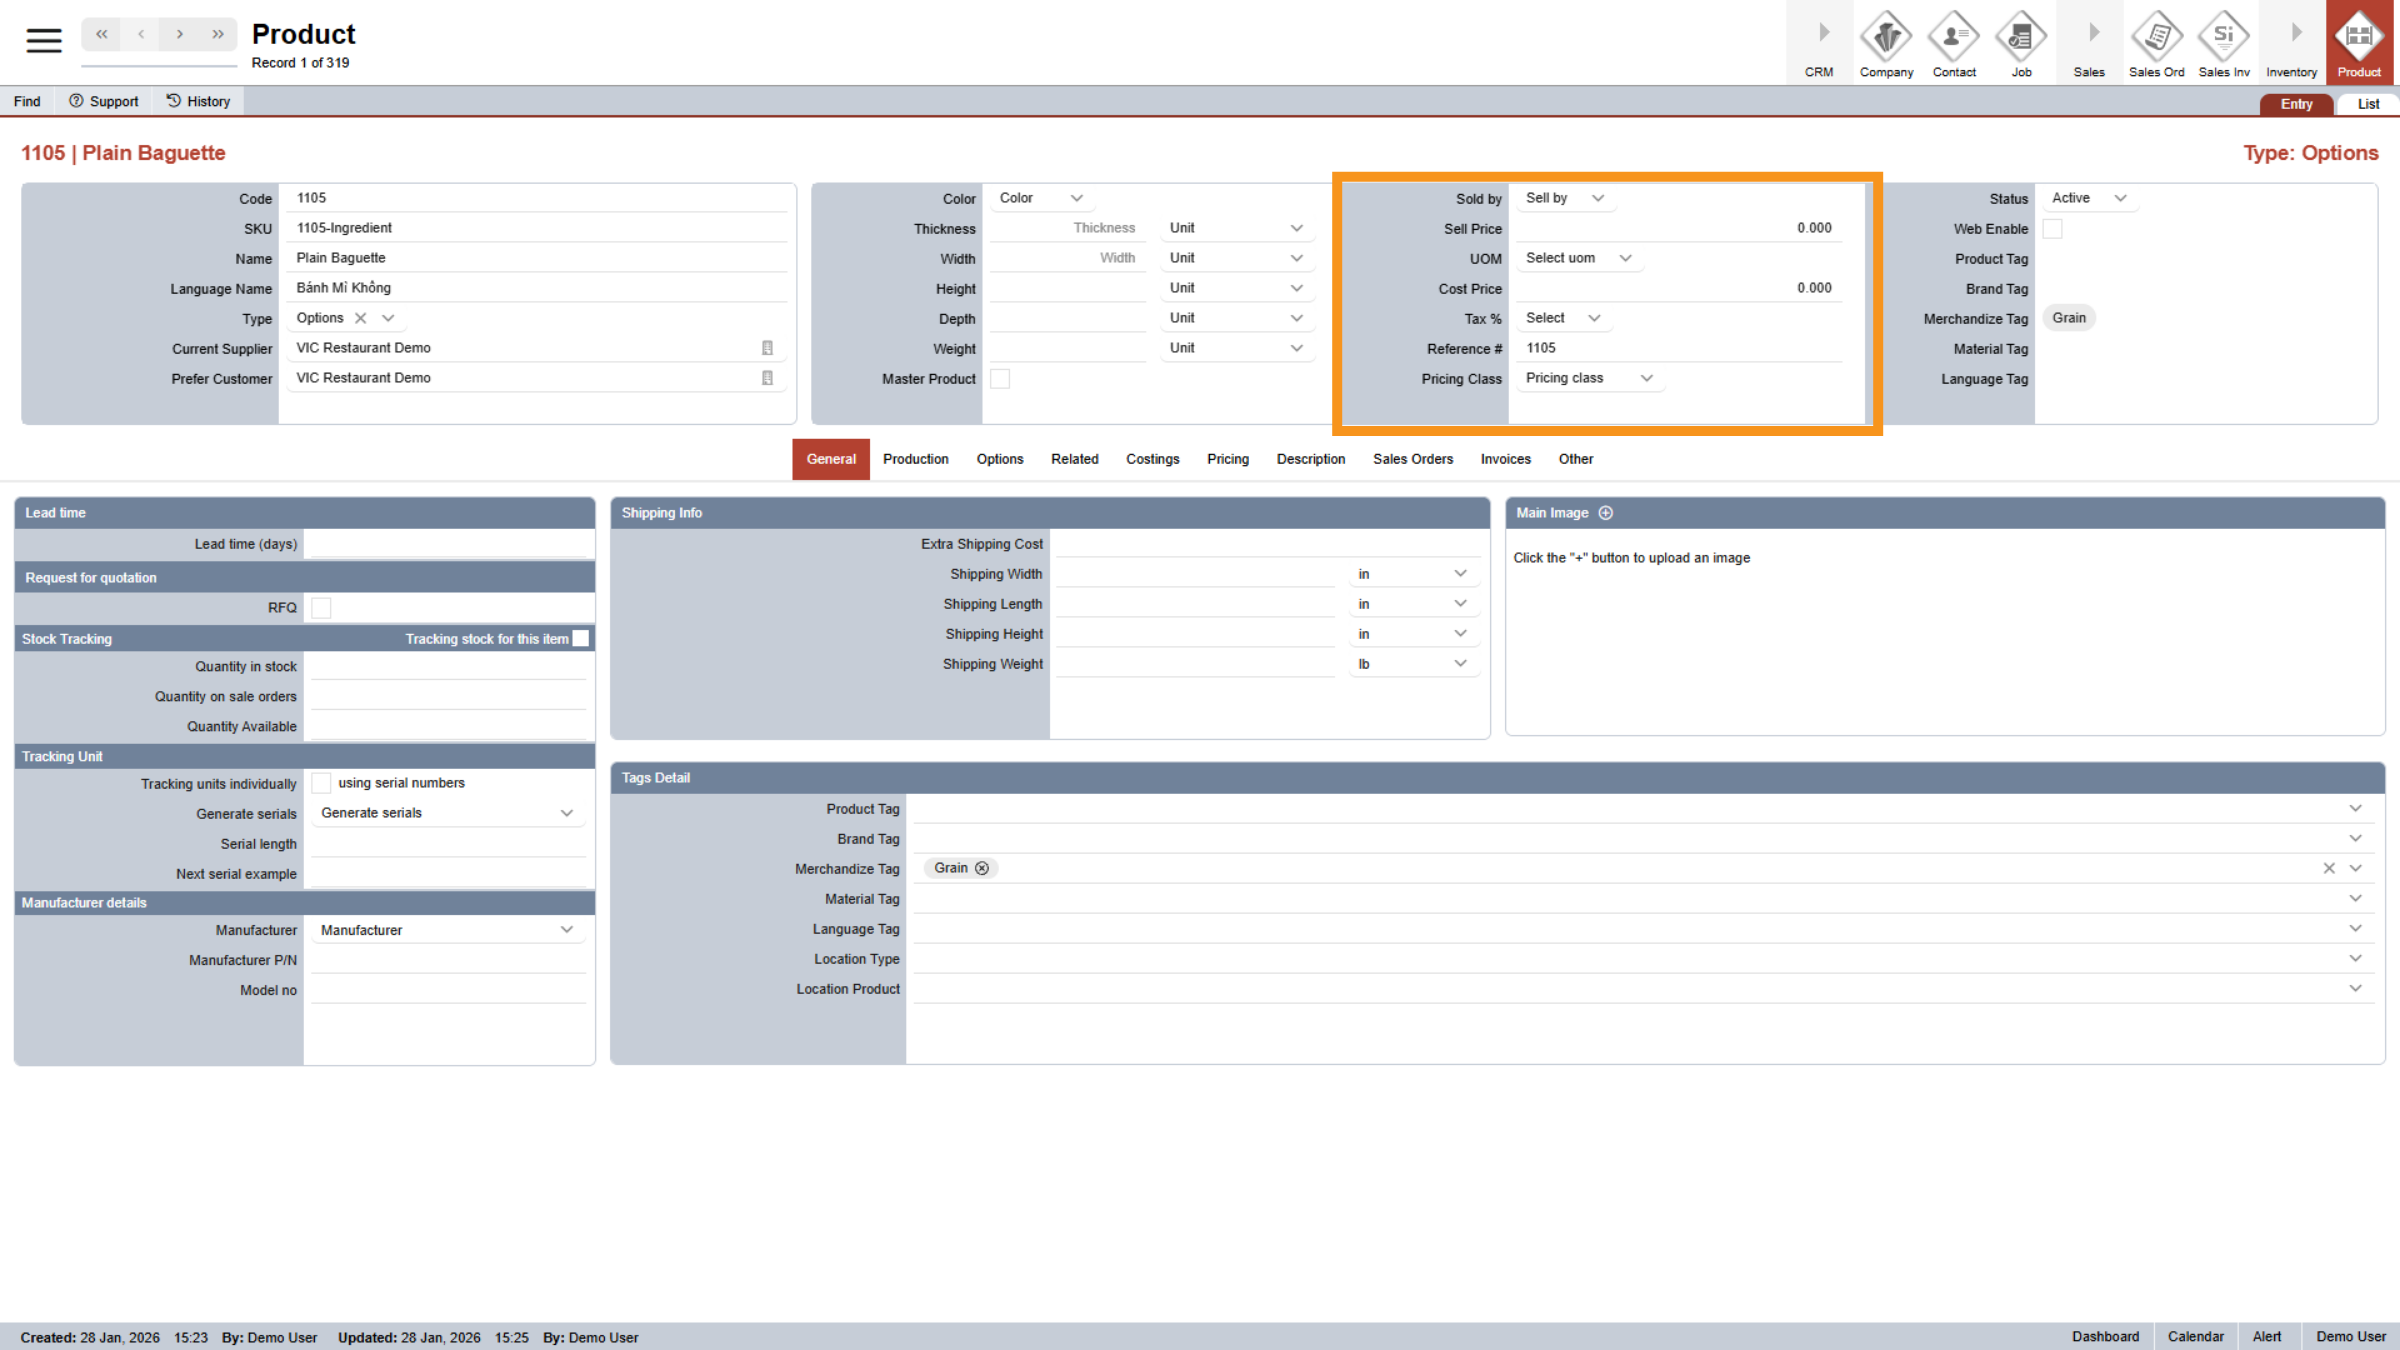
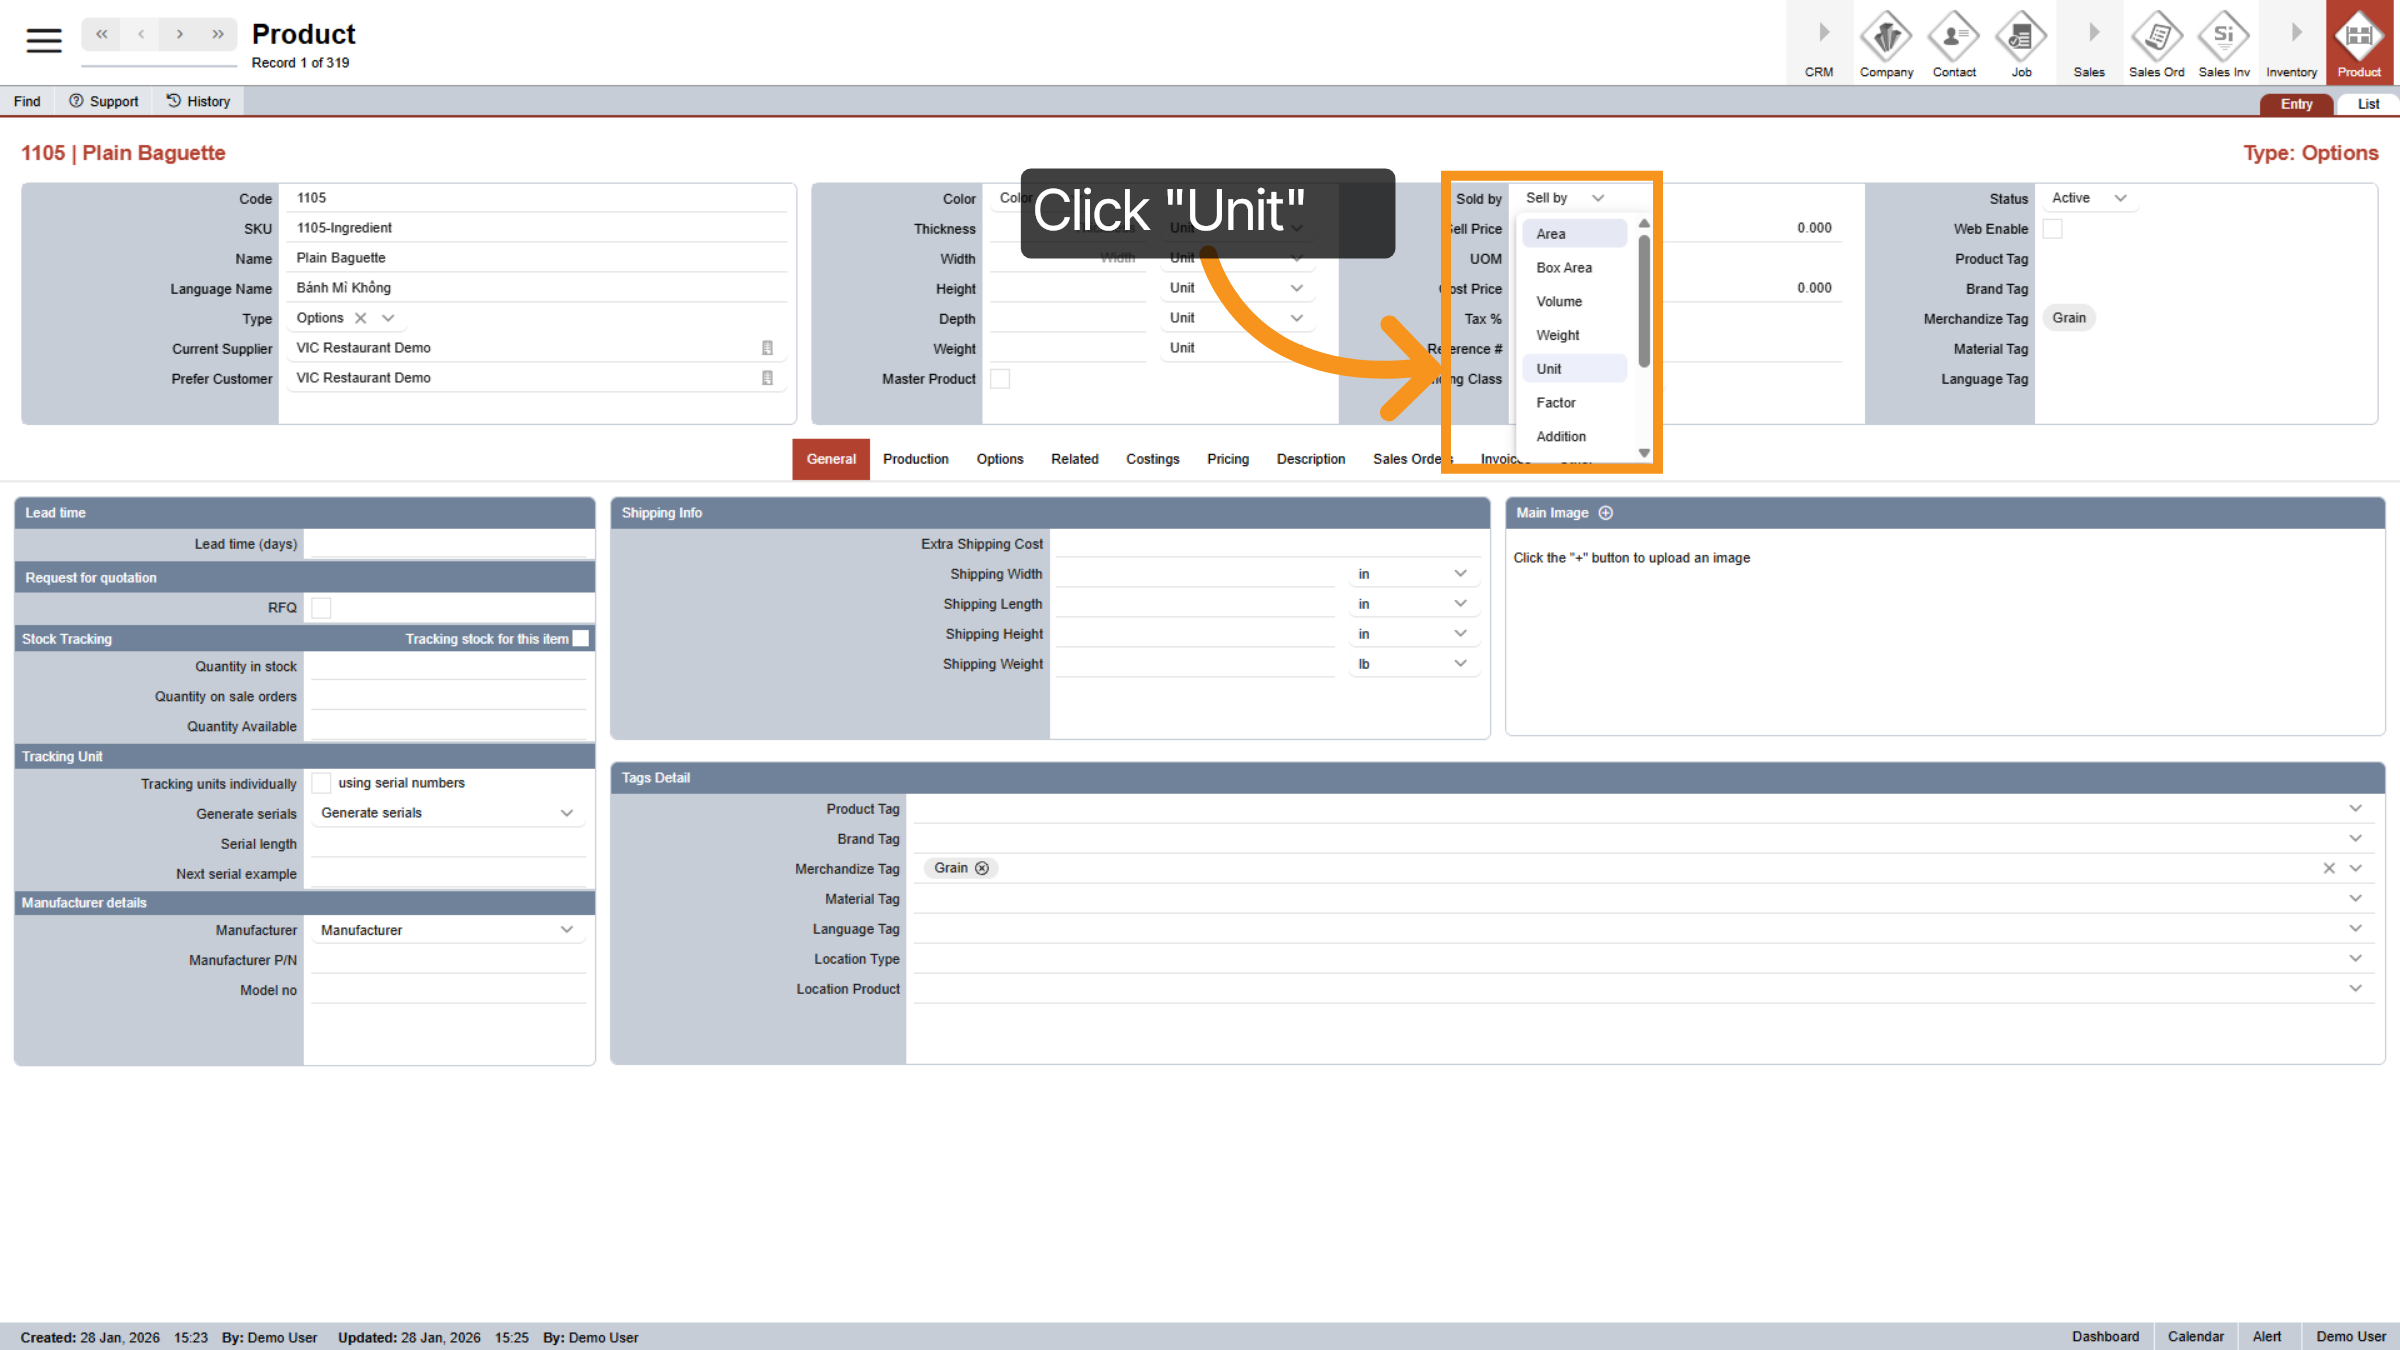
21. Select "Sold by" Unit
Depending on your products, you can either choose to sell by unit, weight, or factor.
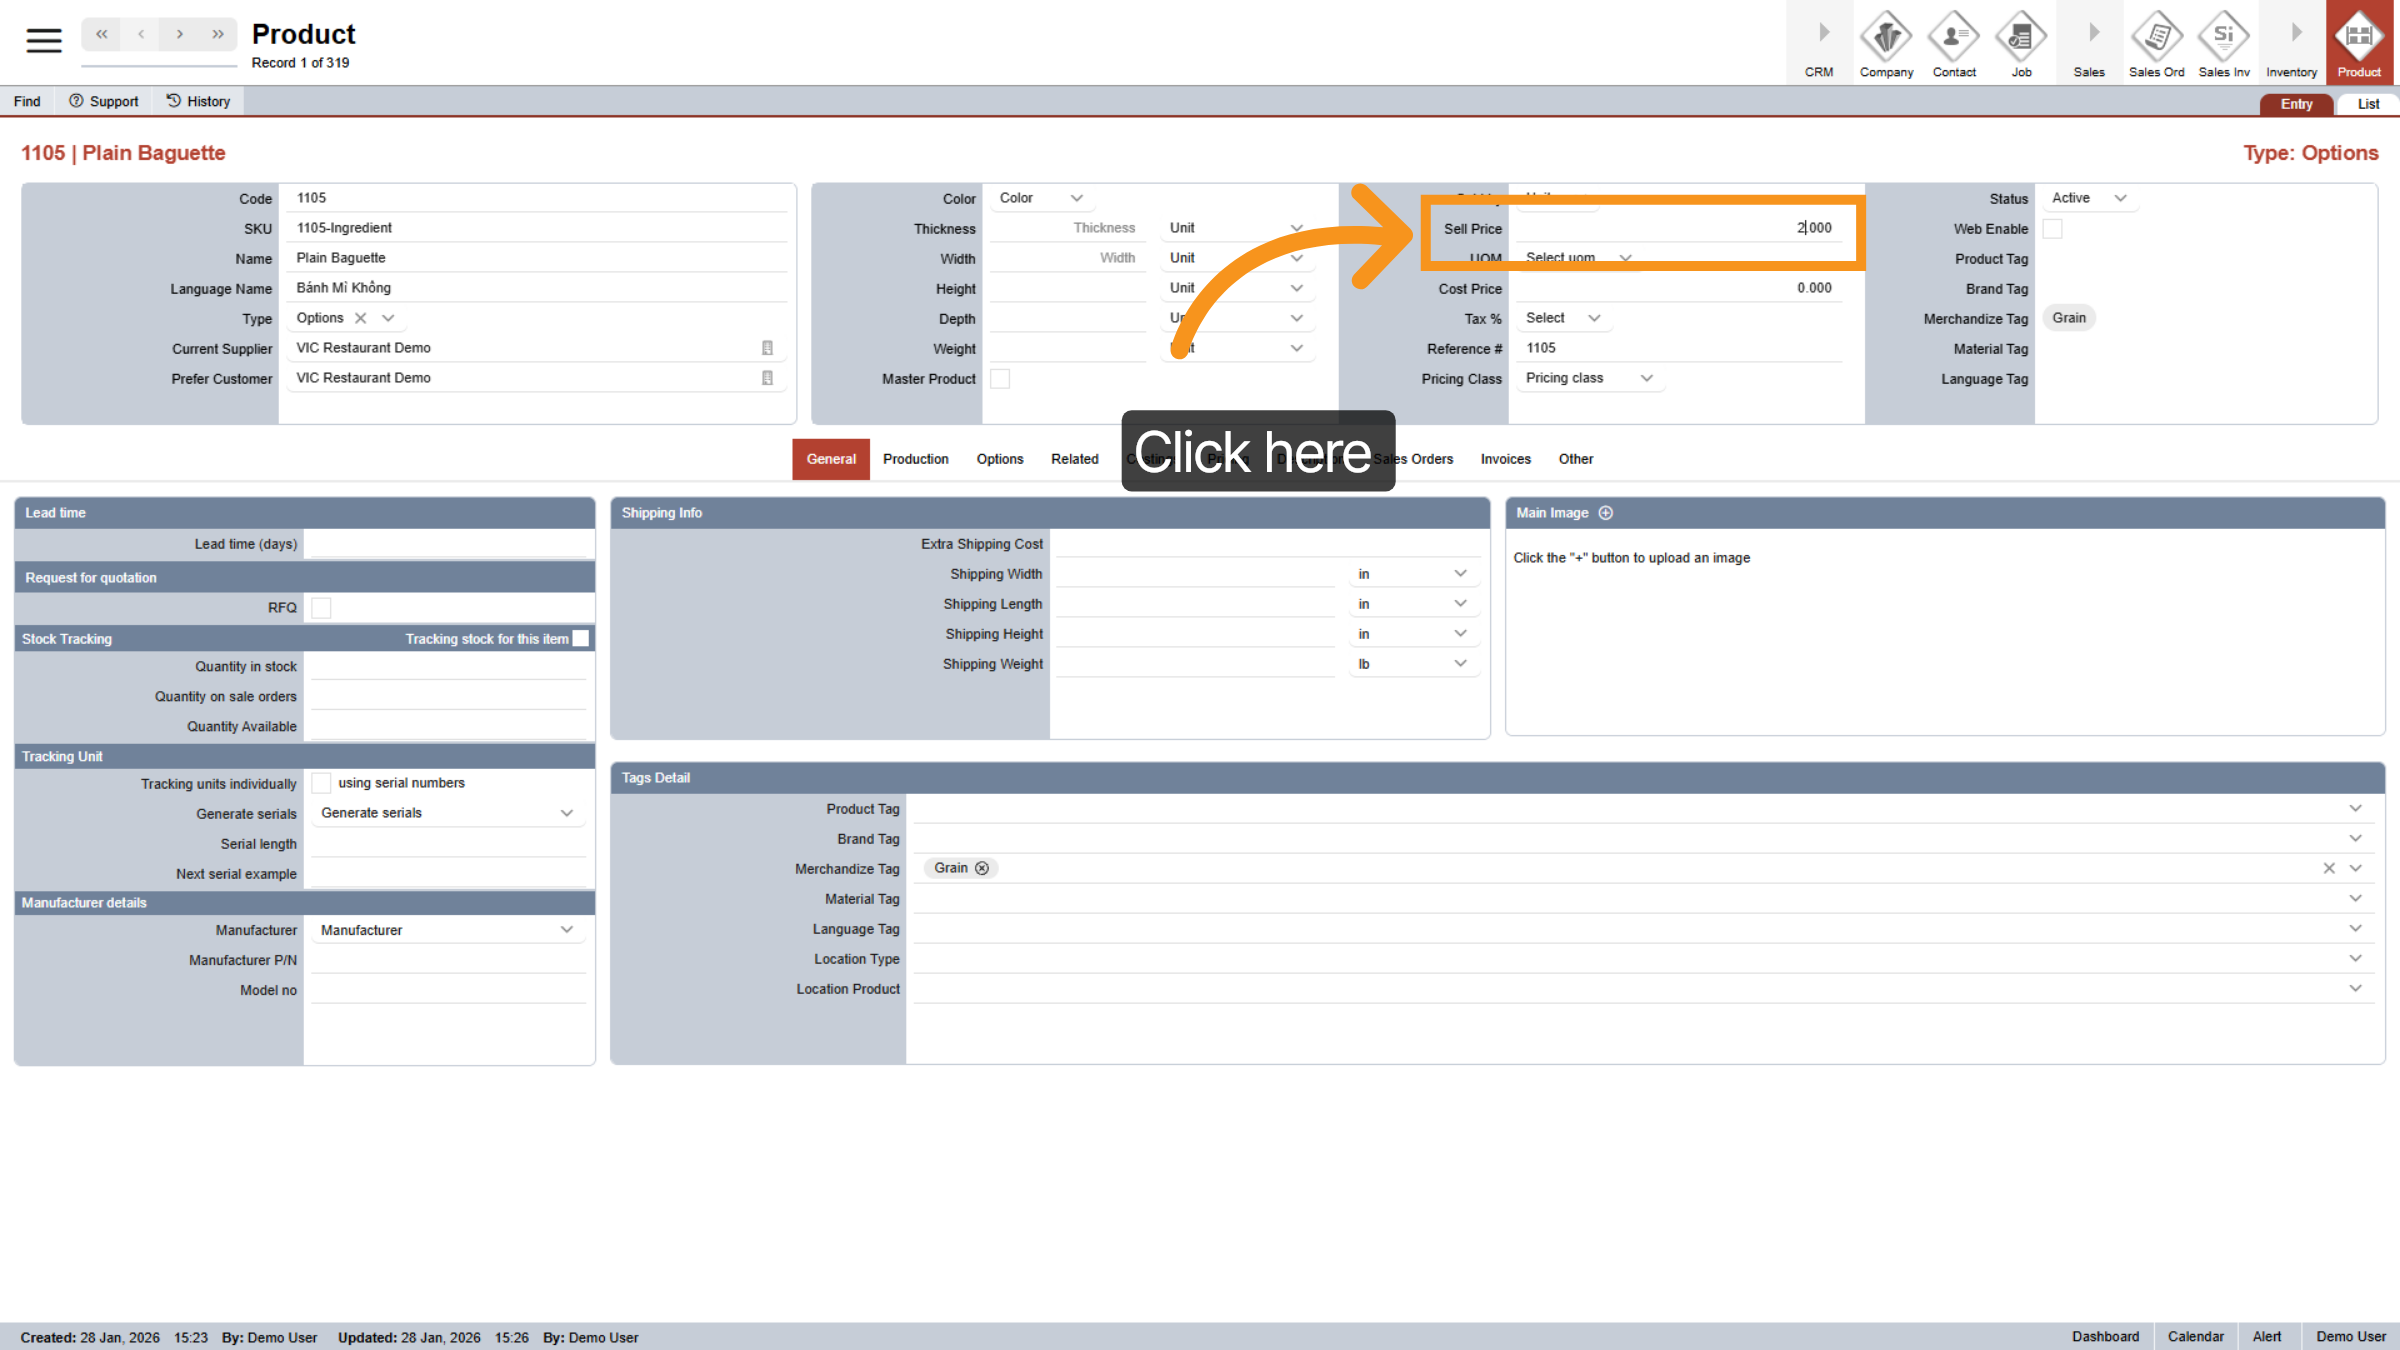
22. Set Selling Price
Now, let’s set your desired selling price. You have two options: If you choose “Sold by Unit”, the price you enter will apply directly to each unit of the product. If you choose “Sold by Factor”, you’ll enter a percentage in this field. For example, if you enter 6, the system will treat it as 60% of the original product amount when you add this ingredient. This option is usually recommended only for optional ingredients, and we’ll show you exactly how it works in the next video.
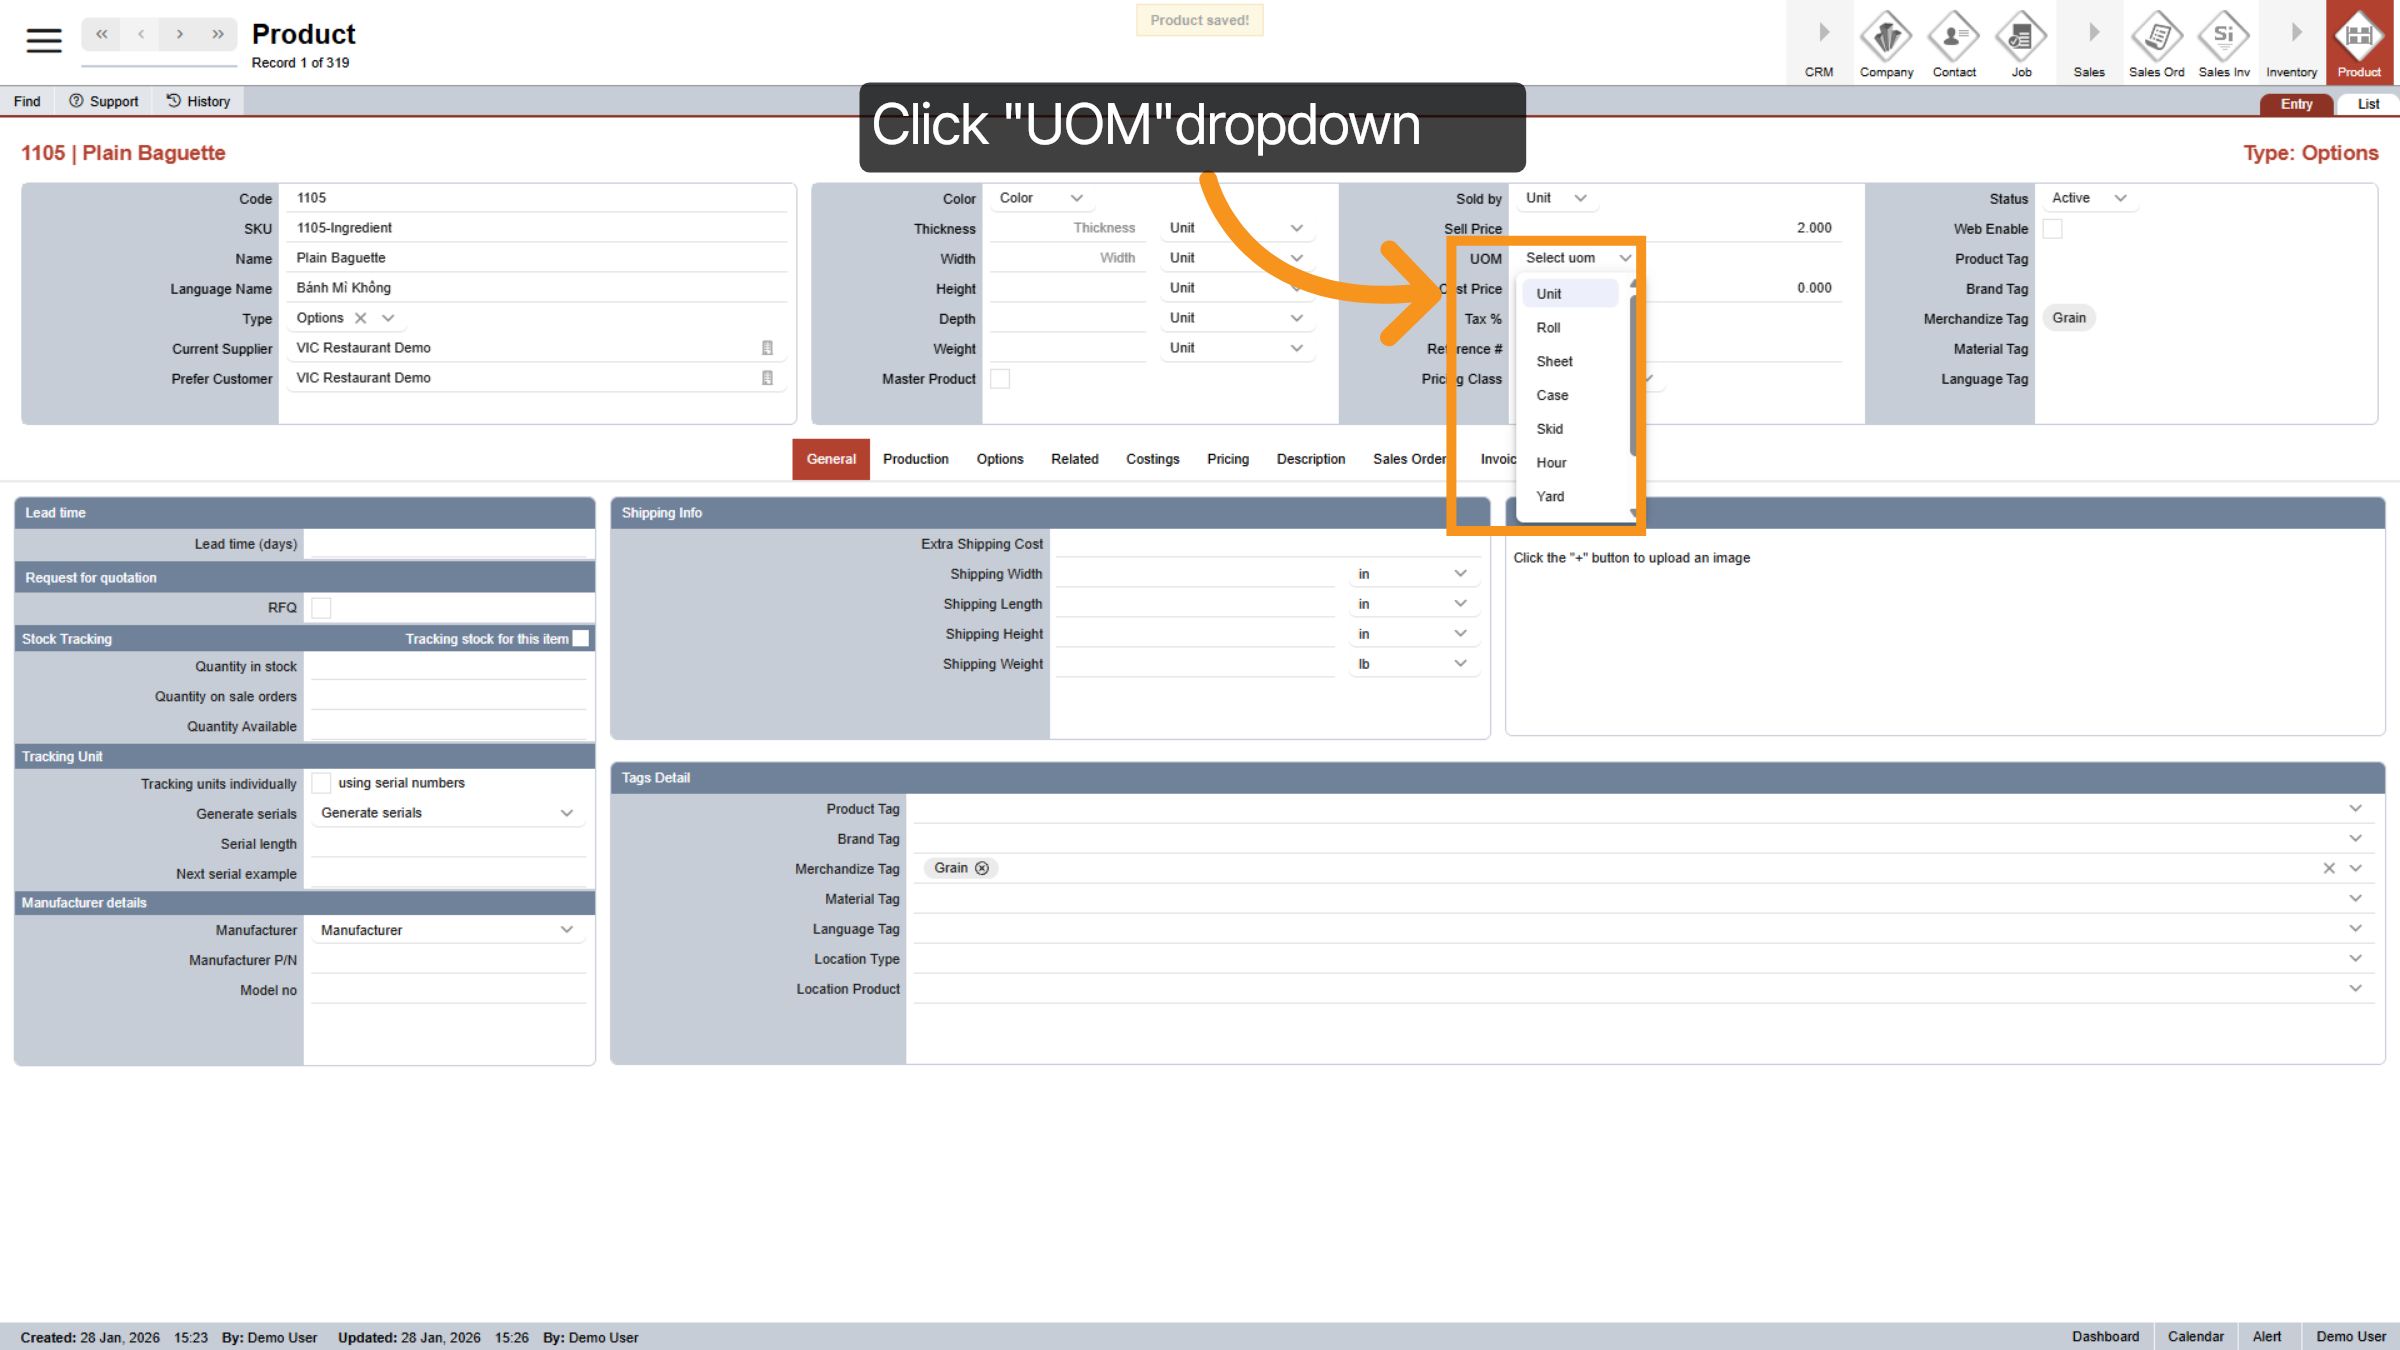
23. Select UOM
Click the U O M dropdown to select the unit of measure for sales.
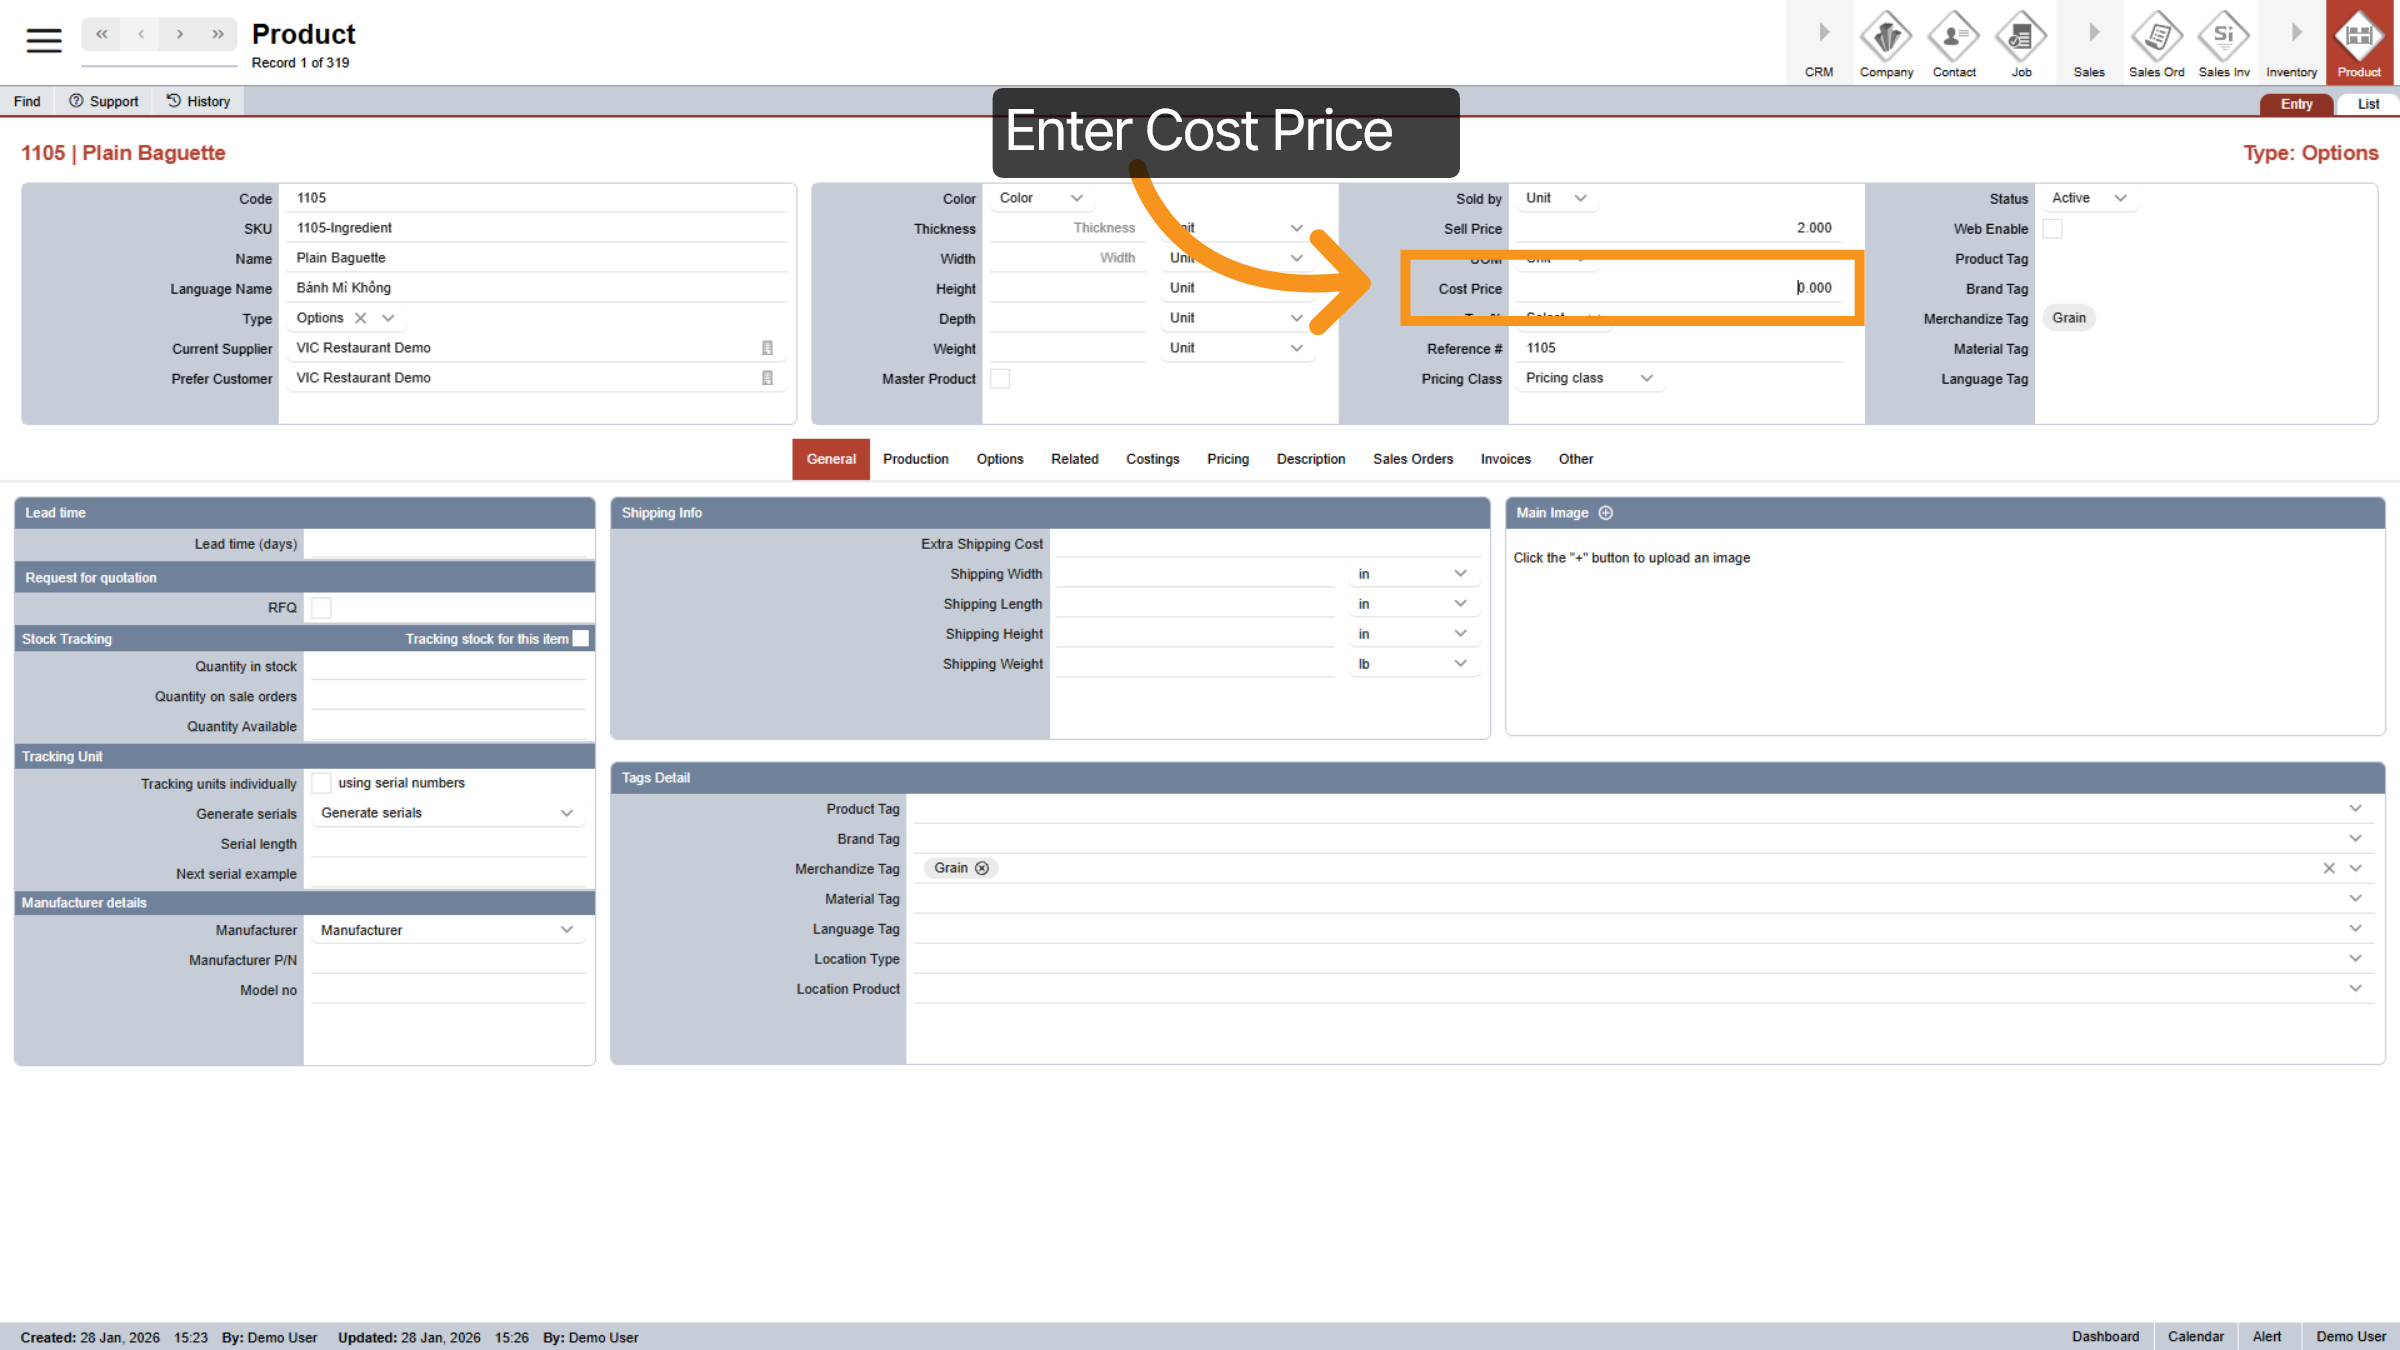
24. Enter Cost Price
Enter the cost of this product.
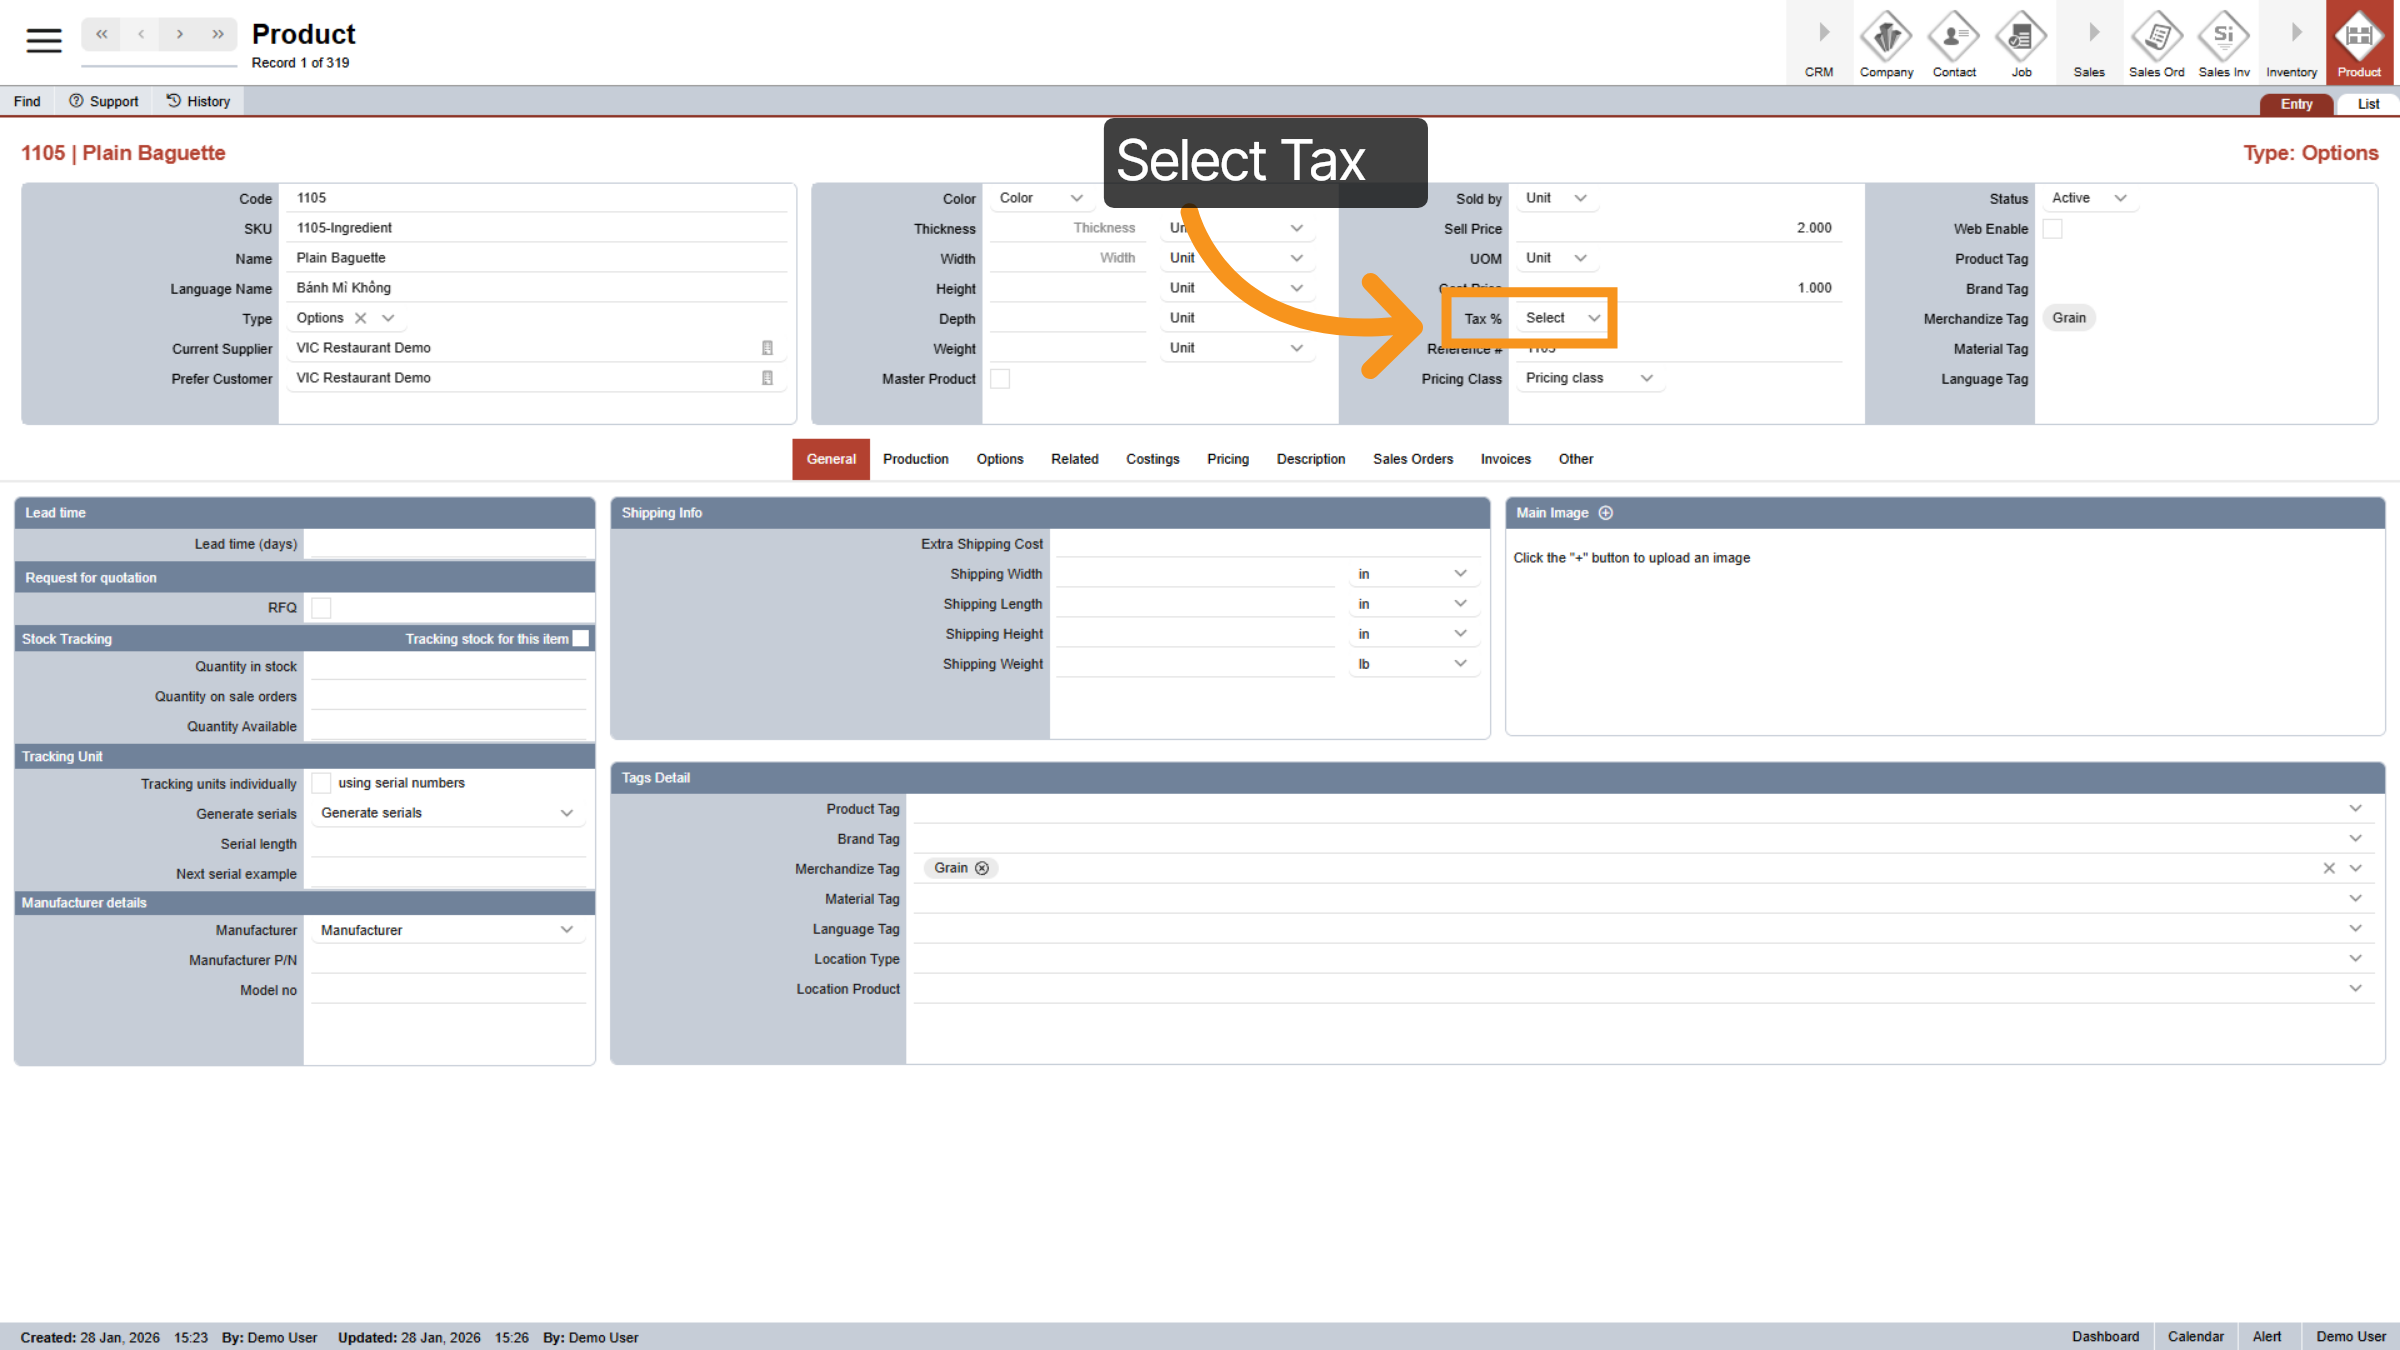
25. Select Tax
Select the applicable tax for this specific product in your province, if relevant.
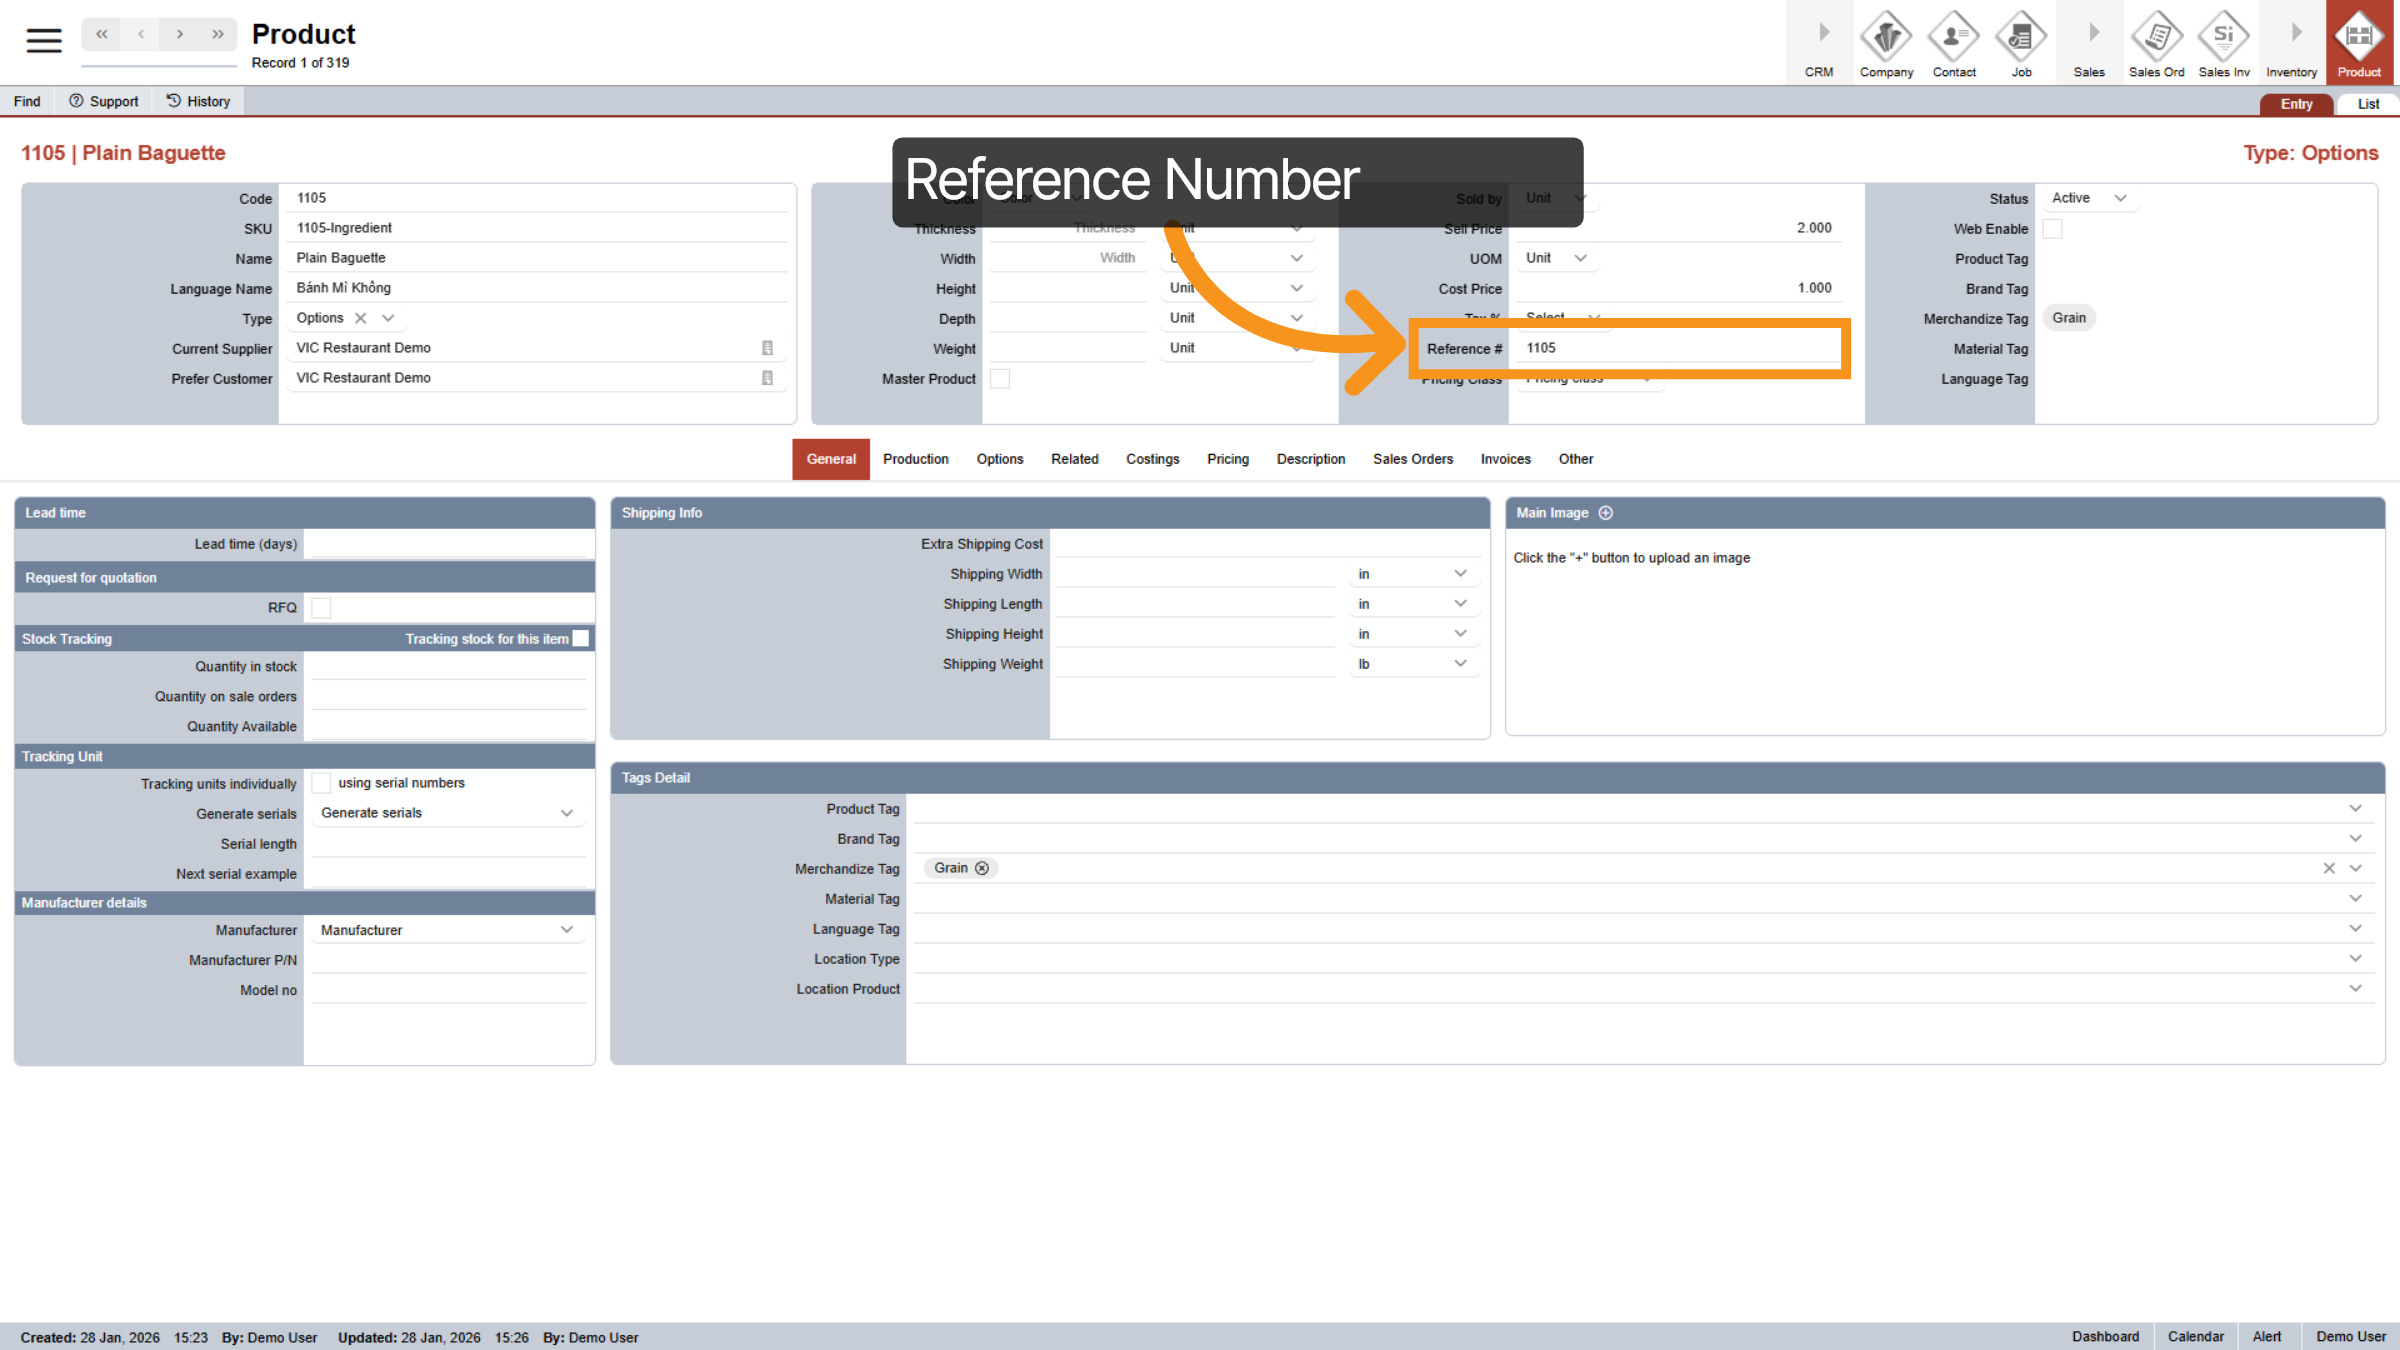
26. Reference Number
The reference number is required for products sold on the E-store. This number is the same as the product code and is autogenerated when you first create a new product.
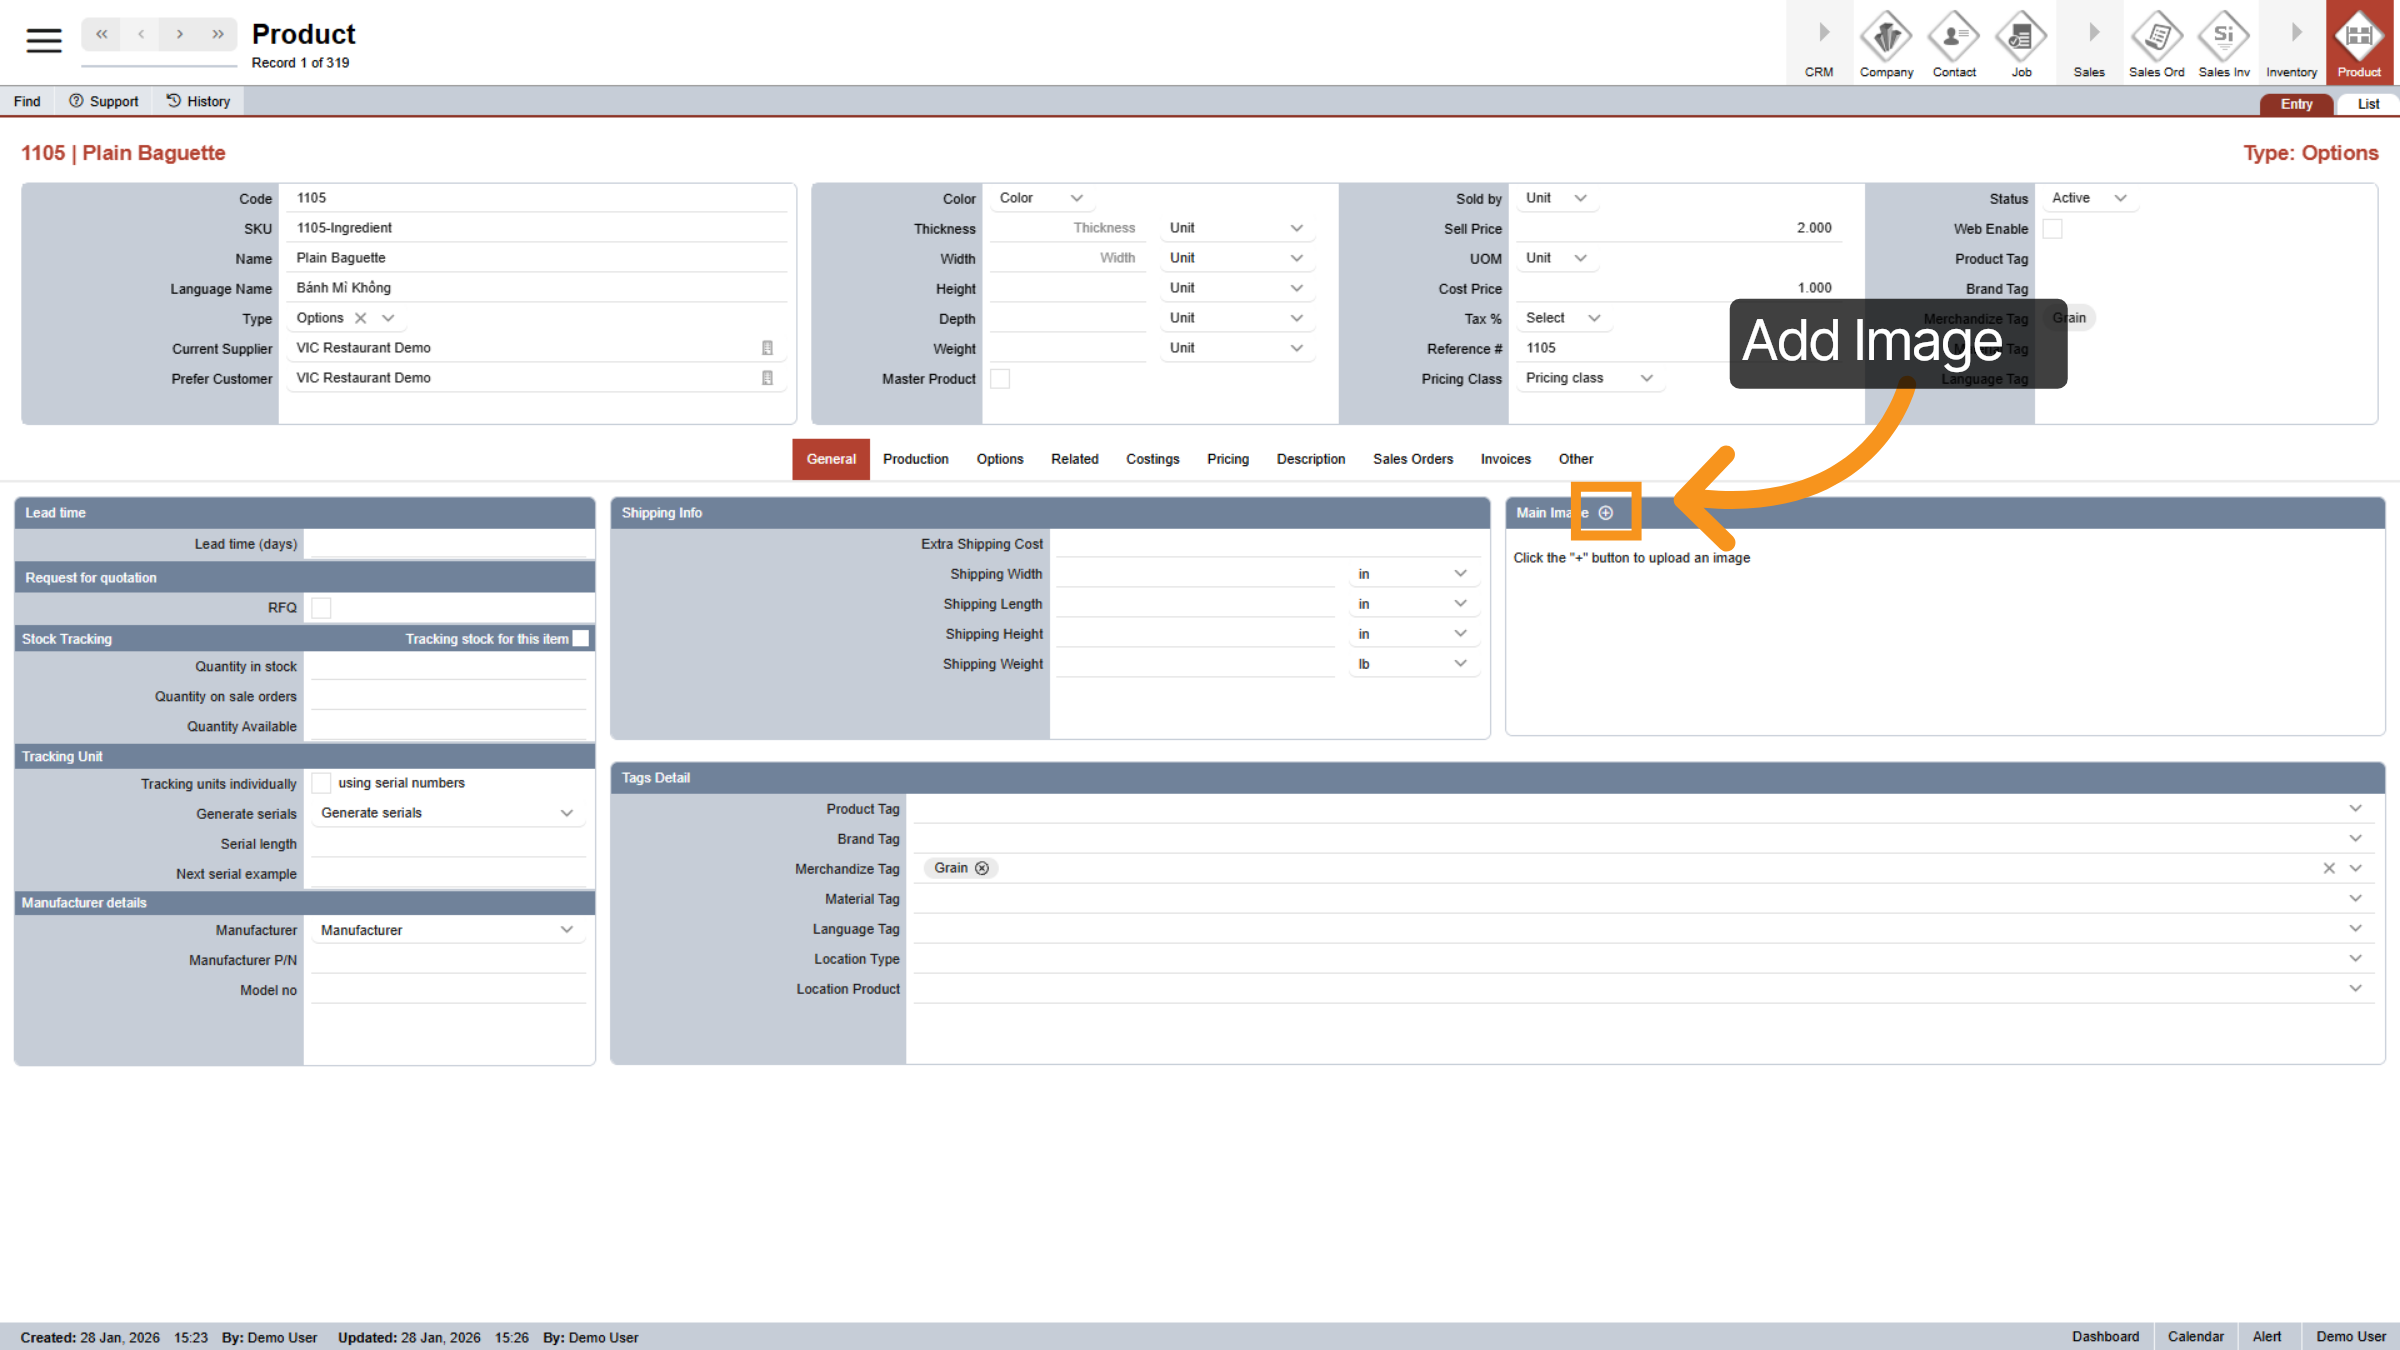
27. Add Product Image
Click on the "+" icon to add new image for your product.
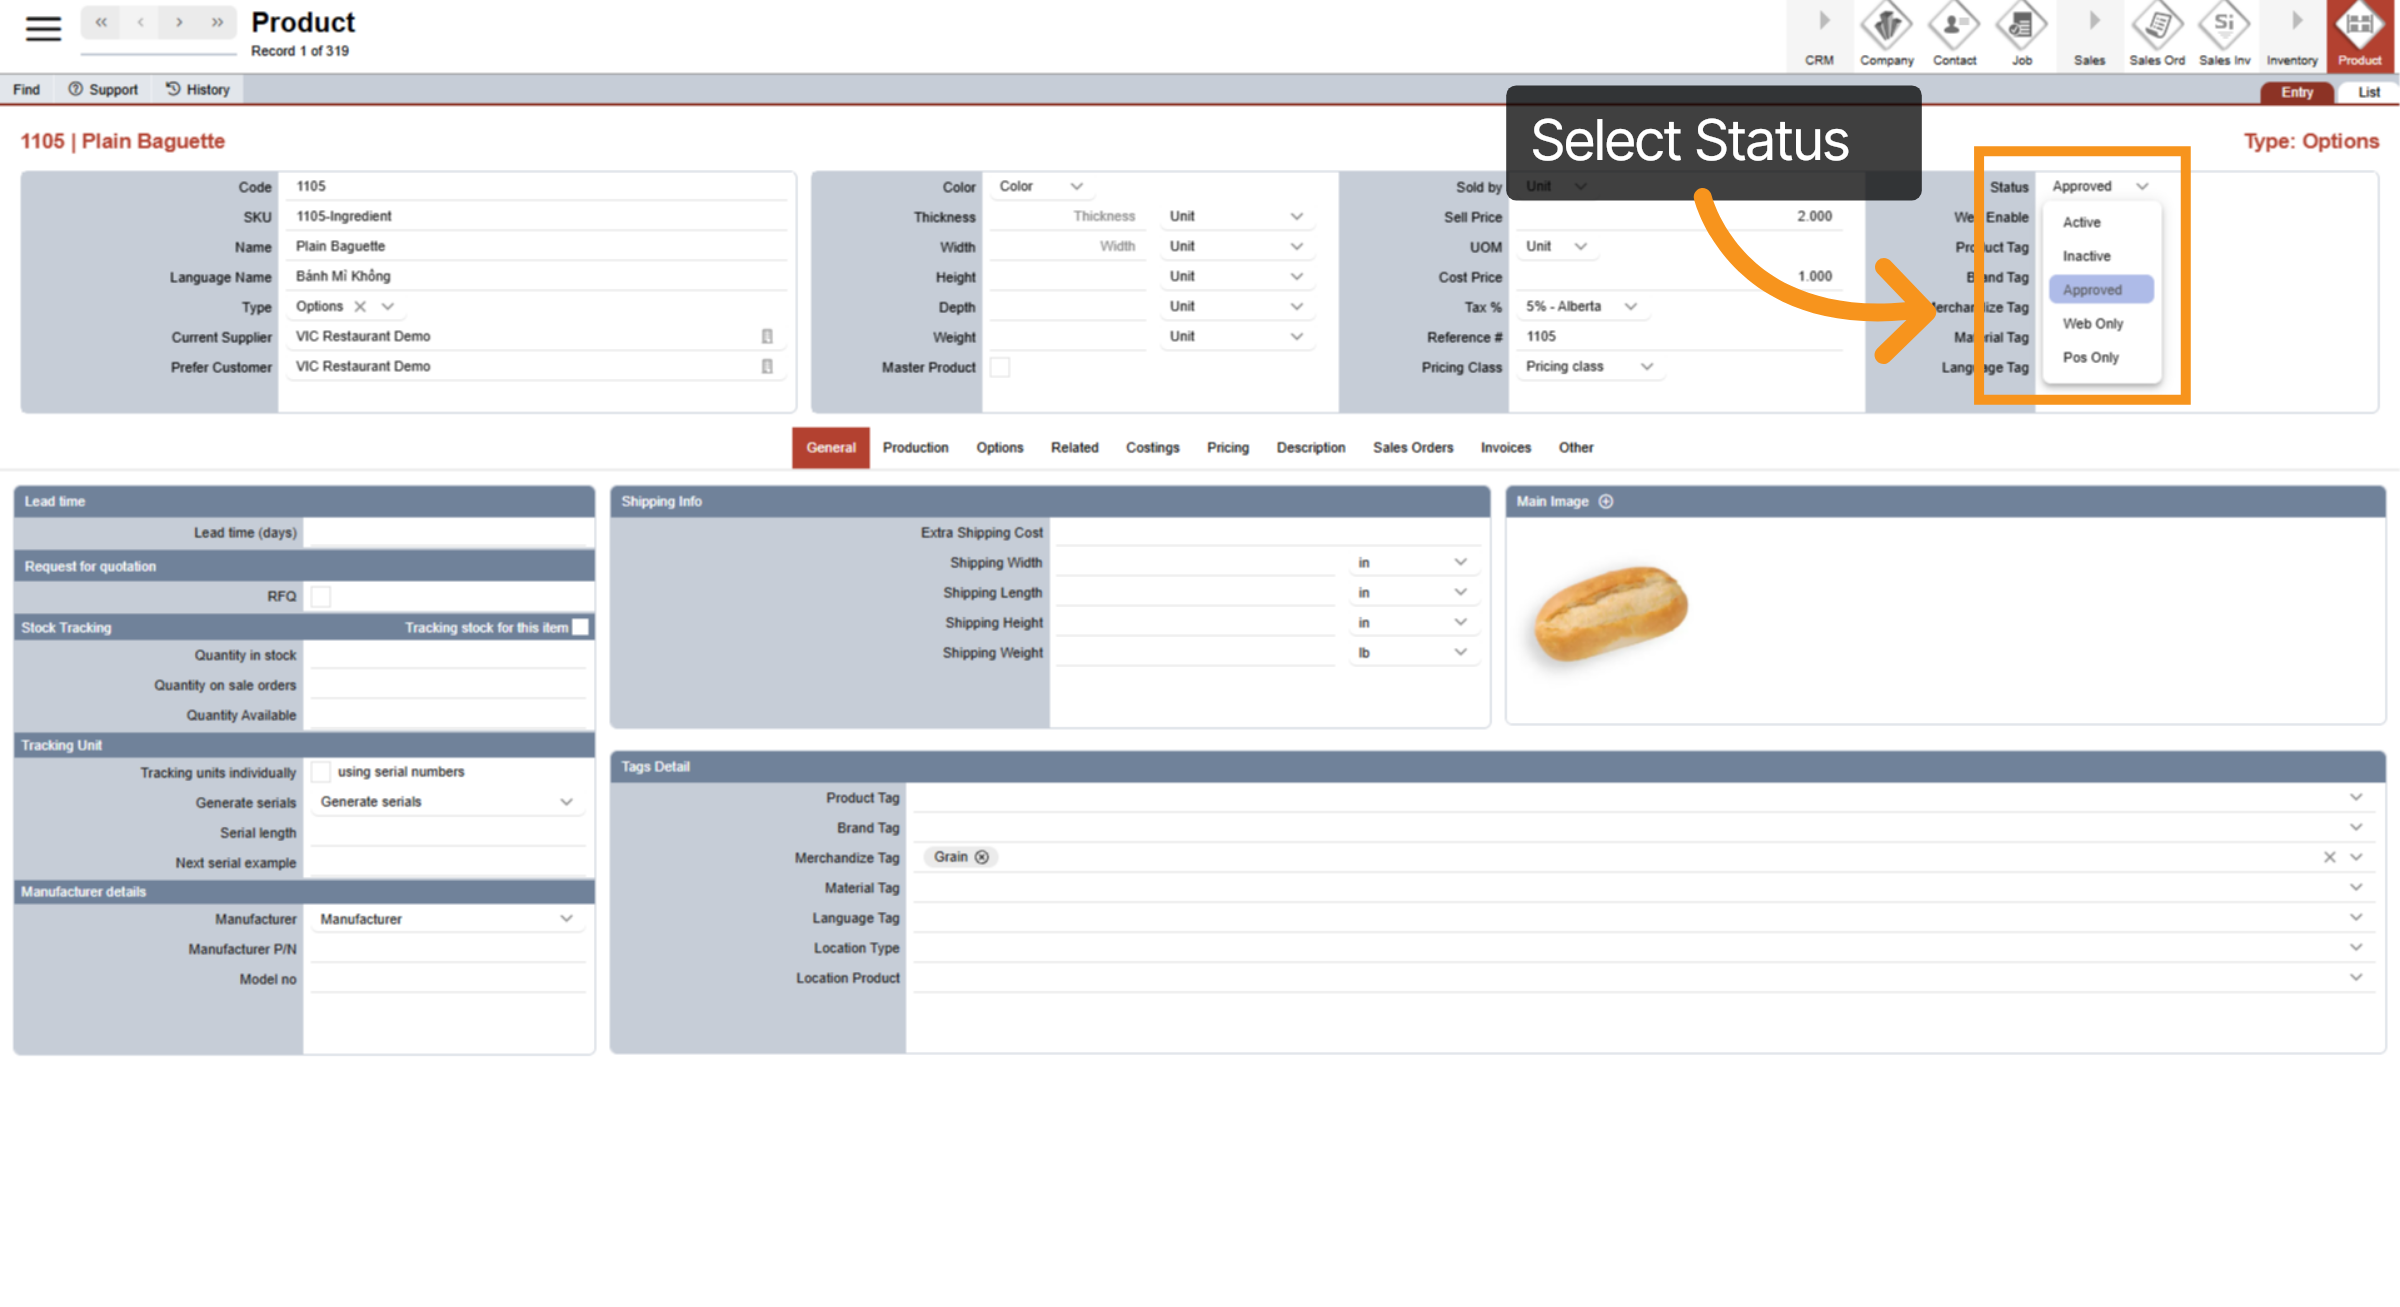
28. Select Status
Let’s select the status for this product. Choose “Inactive” if you want to deactivate the product, for example, when it’s out of stock. “Active” means the product is available, but can only be accessed within WorkTraq. “Approved” makes it available across all platforms, including the website and POS. If you want the product to appear only on the website, select “Web only”, or choose “POS only” if it should be accessible just on the POS.
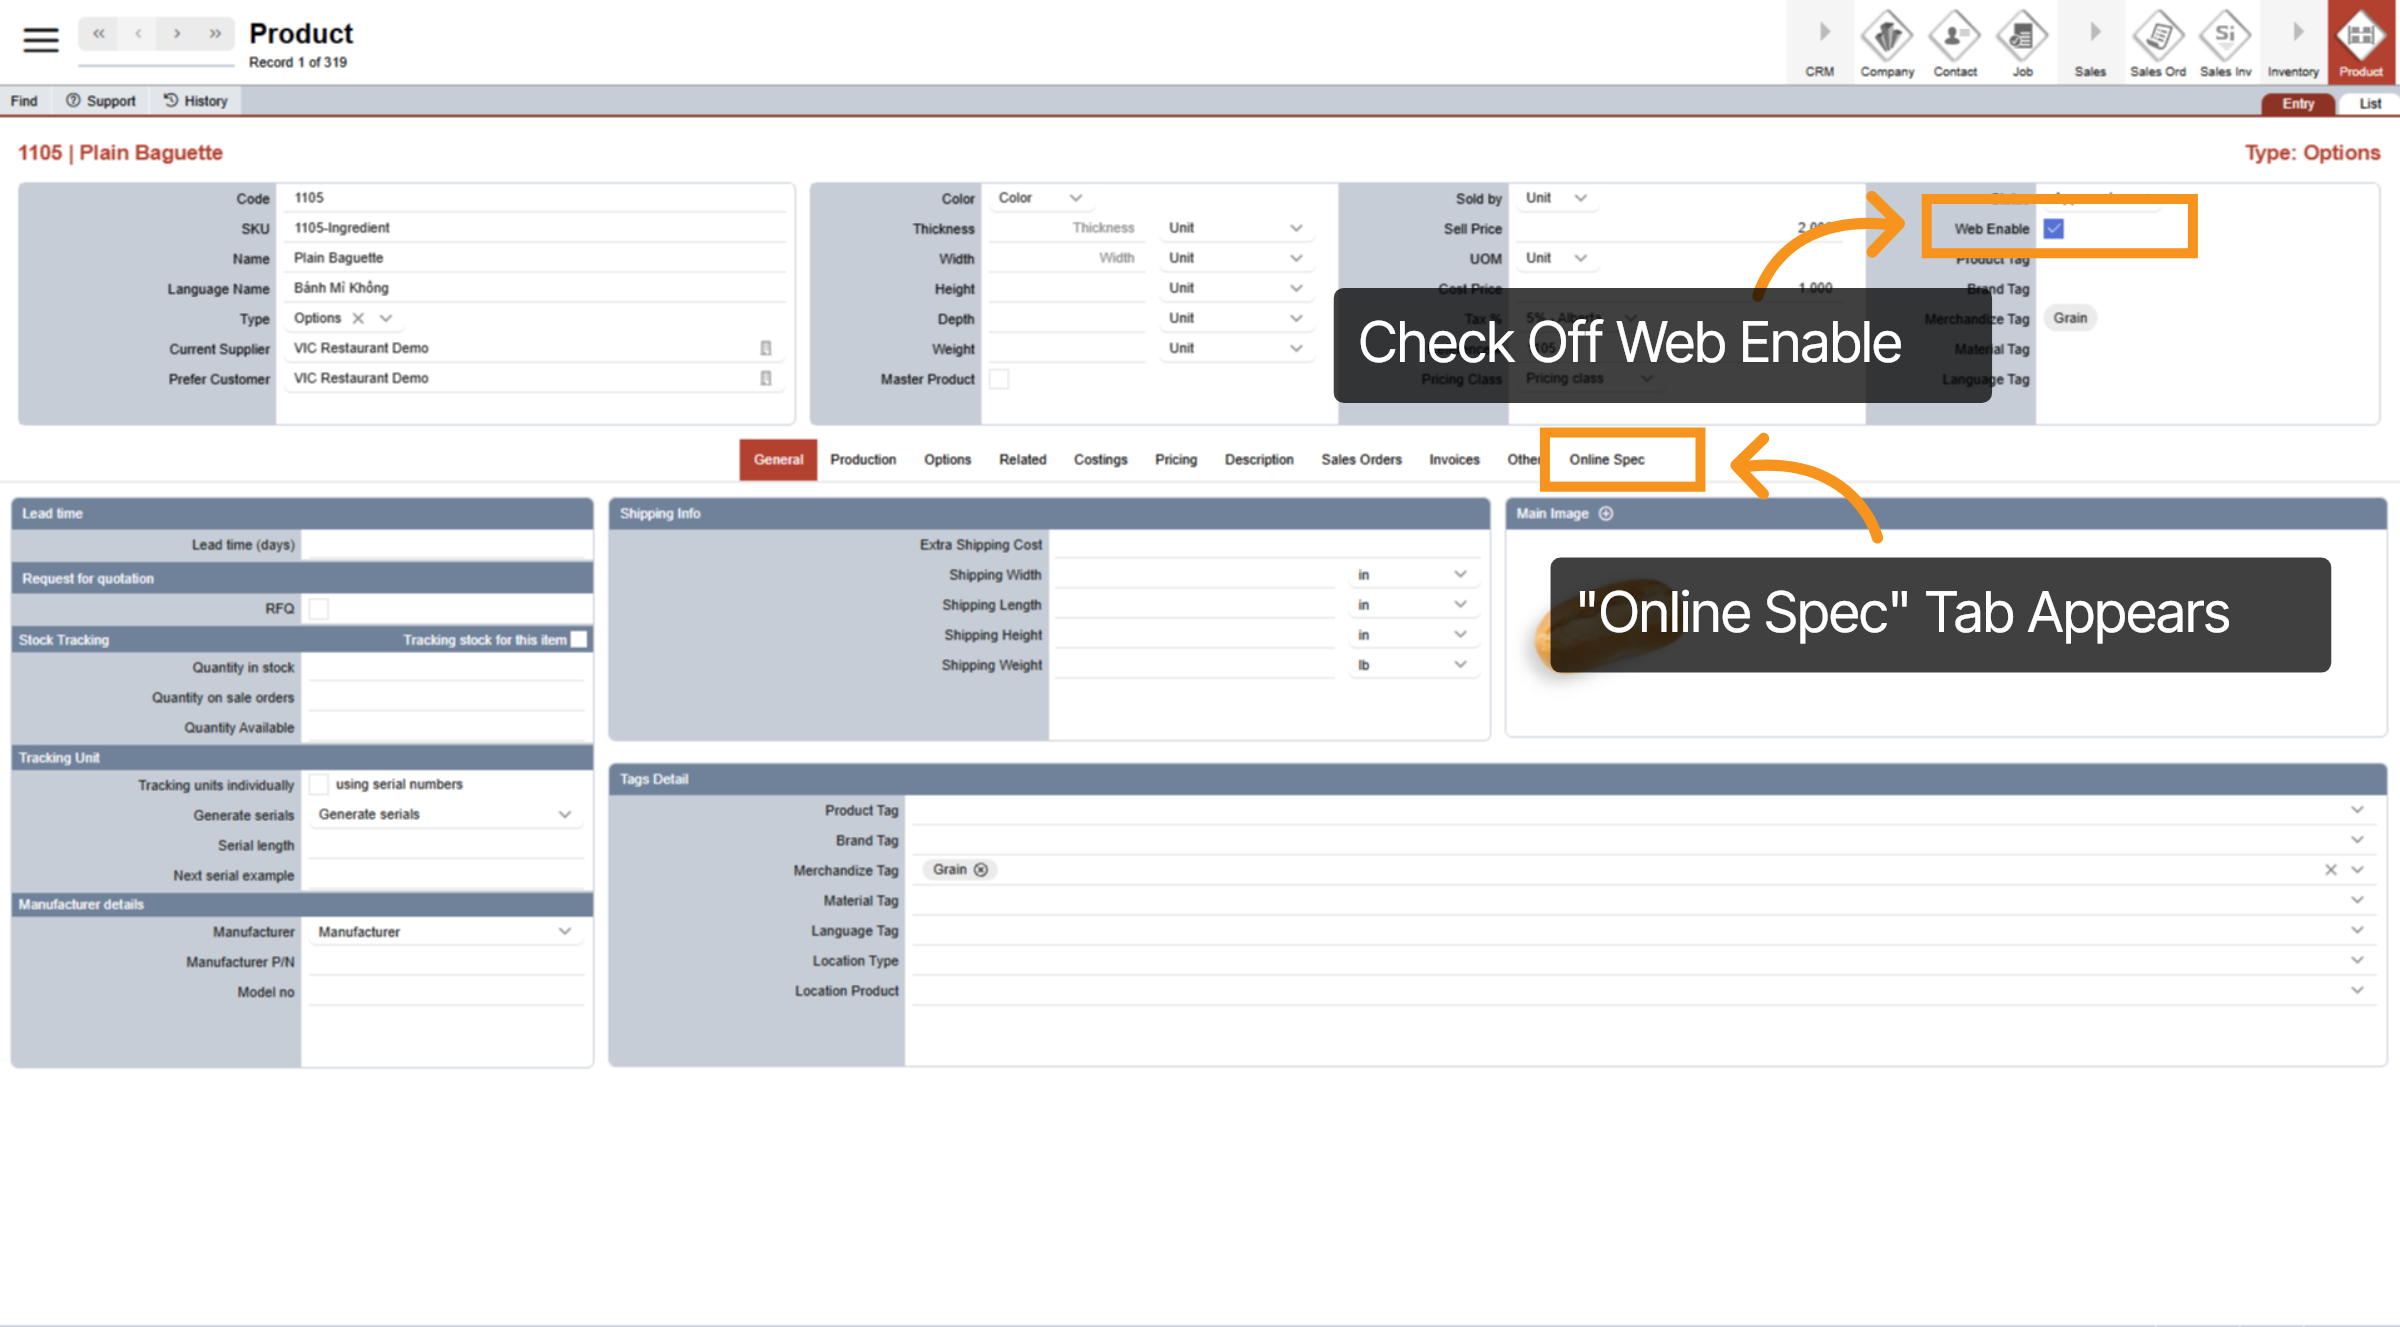
29. Web Enable
Select “Web Enable” if you plan to sell the product in your online store. Once you check “Web Enable”, a new tab called “Online Spec” will appear in the center menu. This is where you can configure the product using the E-Store Management dashboard.
You’ve now completed the training on general settings for an ingredient. In the next video, we’ll show you how to add a master product and a child product that automatically clones the information from the master. Thanks for watching!