Create and Configure Merchandize Tag & Other Tags
This tutorial guides you through creating additional optional tags in Serviz E-Store Management. Merchandise tags are used to filter products based on ingredients, while material tags are used to upsell products, and so on.
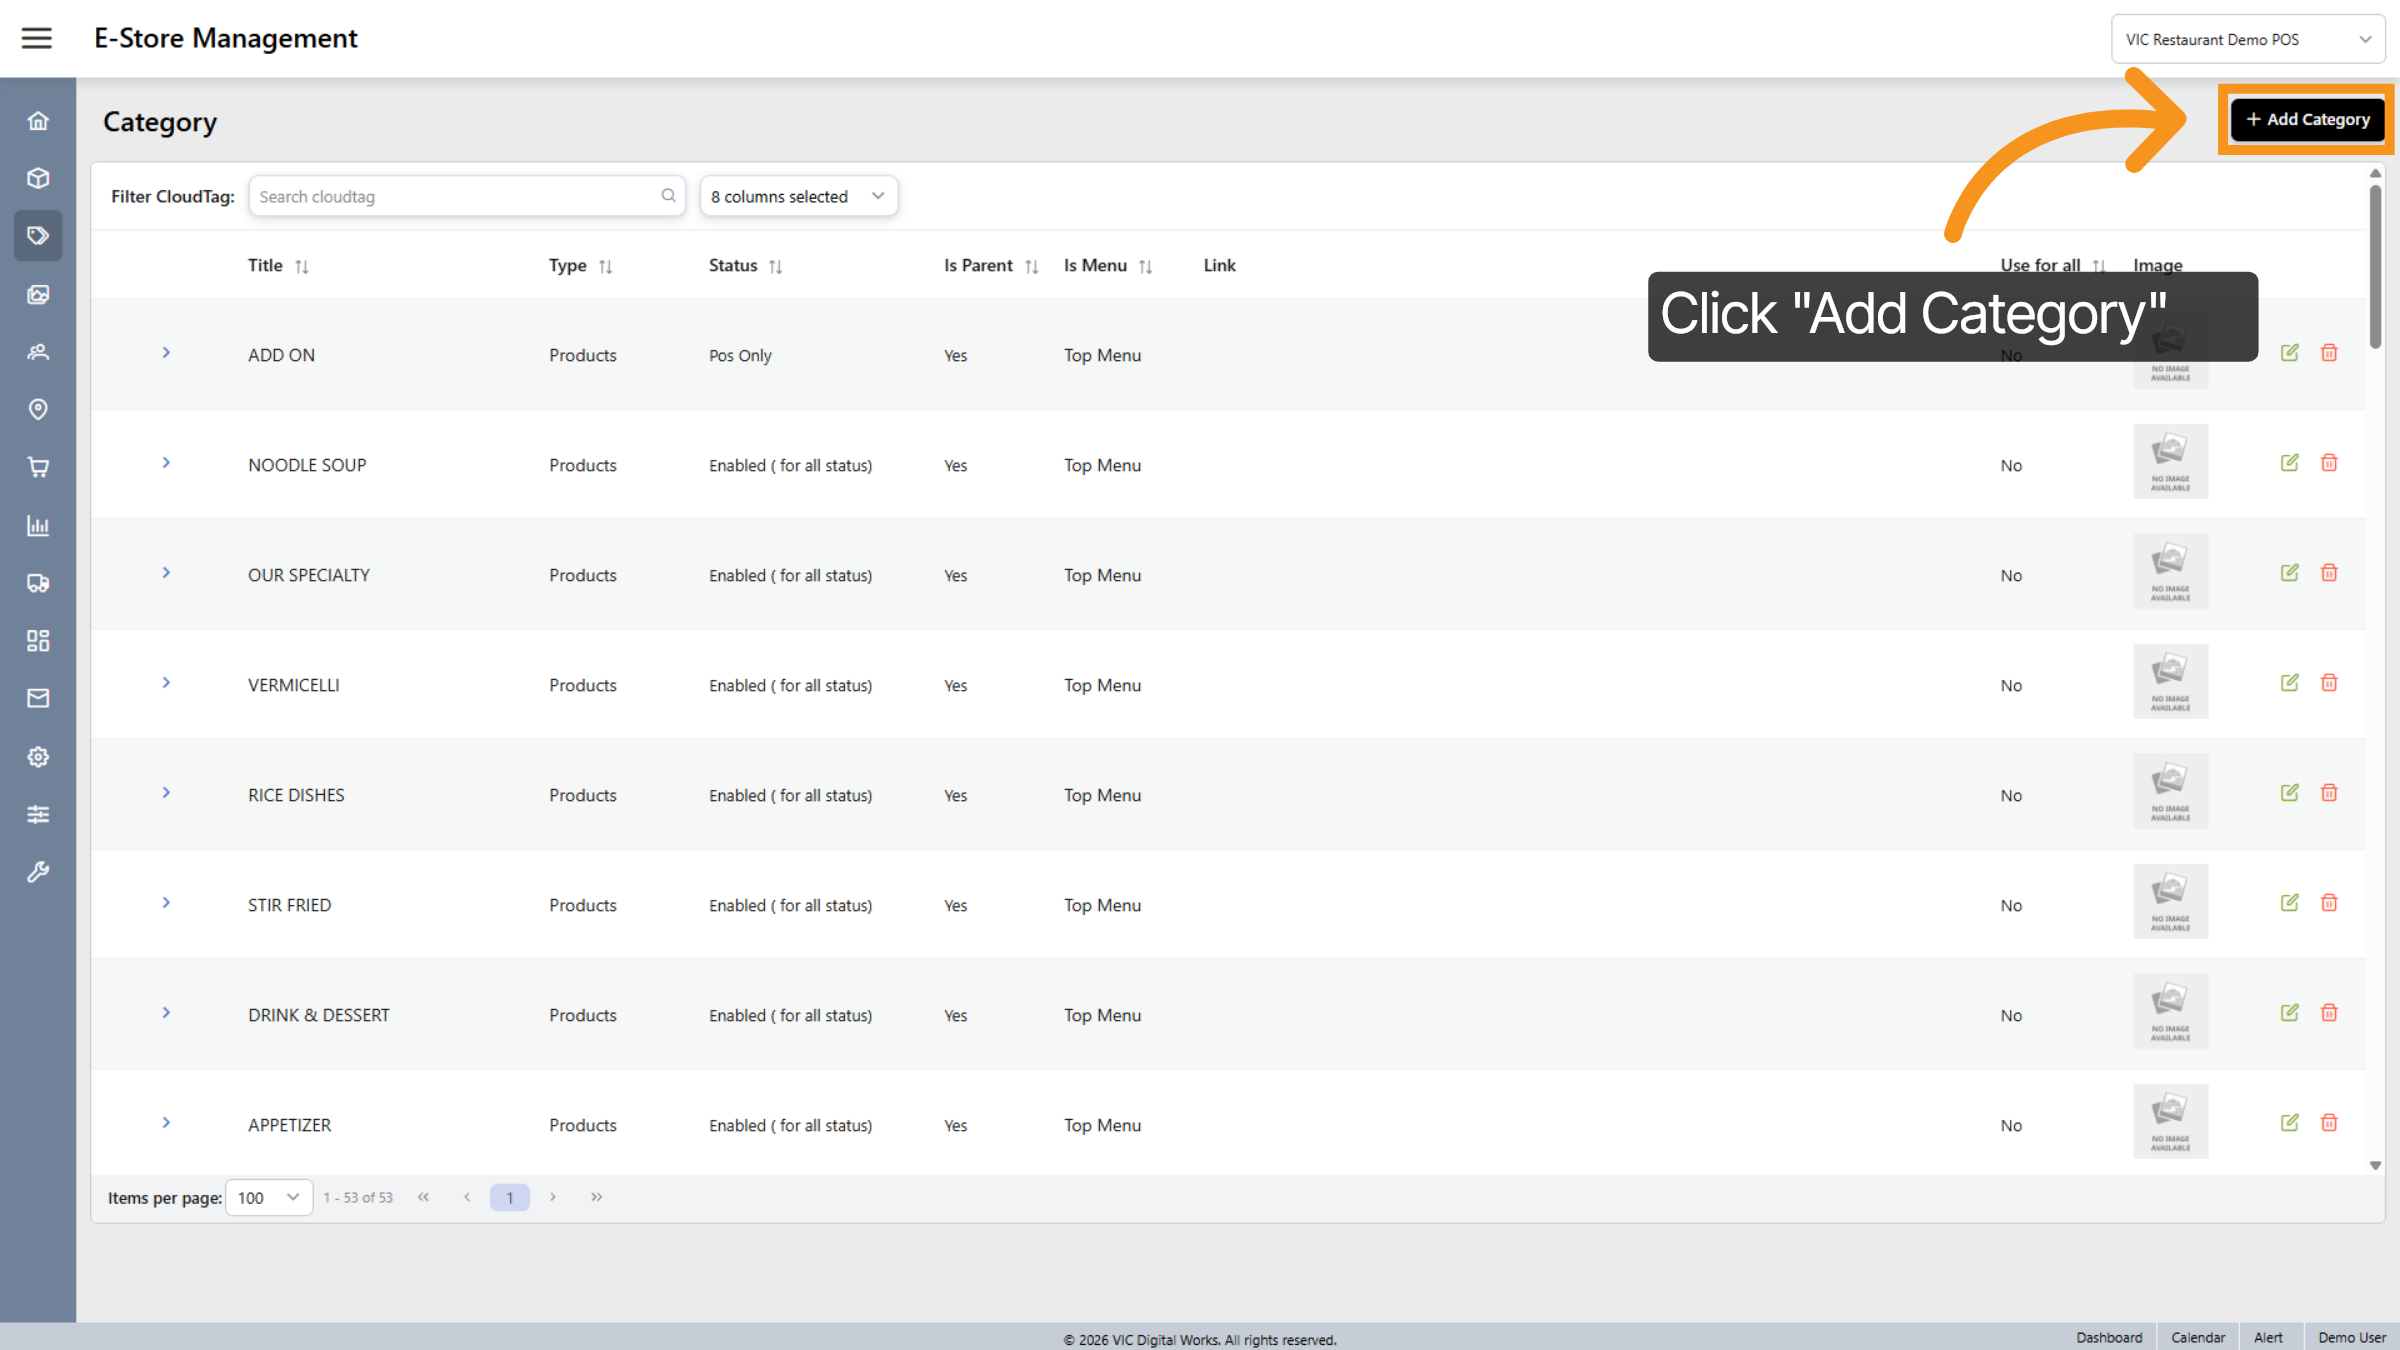
1. Click "Add Category"
To create a new tag, click on "Add Category"
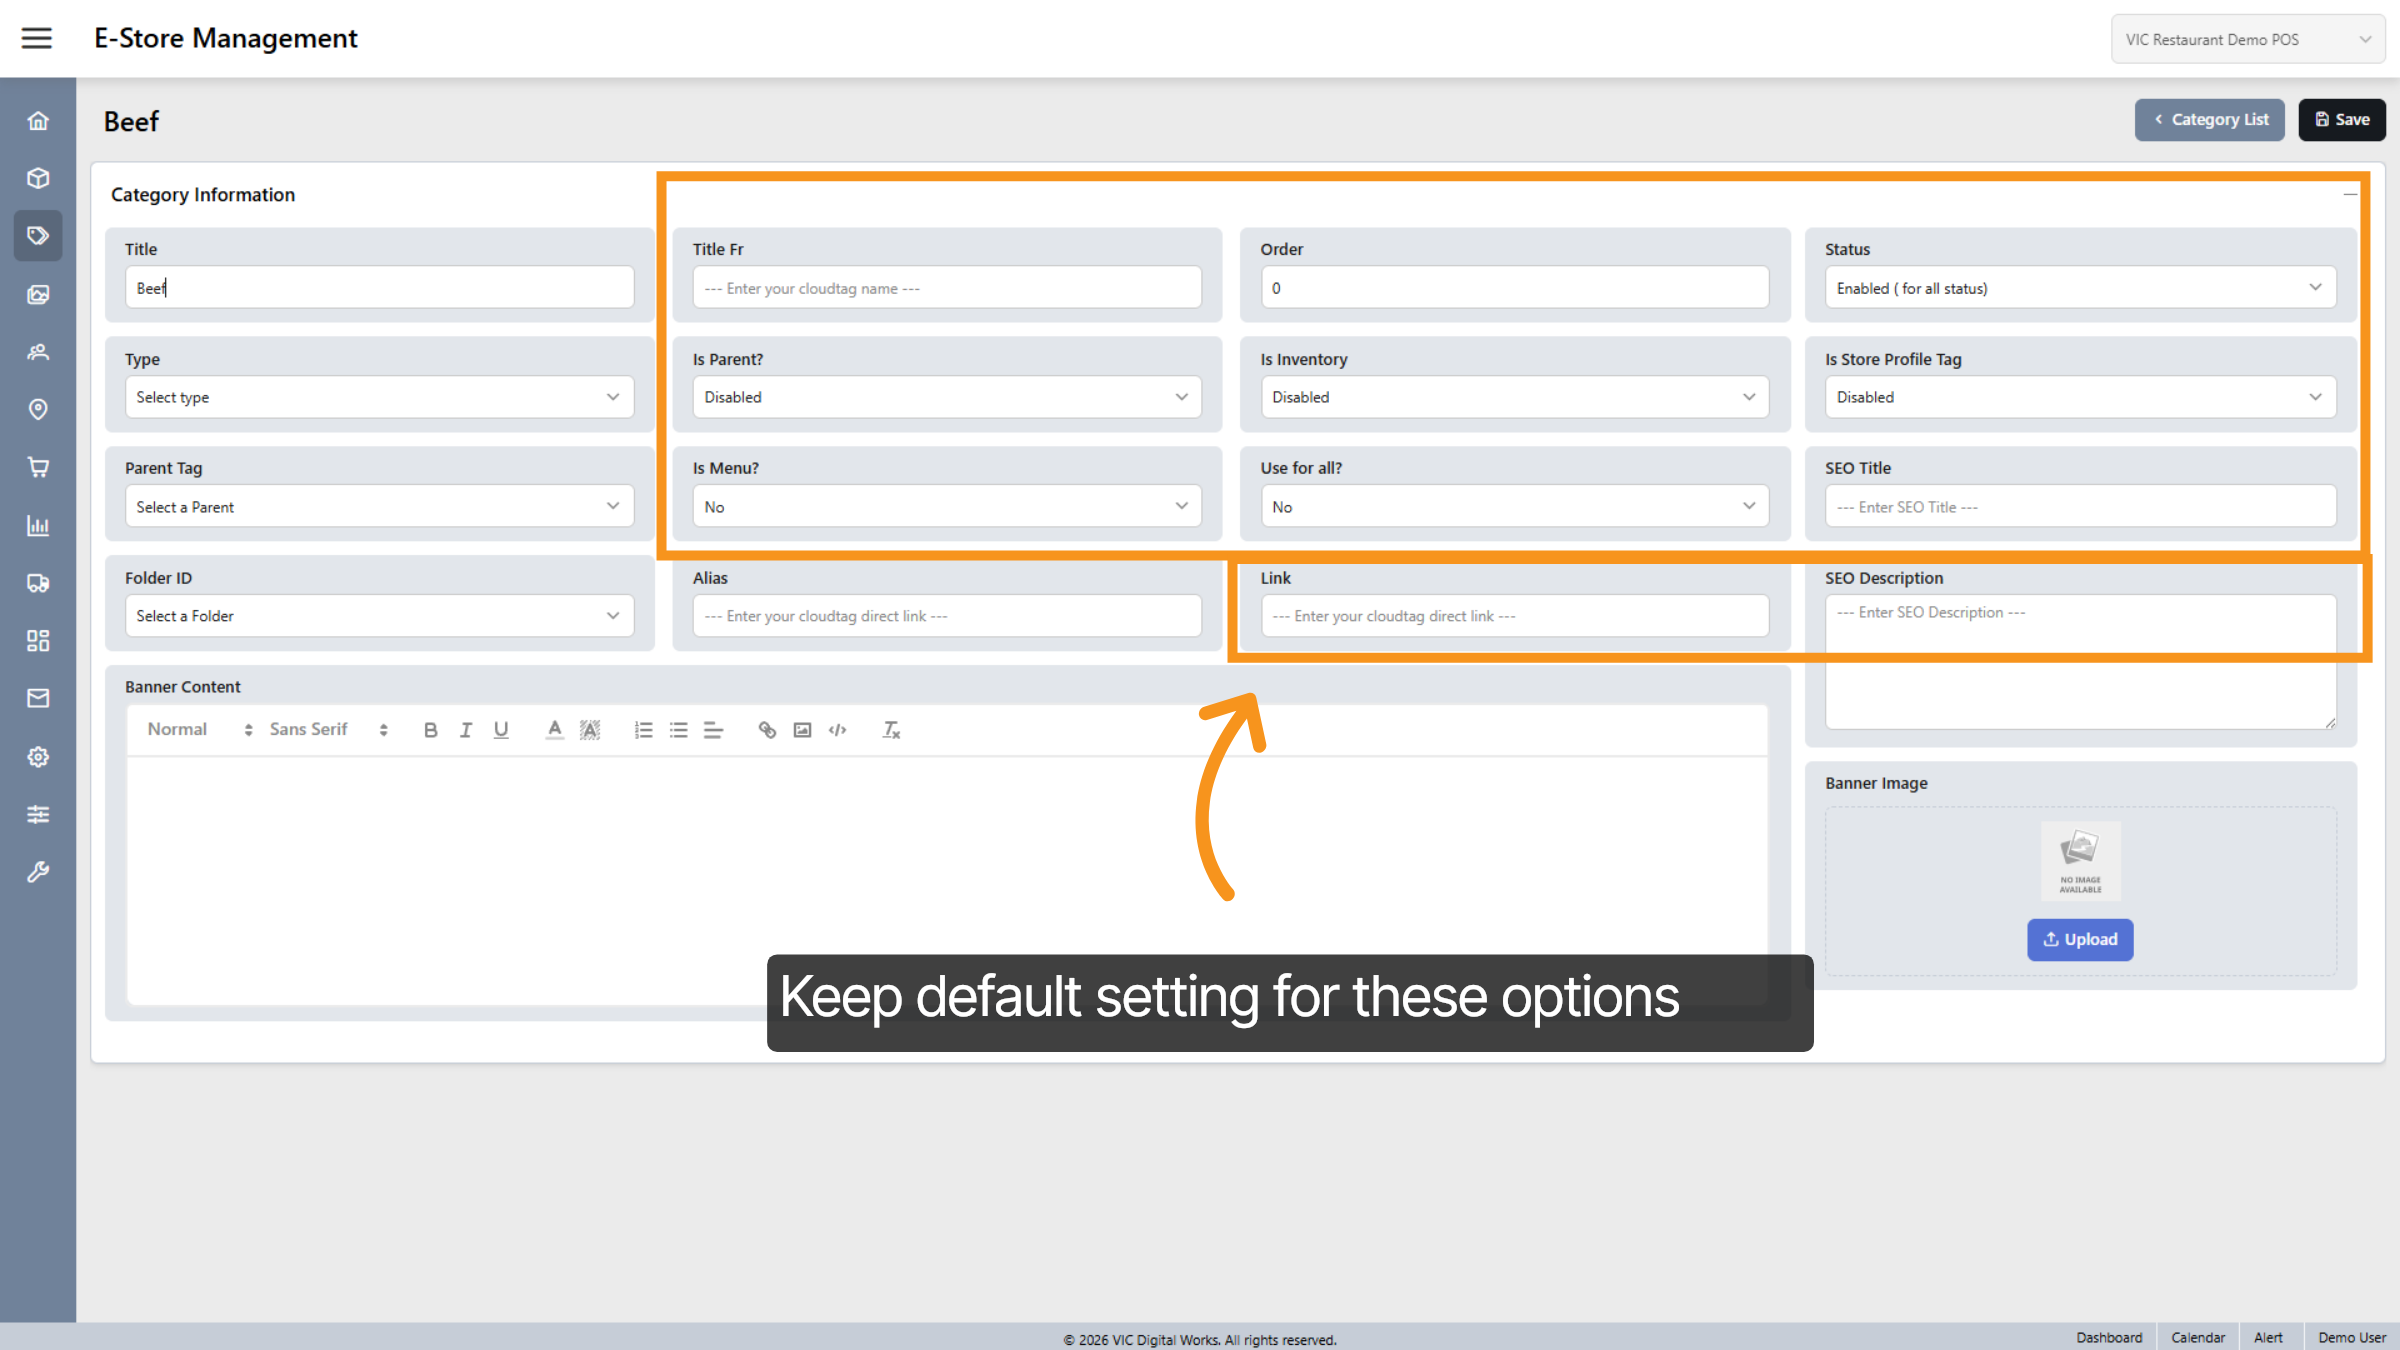
2. Title Your Tag
Enter a title for the tag you want to create.

3. Keep default settings
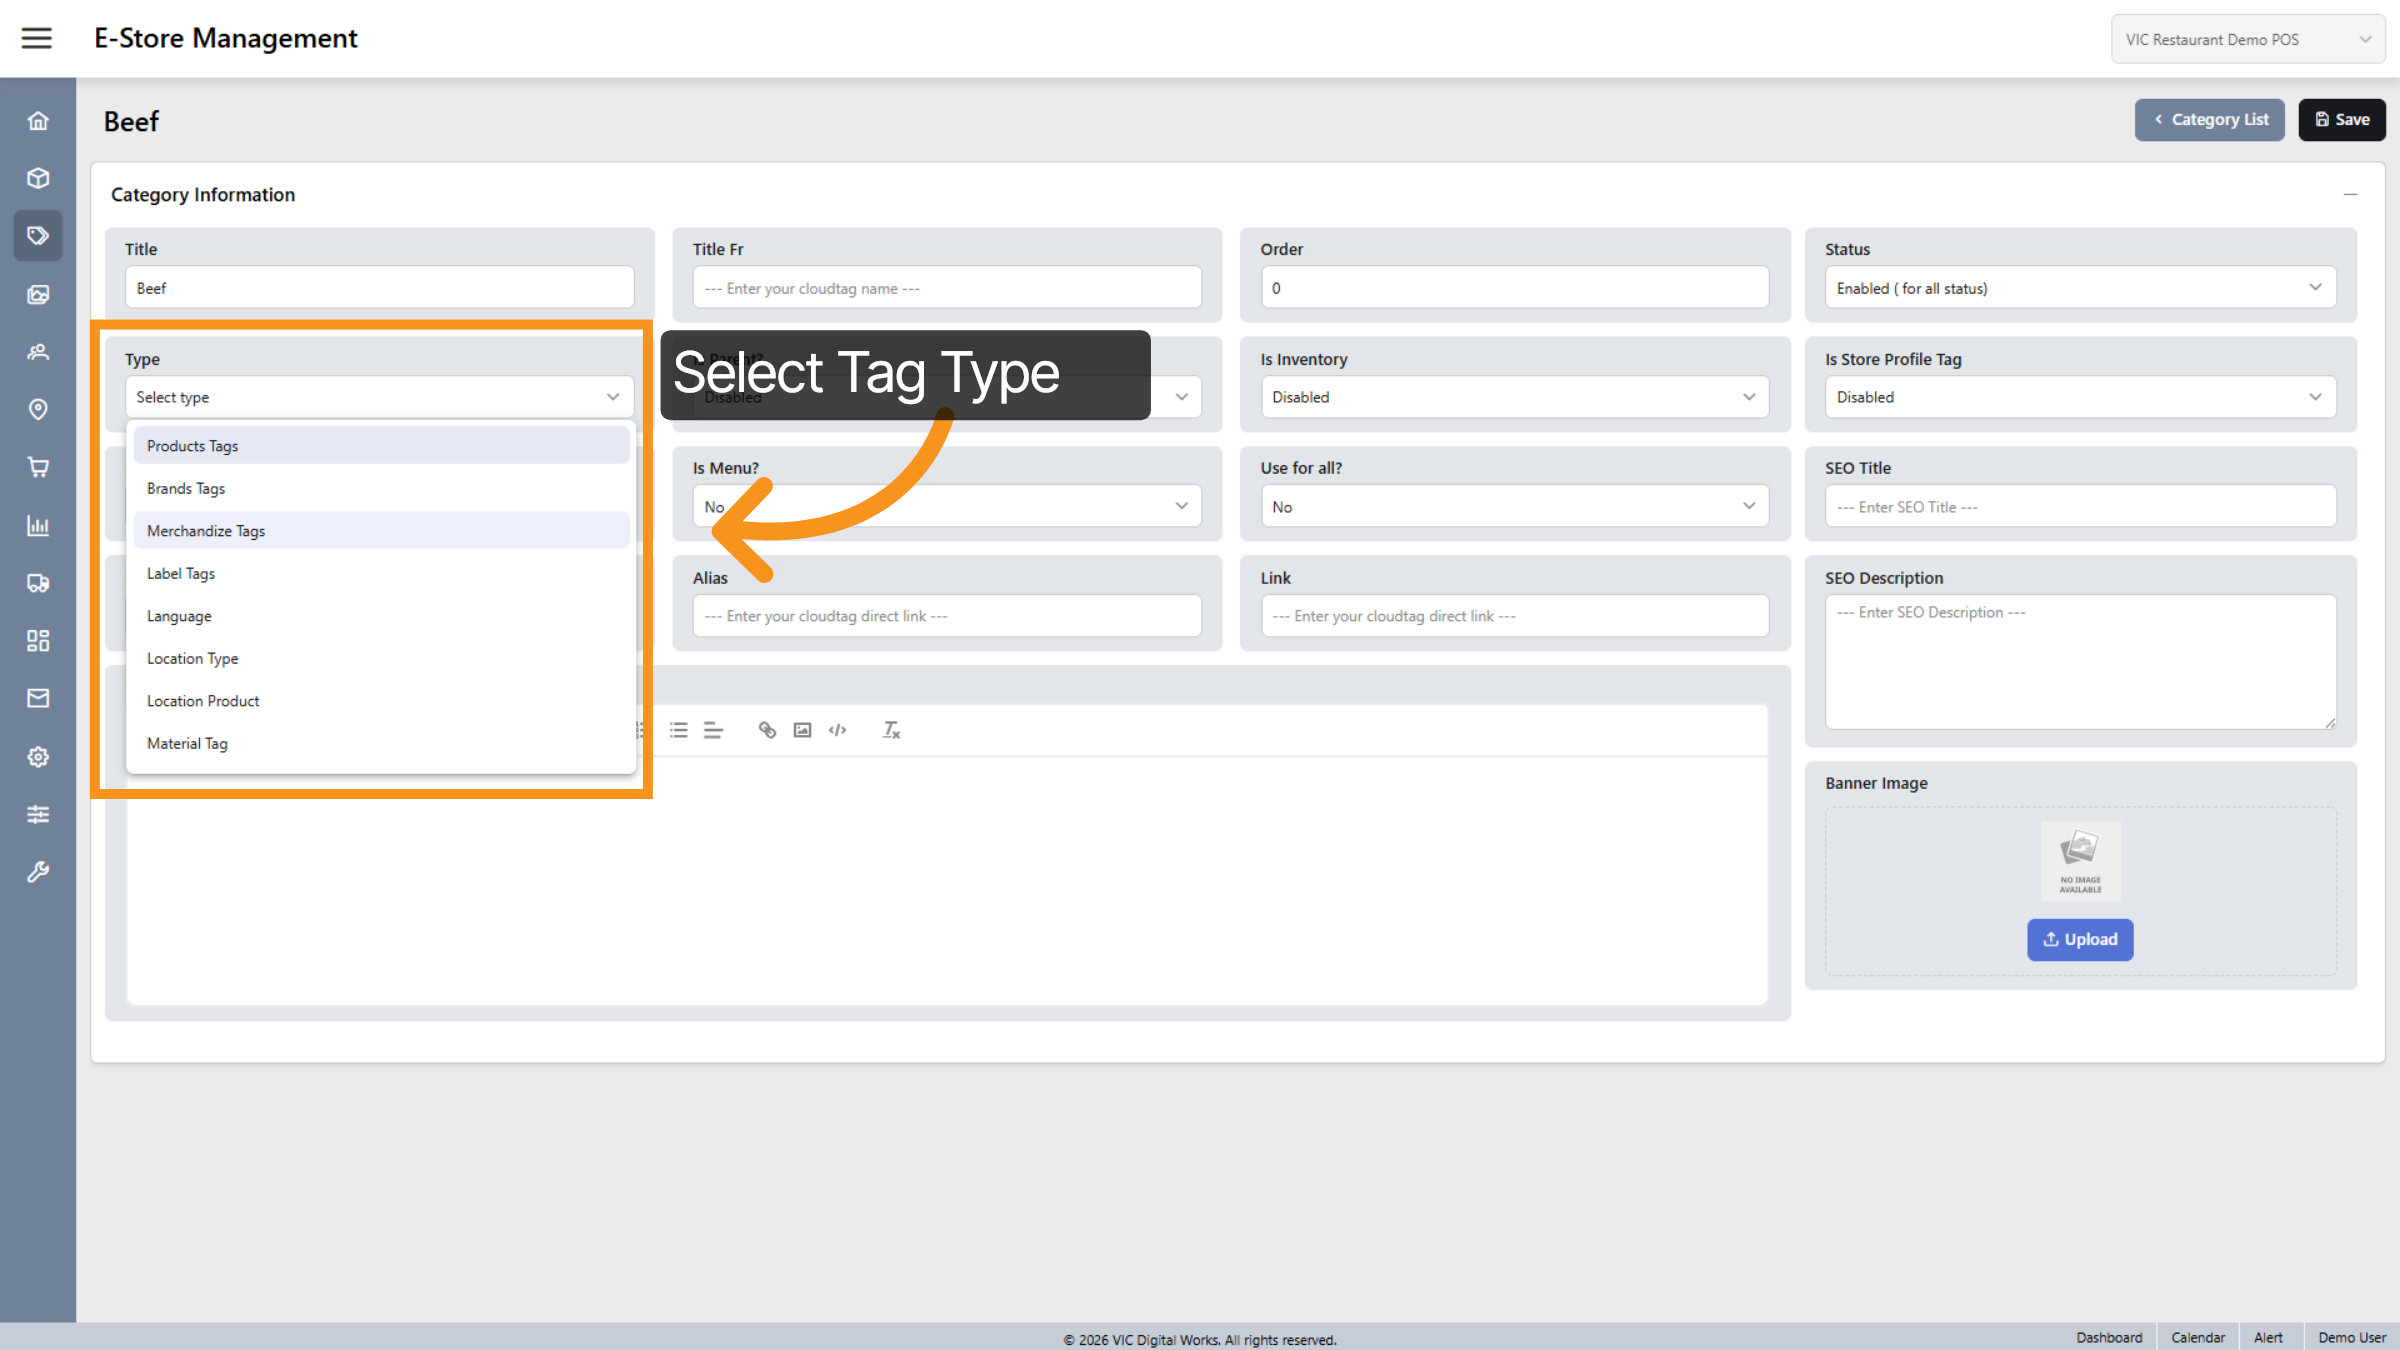
4. Choose Merchandize Tag Type
Select "Merchandize Tags" as the type to classify this category appropriately.
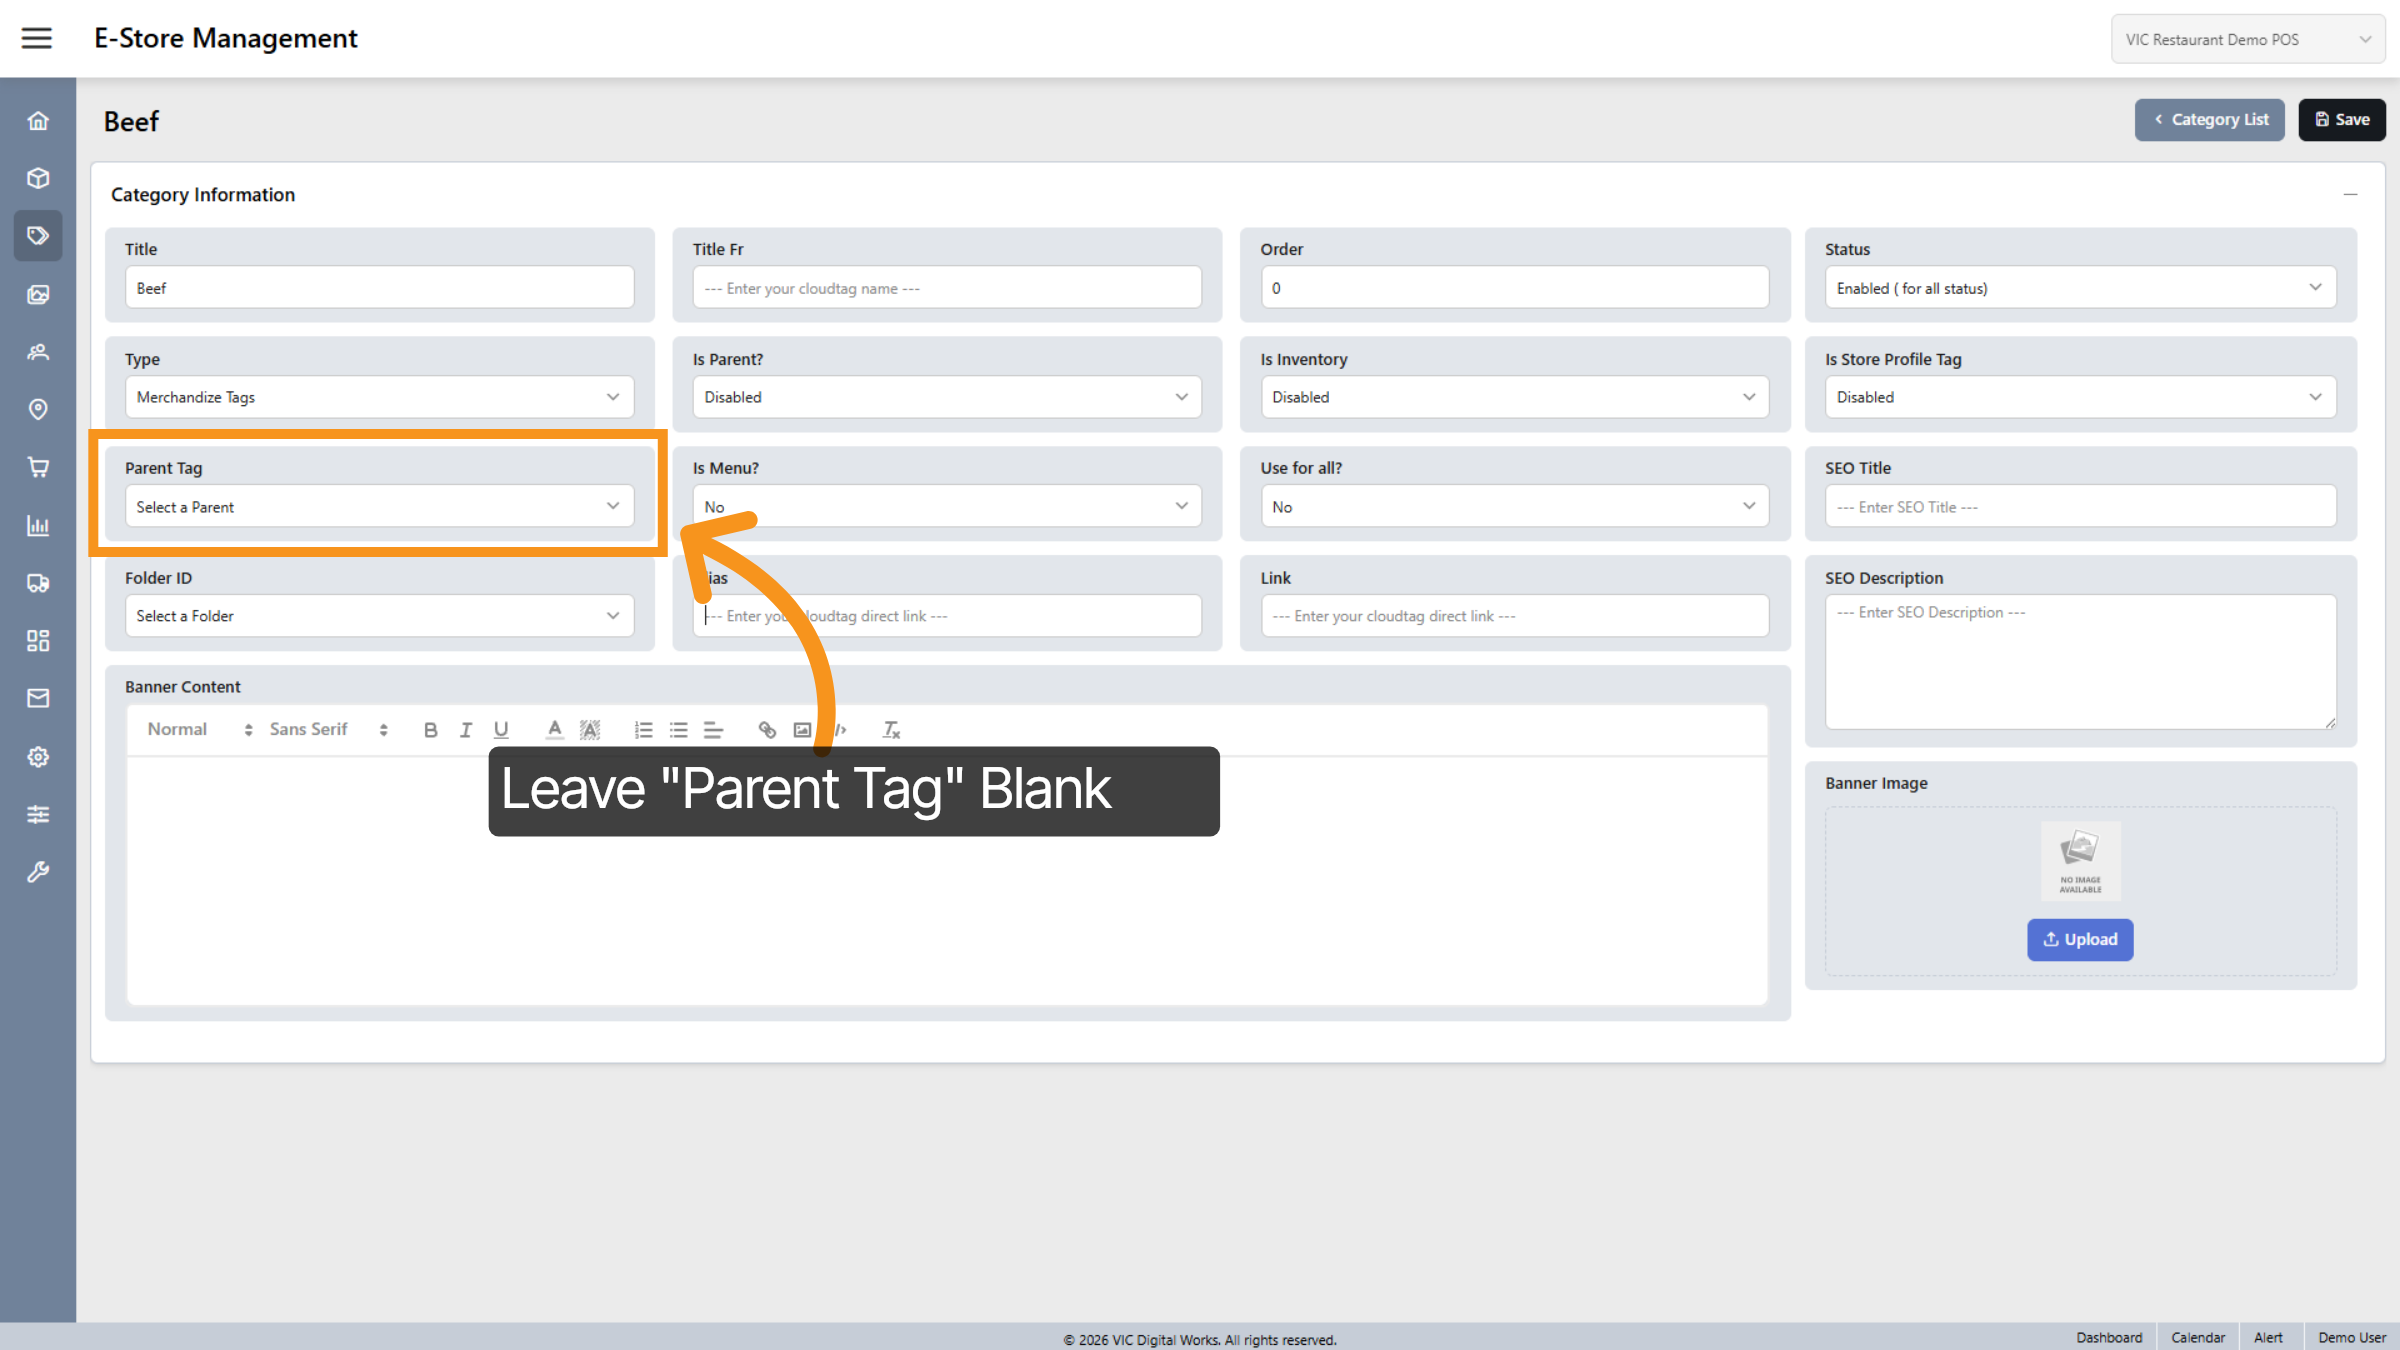
5. Leave "Parent Tag" Blank
Since the merchandise can stand alone and is not related to or nested within any parent tag, you may leave this option blank.
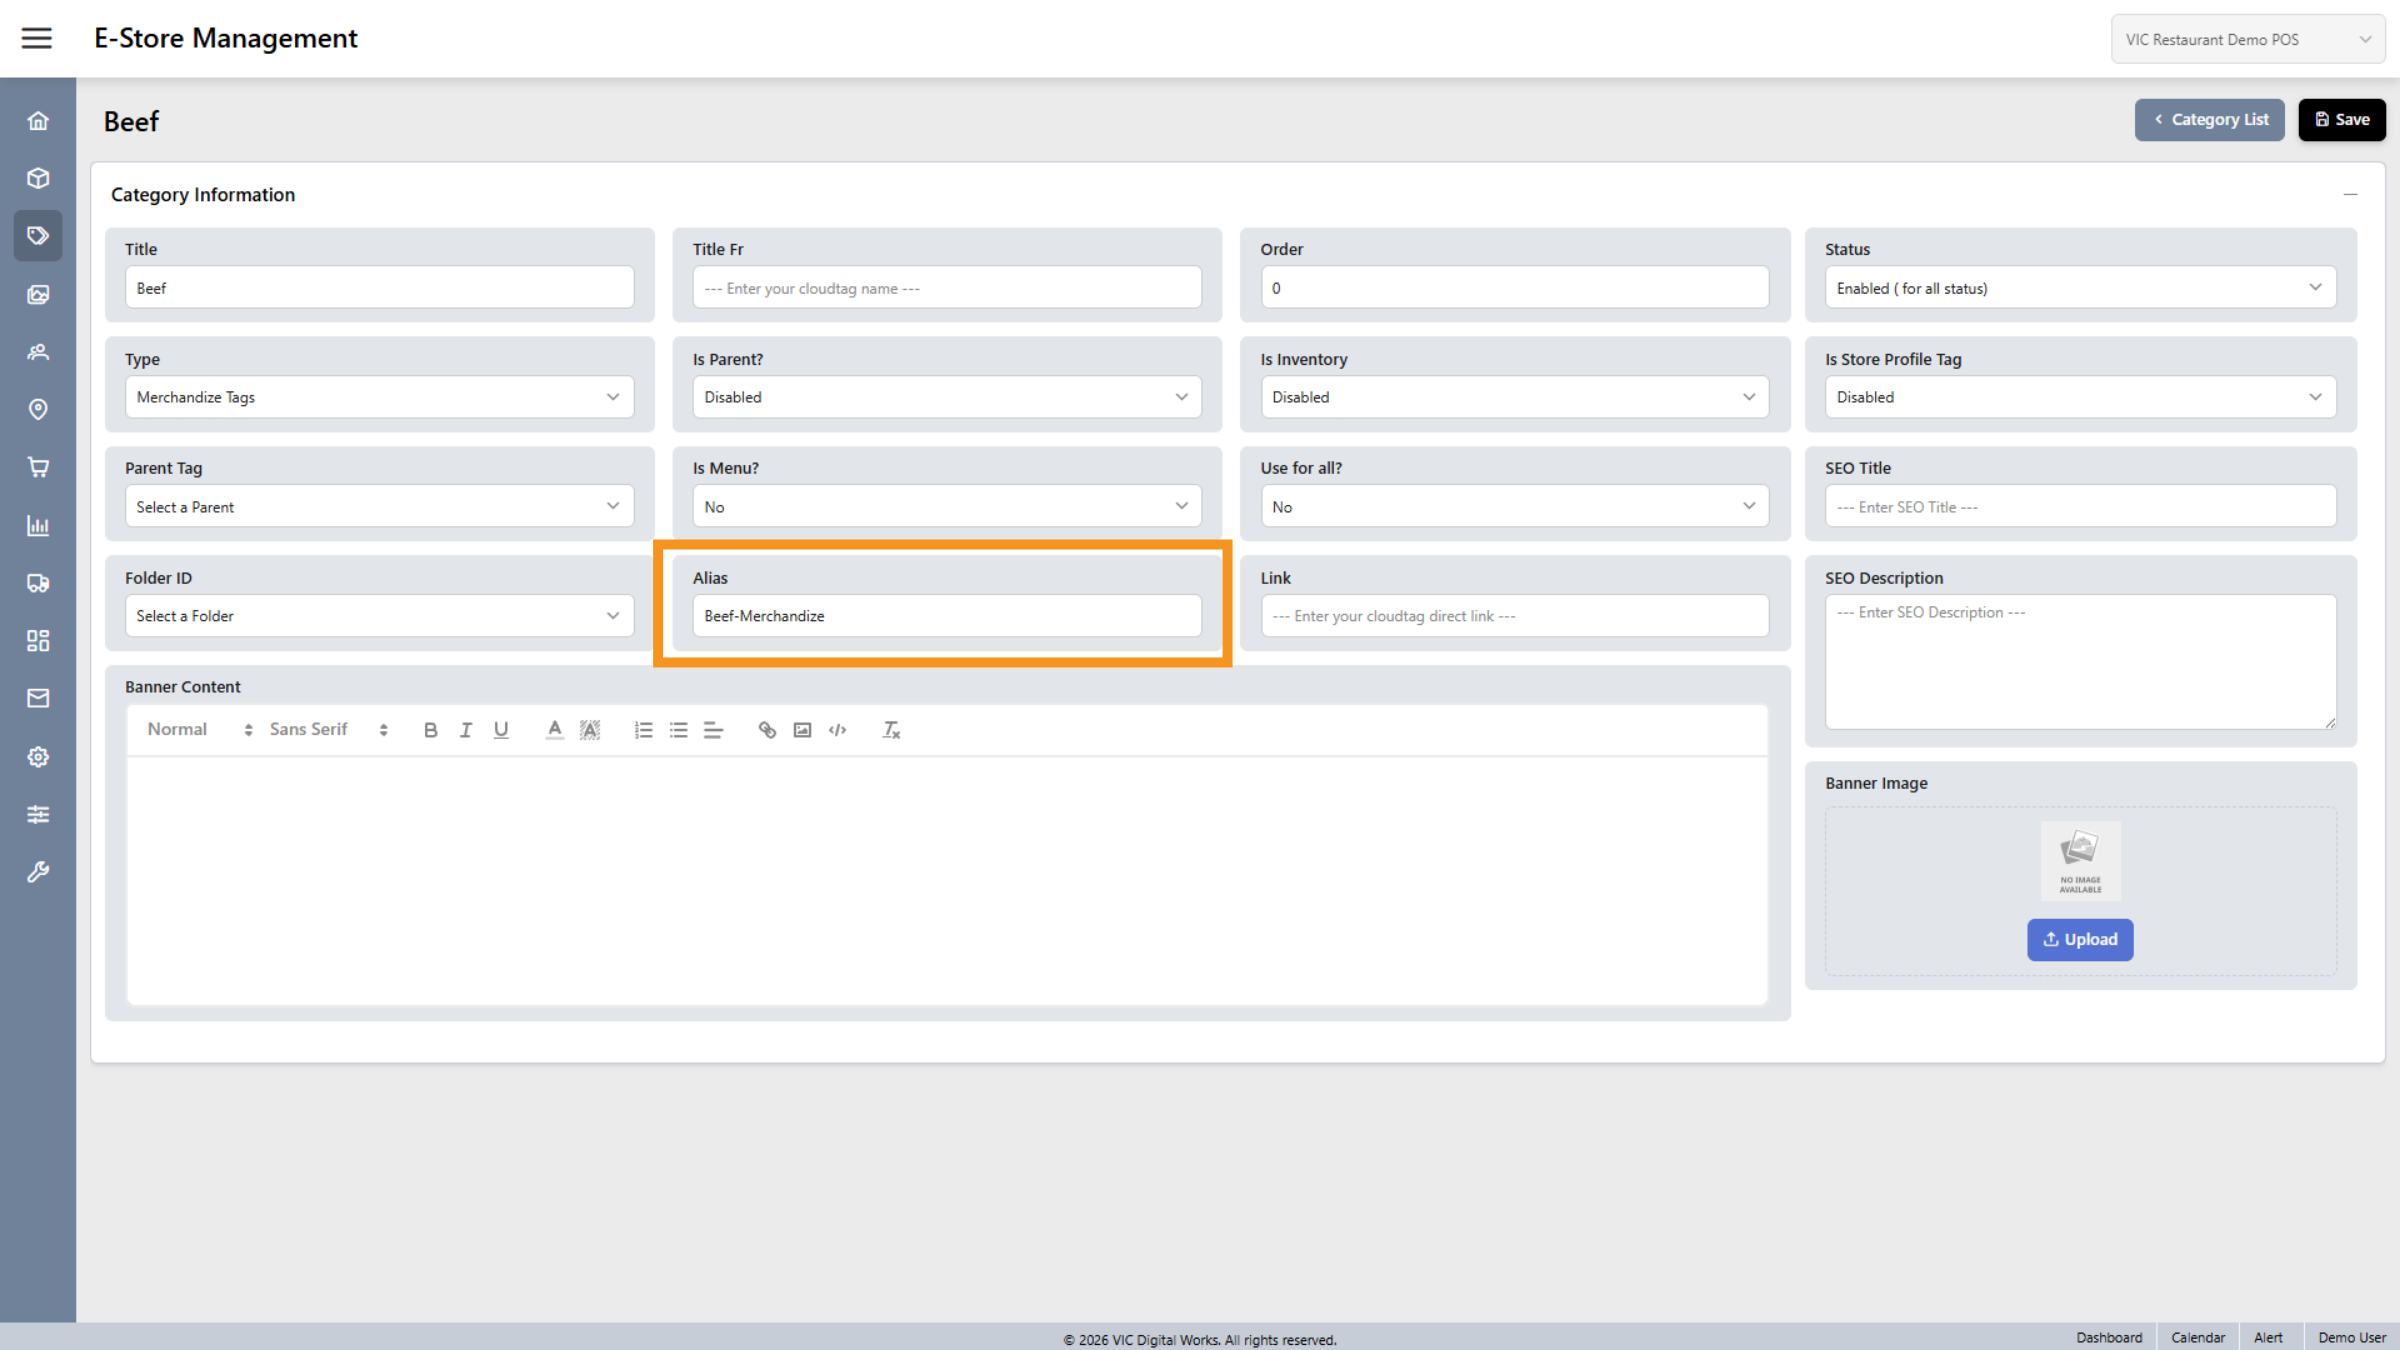
6. Add Alias for Tag
Enter an Alias for your tag.
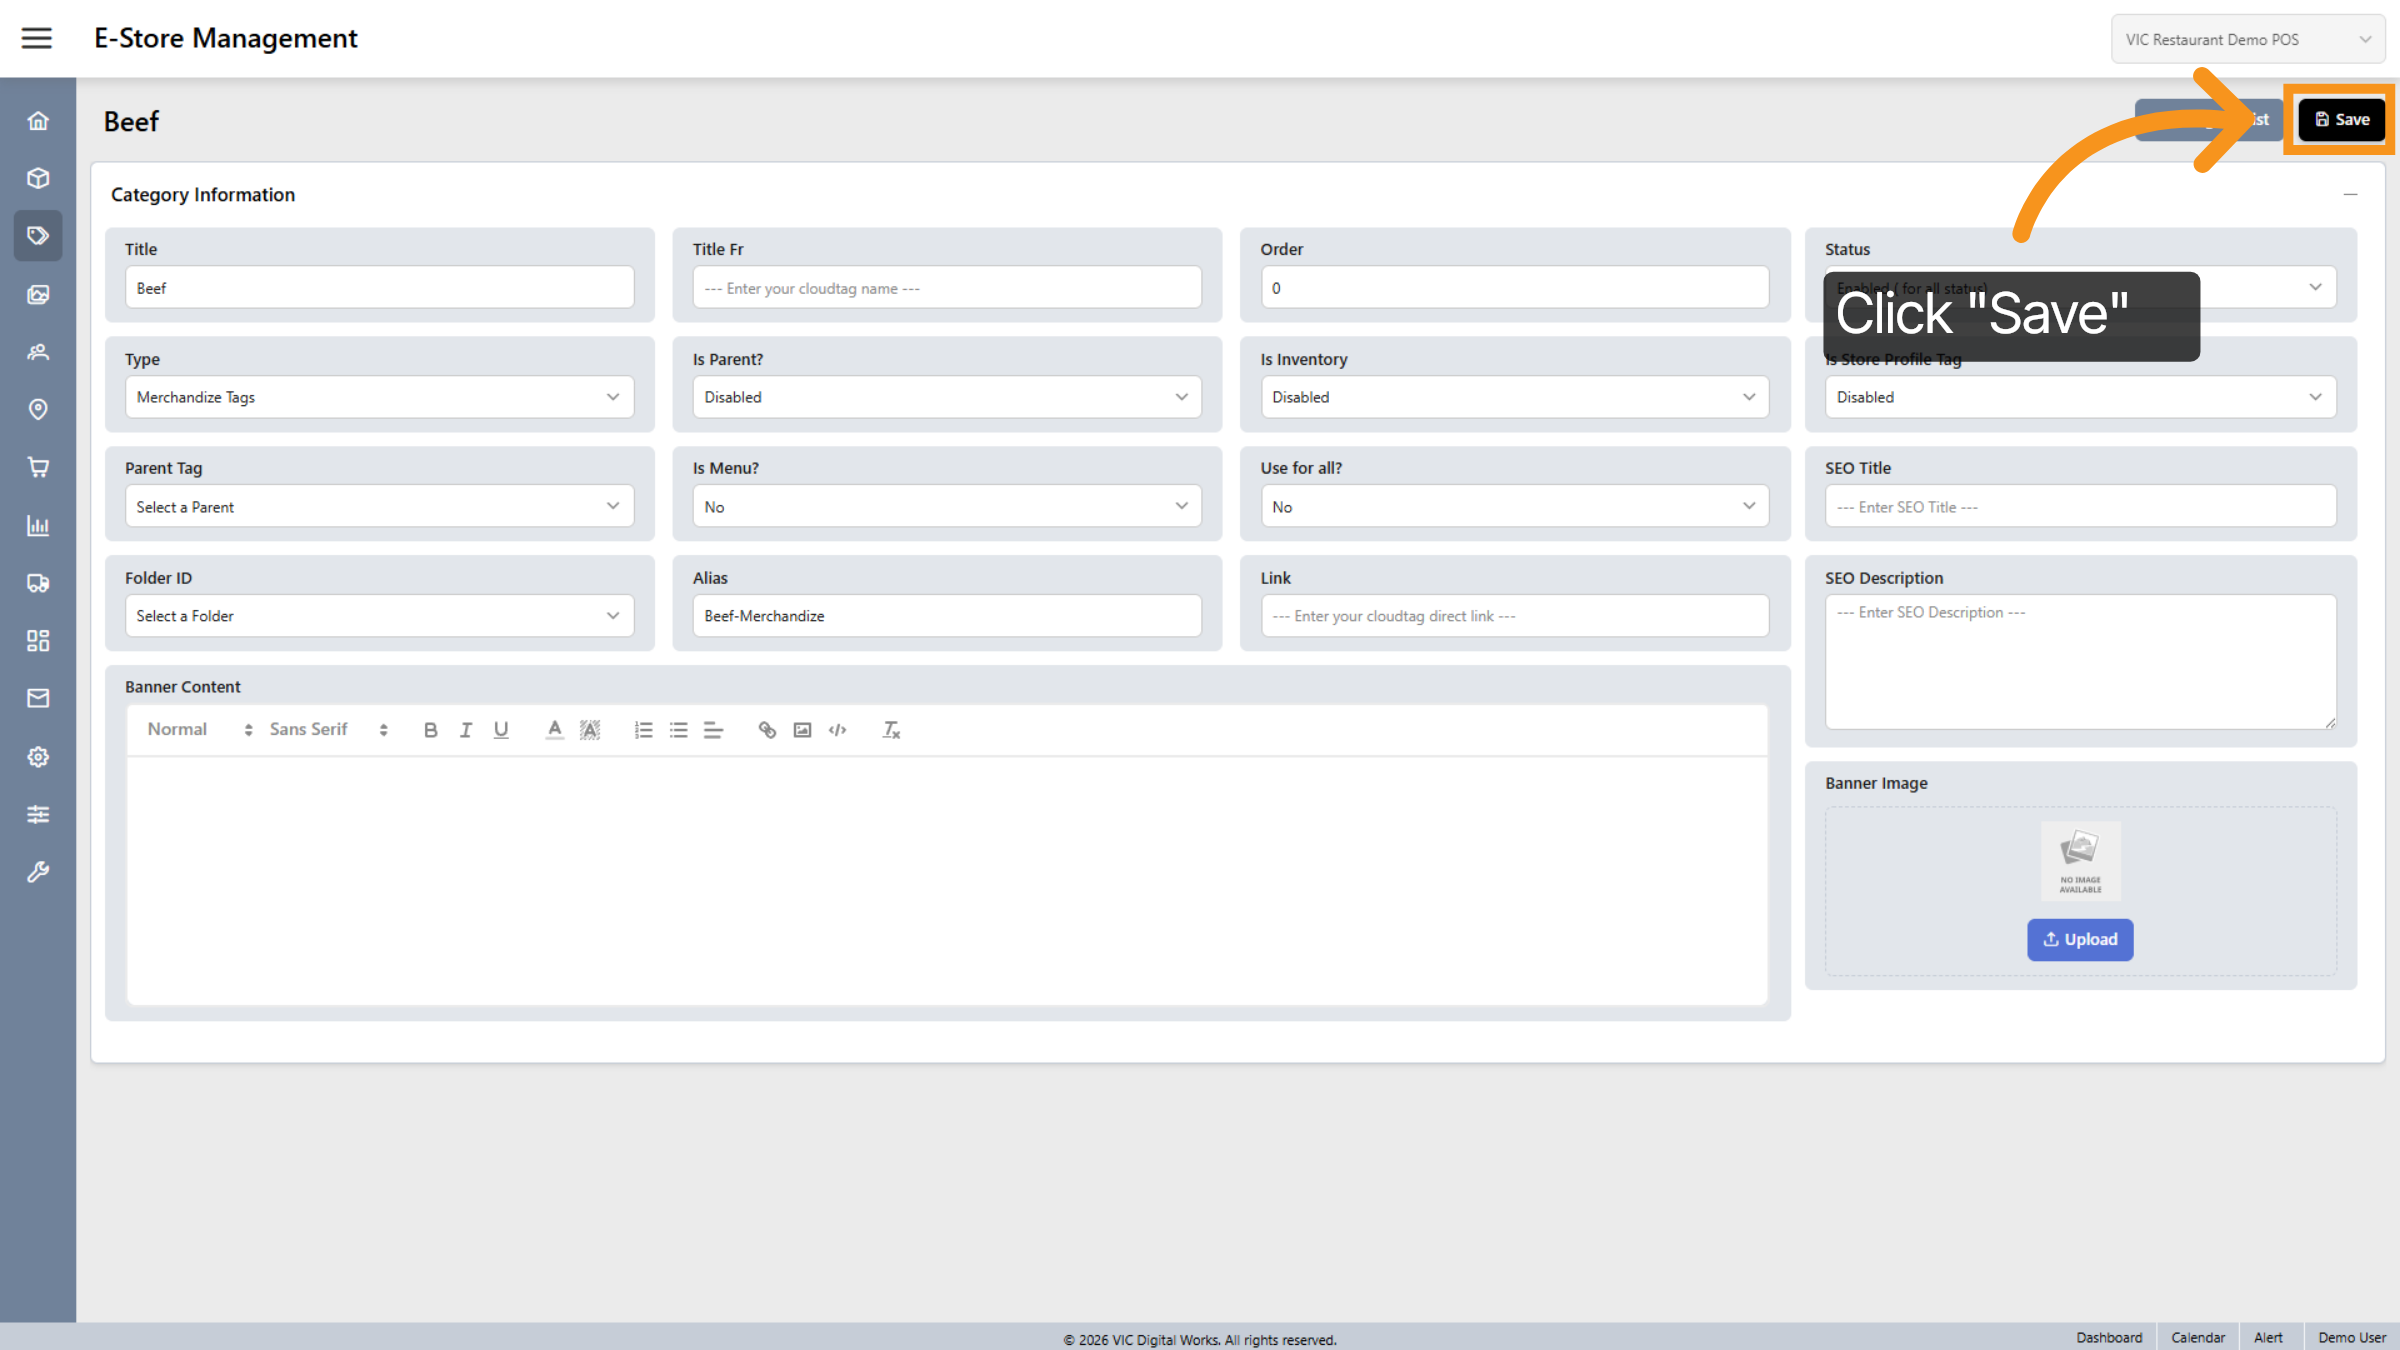
7. Save Merchandize Tag
Click "Save" to finalize and store your new merchandize tag in the system.
You have successfully created merchandise tags in the Serviz E-Store Management dashboard. You can now proceed to create additional tags as needed. In the upcoming videos, I will demonstrate how to create a new product using these tags. Thanks for watching.