Add Type of Prints (Admin)
This tutorial guides you through adding and managing print types. Print types are used to support reporting.
Video Tutorial
1. Open Main Menu
Click the ![]() main navigation menu to access system options.
main navigation menu to access system options.

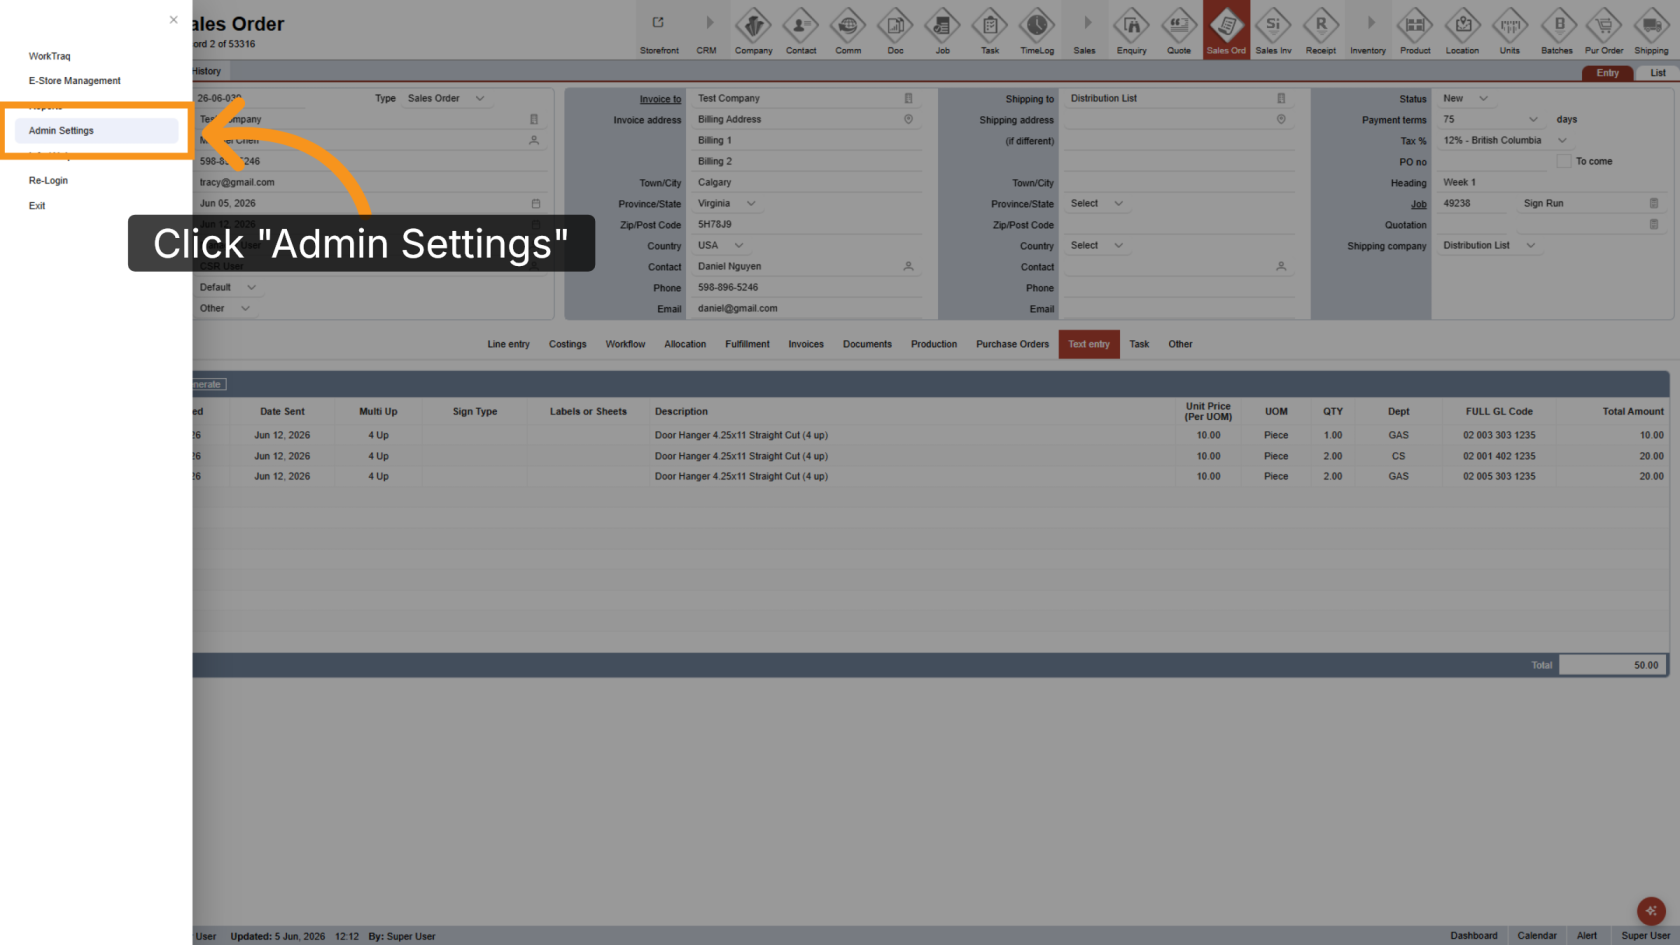
2. Go to Admin Settings
Click Admin Settings to open the administration panel.
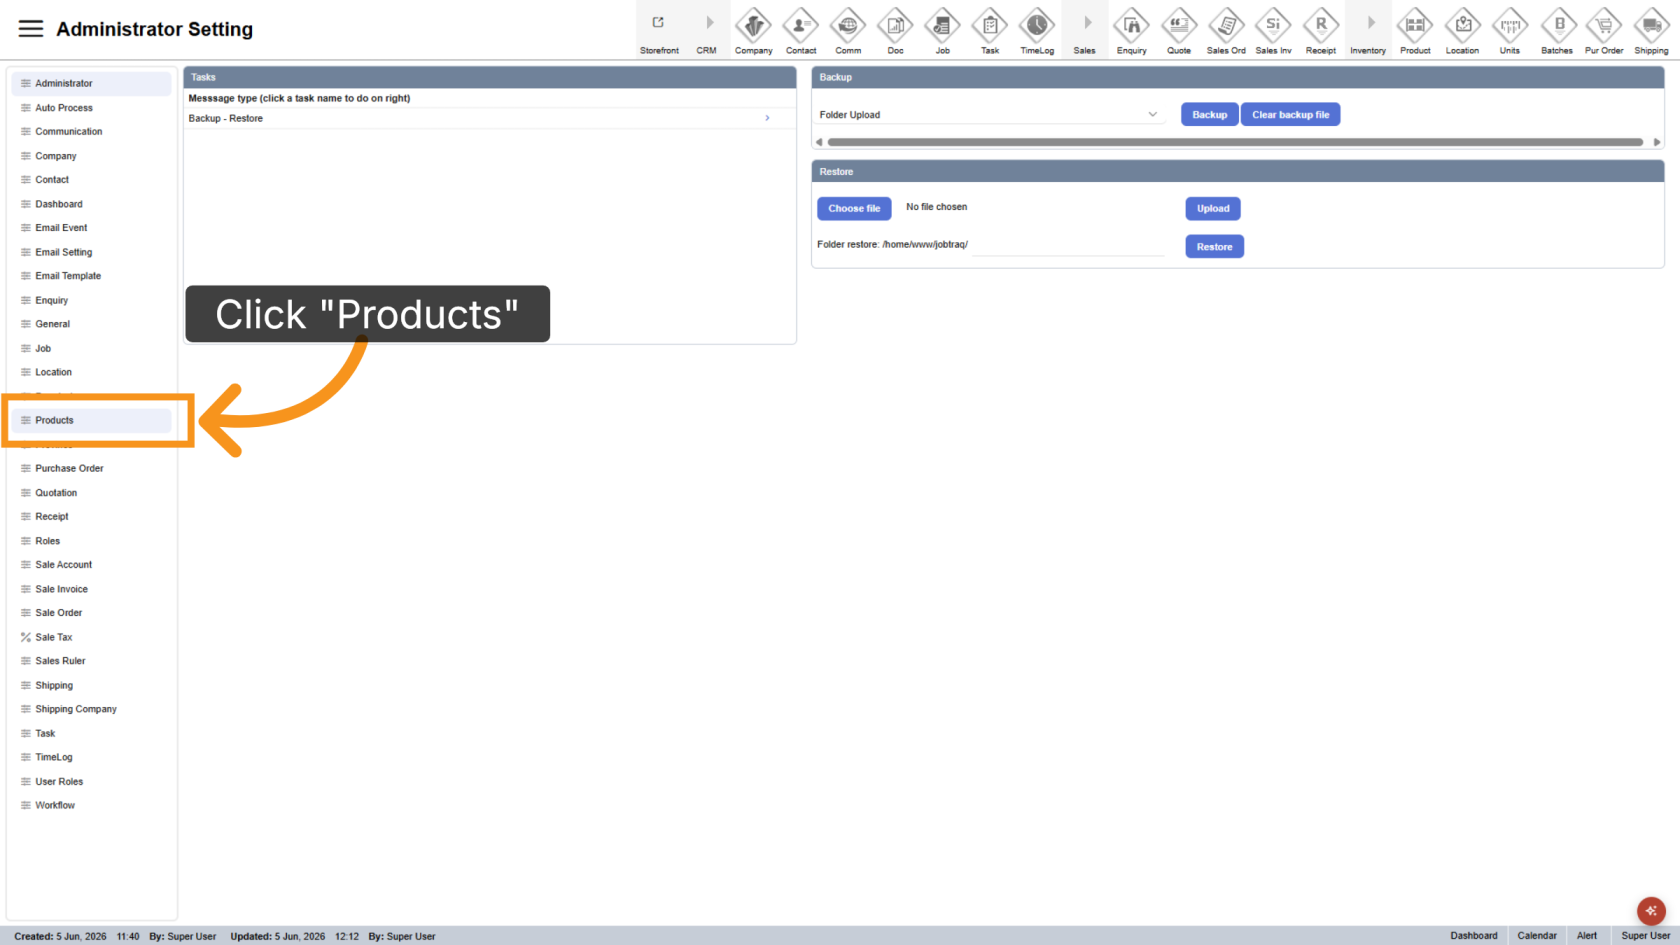
3. Navigate to Product Section
Click Product to view the product management options.
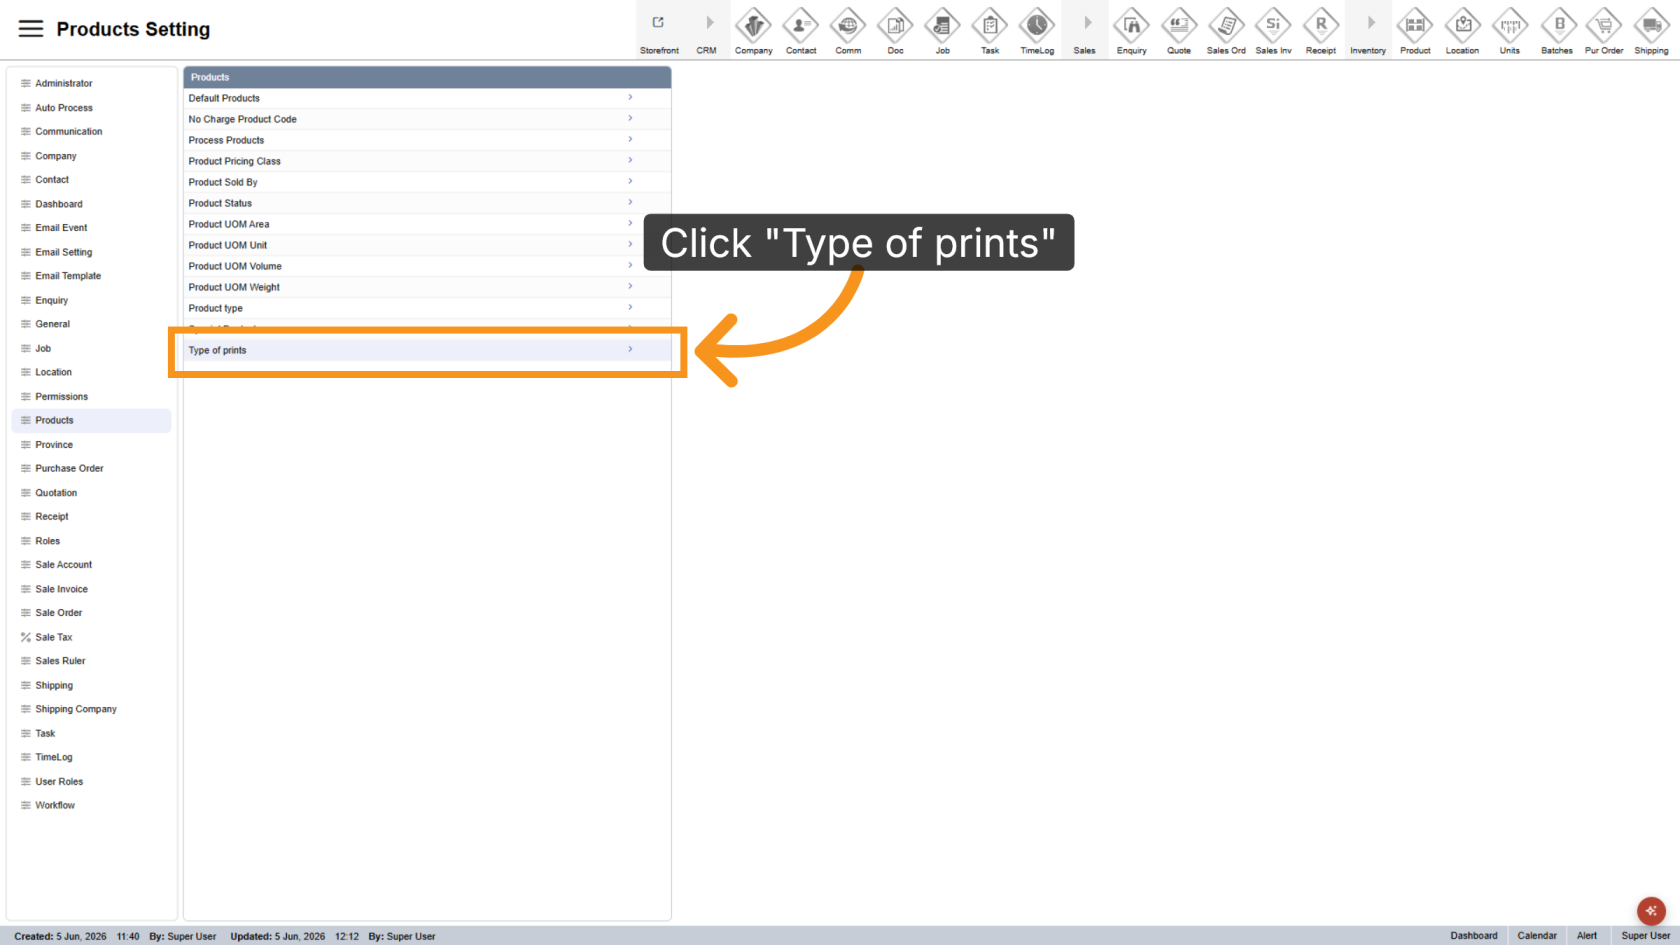
4. Open Type of Prints
Click Type of Prints to manage available print types.
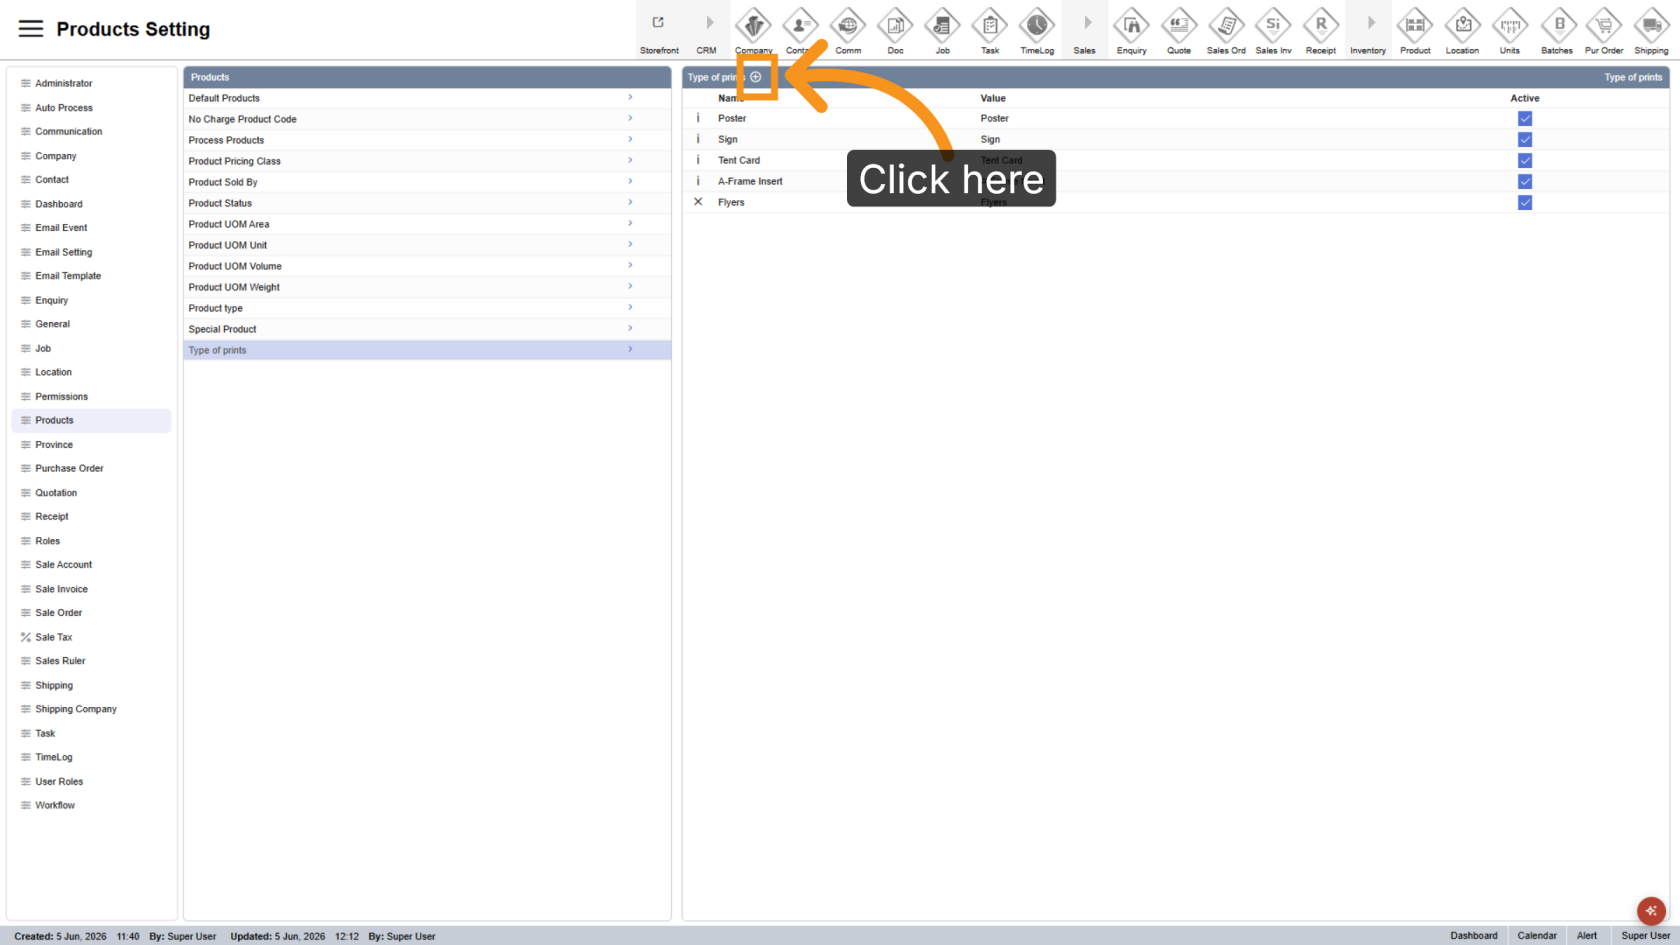
5. Add a New Print Type
Click the ![]() plus icon to create a new print type.
plus icon to create a new print type.
6. Enter the Name
Enter the name of the print type.

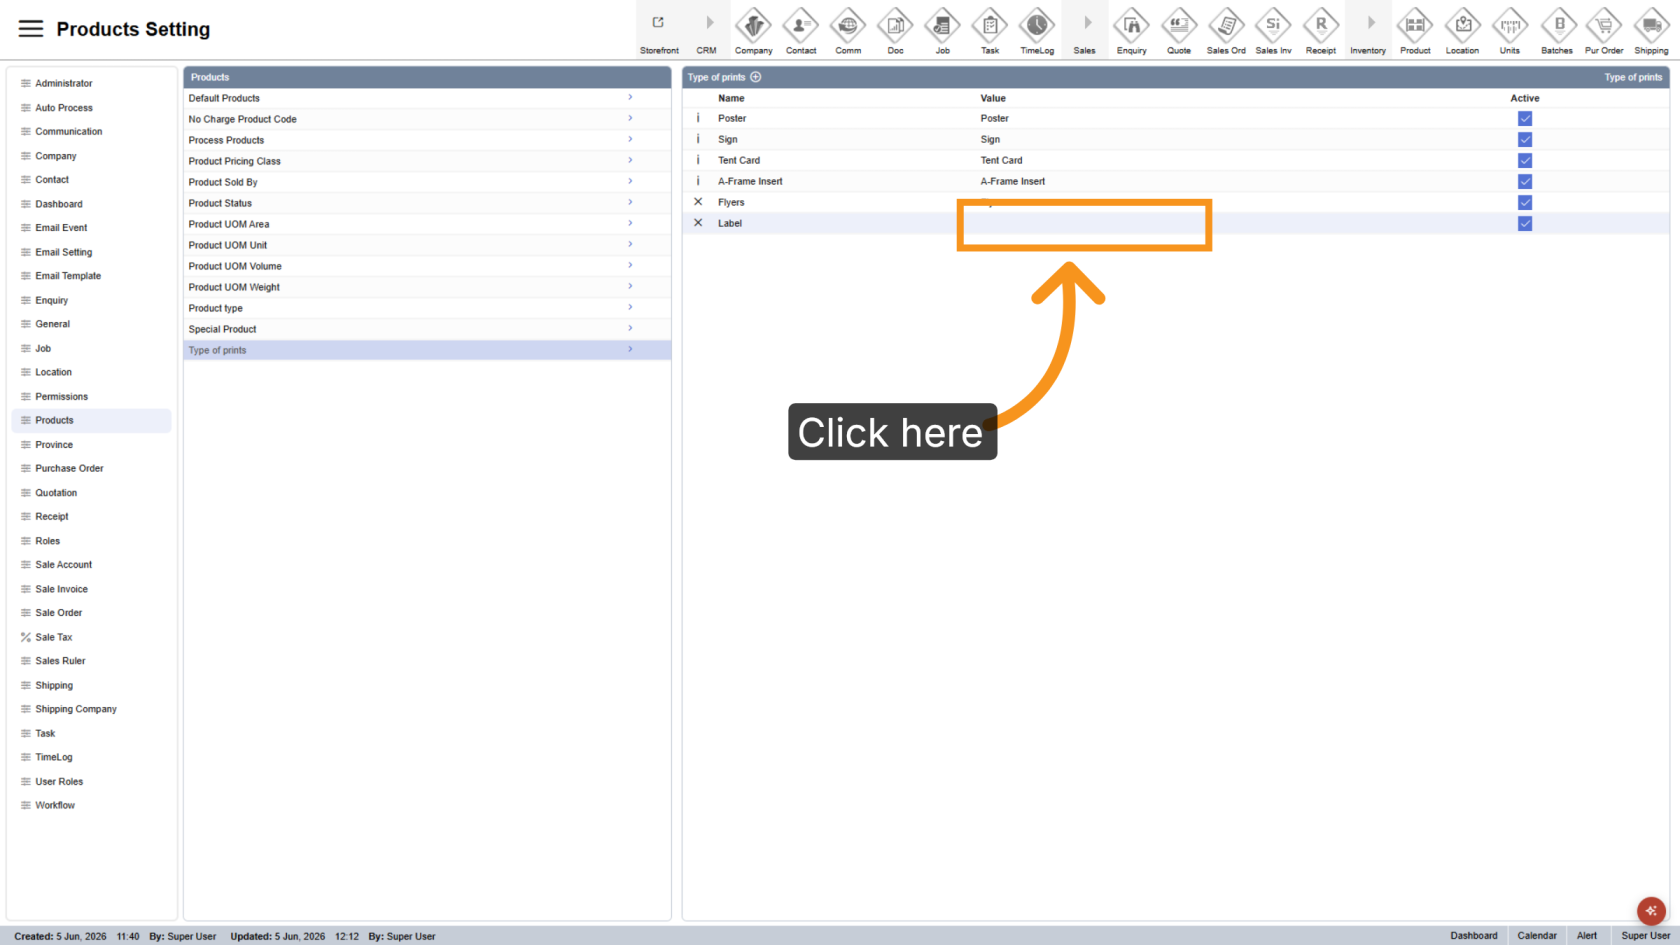
7. Enter the Value
Enter the value for the print type. In most cases, the value should match the name.
You have successfully added a new print type. Review the name and value to ensure they are configured correctly.