Configure Department Codes
This tutorial guides you through configuring locations and department codes. Department codes help organize locations for accurate billing
Video Tutorial
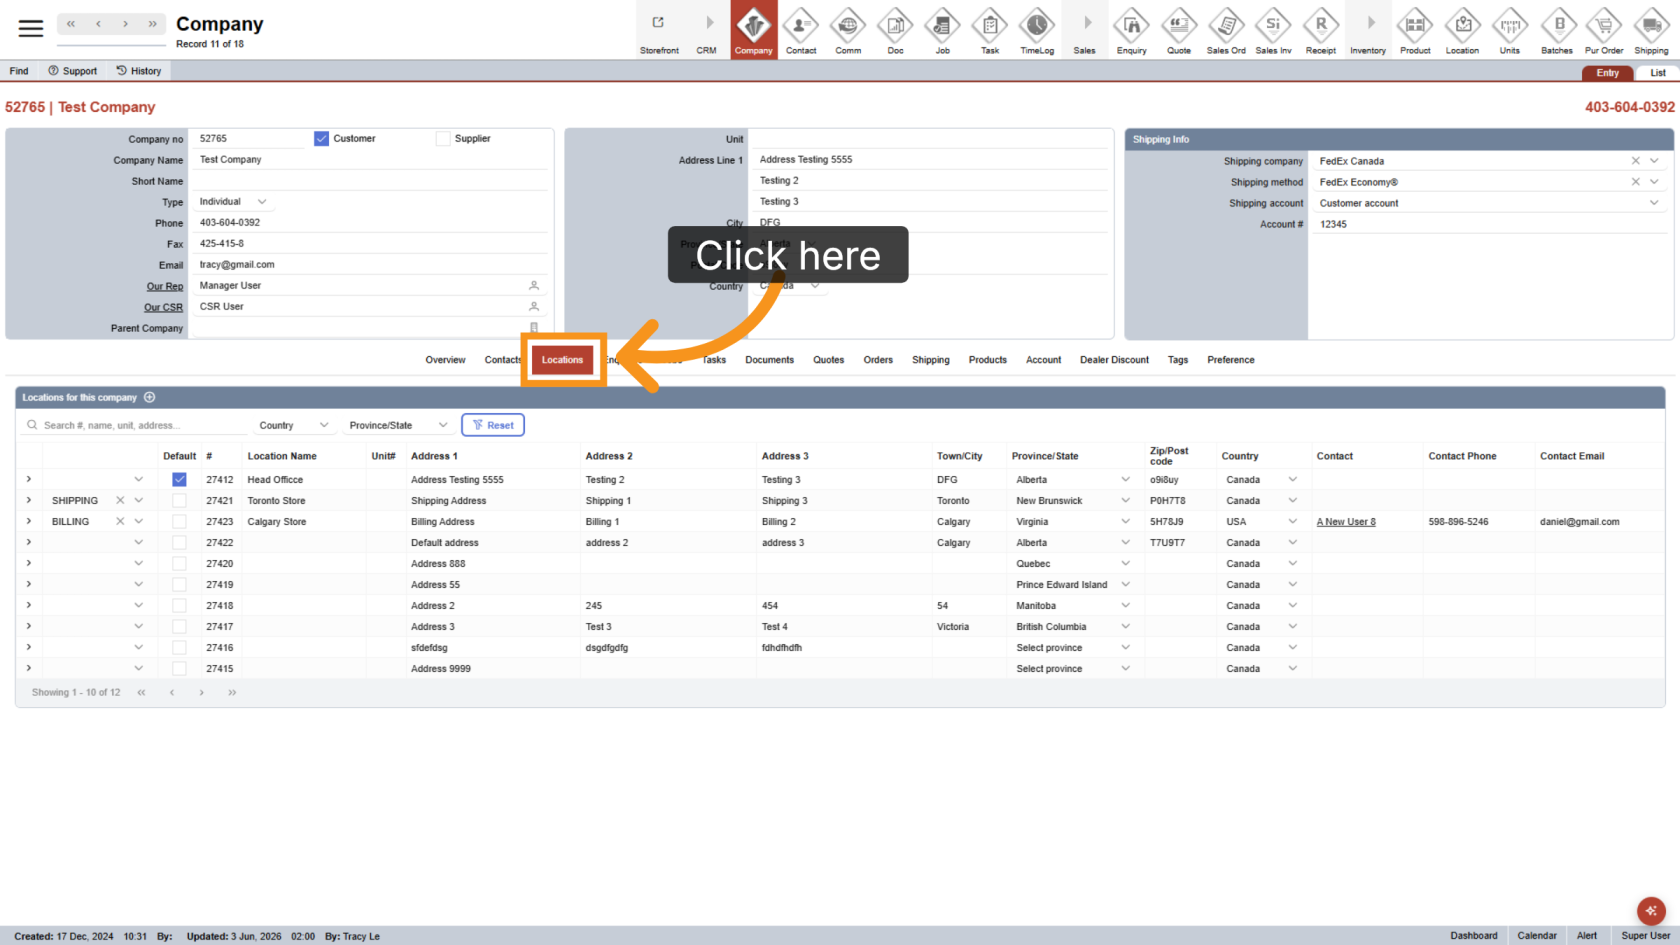
1. Select Locations
In the company, click Location to view the list of available locations.
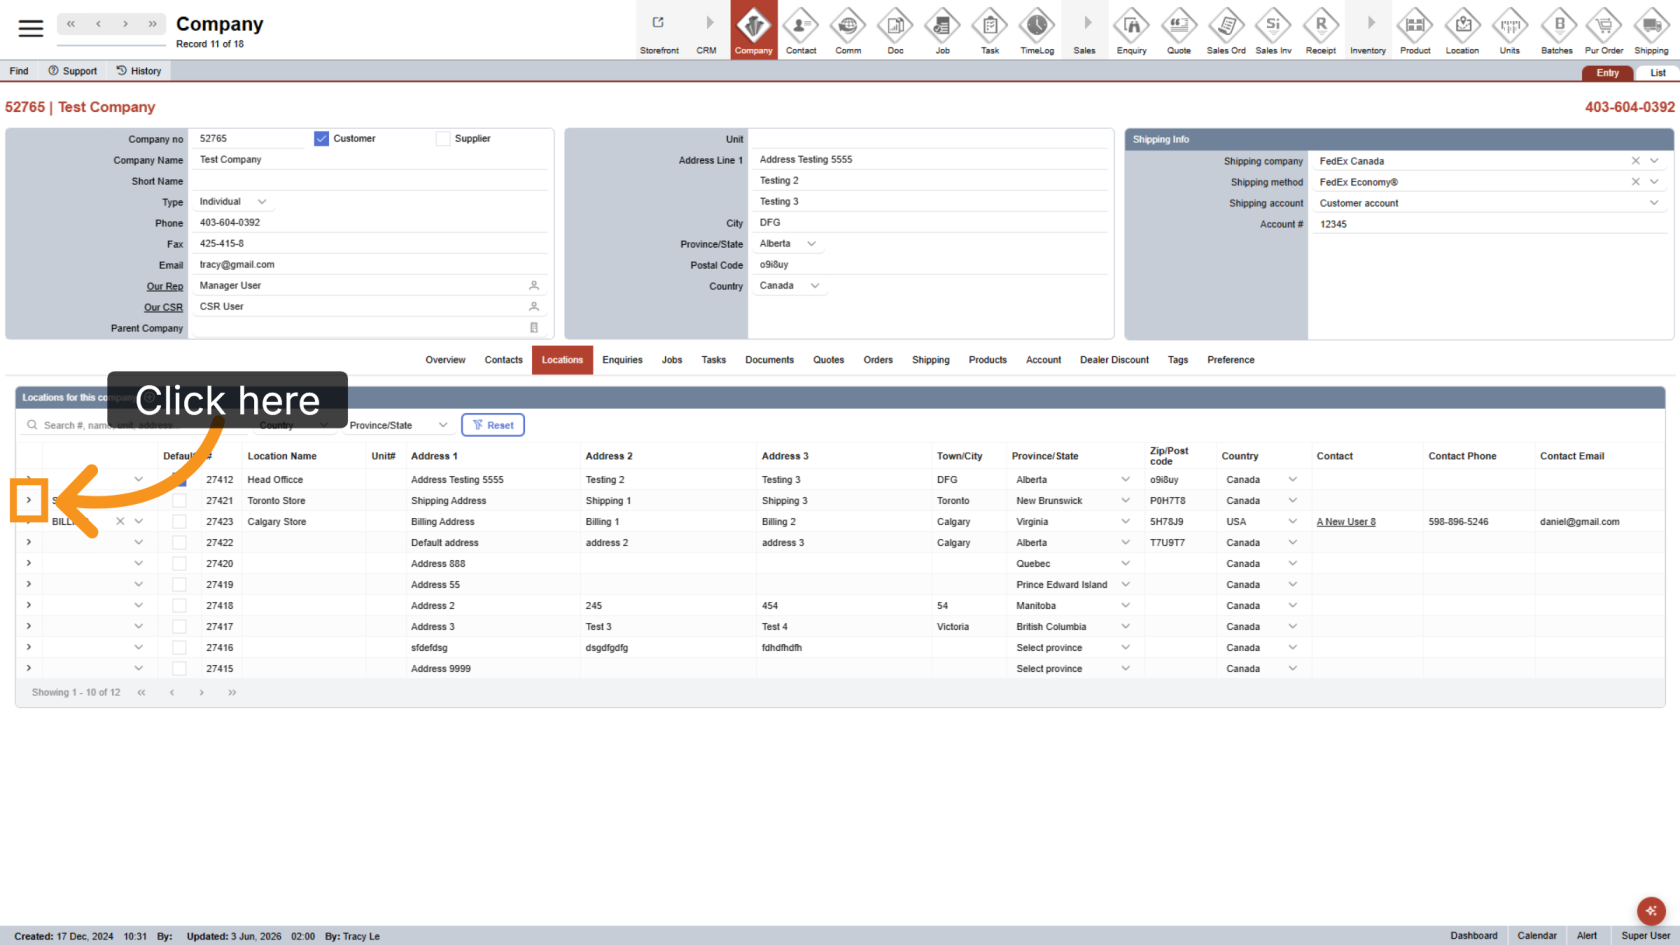
2. Open Location Details
Click the arrow icon next to the location you want to configure.
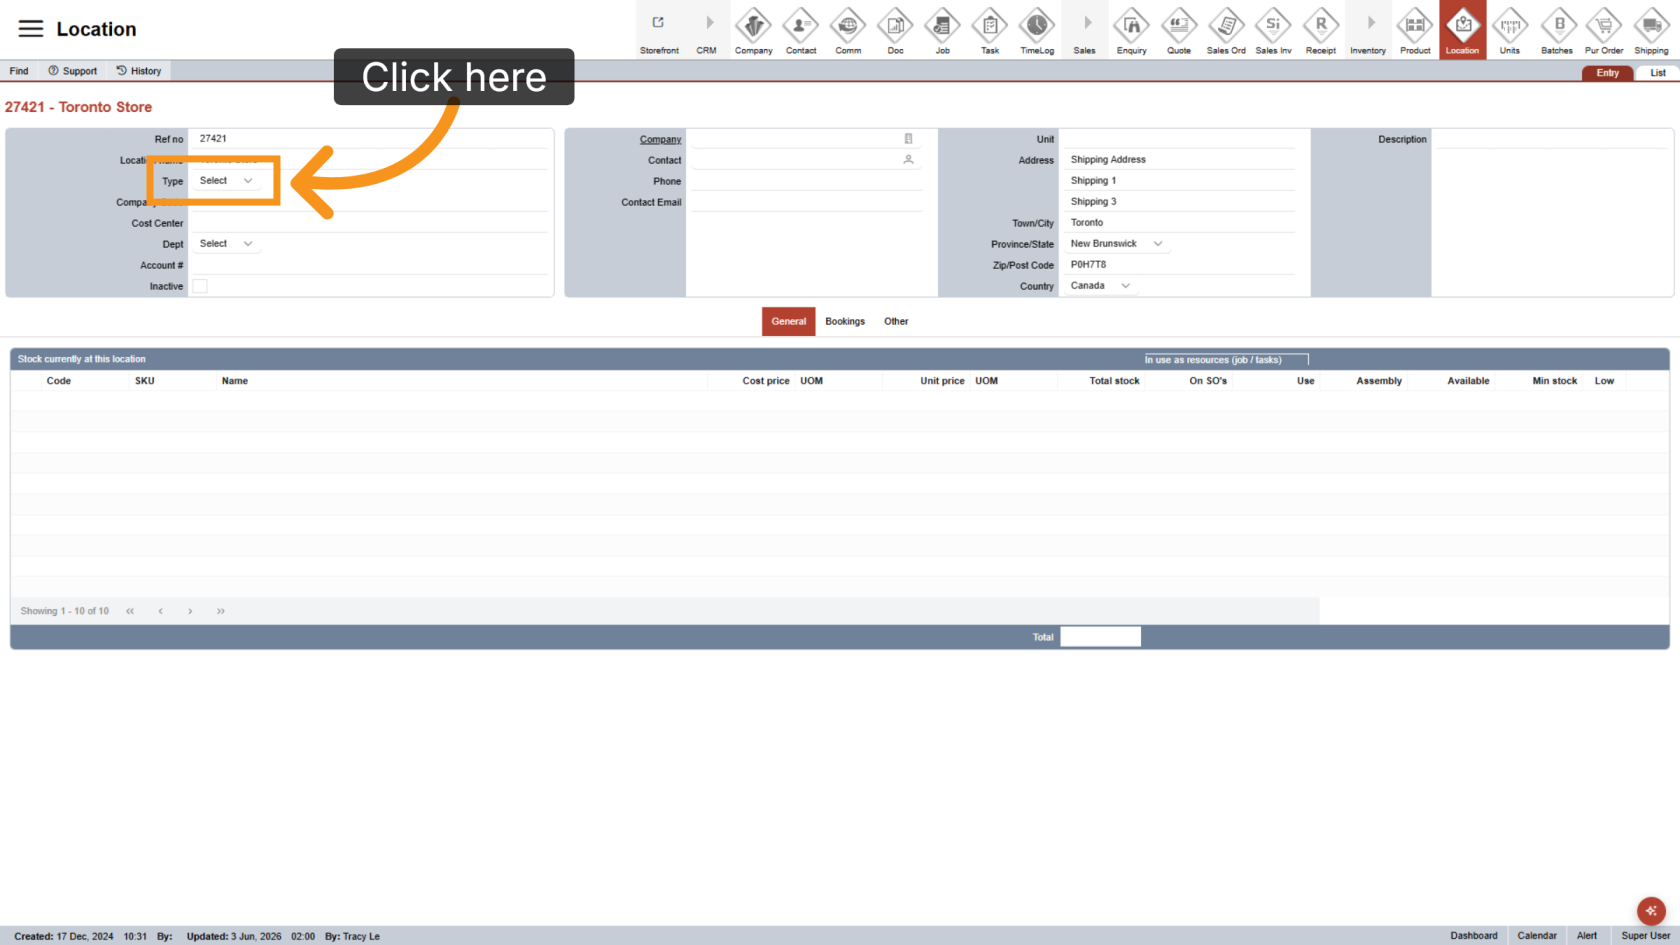
3. Select a Location Type
Choose the appropriate Location Type, such as Head Office or Store, to ensure accurate billing reports.
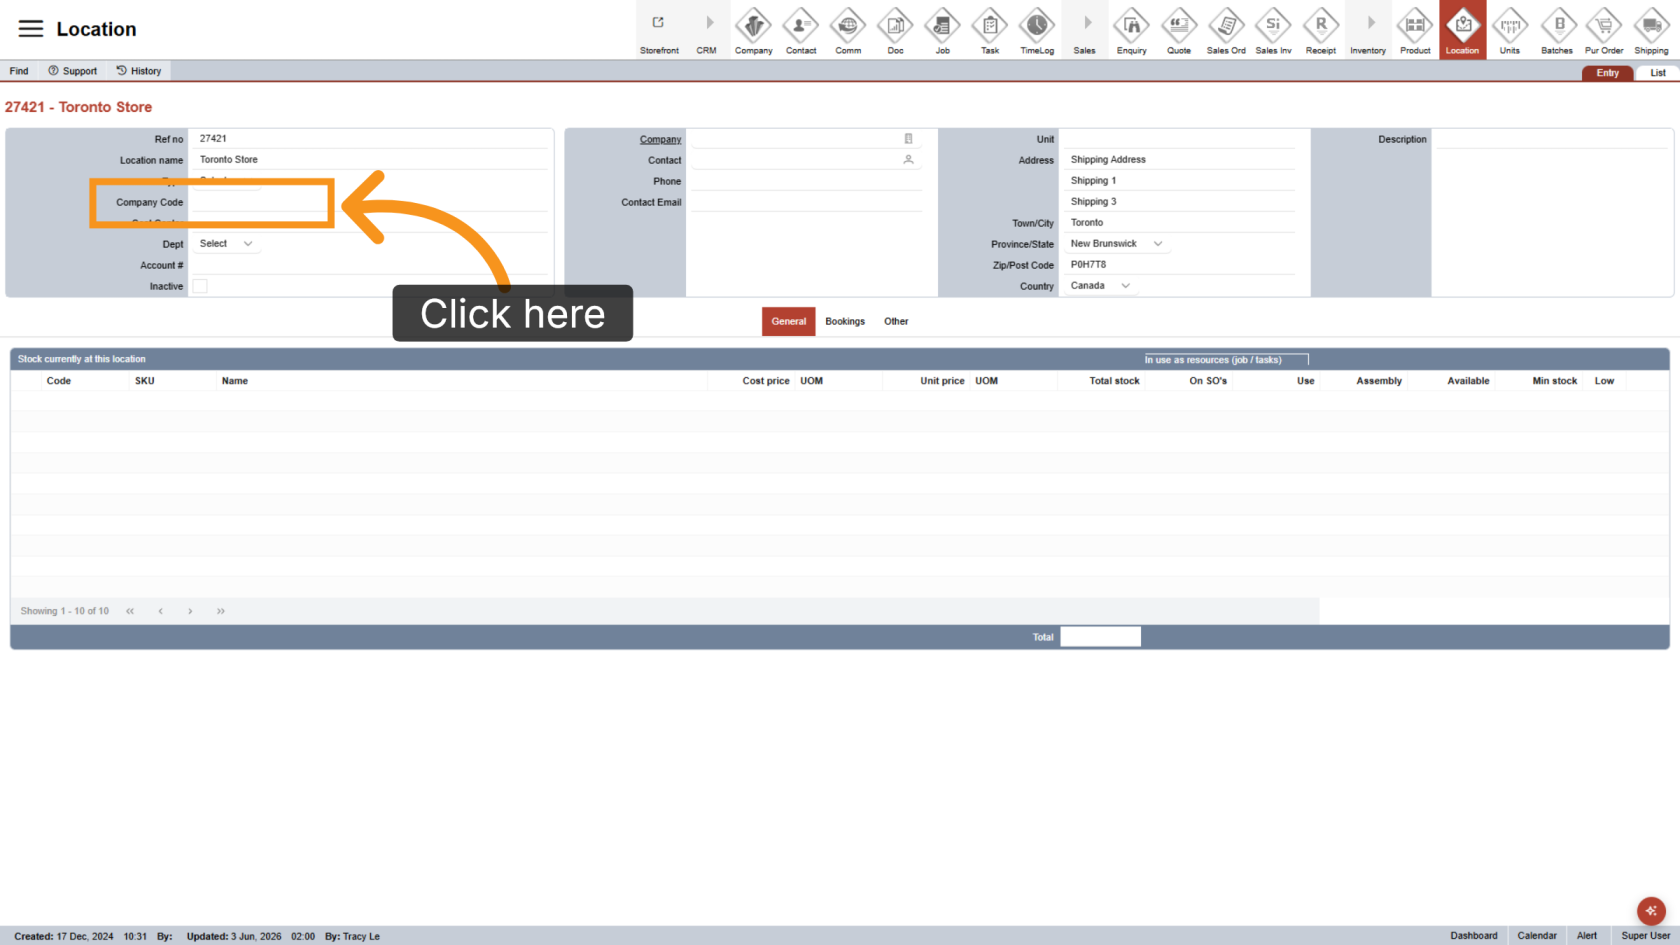
4. Enter the Company Code
Enter the company code. This is typically the first segment of the full GL code.
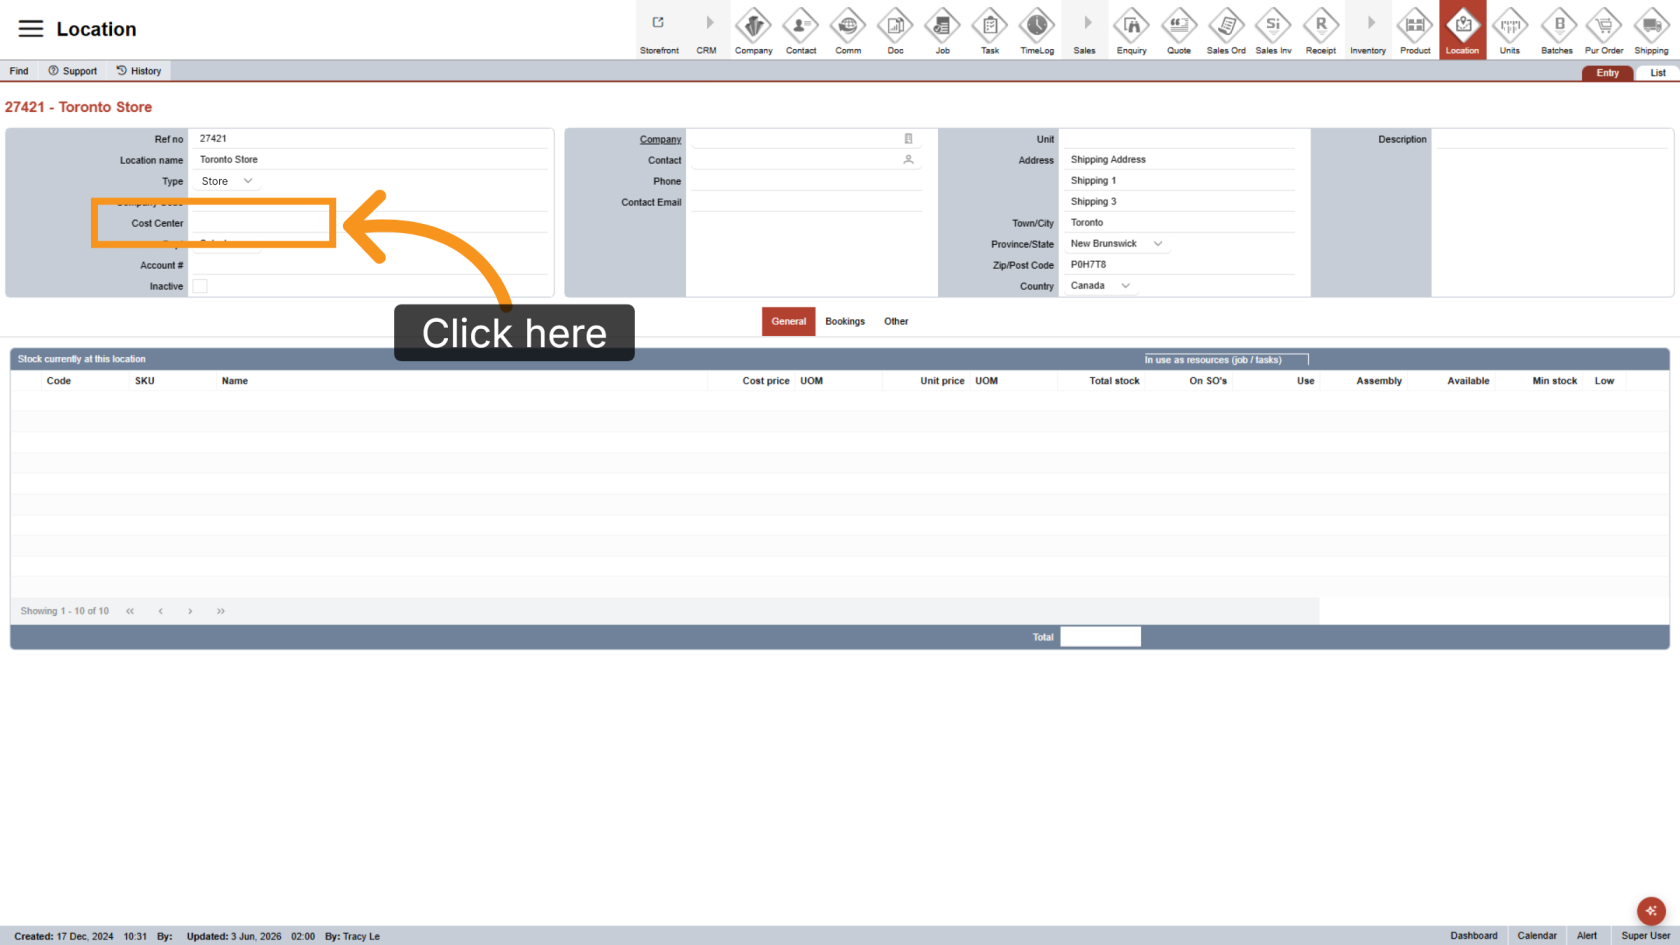
5. Enter the Cost Center Code
Enter the cost center code. This is typically the second segment of the full GL code.
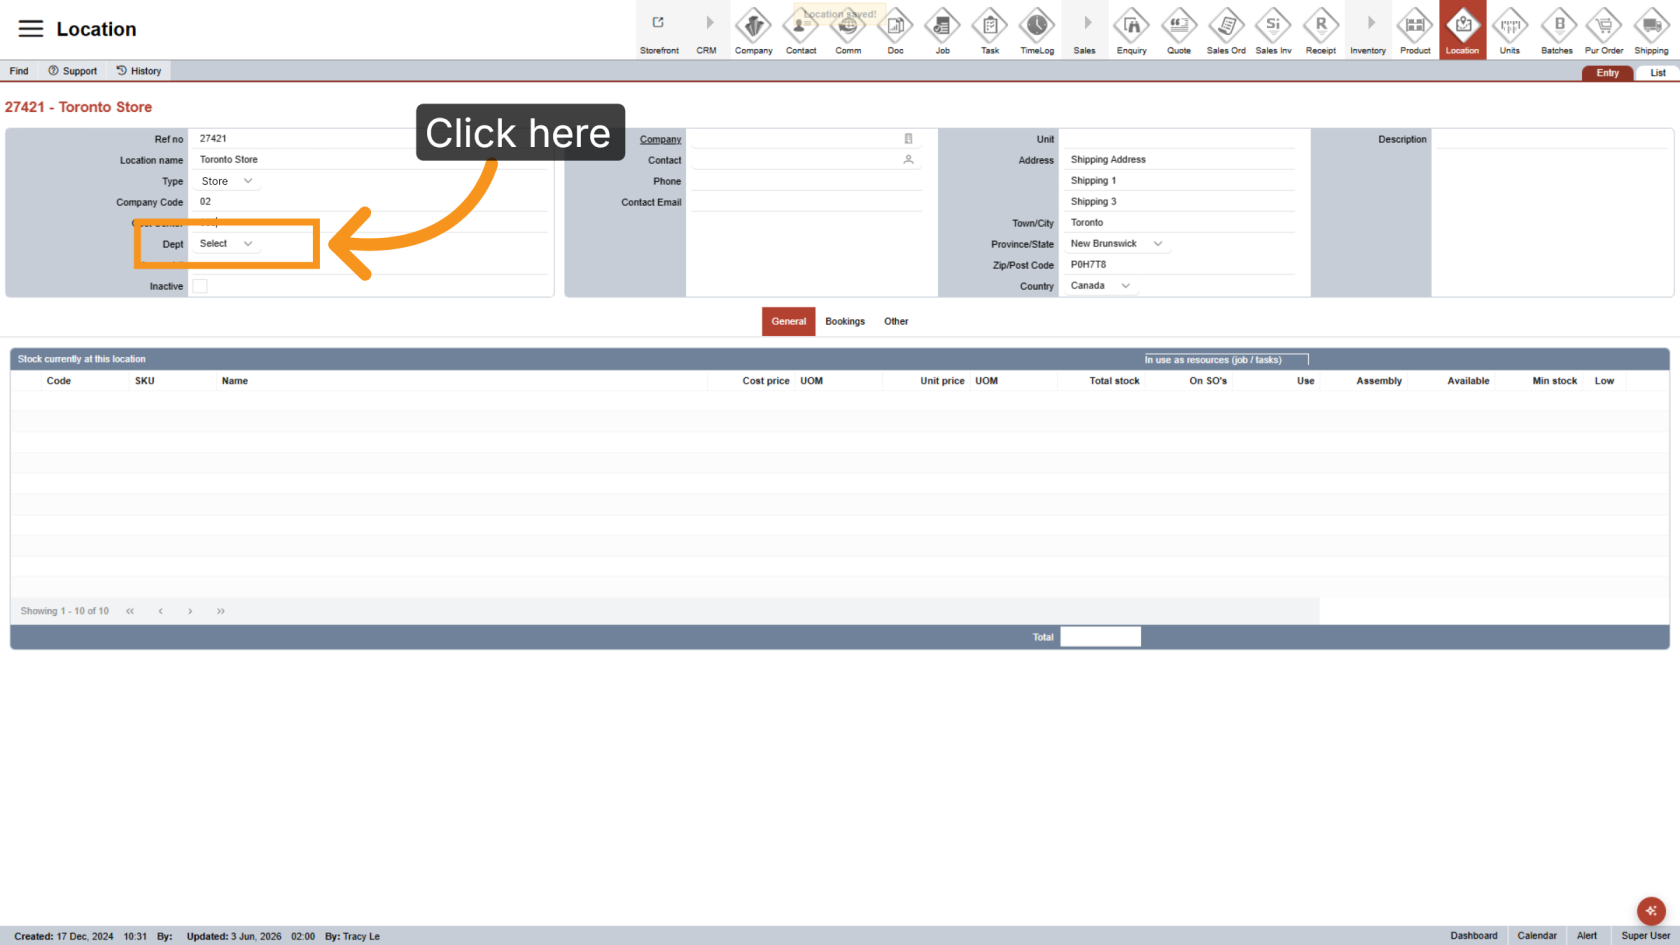
6. Select a Department
Choose the Department assigned to the location.
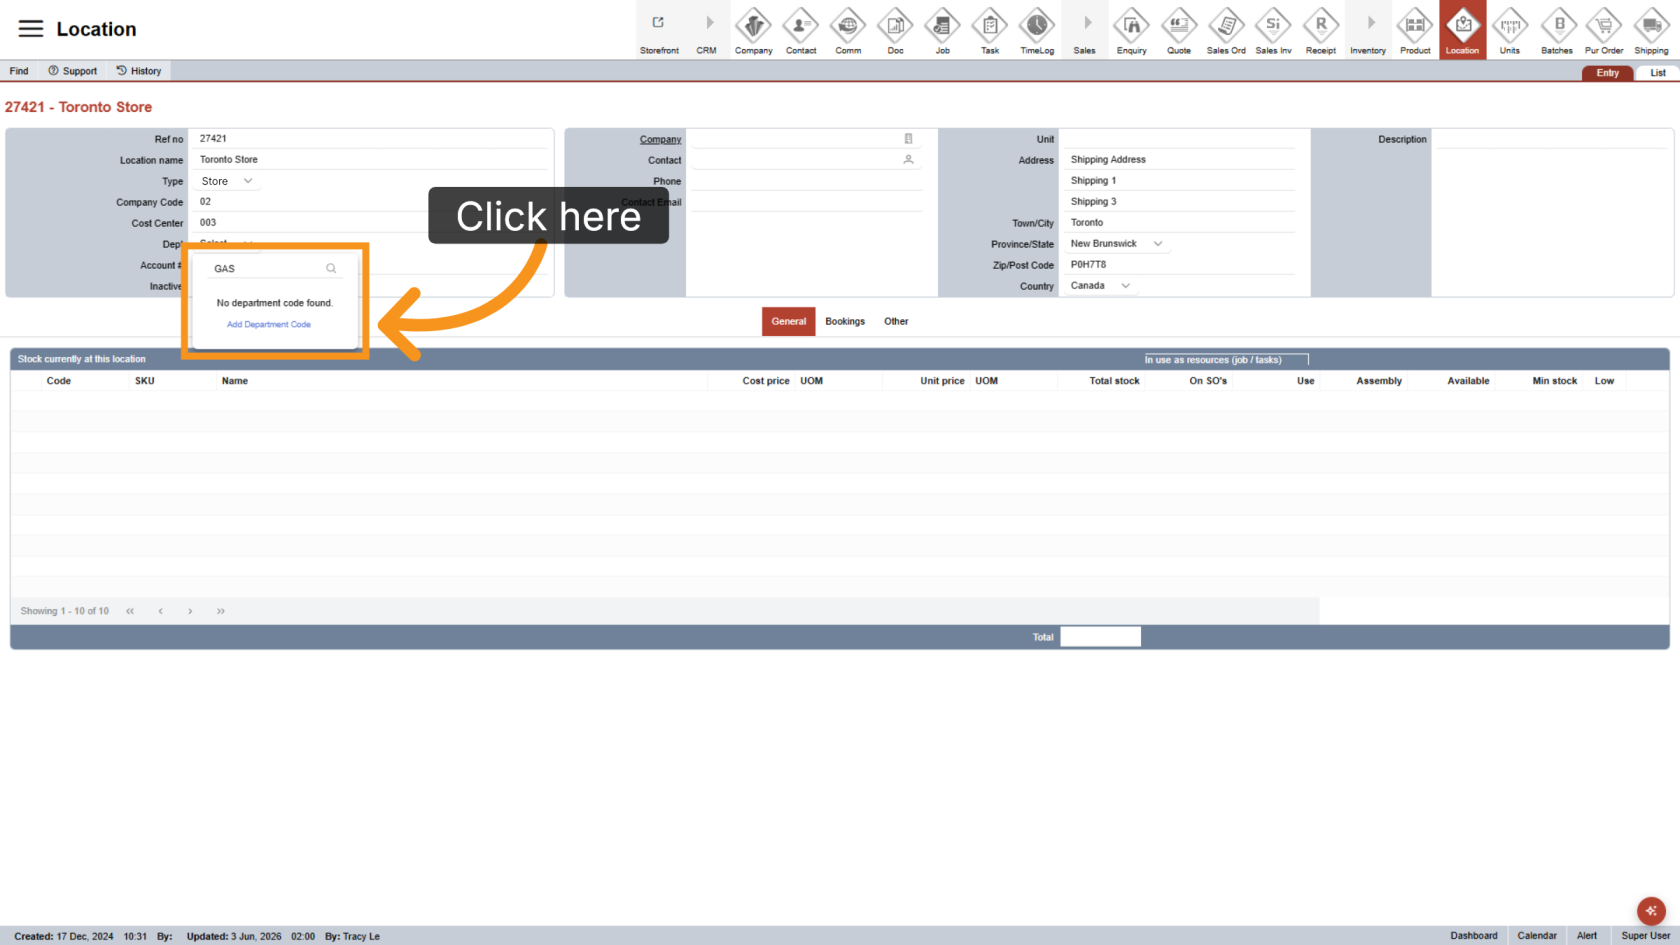
7. Add a New Department Code
If the department is not available in the list, enter the department name and select Add Department Code to create a new department.
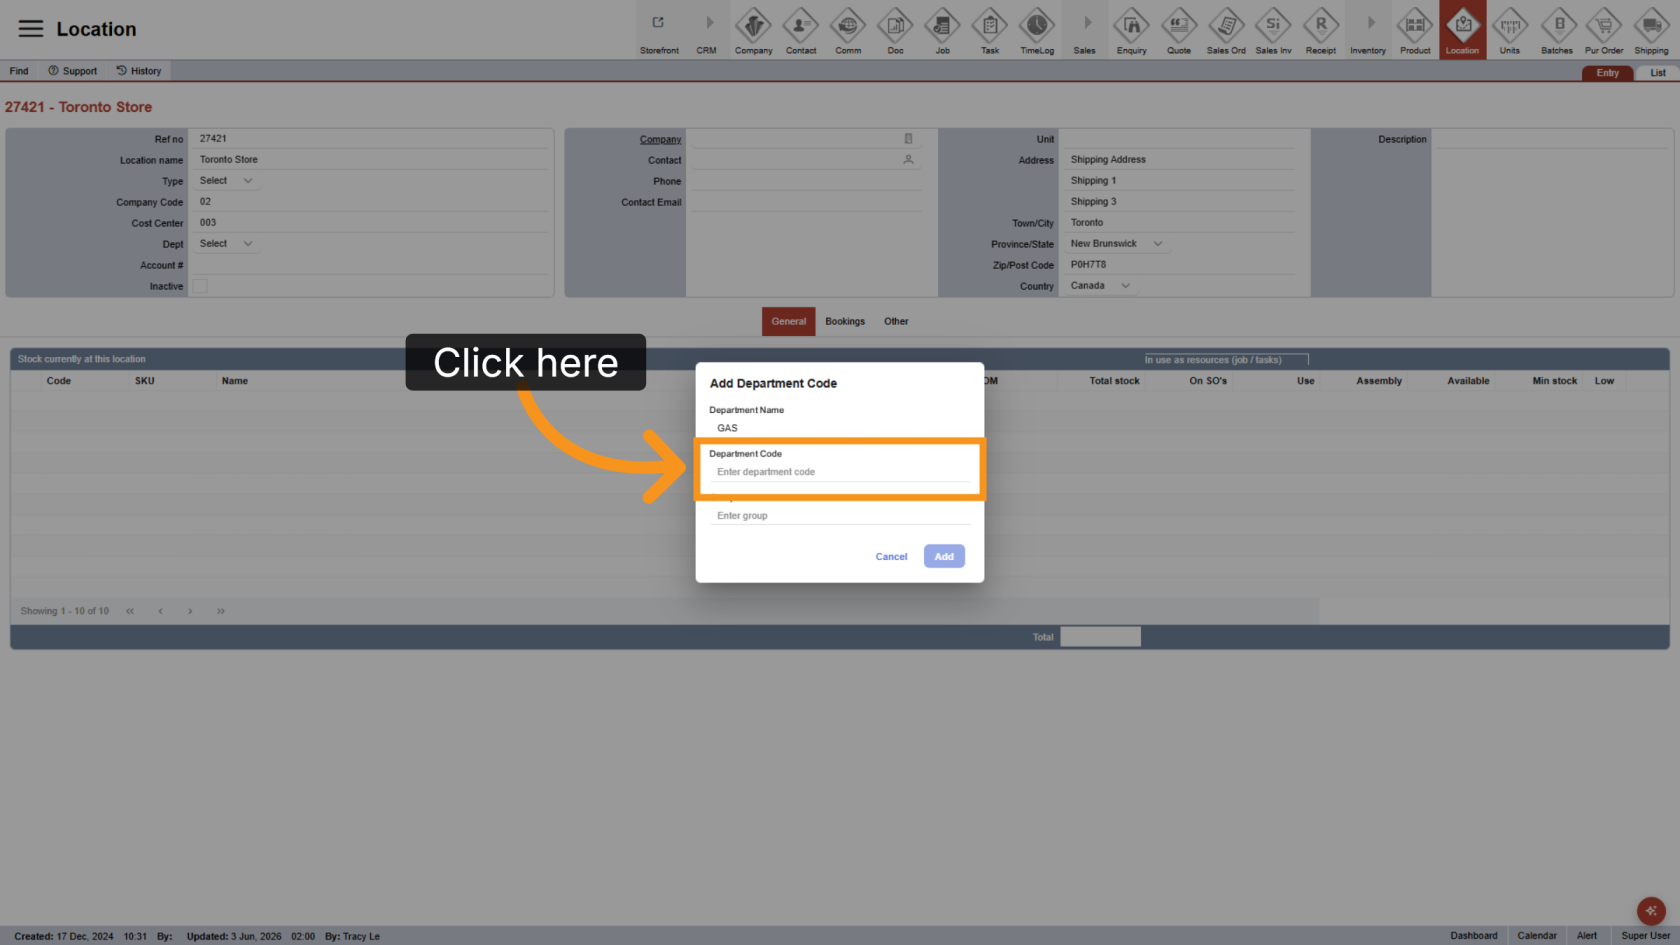
8. Enter the Department Code
Enter the Department Code for the new department. This is typically the third segment of the full GL code.
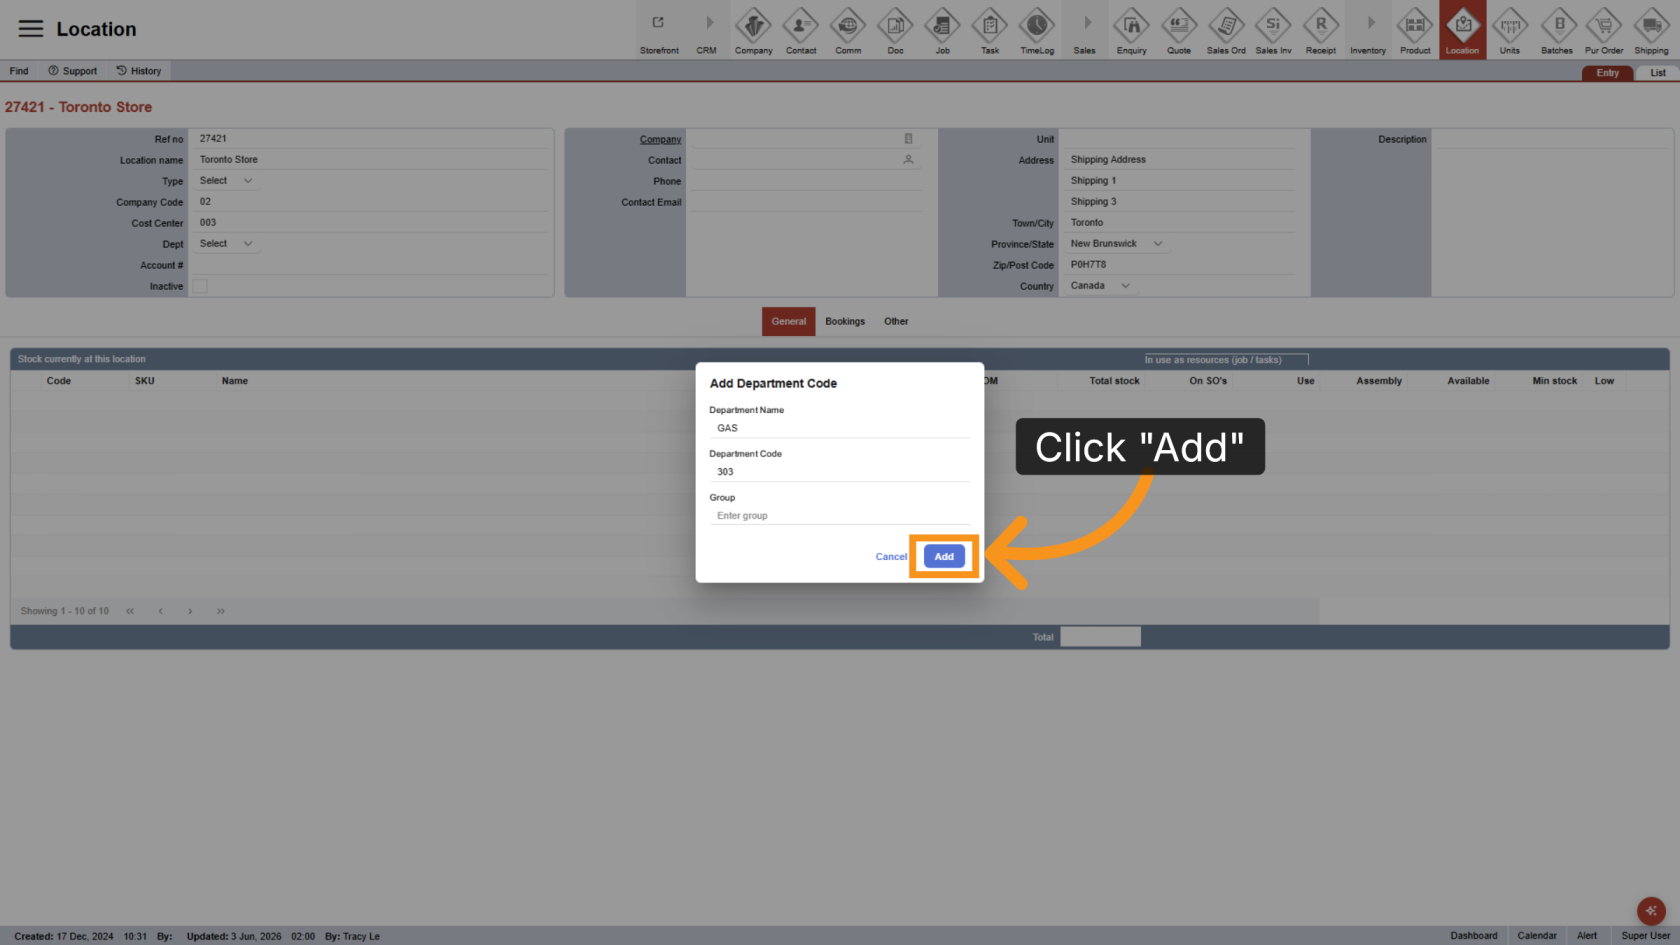
9. Save the Department Code
Click Add to create and save the new department code.
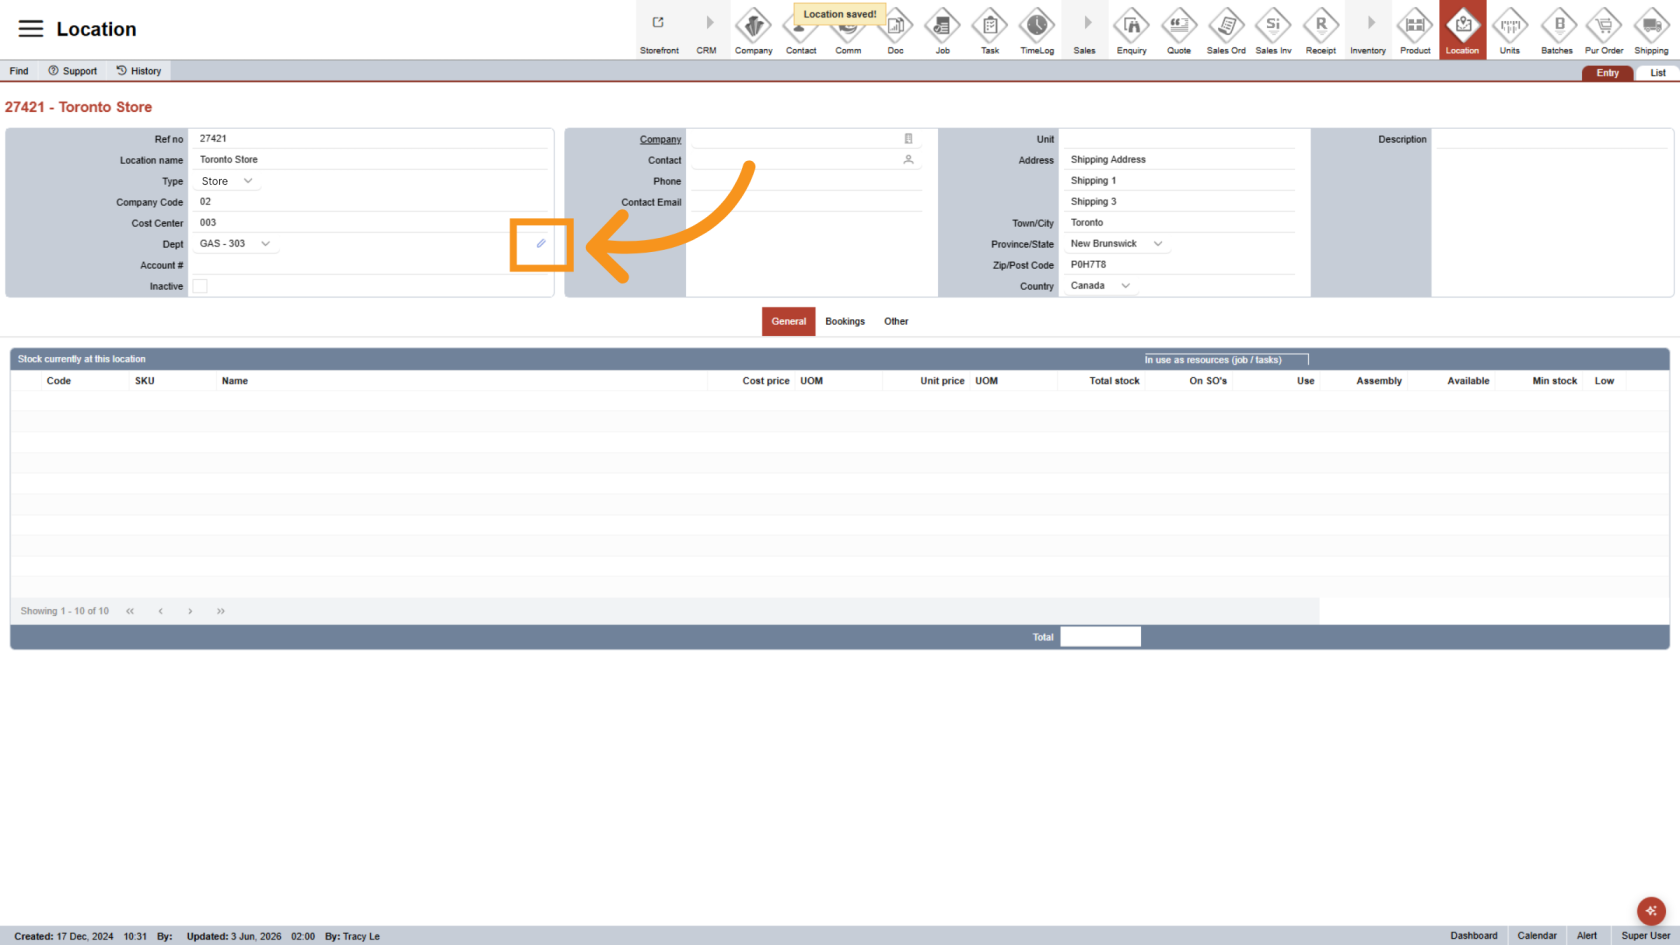
10. Edit a Department Code
Click the Edit icon to update an existing department code.
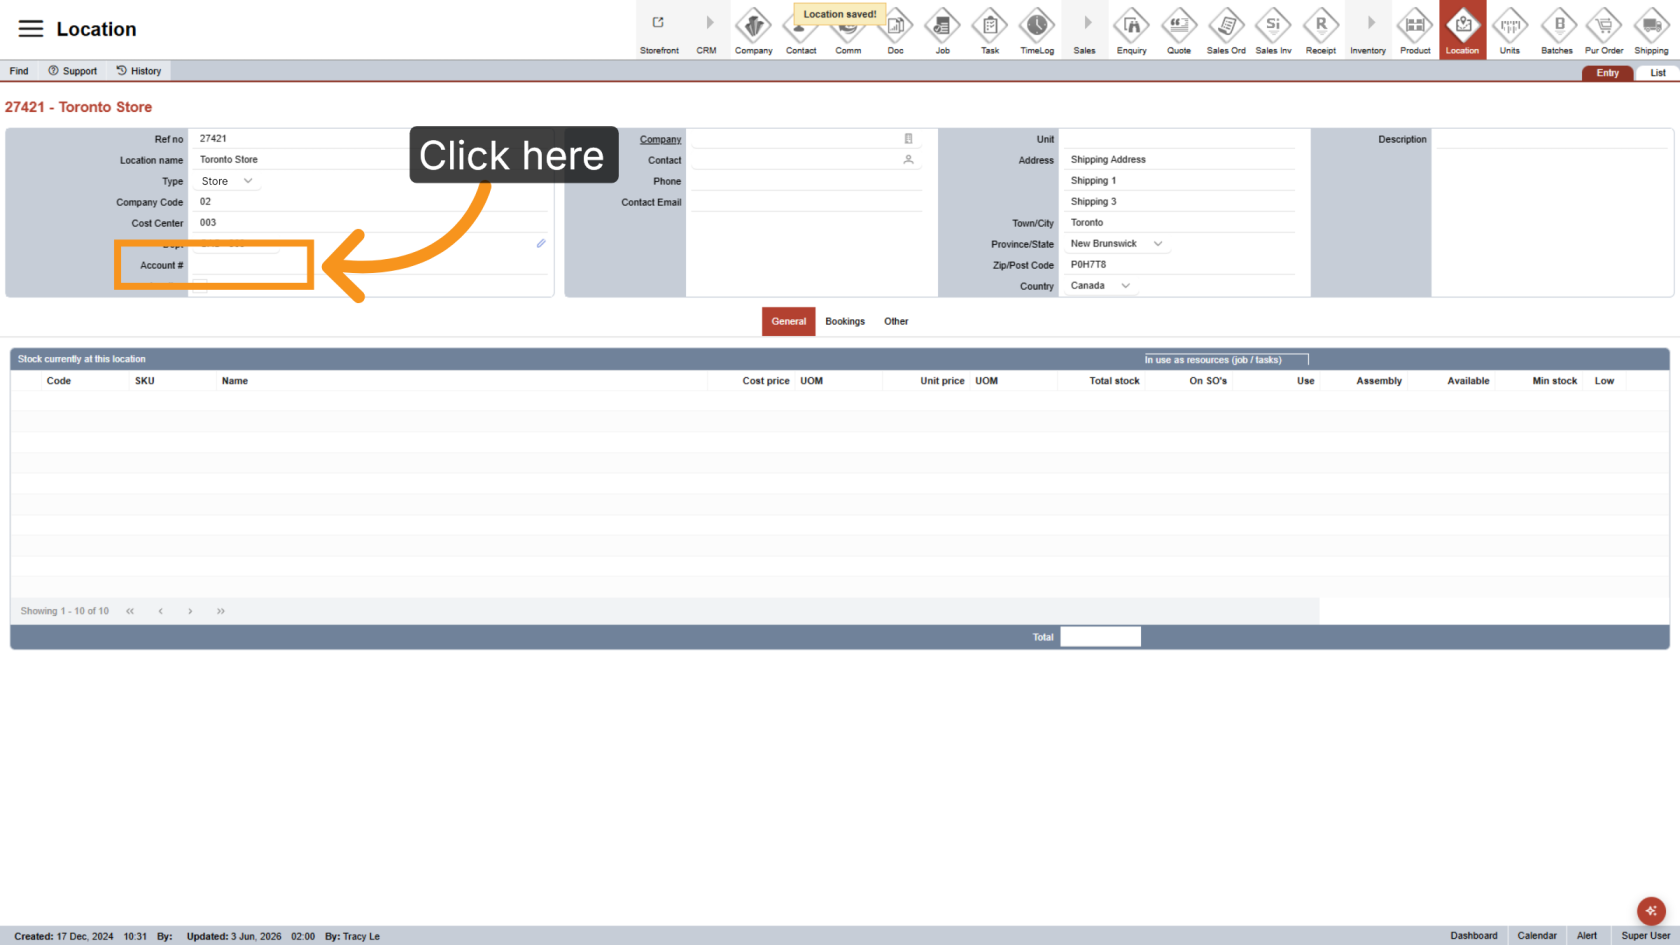
11. Enter the Account Number
Enter the Account Number assigned to the location. This is typically the final segment of the full GL code.
You have successfully configured locations and department codes. Review all codes and account details to ensure accurate billing reports.