
Company Features
This tutorial explains how to configure company features and storefront options in the WorkTraq App.
Video Tutorial
1. Access Company Features
Open the selected company, then click Features.
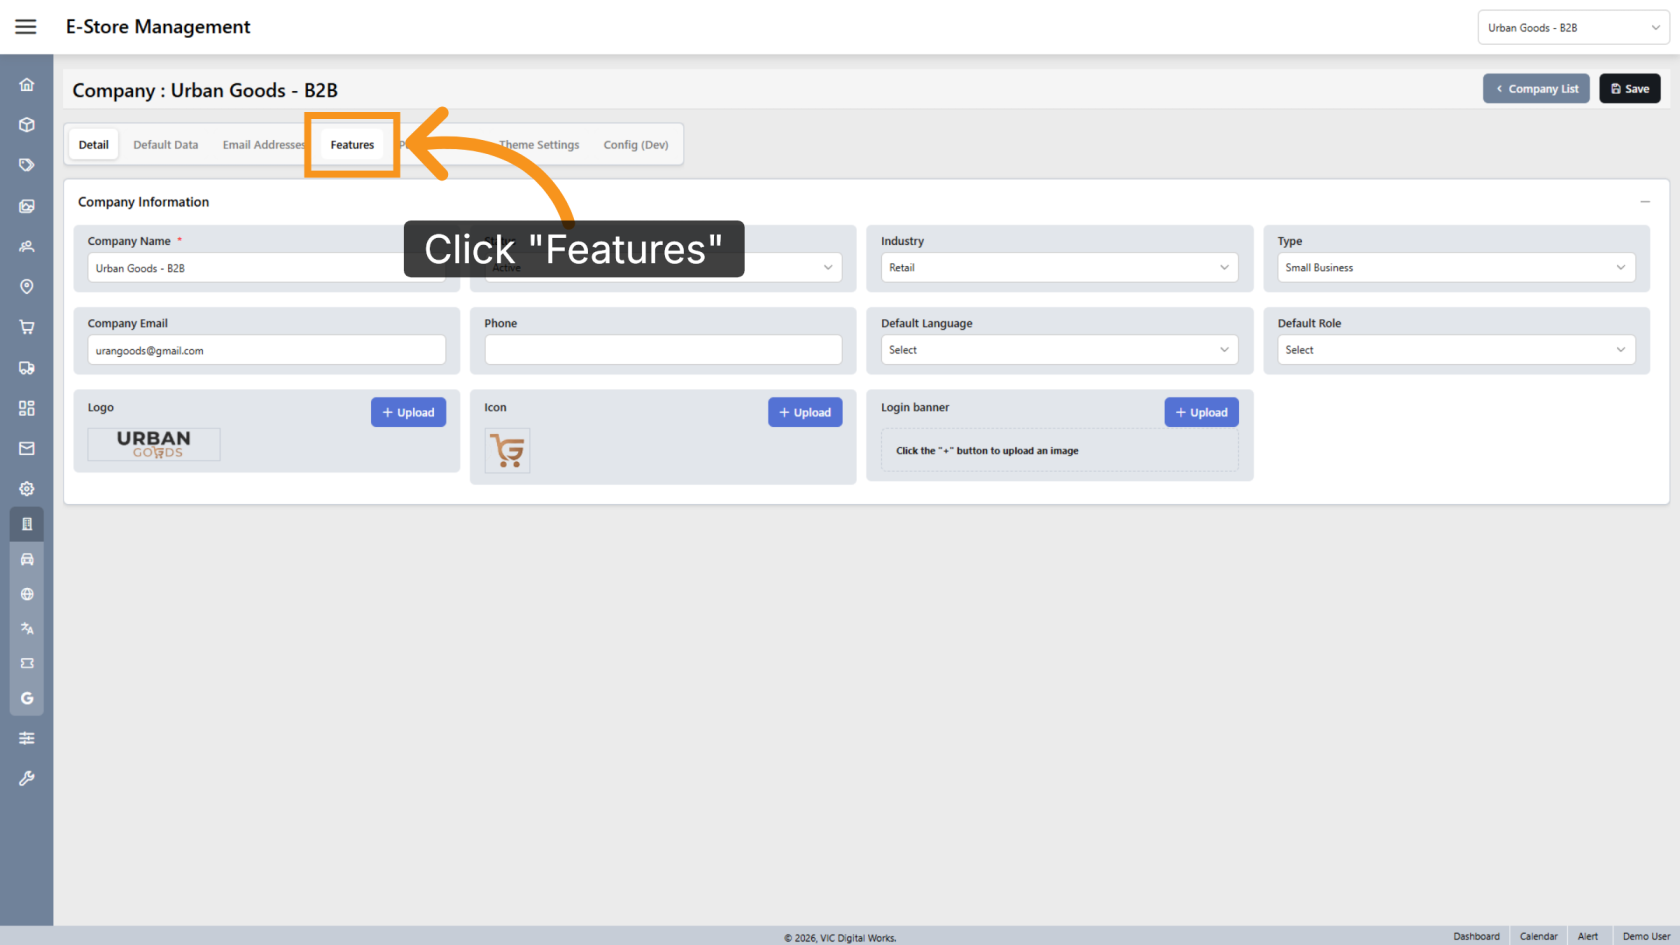
2. Require Purchase Order
Enable Require PO if your B2B storefront requires customers to enter a purchase order number before submitting an order.
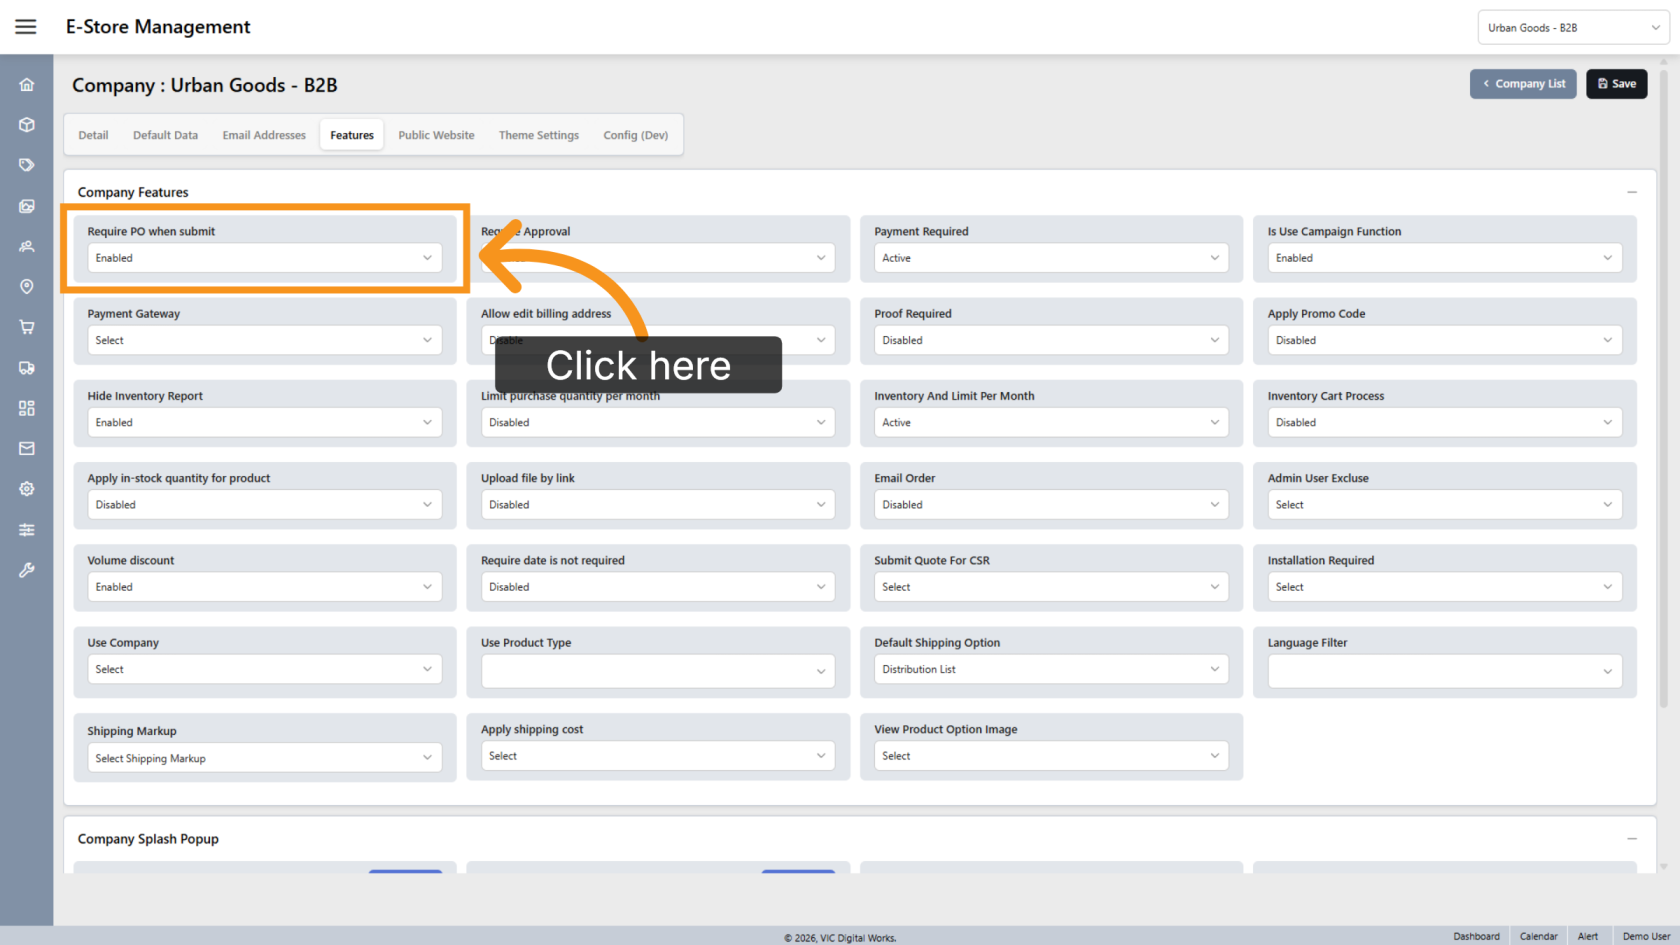
3. Approval Requirement
For B2B storefronts, enable this option to require approval before users without permission can submit orders.
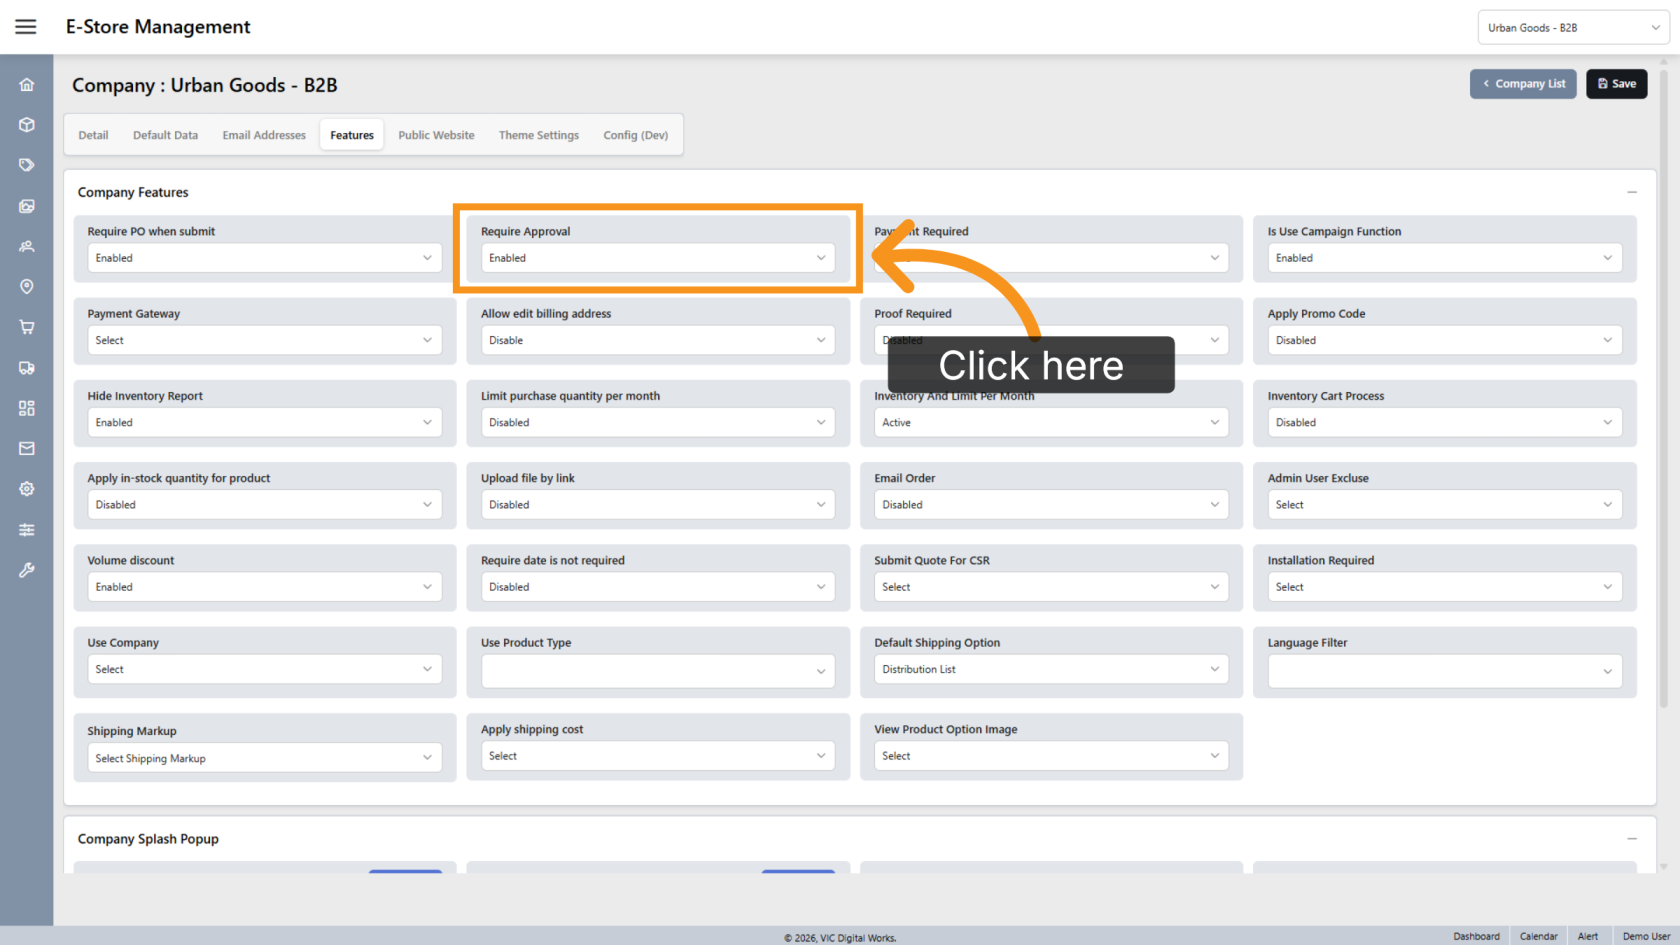
4. Payment Requirement
For B2B storefronts, enable Payment Required if customers must complete payment before an order can enter production.
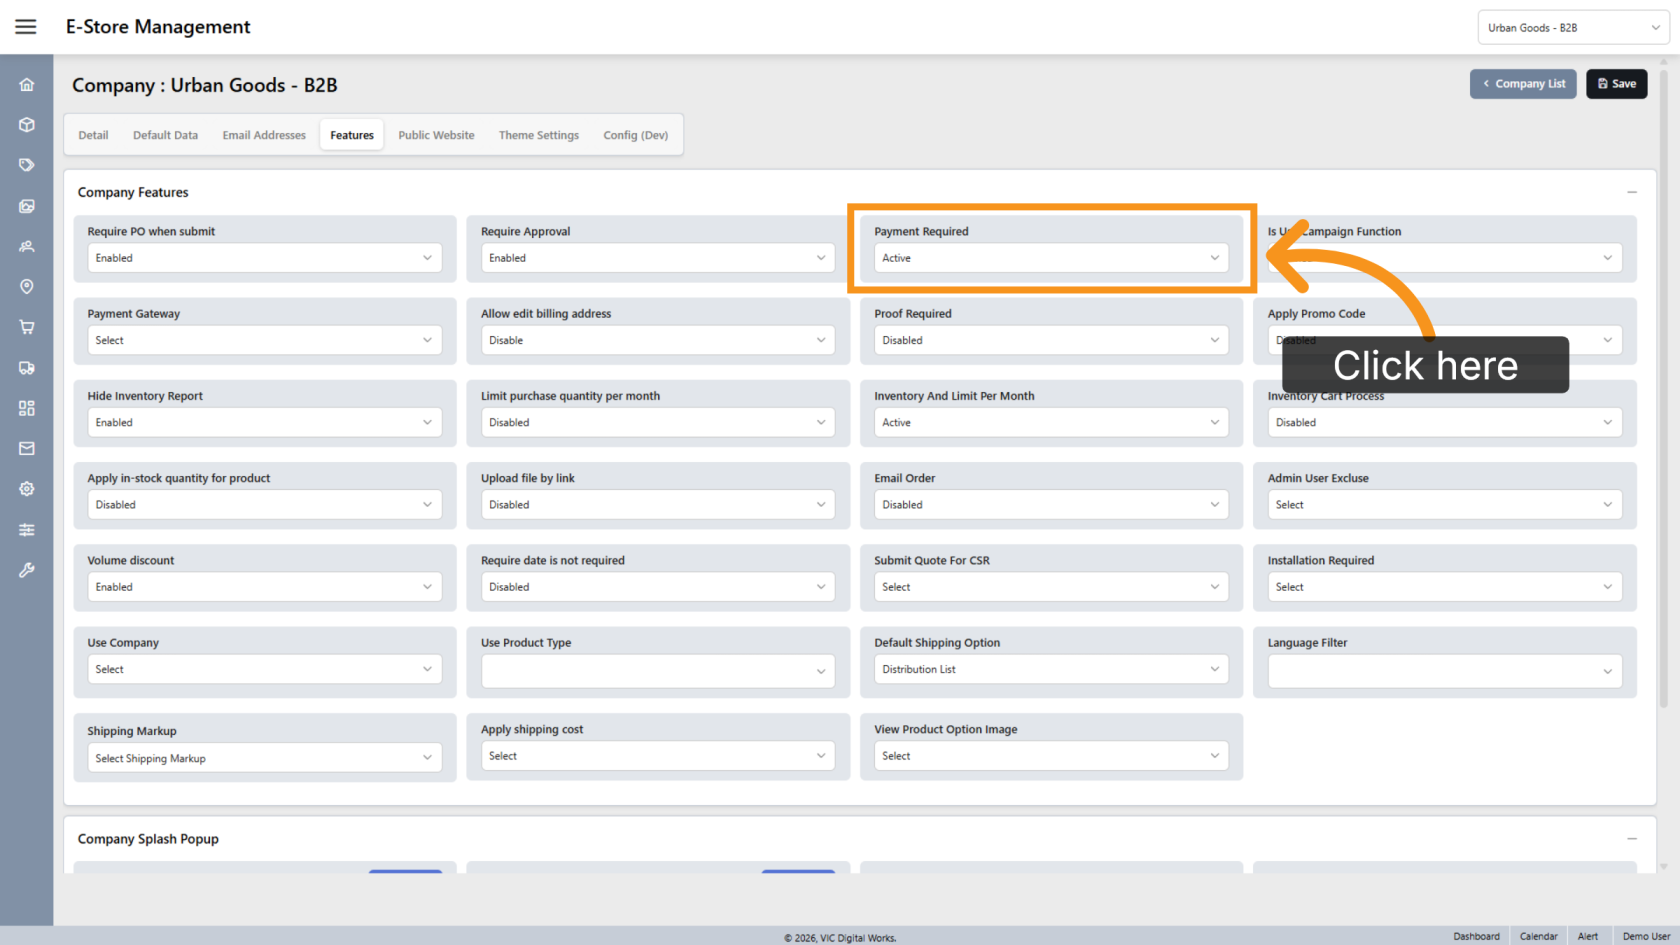
5. Campaign Function
For B2B storefronts, enable Campaign Function to allow users to create bulk campaign marketing orders.
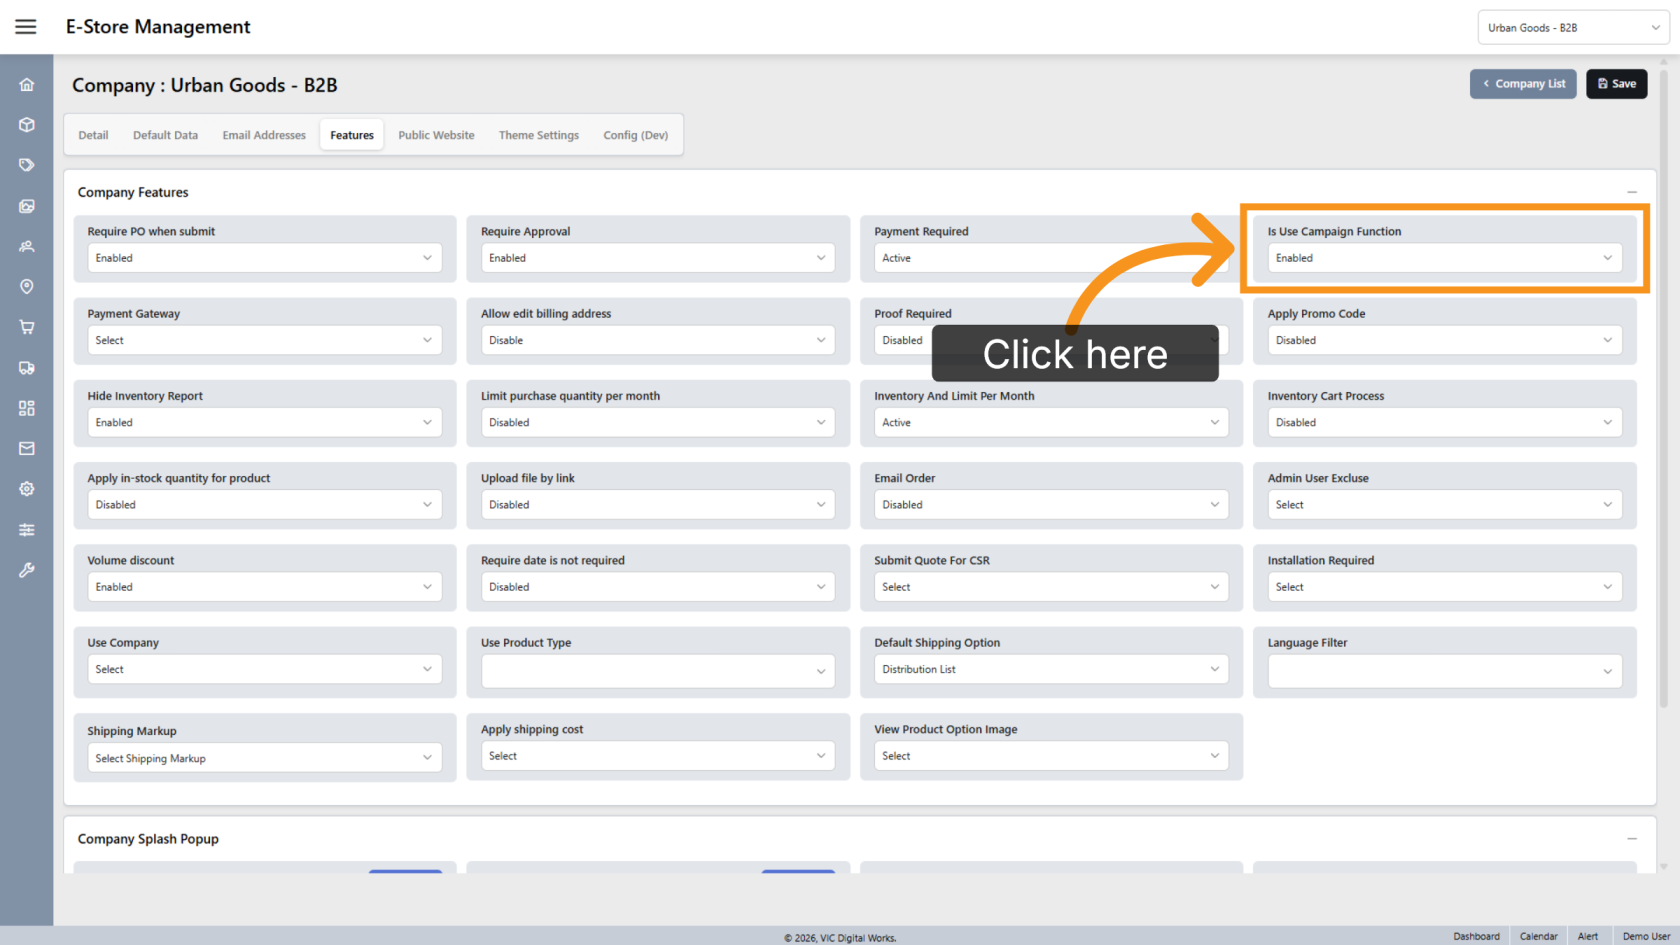
6. Payment Gateway
Select the payment gateway used by the storefront.
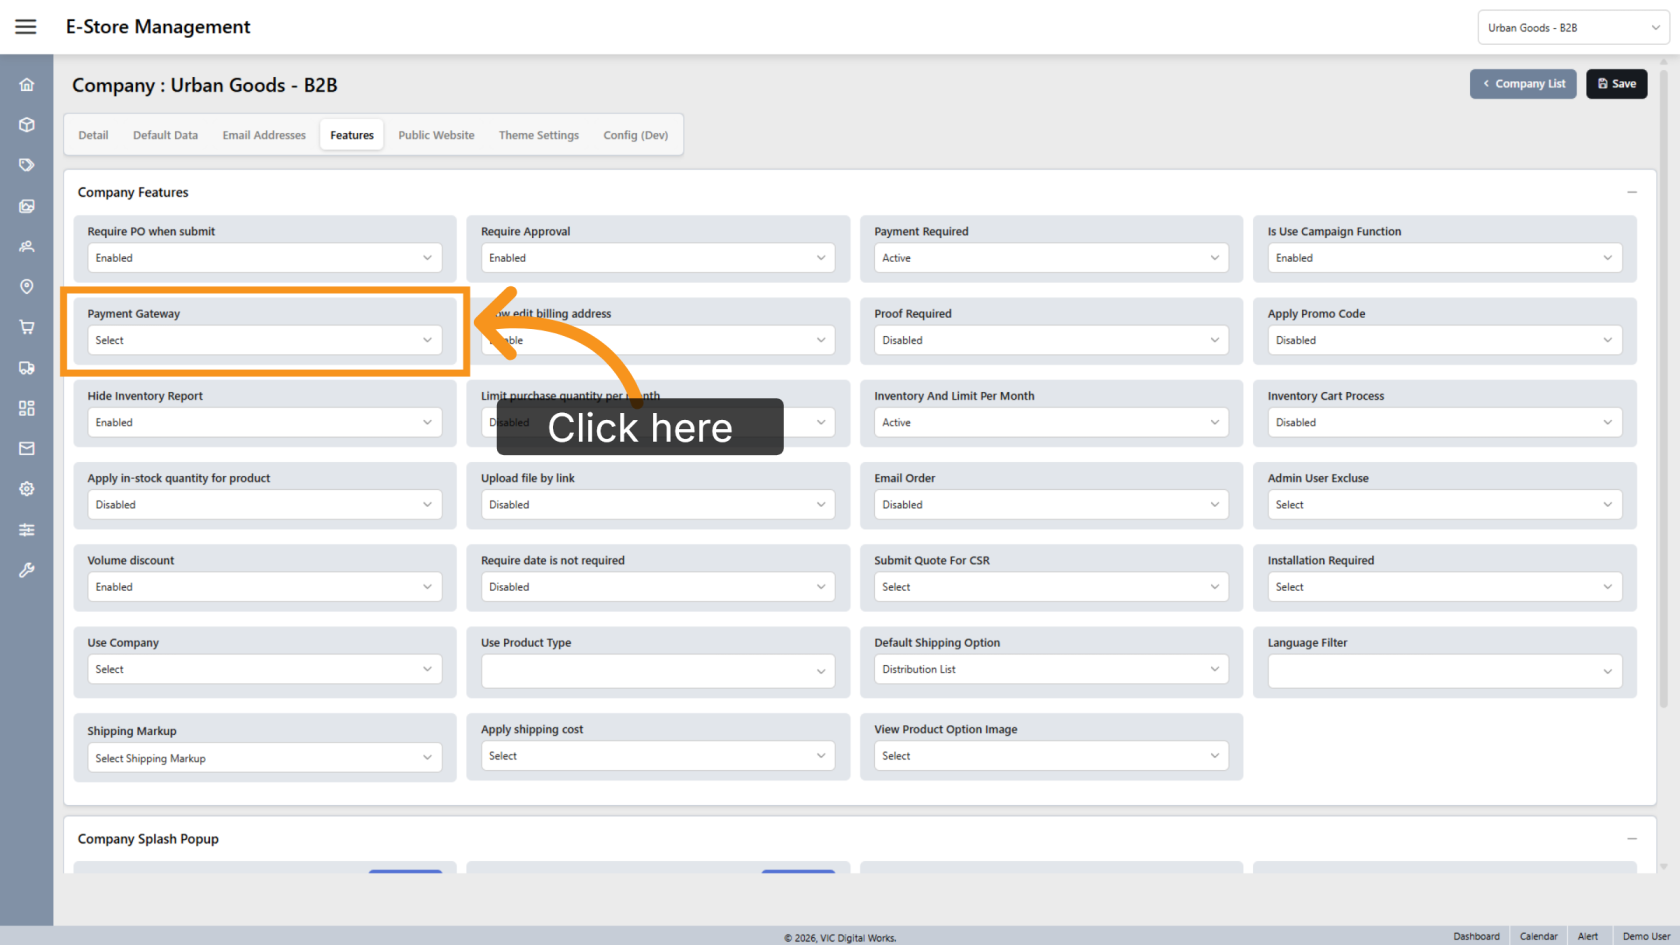
7. Edit Billing Address
For B2C storefronts, enable this option to allow customers to edit their billing address during checkout.
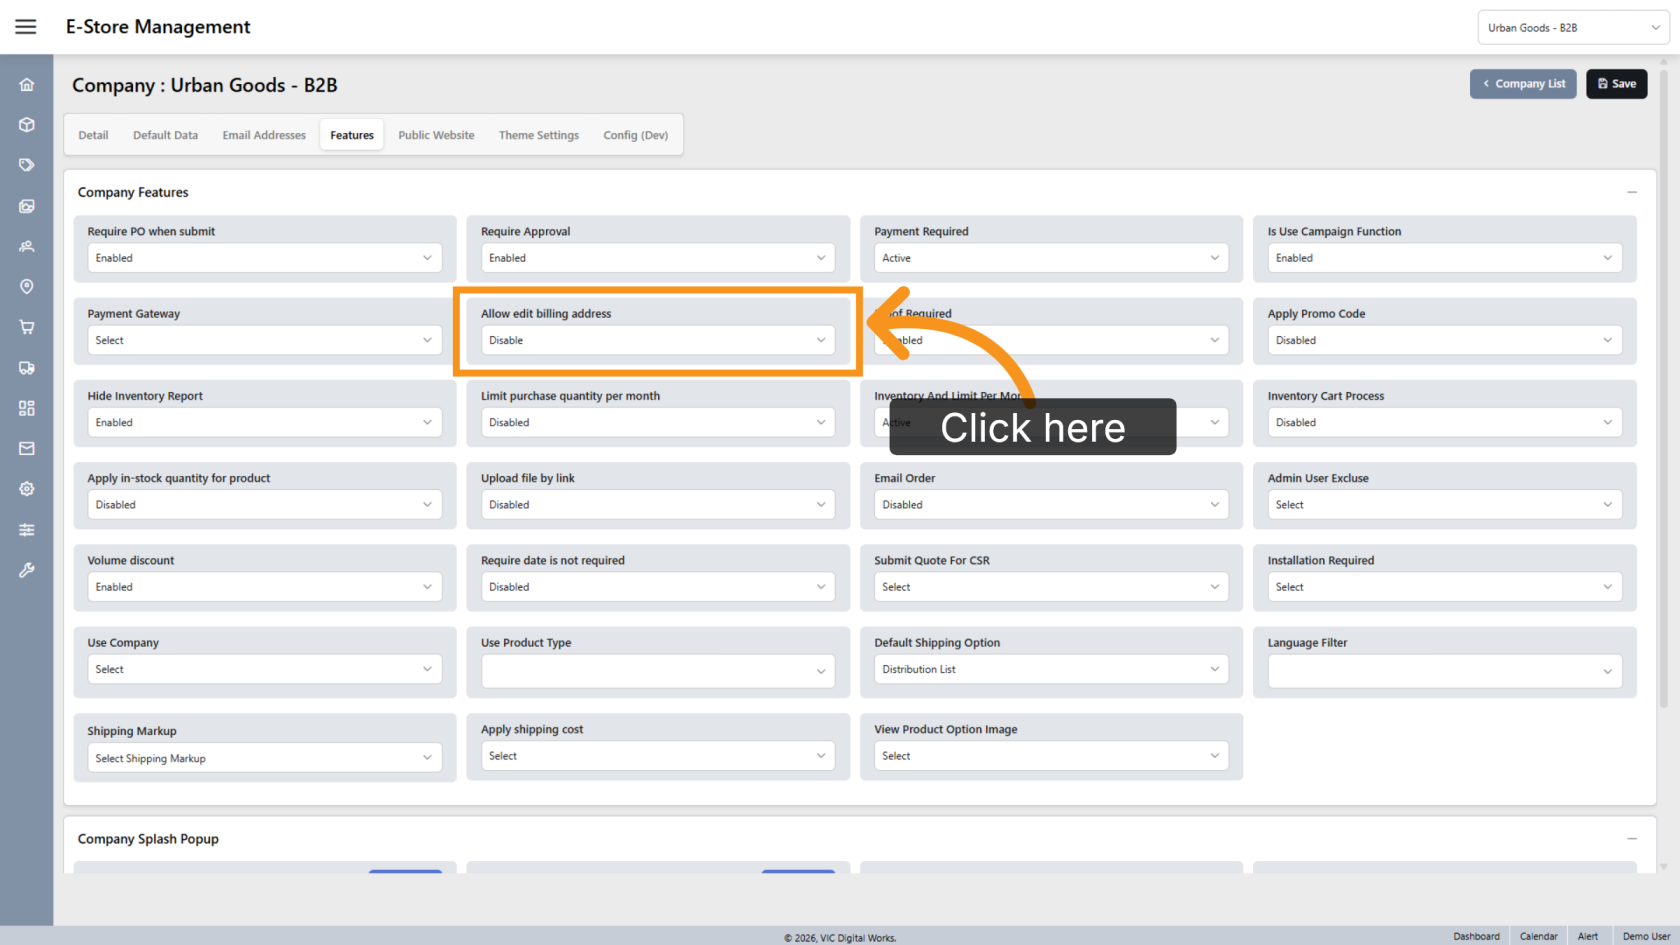
8. Proof Required
For B2C storefronts, enable this option to allow customers to request a digital proof before production.
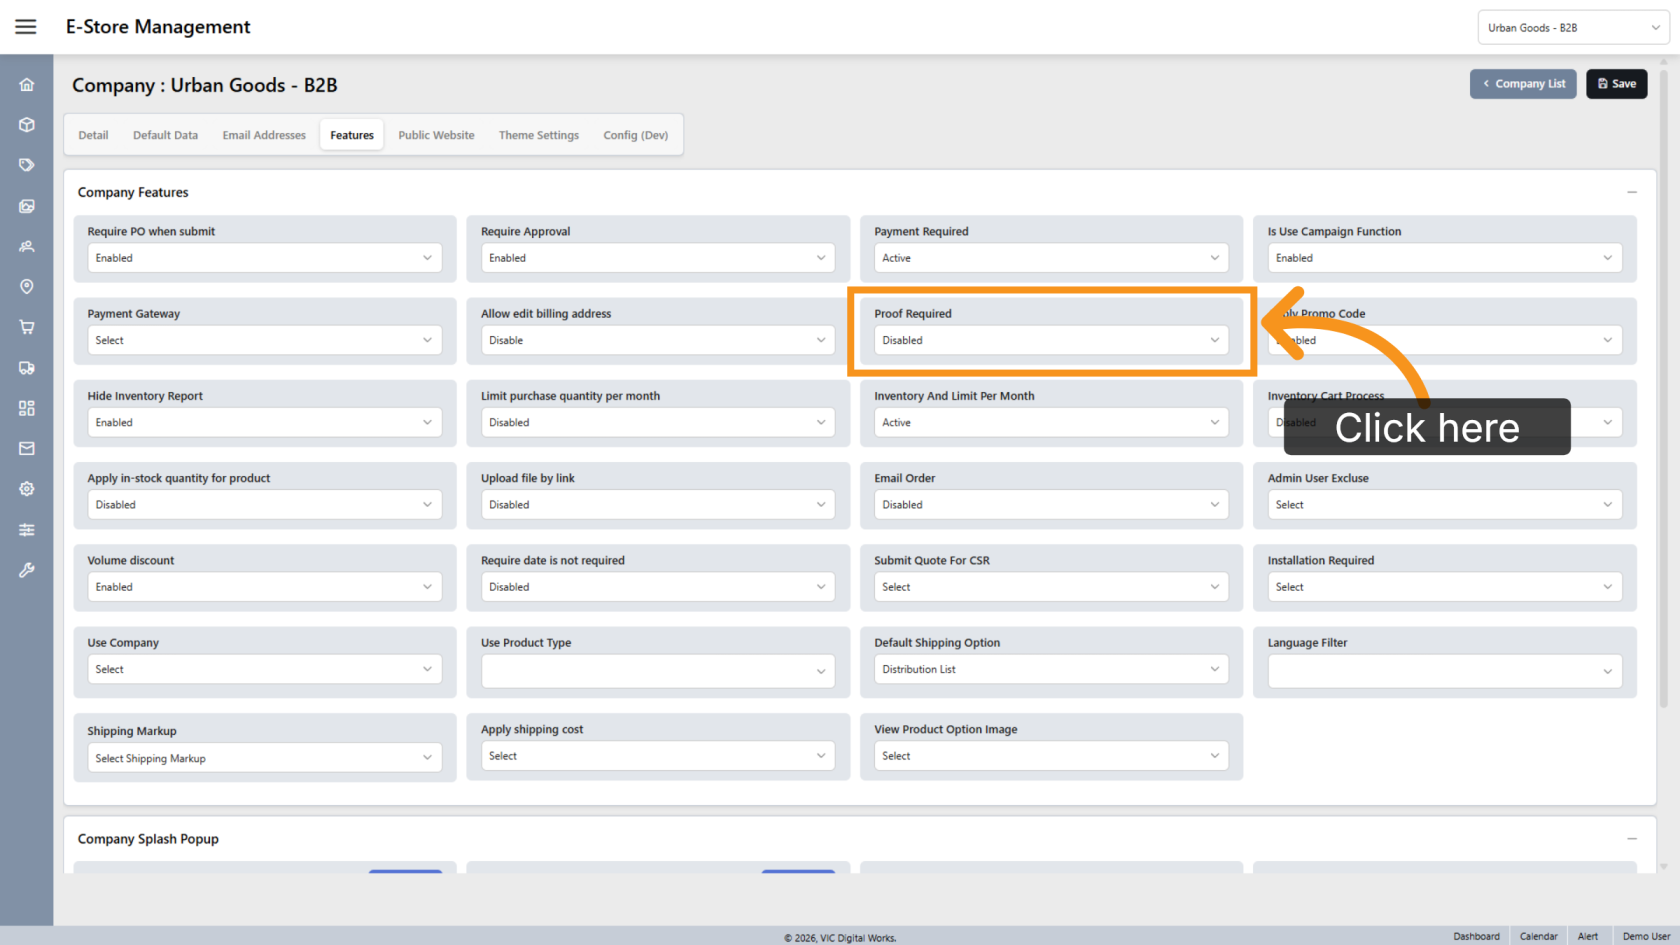
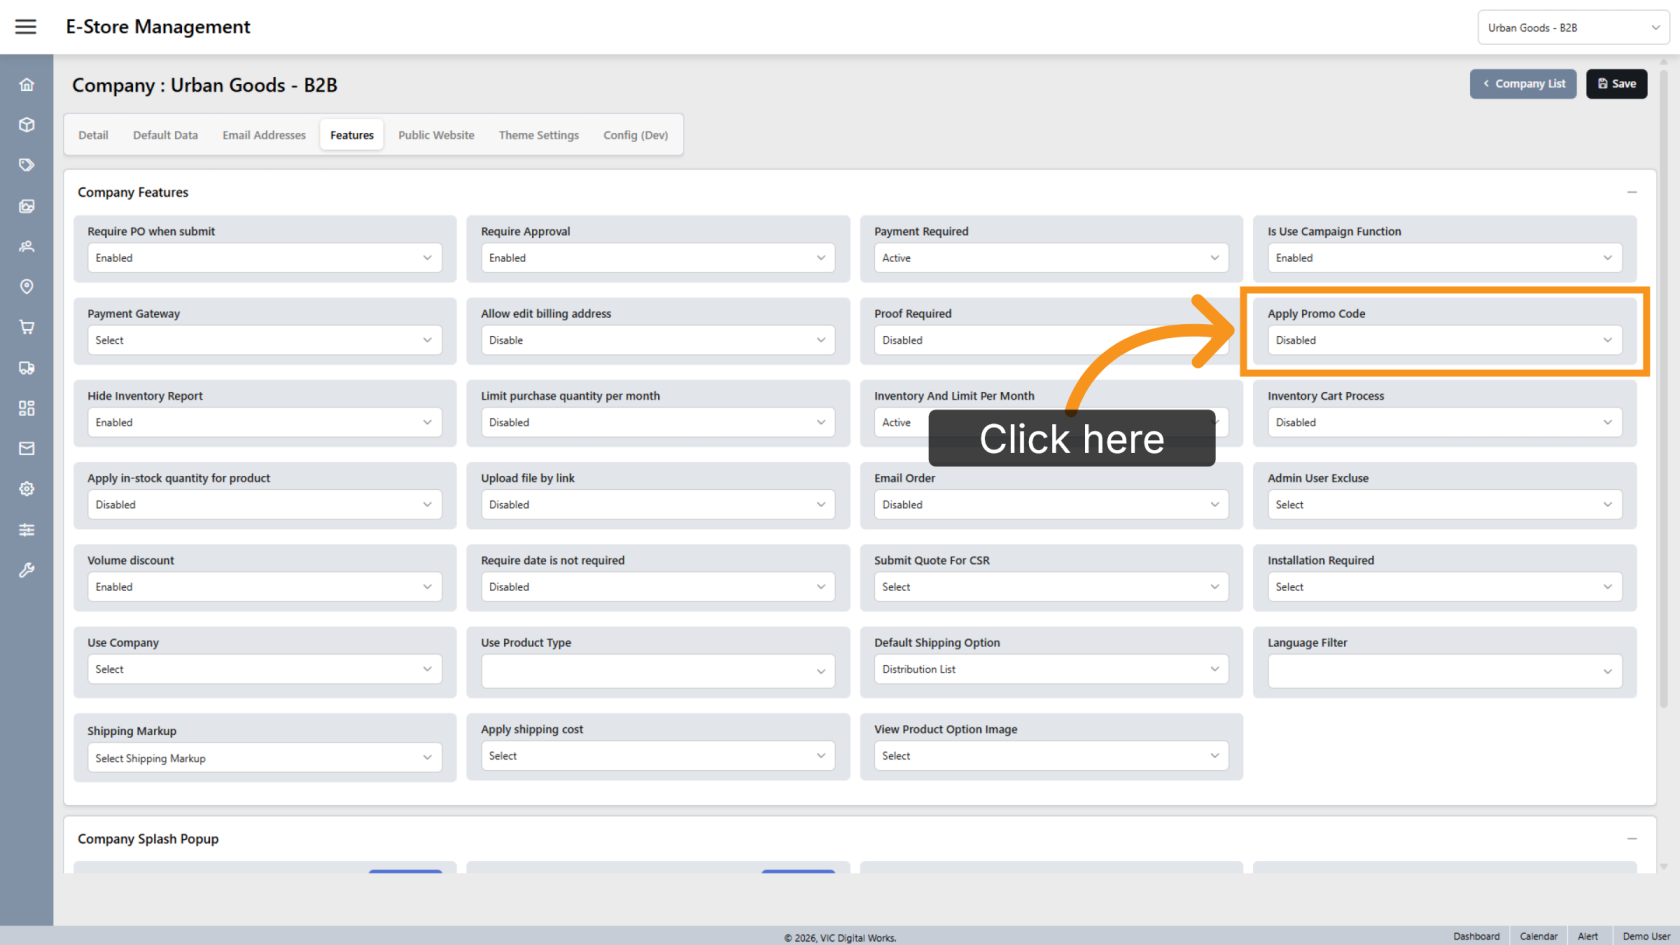
9. Apply Promo Code
For B2C storefronts, enable this option to allow customers to enter promotional codes during checkout.
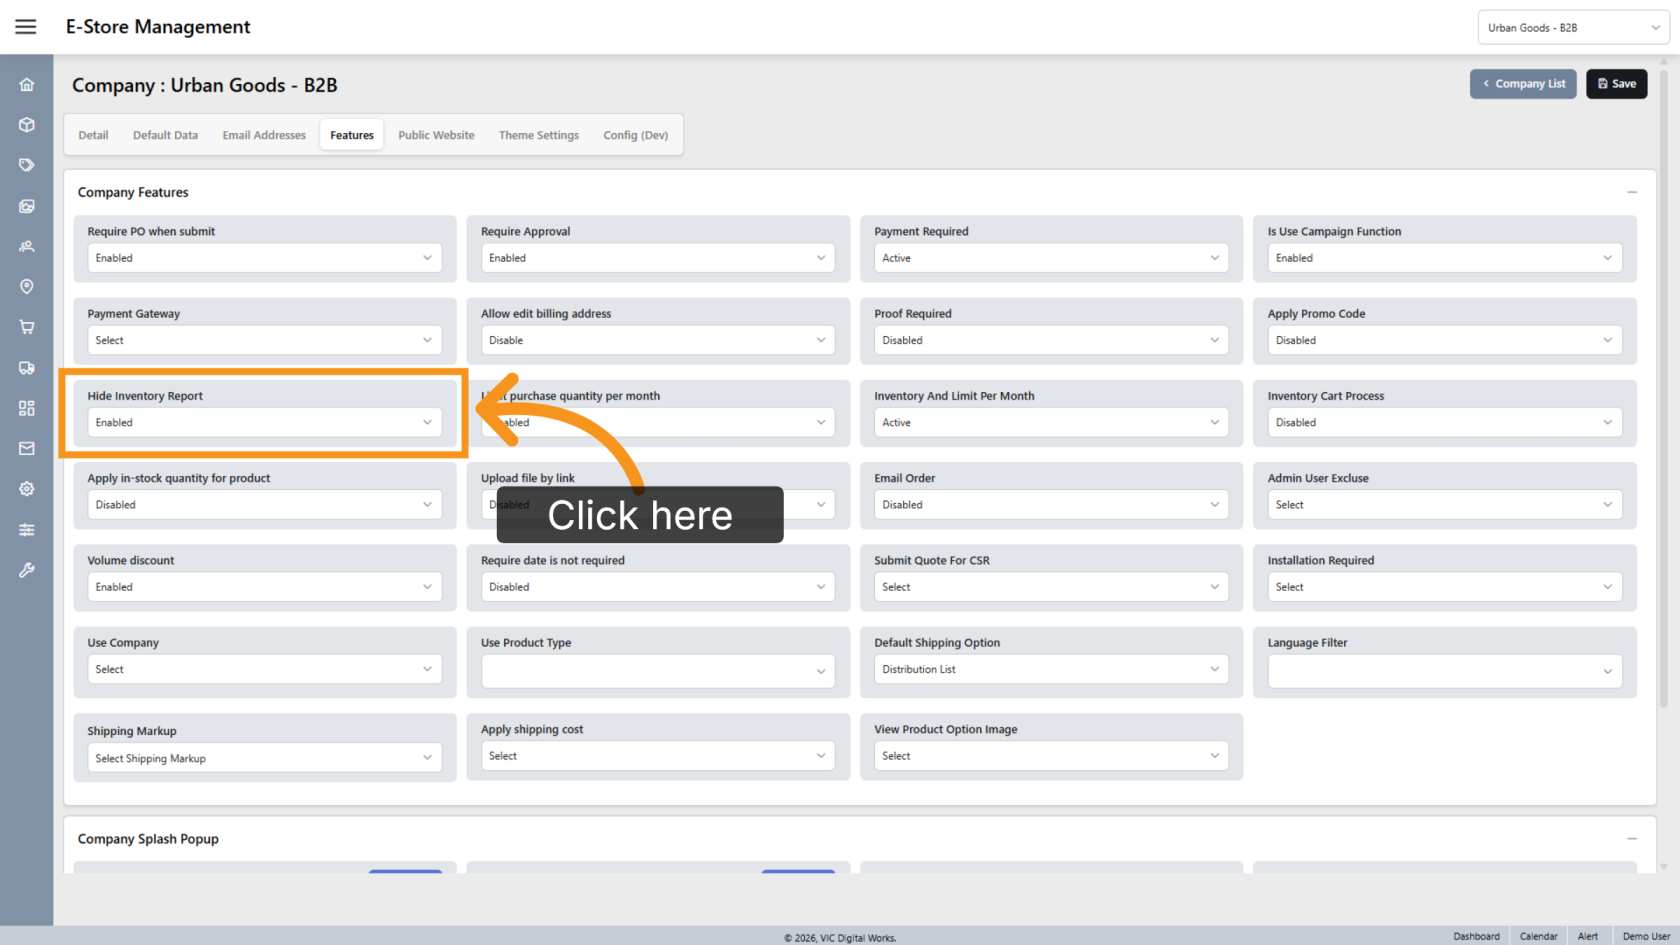
10. Hide Inventory Report
For B2B storefronts, enable this option to hide the Inventory Report from users.
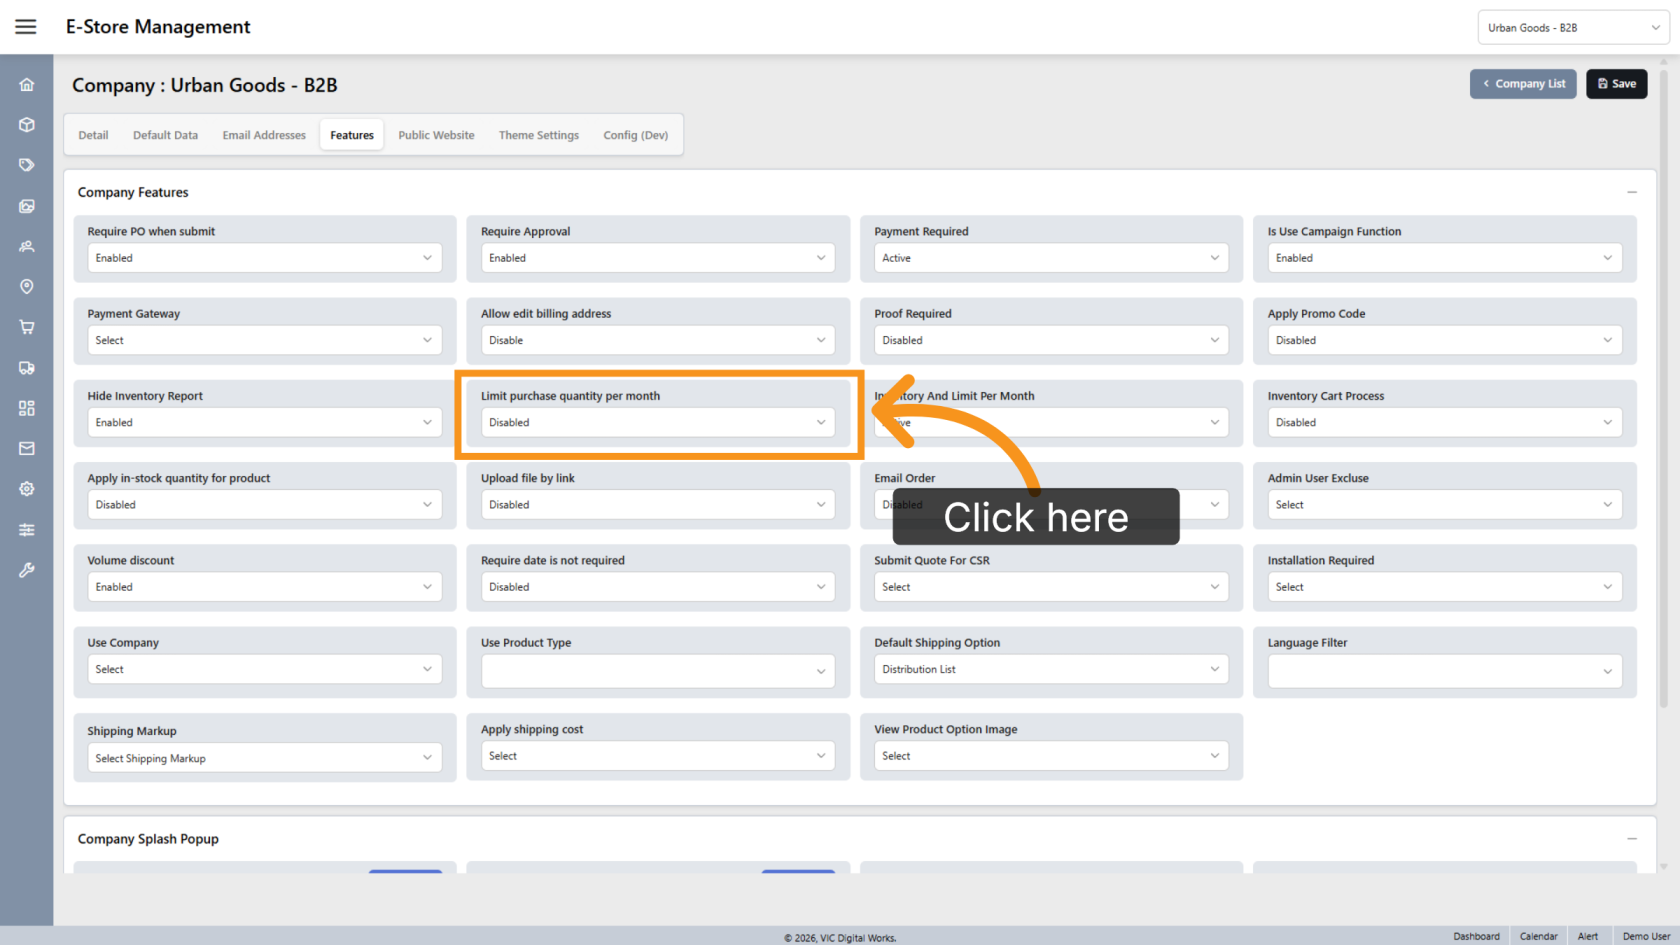
11. Limit Purchase Quantity Per Month
For B2B storefronts, enable this option to enforce monthly purchase limits for products configured with a monthly order limit in Product Extra Details.
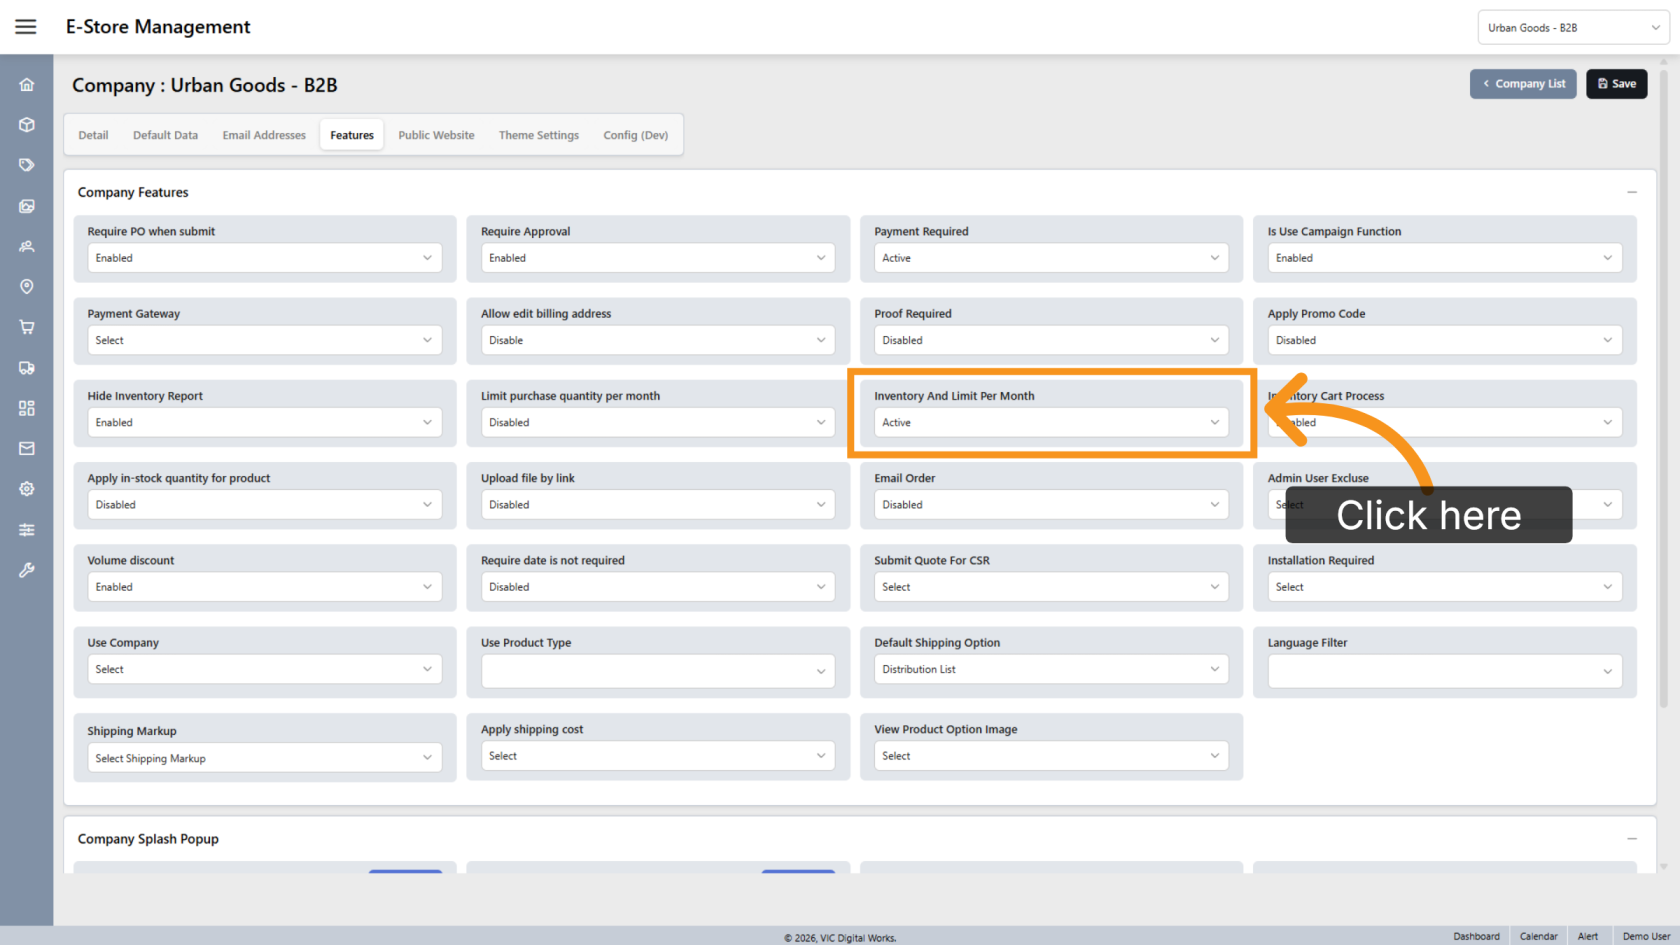
12. Inventory and Limit Per Month
For B2B storefronts, enable this option to apply monthly inventory purchase limits. The limit resets at the beginning of each month. This feature only applies to inventory products with a monthly purchase limit configured.
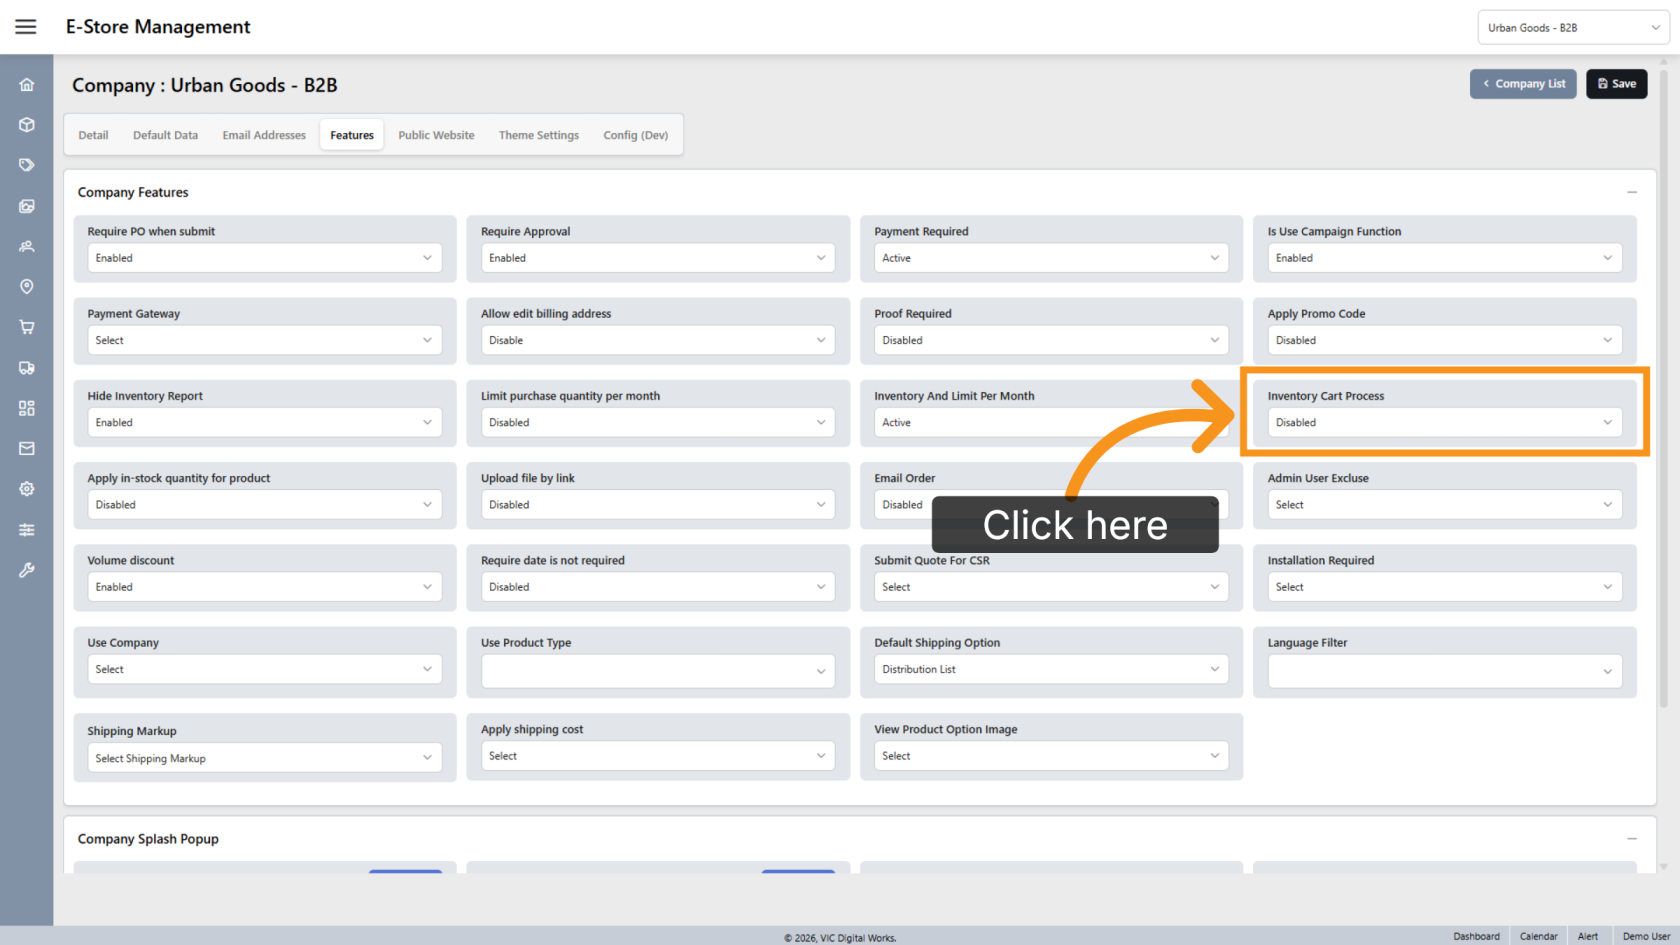
13. Inventory Cart Process
For B2B storefronts, enable this option to process inventory-only orders separately. If the cart contains only inventory products, users can submit the order without payment or approval. If the cart contains both inventory and non-inventory products, the system automatically splits the order into separate transactions and processes each according to its requirements.
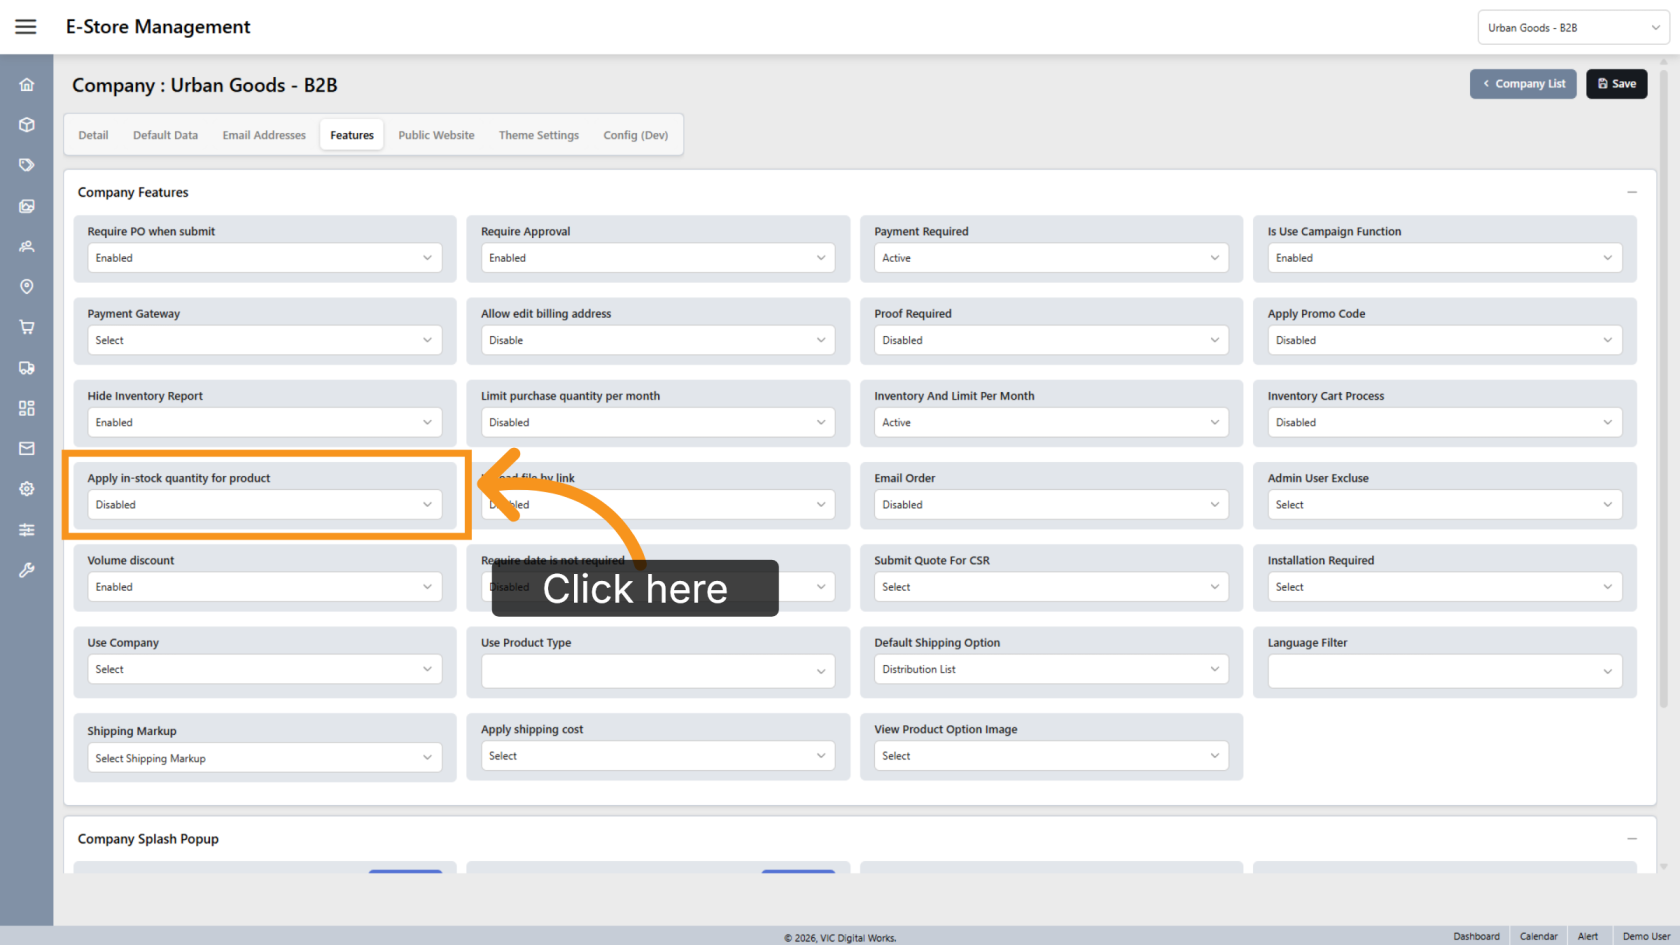
14. Apply In-Stock Quantity
For B2B storefronts, enable this option to deduct ordered quantities from the product's available inventory.
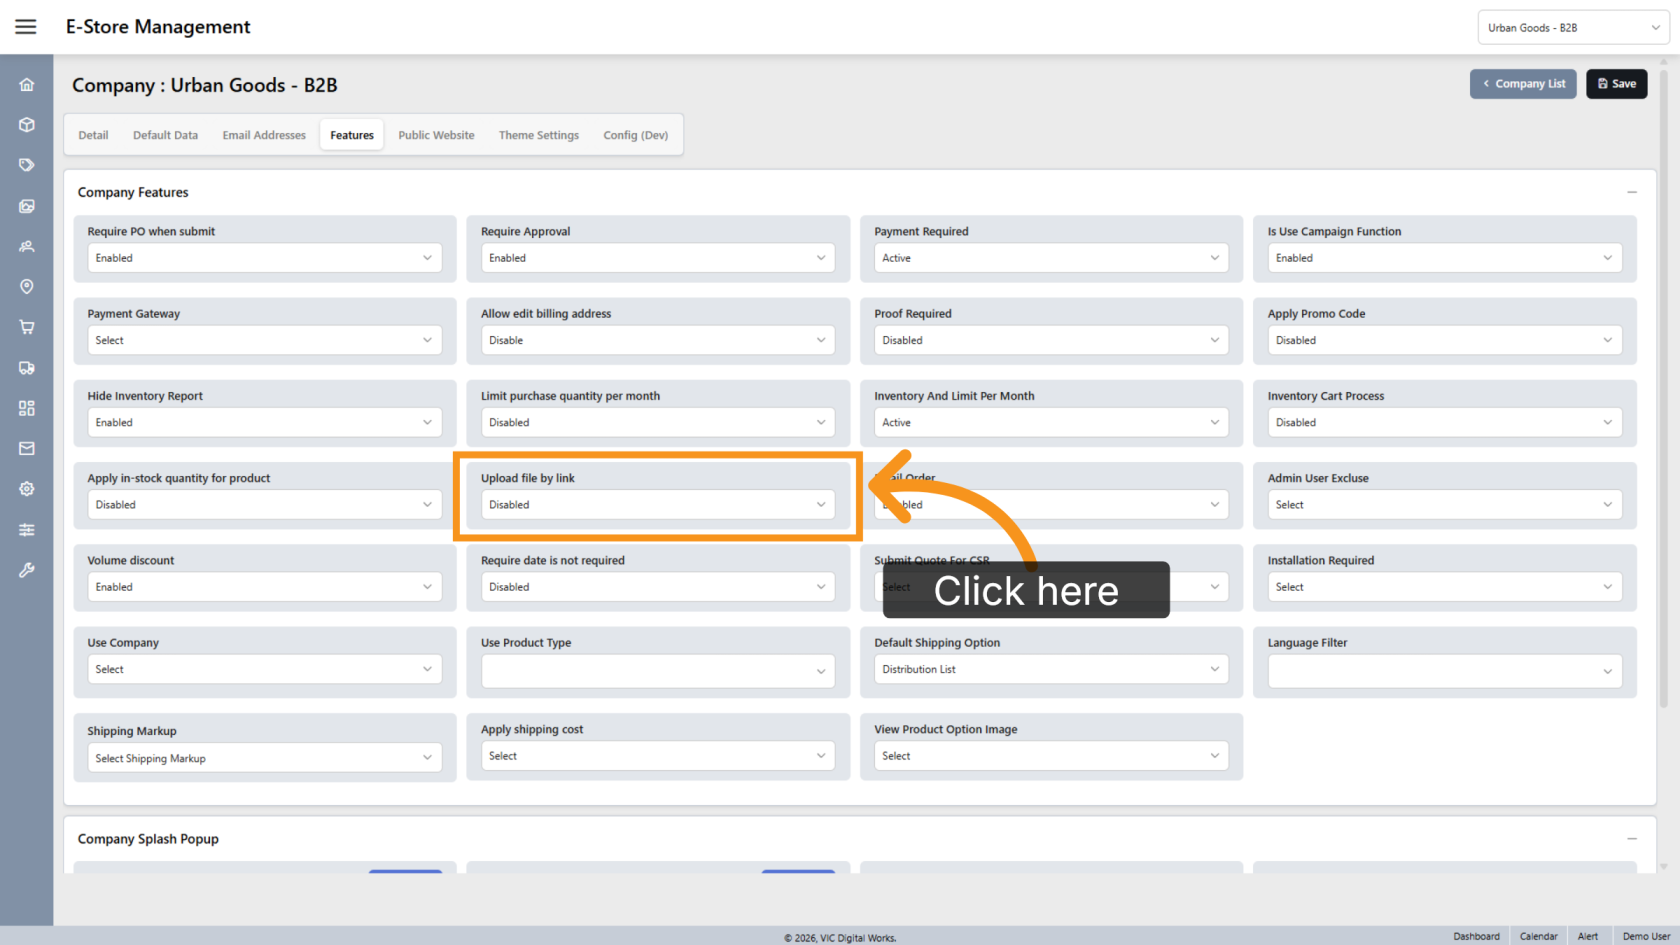
15. Upload Files by Link
For B2C storefronts, enable this option to allow customers to upload artwork using cloud storage links such as Dropbox or Google Drive.
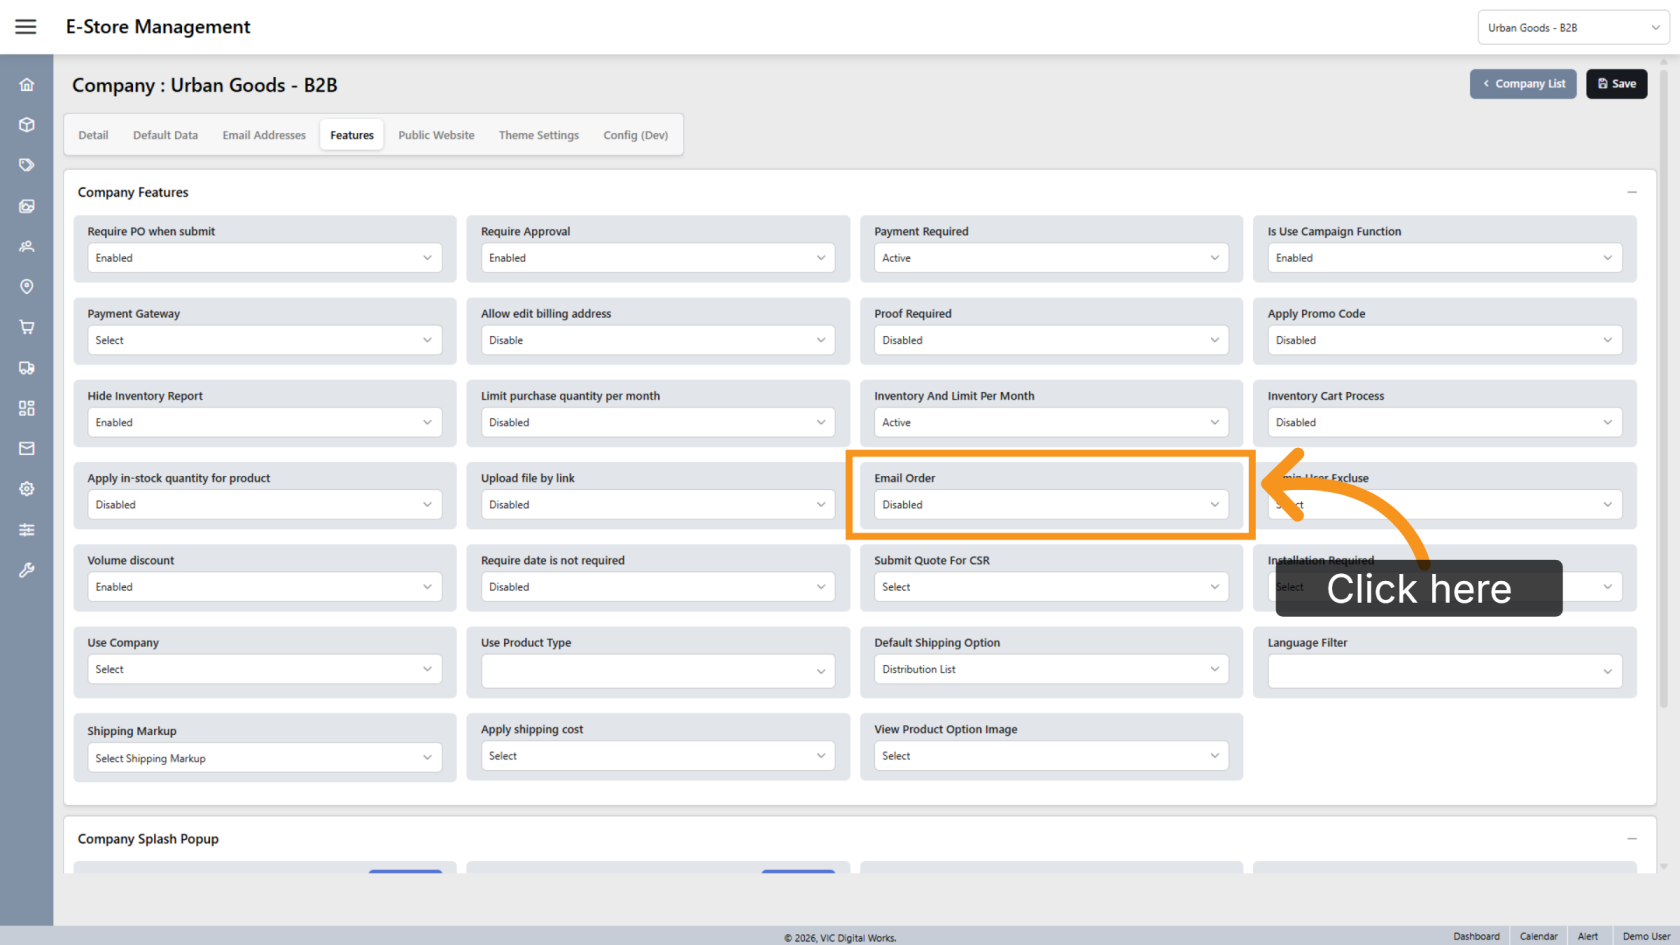
16. Email Order
For B2B storefronts, enable this option to allow users to email an order to other users for review before submitting it.
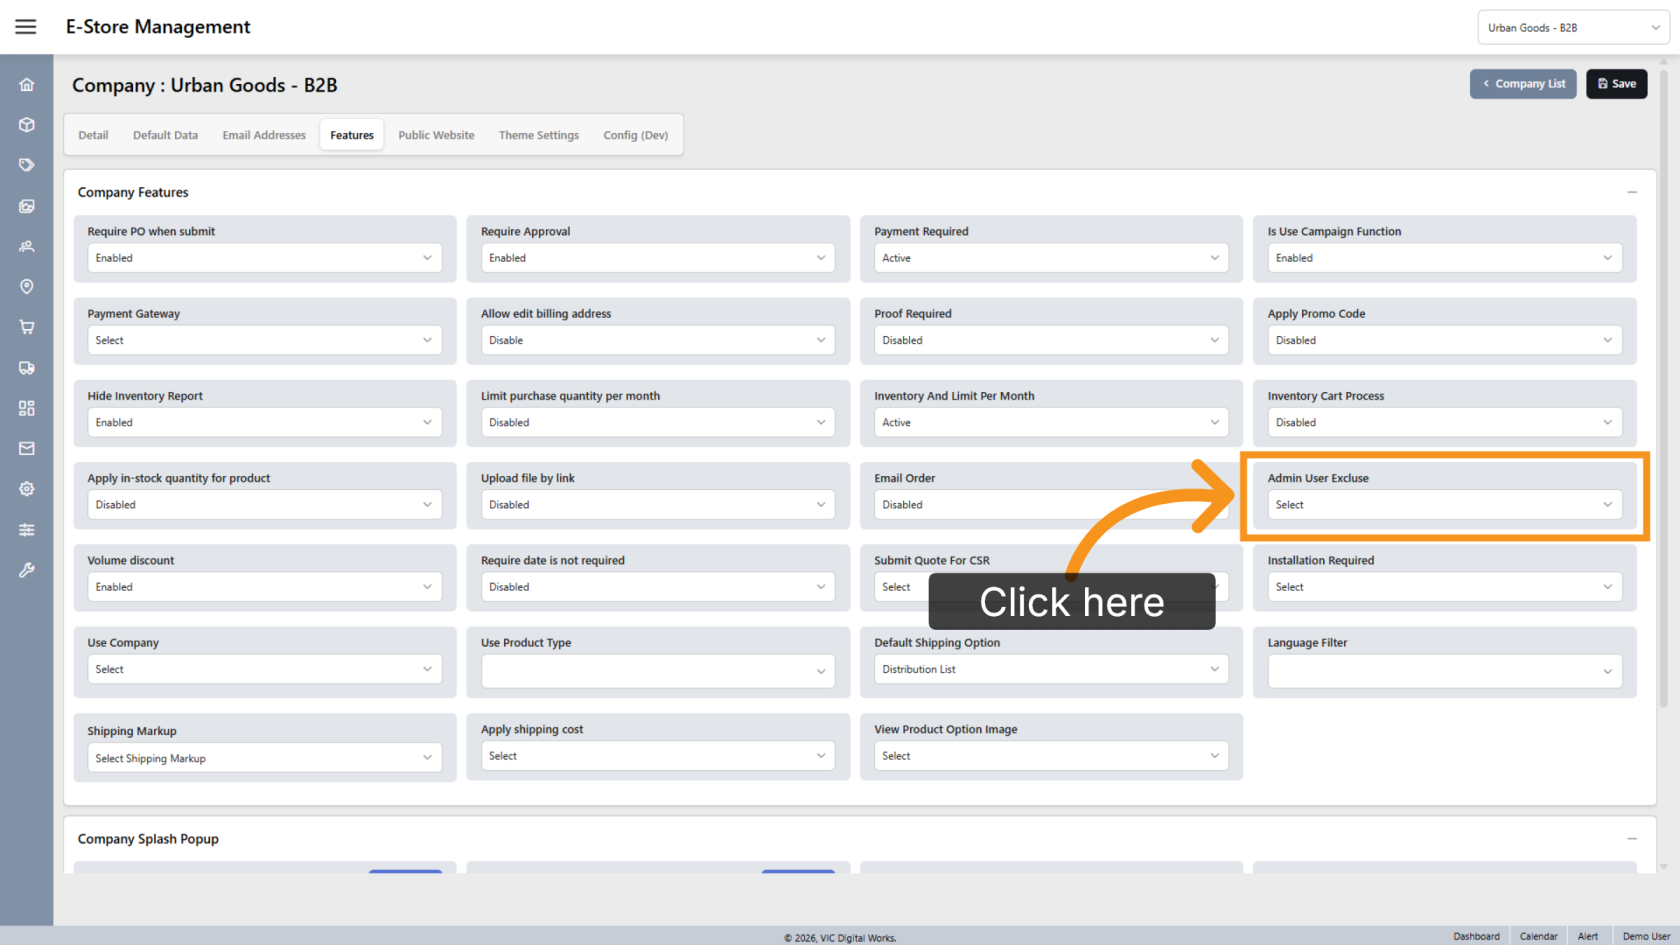
17. Exclude Admin Users
For B2B storefronts, enable this option to exempt Admin type users from monthly purchase limits. Admin users can submit any quantity without requiring approval.
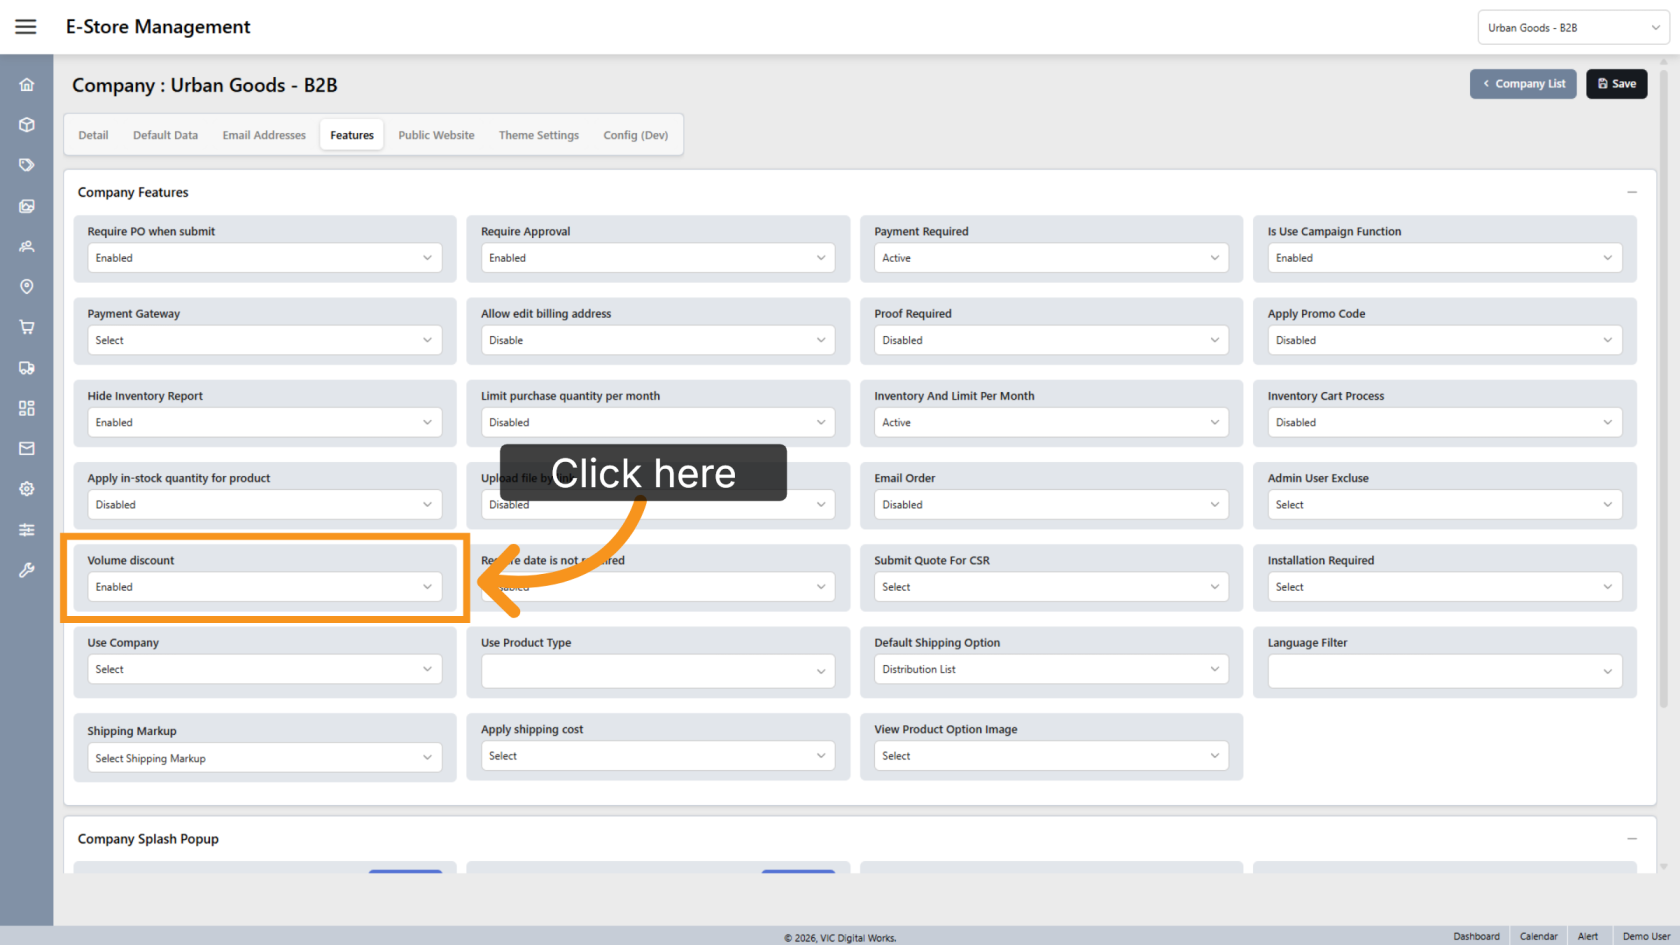
18. Volume Discount
For B2B storefronts, enable this option to automatically combine products with the same SKU and identical options in the shopping cart, then apply the appropriate quantity break pricing.
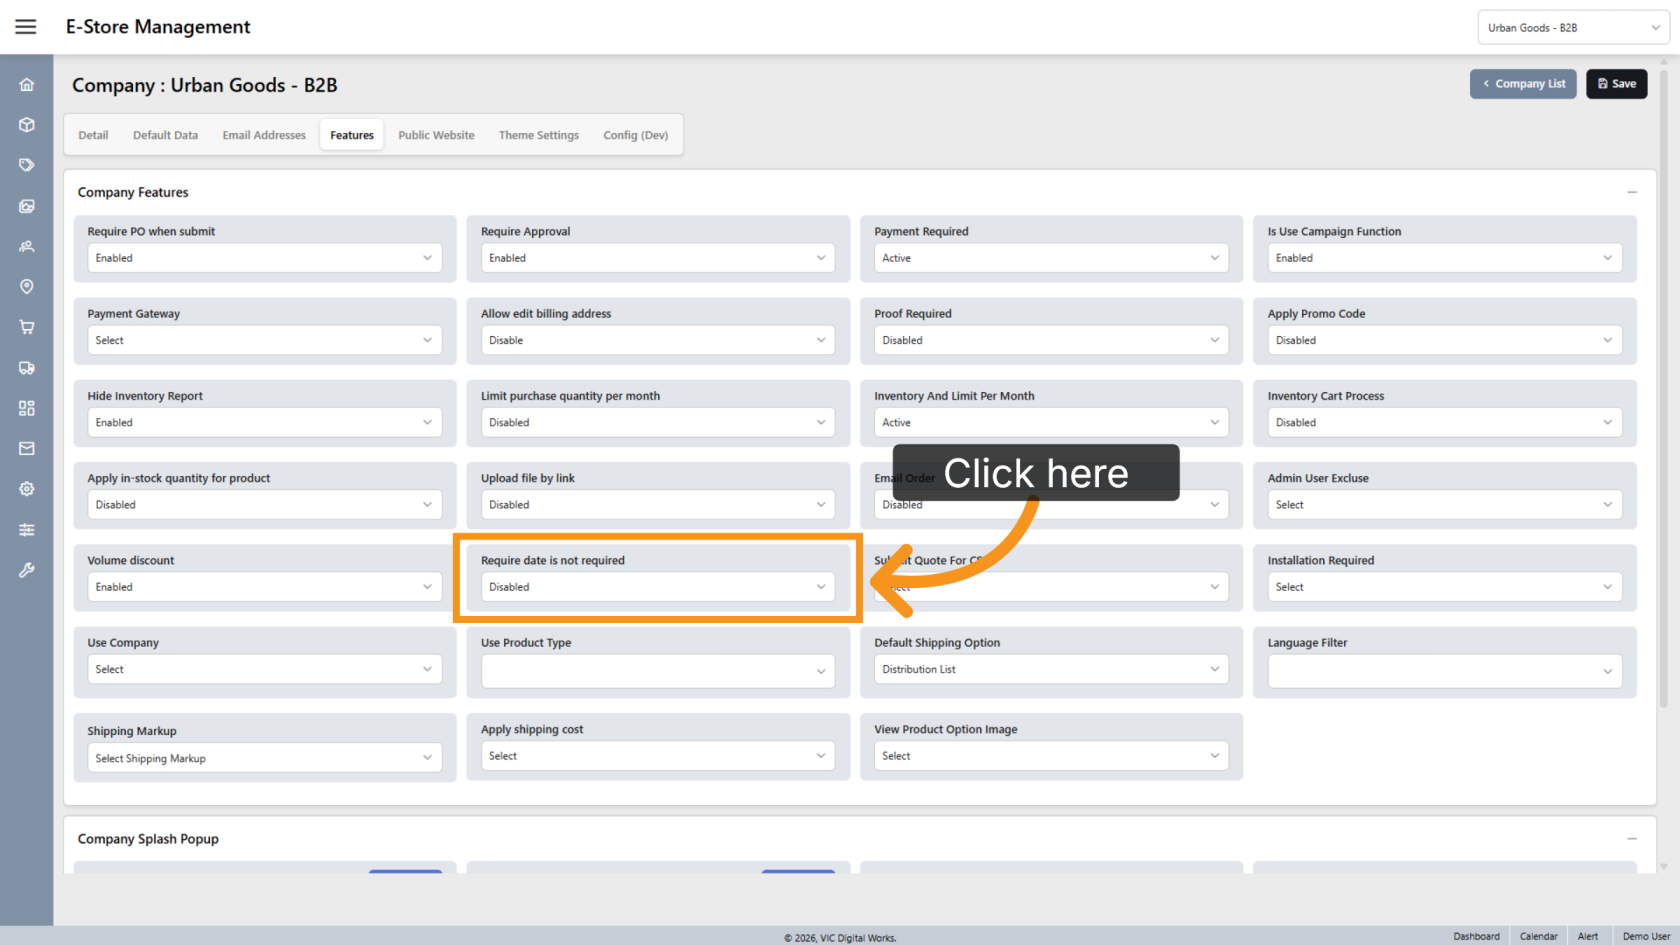
19. Require Date Is Not Required
When enabled, customers are not required to enter a required date during checkout.
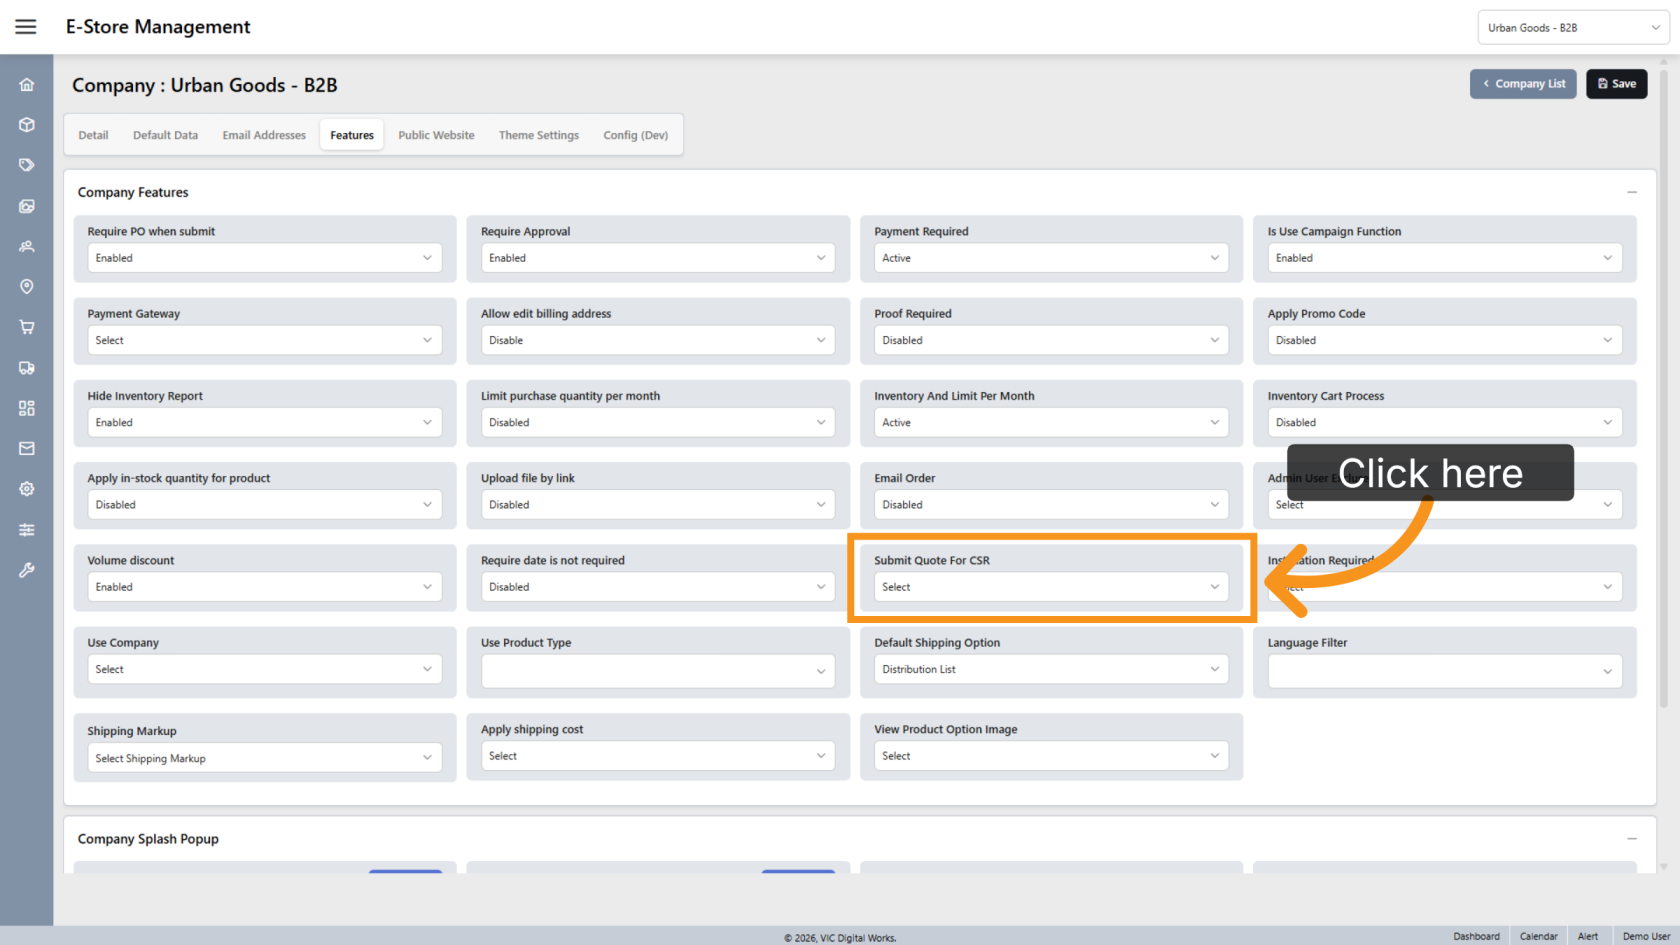
20. Submit Quote for CSR
Enable this option to allow users to create quotations instead of sales orders through the storefront interface.
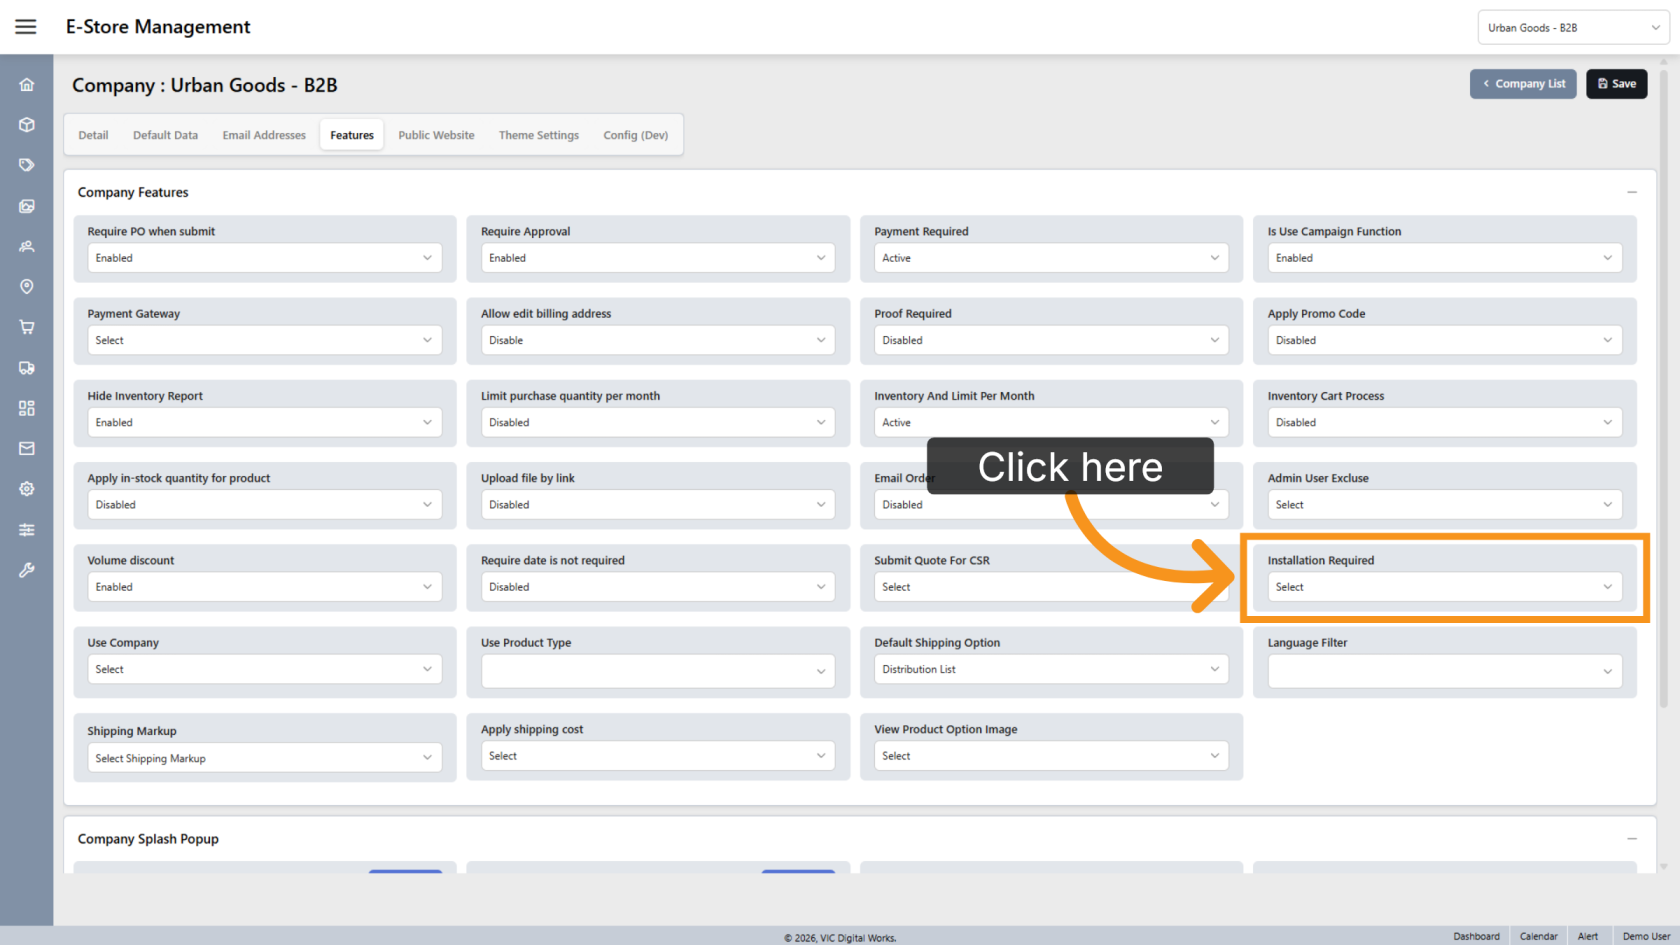
21. Installation Required
For B2B storefronts, enable this option to allow customers to request installation services for their orders.
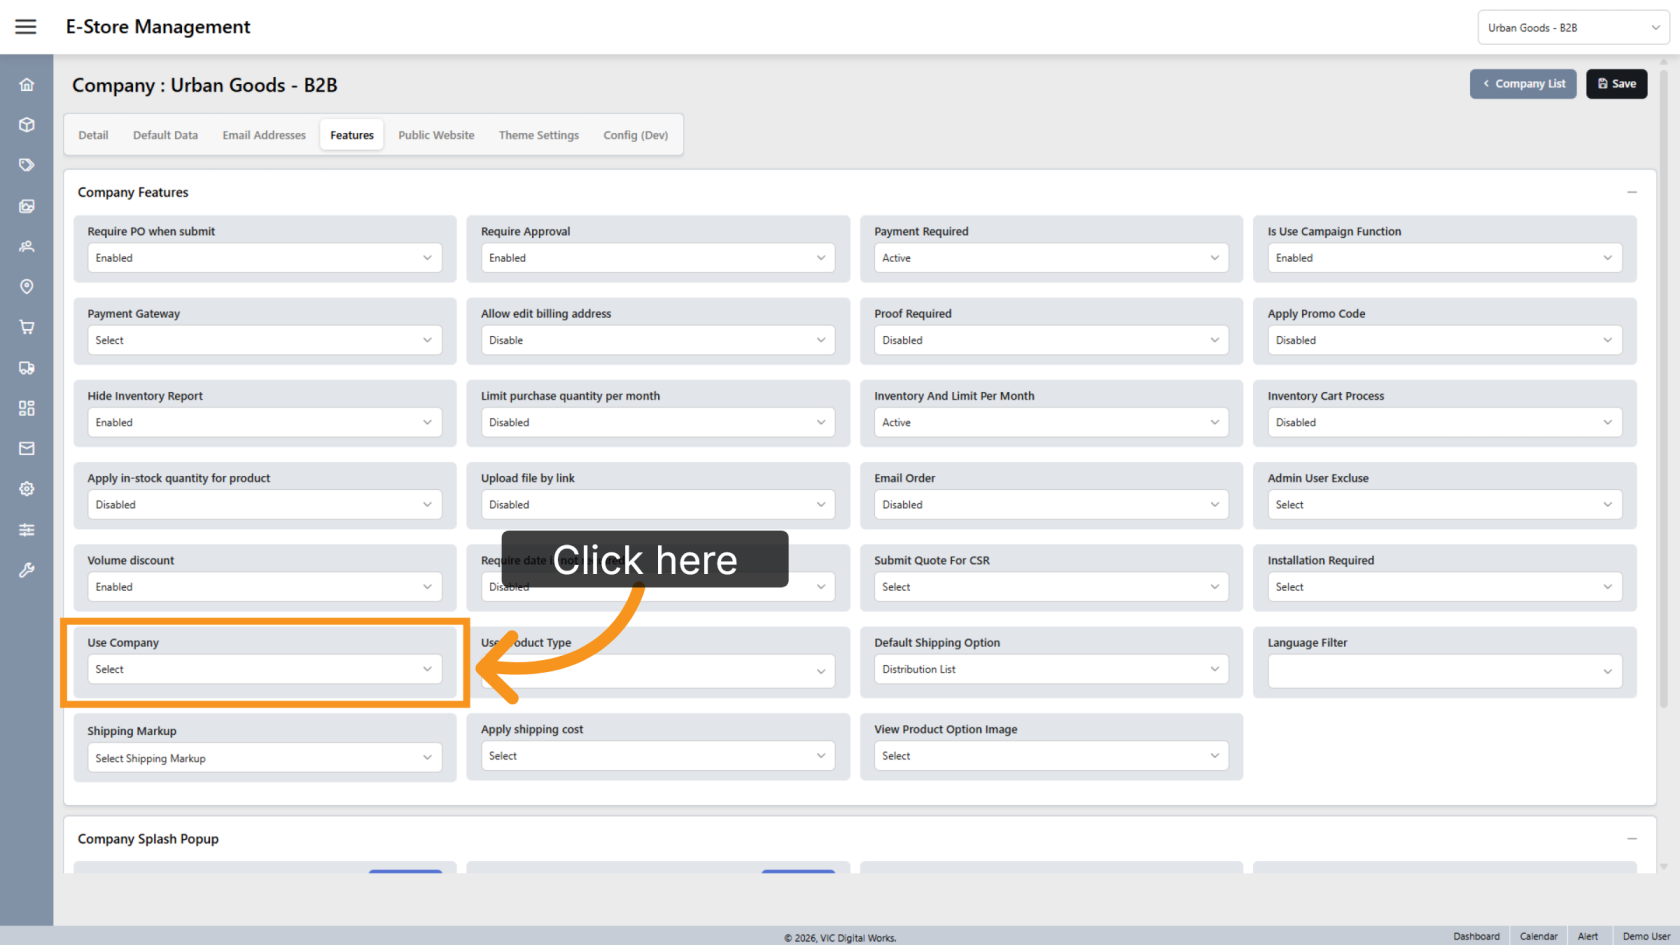
22. Use Company
Select another company whose products and tag categories will also be available in this storefront.
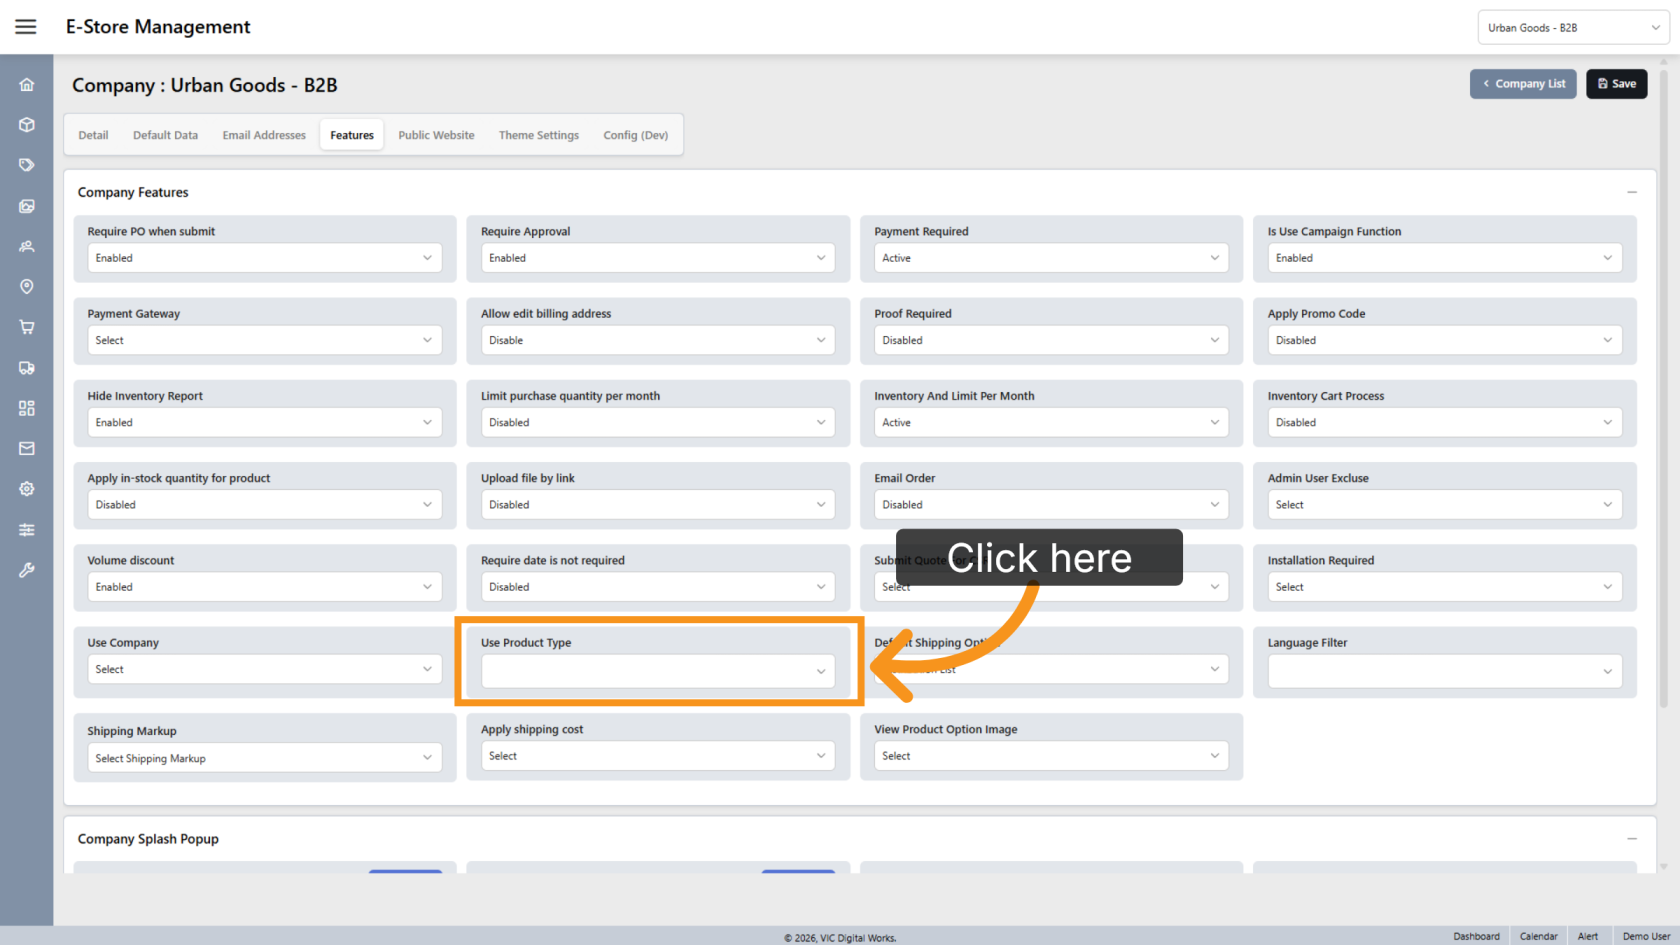
23. Product Type
Select which product types are displayed in the storefront.
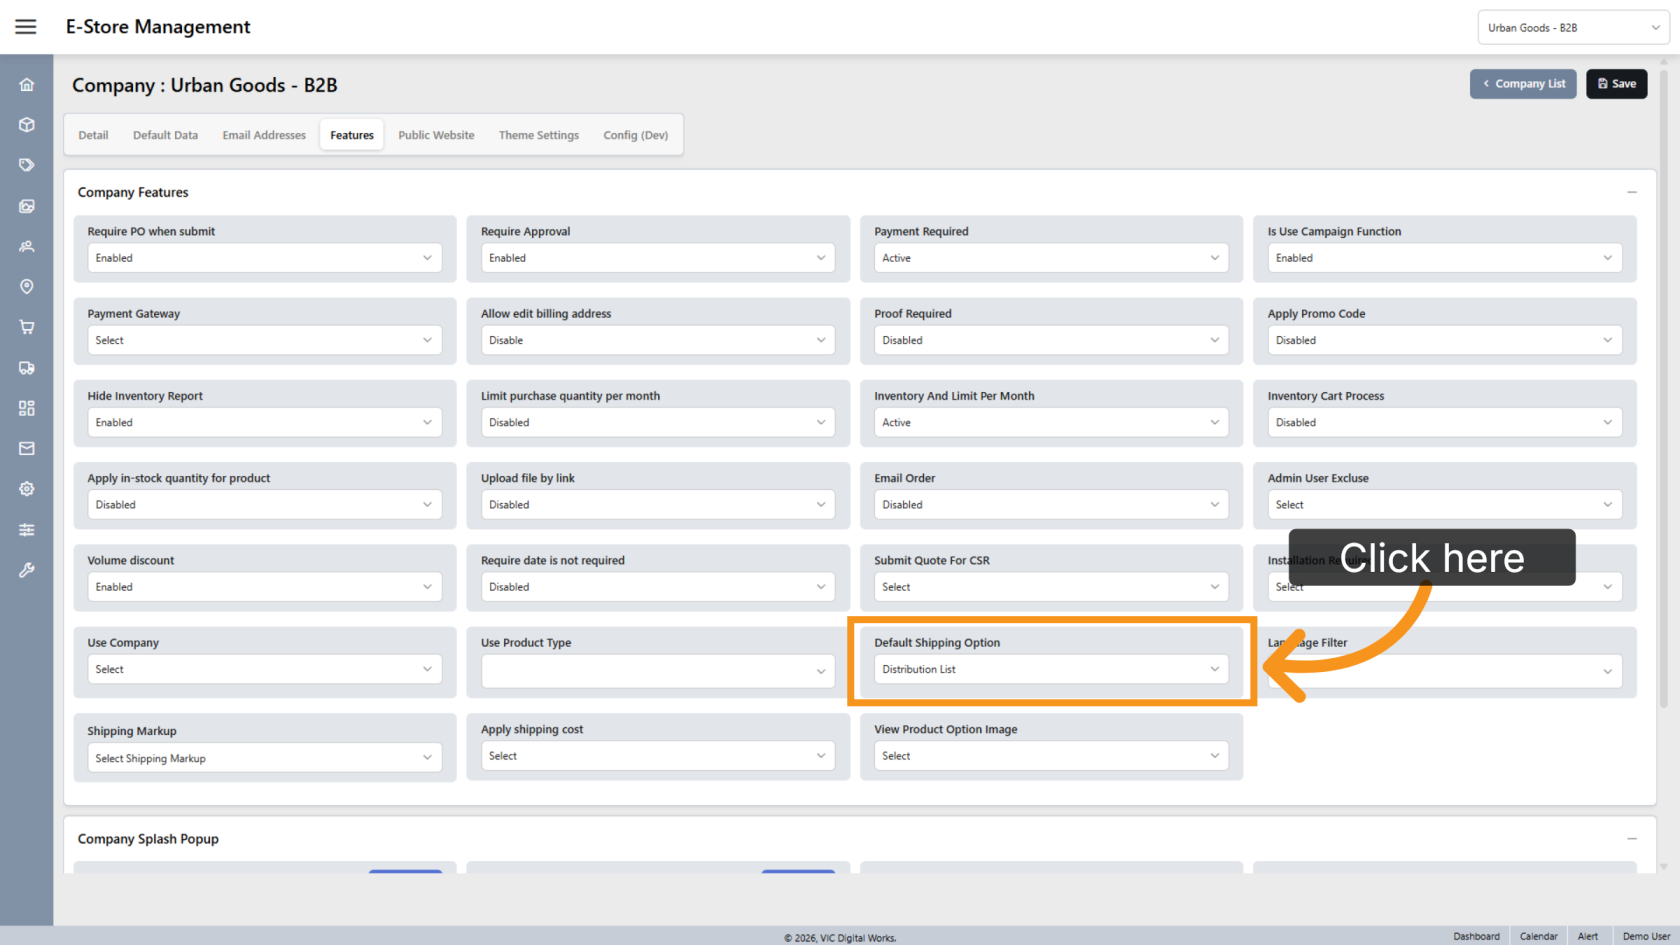
24. Default Shipping Option
Select the default shipping method used by the storefront.
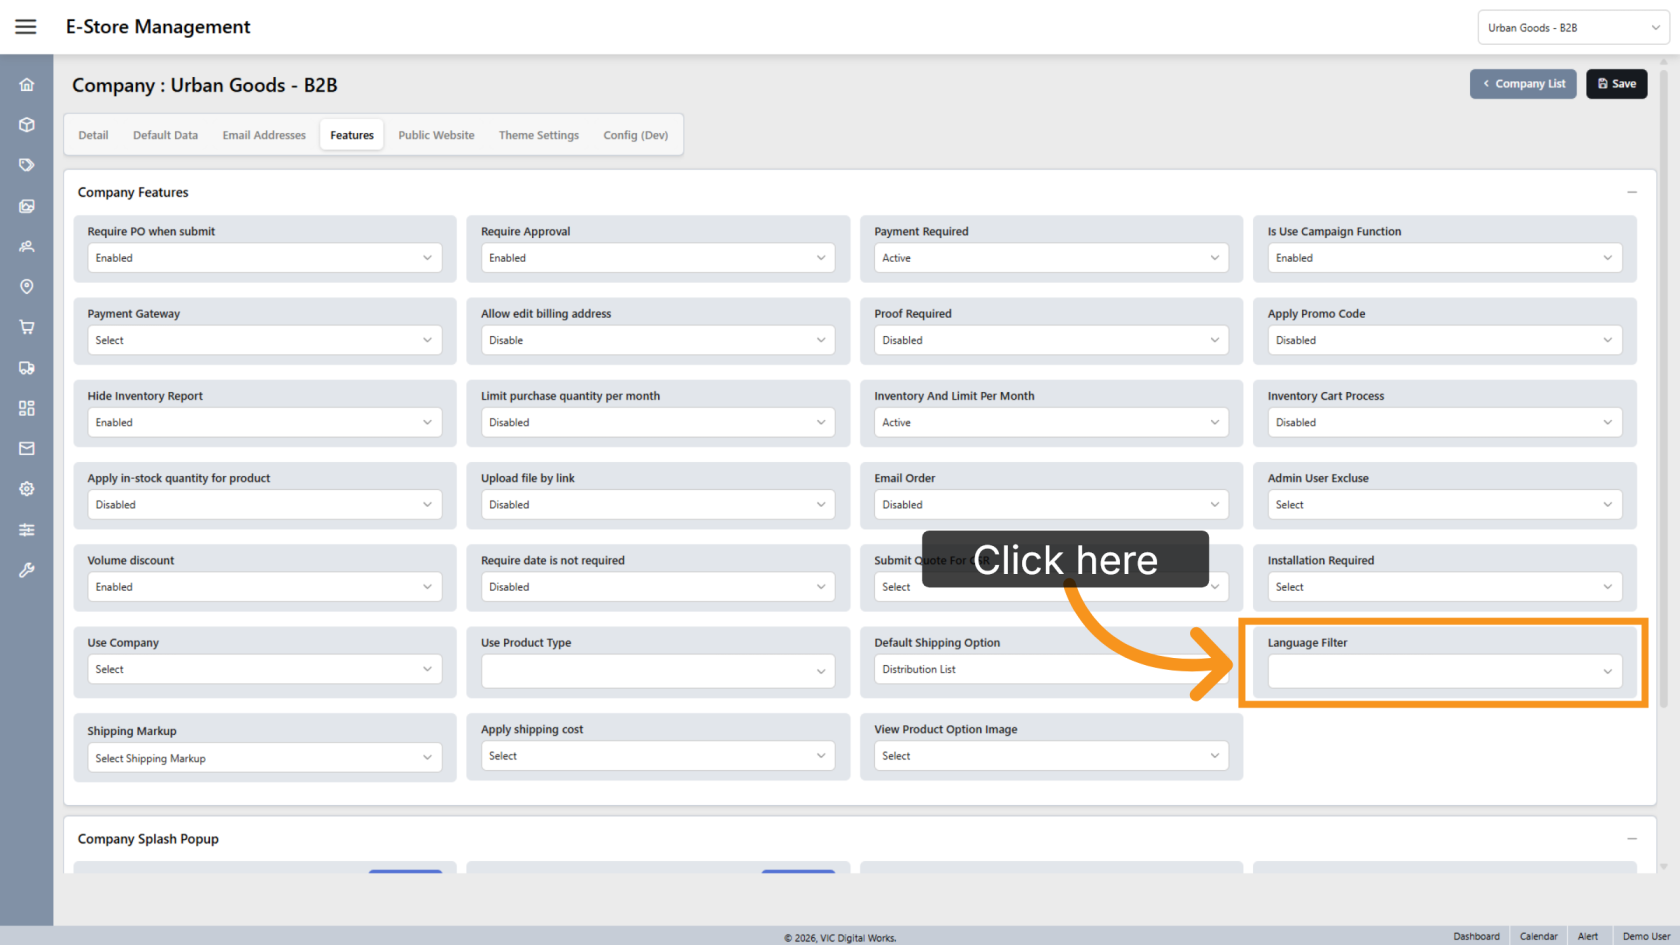
25. Language Filter
Select which languages are available for filtering products in the B2B storefront.
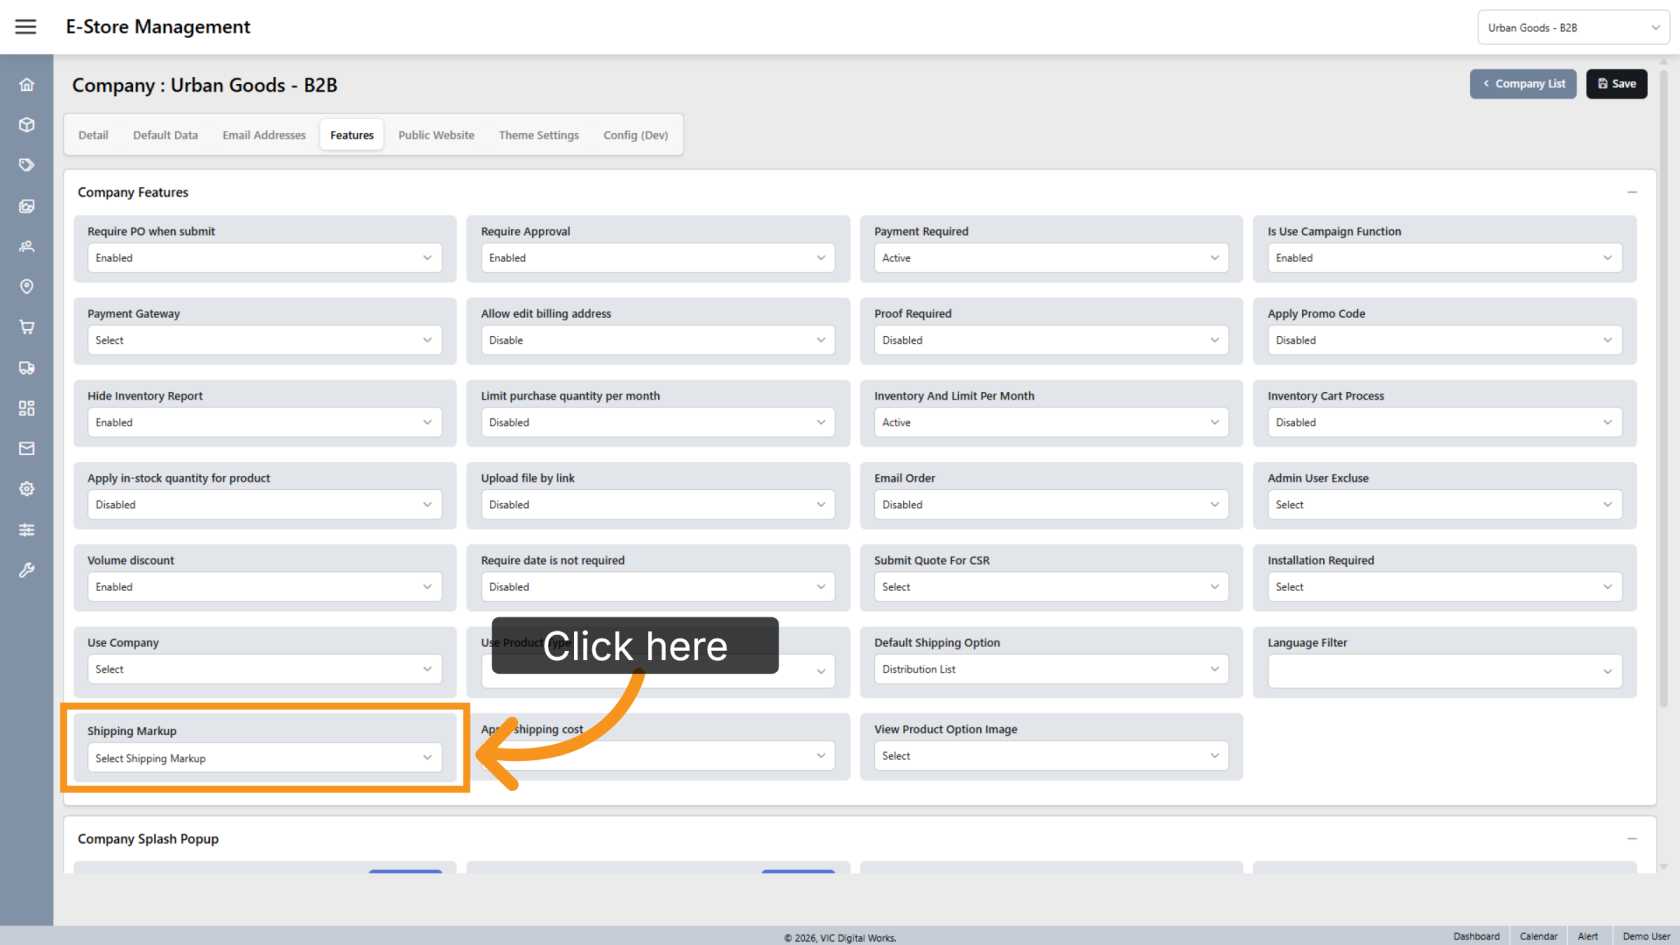
26. Shipping Markup
Select the shipping markup table used to calculate shipping charges.
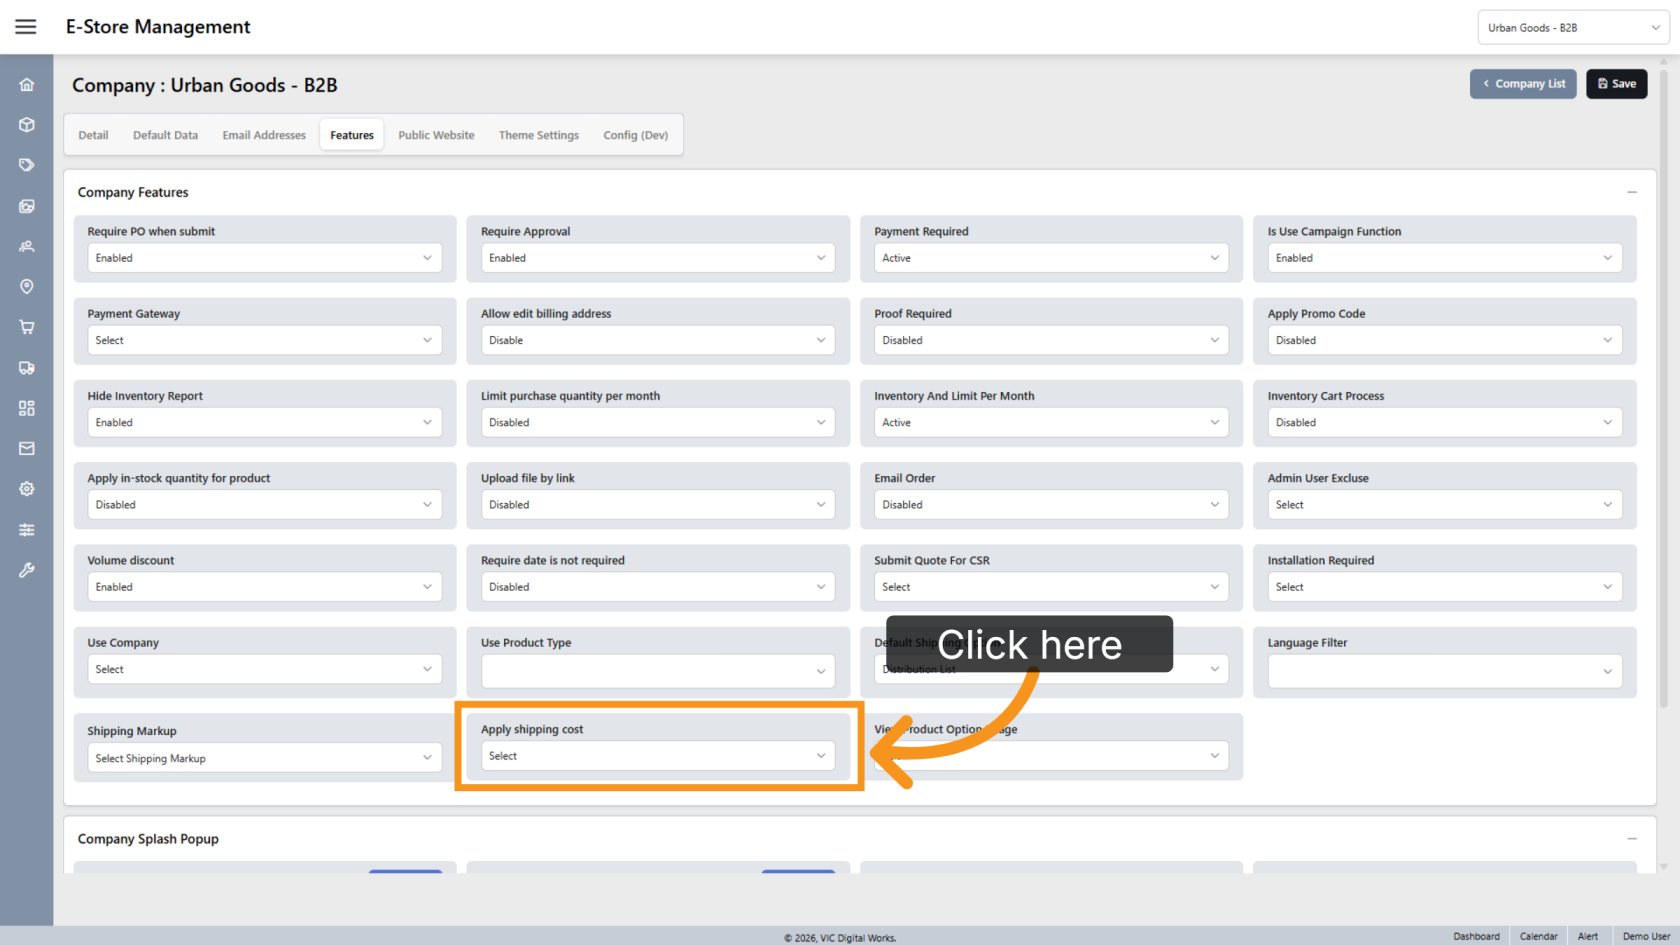
27. Apply Shipping Cost
Enable this option to calculate shipping costs during checkout using the integrated shipping carrier APIs.
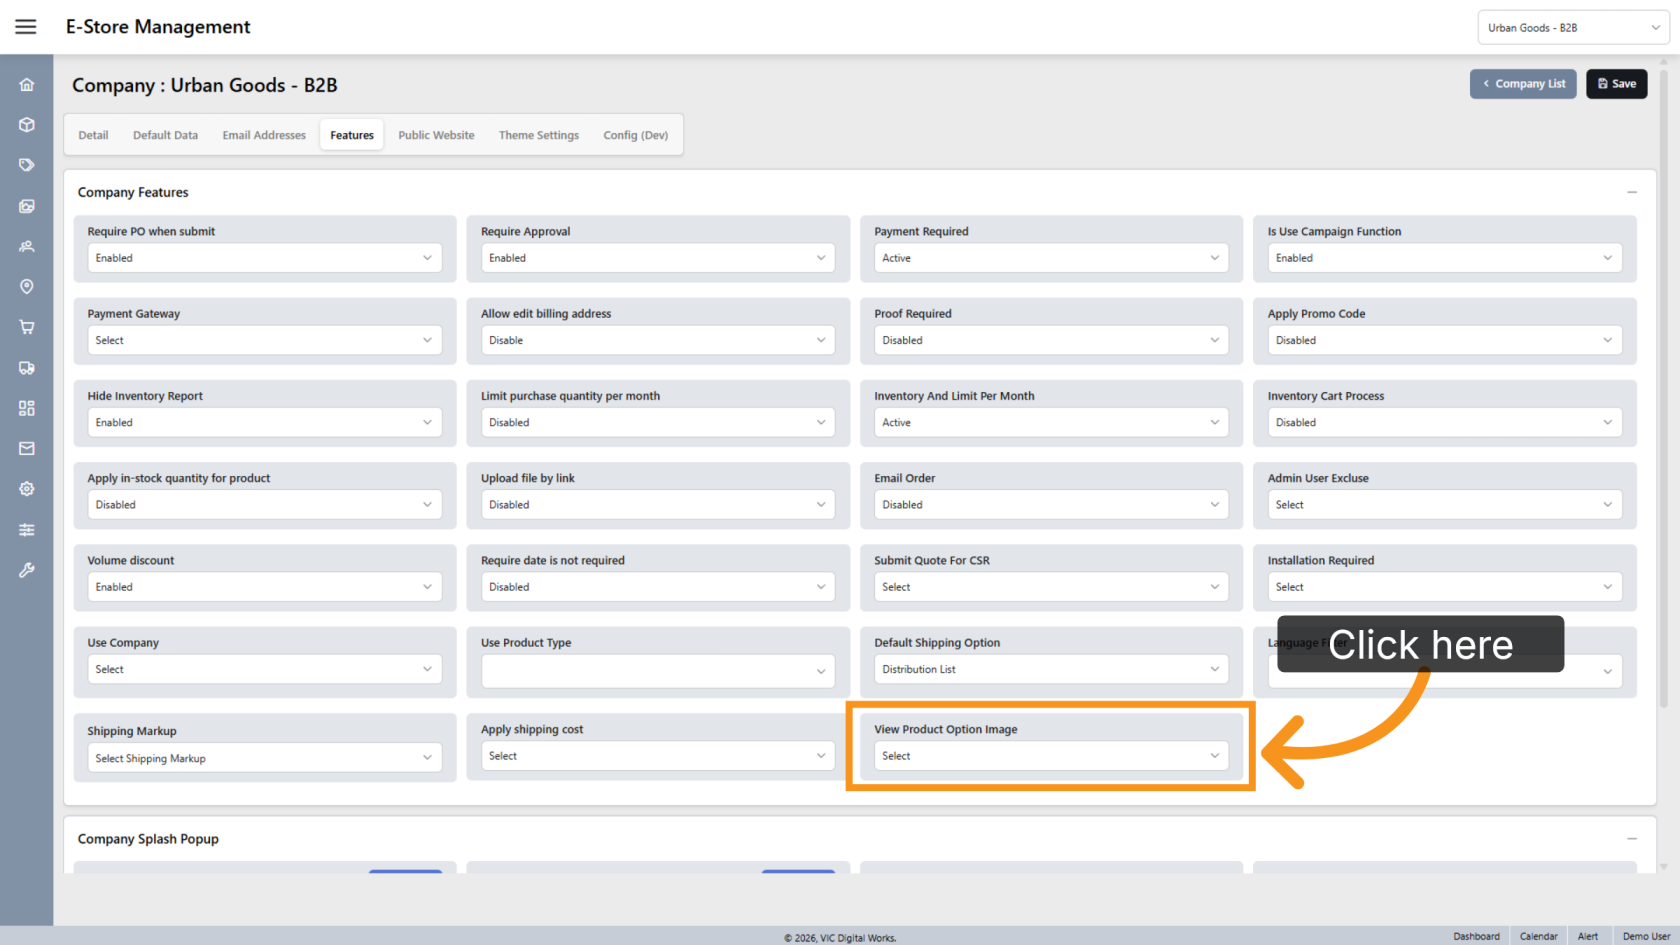
28. View Product Option Images
Enable this option to display images for product options, making it easier for customers to choose the correct options.
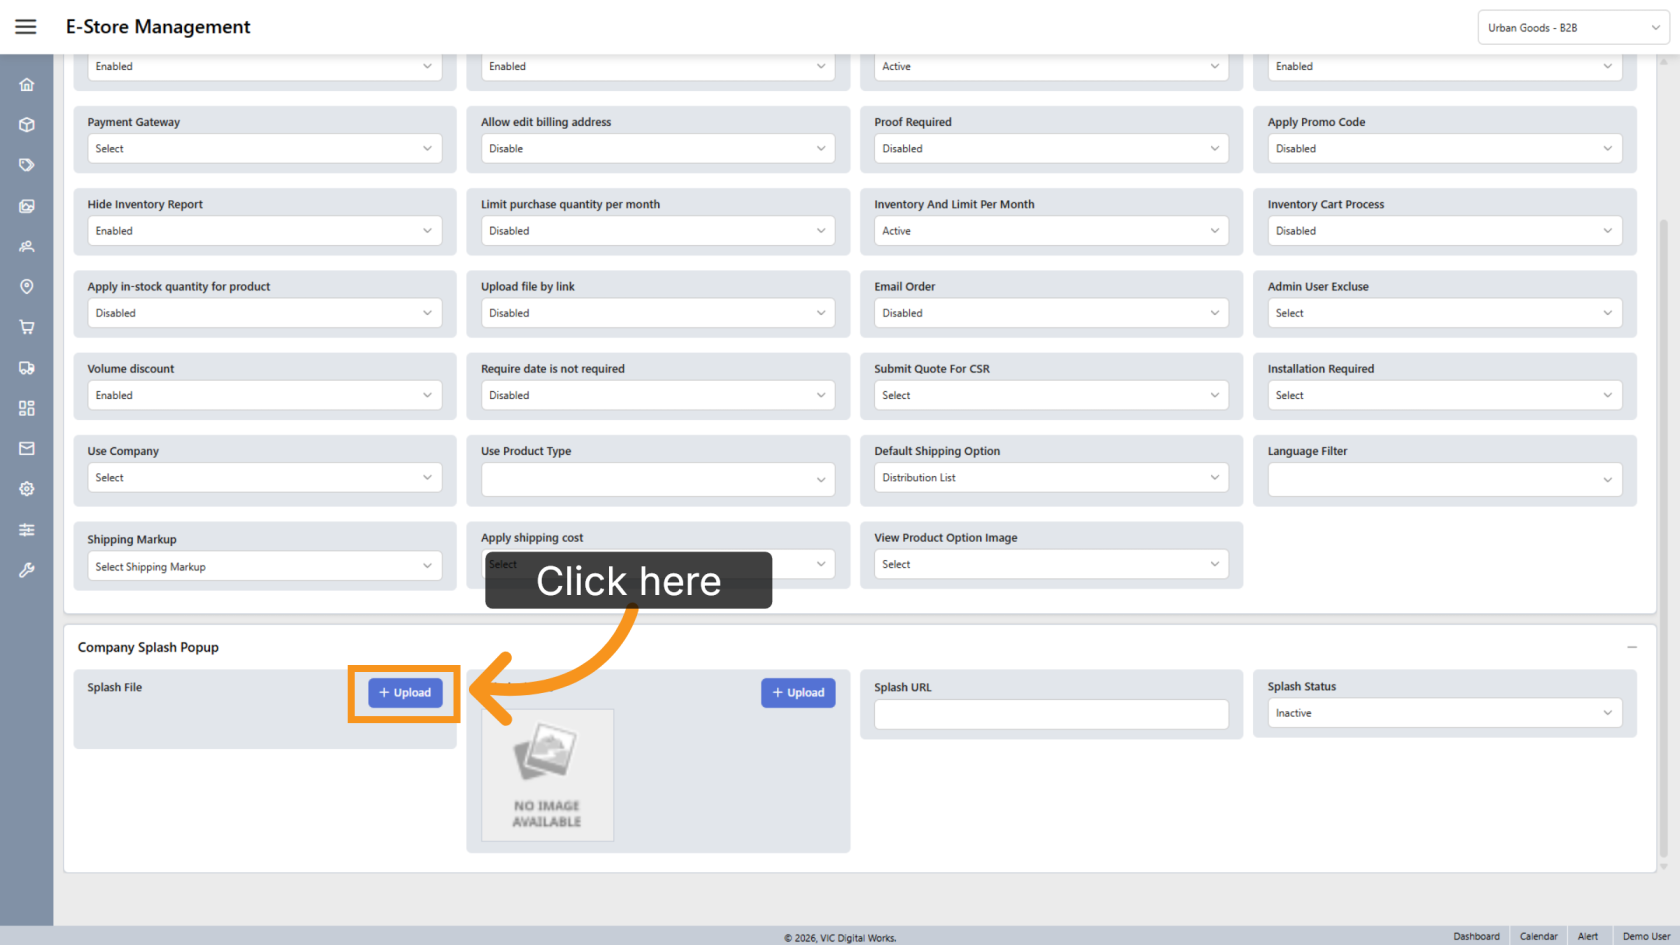
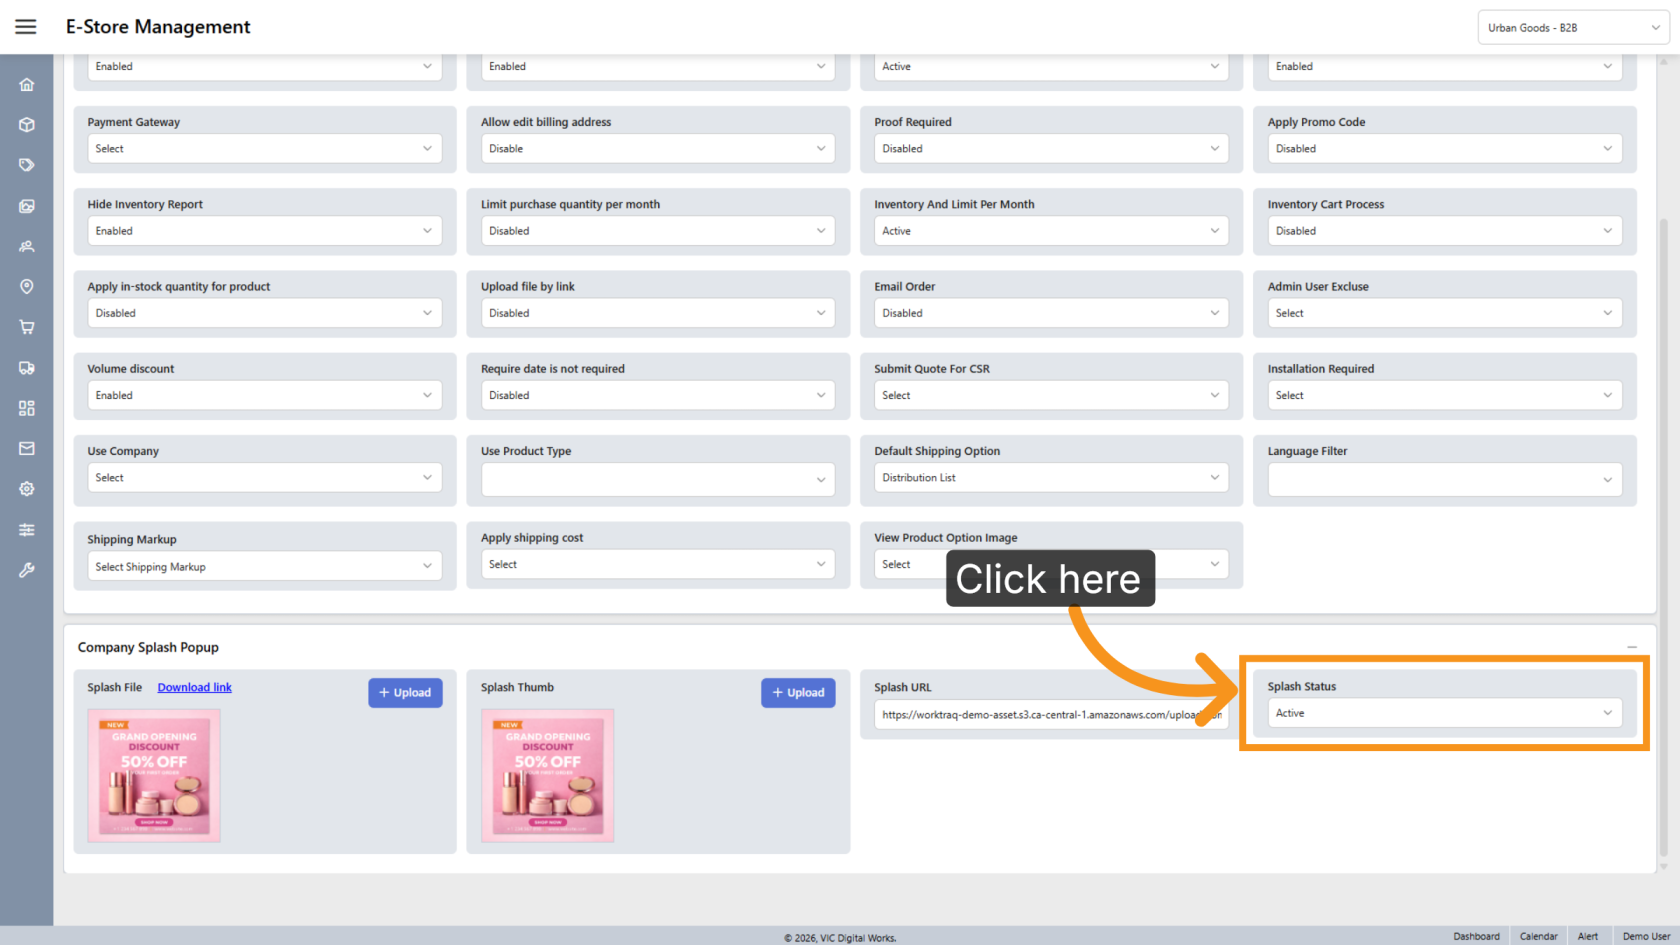
29. Upload Splash File
Click Upload to upload the splash file.
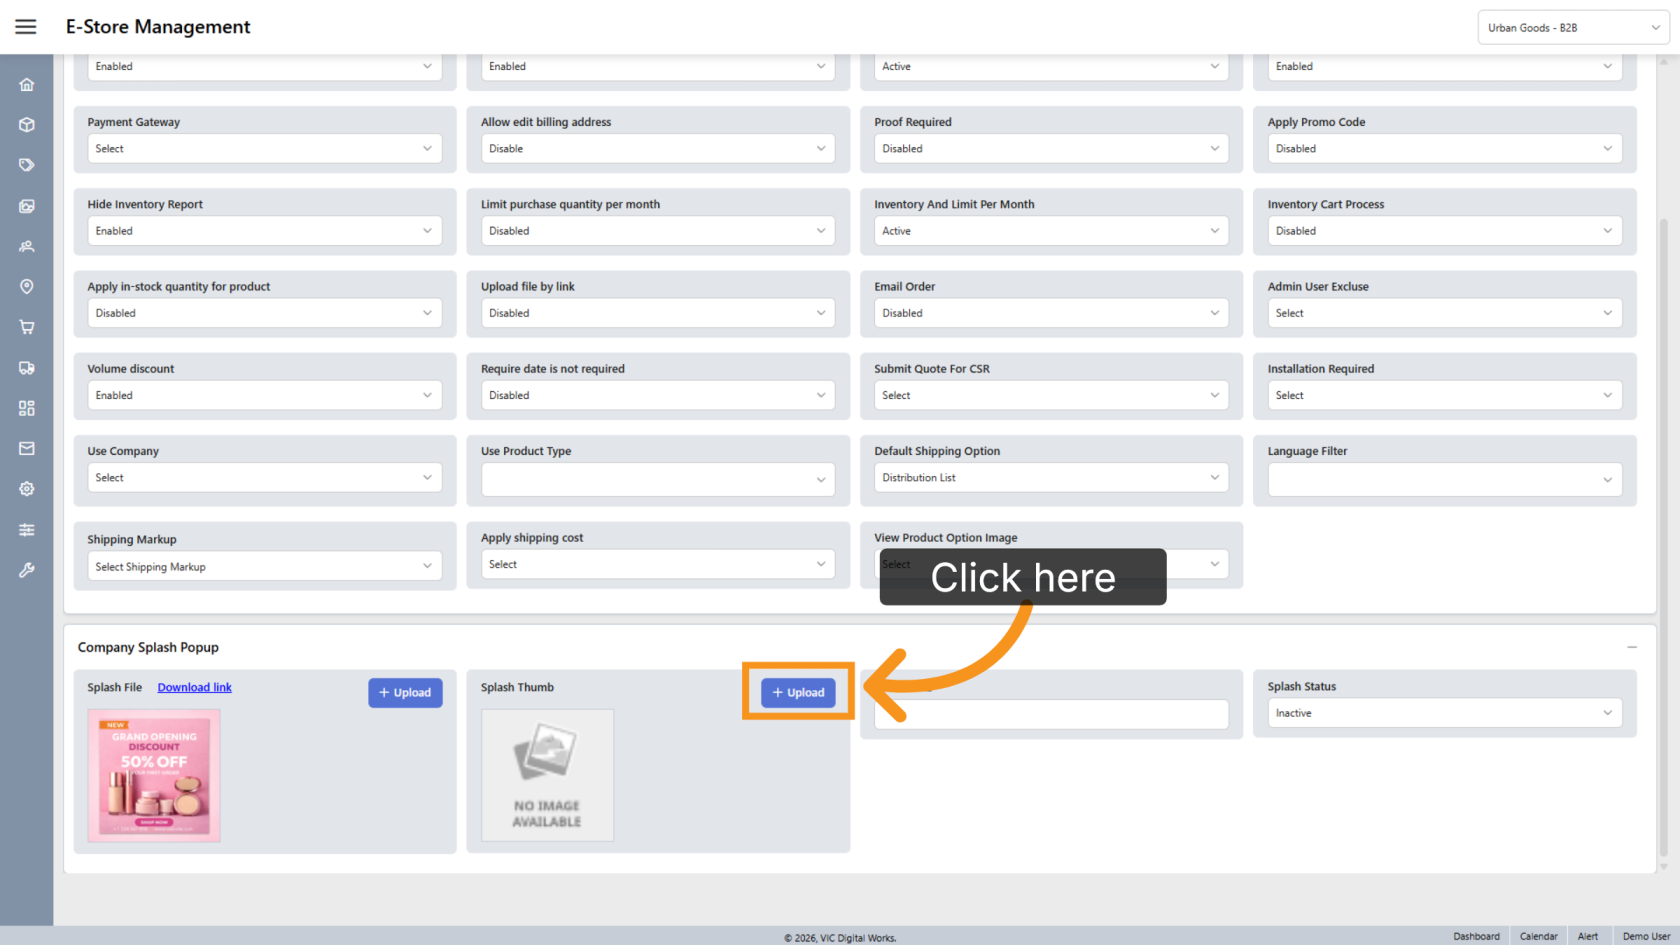
30. Upload Splash Thumbnail
Upload the thumbnail image for the splash file.
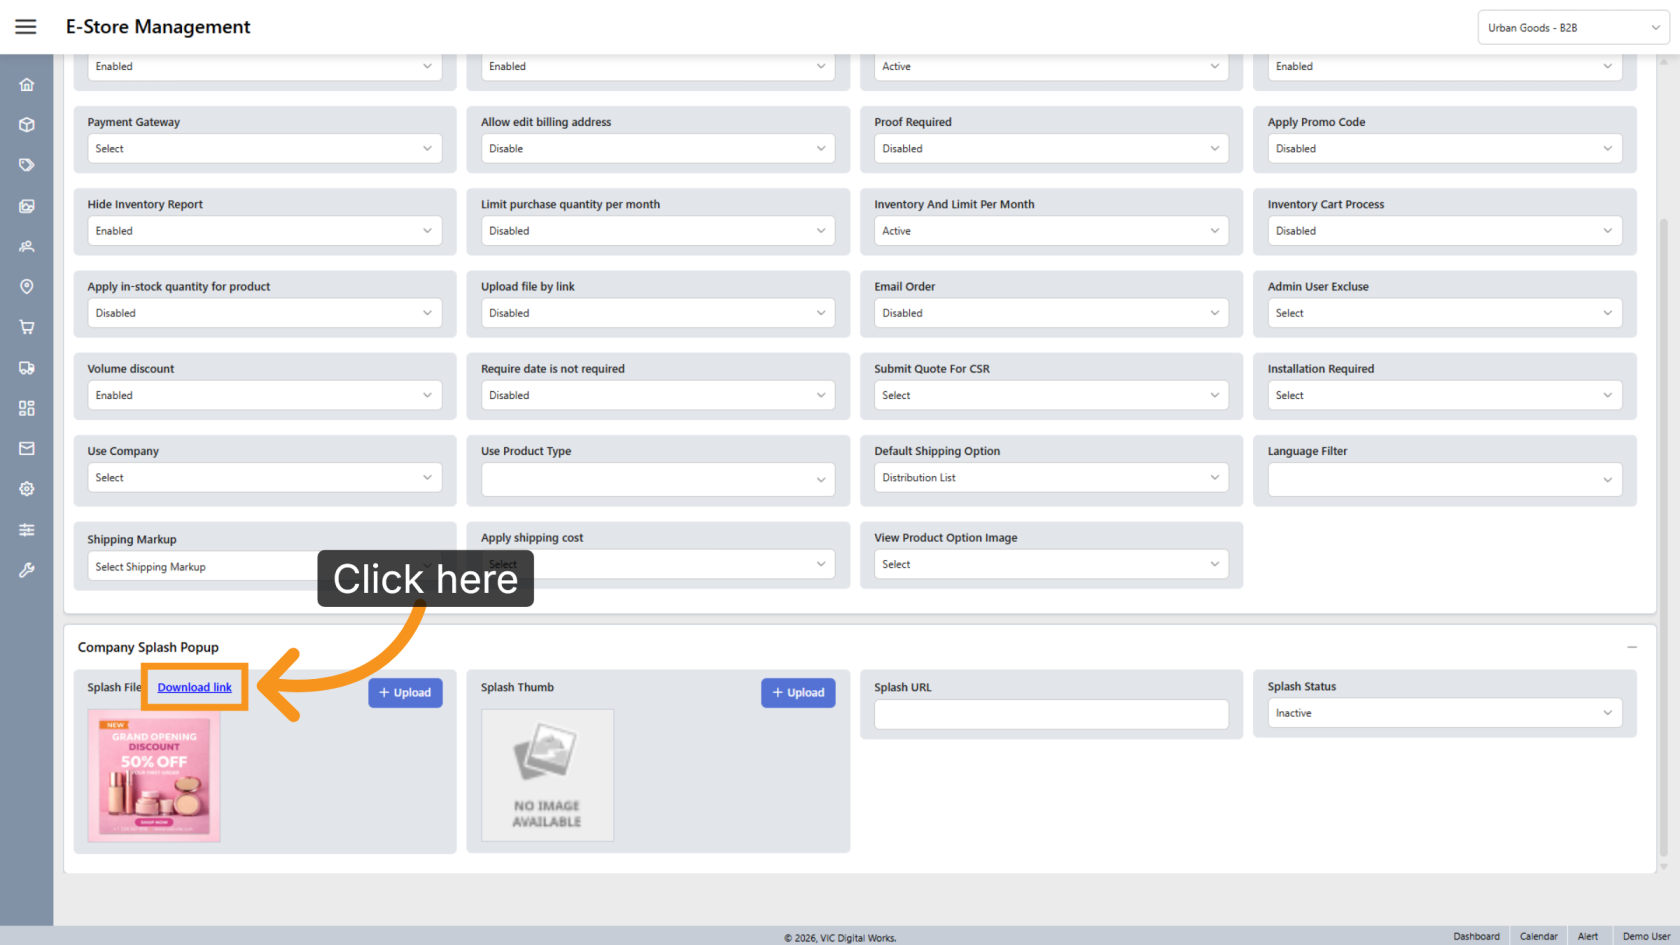
31. Copy the Download Link
Click Download Link to open the splash file in a new window, then copy the URL.
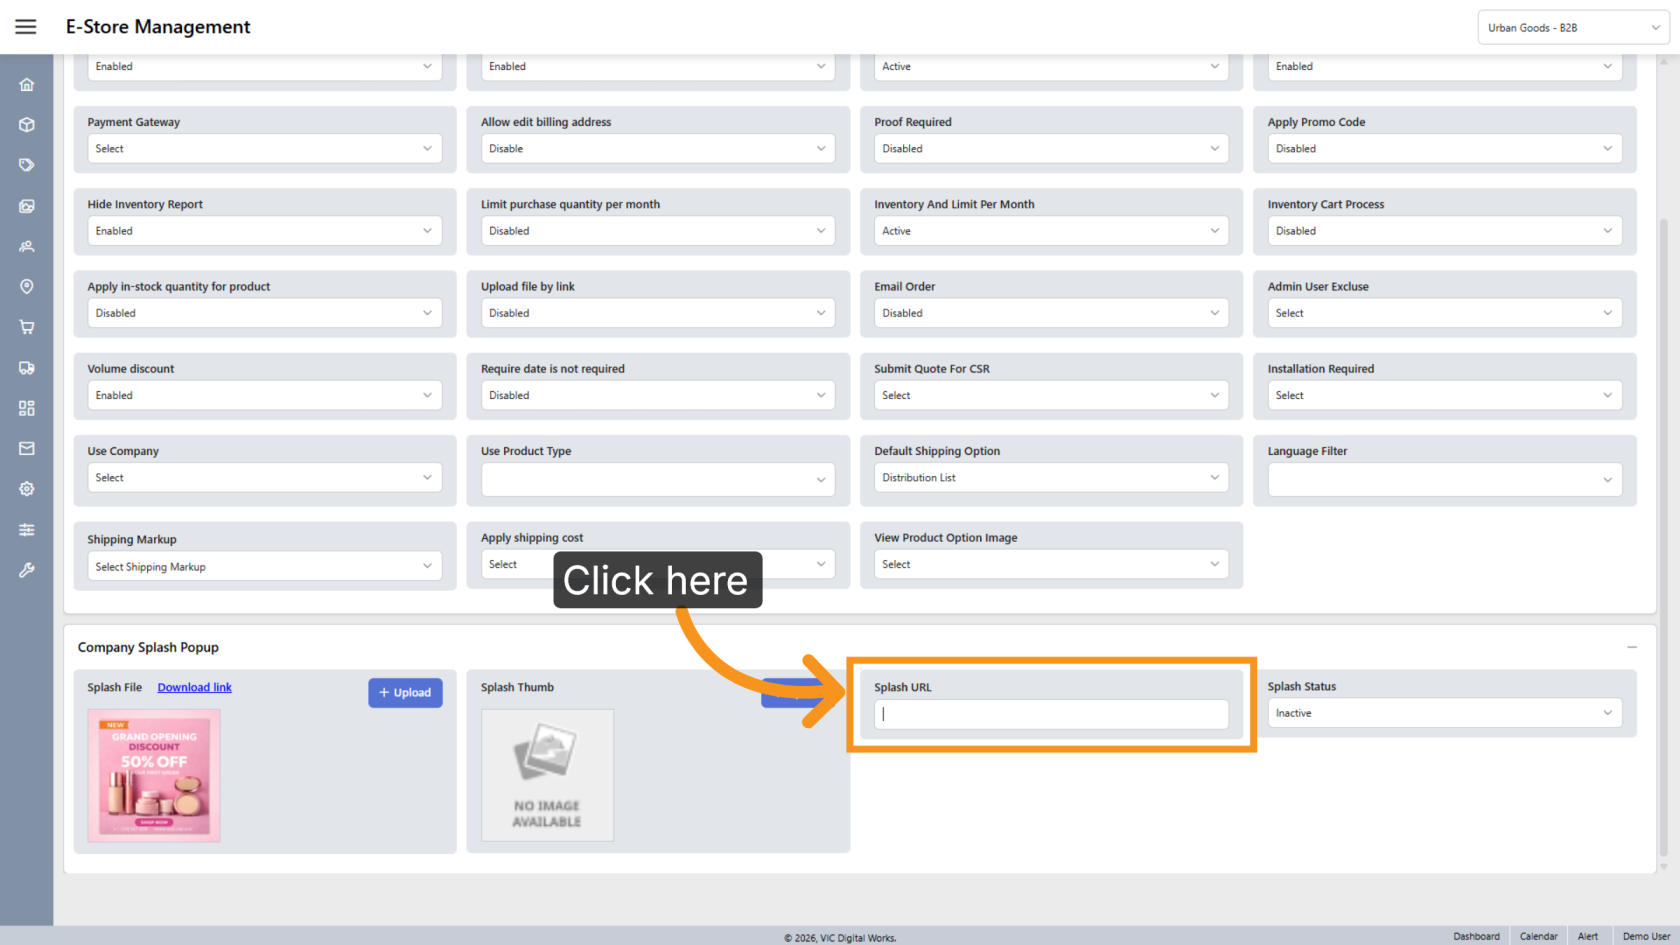
32. Splash URL
Paste the copied URL into the Splash URL field.
33. Splash Status
Select Active to enable the splash popup.
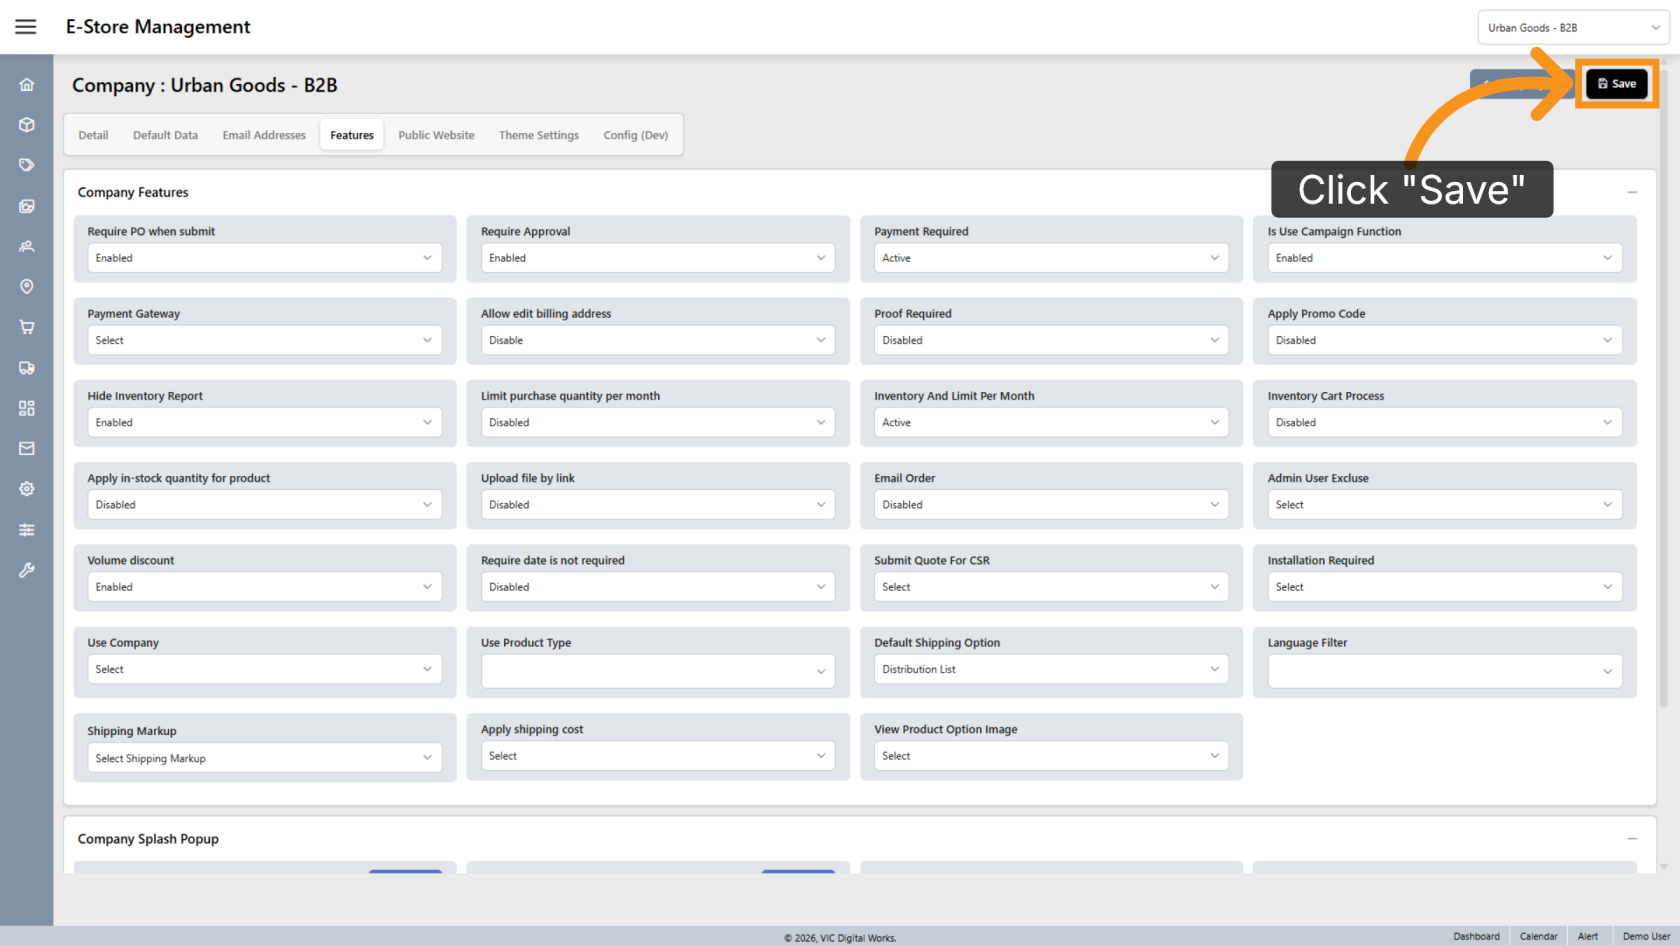
34. Save Changes
Click Save to apply all company feature and storefront configuration changes.
You have successfully configured the company features and splash popup settings. Review the company configuration to ensure all changes have been saved correctly.