
Create Location
This tutorial explains how to create and configure a new location in the App.
Video Tutorial
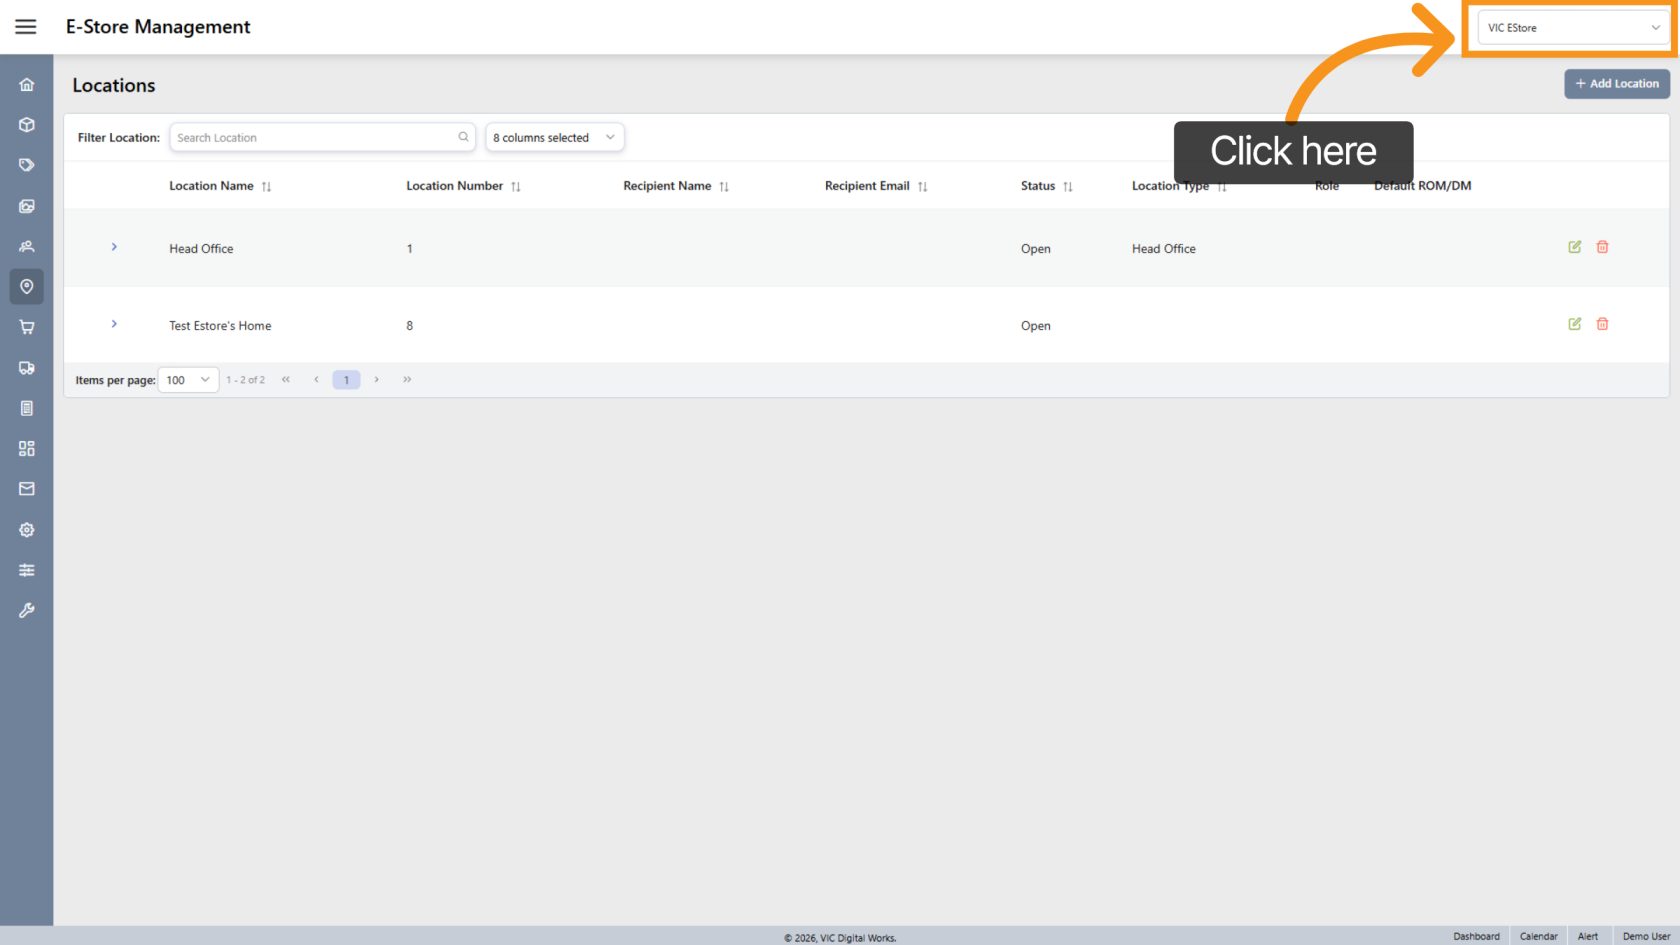
1. Select Company Store
Choose the Company Store where you want to create the new location.
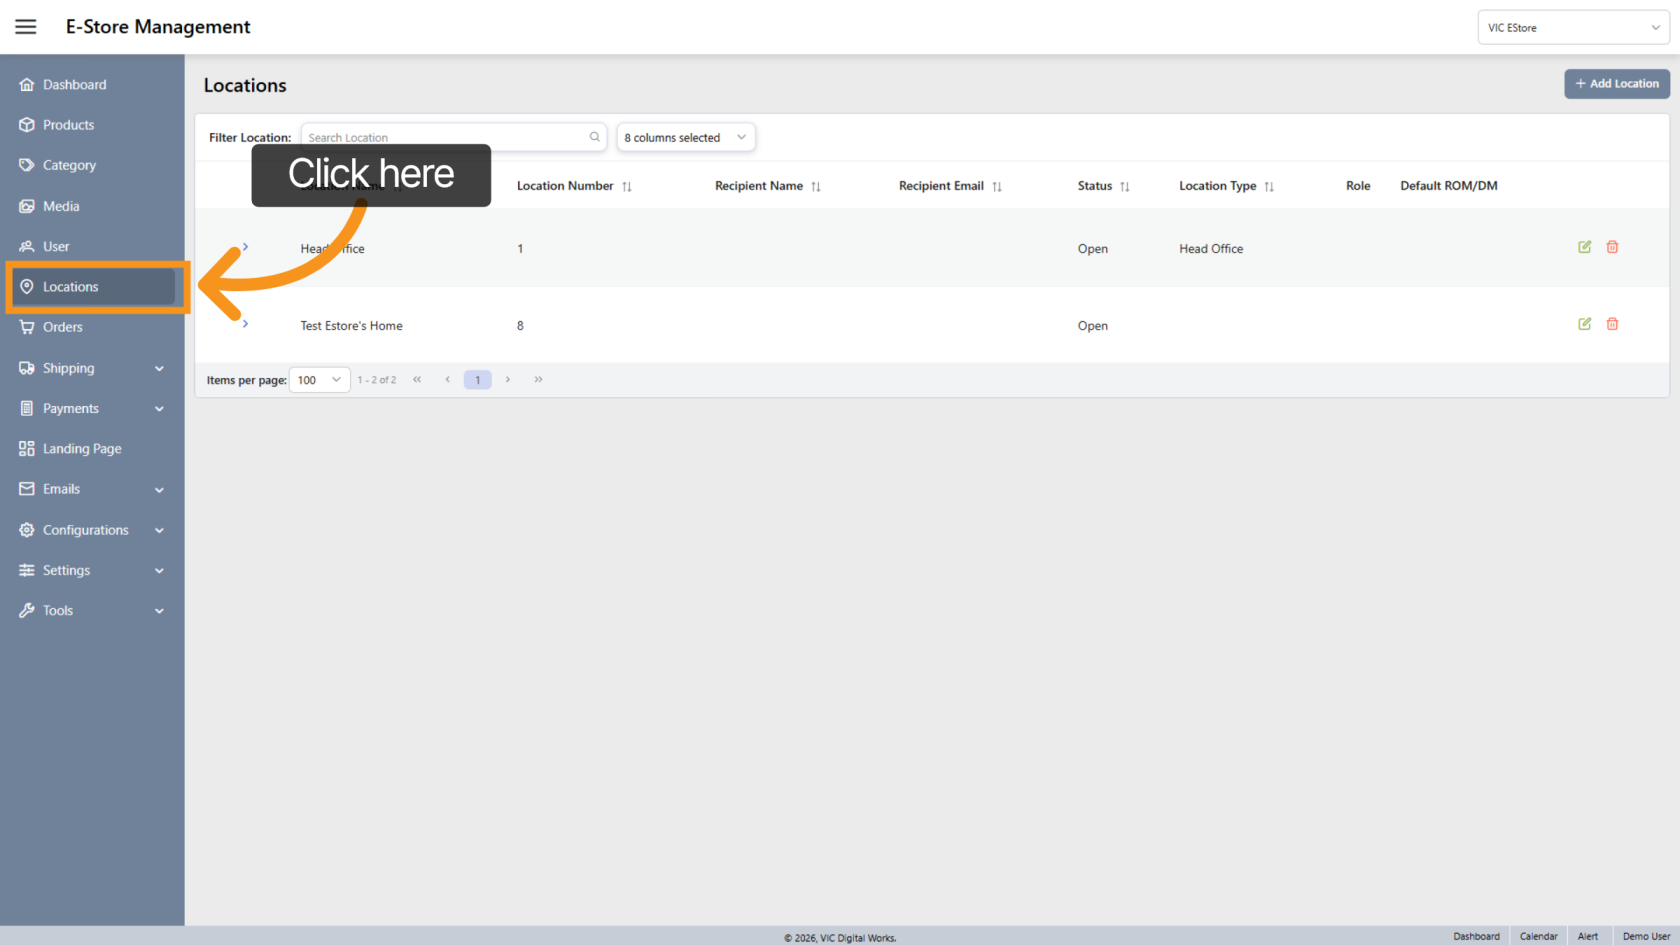
2. Open Locations
Click Locations to view and manage existing locations.
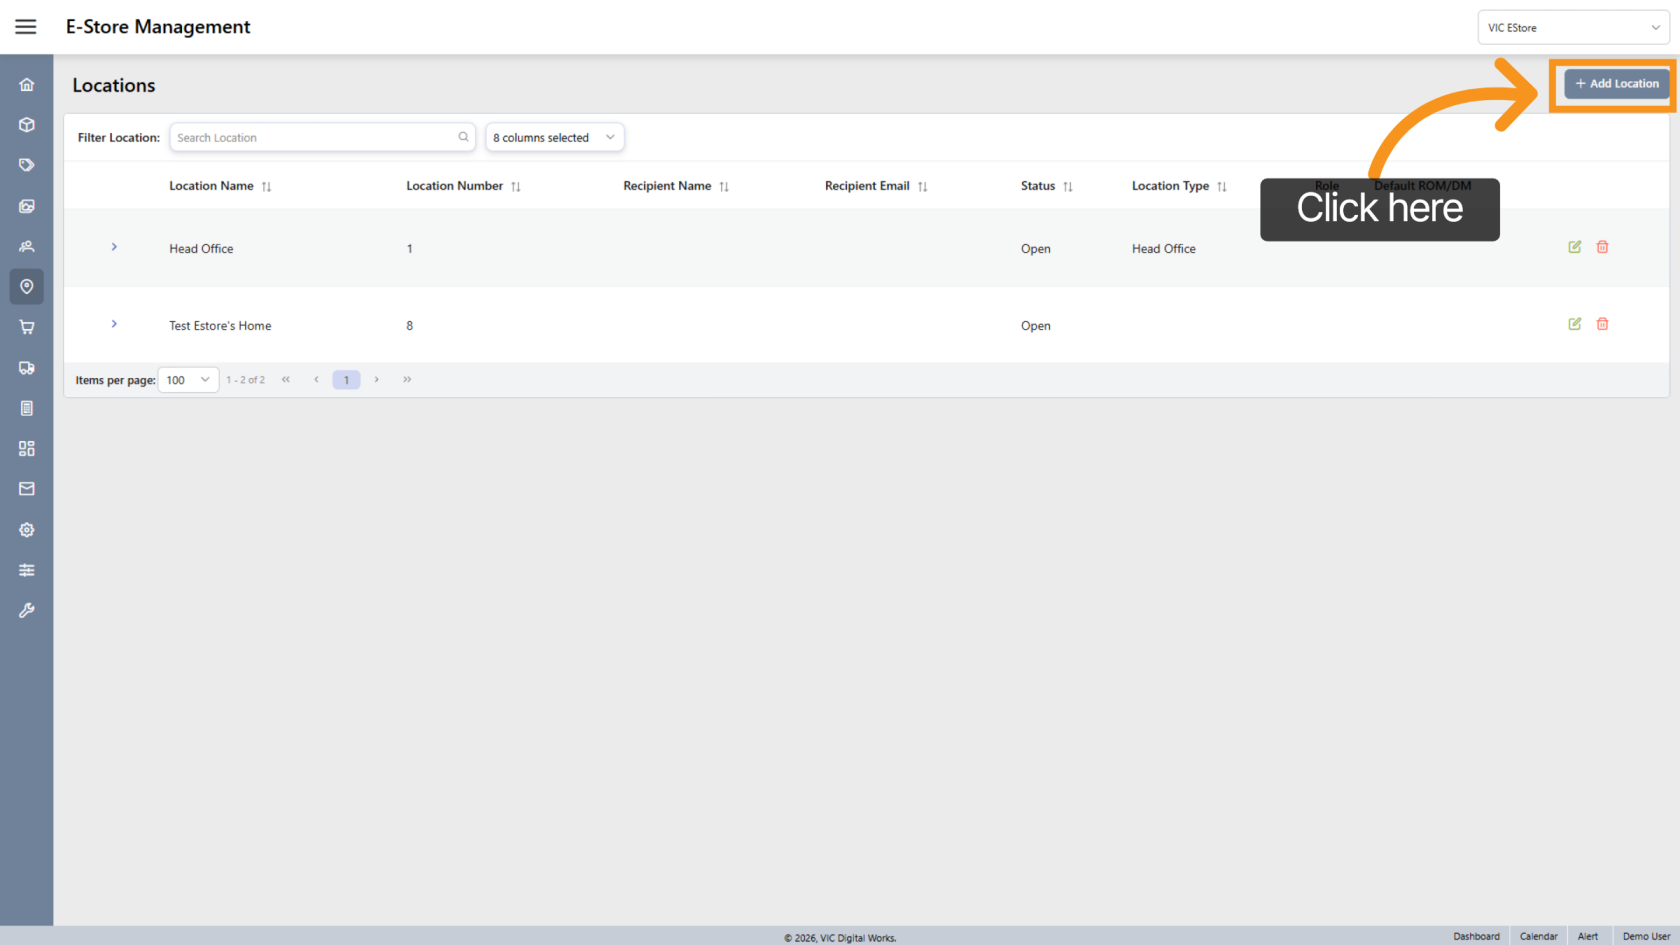
3. Add Location
Click "Add Location" to begin creating a new location.
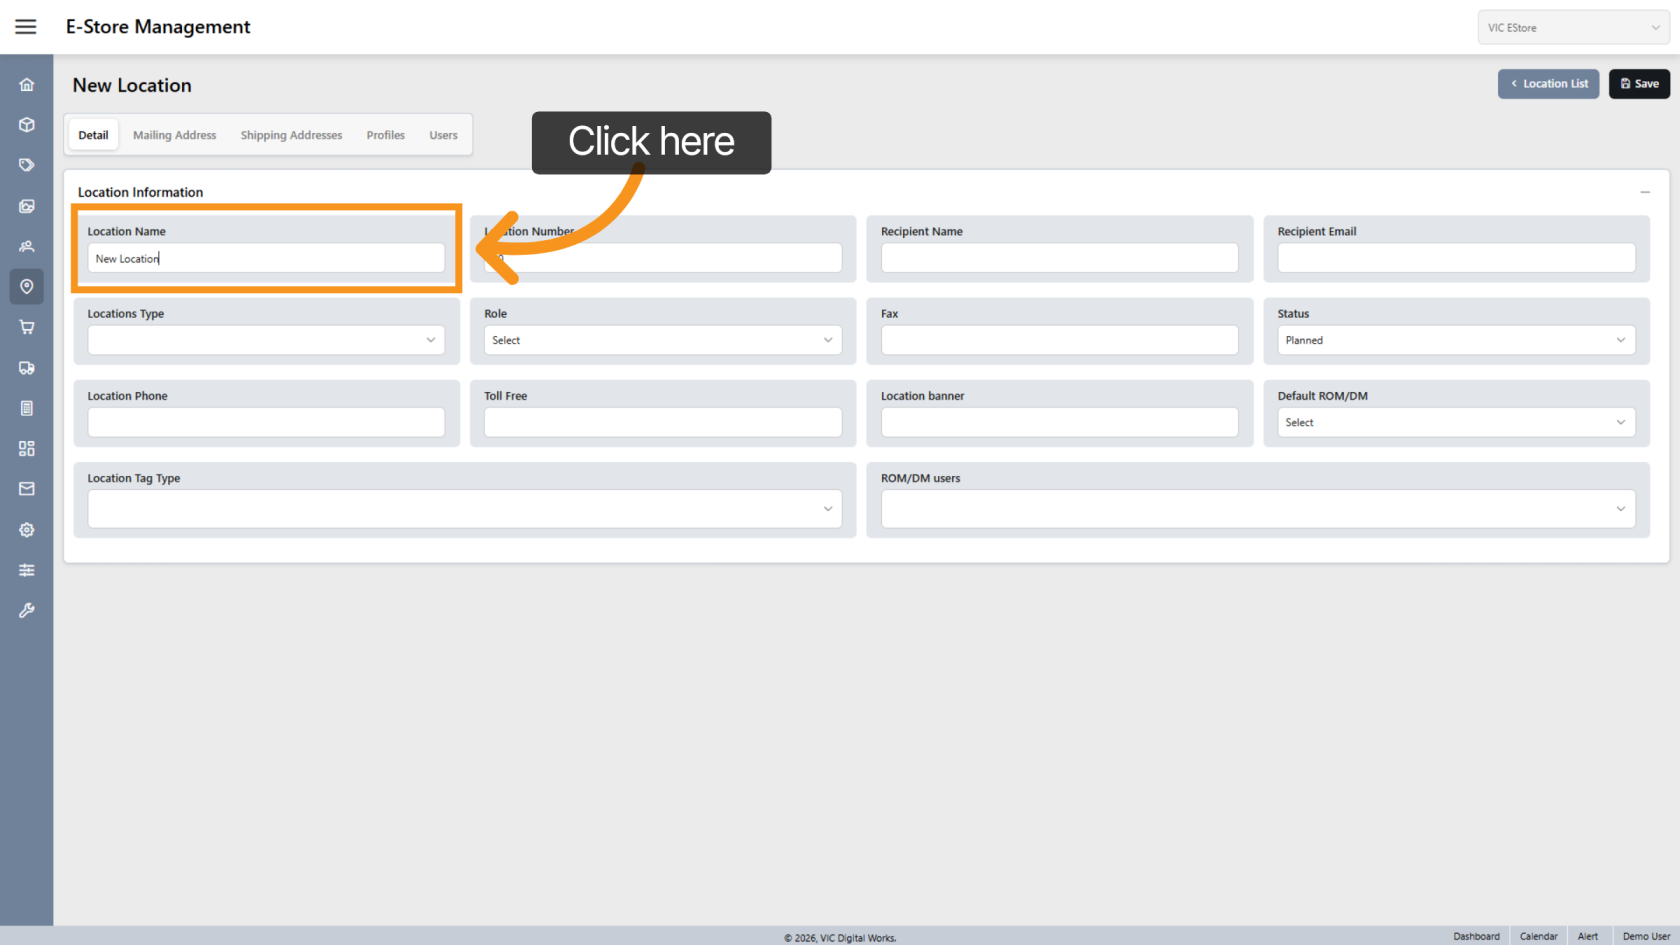
4. Enter Location Name
Enter the name for the new location.
5. Location Number
The system automatically generates a Location Number, but you can modify it if needed.
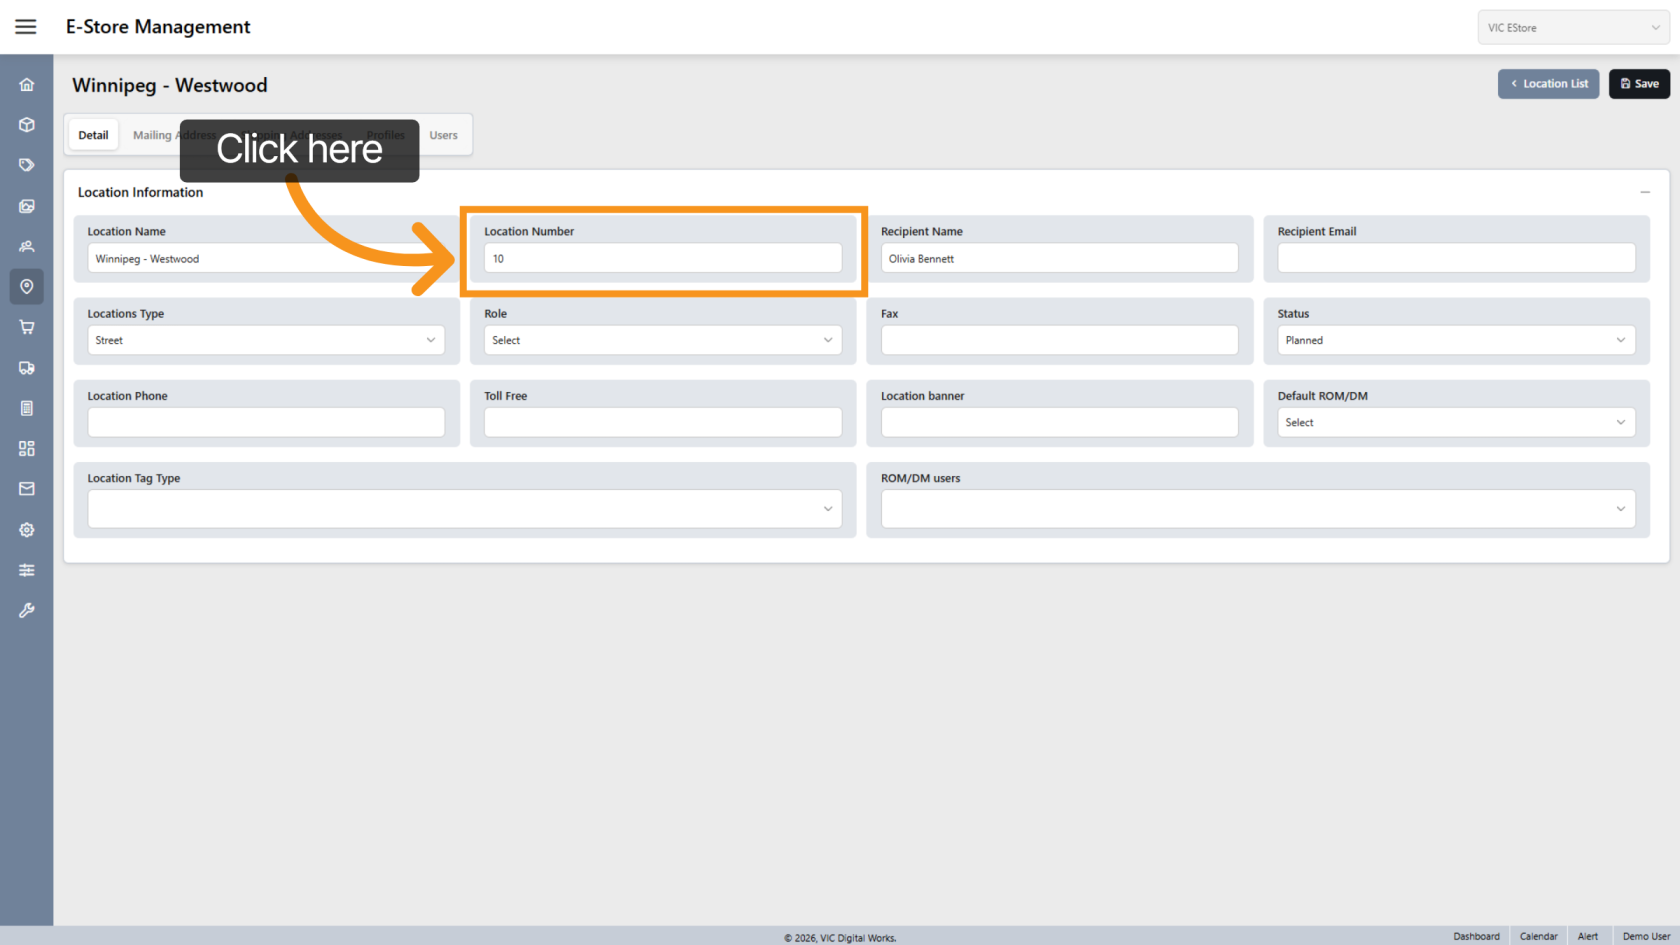
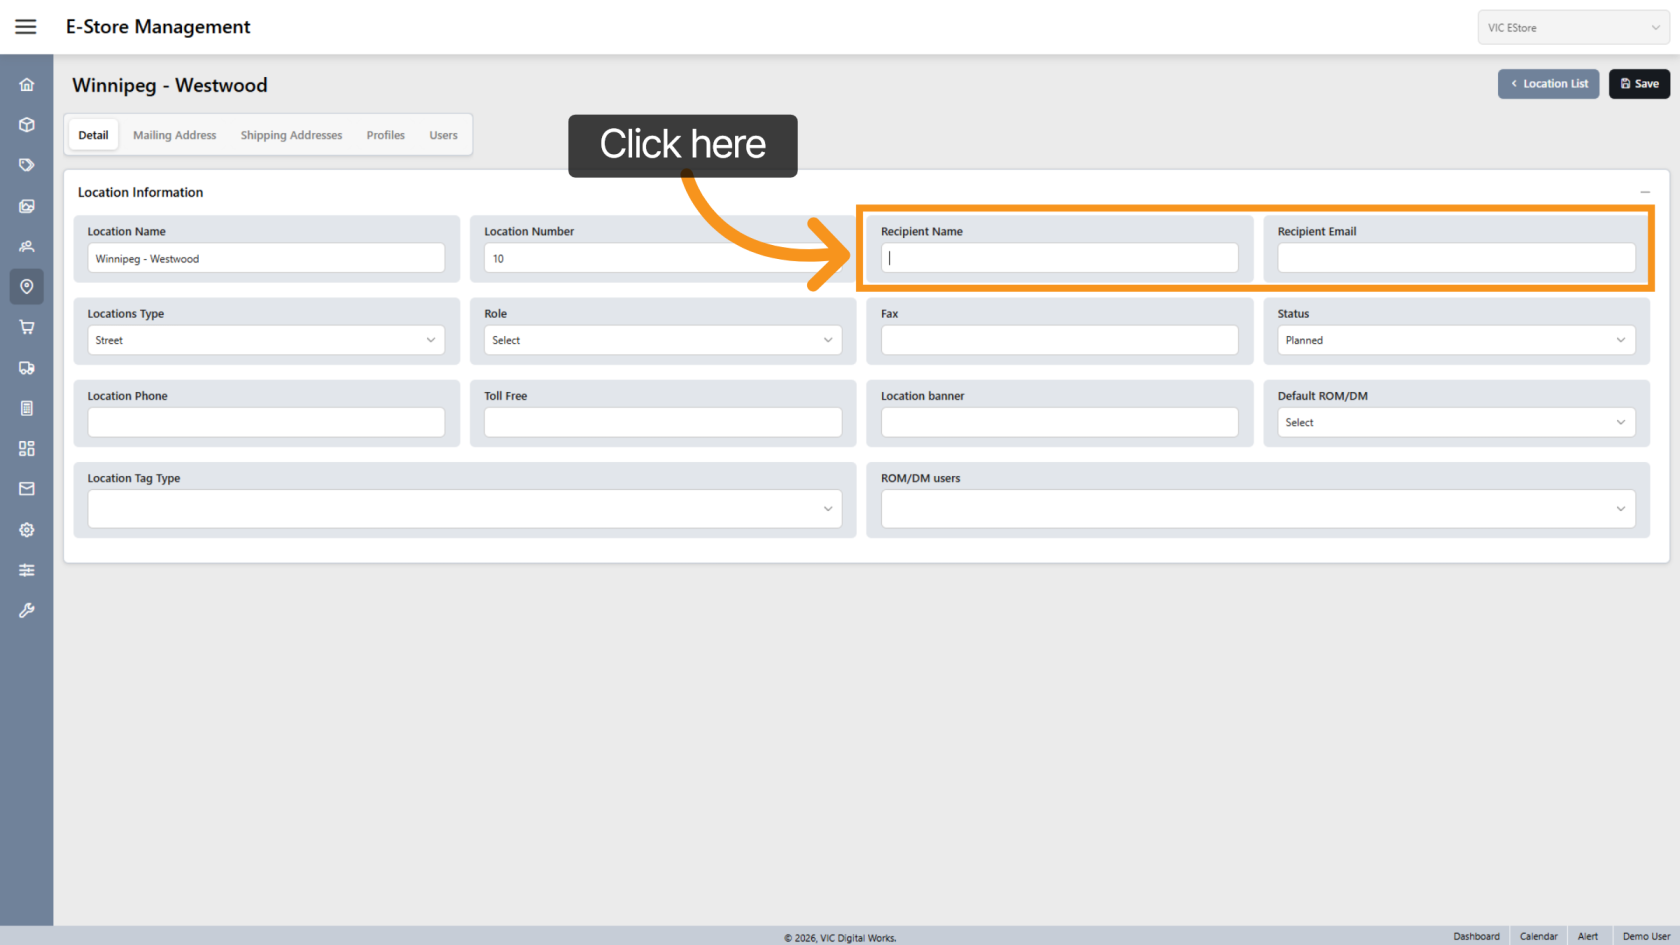
6. Recipient Details
Enter the recipient's name and email address if required for shipping.
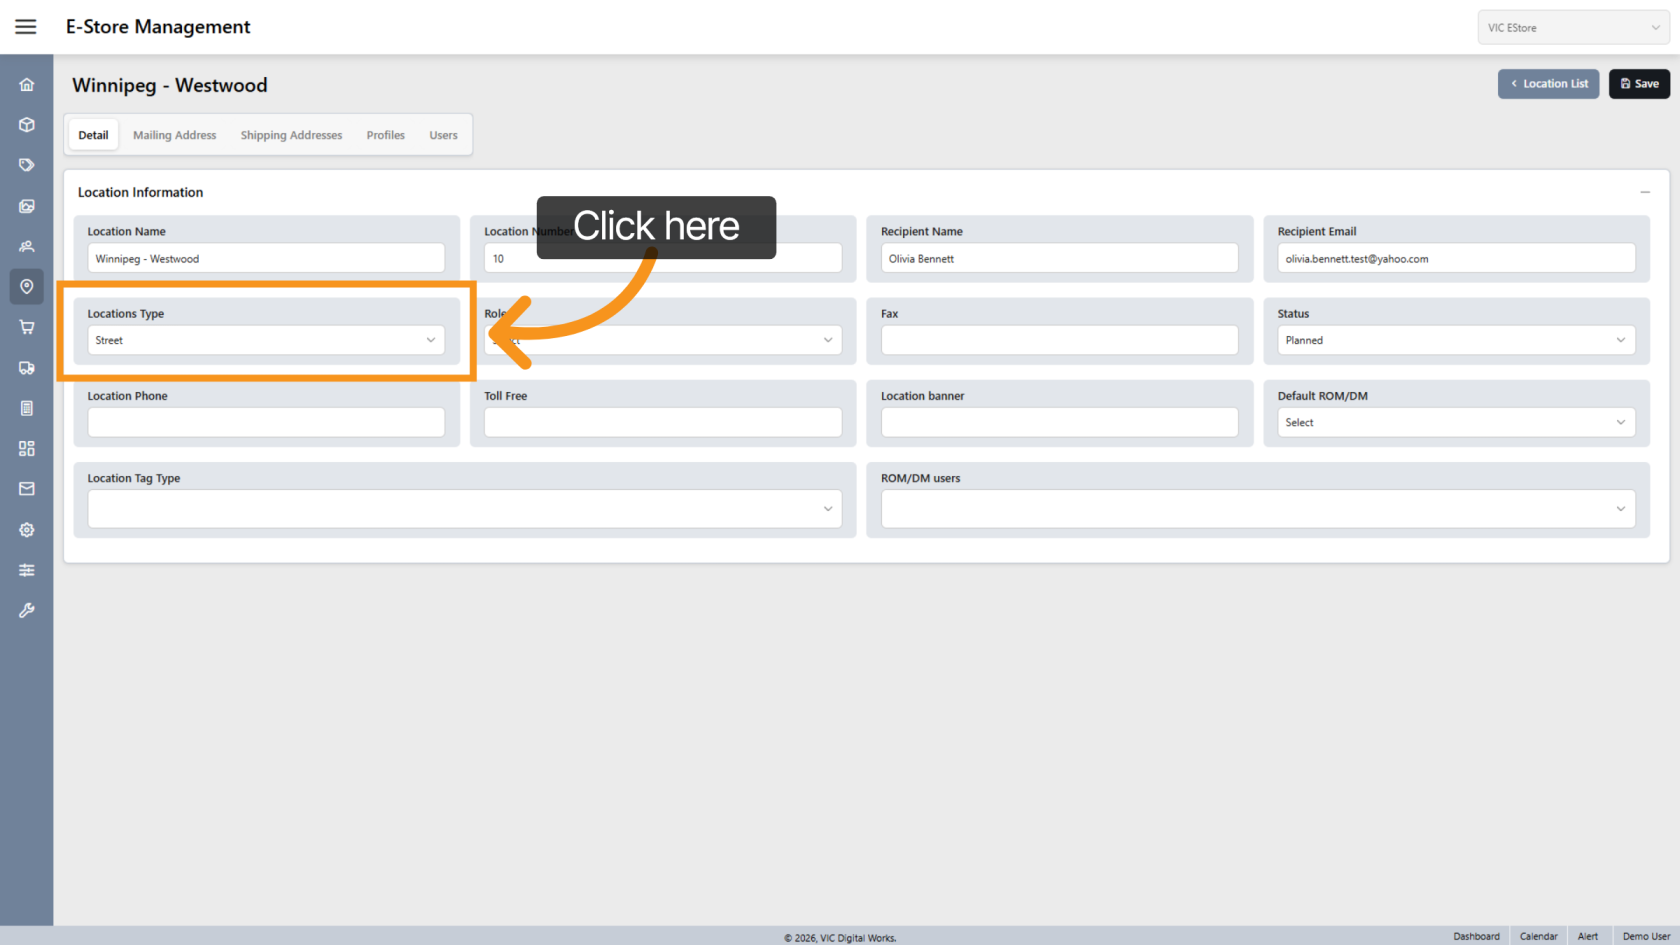
7. Select Location Type
Choose the appropriate Location Type.
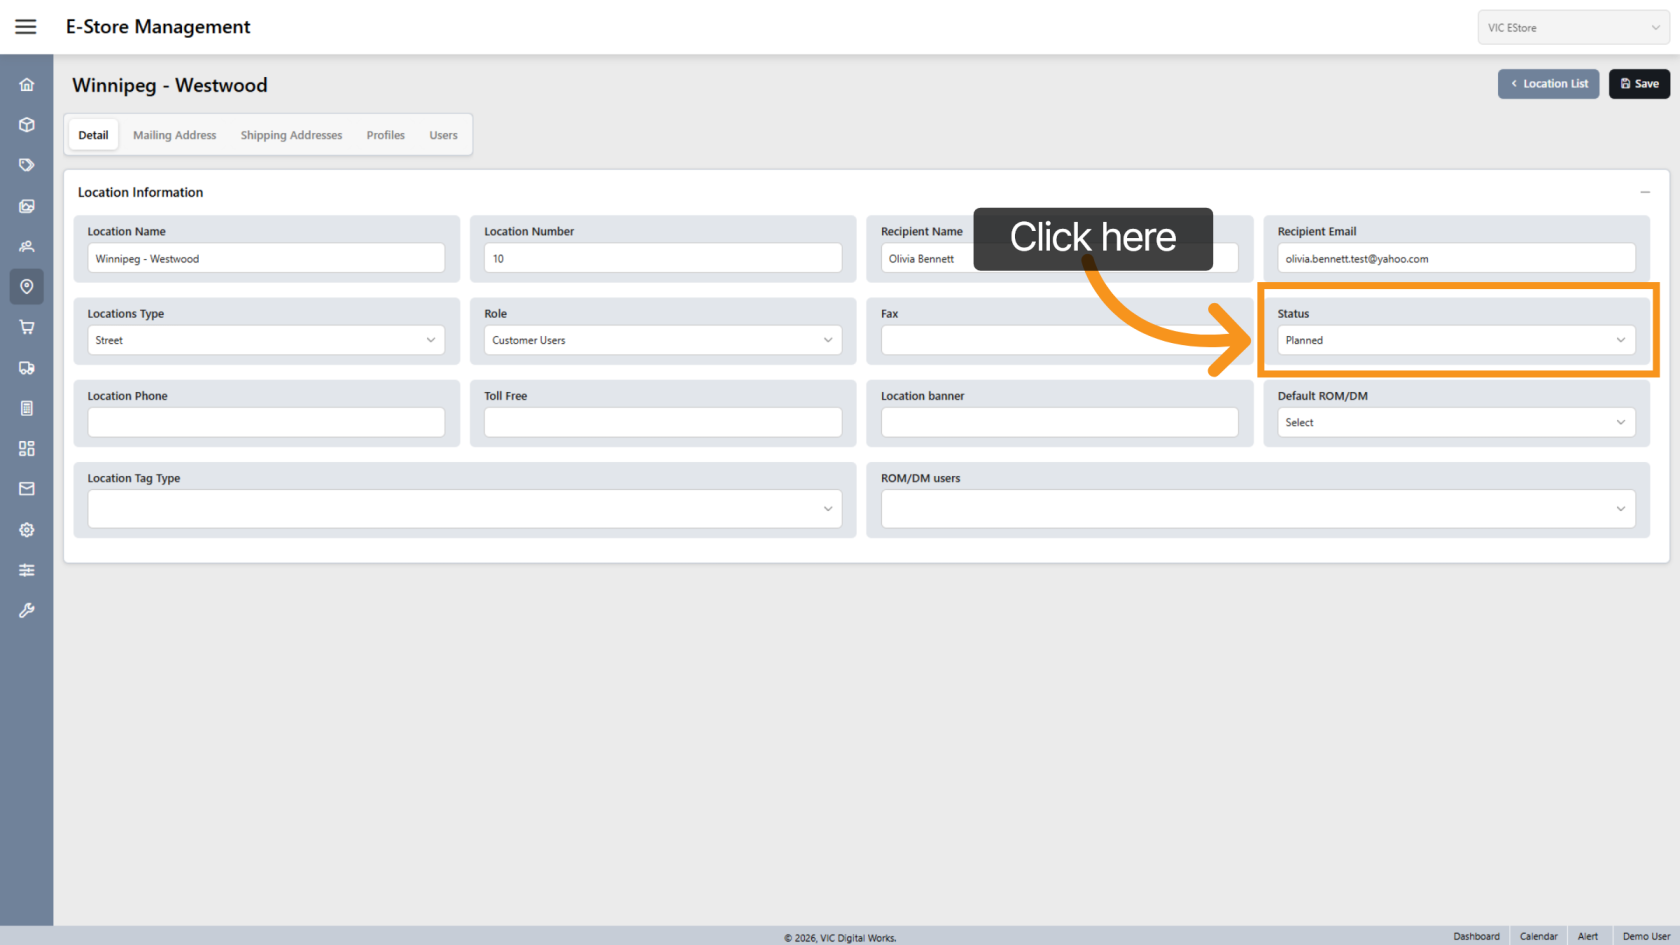
8. Set Location Status
Select the appropriate status:
- Opened – The location is active
- Planned – The location is not yet ready to open
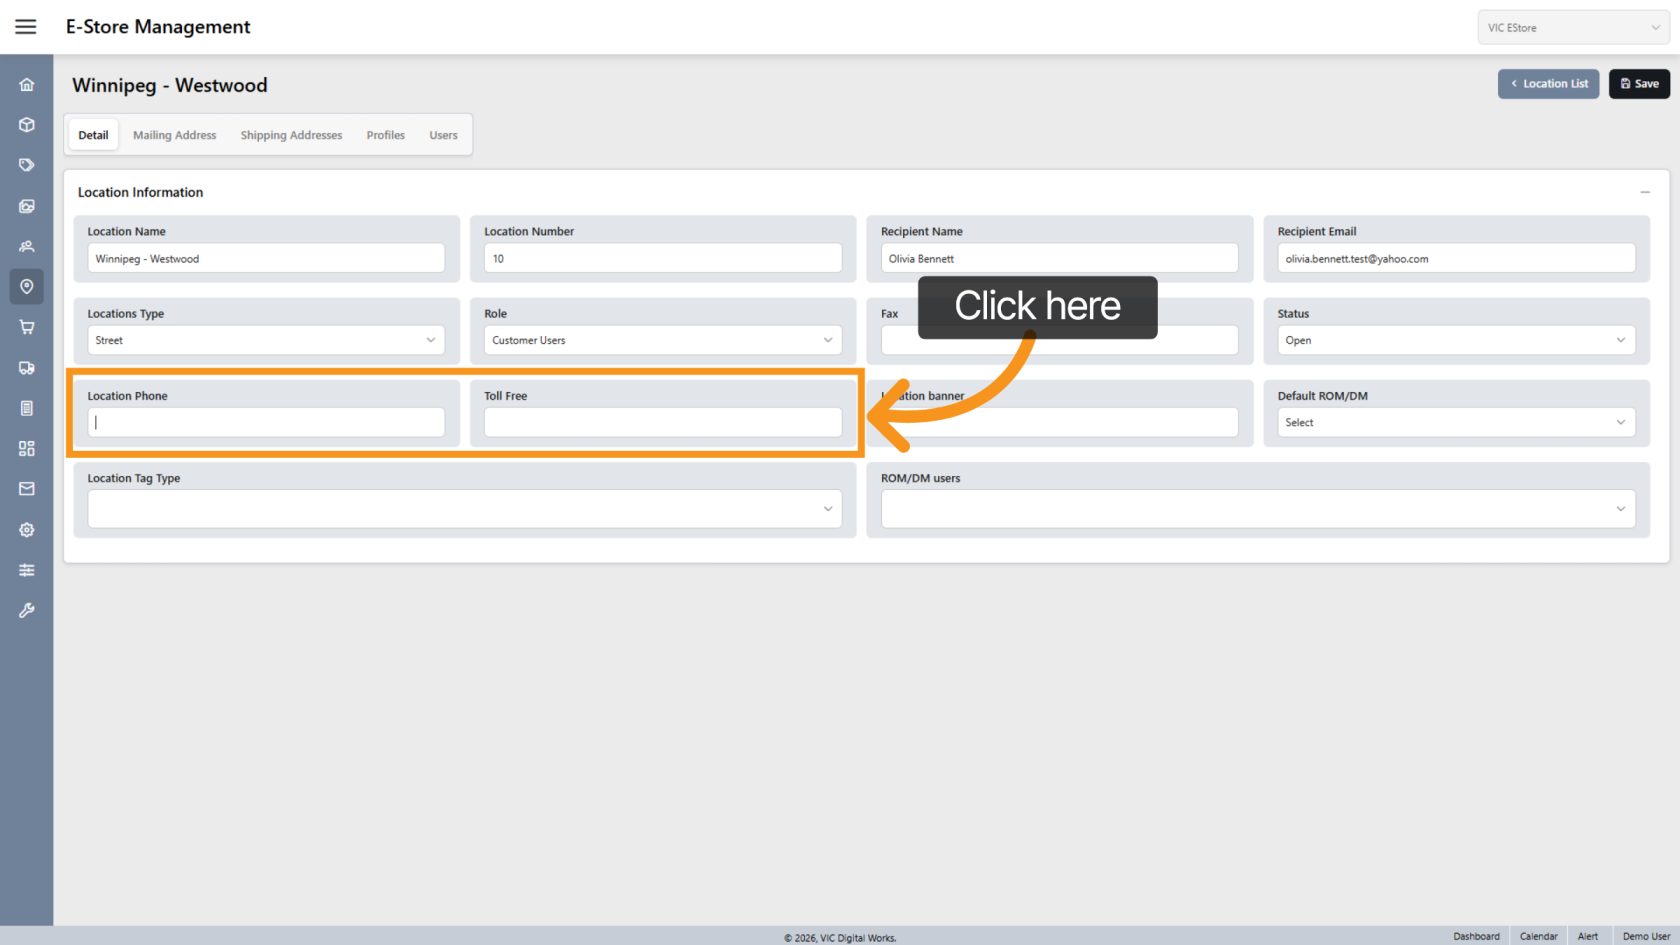
9. Location Phone
Enter the location’s phone number.
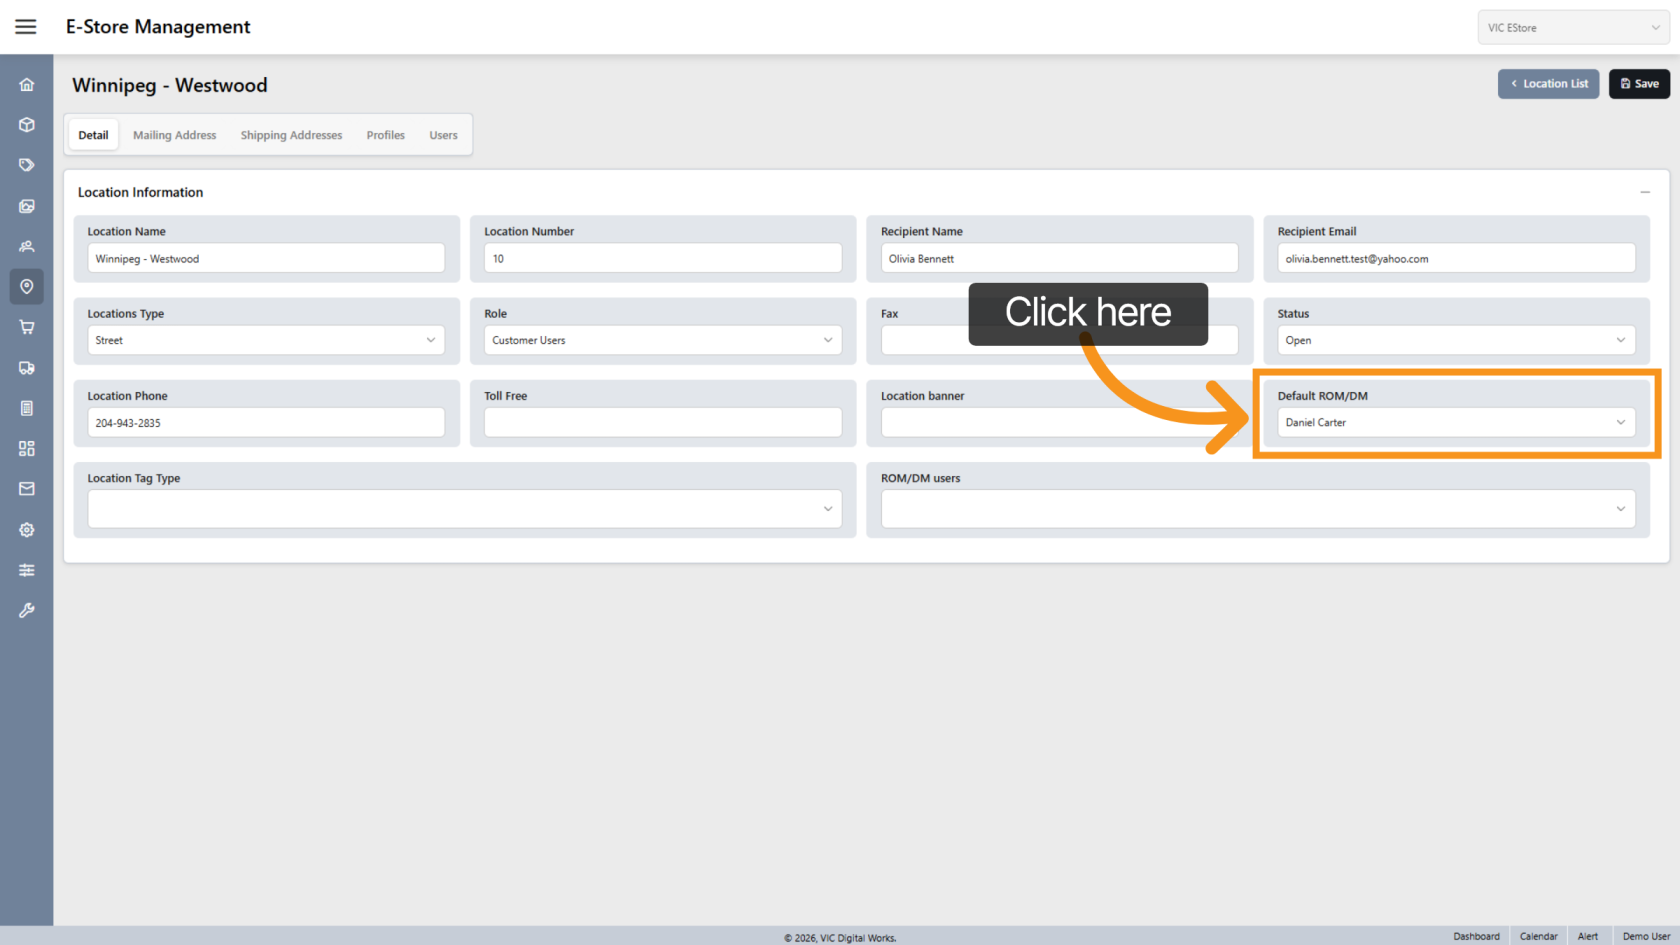
10. Select Default Retail Operations Manager
Choose the default Retail Operations Manager (ROM/DM) for the location.
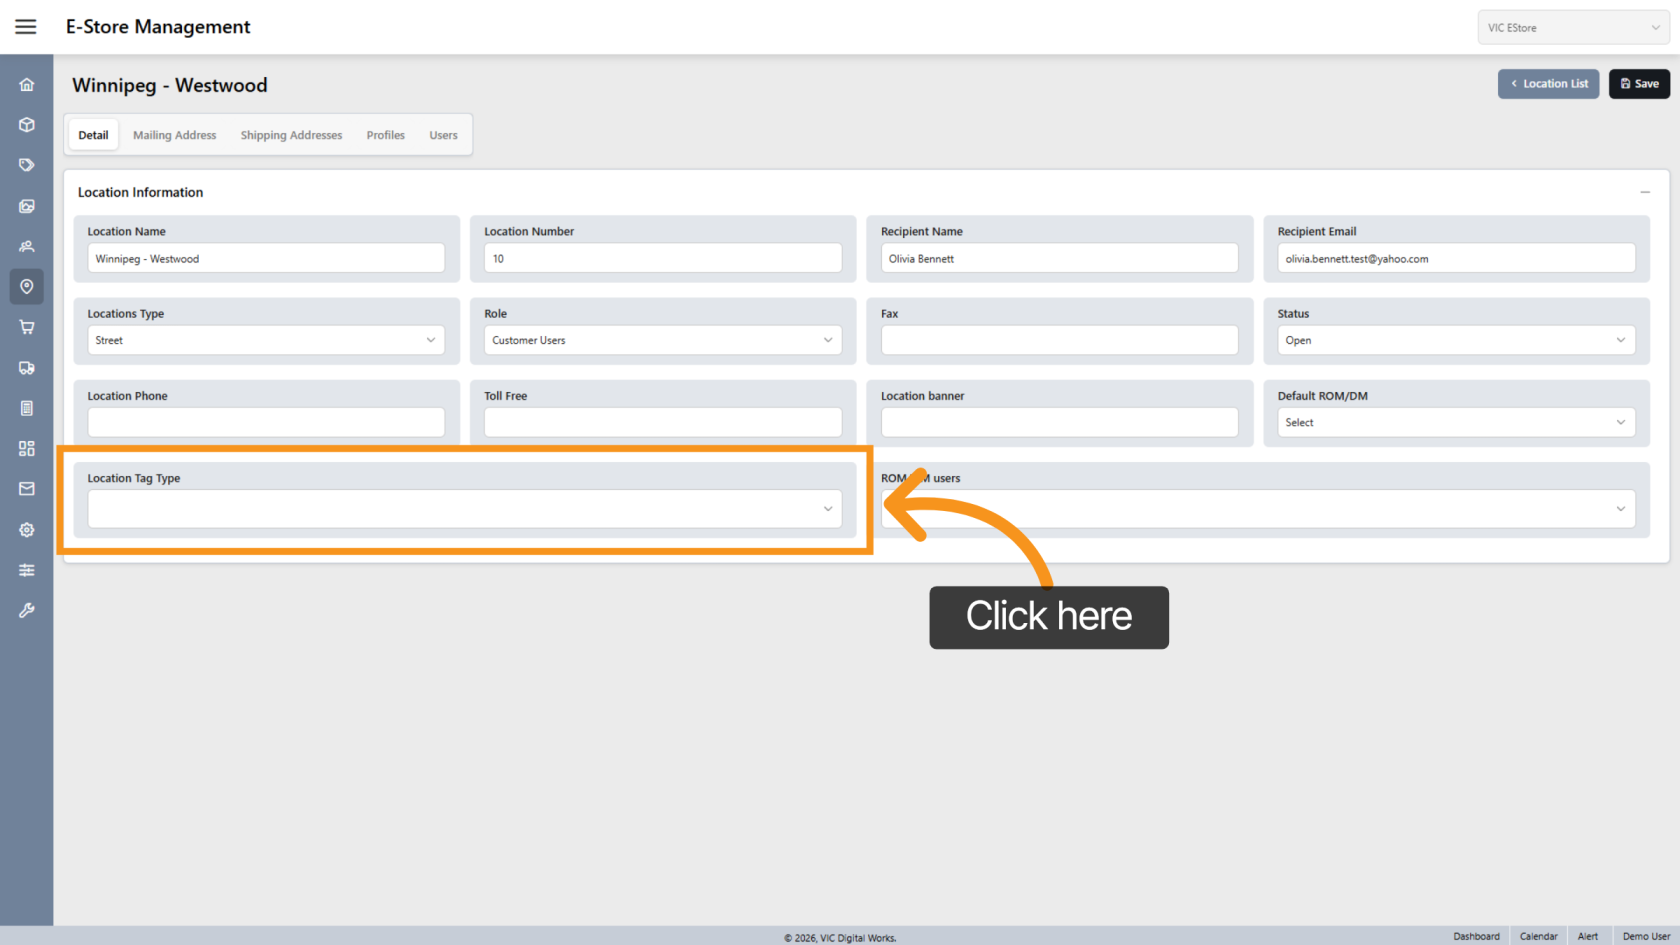
11. Select Location Tag
Assign a Location Tag if required.
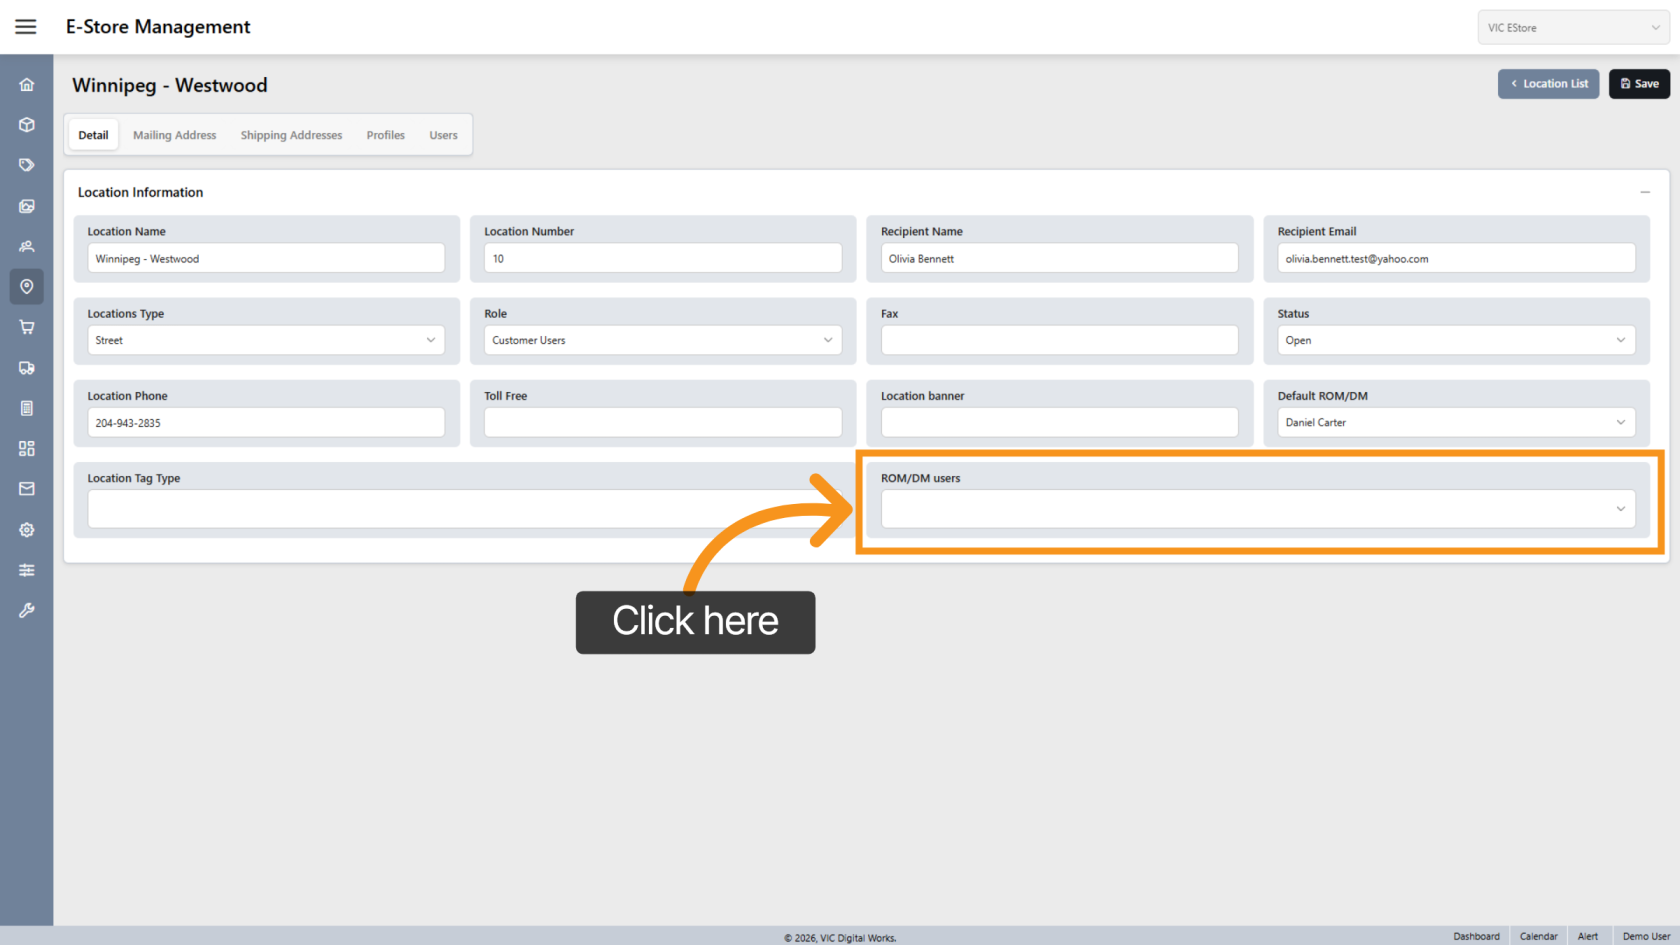
12. Assign Additional Retail Operations Manager
Add additional Retail Operations Manager (ROM/DM) users if needed.
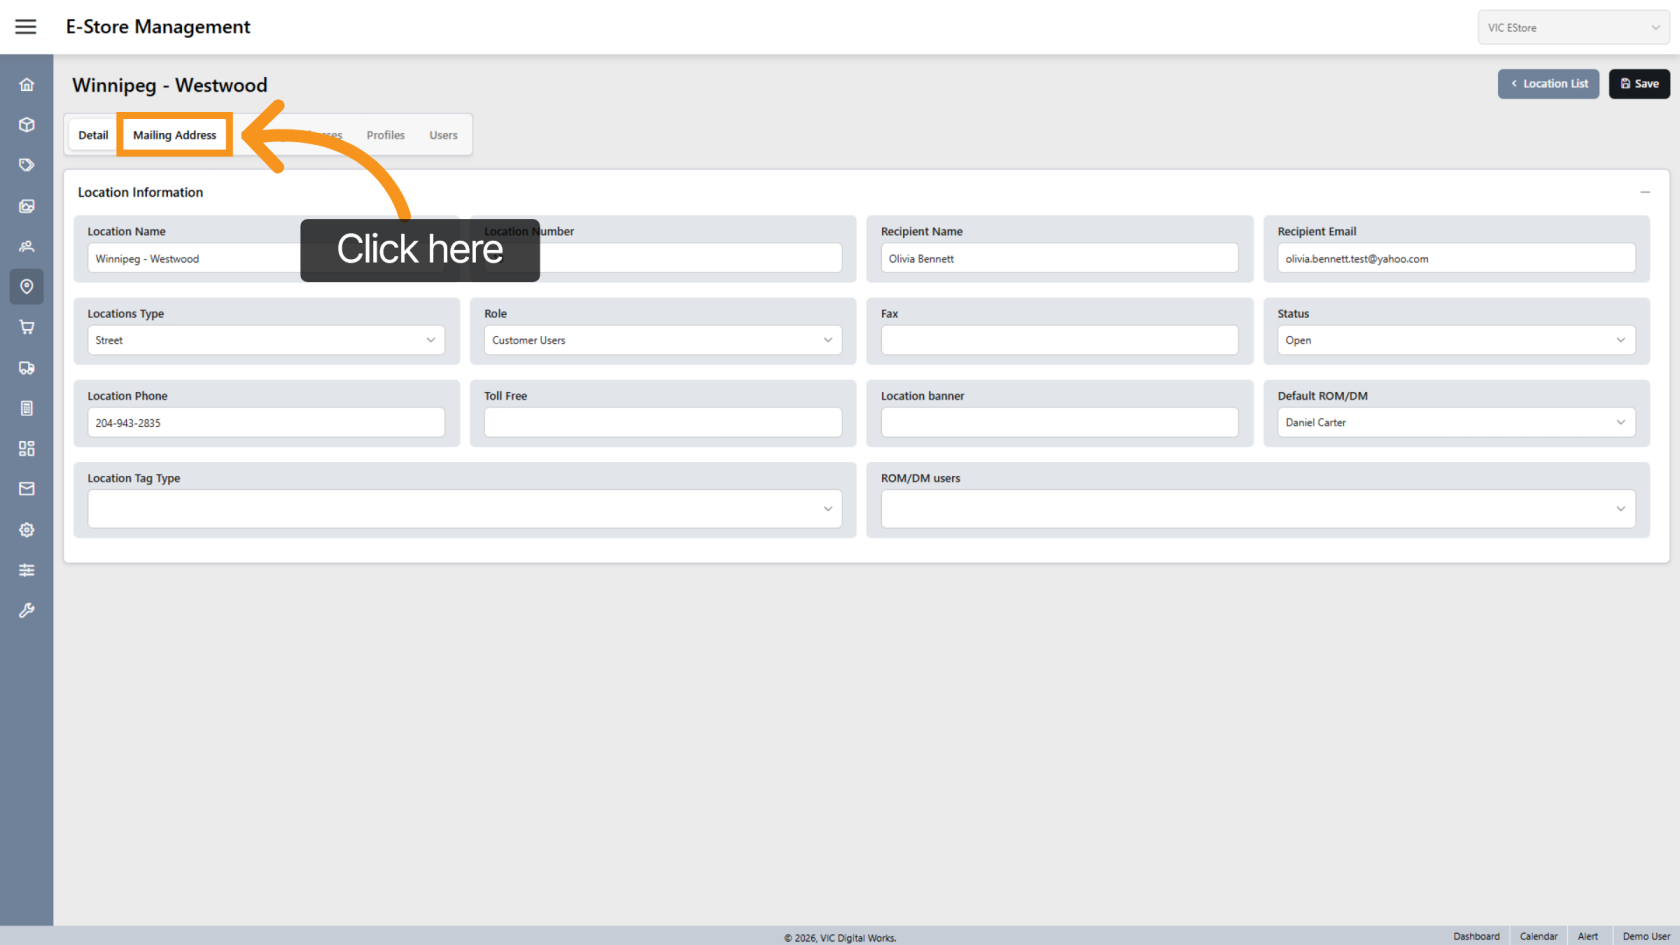
13. Open Address
Click Address to configure the location's address.
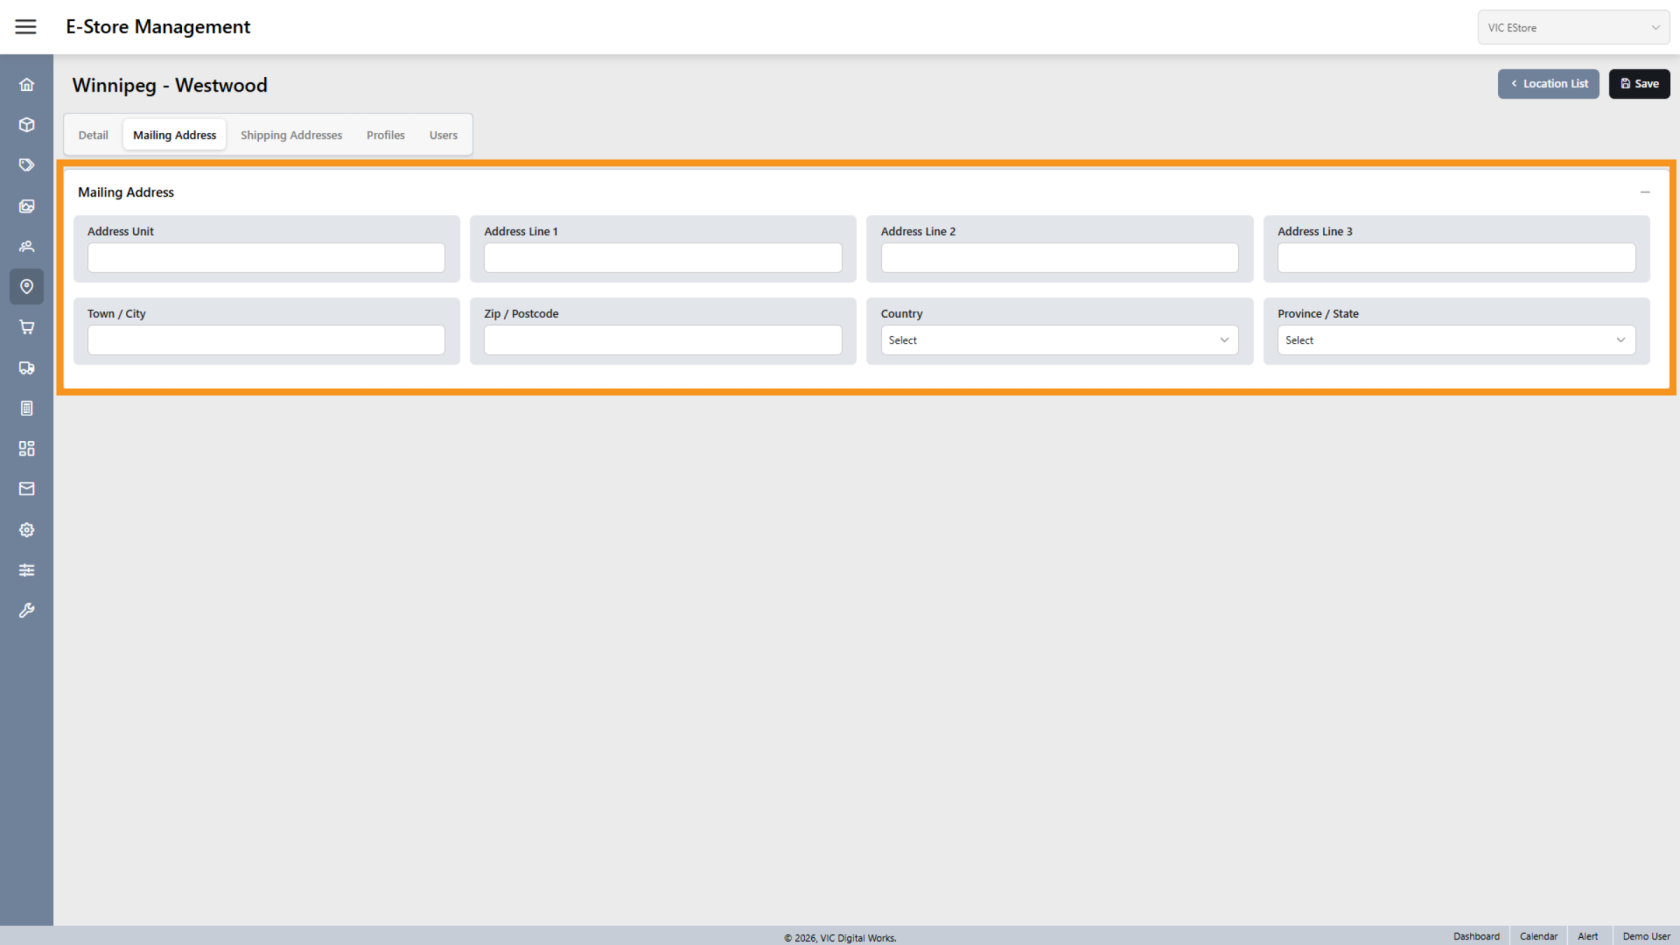
14. Enter Address Information
Enter the required address information for the location.
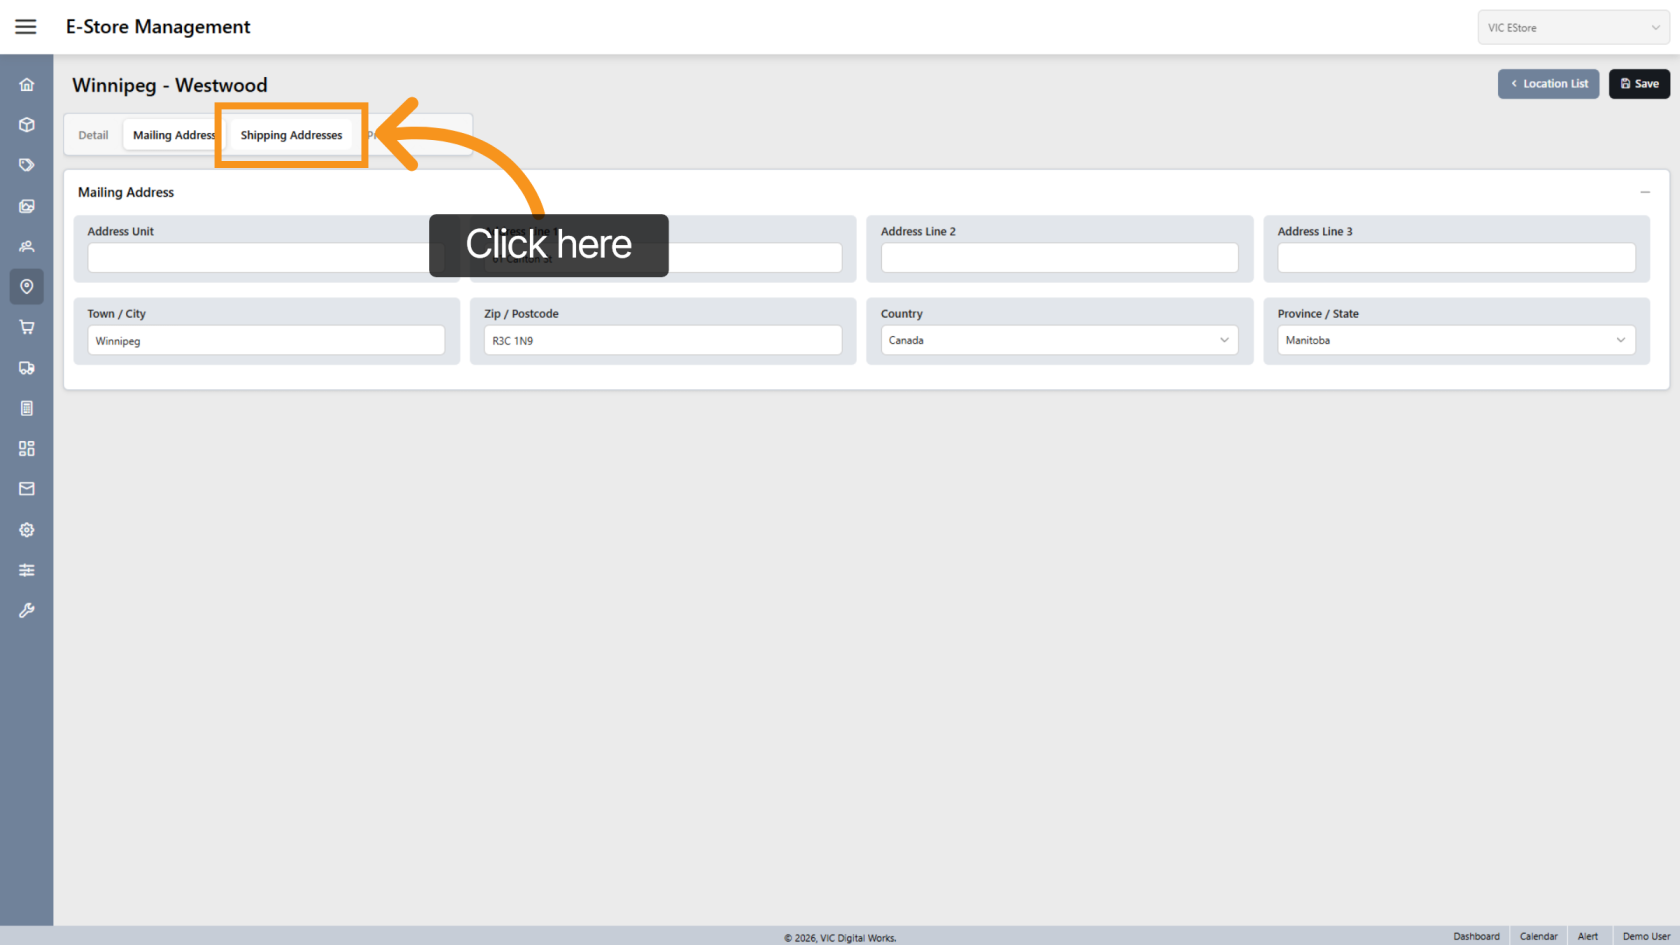
15. Open Users Section
Click Users to manage users assigned to this location.
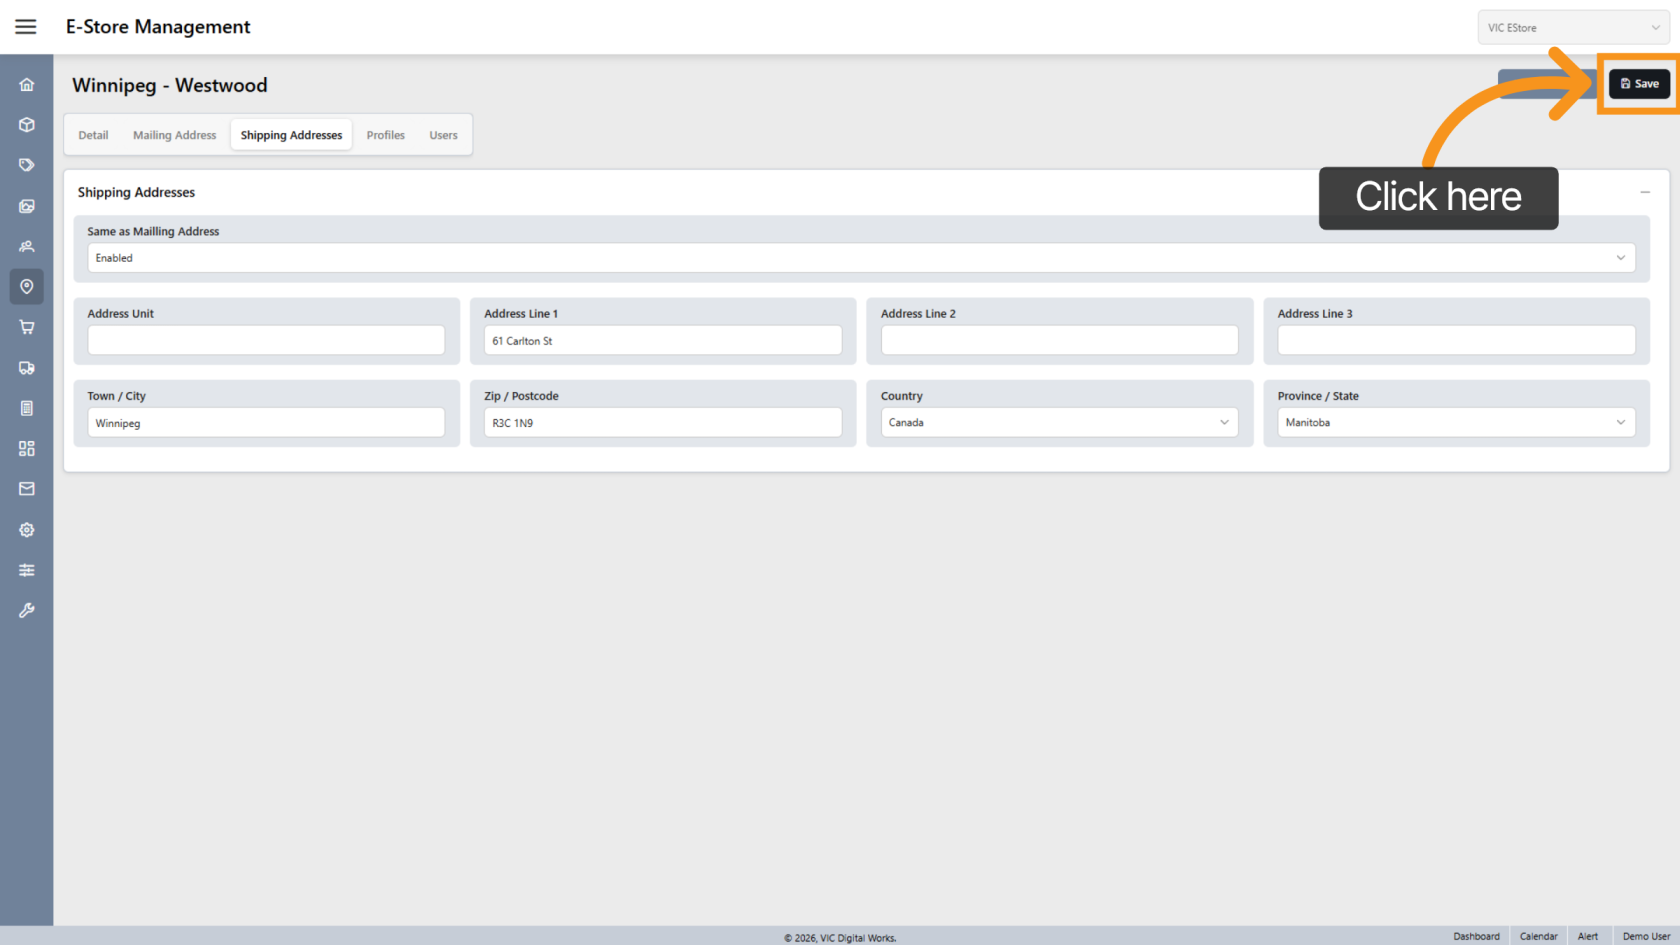
16. Save Location
Click Save to create the location and apply your changes.
You have successfully created and configured a new location, including its address, managers, and user assignments.