
Create Email Events
This tutorial shows you how to create Email Events in WorkTraq. Email Events control when system emails are triggered, which template is used, and who sends and receives the email.
Video Tutorial
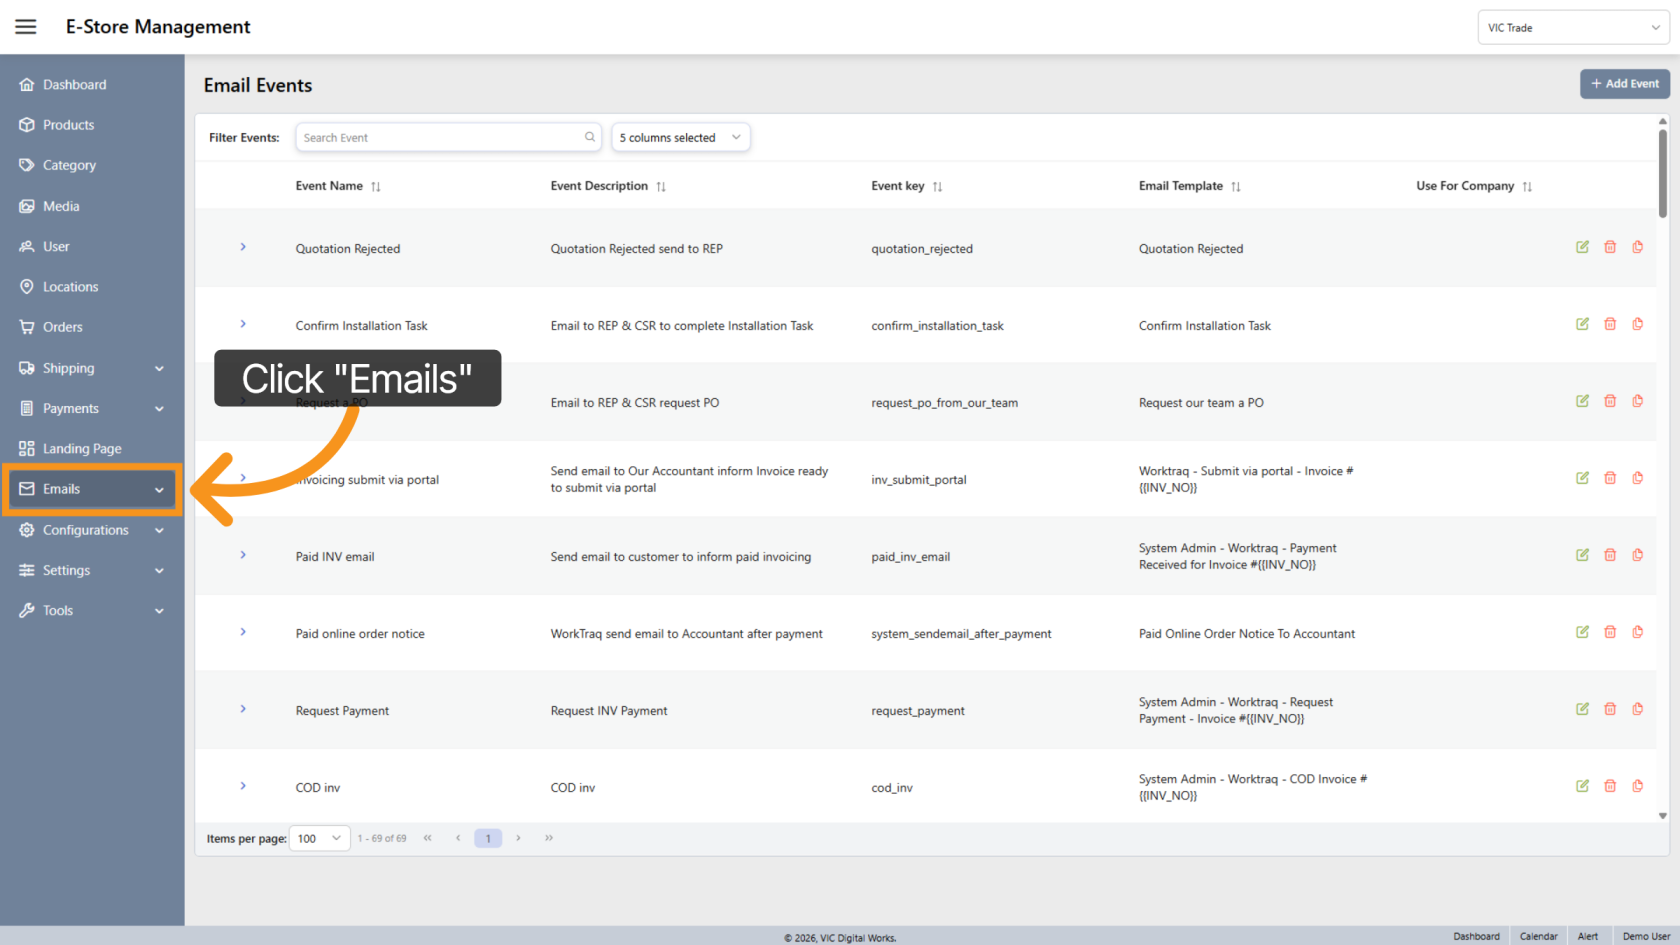
1. Open the Emails Menu
Click Emails to access the email configuration options.
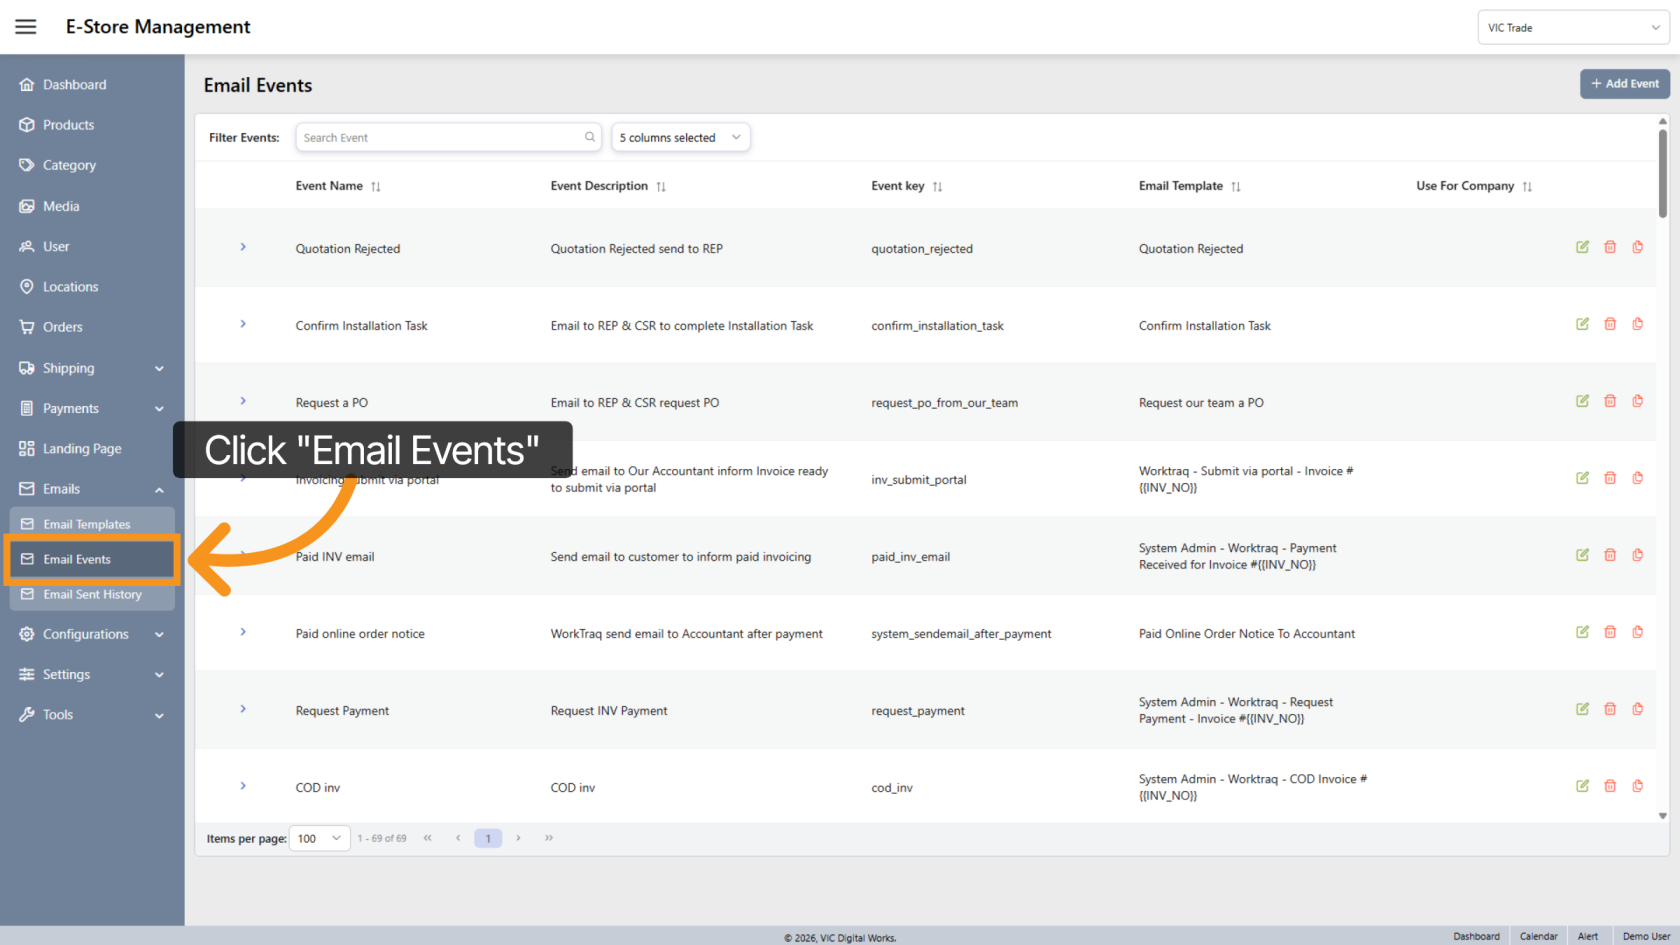
2. Navigate to Email Events
Click Email Events to view and manage the system email events.
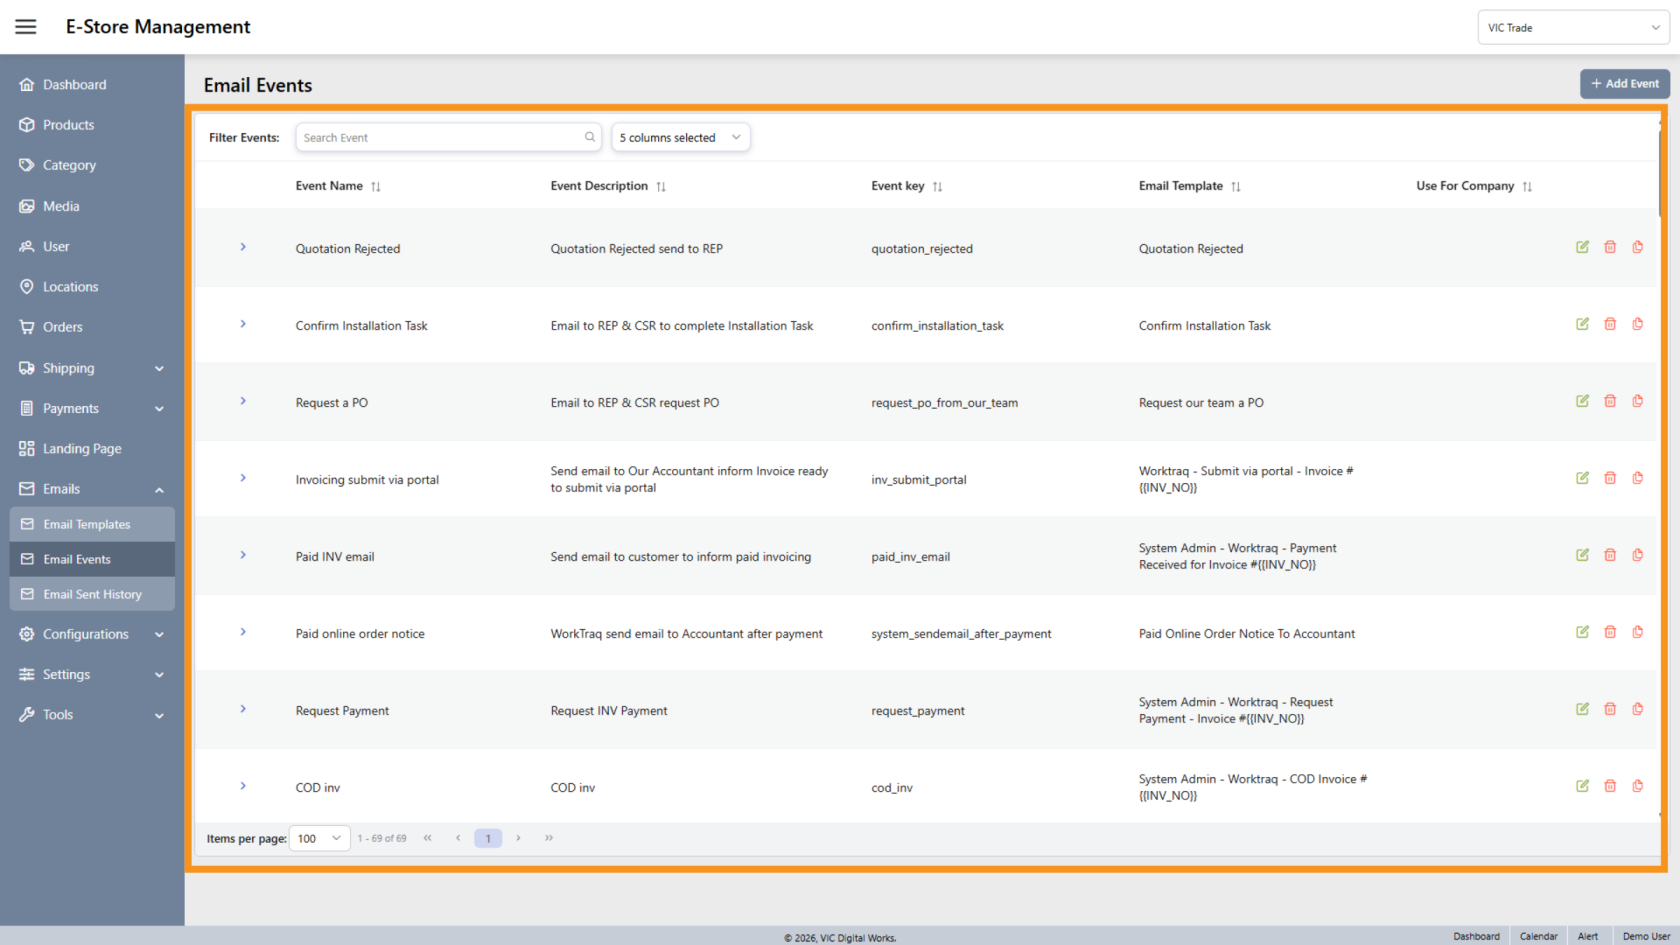
3. View All Events
This section displays all email events available in the system. You do not need to select a company store to view these events.
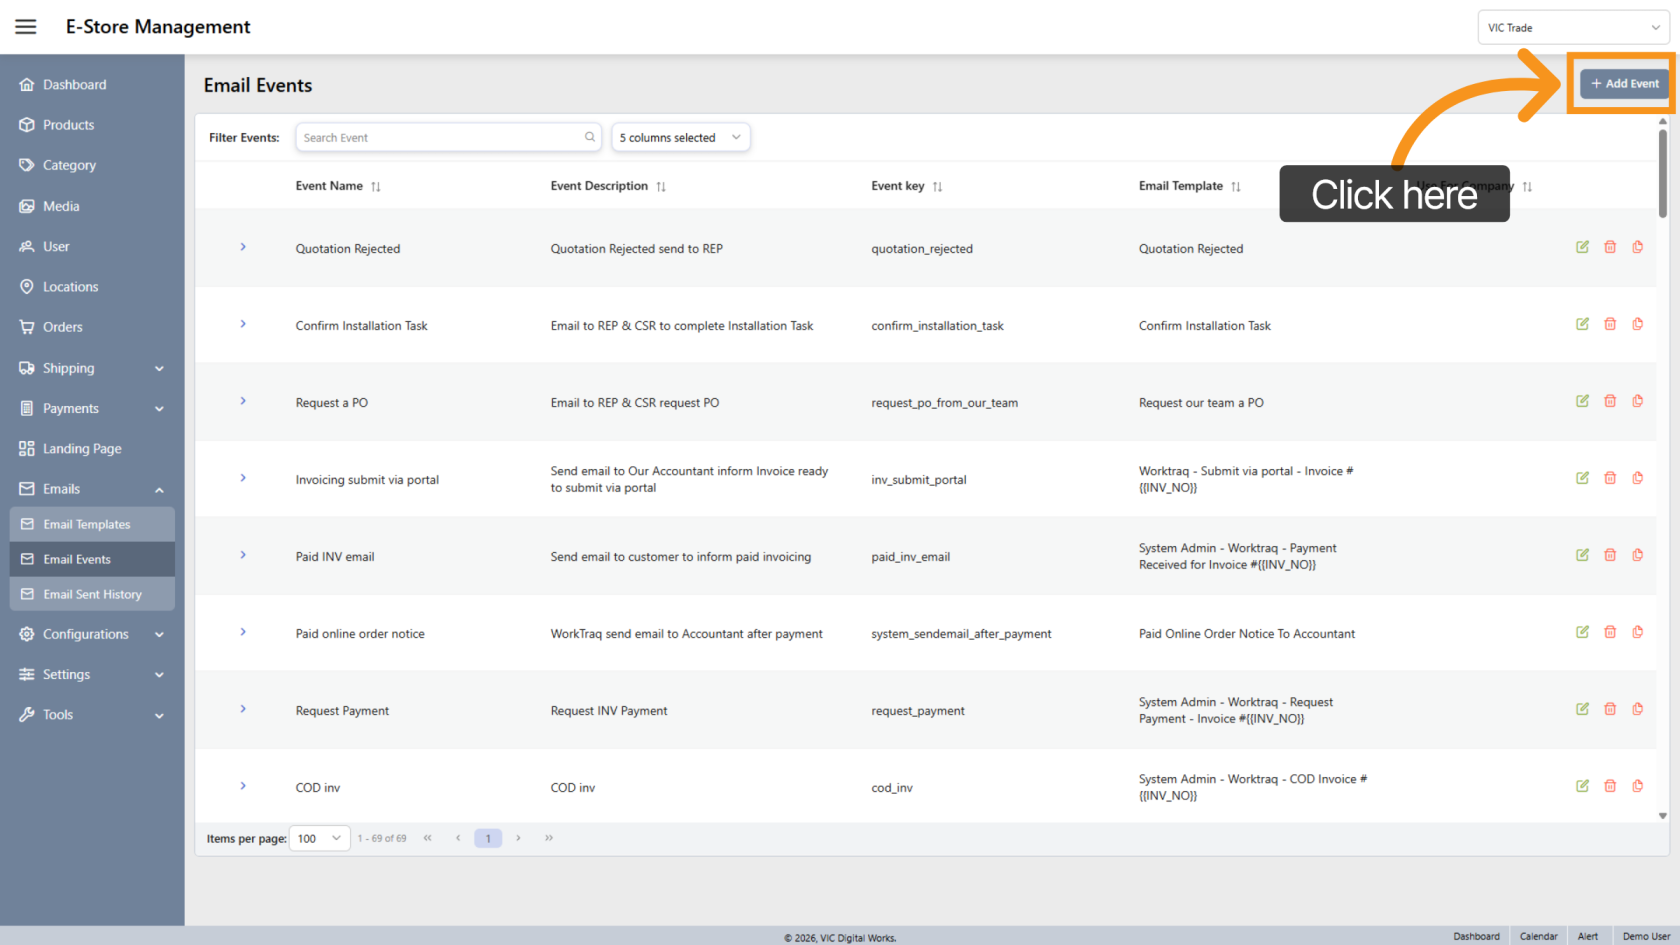
4. Add a New Event
Click Add Event to create a new email event.
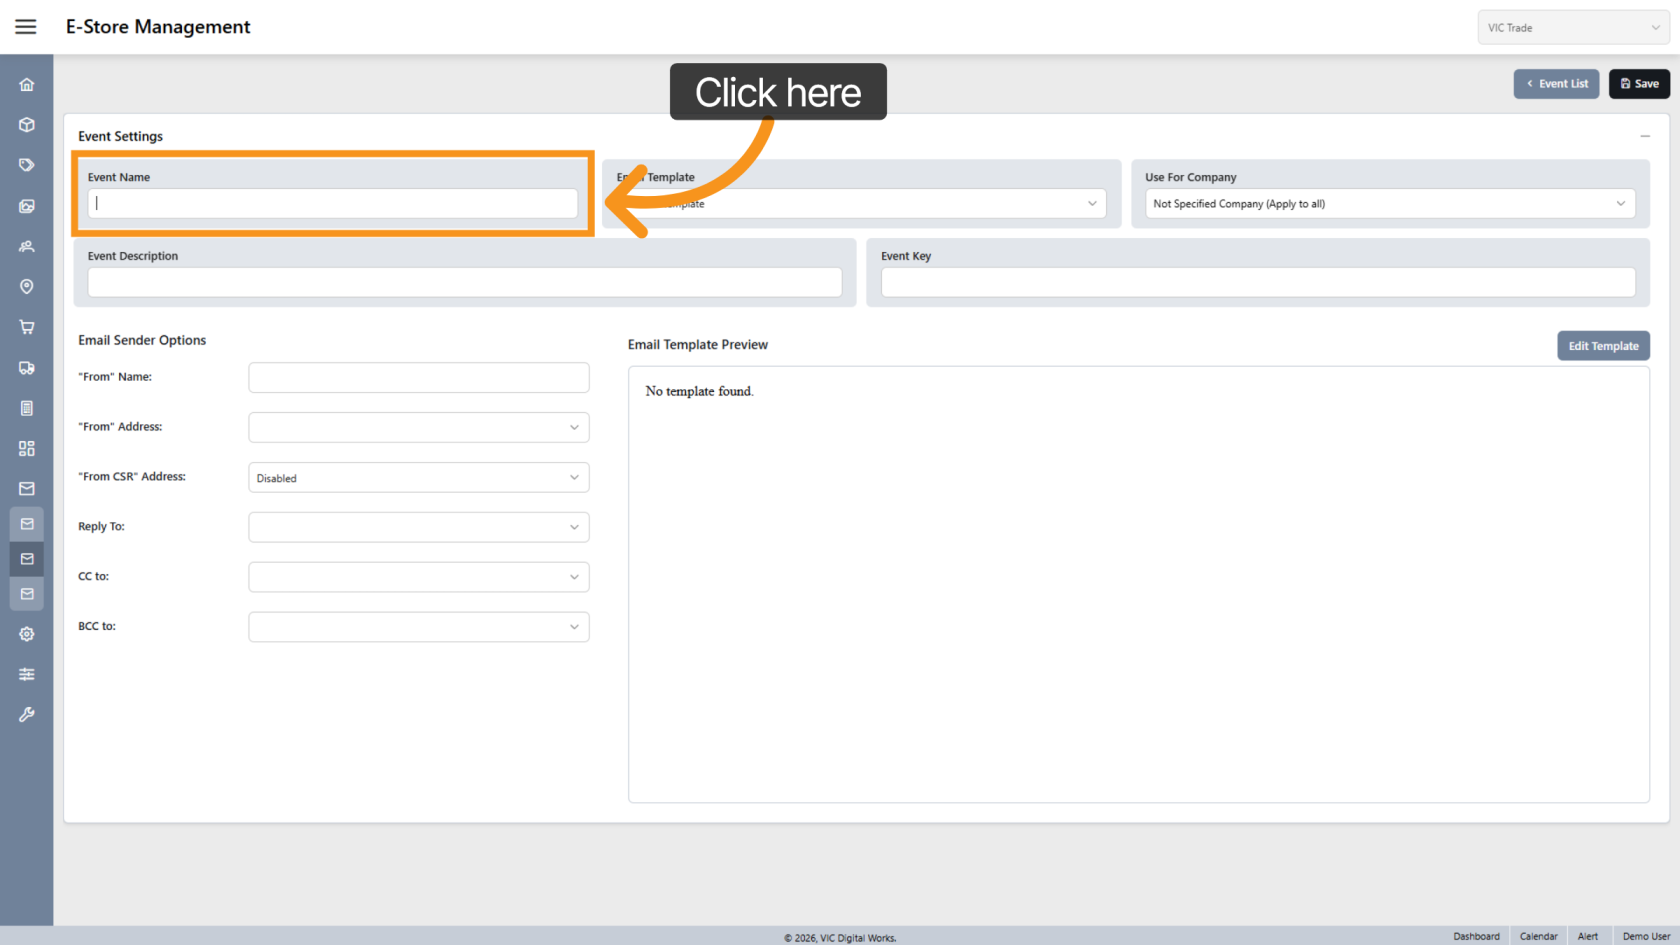
5. Enter Event Name
Enter a name that clearly identifies the purpose of the email event.
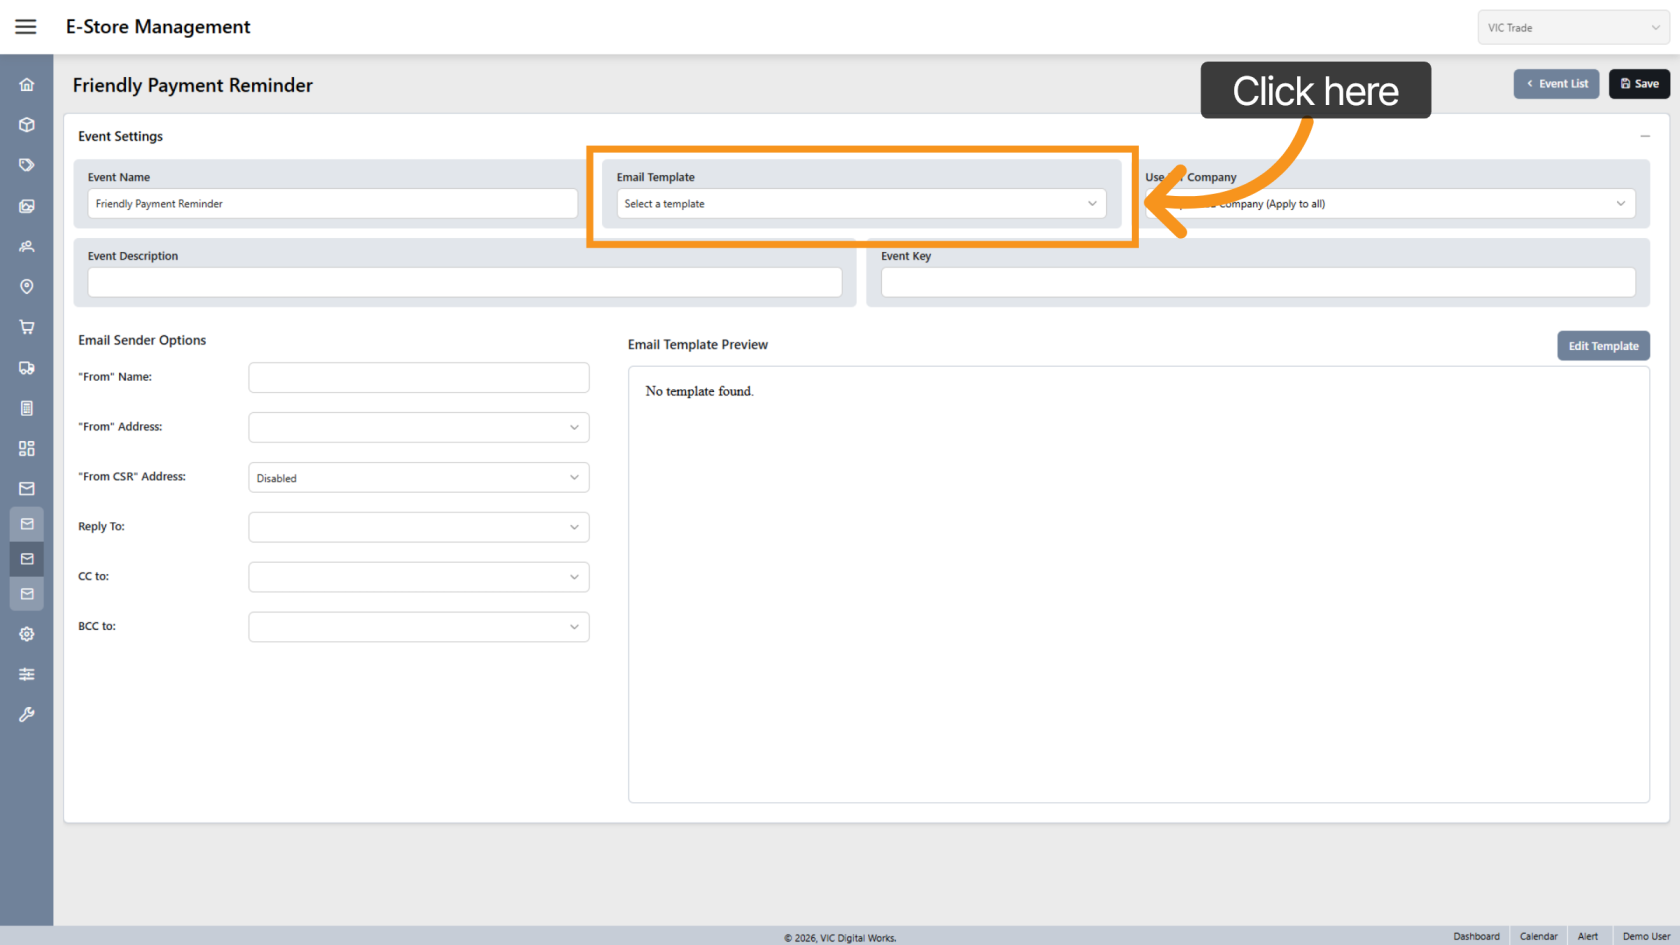
6. Select Email Template
Choose the email template that will be used when this event is triggered.
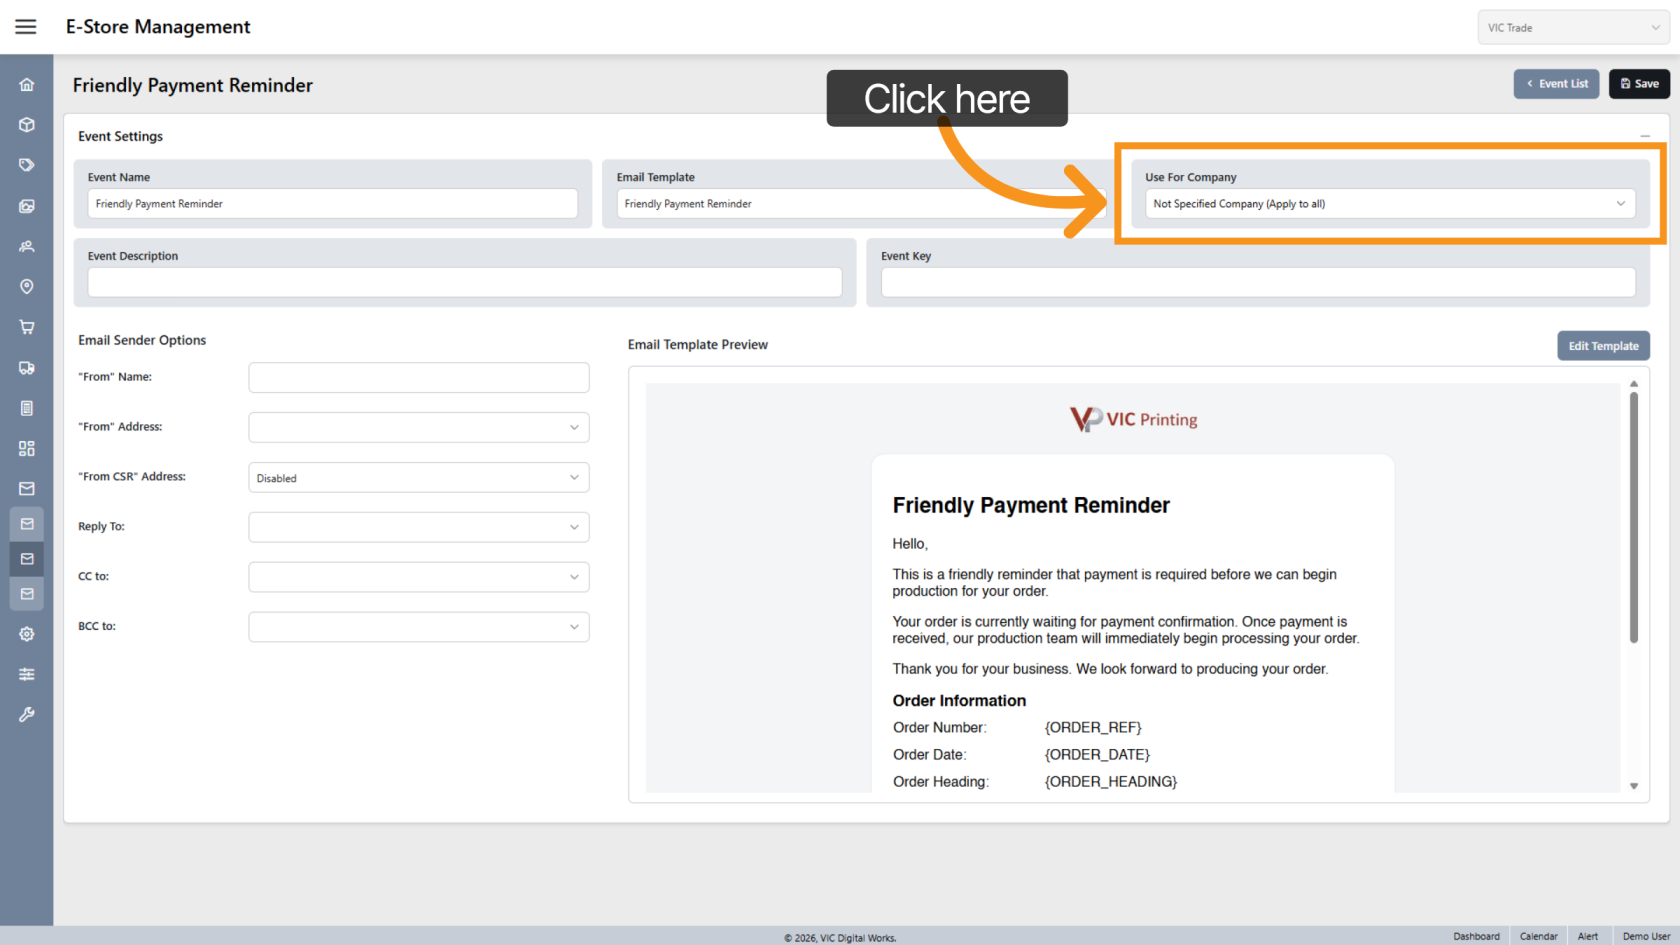
7. Apply Event to Company
Select the companies that will use this event. You can apply the same event to multiple companies, or leave this field blank to apply it to all companies.
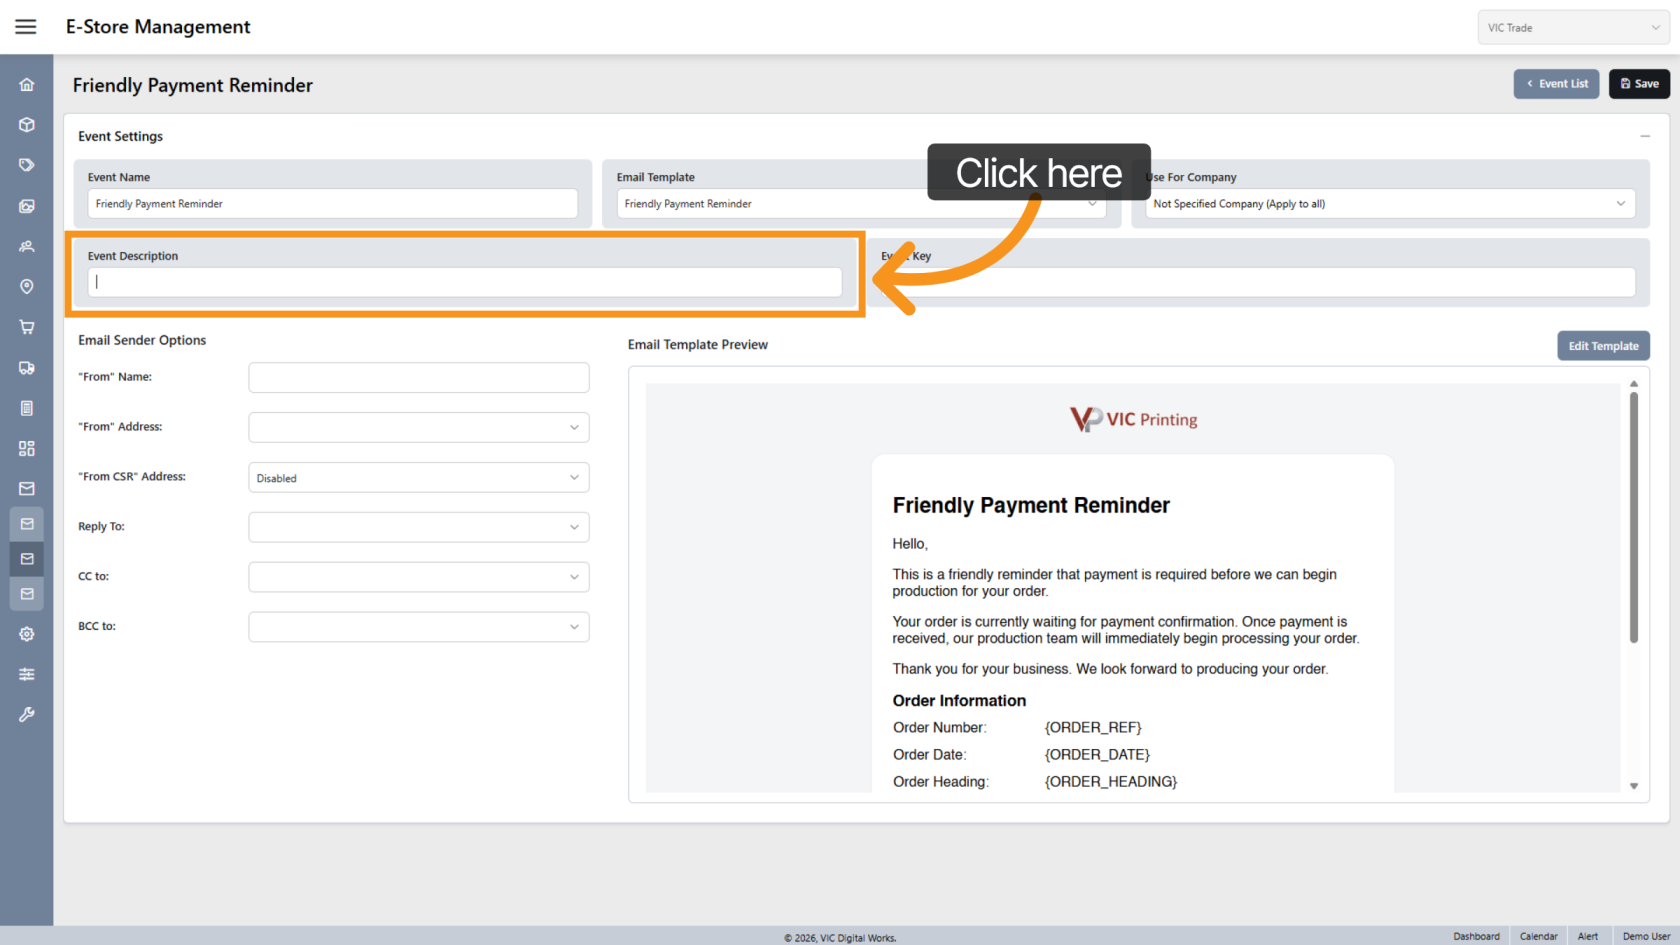
8. Enter Event Description
Enter a description to explain the purpose of the email event.
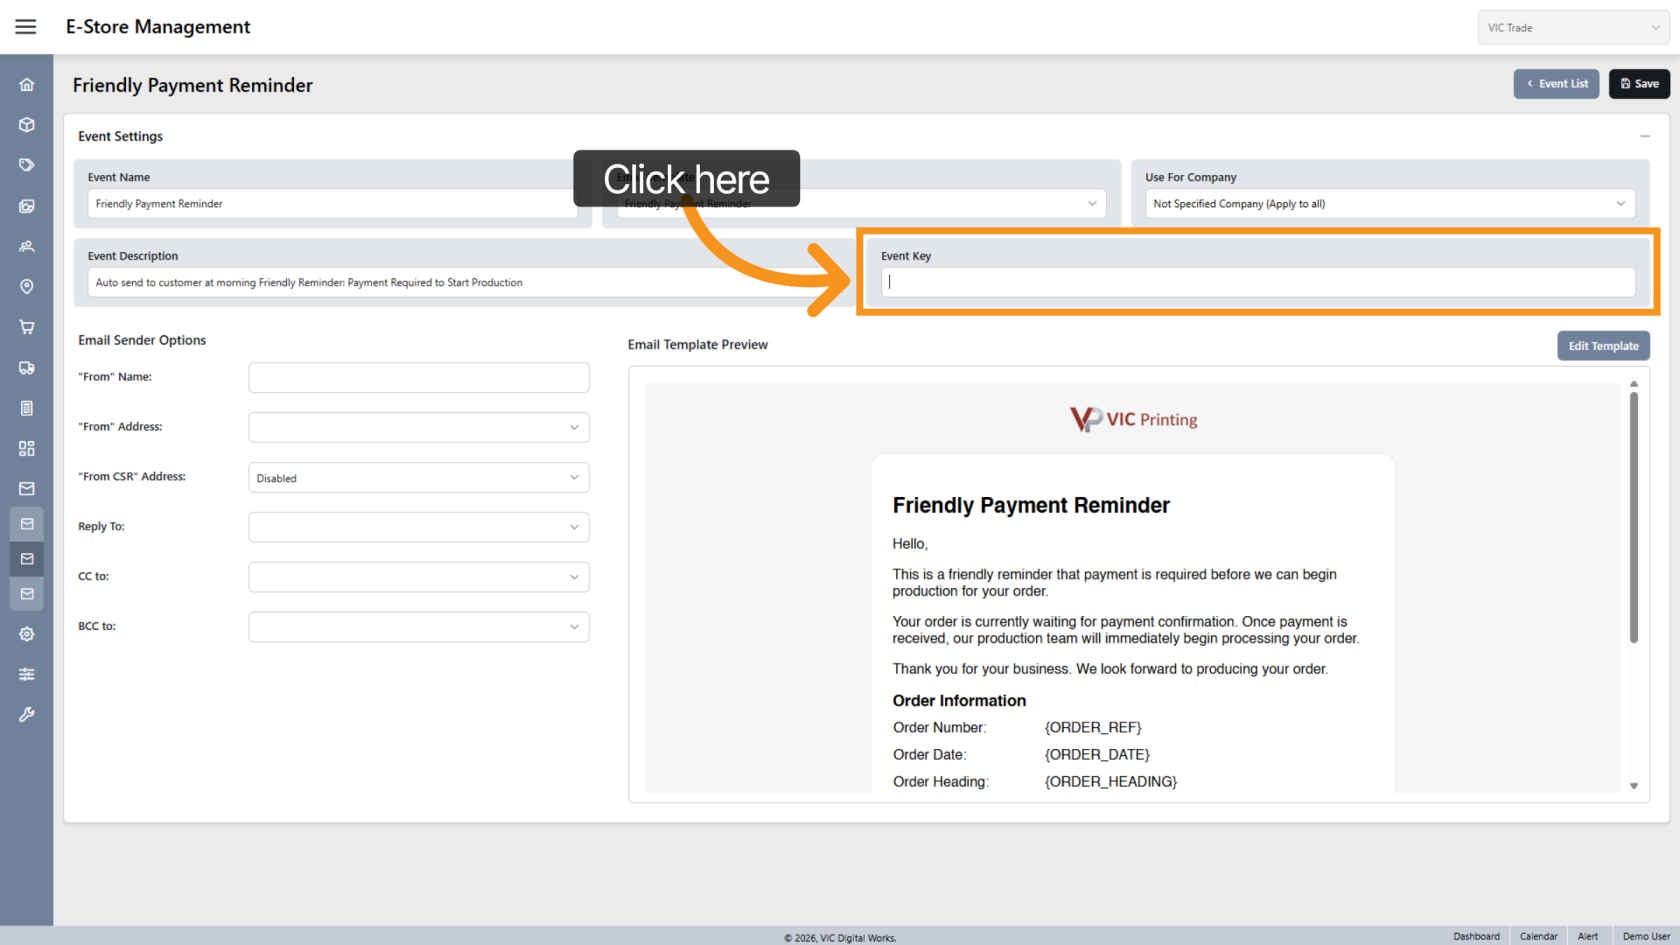
9. Event Key
Enter the Event Key provided by the developer. The Event Key is defined during system development and determines when the email event will be triggered.
Note: Do not modify the Event Key unless instructed by a developer.
10. Select Event Type
By default, the event type is System. Select Marketing only if the event is used for marketing purposes. Marketing events will appear in the Email Marketing list.
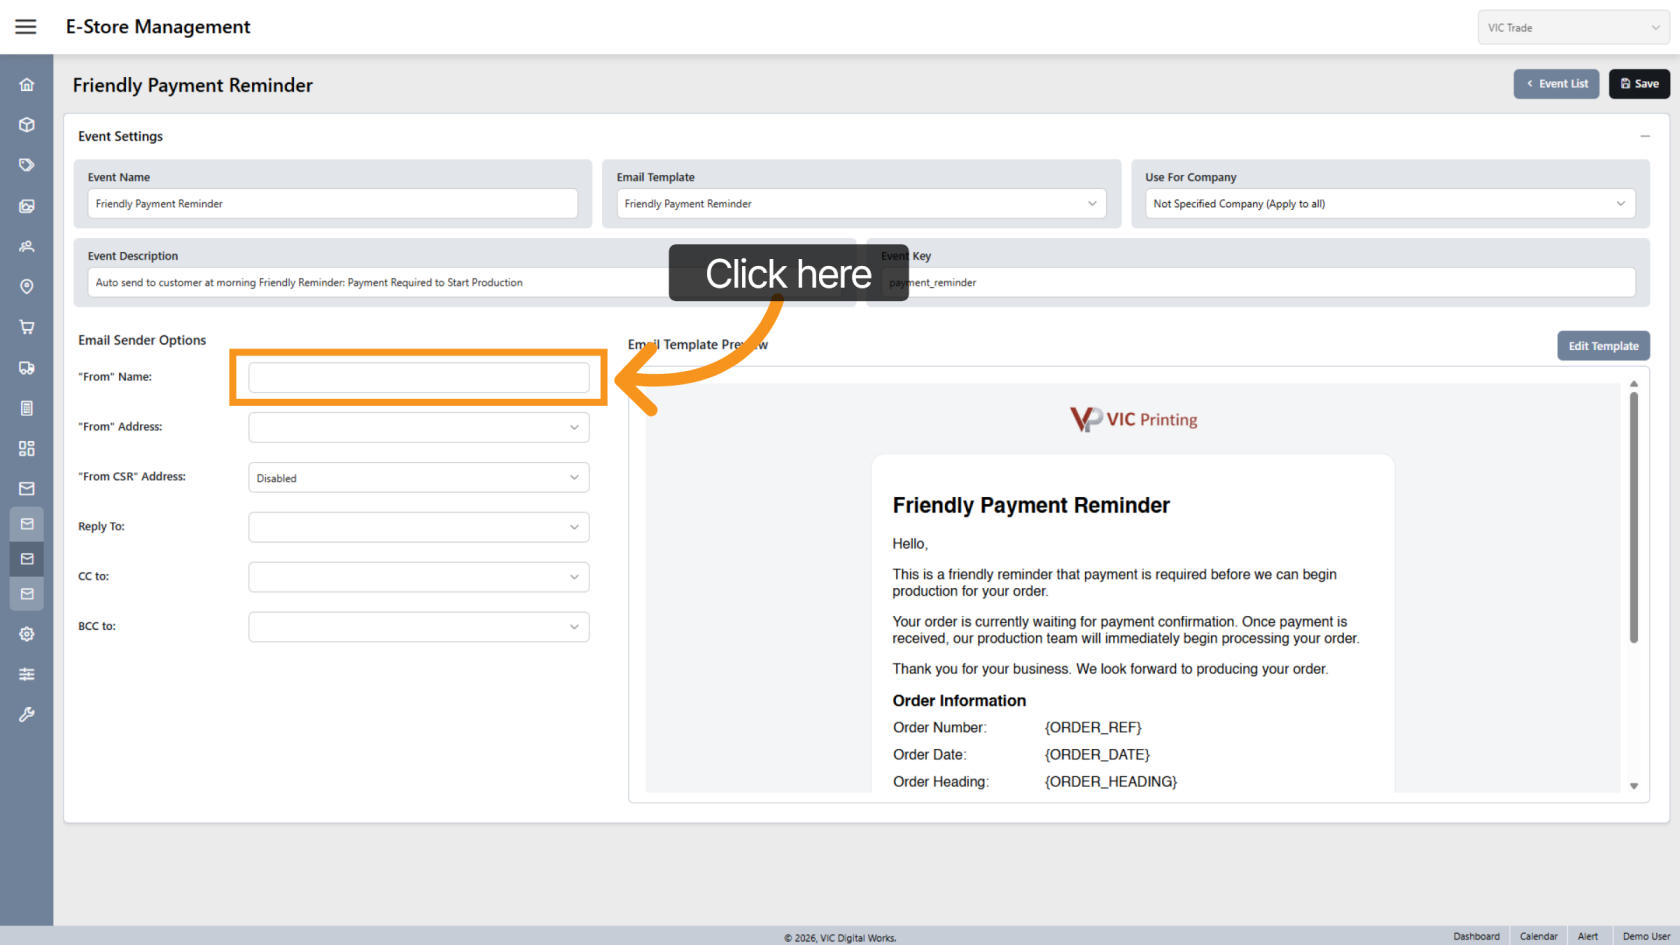
11. Enter From Name
Enter the From Name that will appear as the sender name in the email.
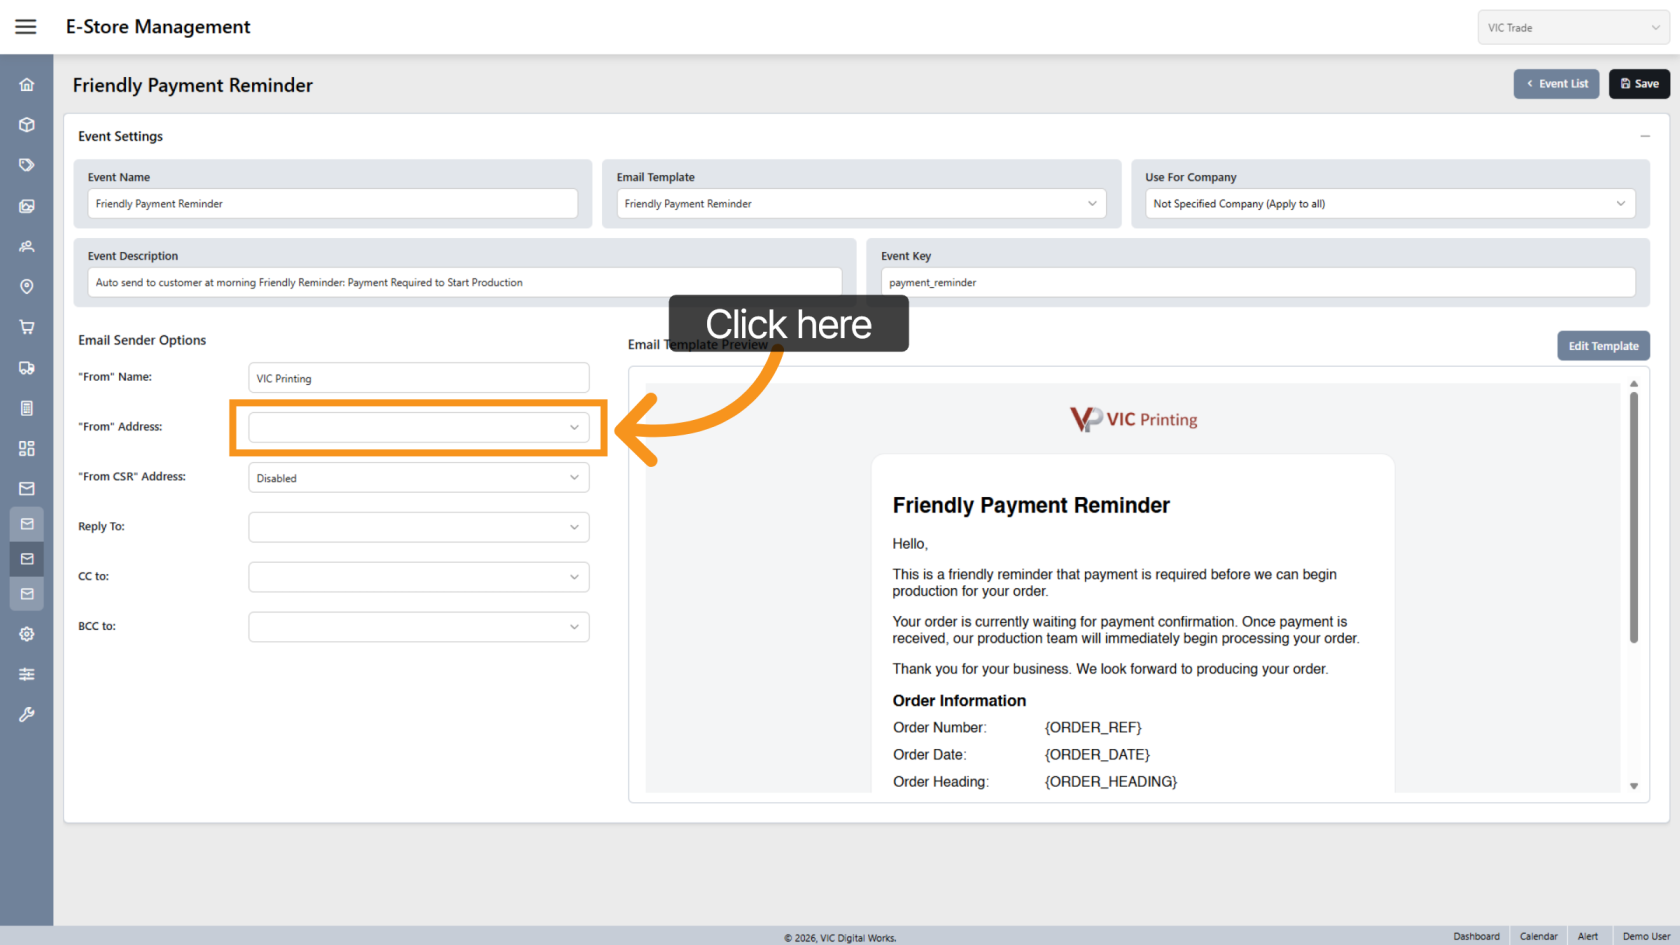
12. Select Sender Email
Choose the email address that will be used to send the email.
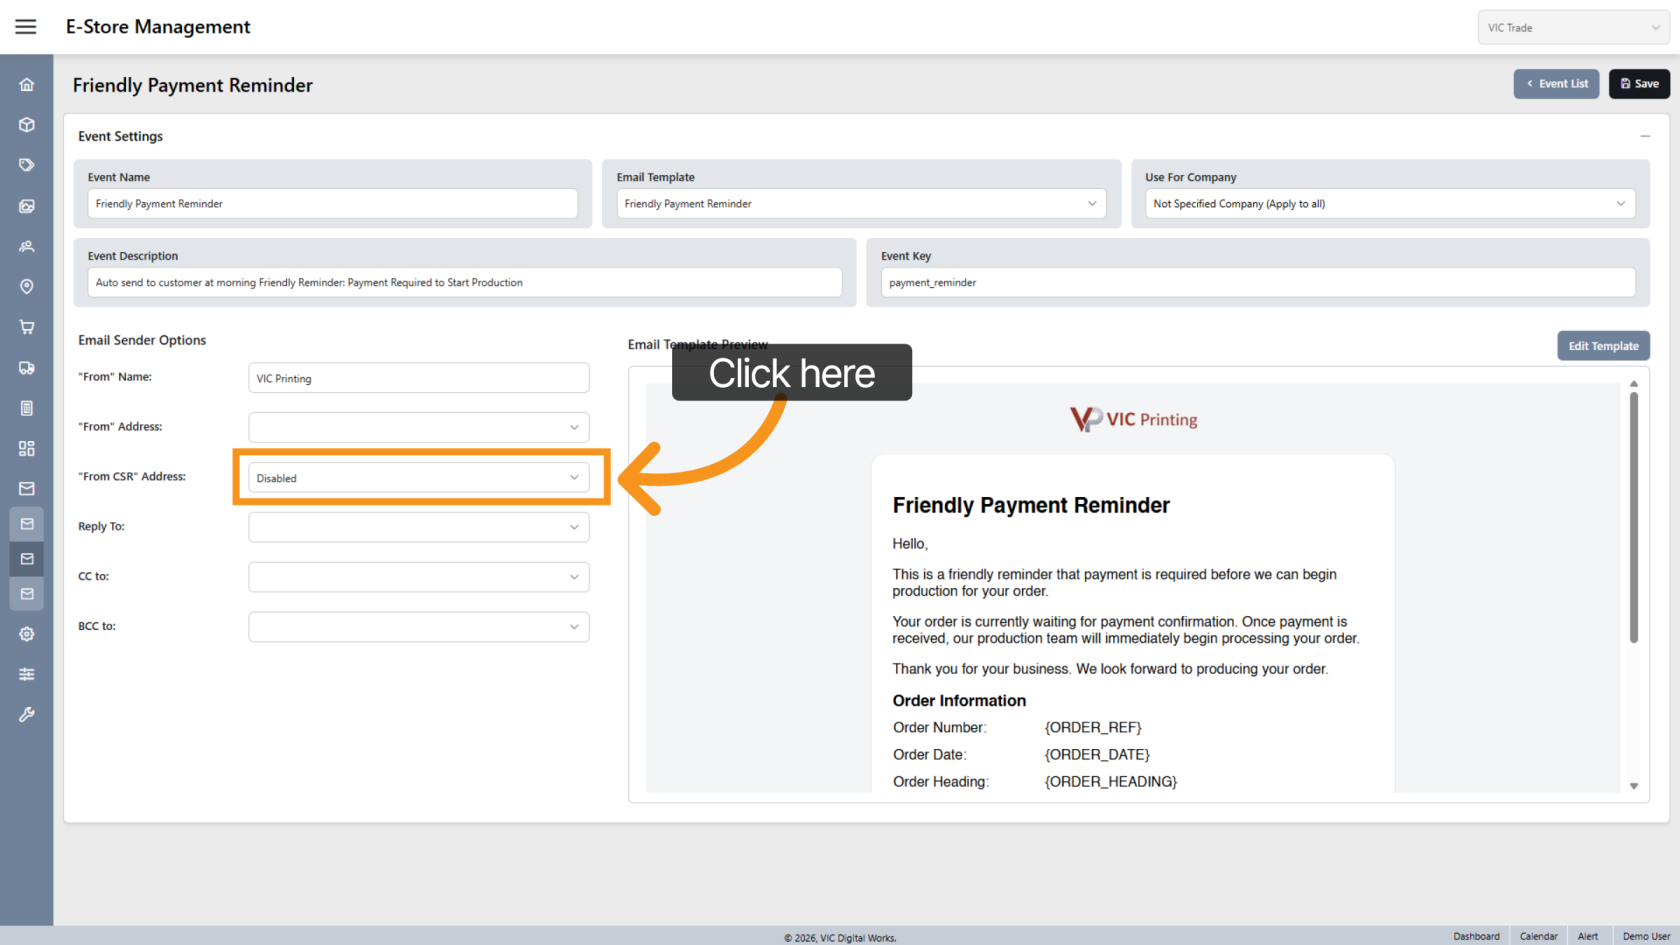
13. Use CSR Email Address
Enable this option to use the company's configured CSR email address as the sender. When enabled, it overrides the sender email selected above.
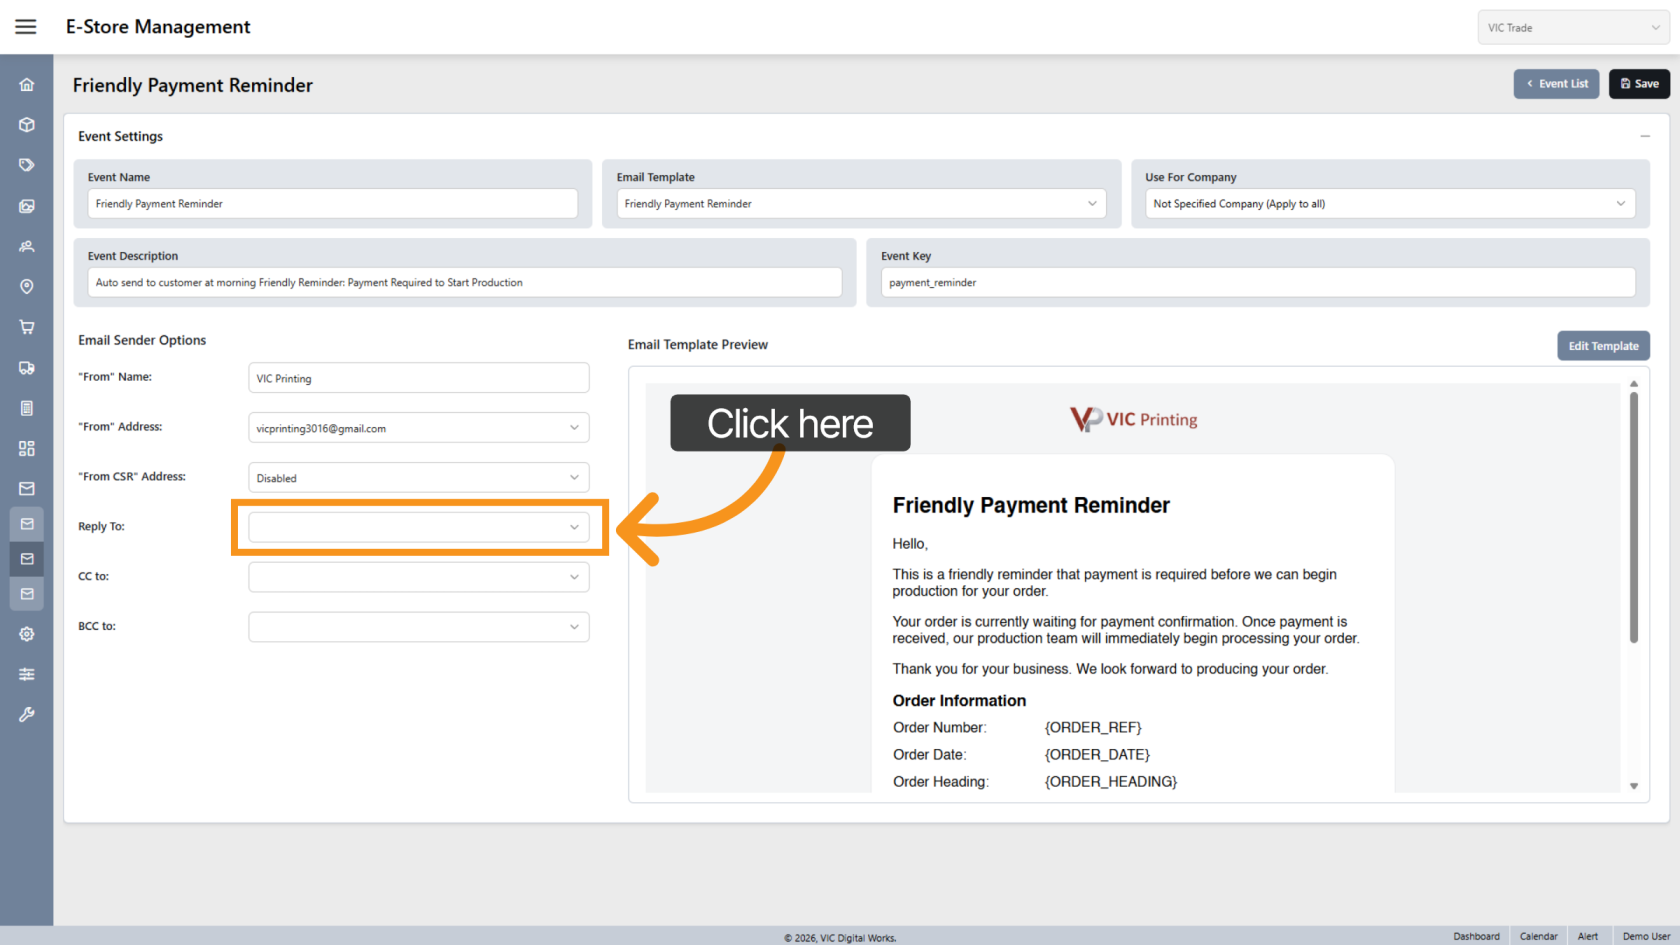
14. Select Reply-To Email
If replies should be sent to a different address, select the appropriate Reply-To email address.
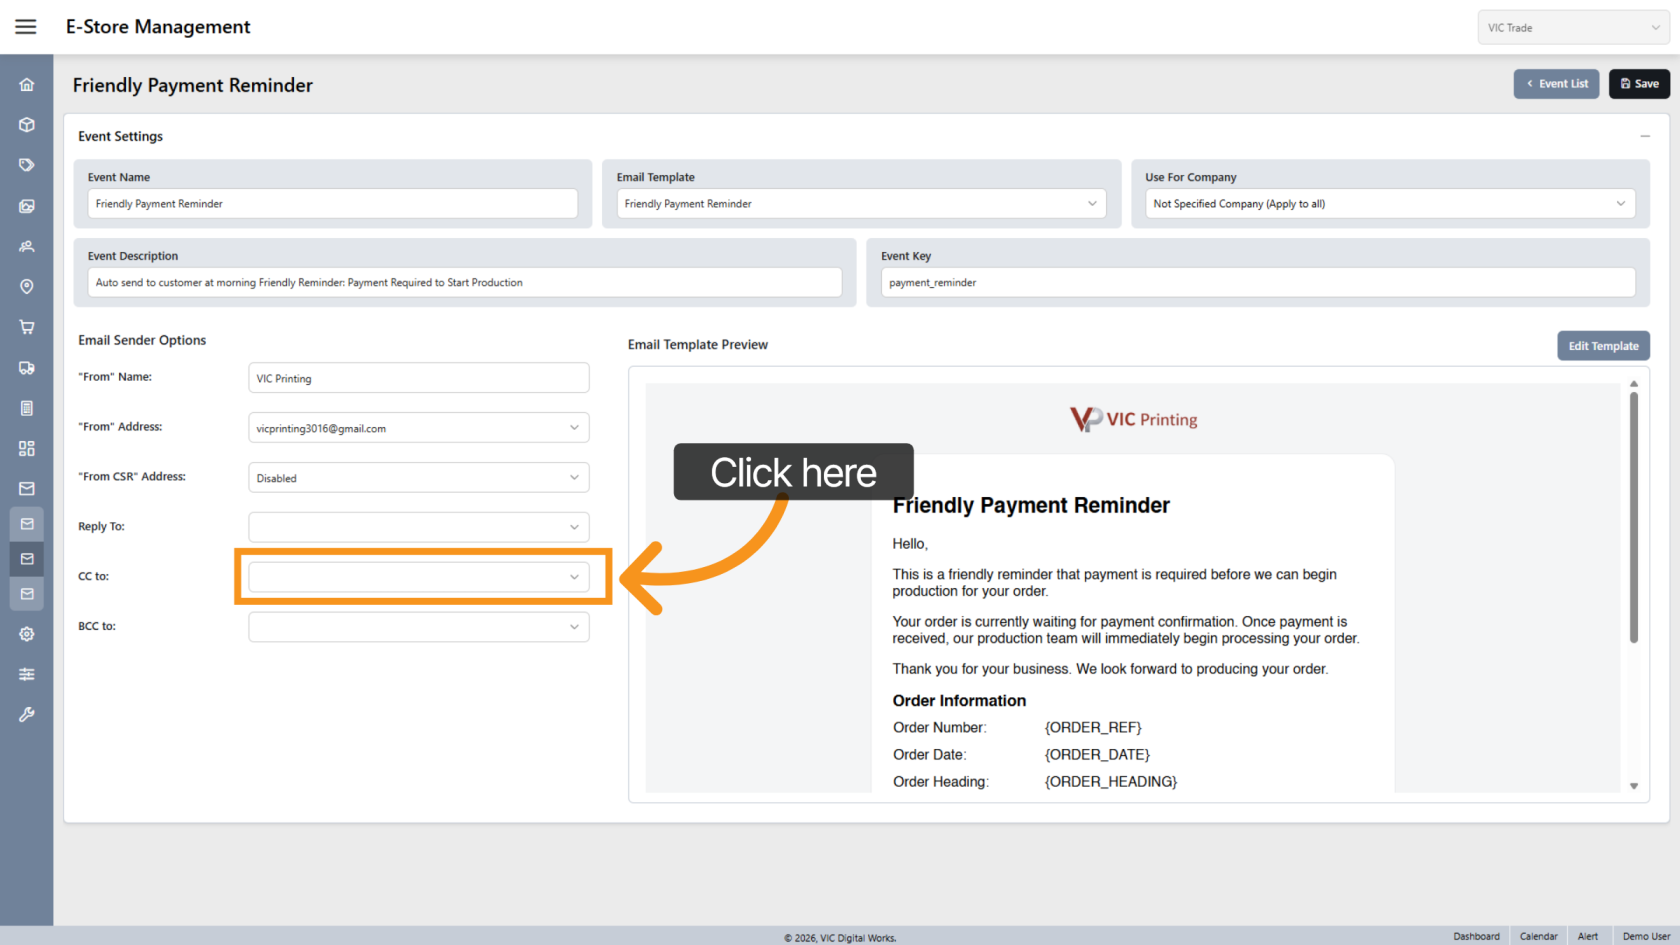
15. Select CC Emails
Choose any email addresses that should receive a copy of the email. Multiple addresses can be selected.
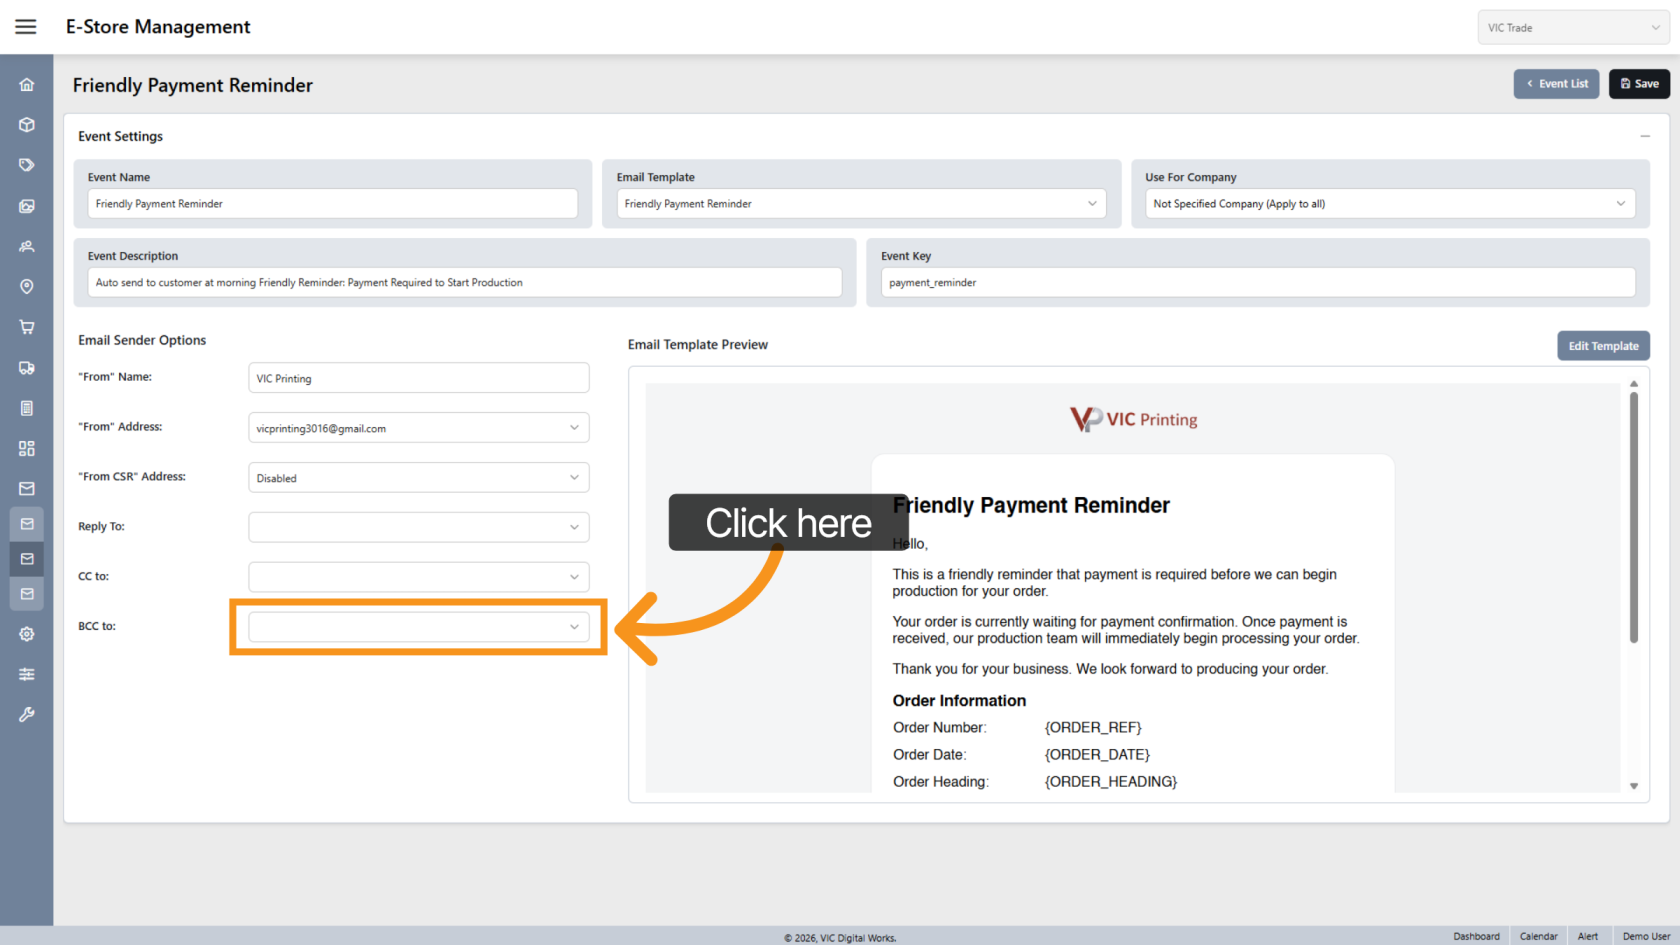
16. Select BCC Emails
Choose any email addresses that should receive a blind copy of the email. Multiple addresses can be selected.
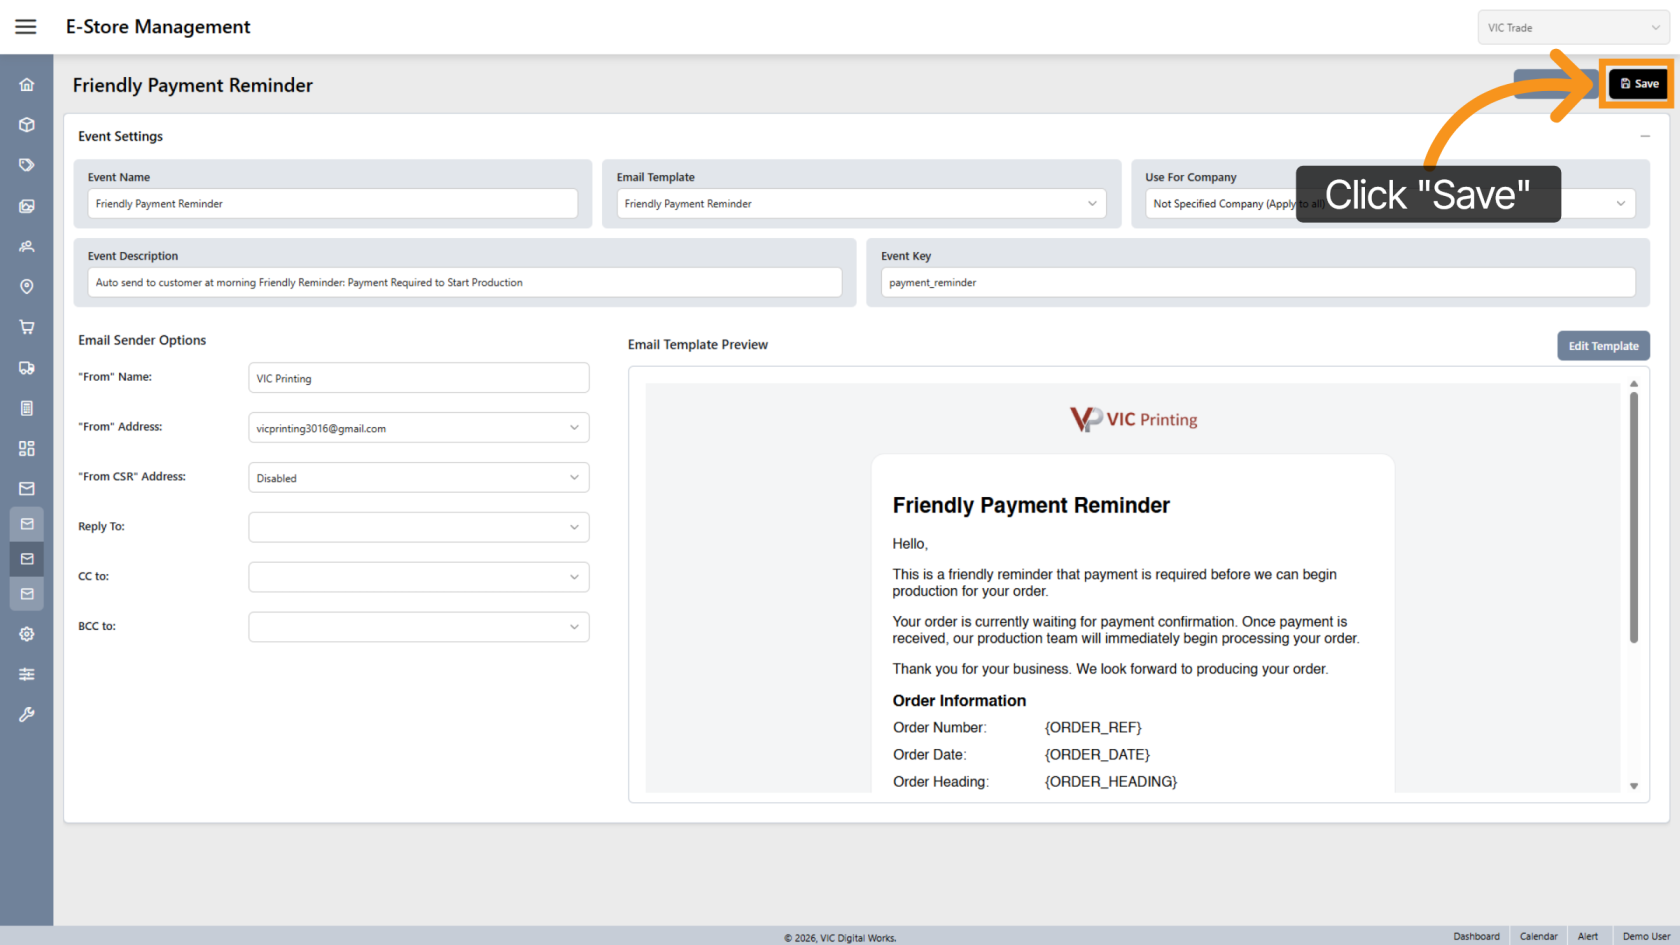
17. Save the Email Event
Click Save to save the email event and its settings.
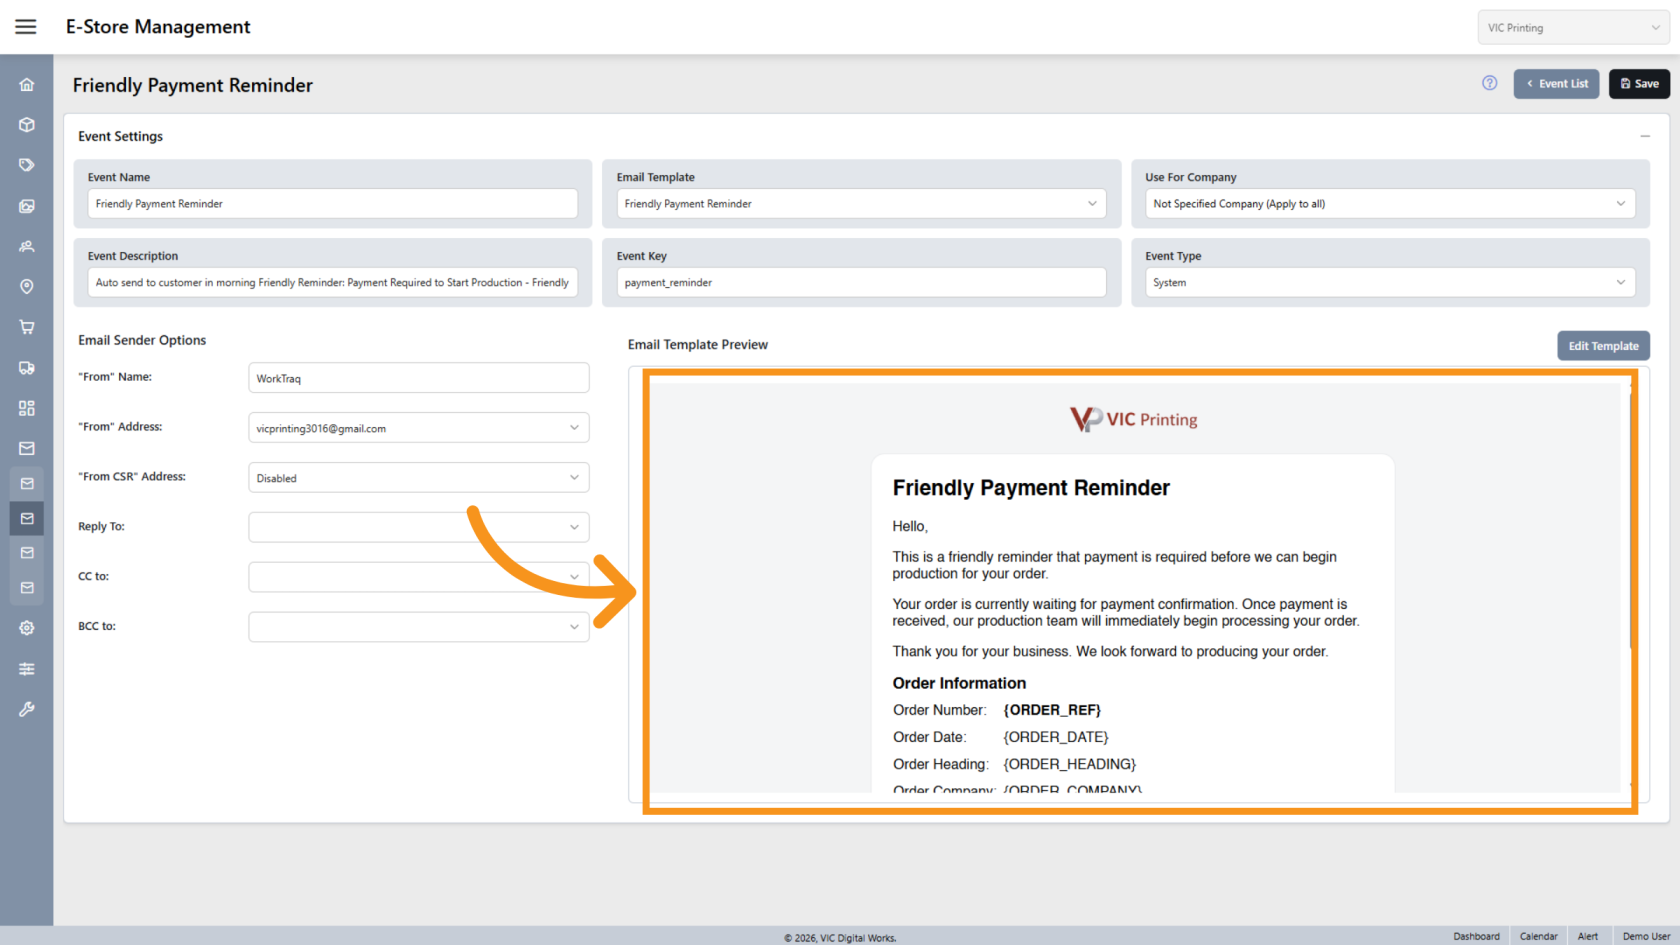
18. Review Template
The selected email template is displayed in the window, allowing you to quickly review and confirm that the correct template is selected.
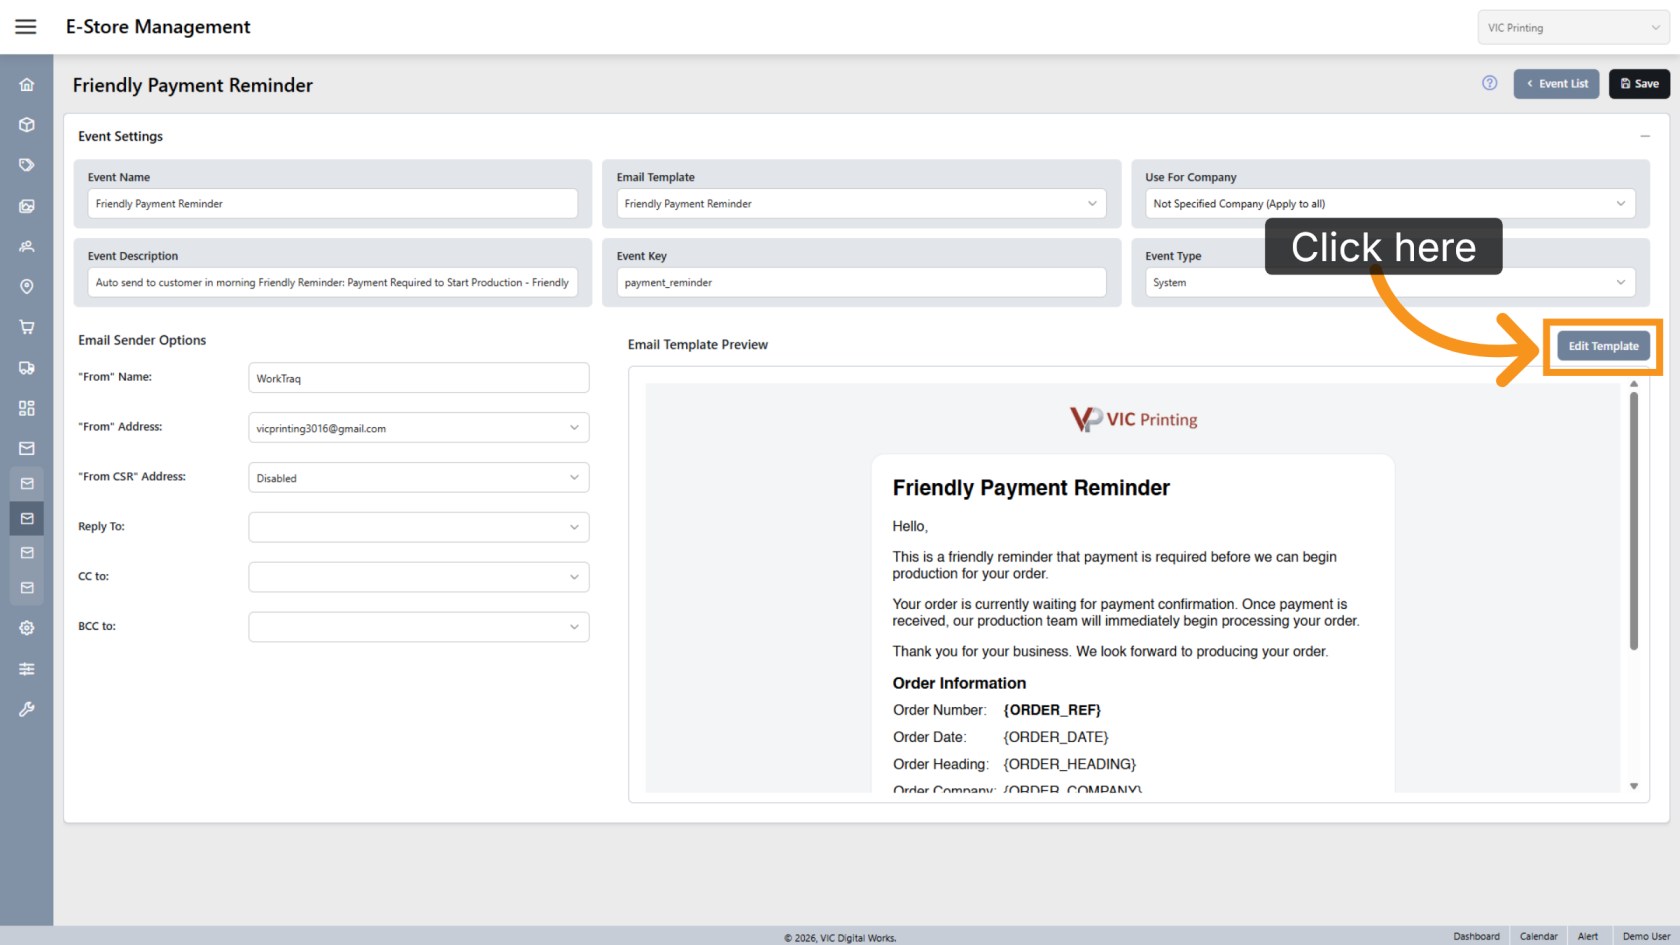
19. Edit Template
Click Edit Template if you need to make changes to the selected email template.
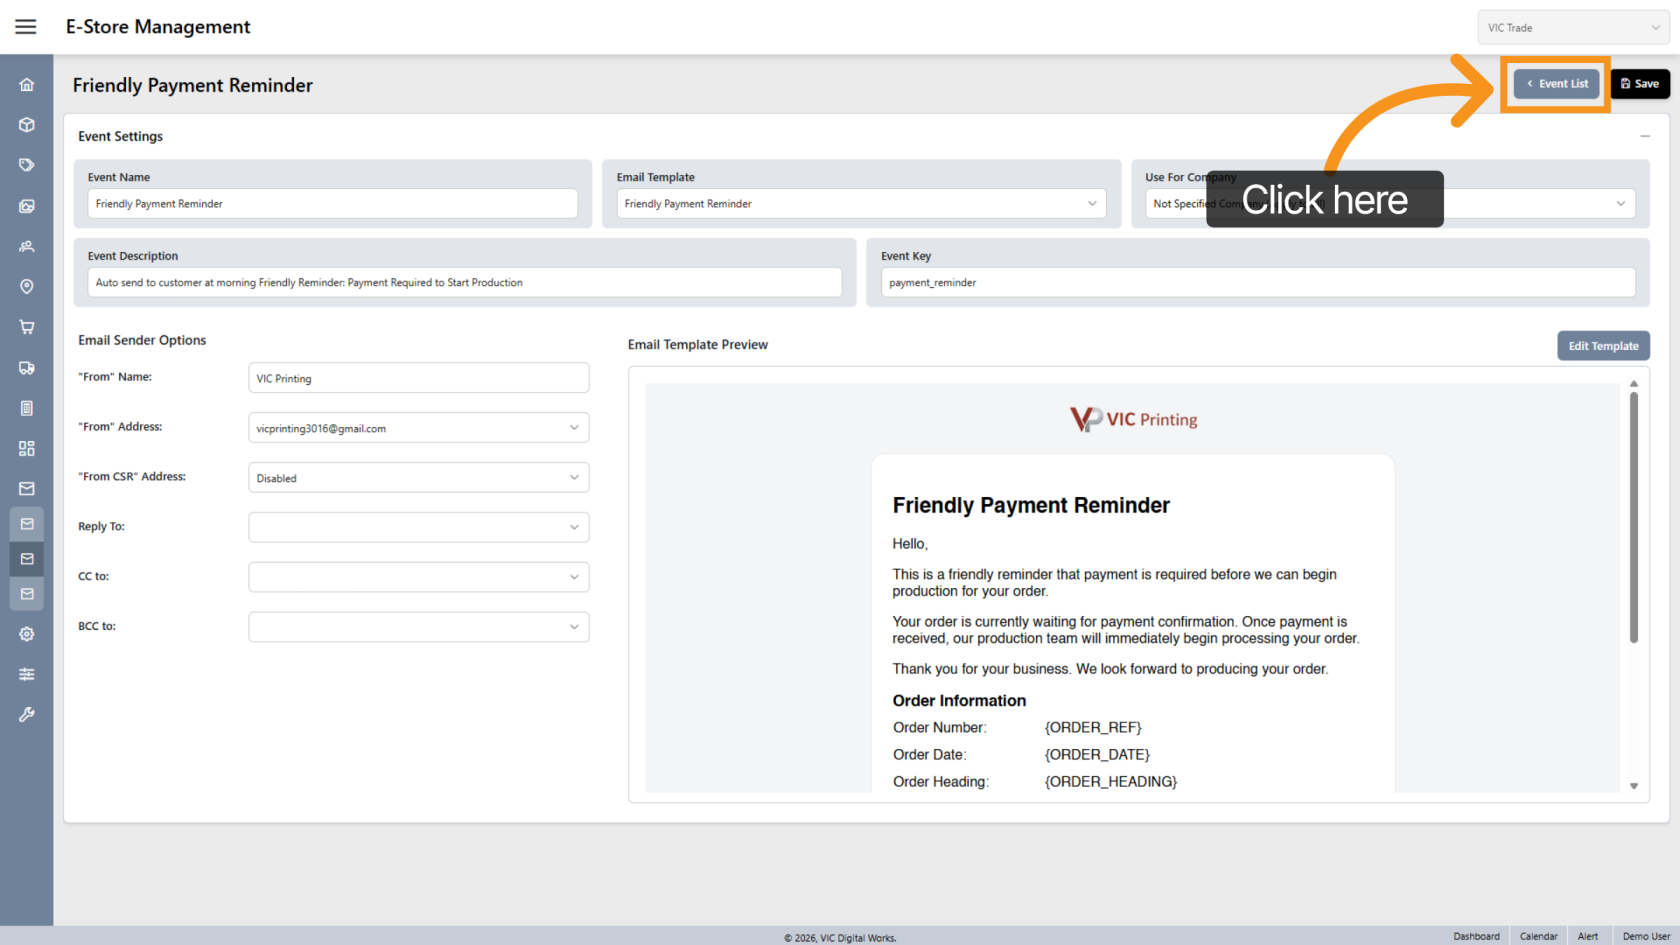
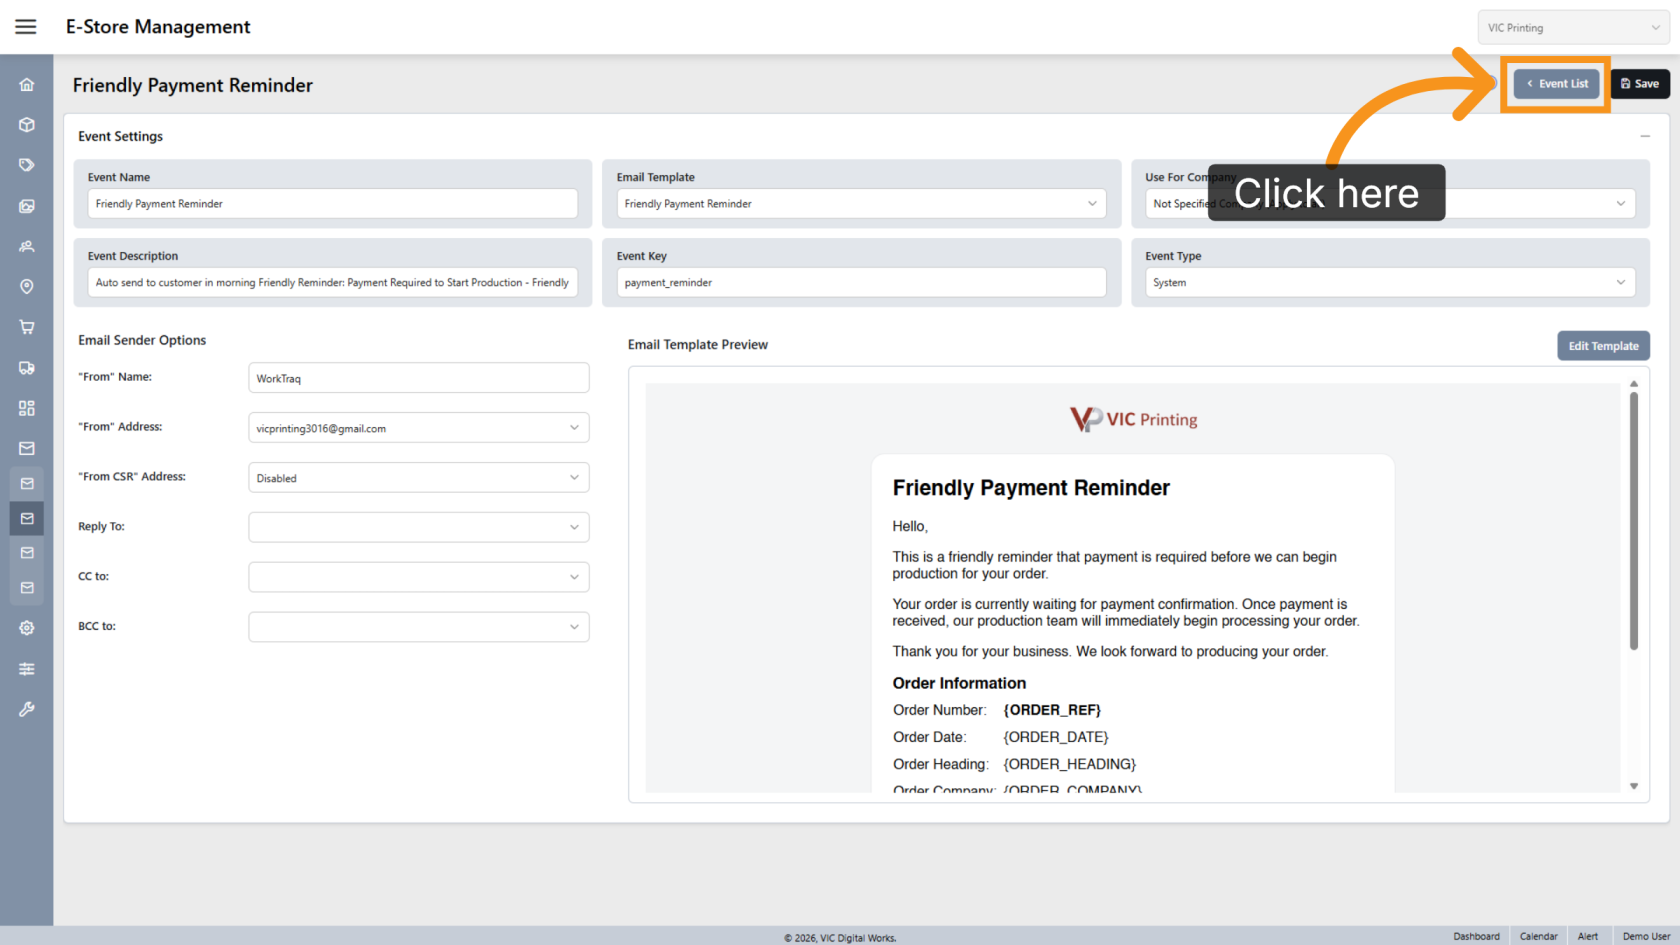
20. Return to Event List
Click Event List to return to the list of email events.
You have successfully created an Email Event. The system can now use the event settings to automatically send emails with the appropriate template, sender, and recipients.