
Shipping Markup
This tutorial shows you how to configure shipping markup settings. By default, WorkTraq General provides a default shipping markup percentage that is applied to all shipping costs. Shipping markup tables allow you to define different markup percentages for specific shipping cost ranges, giving you greater control over the shipping amount charged to customers.
Video Tutorial
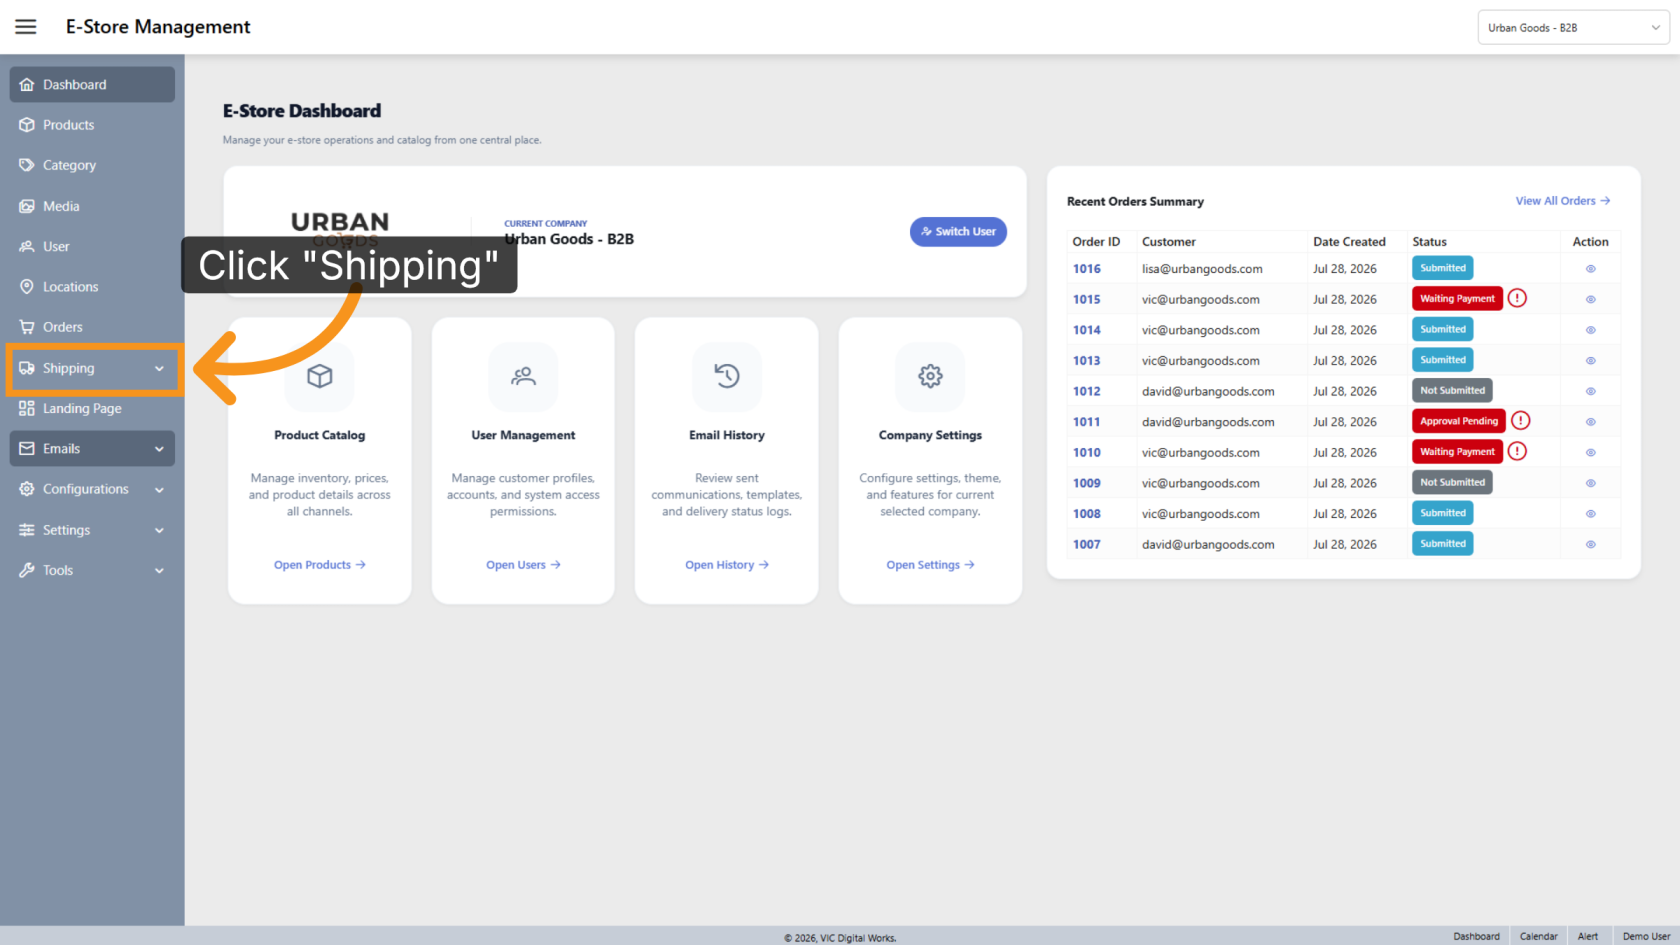
1. Navigate to Shipping
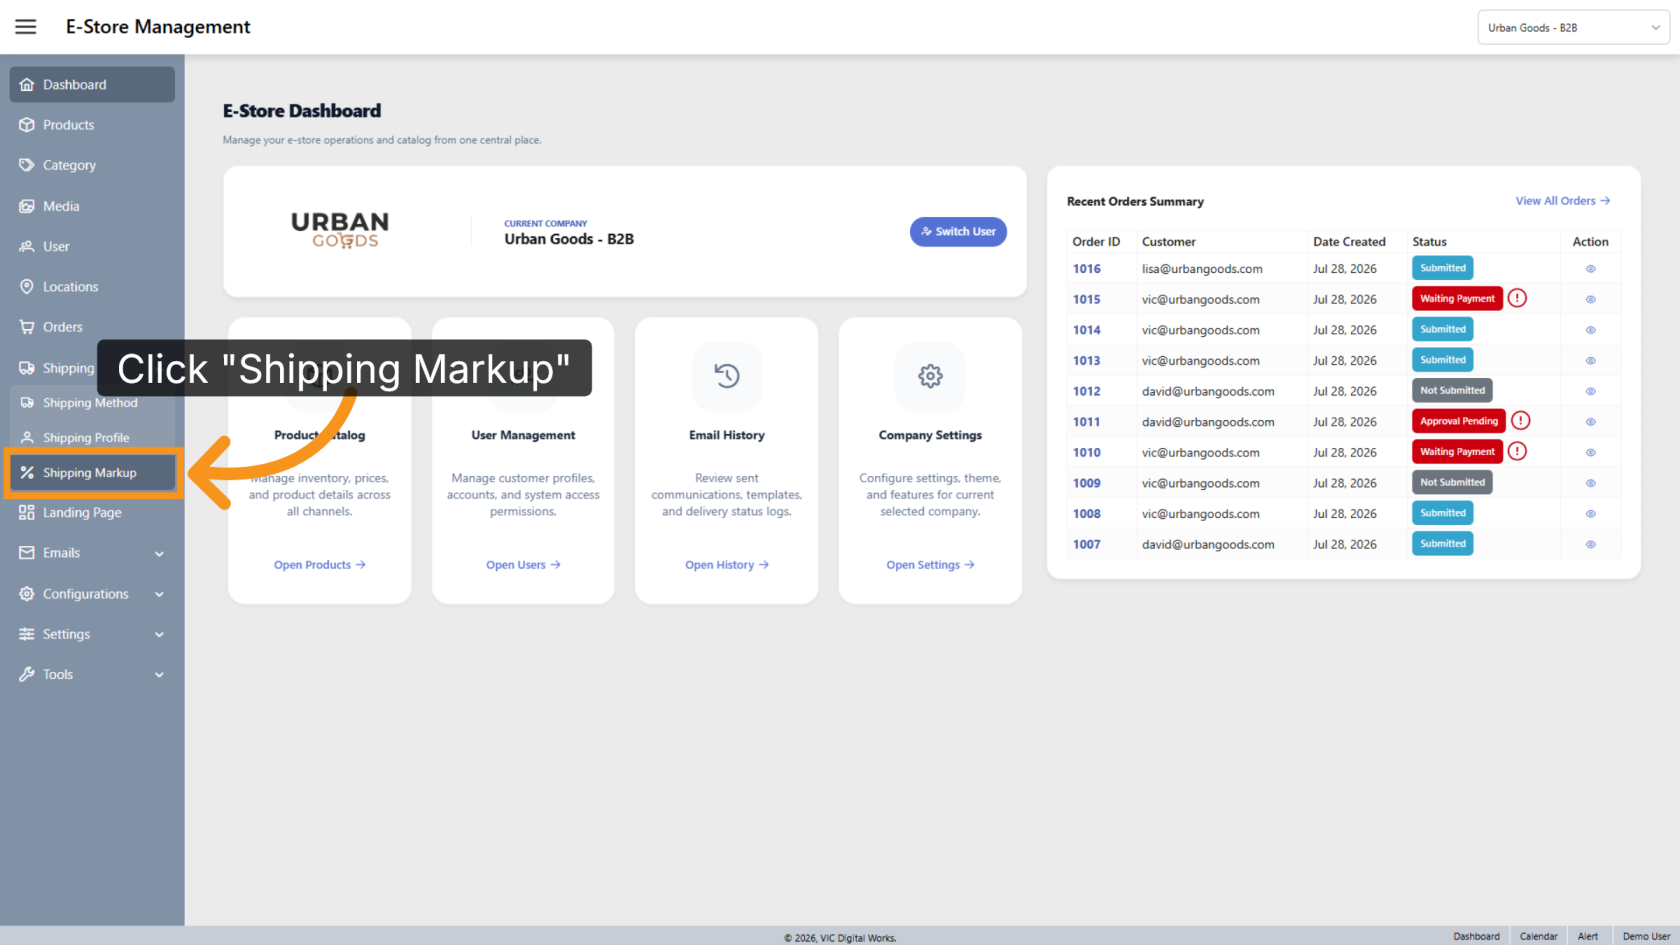
2. Open Shipping Markup
Click Shipping Markup.
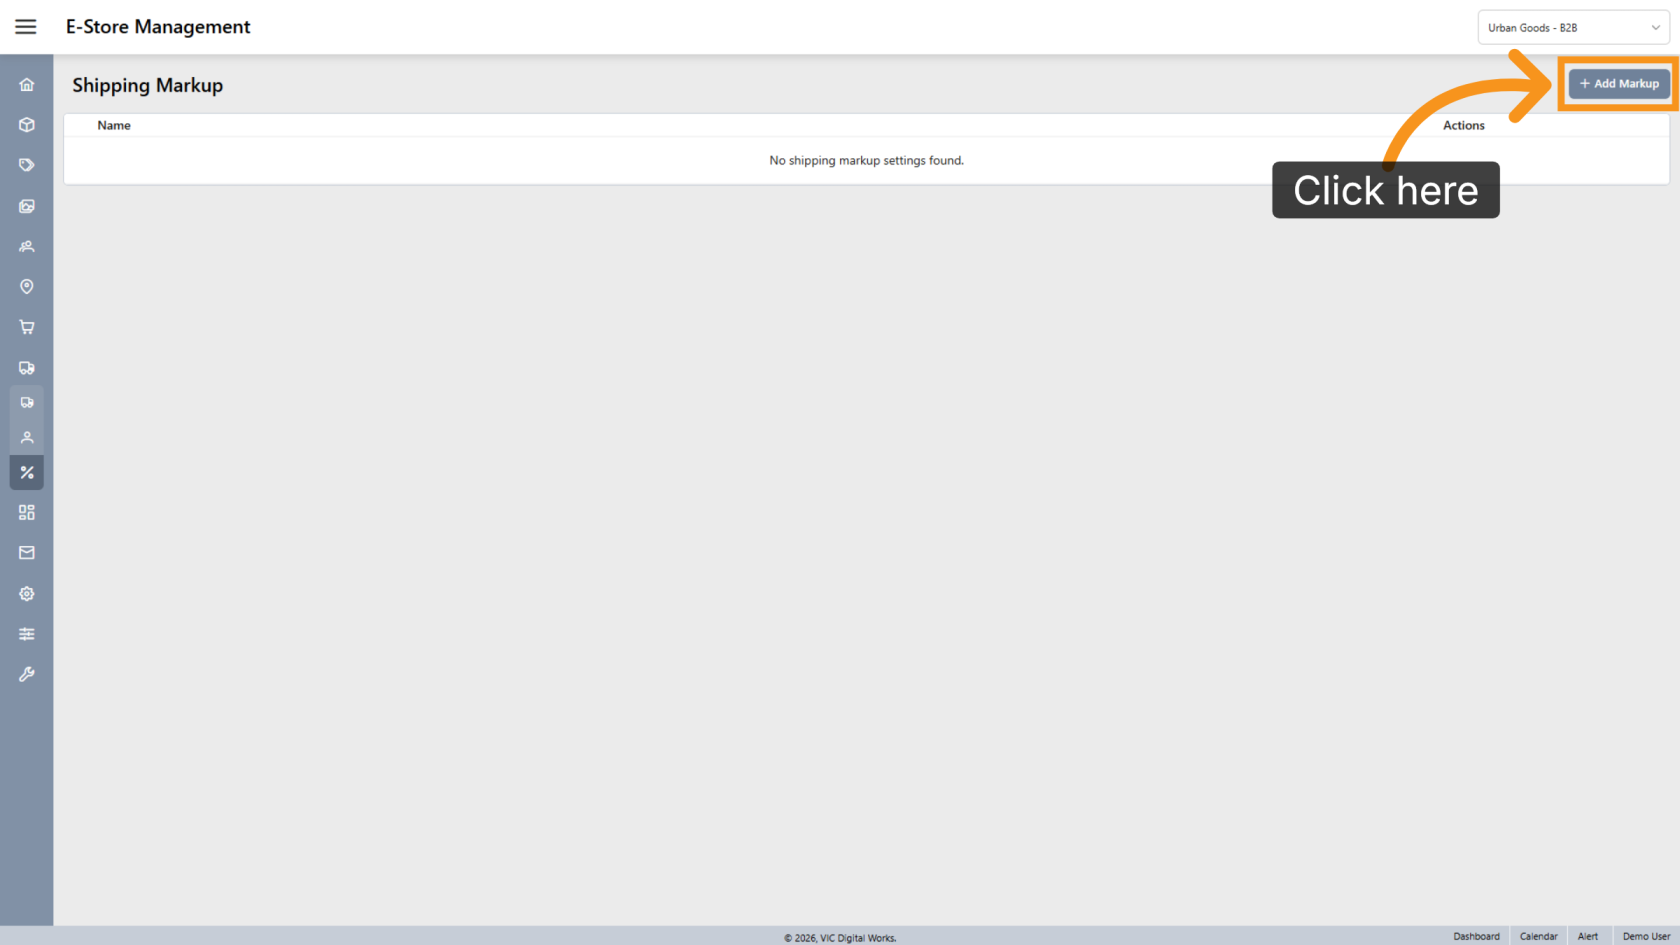
3. Create a Shipping Markup
Click Add Markup to create a new shipping markup table.
4. Enter a Name
Enter a descriptive name that is easy to identify.
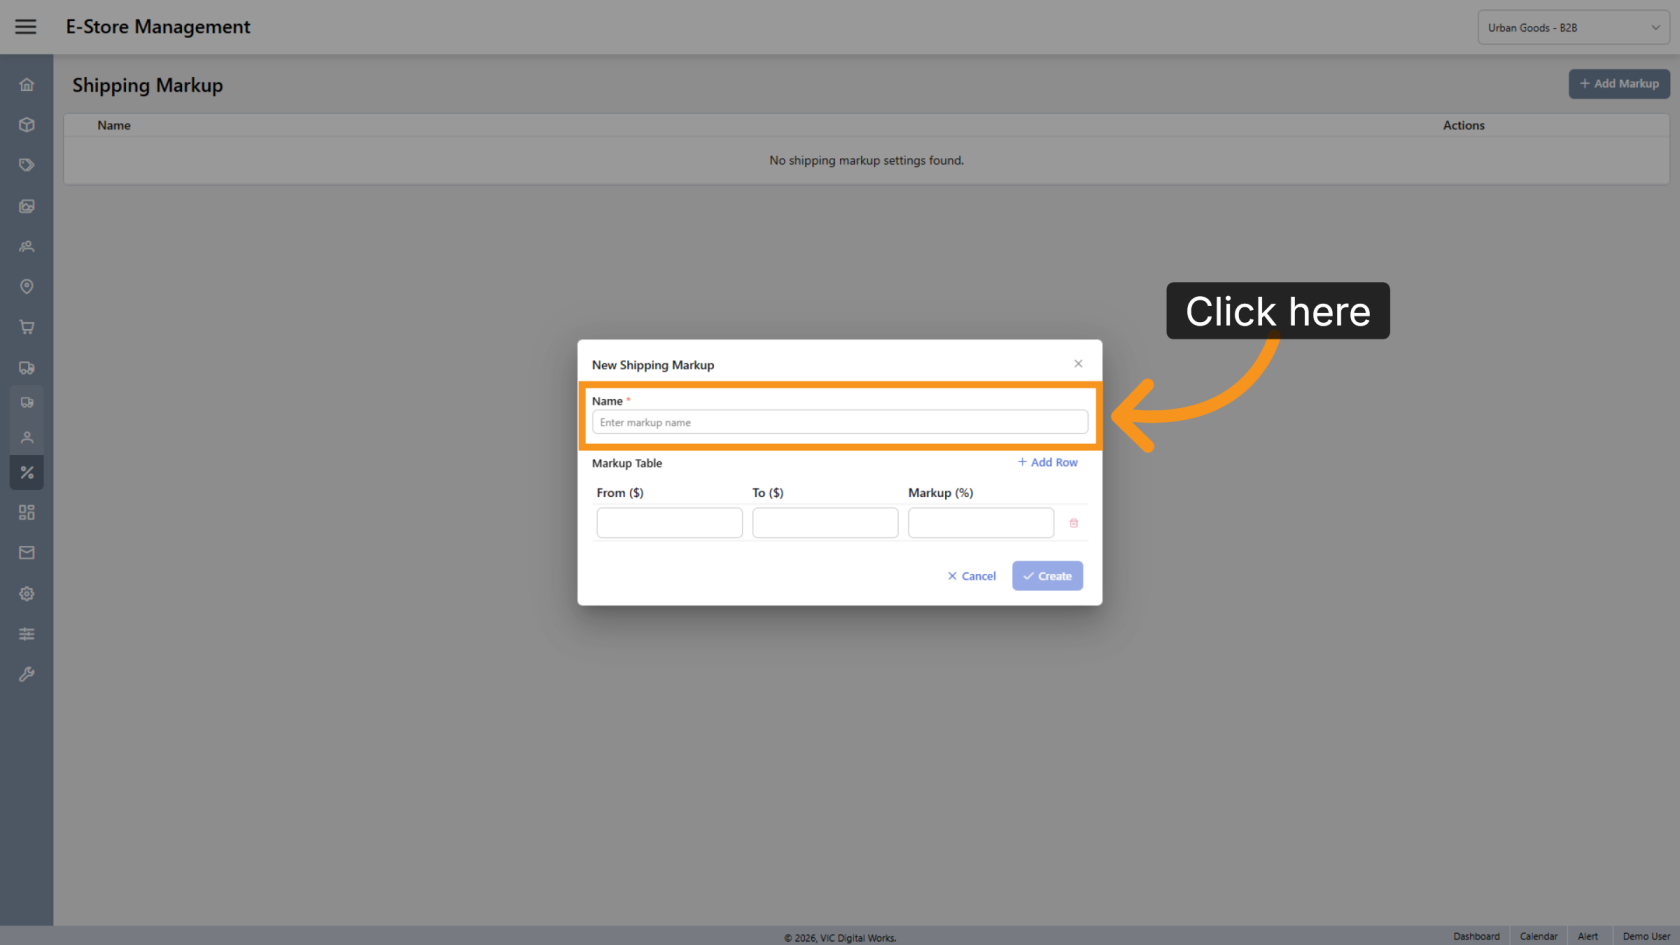
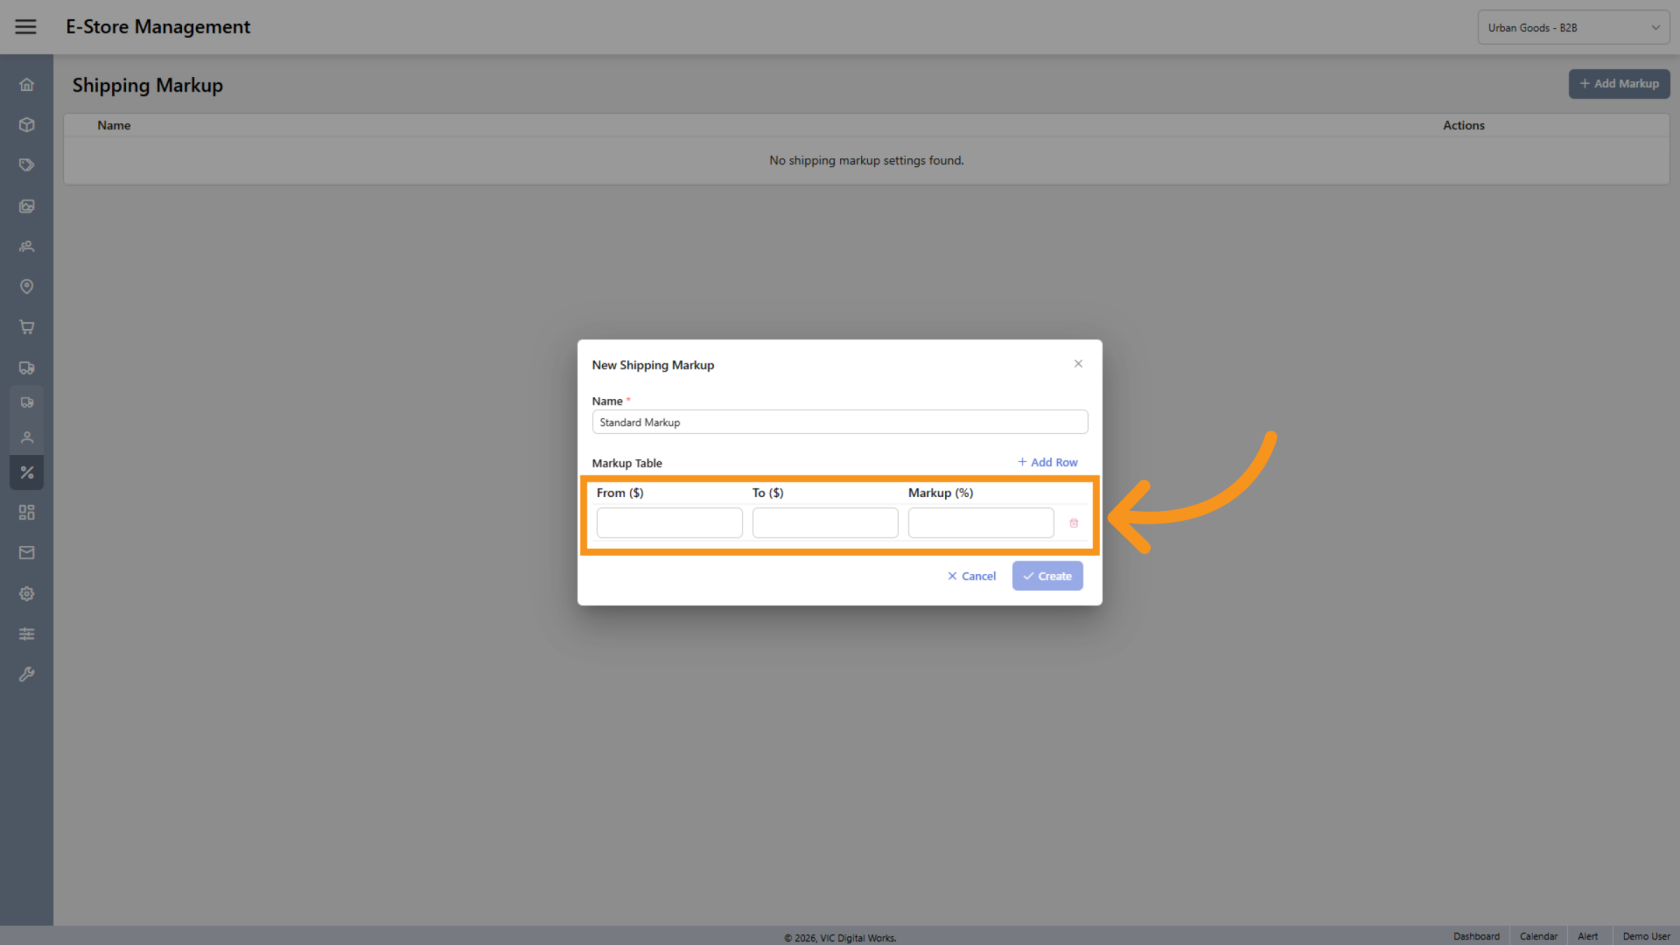
5. Define the First Price Break
Enter the From and To shipping cost values, then specify the Markup (%) for that range.
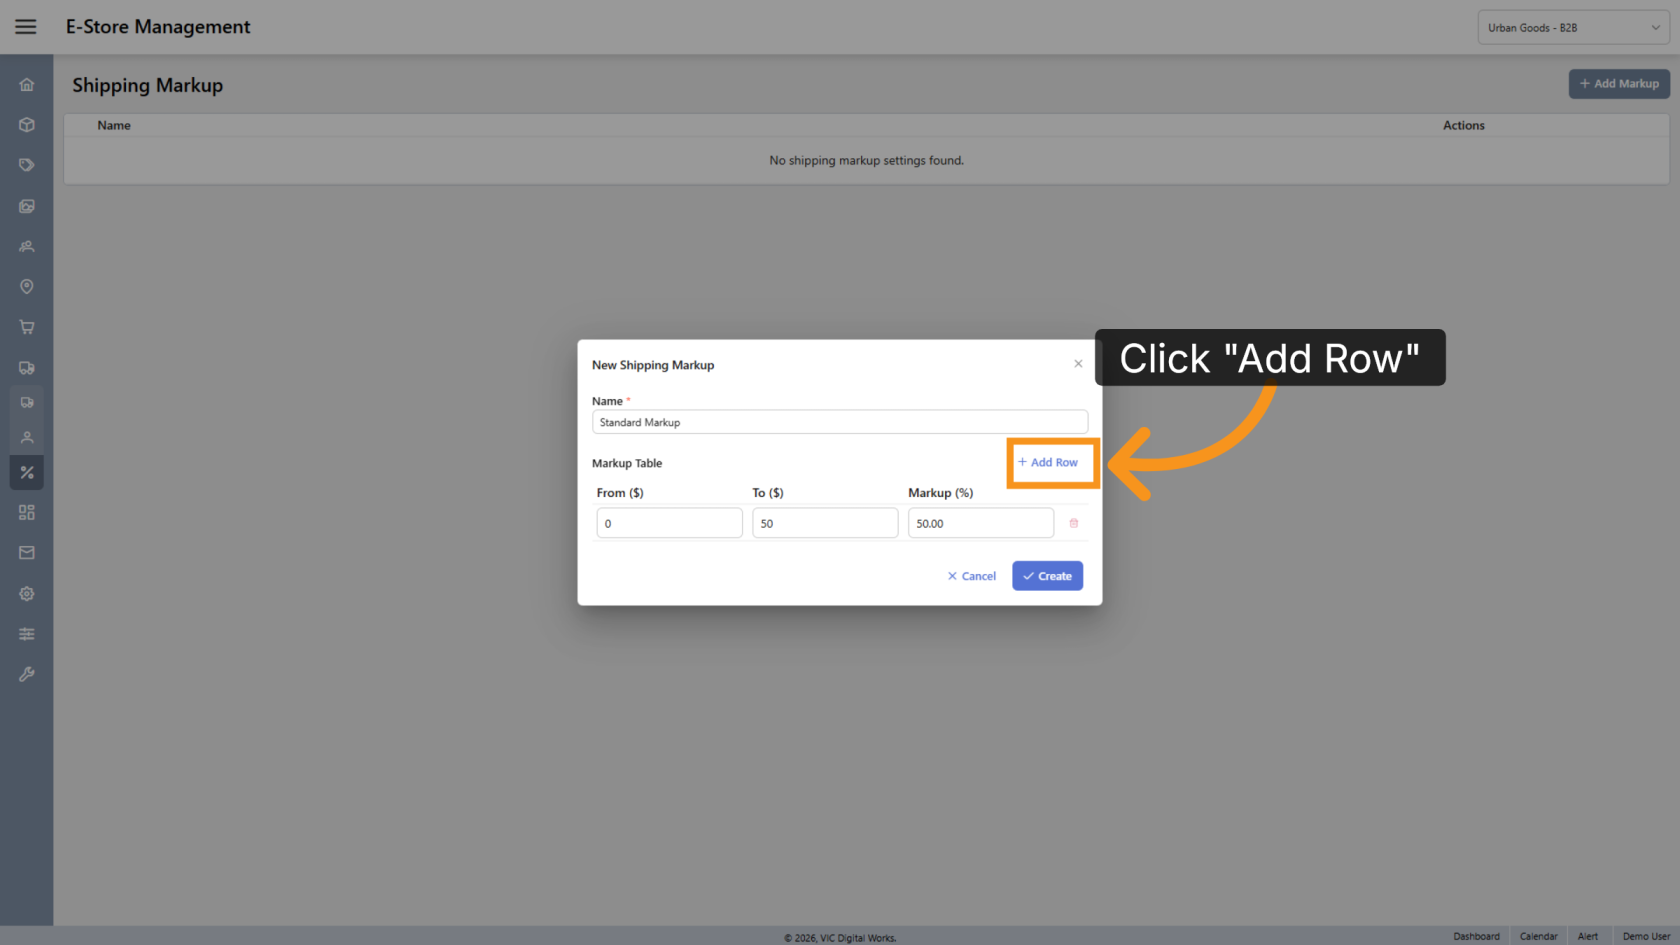
6. Add Another Price Break
Click Add Row to add another shipping cost range.
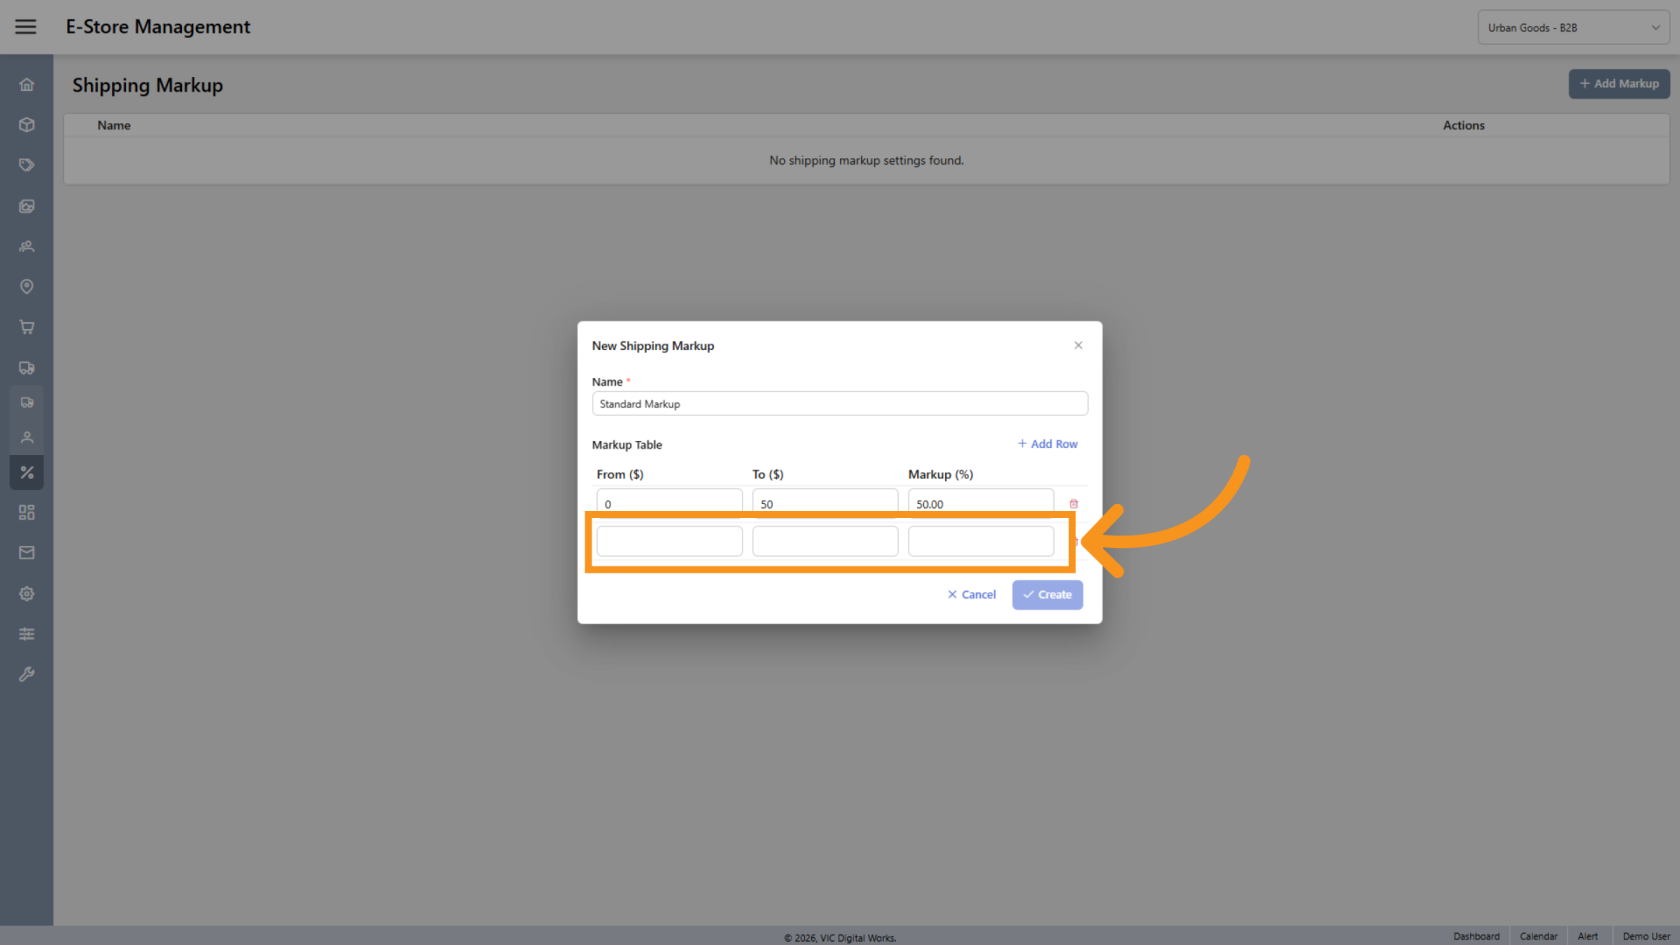
7. Enter Additional Values
Repeat this process for each additional shipping cost range.
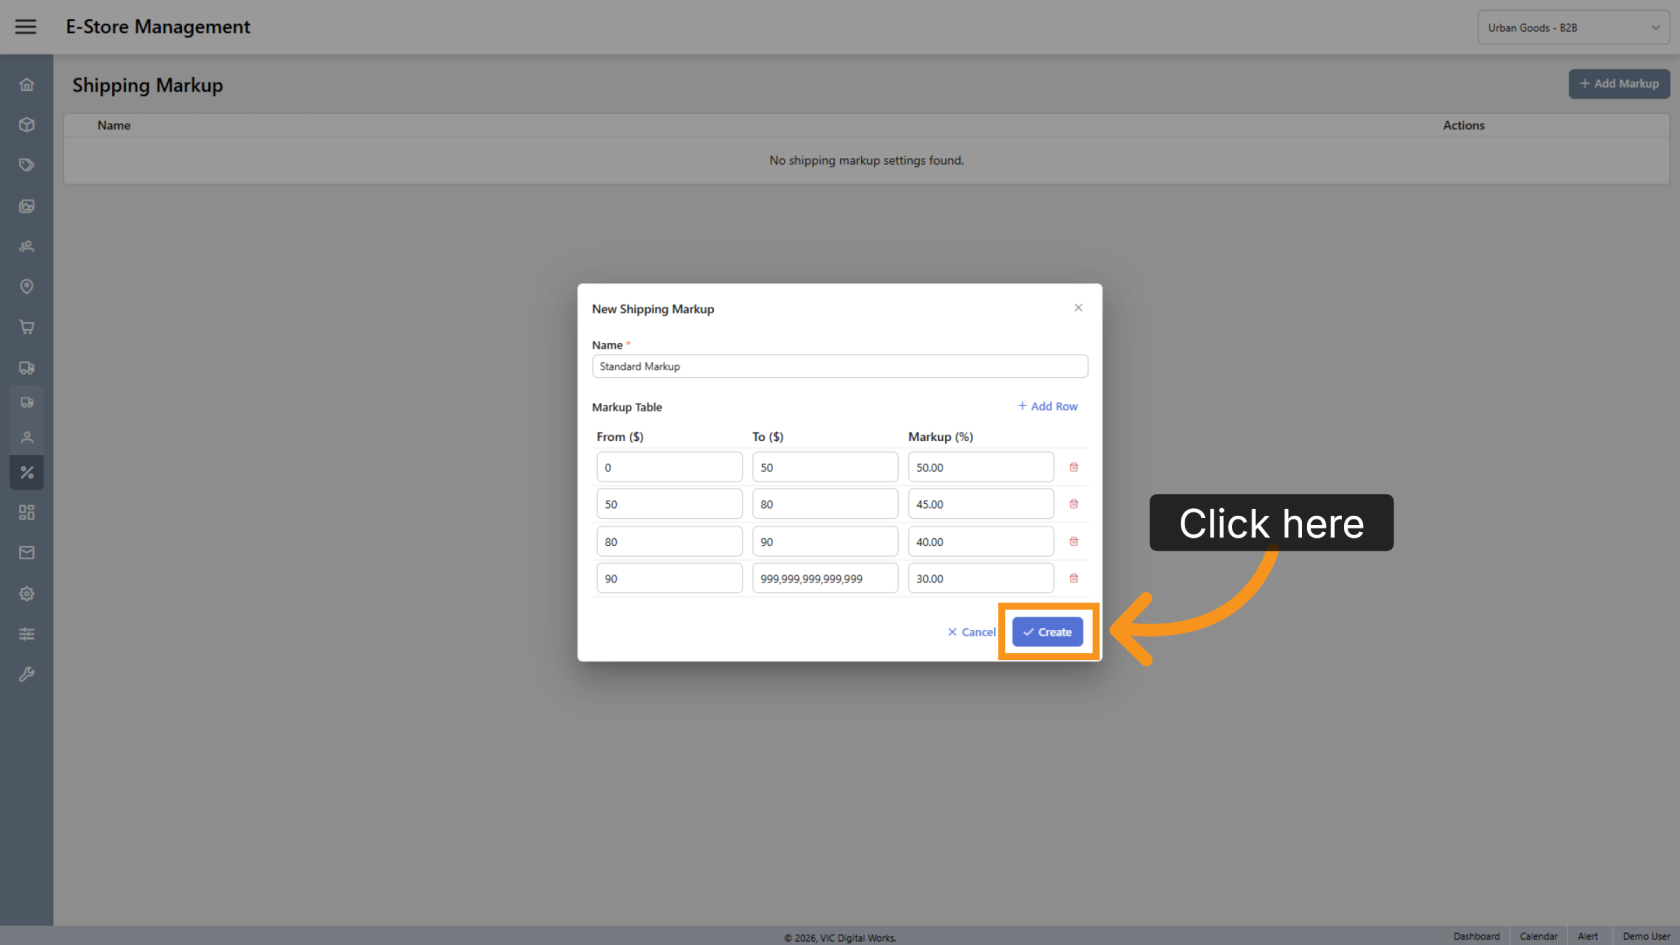
8. Save the Shipping Markup
Click Create to save the shipping markup table.
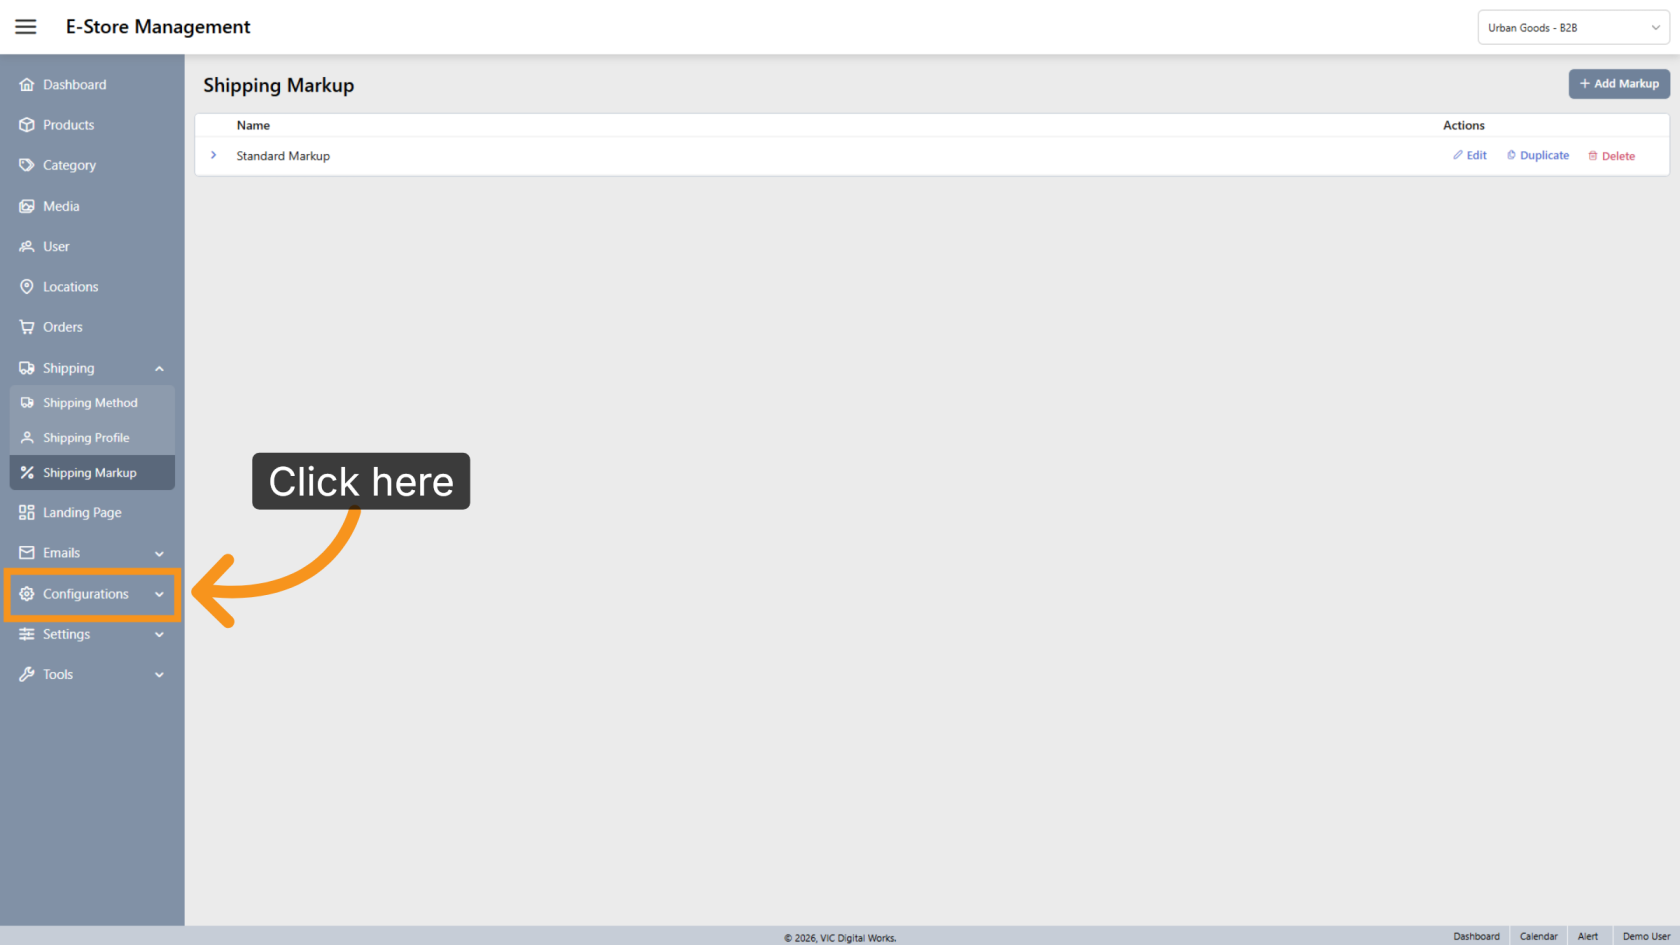
9. Open Company Configuration
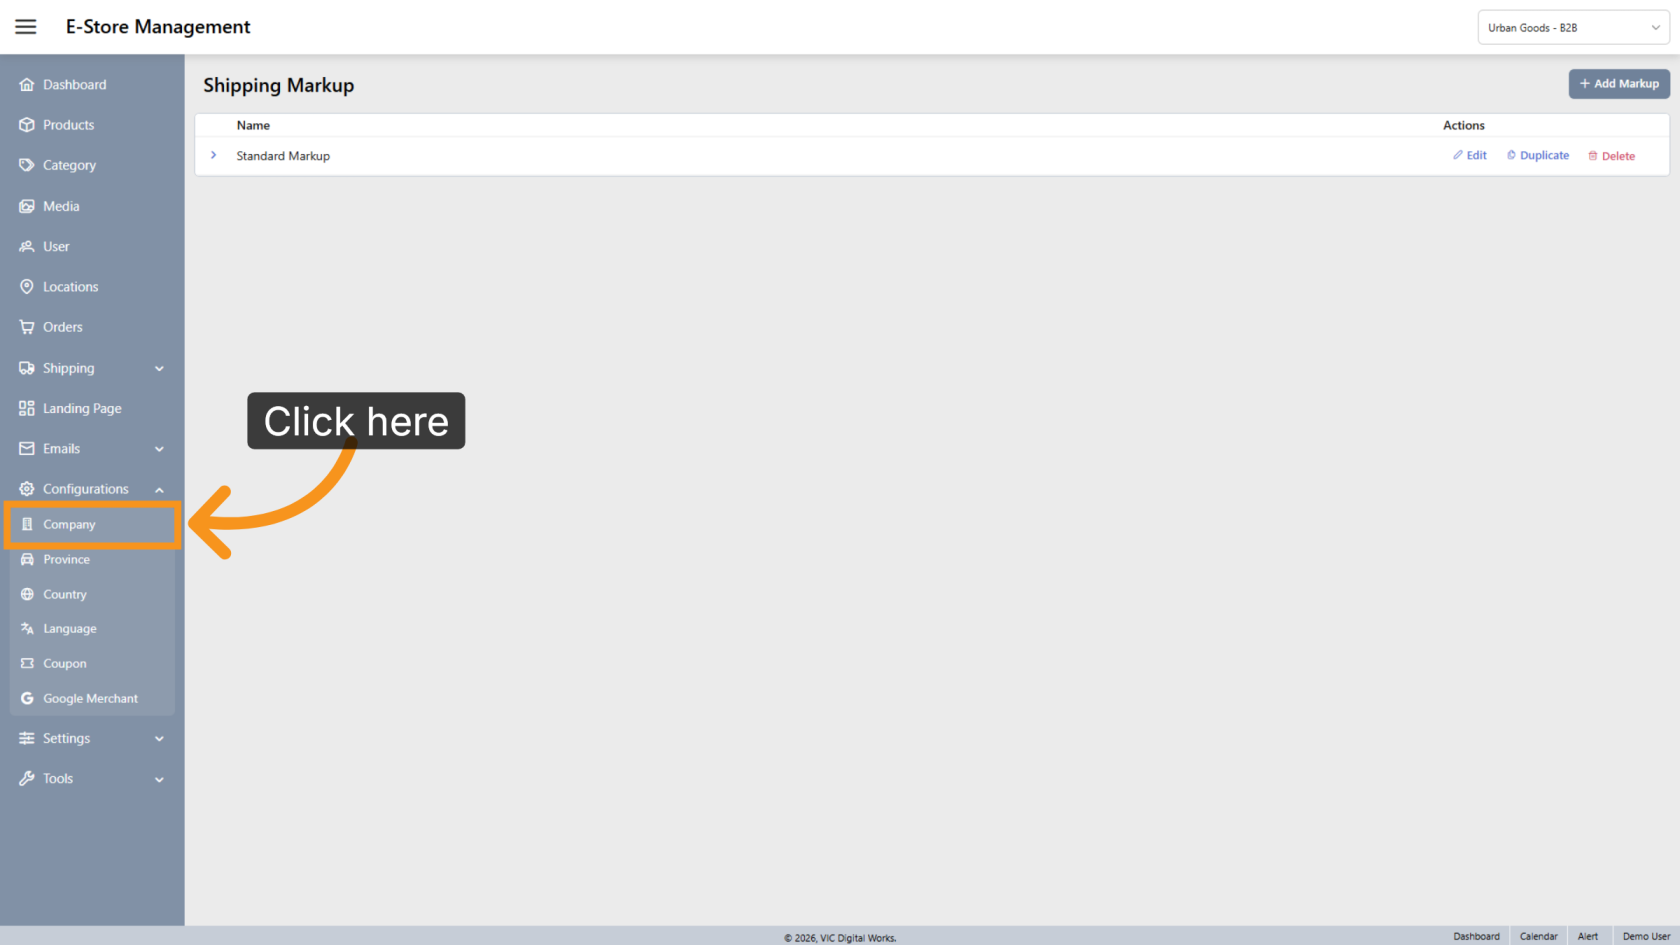
10. Select a Company
Select the company you want to configure.
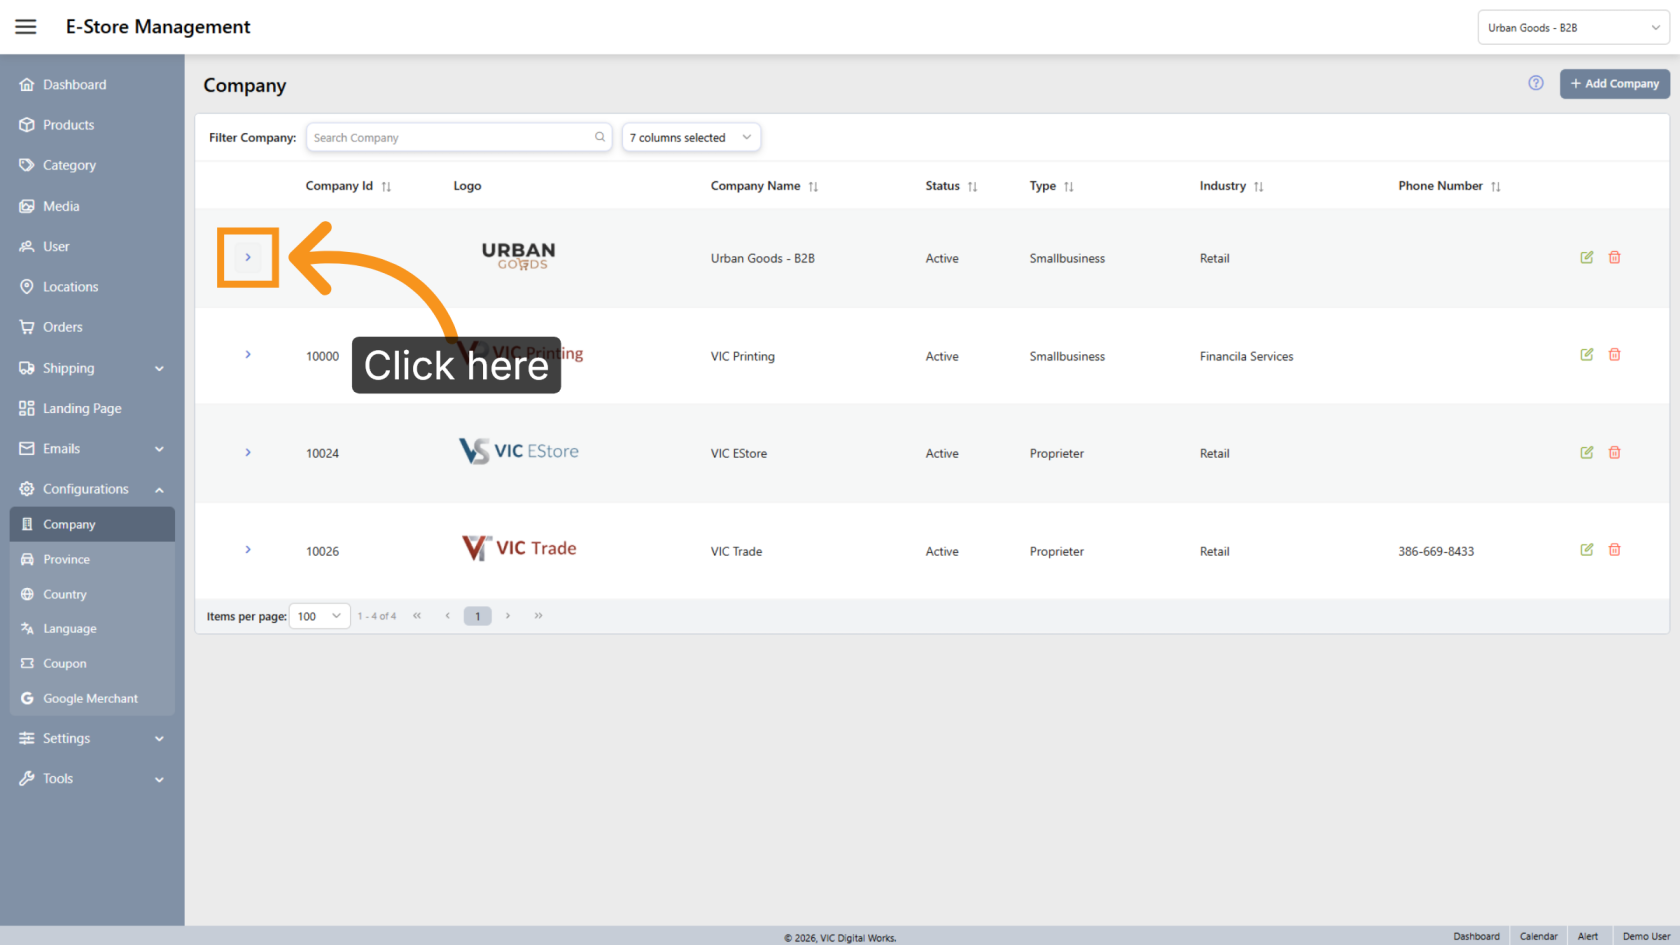
11. Open the Company
Click the arrow next to the selected company.
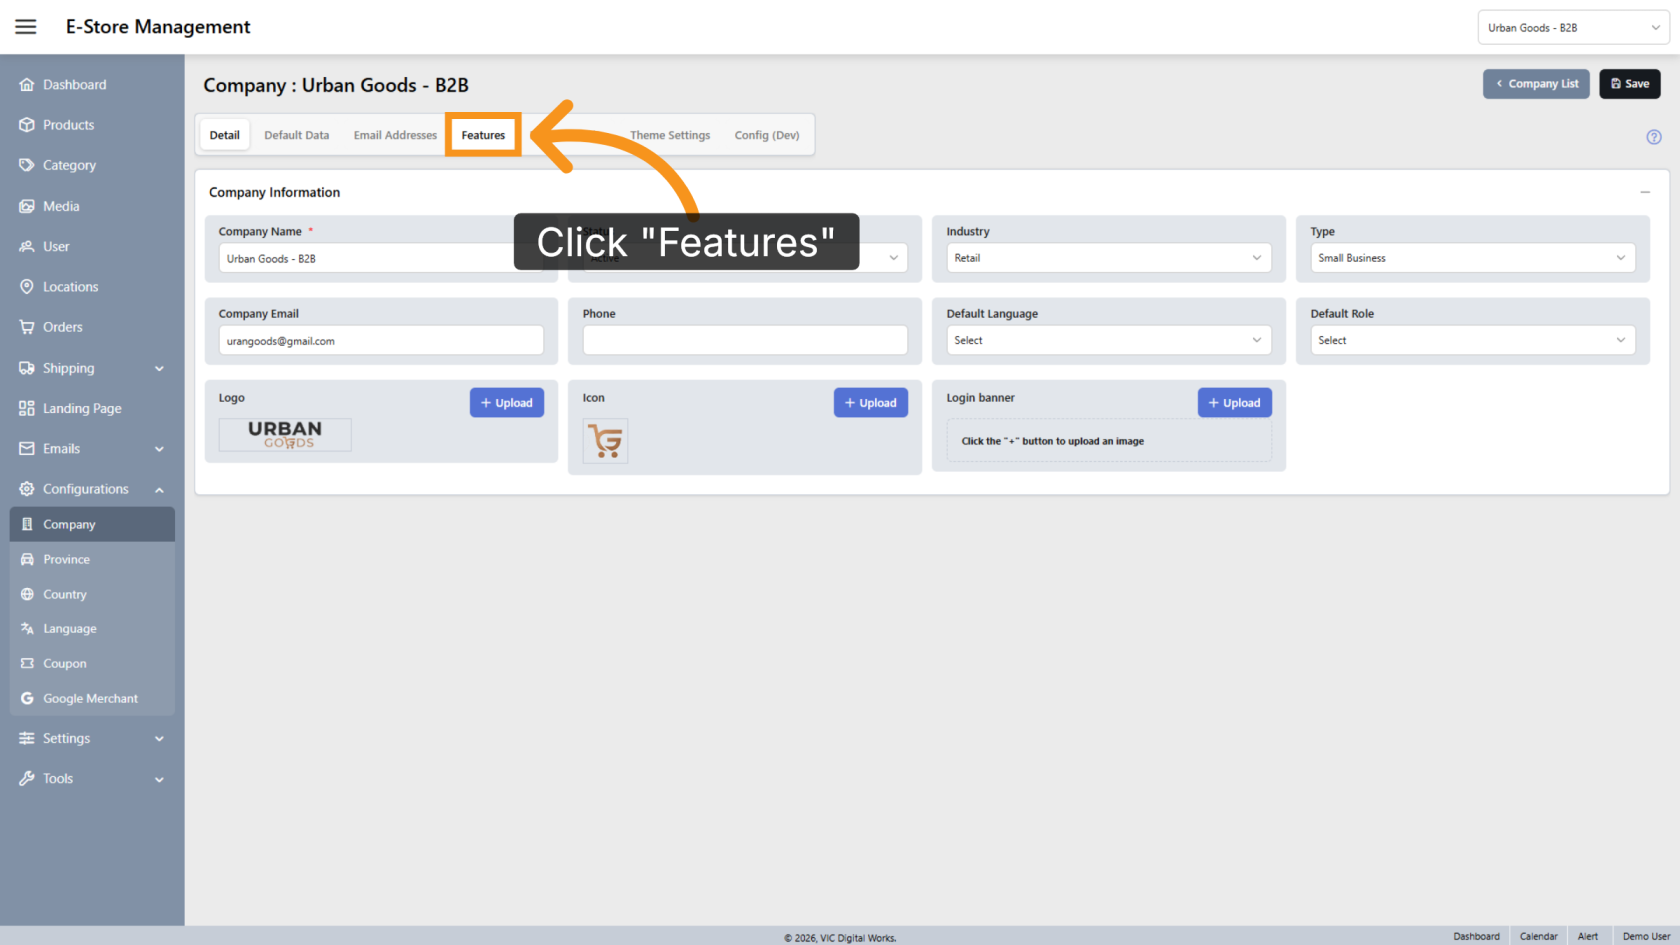
12. Open the Features Tab
Click Features.
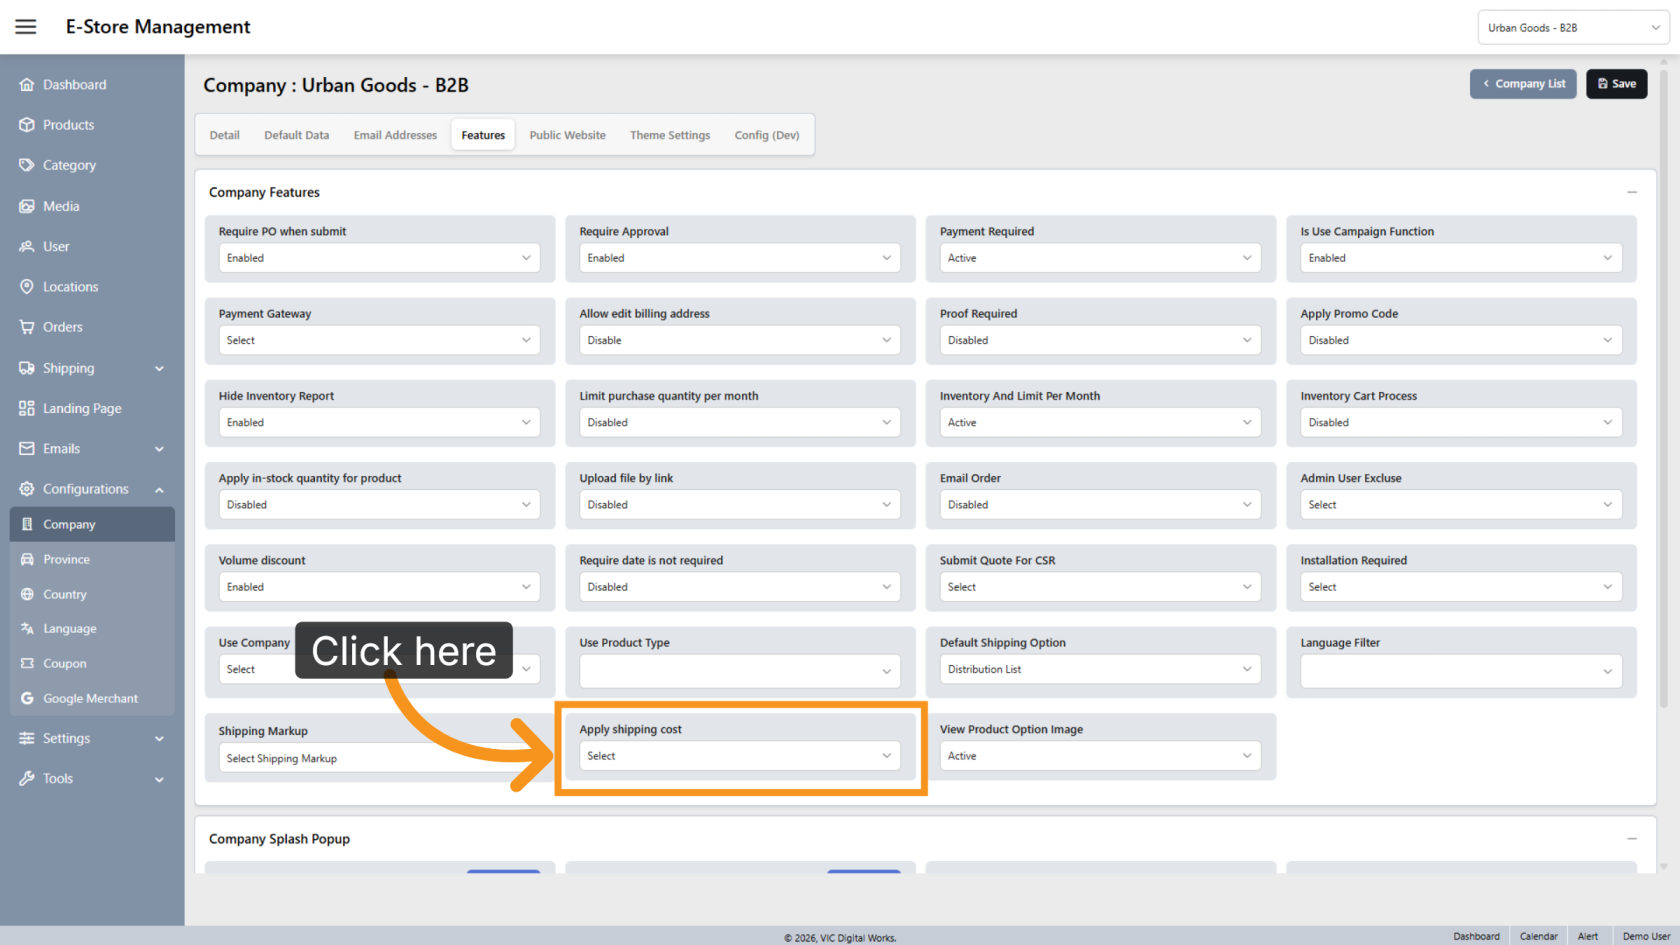
13. Enable Apply Shipping Cost
Enable Apply Shipping Cost. This option must be enabled before you can assign a shipping markup to the company.
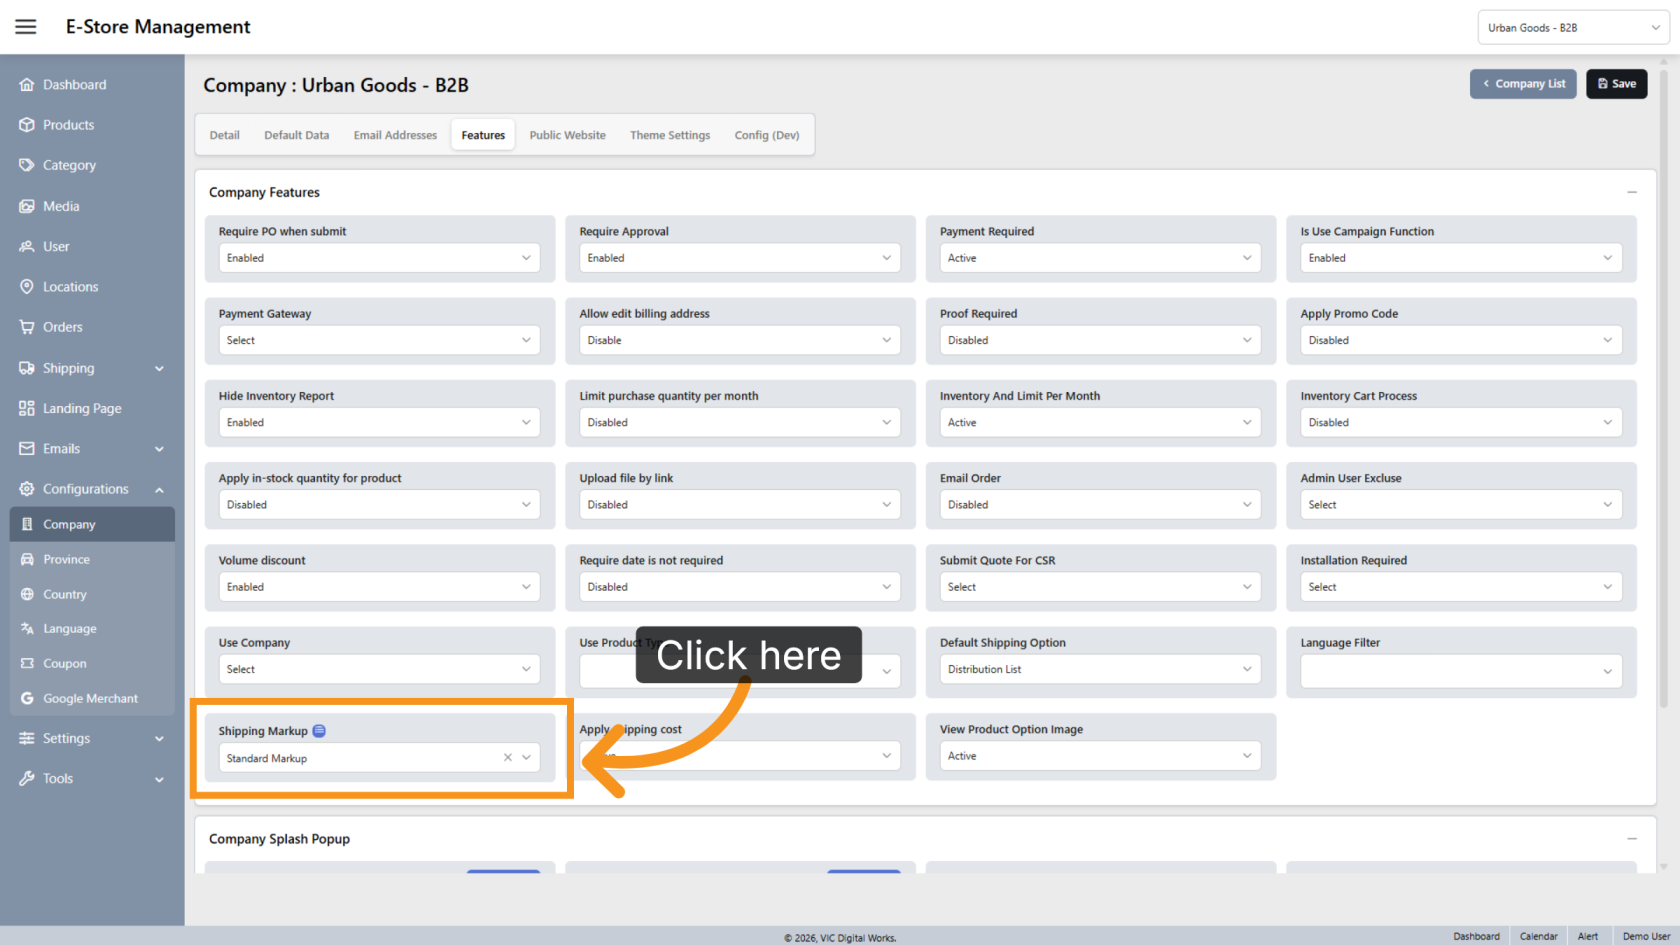
14. Select a Shipping Markup
Once Apply Shipping Cost is enabled, select the shipping markup you want to apply to the company.
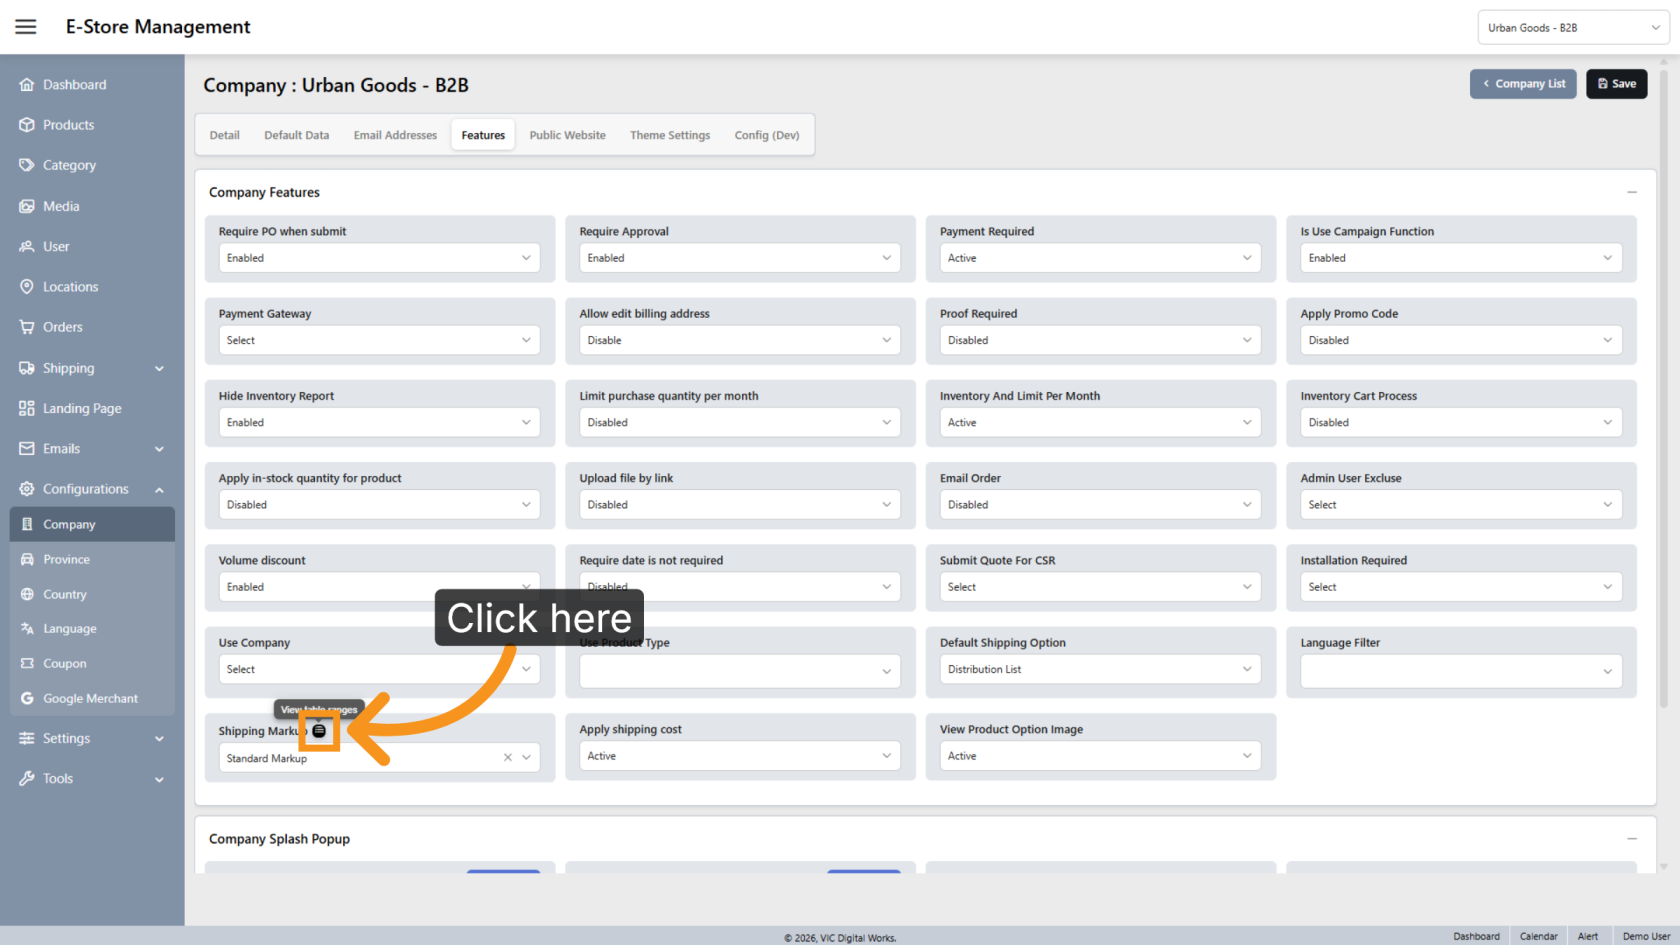
15. Review the Markup Table
Click the View icon
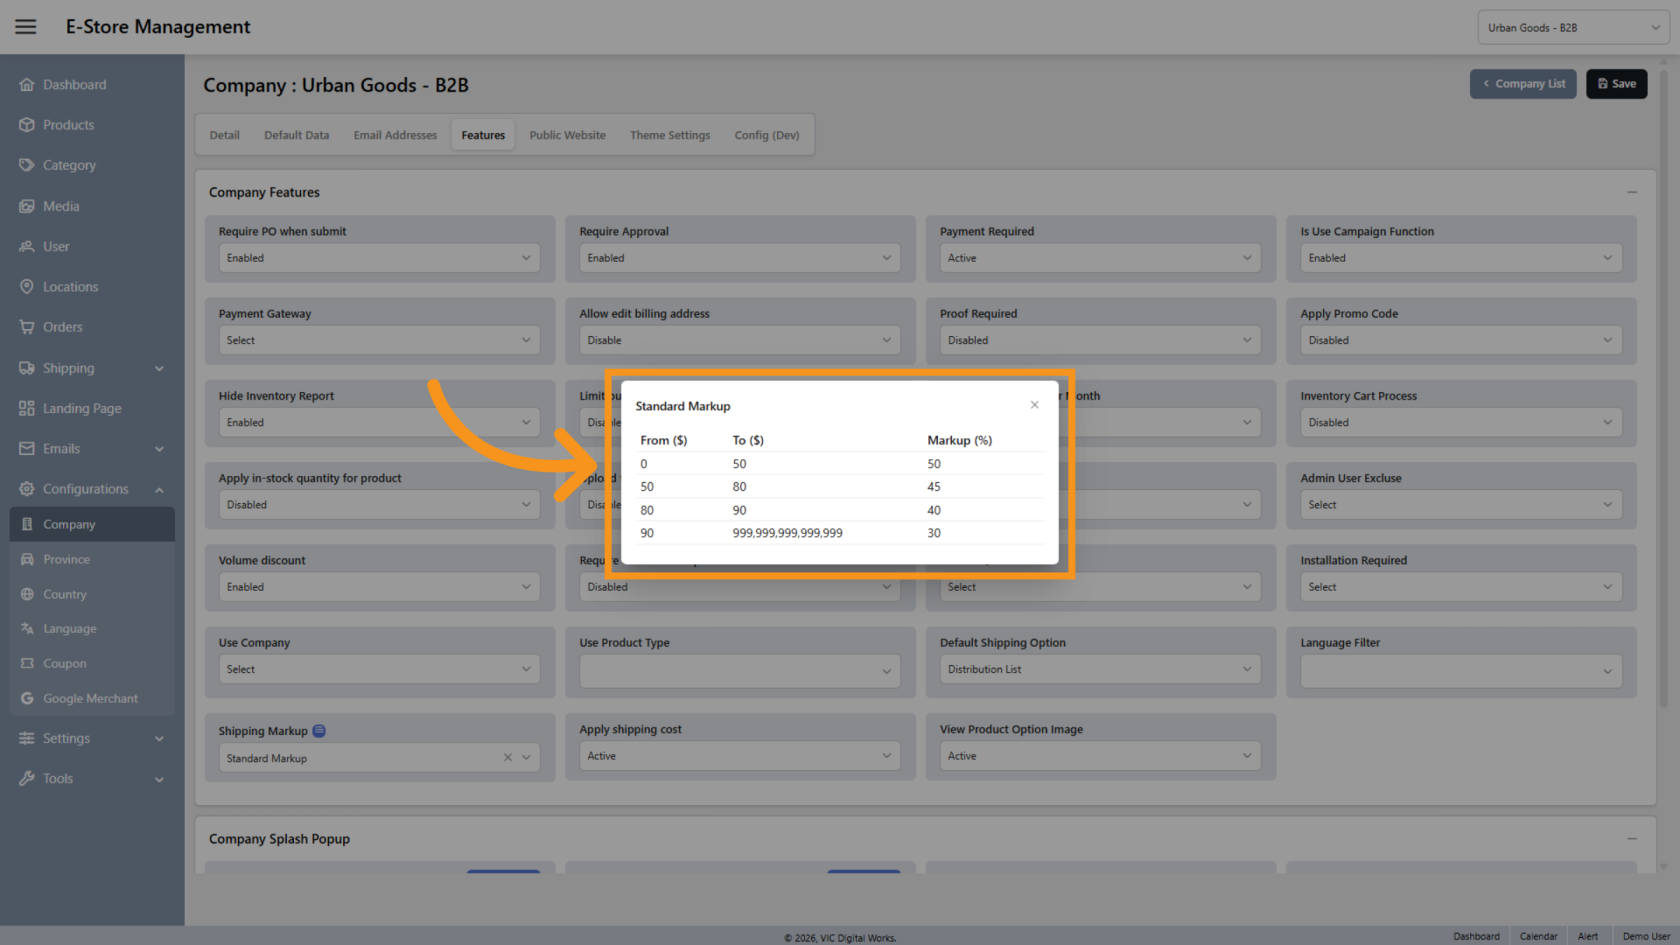
16. Review the Price Breaks
Review the shipping markup ranges displayed in the pop-up window.
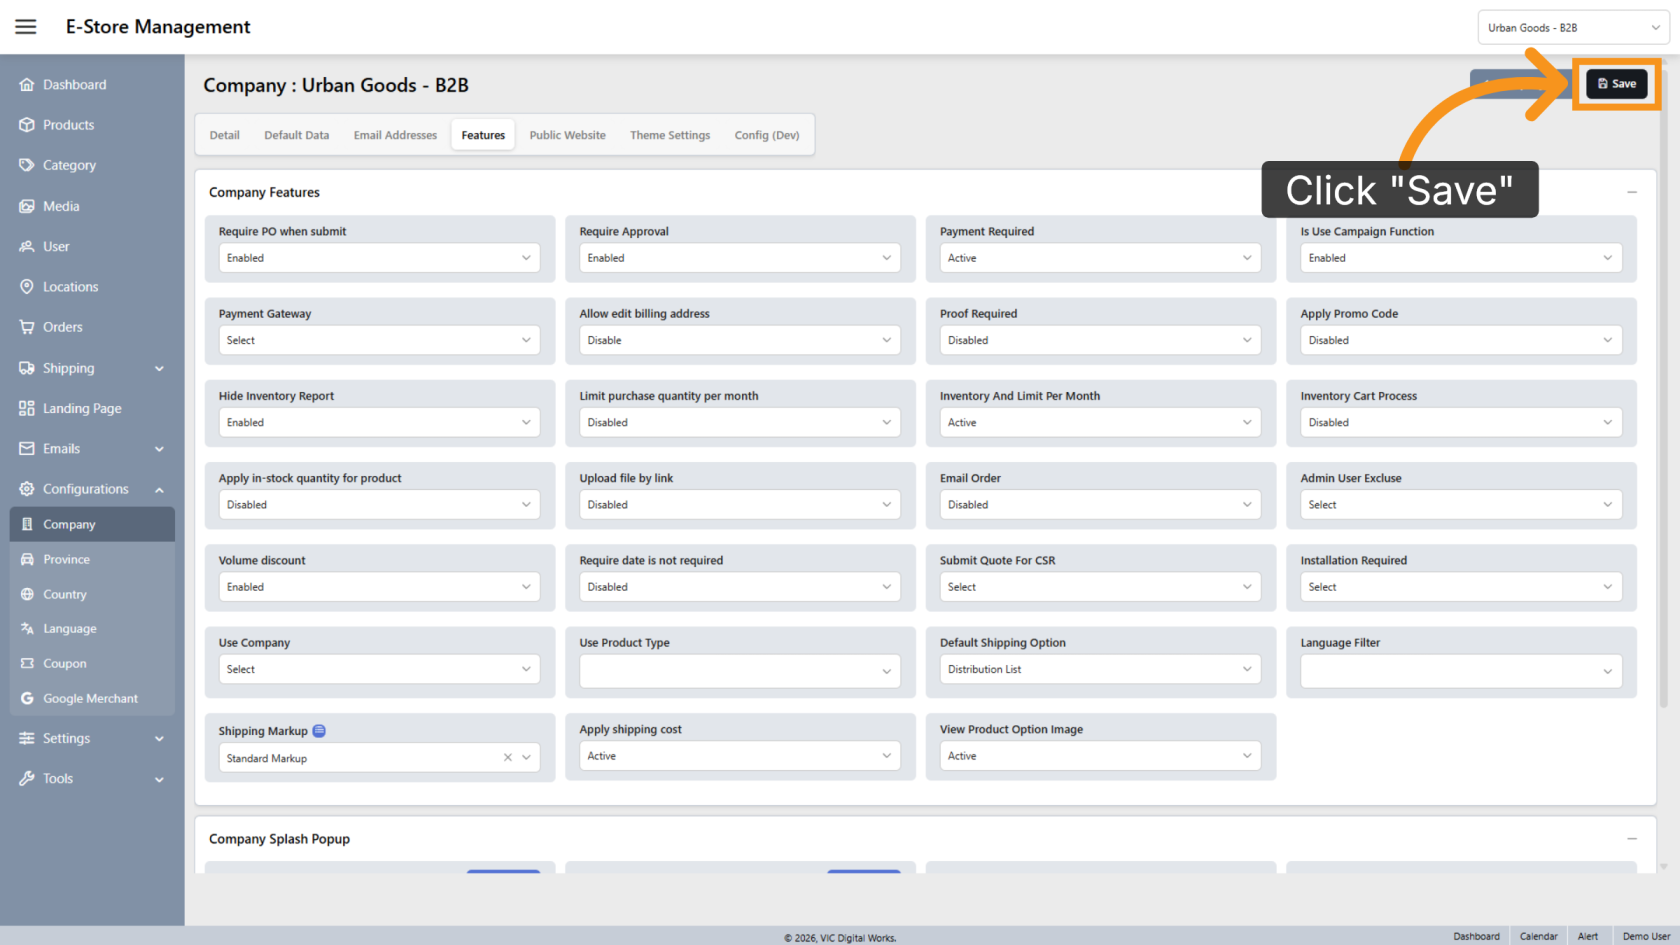
17. Save the Settings
Click Save to apply your changes.
You have successfully configured shipping markup settings by creating a shipping markup table and assigning it to a company.