
Company Public Website
This tutorial guides you through configuring public website settings for a Company E-Store. These settings control website visibility, branding, domain information, and search engine content.
Video Tutorial
1. Open Public Website Settings
Within the selected company, click Public Website.
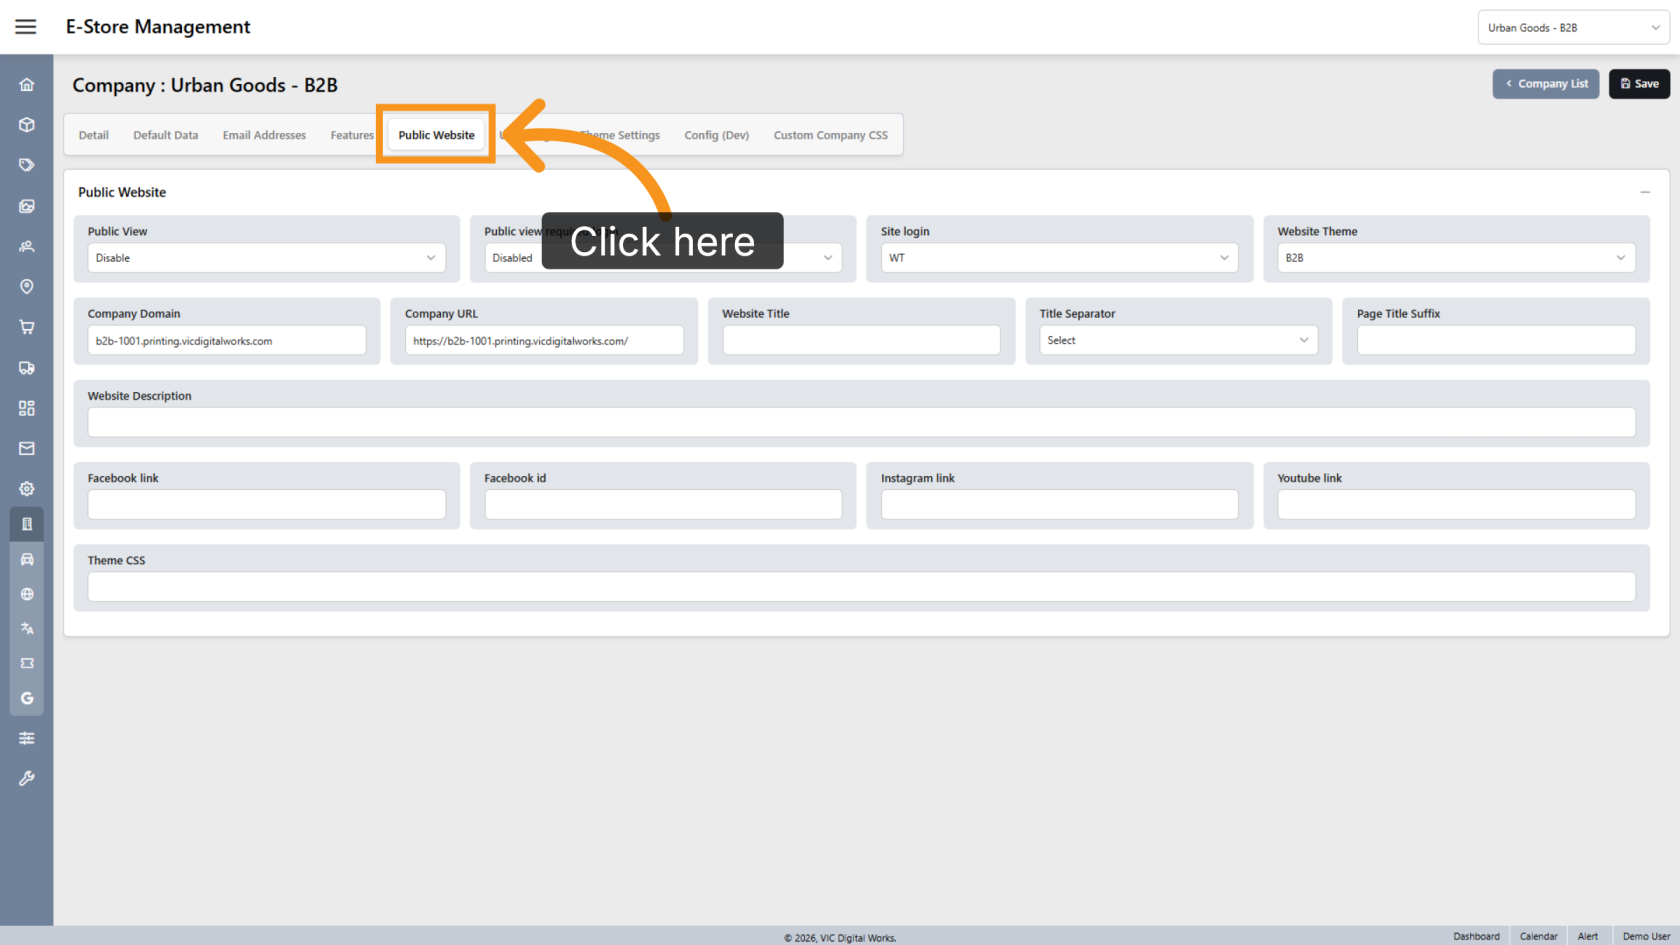
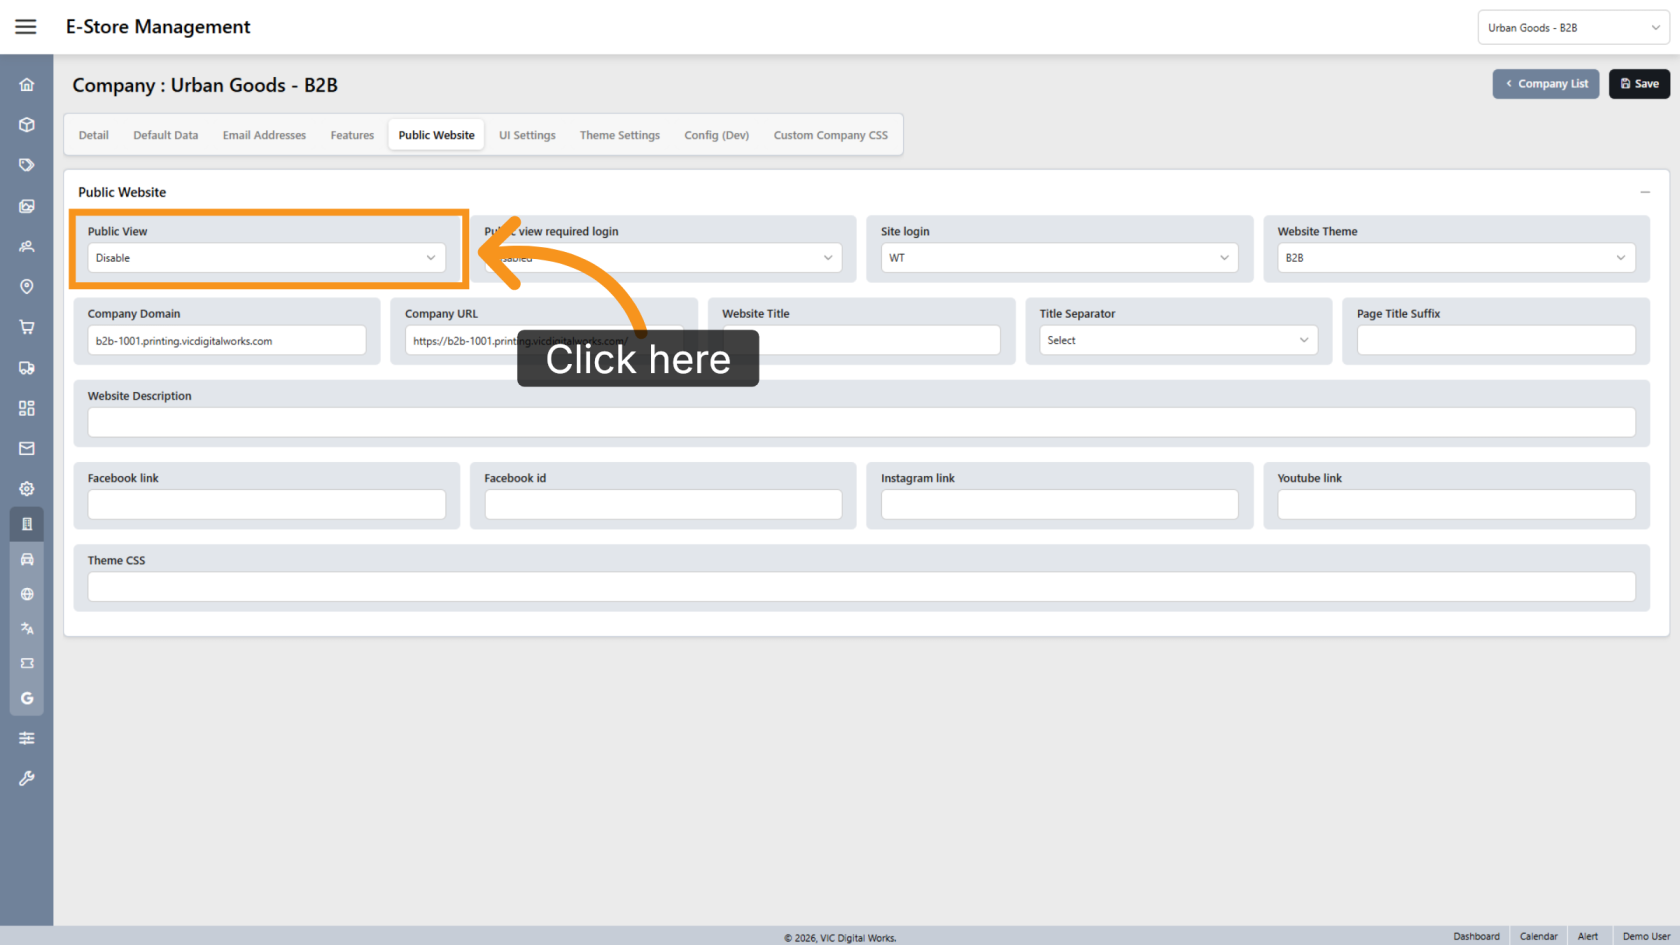
2. Enable Public View
Enable Public View to allow visitors to browse the E-Store without signing in. When disabled, only signed-in users can access the website.
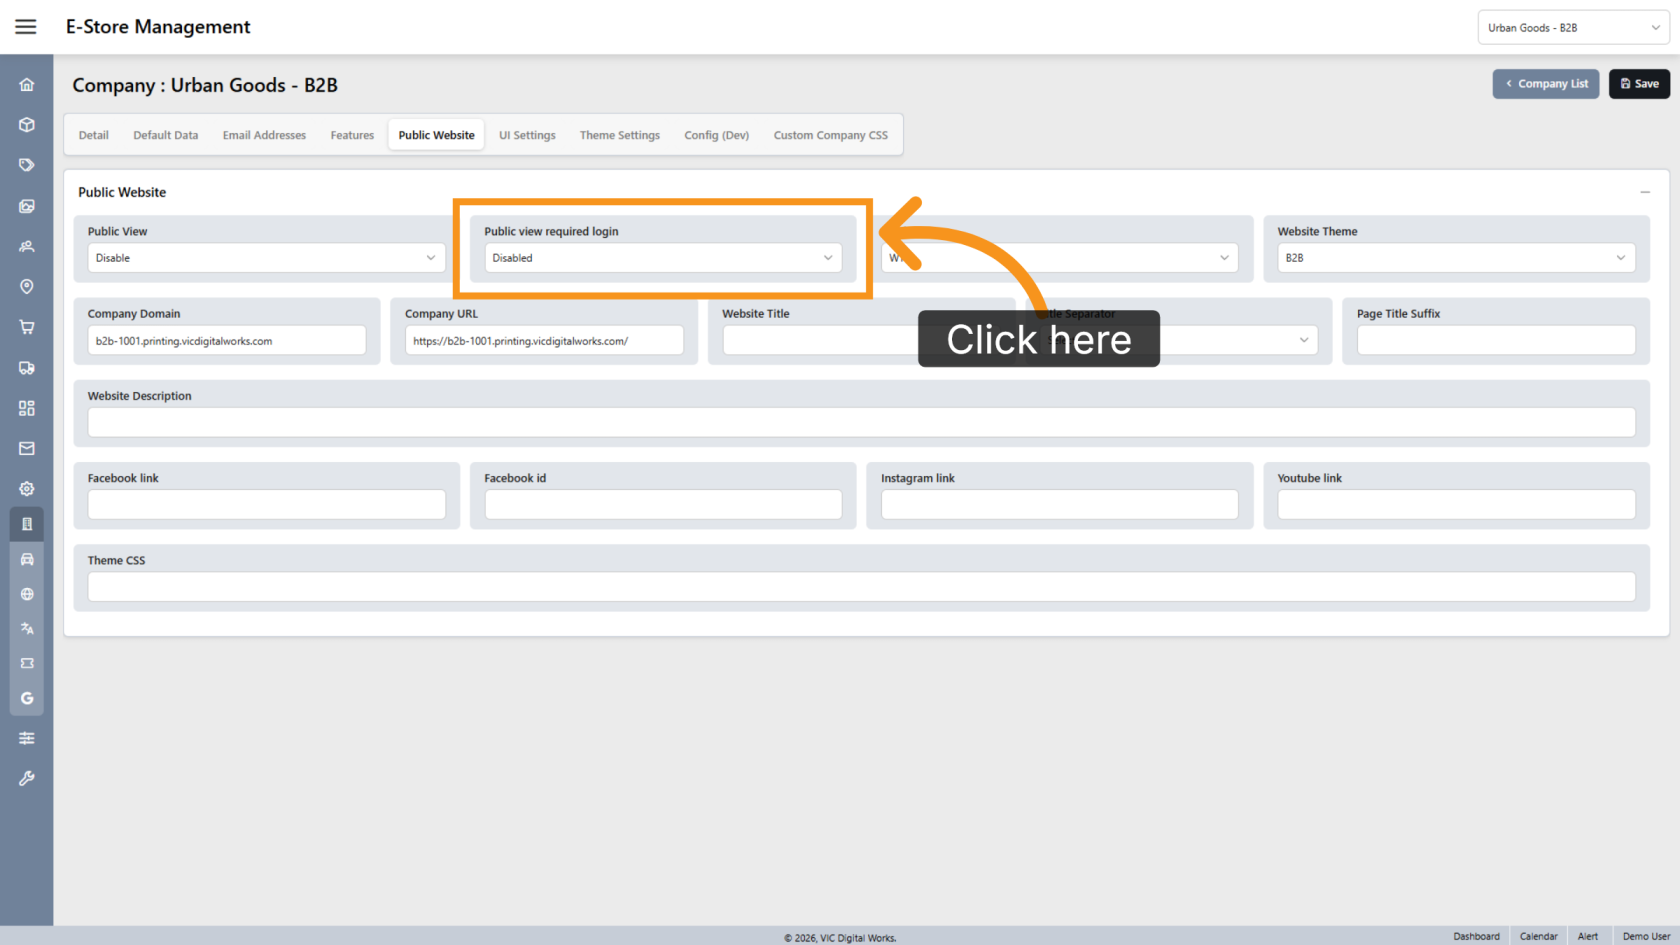
3. Enable Public View with Login Required
Enable Public View Required Login if you want the website to be publicly accessible but require users to sign in before viewing pricing information.
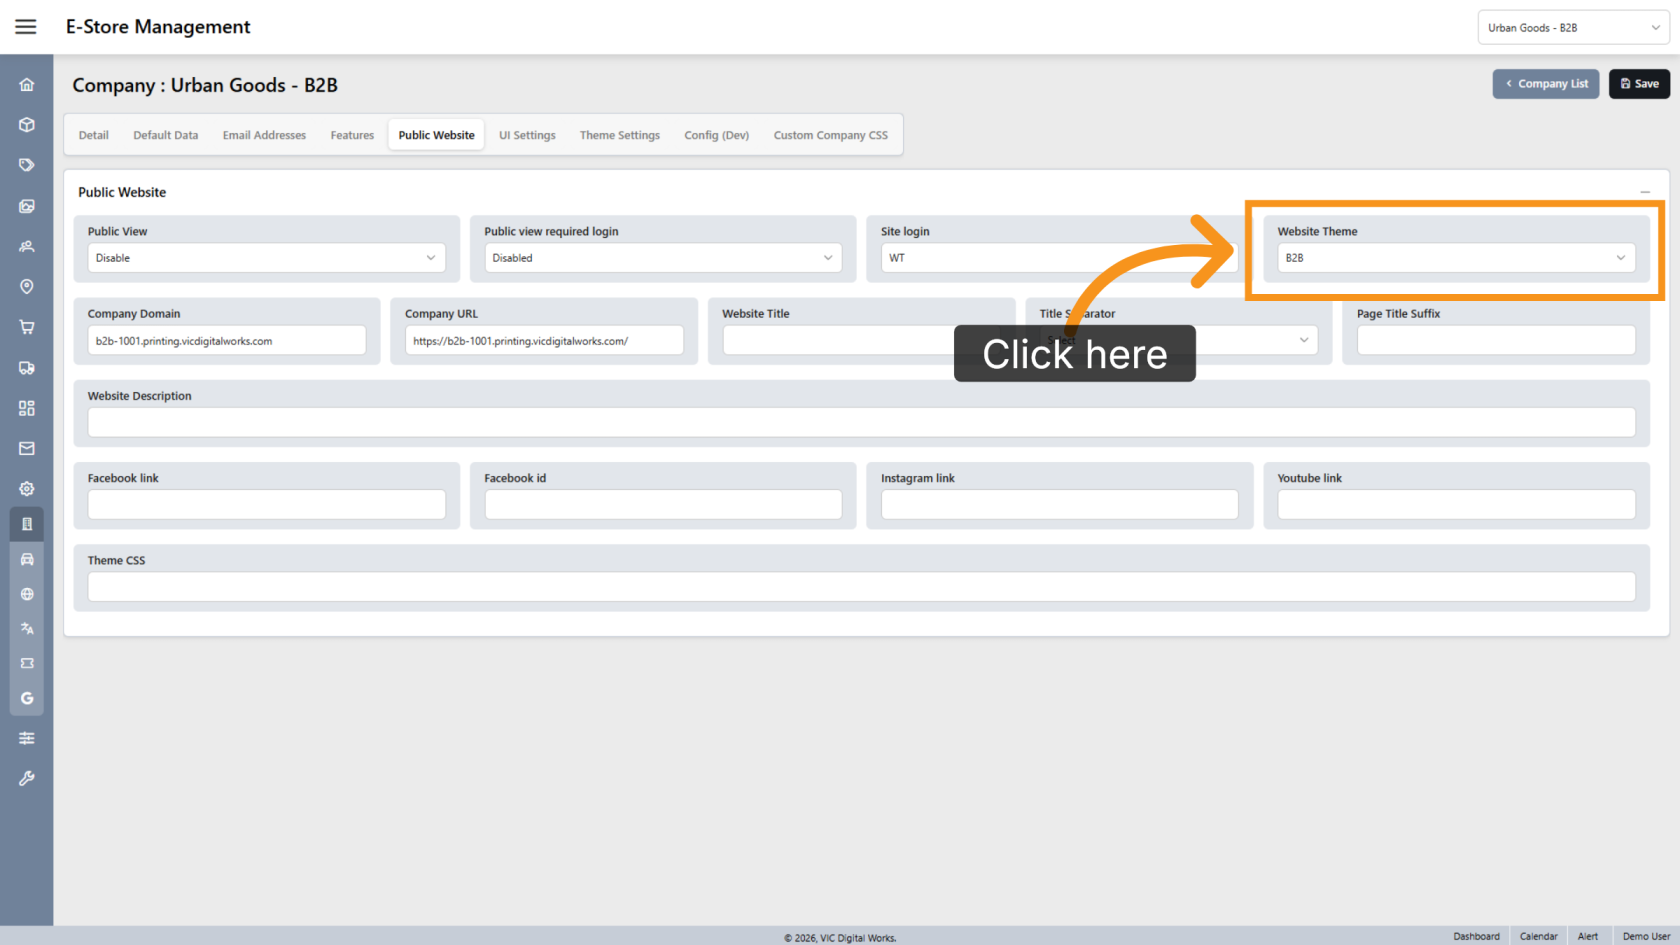
4. Select a Website Theme
Choose the appropriate website theme, such as B2B or B2C, to control the appearance and functionality of the E-Store.
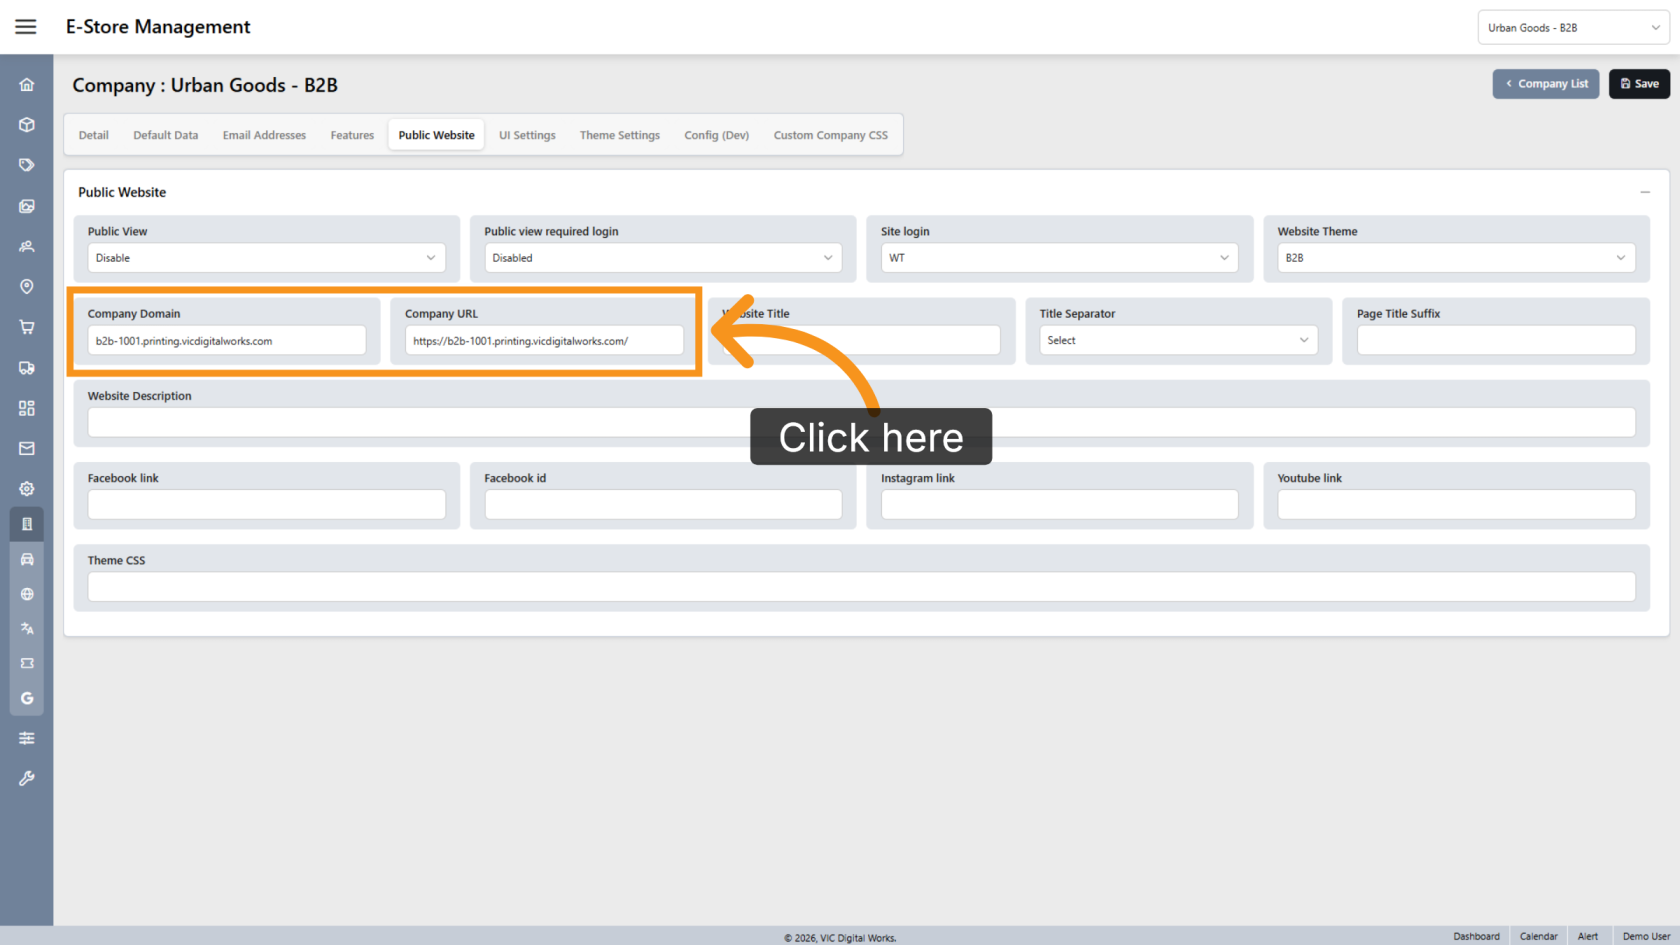
5. Enter Company Domain and URL
Enter the company domain and website URL.
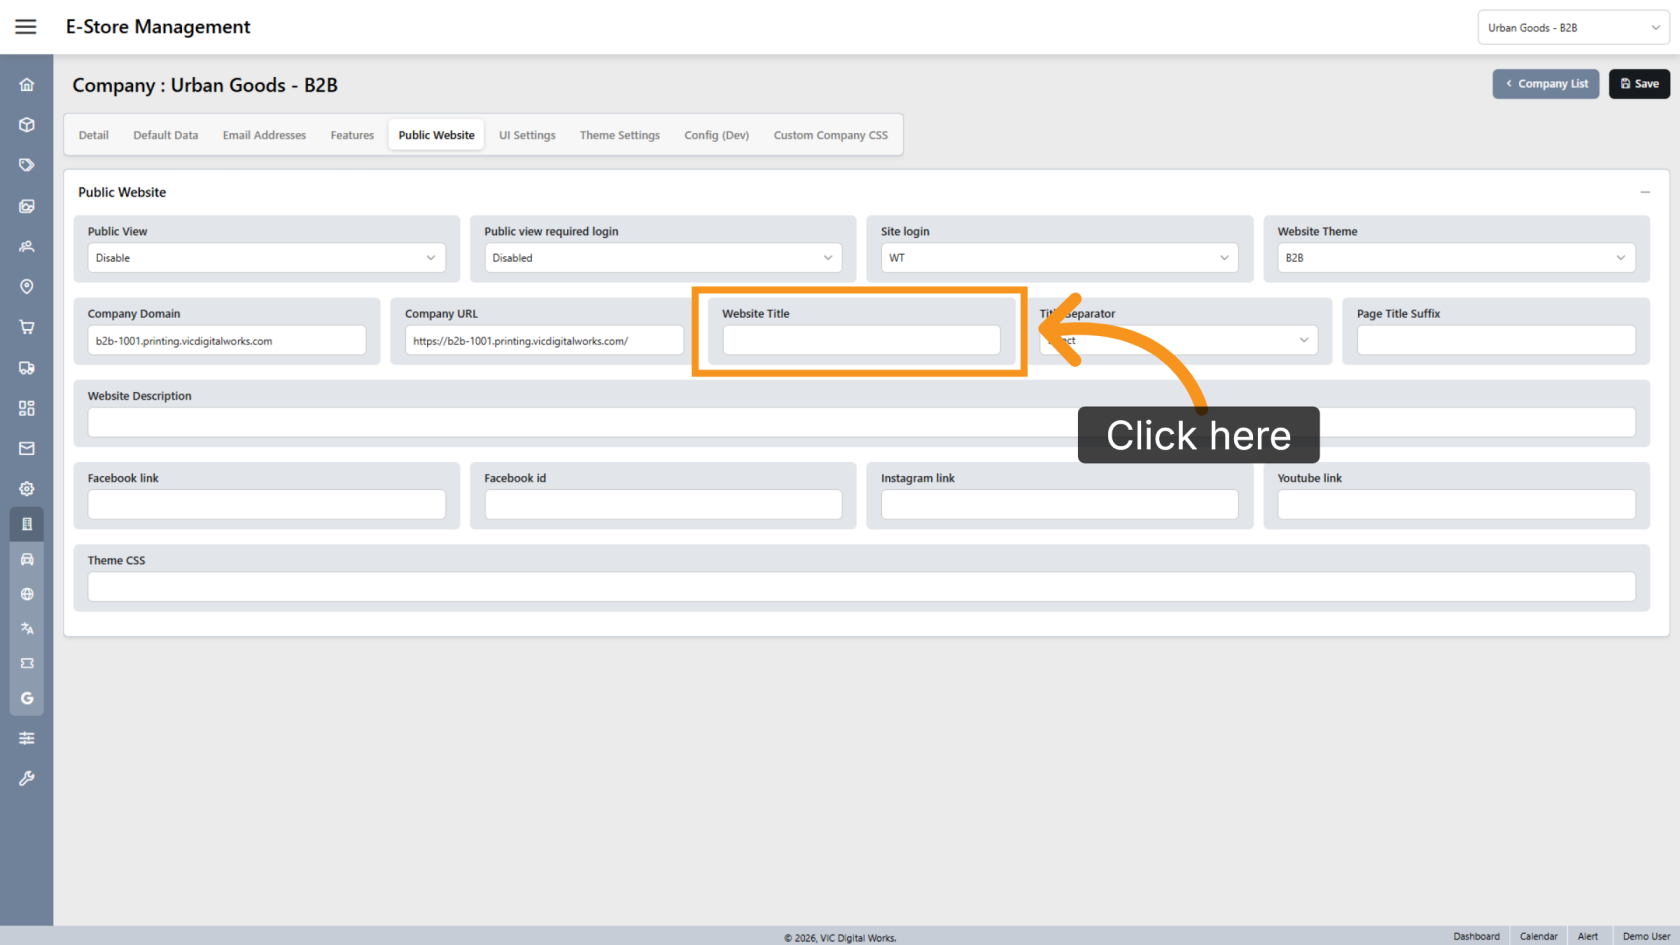
6. Enter the Website Title
Enter the website title that will appear on the browser tab.
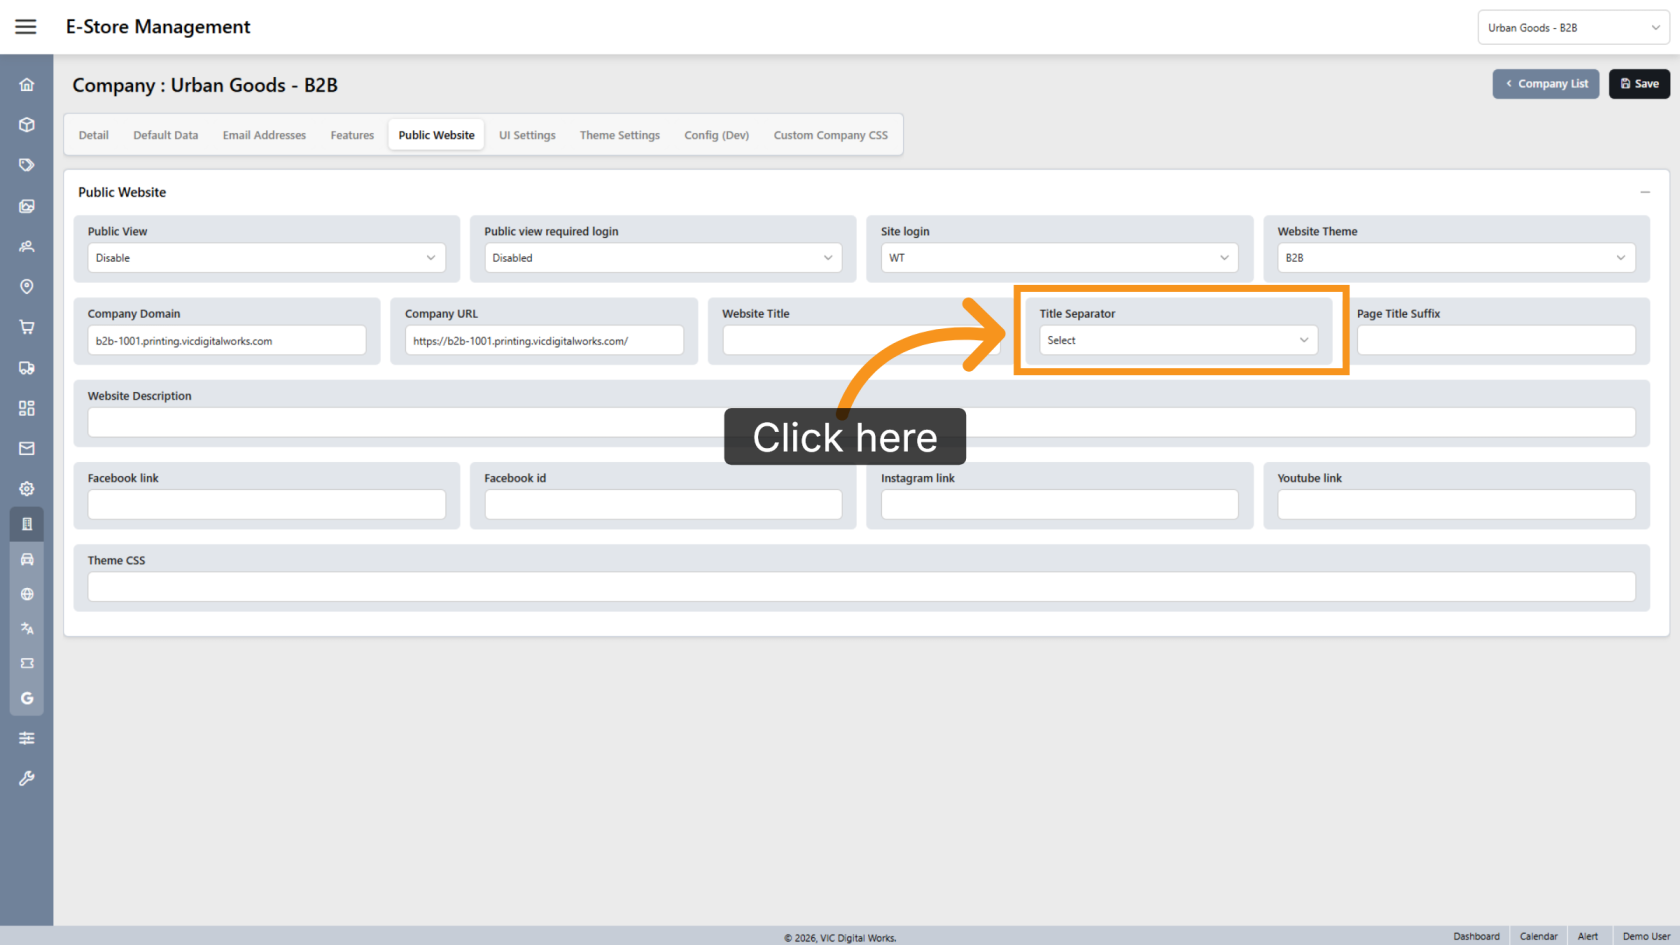
7. Select a Title Separator
Choose the Title Separator to be displayed in the browser tab on product detail pages.
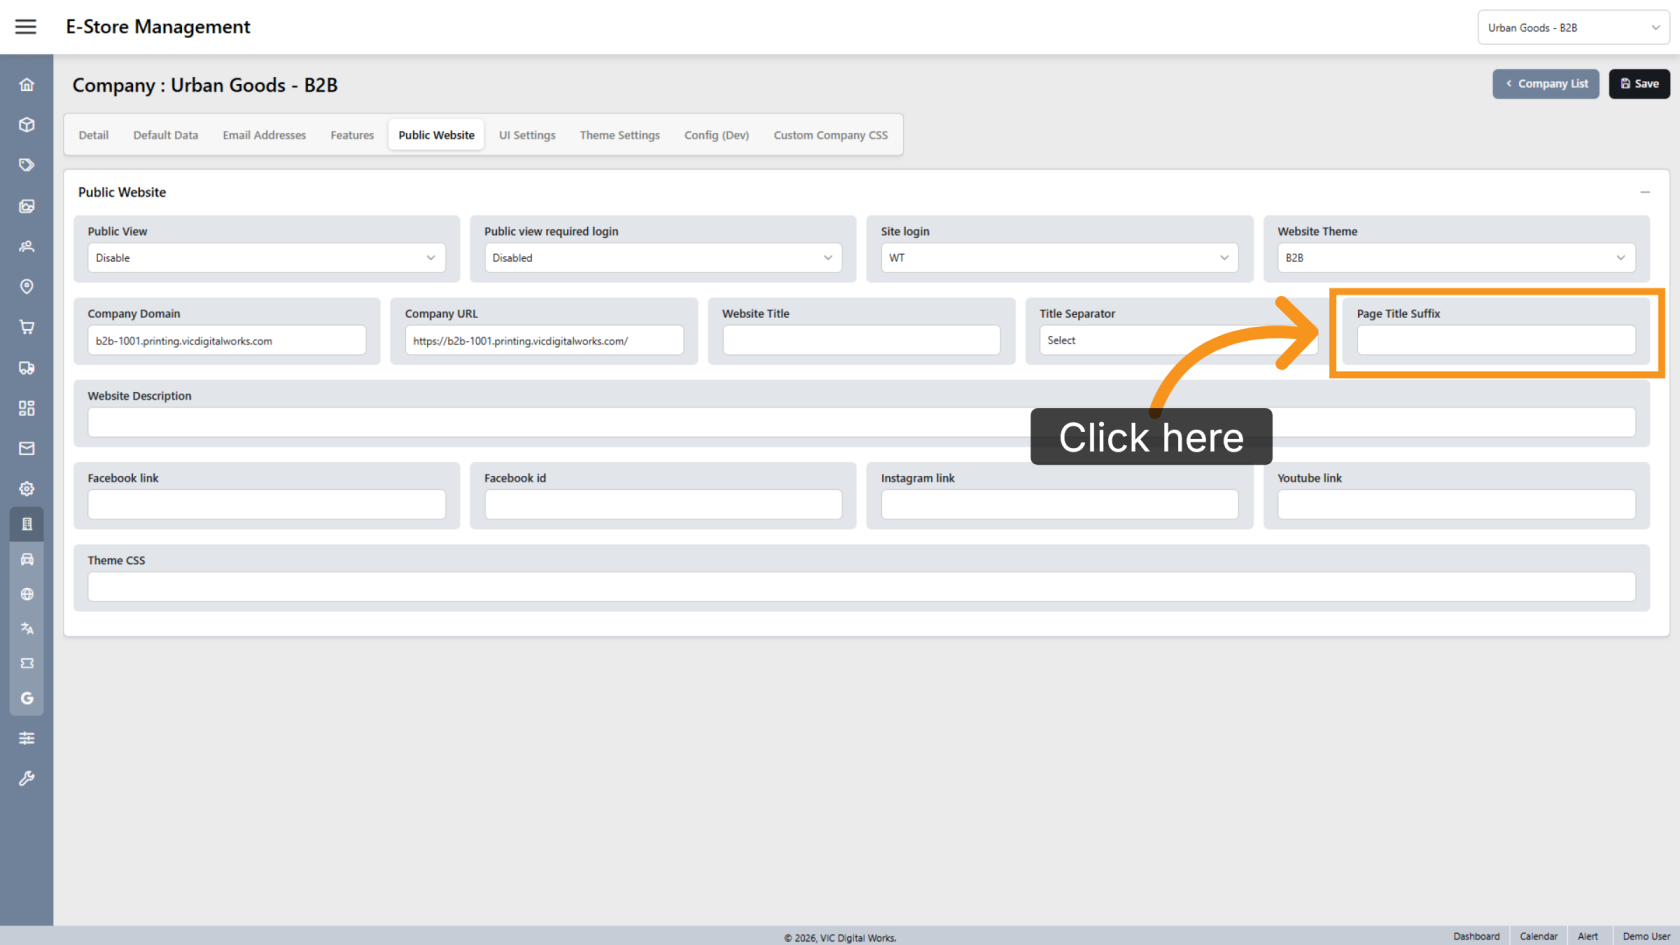
8. Enter a Page Title Suffix
Enter the Title Suffix that will be appended to product page titles in the browser tab.
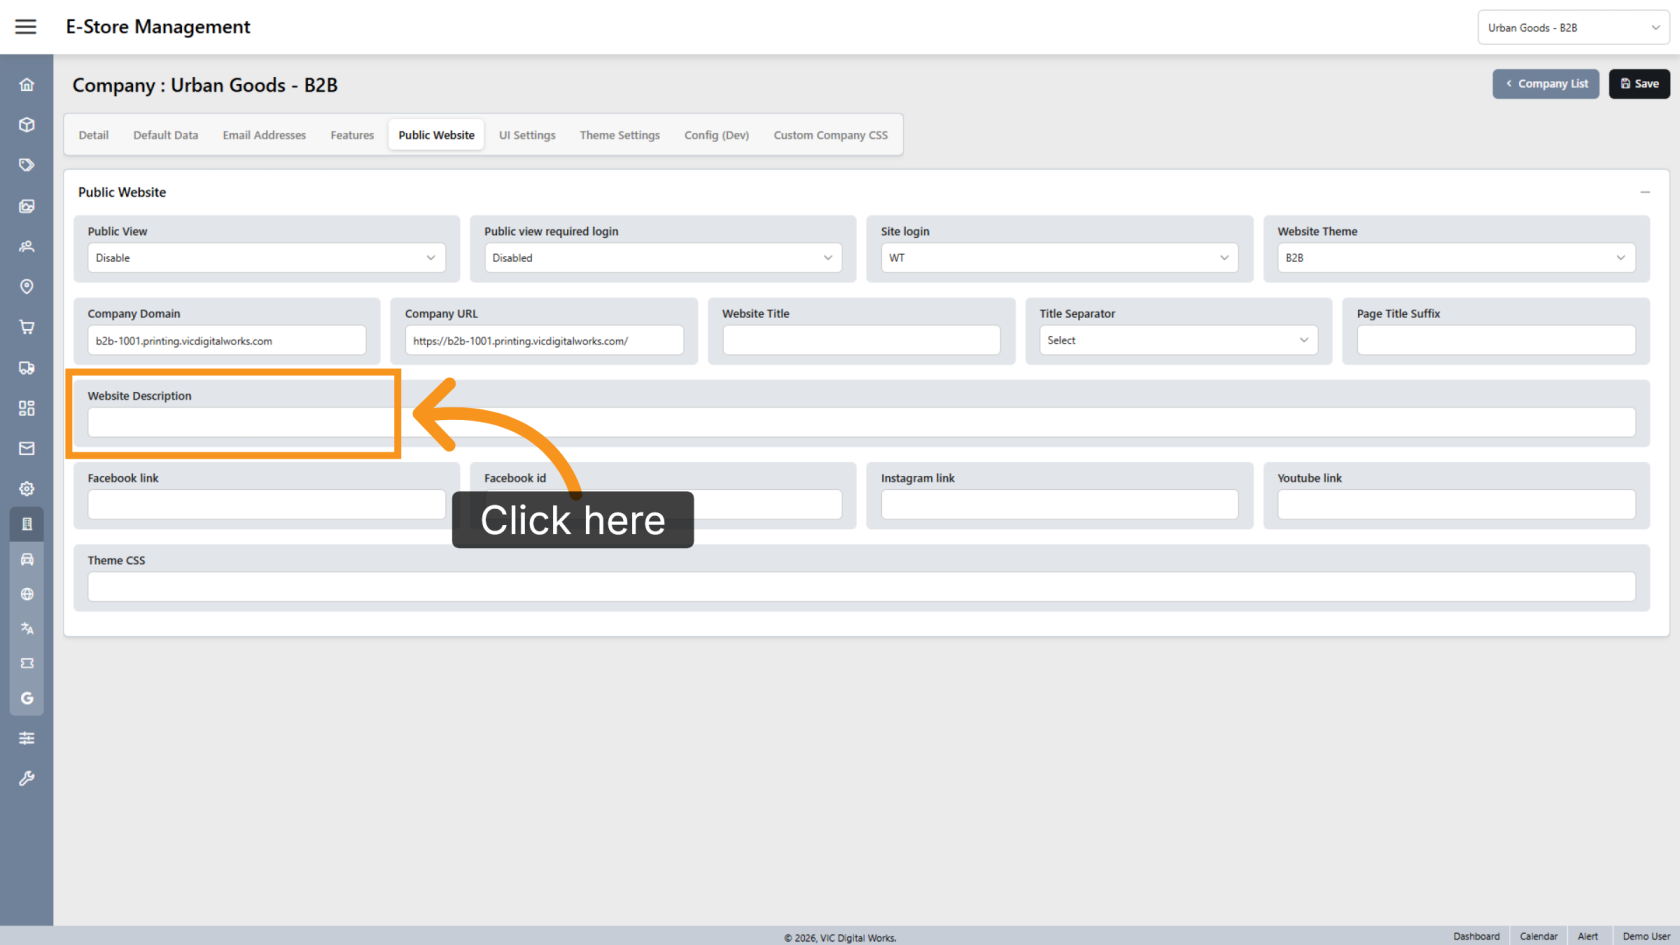
9. Enter the Website Description
Enter the Website Description. For B2C stores, this description may be used by search engines and displayed in search results.
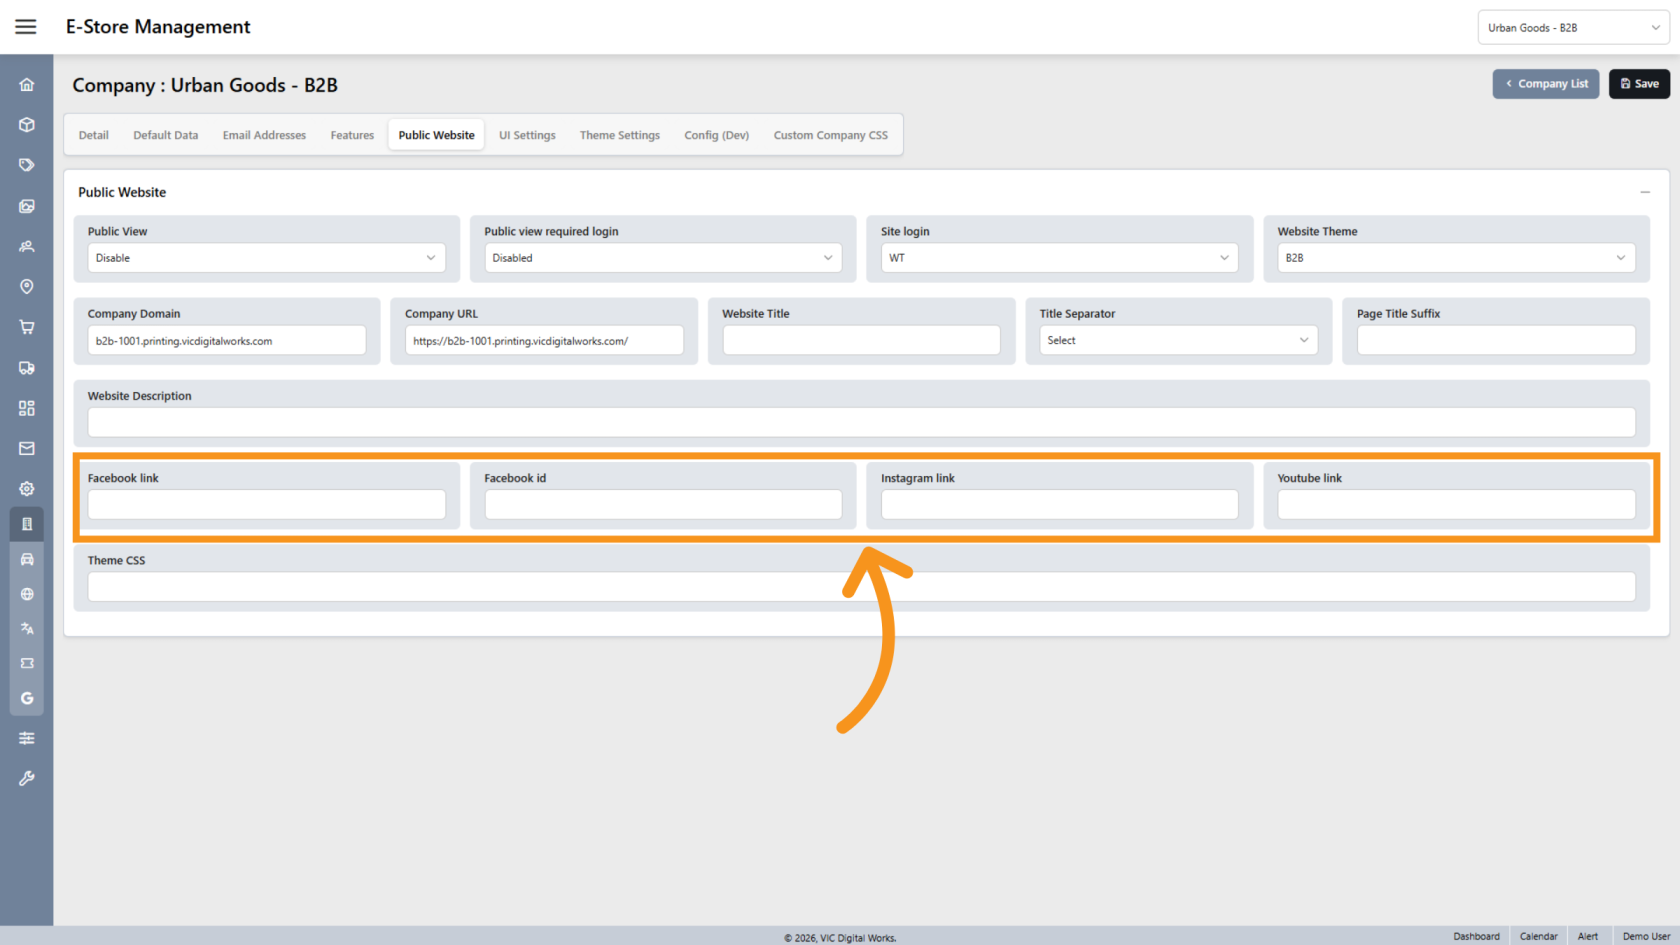
10. Configure Social Media Accounts
Enter the company's social media account information if required.
You have successfully configured the public website settings for your Company E-Store. Review all visibility, branding, and website information to ensure the site is presented correctly to customers.