Create New Product
This tutorial provides comprehensive instructions for creating and configuring a new product within the WorkTraq system.
Video Tutorial
1. Open Product Module
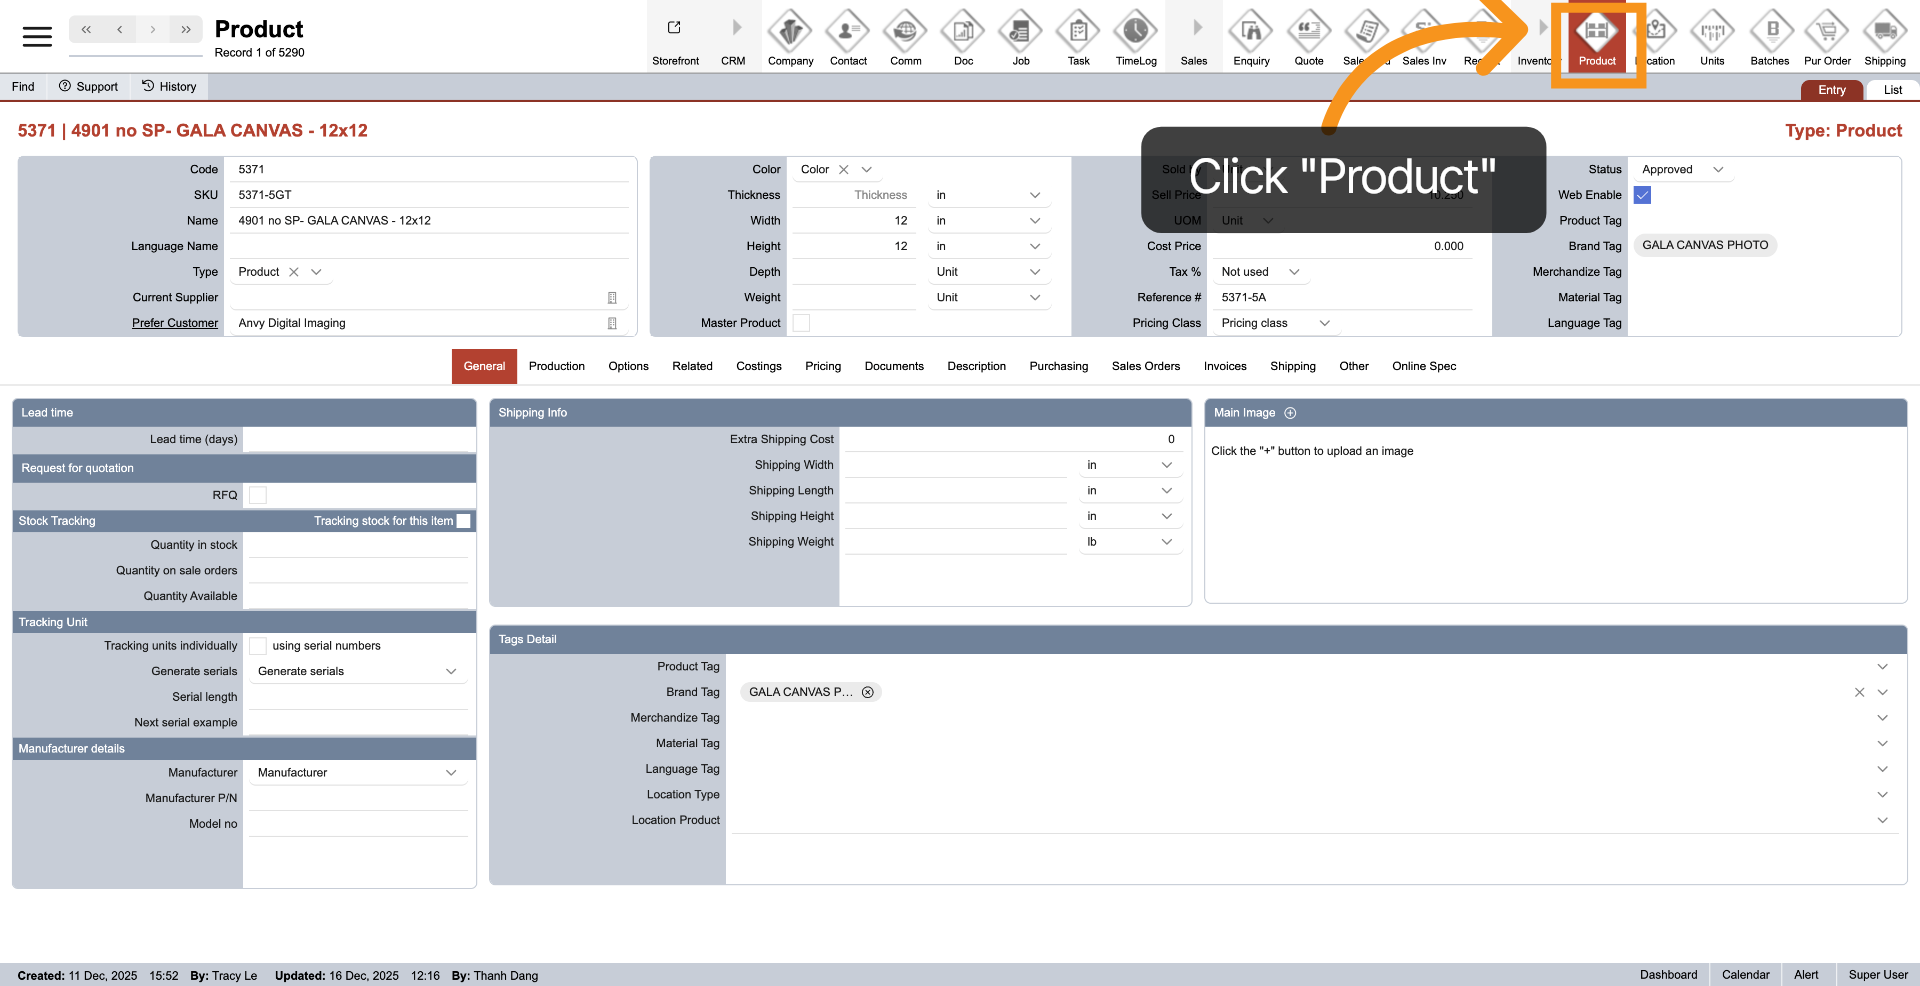
To access the Product module, click "Product" in the main menu at the top of the page.
2. Select Other Section
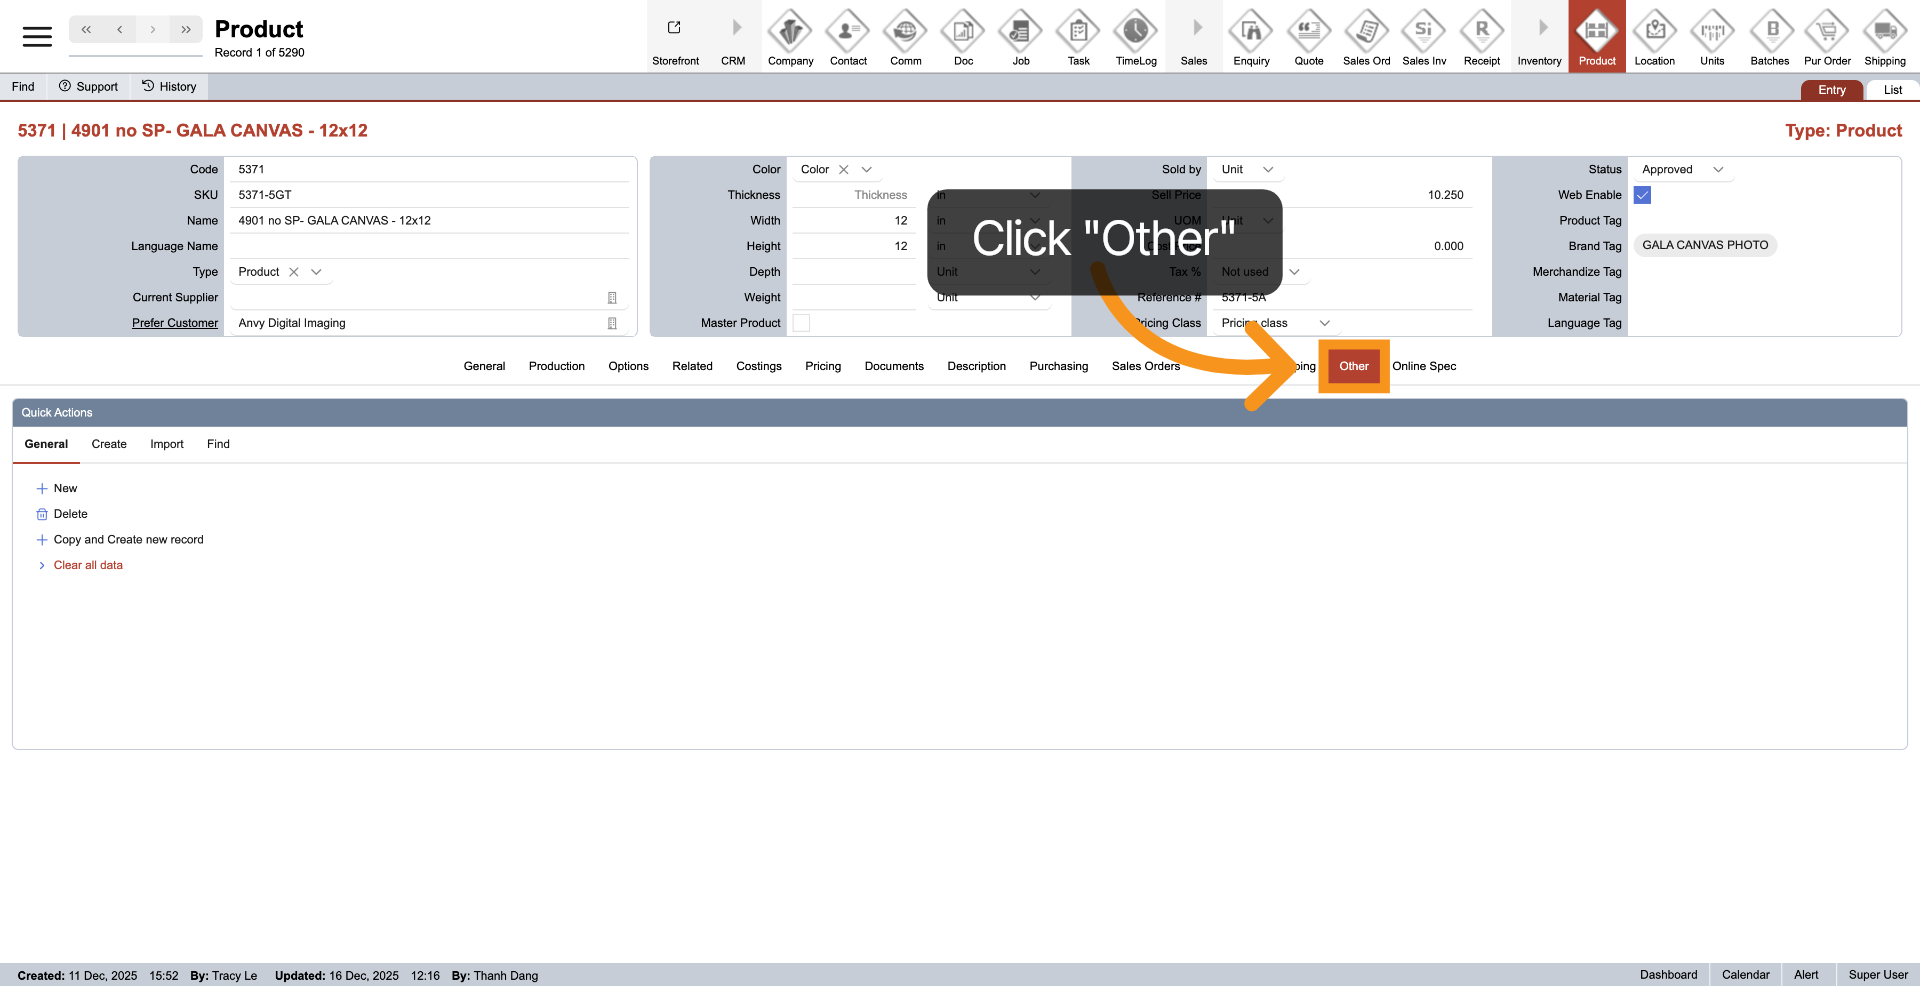
To access the "Quick Action" menu, click on the 'Other' tab.
3. Initiate New Product Creation
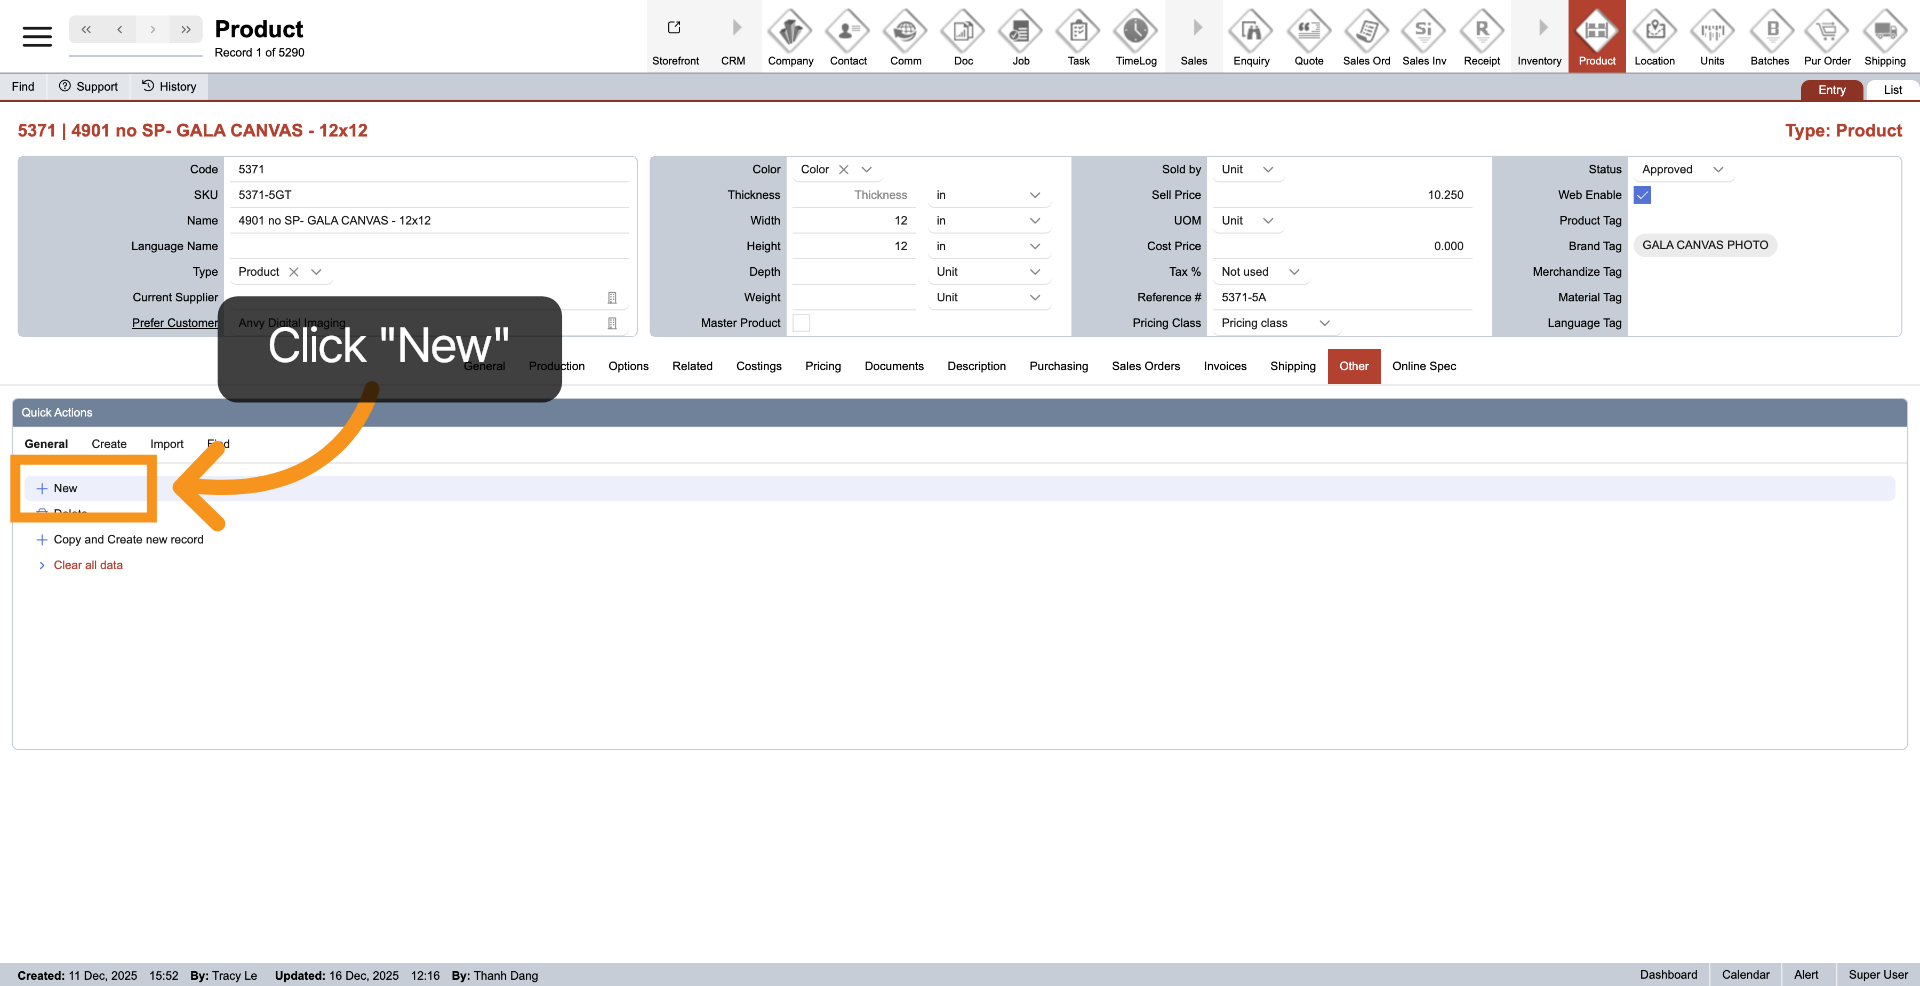
Click 'New' to start the process of adding a new product.
4. Choose Options
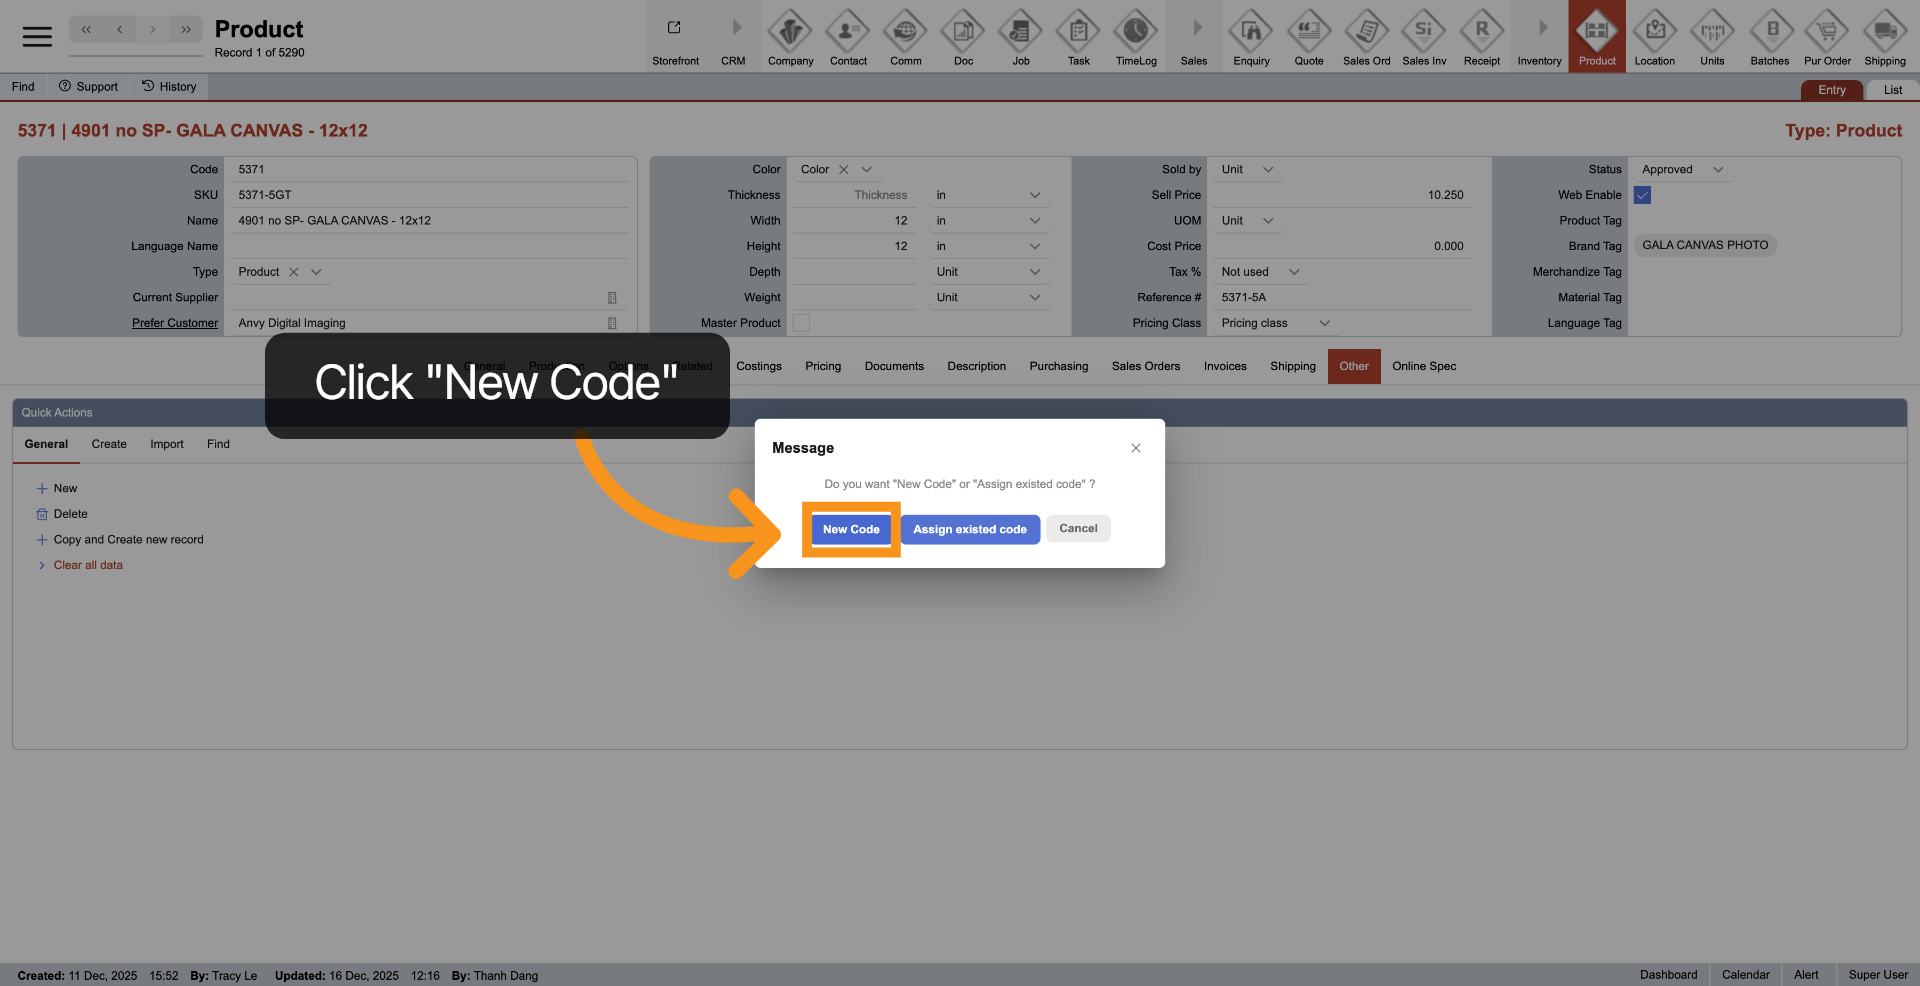
You have two options for creating a product: 1. Use "New Code" to generate a new identifier for the product. 2. Choose "Assign Existing Code" to replace only the deleted code. Now, let’s proceed with creating a new code.
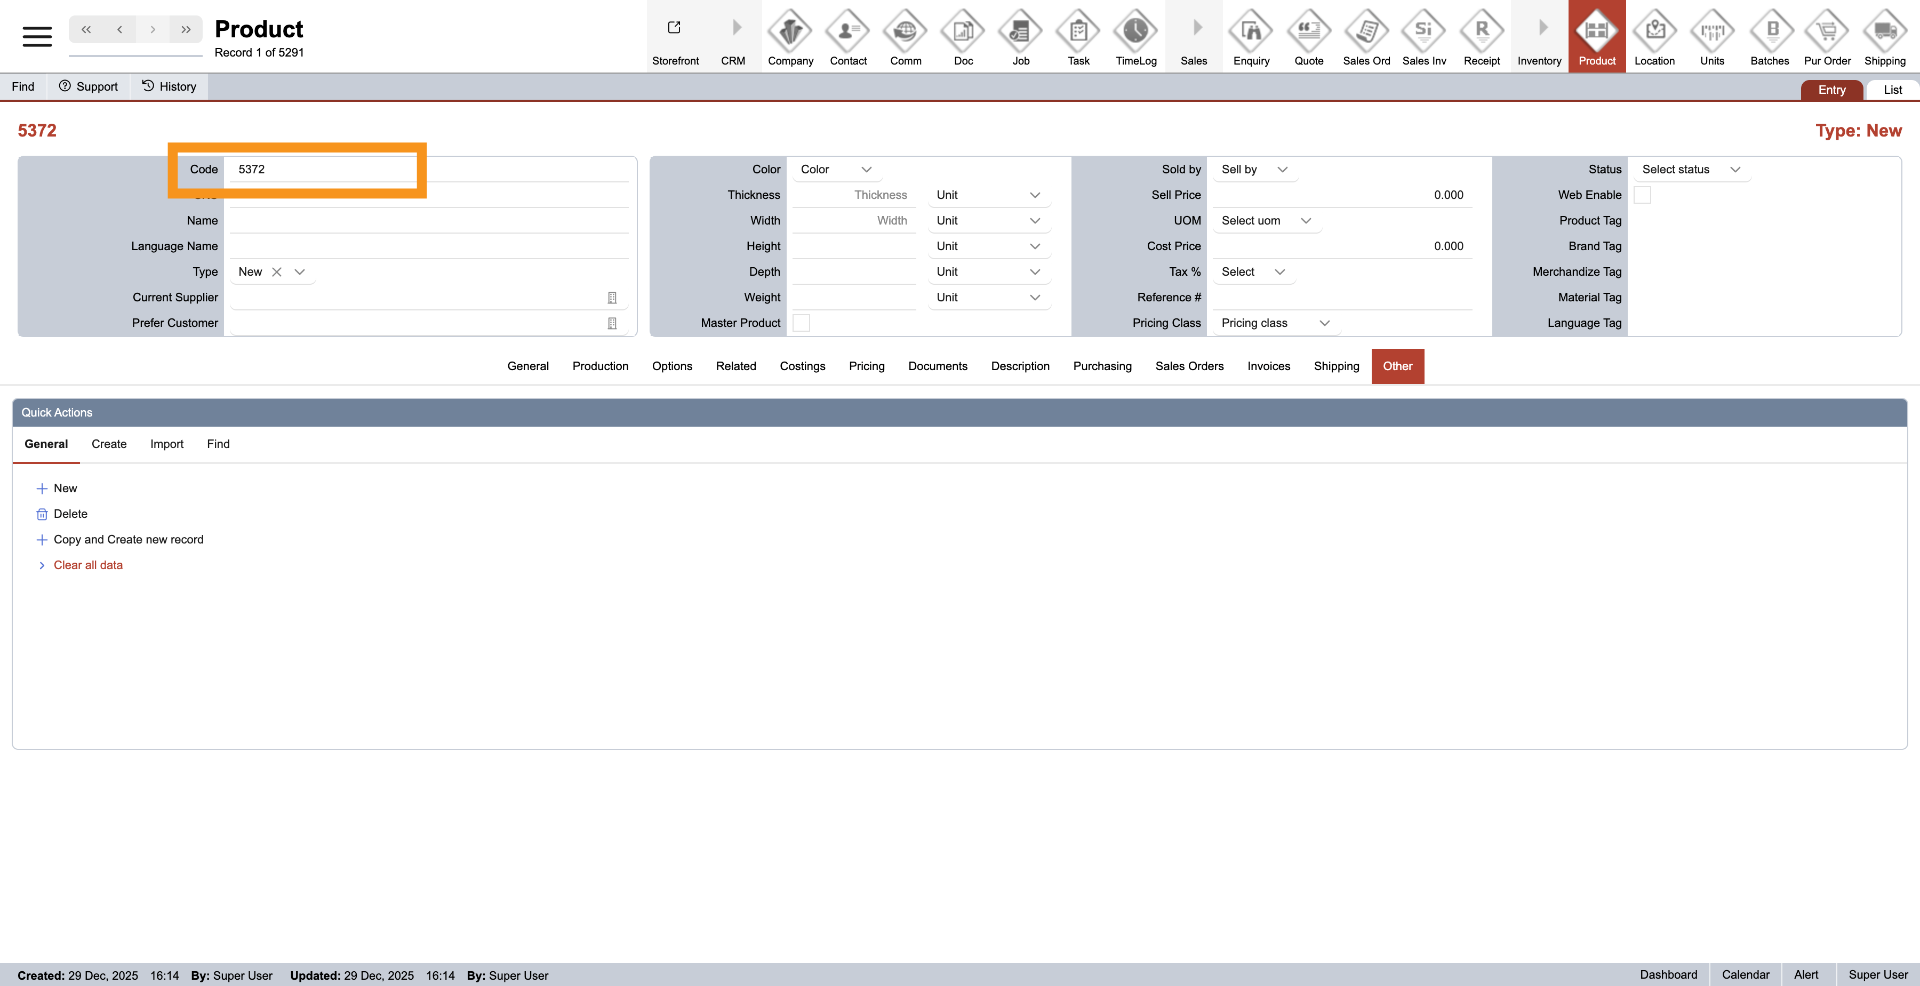
5. Product Code
The product code is generated automatically by the system and cannot be changed.
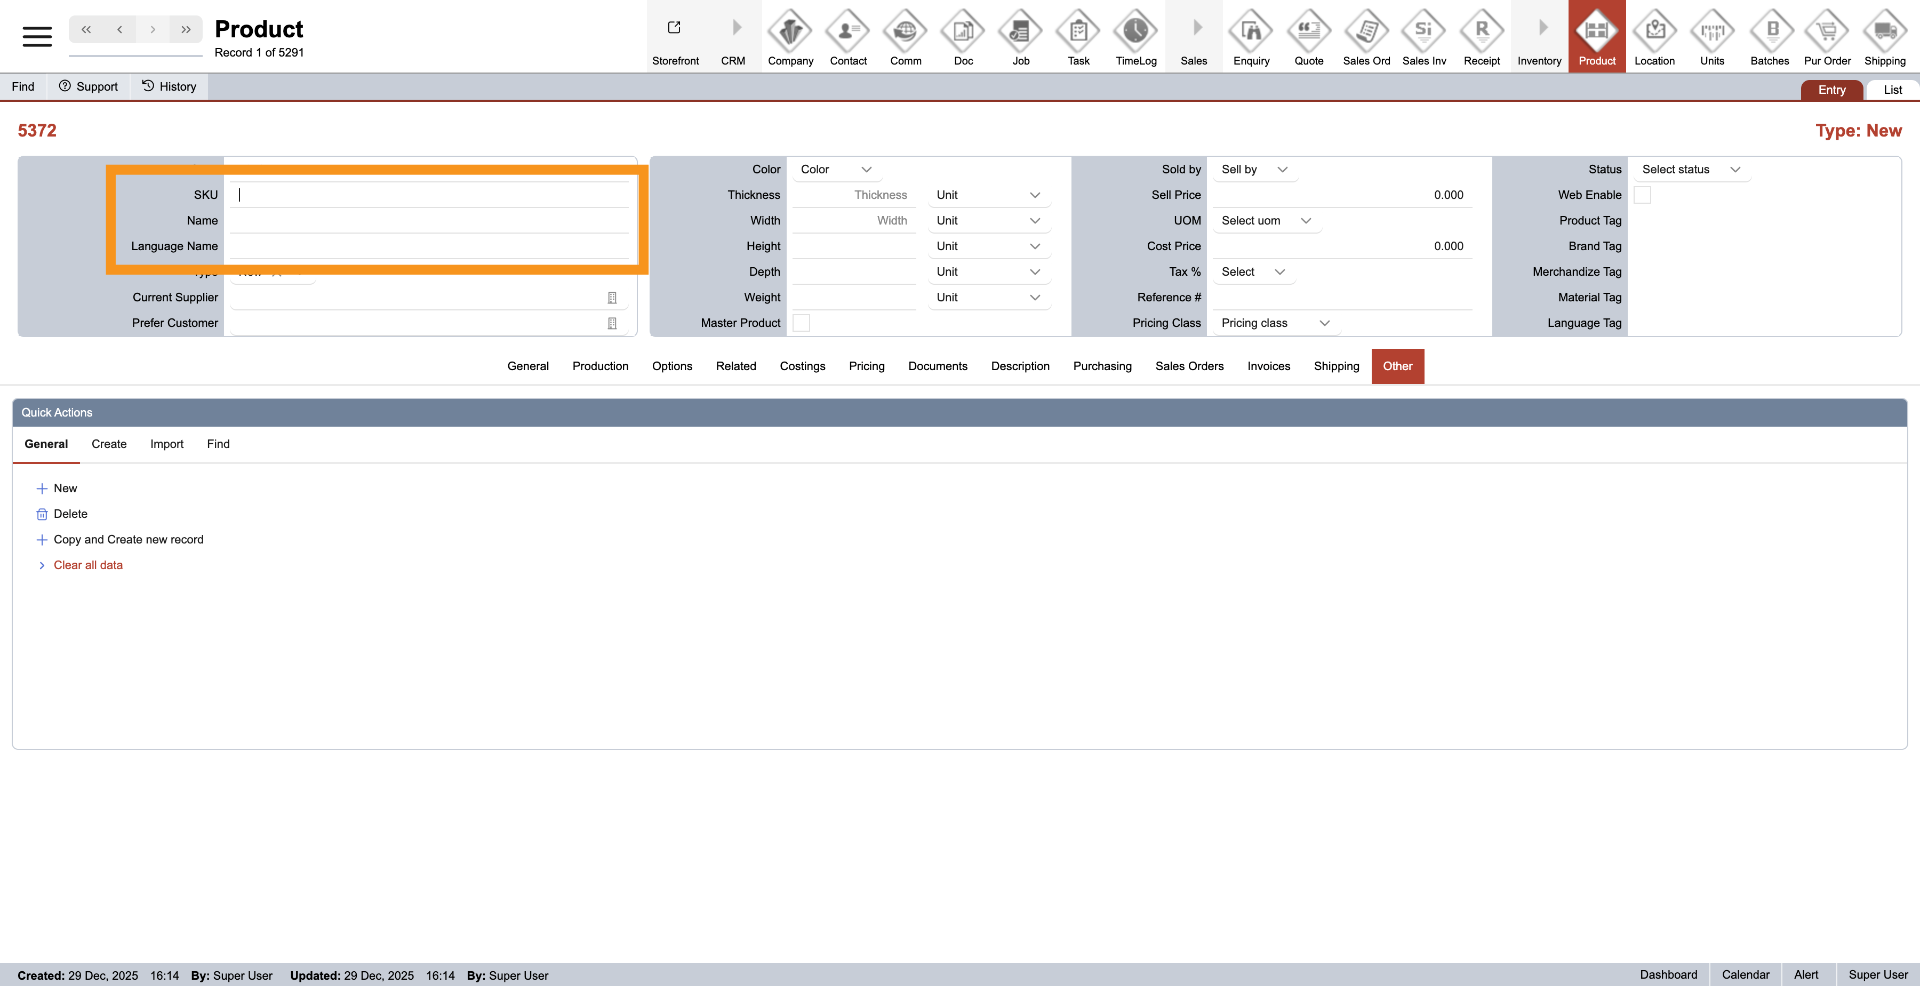
6. Enter Product SKU, name and Language Name
Enter the product SKU, Name, and Language Name; the language name is optional.
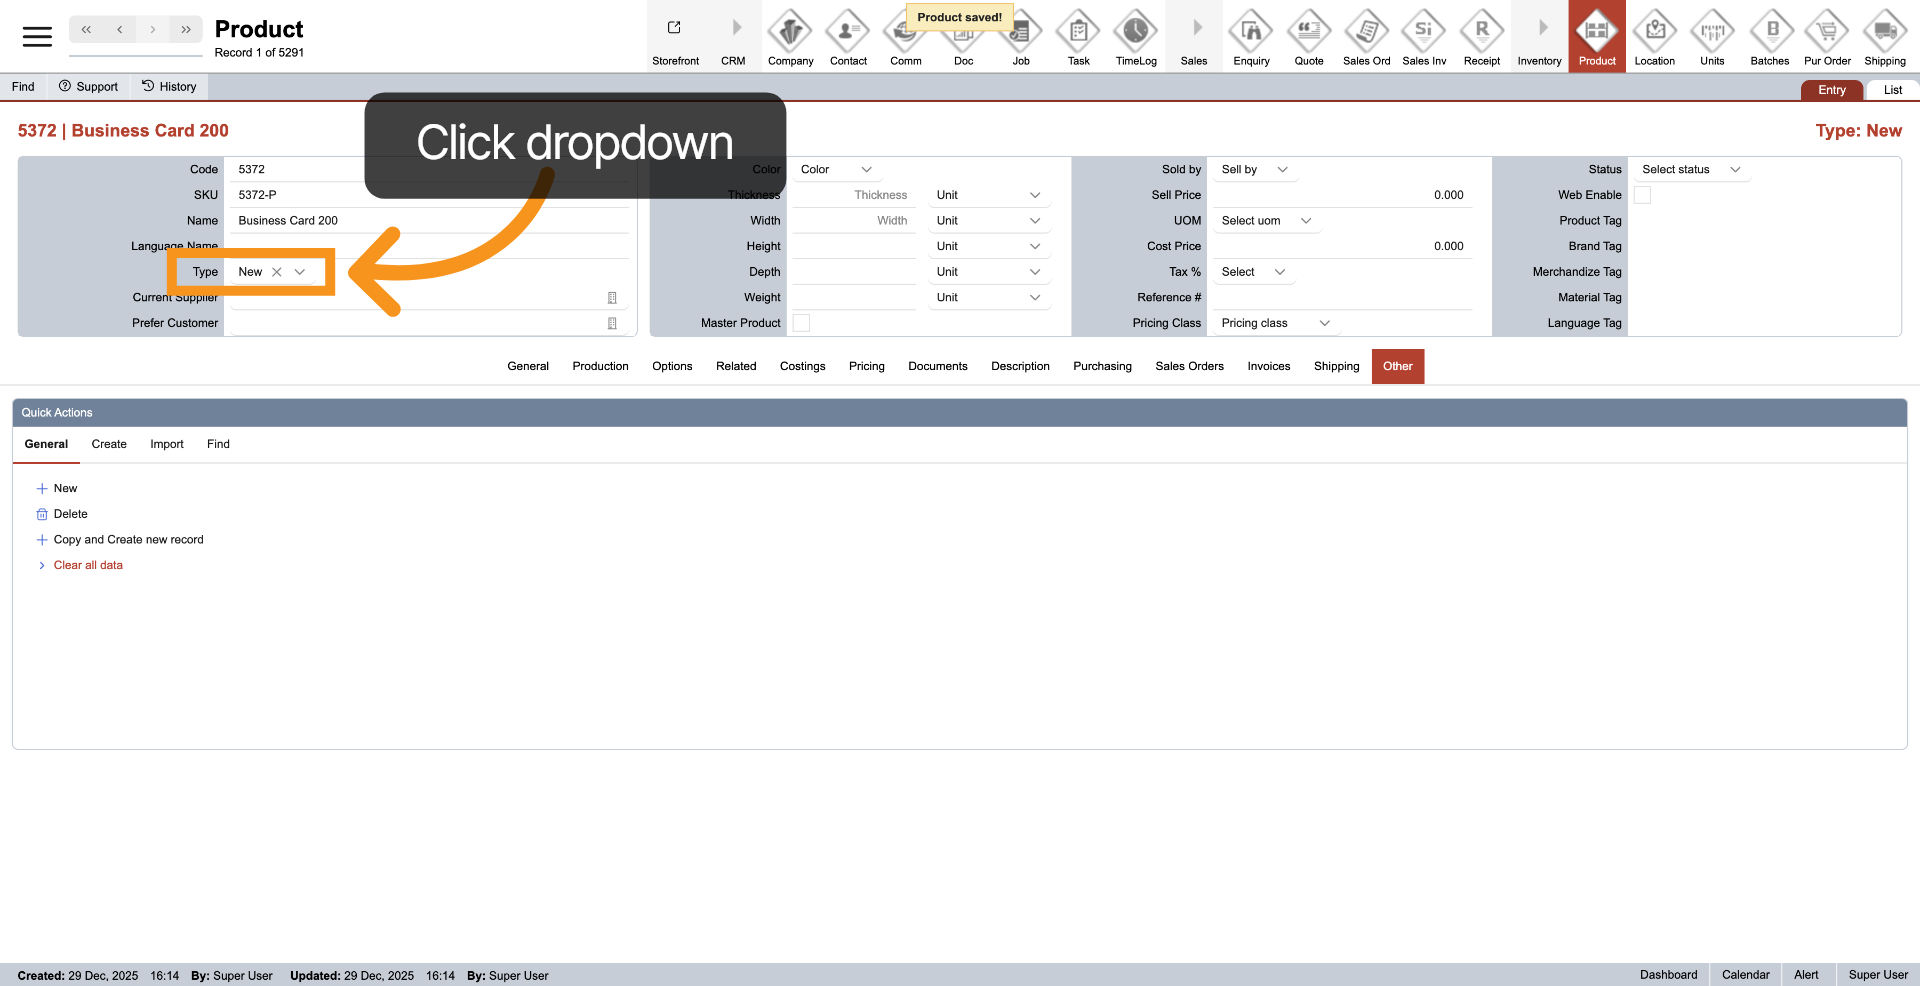
7. Product Type
Click the dropdown next to "Type" to select the product type, such as Product or Options. This will help you better organize and locate items, making the system clearer and more structured.
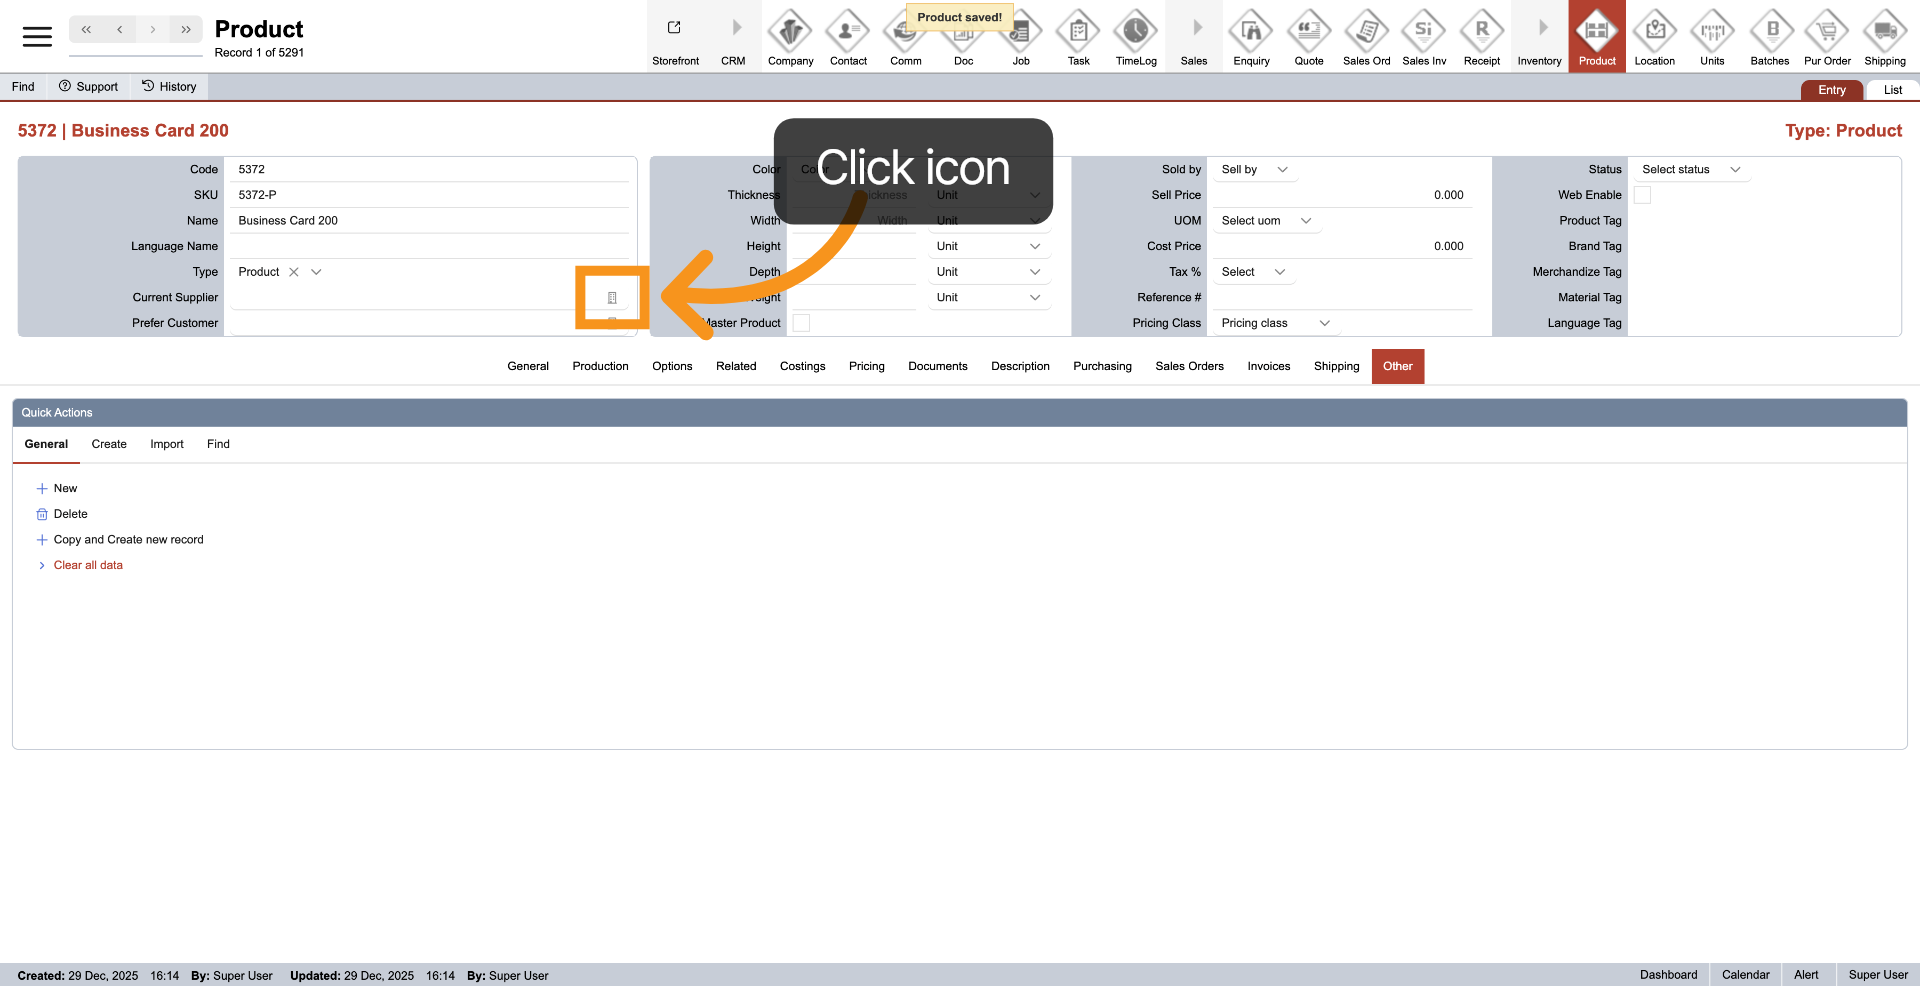
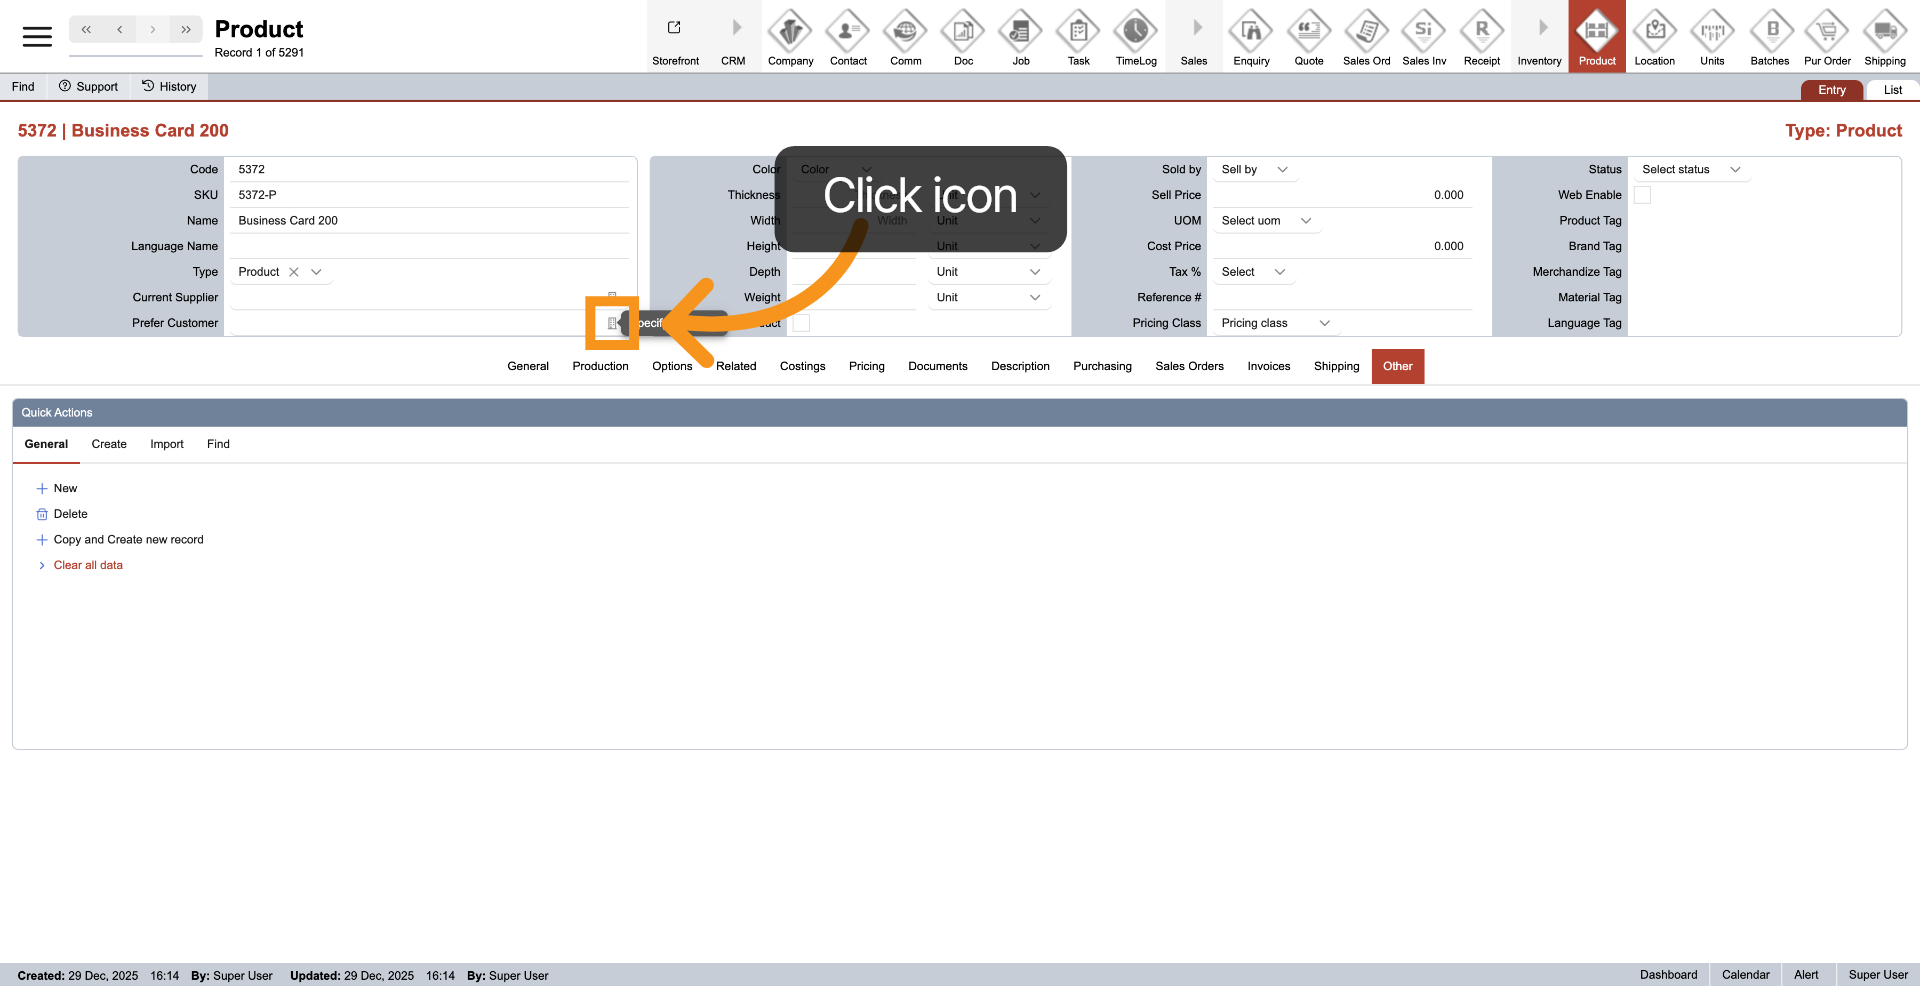
8. Assign Supplier
To assign a supplier, click the icon next to the "Current Supplier" field. This simplifies the purchase order creation process for your staff. If you do not have a specific supplier, you may leave the field empty.
9. Assign Prefer Customer
Click the icon next to "Prefer Customer" to indicate that this product will only be sold to a specific customer. Additionally, product tags should only be set up when the "Prefer Customer" option is selected.
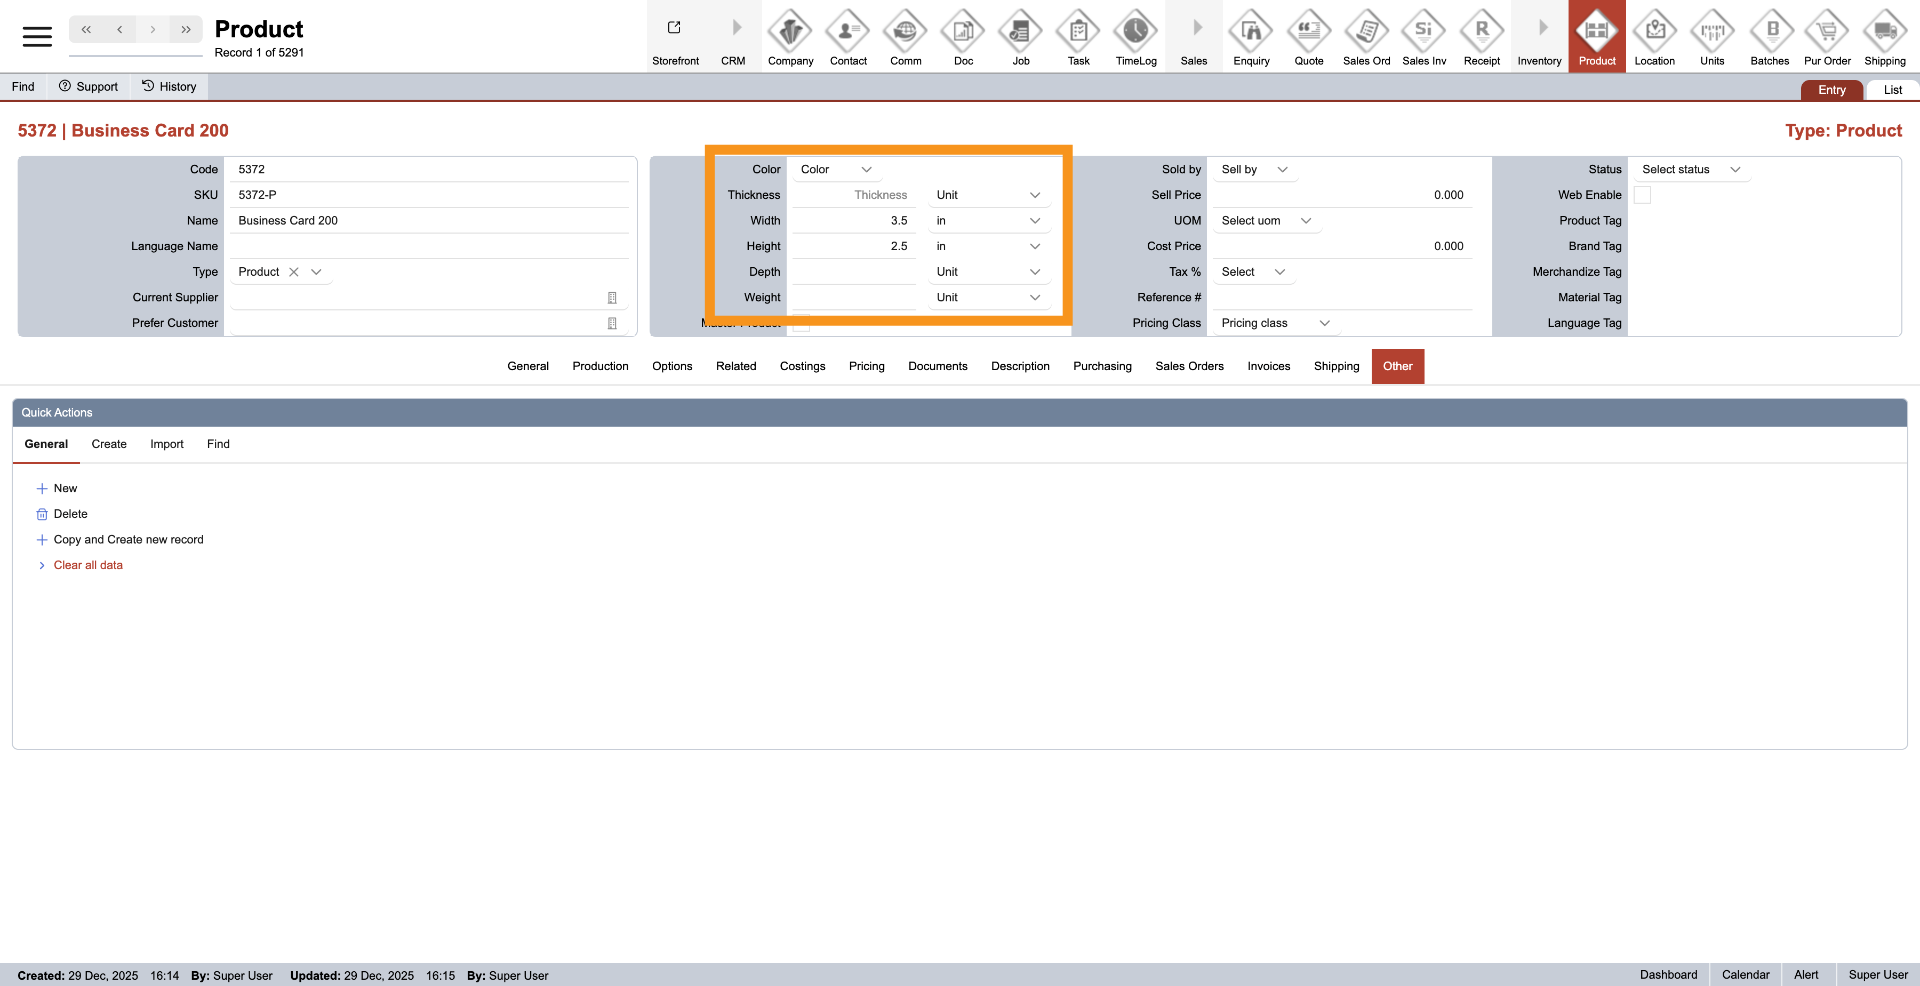
10. Enter dimensions
Provide the dimensions of the product, including its width, height, and any other relevant measurements.
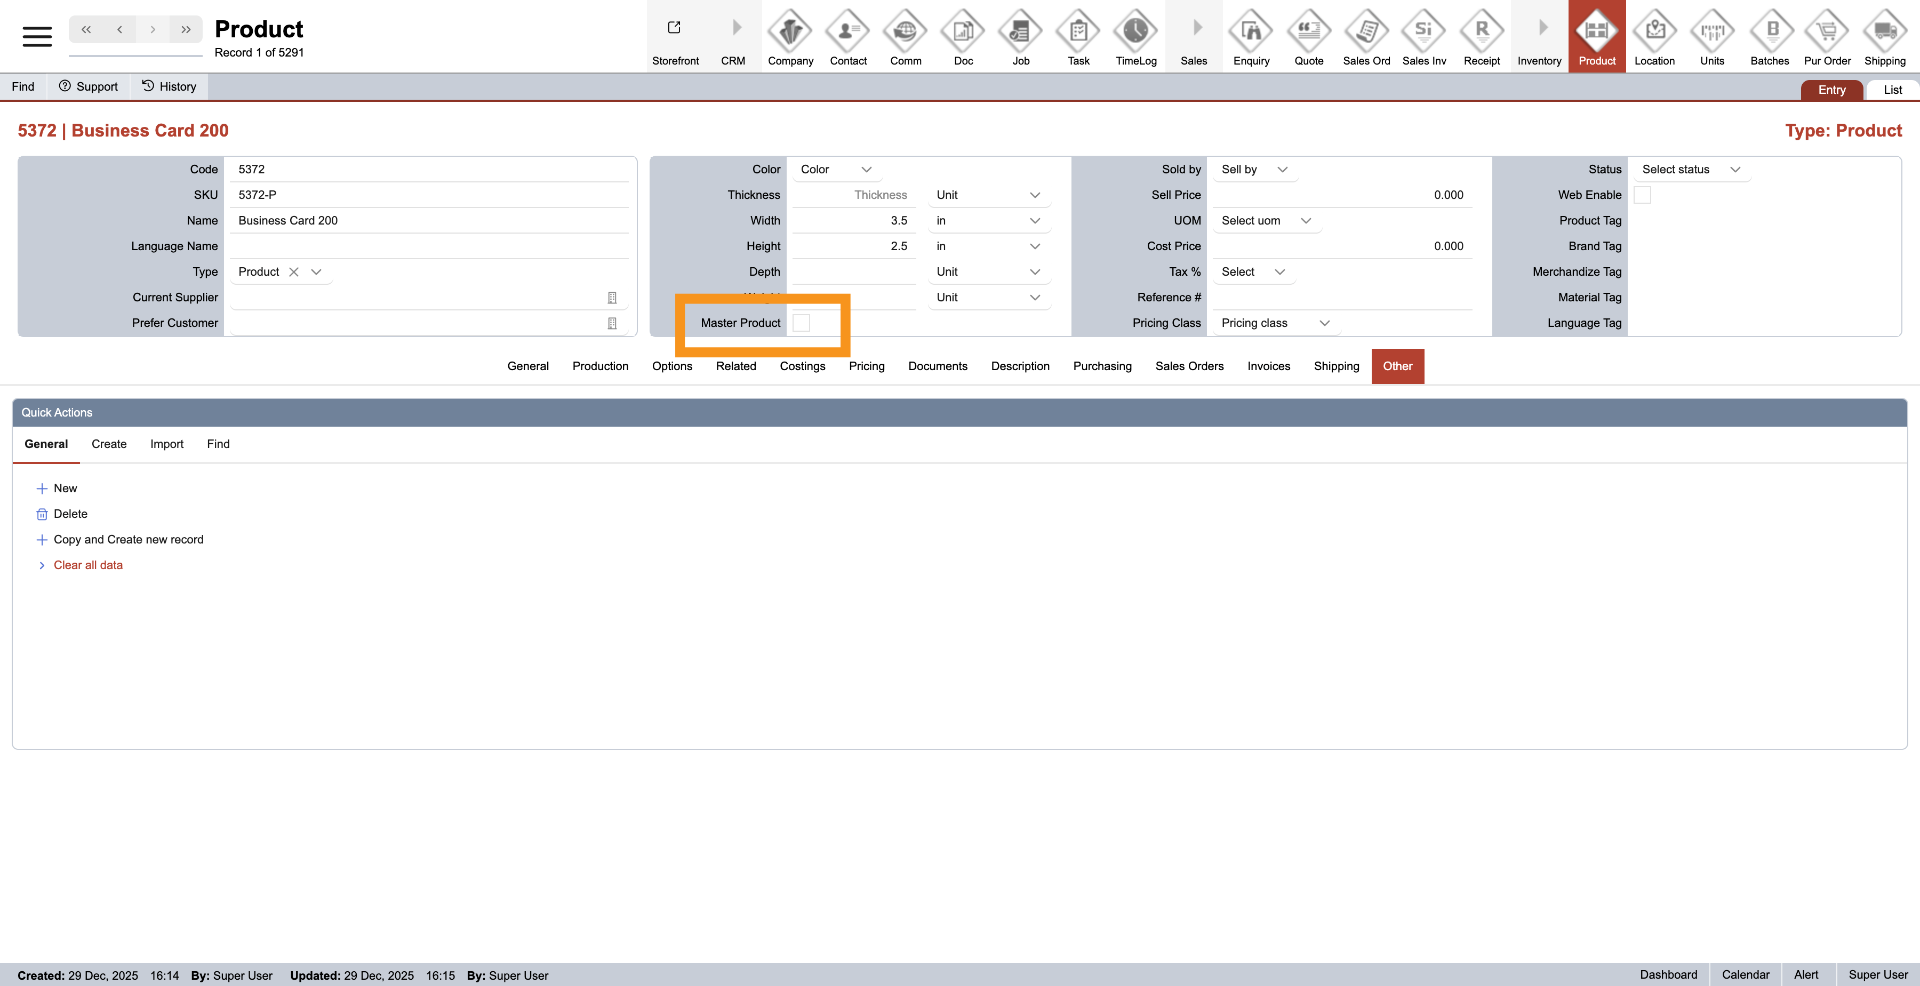
11. Select Master Product
Click 'Master Product' to designate this item as a master product within the E-store system. Doing so allows you to clone it into multiple child products, which saves time when creating items in the E-store. If you have not designated a master product yet, please leave this field blank.
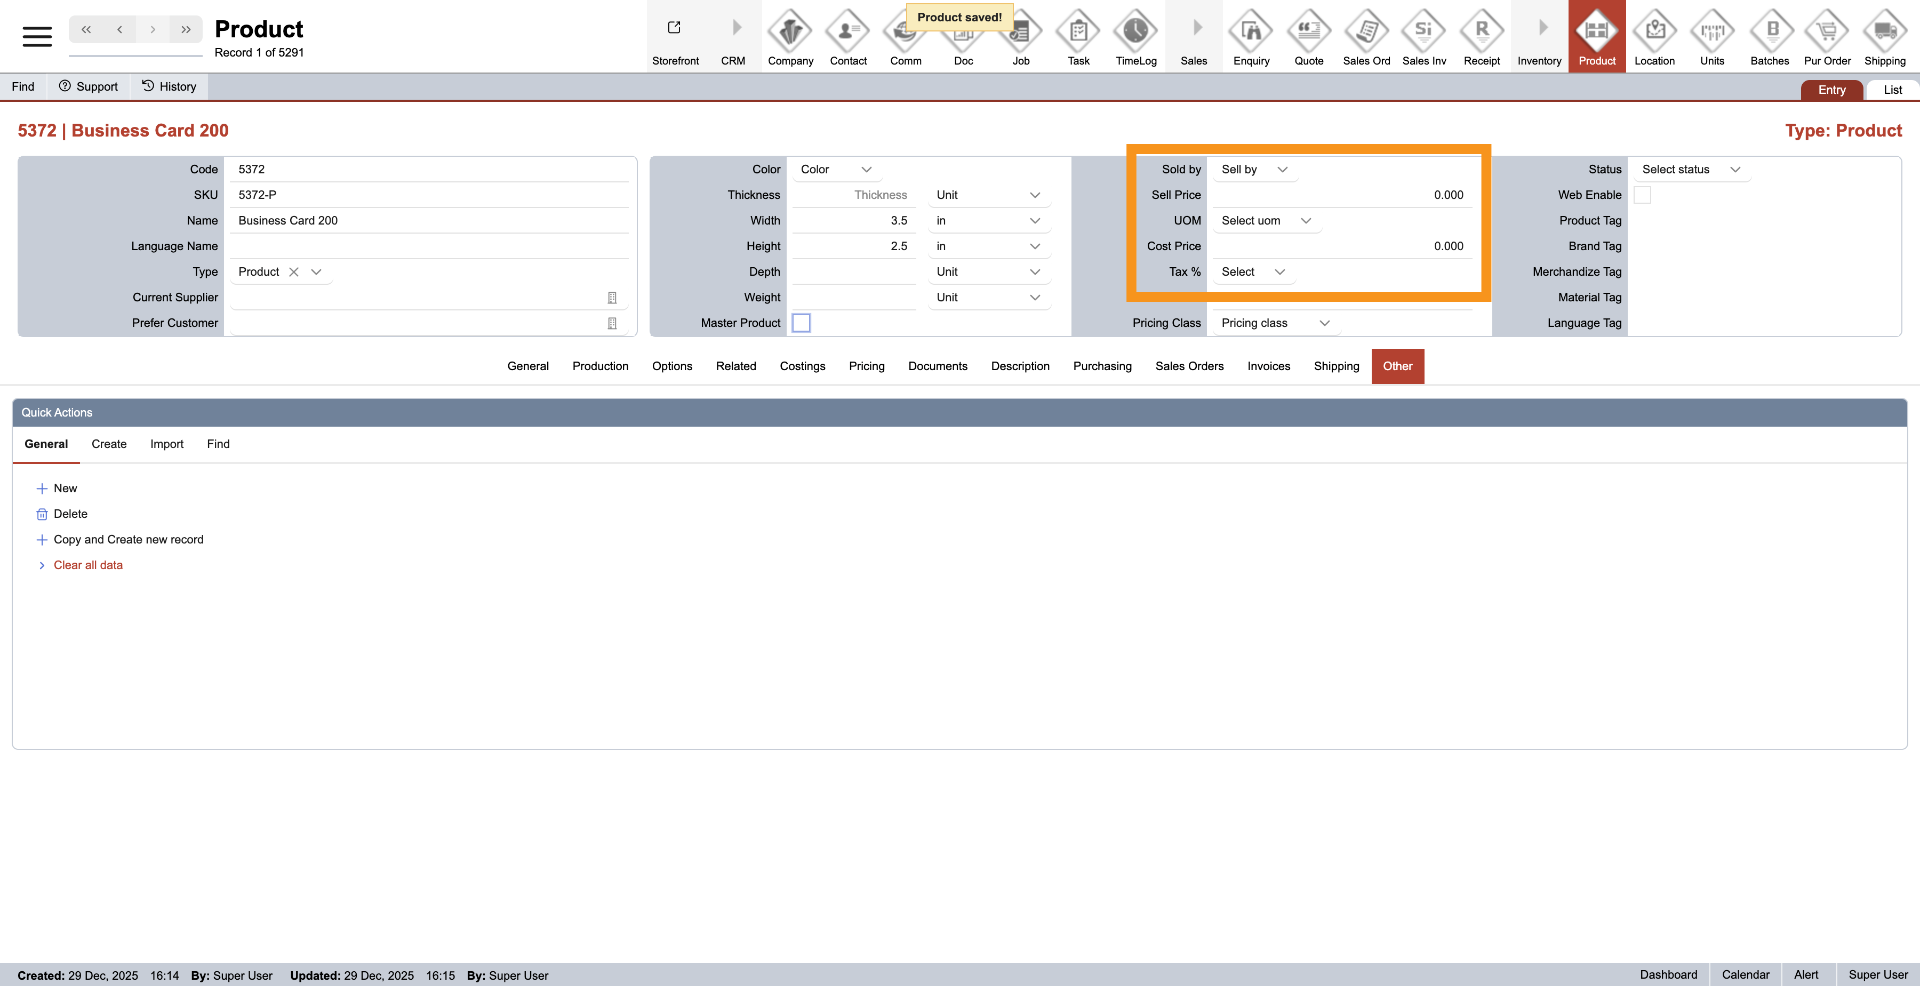
12. Enter Pricing Detail
Continue to provide details for pricing, design the unit, and specify the unit of measure (UOM) for sales. Additionally, input the costs and pricing. For costing and pricing, you can establish a timeline regarding when we will address costing and price breaks in the future.
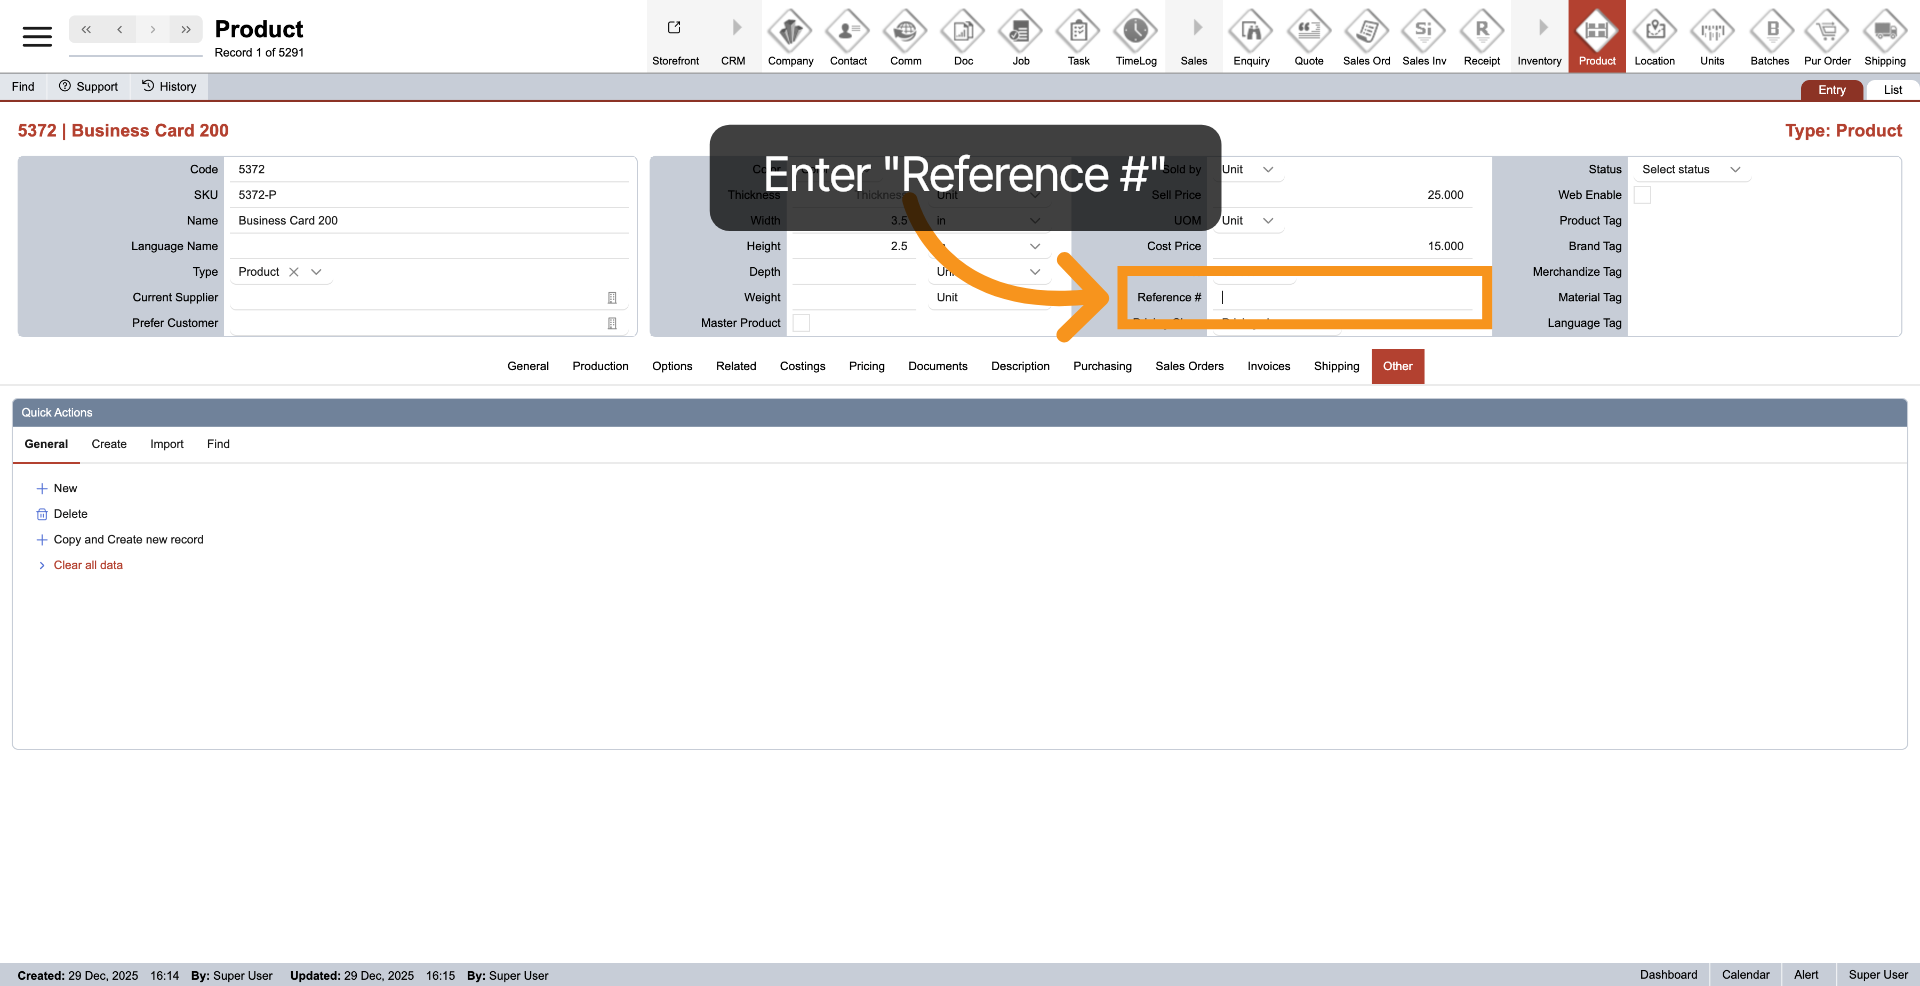
13. Reference Number
The reference number must be provided for products sold on the E-store.
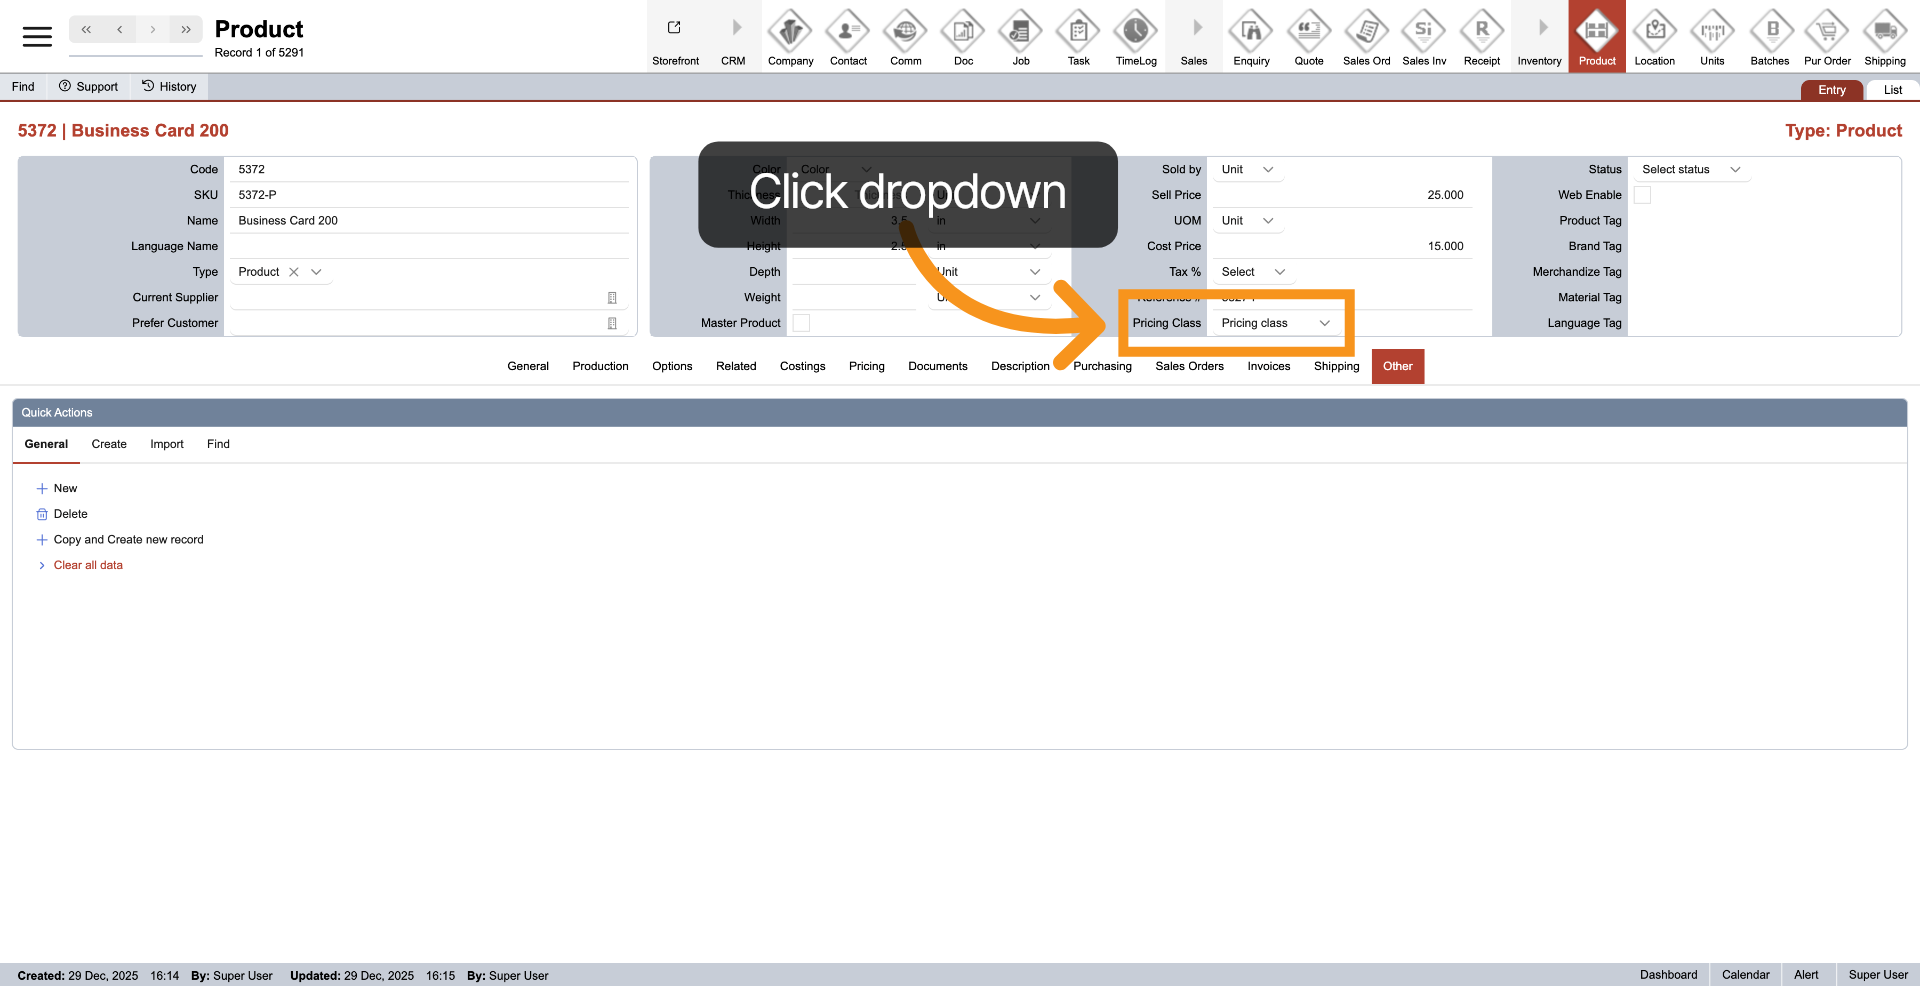
14. Open Tag Selection
The system offers two methods for calculating product pricing. You can specify your preferred calculation method here. 1. If you opt to calculate based on the area used, either leave the option blank or select any choice other than "Material." 2. If you prefer to calculate based on material, please select "Material." This option will also consider any waste material that will not be utilized in the product. Furthermore, the pricing class only needs to be established for the main product, and this will apply to all options included in the product.
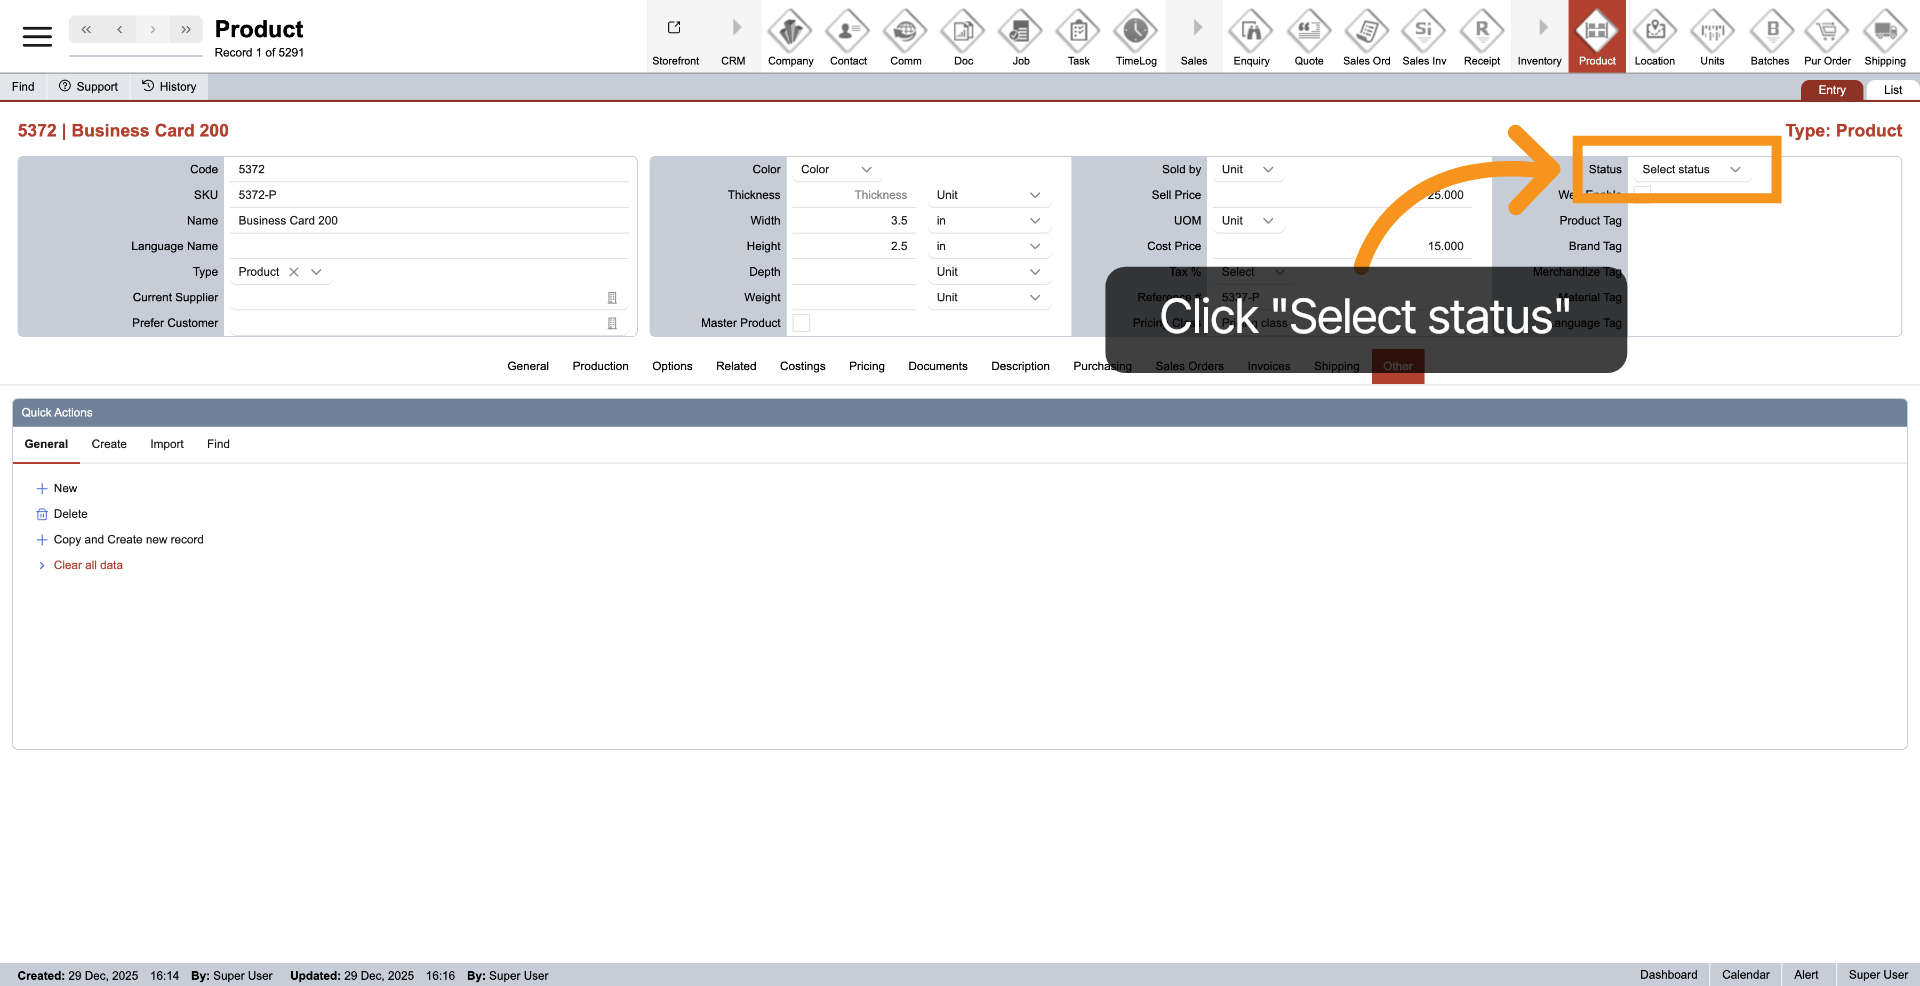
15. Select Status
Click the dropdown next to 'Status' to select the current status of the product.
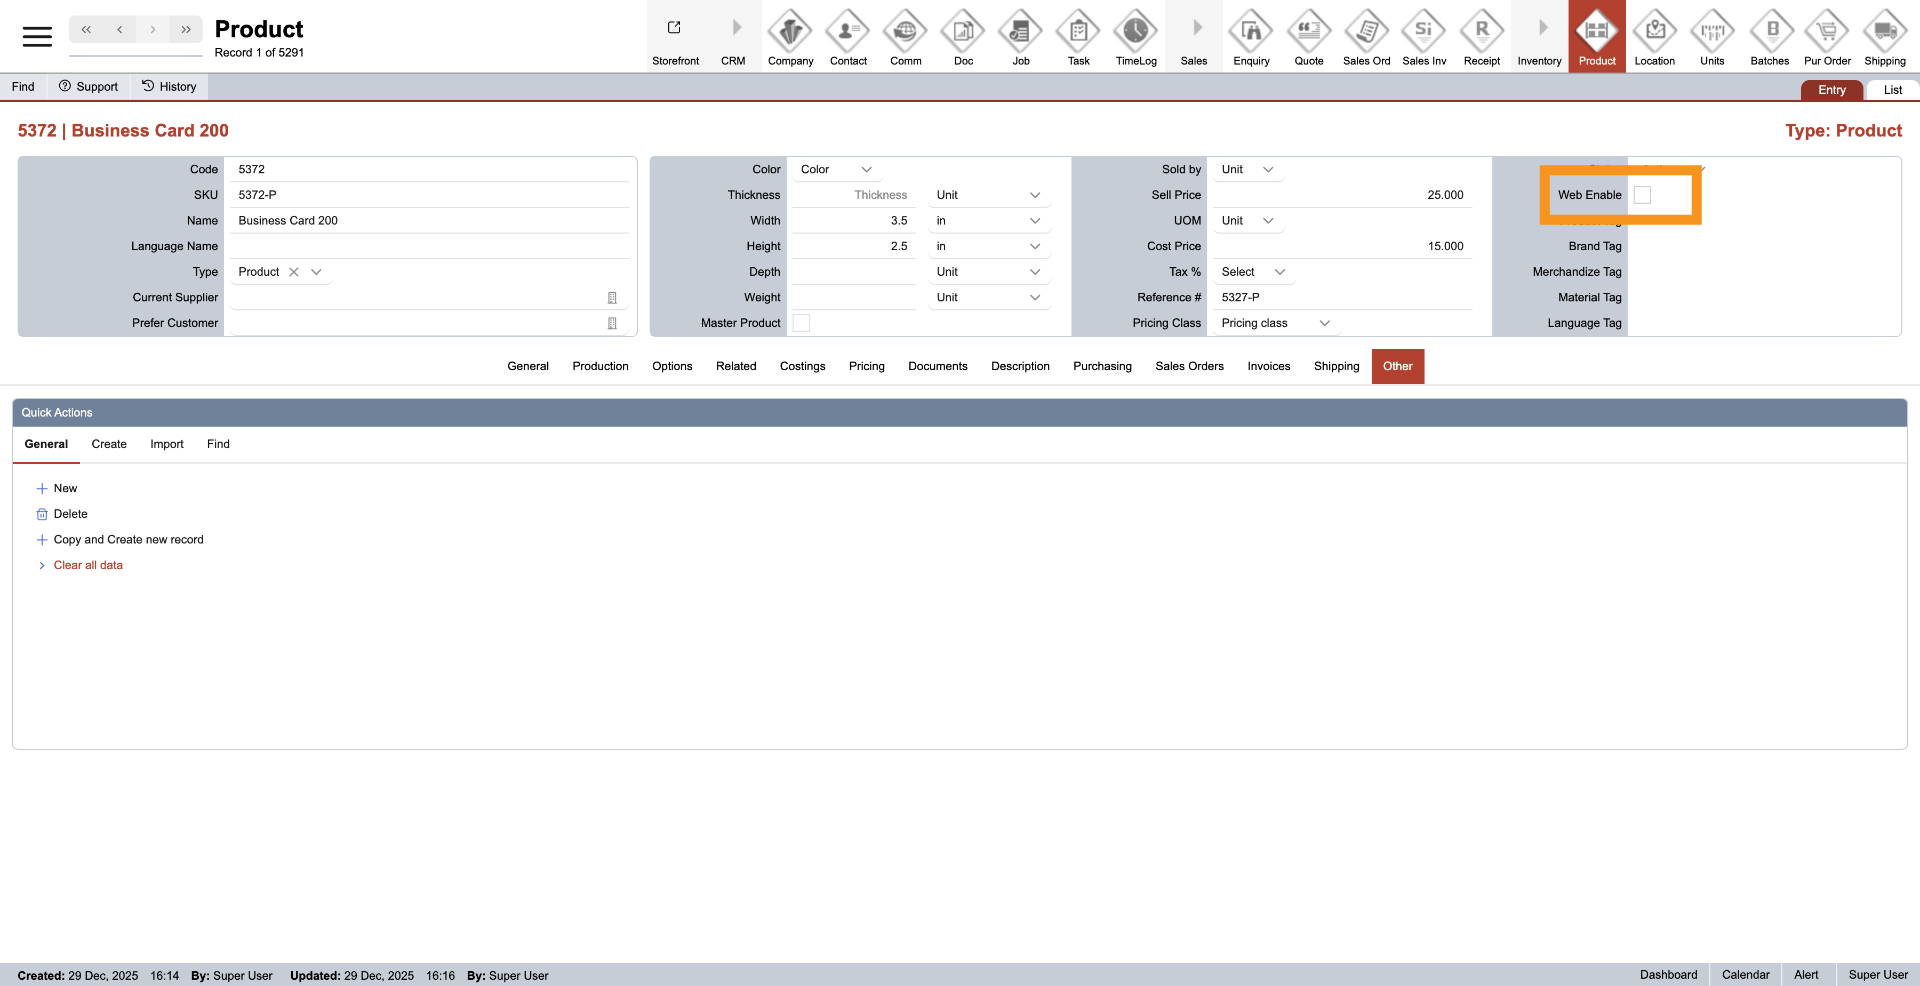
16. Web Enable
Select "Web Enable" if you plan to sell the product in an online store.
17. Product Tags
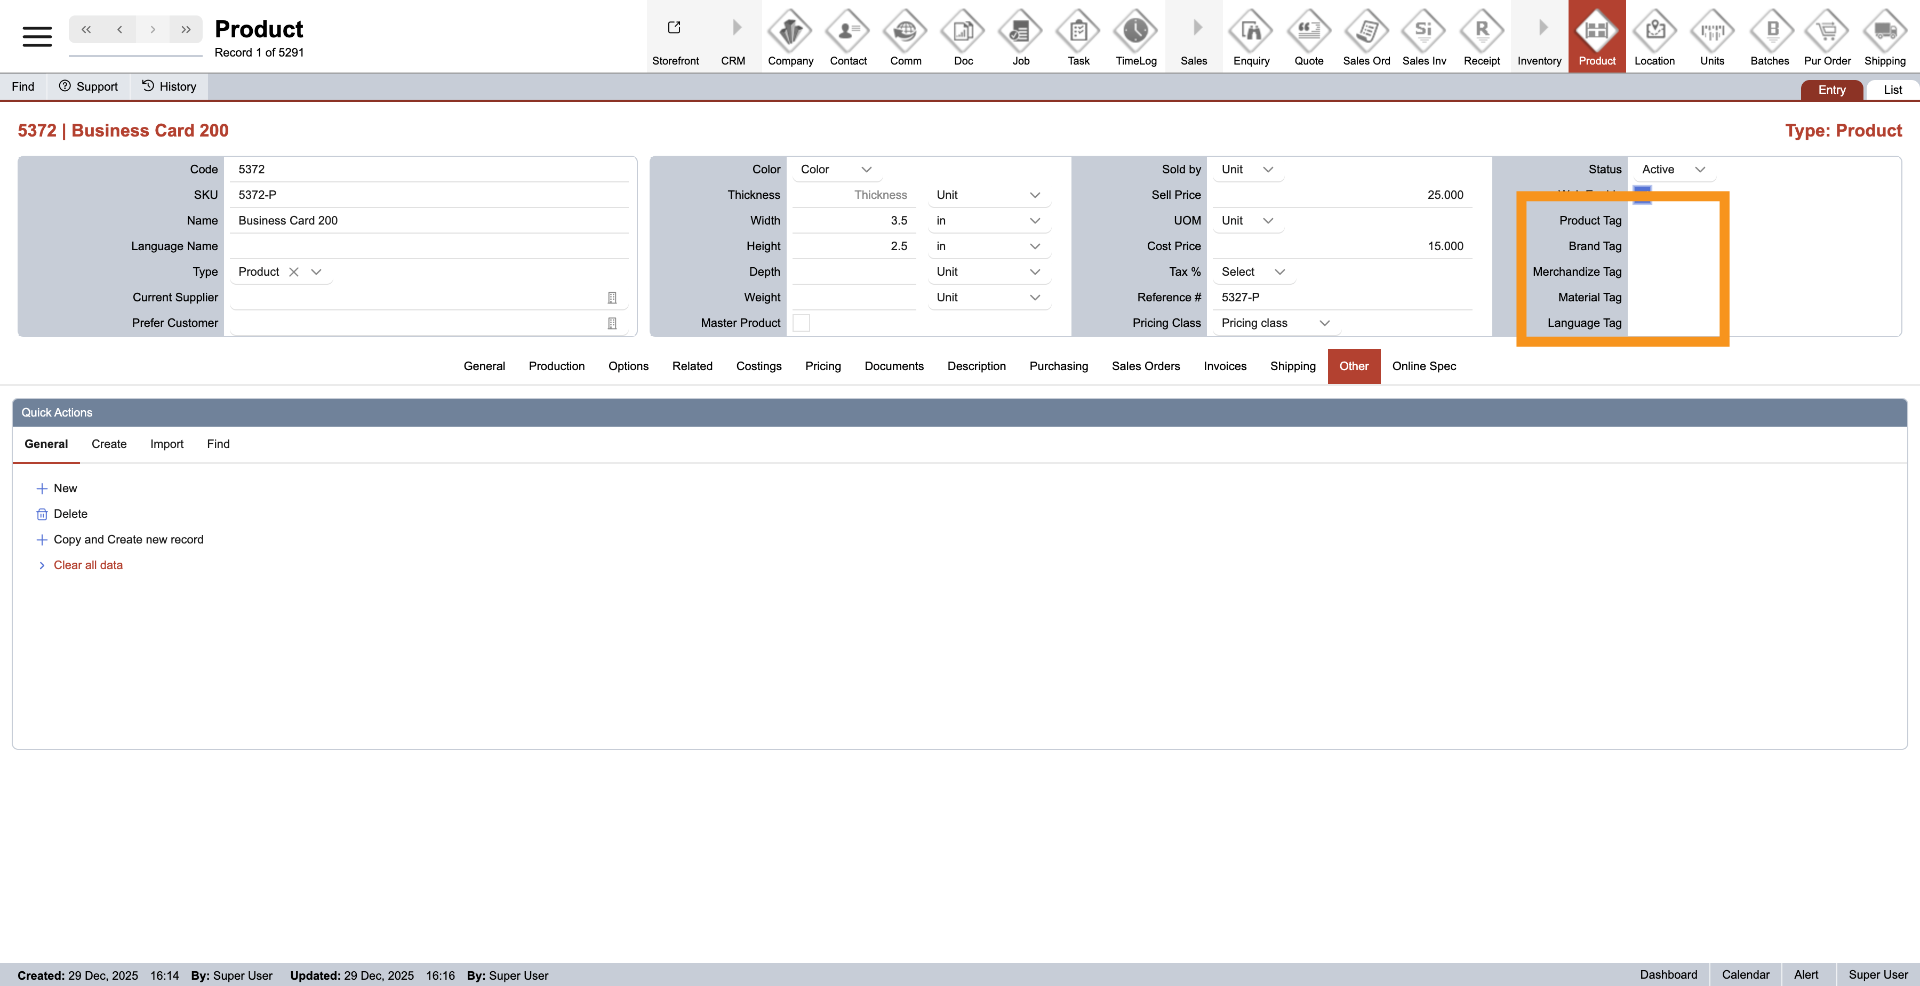
You have successfully created and configured a new product in the WorkTraq system.