
Dashboard Example: Multiple Conditions
This tutorial demonstrates how to create a custom dashboard gadget using multiple filter conditions.
Video Tutorial
1. Define the Goal
We'll create a gadget that displays Payment Required Sales Orders for Test Company.
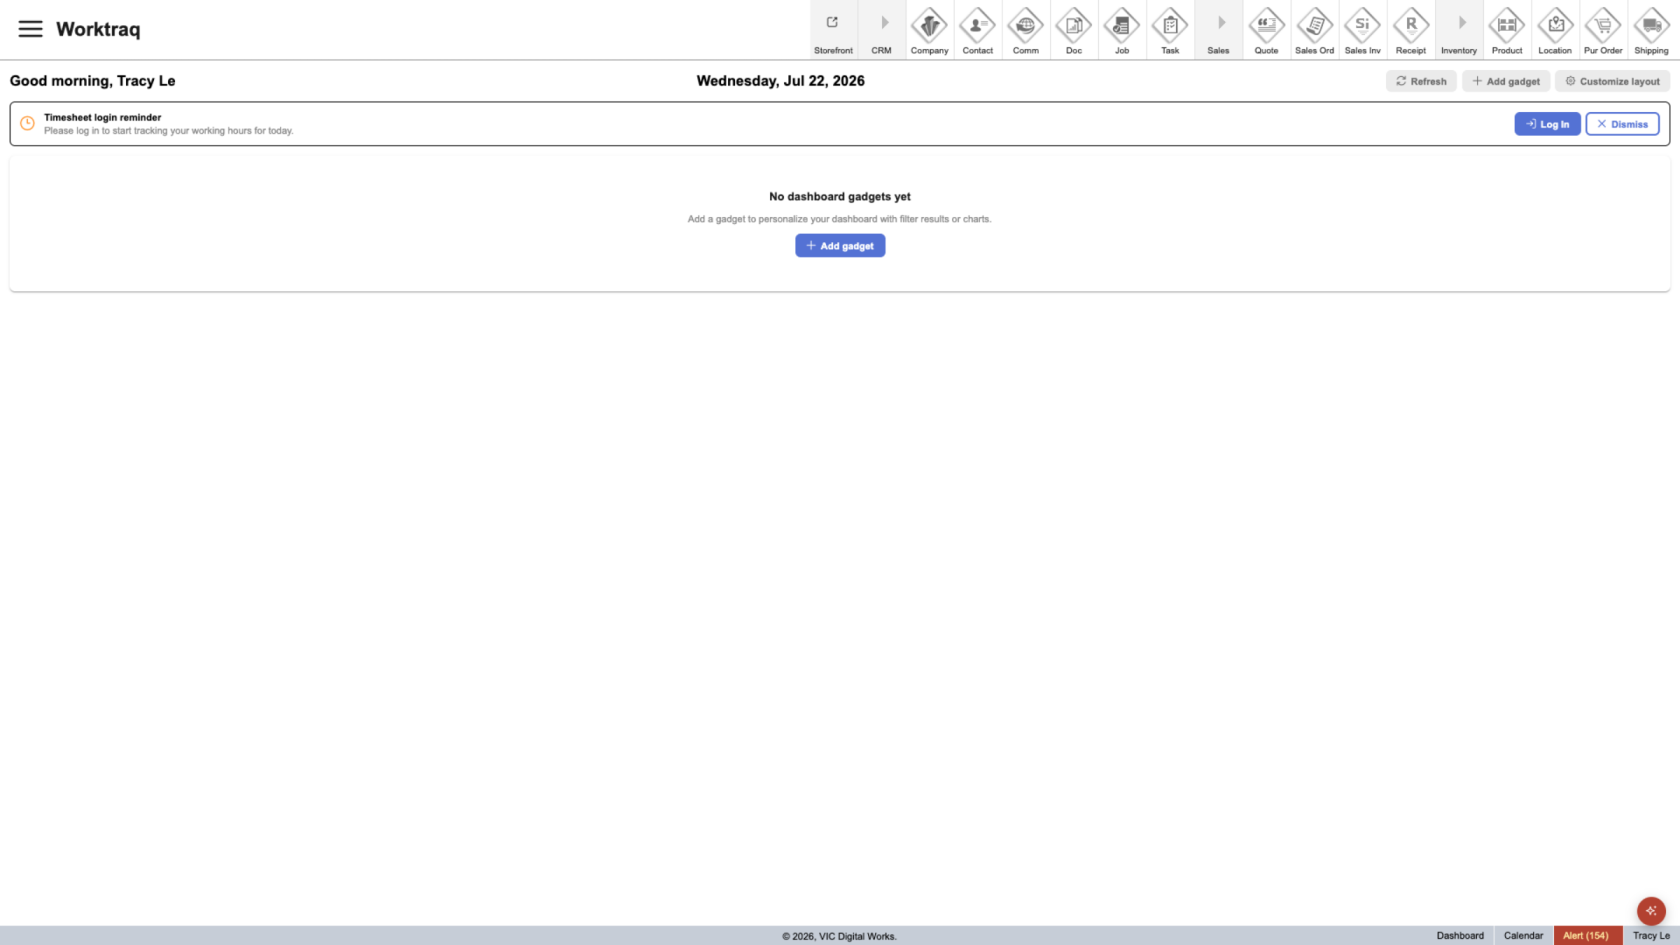
2. Add a New Gadget
Click Add Gadget to create a new dashboard gadget.
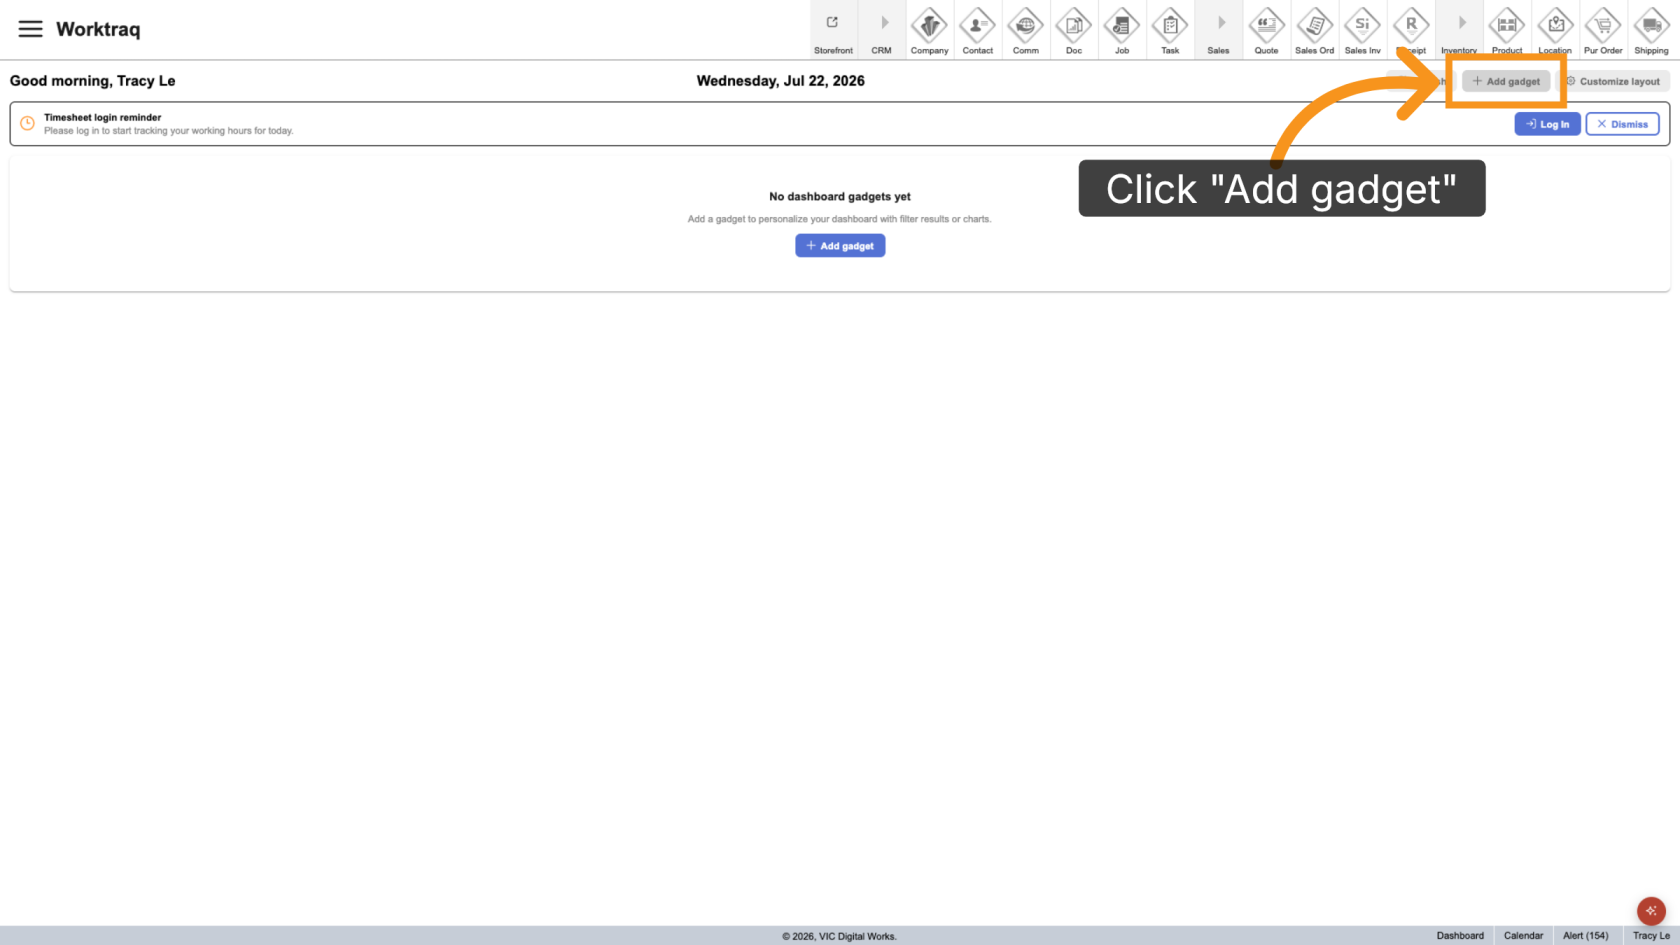
3. Choose the Gadget Type
Select Custom Filter Results as the gadget type.
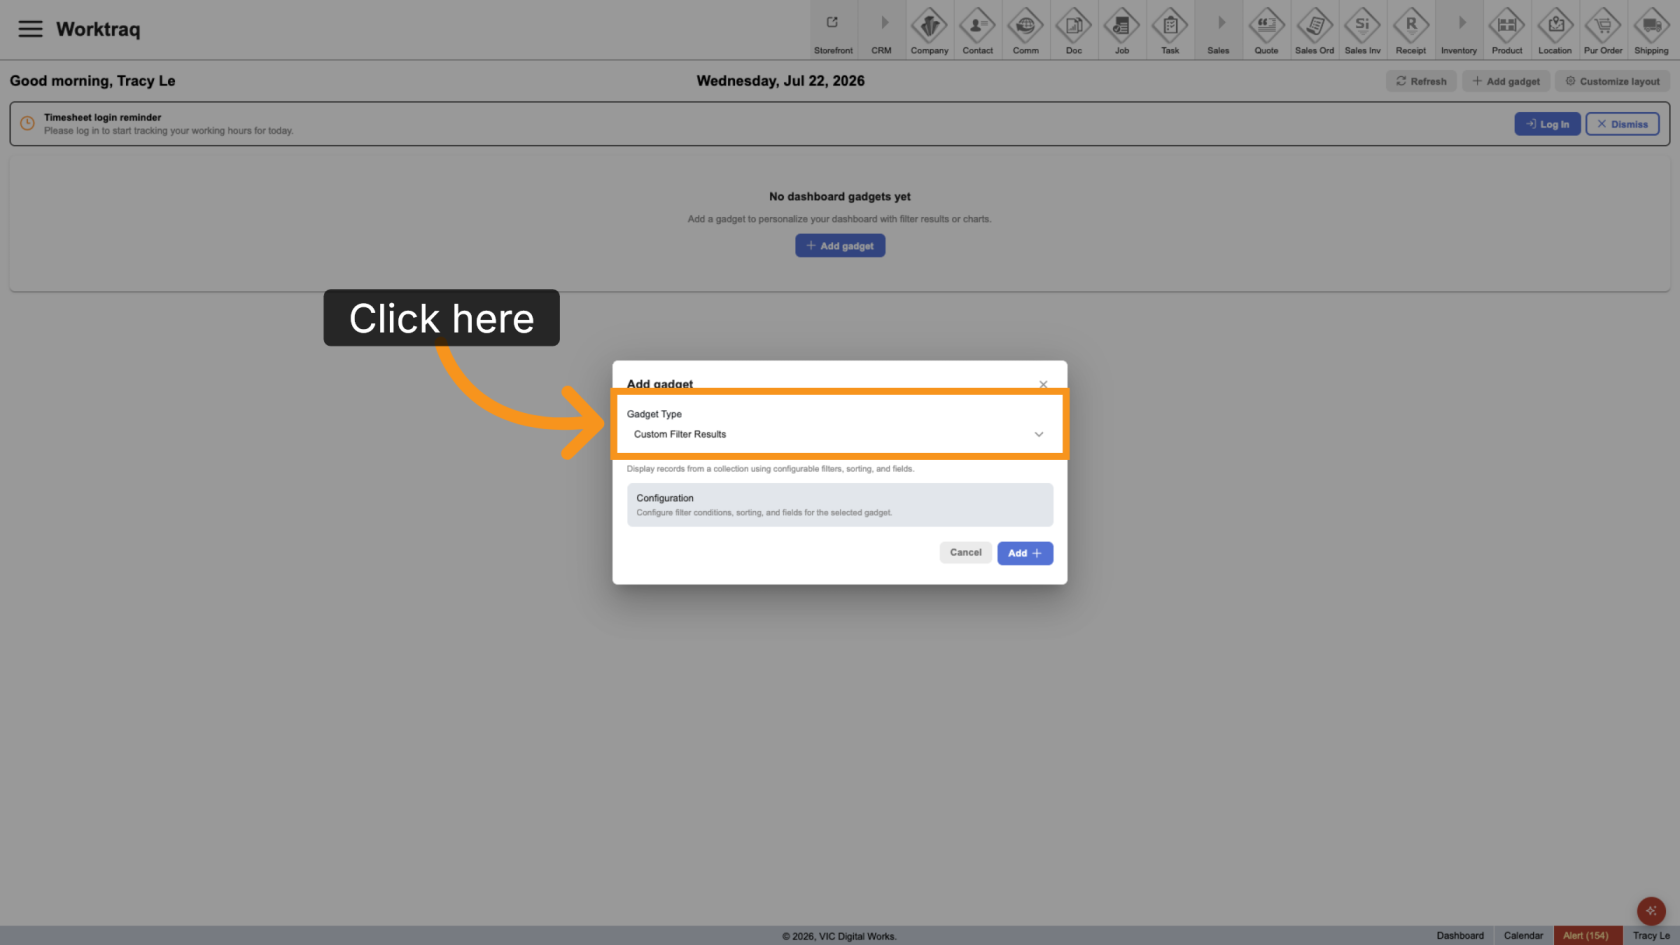
4. Start the Configuration
Click Add to begin configuring the gadget.
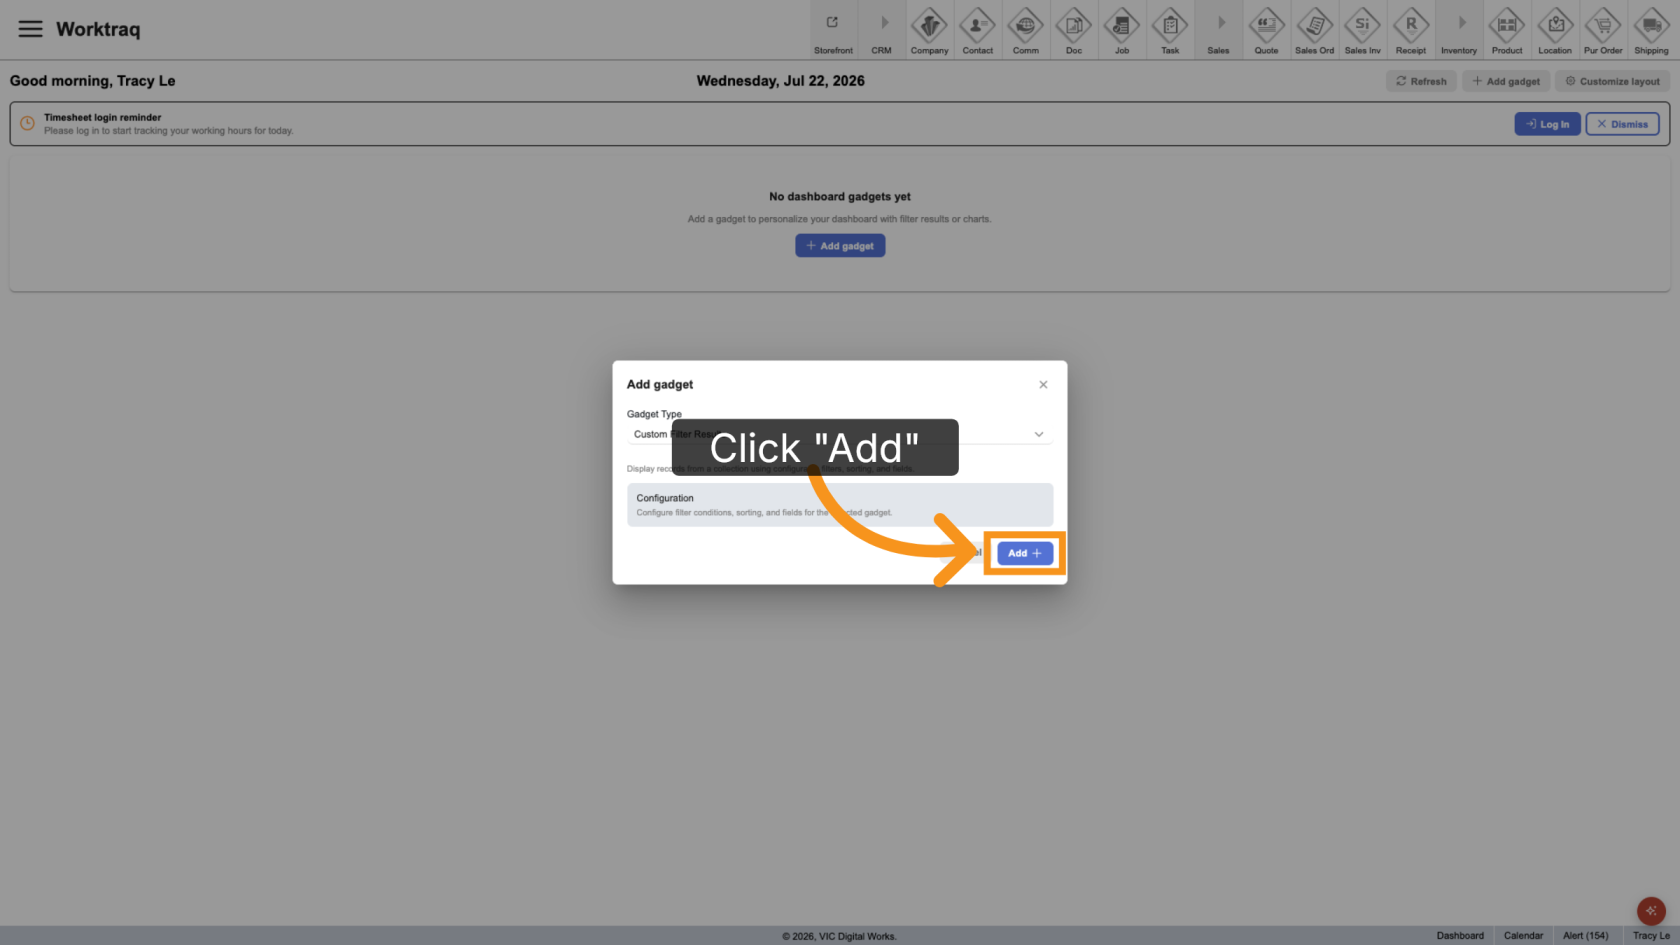
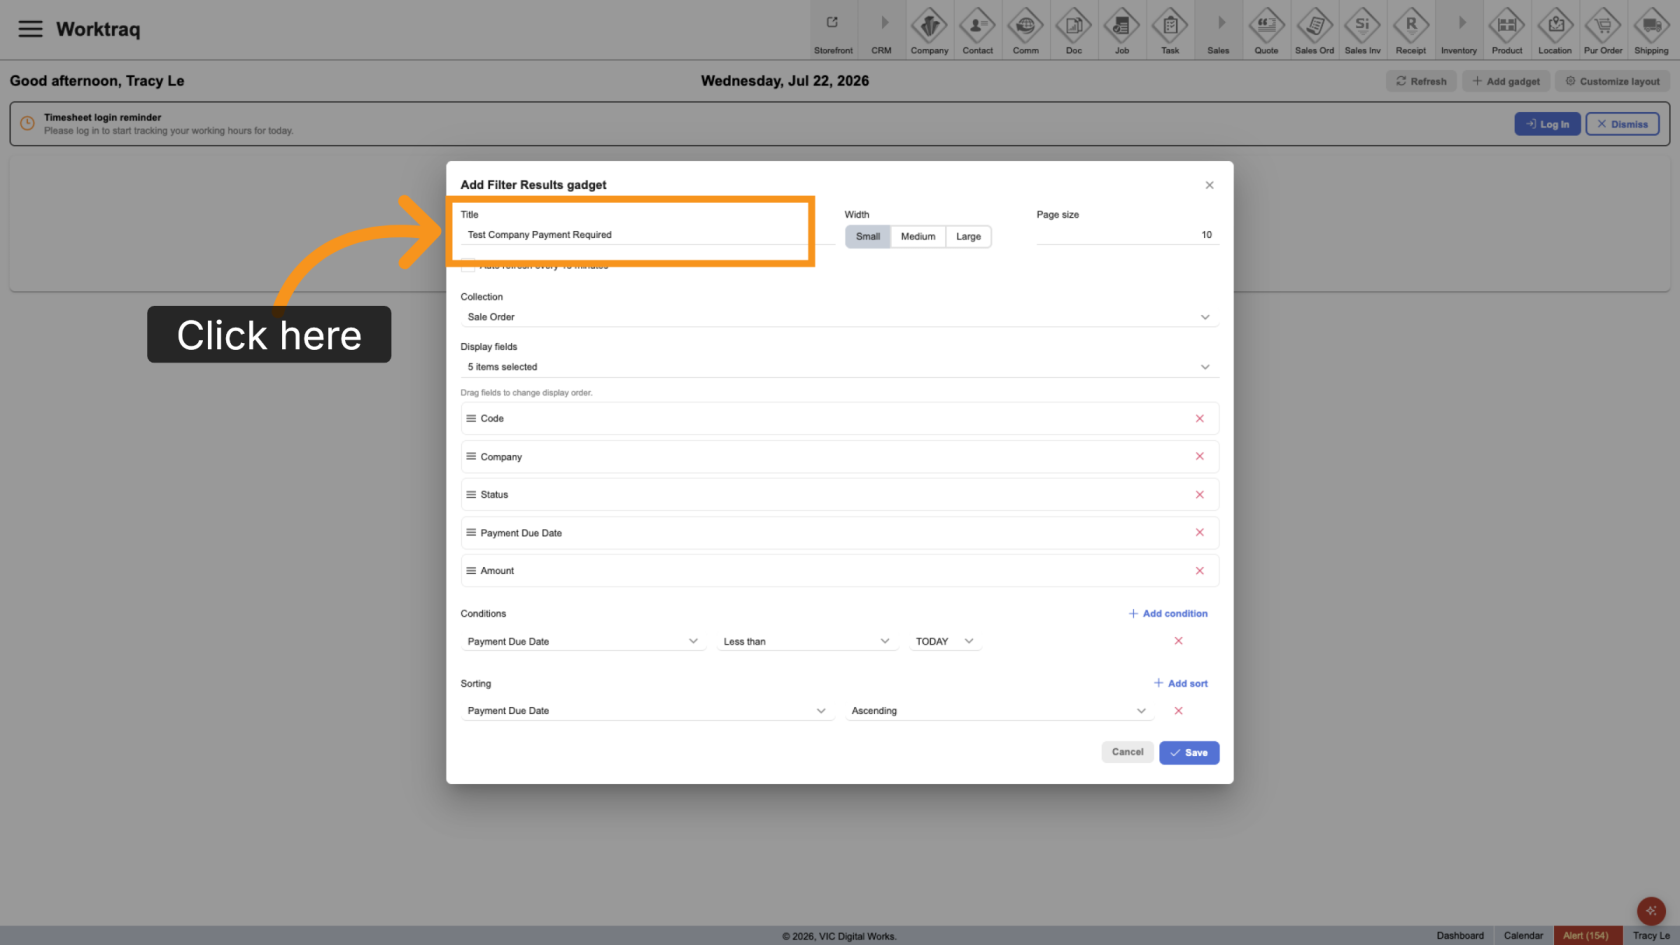
5. Enter a Gadget Title
Enter a title that clearly describes the results. For this example, enter Test Company Payment Required.
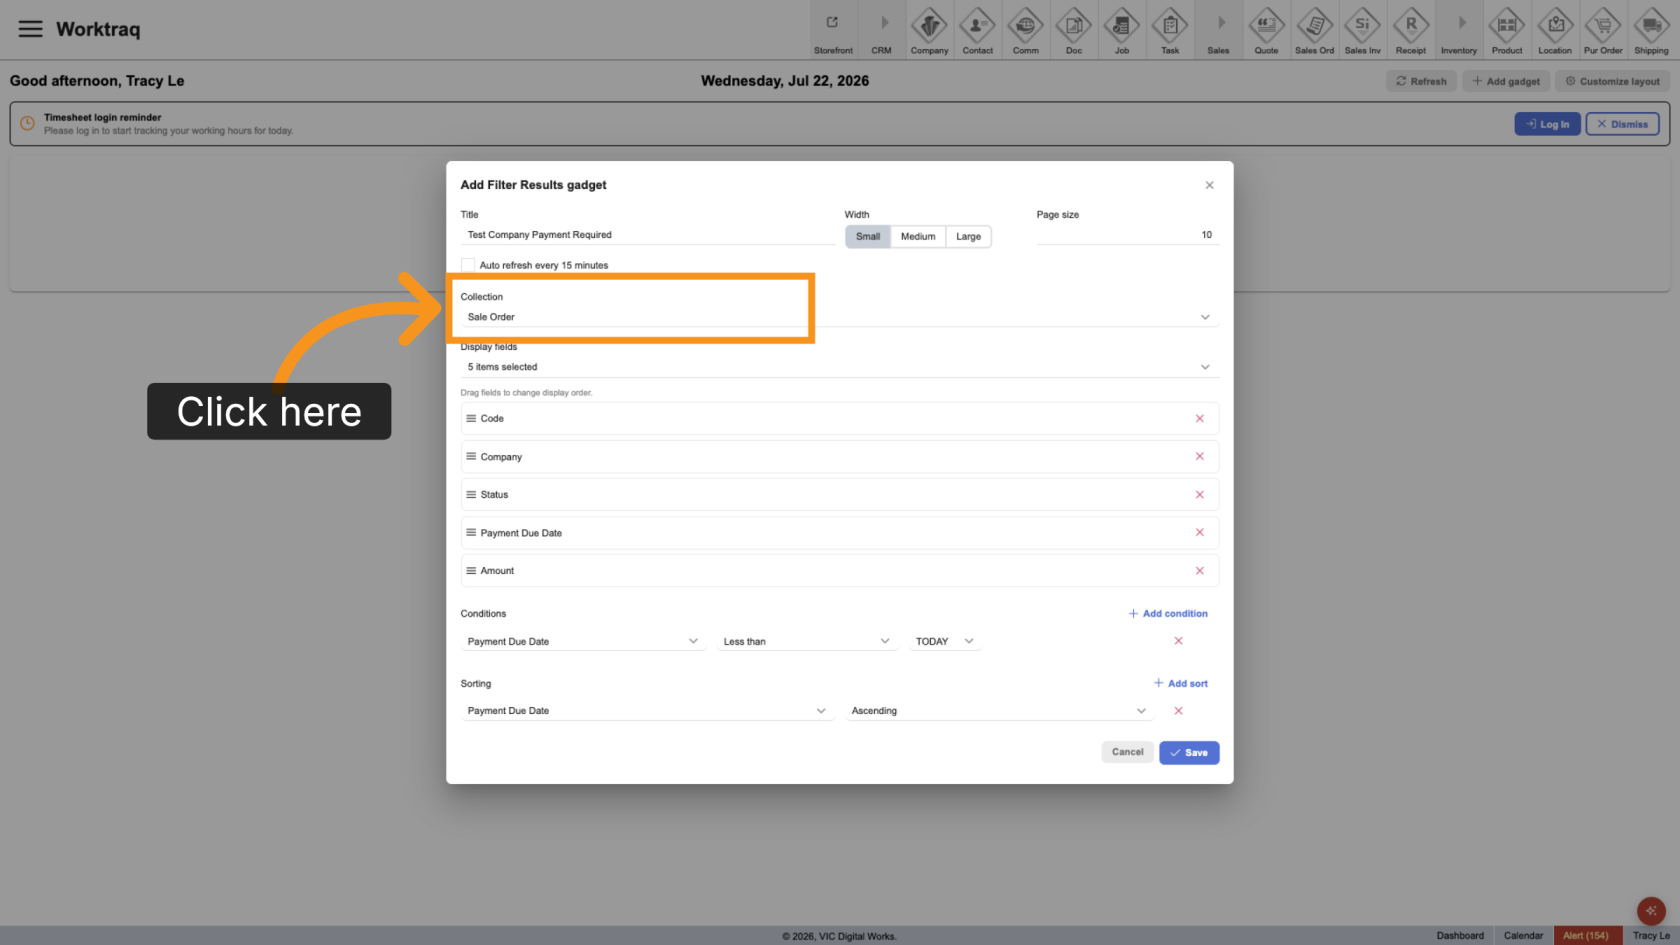
6. Select the Collection
Choose Sales Order because this example tracks Sales Order records.
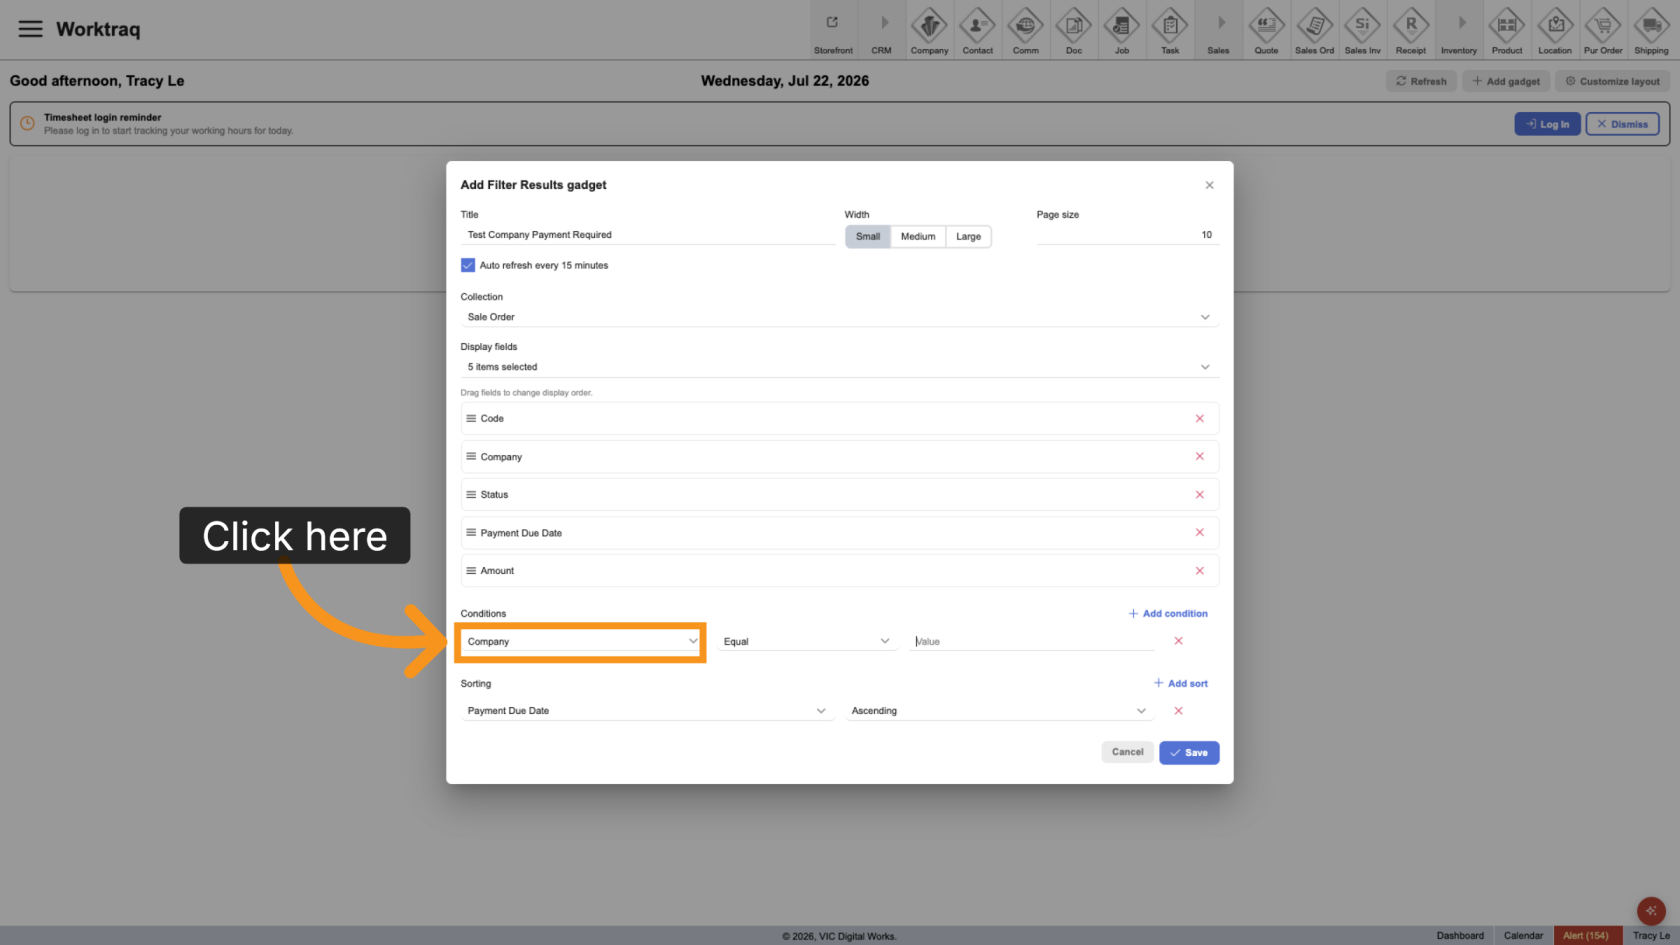
7. Add the First Filter
Under the filter conditions, select Company as the first field.
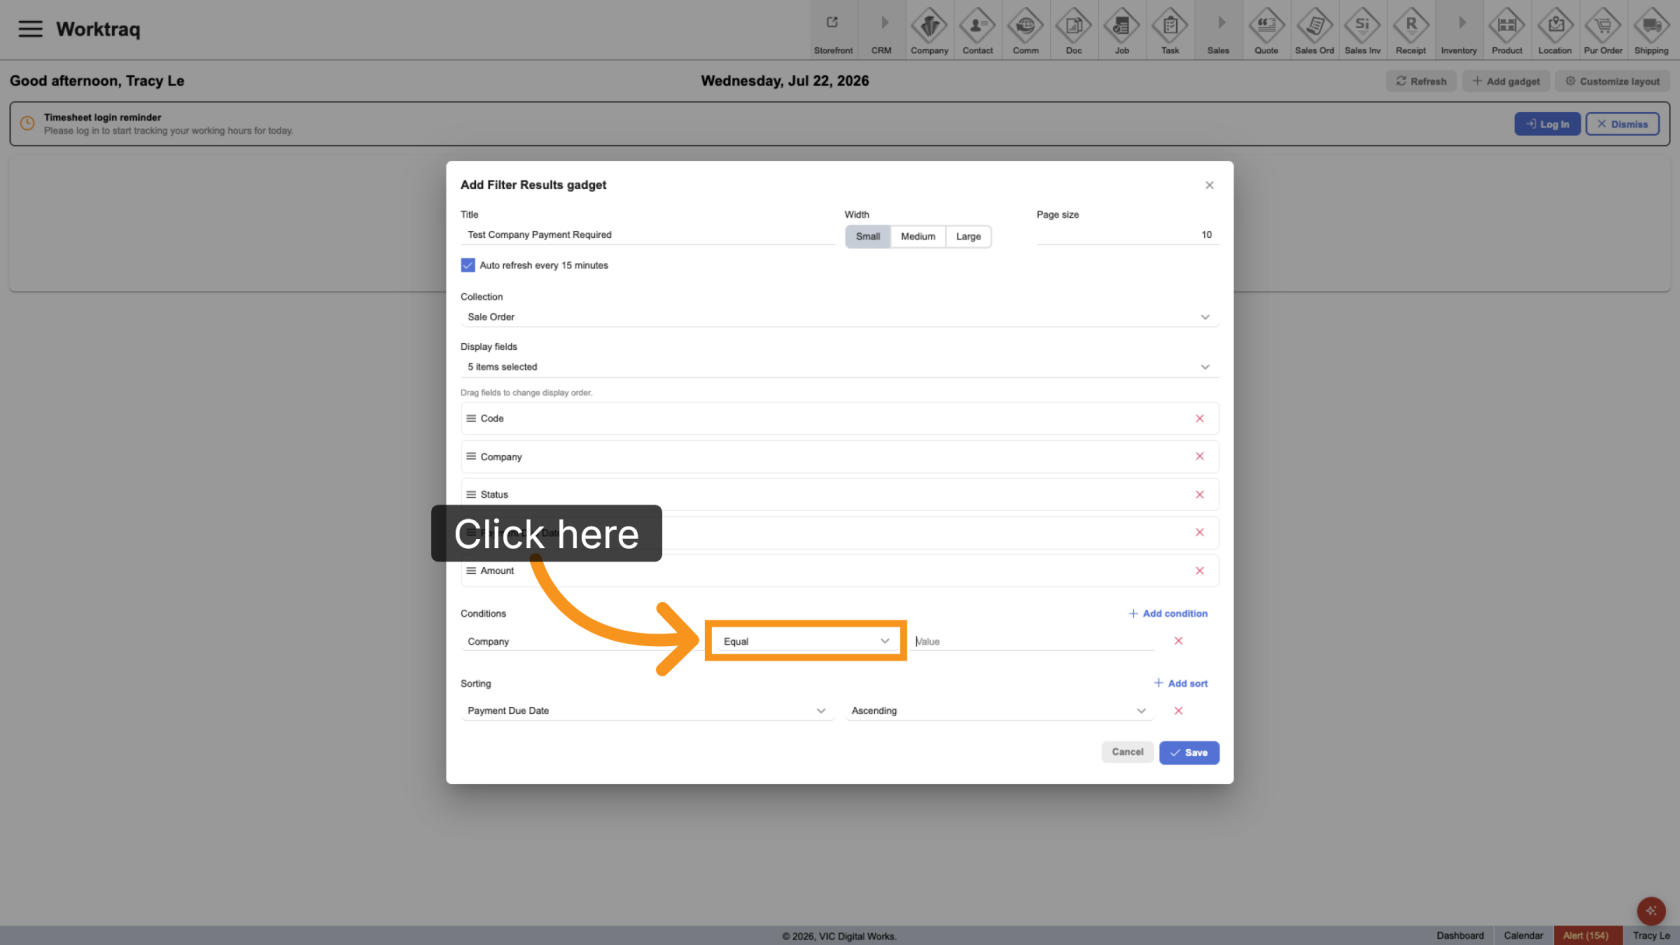
8. Select the Company Operator
Choose Equal so the filter matches one specific company.
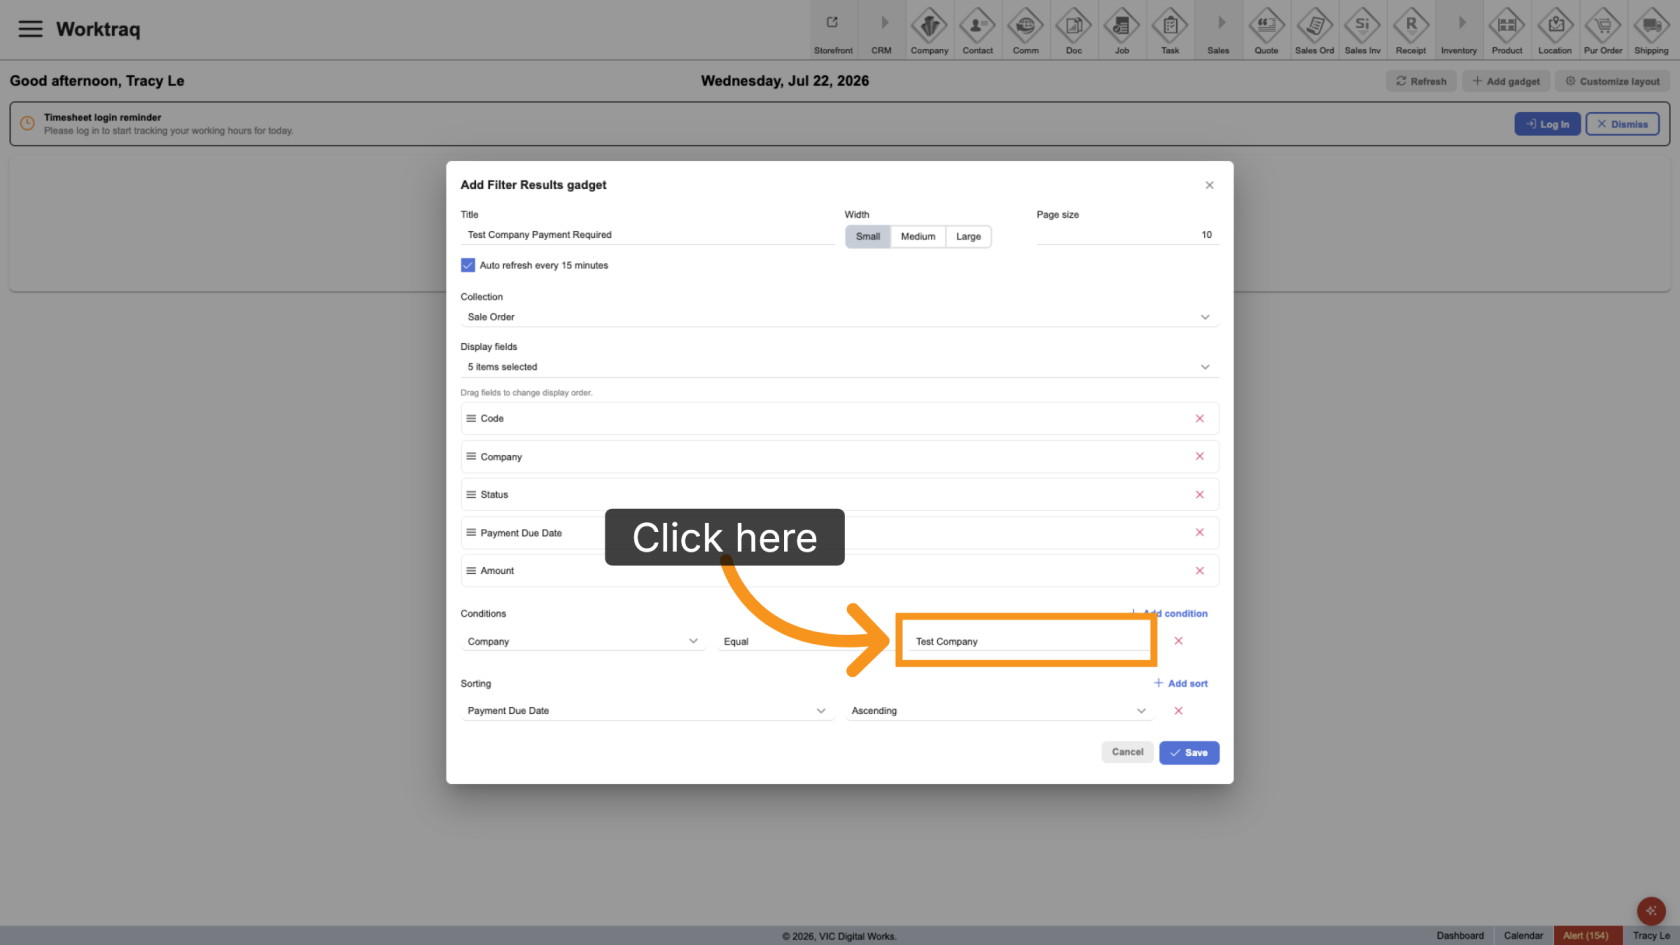
9. Enter the Company Name
Enter the company name you want to track. For this example, enter Test Company.
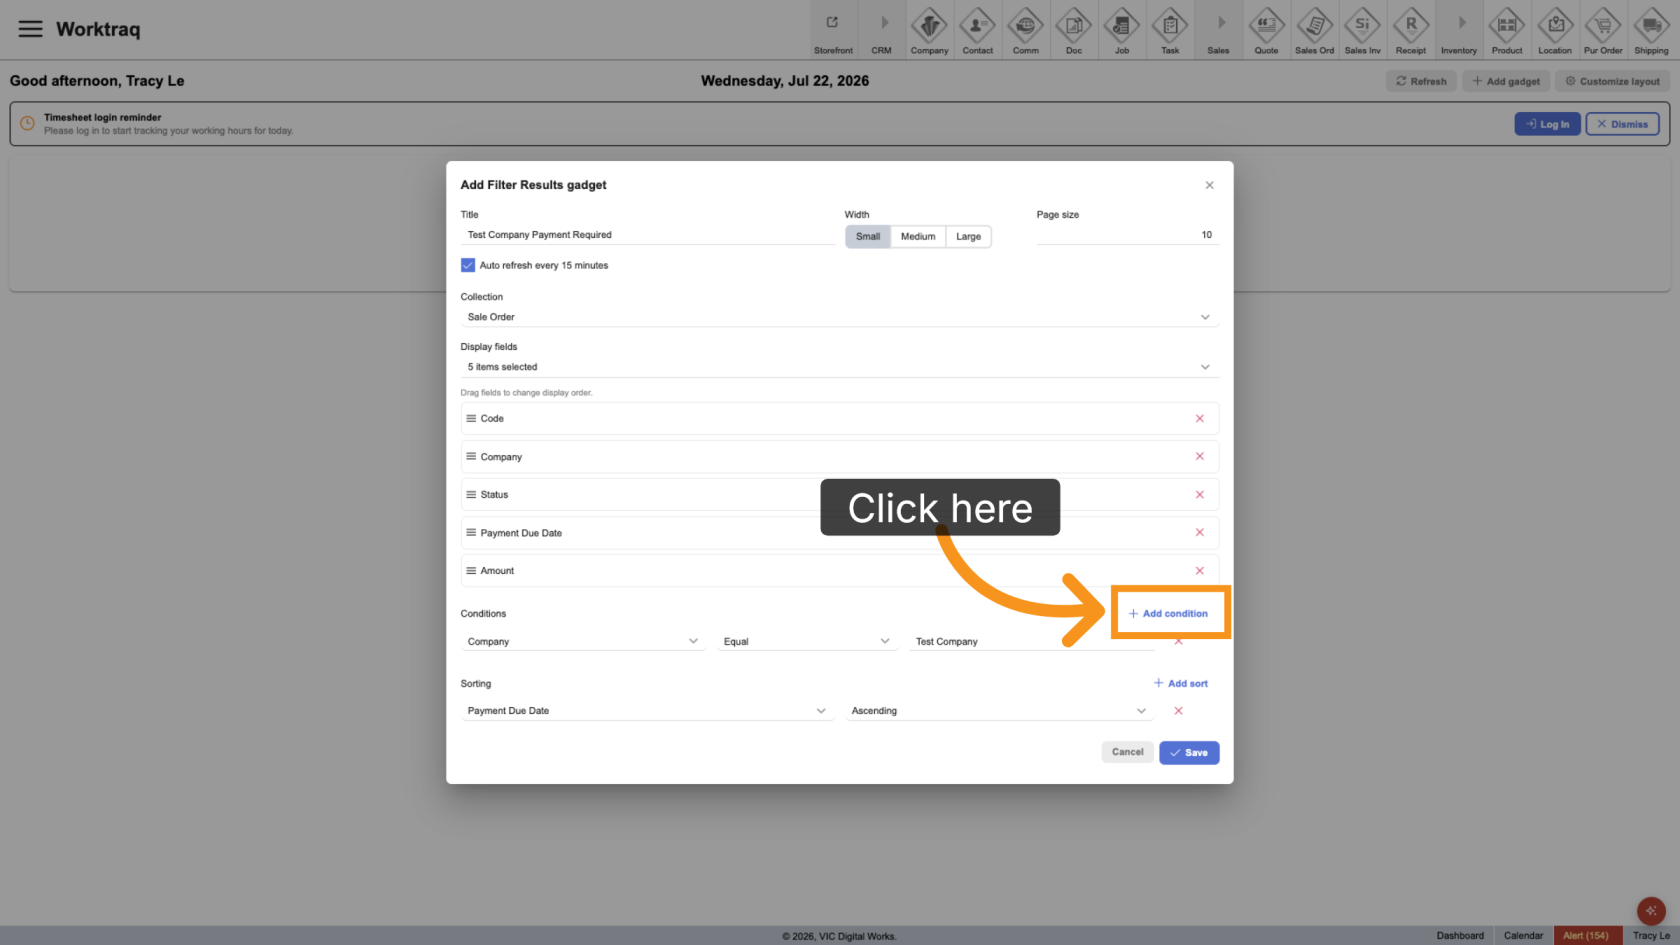
10. Add a Second Filter
Click Add Condition to add another filter and further narrow the results.
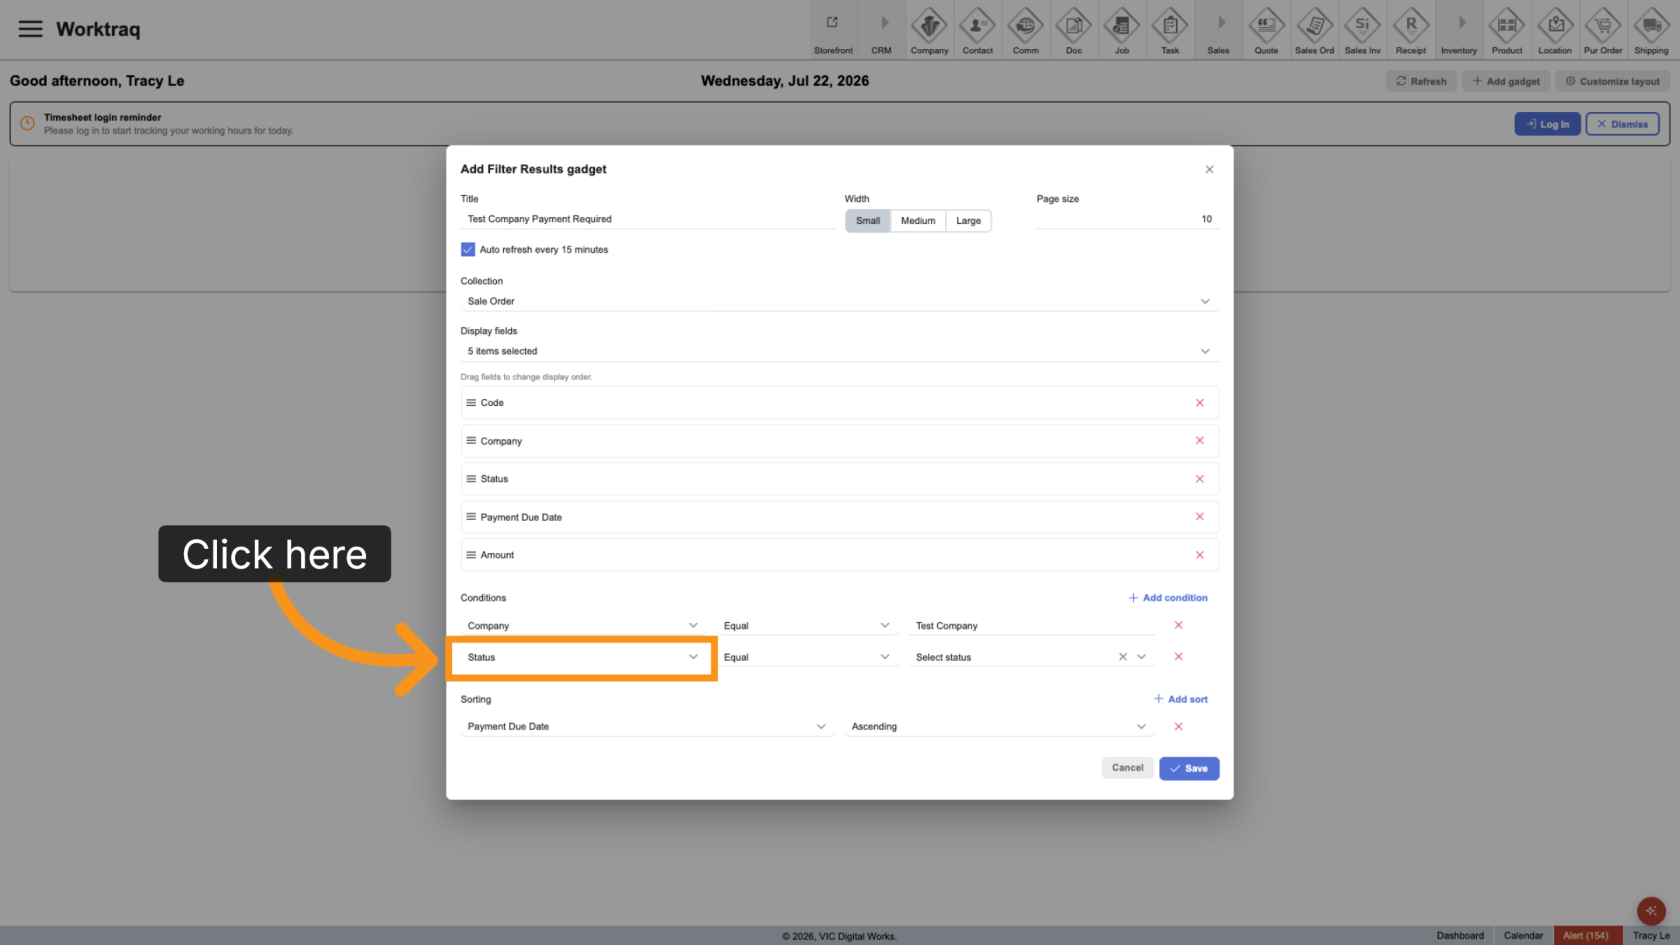
11. Select the Status Field
Select Status as the second filter field.
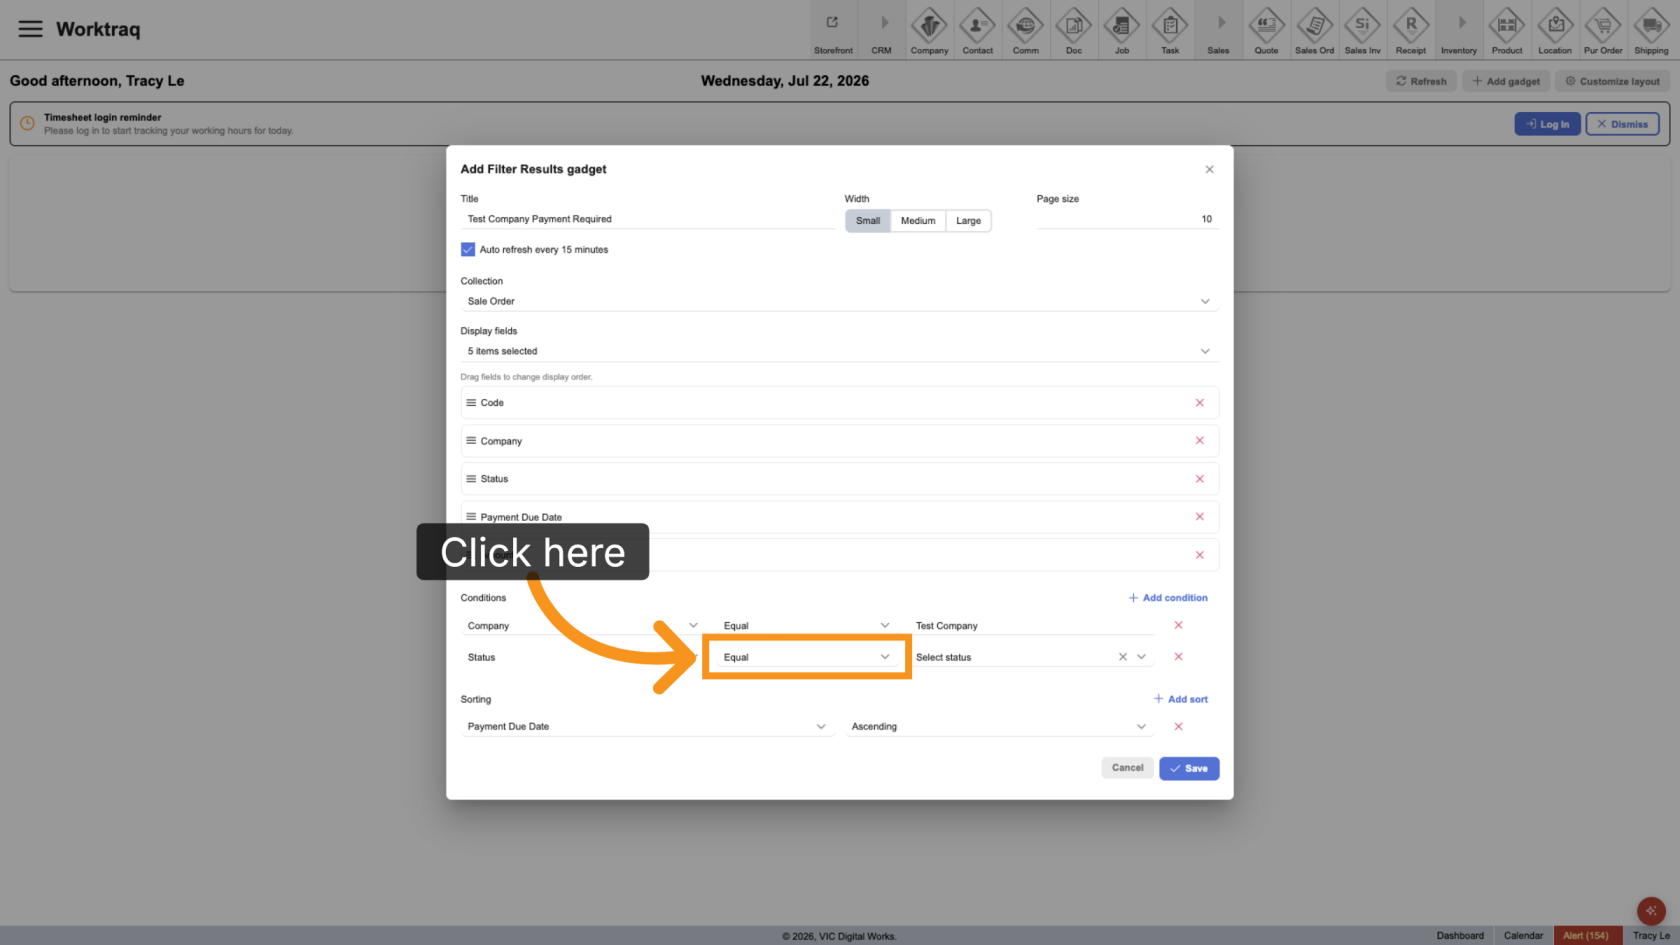
12. Select the Status Operator
Choose Equal so the filter matches one specific Sales Order status.
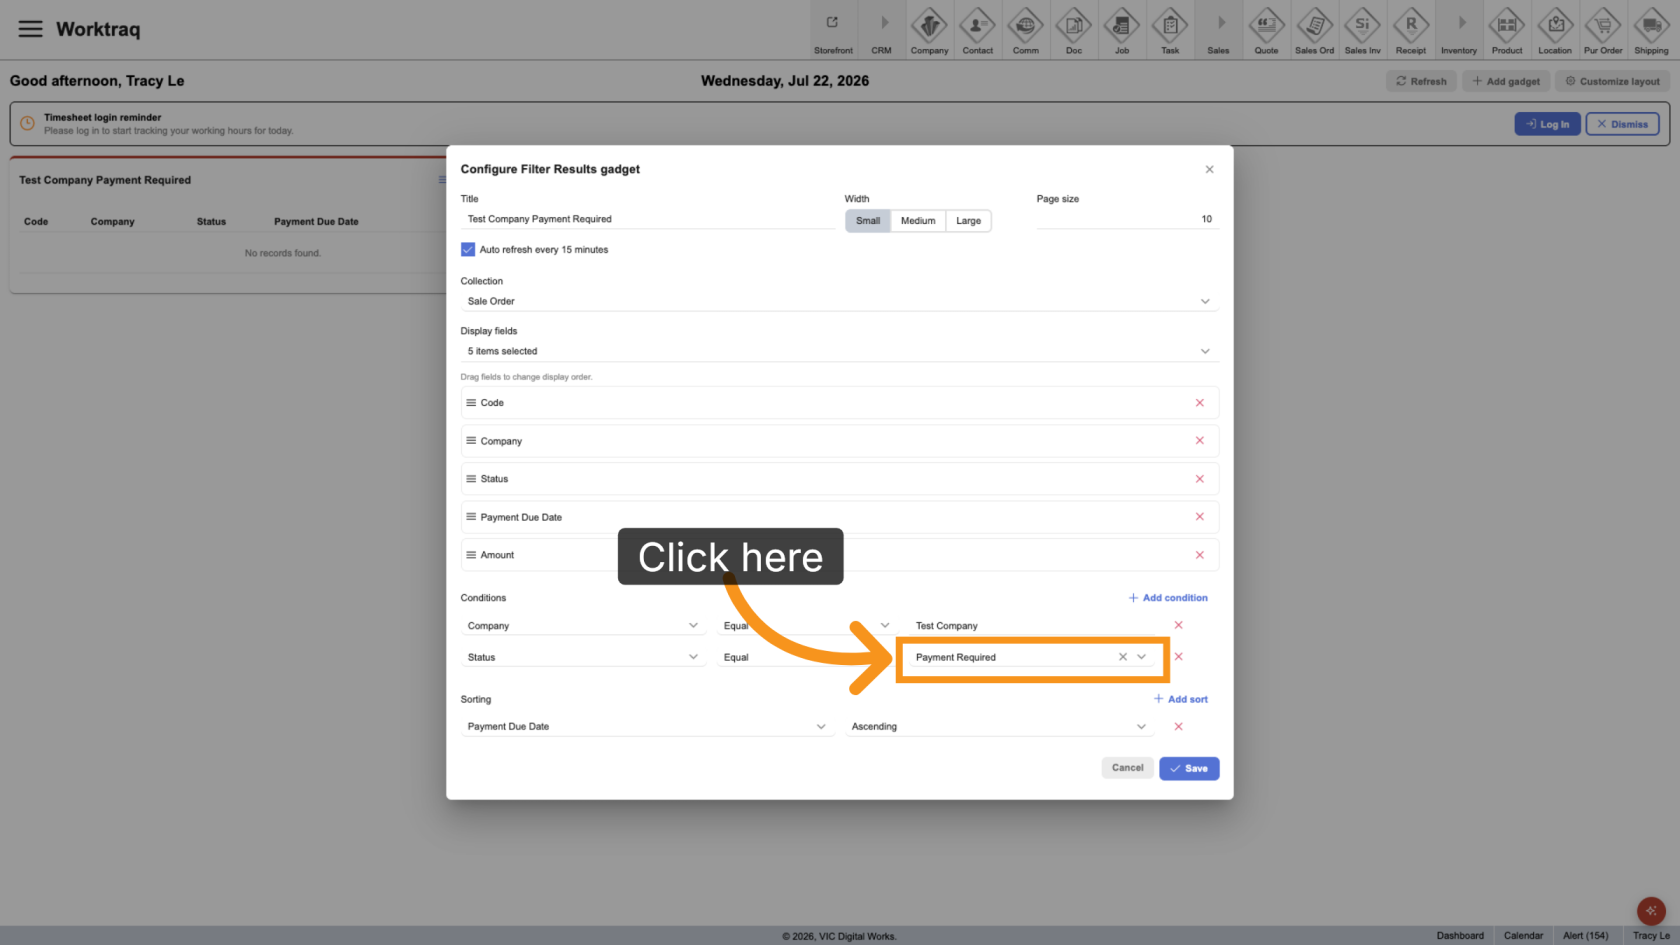
13. Select the Status
Select the status you want to track. For this example, choose Payment Required.
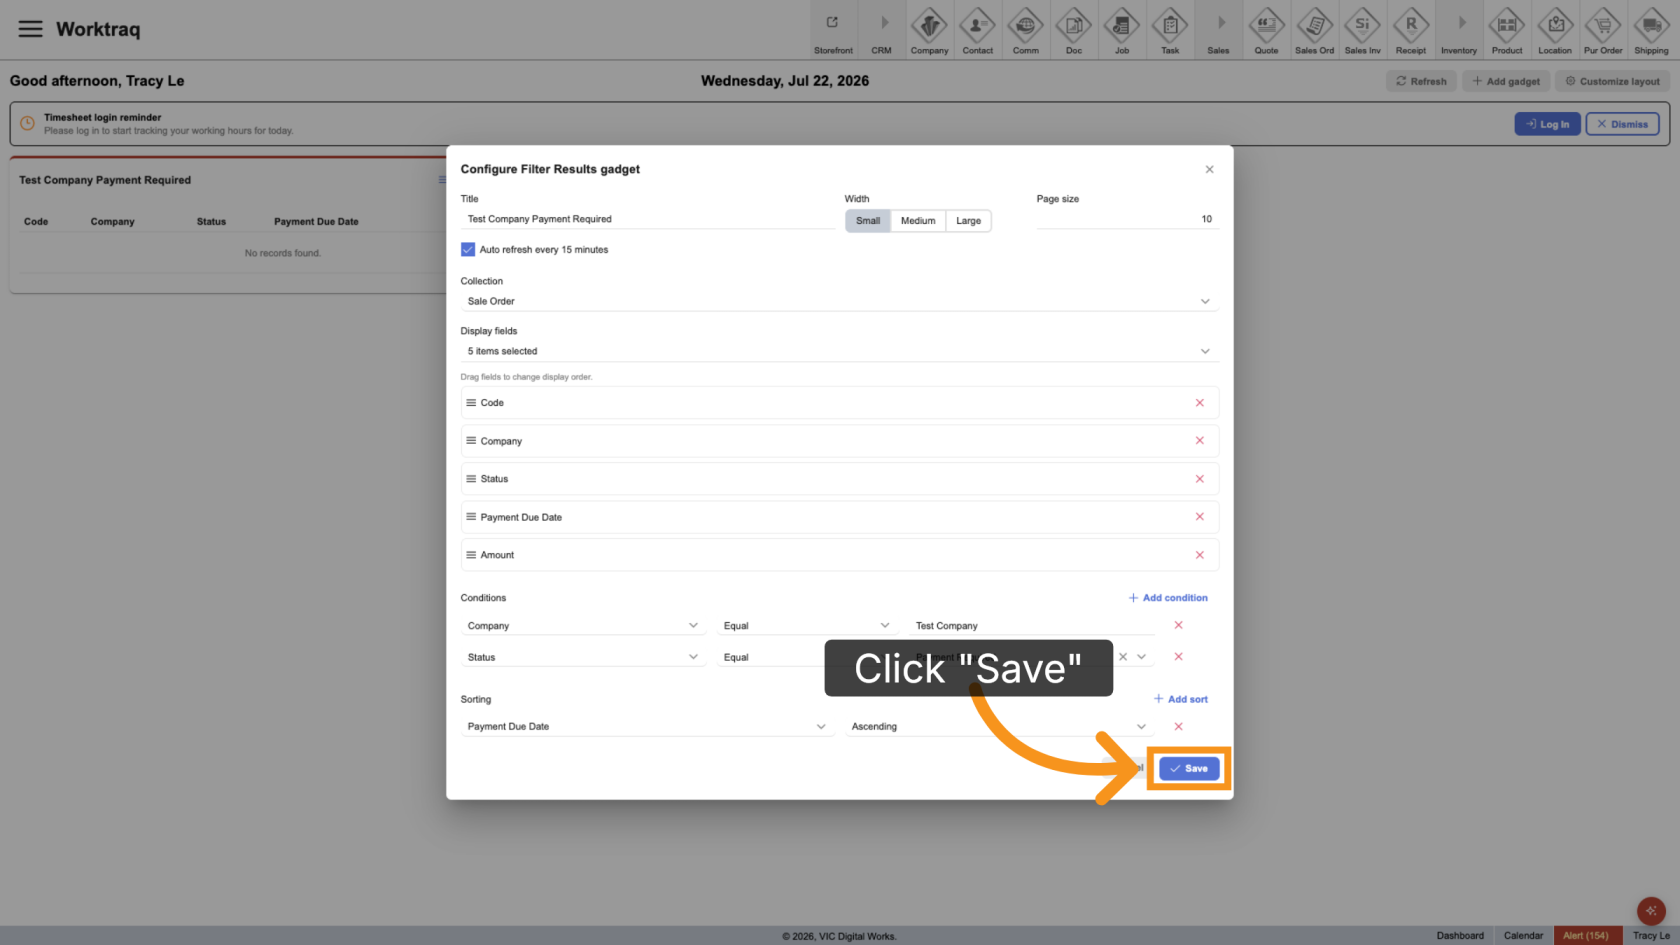
14. Save the Gadget
Click Save to create the custom dashboard gadget.
15. Review the Results
Return to the dashboard and verify that the gadget displays only Payment Required Sales Orders for Test Company.
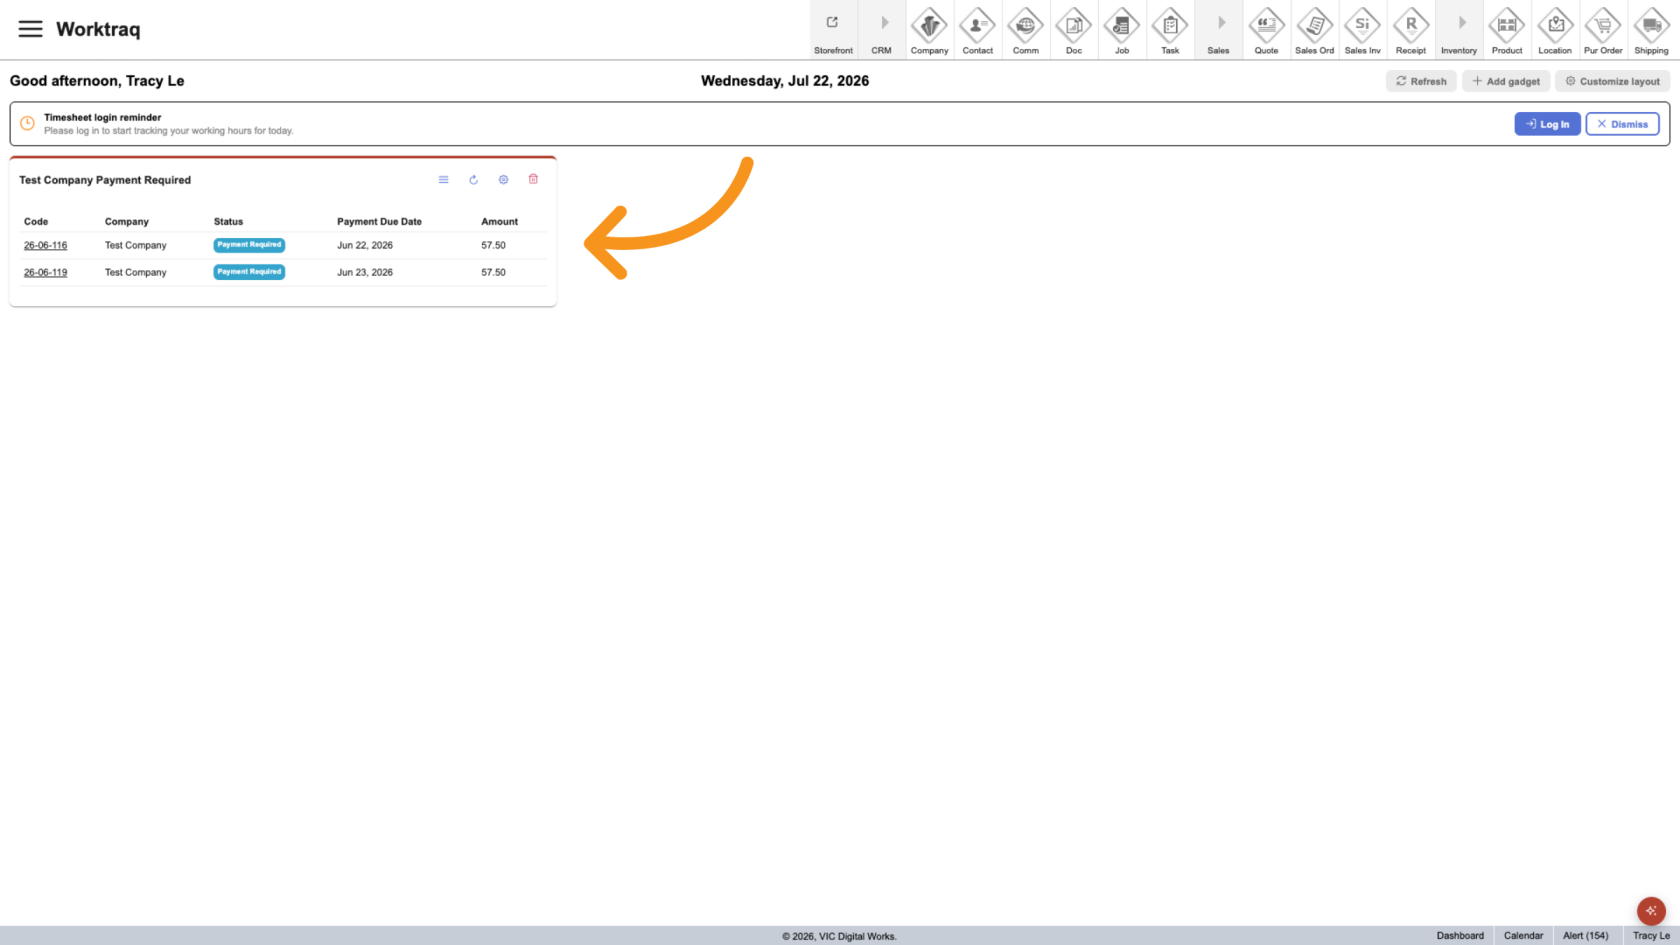
This example shows how multiple filter conditions can be combined to create a dashboard gadget that displays exactly the information you need.