Job Area Detailed Report
This tutorial walks you through generating detailed job reports in the Worktraq App, giving you a clear overview of all jobs in the system.
Video Tutorial
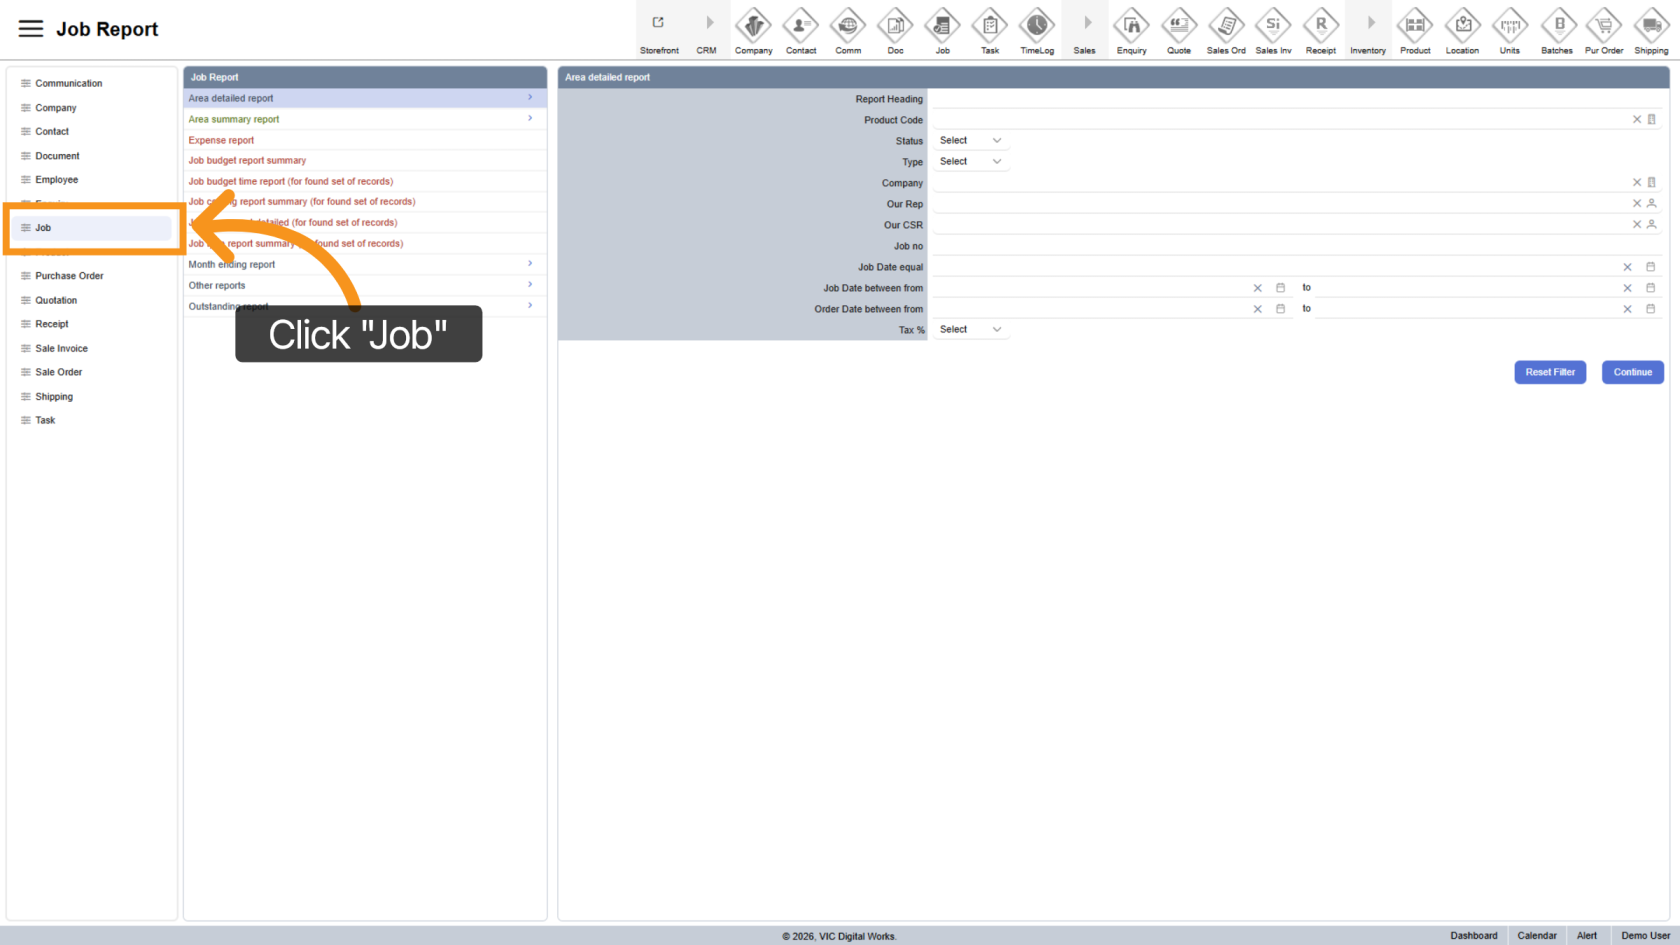
1. Open Job Report Section
Click "Job" to access job reports.
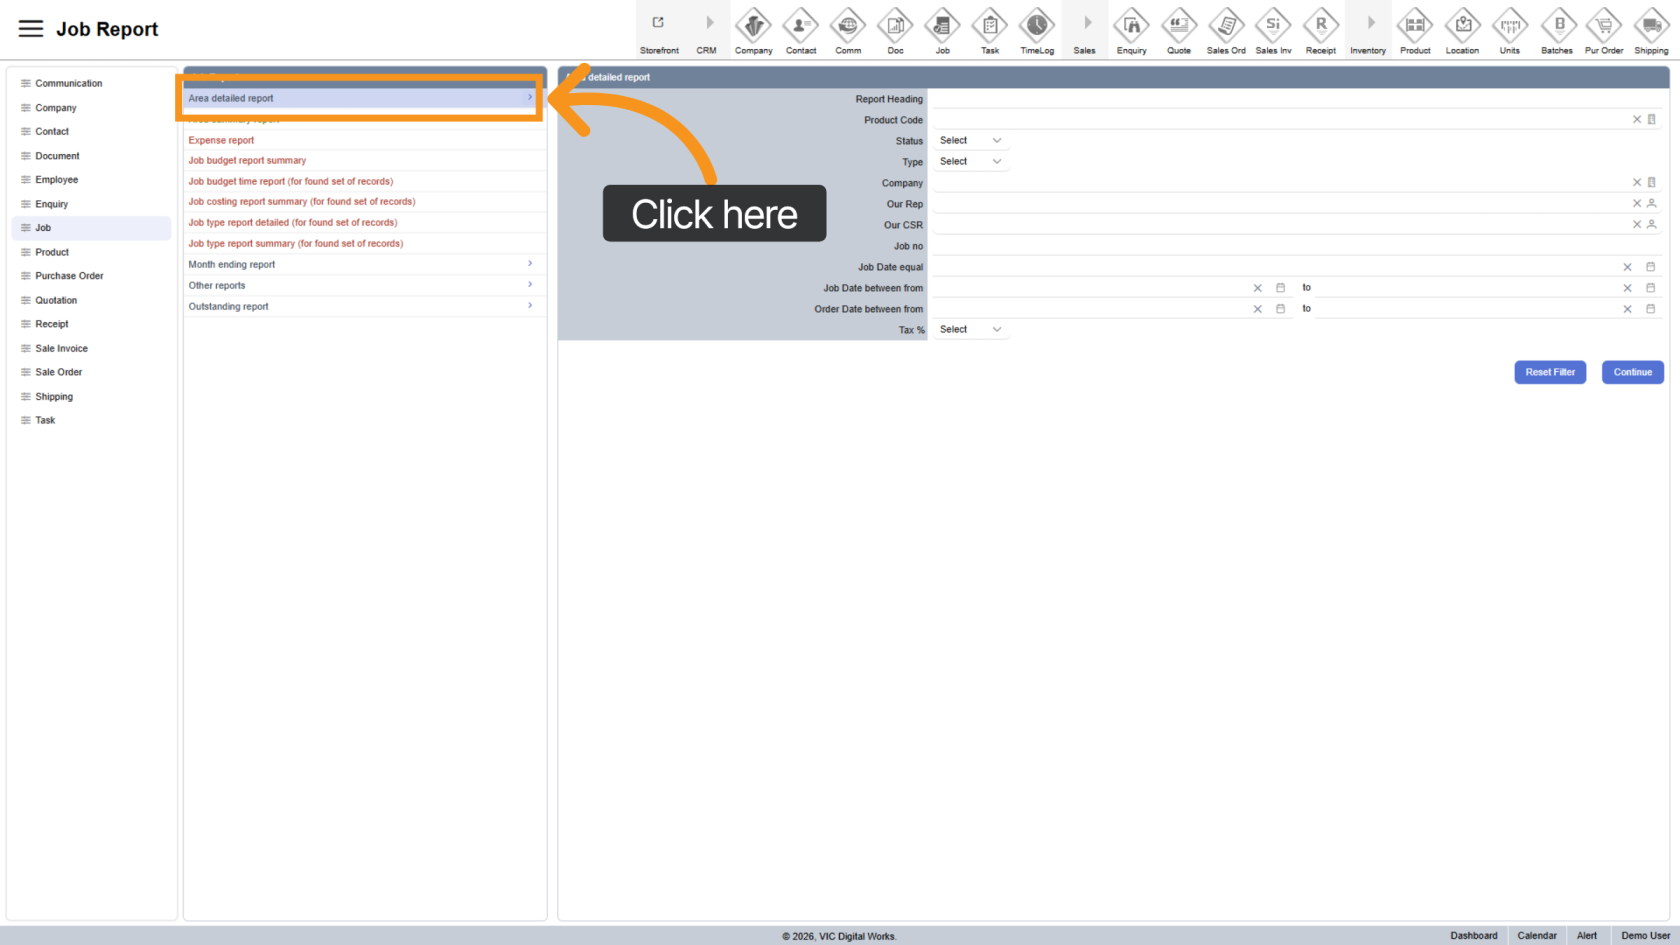
2. Select Area Detailed Report
Click "Area Detailed Report" to open the report filter panel.
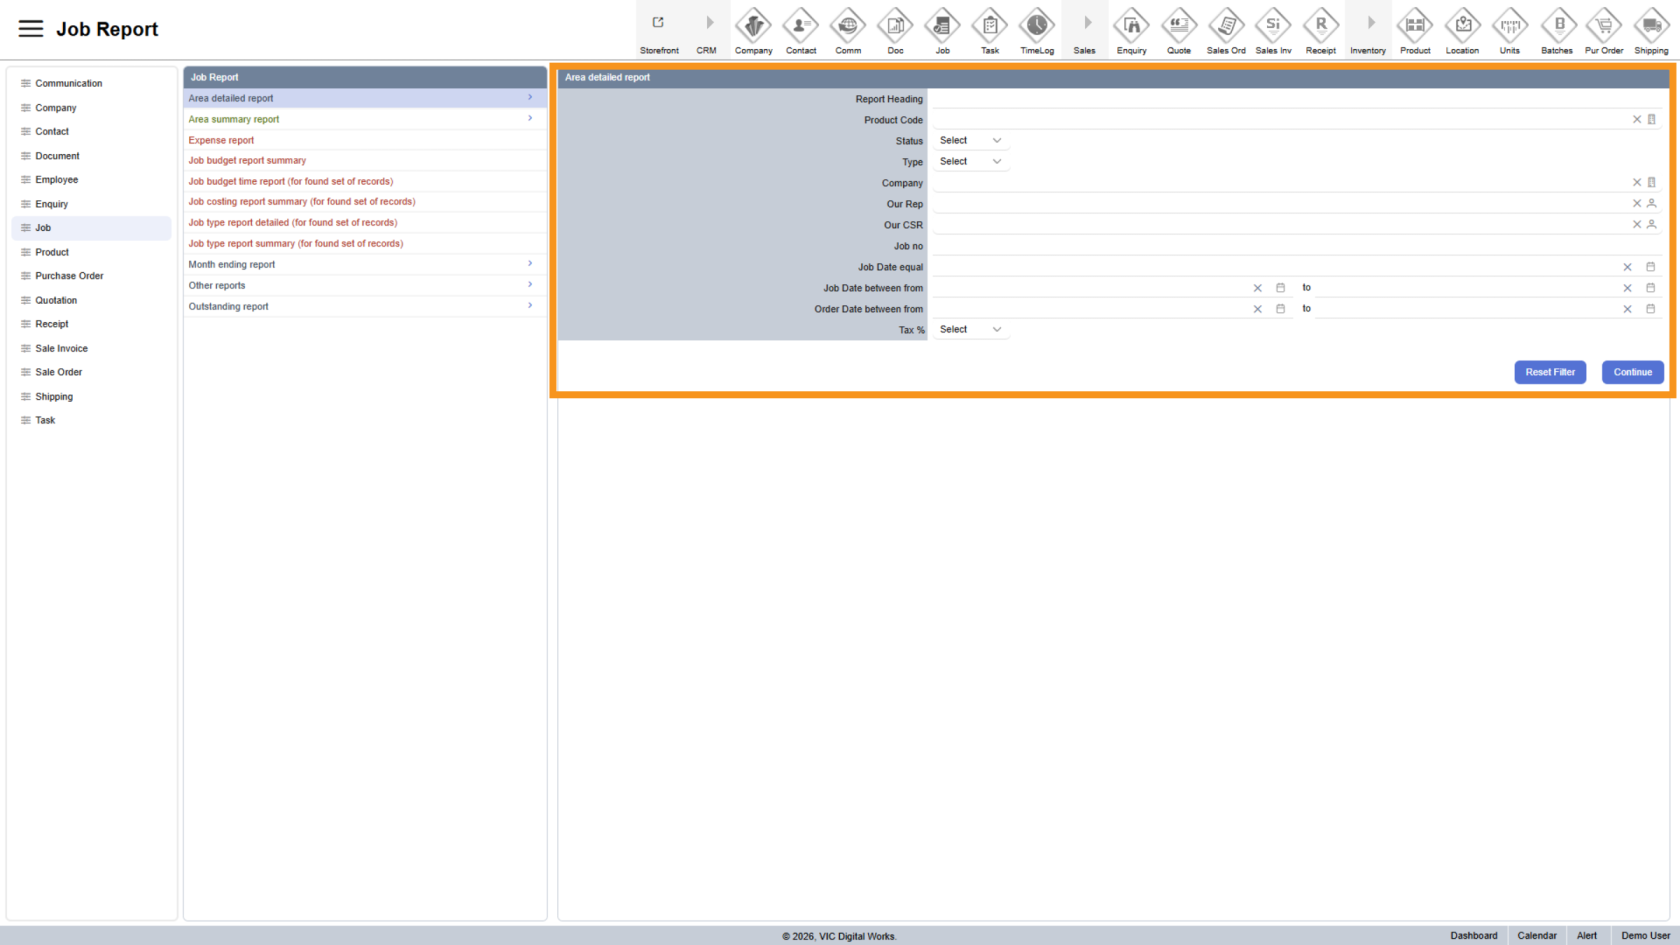
3. Fill in Filters
Use the form on the right to customize your report.
You can combine multiple filters for more precise results.
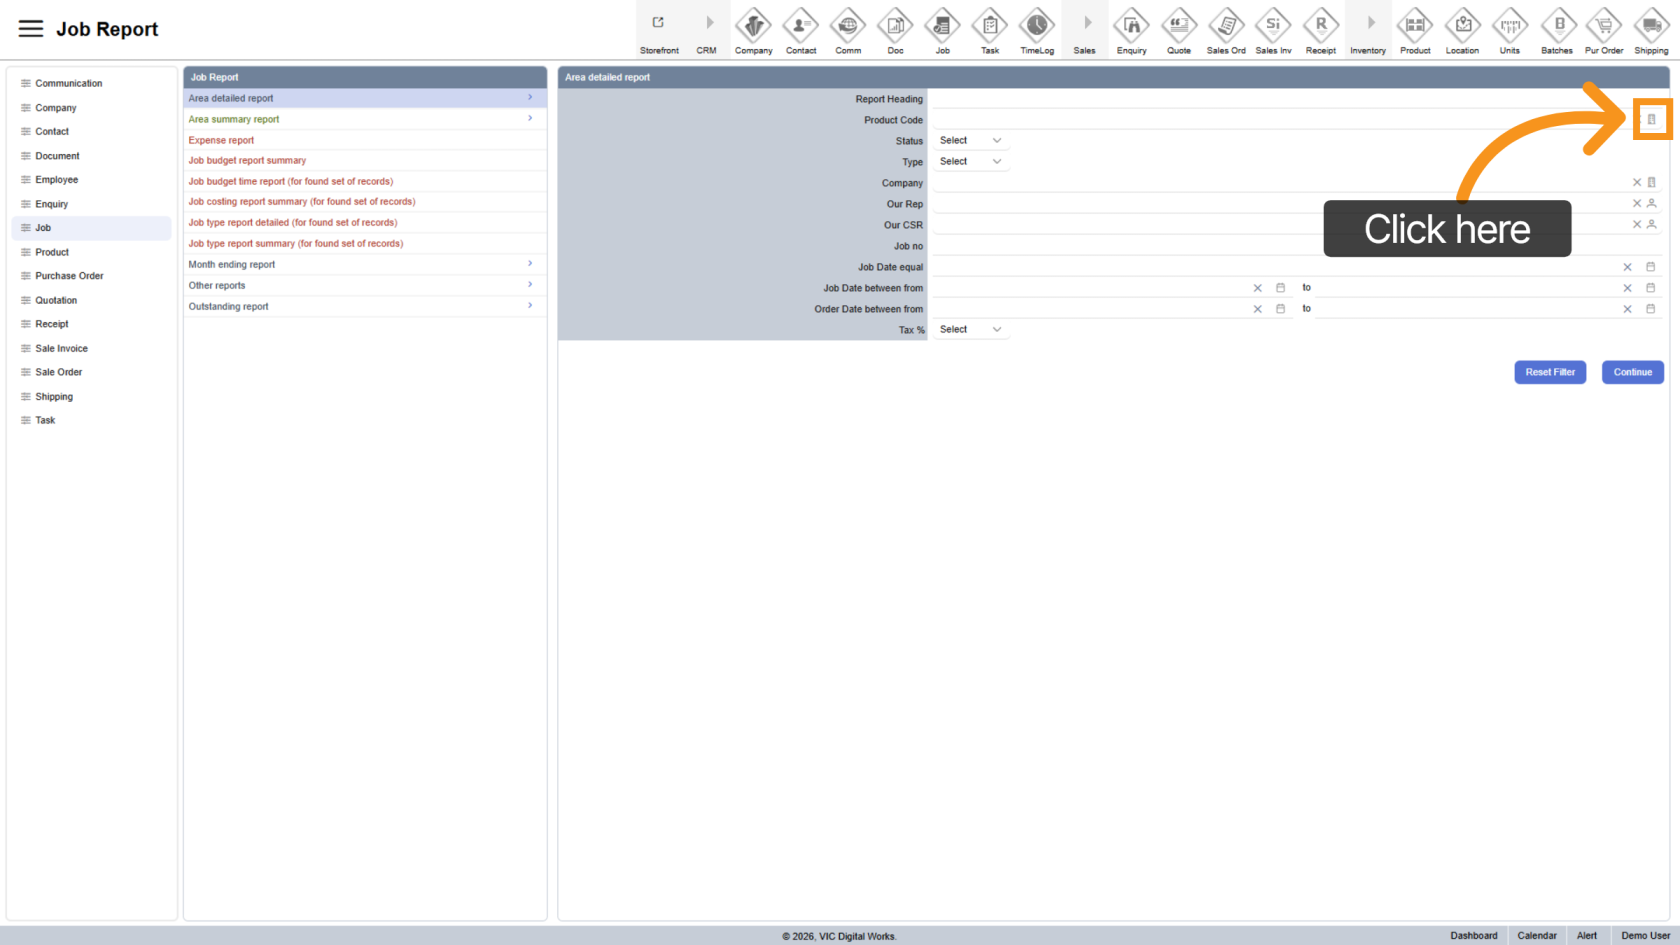
4. Filter by Product Code
Select specific product codes to narrow down results.
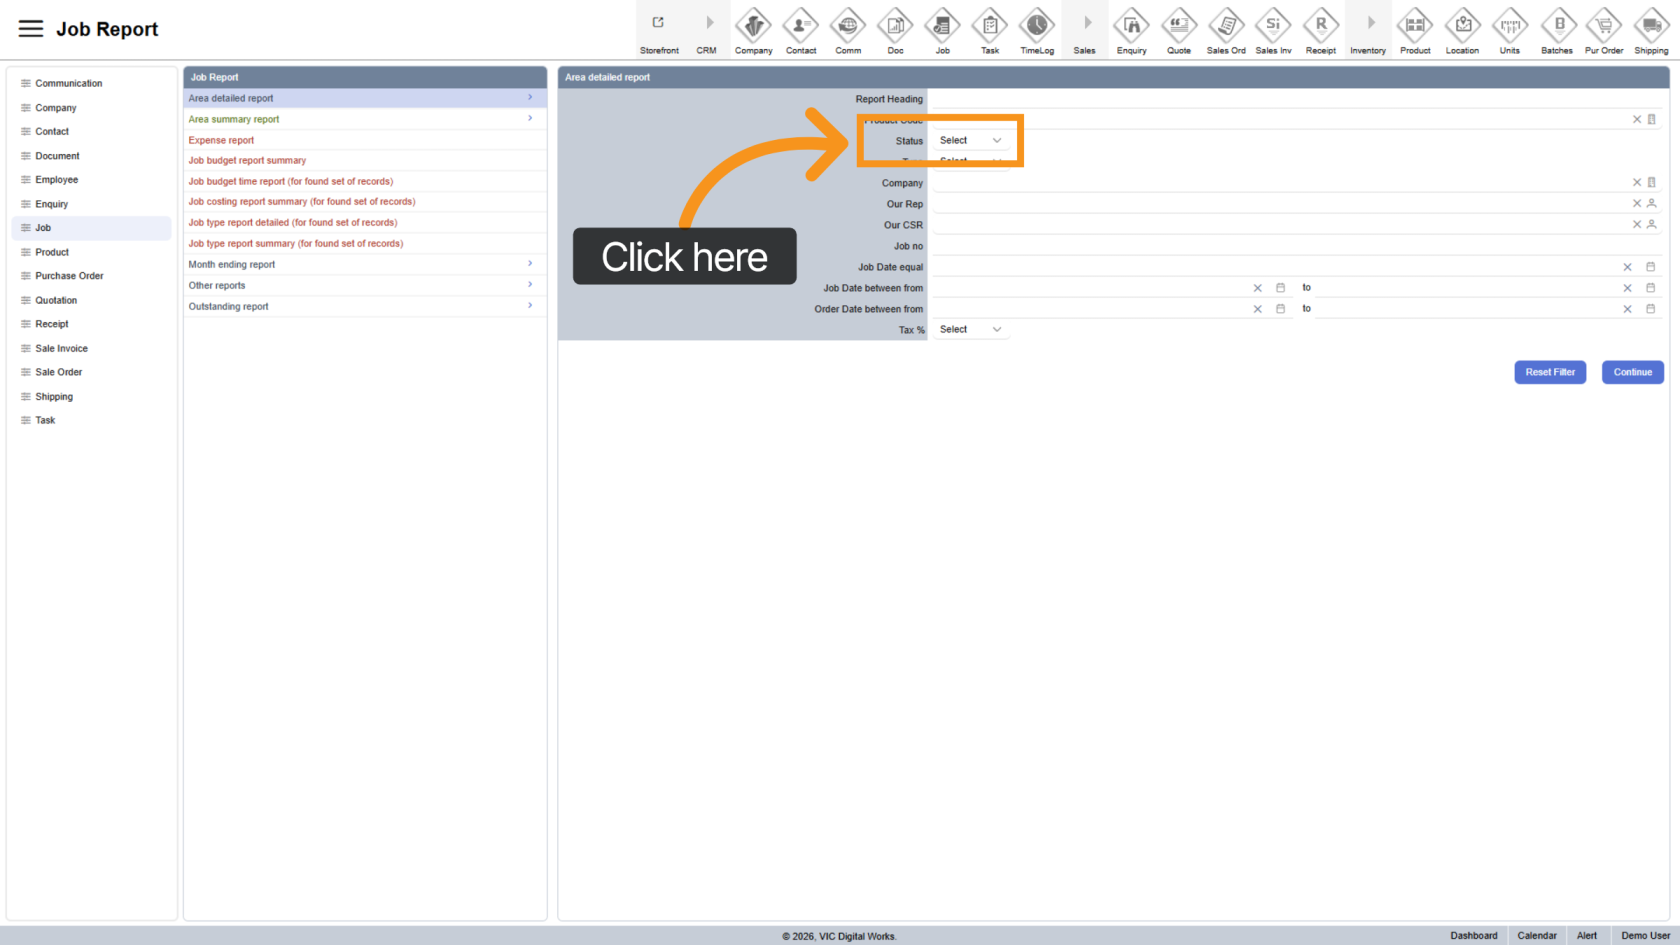
5. Filter by Status
Choose job statuses to include in the report.
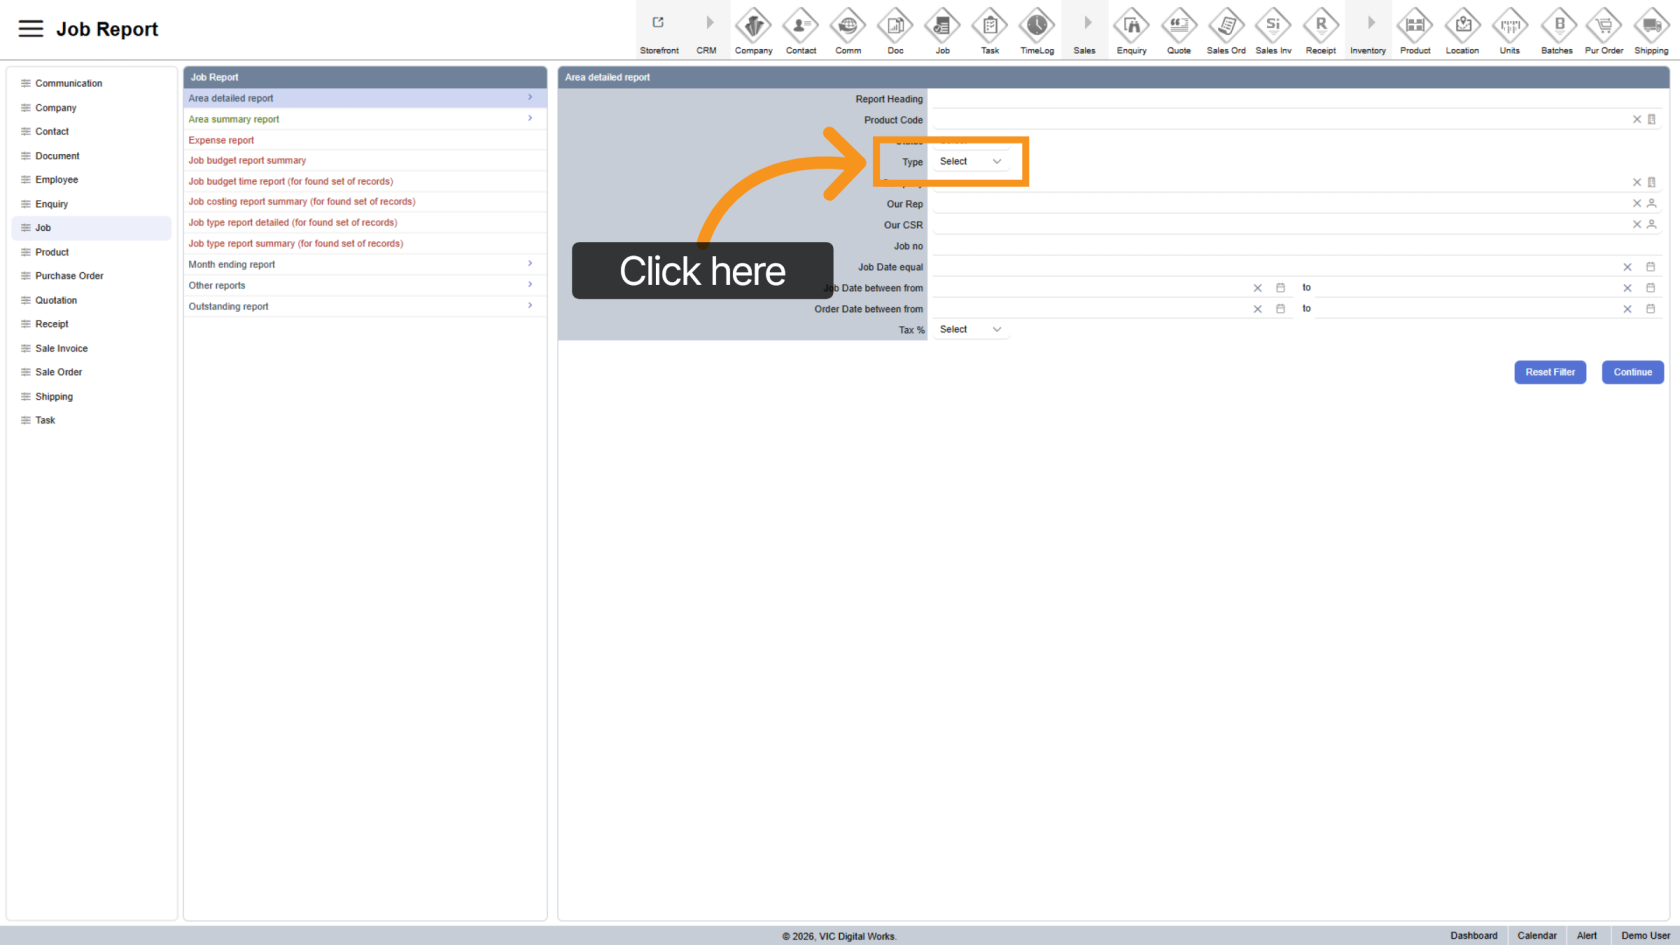
6. Filter by Type
Select the job type you want to view.
7. Select Company
Choose a specific company if needed.
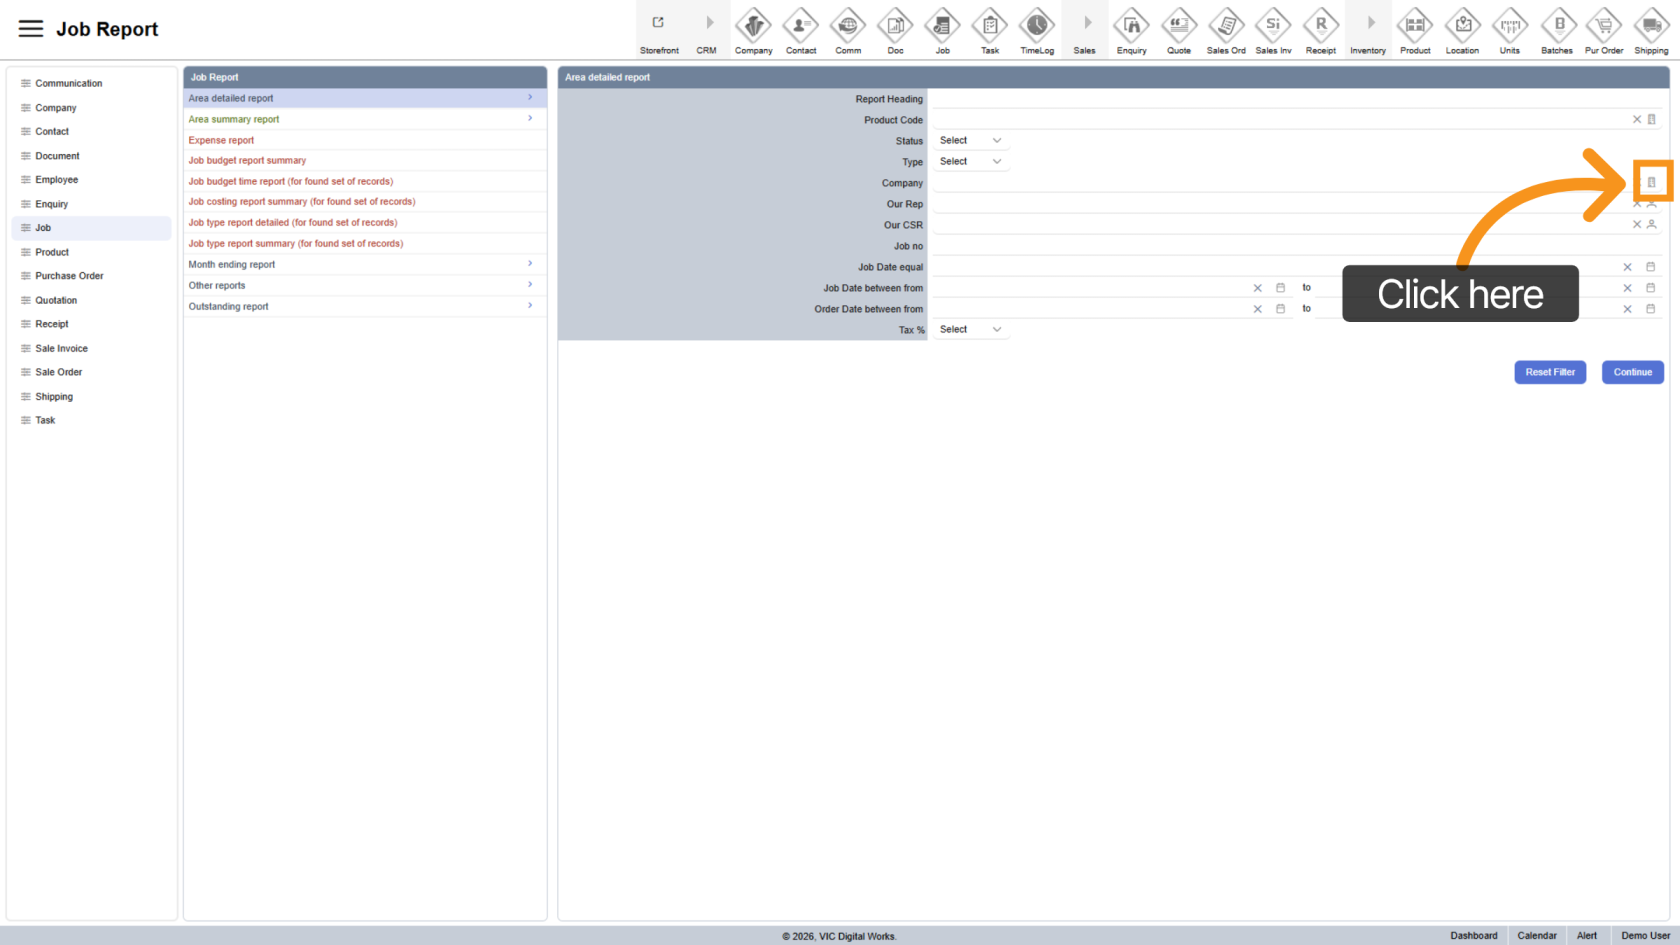
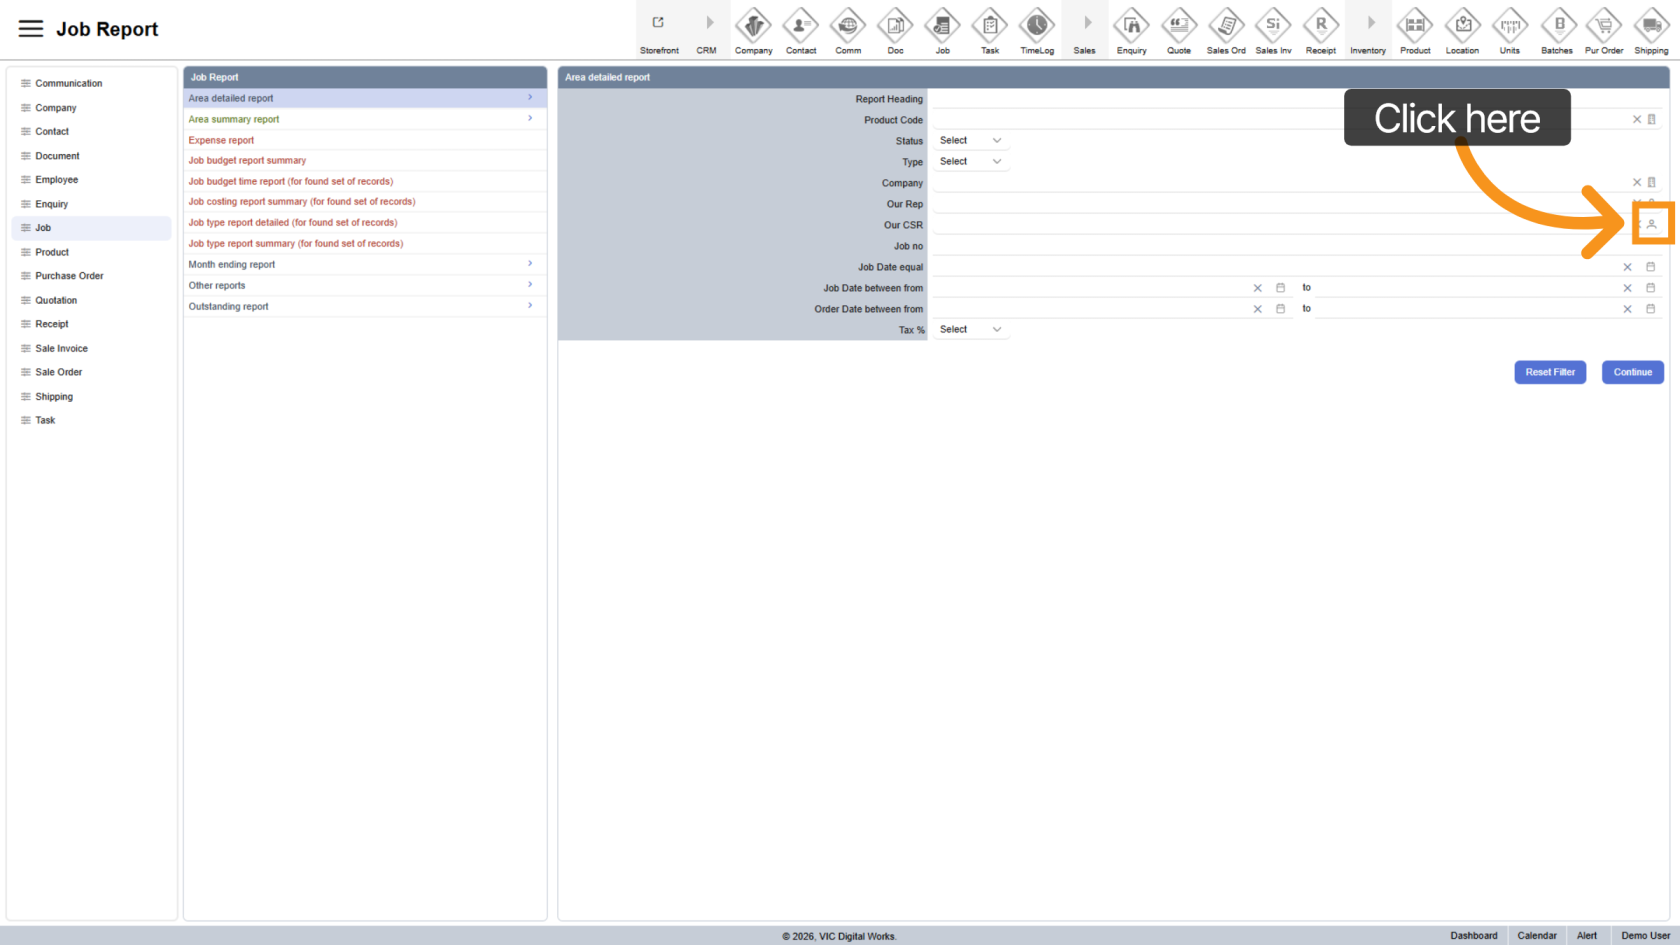
8. Select Sales Rep
Click the ![]() contact icon to filter by your sales representative.
contact icon to filter by your sales representative.
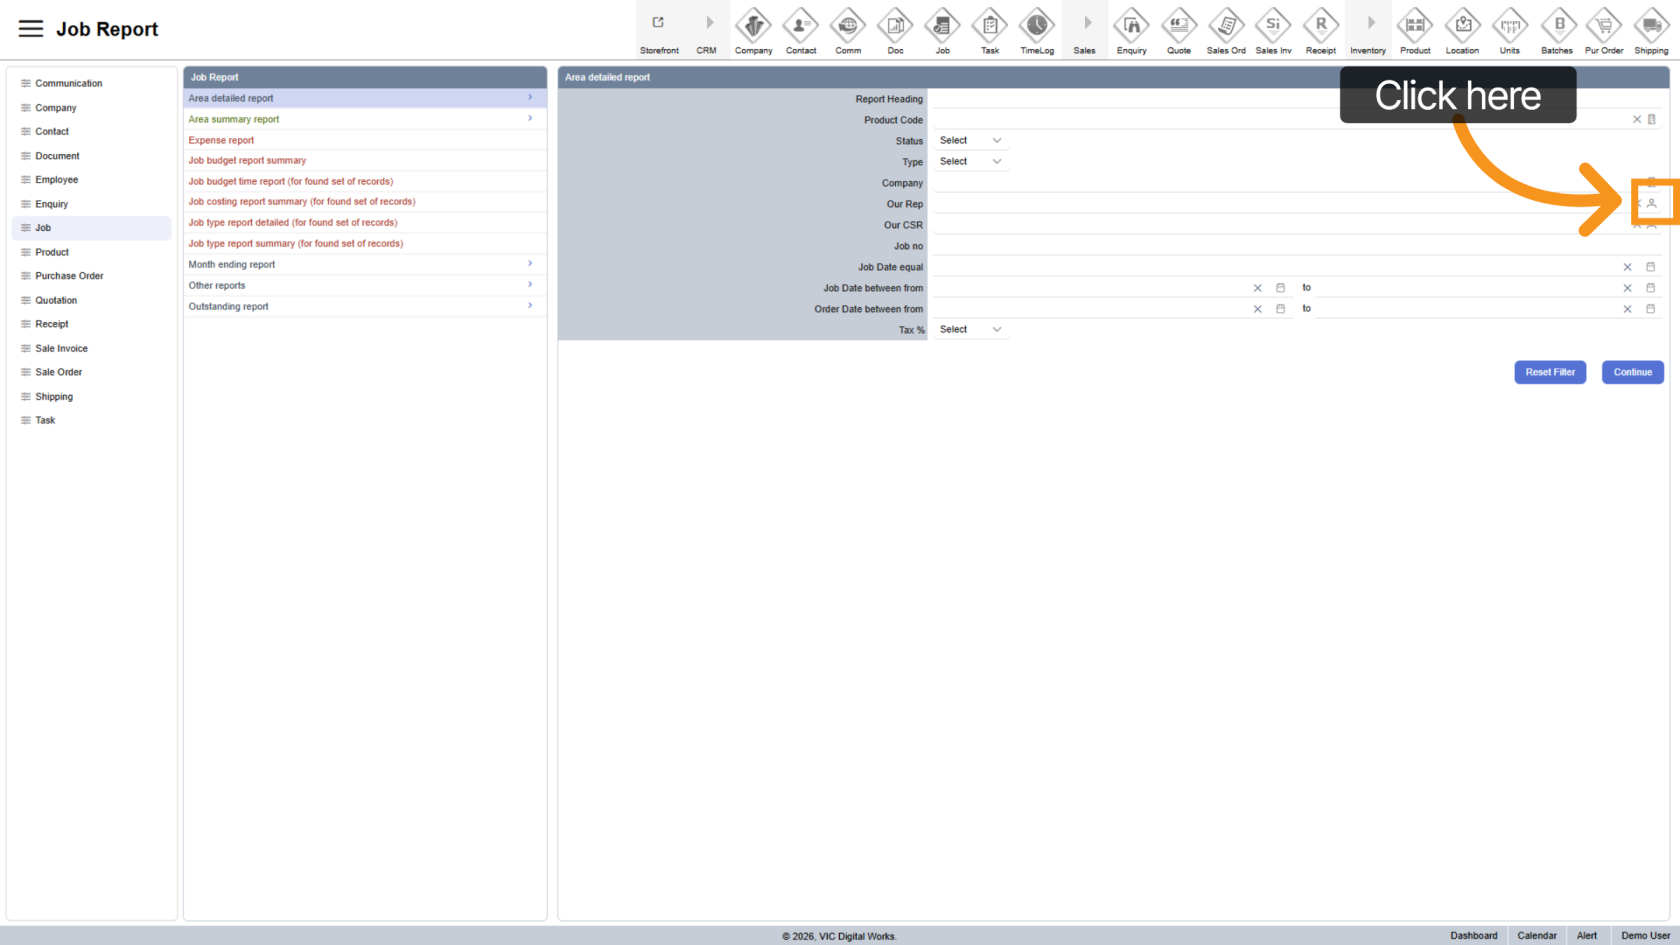
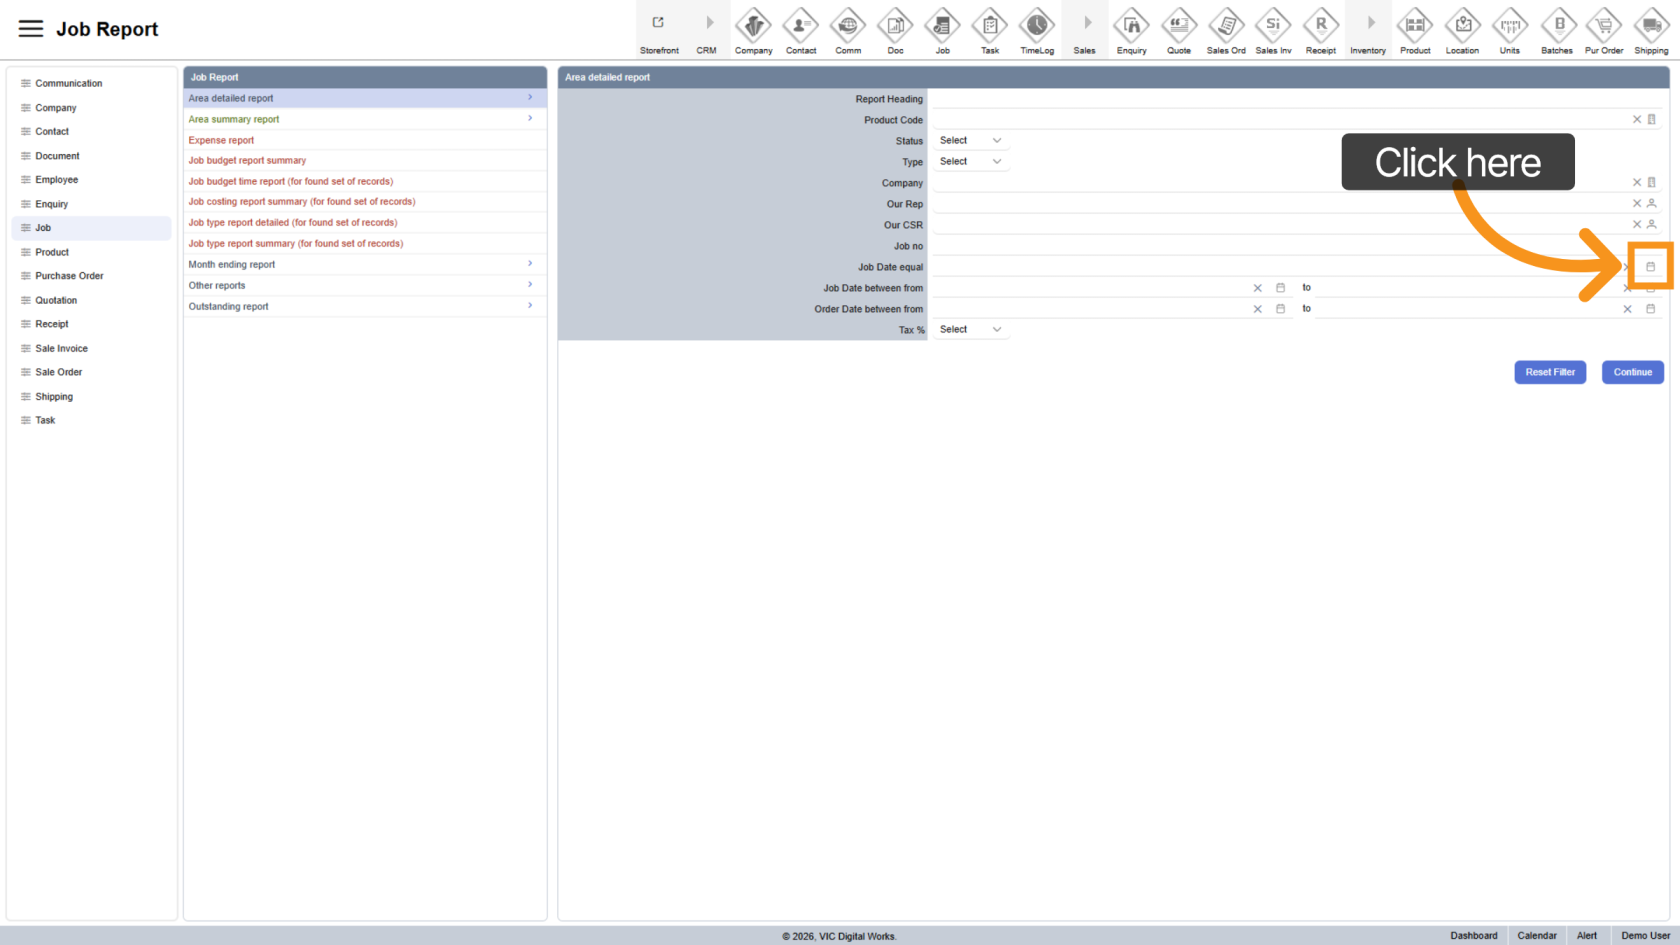
9. Select CSR
Click the ![]() contact icon to filter by customer service representative.
contact icon to filter by customer service representative.
10. Filter by Job Number
Enter a job number to locate specific jobs.

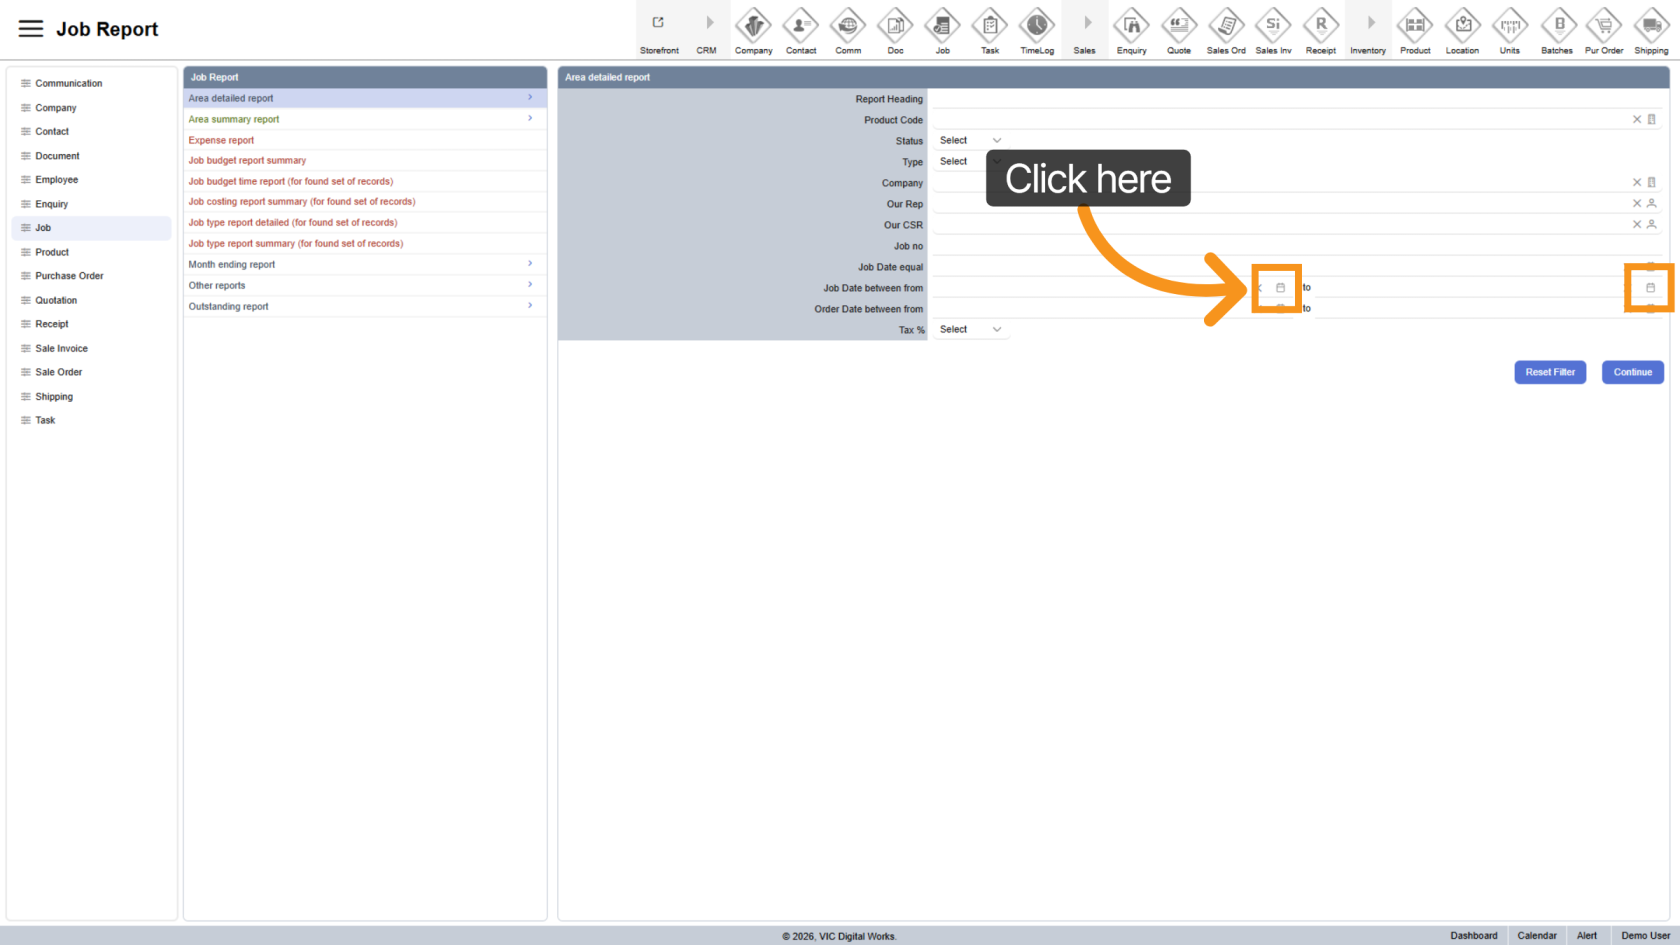
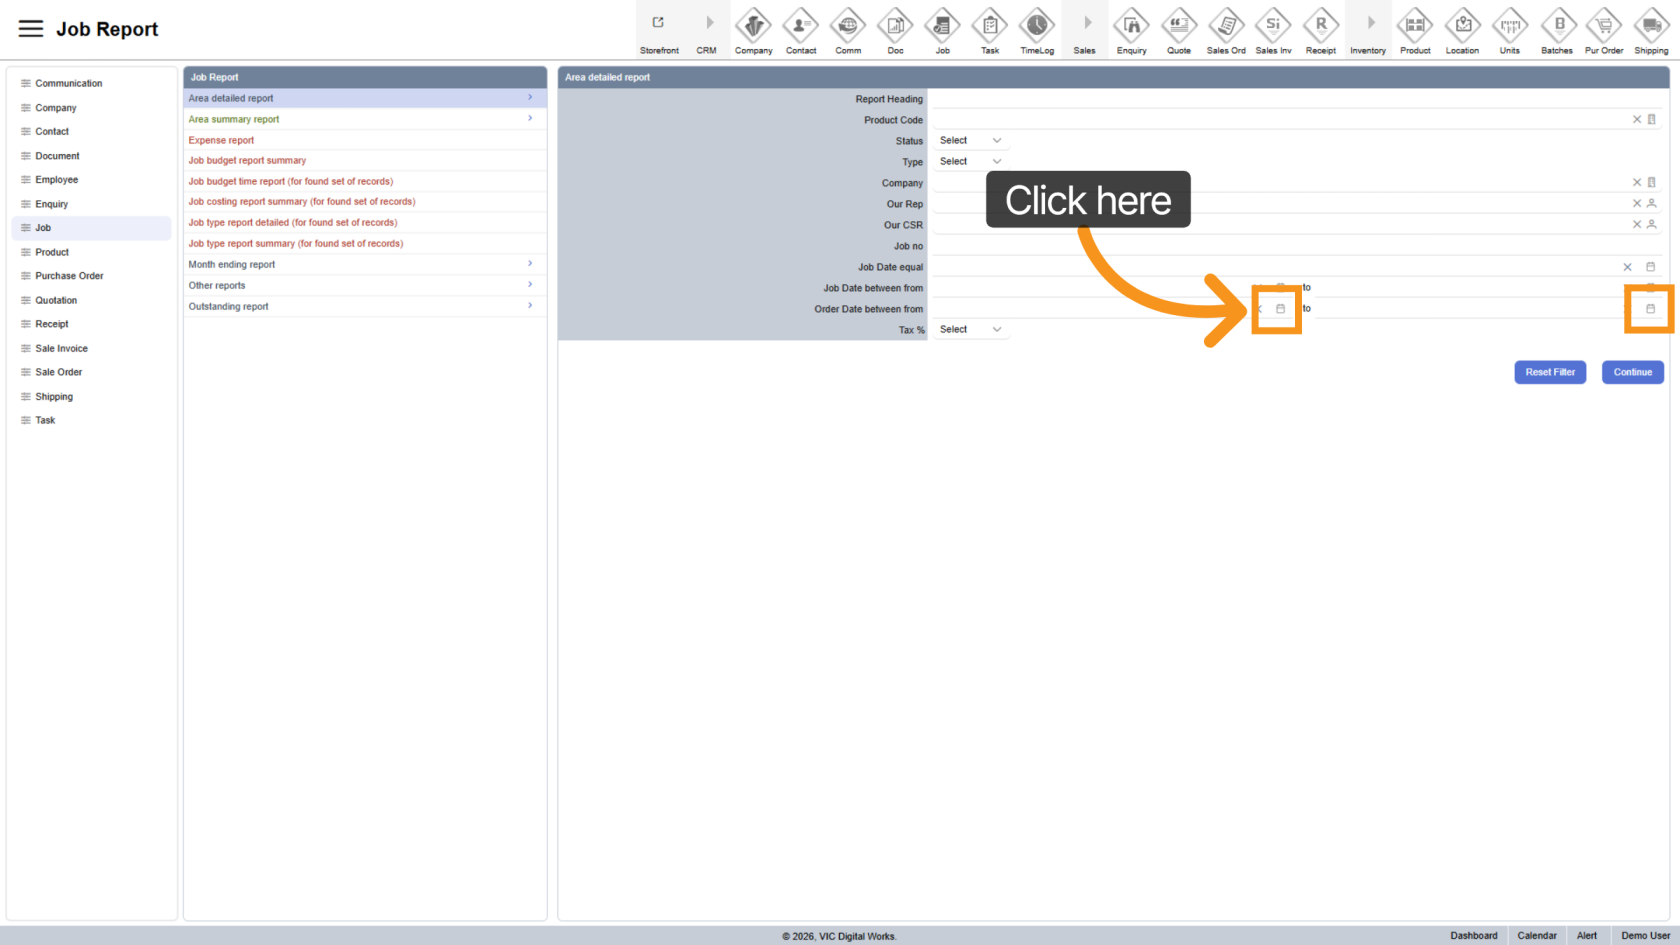
11. Open Date Filters
Click ![]() date icon to access date filtering options.
date icon to access date filtering options.
12. Select Job Date Range
Choose a start and end date for job activity.
13. Select Order Date Range
Choose a start and end date for order activity.
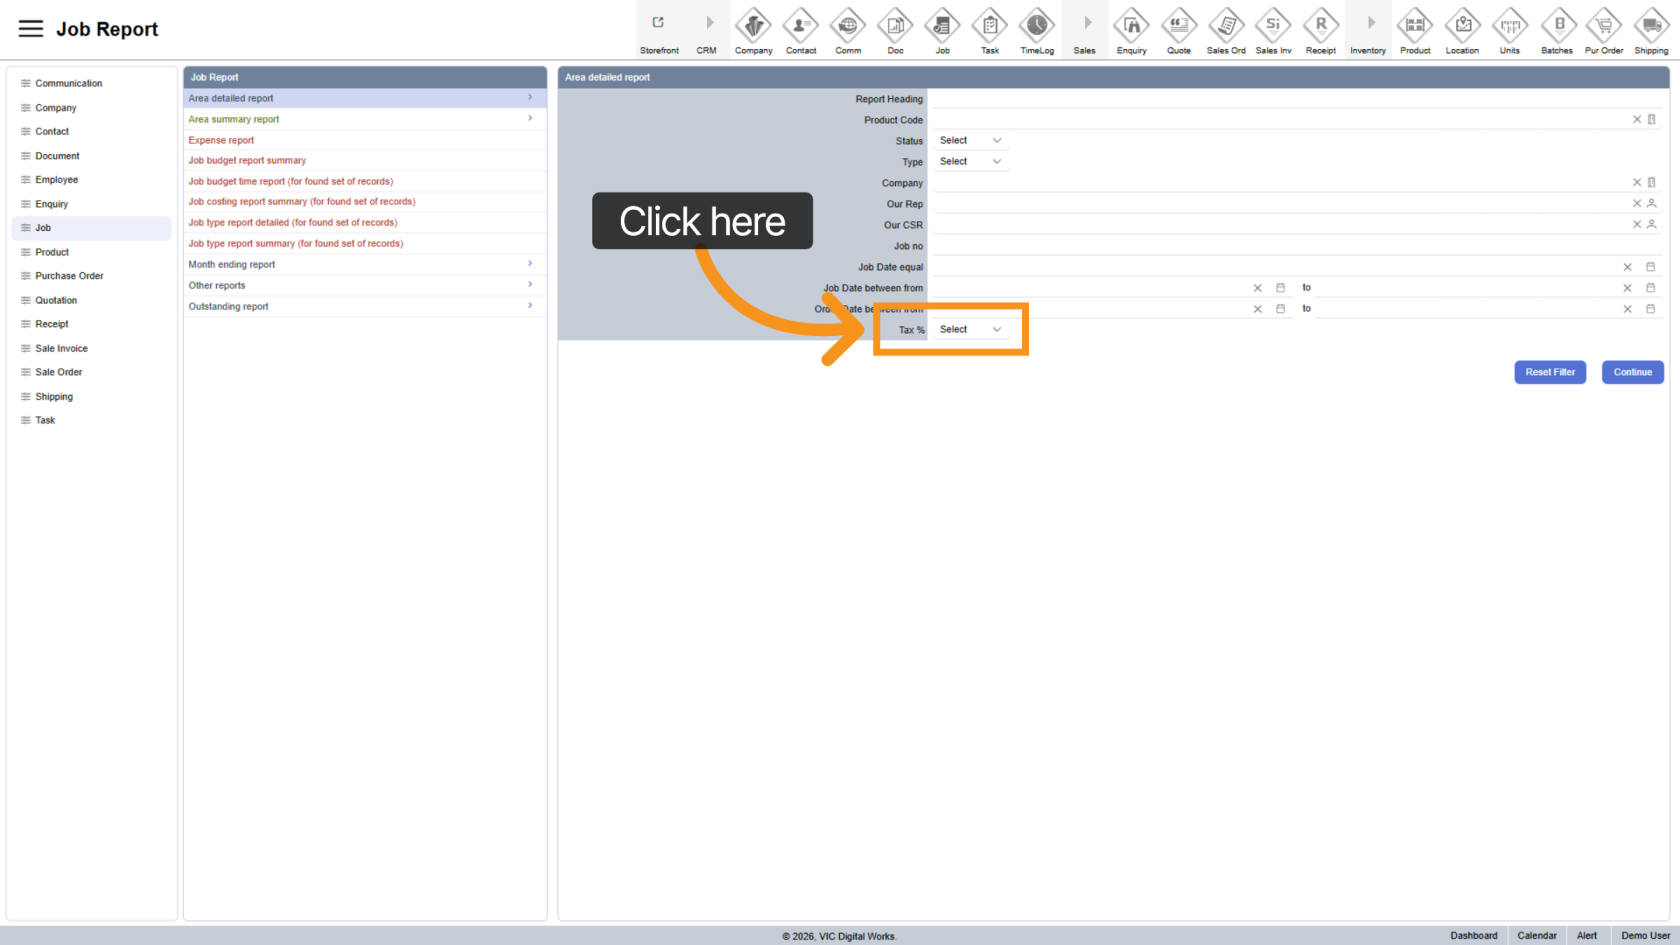
14. Filter by Tax
Select the tax type to include in the report.
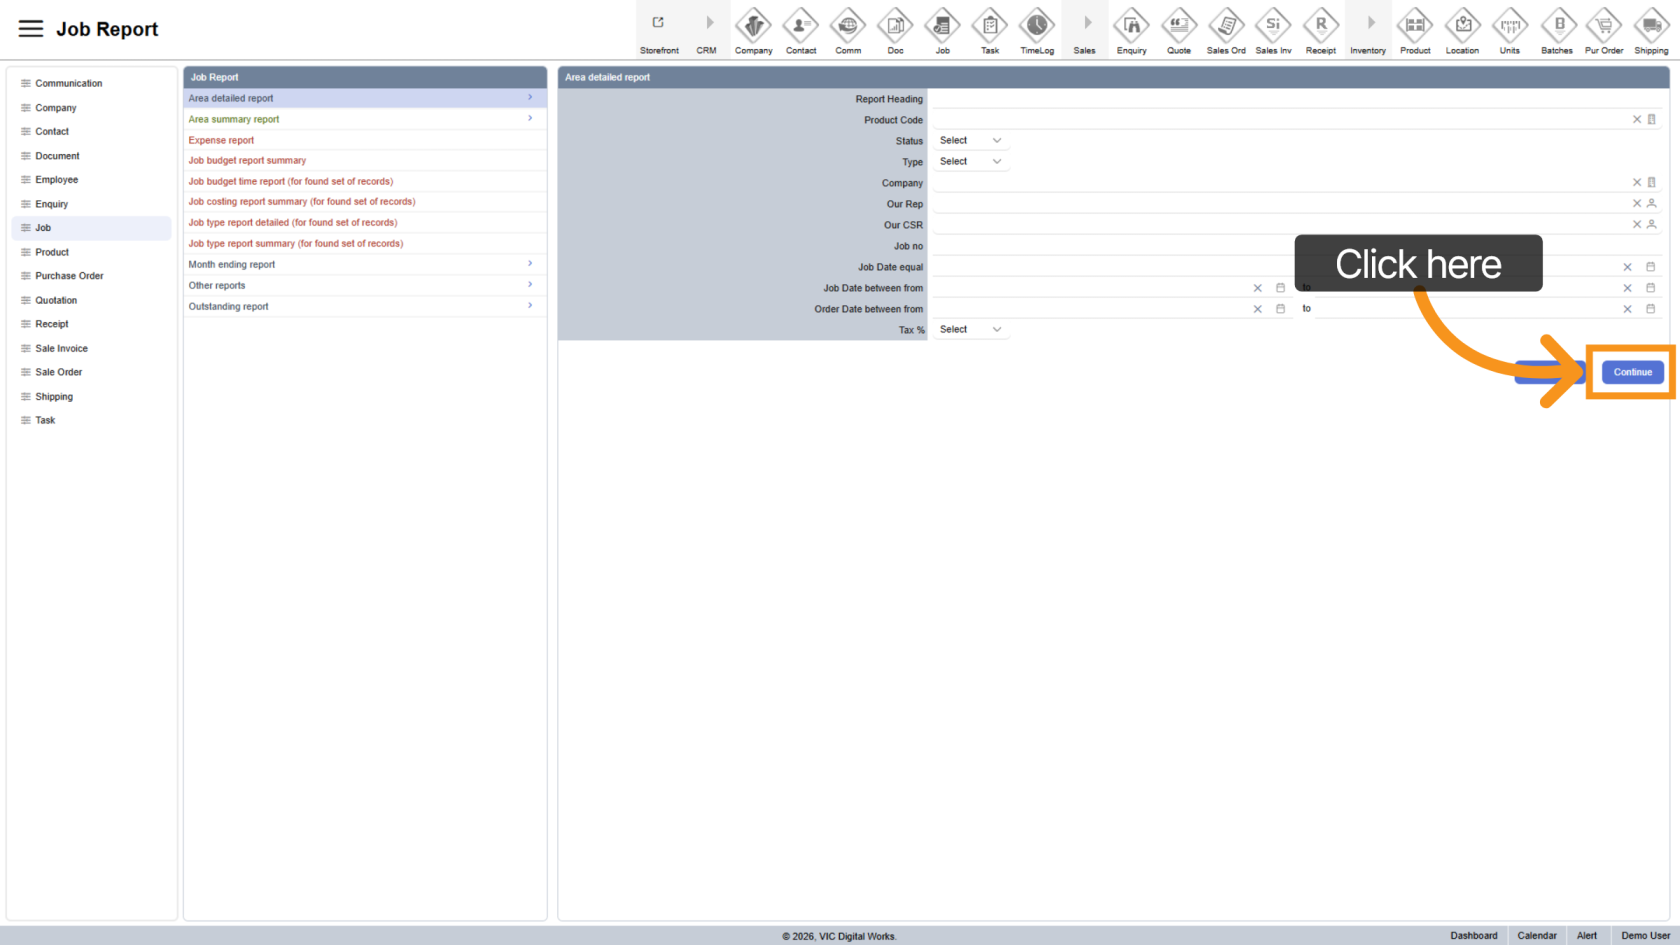
15. Generate Report
Click "Continue" to generate the report.
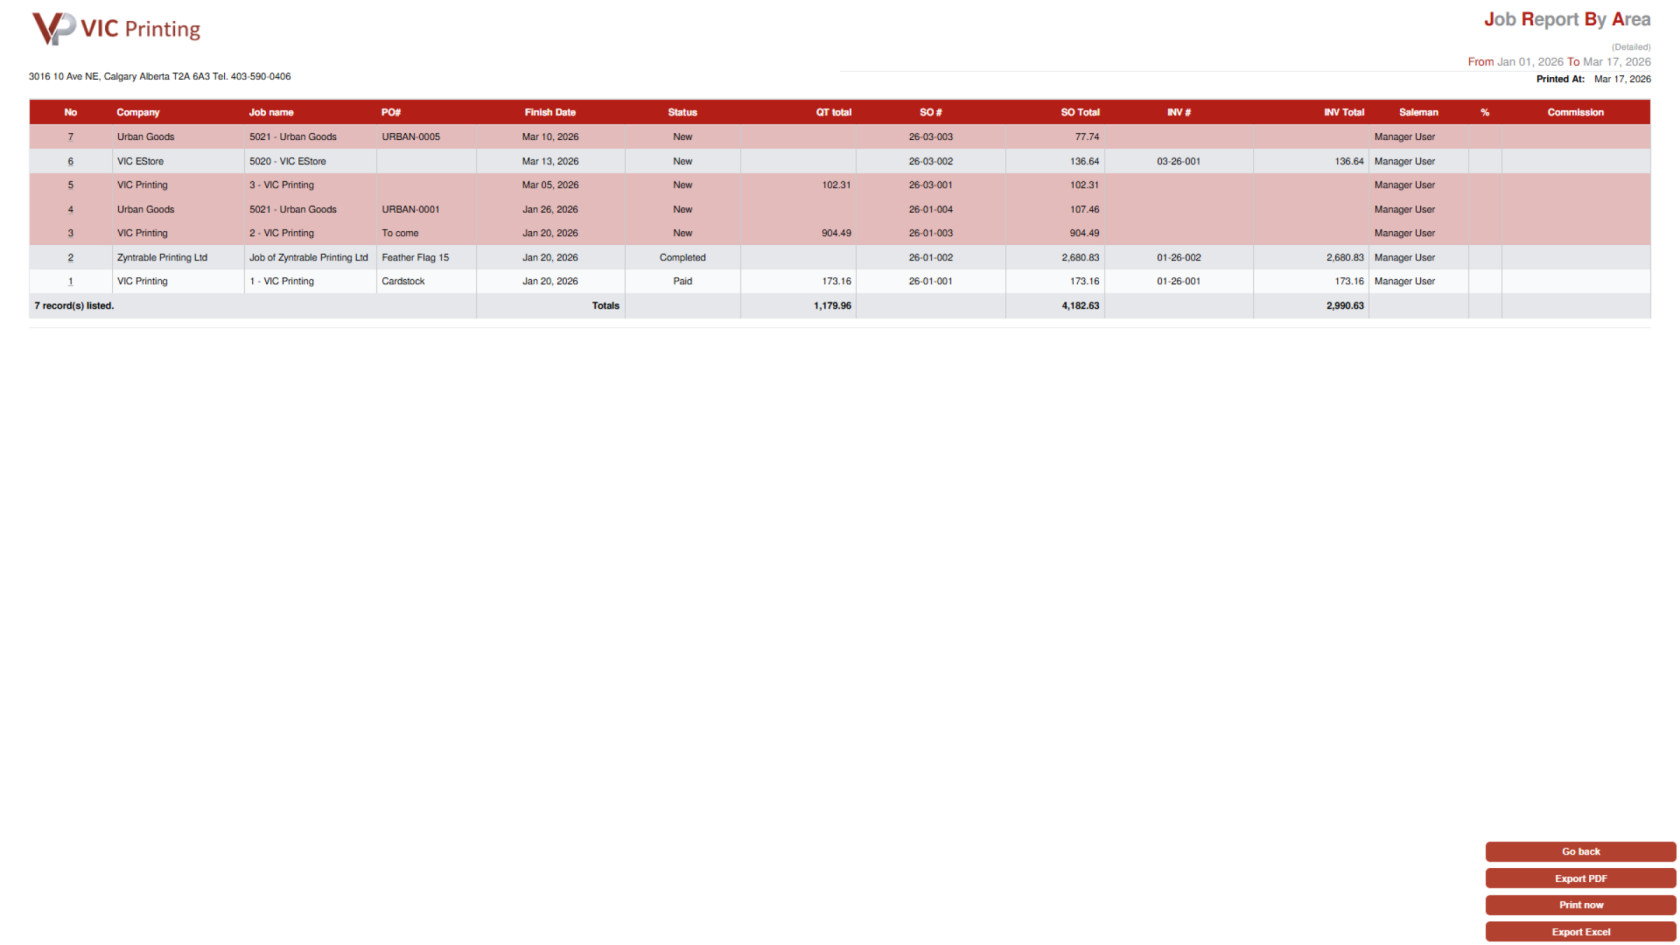
16. Review Results
The report opens in a new window with all selected filters applied.
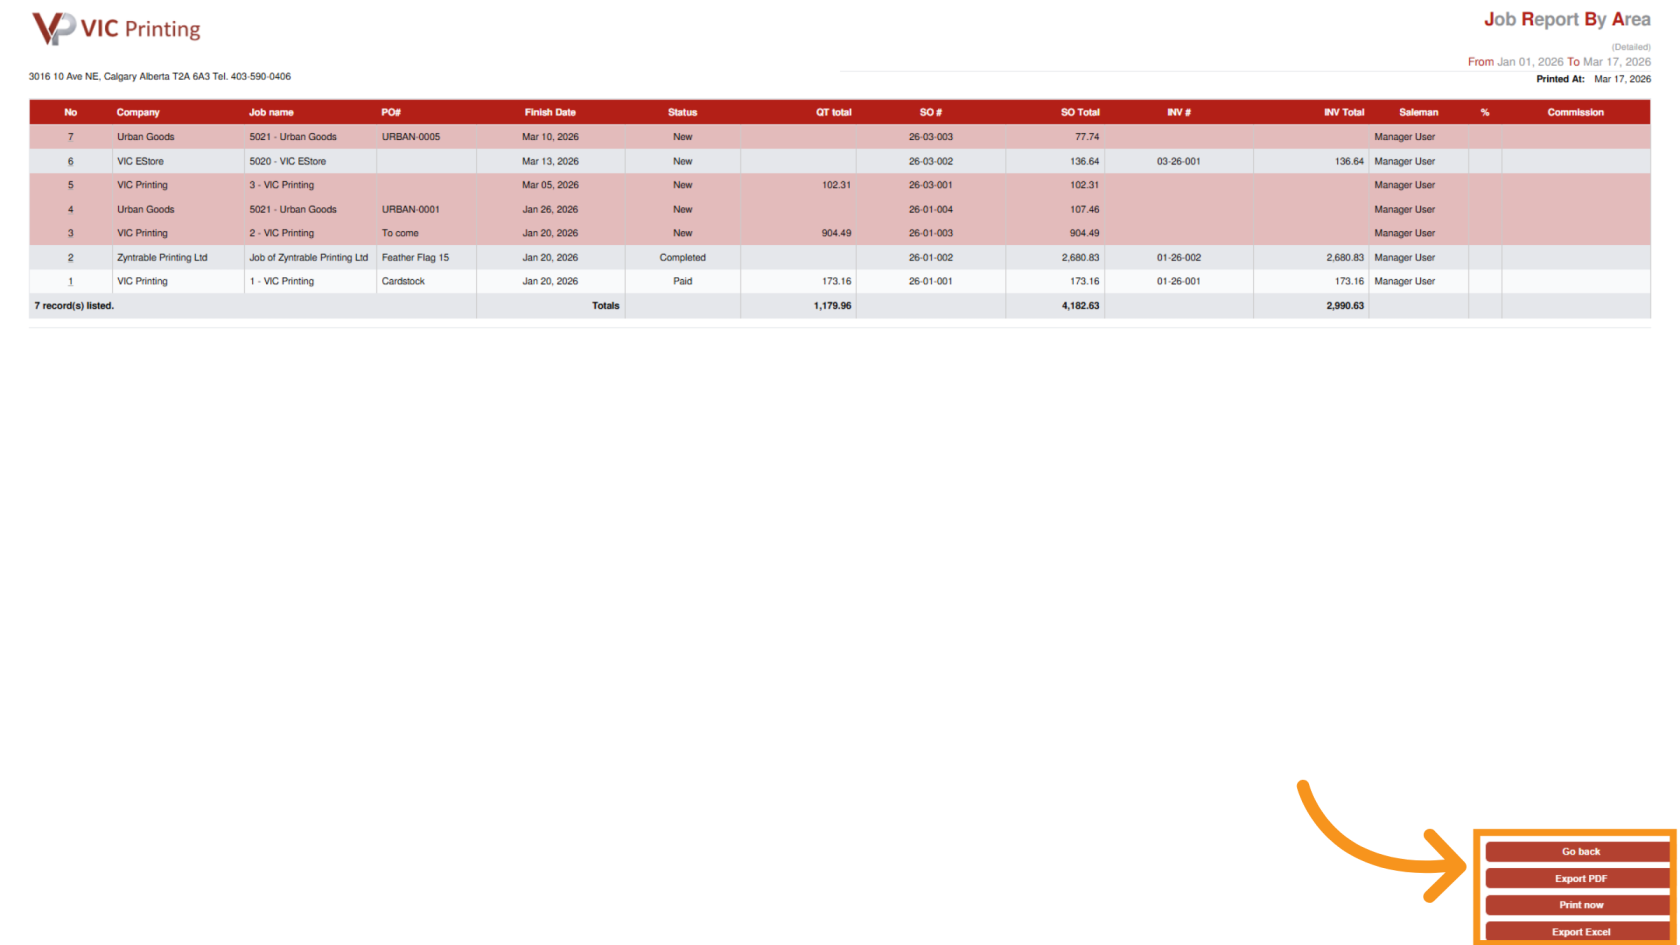
17. Export Report
- Export PDF
- Export to Excel.
You’ve successfully generated a detailed job report in Worktraq with customized filters for deeper insights into your operations.