Dynamic Vertical Alignment
This tutorial guides you through configuring vertical adjustment. Vertical adjustment automatically repositions objects within a group when an object is removed. You can configure the layout to either keep the remaining objects vertically centered or automatically move objects upward to replace the removed position.
Video Tutorial
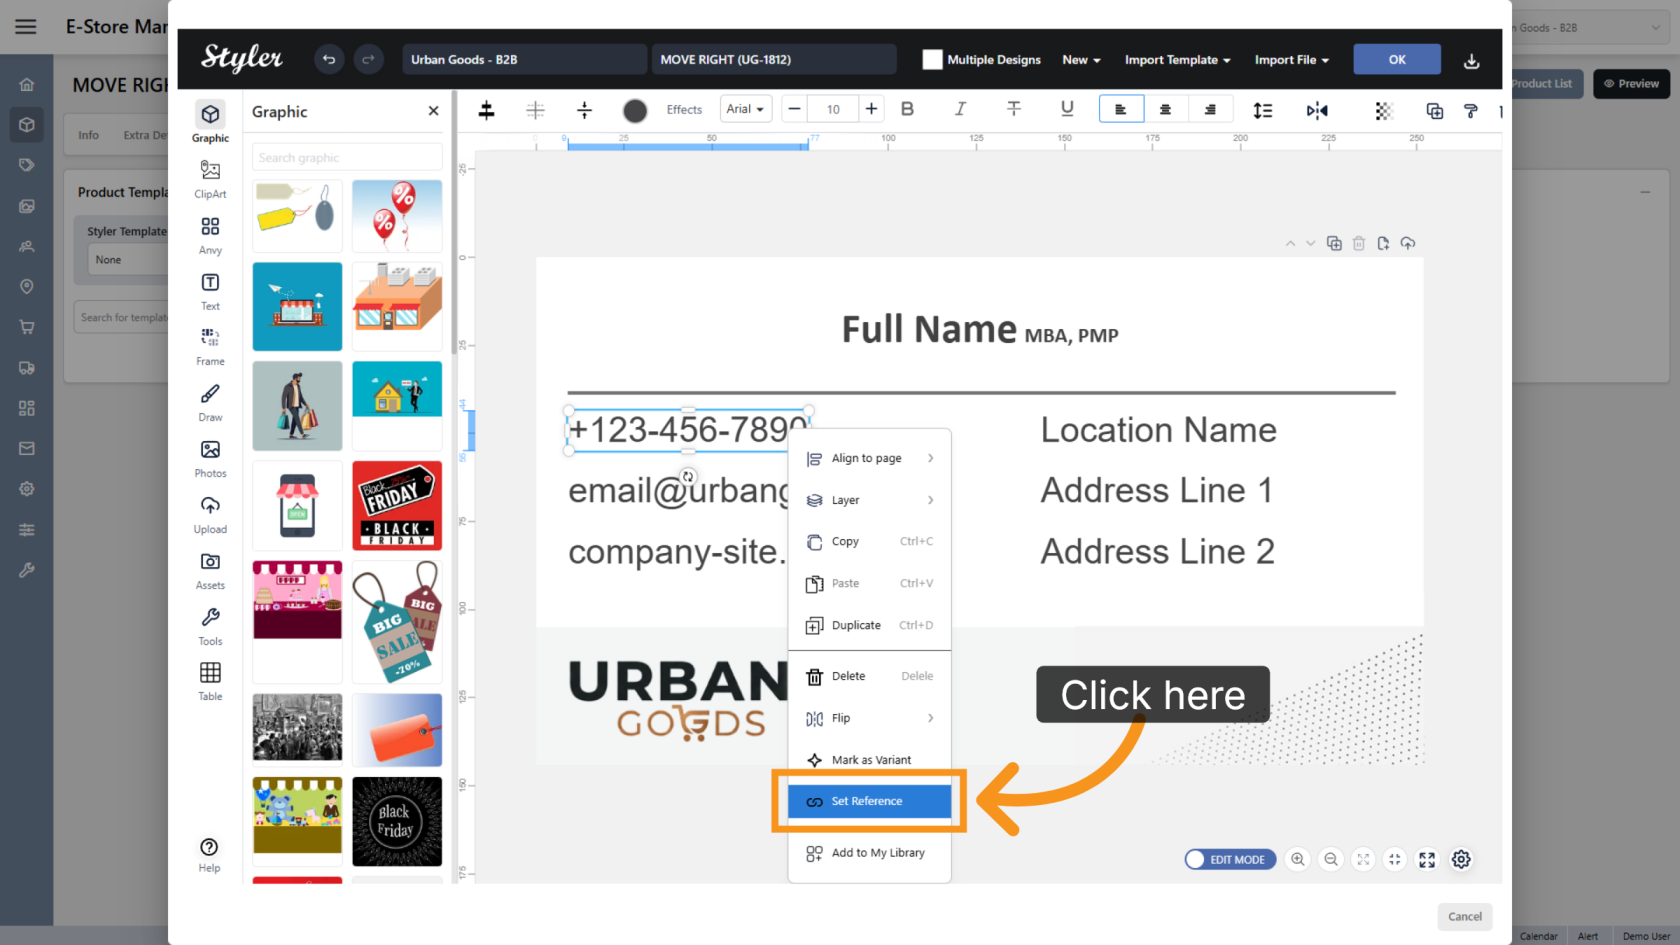
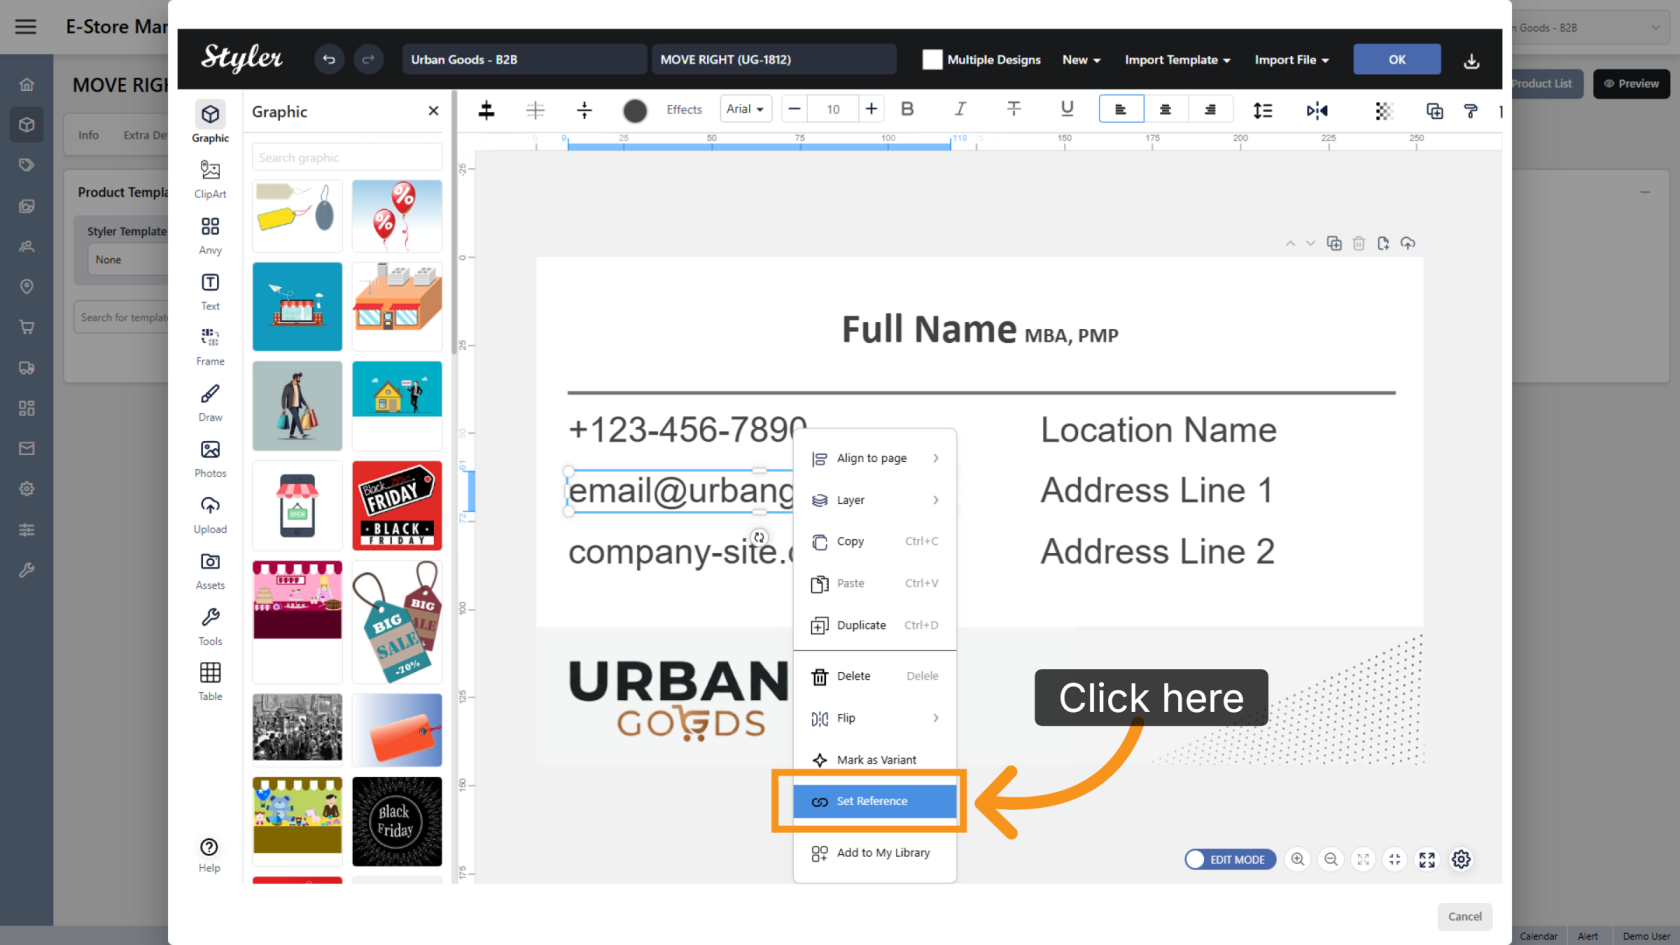
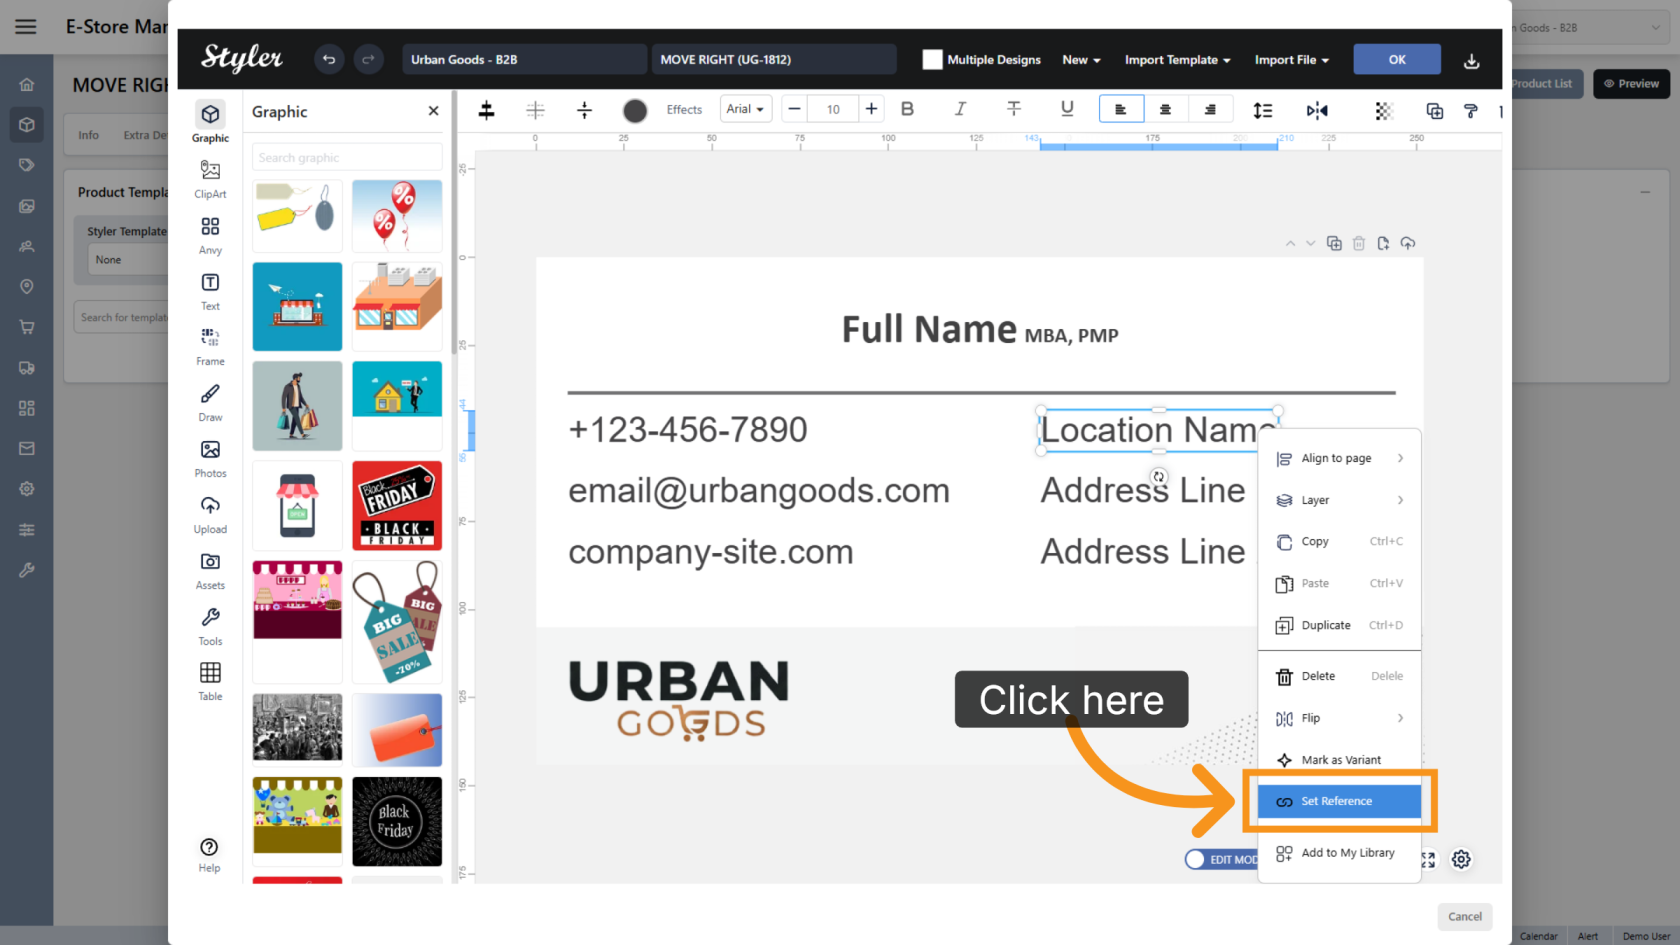
1. Open Reference Settings
Right-click the object that should reposition vertically, then select Set Reference.
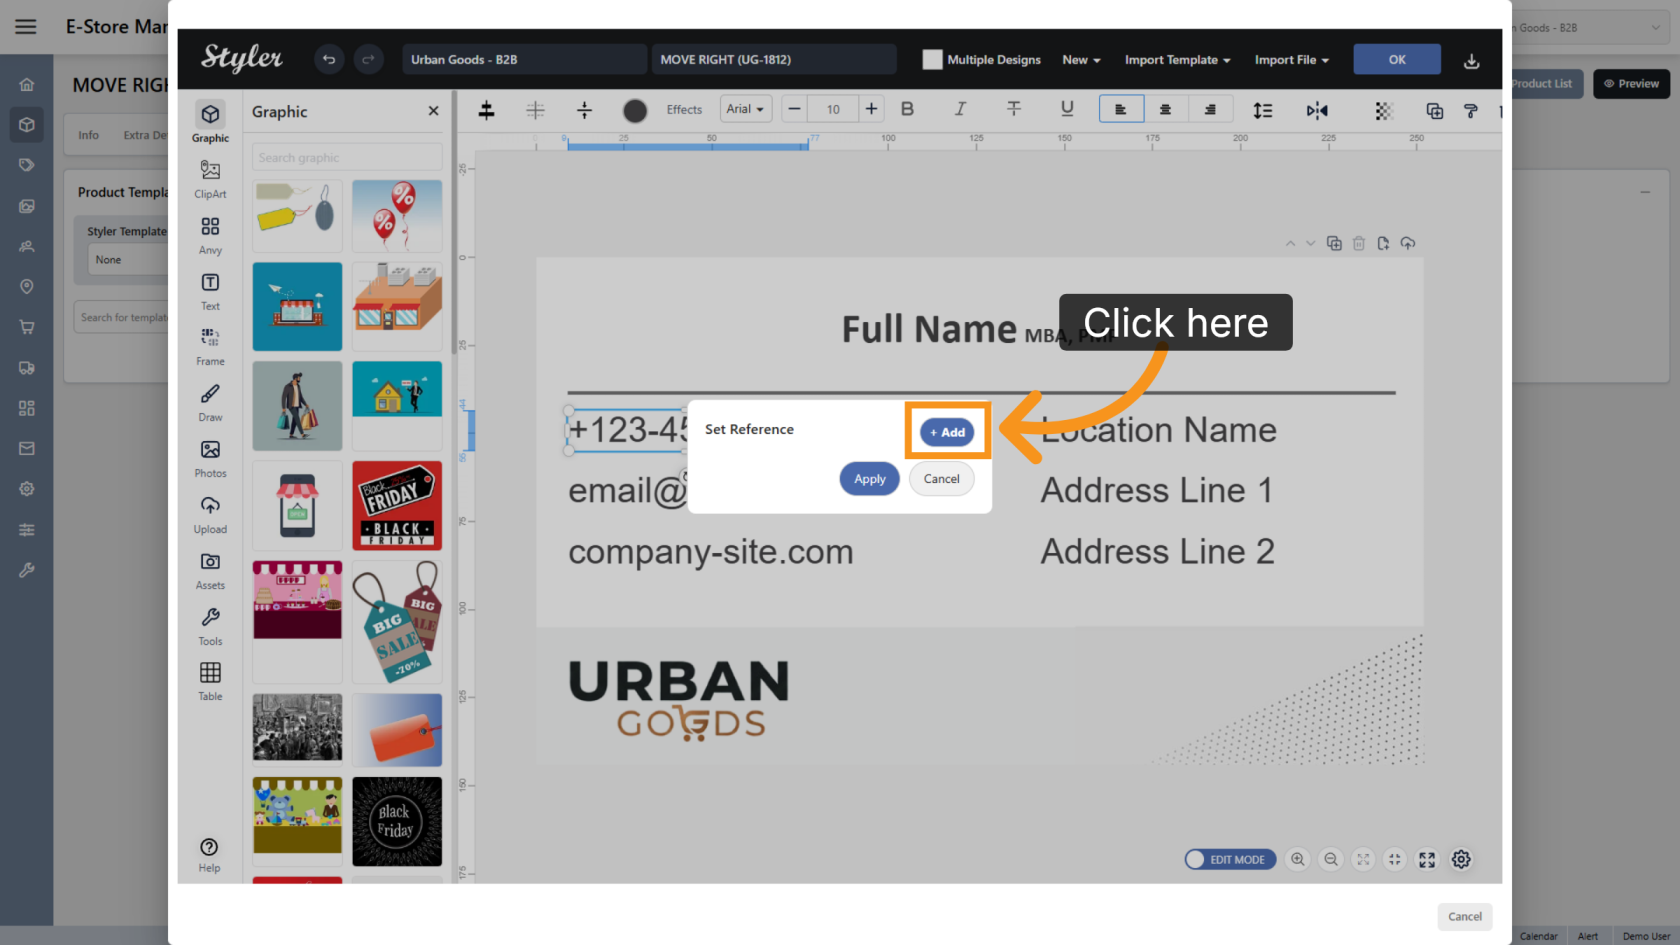
2. Add a New Reference
Click Add to create a new reference configuration.
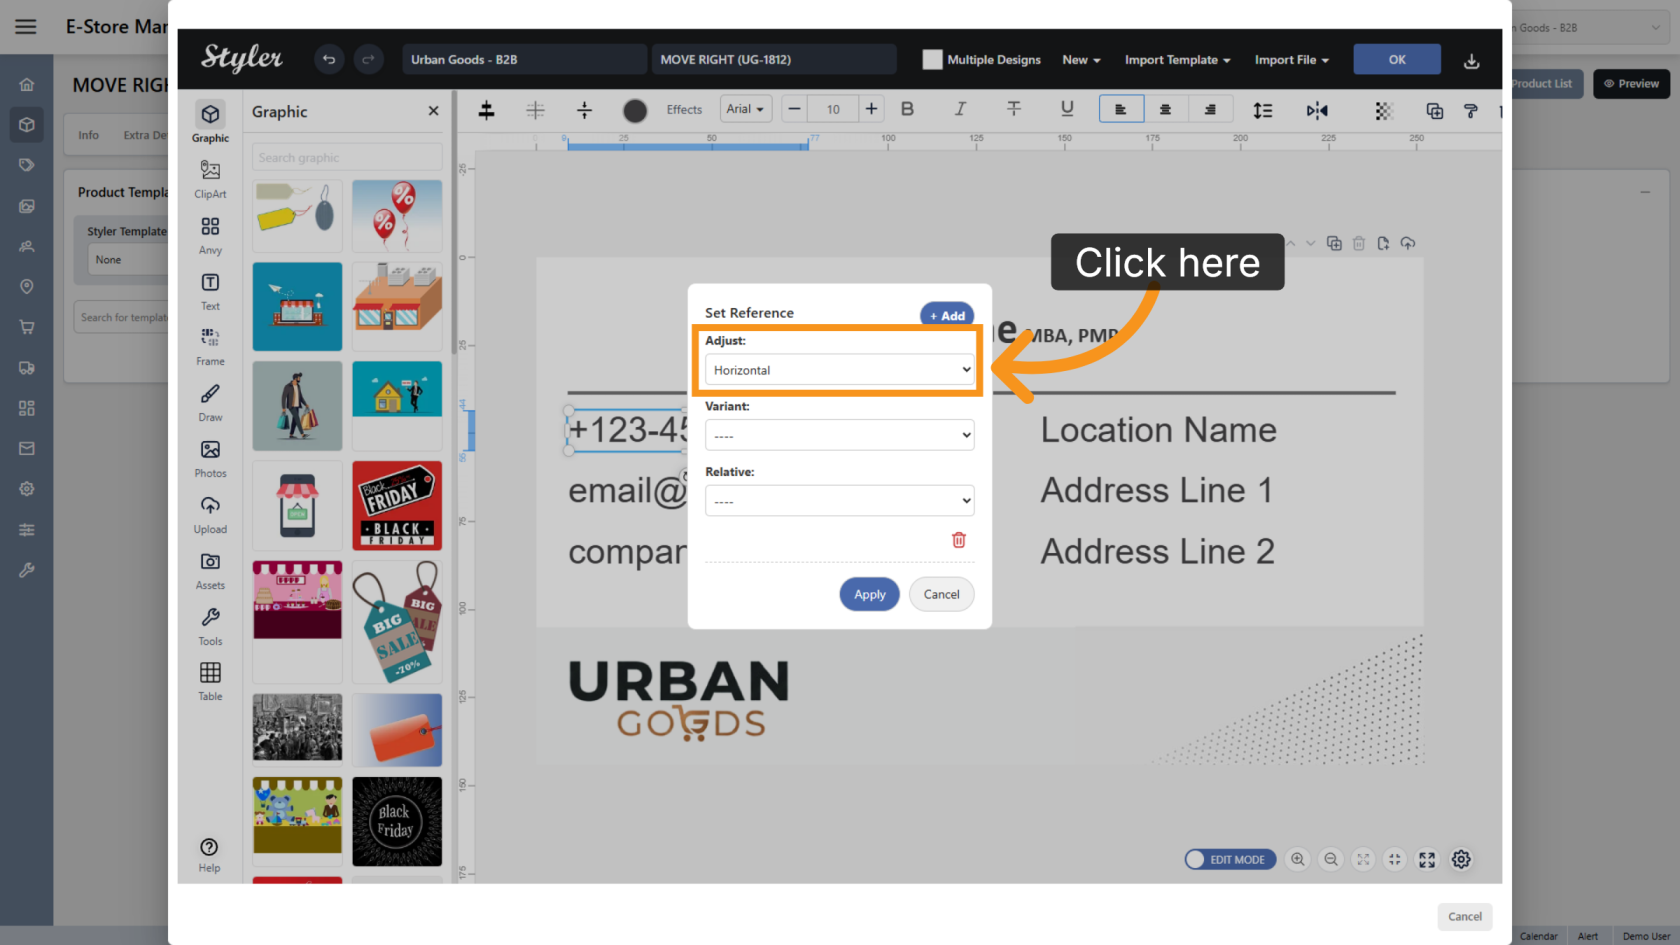
3. Select the Adjust Type
Set Adjust to Vertical so the objects can automatically reposition vertically.
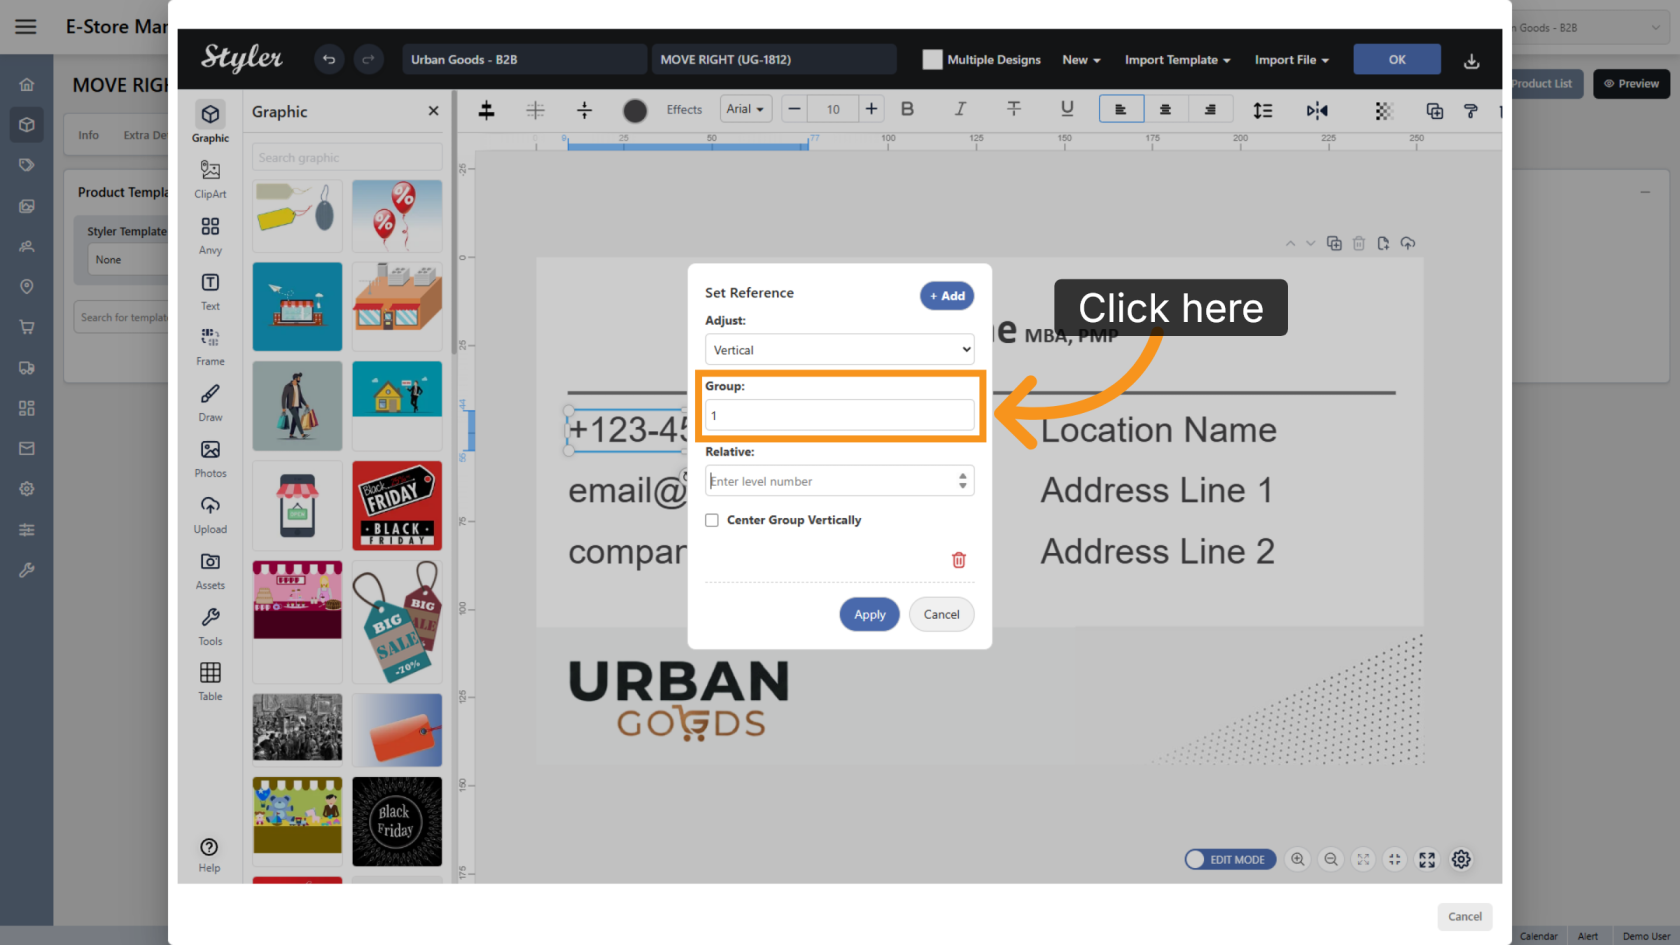
4. Configure the Group Number
Enter the Group number. All objects that should reposition together must use the same group number.
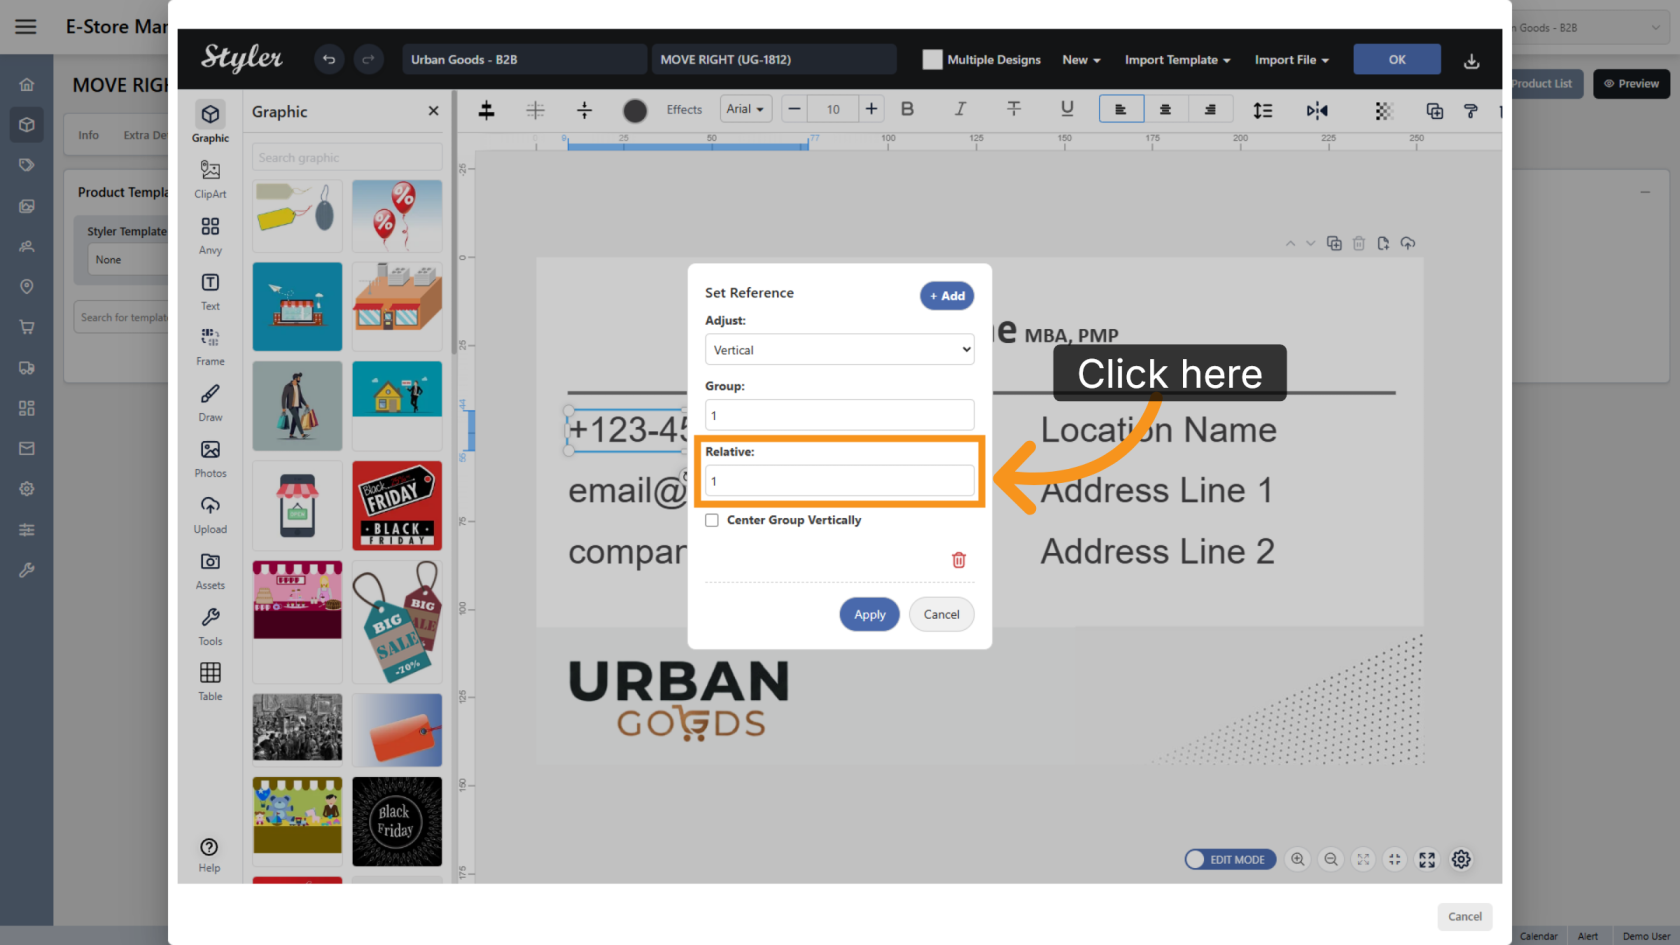
5. Configure the Relative Order
Enter the Relative order number for the object.
This defines the object position within the group, such as first line, second line, or third line.
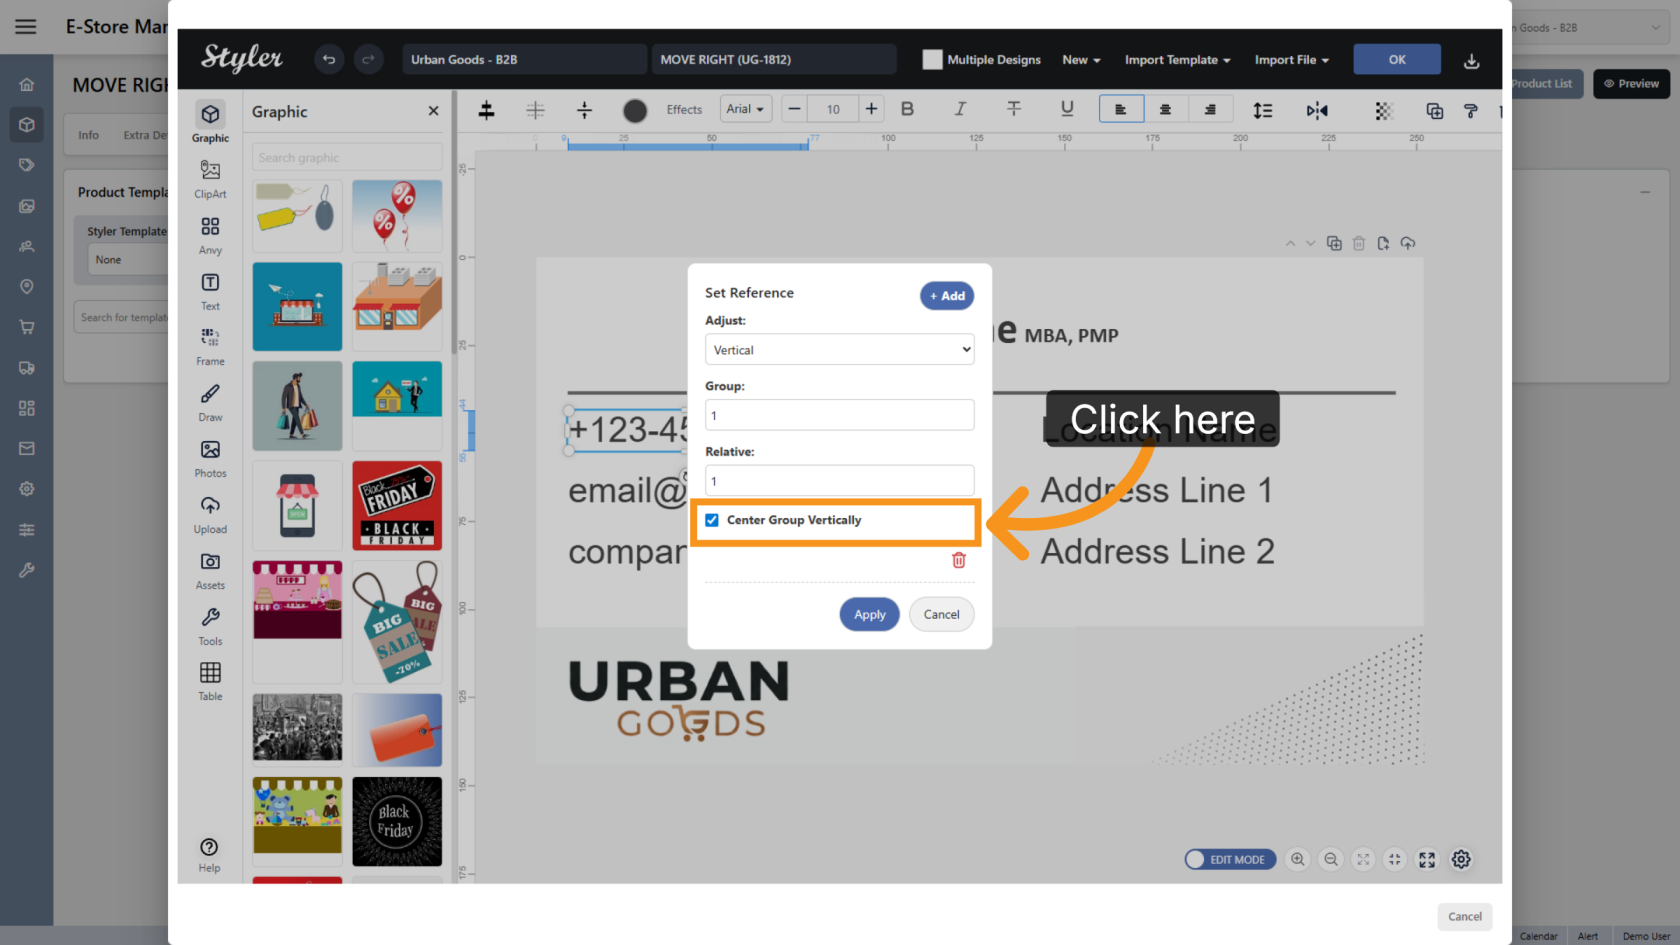
6. Configure Group Alignment
Enable Center Group Vertically if you want the remaining objects to stay vertically centered when an object is removed.
Leave this option unchecked if you want the remaining objects to automatically move upward and replace the removed object position.
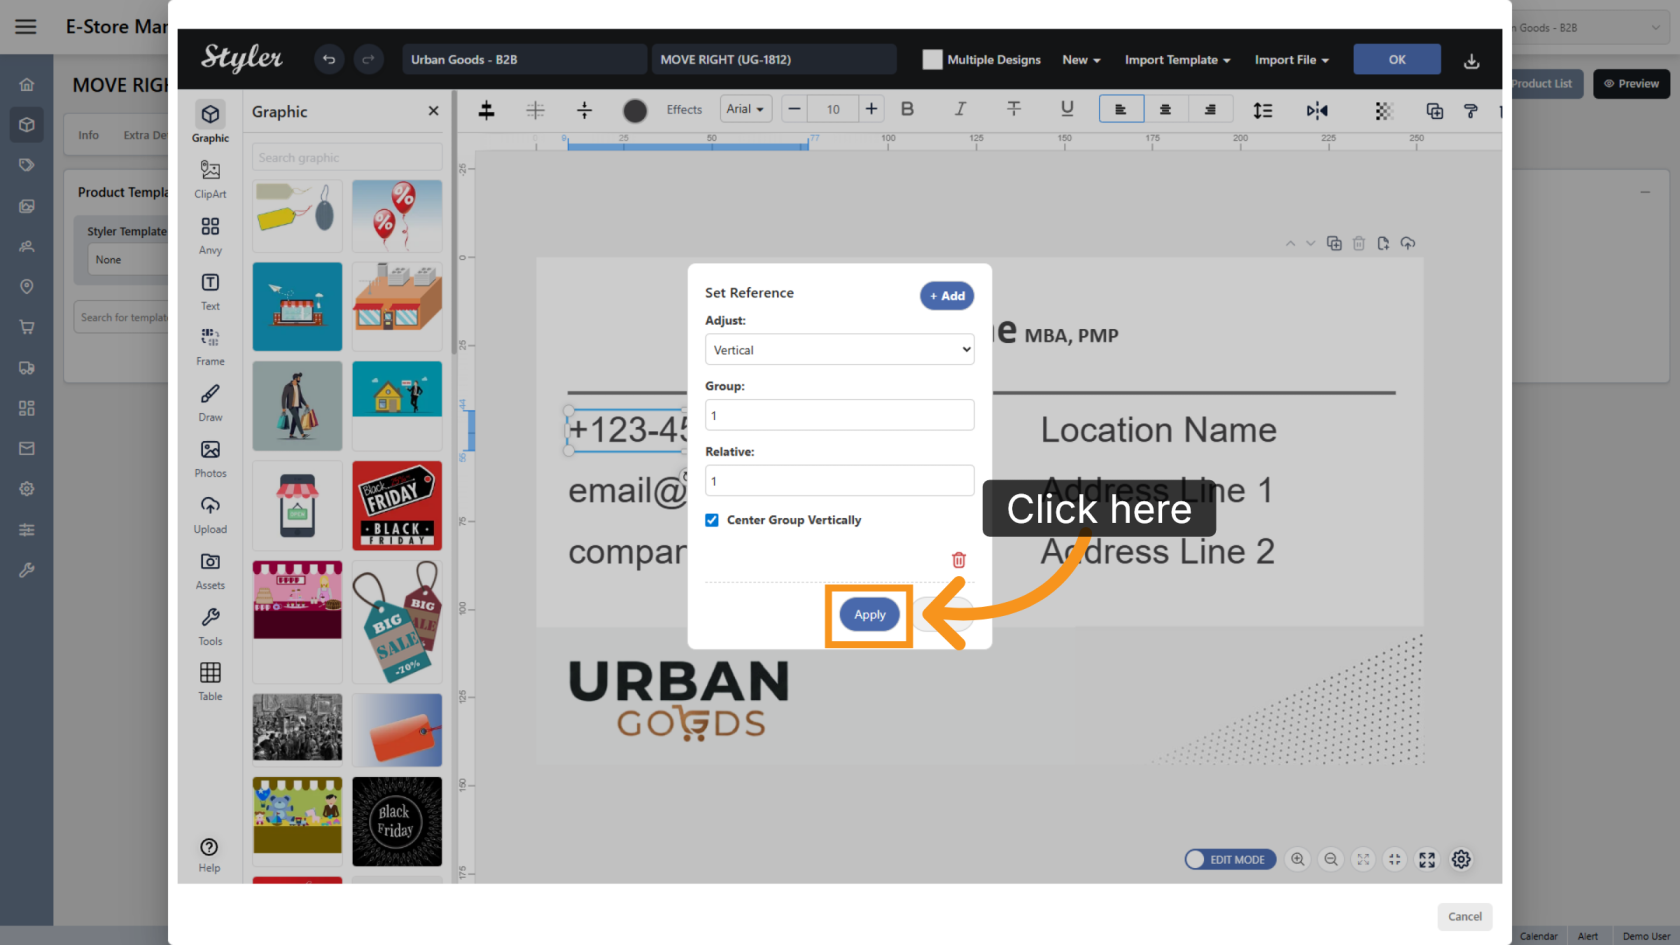
7. Apply the Reference Settings
Click Apply to save the reference configuration.
8. Repeat for Other Objects
Repeat the same setup for all objects that should be included in the same vertical adjustment group.
9. Configure Additional Groups
Repeat the same setup steps for any additional object groups. Each separate group should use its own unique group number.
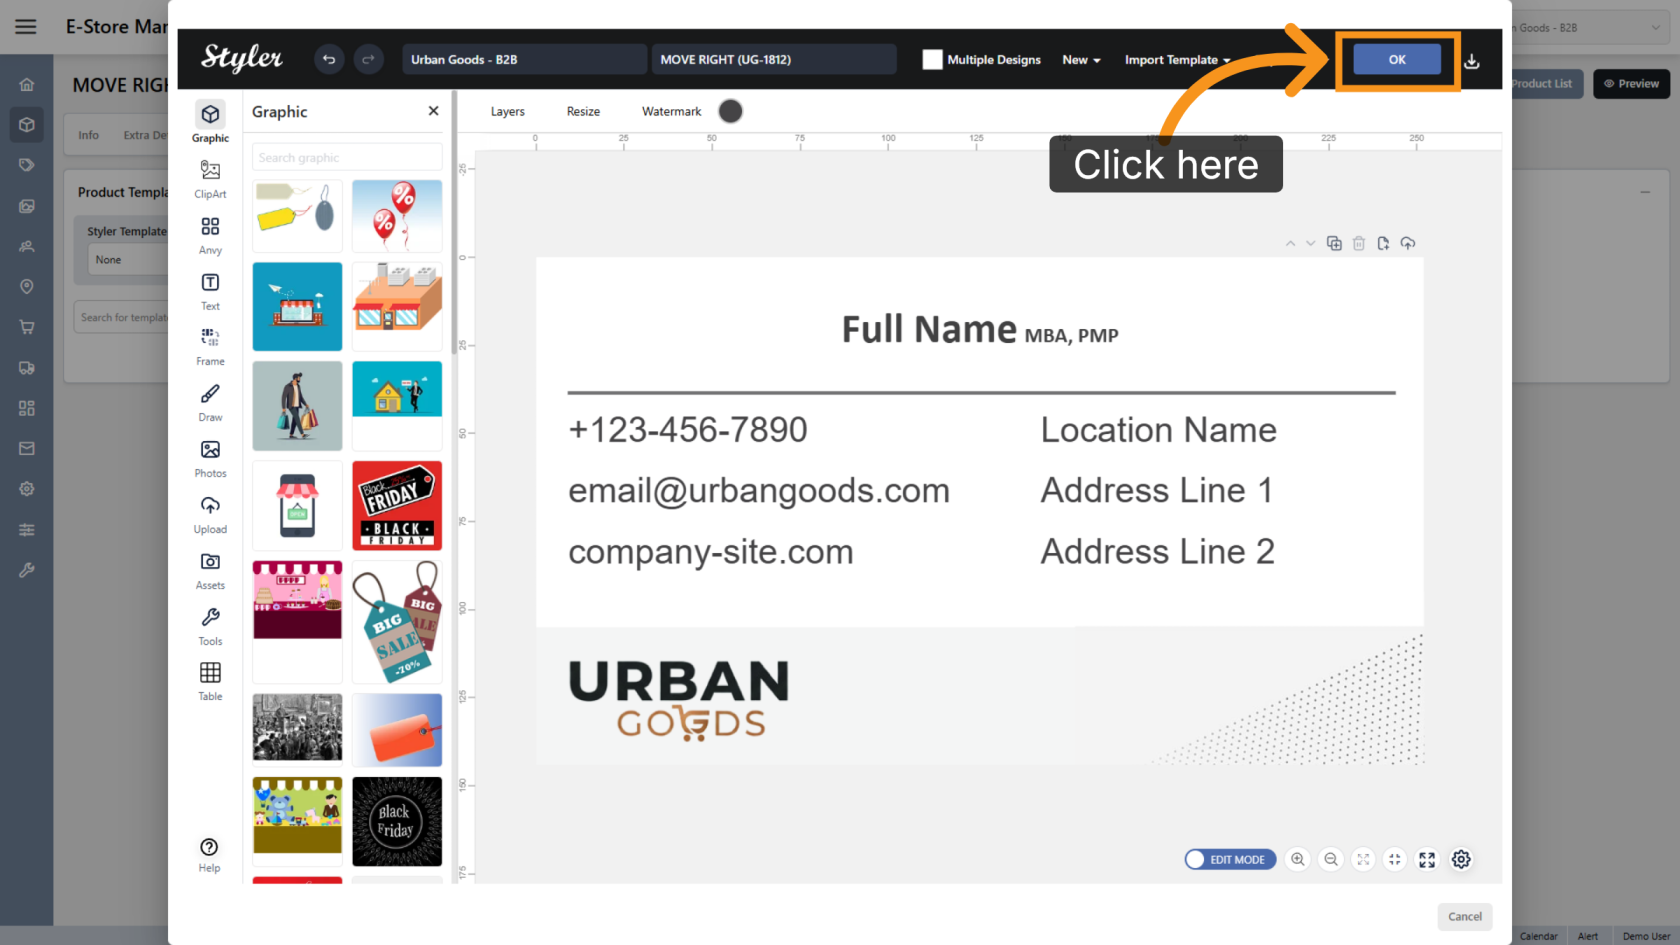
10. Confirm the Configuration
Click OK to finalize the settings.
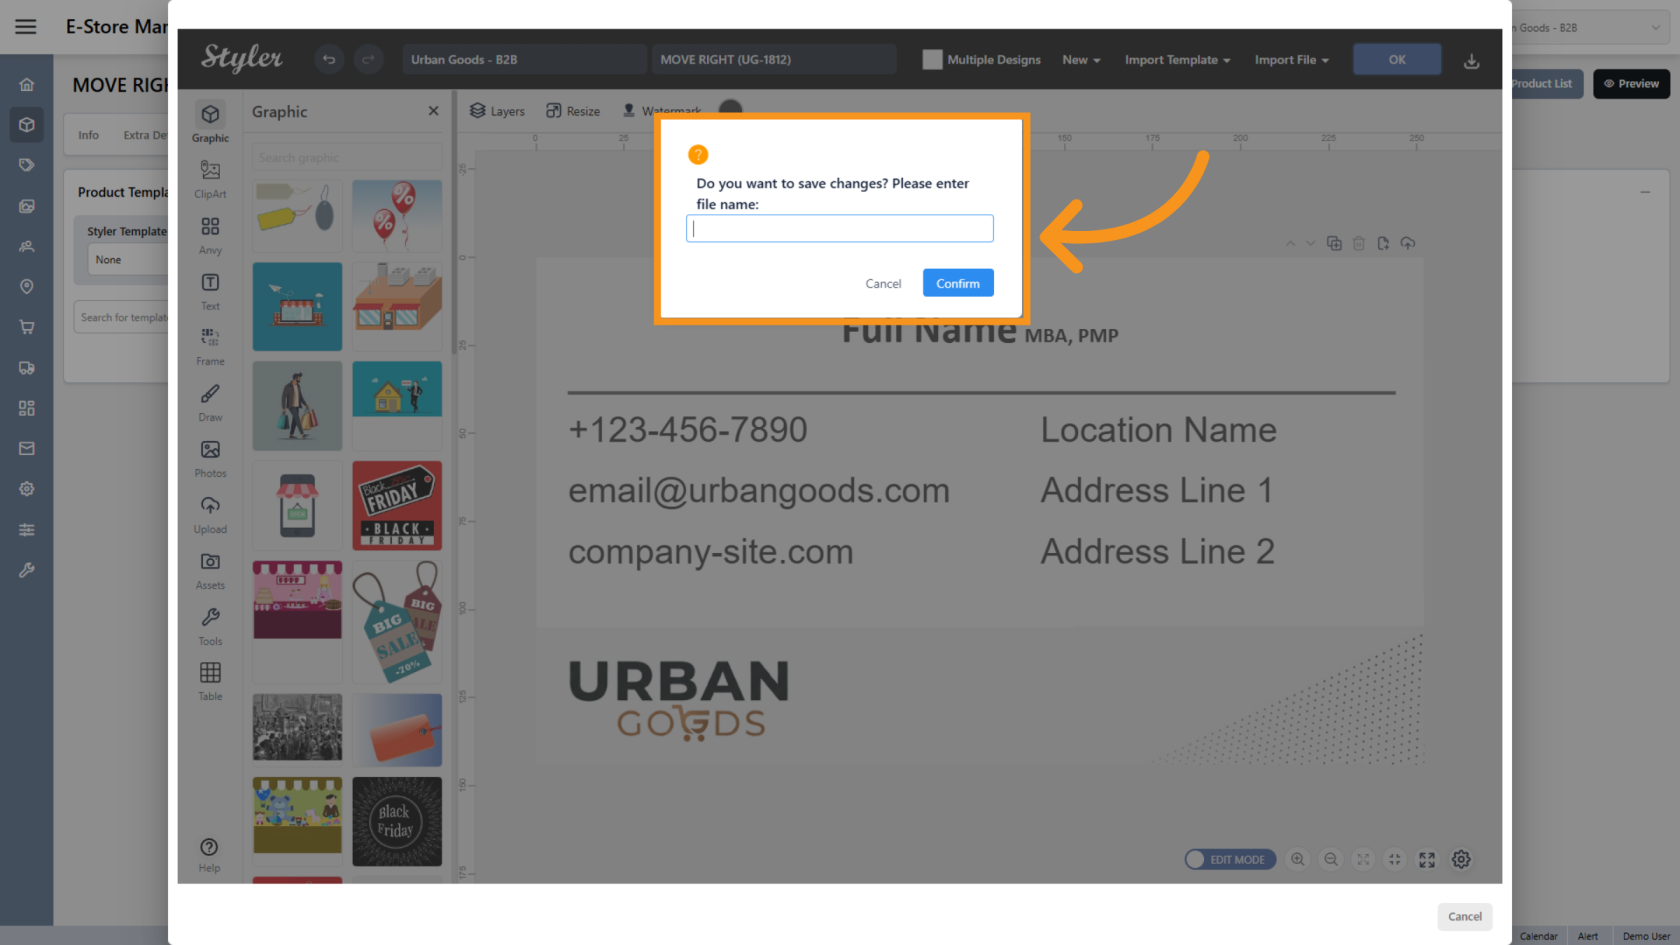
11. Enter the File Name
Enter the file name, then click Confirm.
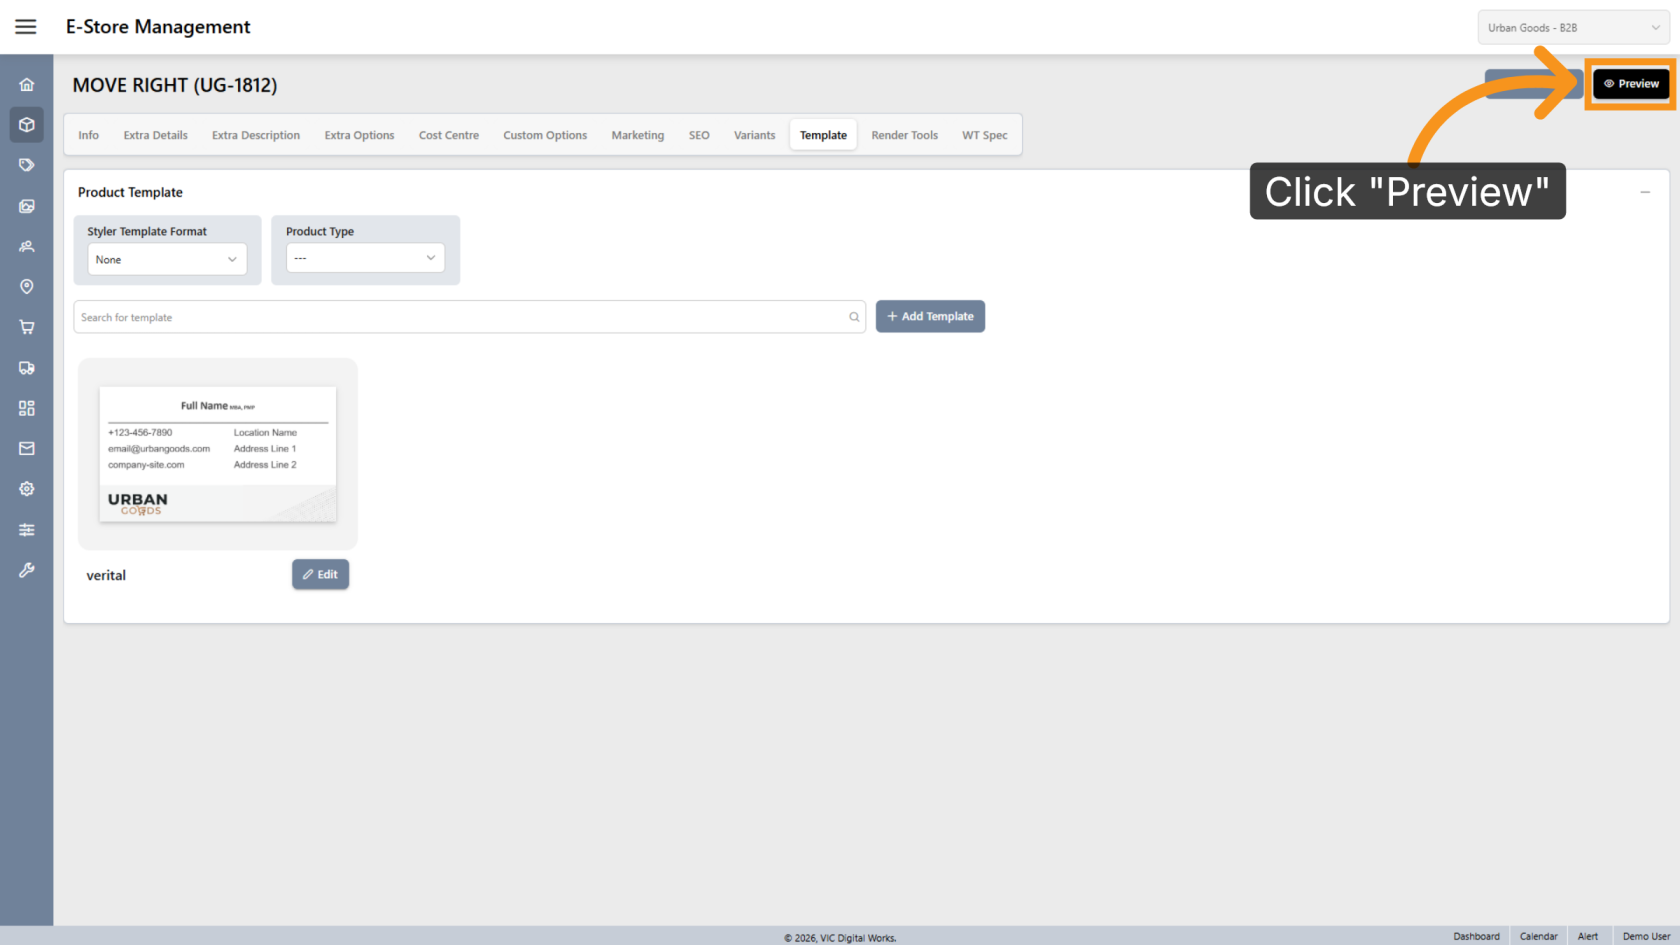
12. Preview the Design
Click Preview to review the final layout.
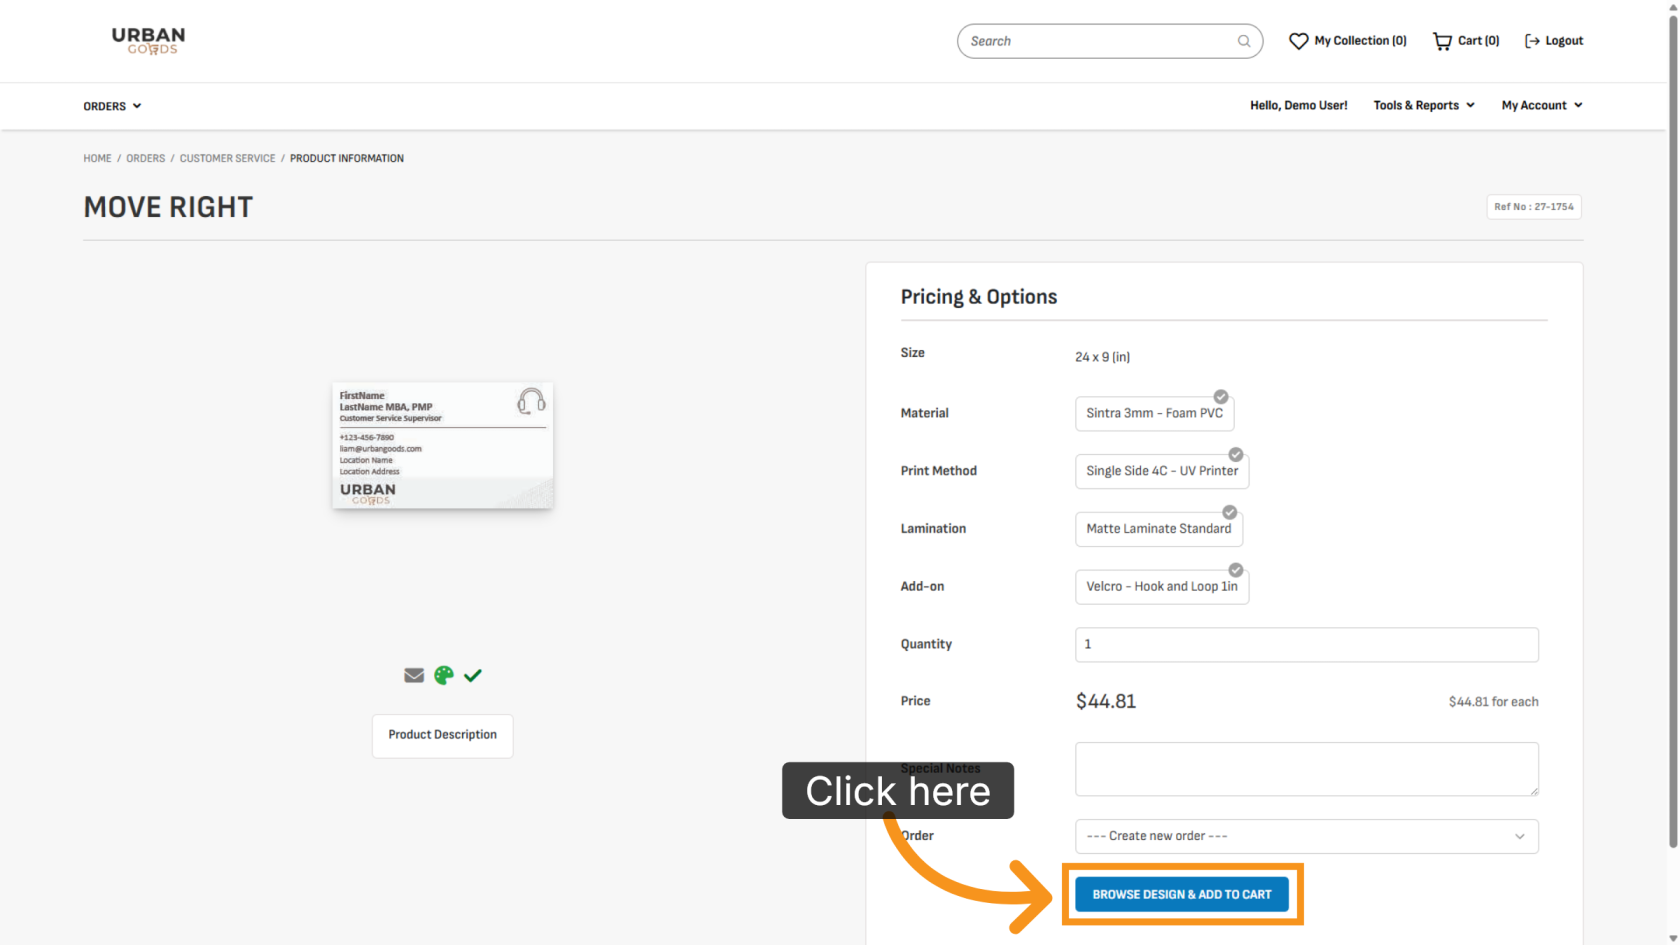
13. Browse Available Designs
Click BROWSE DESIGN & ADD TO CART to select a design for printing.
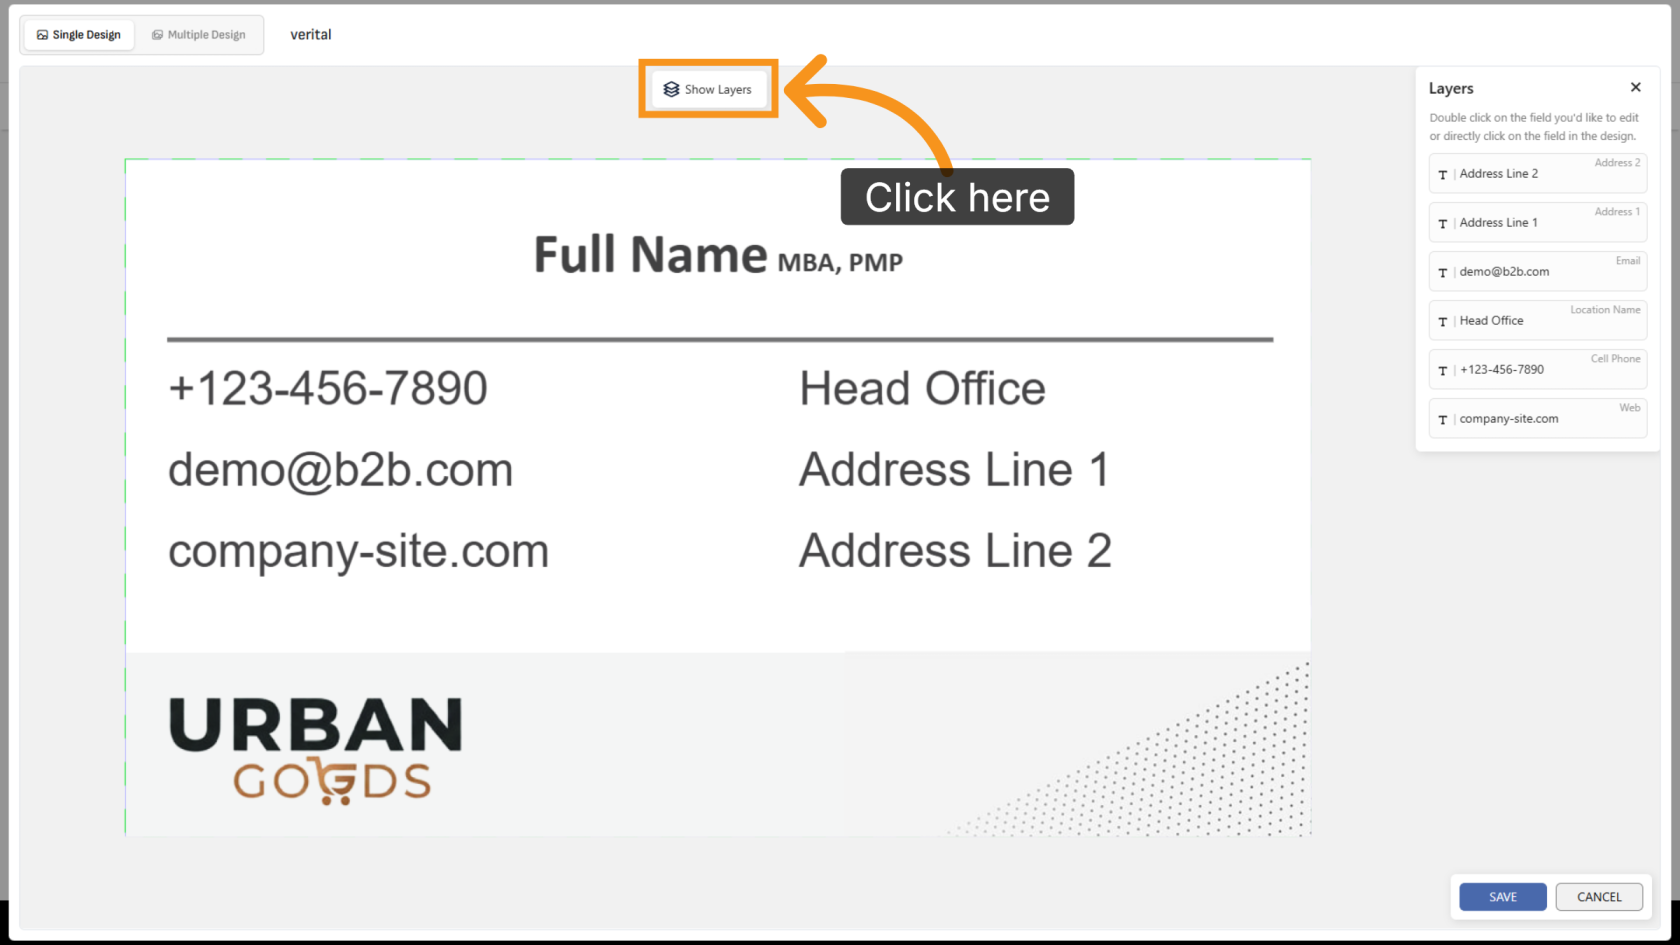
14. Show Layers
Click Show Layer to display all variant layers in the design.
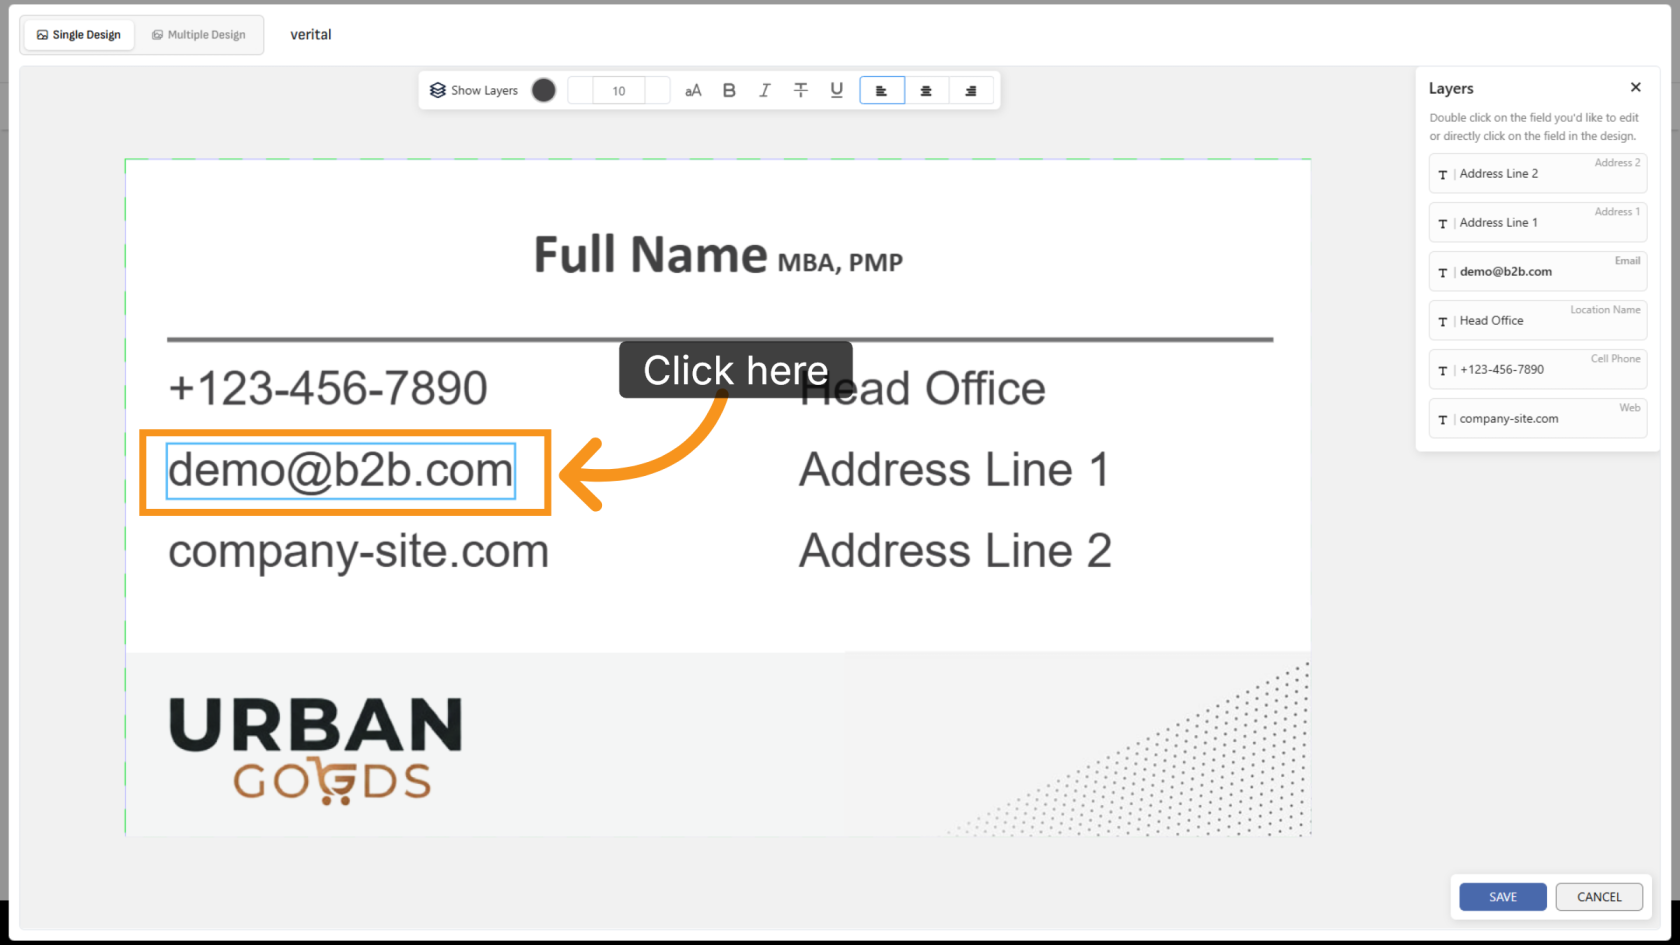
15. Remove an Object
Click the object and press Delete on the keyboard to remove the value from the template.
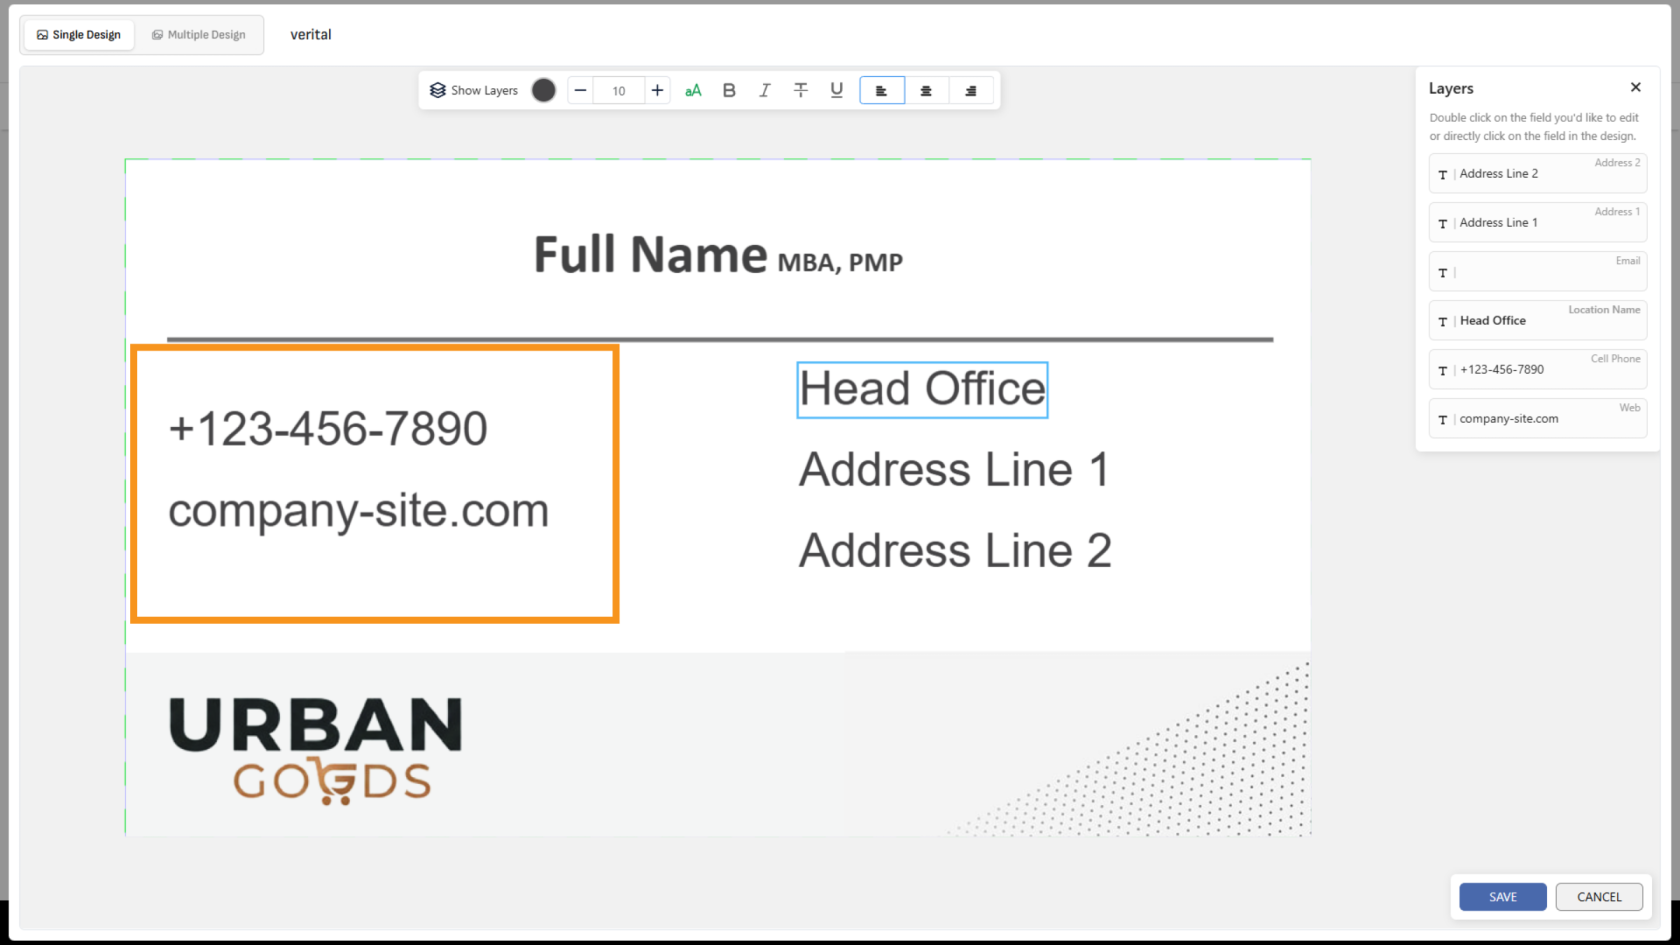
16. Review the Vertical Adjustment
When an object is removed, the remaining objects will automatically reposition based on the selected group alignment settings.
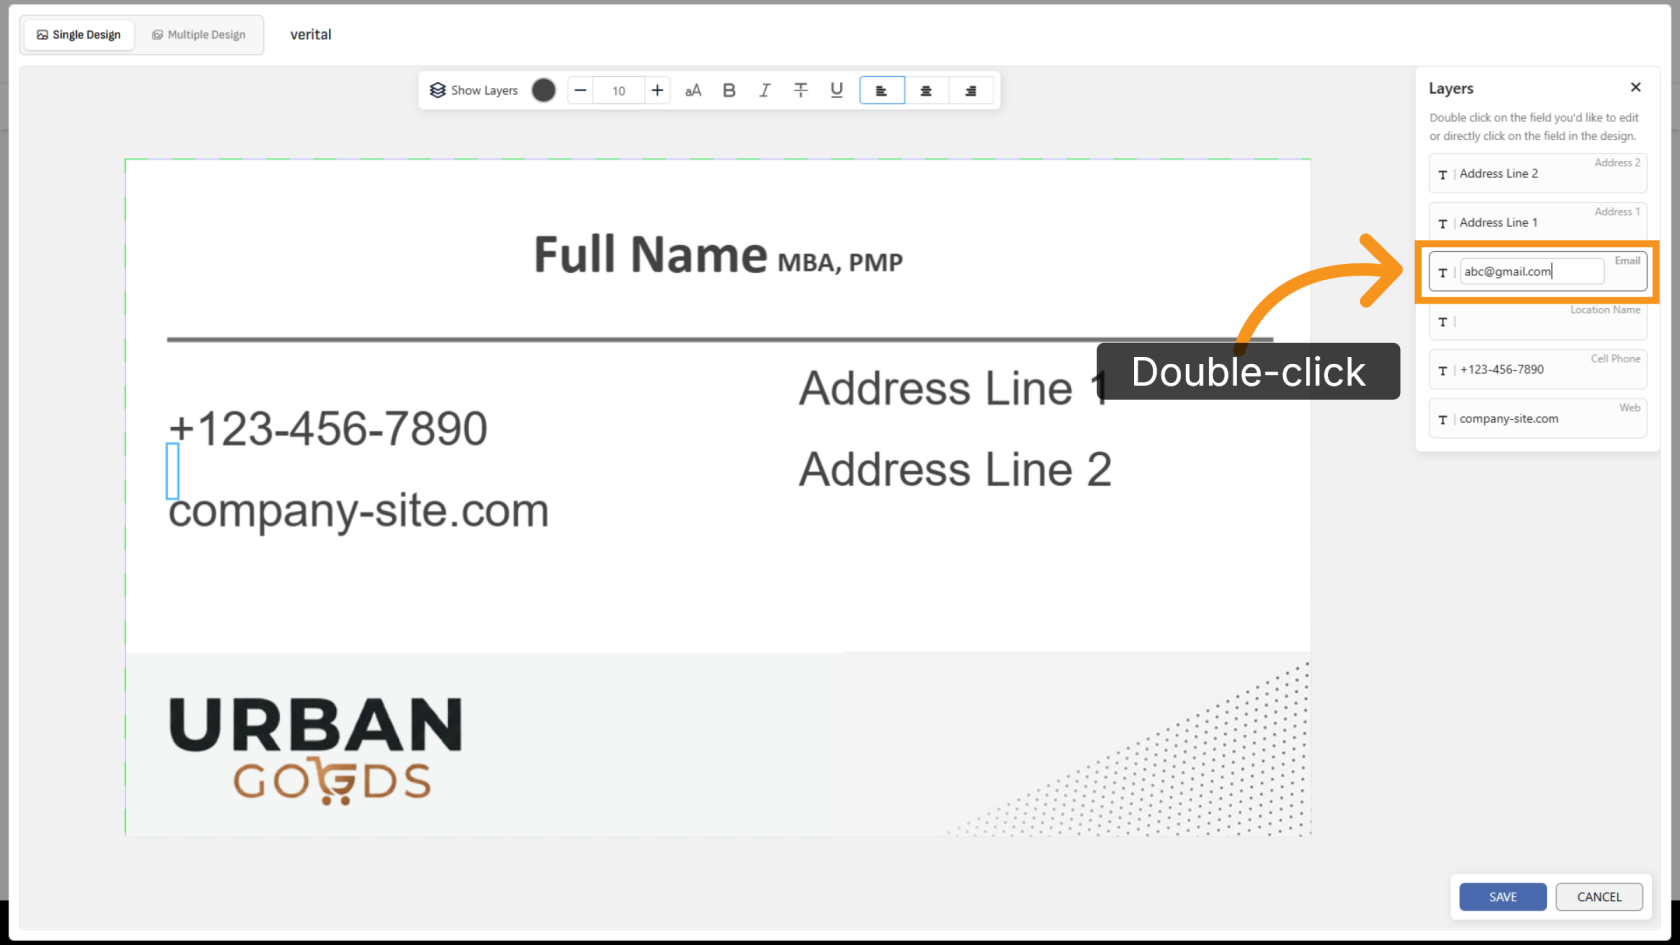
17. Restore the Object
Double-click the layer and enter the value again to restore the object in the template.
18. Review the Template
The object will appear again automatically in the template layout.
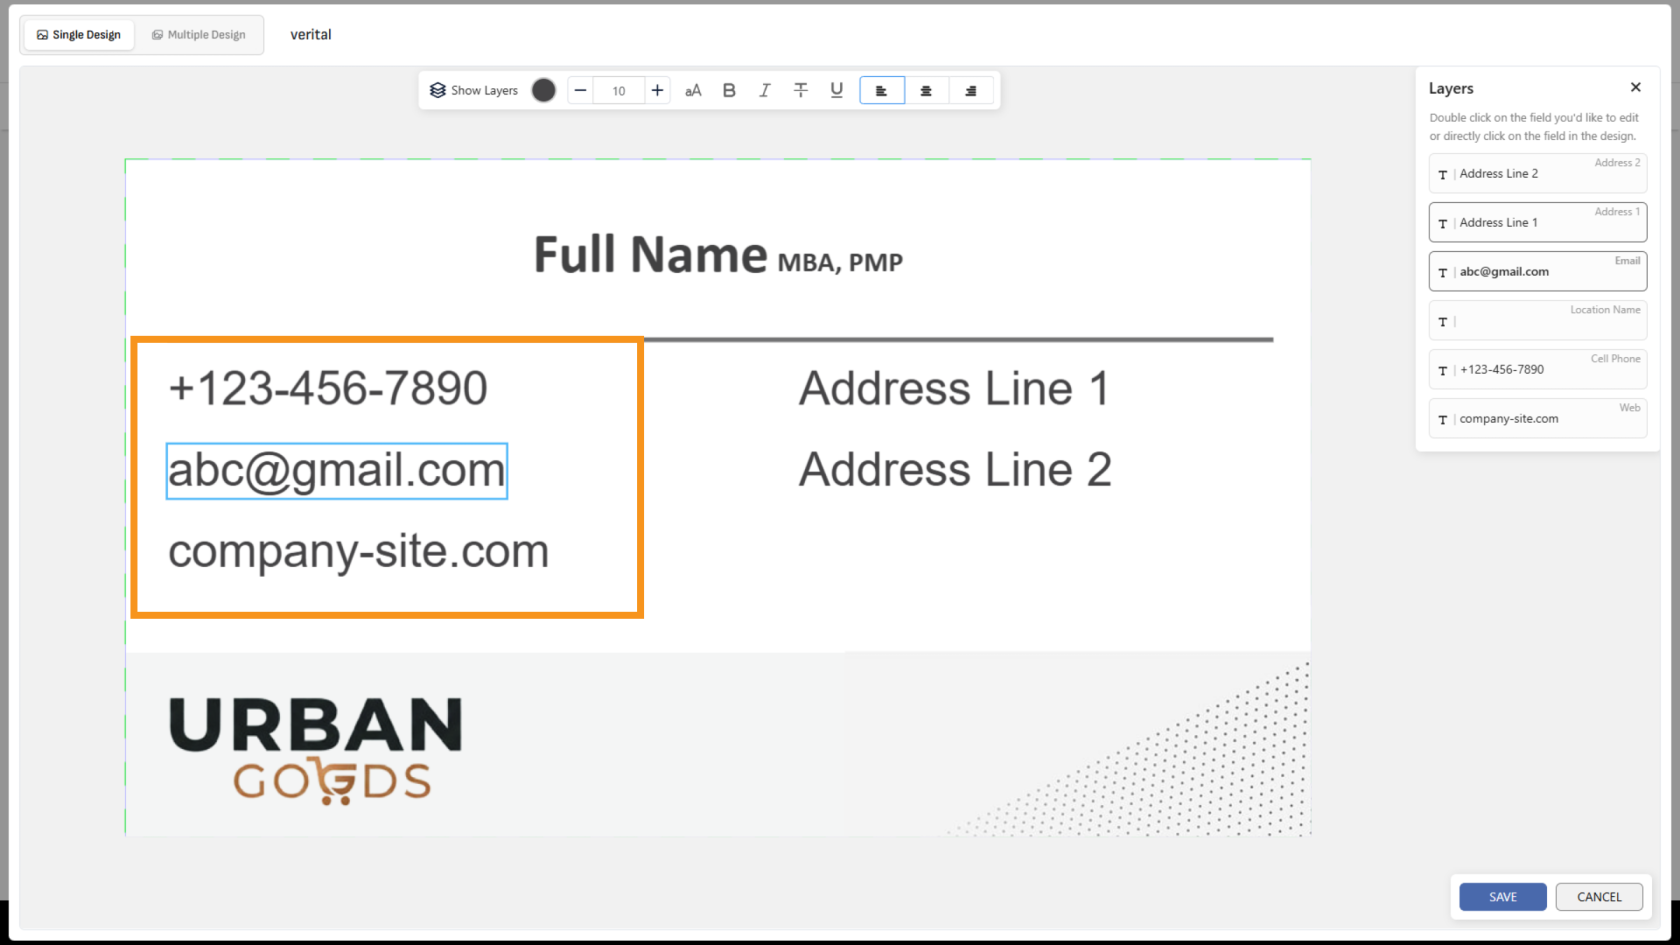
You have successfully configured vertical adjustment and group alignment. This setup helps maintain clean and dynamic layouts when editable content changes.