Multiple Designs
This tutorial guides you through configuring multiple designs within a single template. This feature allows users to print multiple versions of a design using one template and one order.
Video Tutorial
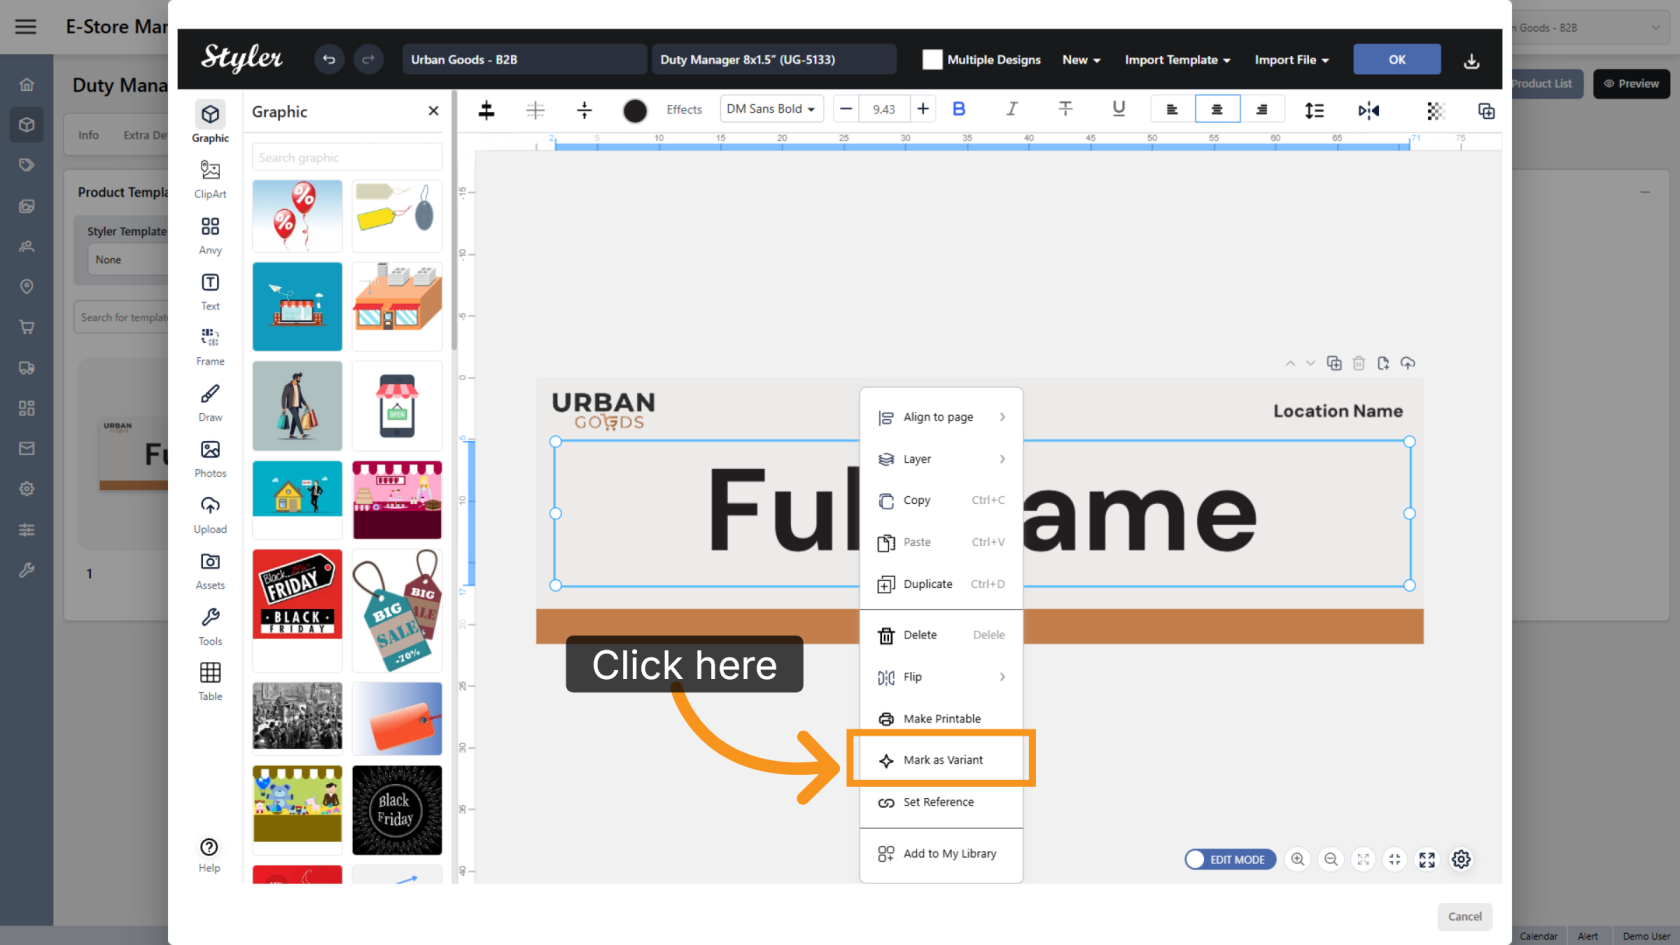
1. Mark Objects as Variants
Convert all objects that users need to edit into variants.
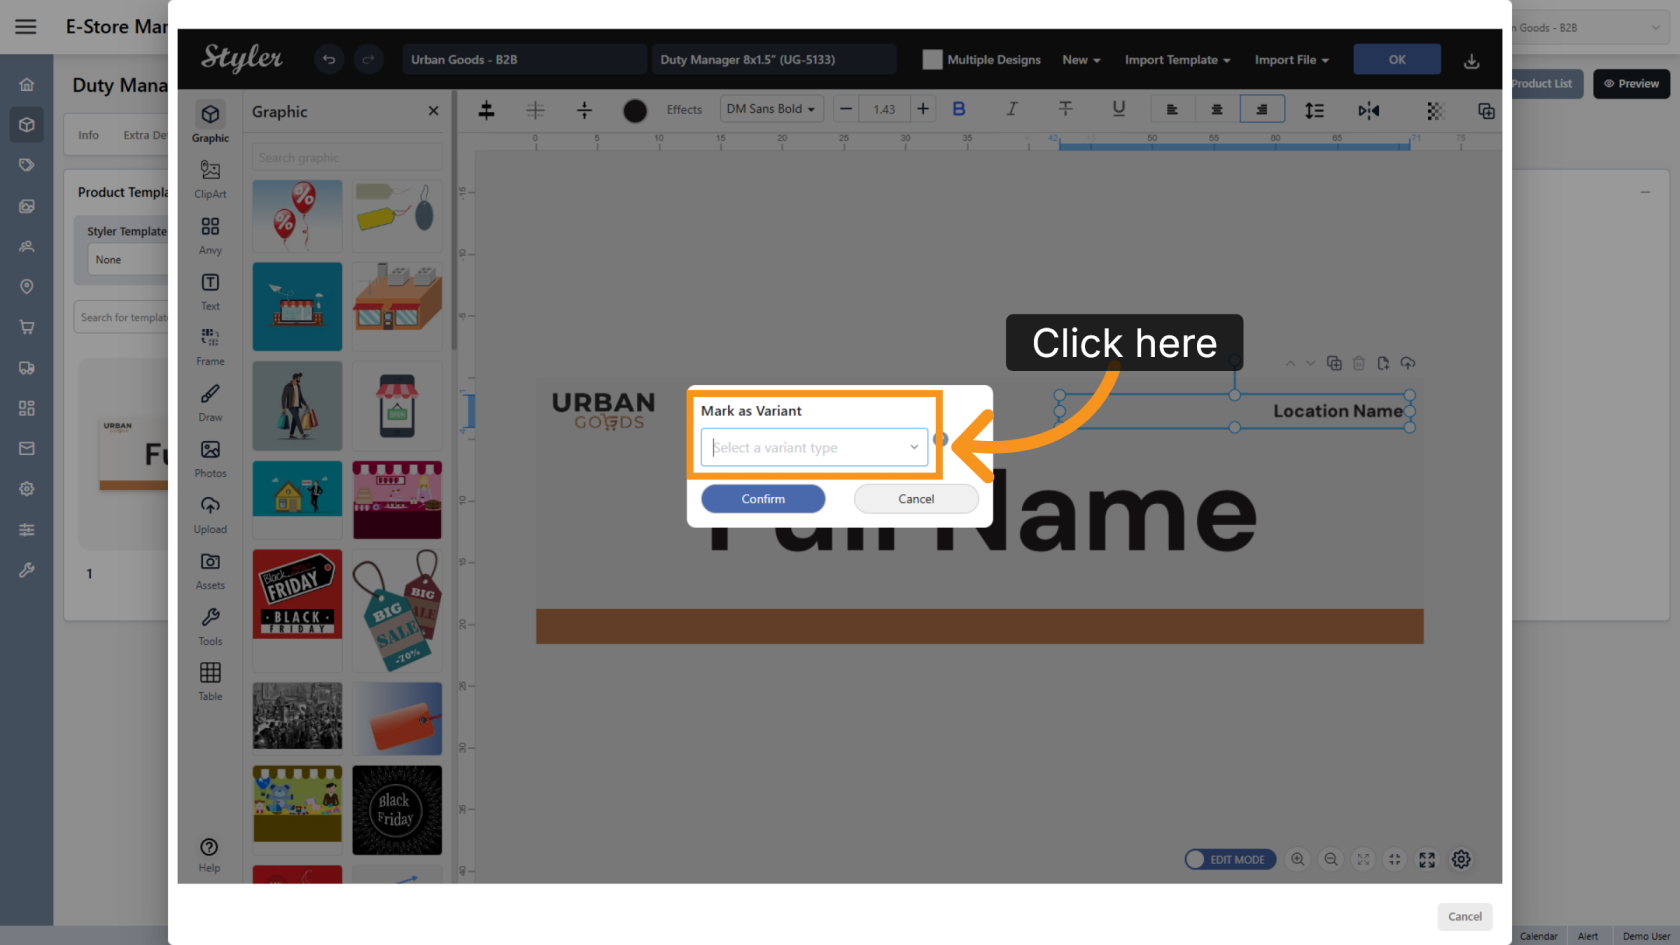
2. Select the Variant Type
Click Select a variant type and choose the appropriate variant type for each editable object.
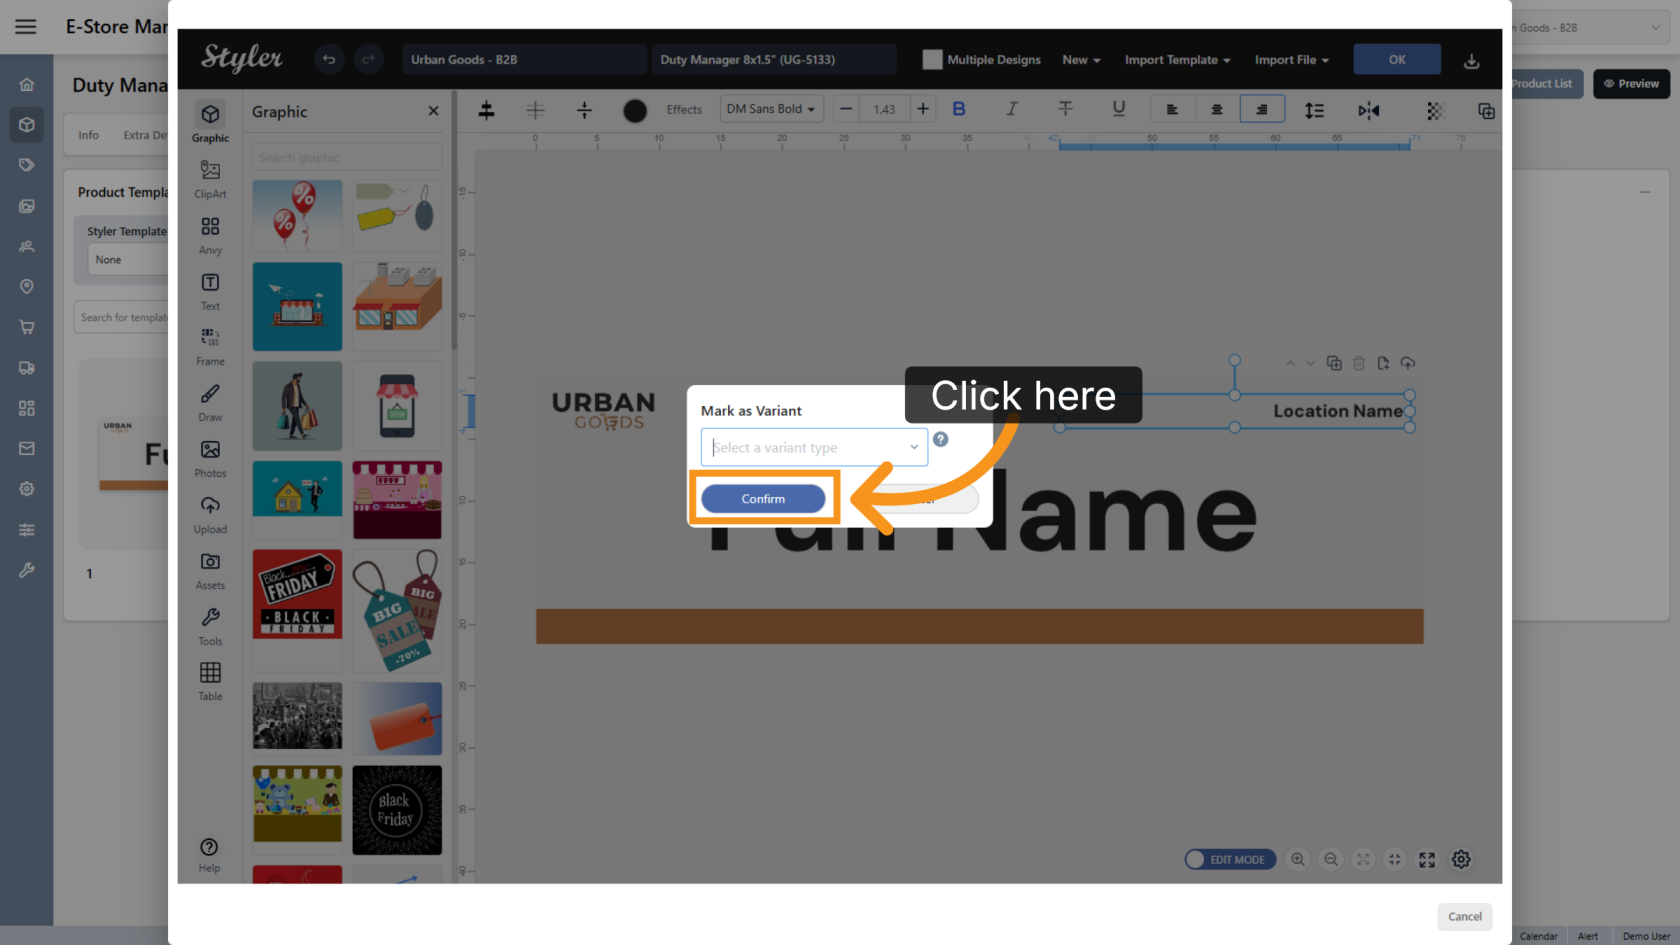
3. Confirm the Settings
Click Confirm to save the variant configuration.
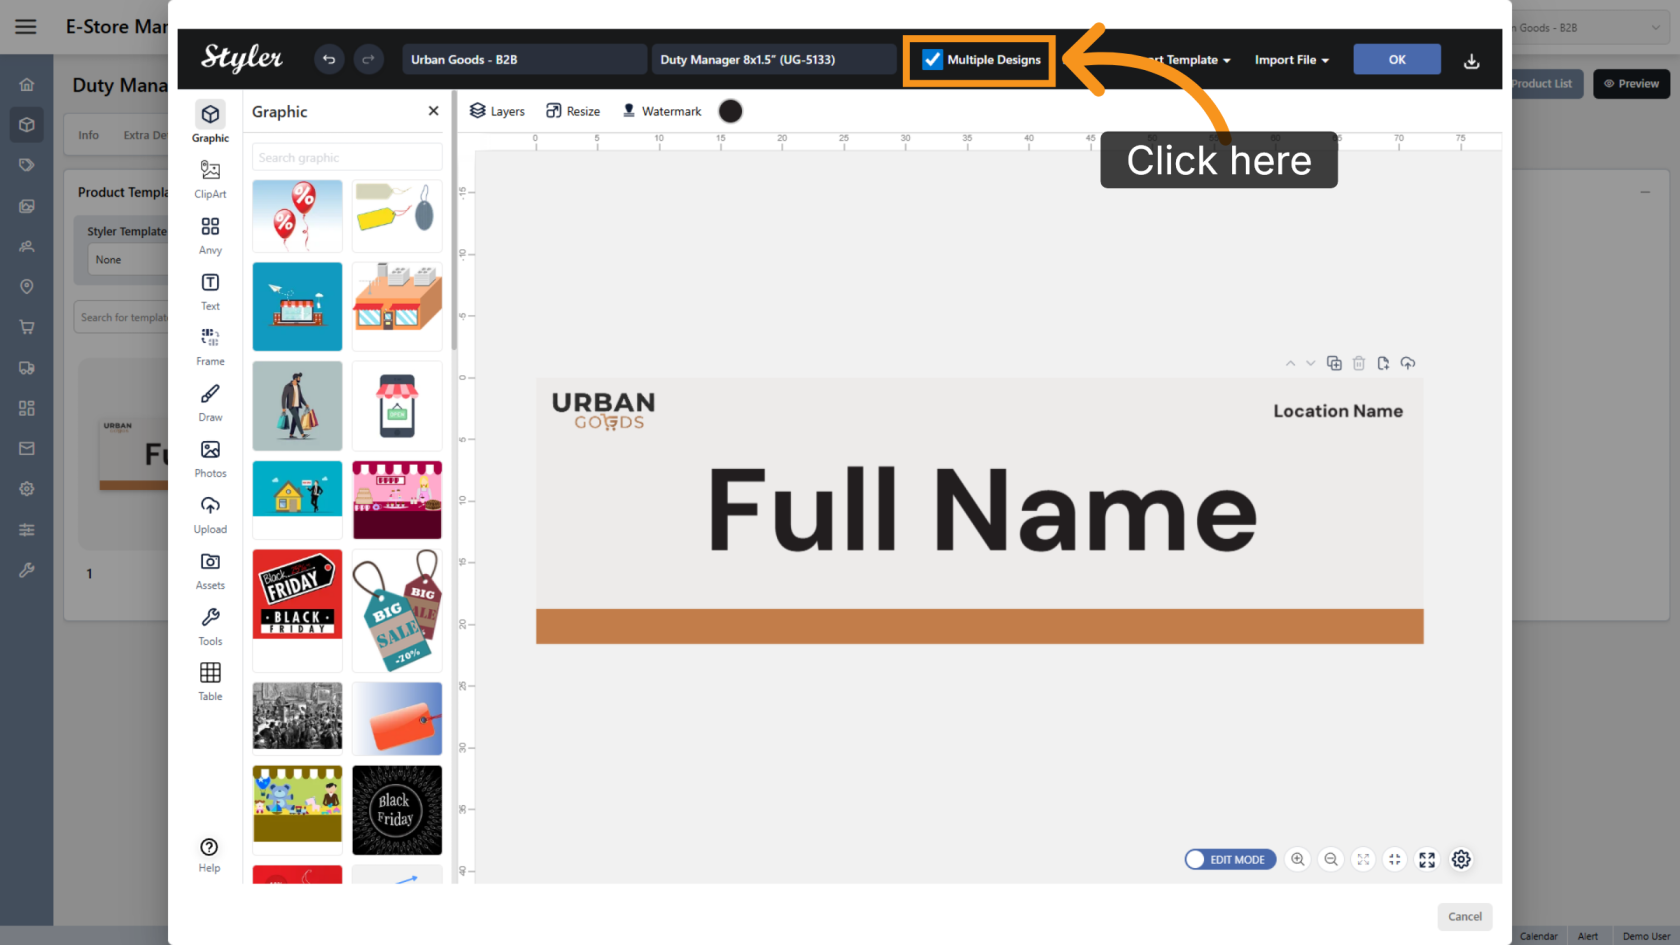
4. Enable Multiple Designs
Check Multiple Designs to enable multiple design support for the template.
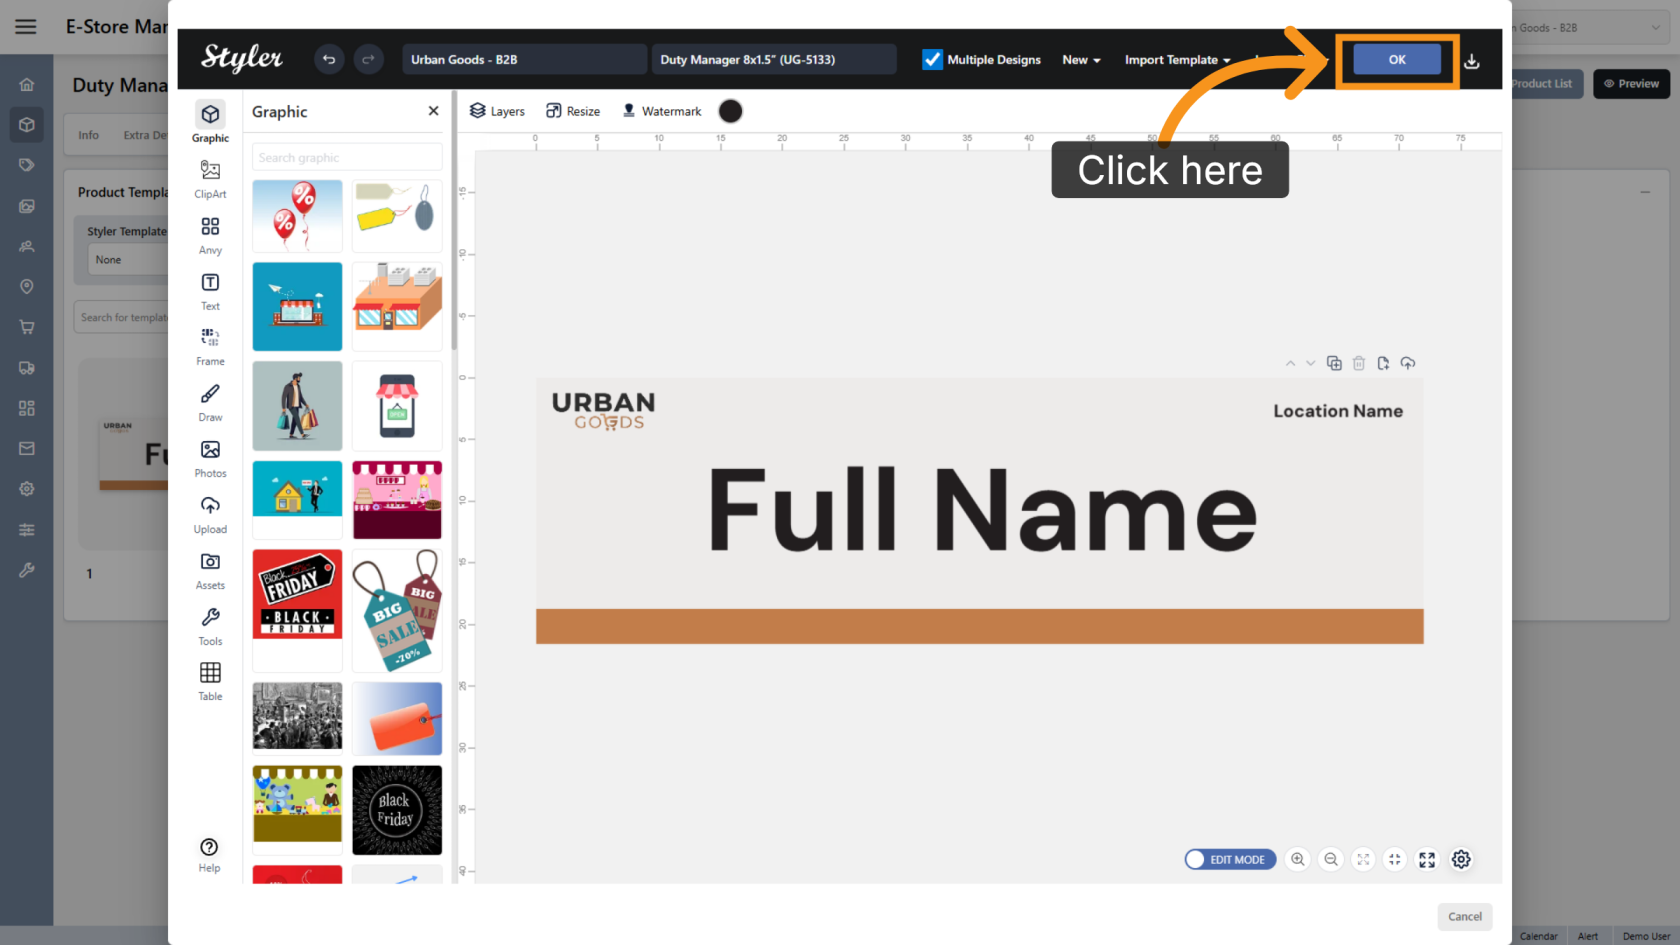
5. Confirm the Configuration
Click OK to finalize the settings.
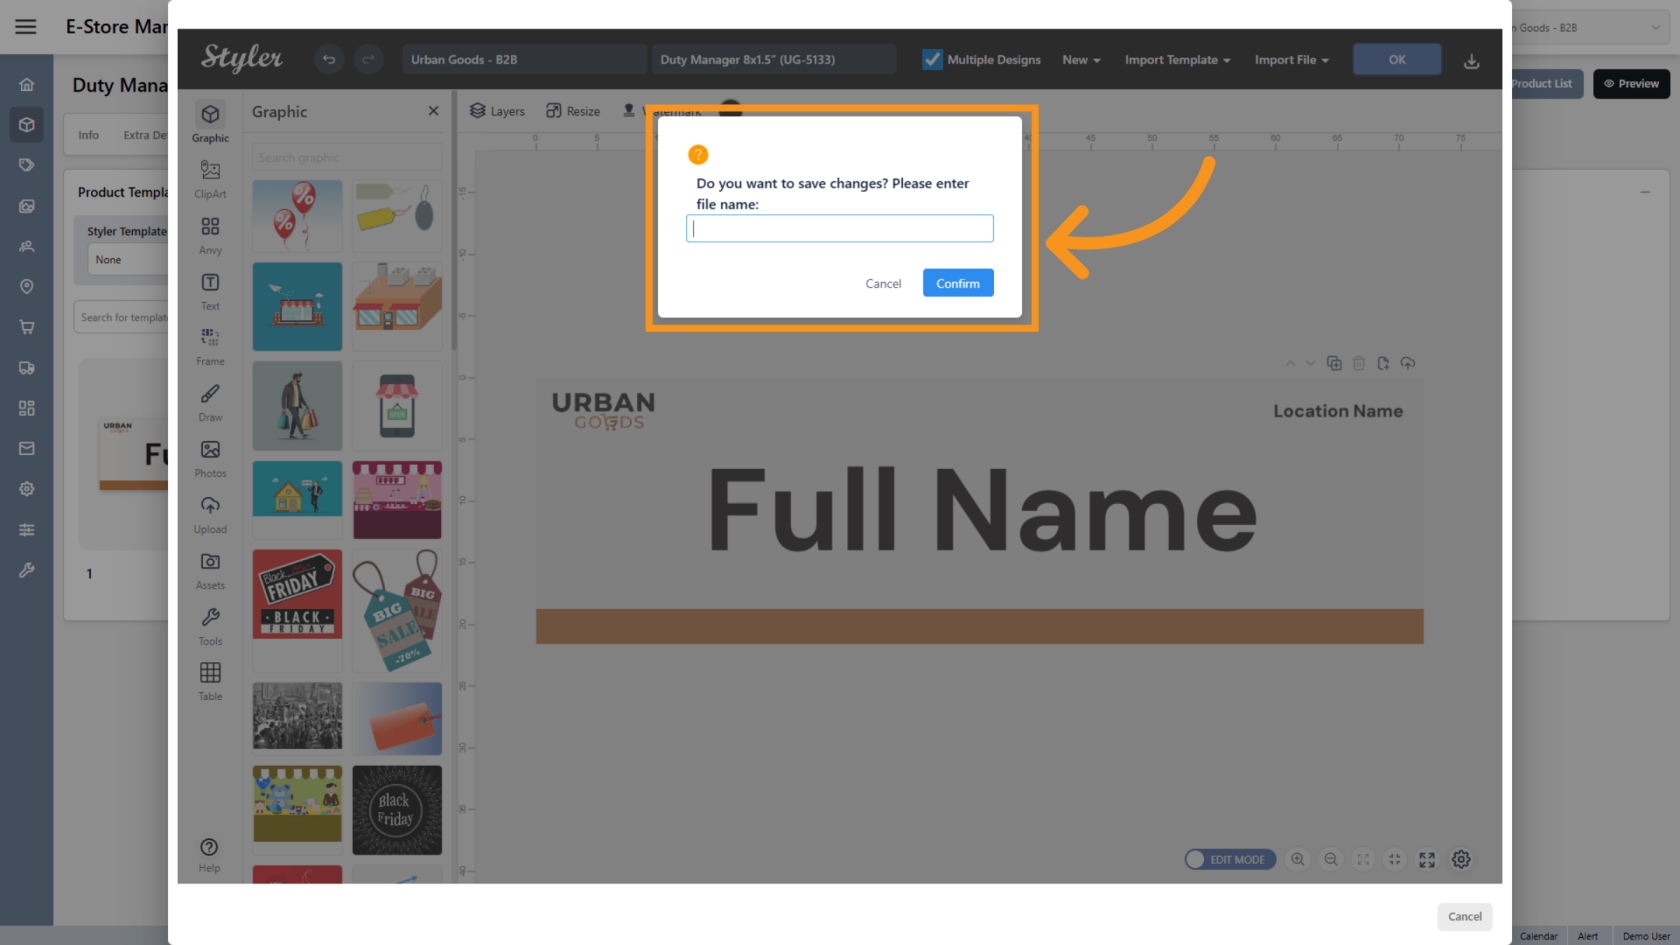
6. Enter the File Name
Enter the file name, then click Confirm.
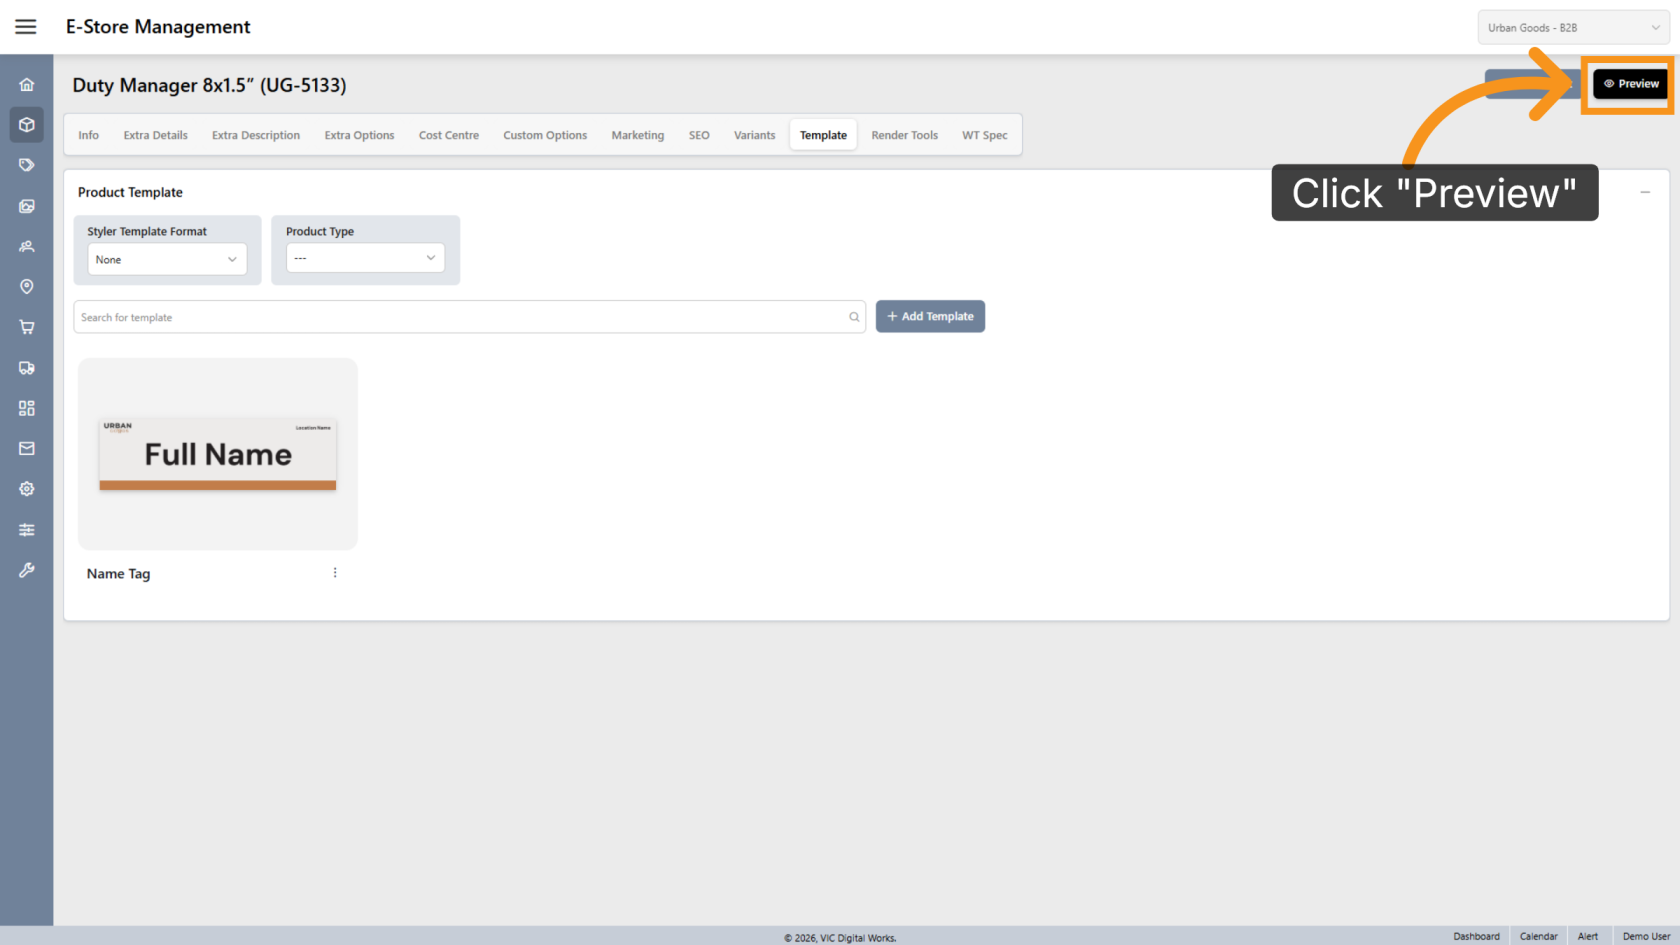
7. Preview the Design
Click Preview to review the template layout.
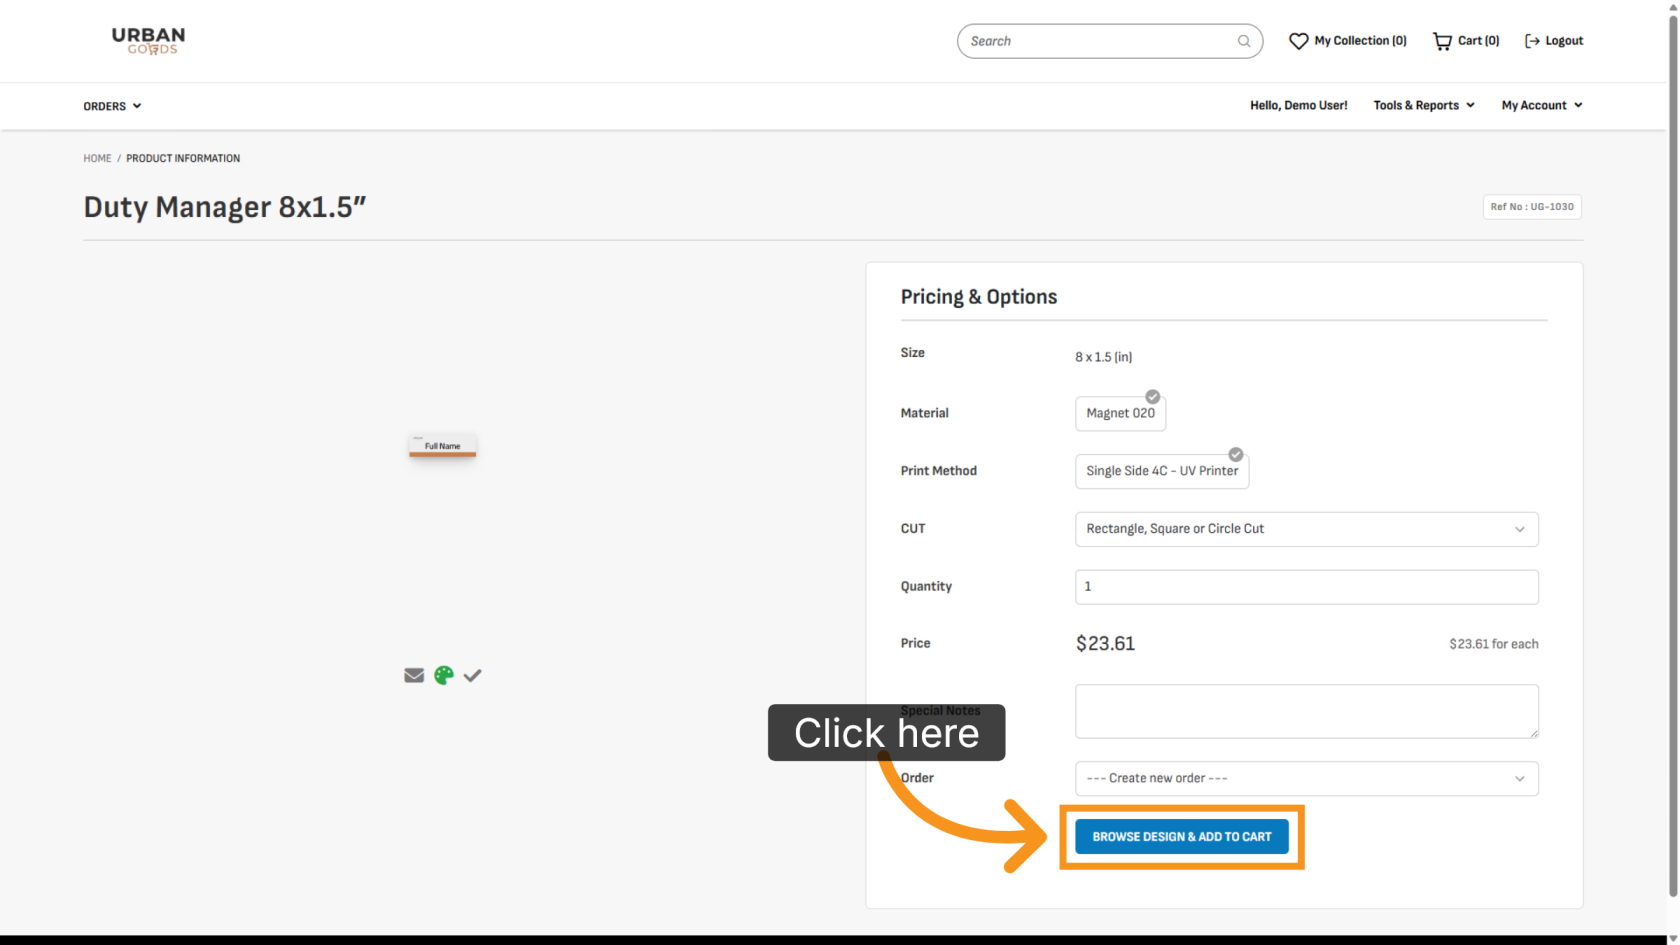
8. Browse Available Designs
Click BROWSE DESIGN & ADD TO CART to select a design for printing.
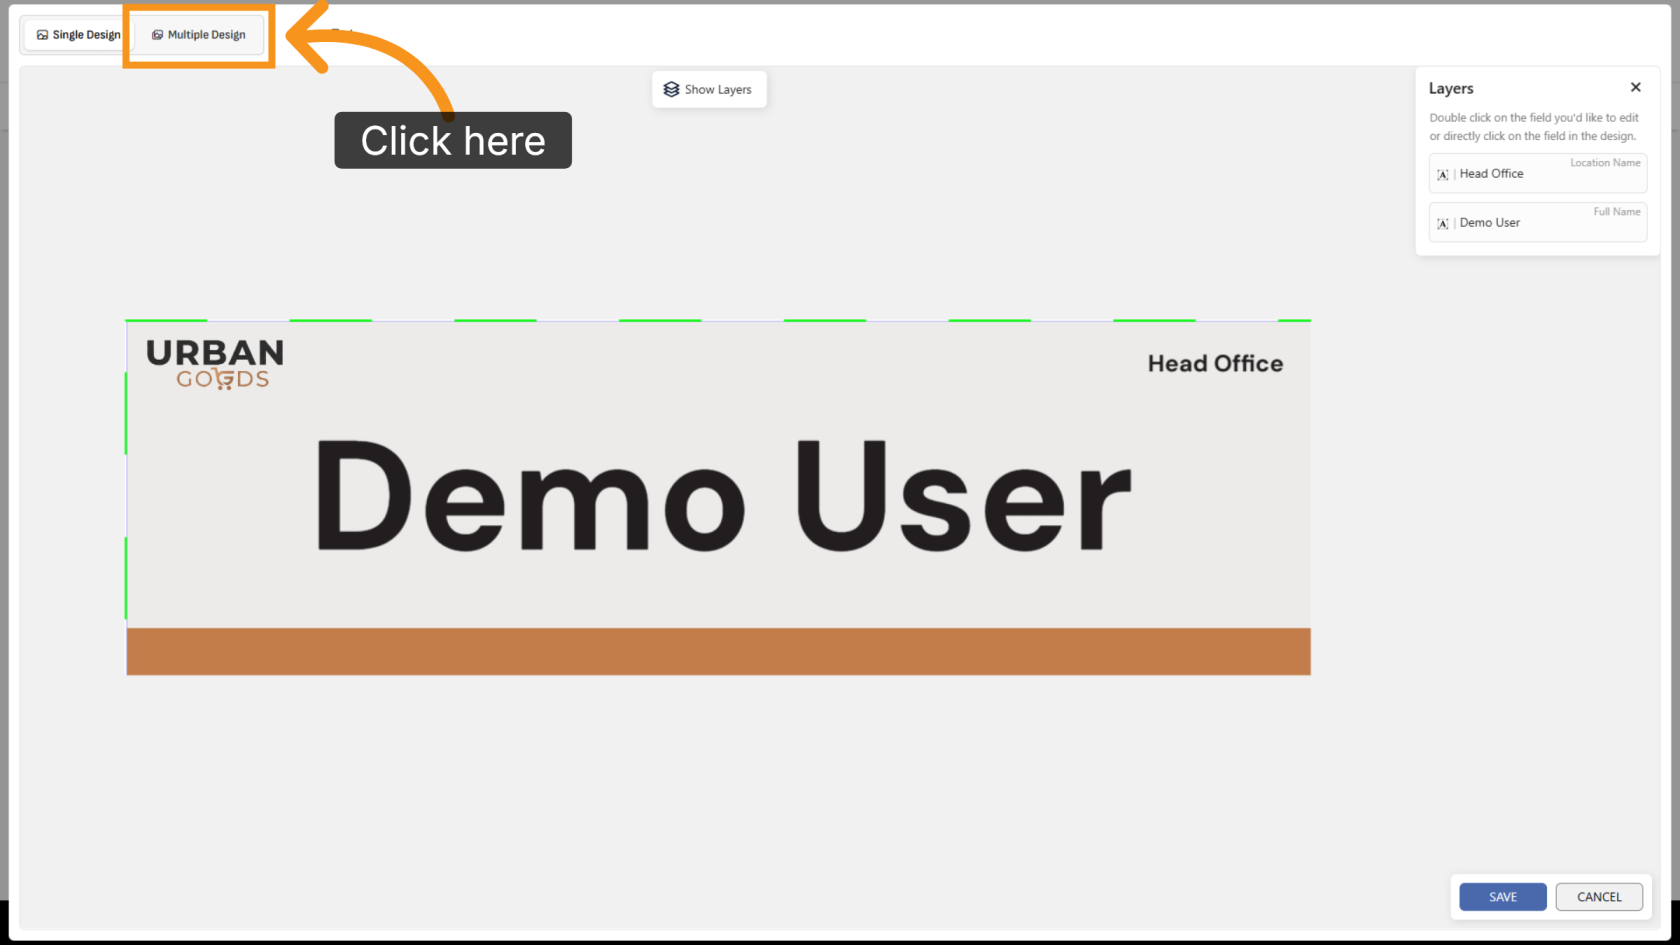
9. Open the Multiple Design Section
Click Multiple Design to access the upload and management area.
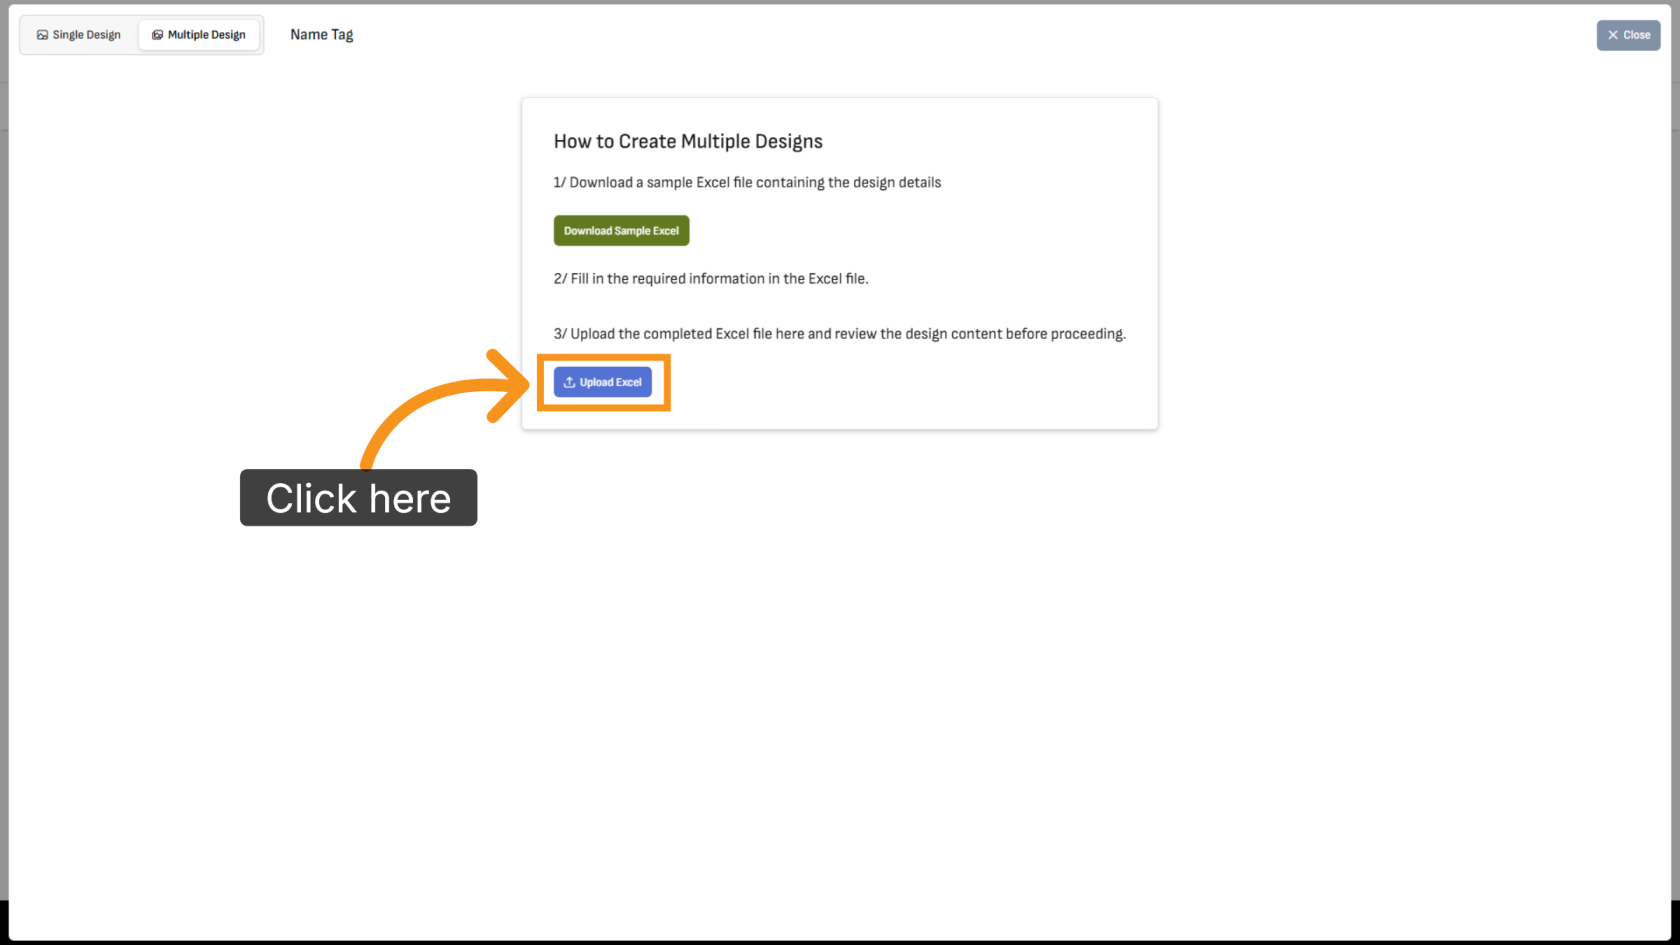
10. Download the Sample Excel File
Click Download Sample Excel to download the template spreadsheet.

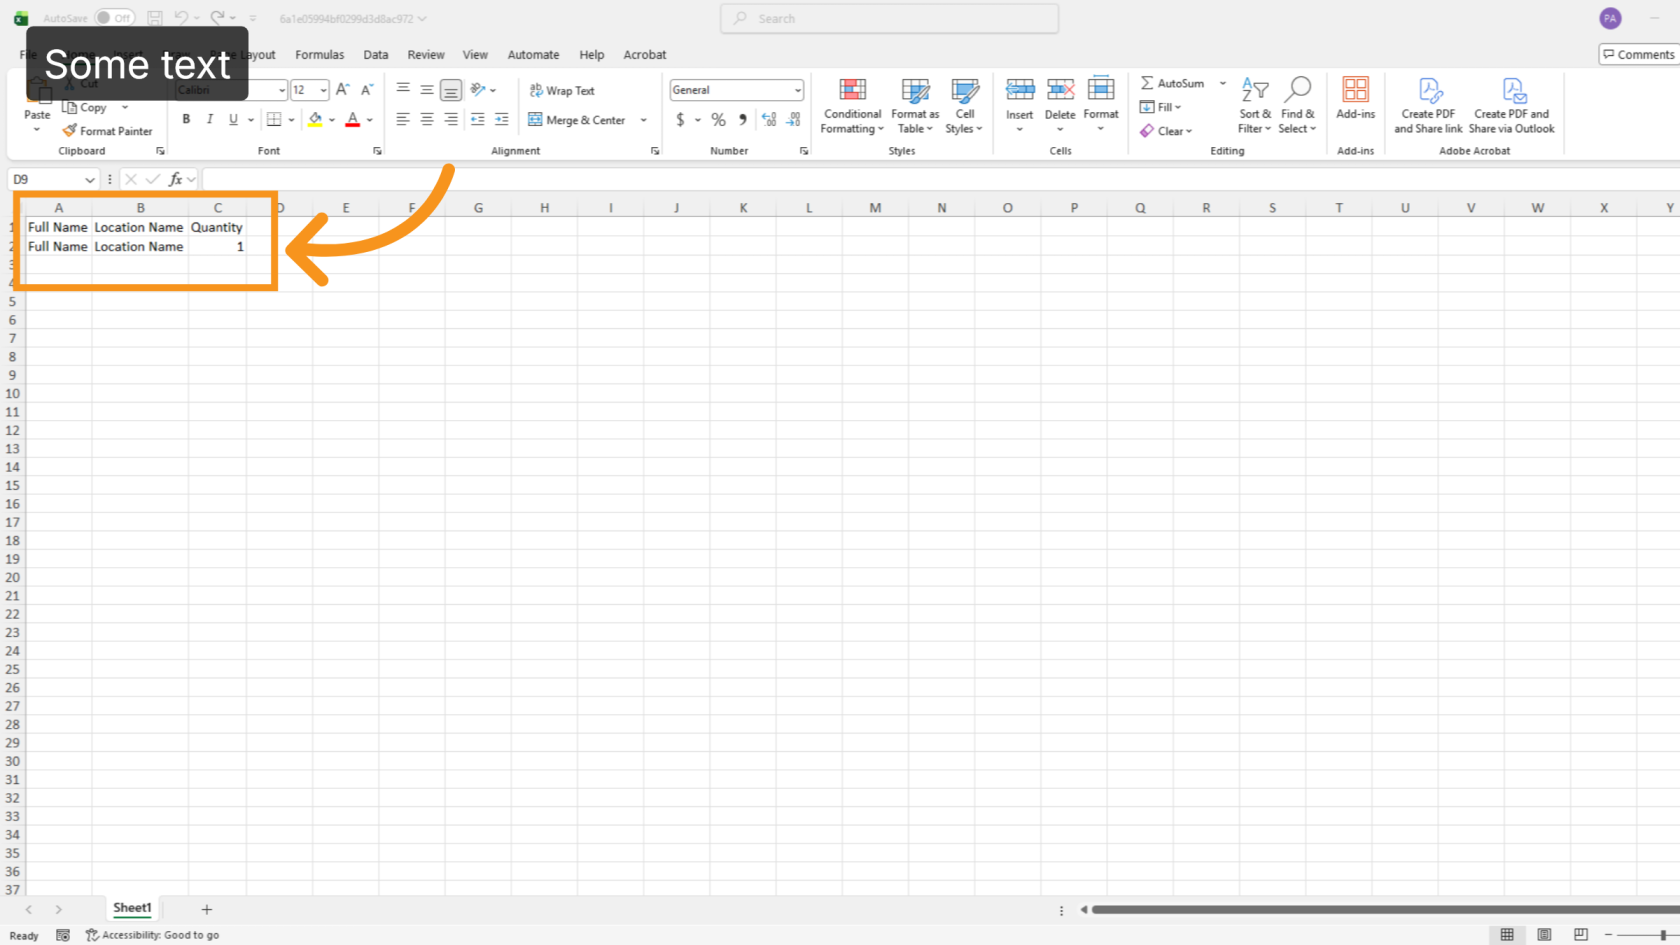
11. Update the Excel File
Enter the values you want to display on each design version. Each variant will appear as a separate column. You can also specify the quantity for each version. Save the file when finished.
12. Upload the Excel File
Click Upload Excel and select the spreadsheet you just updated.
13. Review Design Versions
The number of generated versions and their quantities will appear at the bottom of the screen.
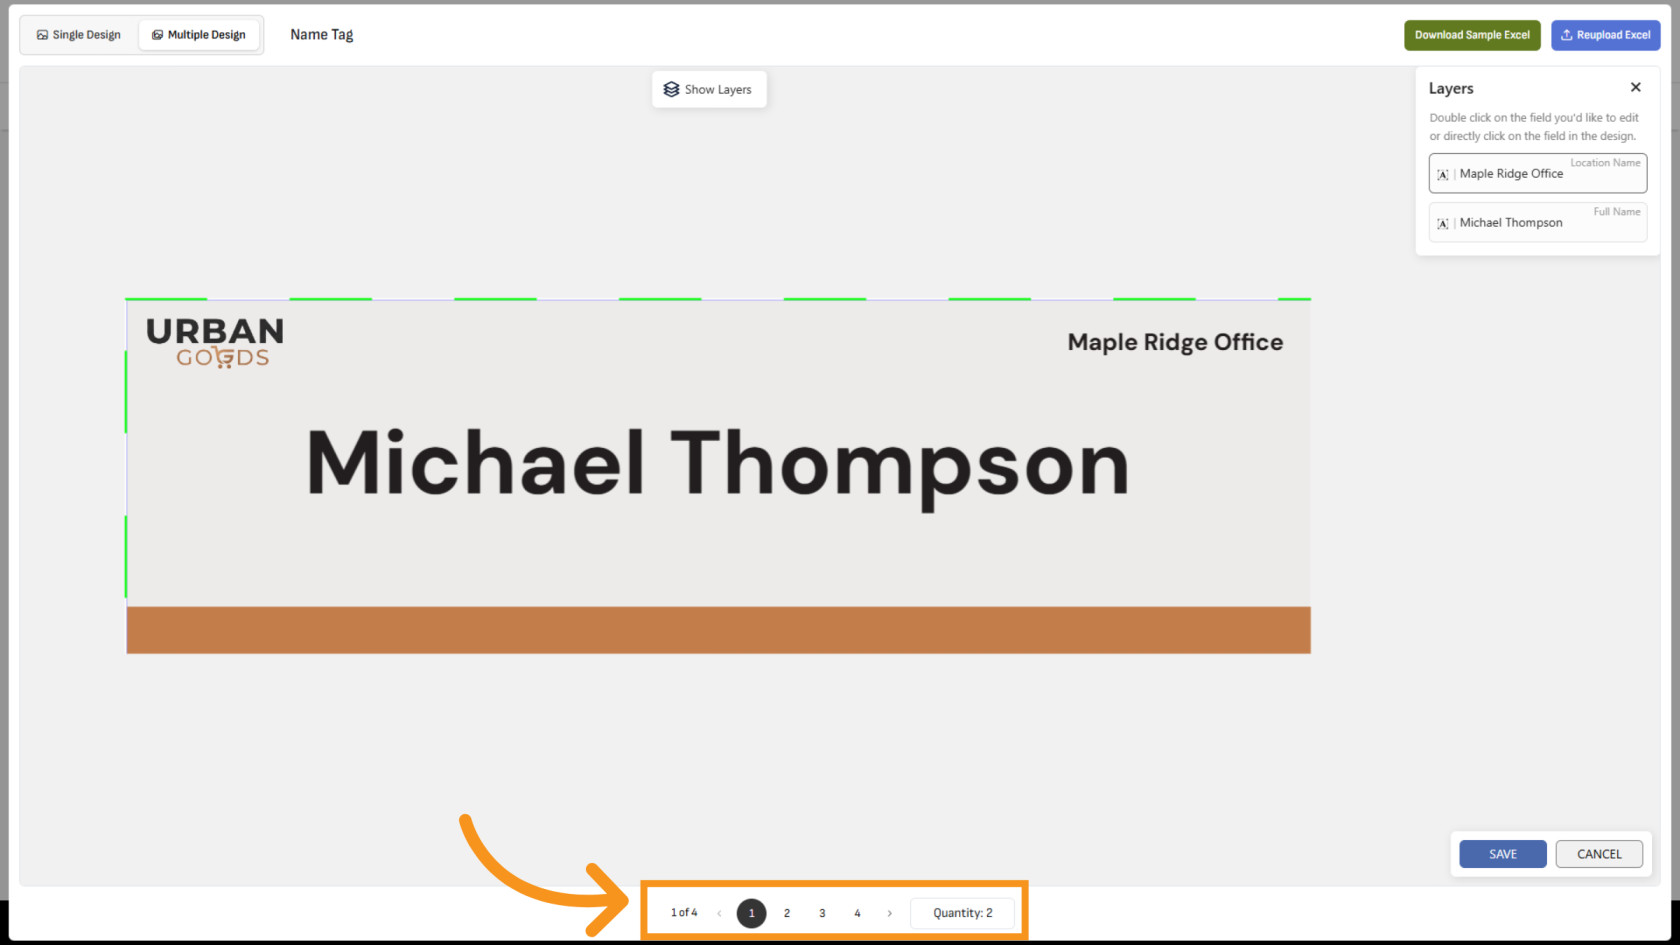
14. Edit Individual Versions
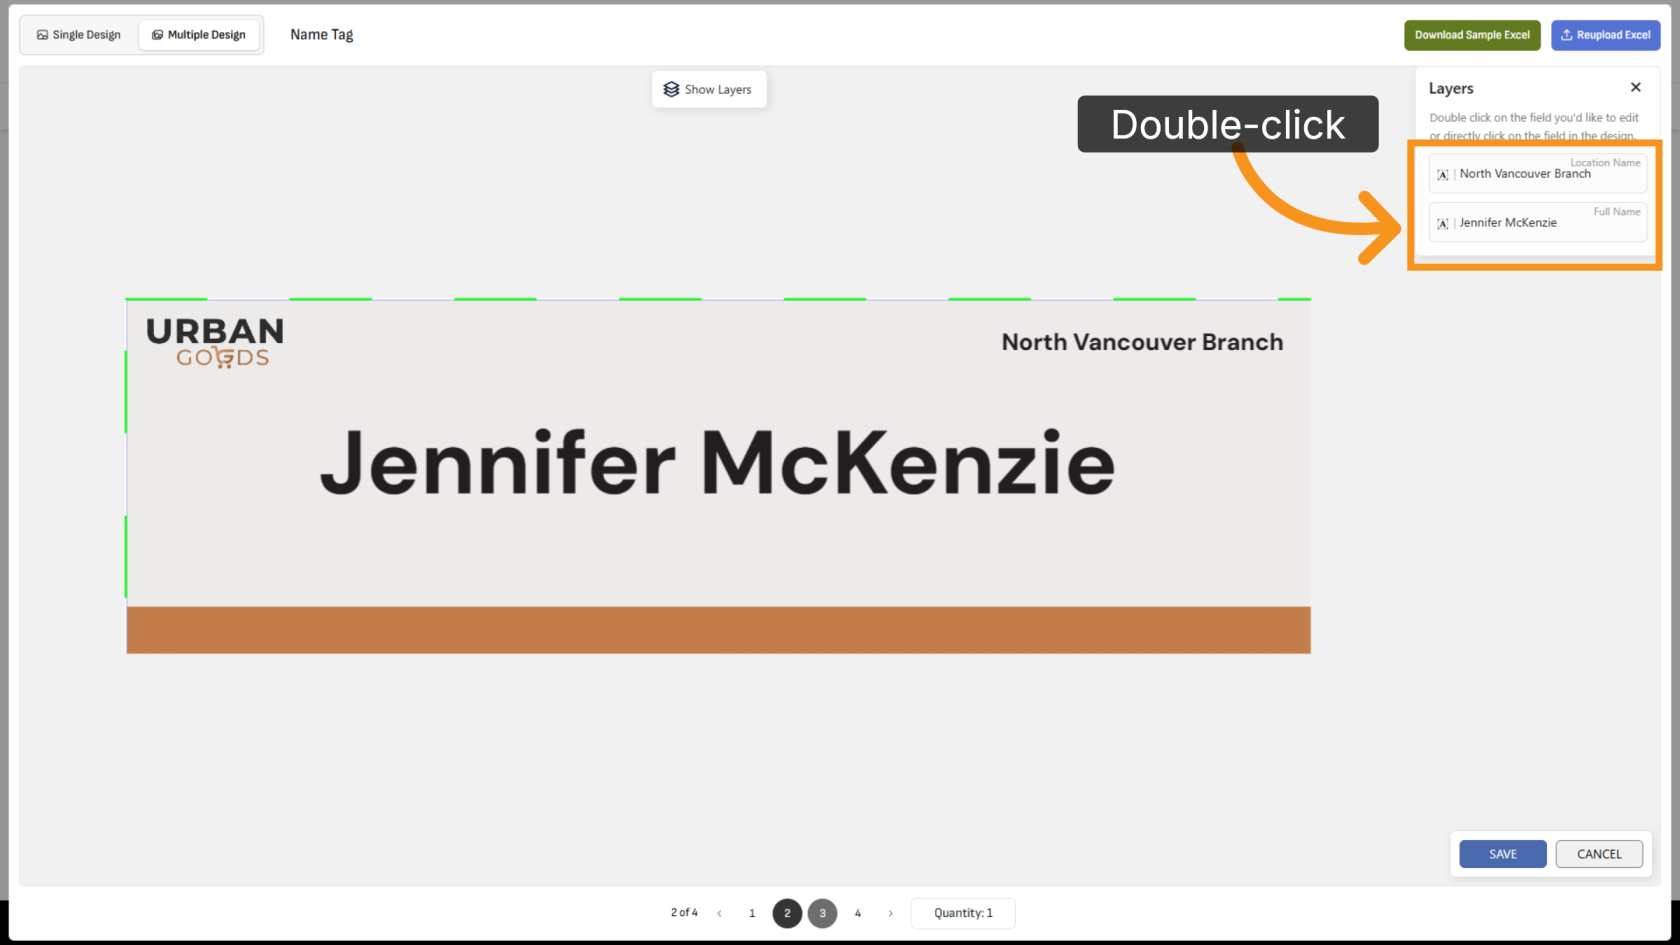
You have successfully configured multiple designs and created multiple template versions using a single design file. Review all versions and quantities to ensure the data is correct before printing.