Image Replacement
This tutorial guides you through managing media folders and replacing image objects in templates. This setup allows users to easily change images within the design while maintaining the layout structure.
Video Tutorial
1. Select a Company
Before configuring the template, you need to create a media folder that will contain the images users can select later in the design.
First, select the Company where you want to manage media assets.

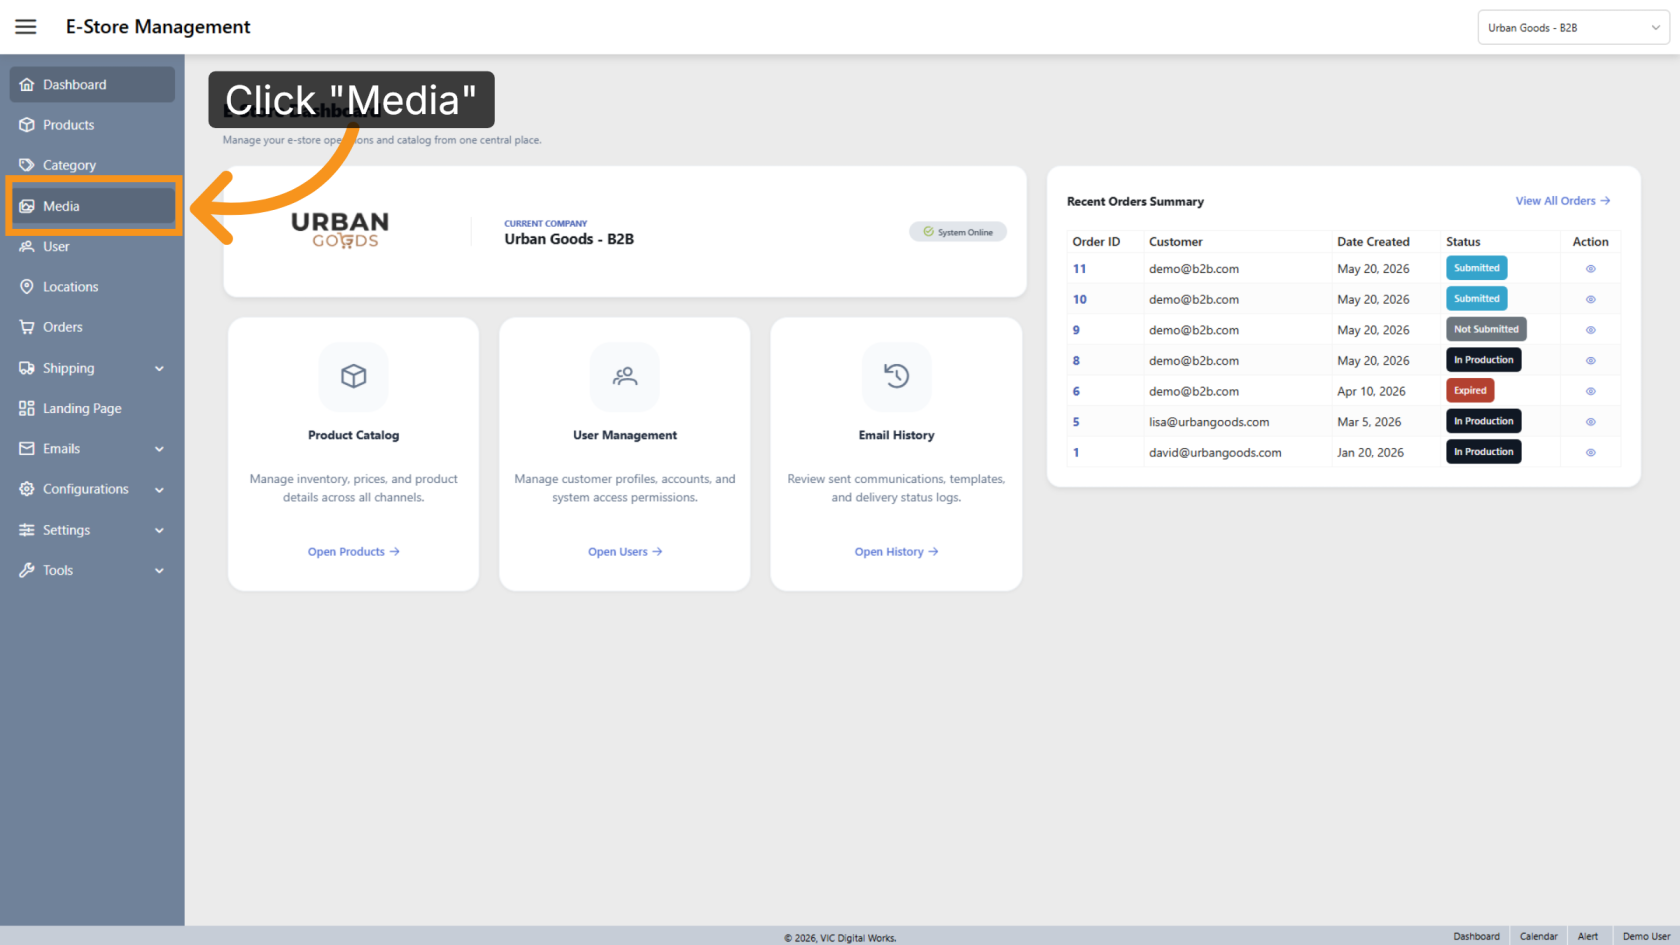
2. Open Media
Click Media to open the media management section for the selected company.
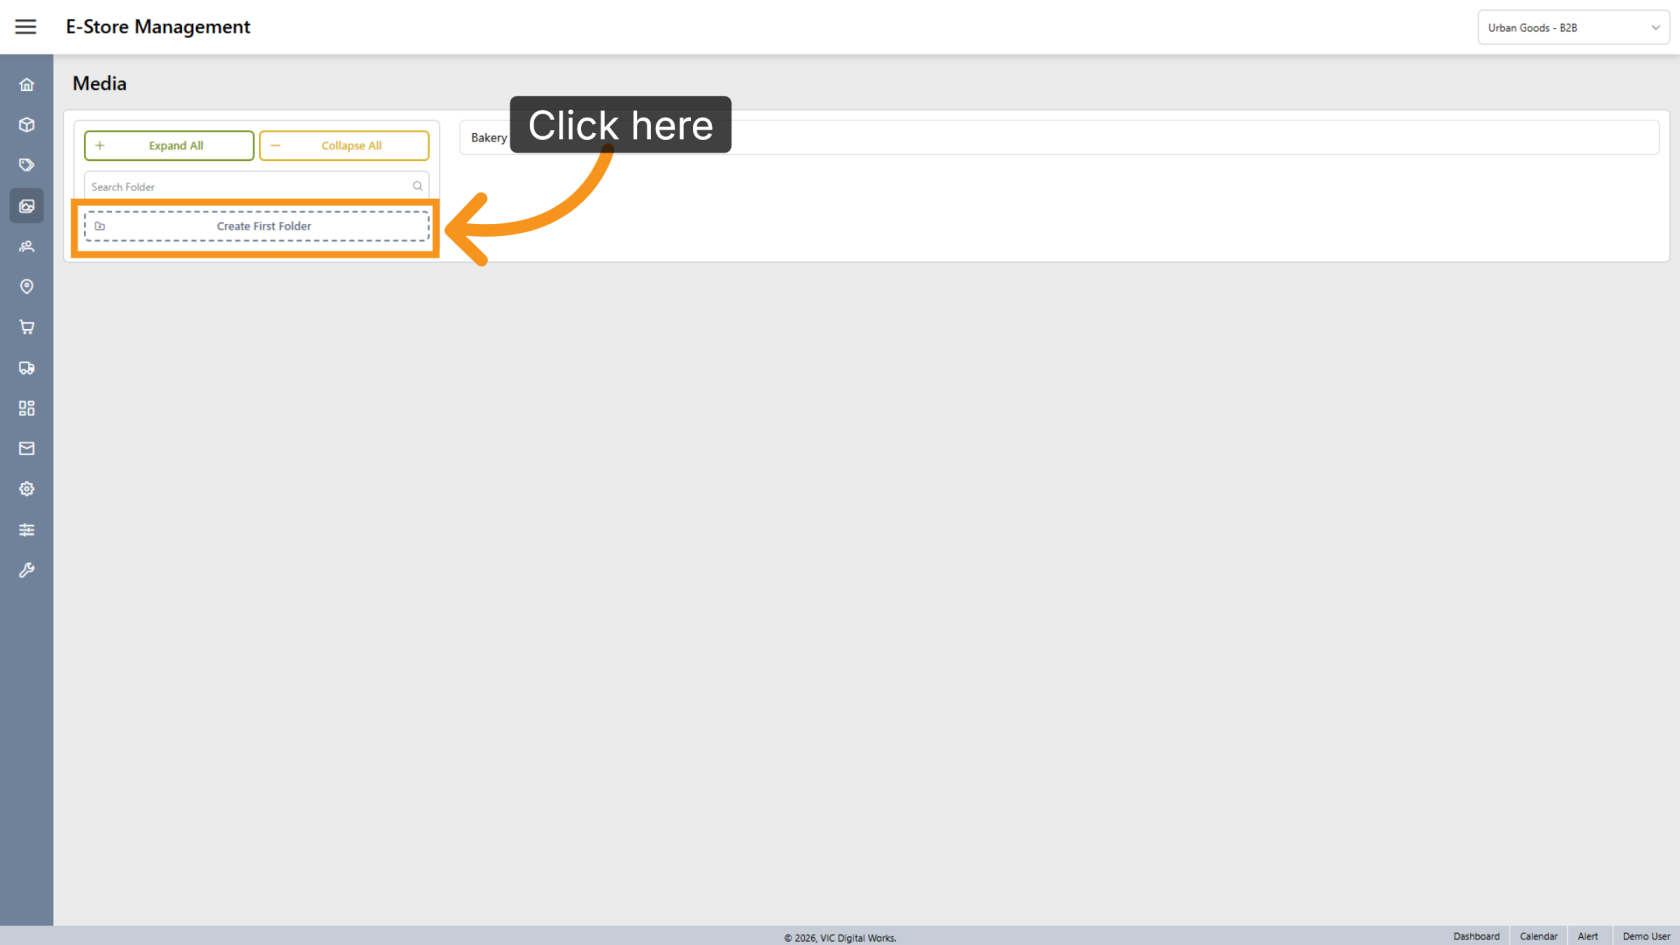
3. Create a Folder
Click Create First Folder to start creating a media folder.
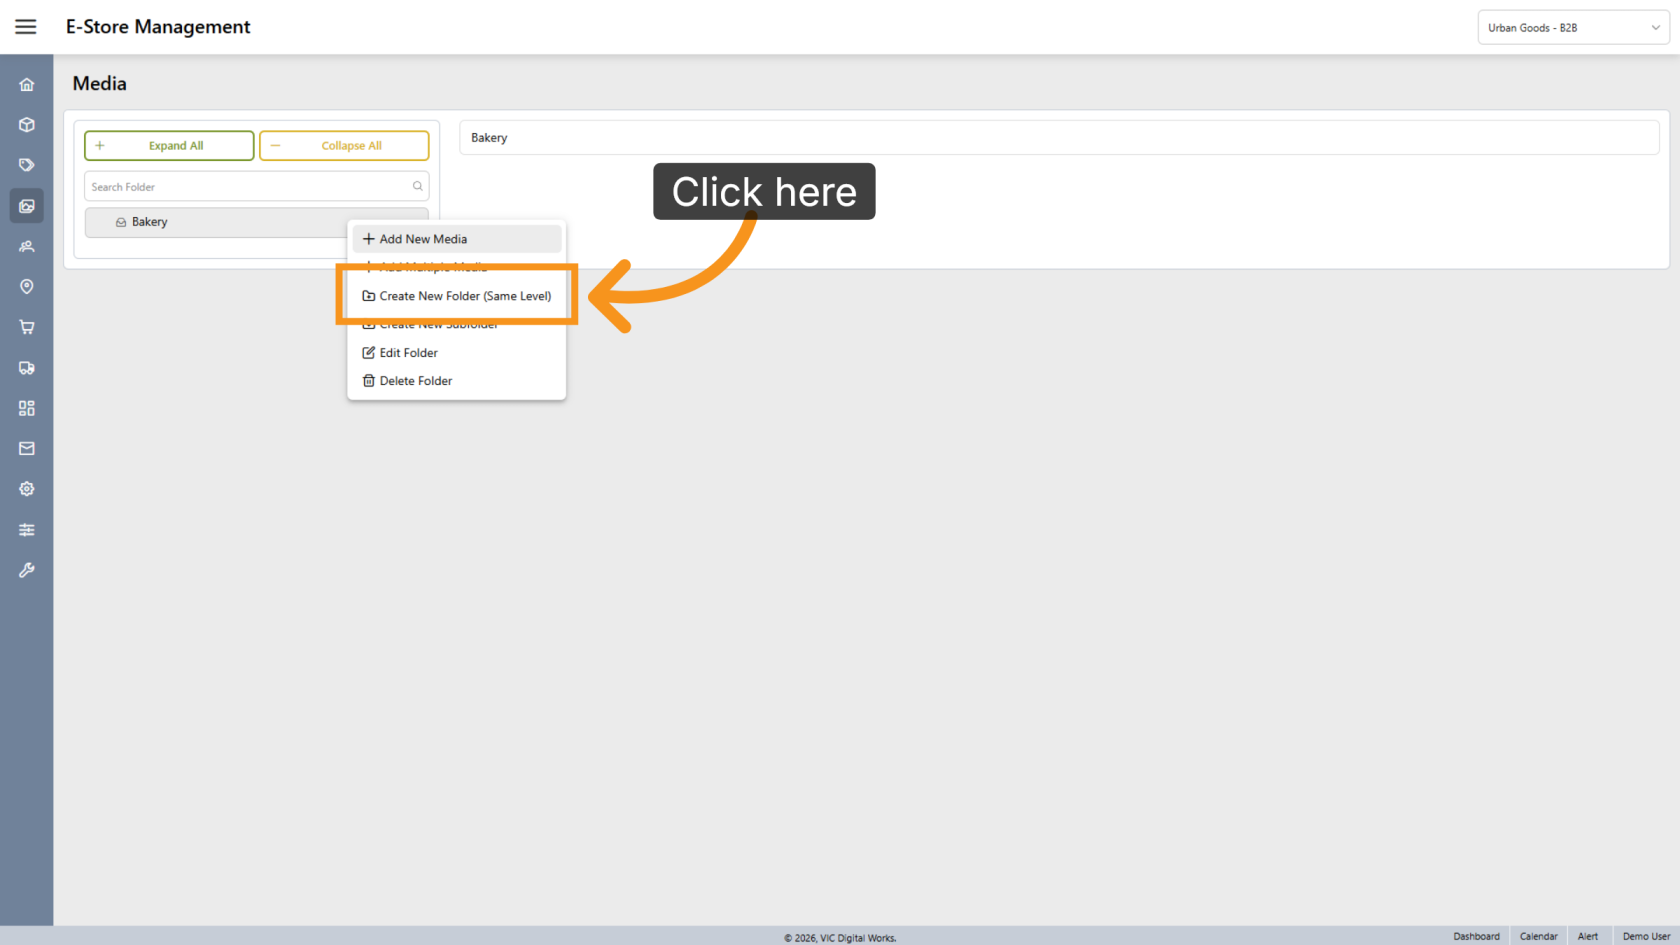
4. Create Additional Folders
To create another folder, right-click any existing folder and select Create New Folder.
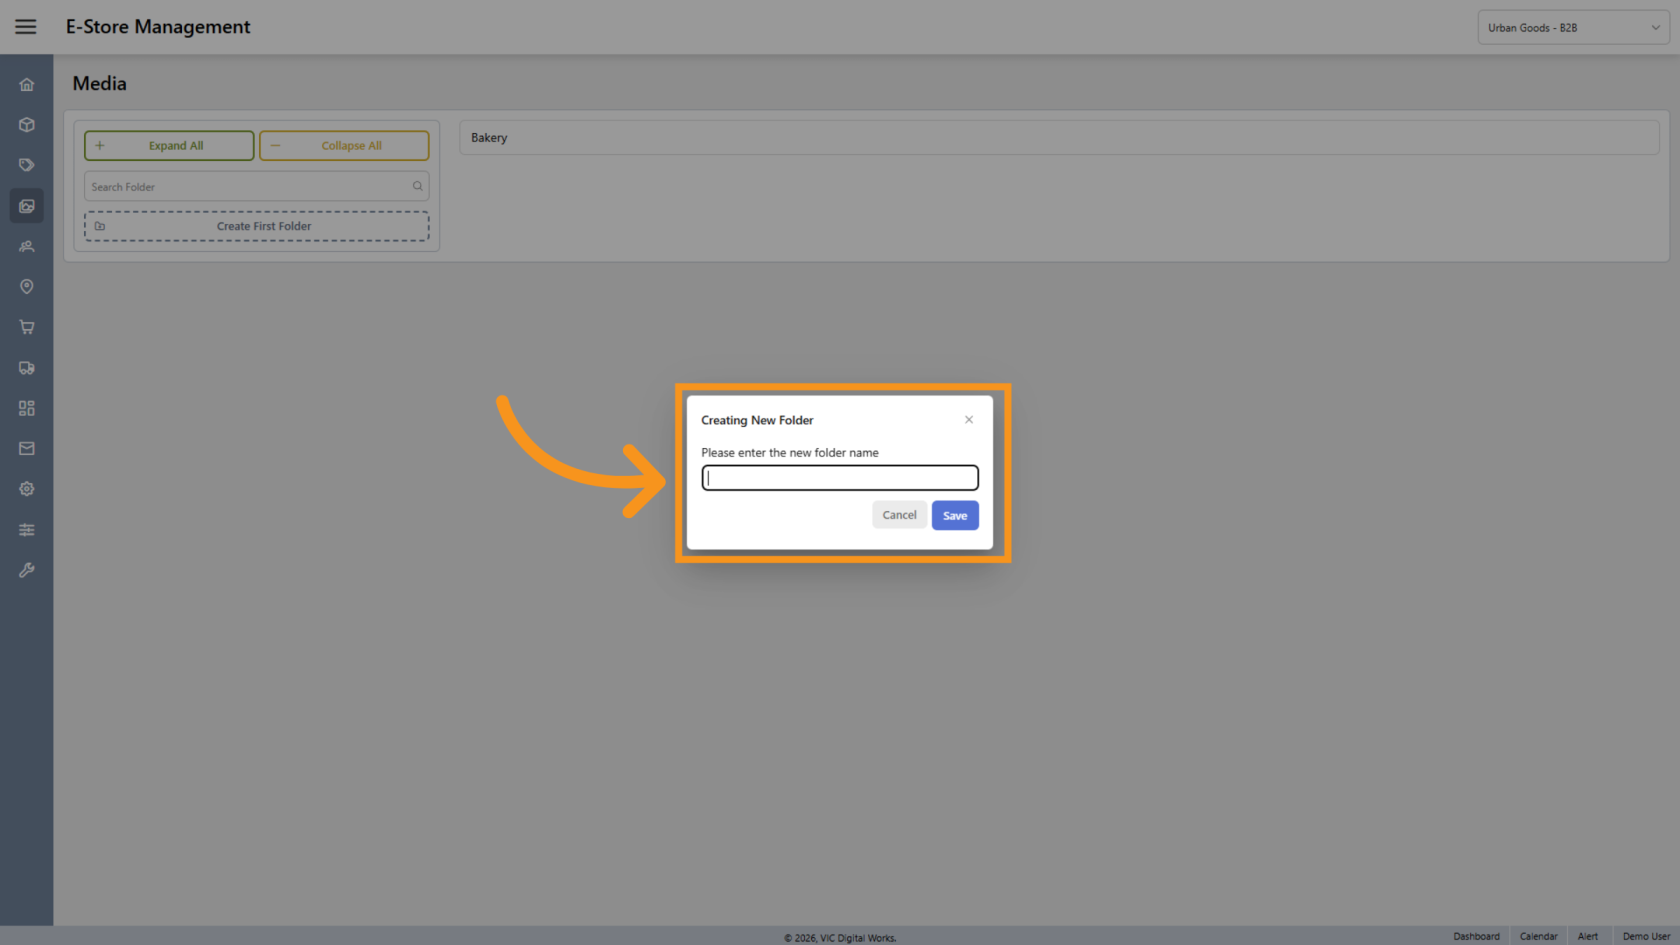
5. Enter the Folder Name
Enter the folder name, then click Save.
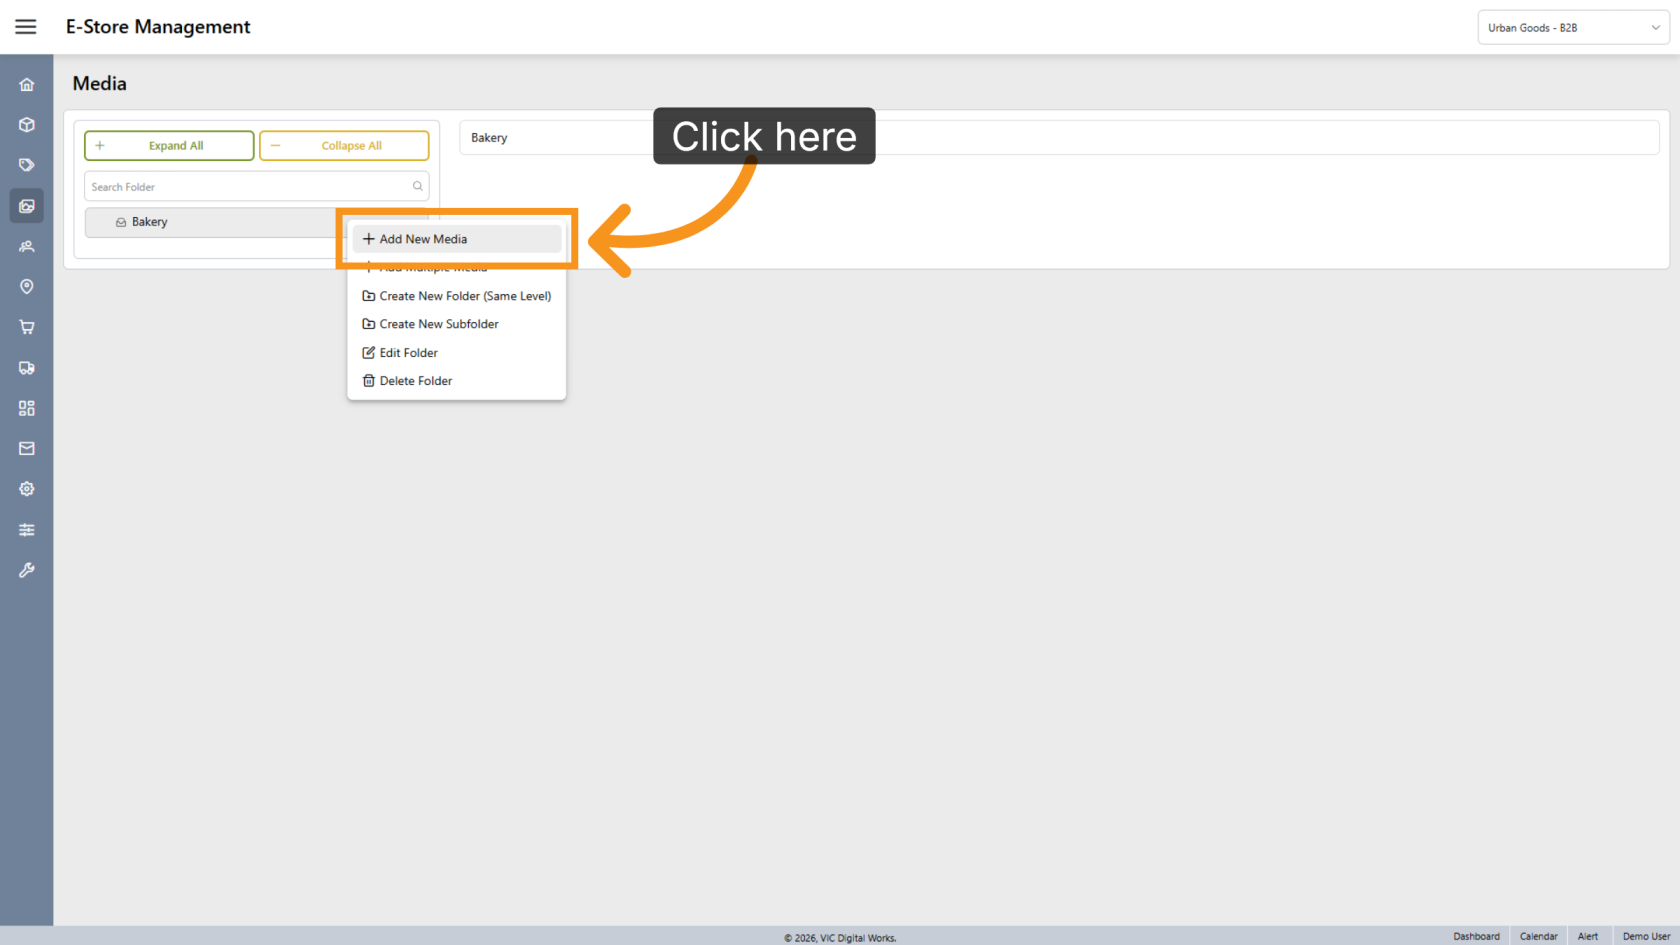
6. Add New Media
Right-click the folder and select Add New Media to upload images into the folder.
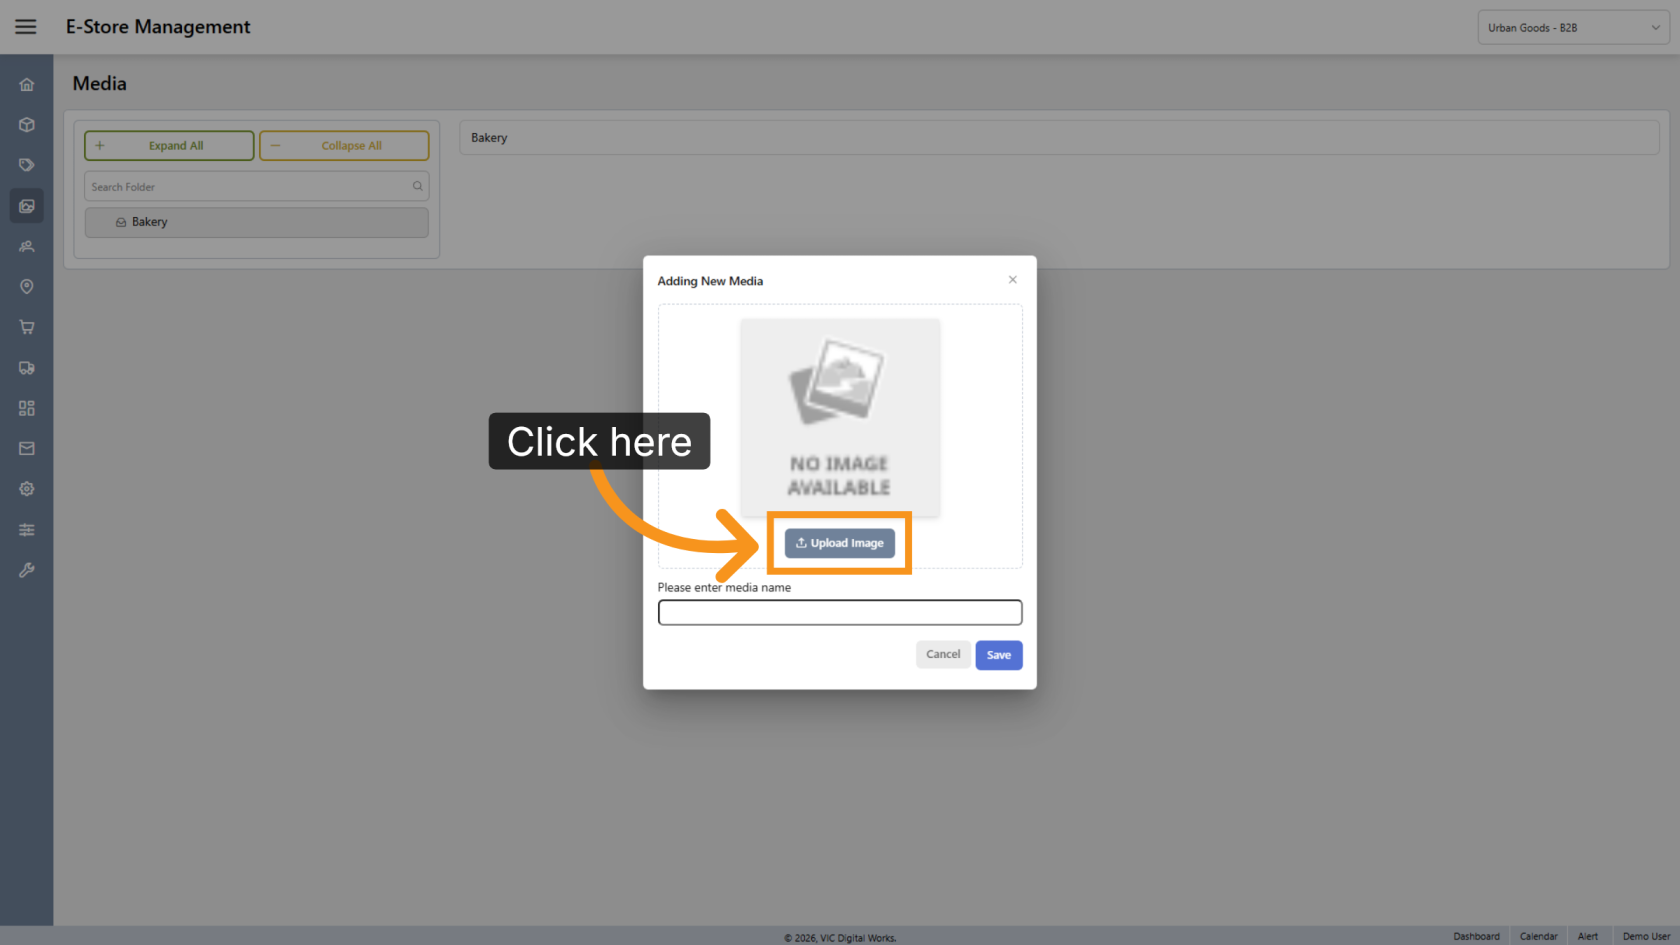
7. Upload Image
Click Upload Image to select and upload image file.
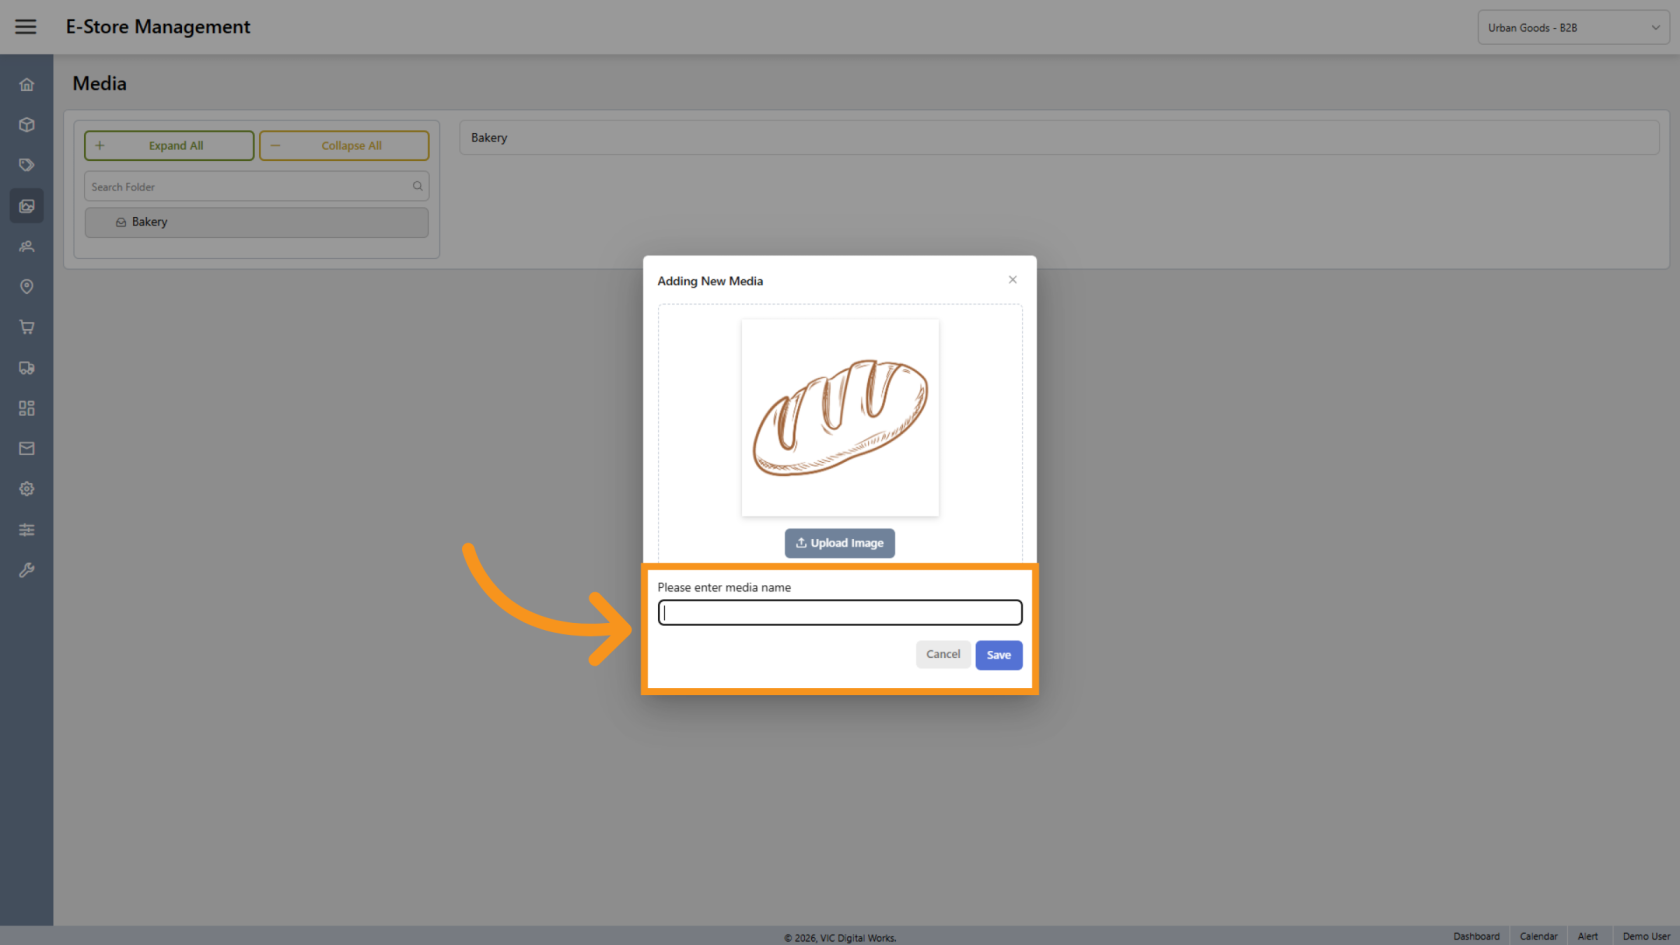
8. Enter the Image Name
Enter the image name, then click Save.
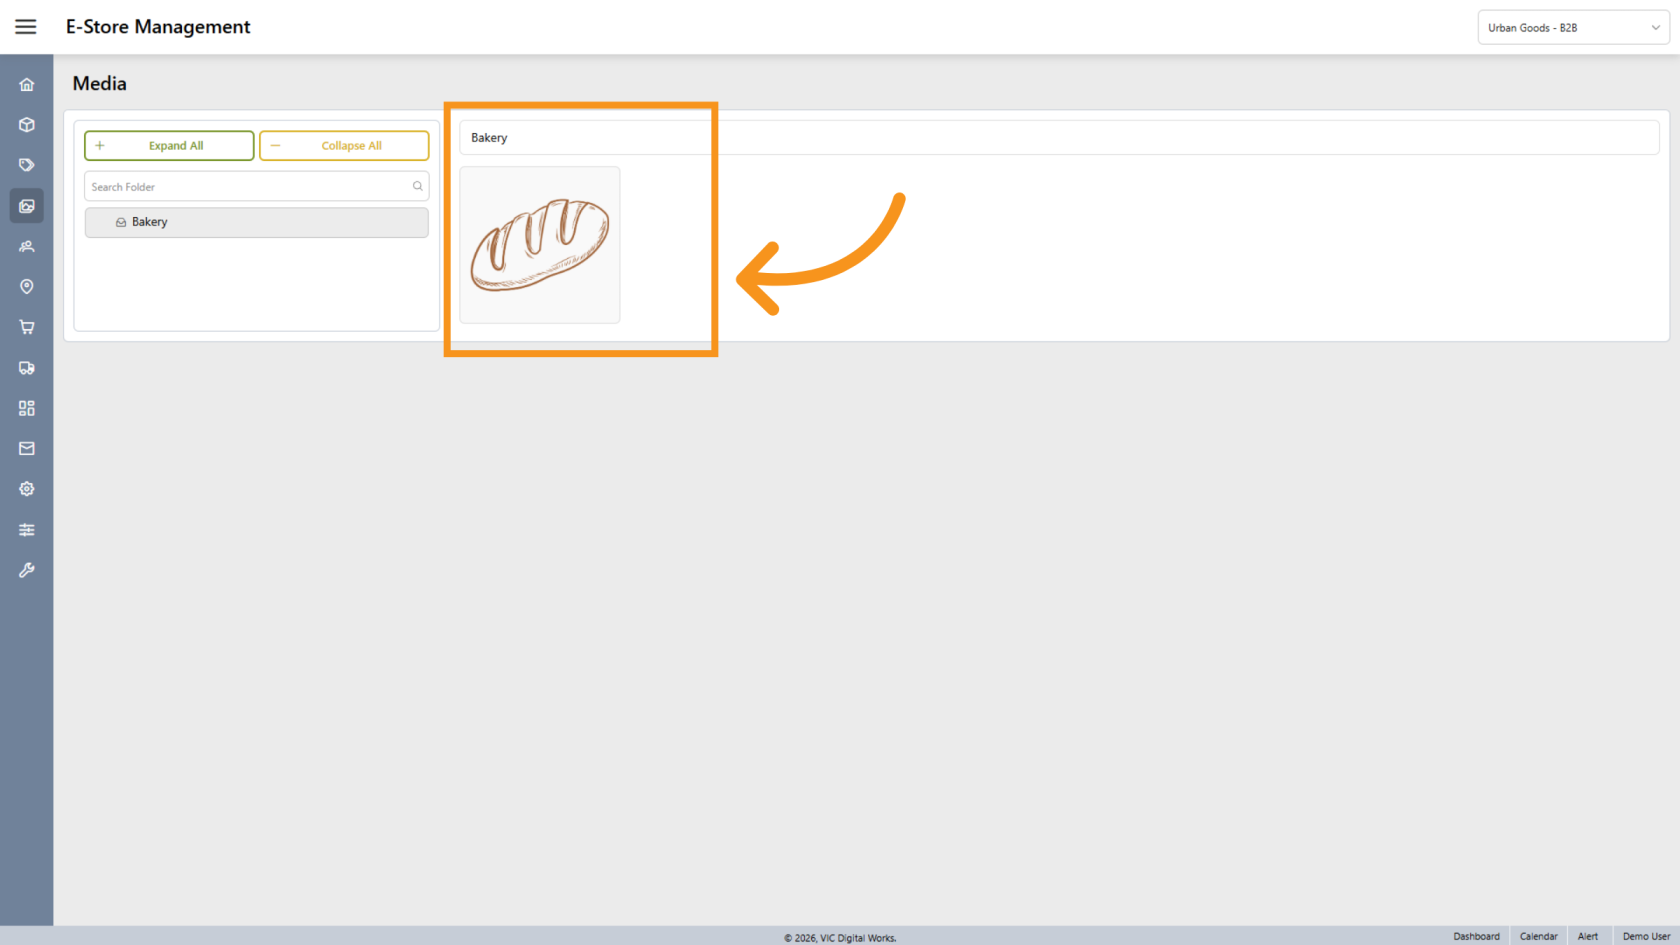
9. Review Uploaded Image
The uploaded image will appear on the right side. Repeat the previous steps to upload additional images into the folder.
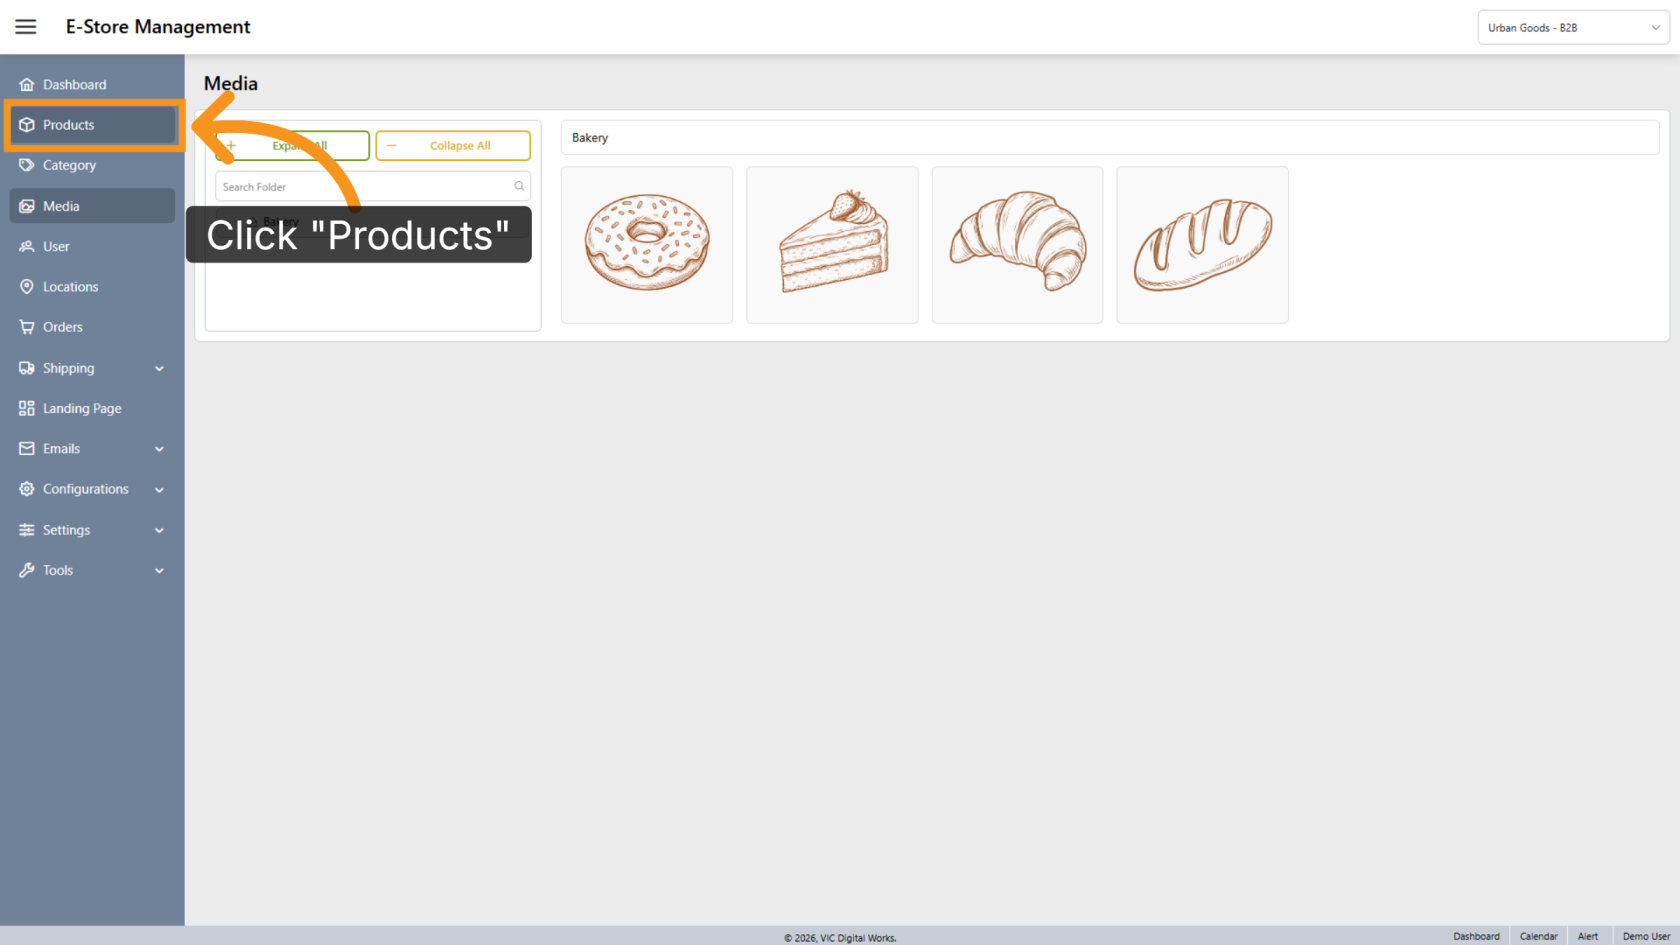
10. Navigate to Products
Click Products to open the product management section.
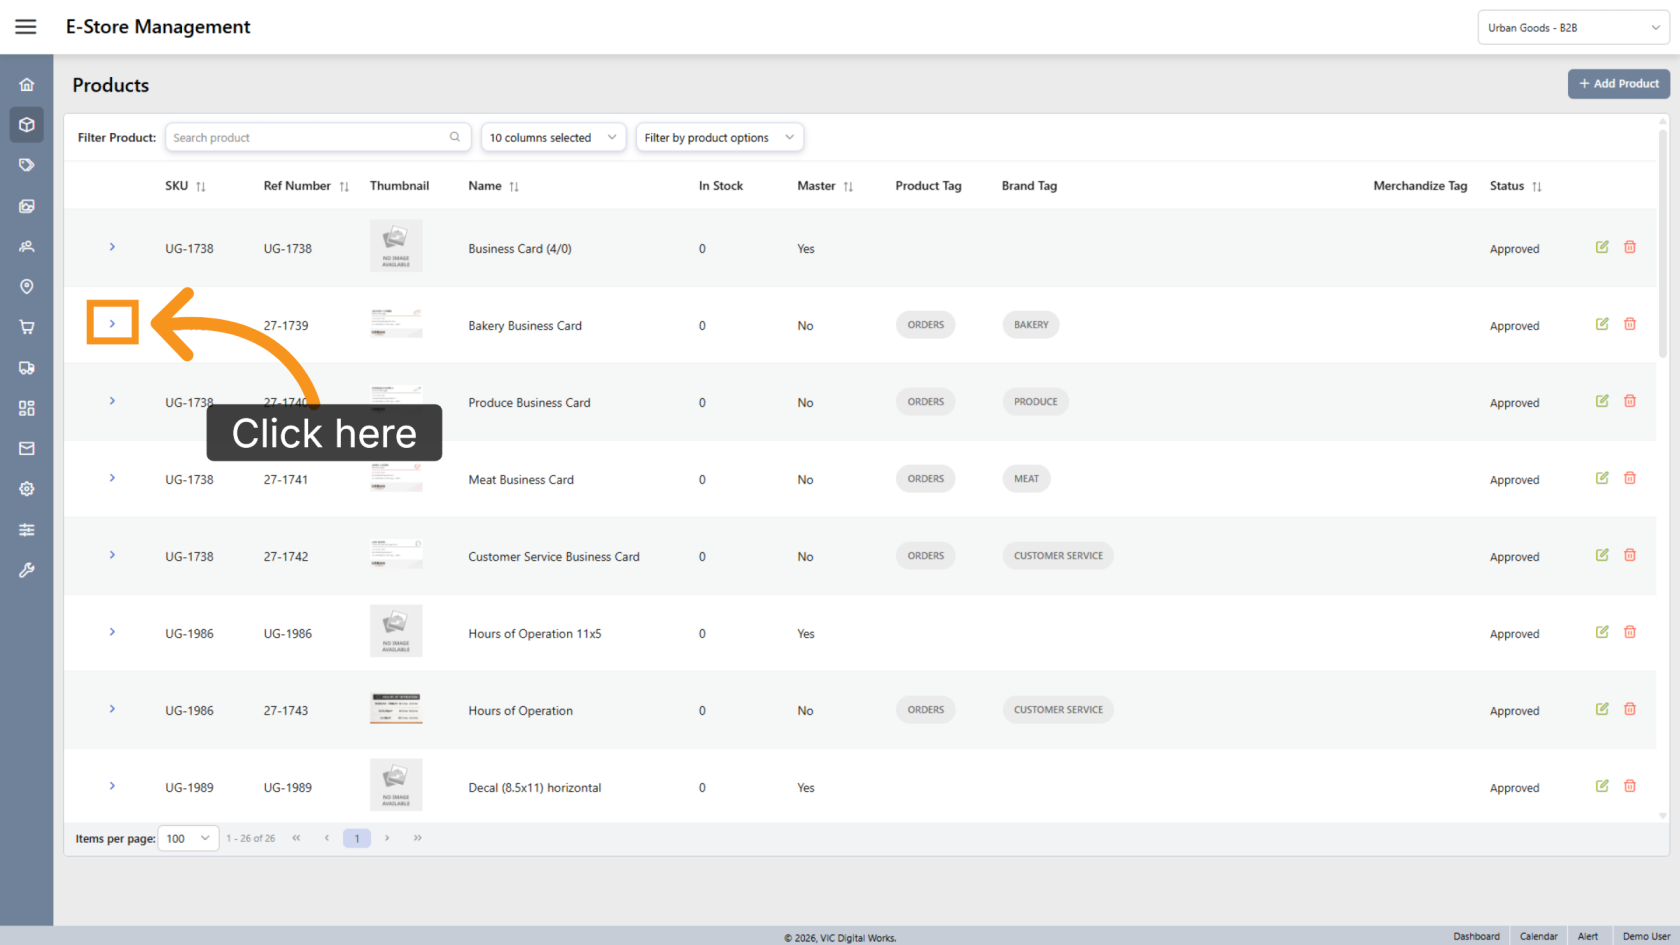
11. Open a Product
Select the product where you want to add the template.
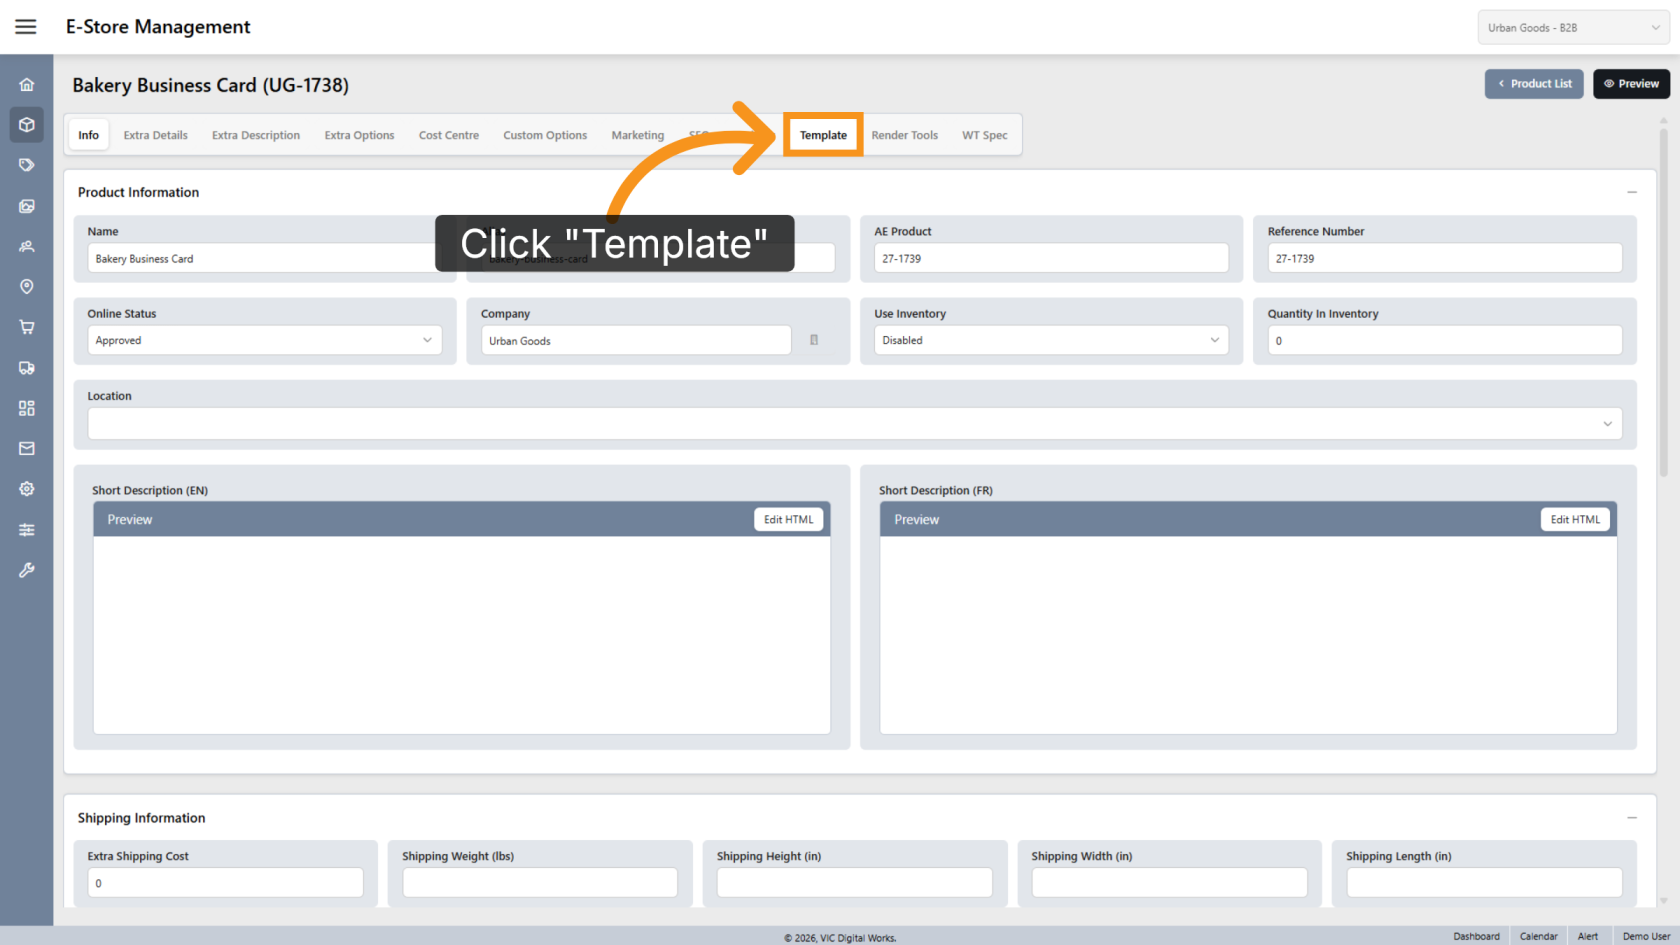
12. Open Template Settings
Click Template to manage the template settings for the selected product.
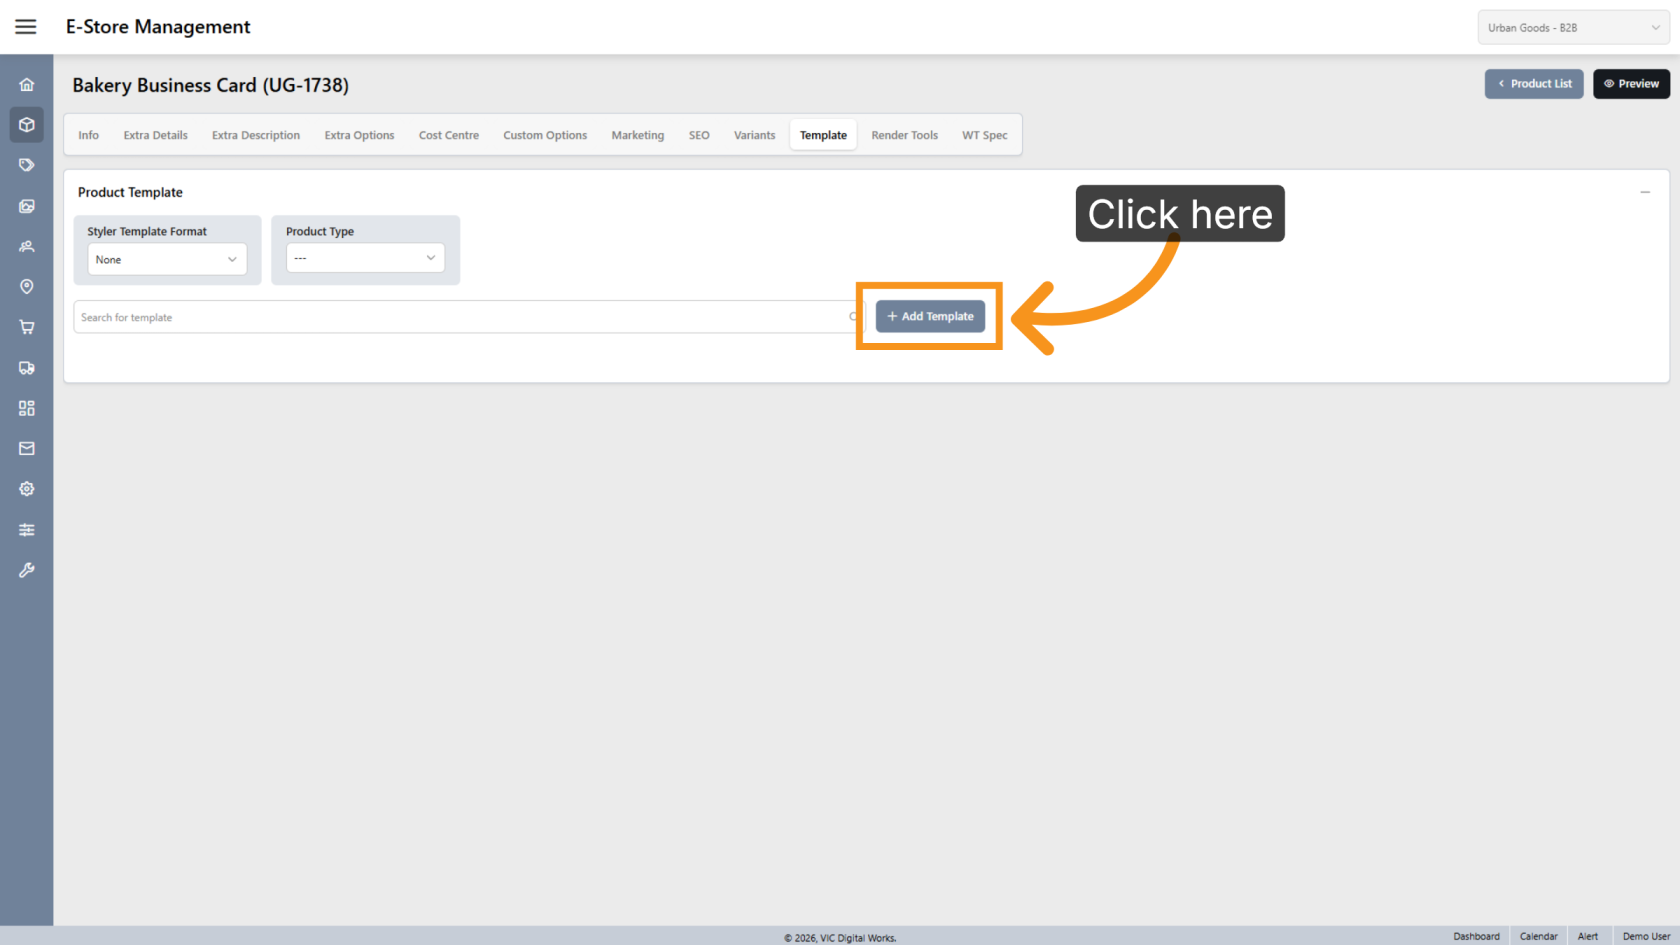
13. Add a Template
Click Add Template to create a new template.
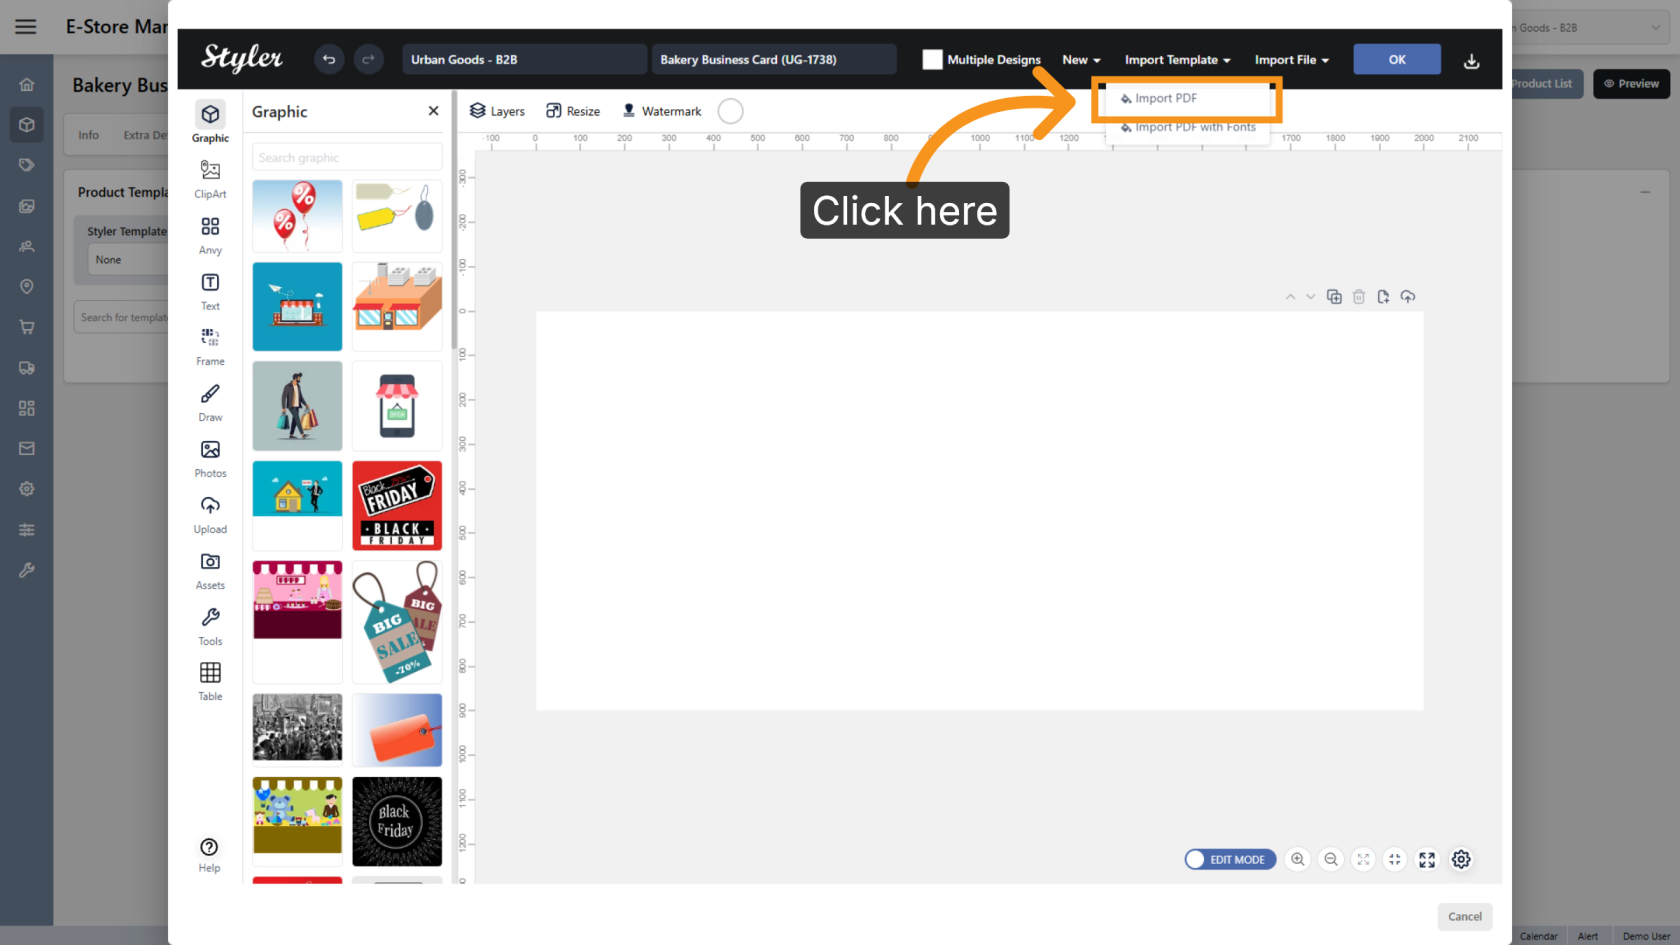
14. Import the Template
Click Import Template and select Import PDF.
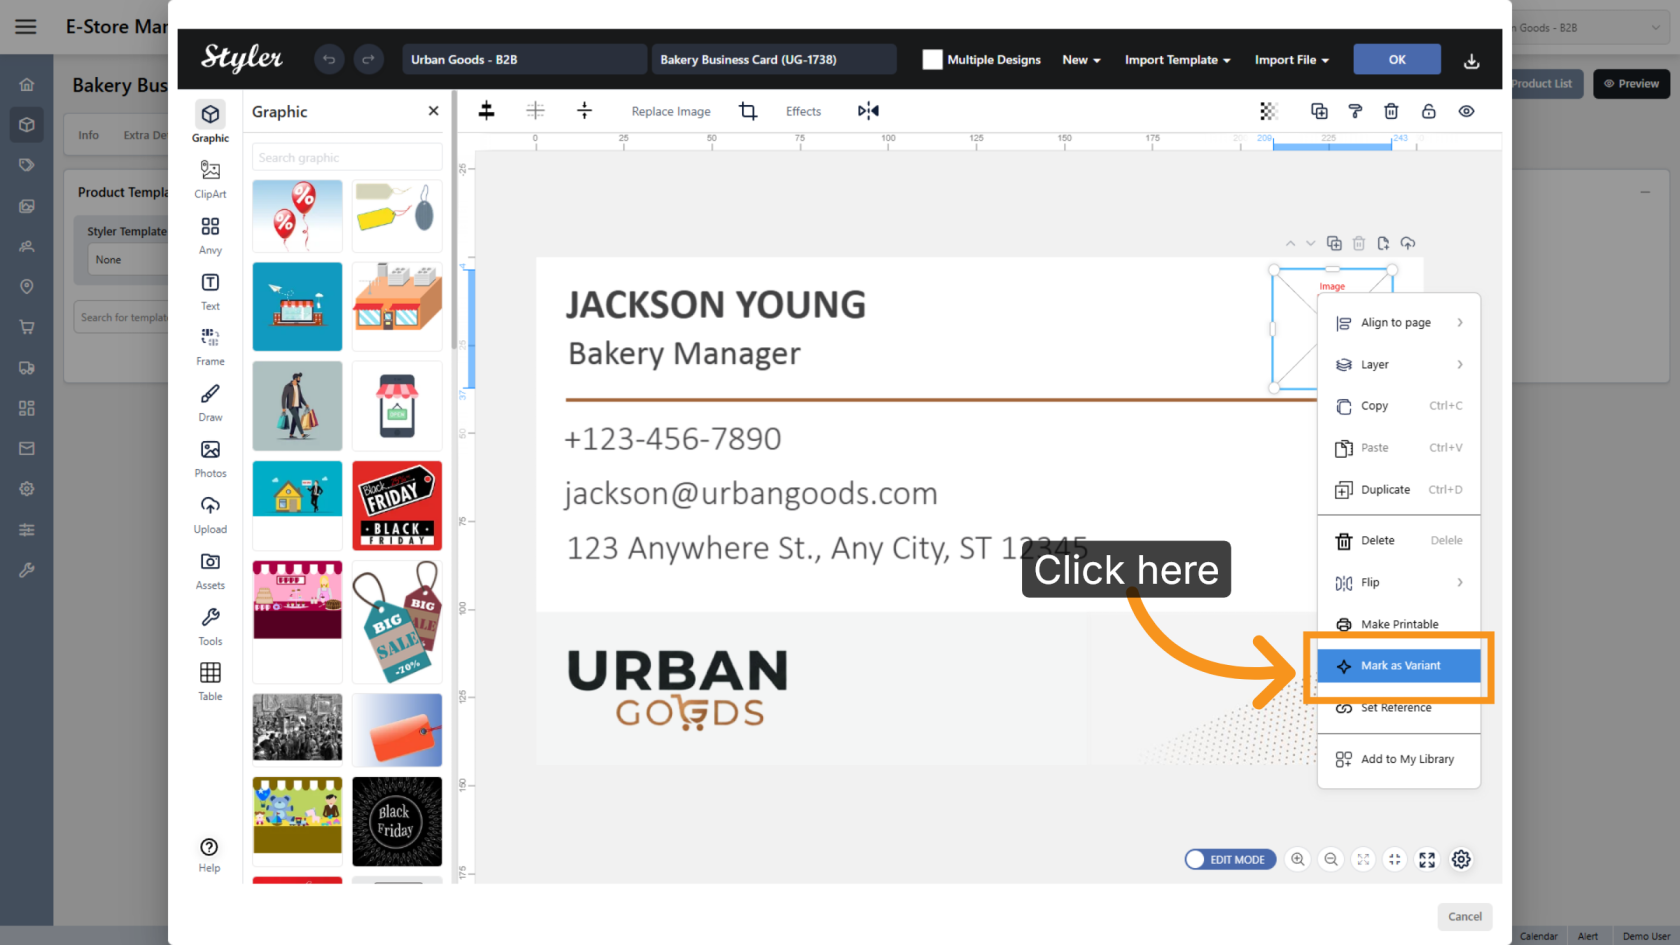
15. Mark the Image as a Variant
Right-click the image object users should be able to replace, then select Mark as Variant.
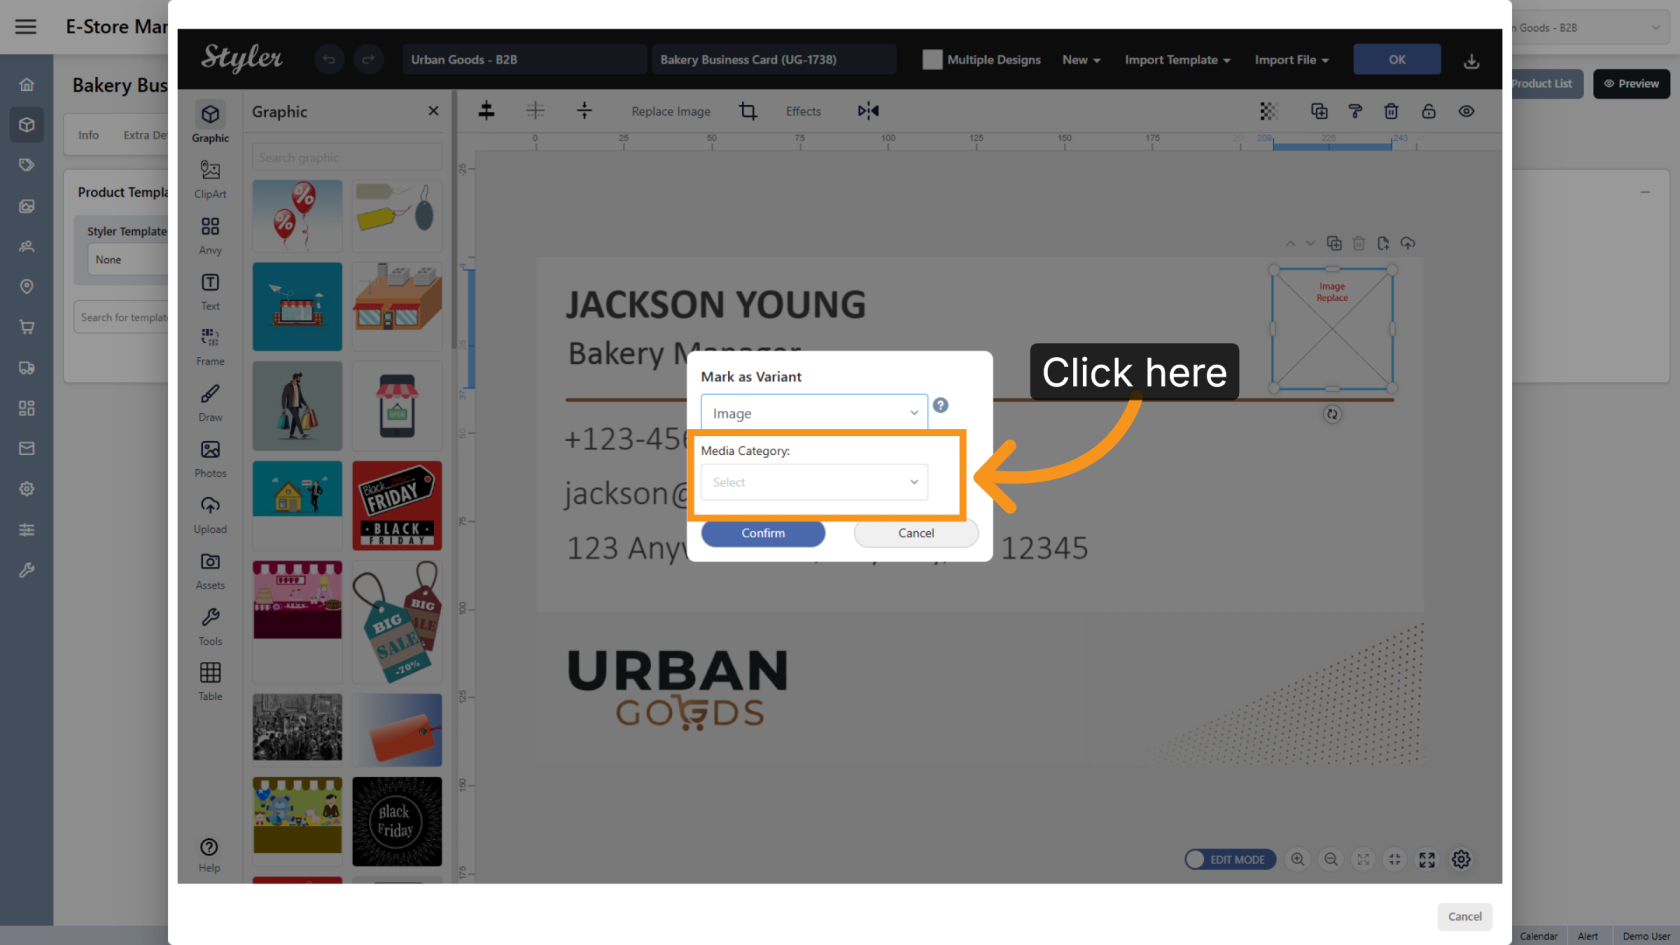
16. Select the Variant Type
Click Select a variant type and choose Image.

17. Select the Media Category
Choose the media category that contains the uploaded images.
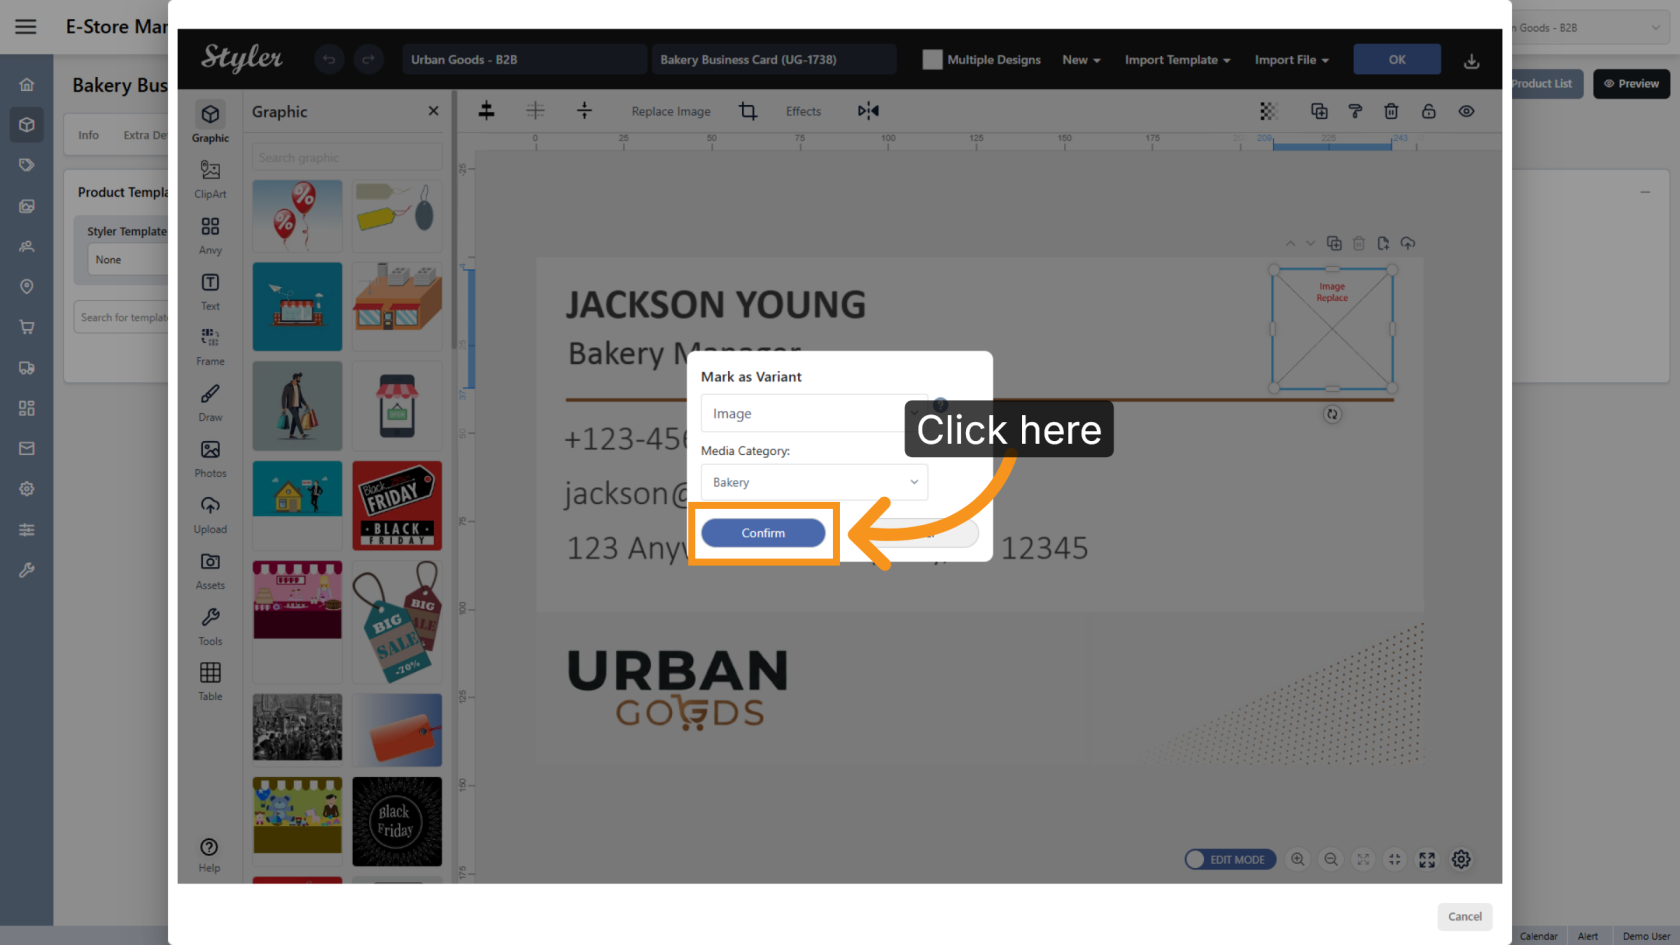
18. Confirm the Settings
Click Confirm to save the image variant settings.
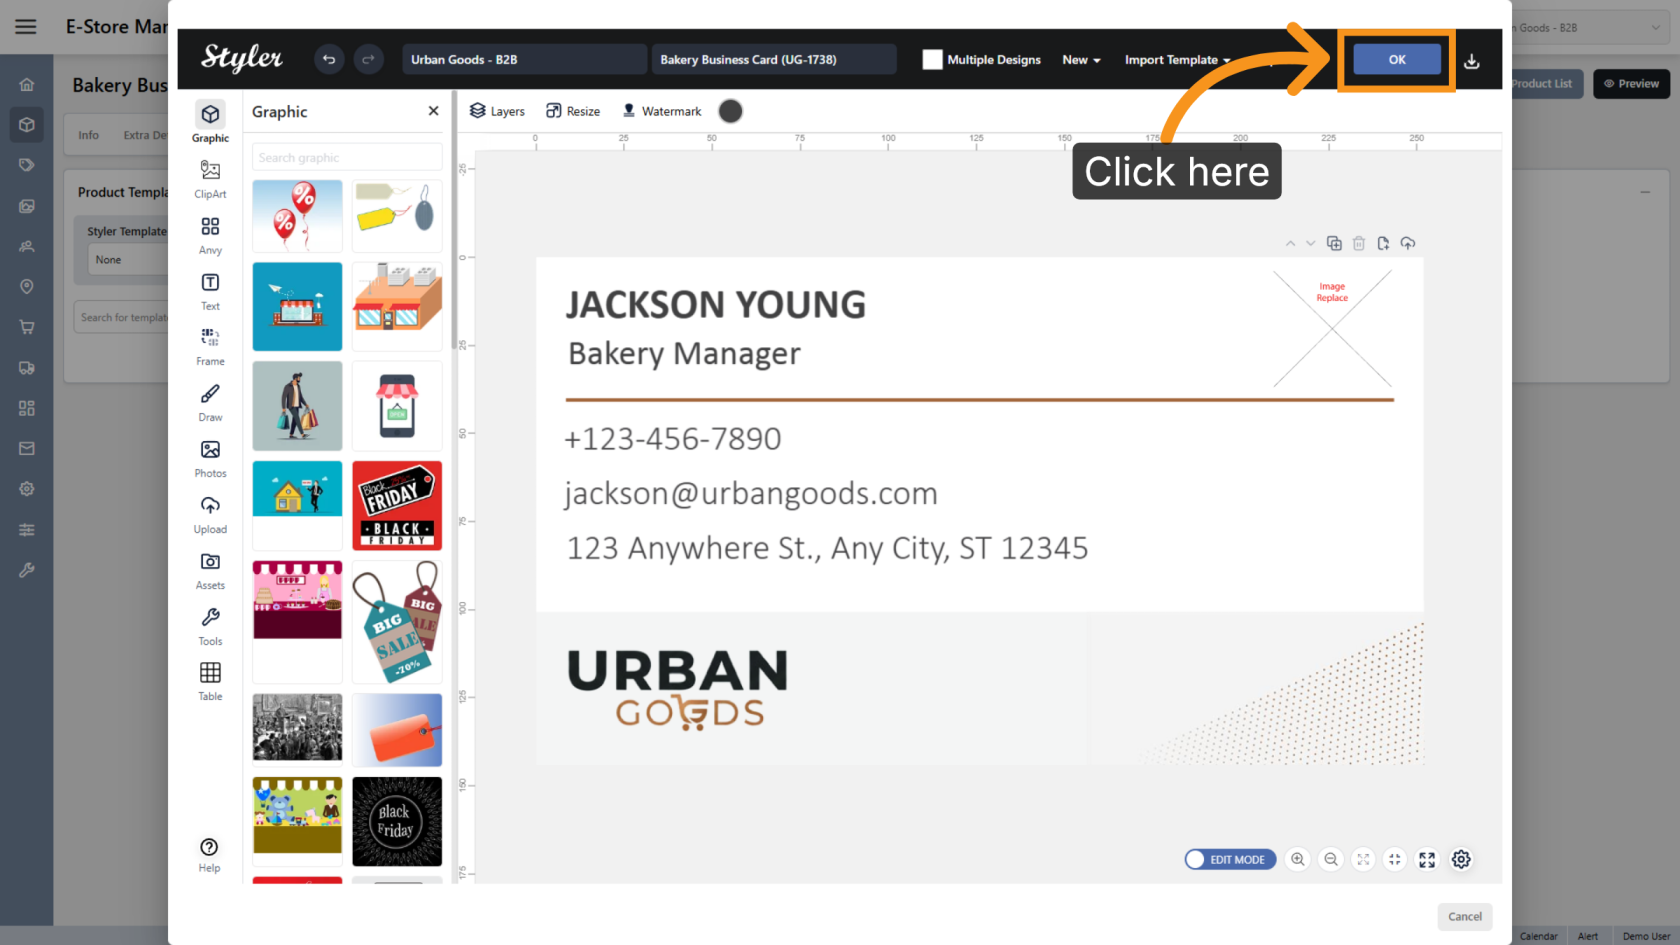
19. Save the Configuration
Click OK to finalize the settings.
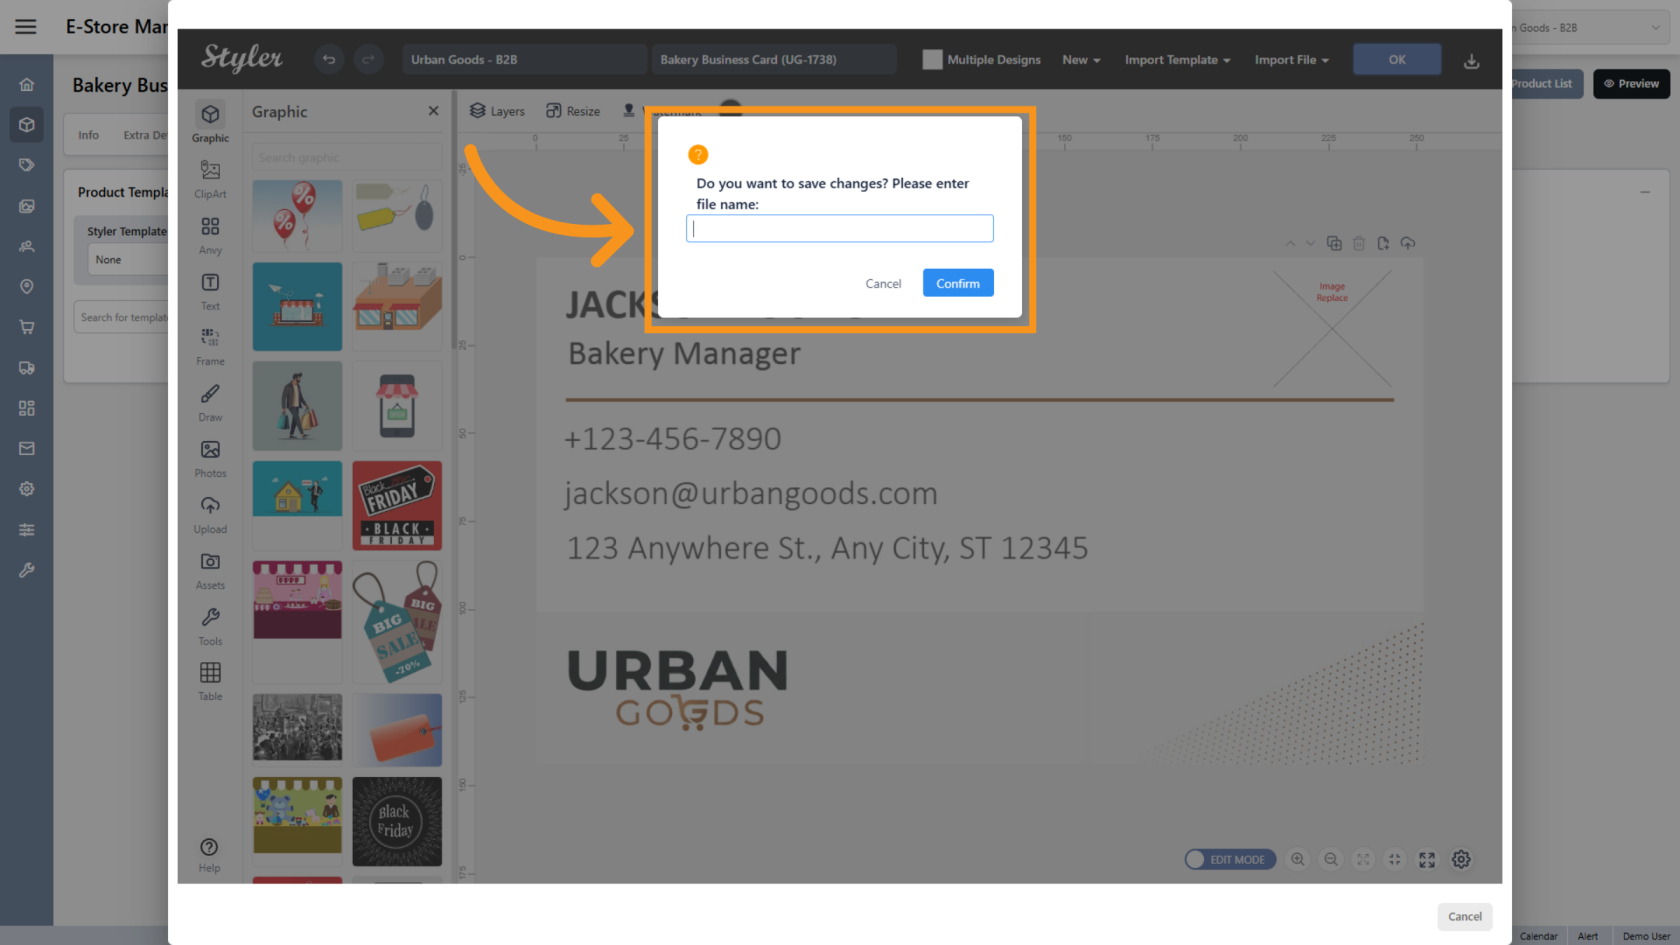
20. Enter the File Name
Enter the file name, then click Confirm.
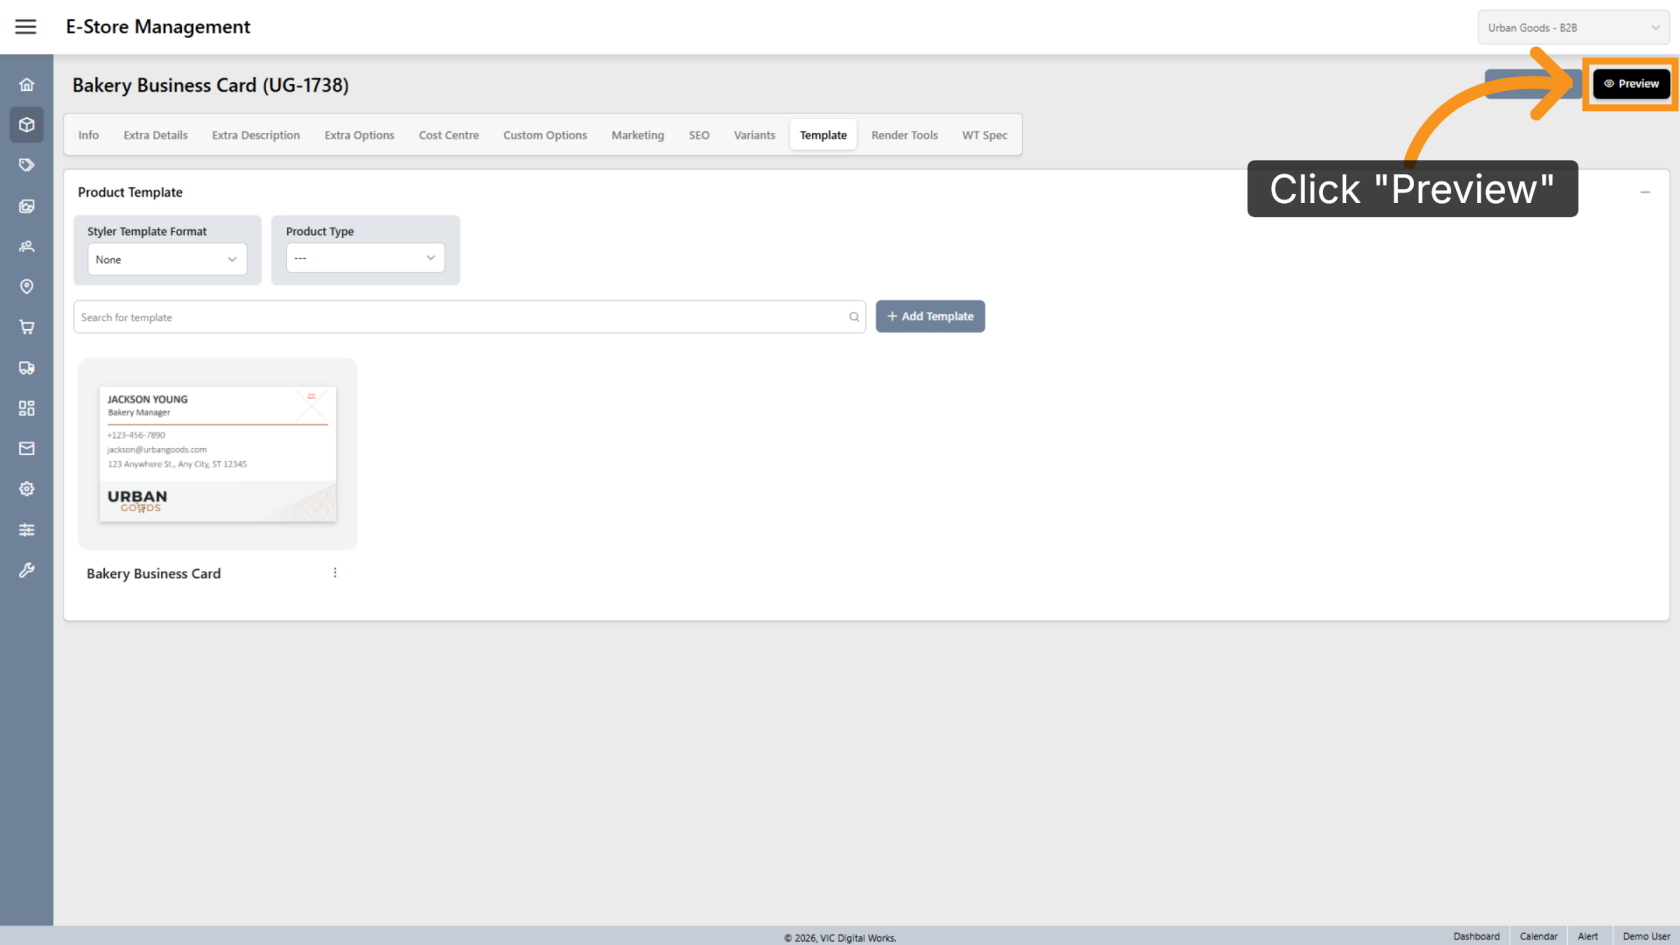
21. Preview the Design
Click Preview to review the final layout.
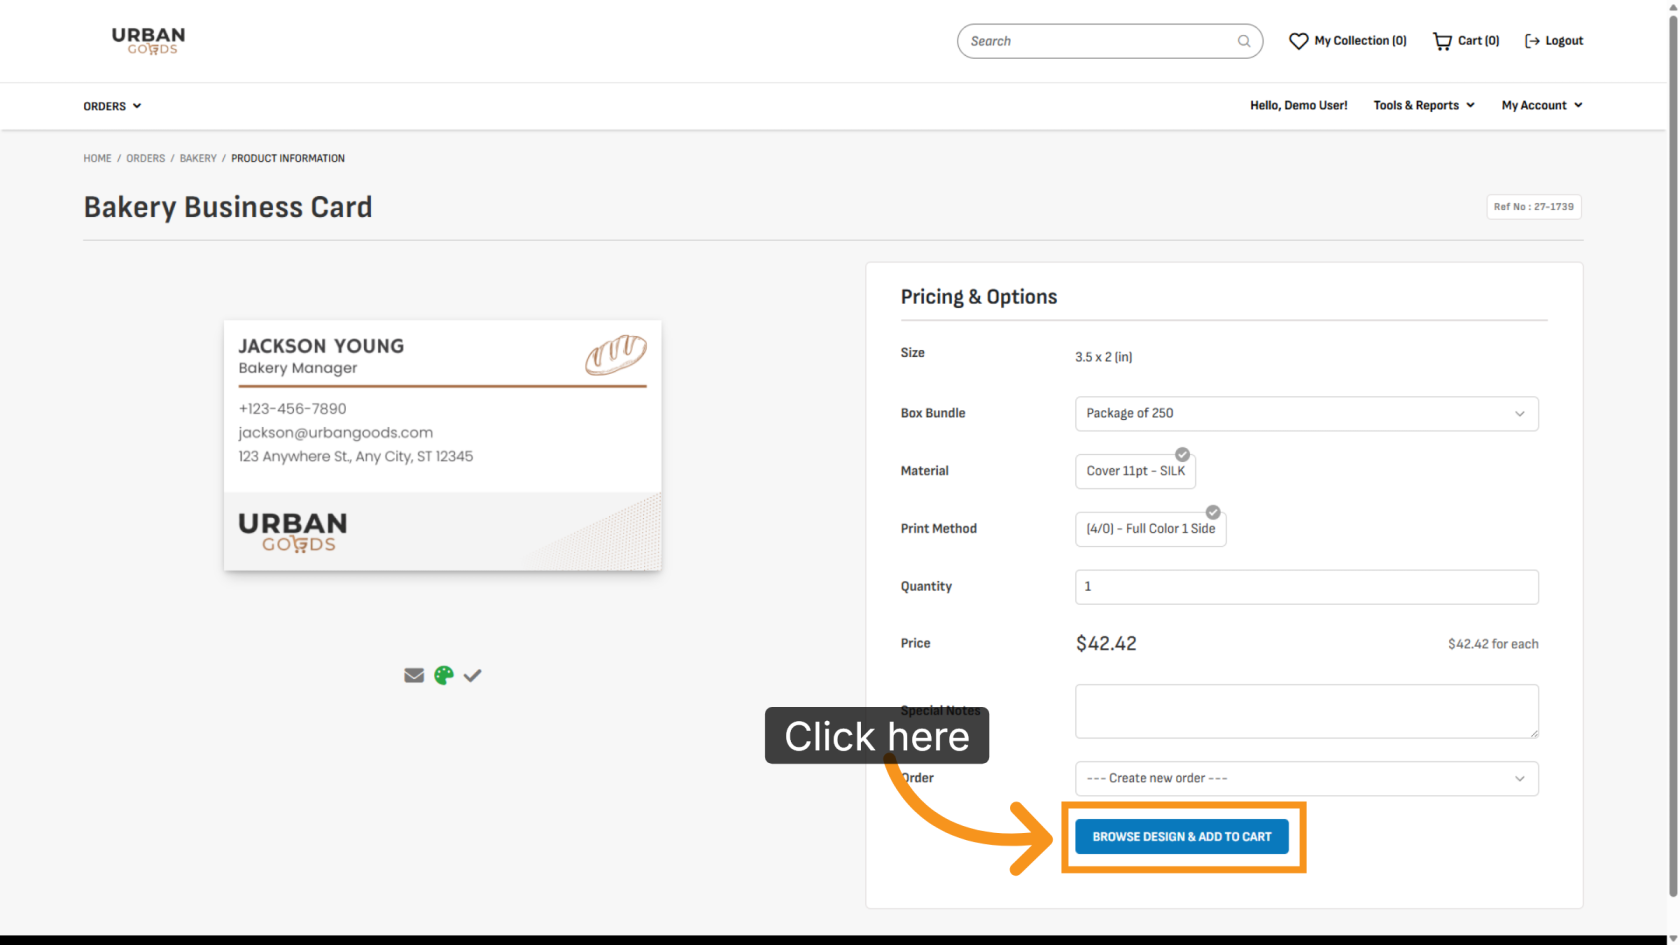
22. Browse Available Designs
Click BROWSE DESIGN & ADD TO CART to select a design for printing.
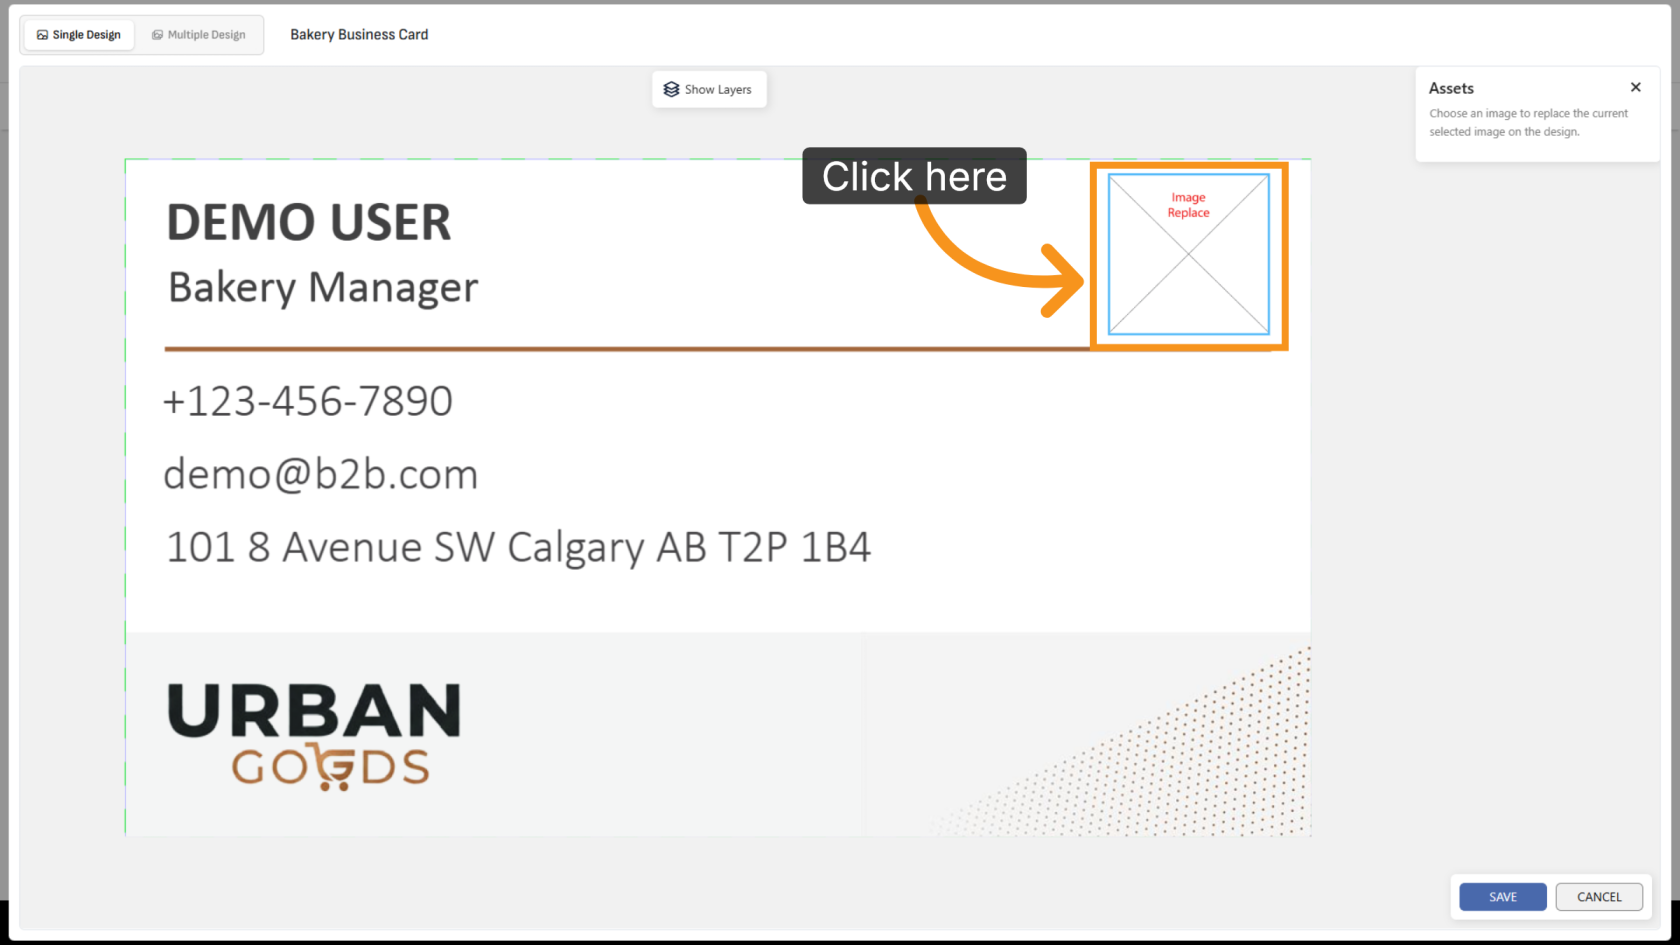
23. Update the Image
Click the image object to start replacing the image.
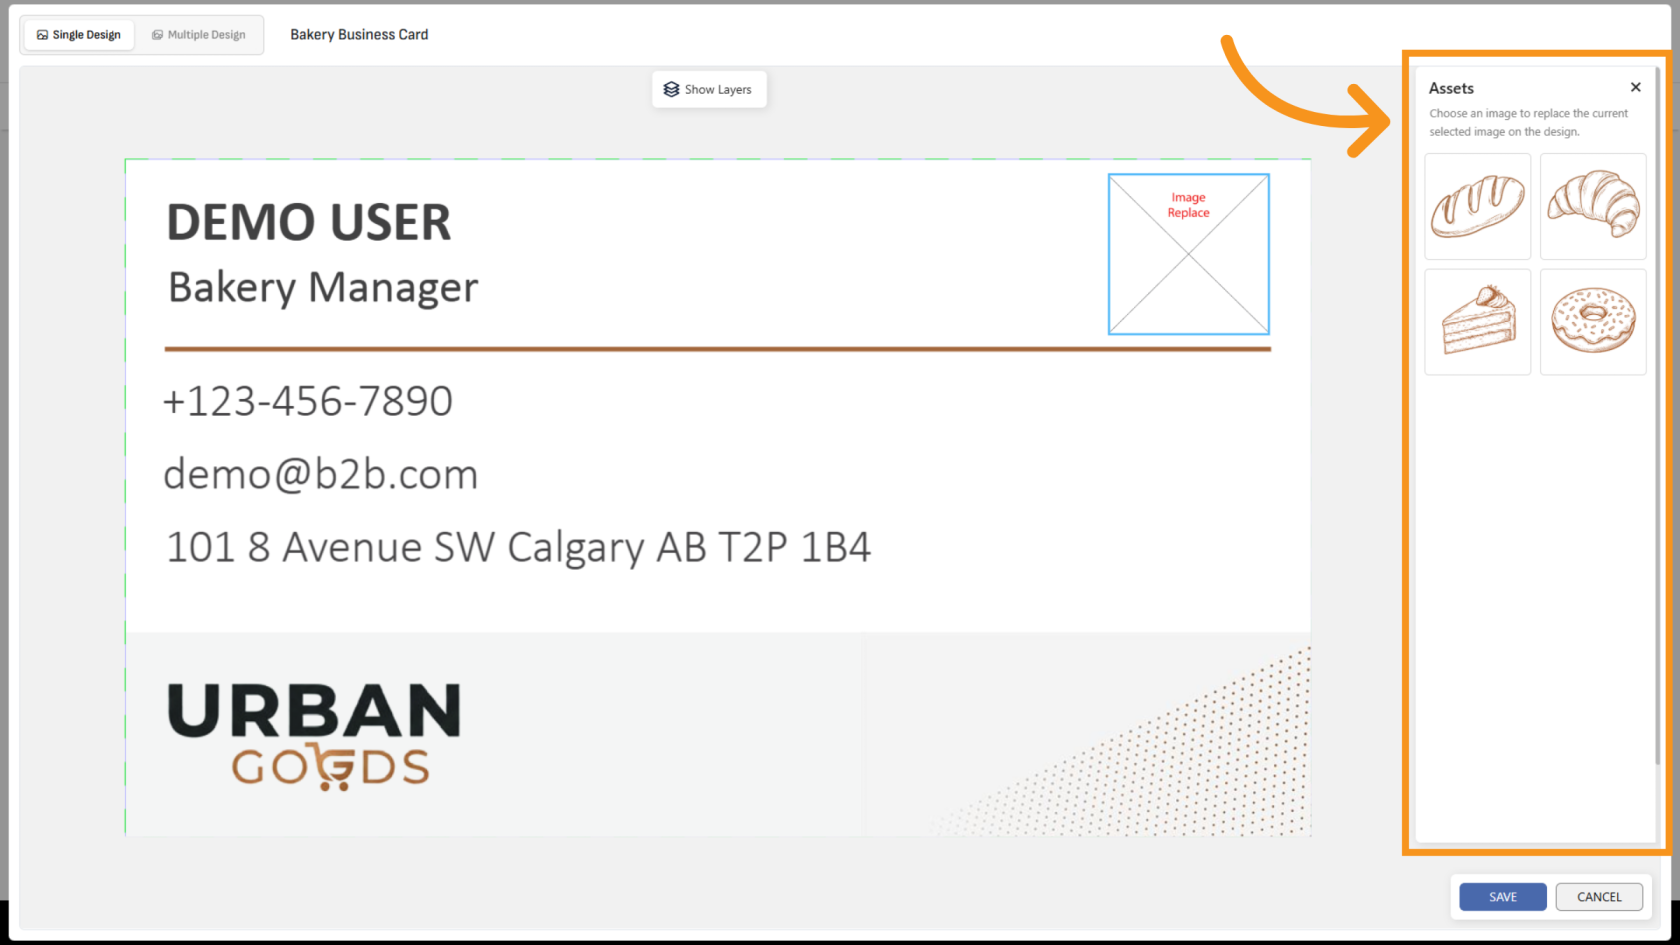
24. Select an Asset
All images from the selected media category will appear on the right side. Select the image you want to use in the design.
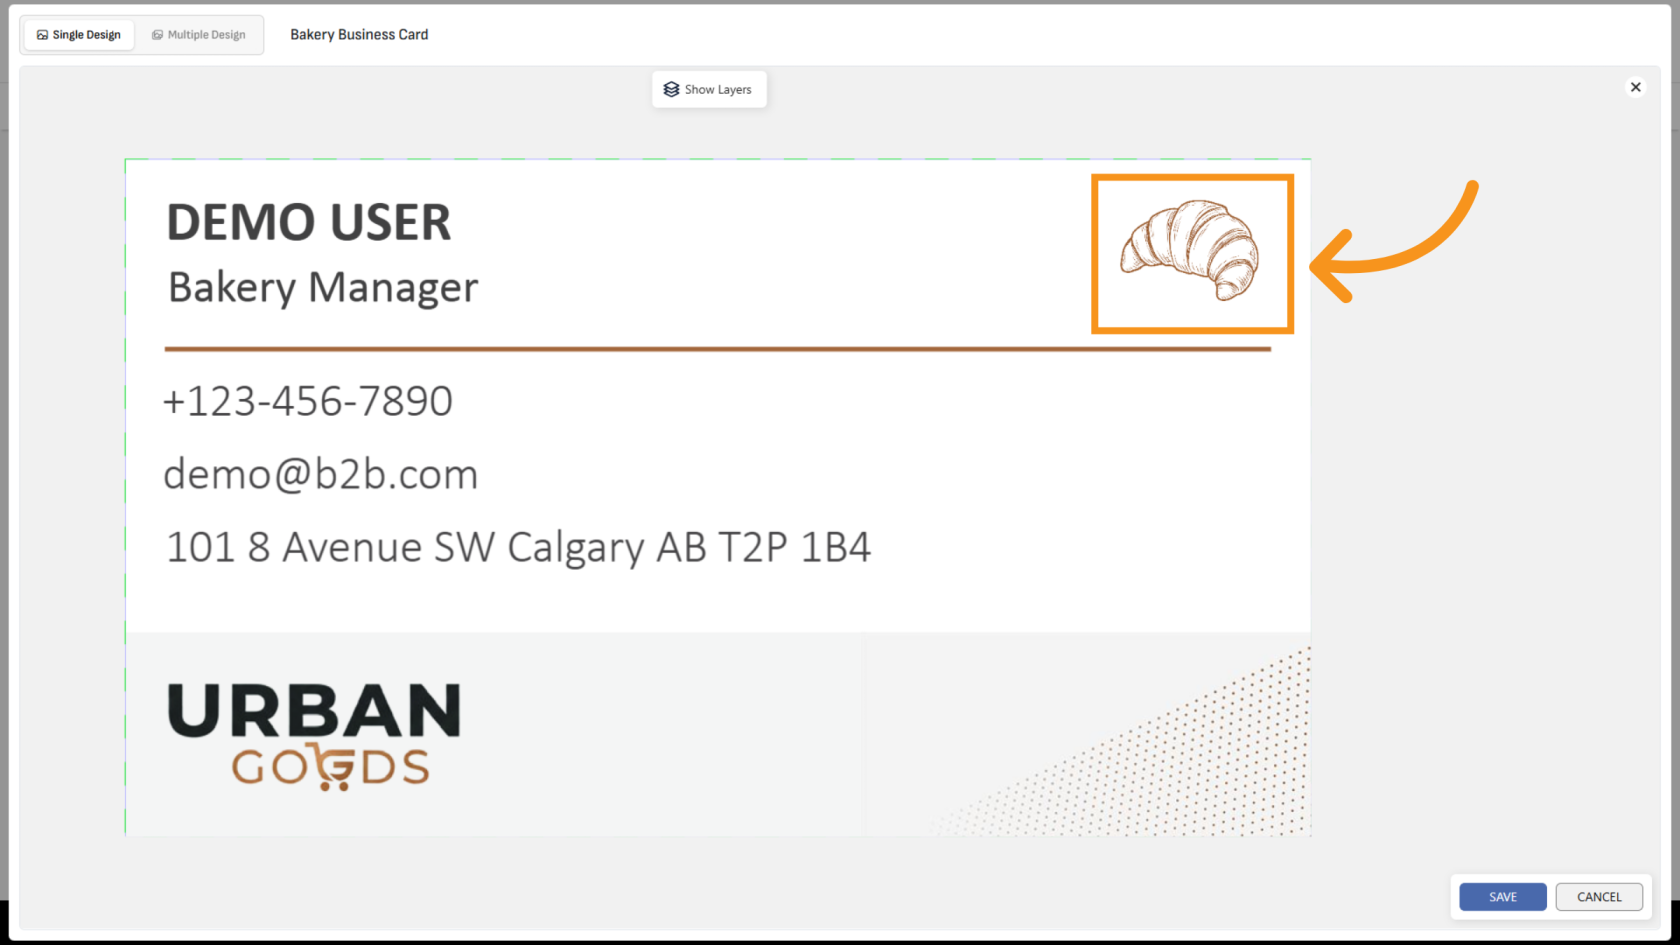
25. Review the Updated Design
After selecting an image, the design will automatically update with the new image.
You have successfully configured image replacement, managed media folders, and customized image variants within the template.