
Replace Logo
This tutorial shows you how to configure a template so customers can replace the logo with their own when customizing a product.
Video Tutorial
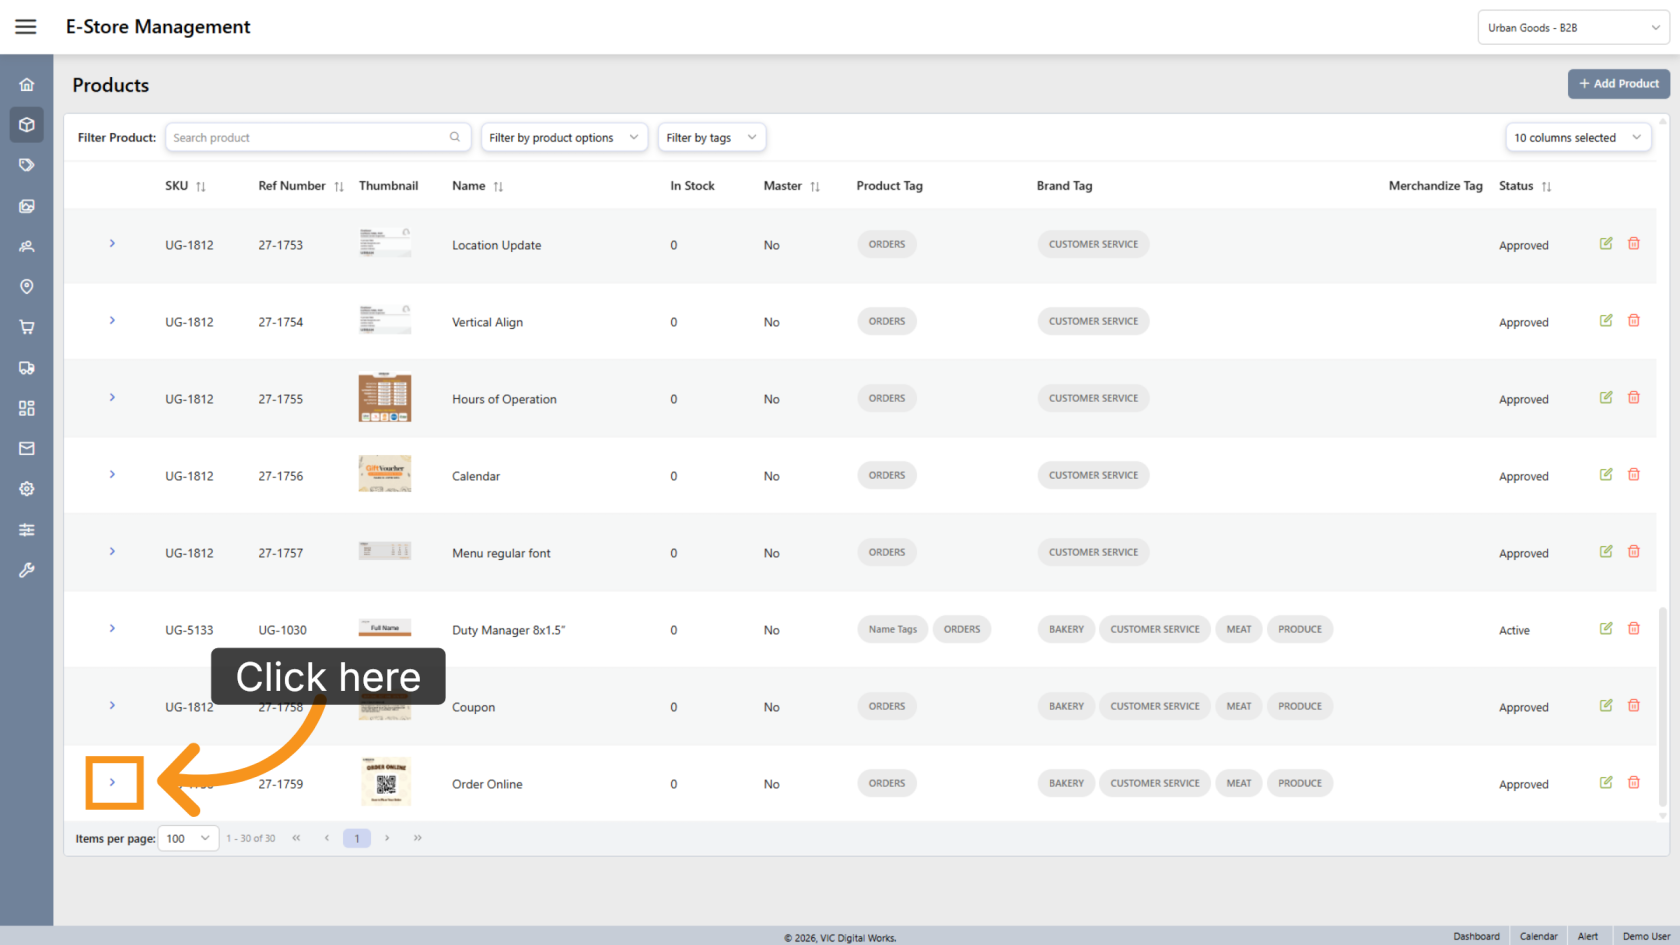
1. Open a Product
Select the product where you want to add the template.
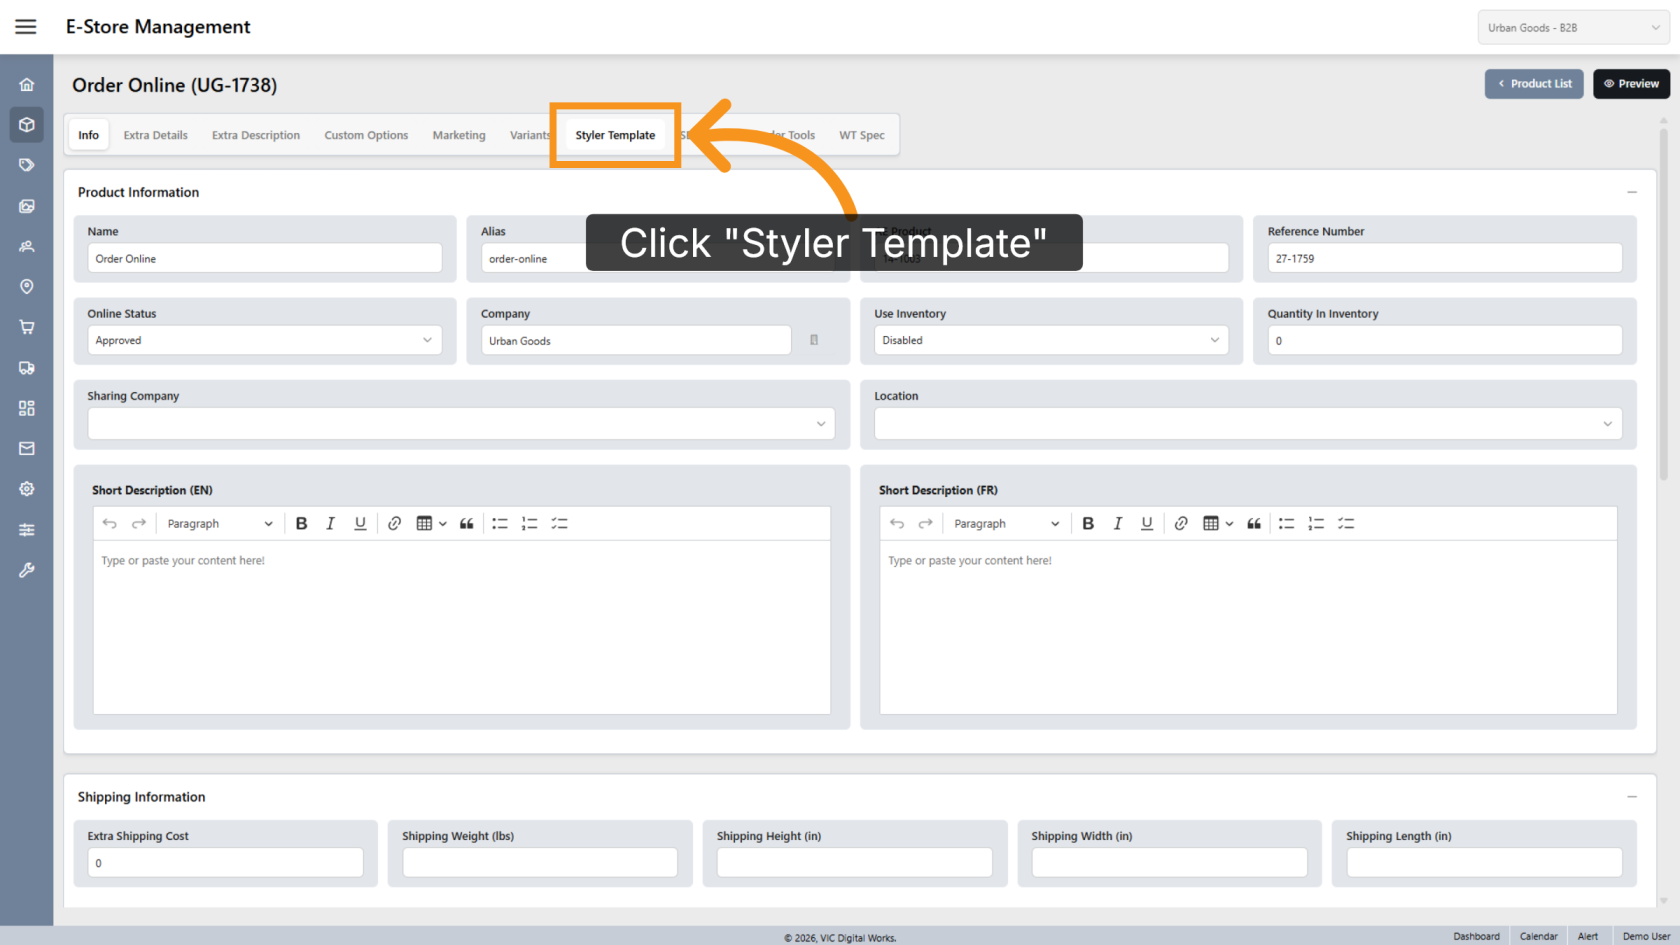
2. Open Template Settings
Click Styler Template to manage the template settings for the selected product.
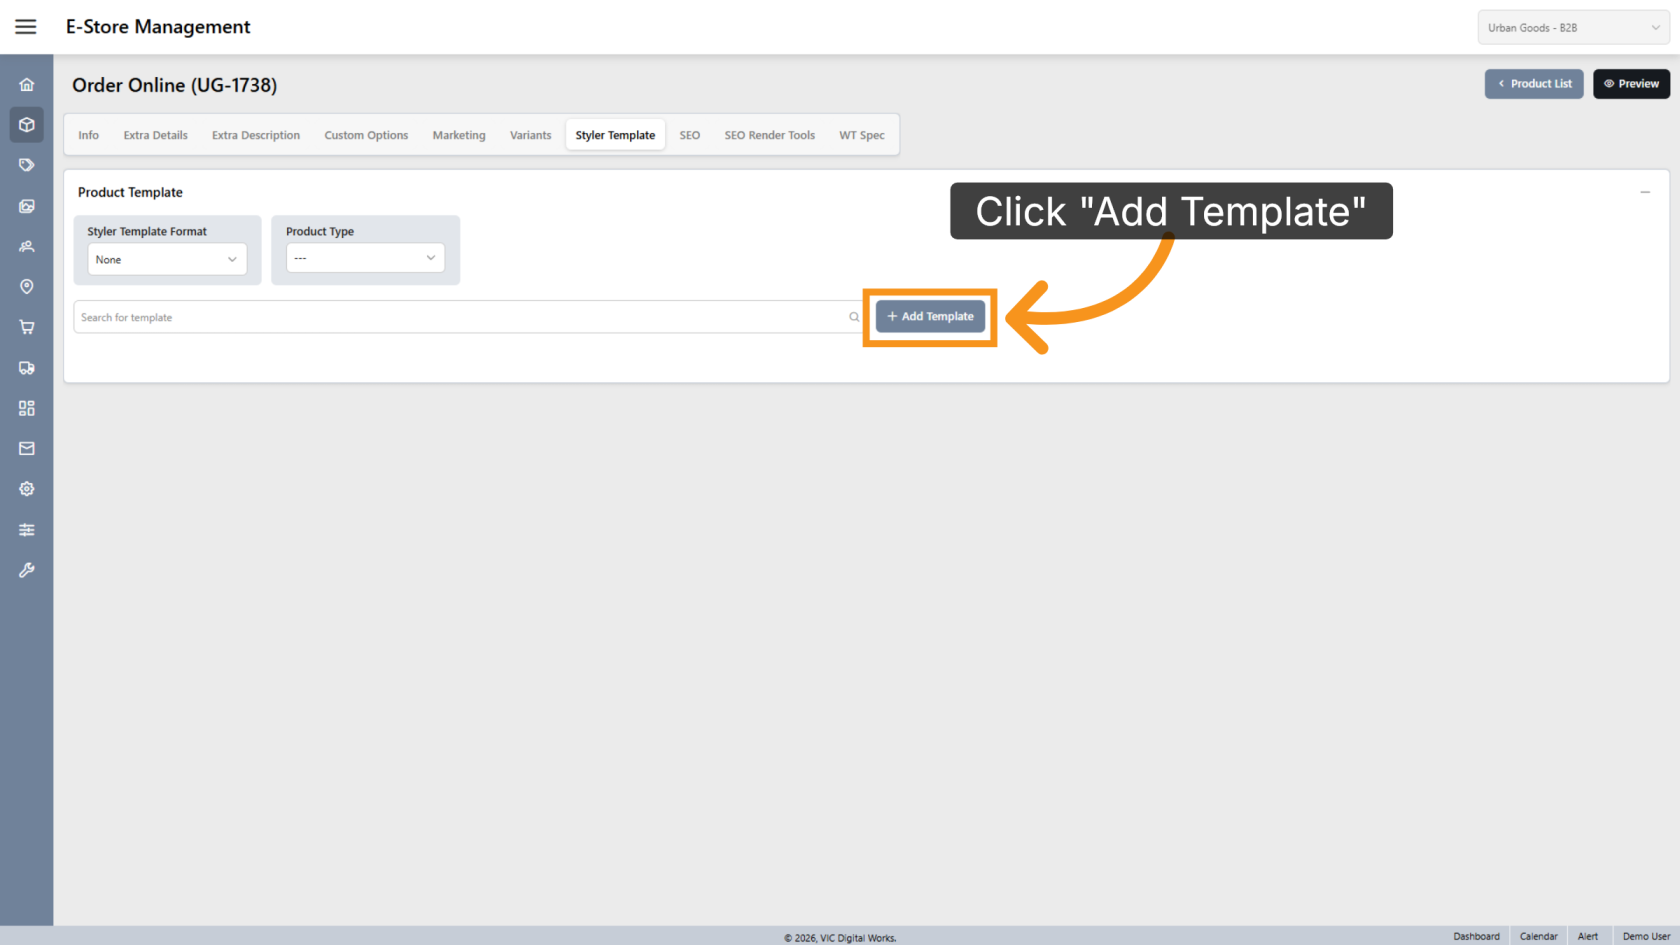
3. Add a Template
Click Add Template to create a new template.
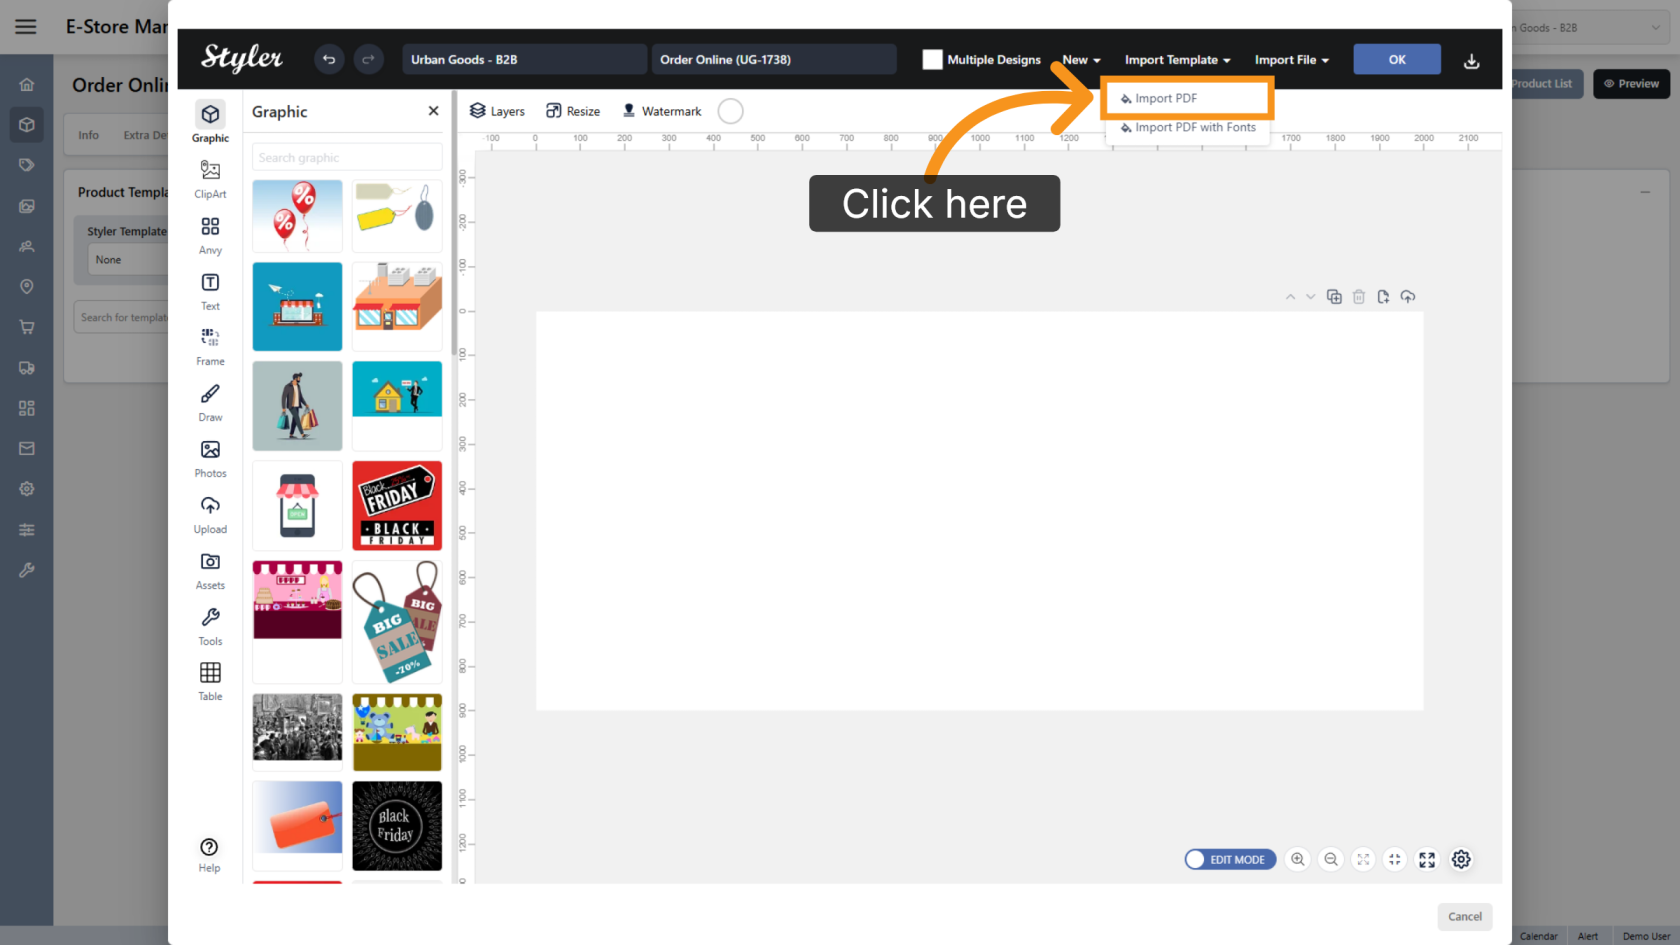
4. Import the Template
Click Import Template and select Import PDF.
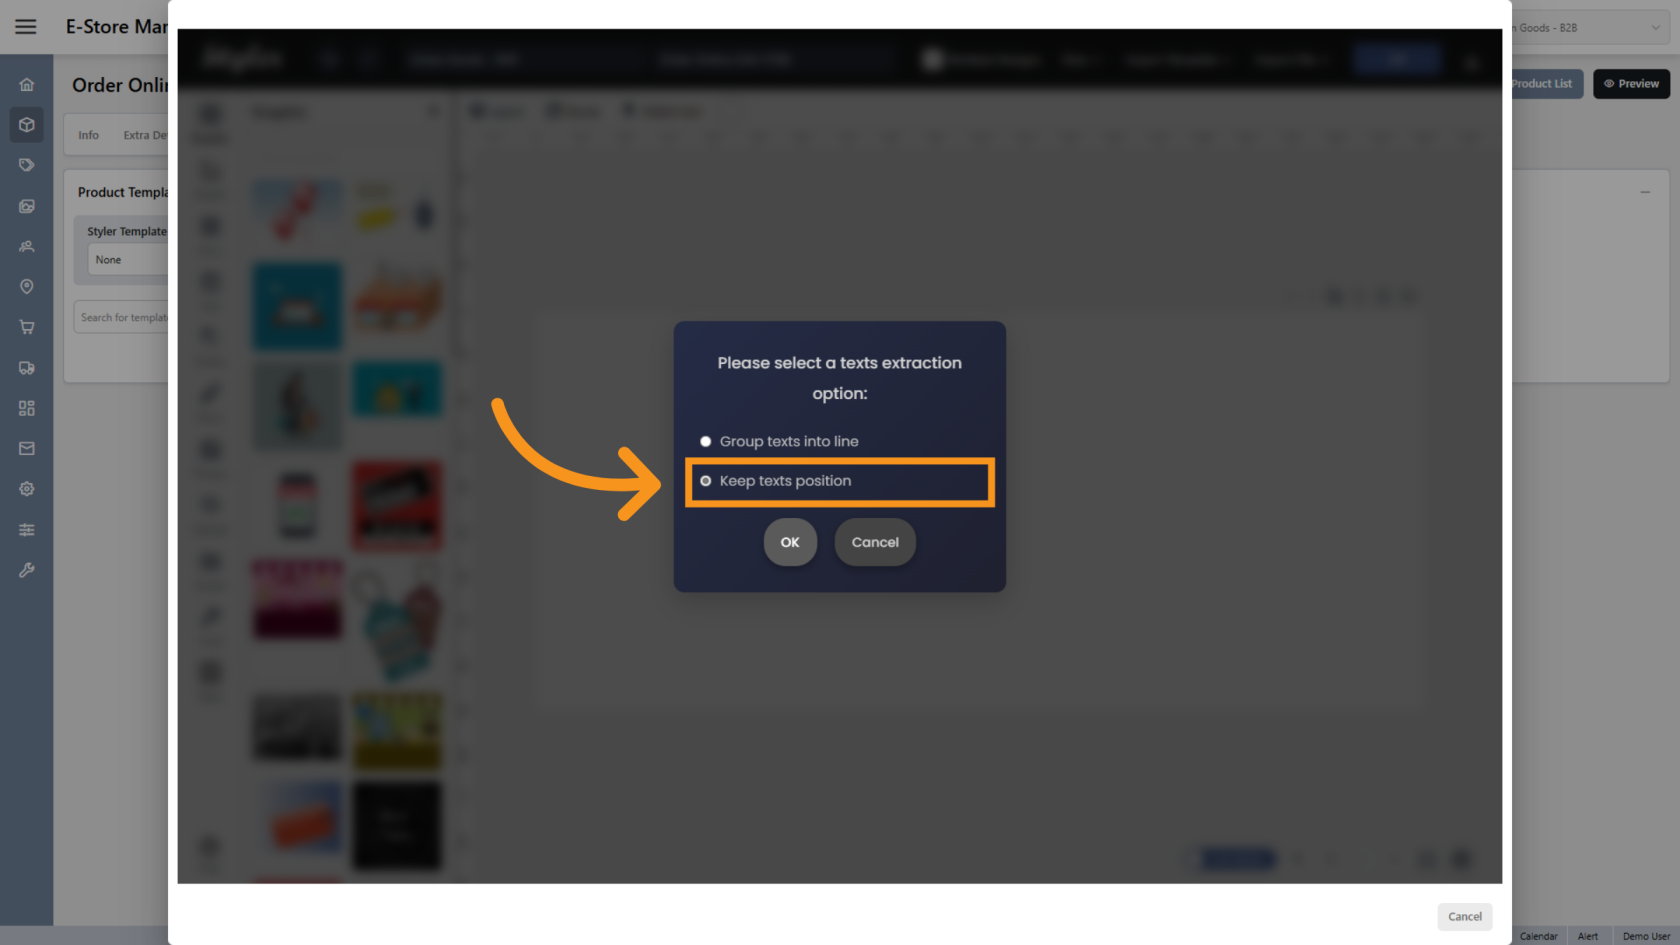
5. Keep Texts Position
Enable Keep Texts Position to preserve the original text layout during import.
6. Mark Object as Variant
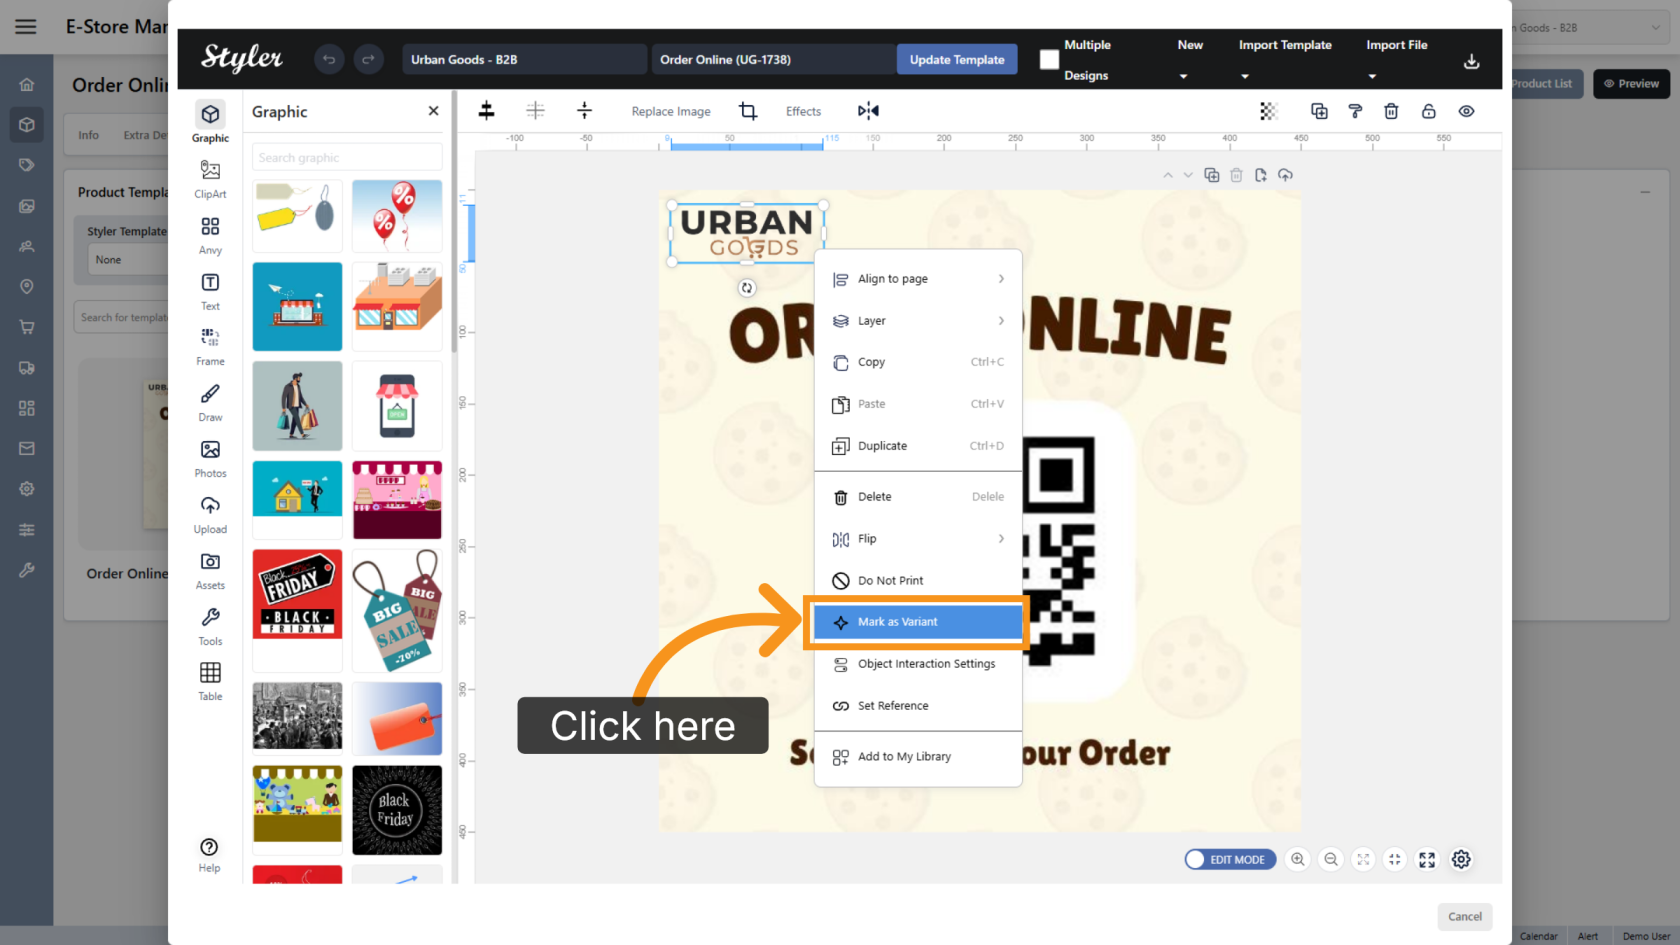
Right click on the logo and select Mark as Variant to designate the selected object as a variant.
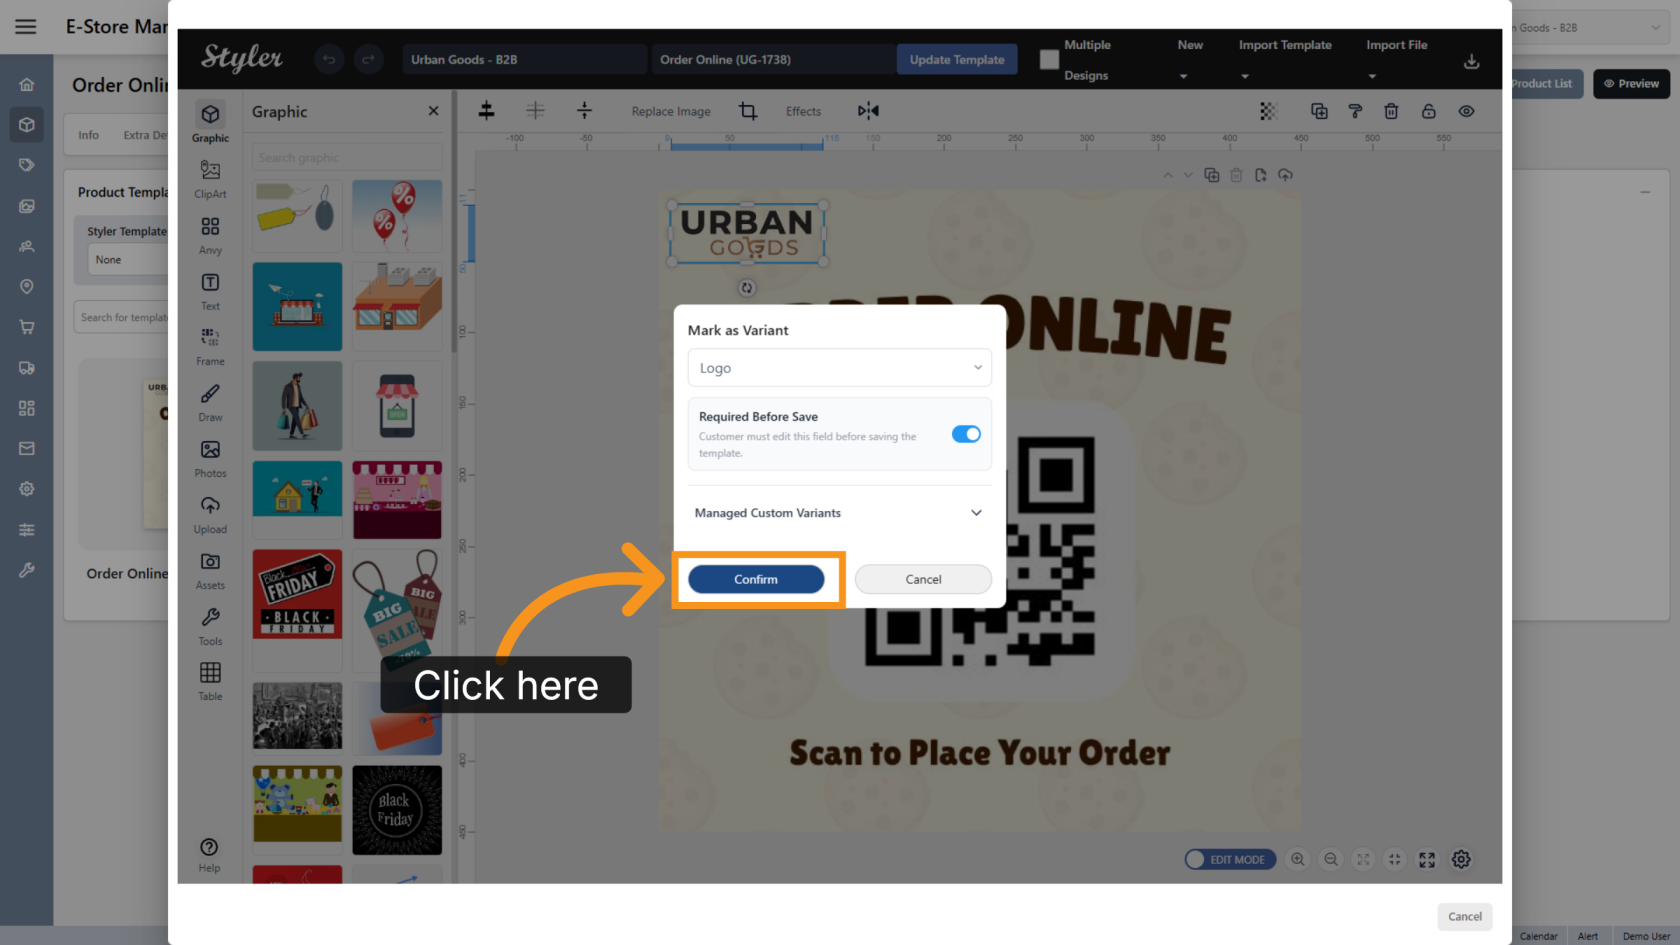
7. Select the Variant Type
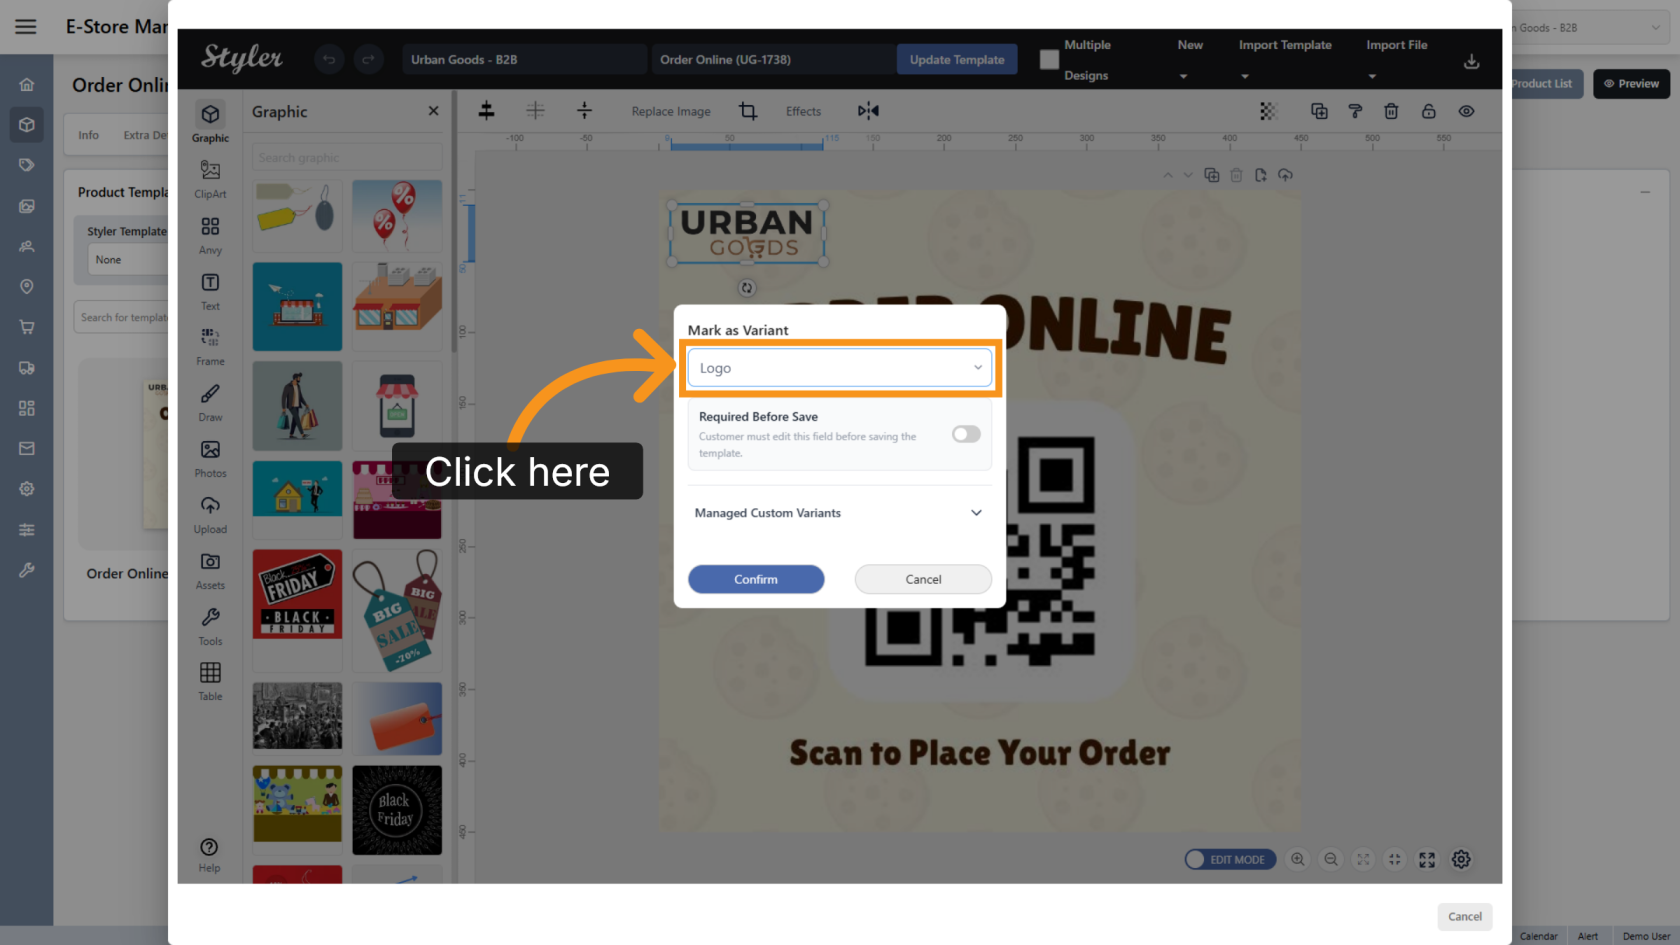
Click Select a variant type and choose Logo.
8. Enable Required Before Save
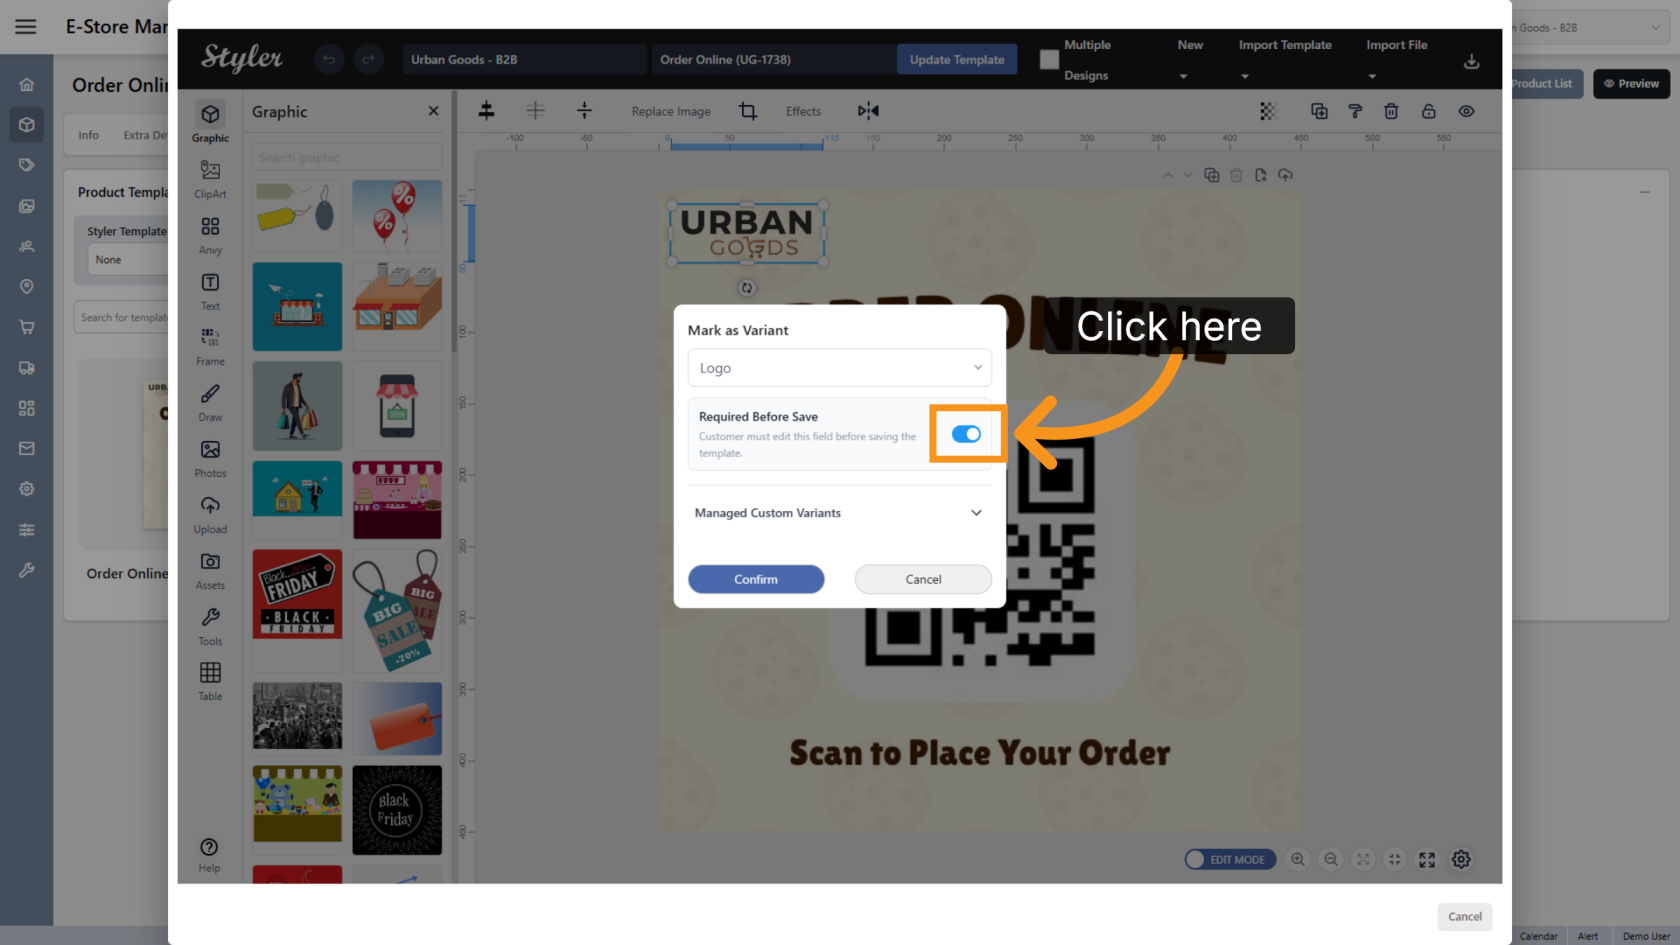
Enable Required Before Save if customers must replace the logo before saving the design.
9. Confirm the Variant Settings
Click Confirm to save the variant settings.
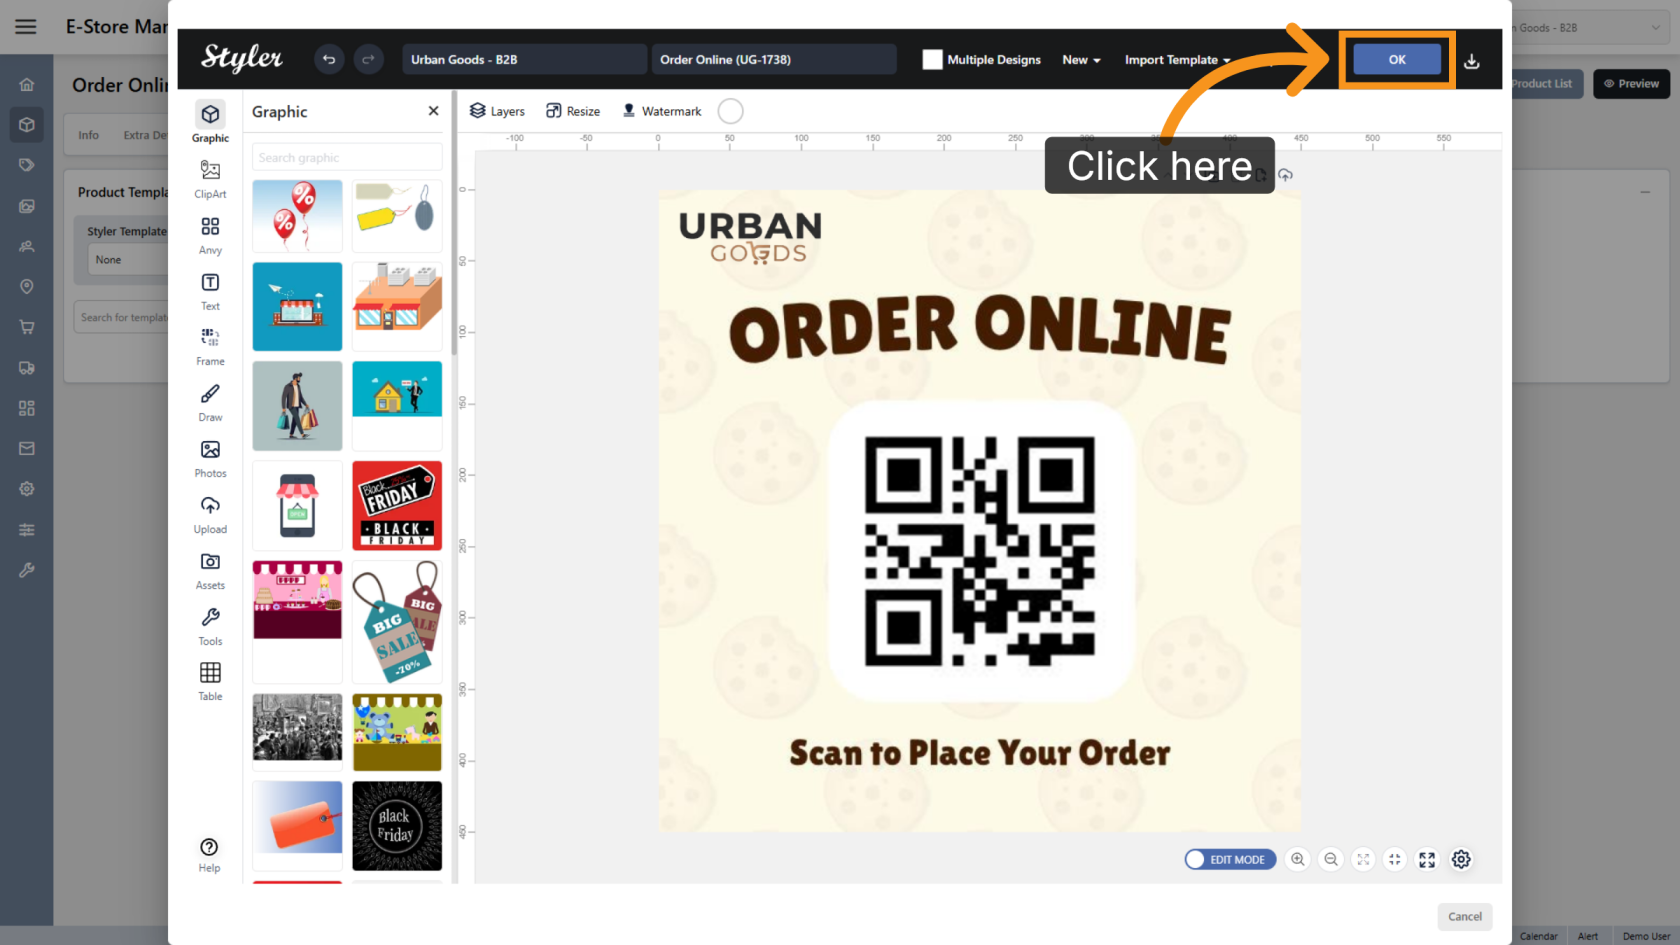
10. Save the Configuration
Click OK to finalize the template settings.
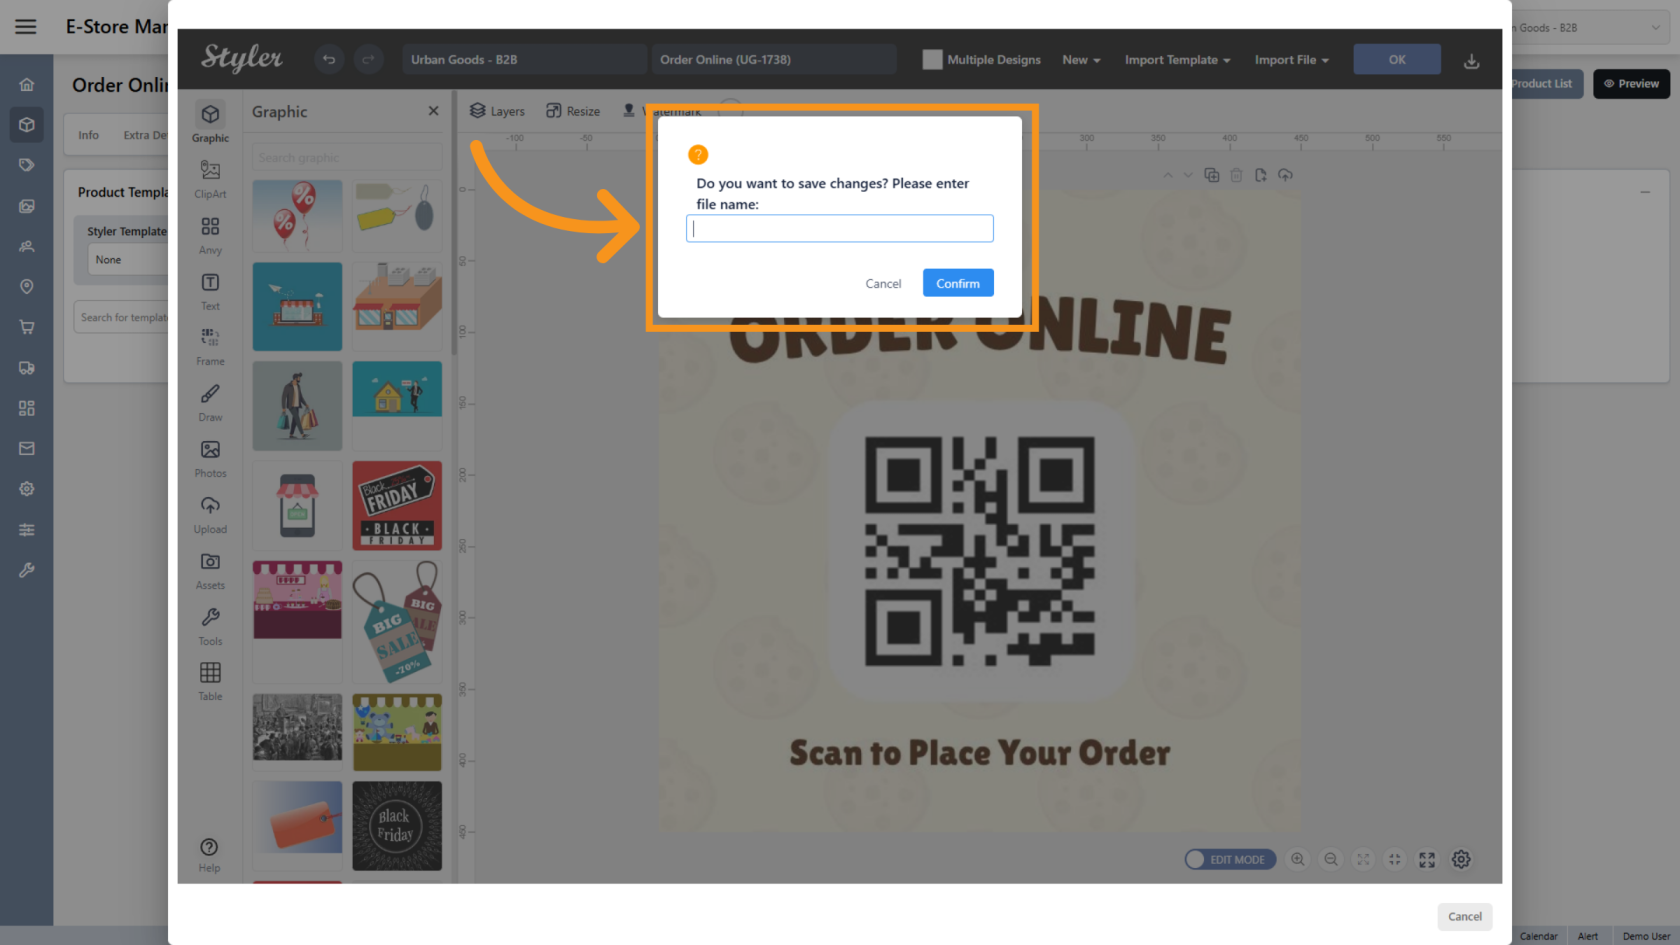
11. Enter the File Name
Enter the file name, then click Confirm.
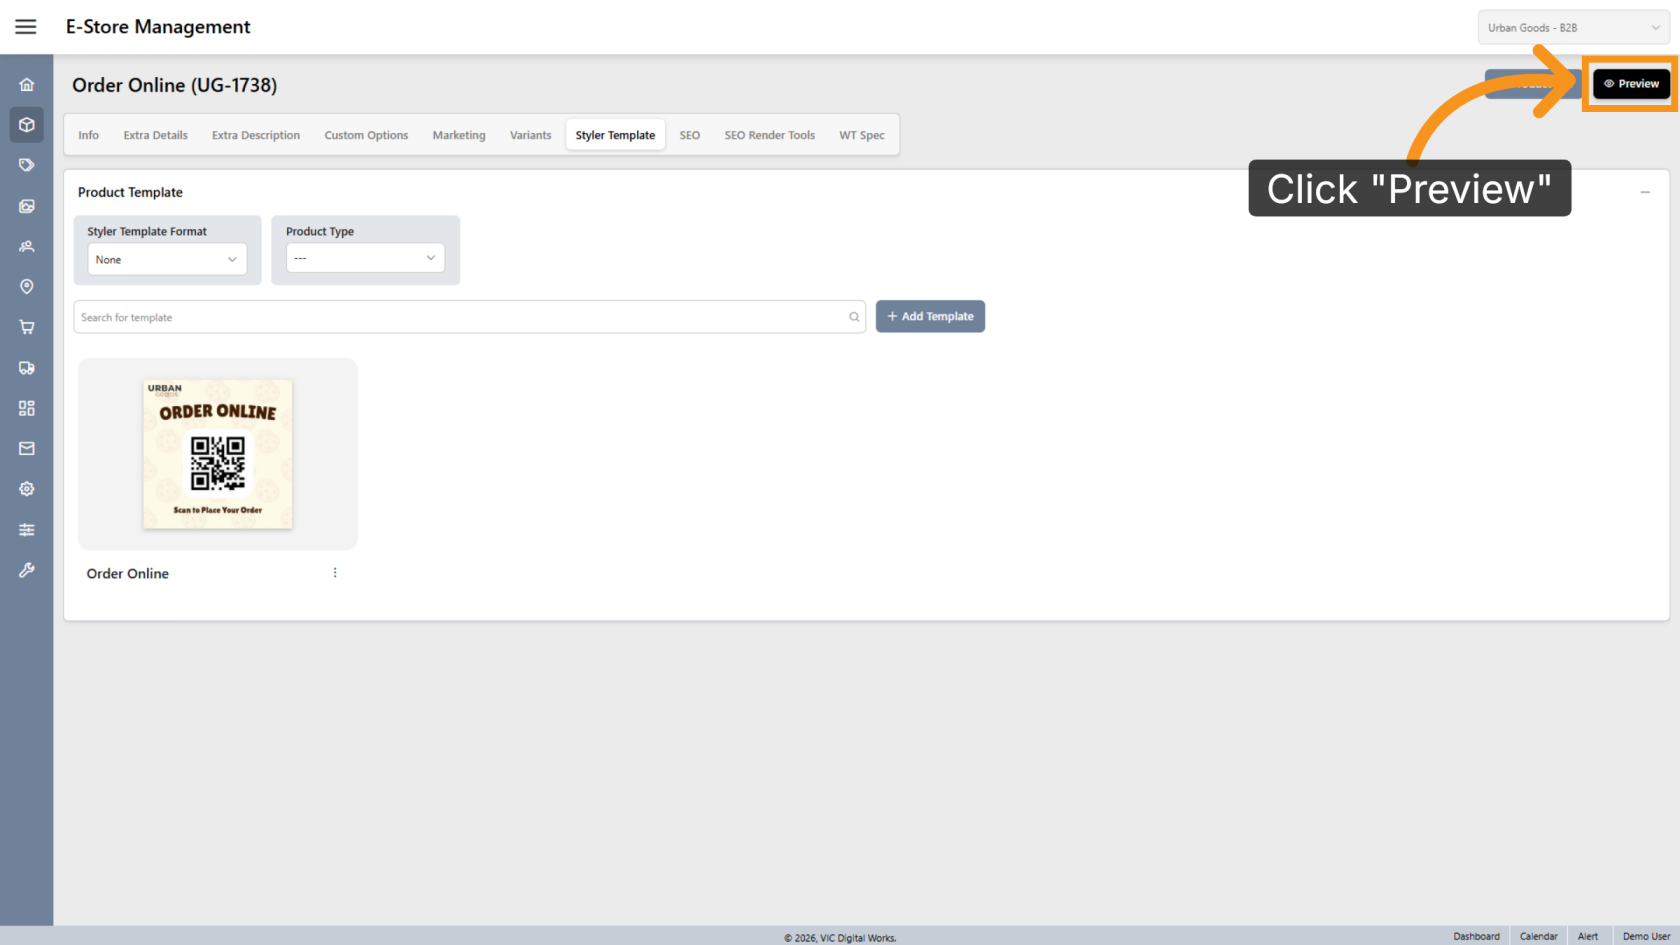
12. Preview the Design
Click Preview to review the template.
13. Browse Available Designs
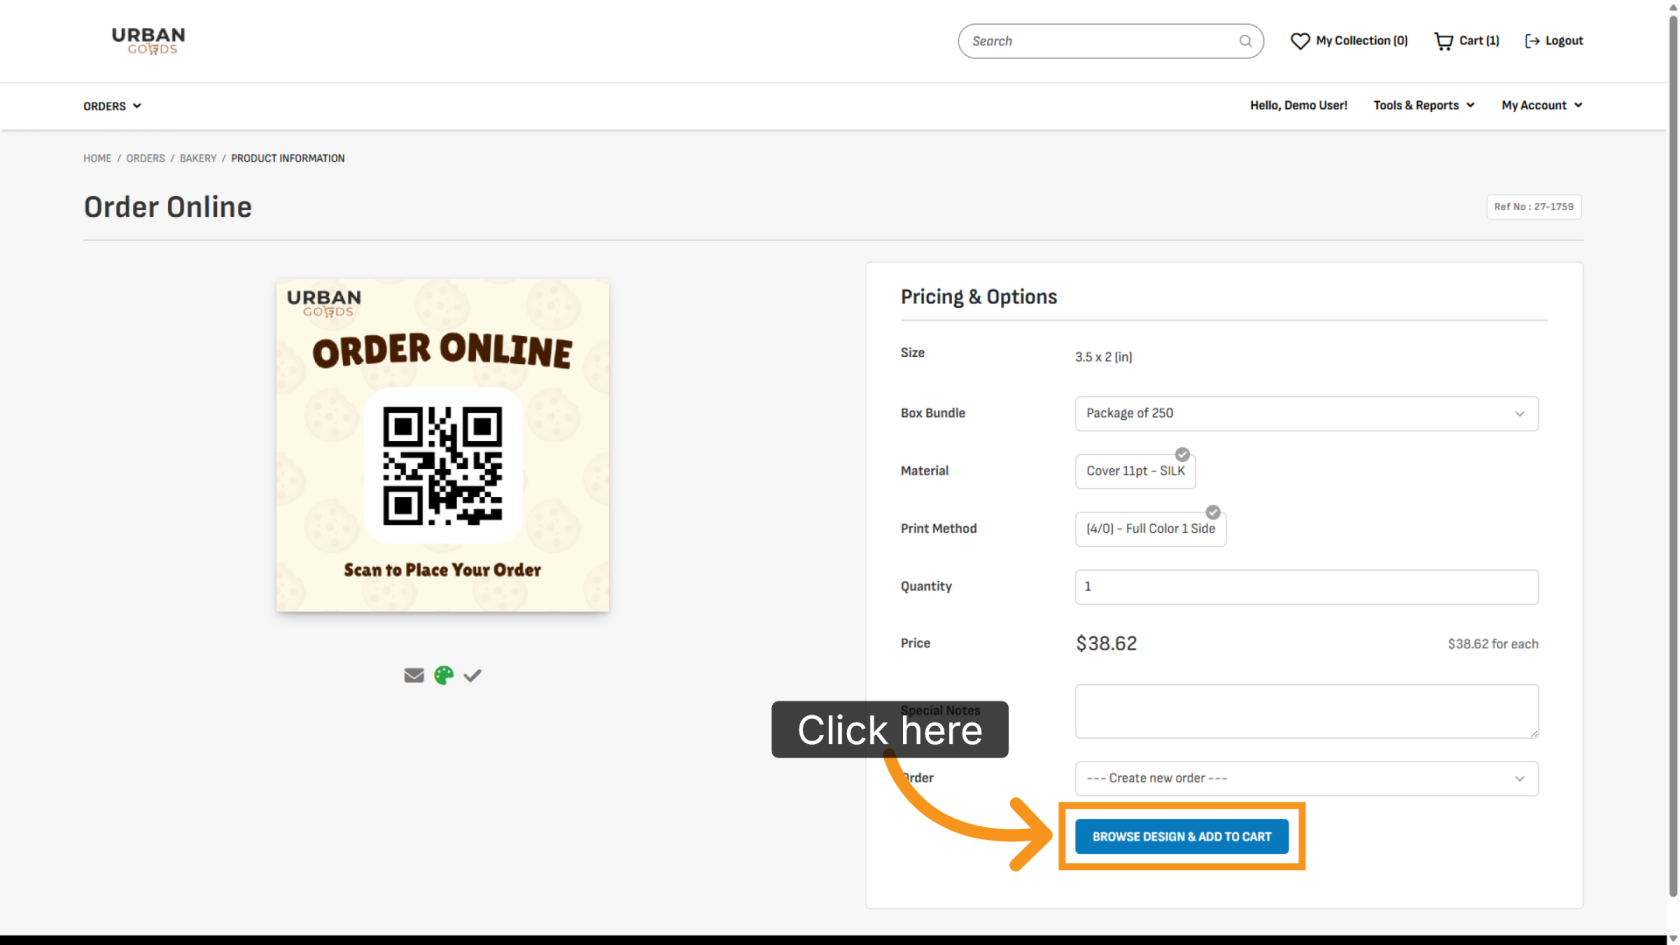
Click BROWSE DESIGN & ADD TO CART to select the design.
14. Update the Logo
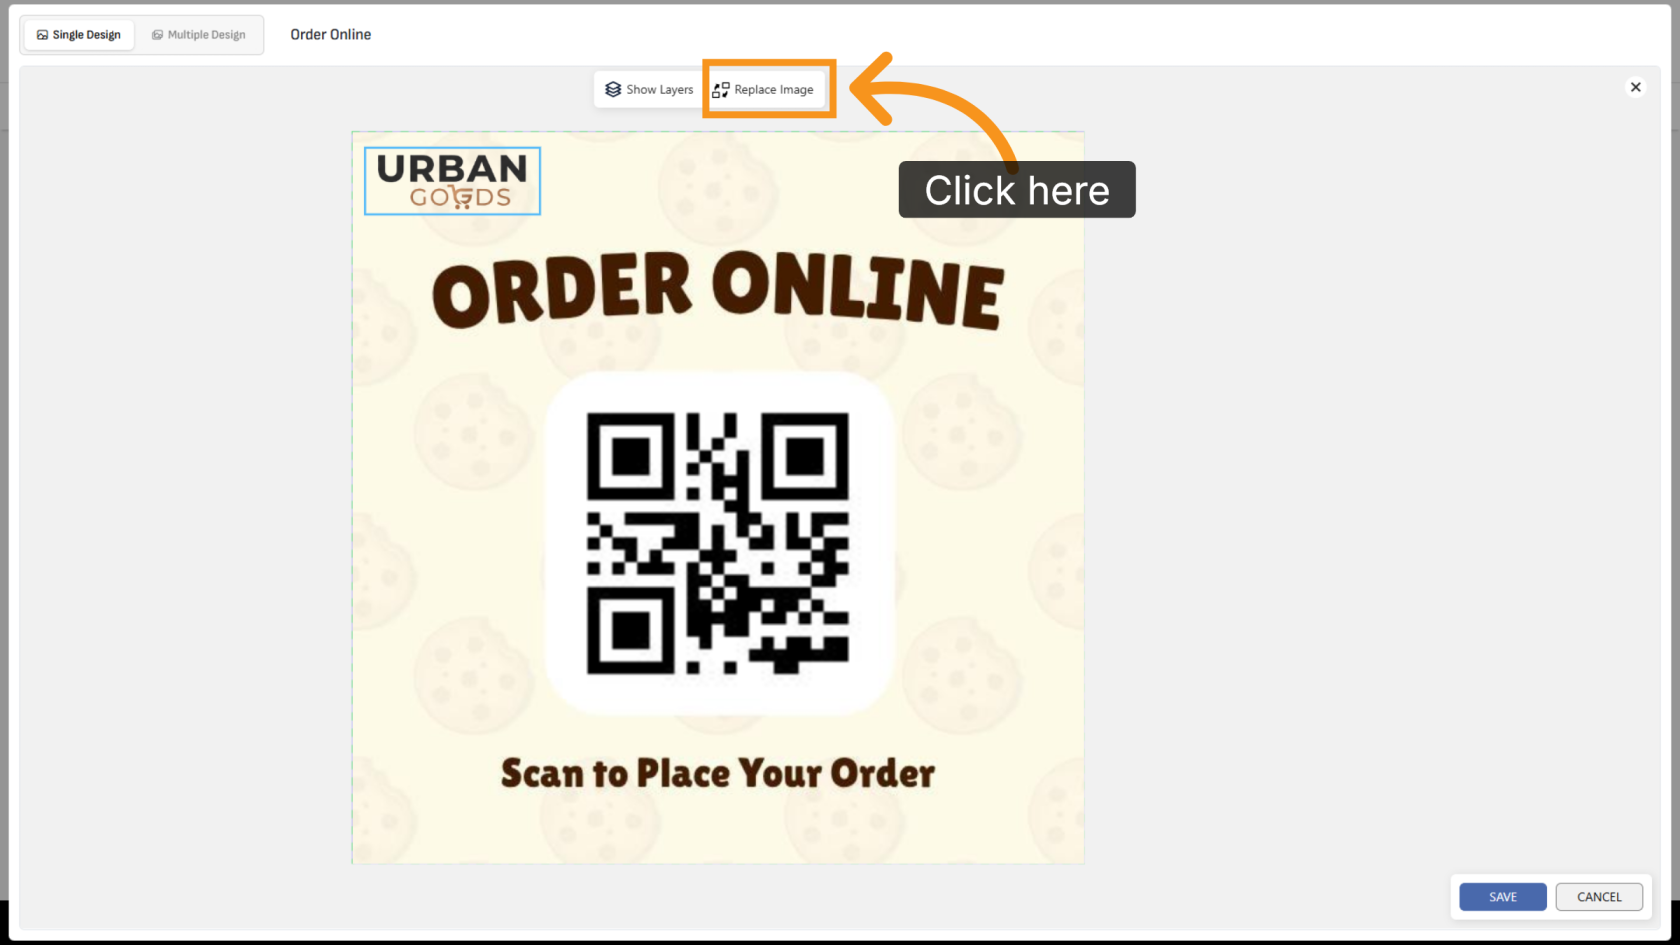
Click the Logo object, then click Replace Logo and upload your own logo file.
15. Review the Updated Design
Verify that the uploaded logo appears correctly in the design.
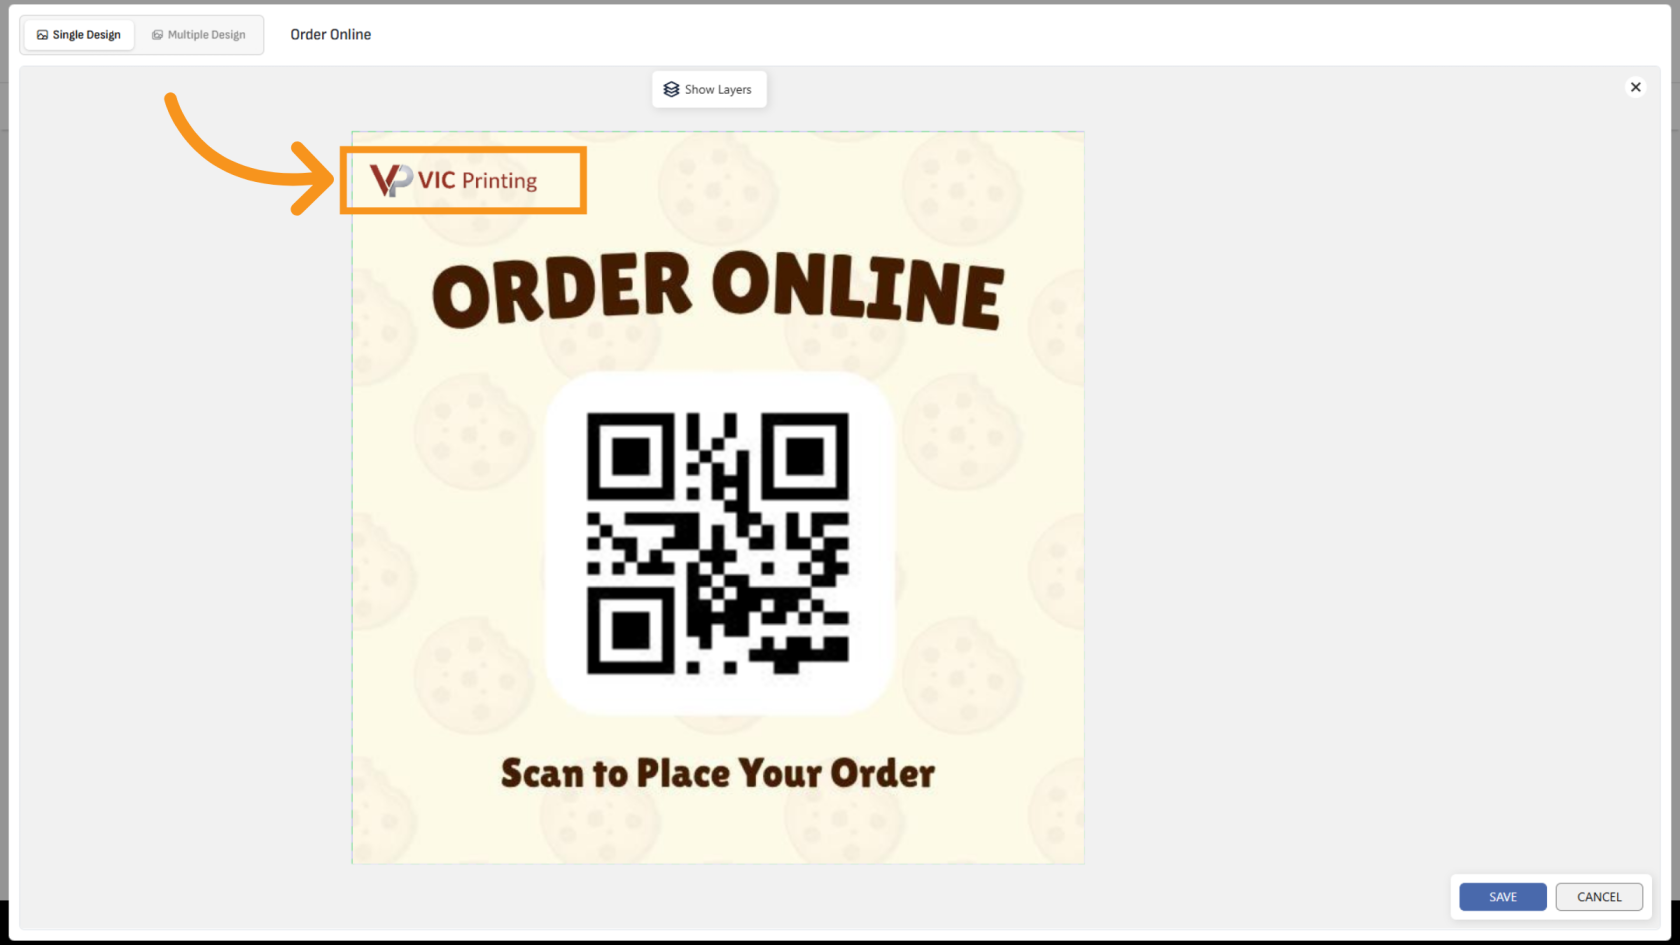
You have successfully configured a replaceable logo. Customers can now upload and use their own logo while customizing the product.