Configure Sales Order Status
This tutorial guides you through configuring sales order statuses in the WorkTraq application, including how to mark sales orders as late or outstanding and display them on the calendar.
Video Tutorial
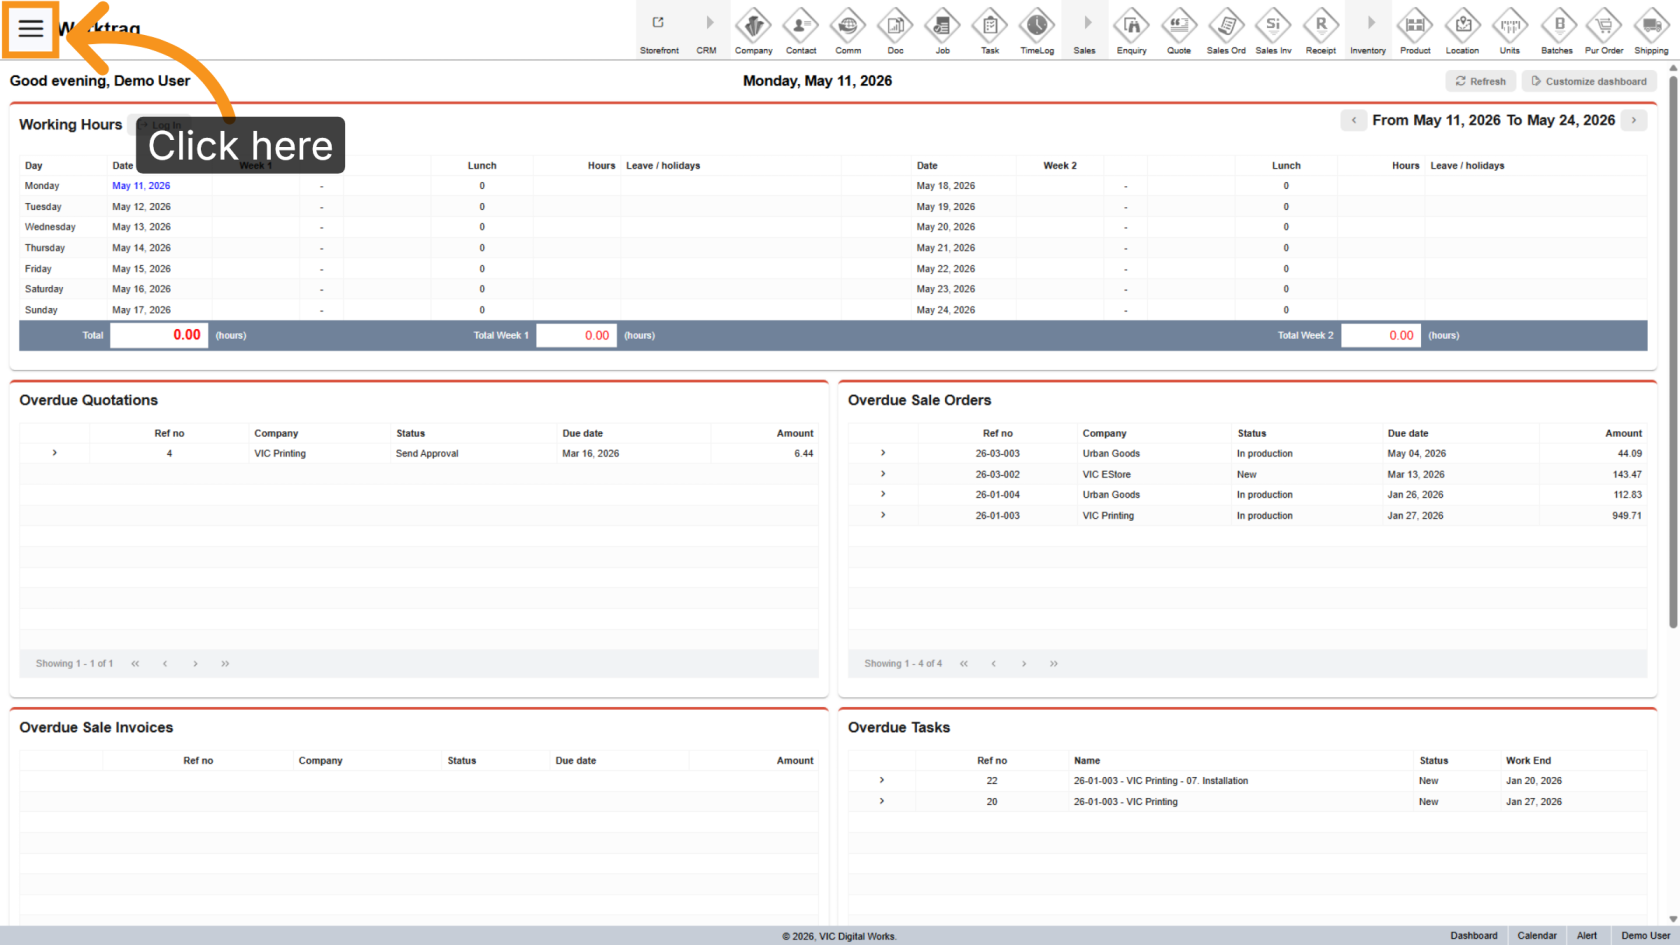
1. Open Main Menu
Click the ![]() main navigation menu to access system options.
main navigation menu to access system options.
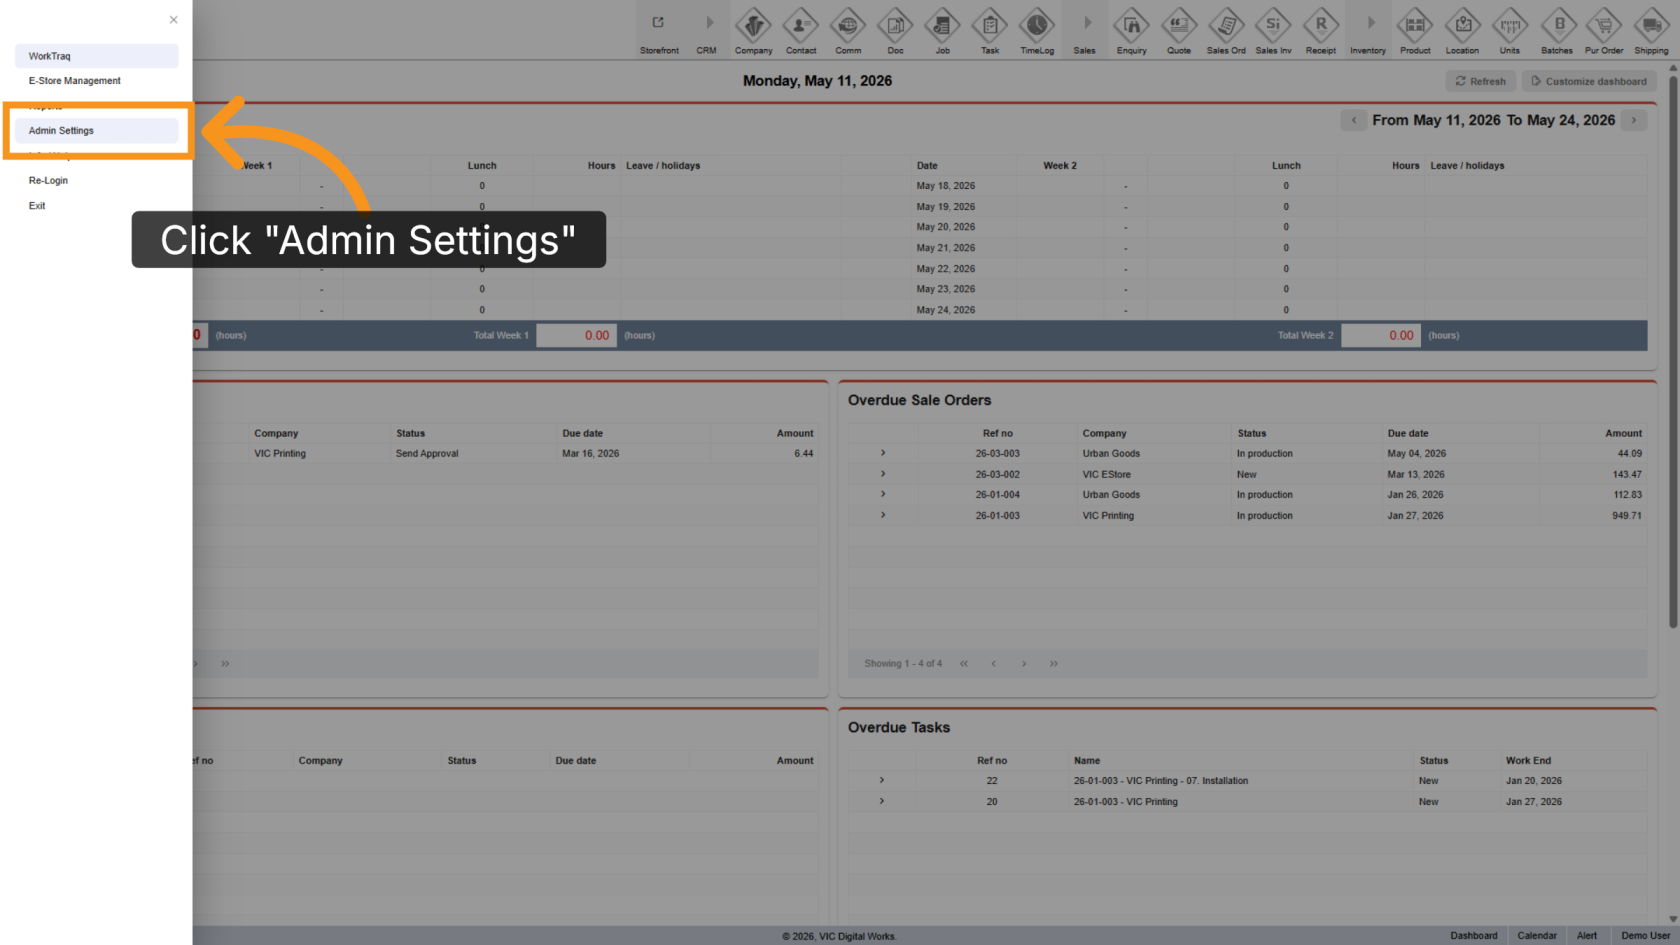
2. Go to Admin Settings
Click "Admin Settings" to open the administration panel.
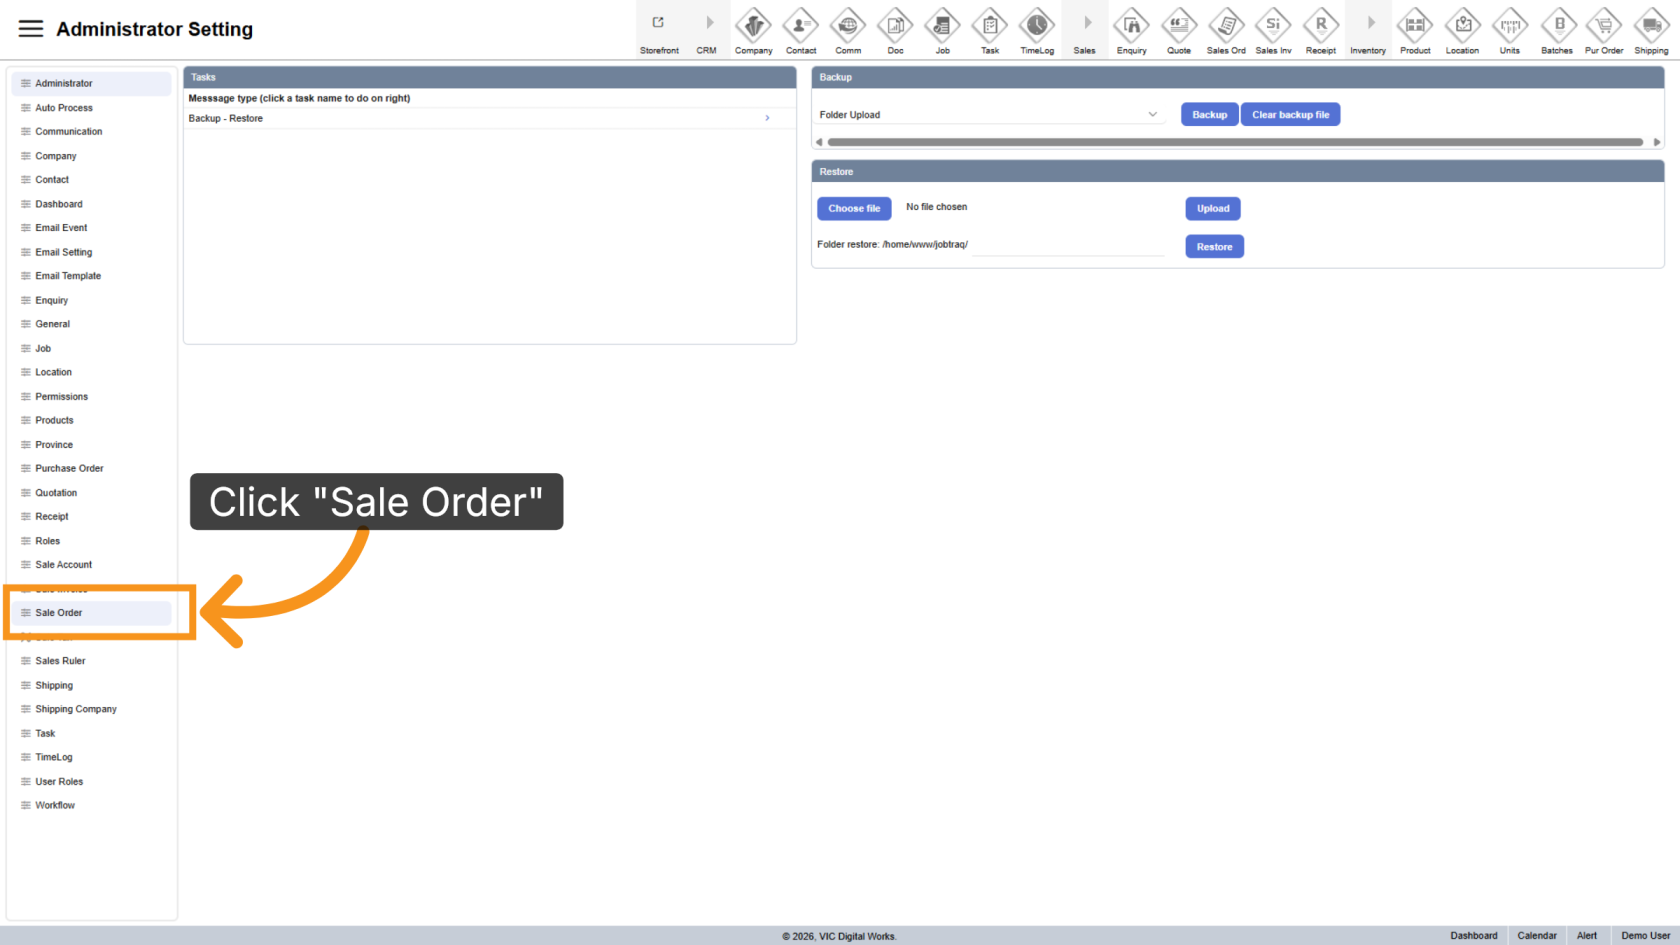
3. Select Sale Order Section
Click "Sale Order" to open the sales order configuration area.
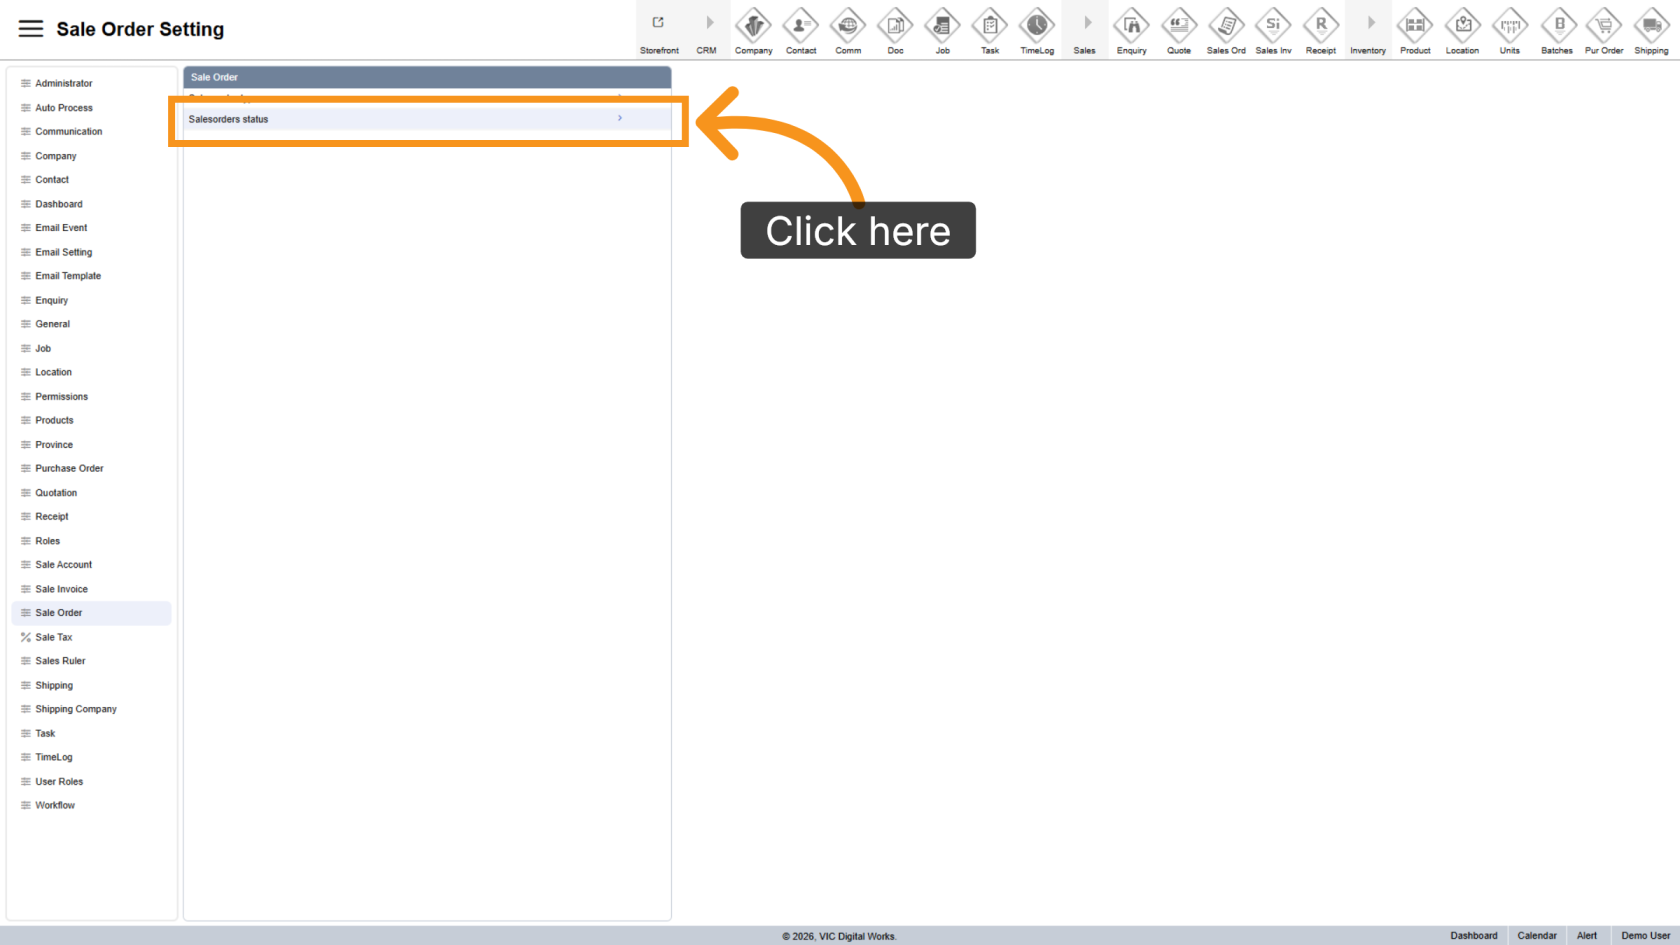
4. Open Sales Order Statuses
Click "Sales Orders Status" to manage sales order statuses.
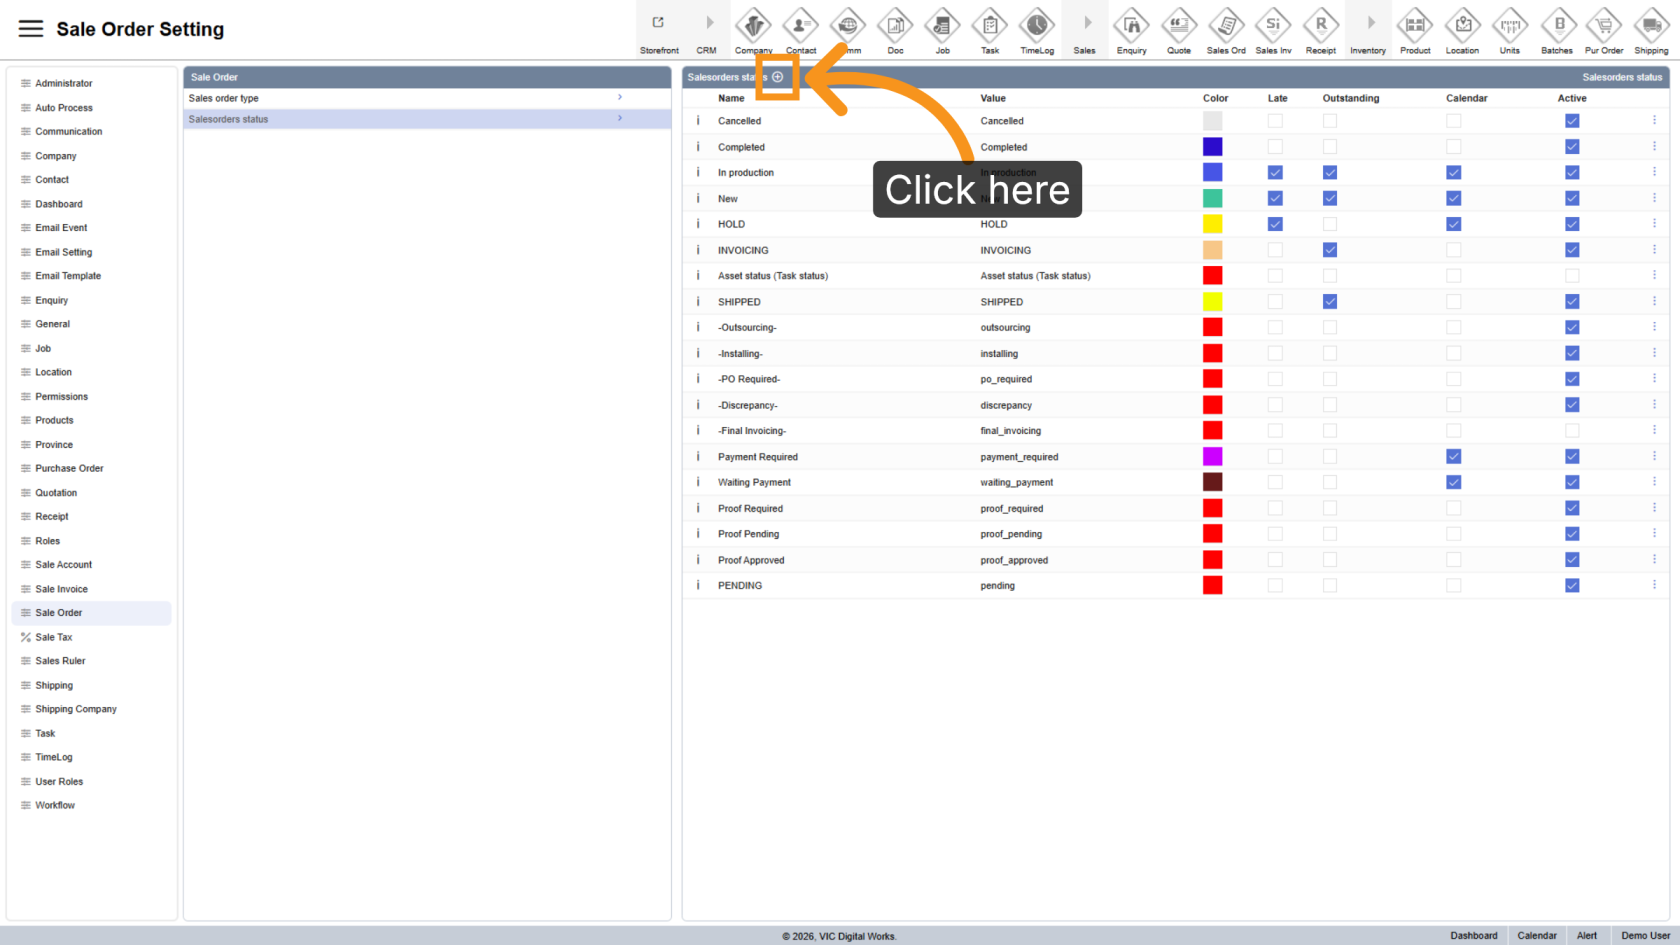
5. View Existing Statuses
All existing sales order statuses will appear on the right side of the screen.

6. Add a New Status
Click the ![]() plus icon to add new sales order status.
plus icon to add new sales order status.
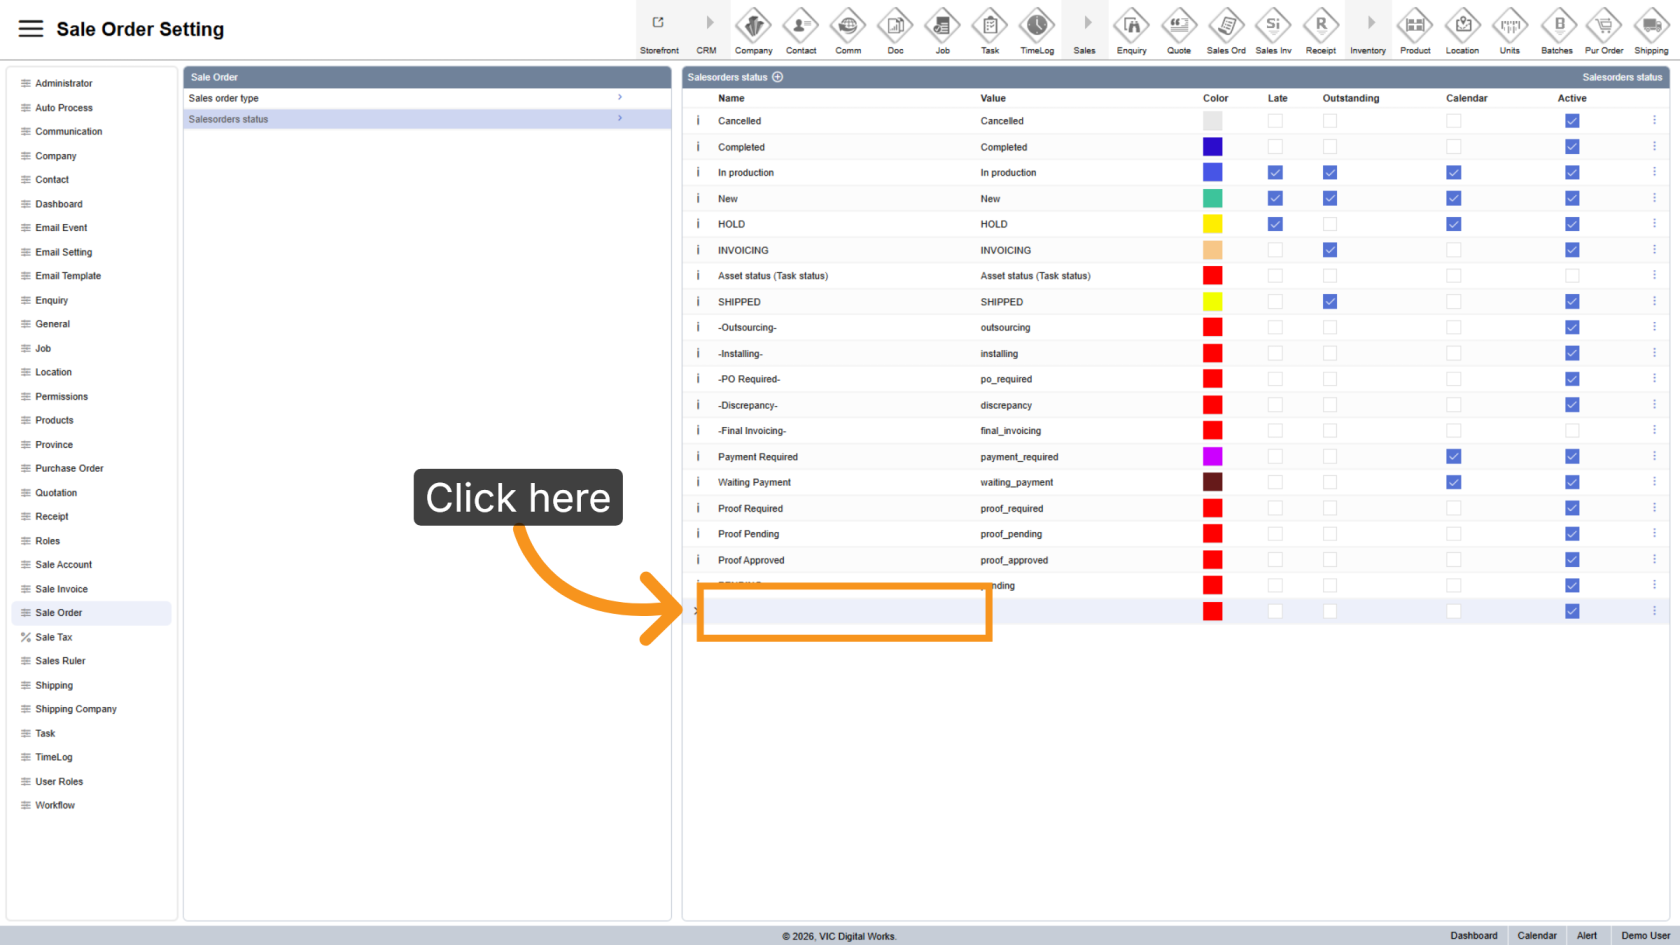
7. Update the Status Name
Enter the status name in the Name column.
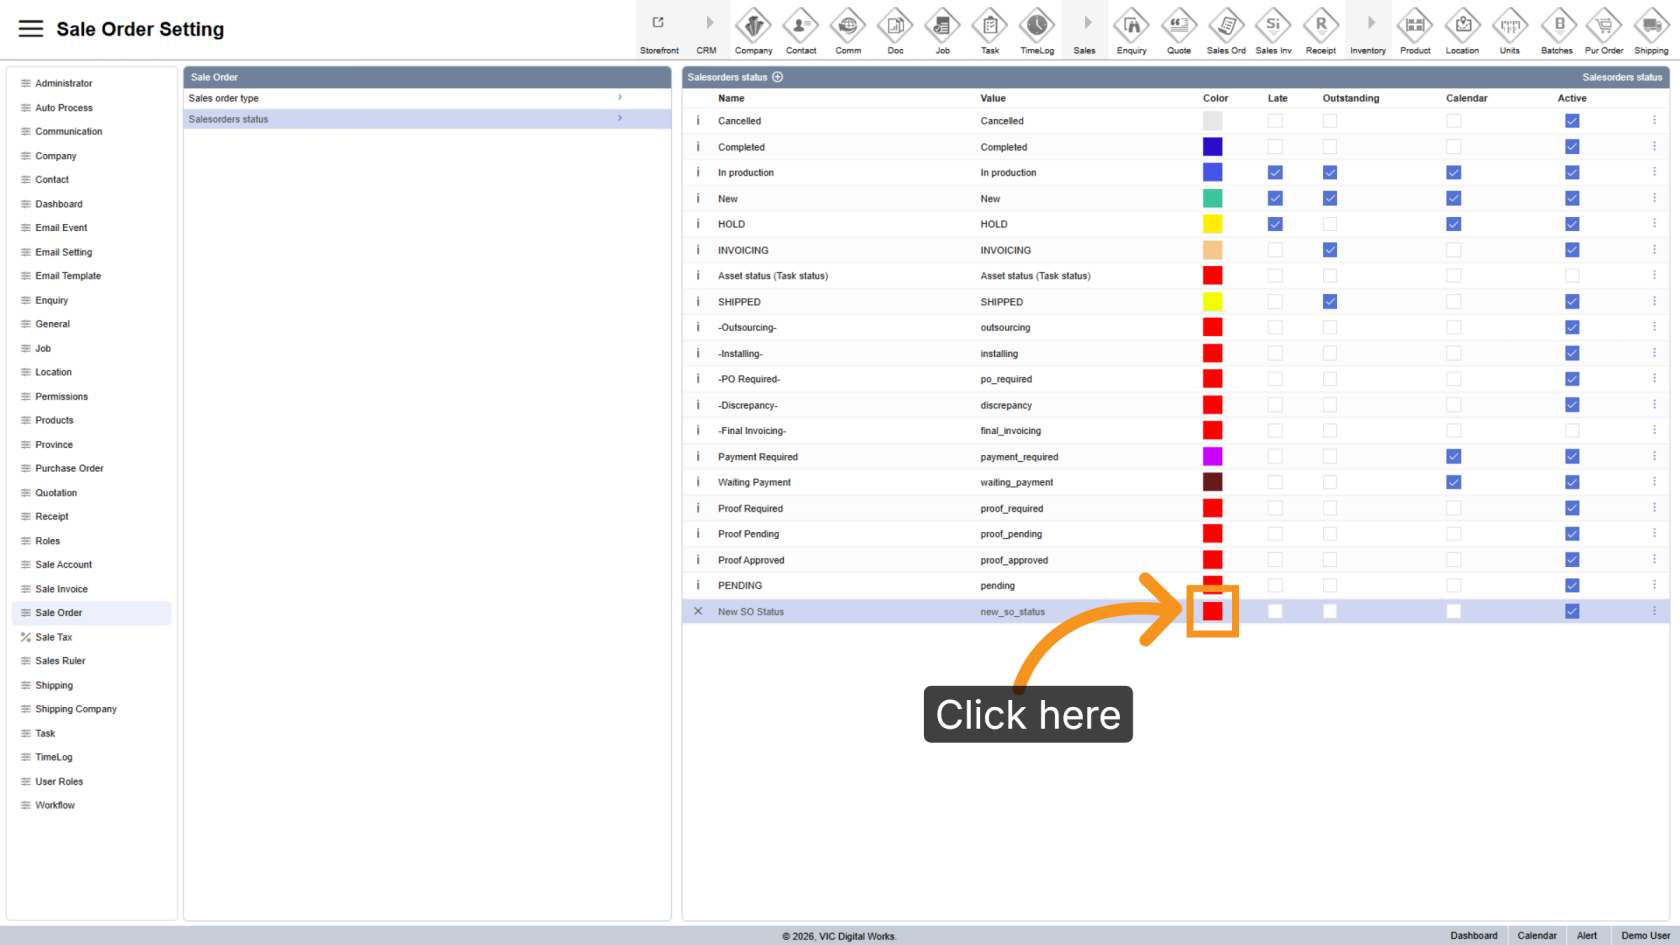
8. Choose a Status Color
Click the color box to assign a color for easy identification on the calendar.
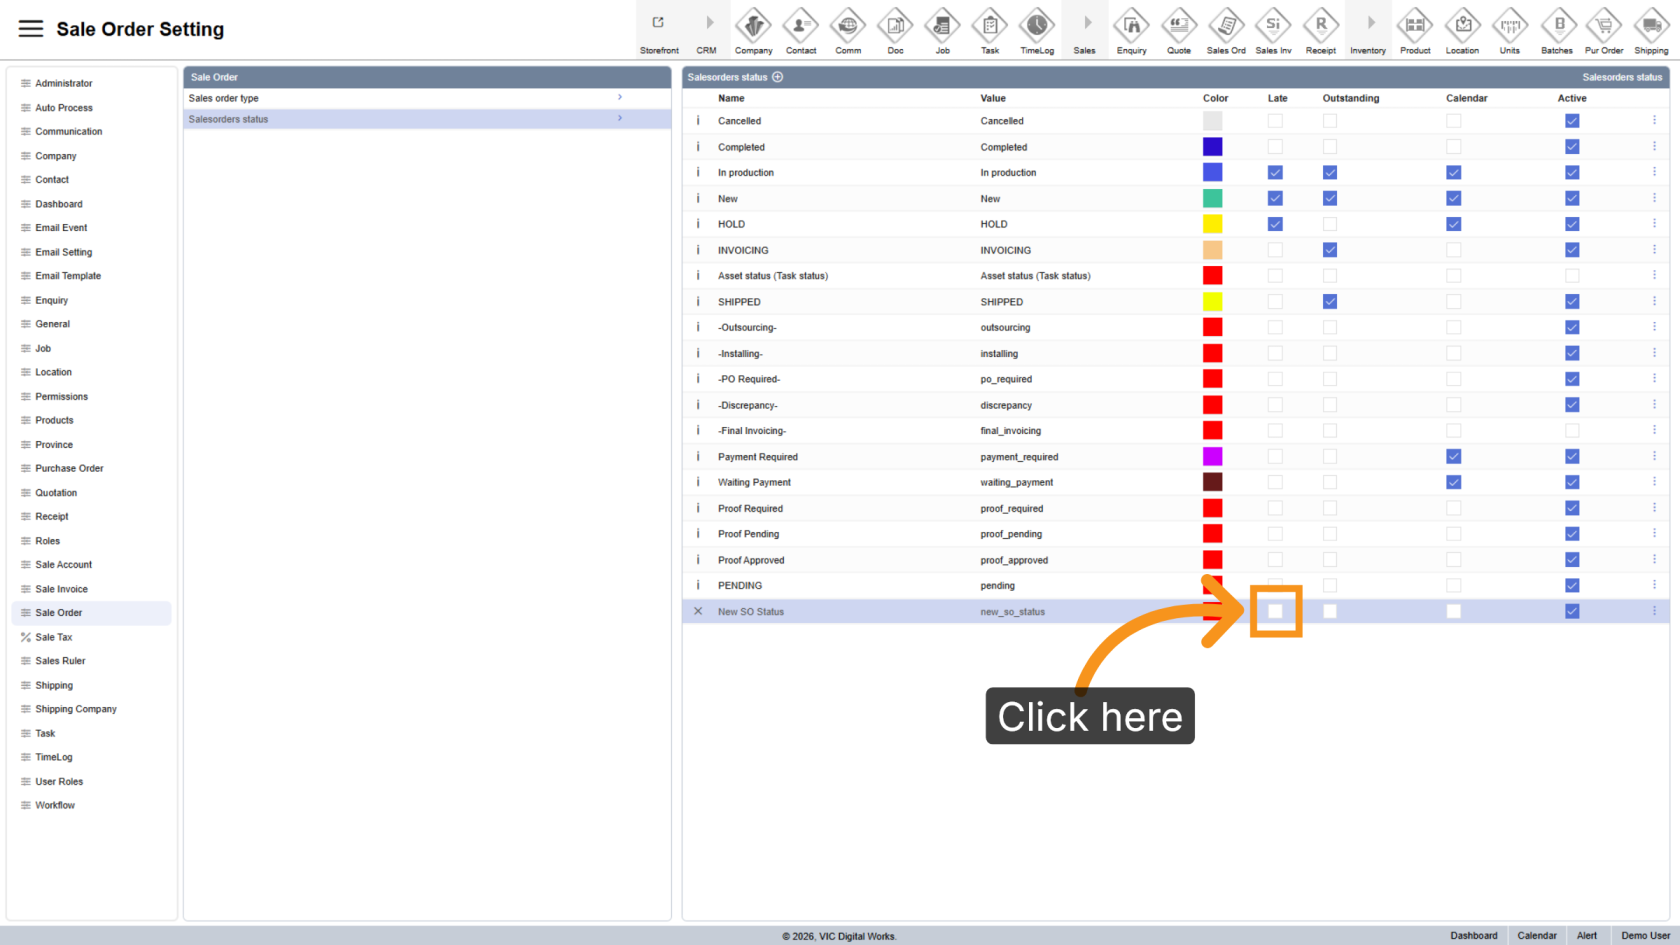
9. Set as Late
Check the Late box if sales orders with this status should be considered late.
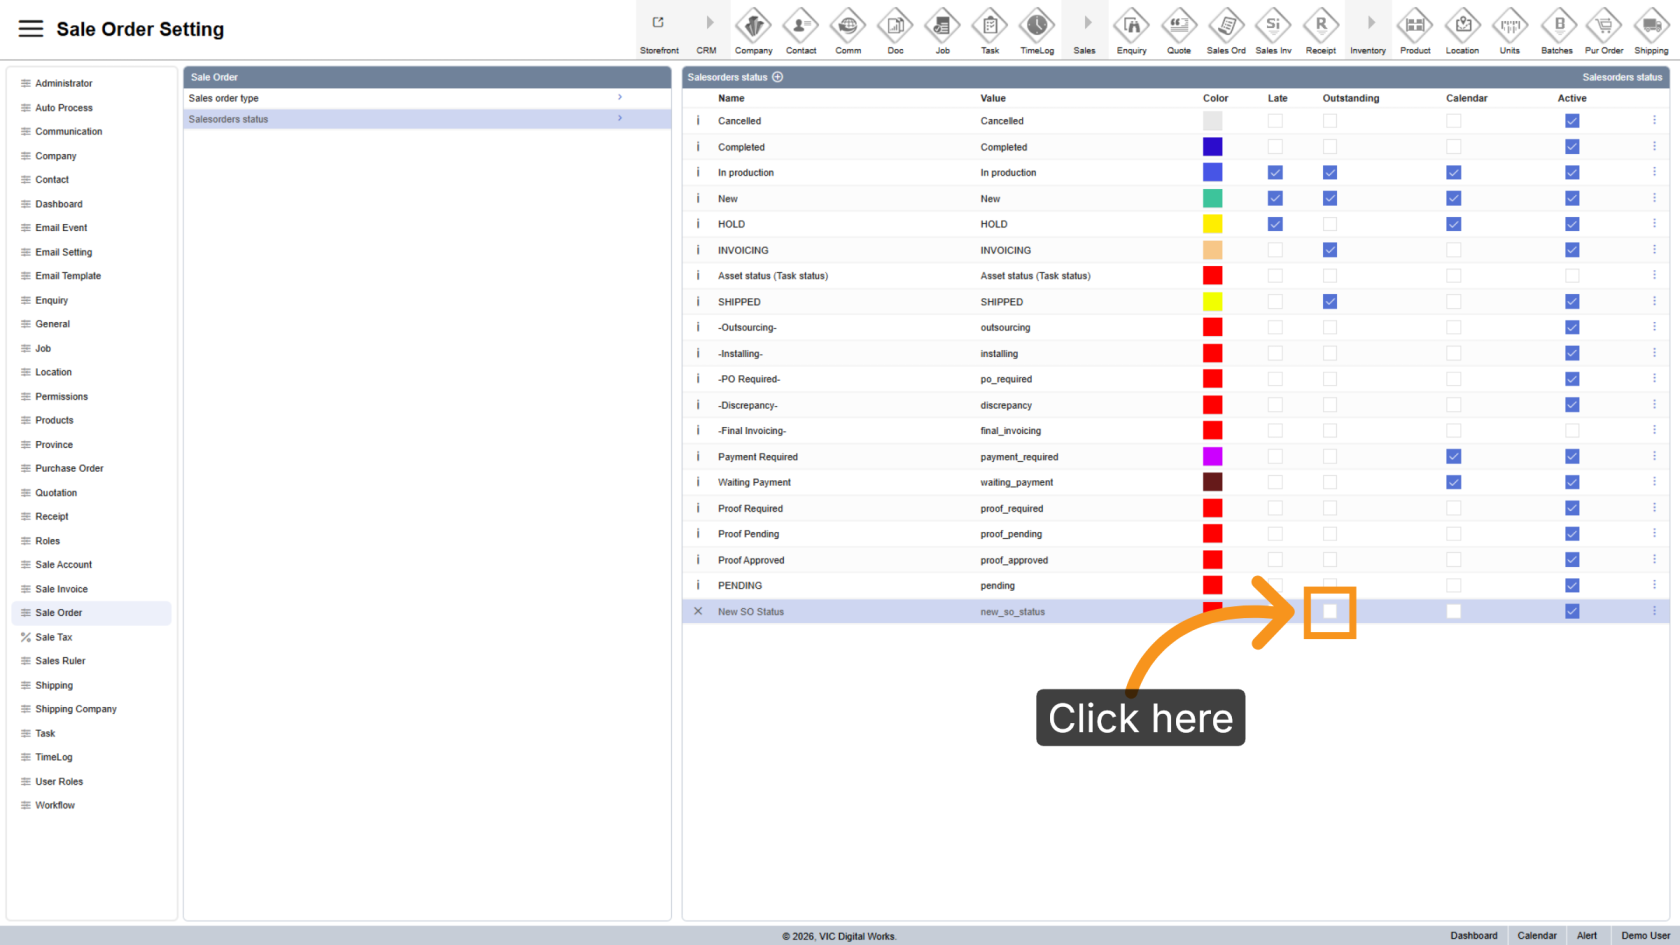
10. Set as Outstanding
Check the Outstanding box if sales orders with this status should be considered outstanding.
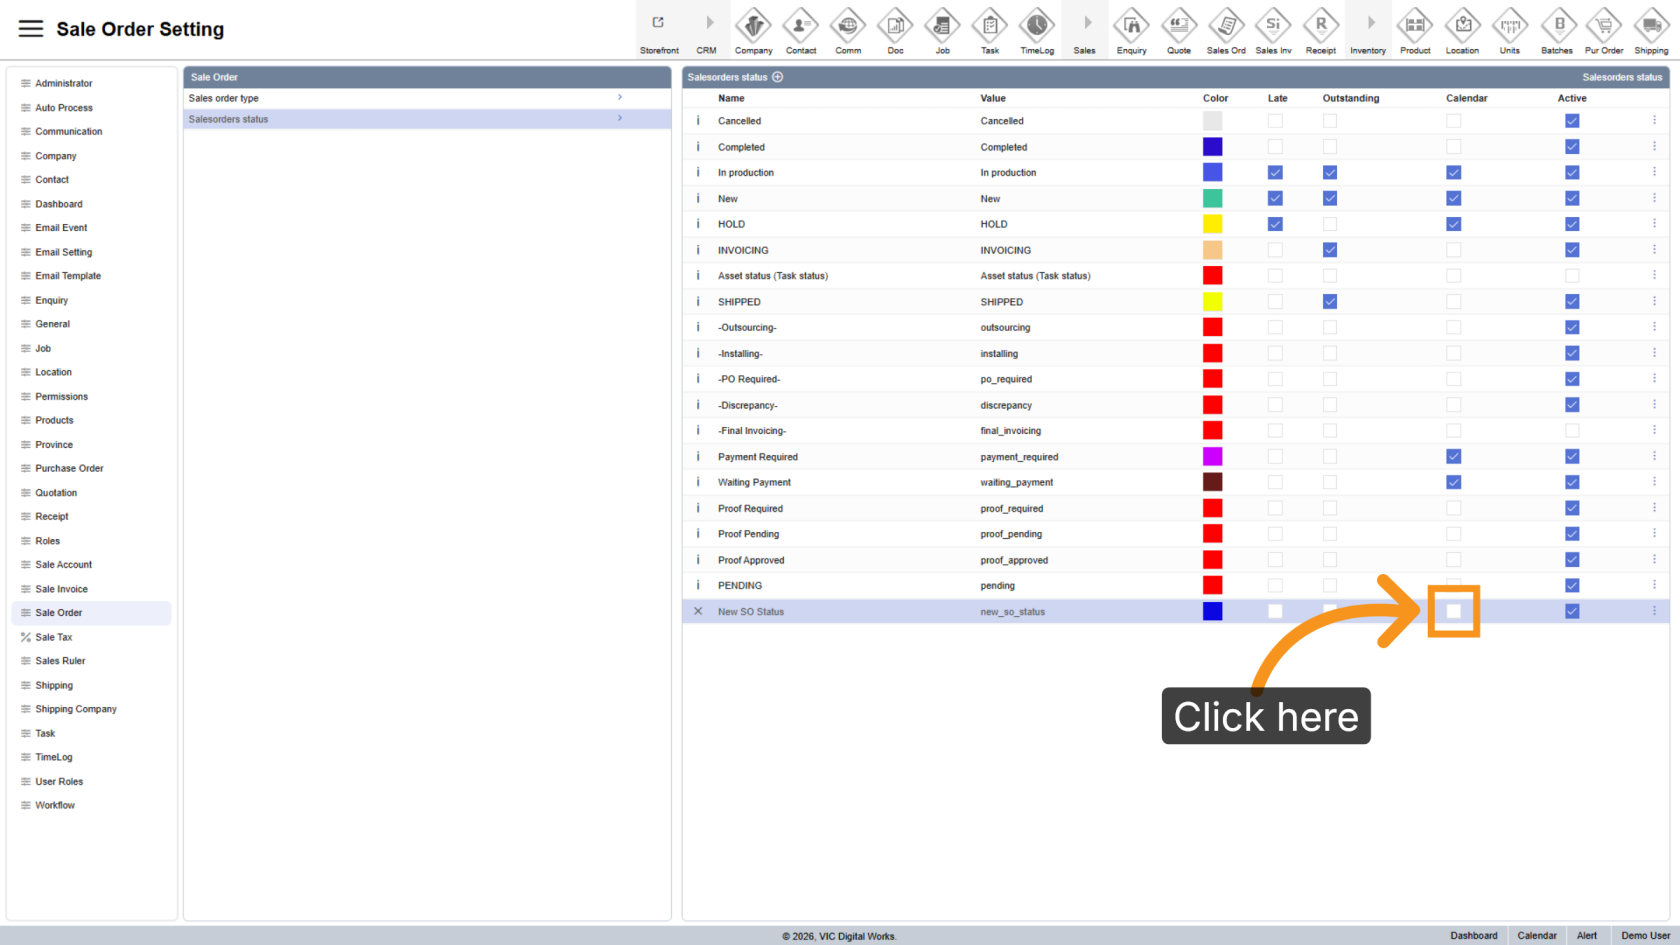
11. Display on Calendar
Check the Calendar option if sales orders with this status should appear on the calendar.
12. Set Status as Inactive
Uncheck Active if you want to hide the status from the status list.

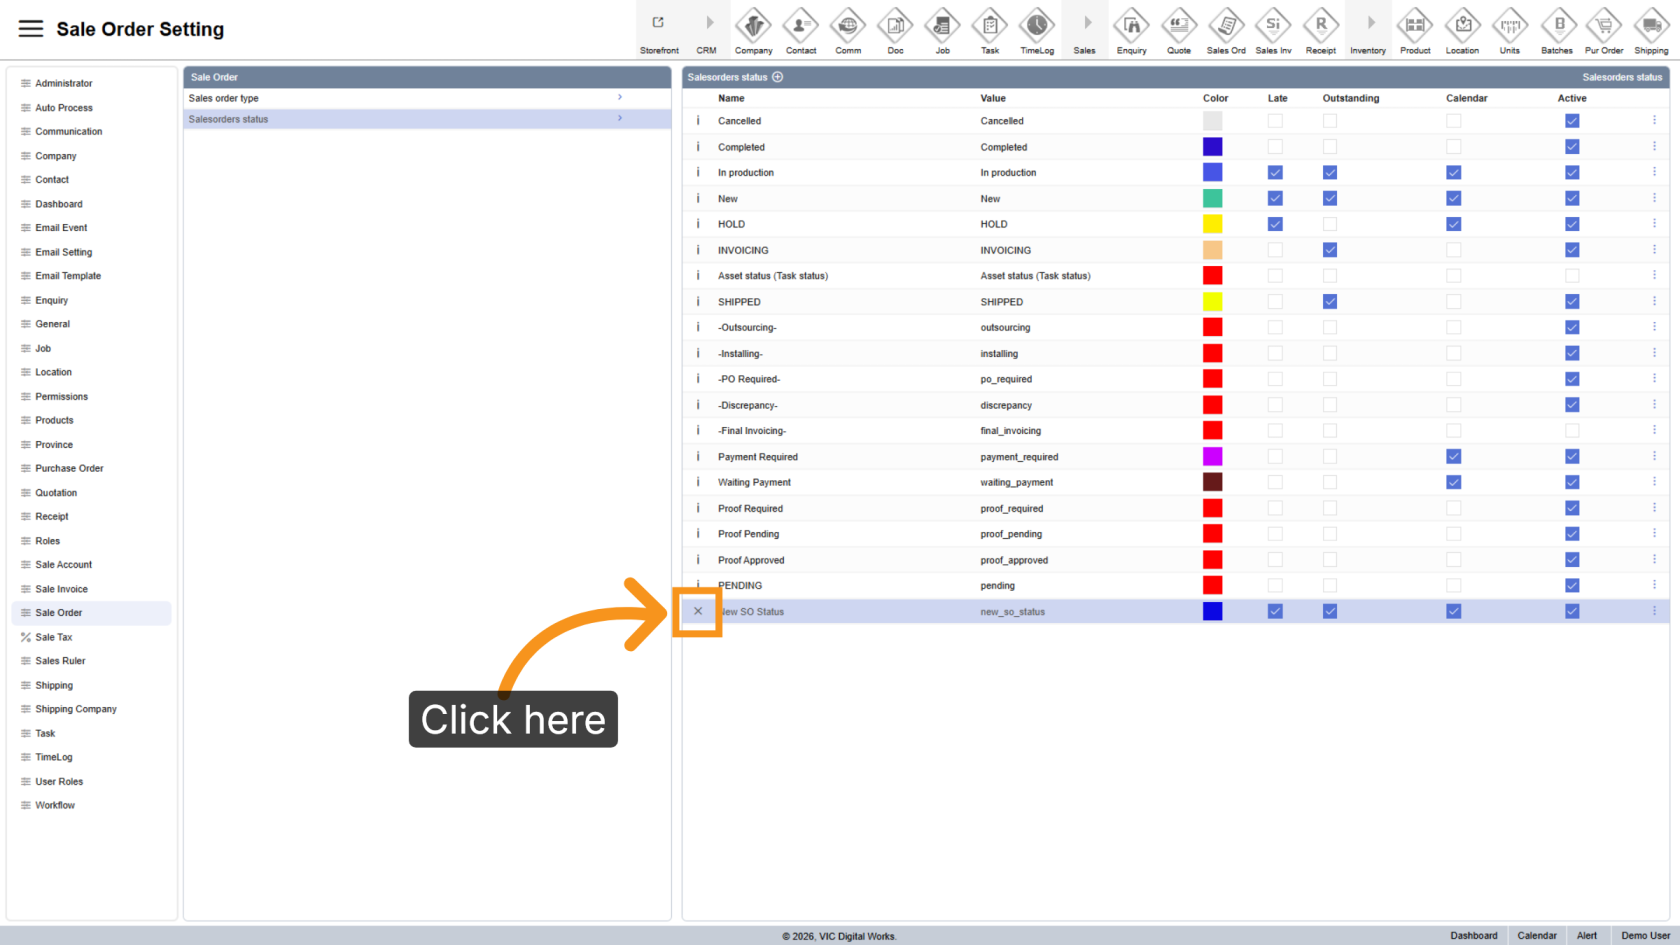
13. Delete a Status
Click the X delete icon to remove the status from the system.
You have successfully configured and customized sales order statuses in the WorkTraq application. Review the status list to verify your changes.