Default Products Settings
This tutorial guides you through configuring default product settings in the Worktraq app.
Video Tutorial
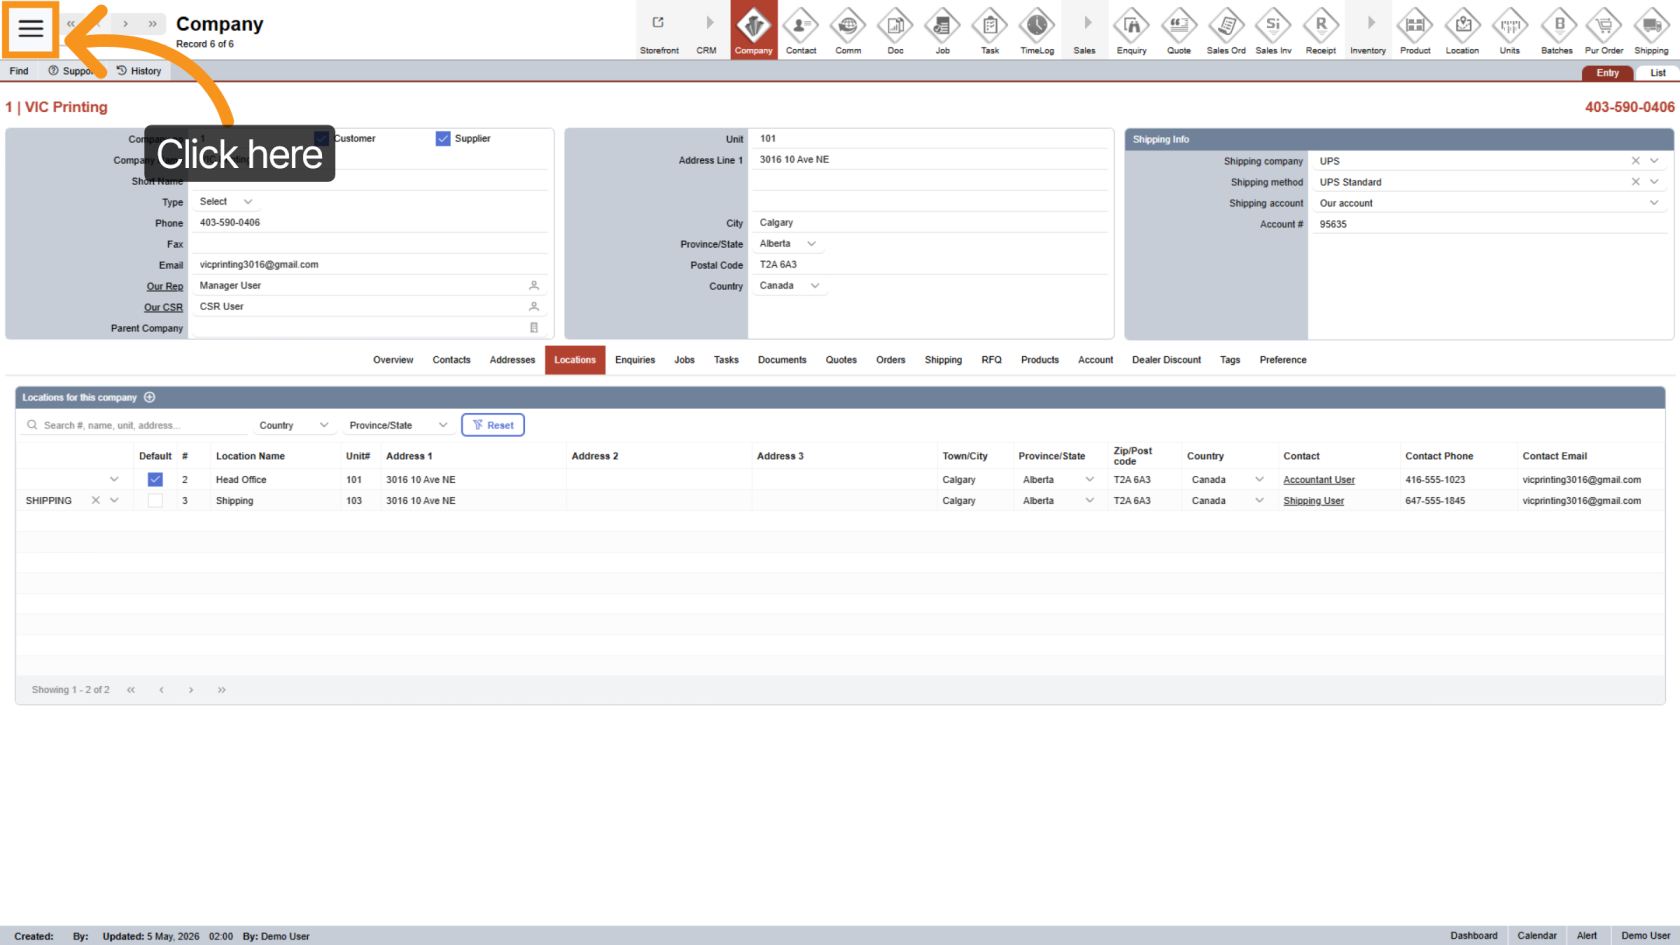
1. Open Main Menu
Click the  main navigation menu to access system options.
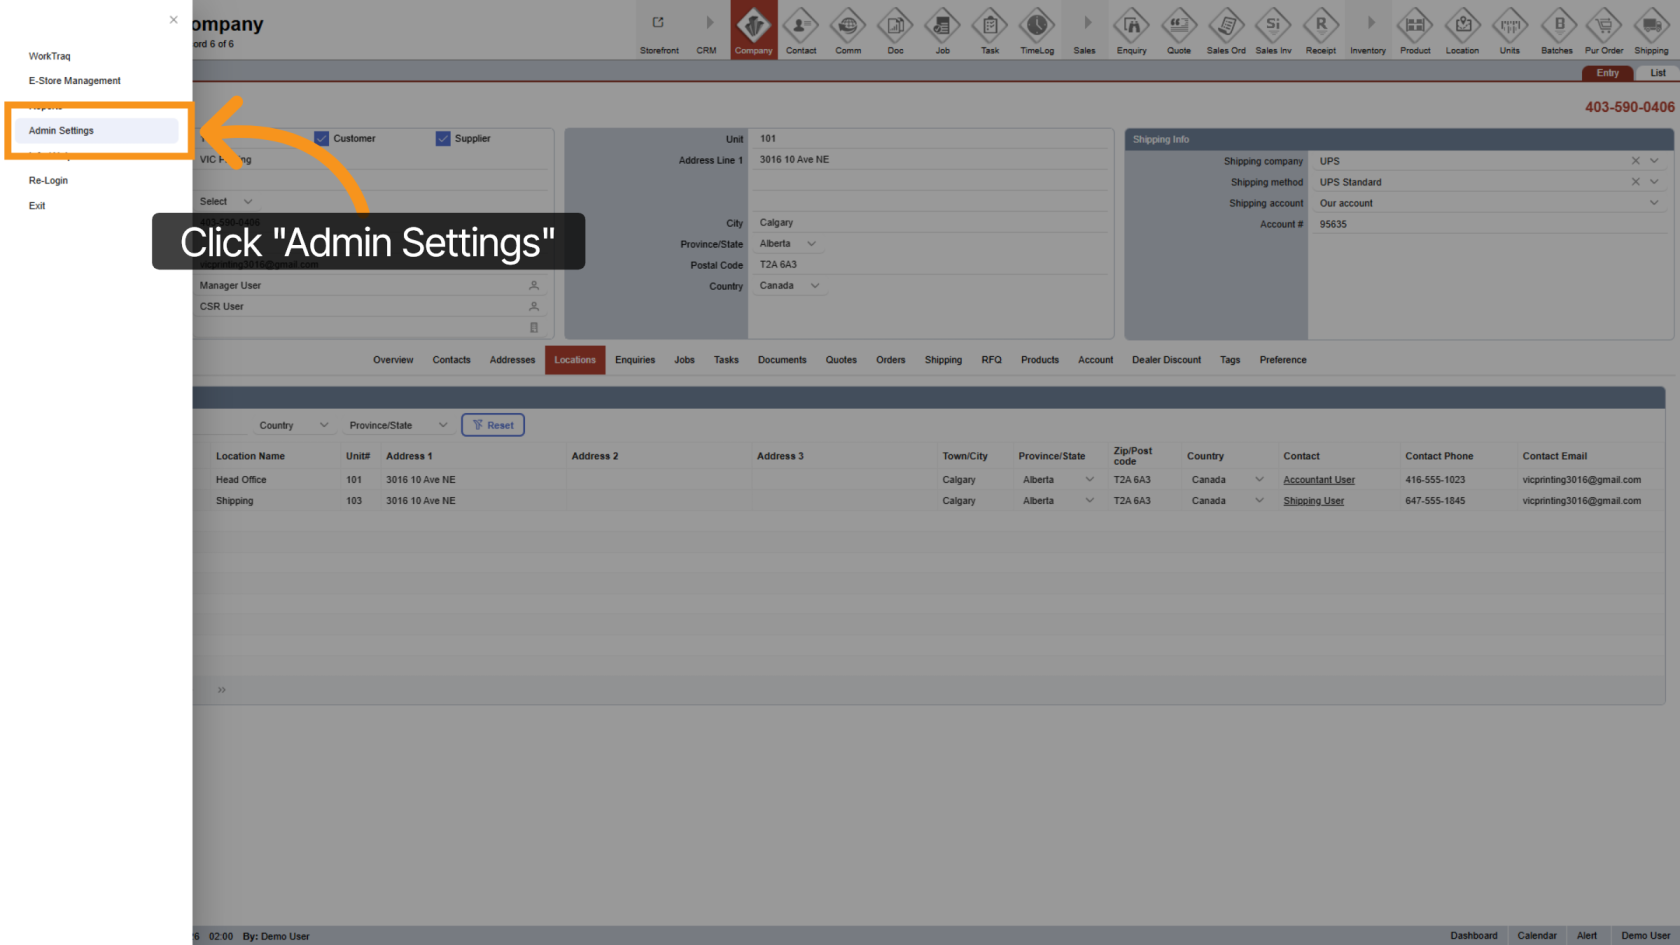
2. Go to Admin Settings
Click "Admin Settings" to open the administration panel.
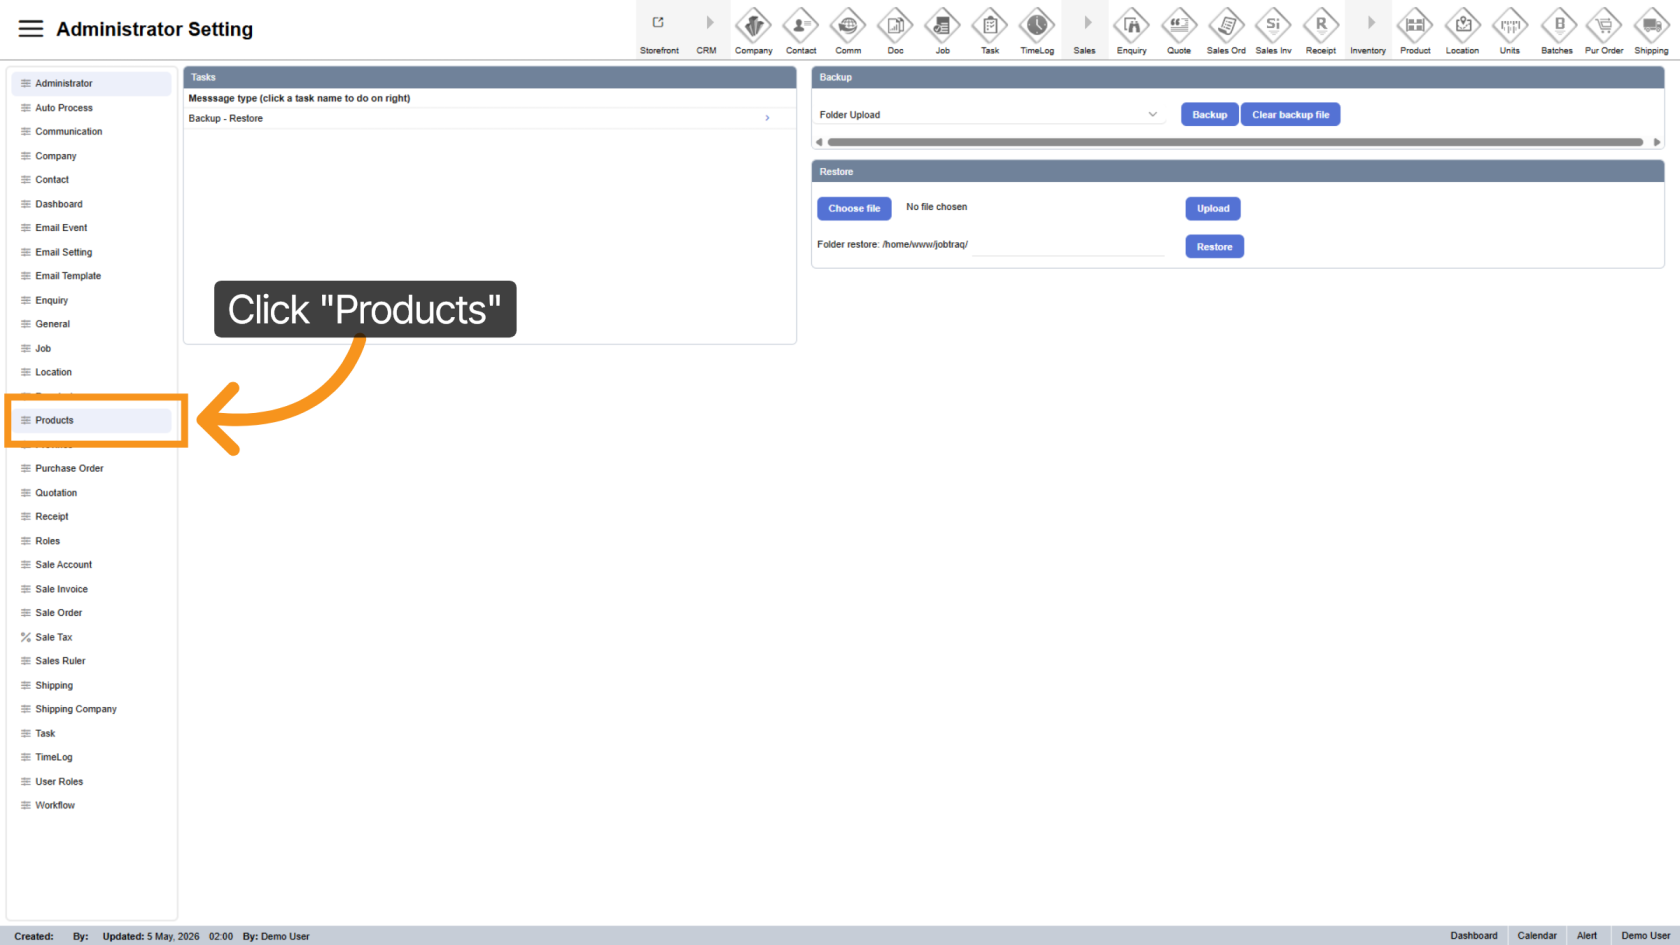
3. Navigate to Products Section
Click "Products" to view the product management options.
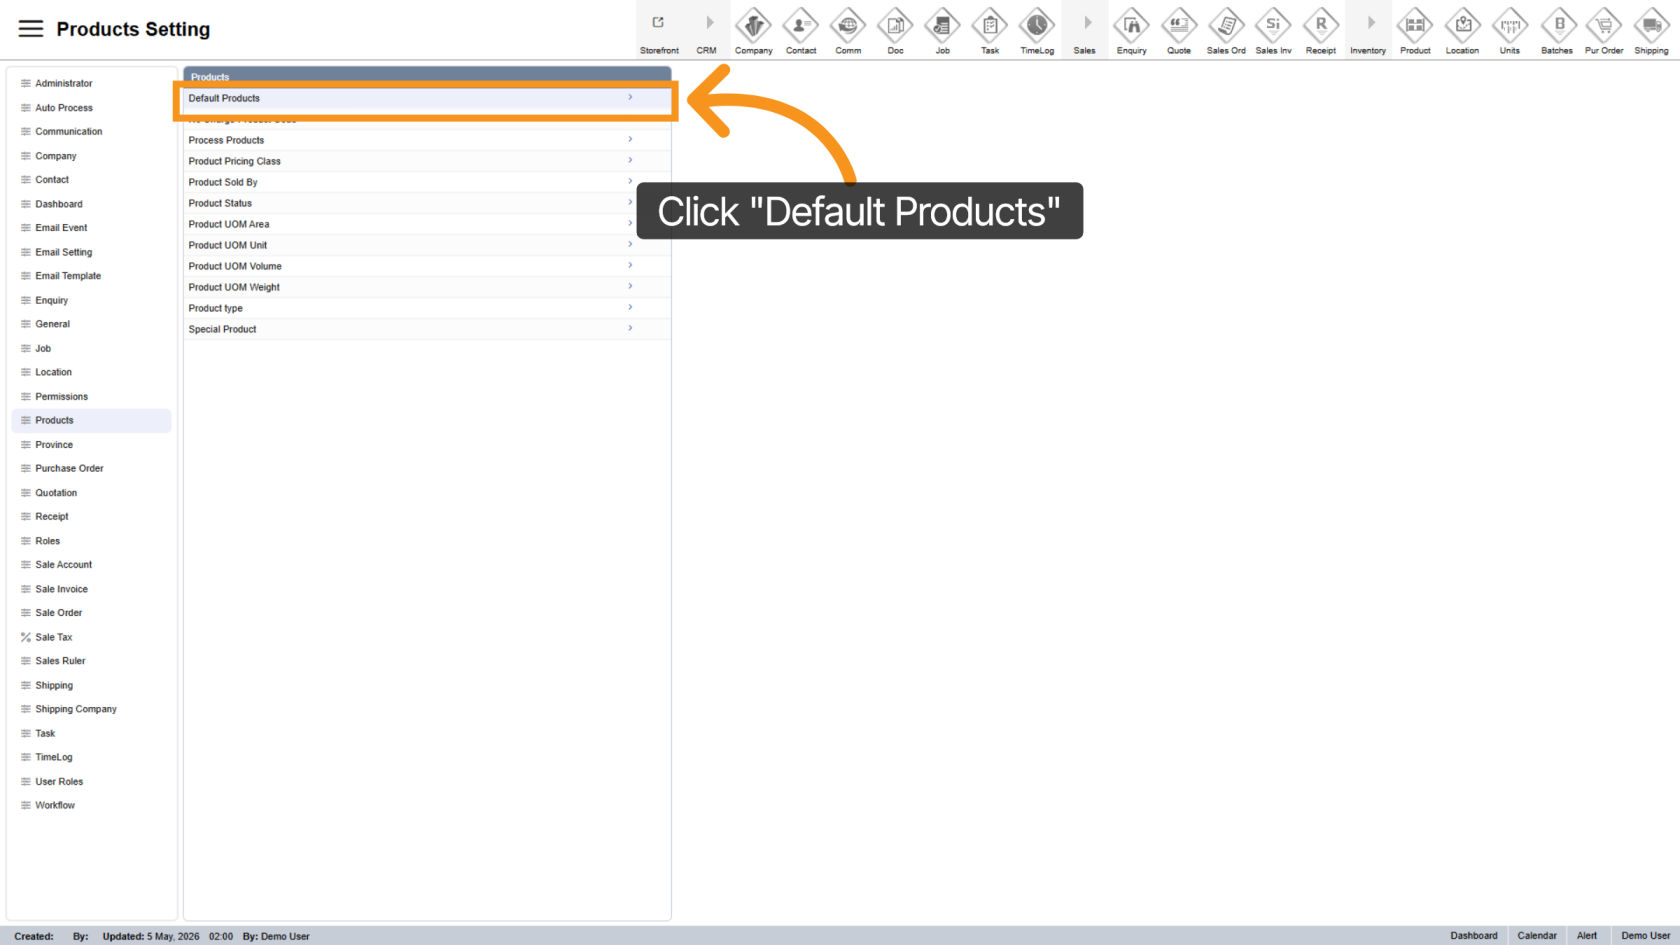
4. Open Default Products
Select "Default Products" to access default product configurations. These products are used for pricing calculations between Worktraq and the Estore.
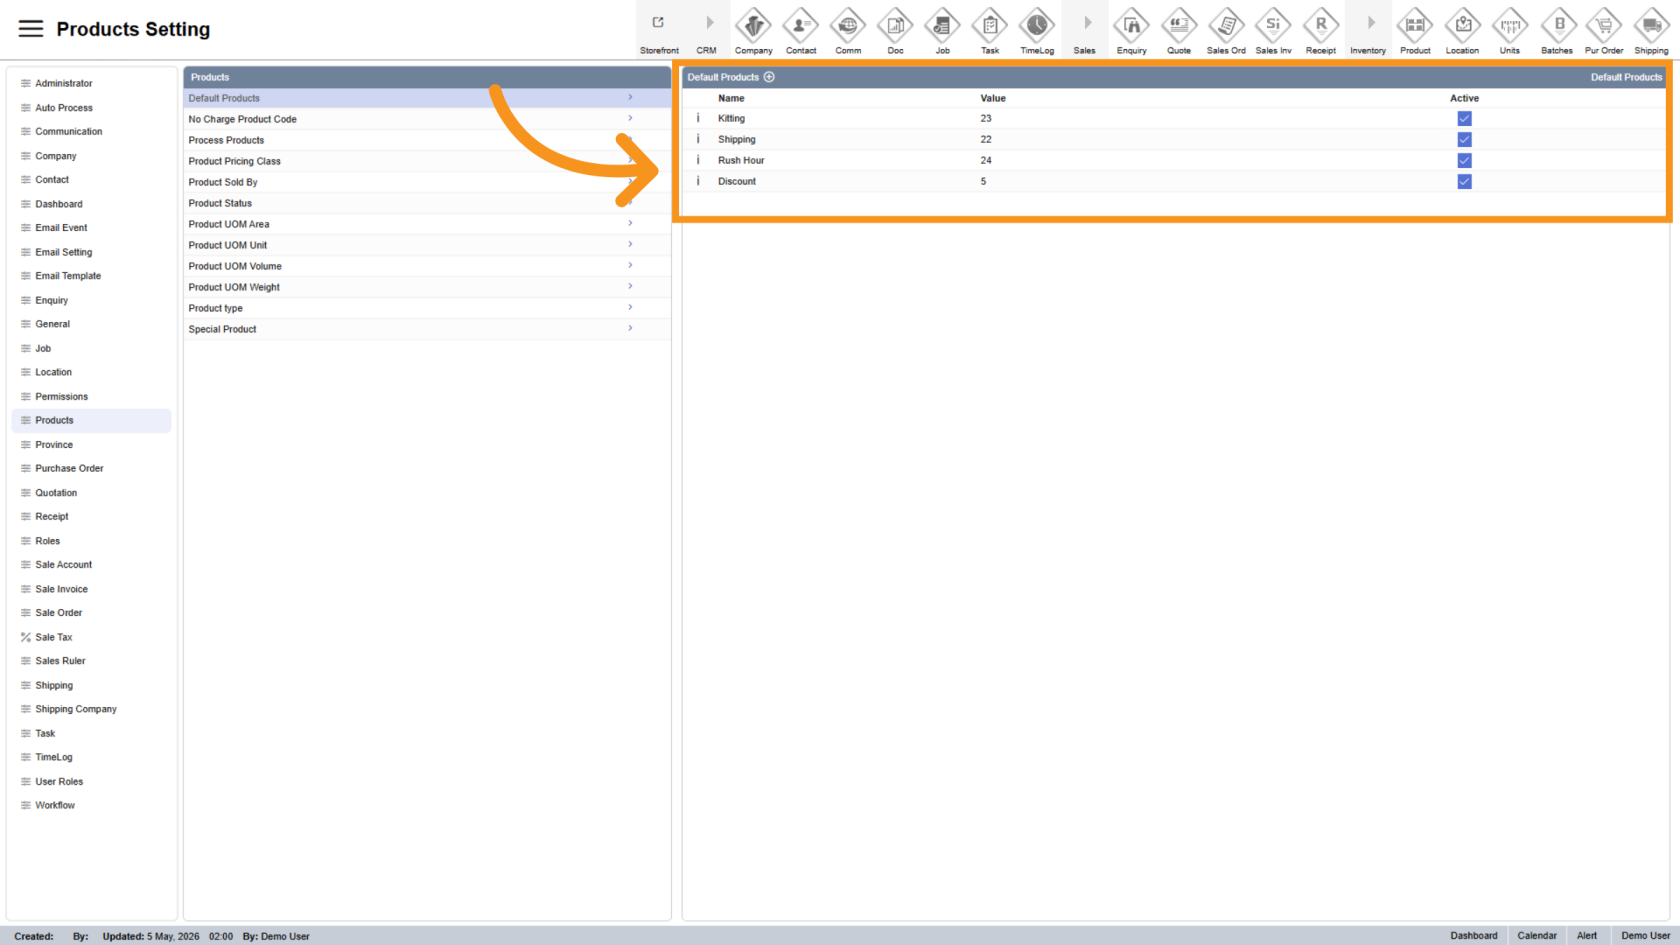
5. View Default Product List
The list of default products will appear on the right side.
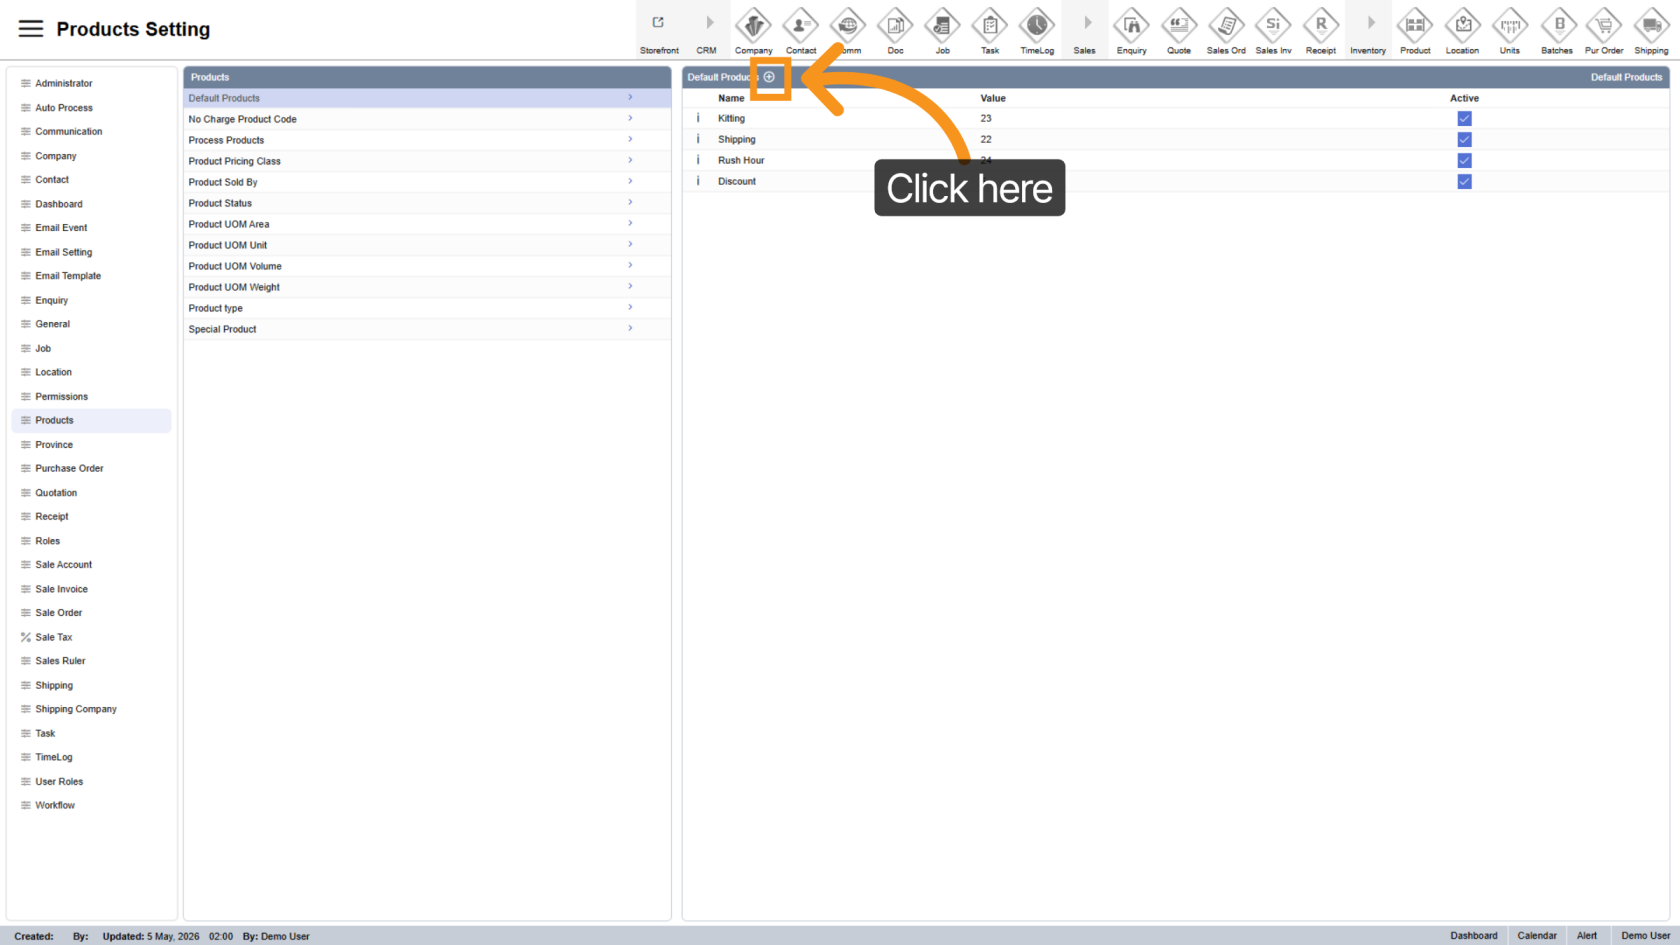
6. Add a New Default Product
Click the ![]() plus icon to add a new product to the list.
plus icon to add a new product to the list.
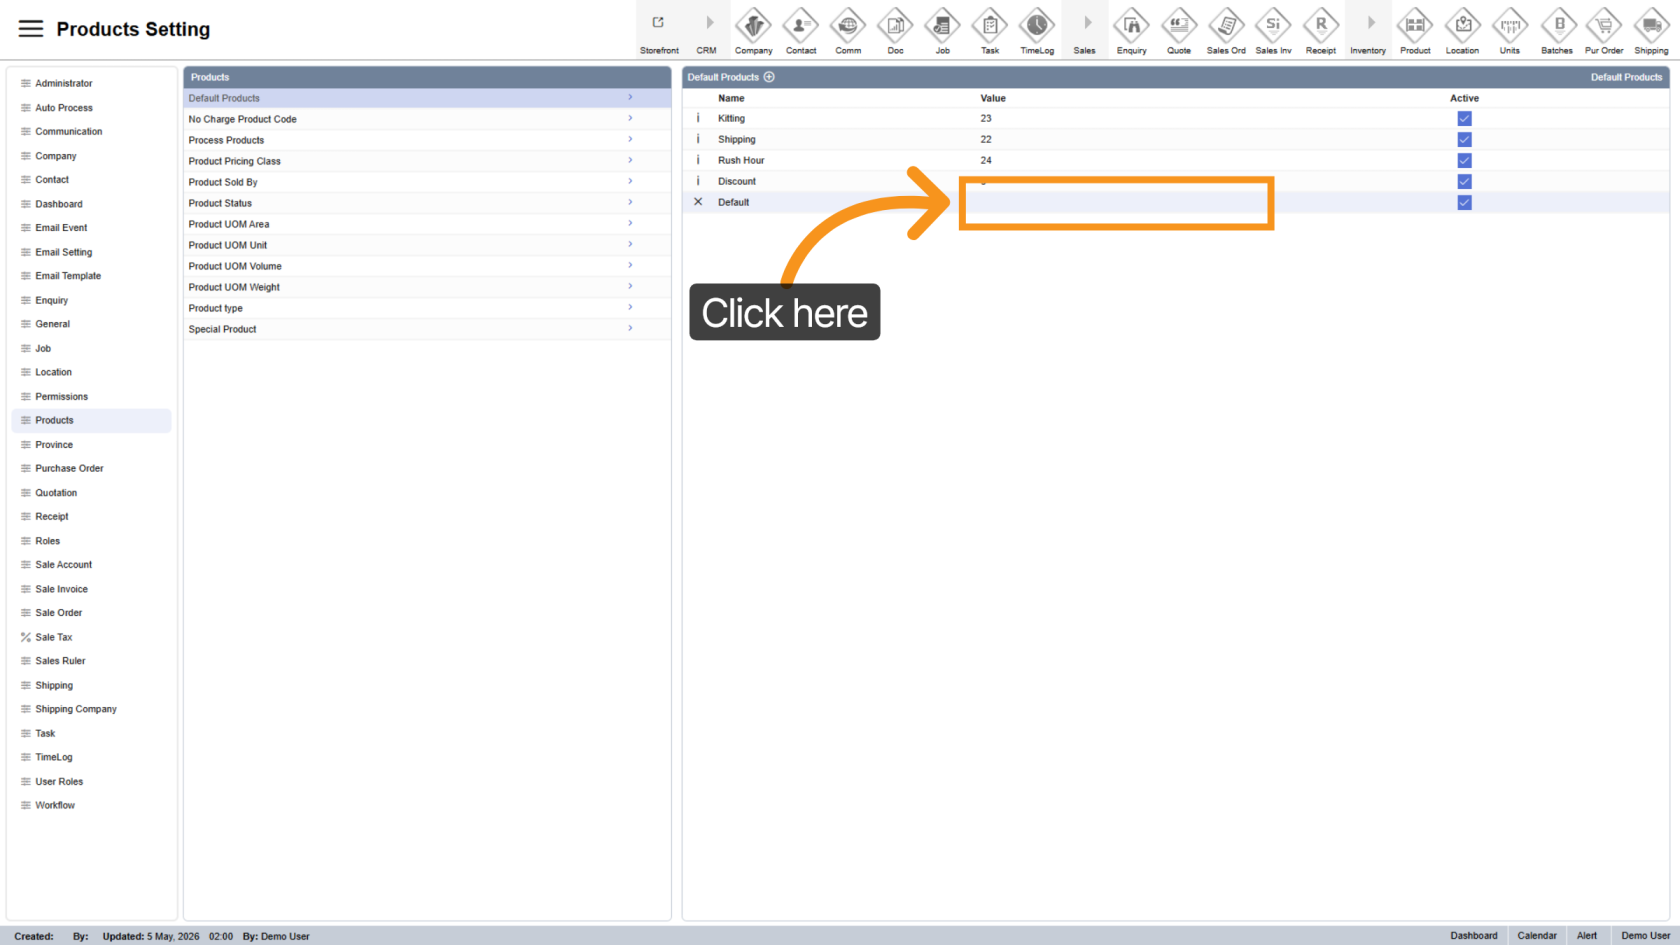
7. Enter Product Name
Click the name field and enter the product name.

8. Add Product Value
Enter the correct product code to the value. This ensures the system accurately recognizes and links the product.
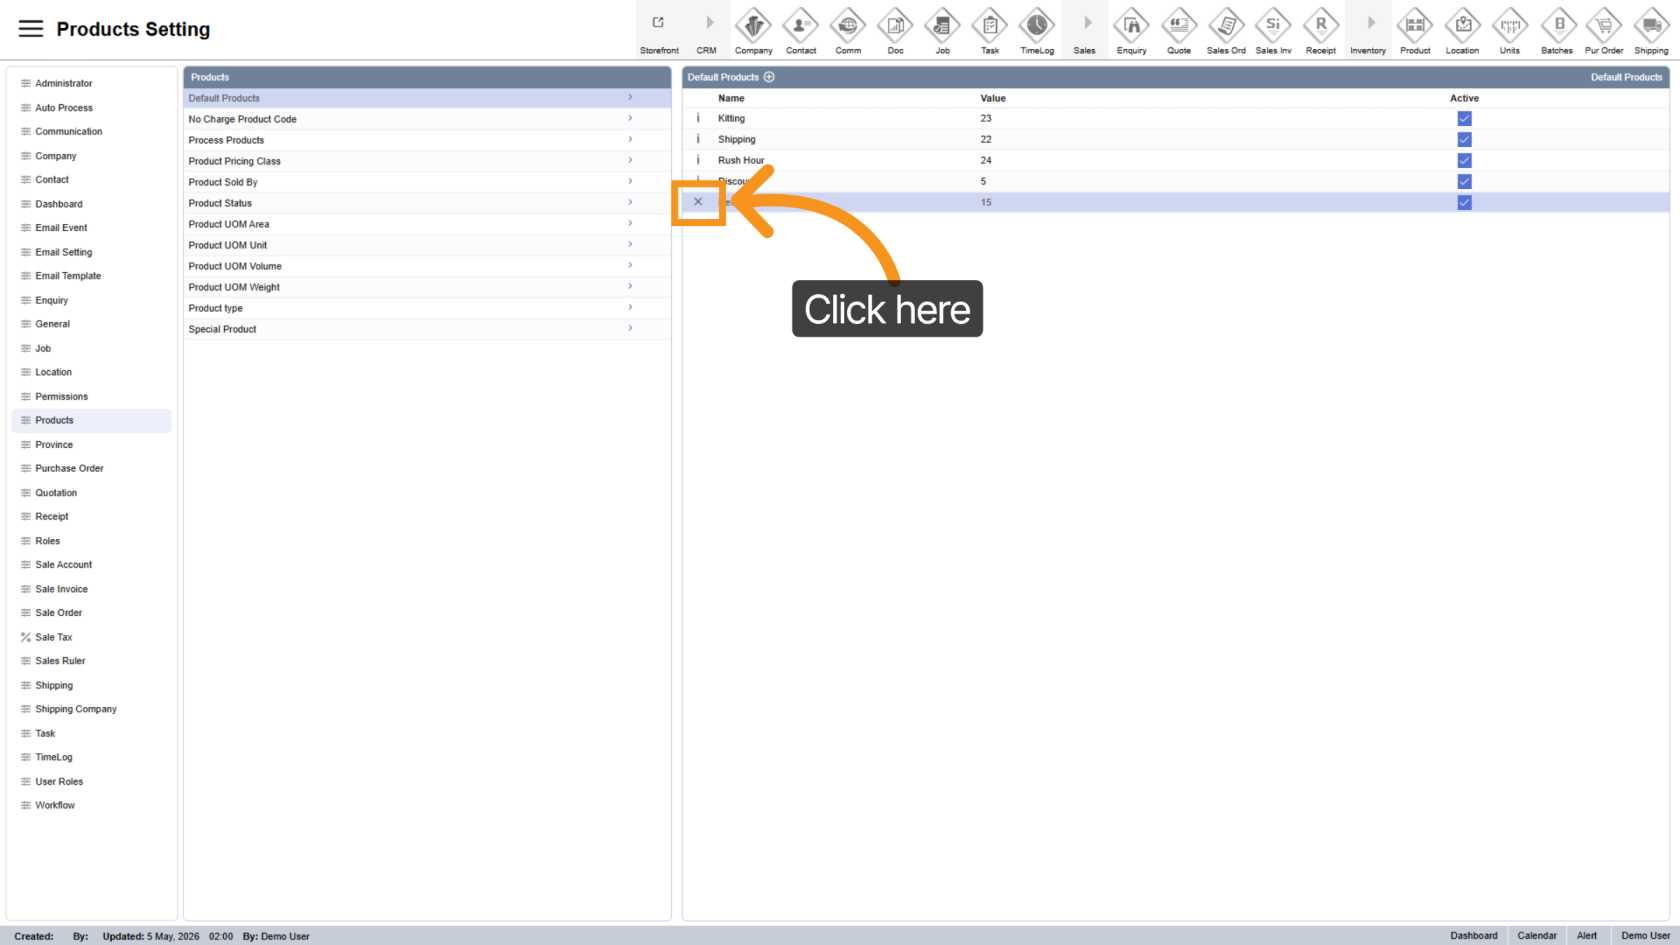
9. Delete a Product
Click the X delete icon to remove a product from the list.
You have successfully configured the default product settings in the Worktraq app. Make sure all product details are entered correctly to ensure accurate pricing and smooth system operation.