Configure Tax Groups
This tutorial guides you through configuring tax groups in the WorkTraq application. Tax groups support multiple custom taxes for your sales orders and invoices.
Video Tutorial
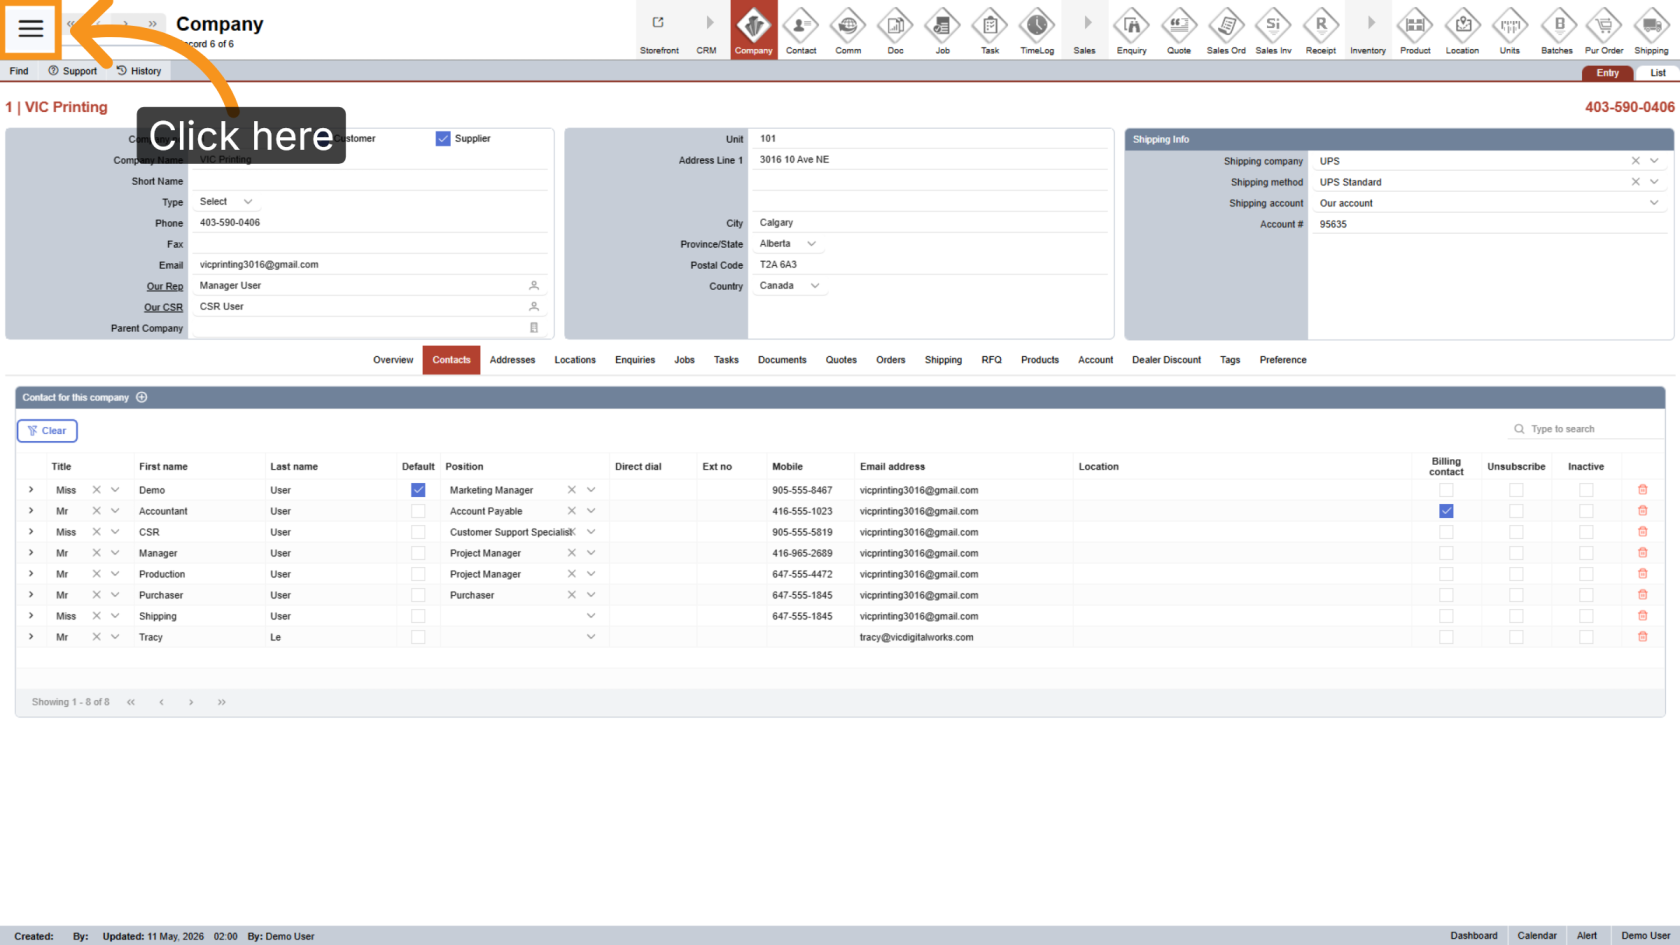
1. Open the Main Menu
Click the ![]() main navigation menu to access system options.
main navigation menu to access system options.
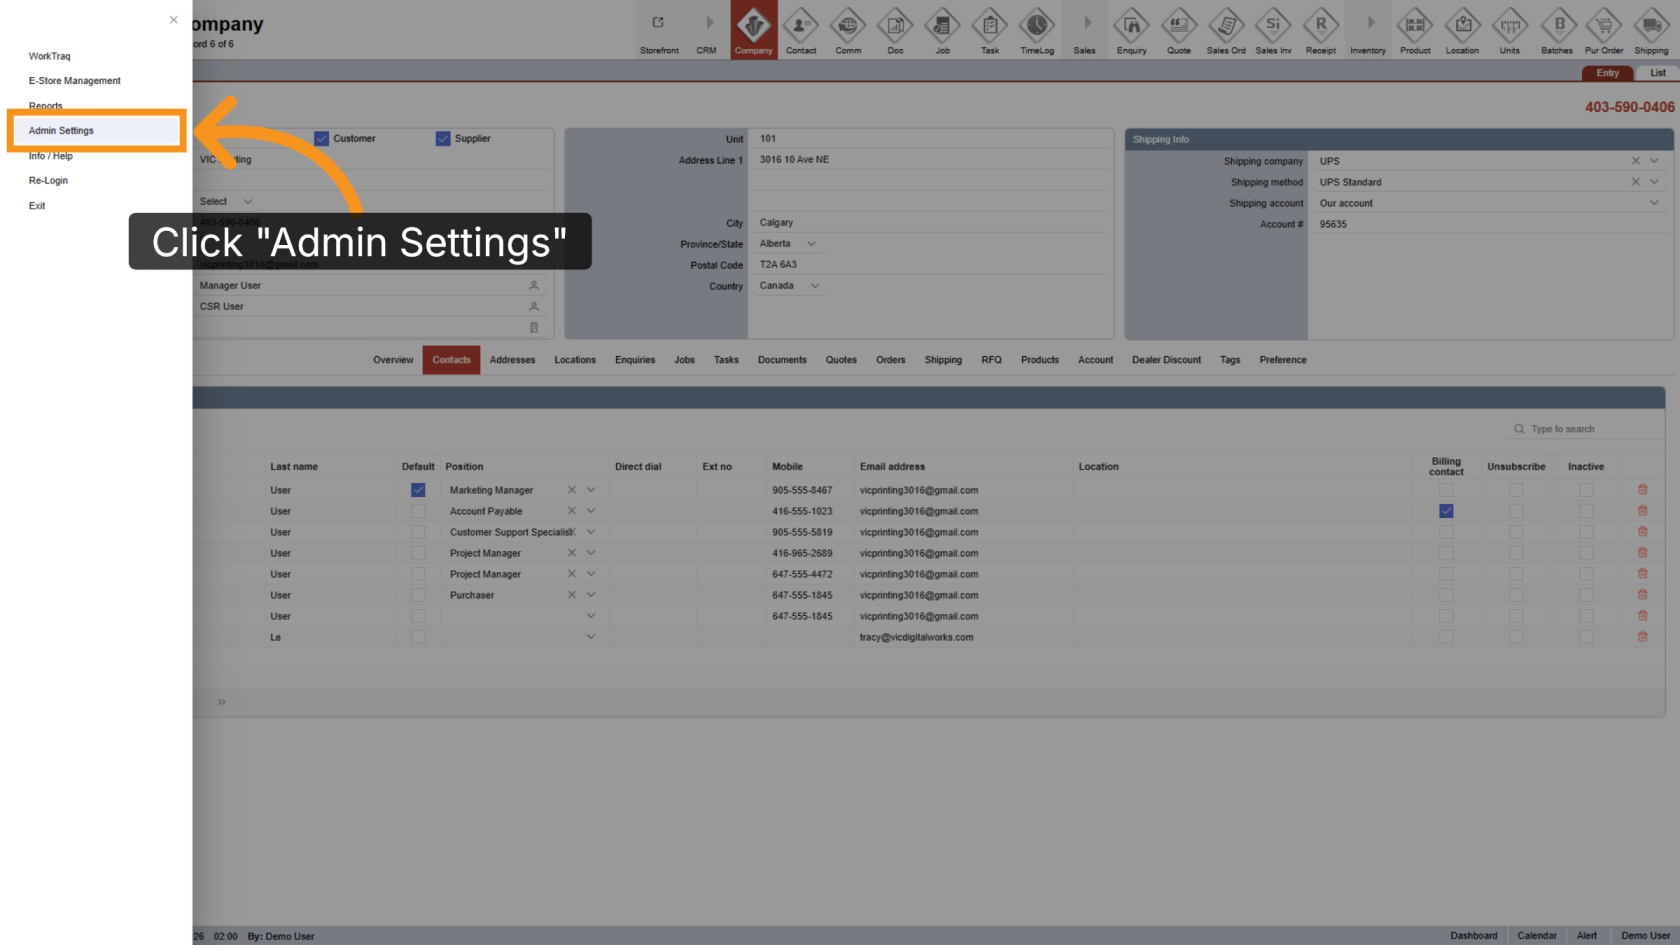
2. Go to Admin Settings
Click "Admin Settings" to open the administration panel.
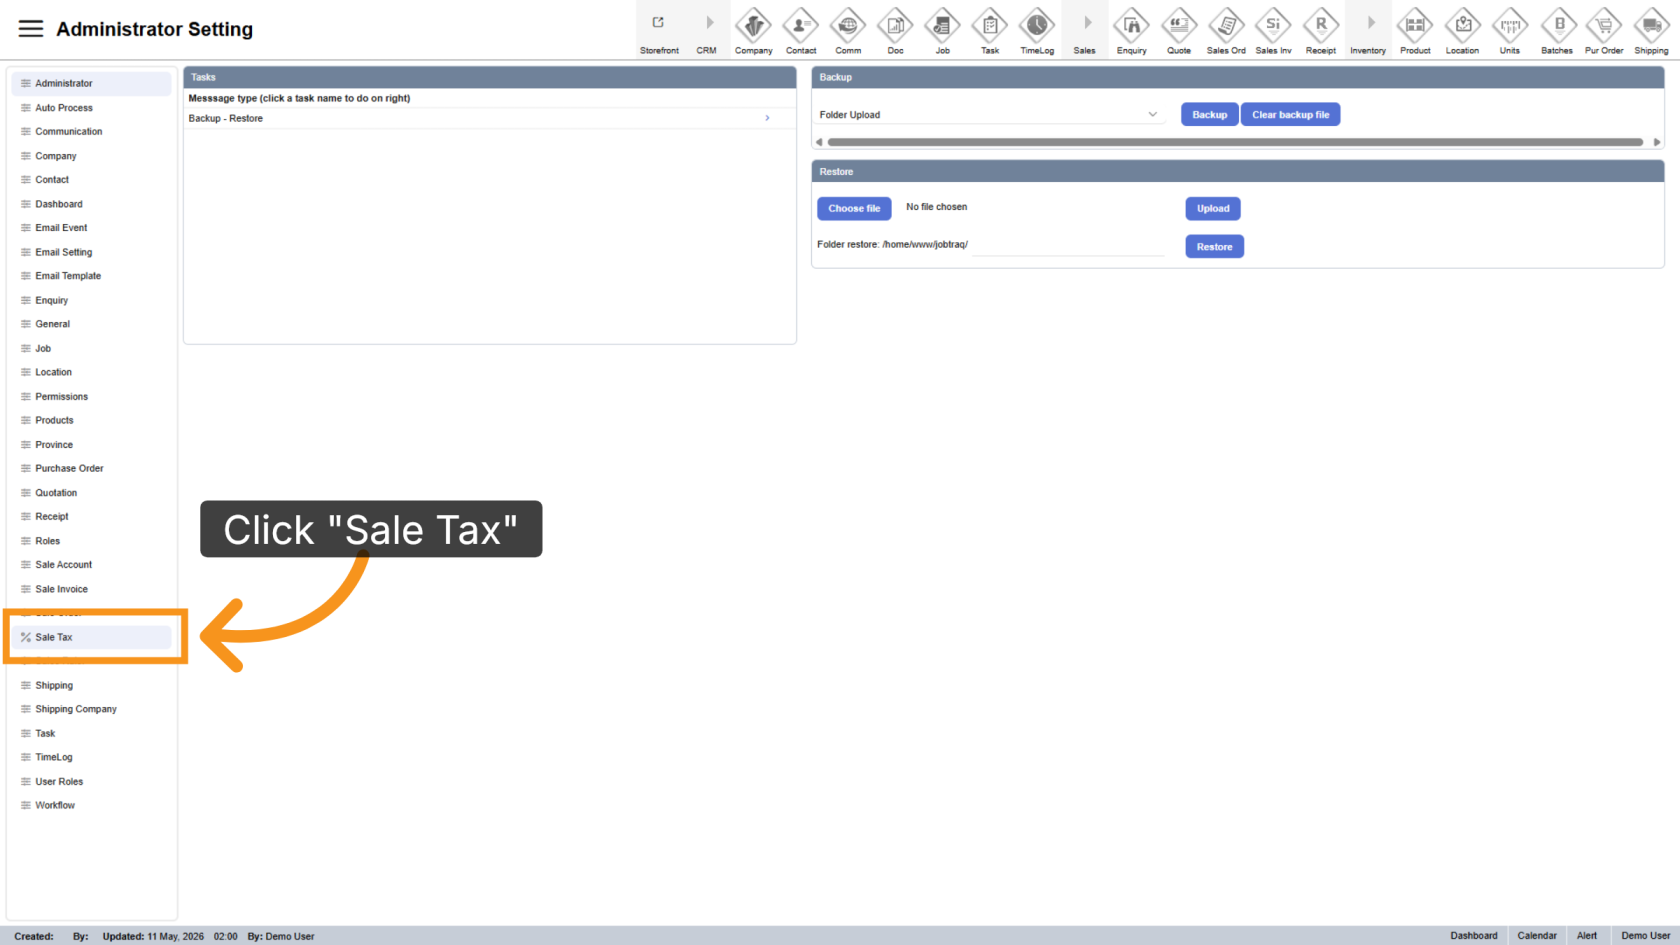
3. Navigate to the Sale Tax Section
Click "Sale Tax" to manage tax-related configurations.
4. Open Tax Groups
Click "Tax Groups" to view and manage existing tax groups.
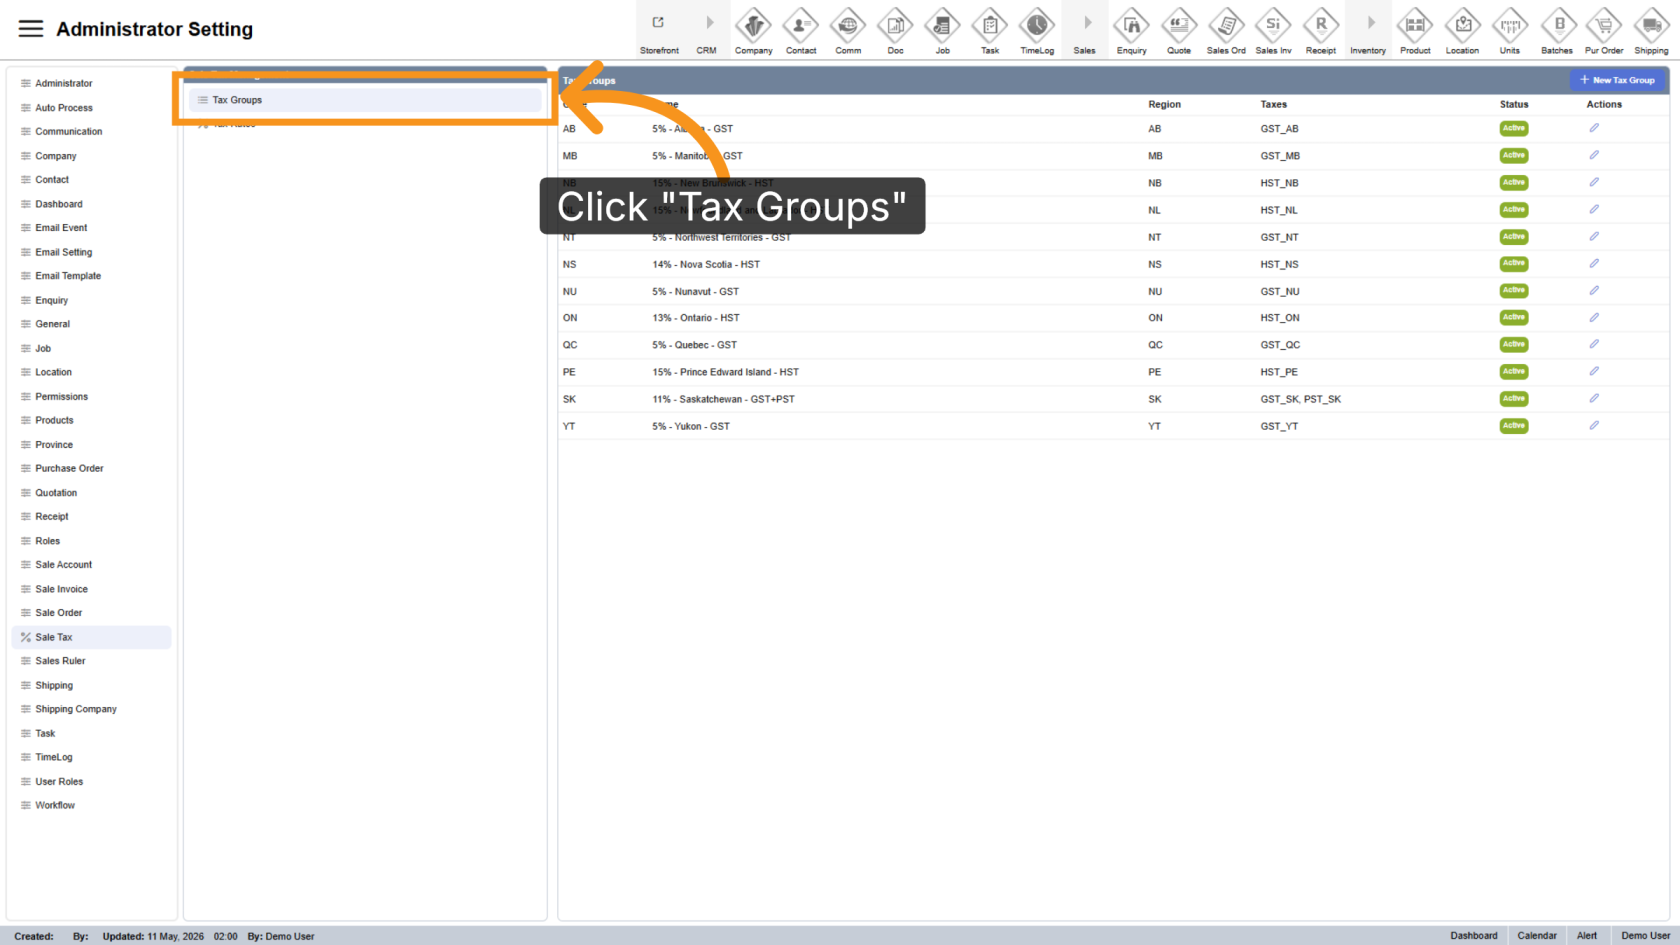
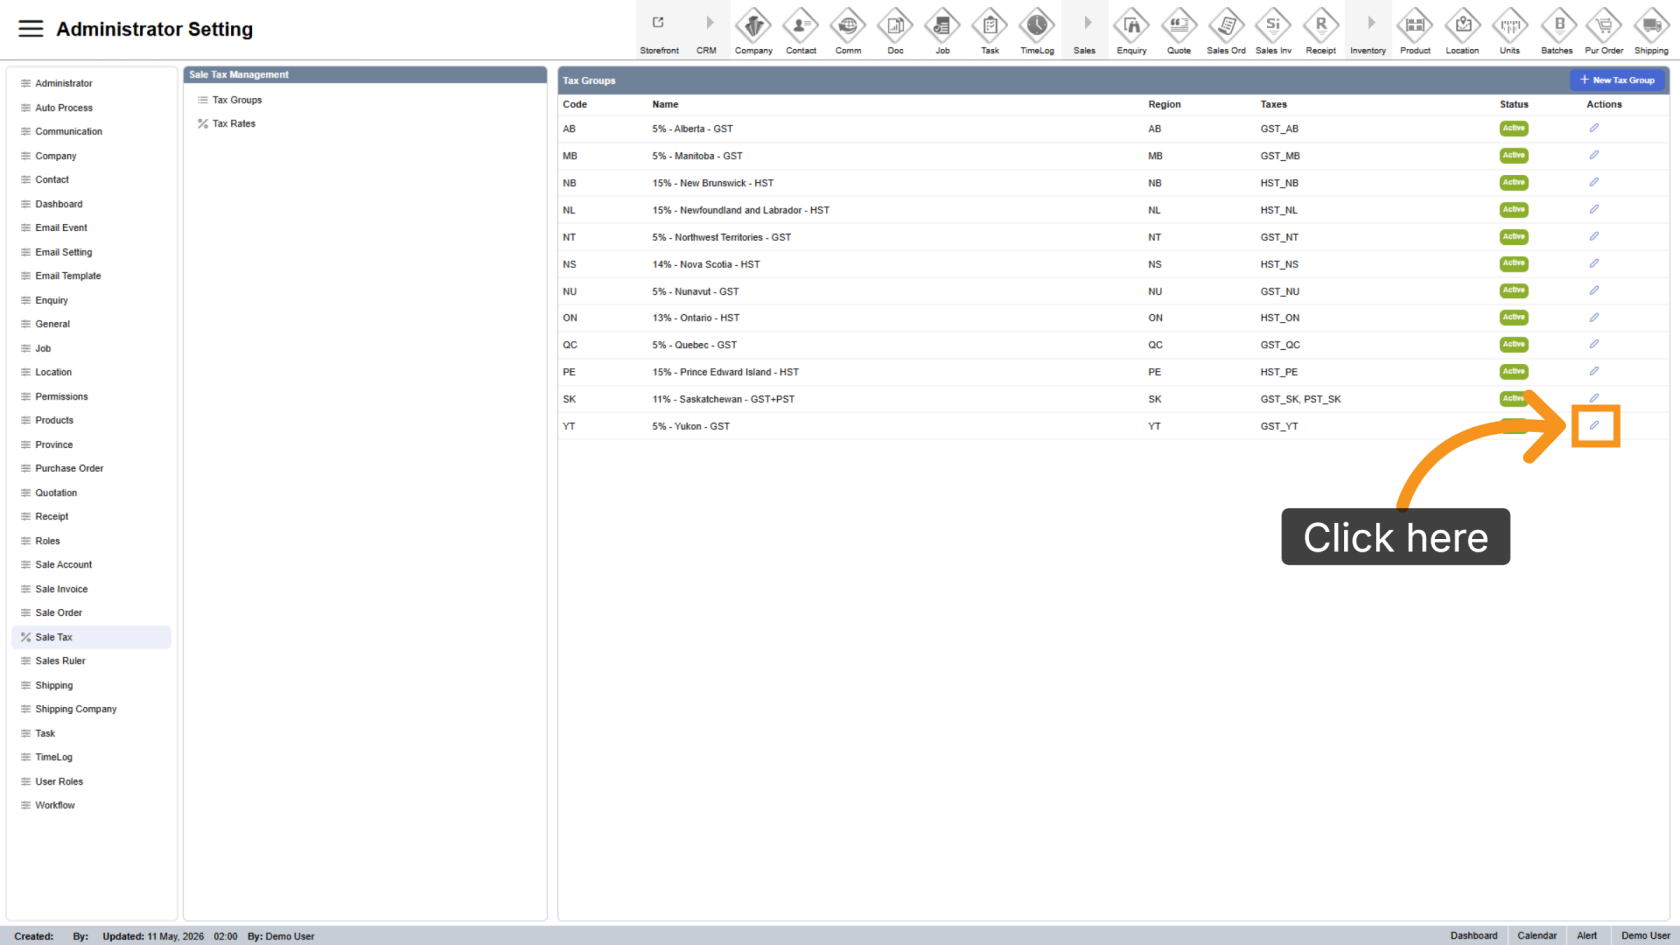
5. View Existing Tax Groups
All existing tax groups will appear on the right side of the screen.
Click the ![]() edit icon if you want to modify a tax group.
edit icon if you want to modify a tax group.
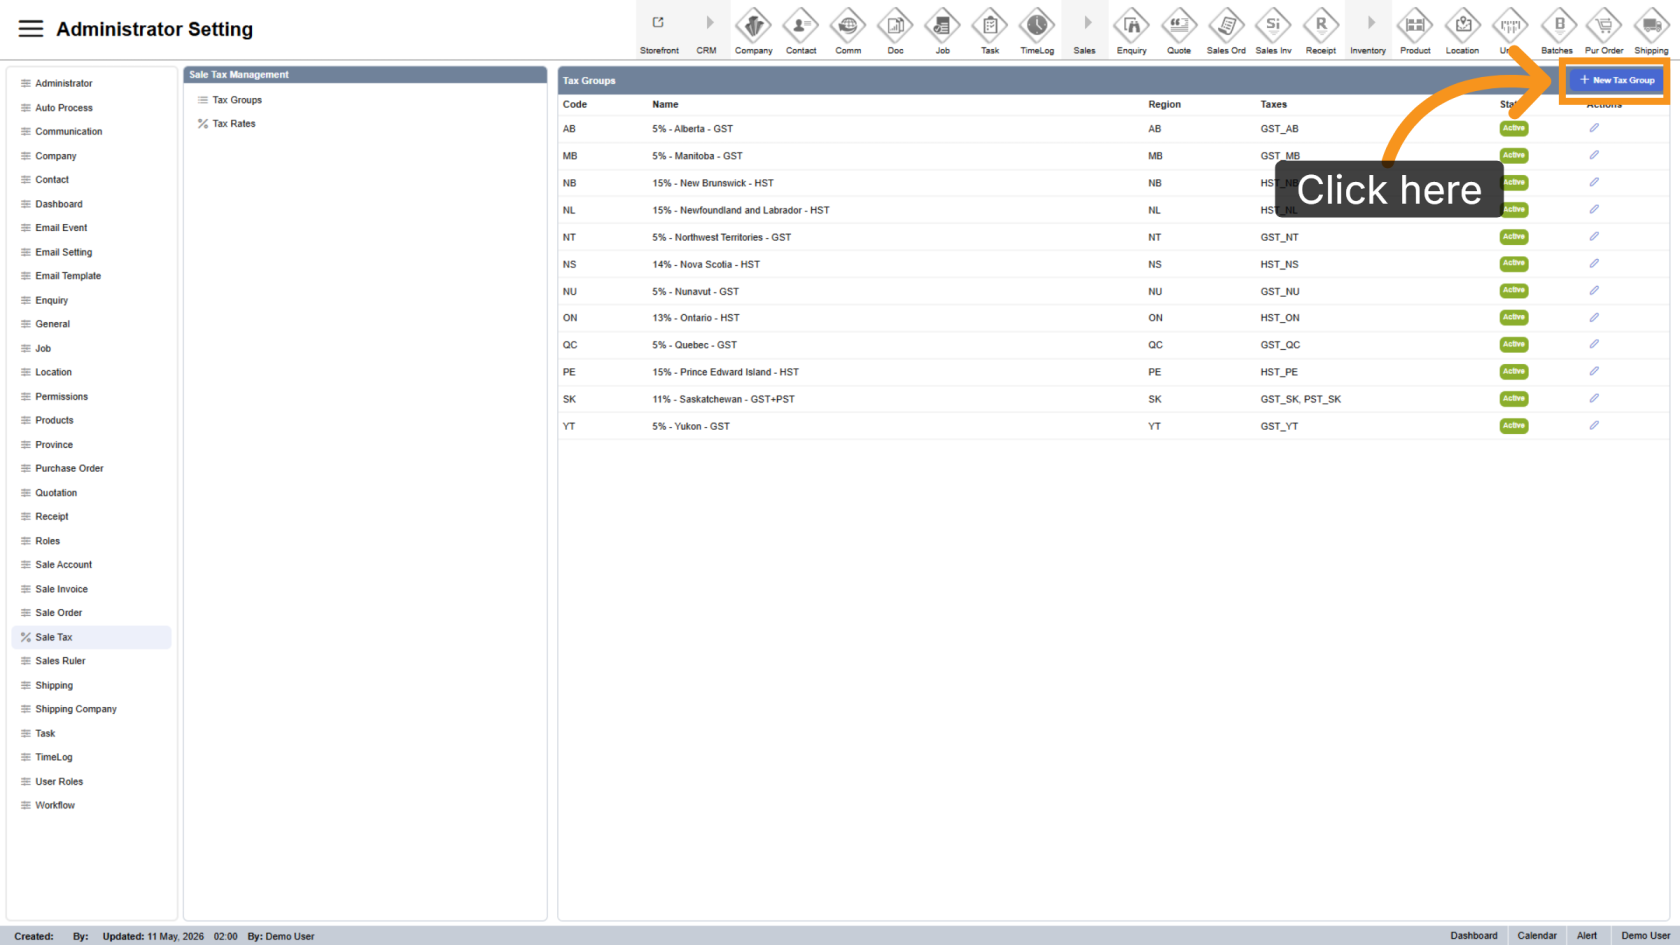
6. Create a New Tax Group
Click "New Tax Group" to create a new tax group.
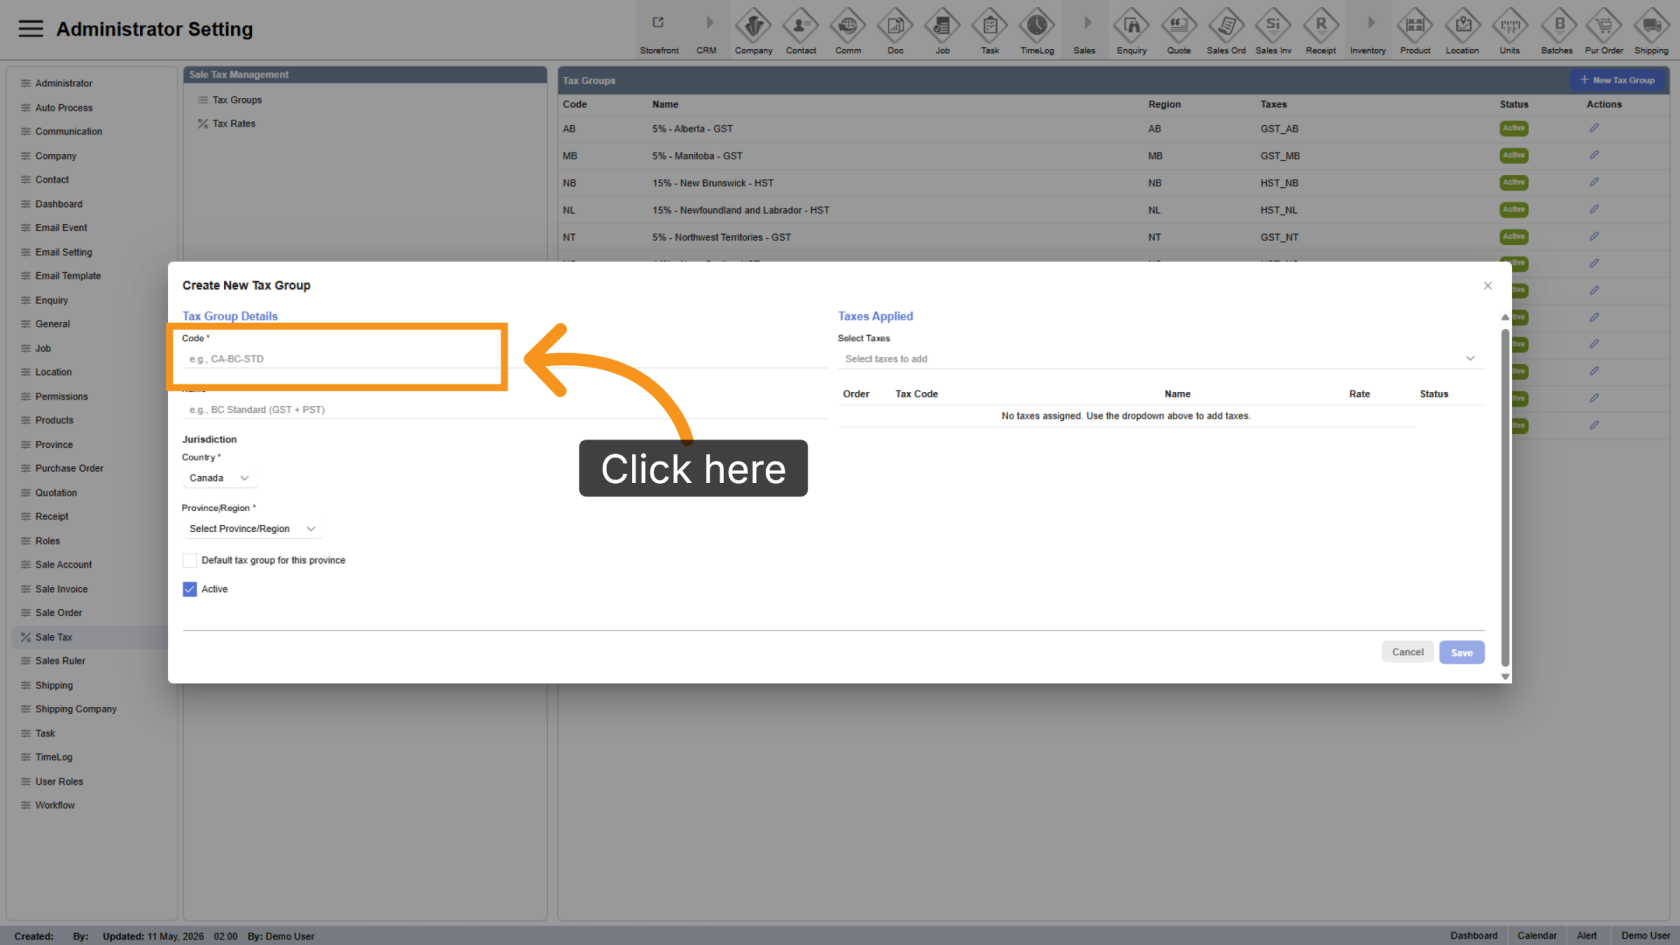
7. Enter the Tax Code
Enter a unique tax code in the Code field. The code can be customized but must not duplicate any existing tax group code.
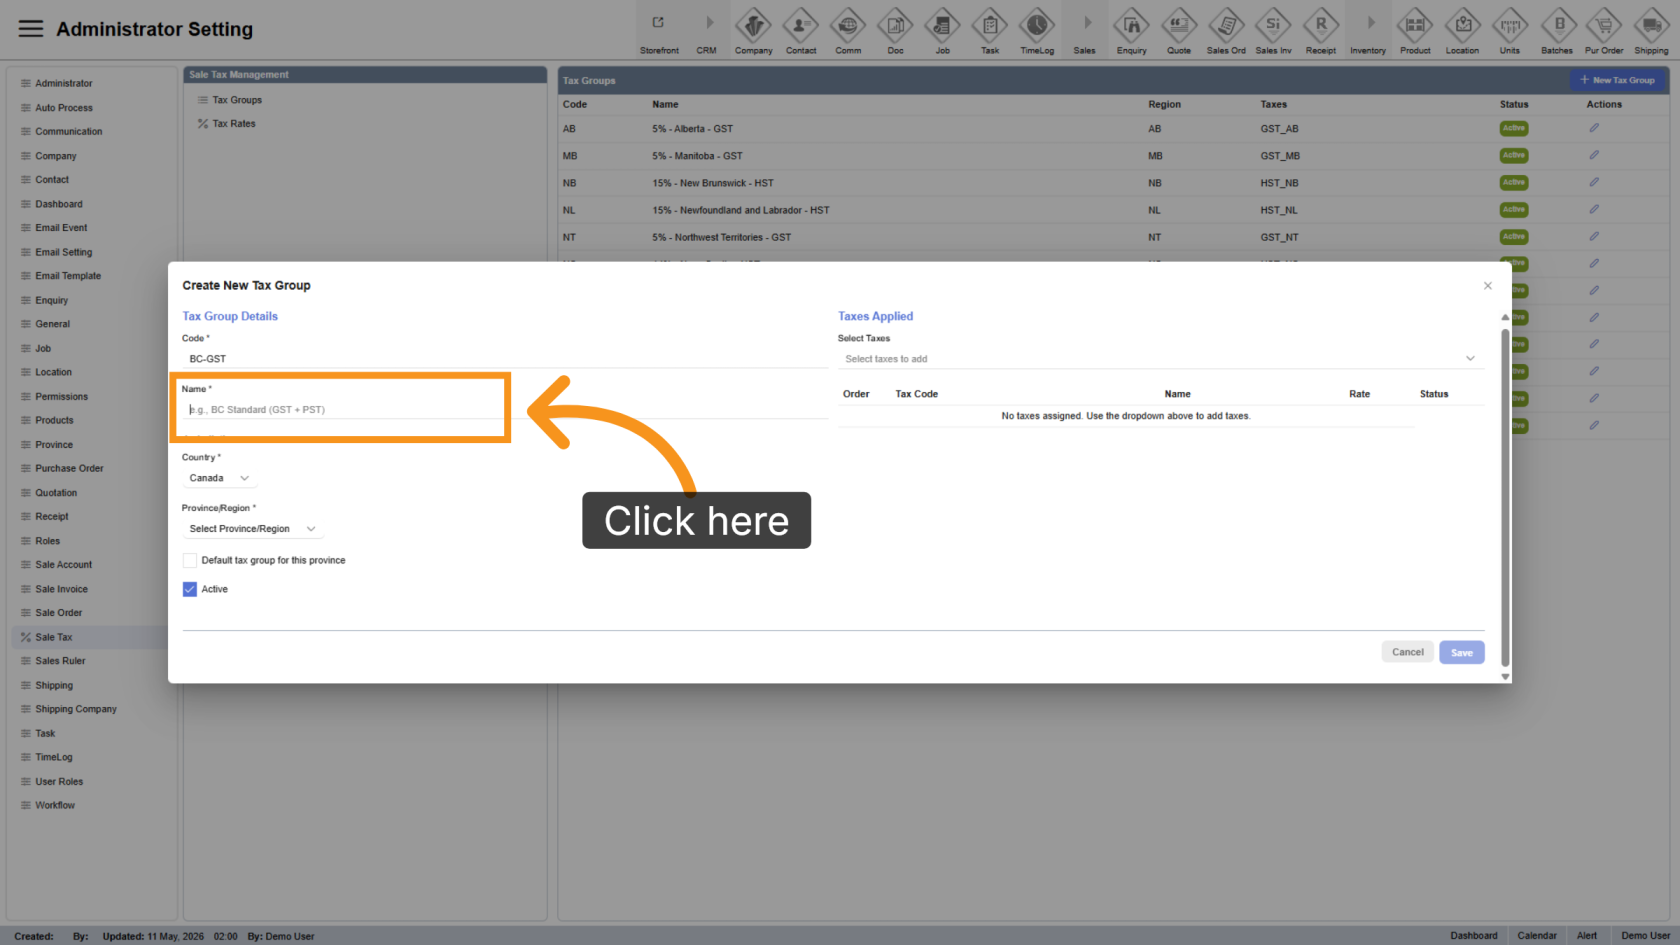
8. Enter the Tax Group Name
Enter a unique and easily identifiable name for the tax group in the Name field.
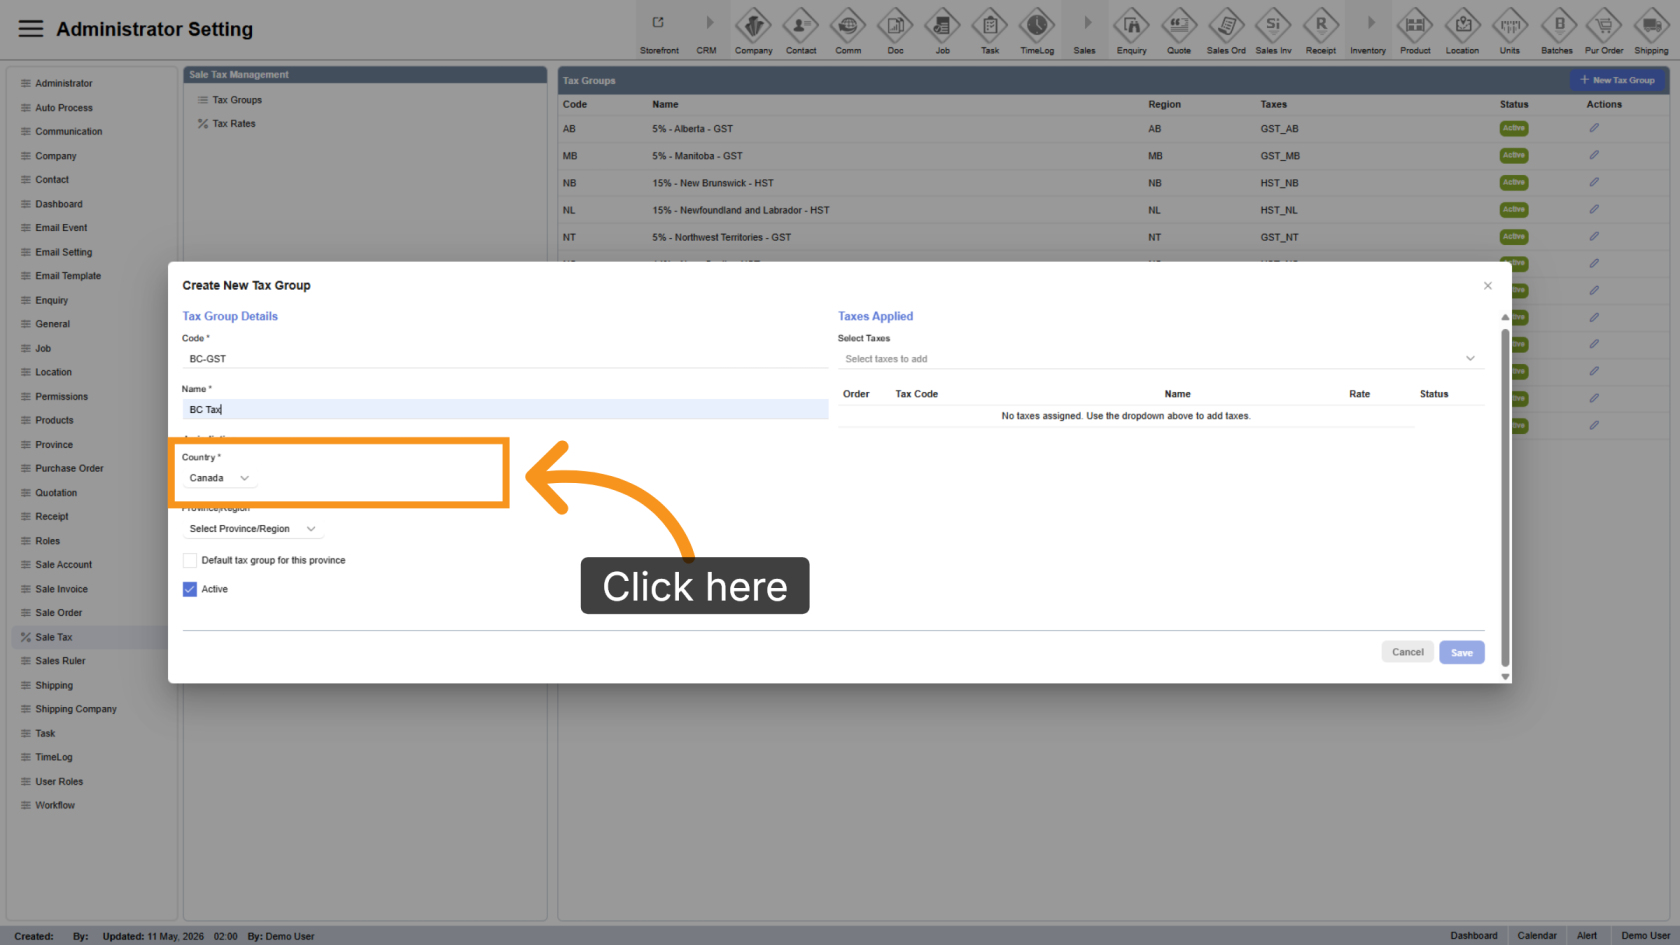
9. Select a Country
Click "Country" to choose the country for the tax group.
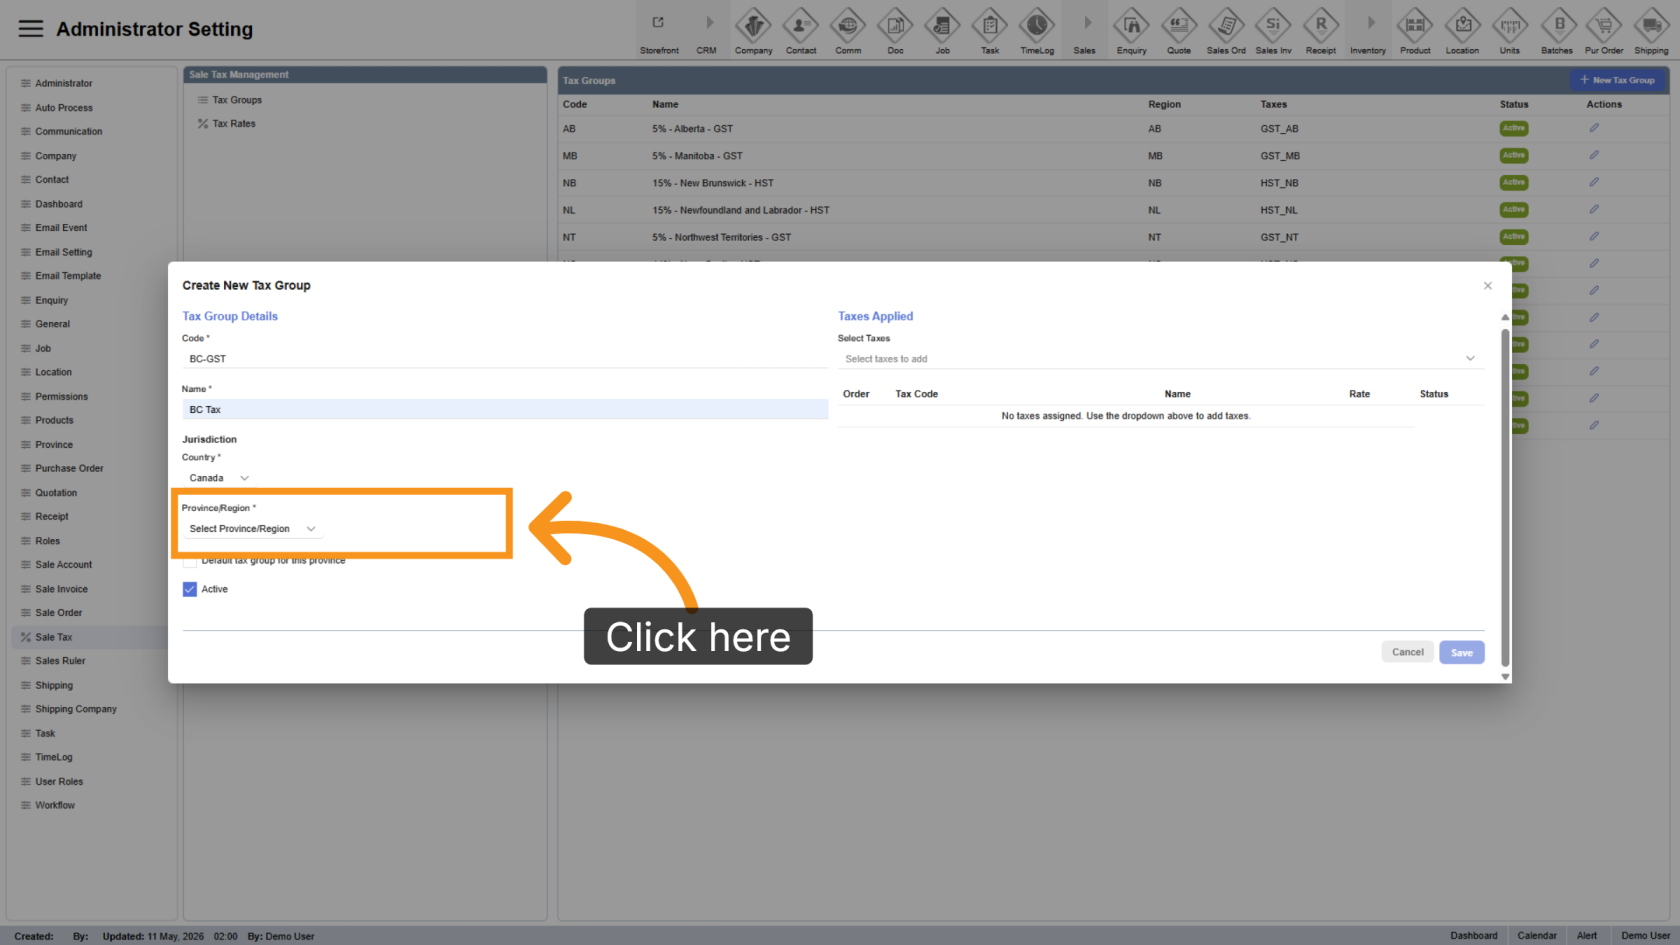
10. Select a Province or Region
Click "Select Province/Region" to choose the applicable province or region for the tax group.
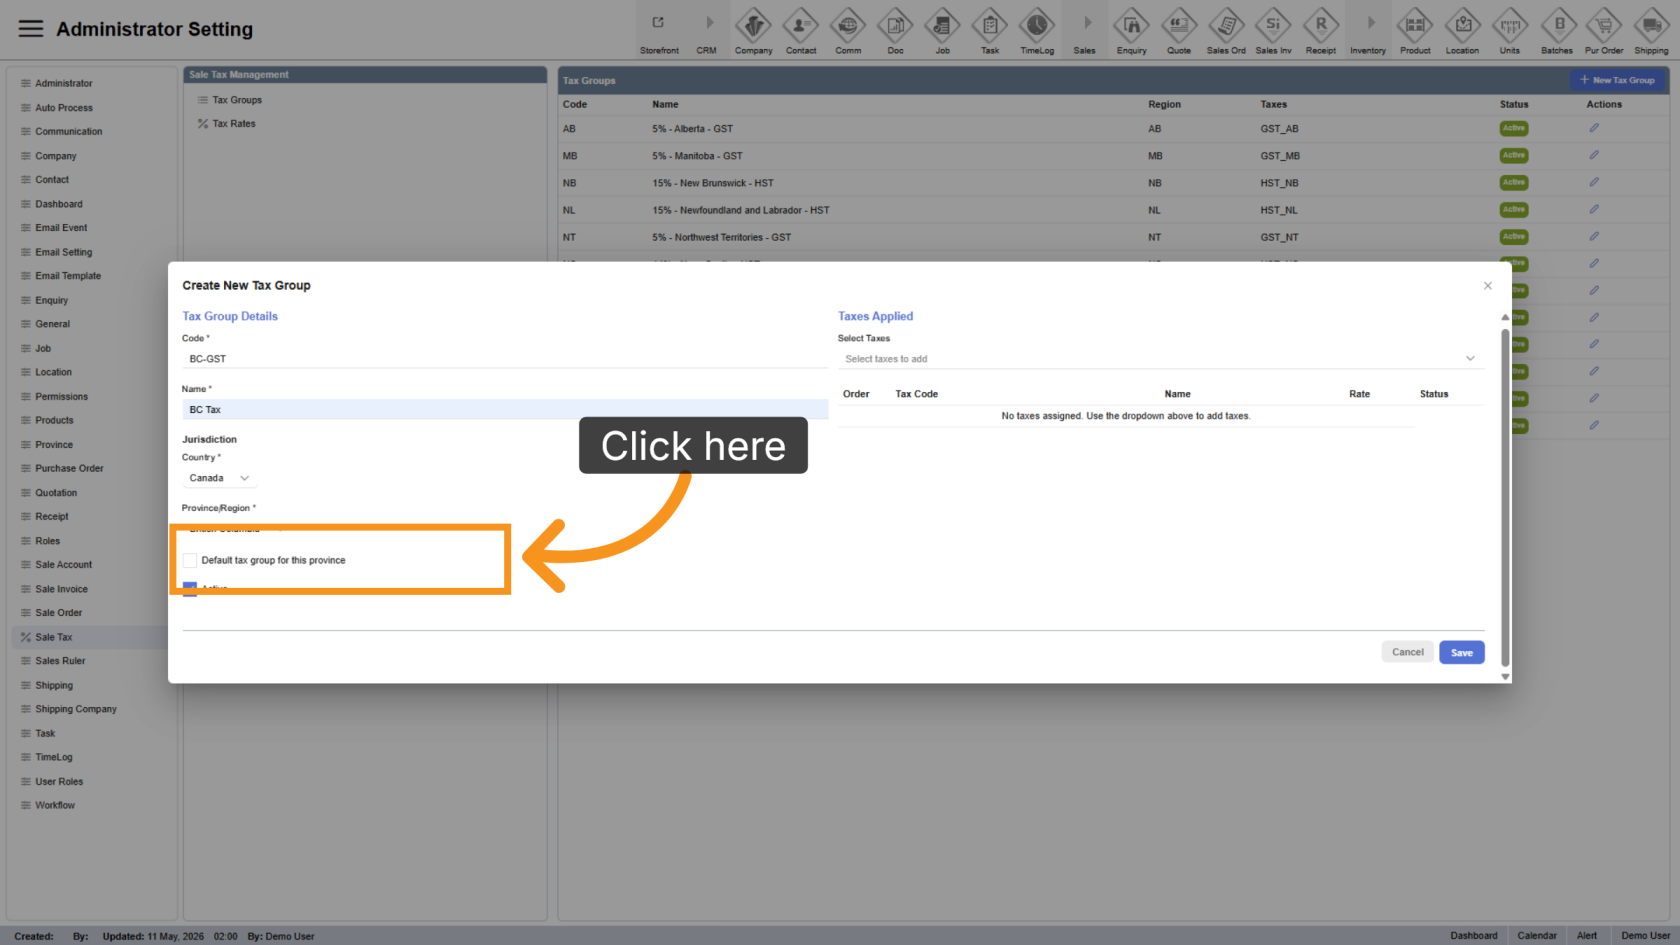
11. Set as Default Tax Group
Check Default tax group for this province to make this the default tax group for the selected province or region.
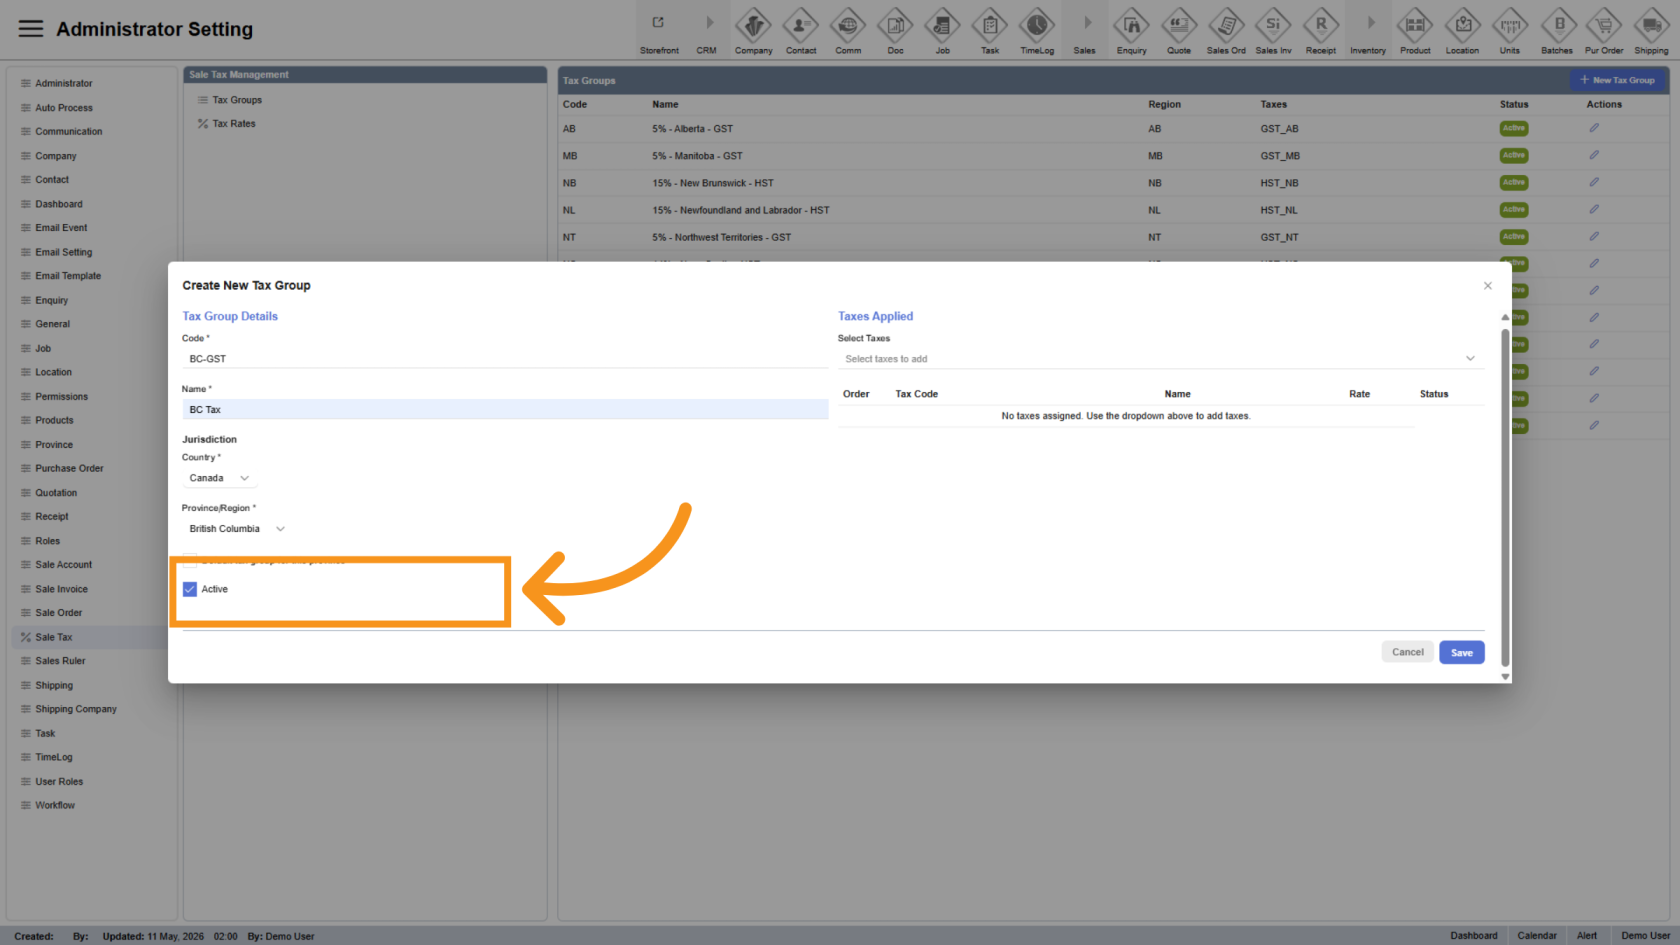
12. Set Active Status
The group tax will be active by default, uncheck if you want to remove the group tax out the system
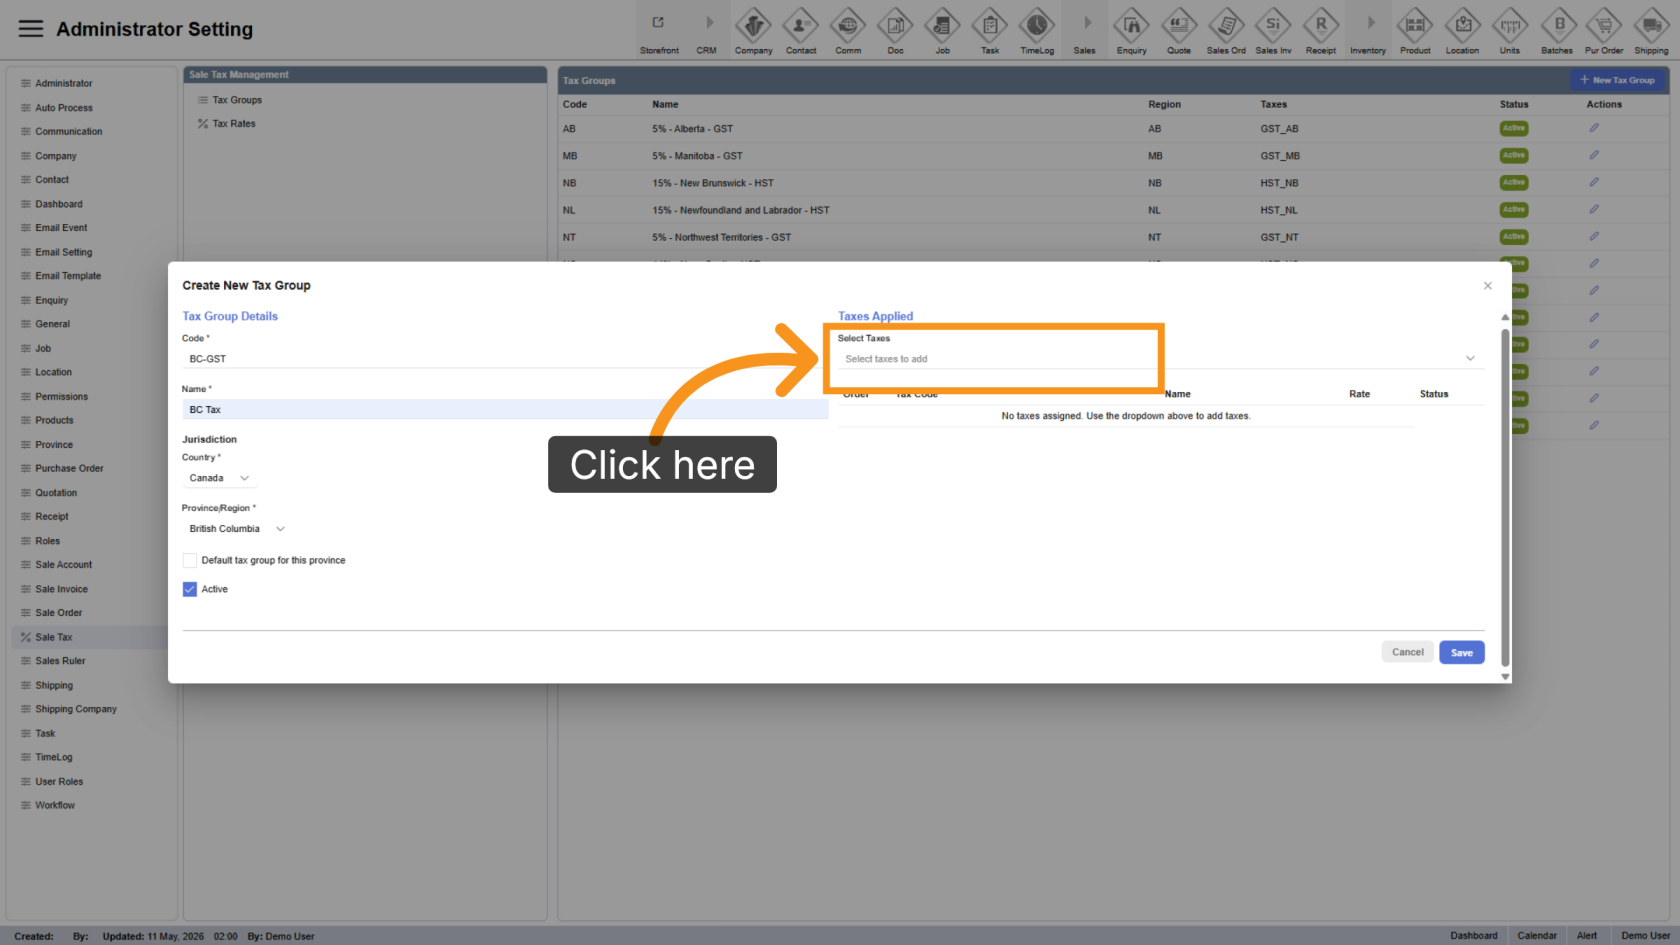
13. Select Applicable Taxes
Click "Select Taxes" to assign taxes to the group. Multiple taxes can be selected if required for the province or region.
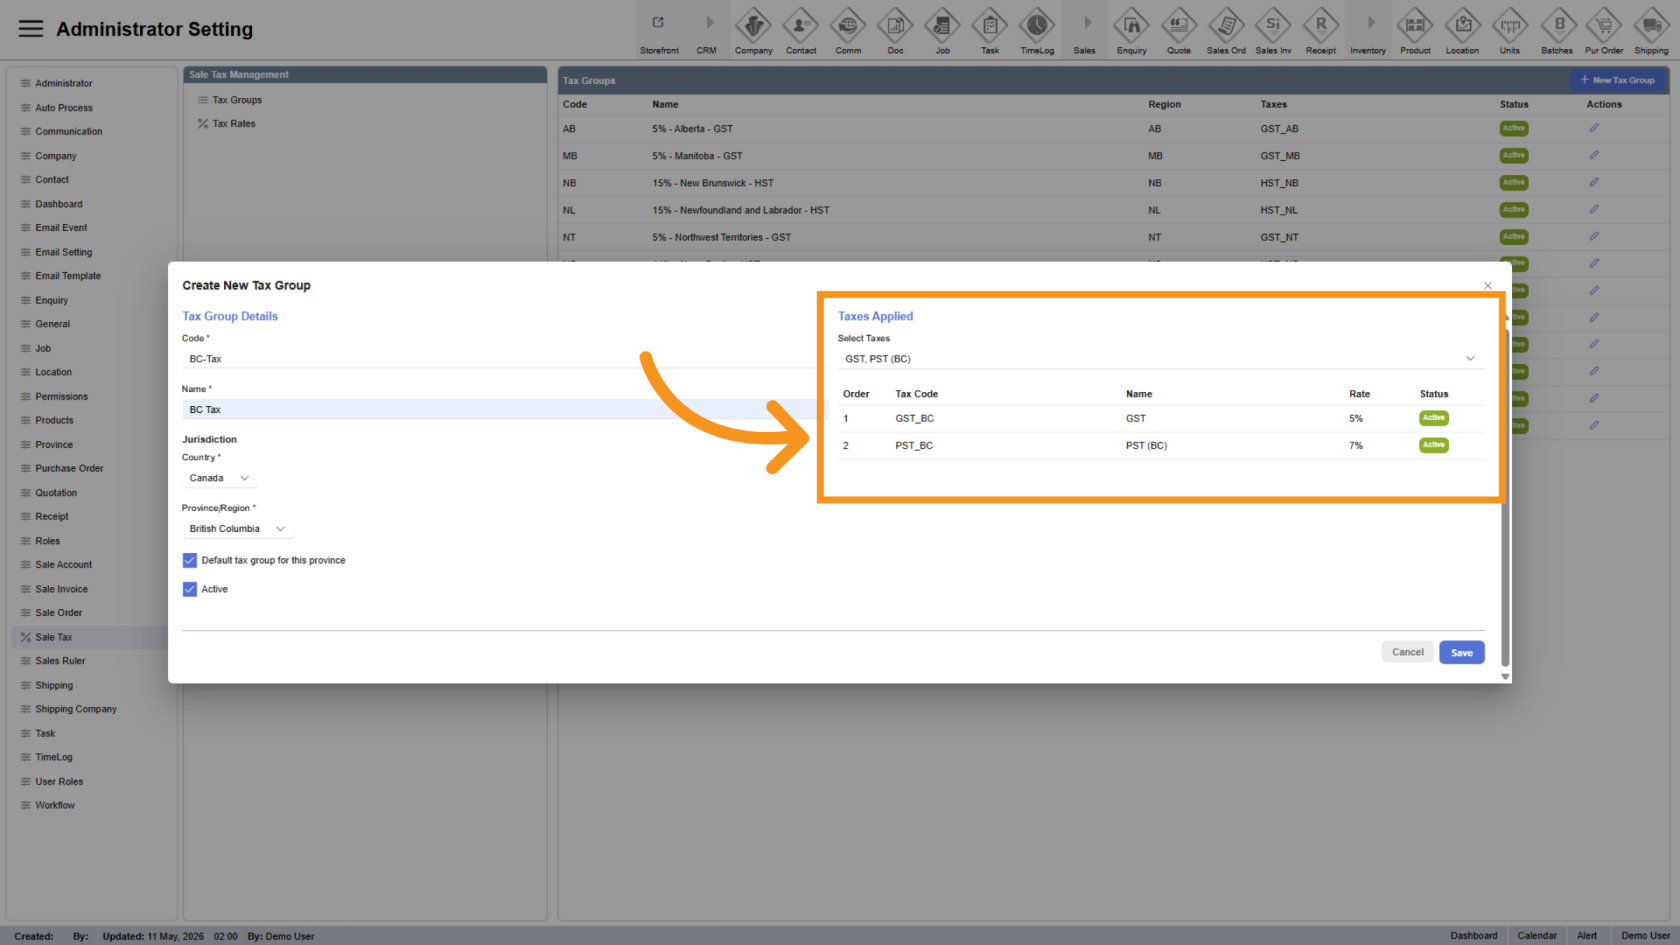
14. Review Applied Taxes
The selected taxes will appear in the list below for review.
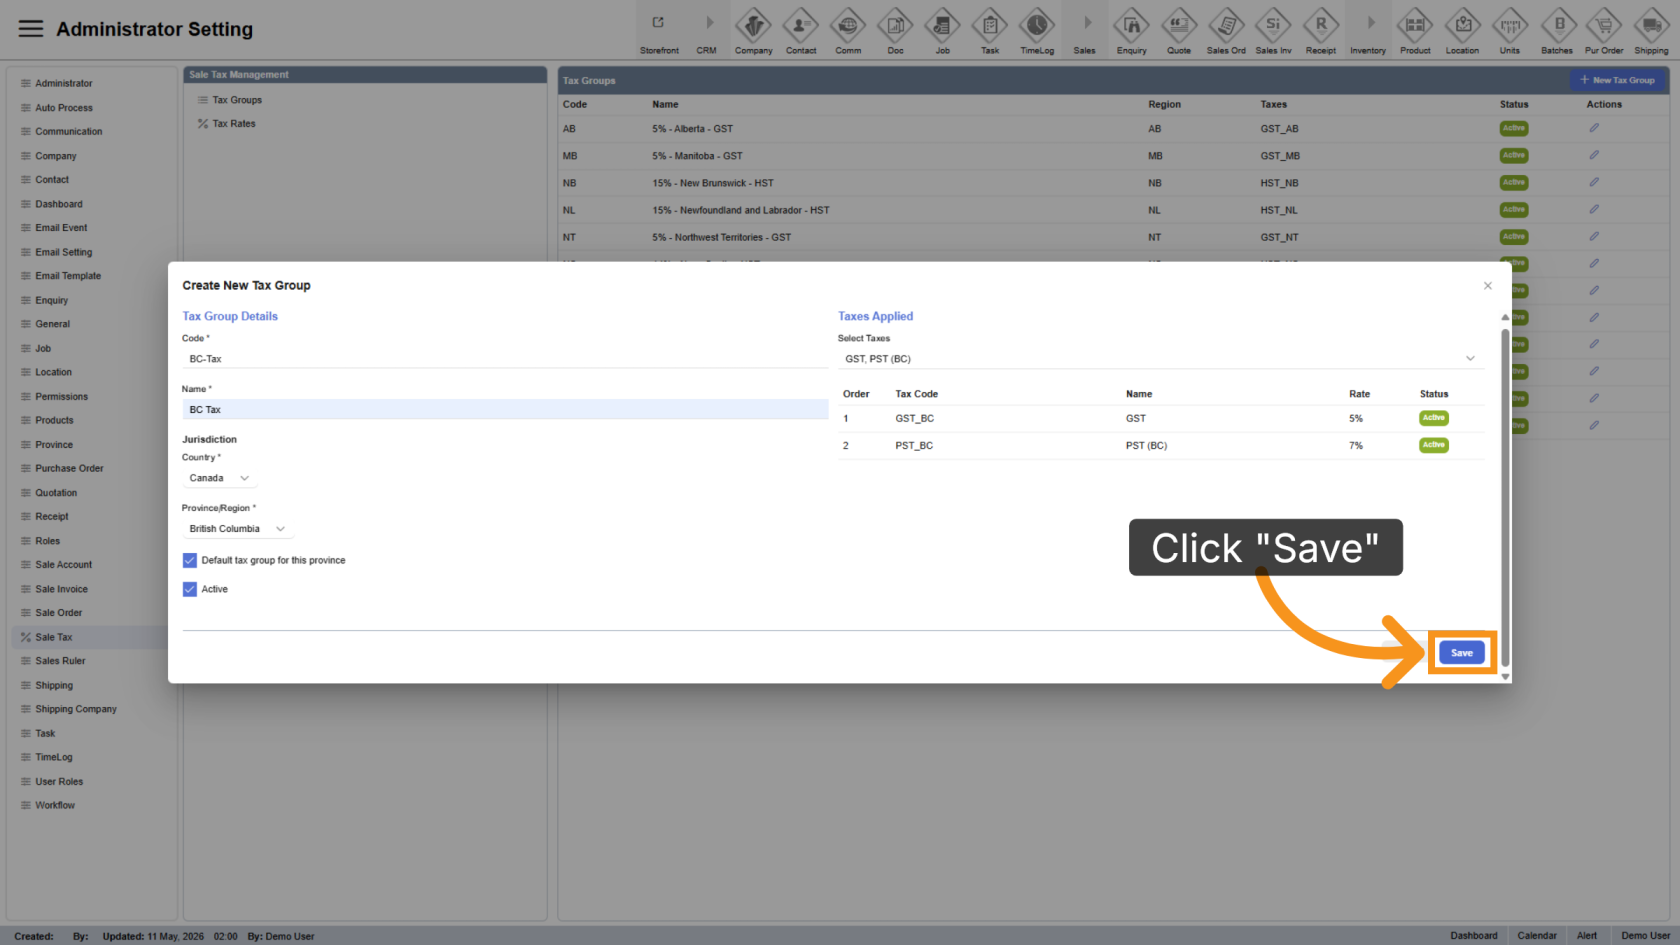
15. Save the Tax Group
Click "Save" to apply and store the new tax group configuration.
You have successfully configured and managed tax groups in the WorkTraq application, including assigning provinces, selecting applicable taxes, and managing existing tax groups.