Order Reports by Area Detailed
This tutorial guides you through generating Order Reports by Area Detailed using the Worktraq App.
Video Tutorial
1. Access Sale Order Section
Click "Sale Order" to access all order-related features.
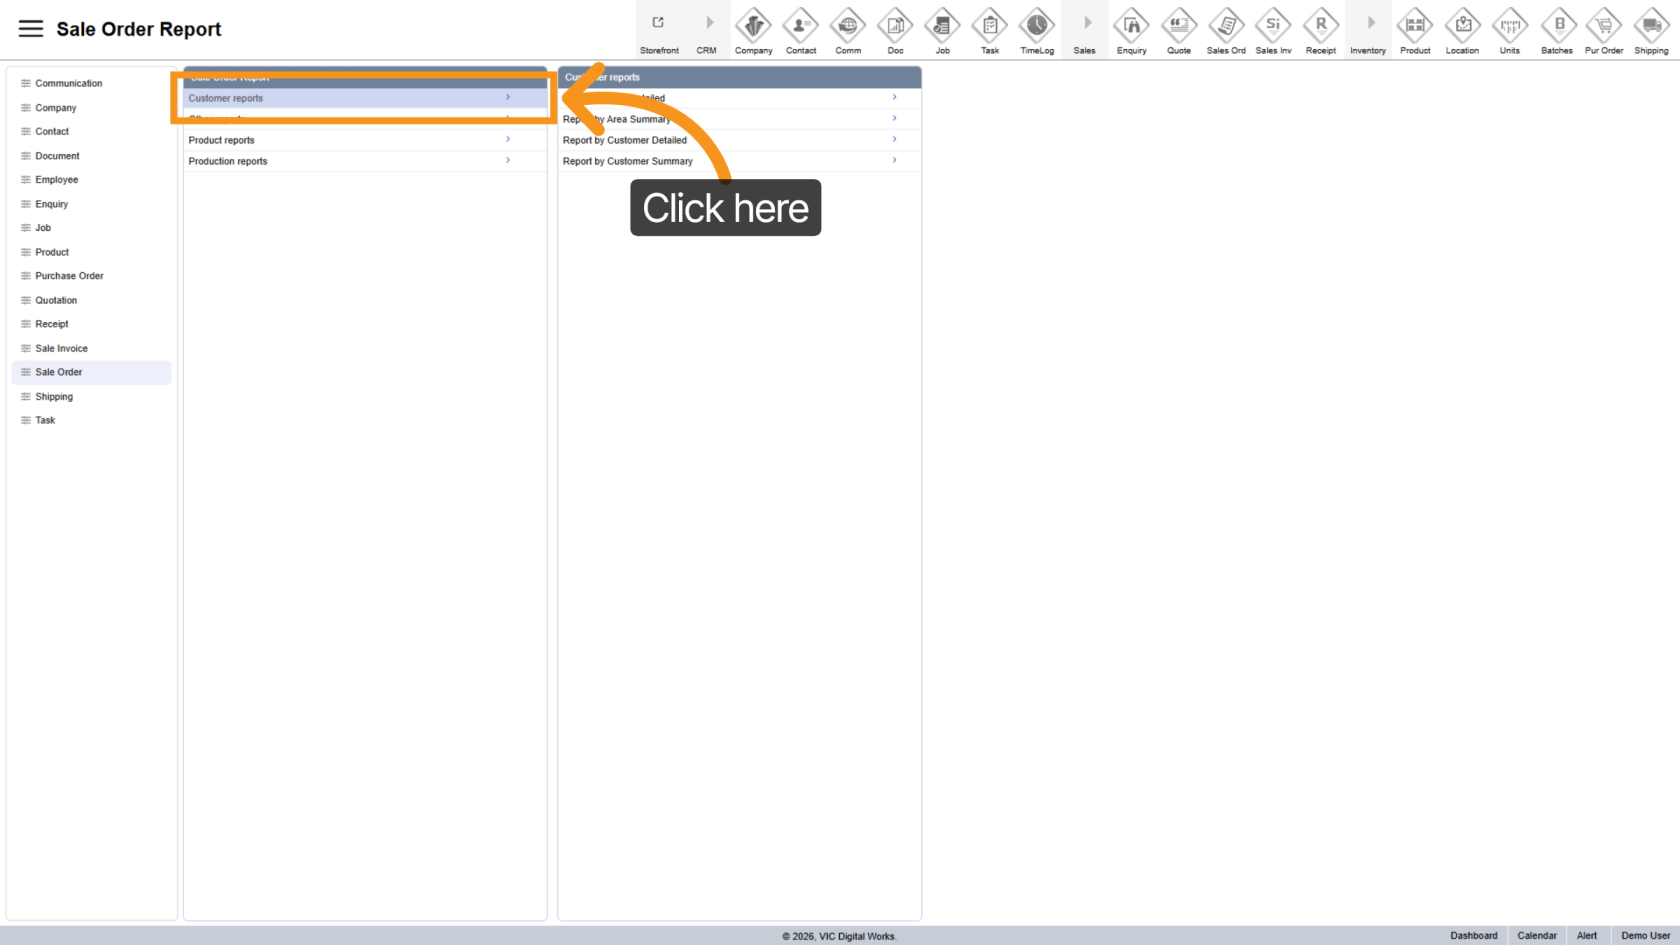
2. Go to Customer Reports
Select "Customer Reports" to view available reporting options.
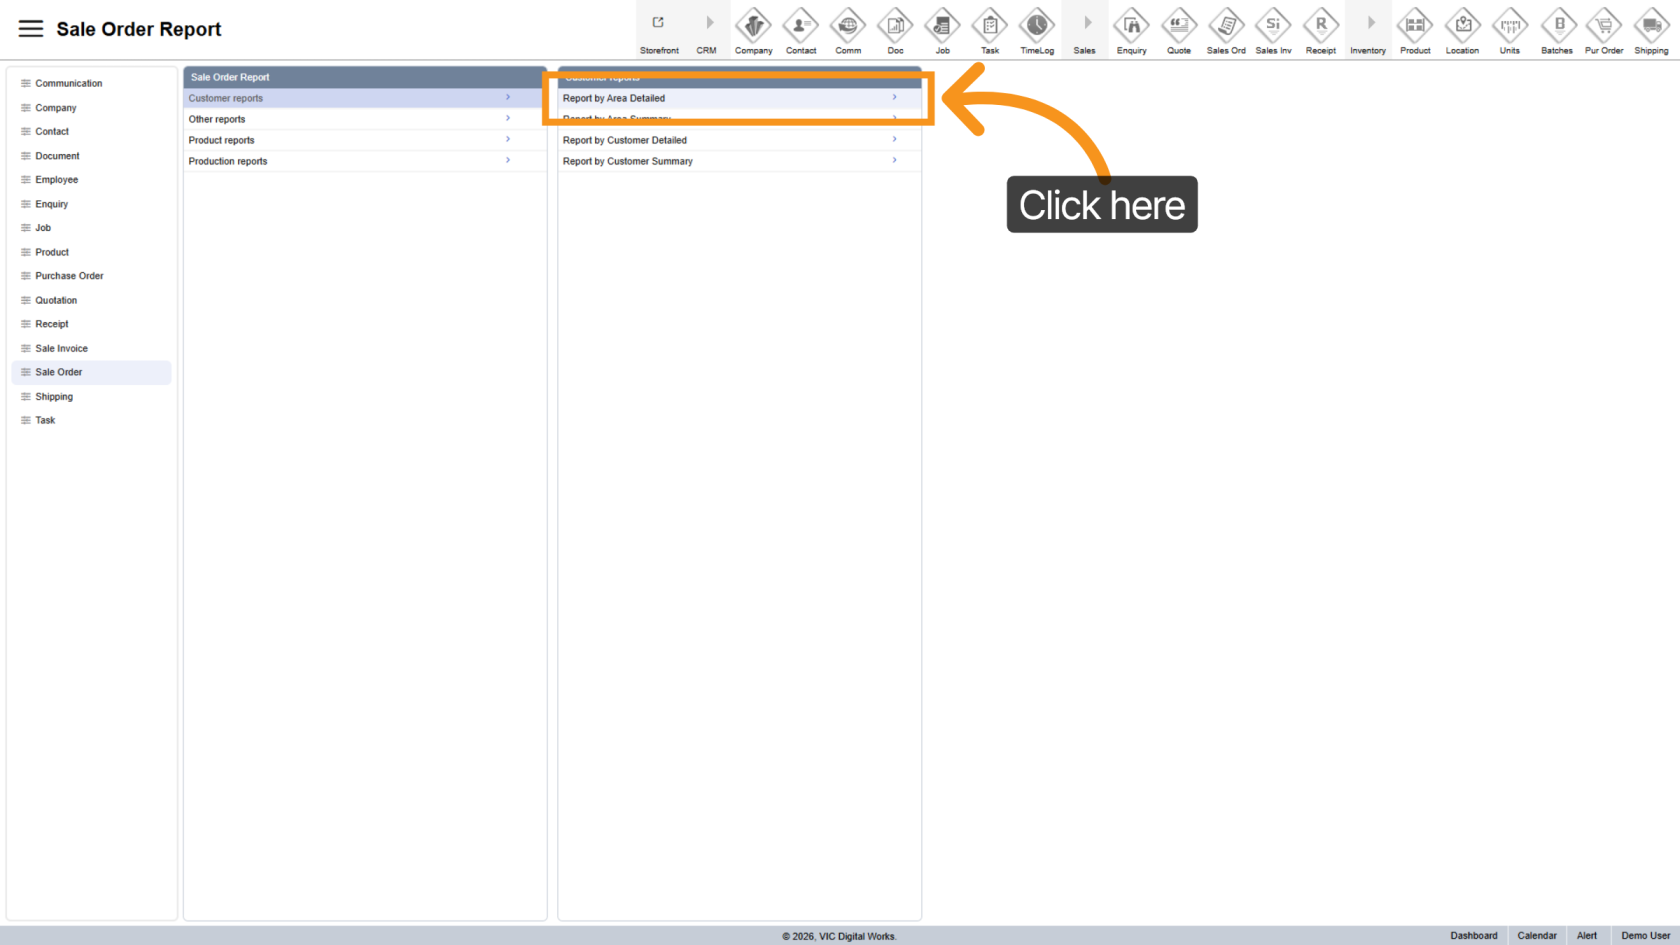
3. Open Report Options
Click "Report by Area Detailed" to open the report configuration panel.
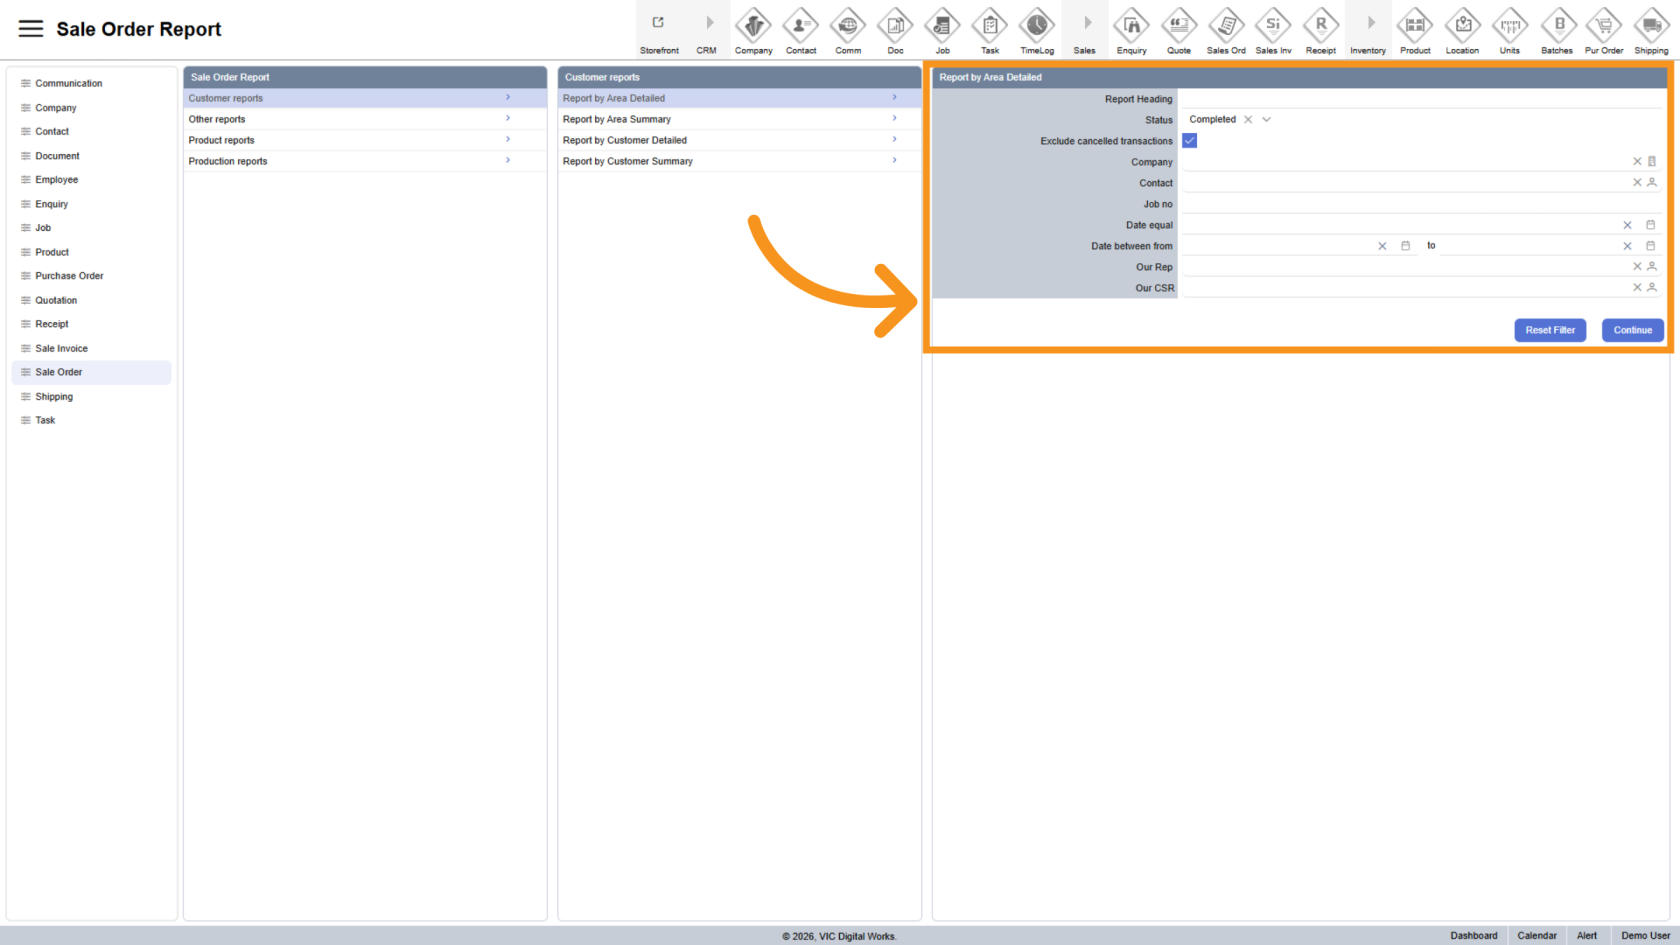
4. Use the Report Form
A filter panel will appear on the right.
Use this form to refine your report by combining multiple filters for more accurate results.
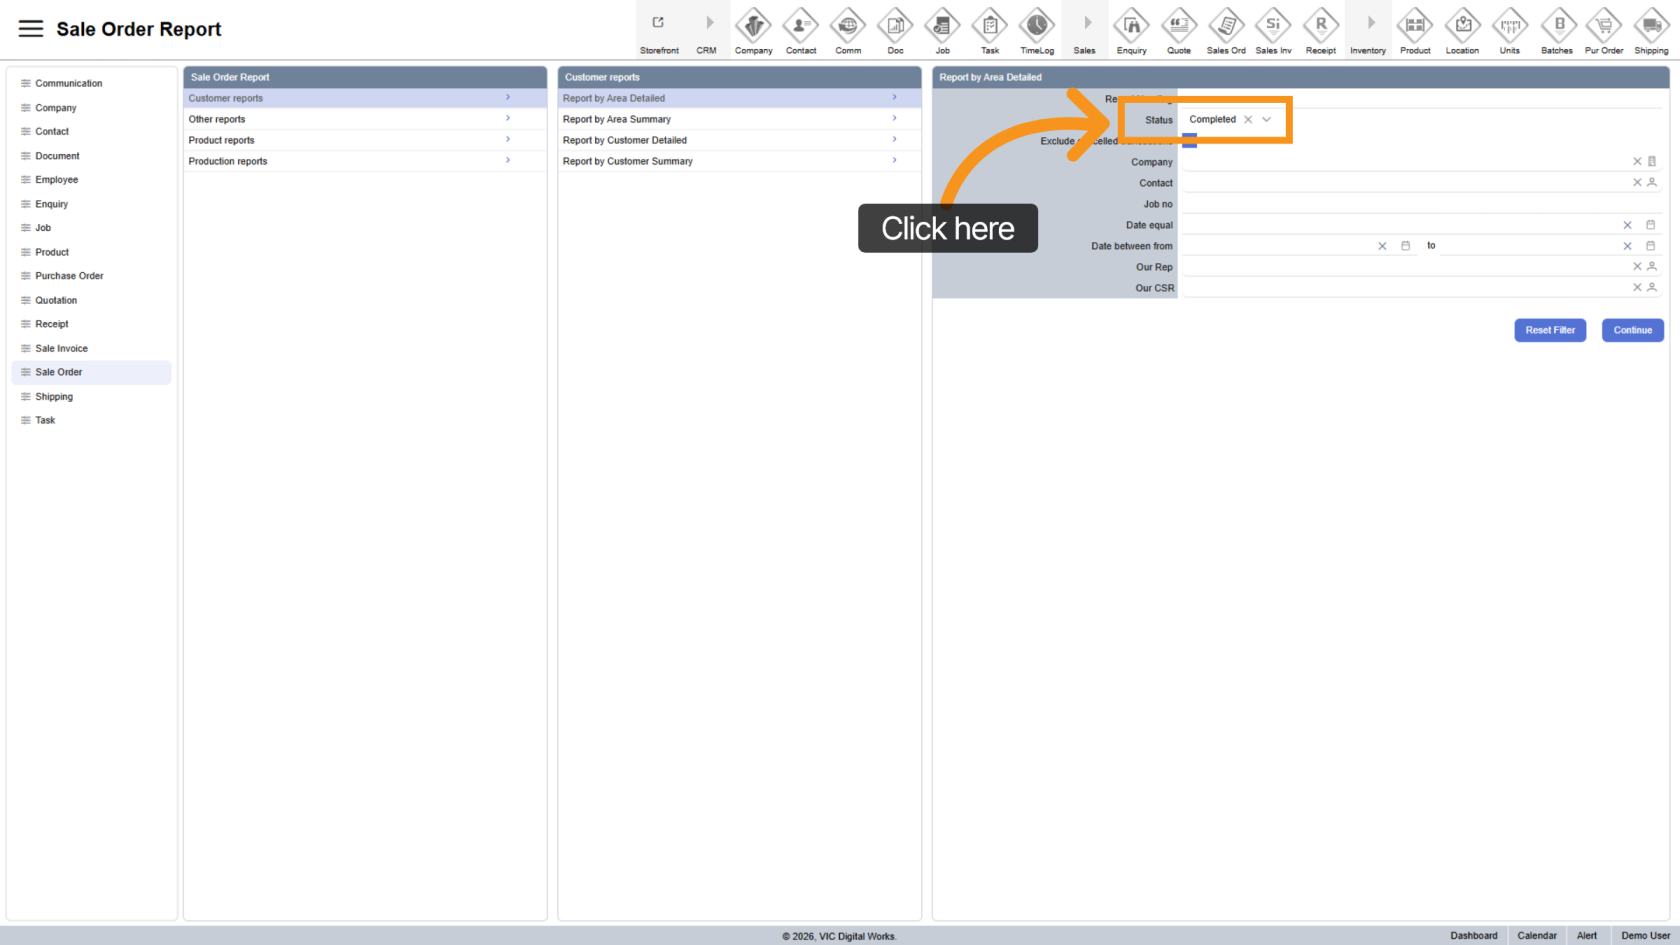
5. Filter by Status
Use the Status field to display order based on their current status.
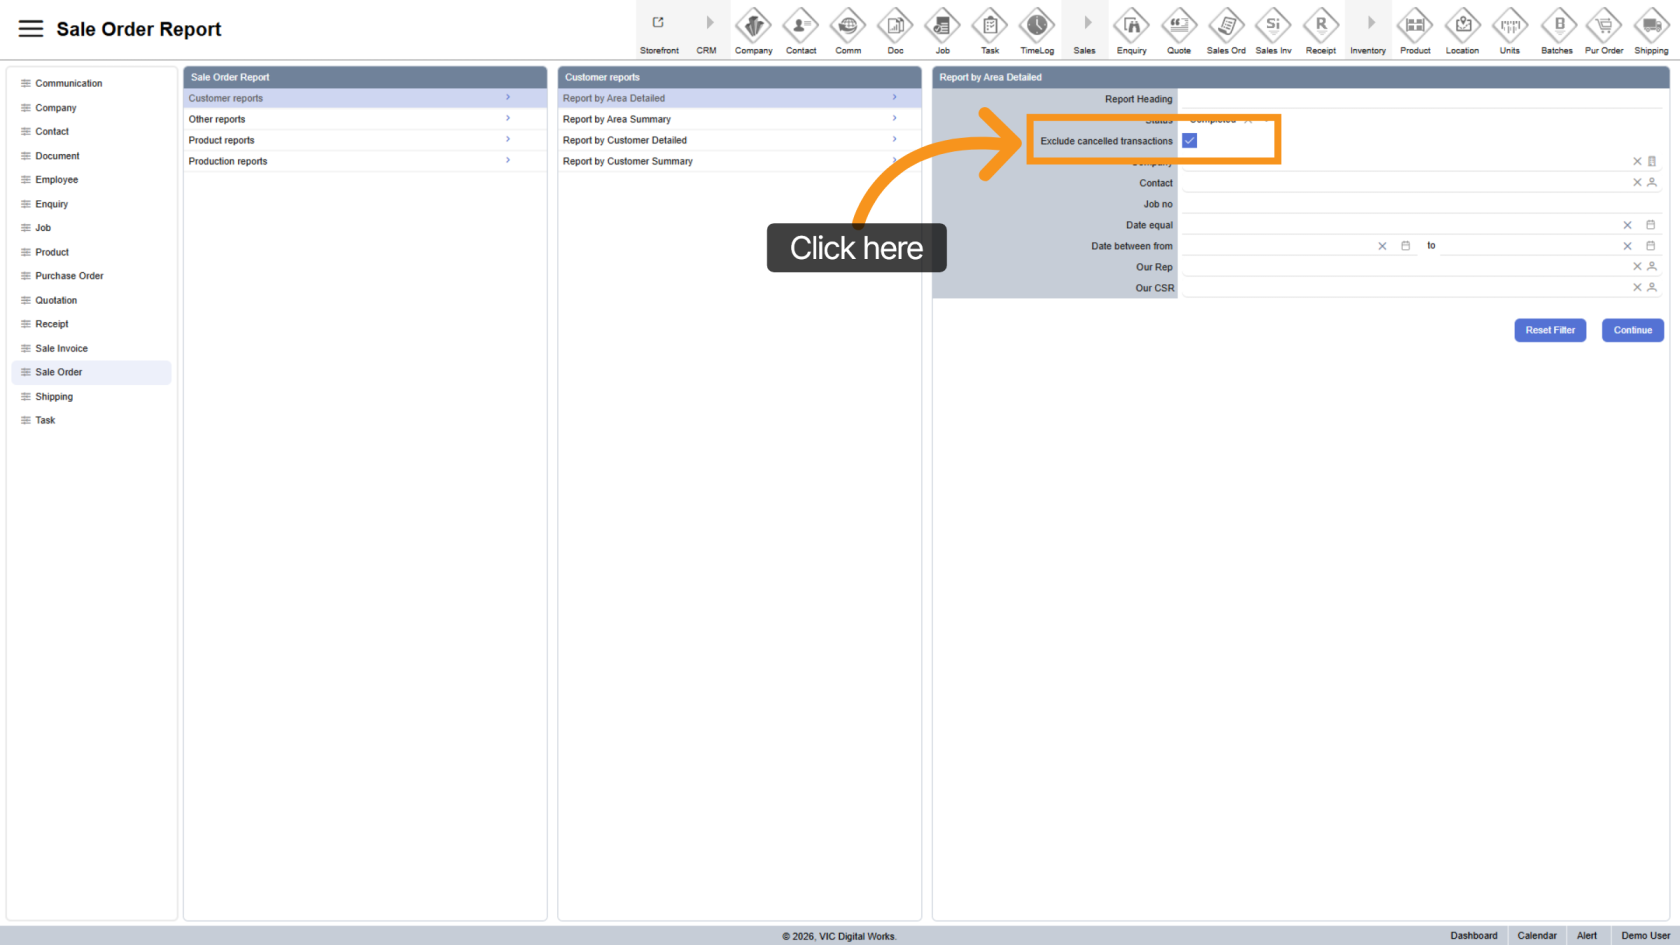
6. Exclude Cancelled Transactions
By default, the report excludes canceled orders.
Uncheck Exclude Cancelled Transactions if you want to include them in the report.
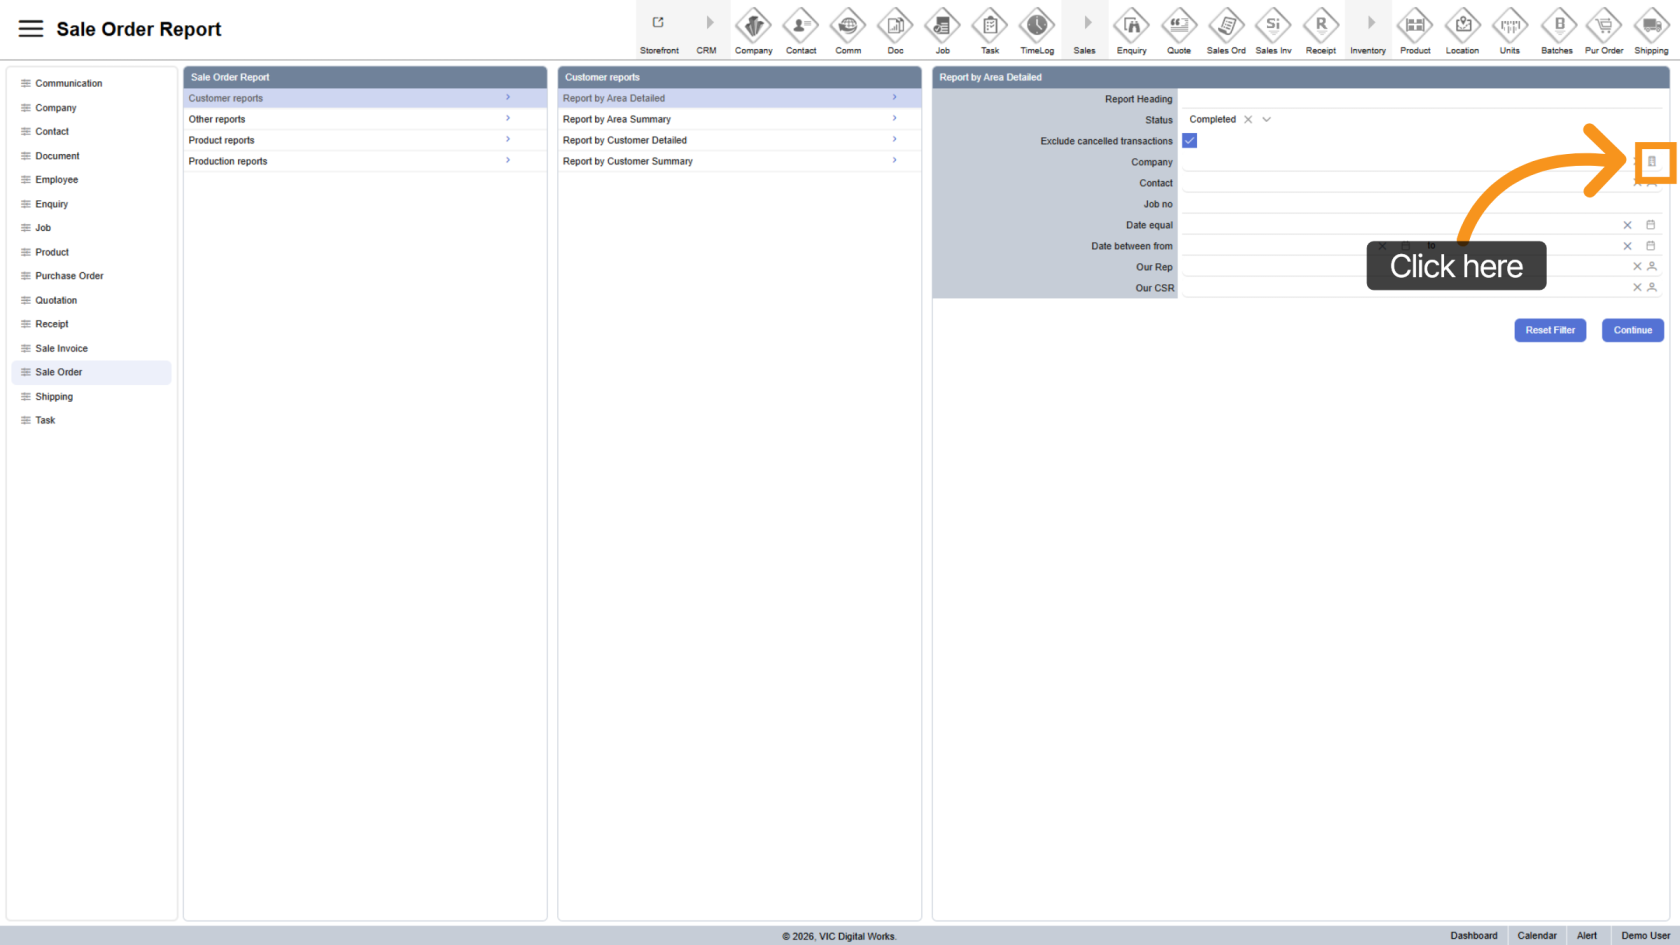
7. Select Company
Click the ![]() company icon to choose a specific company.
company icon to choose a specific company.
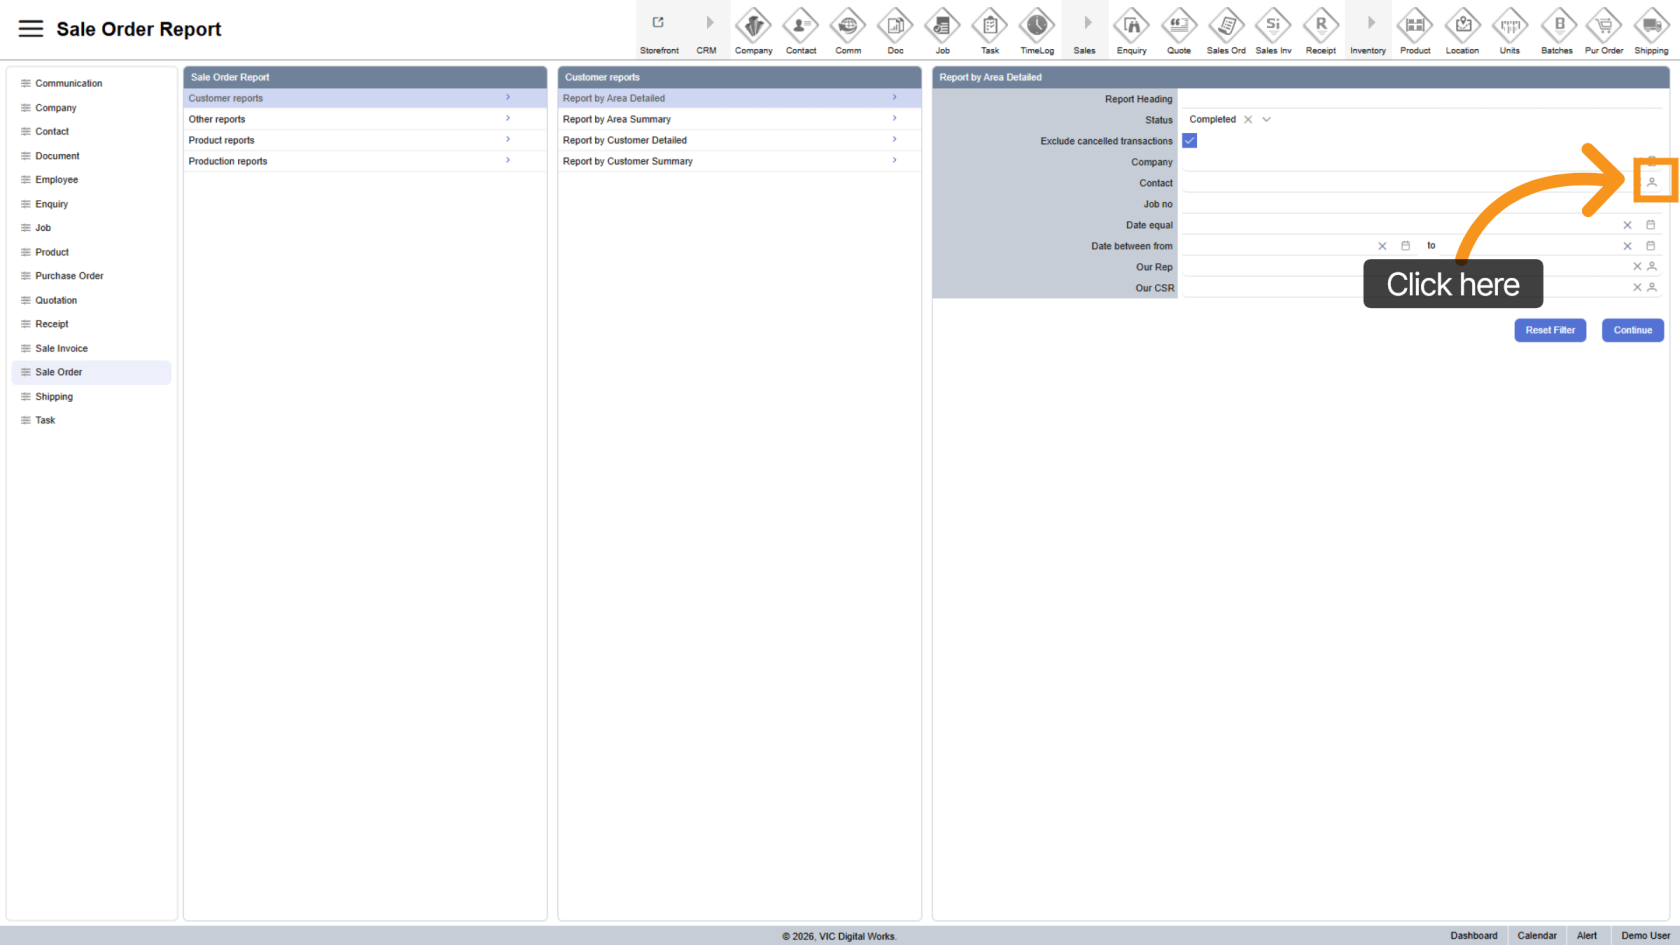
8. Select Contact
Click the ![]() contact icon to filter by a specific contact.
contact icon to filter by a specific contact.
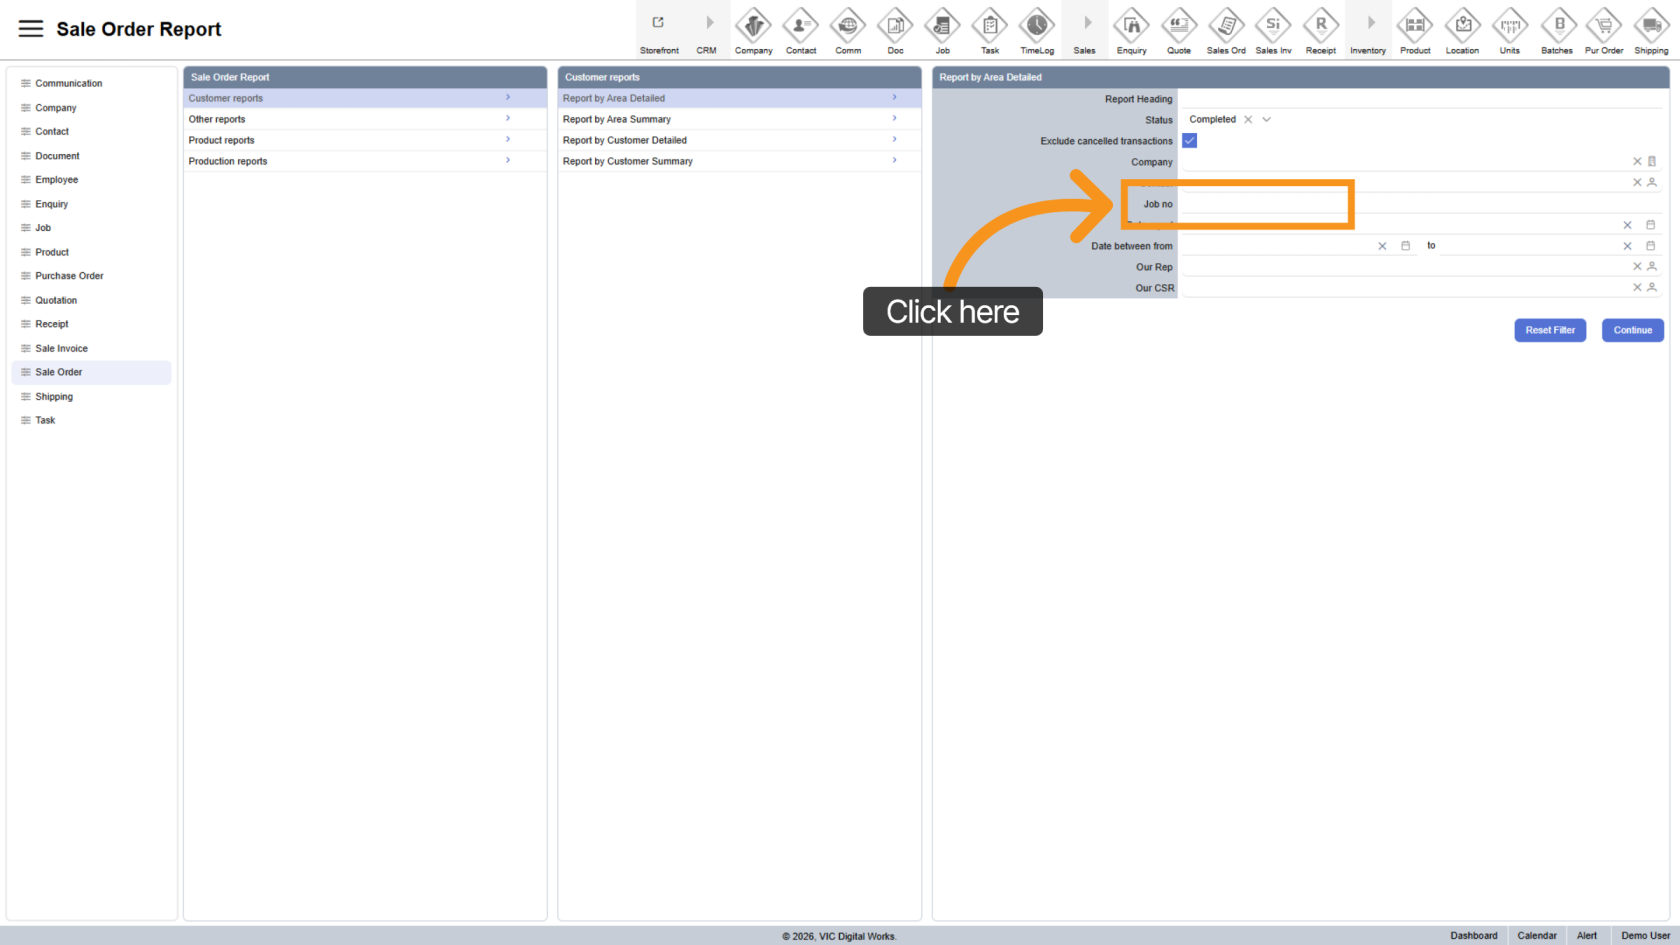
9. Filter By Job Number
Enter a Job number to narrow down results to specific jobs.
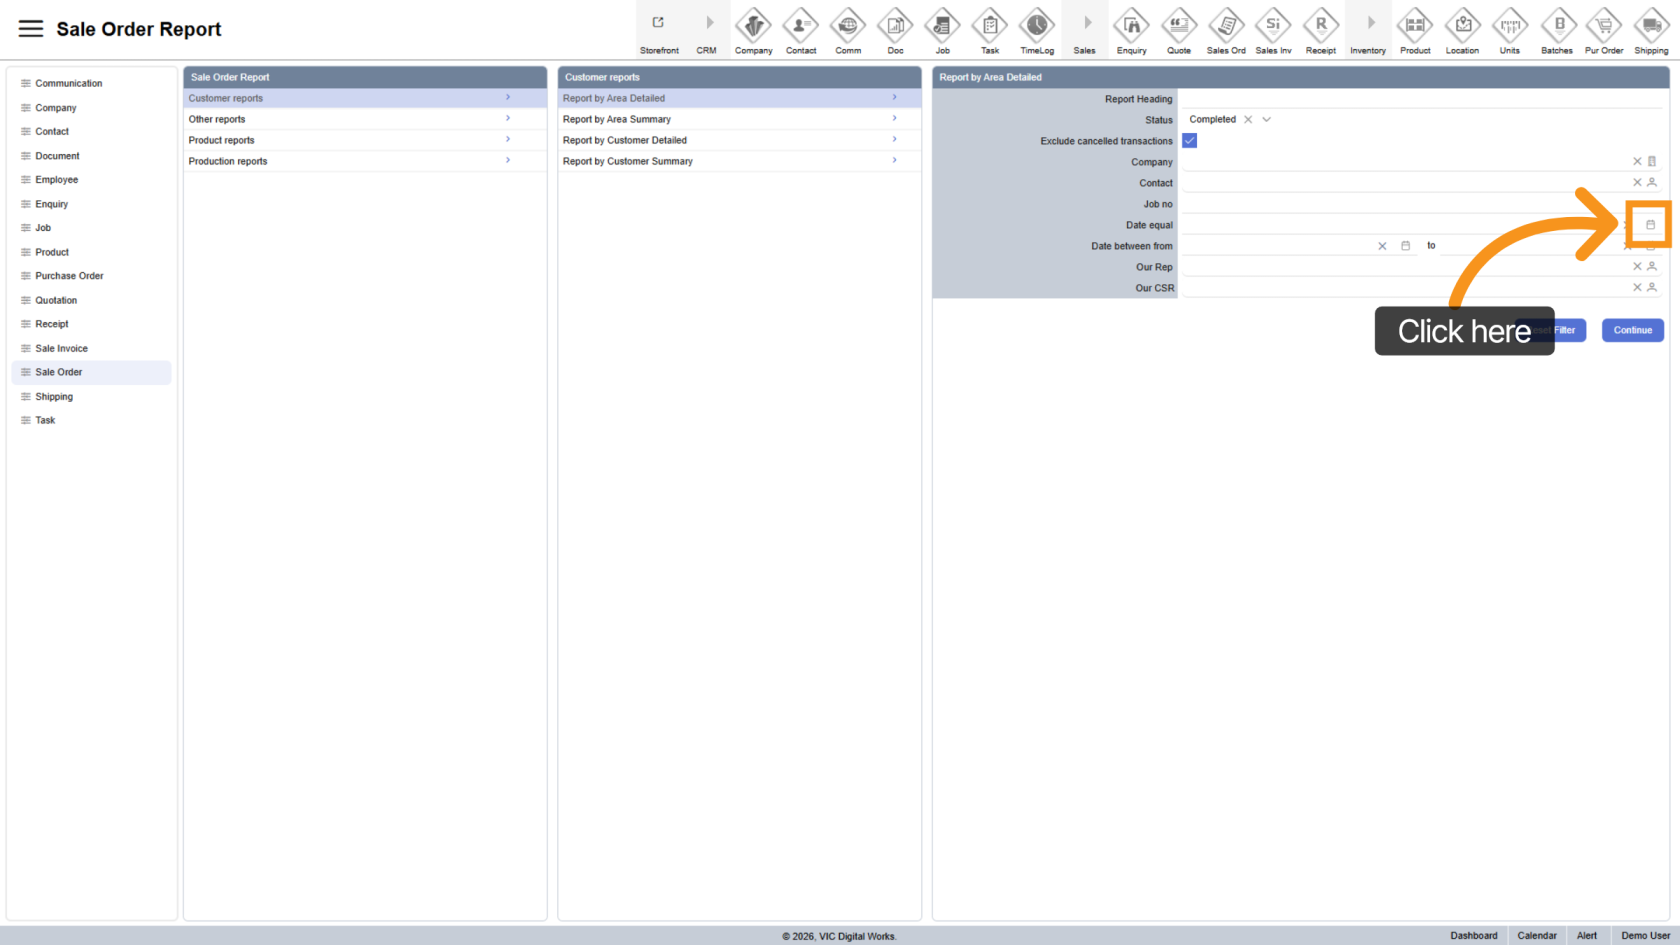
10. Select Specific Date
Click the ![]() date picker to filter results by a single date.
date picker to filter results by a single date.
Note: Do not use this if you plan to apply a Date Range.
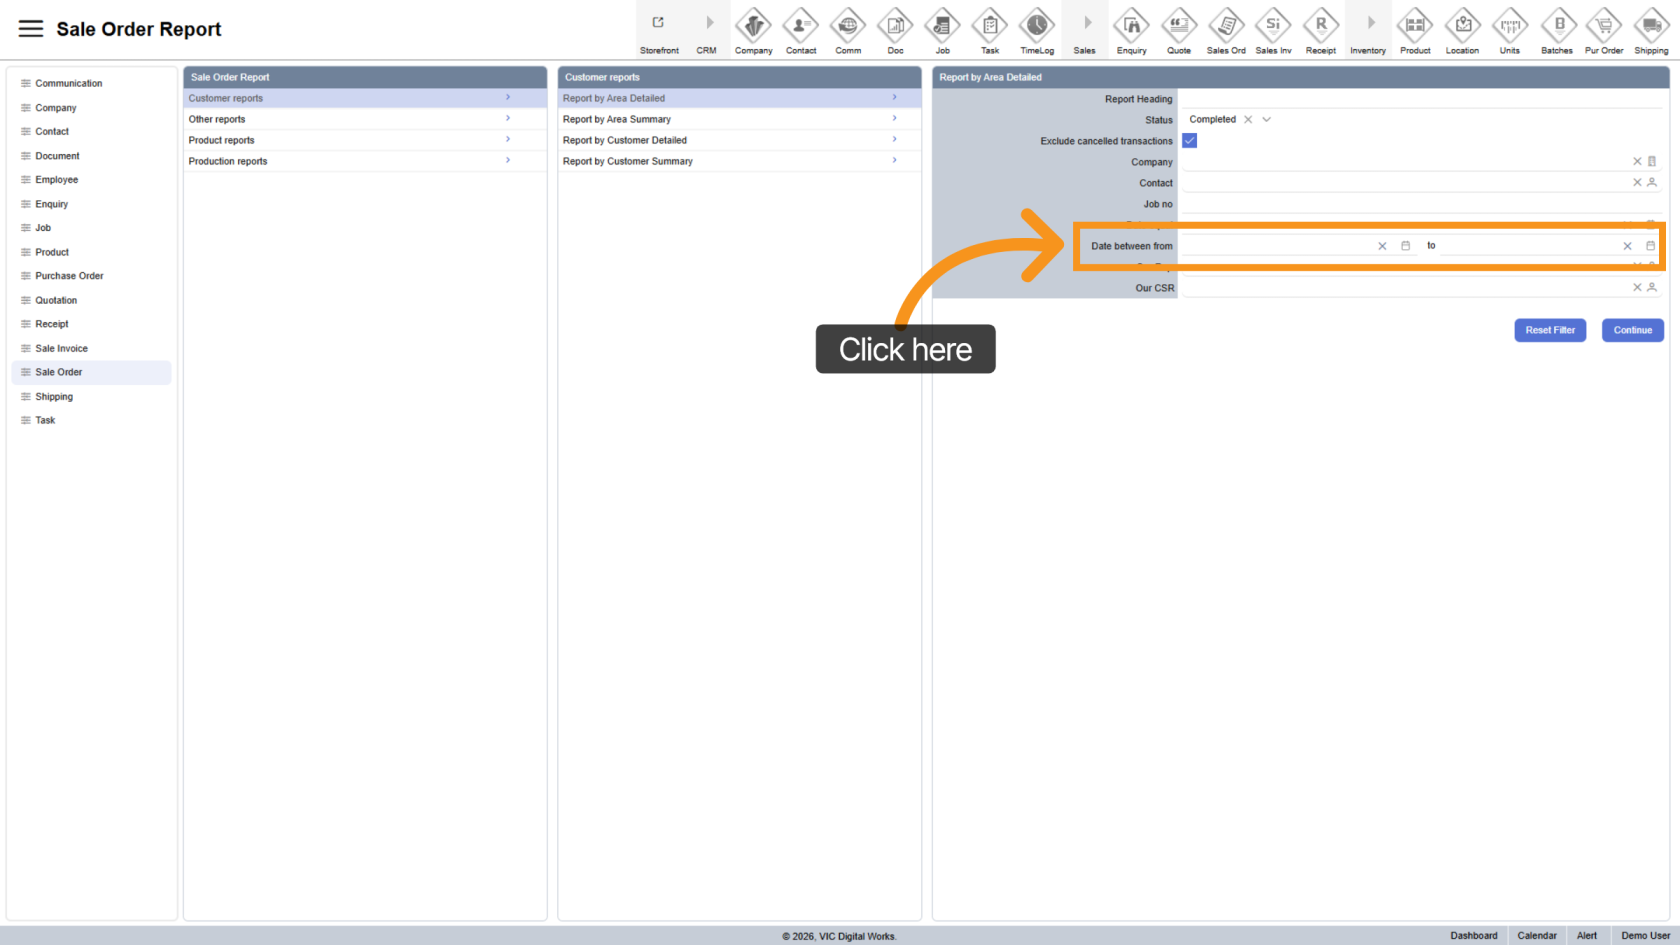
11. Apply Date Range
Select a date range option to filter order over a period of time.
Note: Use this instead of Specific Date, not together.
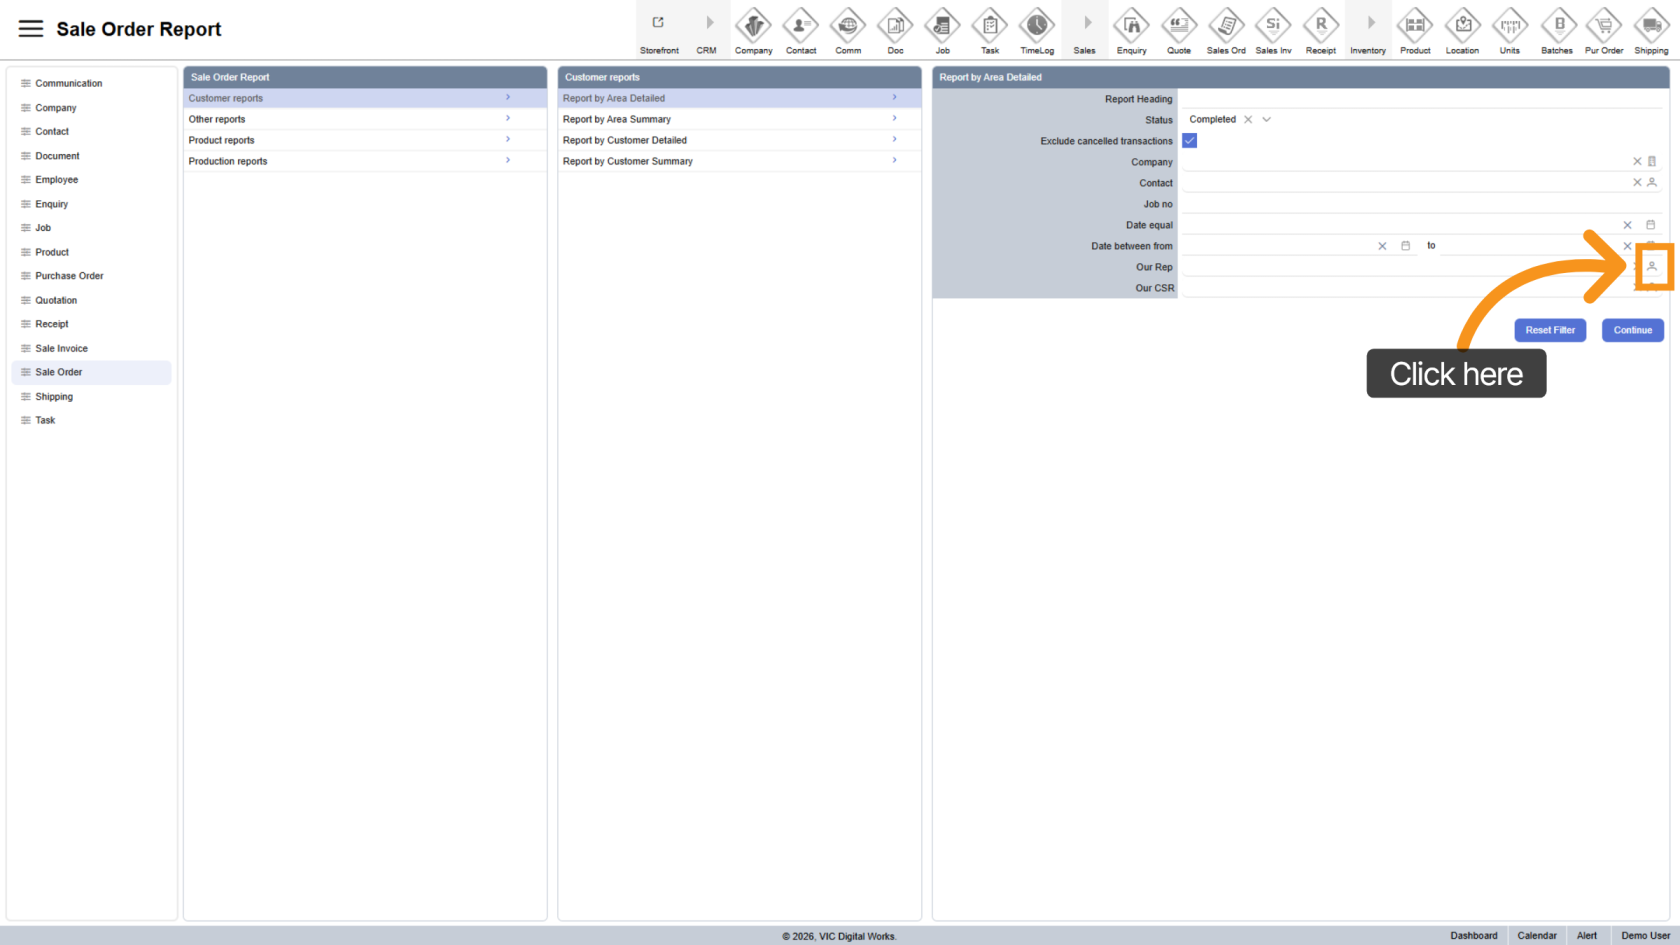
12. Select Sales Representative
Click the ![]() contact icon to filter by a specific sales representative.
contact icon to filter by a specific sales representative.
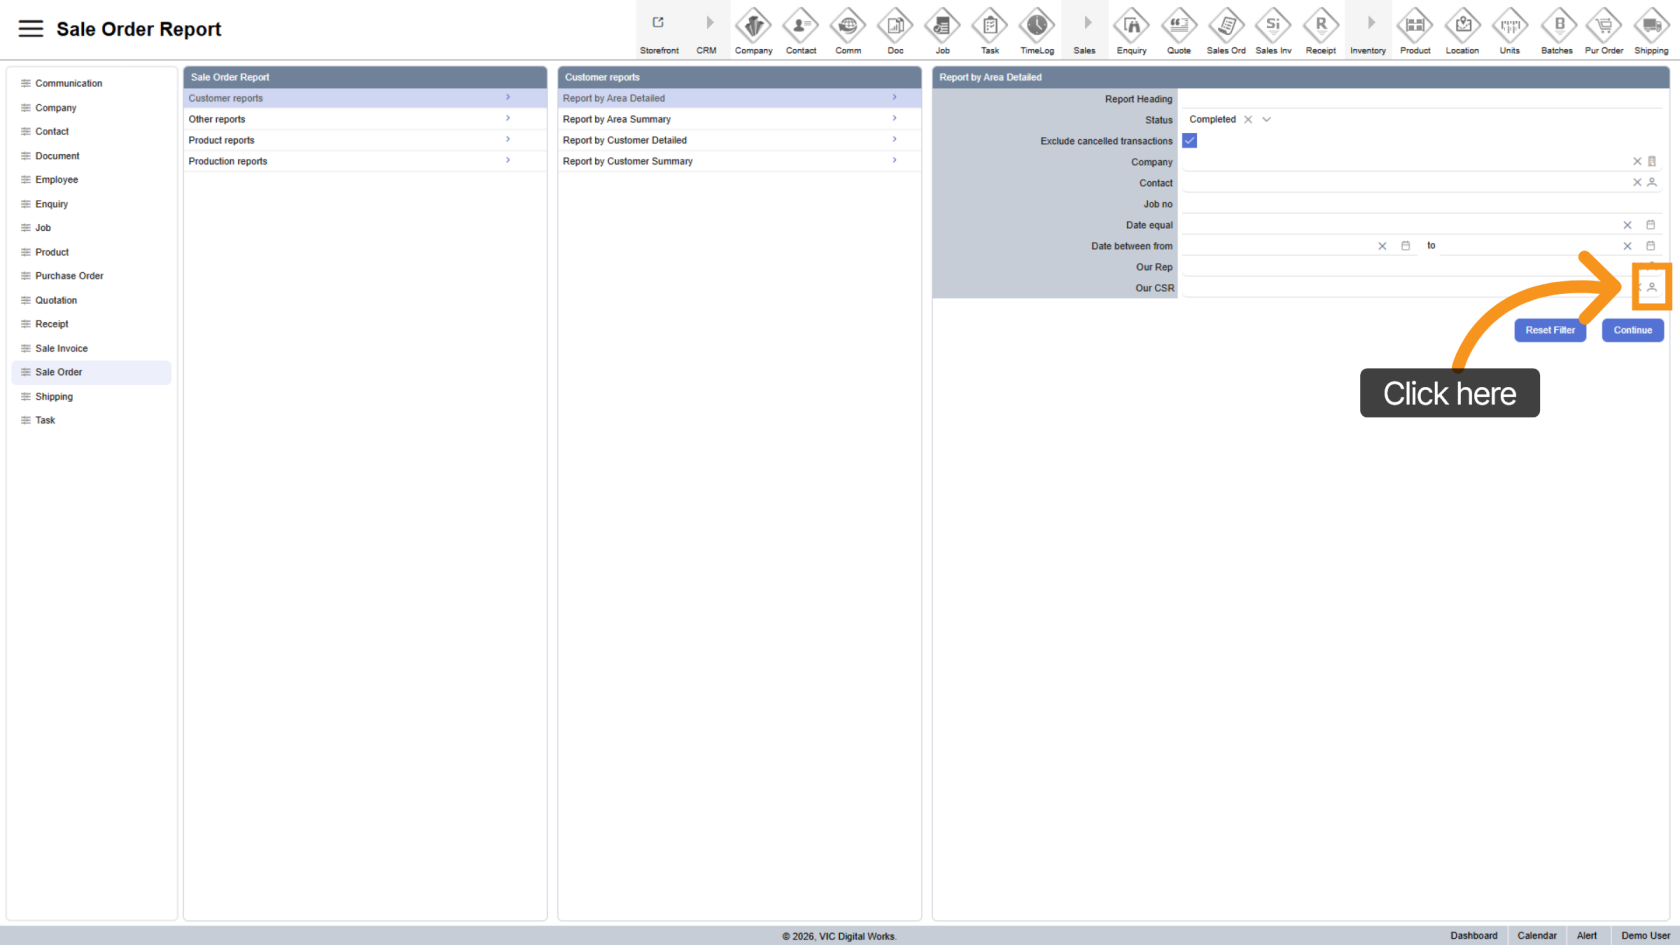
13. Select CSR
Click the ![]() contact icon to choose a Customer Service Representative (CSR) for more refined results.
contact icon to choose a Customer Service Representative (CSR) for more refined results.
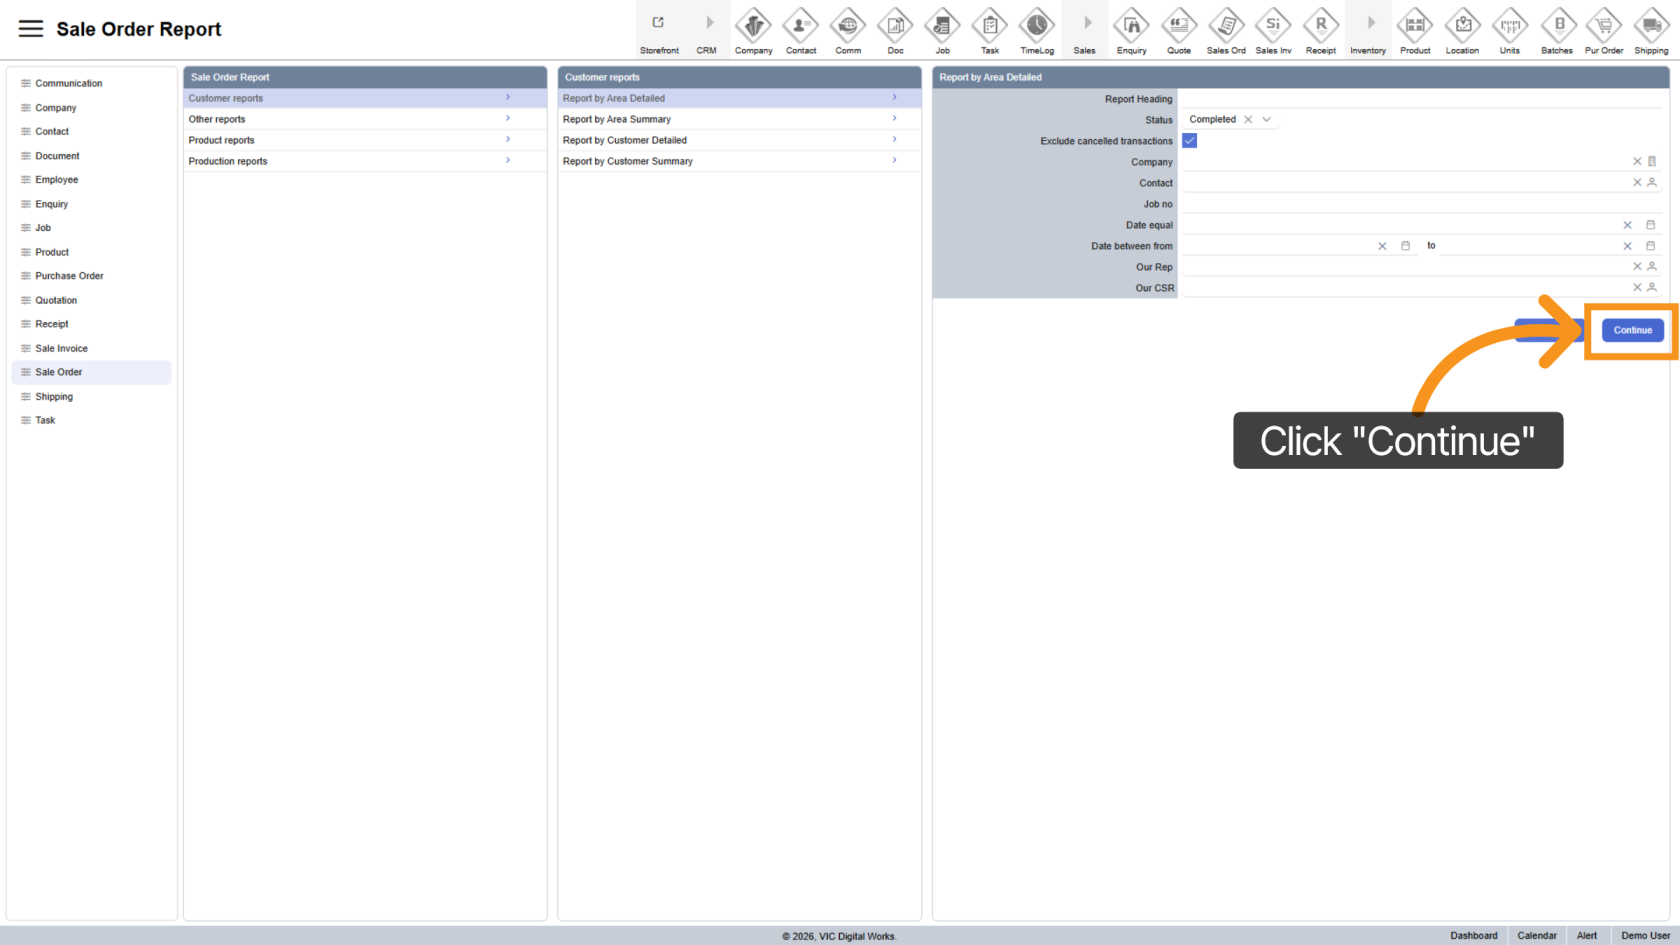
14. Generate Report
Click "Continue" to generate the report based on your selected filters.
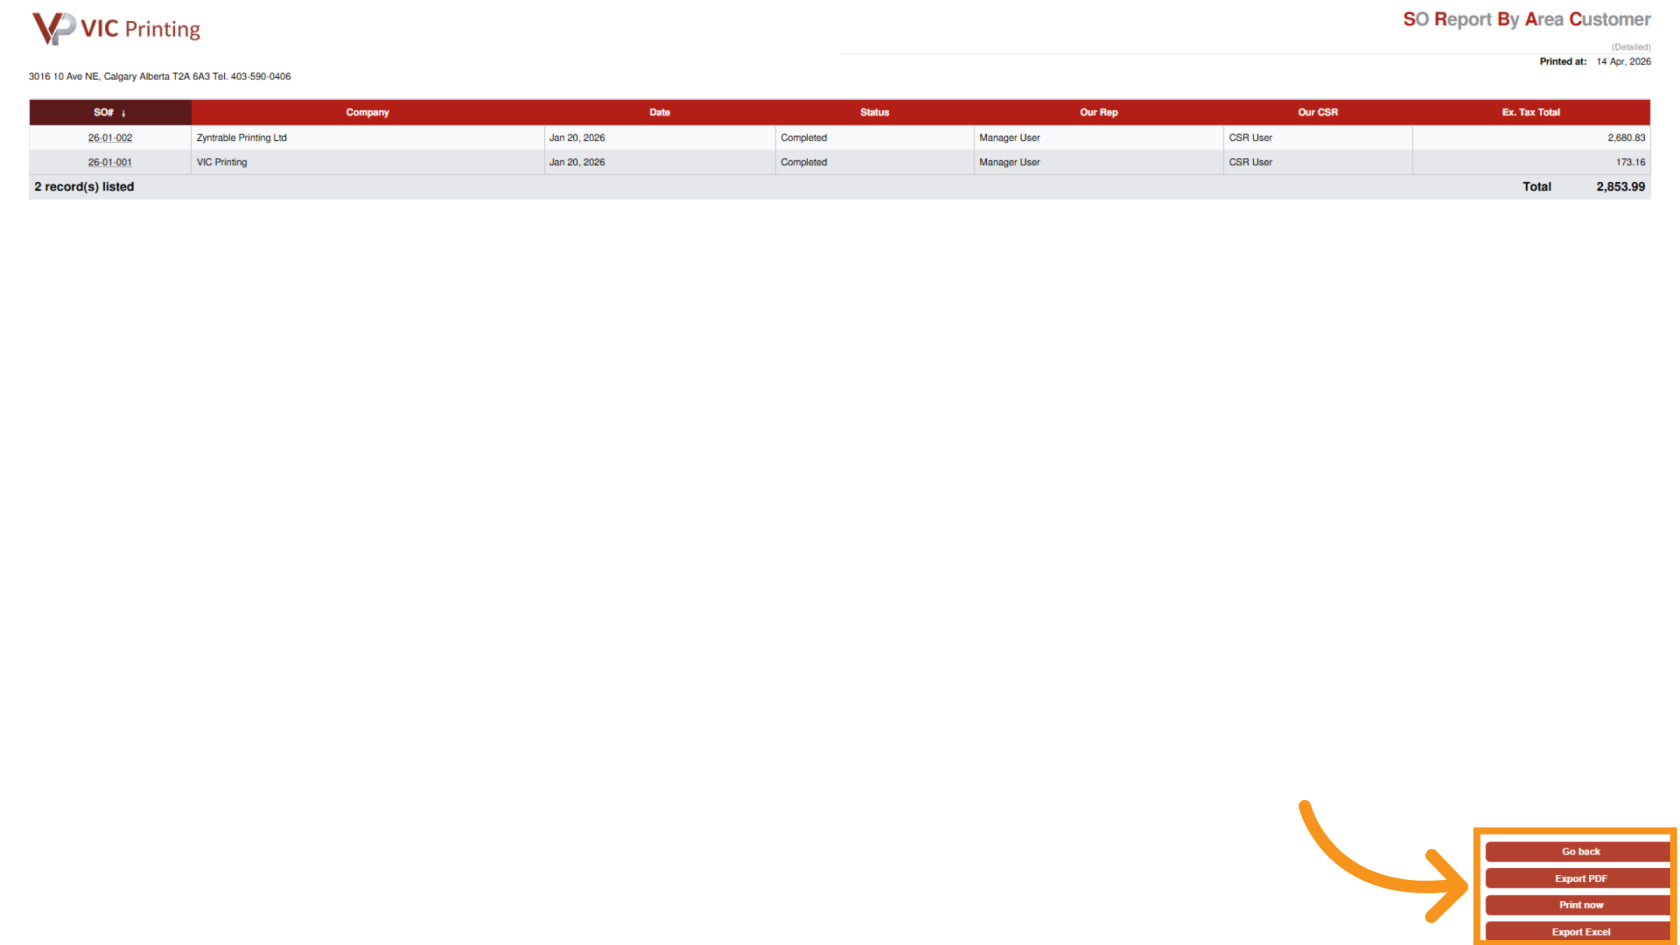
15. Export Report
- Excel
You have successfully generated and downloaded a detailed Sales Order Report by Area using the Worktraq App. This report includes filtered orders along with all relevant details to support your analysis.