Create Email Templates
This tutorial walks you through how to configure email templates in the App.
Video Tutorial
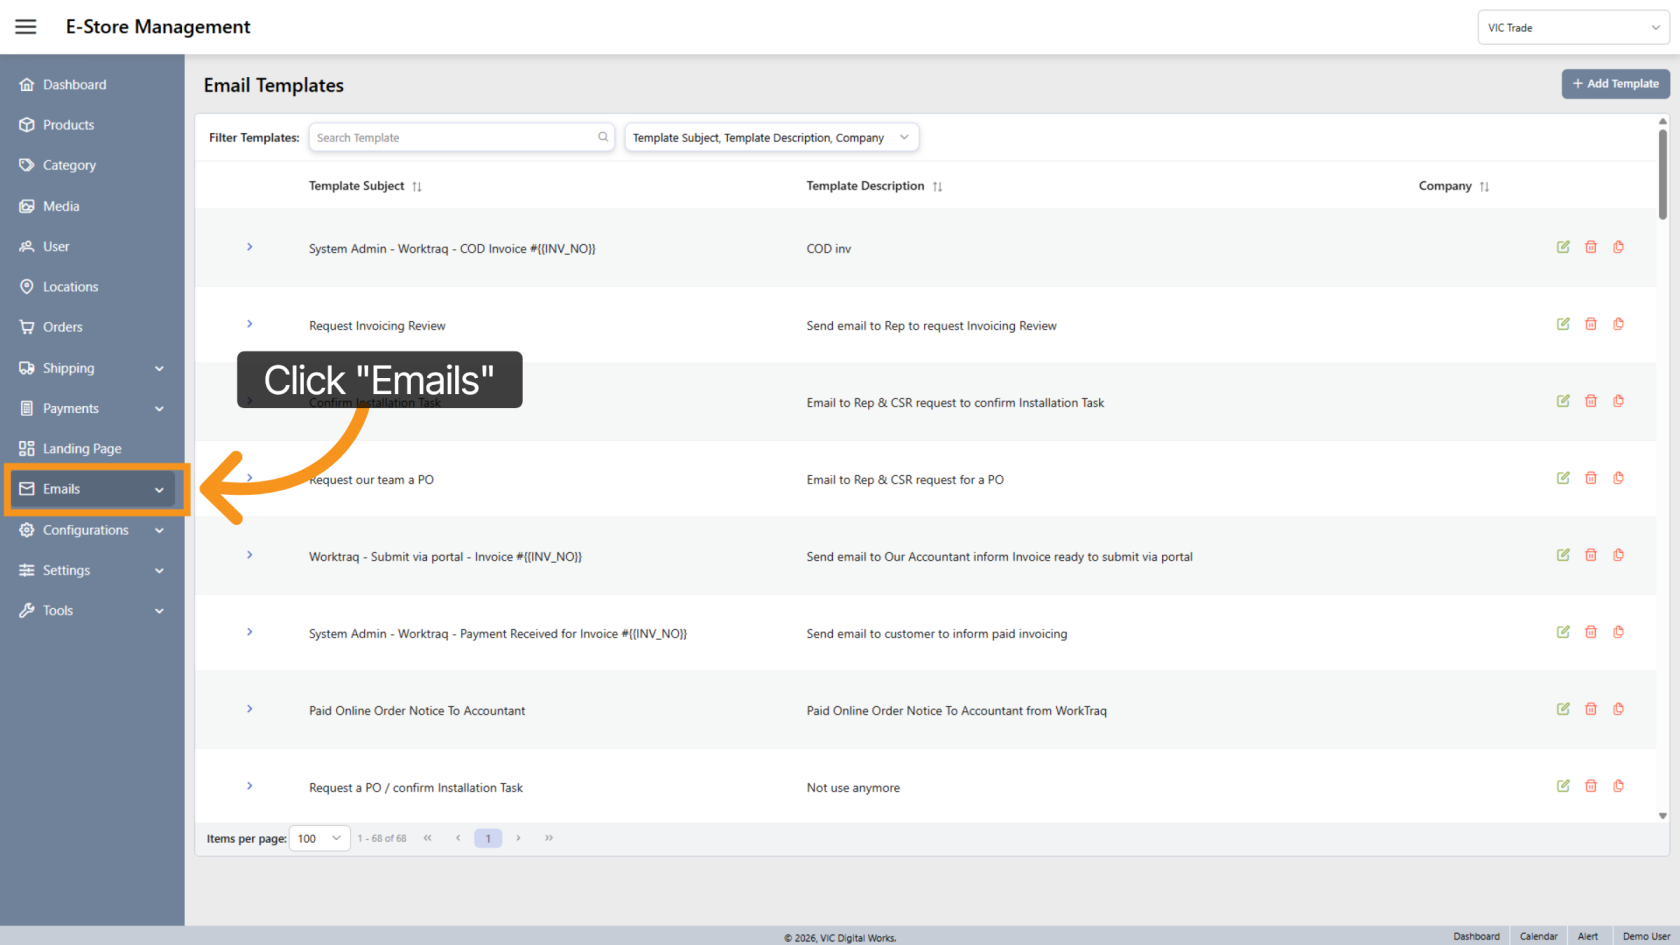
1. Open the Emails Menu
Click "Emails" to access the email management section.
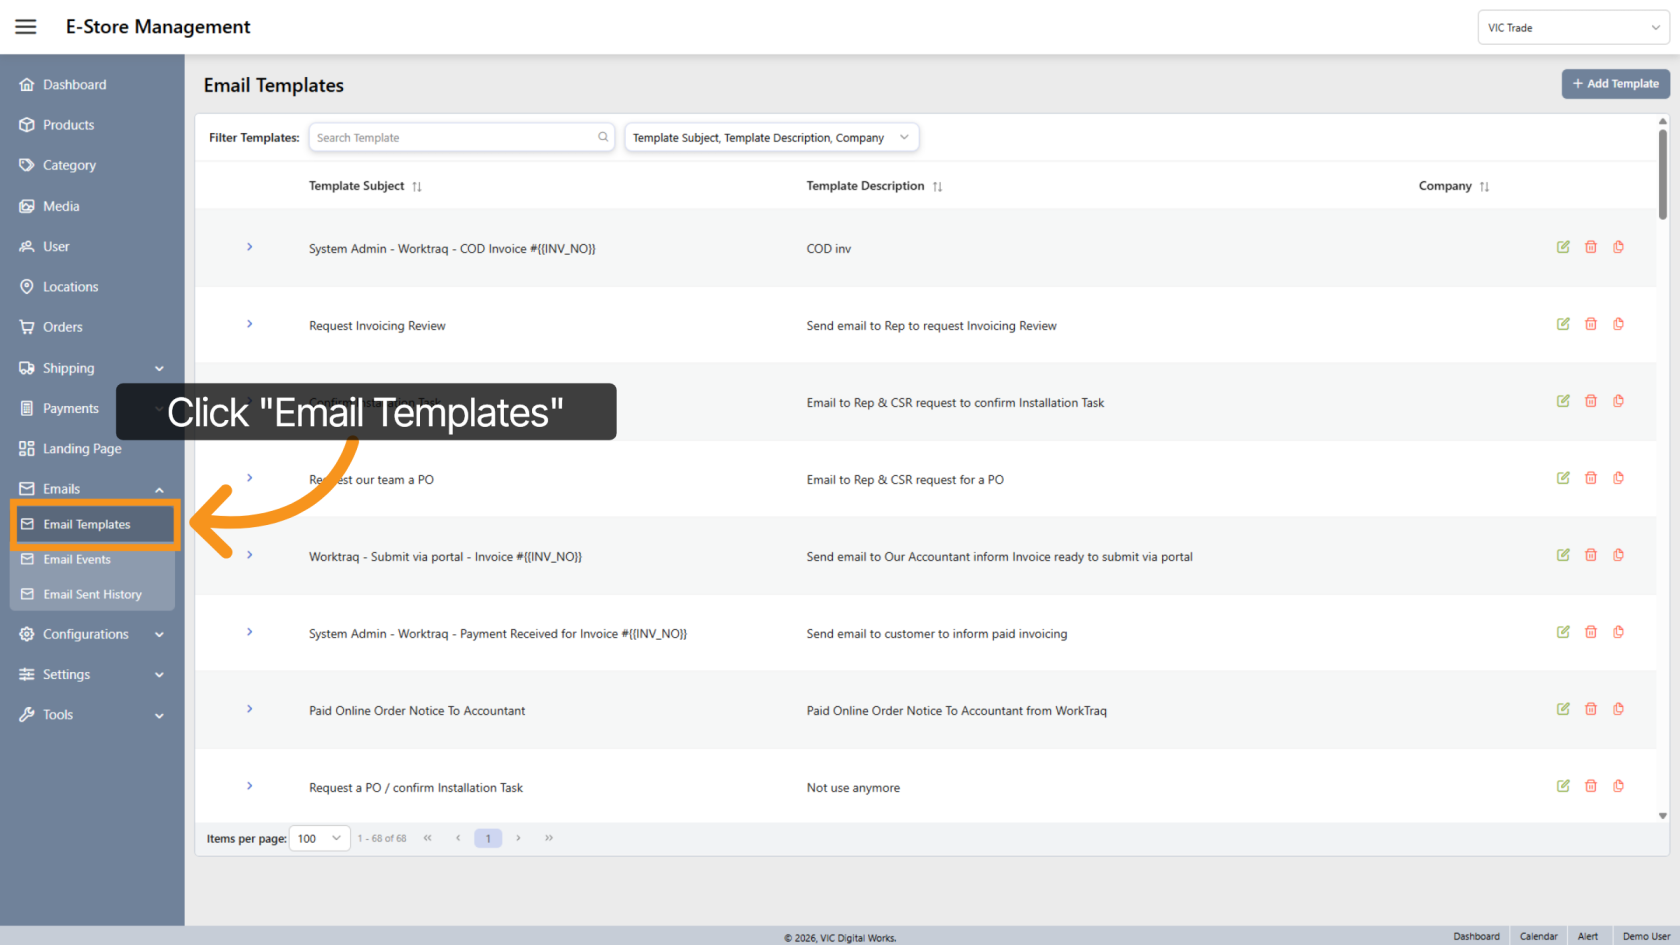
2. Open Email Templates
Select "Email Templates" to view and manage existing templates.
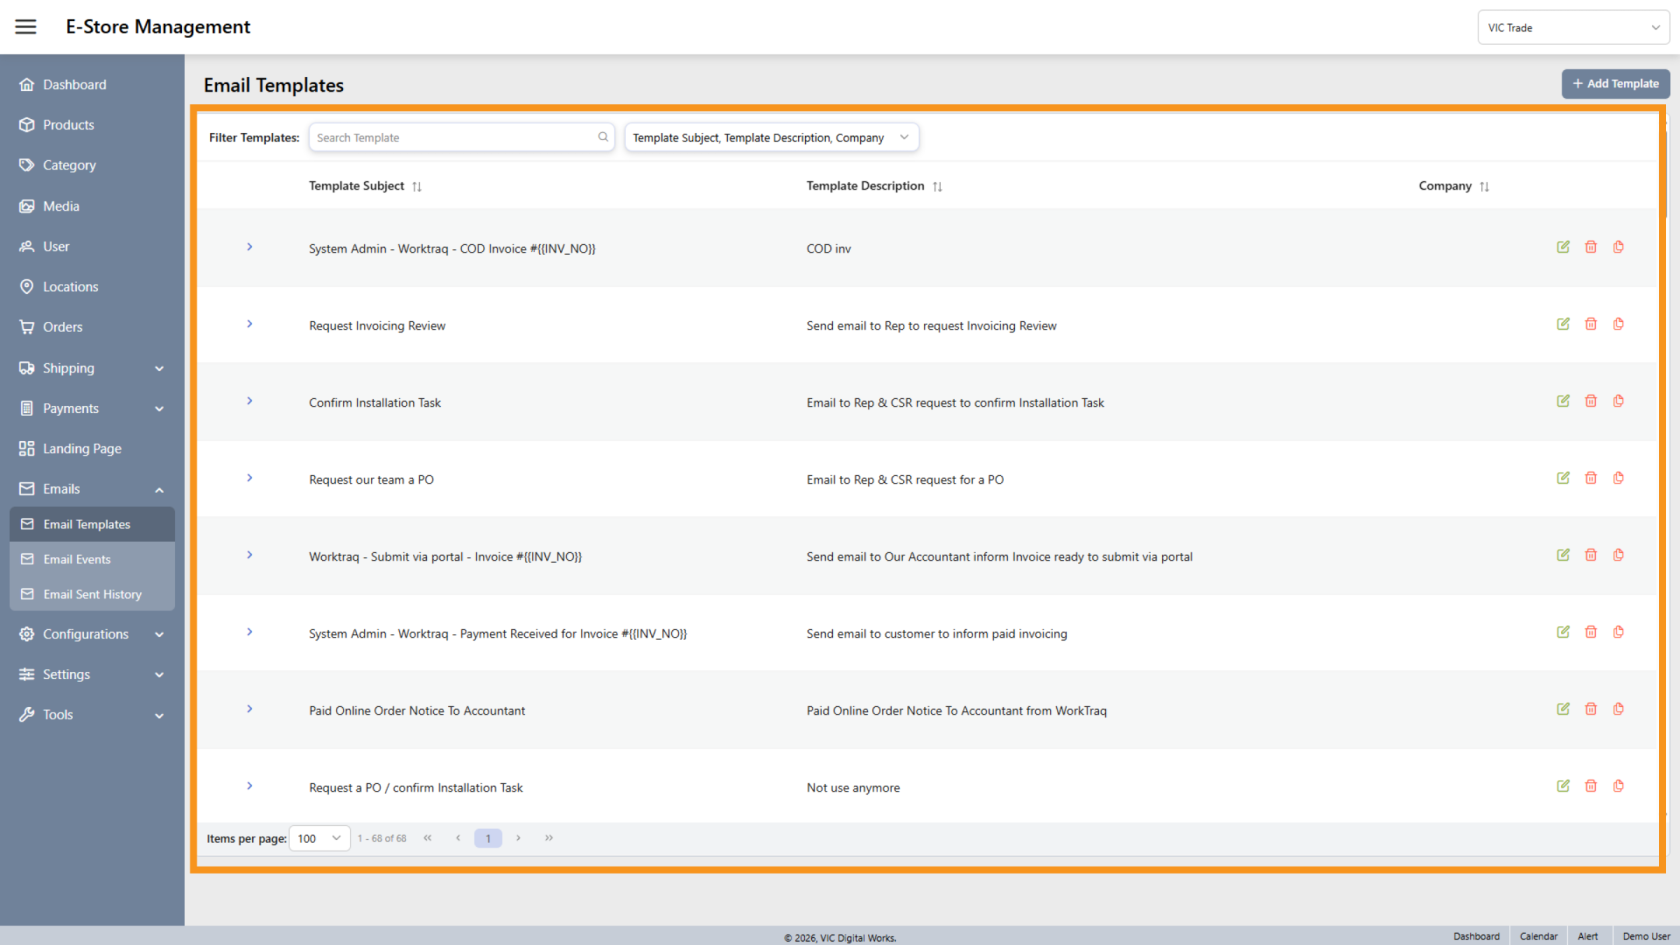
3. View All Templates
This section lists all email templates available in the system.
You do not need to select a company store to view templates.
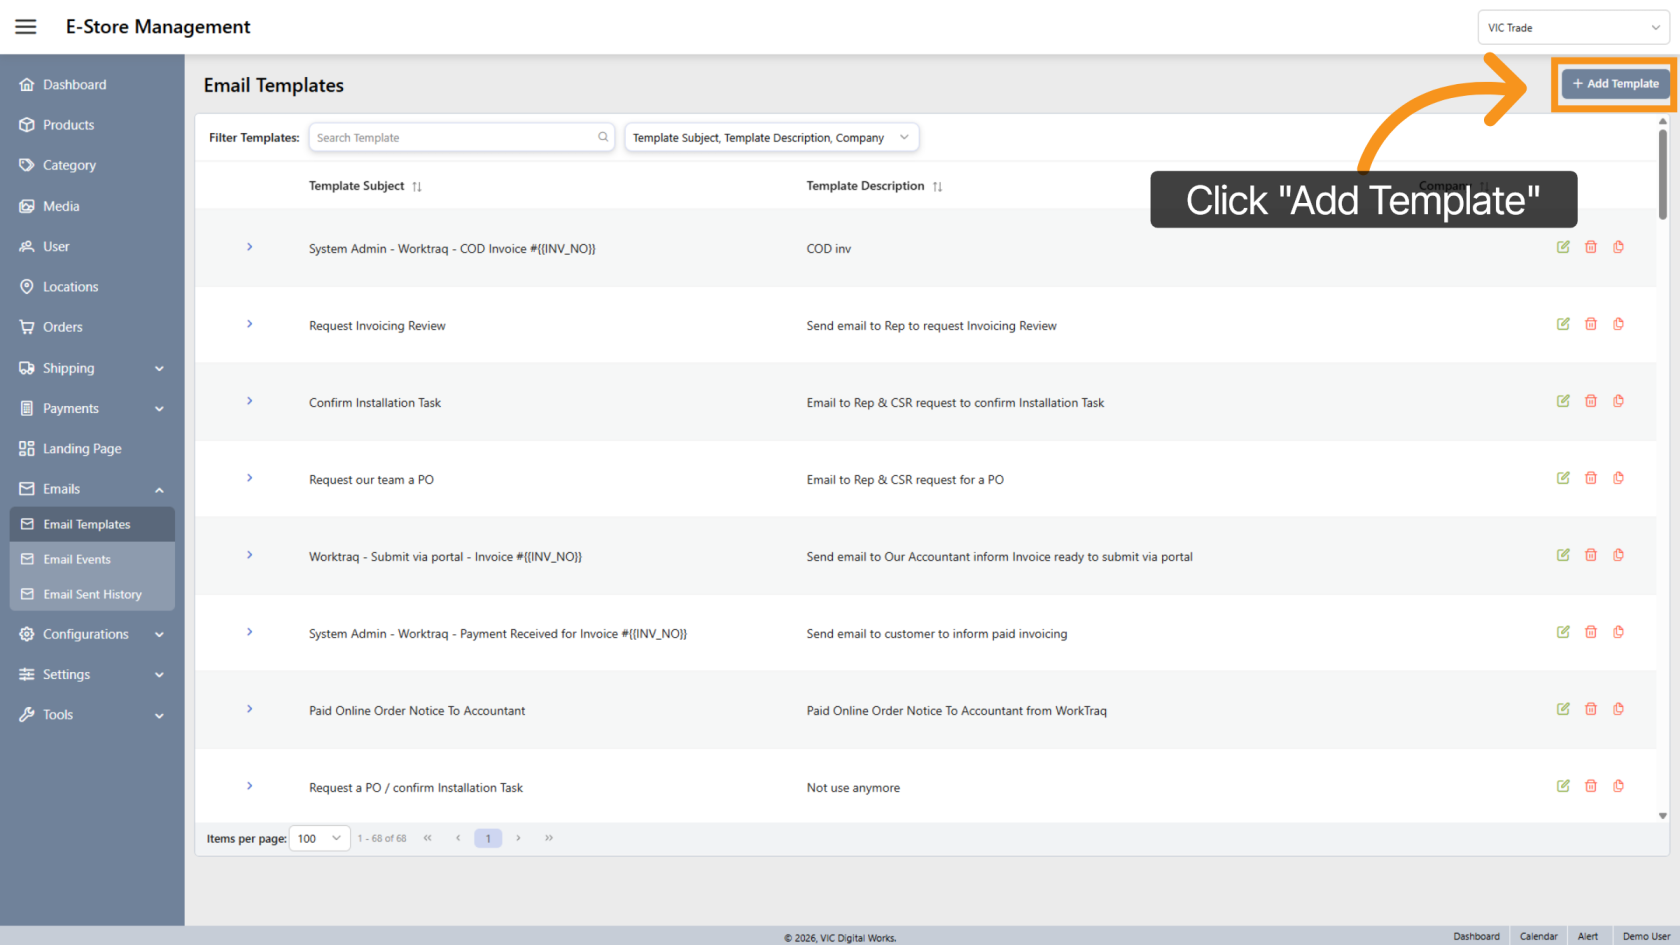
4. Add a New Template
Click "Add Template" to begin creating a new email template.
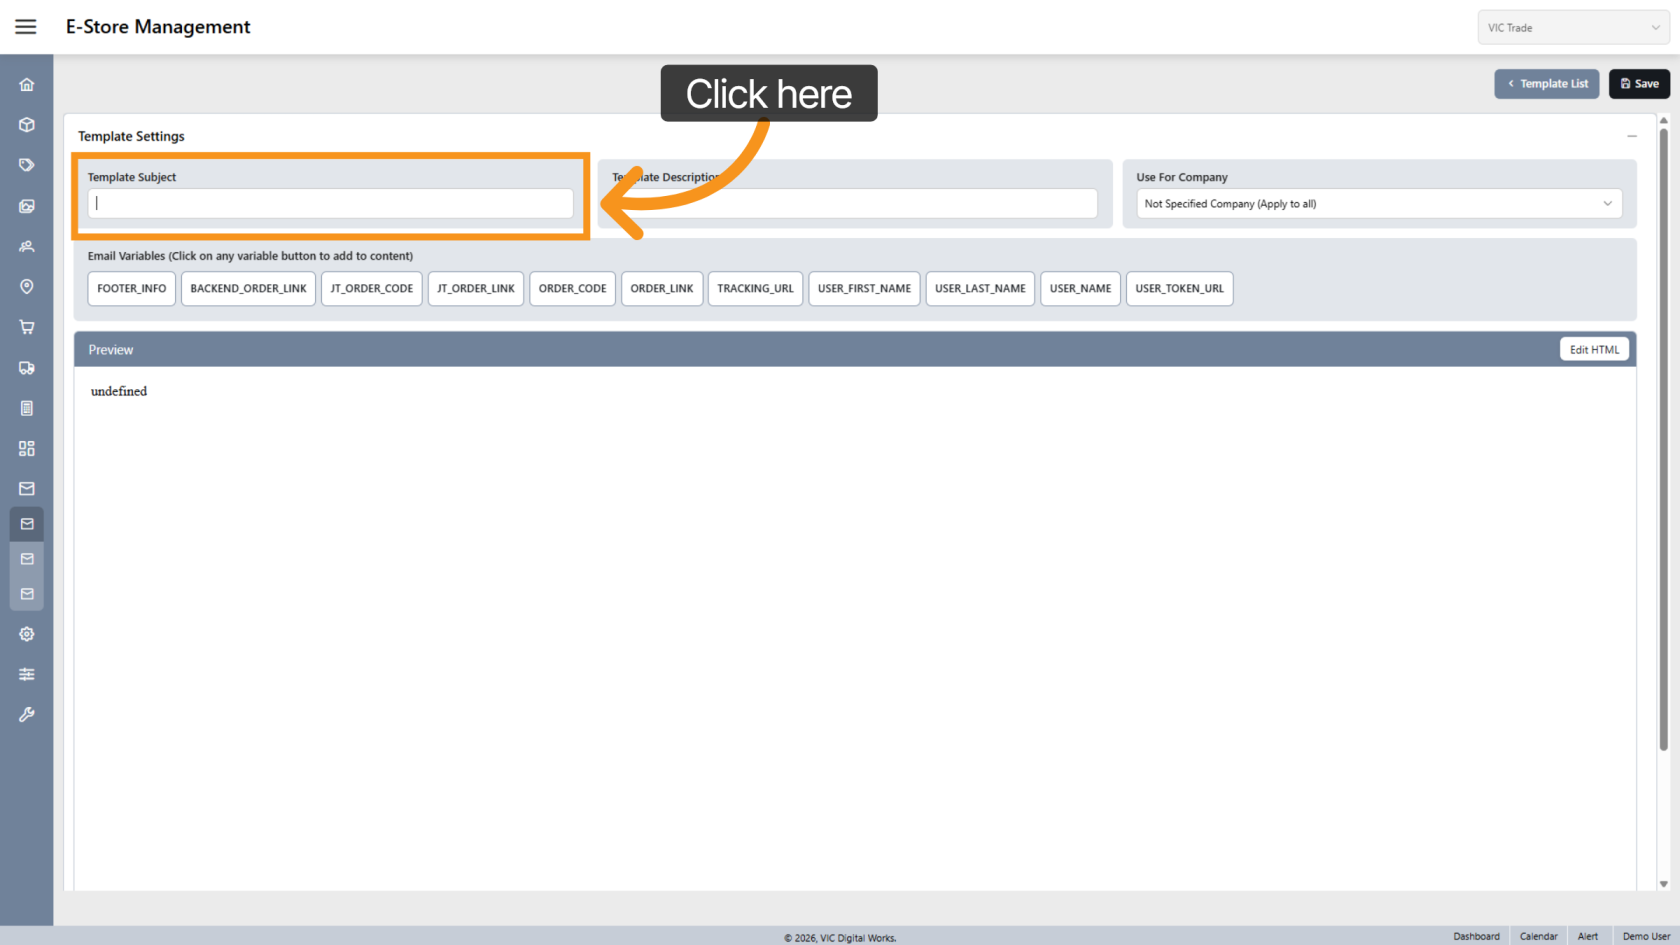
5. Enter Template Subject
Enter the Subject that will appear as the email subject when the message is sent to customers.
6. Enter Template Description
Provide a description to help identify the purpose of the template.

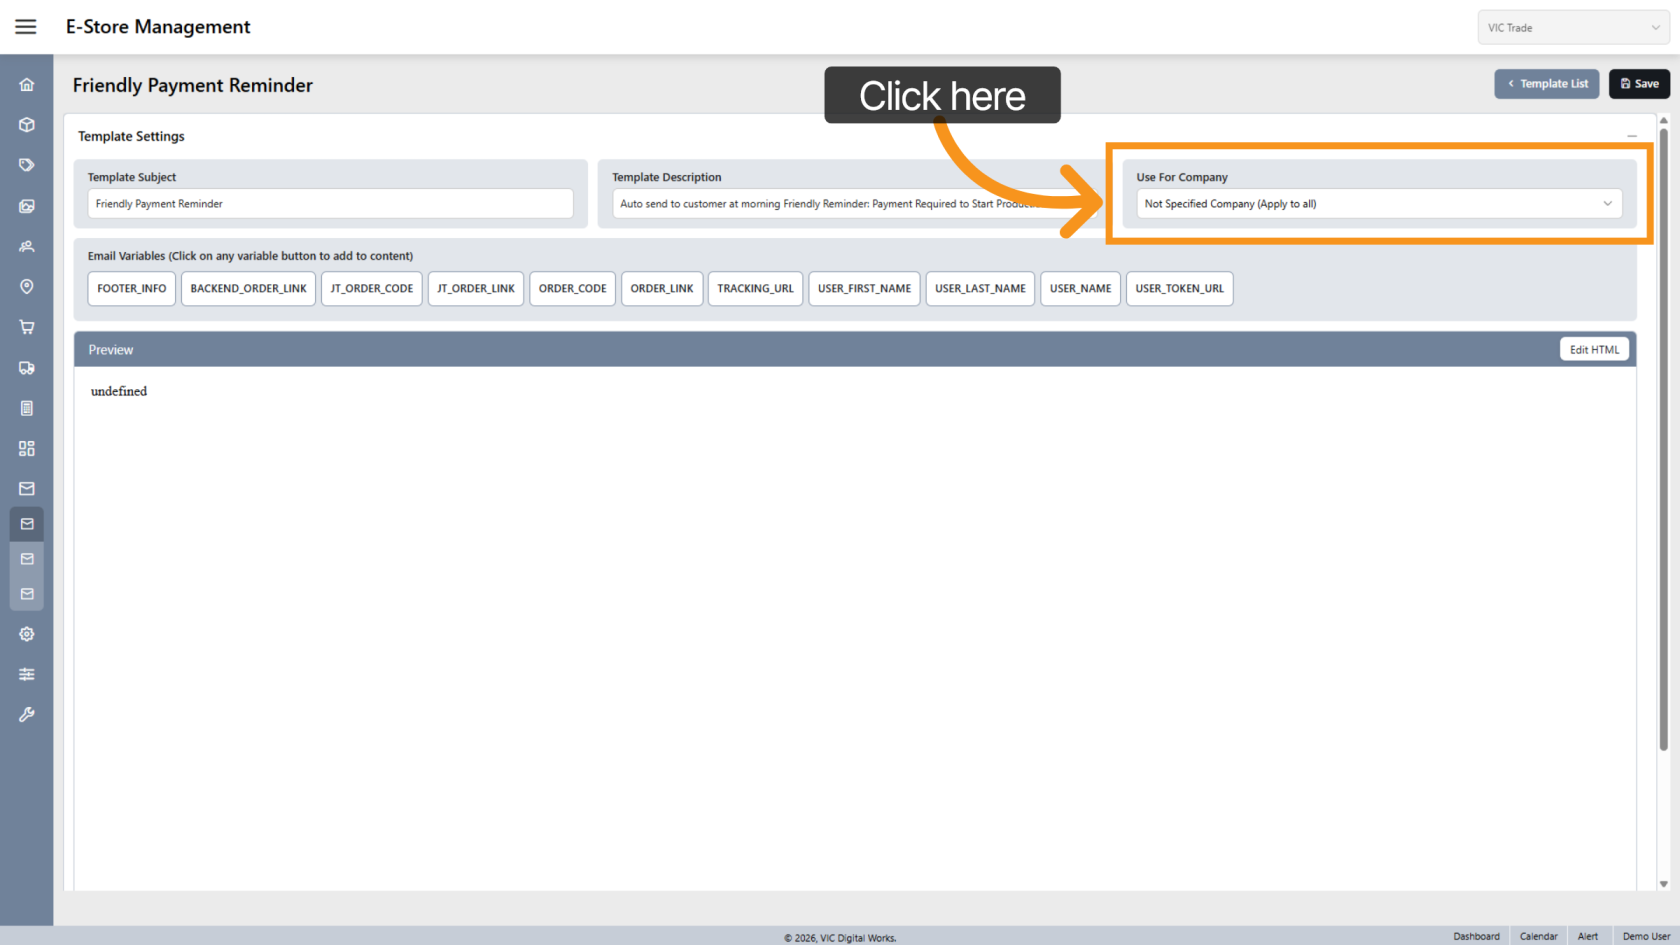
7. Select Company Usage
Choose the company that will use this template.
A single template can be applied to multiple companies.
Leave this field blank if the template is for general use.
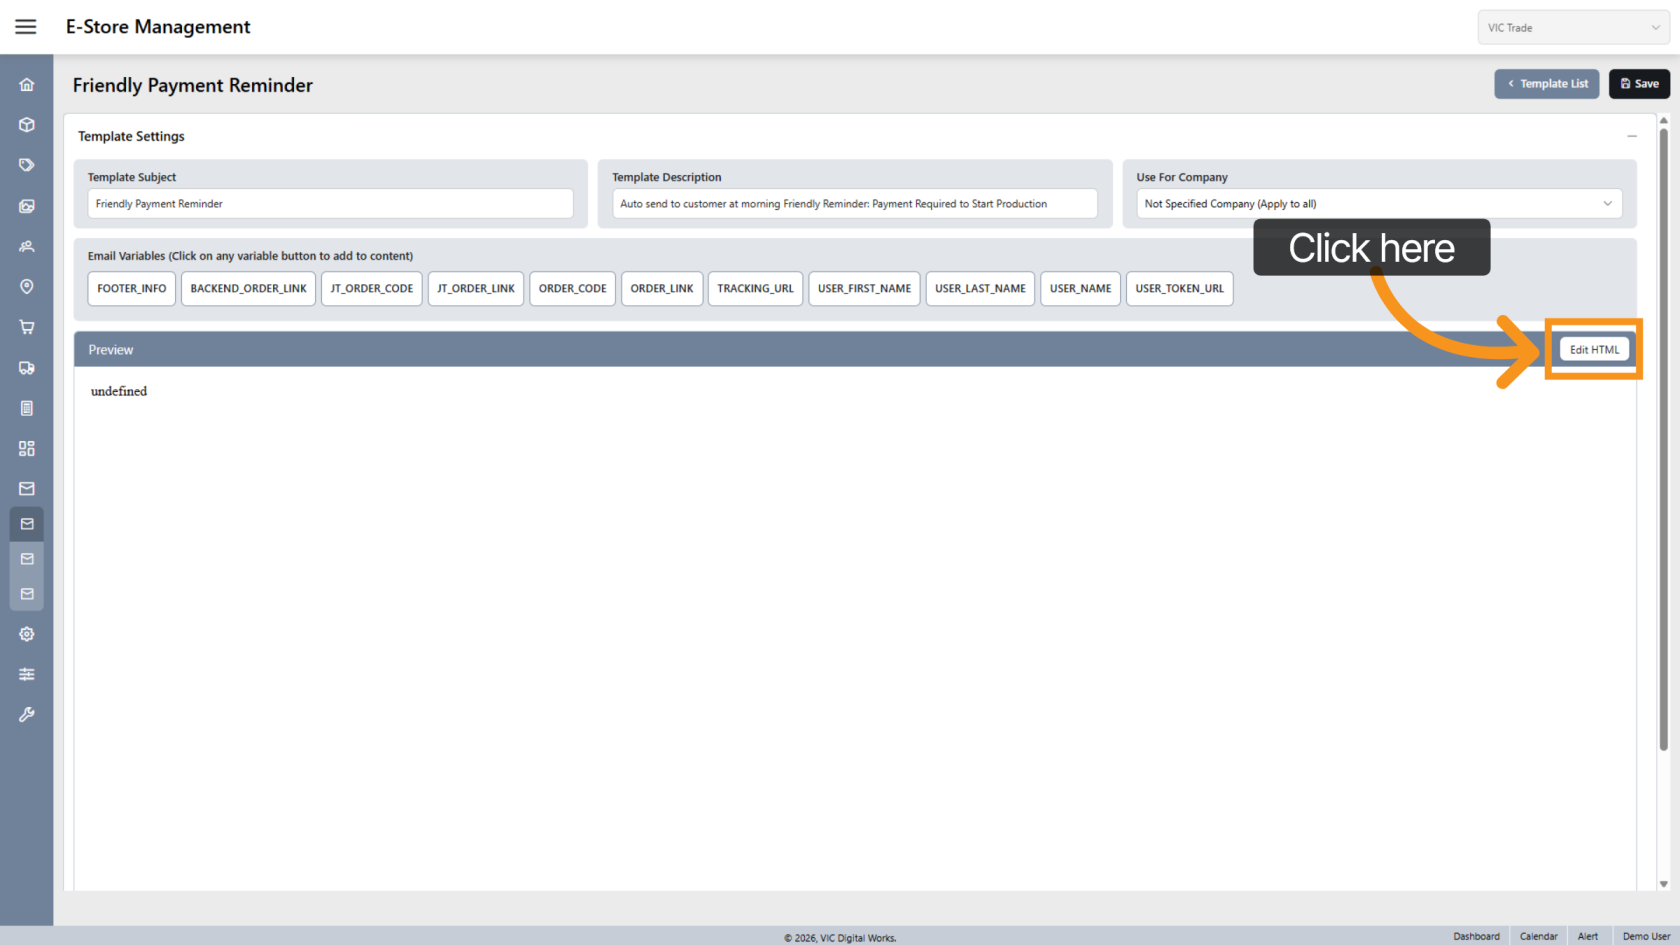
8. Add Email Content
Click "Edit HTML" to start creating the email content.
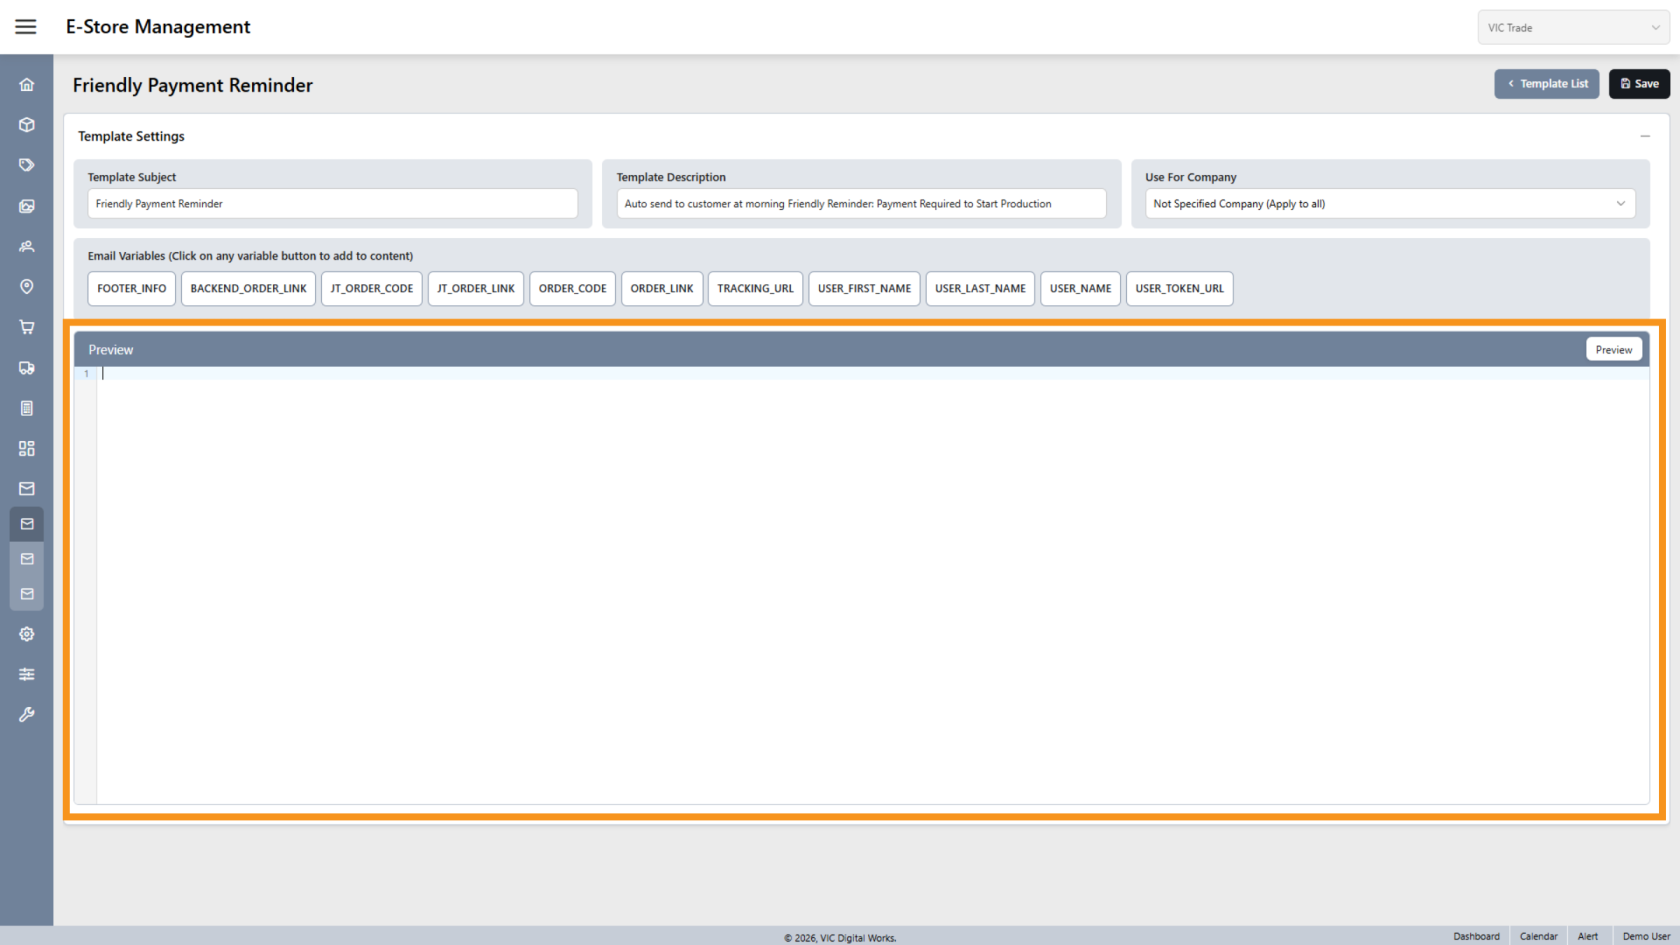
9. Enter the Email Message
Write your email message in the editor.
You can use plain text, but HTML formatting can be added to enhance the email design.
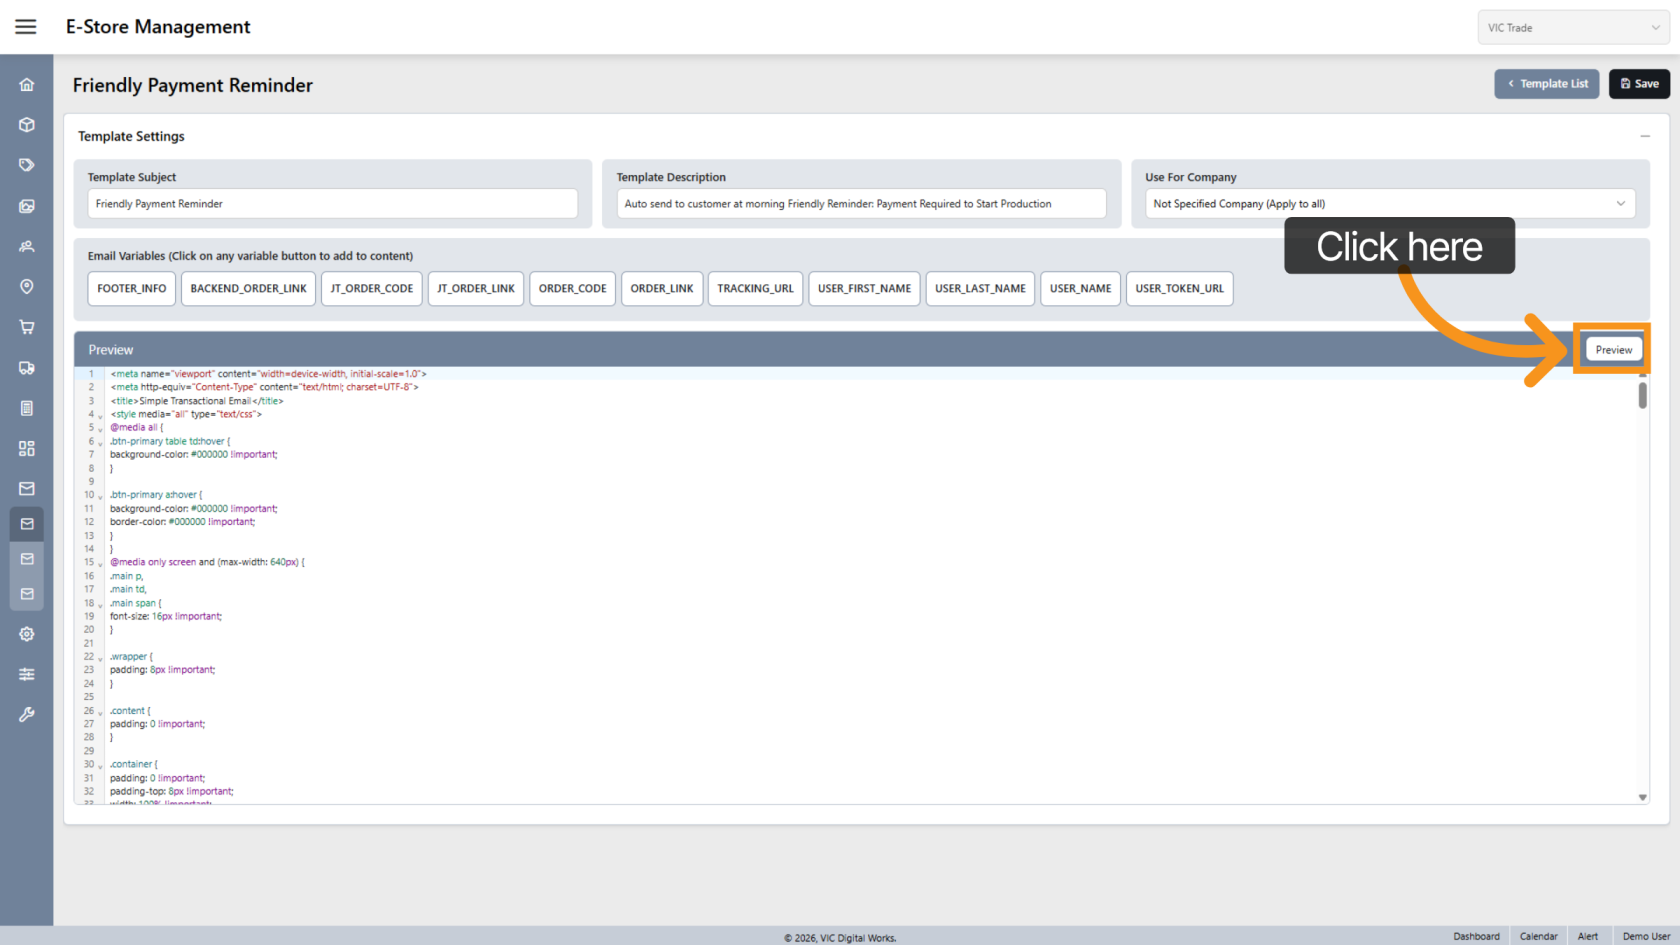
10. Preview the Template
Click "Preview" to switch between preview modes and review how the email will appear.
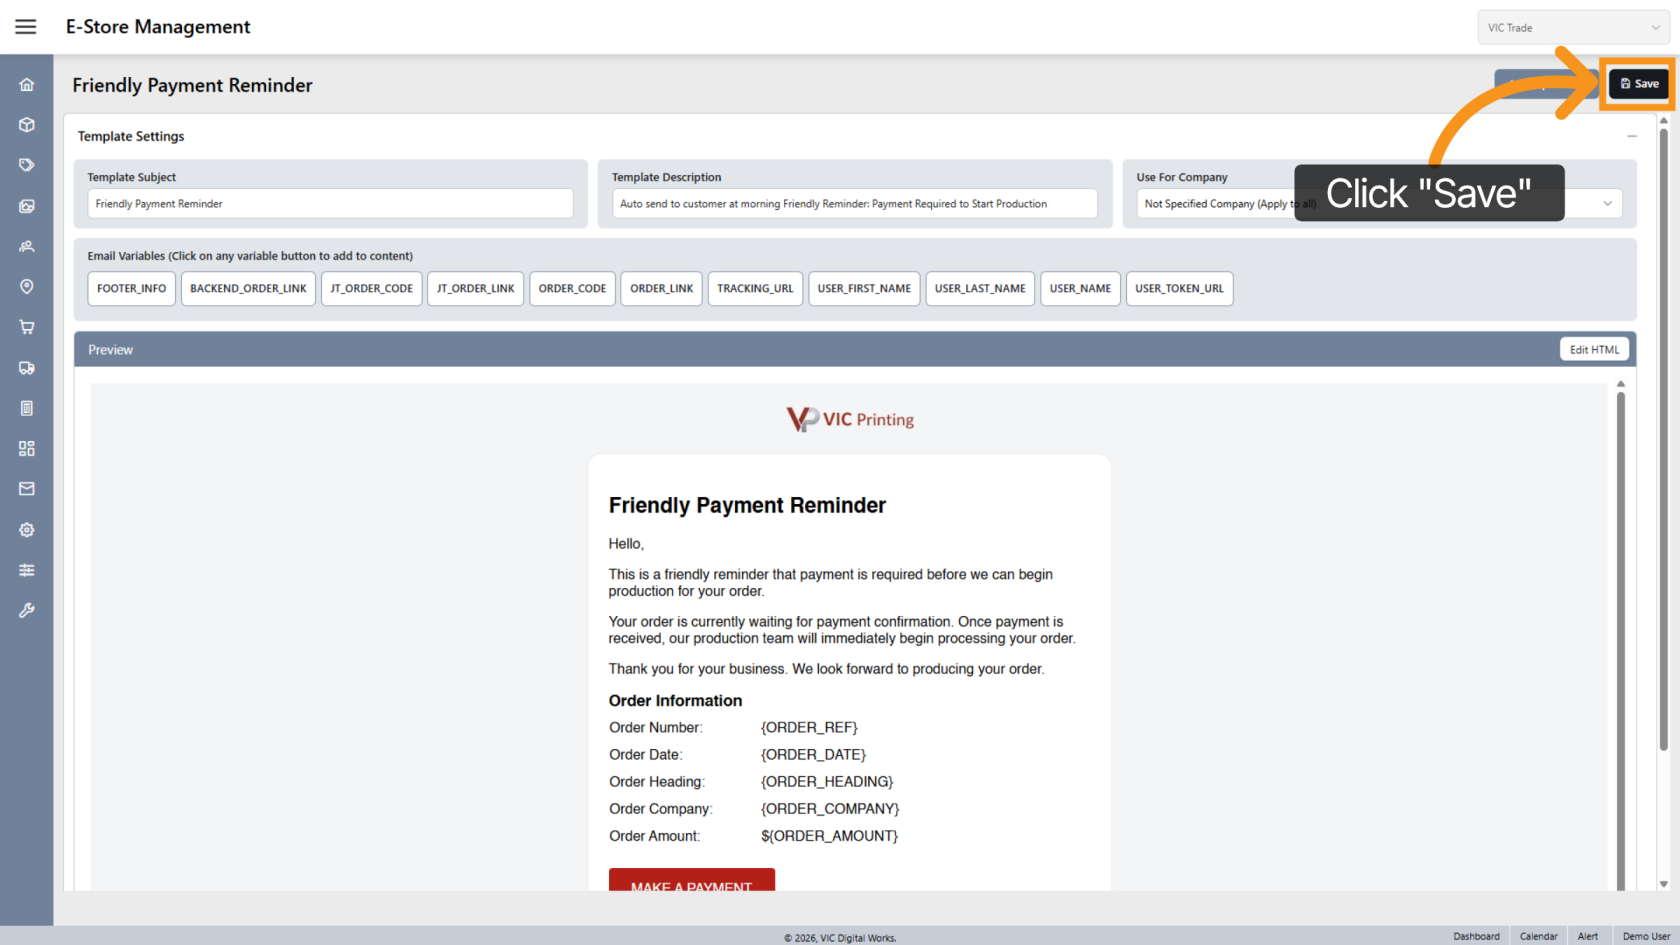
11. Save the Template
Click "Save" to store the new template.
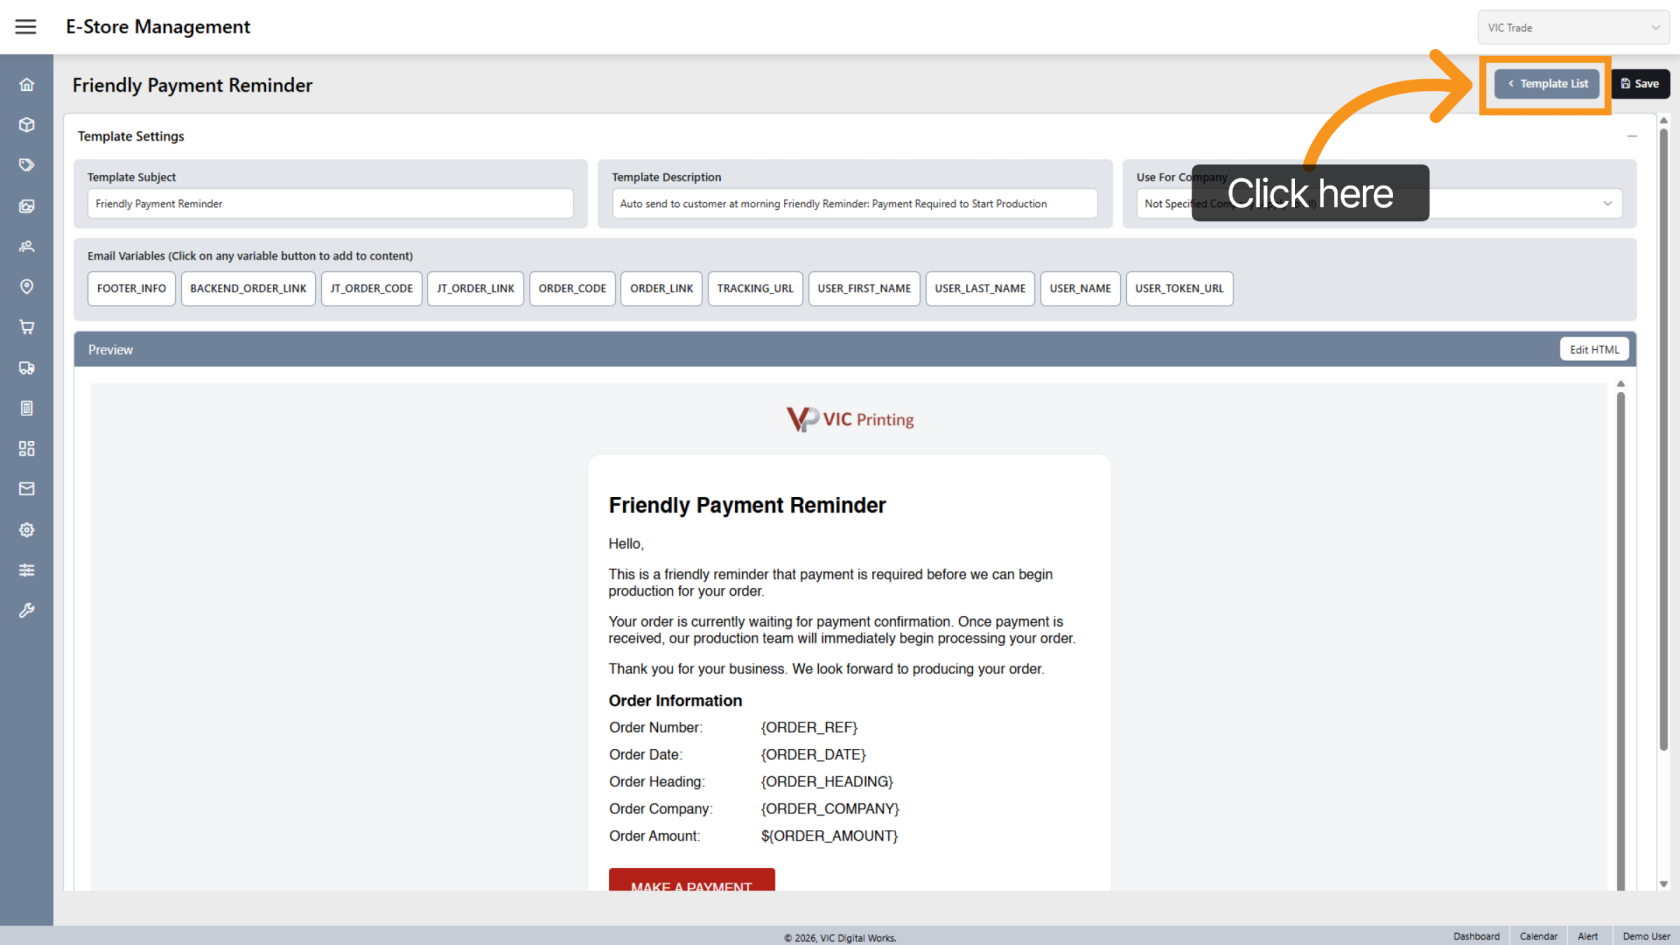
12. Return to the Template List
Click "Template List" to go back to the list of email templates.
You have successfully created and configured an email template in the App. The template can now be used to automate your communication with customers.