Custom Options
This tutorial explains how to configure custom product options in the E-Store.
Video Tutorial
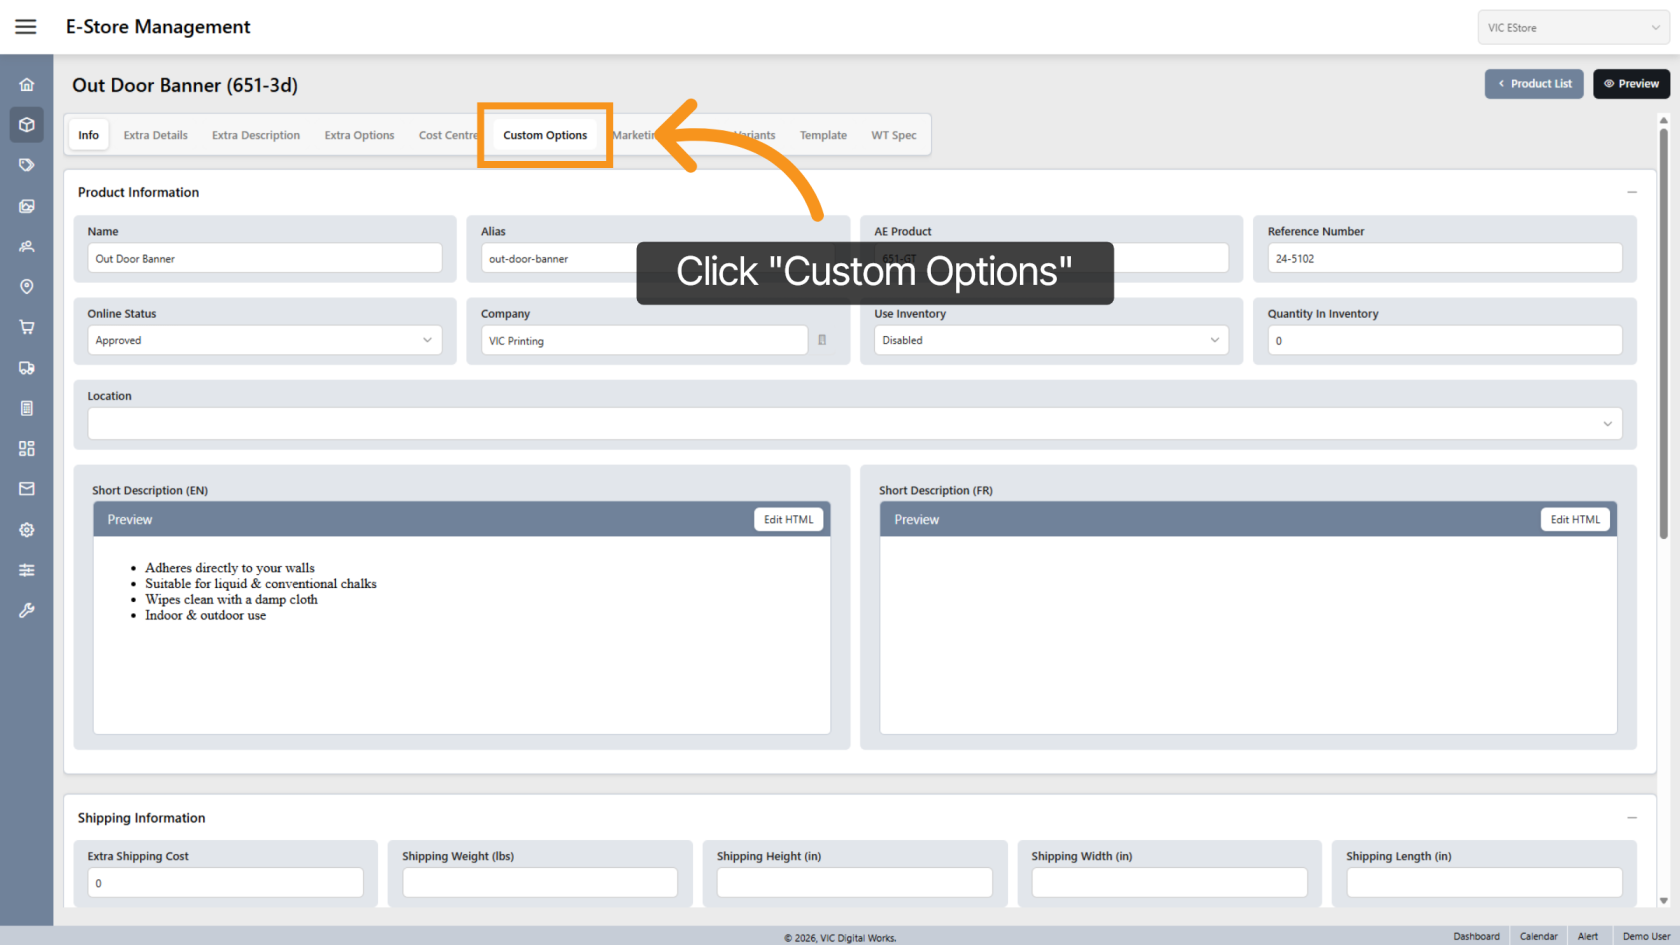
1. Open Custom Options
Click the Custom Options tab to manage product-specific option settings.
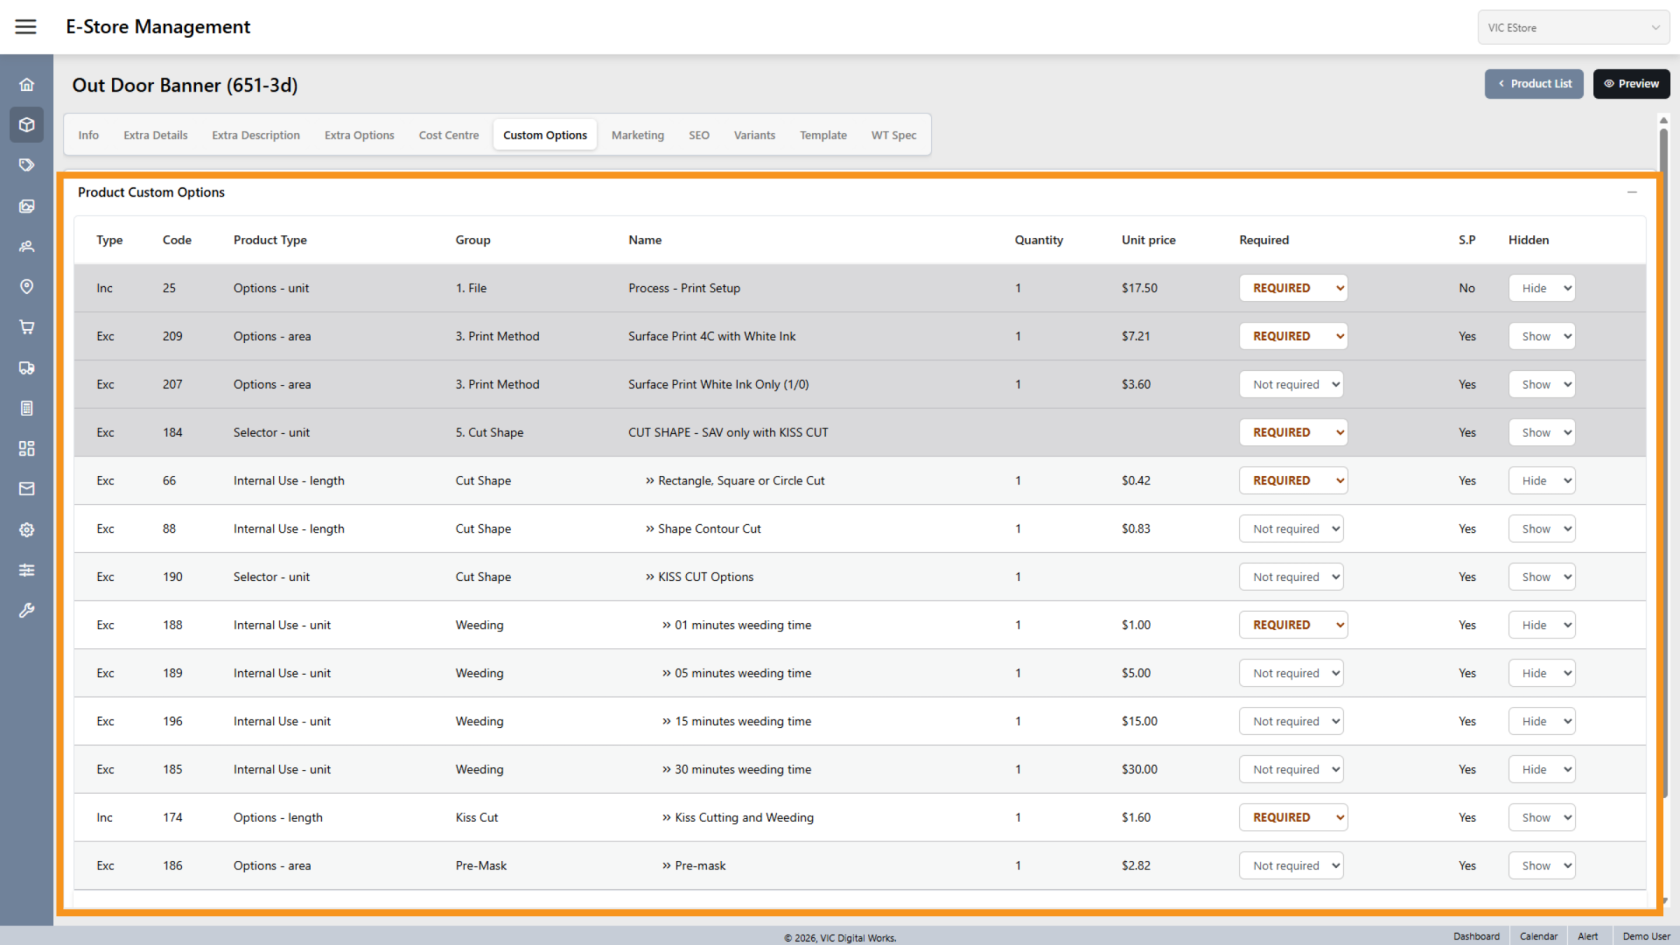
2. Review Product Options
All available product options will be listed.
You can modify the option settings for the E-Store.
These changes apply only to the E-Store and will not affect the settings in WorkTraq.
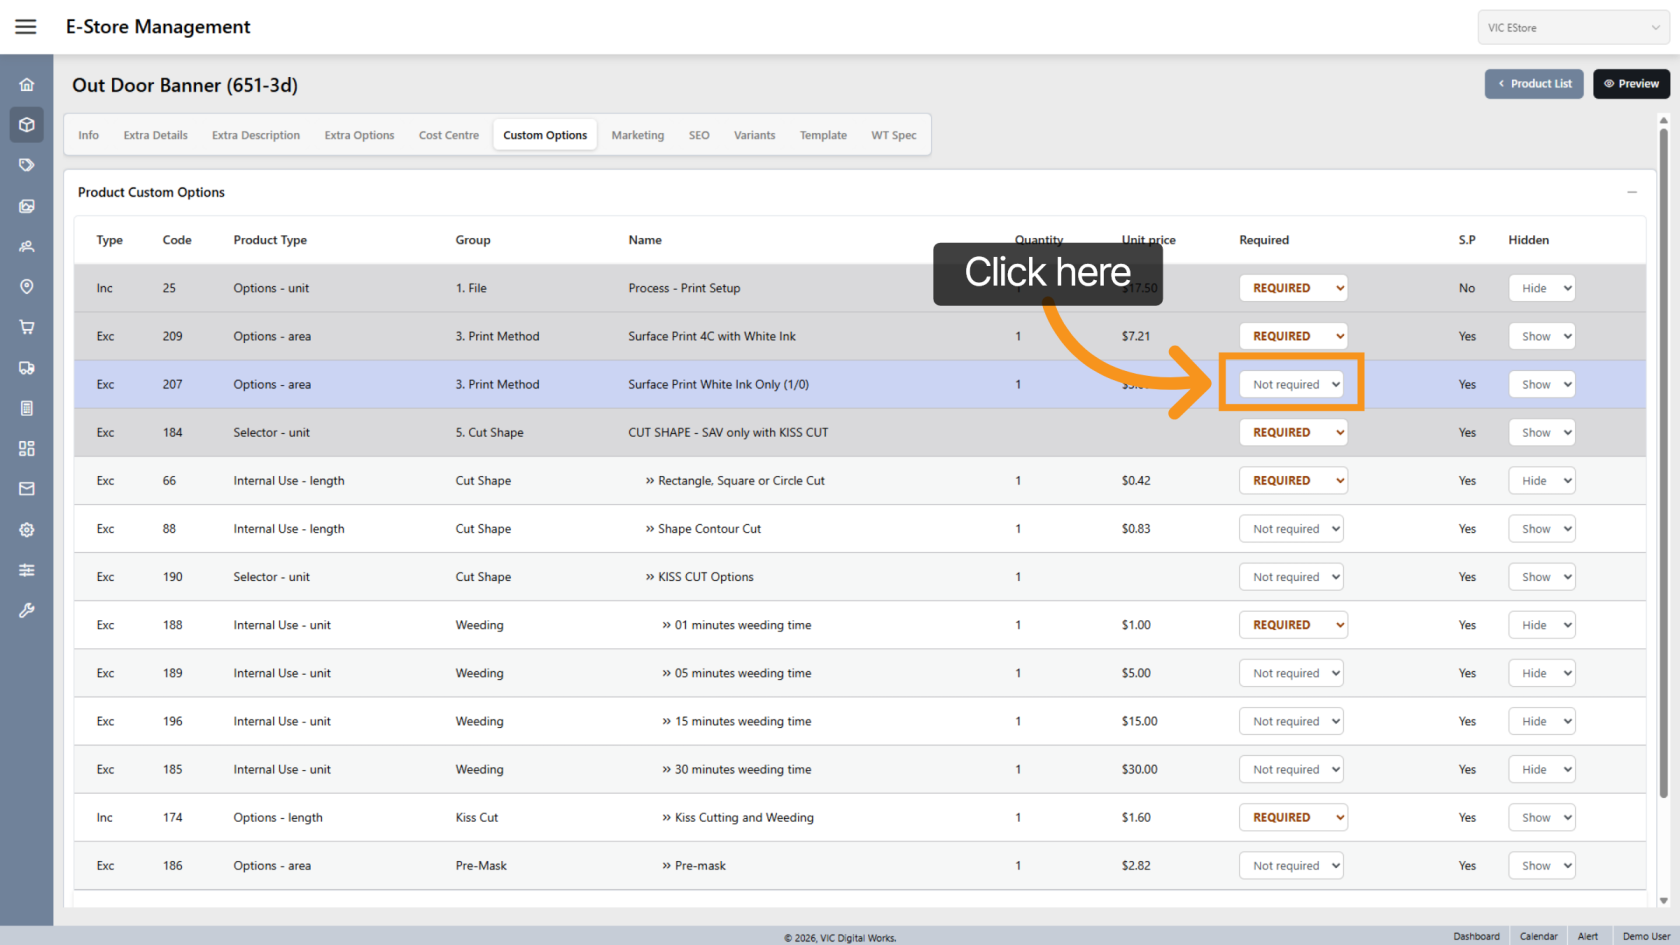
3. Set Requirement Status
Select Required if the option must be selected.
Select Not Required if the option is optional.
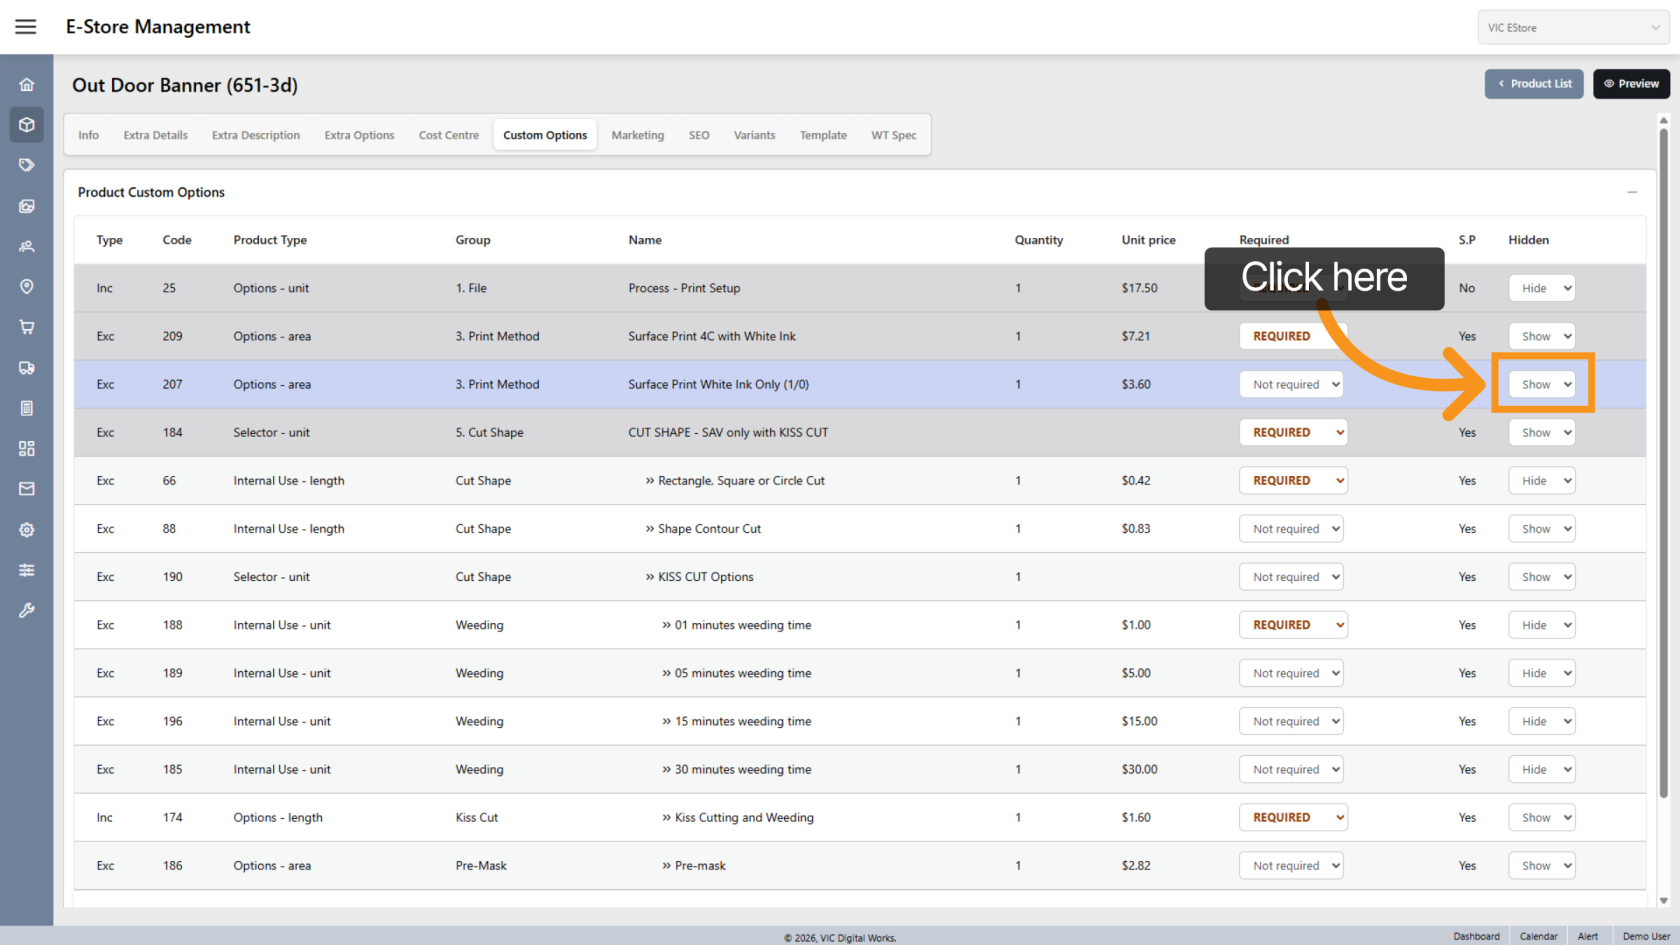
4. Show or Hide Option
This is useful if you want to hide certain fees or internal options.
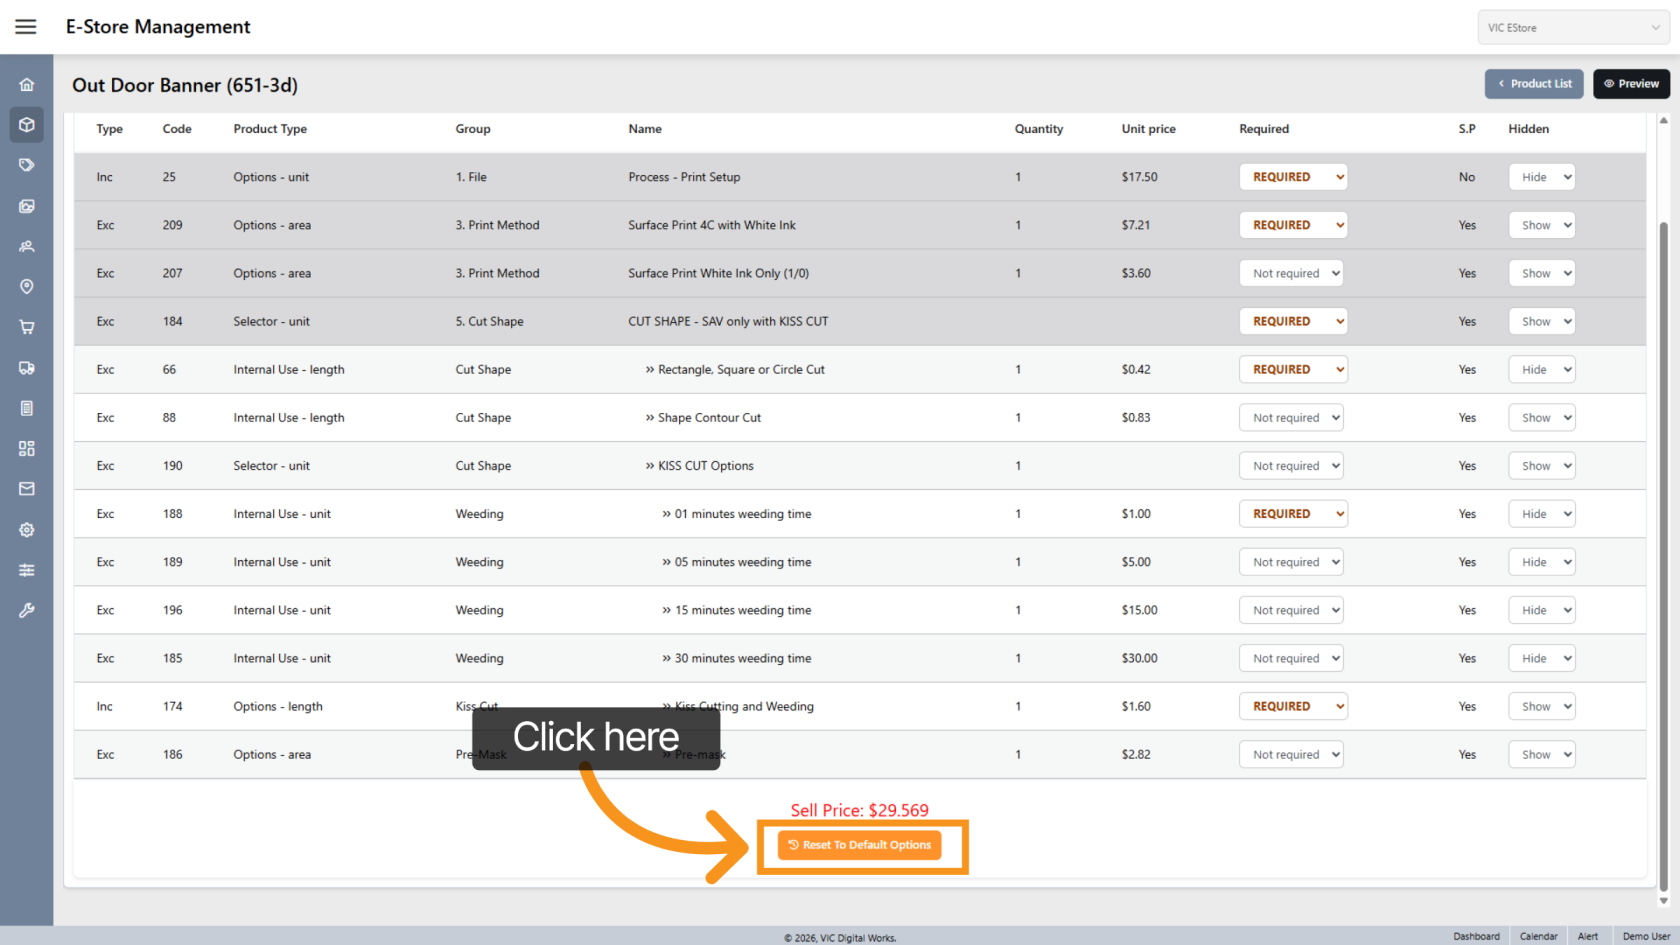
5. Reset to Default
Click Reset to restore the option to its original default settings.
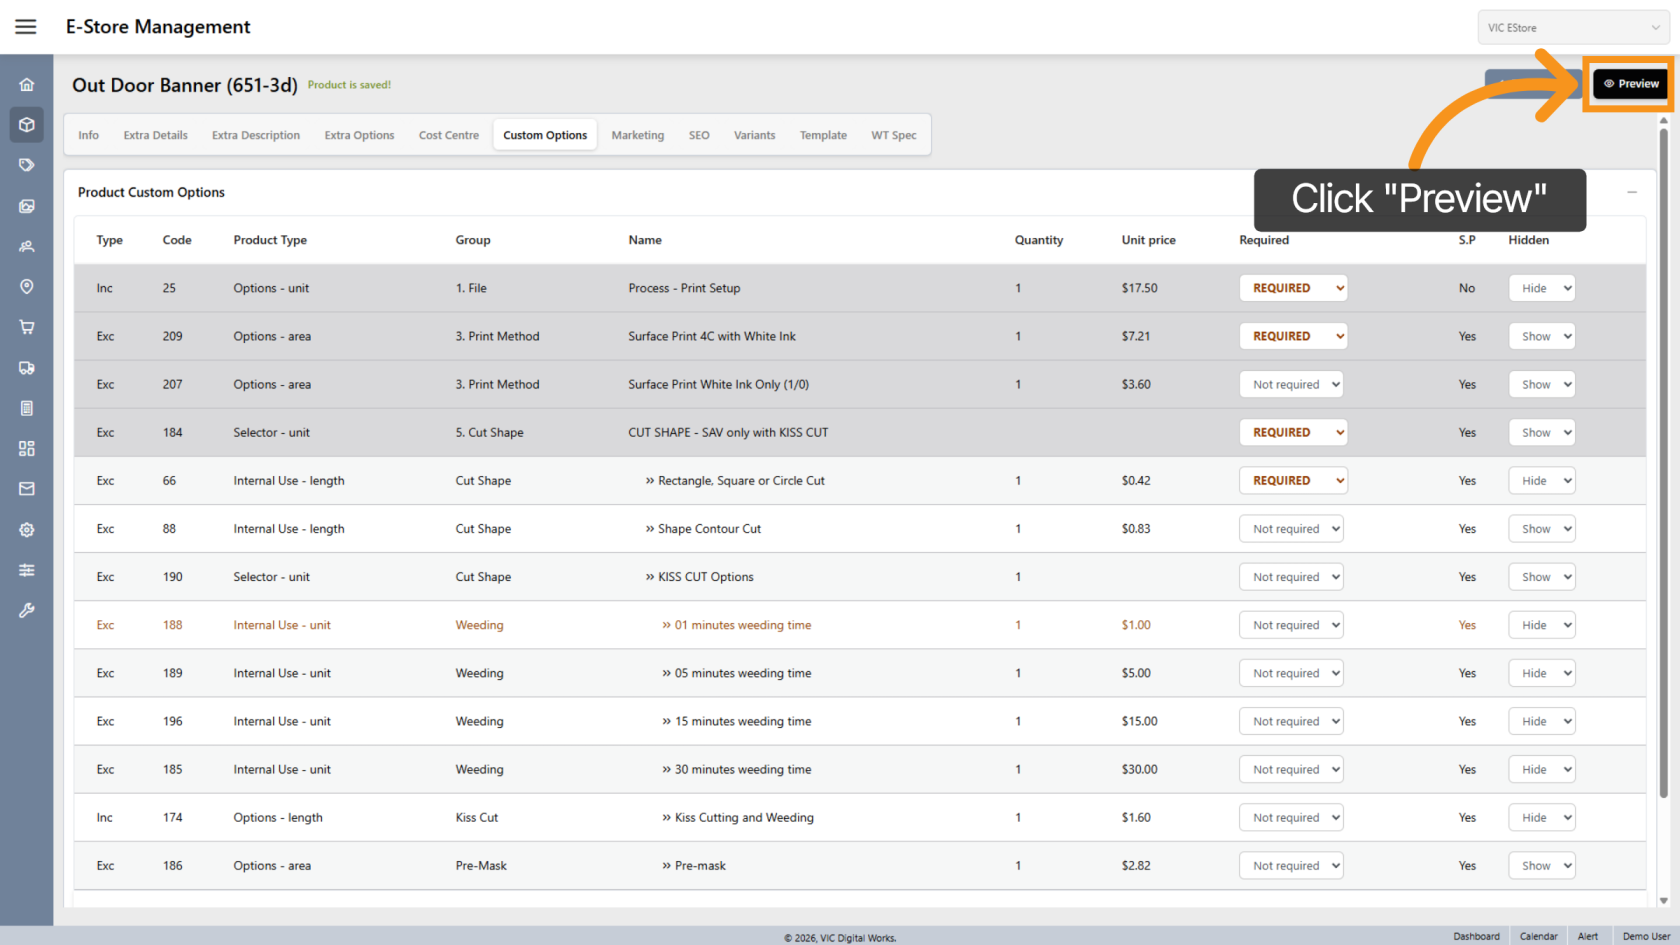
6. Preview Changes
Click Preview to see how the custom options will appear to customers.
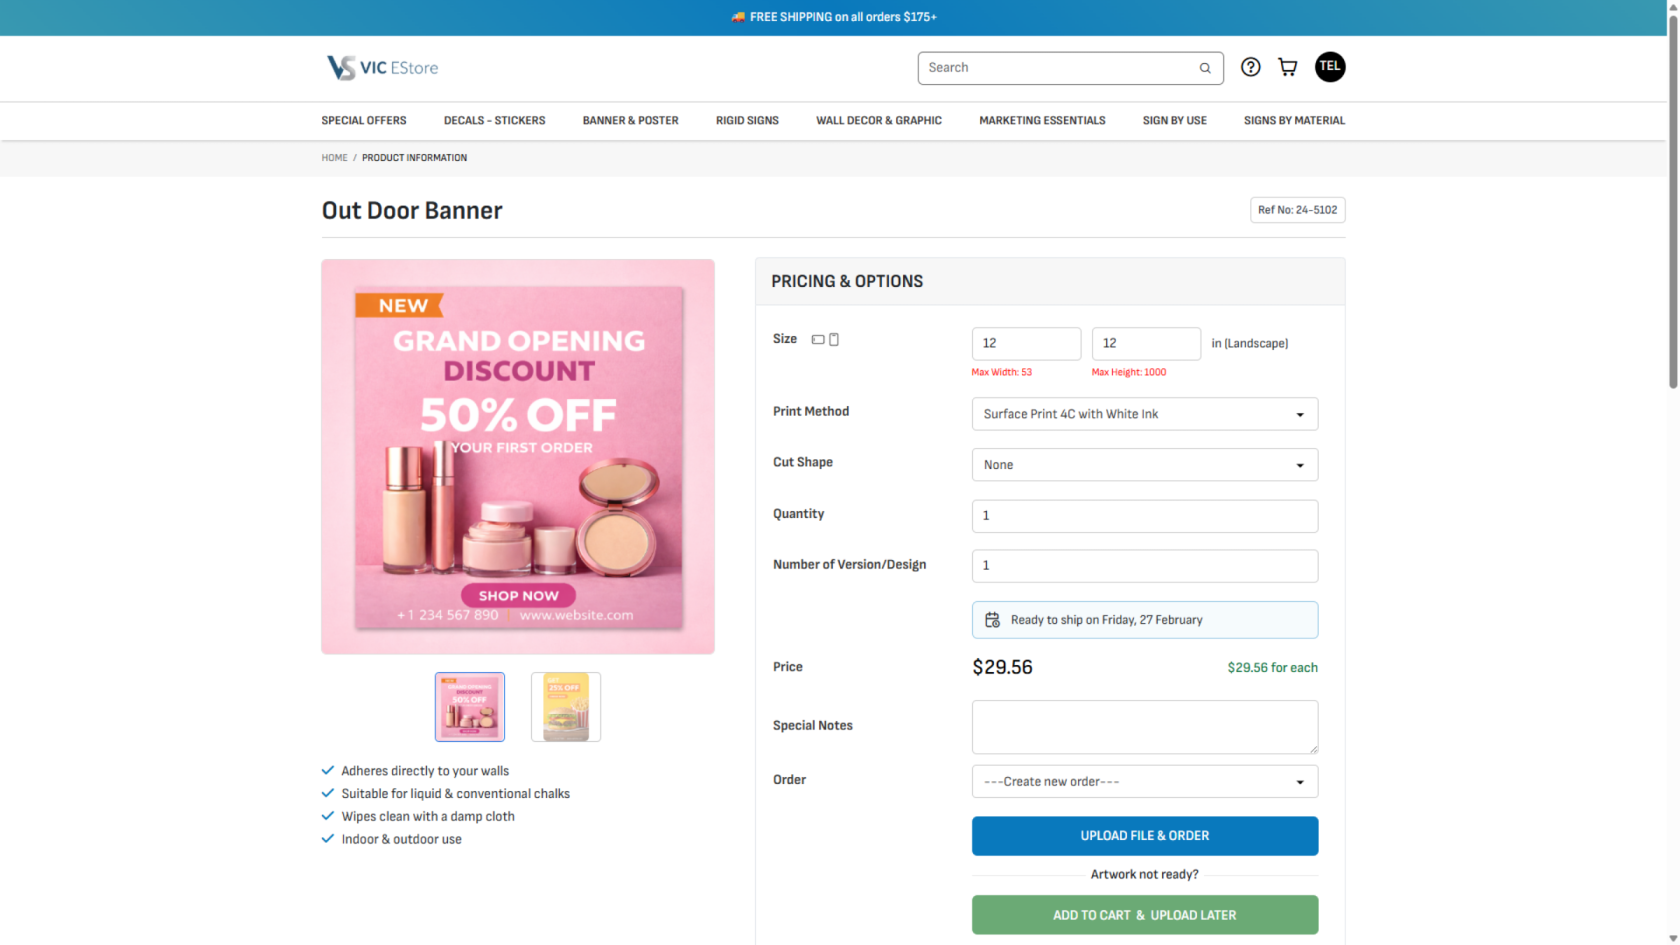
7. Final Check
The product detail page will open.
Review the product to ensure all changes are applied correctly.
You have successfully configured and previewed custom product options in the E-Store Management.