Product Variants
This tutorial explains how to configure product variants in the E-Store.
Video Tutorial
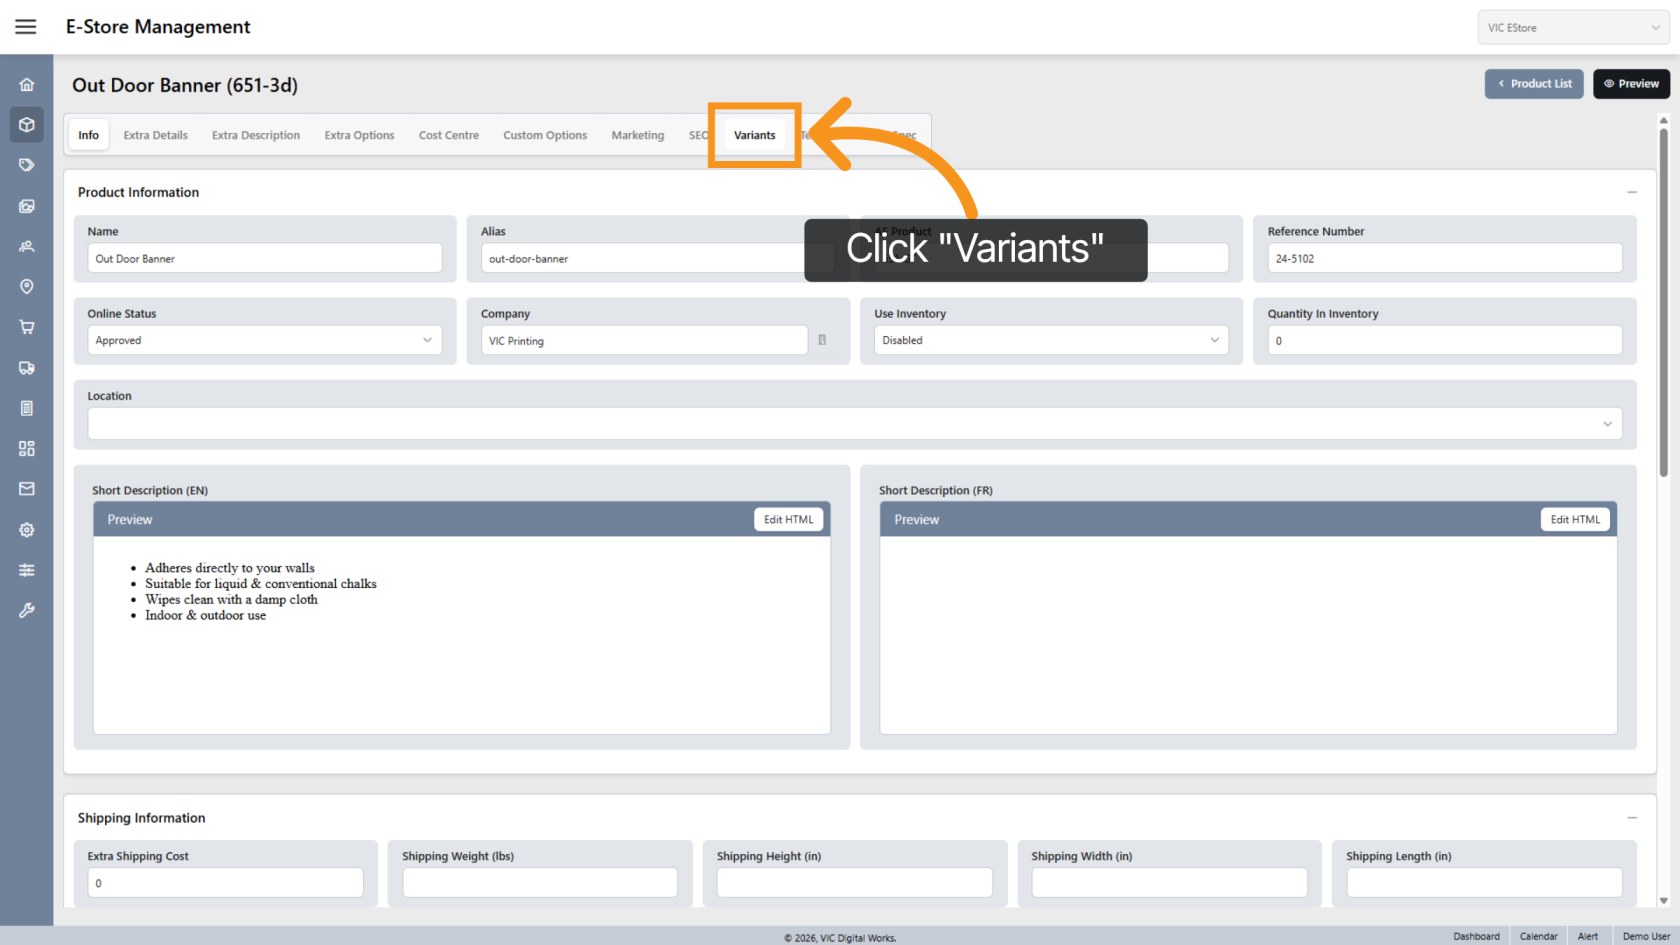
1. Open Variants Section
Click "Variants" to manage product variant options.
2. Custom Size Tab
Use the Custom Size tab to create selectable size options.
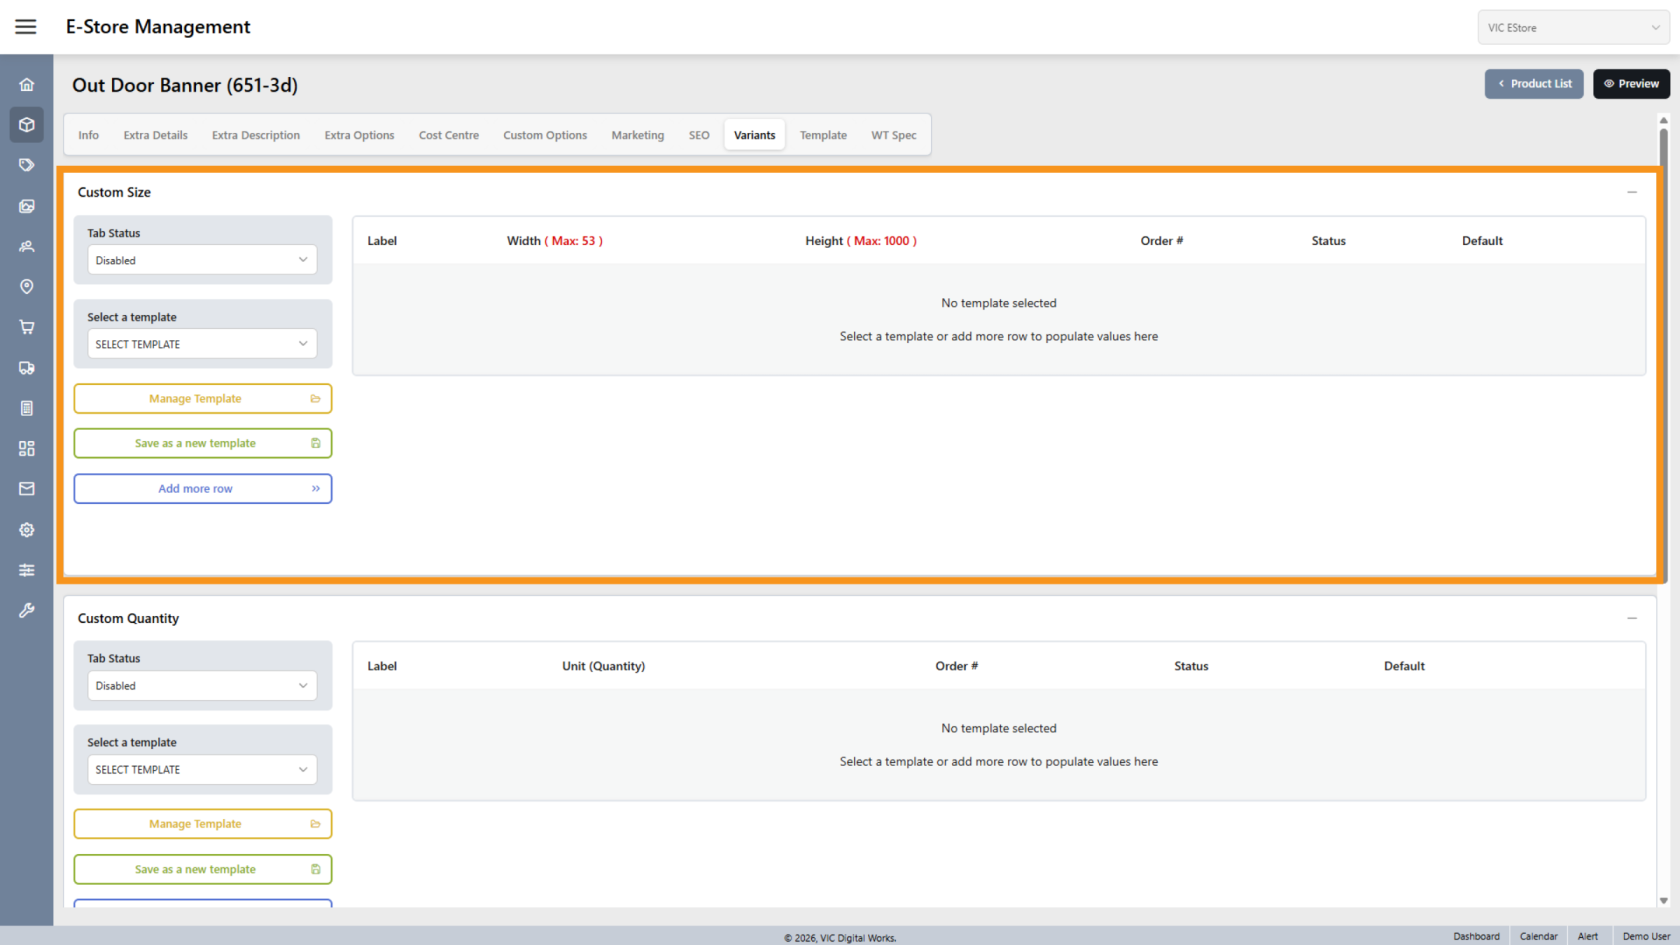
3. Add a Size Row
Click "Add more row" to create a new size entry.

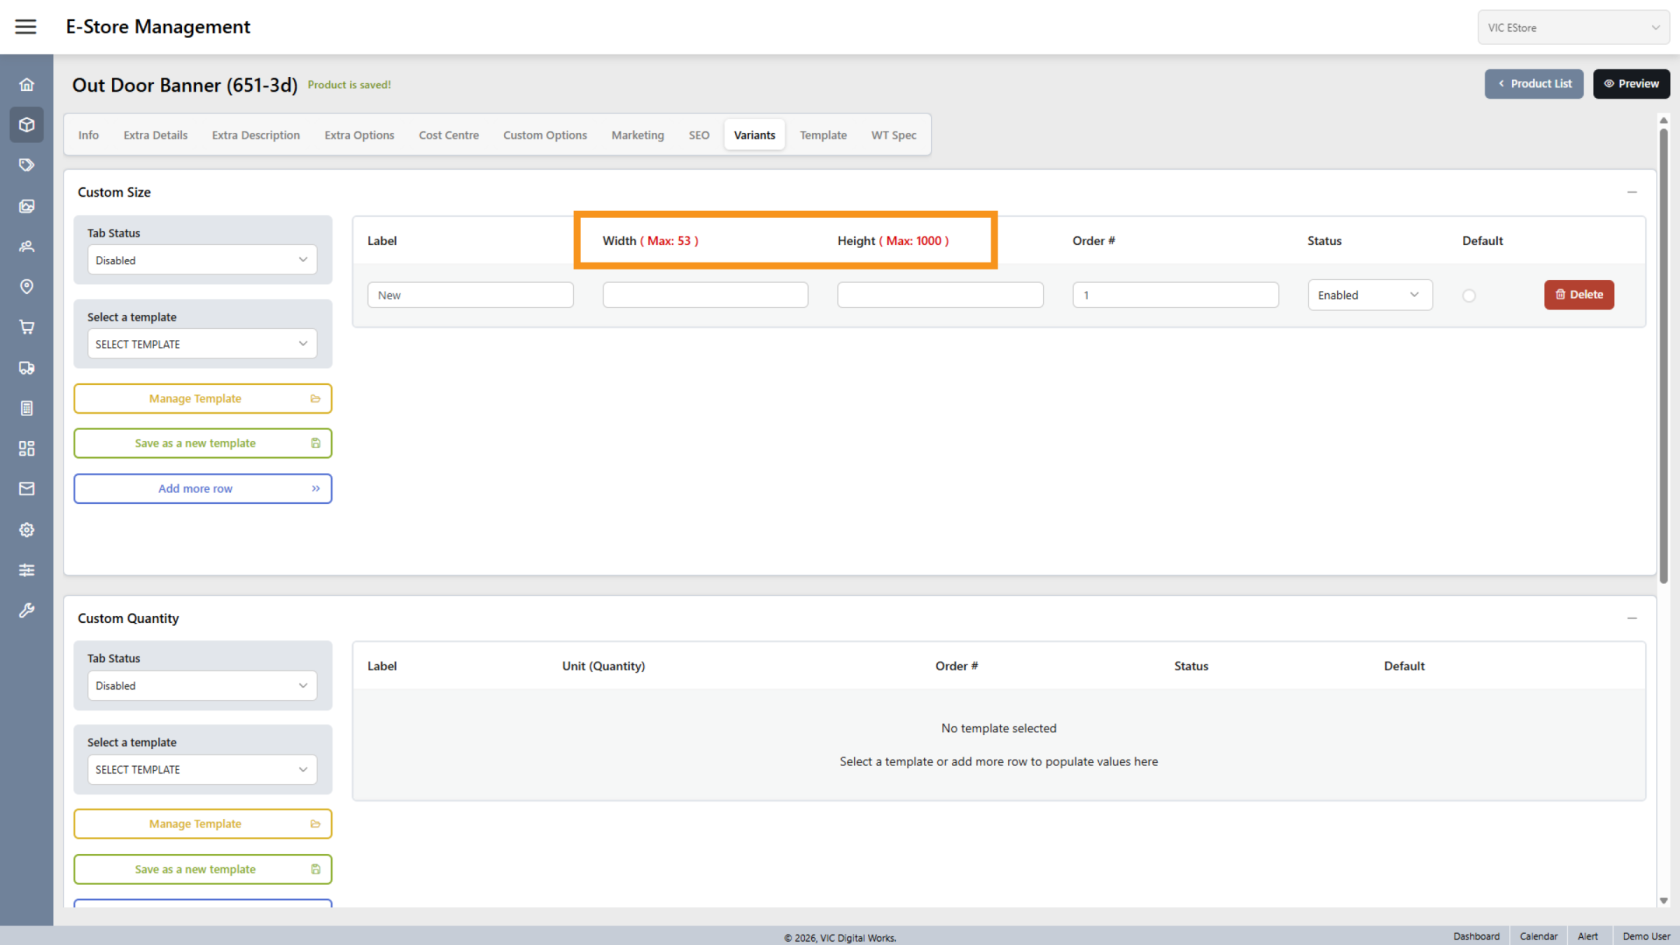
4. Maximum Dimensions
The product’s maximum width and height are based on earlier product settings.
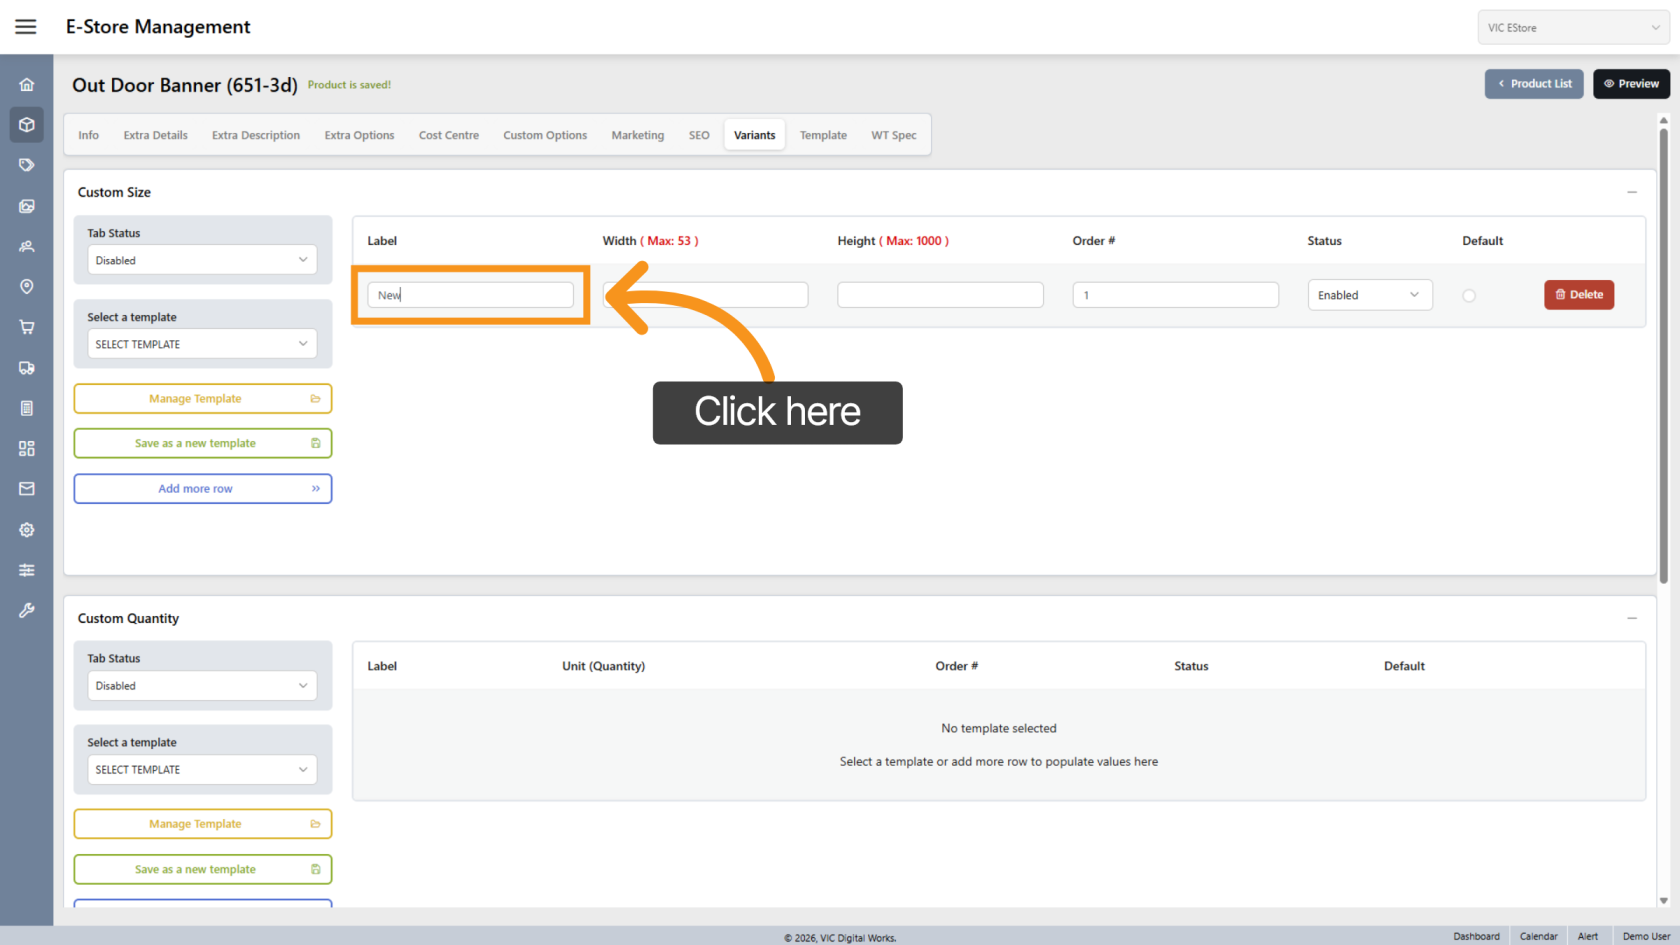
5. Enter Size Label
Click Label to name the size
6. Enter Size Dimensions
Enter the width and height for the size.

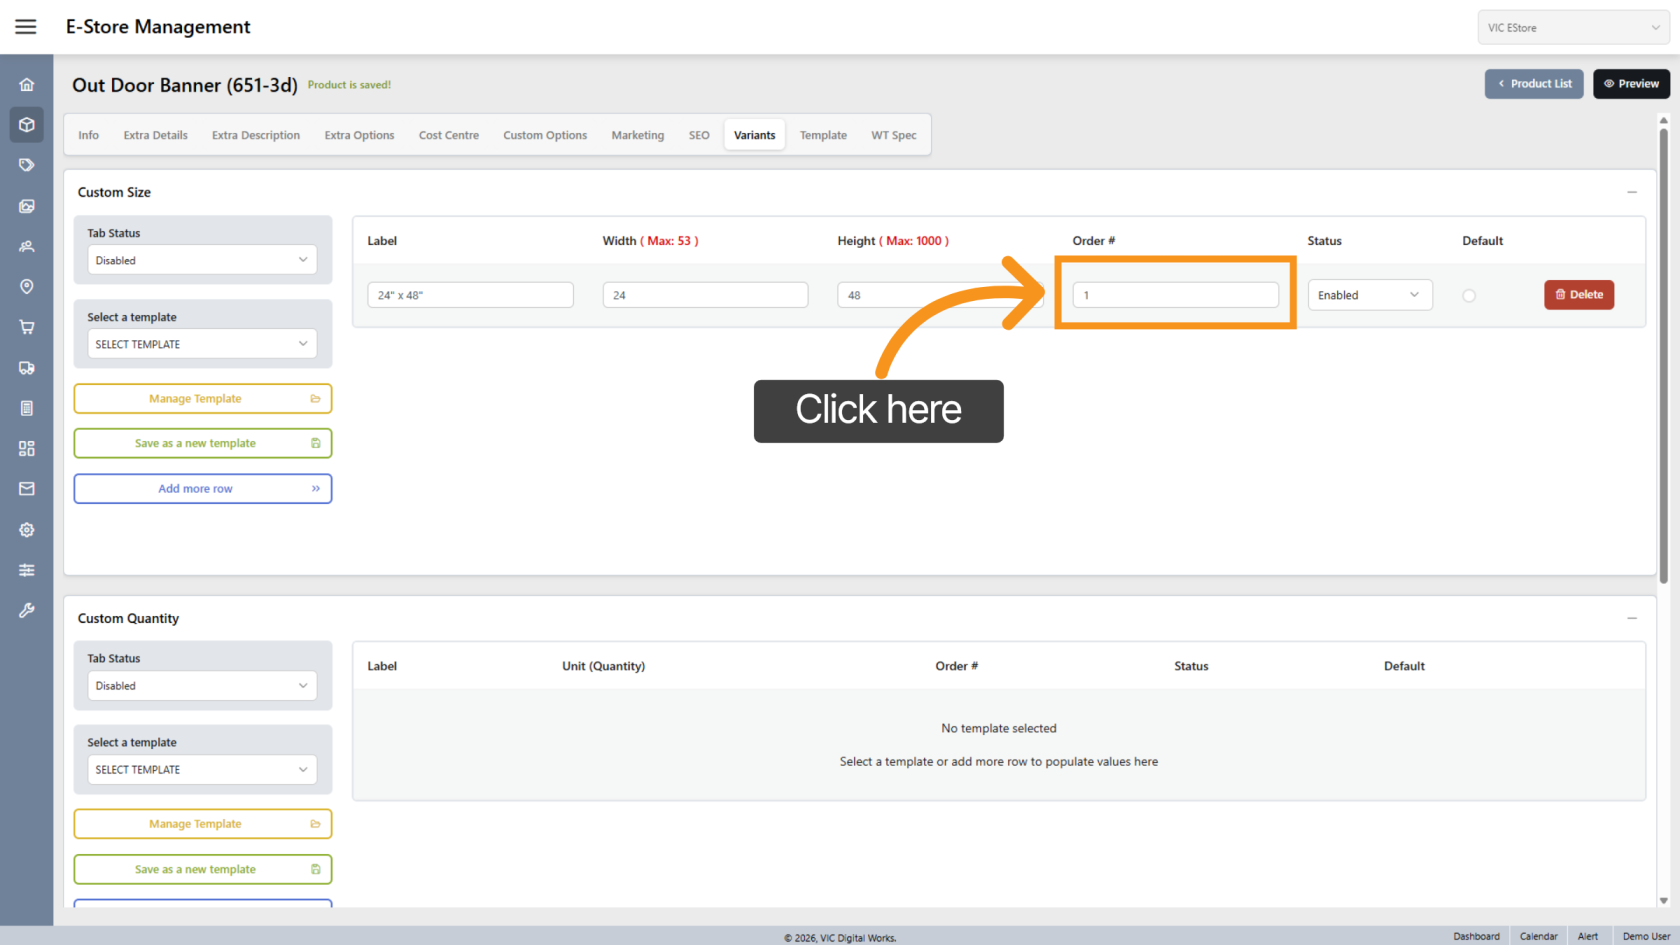
7. Reorder Size Lines
The system auto-sorts sizes, but you can adjust the order.
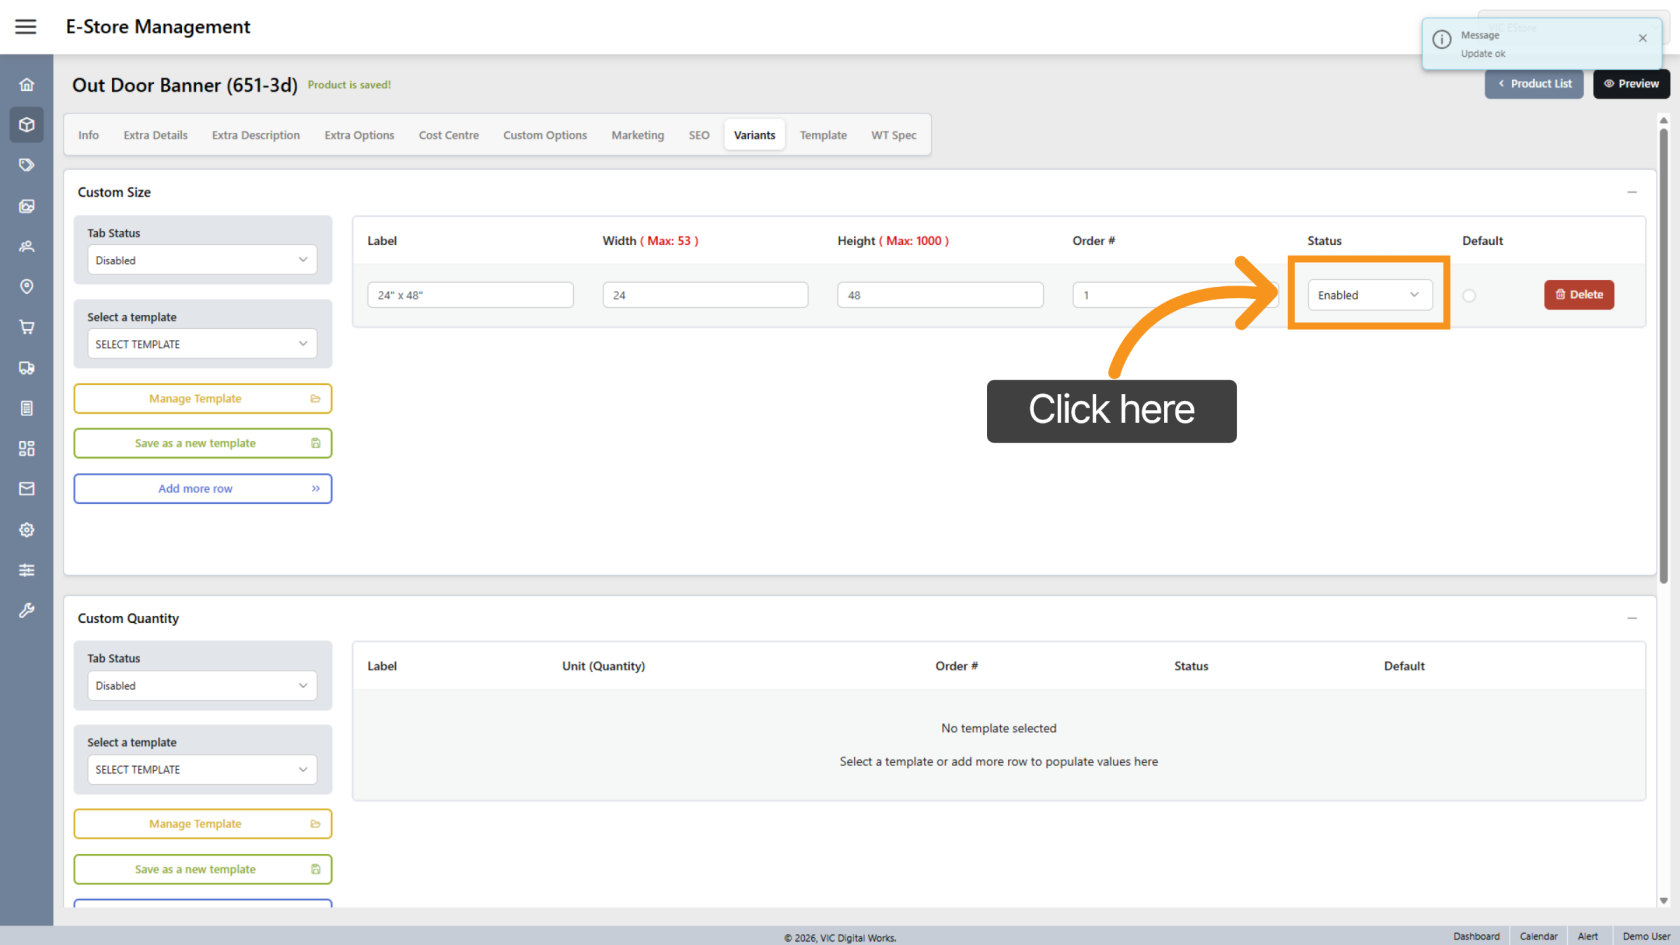
8. Enable or Disable Size
Use the Status toggle to activate or deactivate the size.
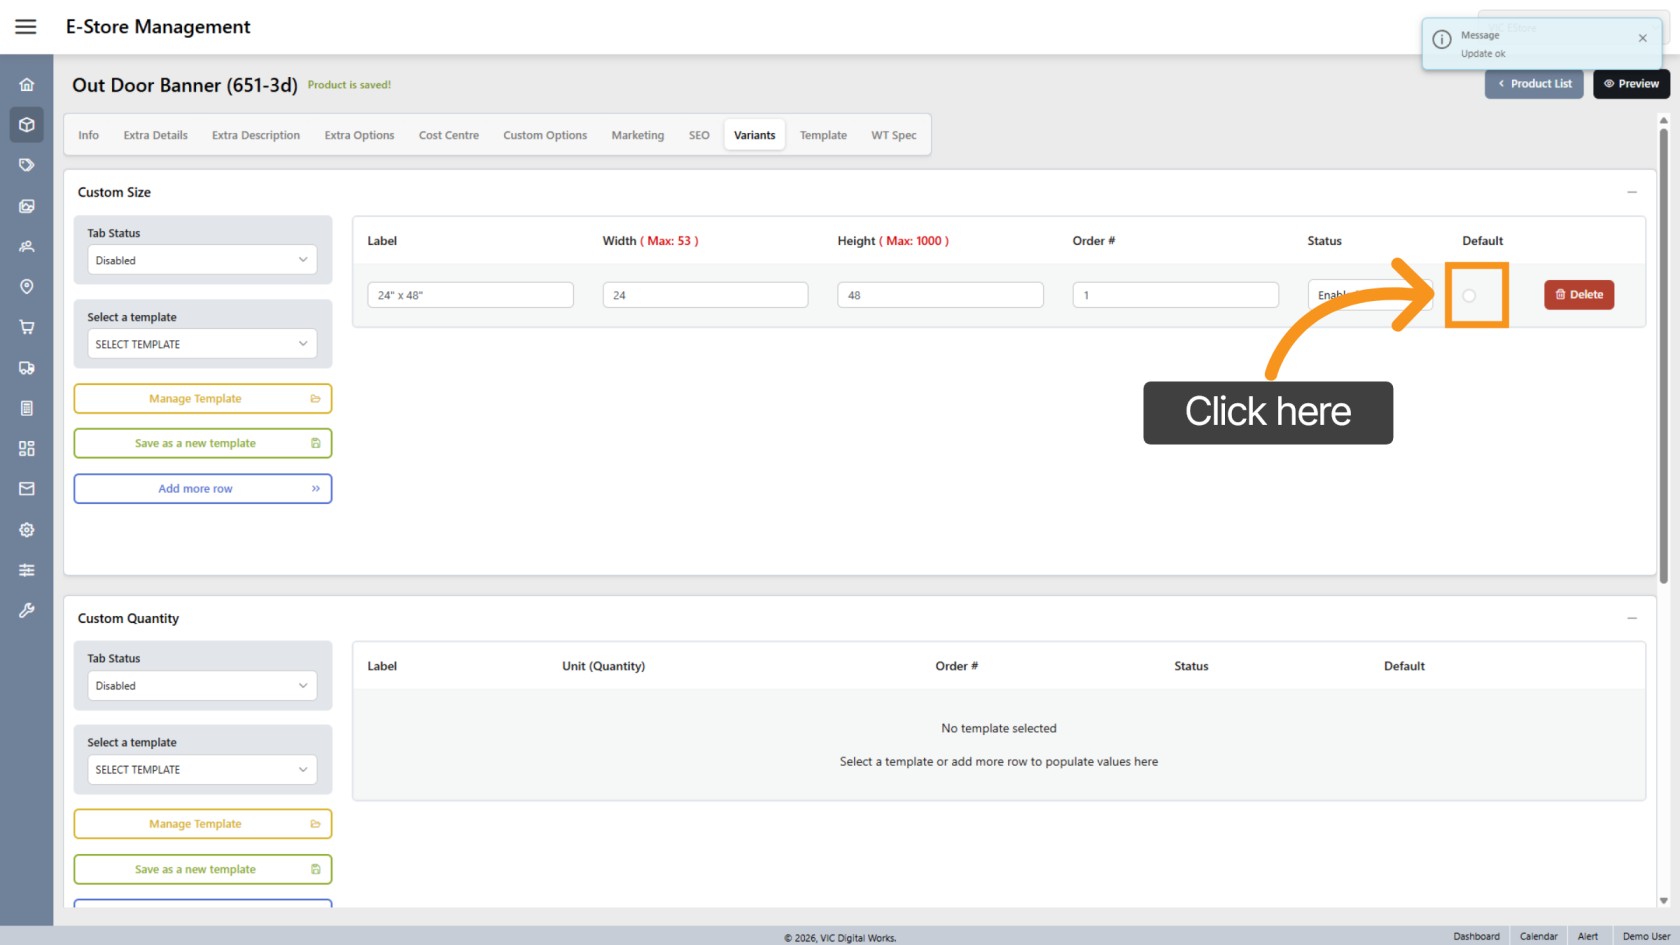
9. Set Default Size
Click Default to make this the pre-selected size.
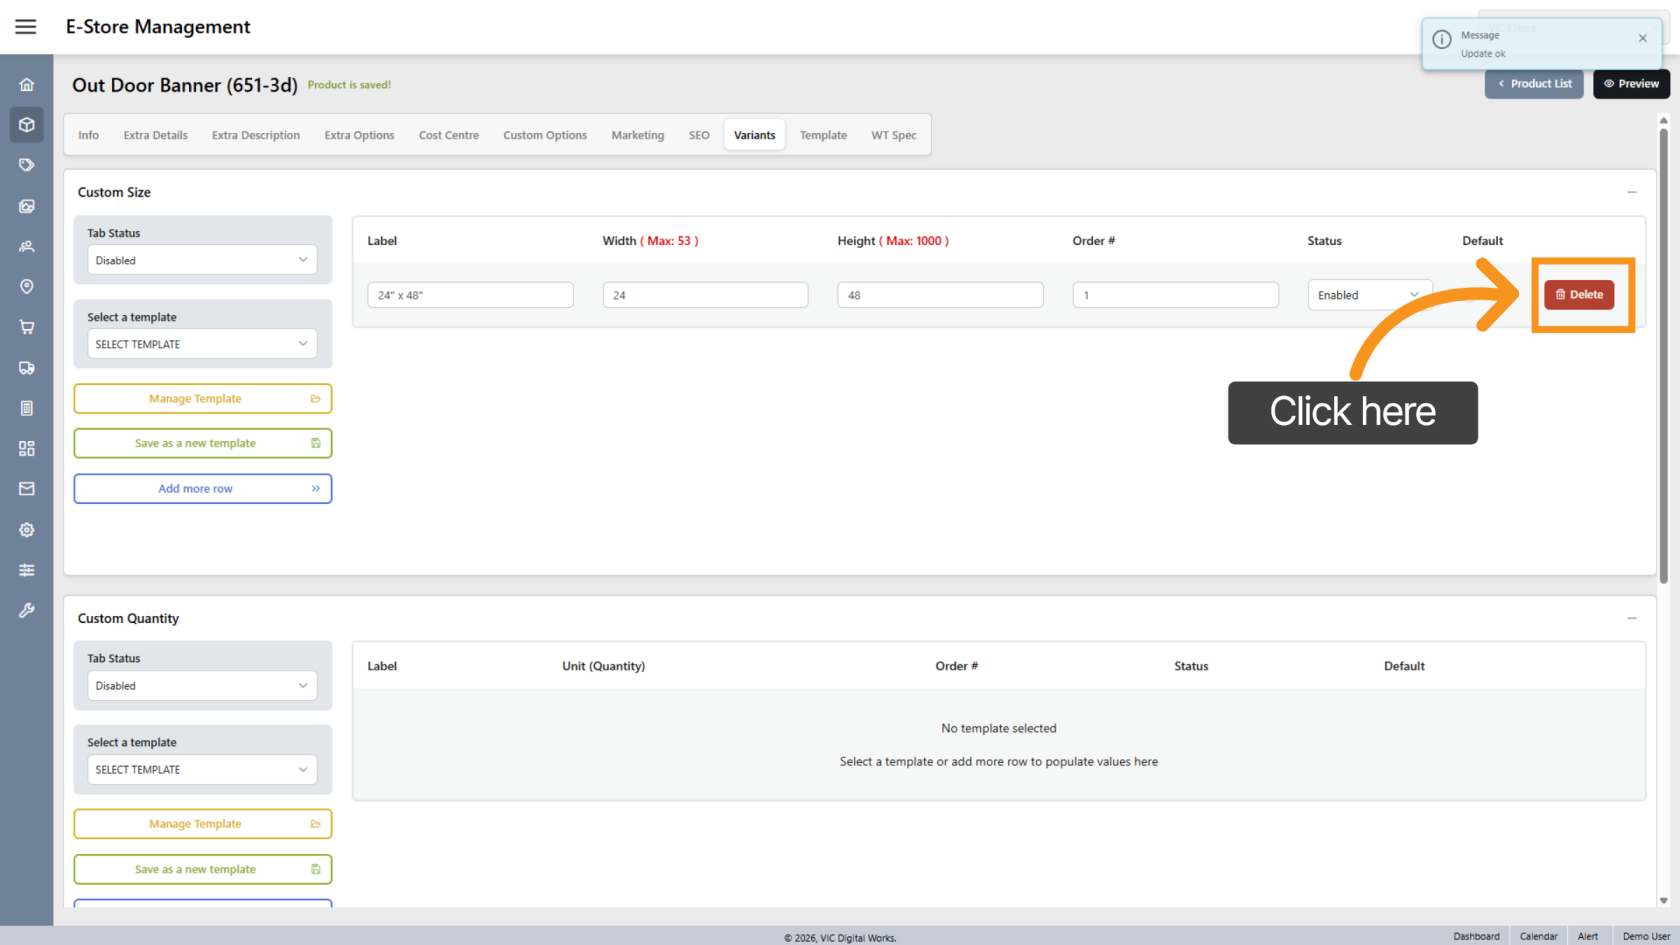
10. Delete Size
Click the delete button to remove a size.
11. Add Additional Sizes
Click "Add more row" to create more size options.

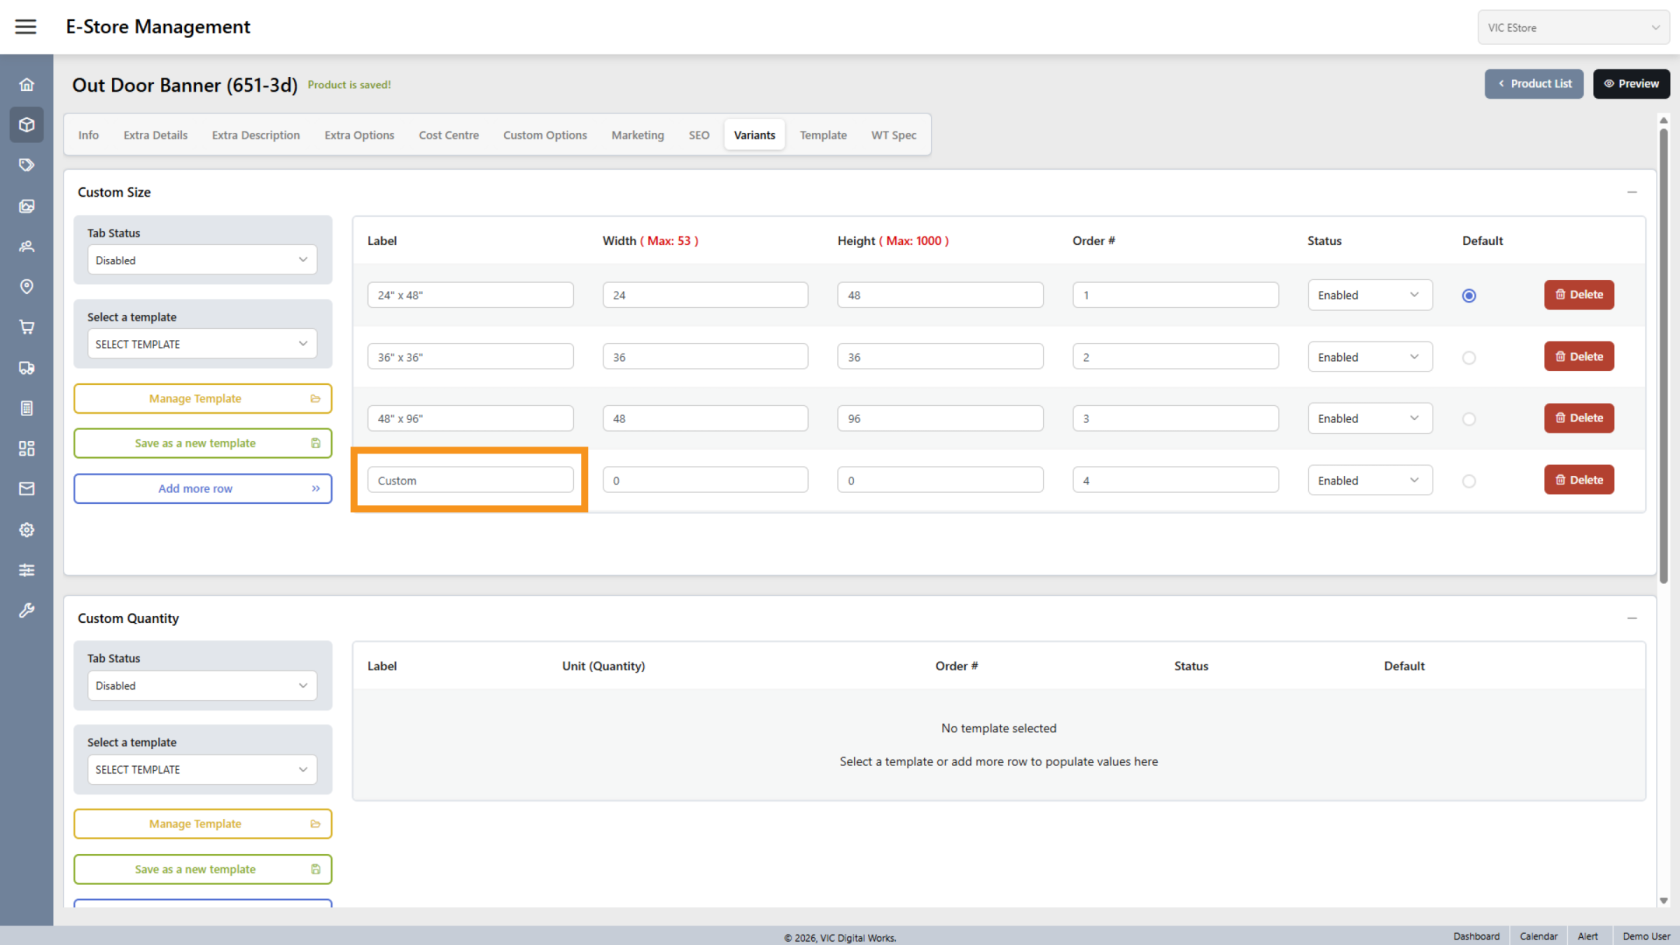
12. Allow Custom Size
Set the label as Custom if customers can enter their own size.
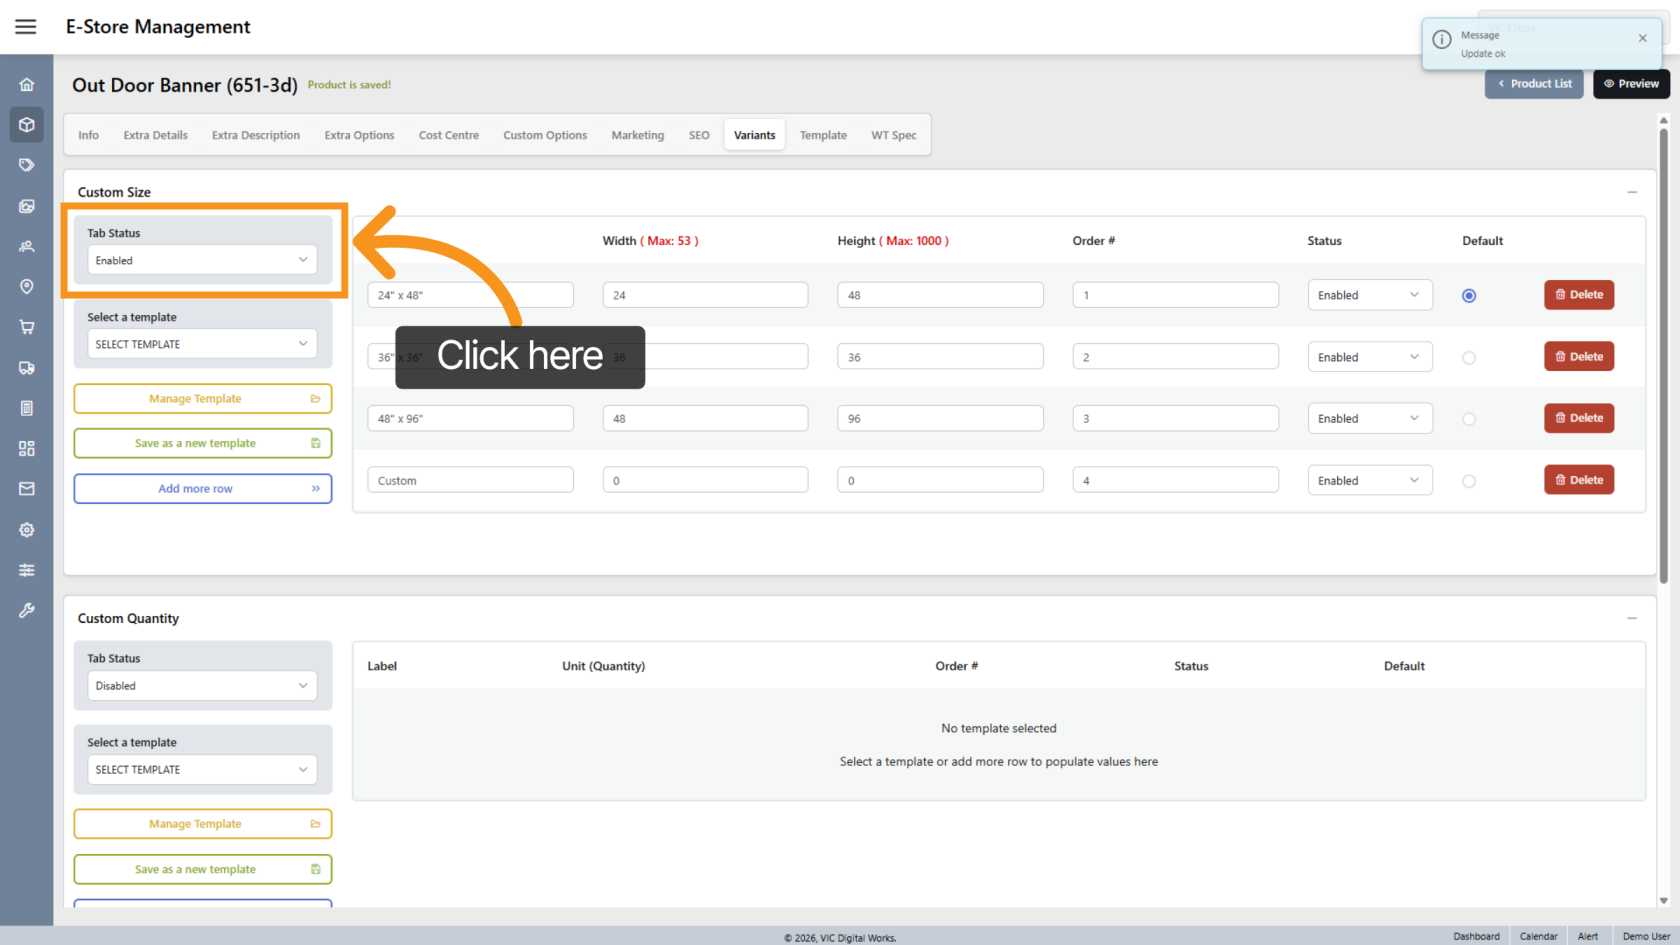
13. Enable Size Tab
Turn the Tab Status to Enabled to apply size options to the store.
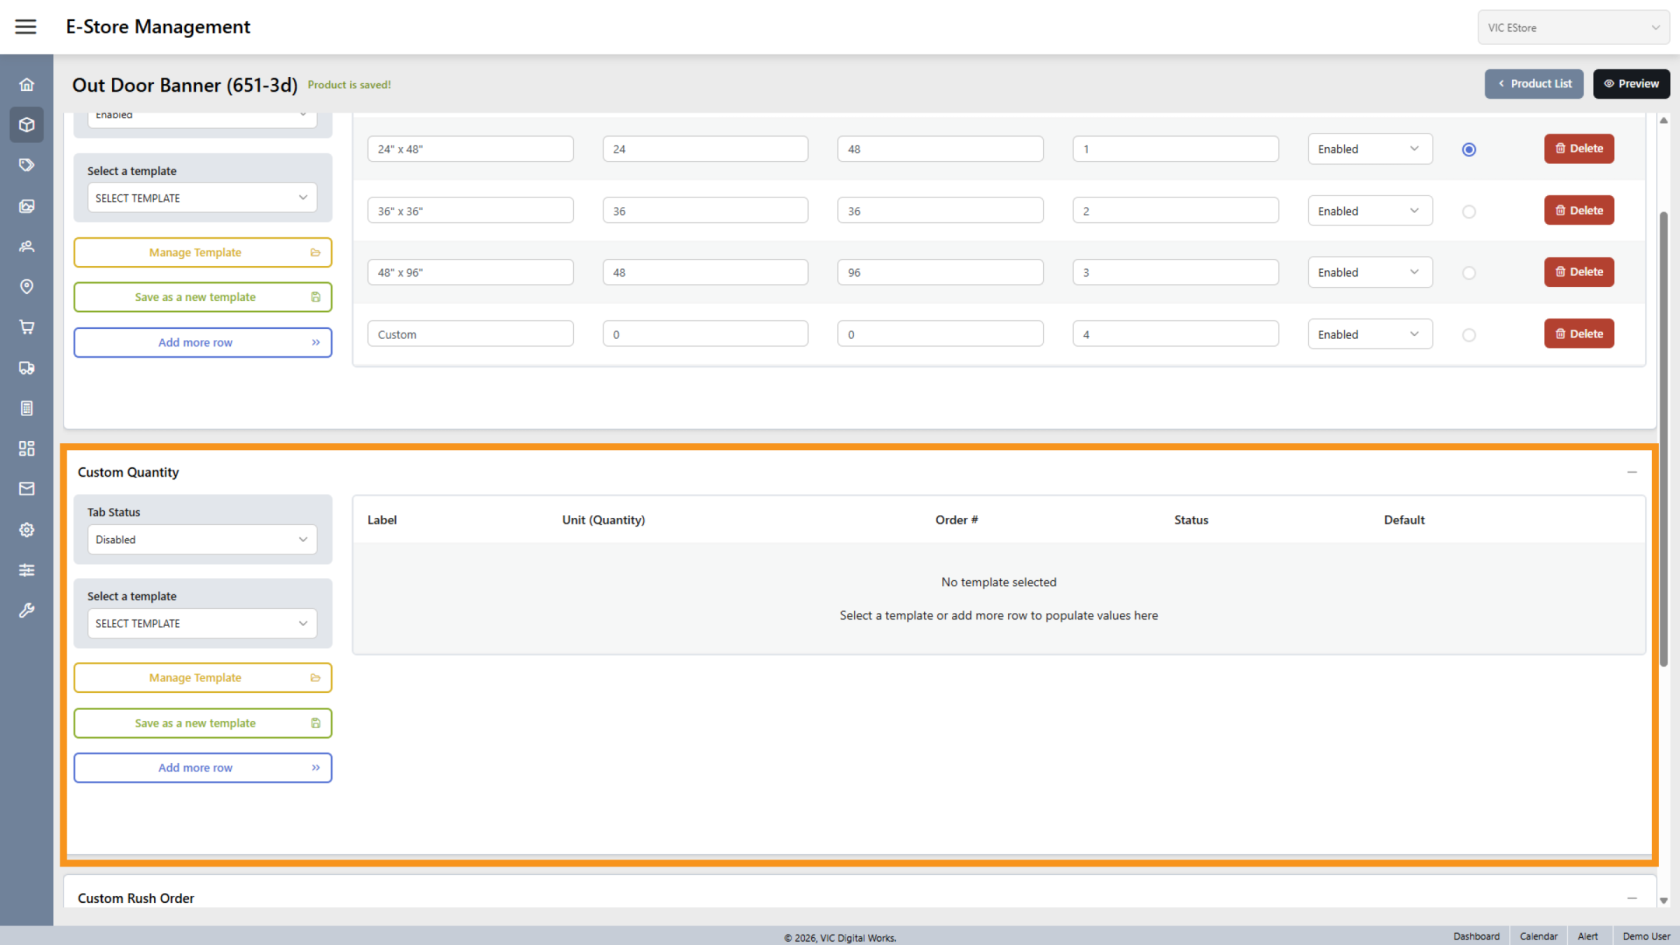
14. Custom Quantity Section
The Custom Quantity section allows quick-select quantity options.
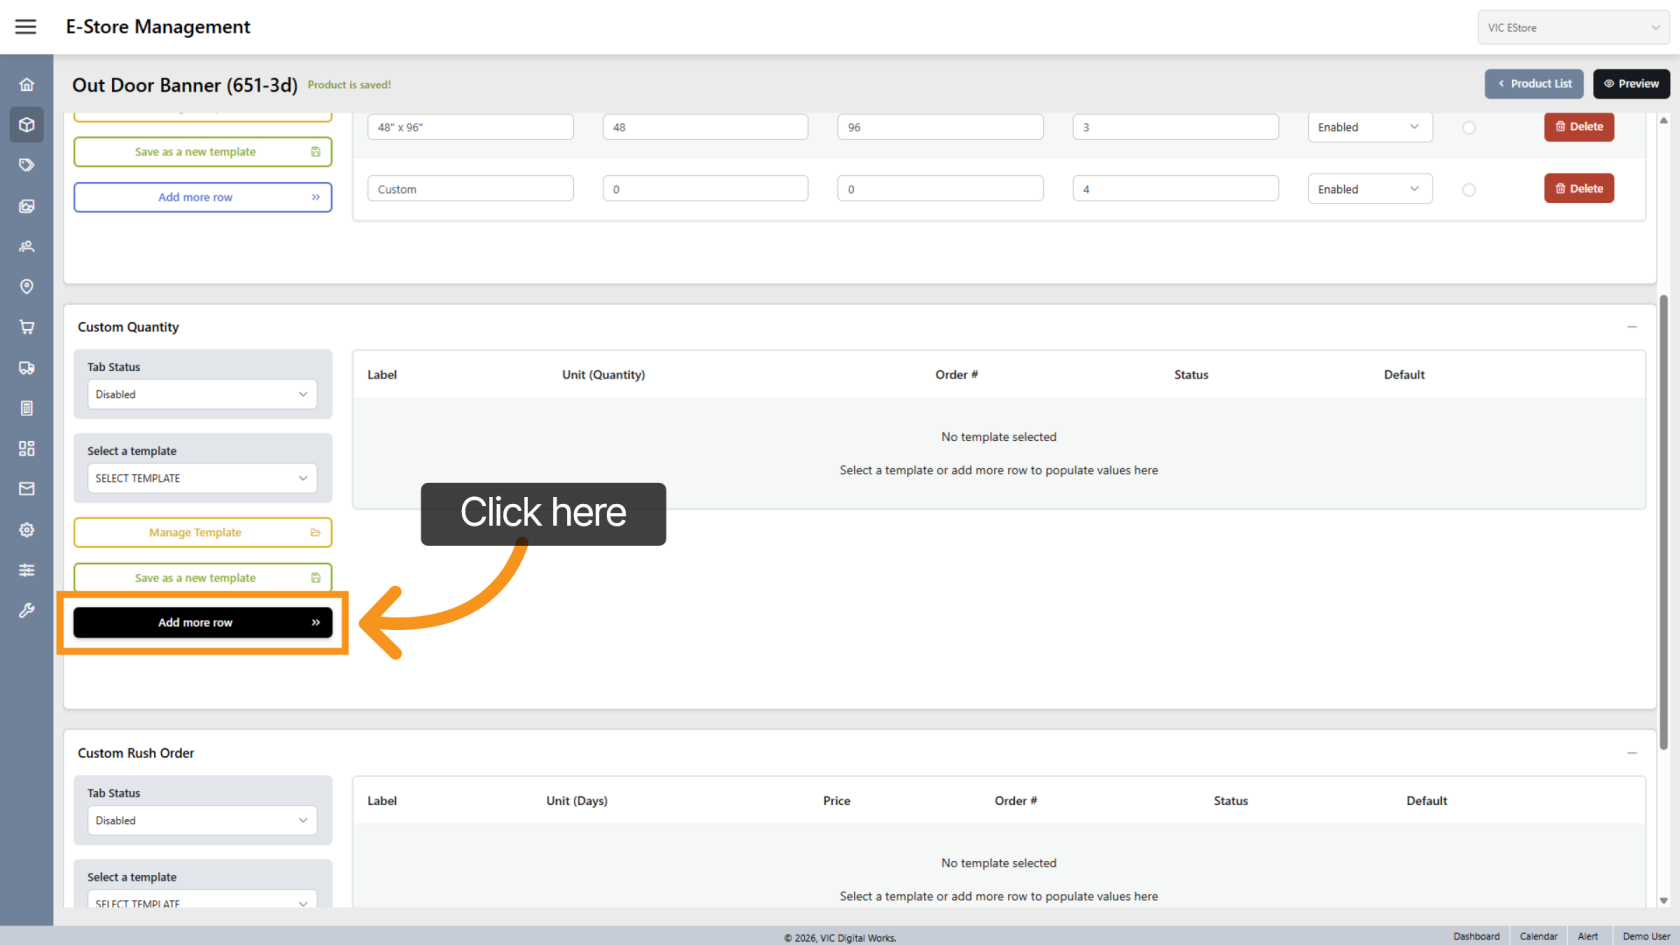
15. Add Quantity Row
Click "Add more row" to create a new quantity option.
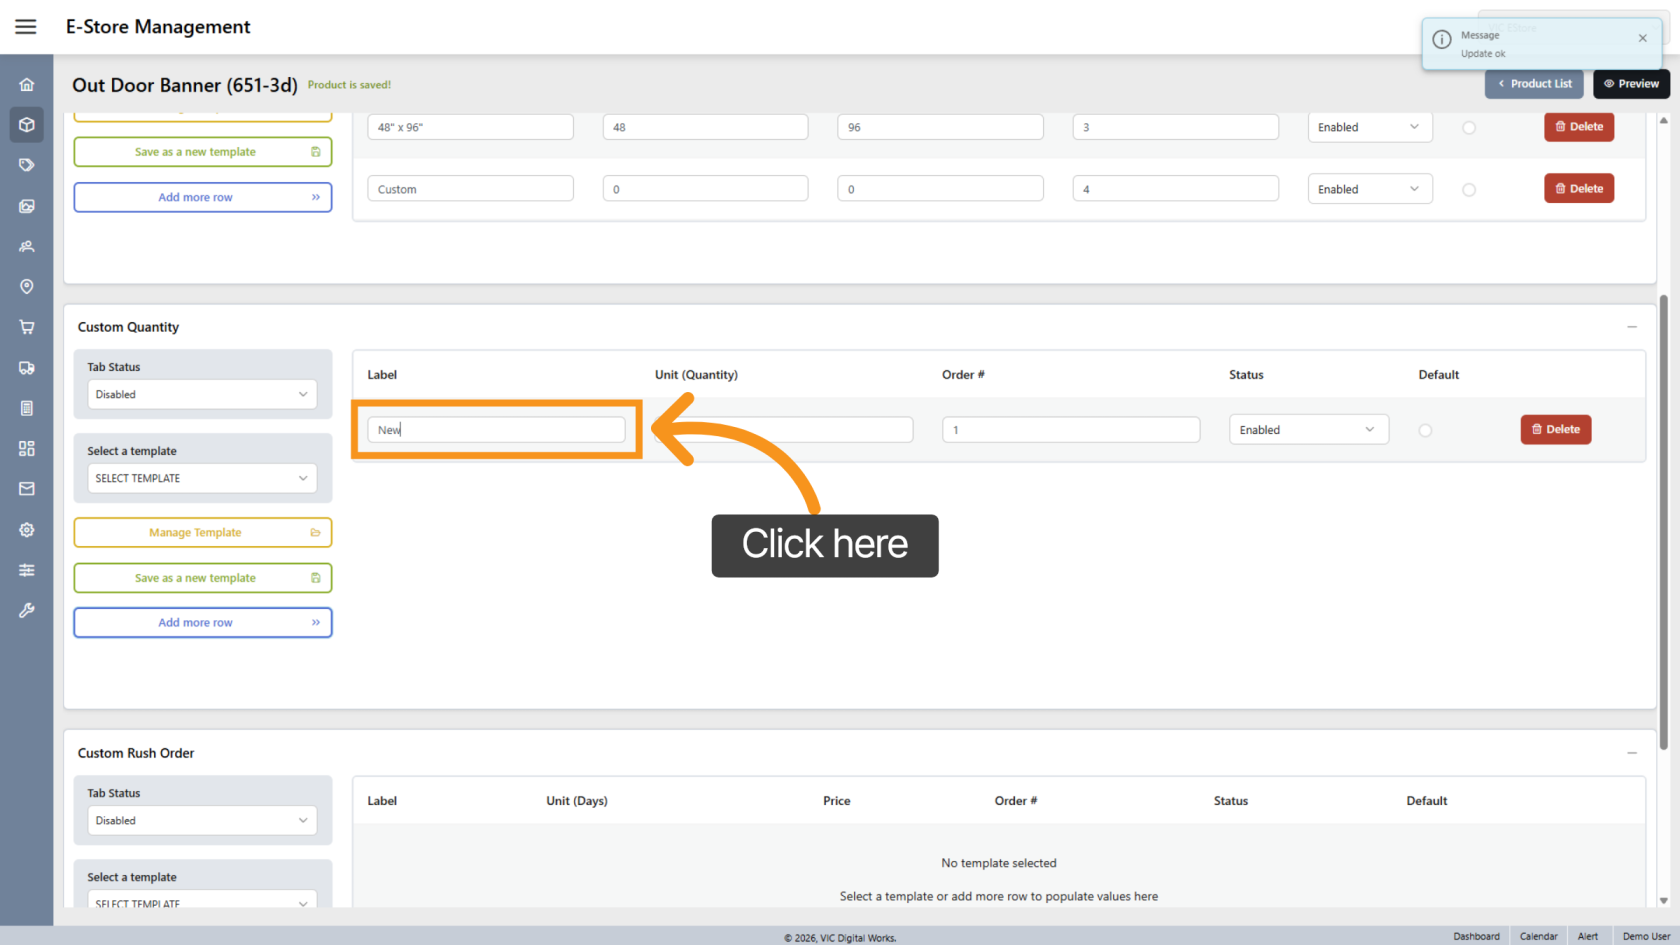
16. Enter Quantity Label
Click Label to define the quantity name.
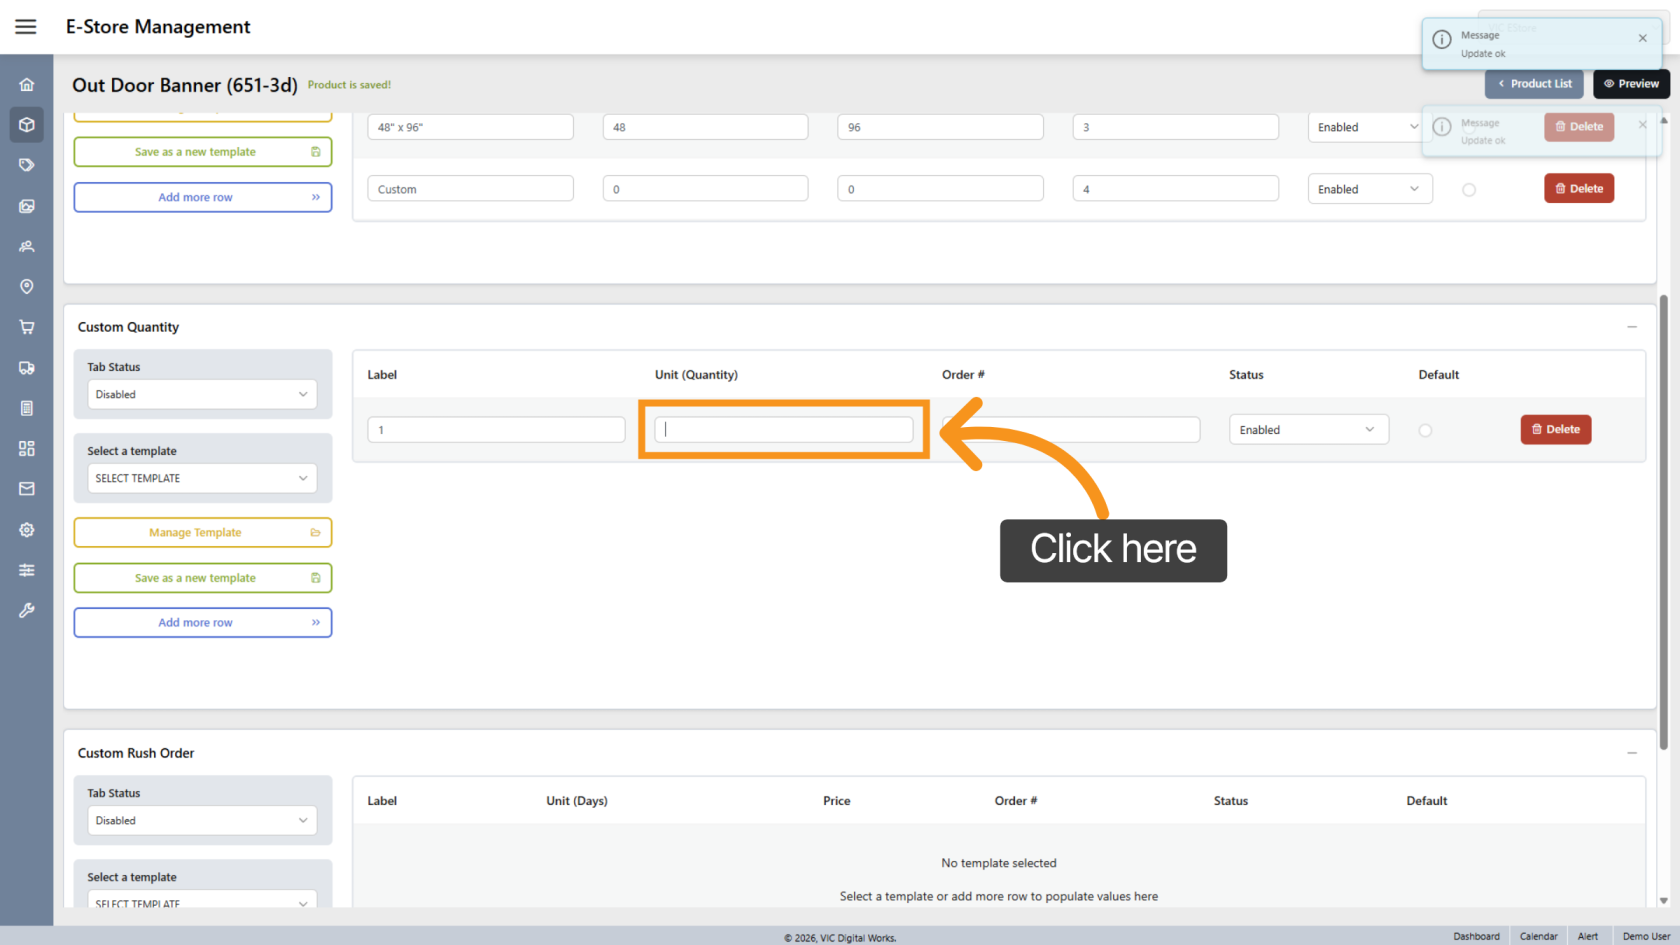
17. Enter Quantity Number
Enter the matching quantity value.
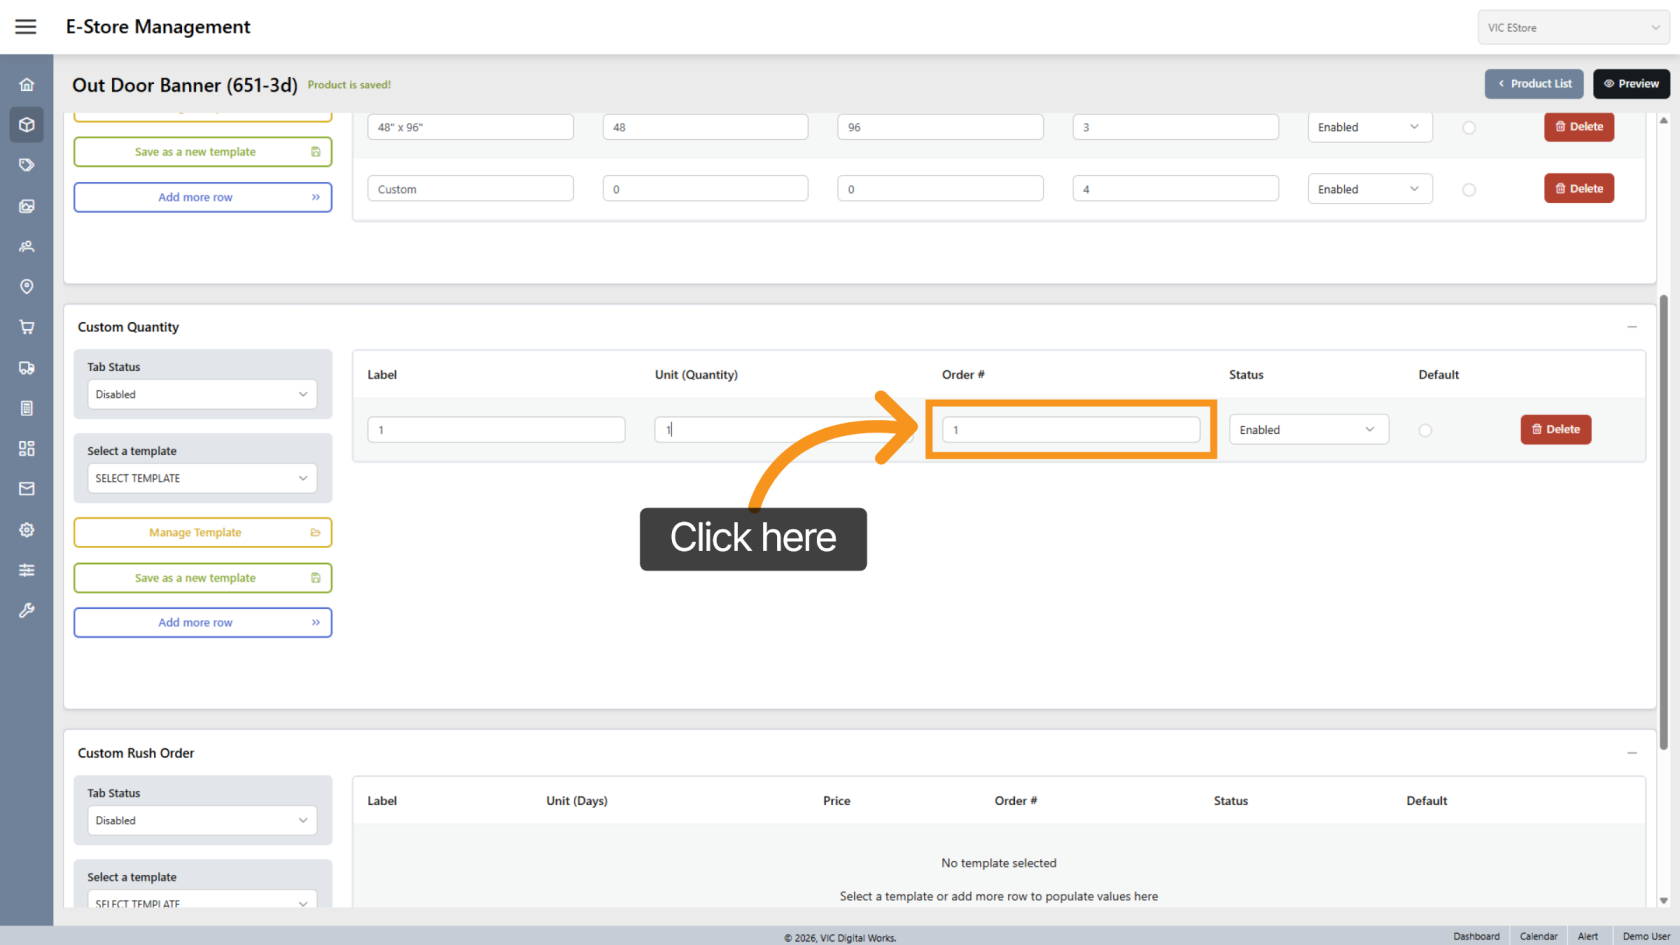
18. Reorder Quantity Lines
Adjust the display order if needed.
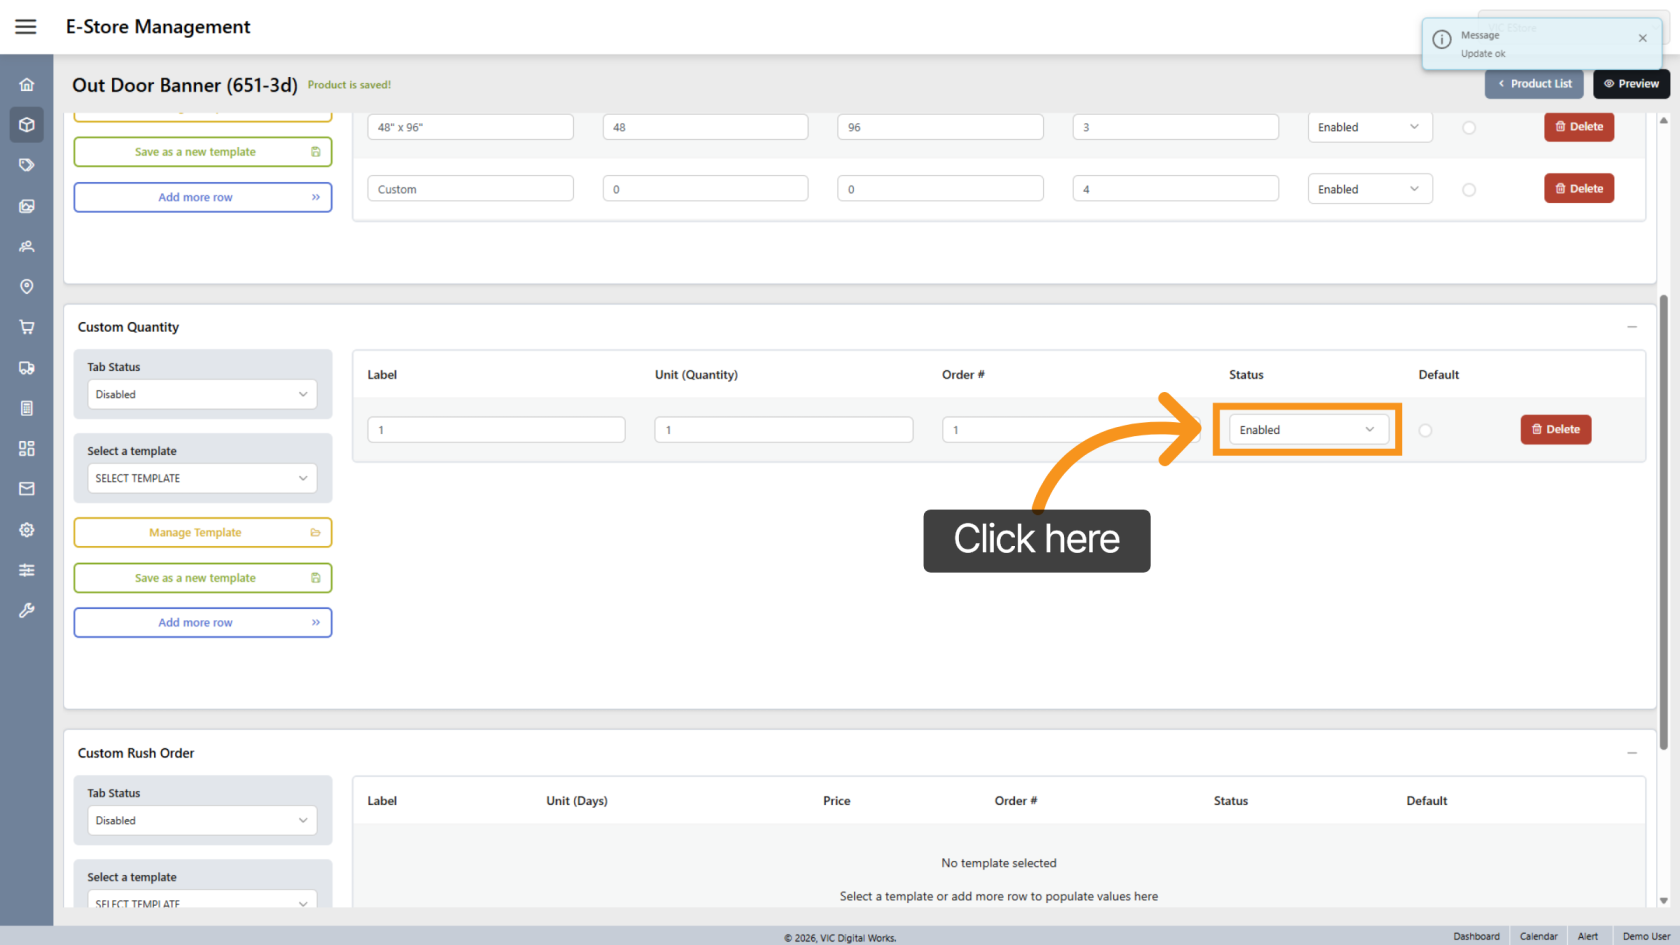
19. Enable or Disable Quantity
Use Status to activate or deactivate the quantity.
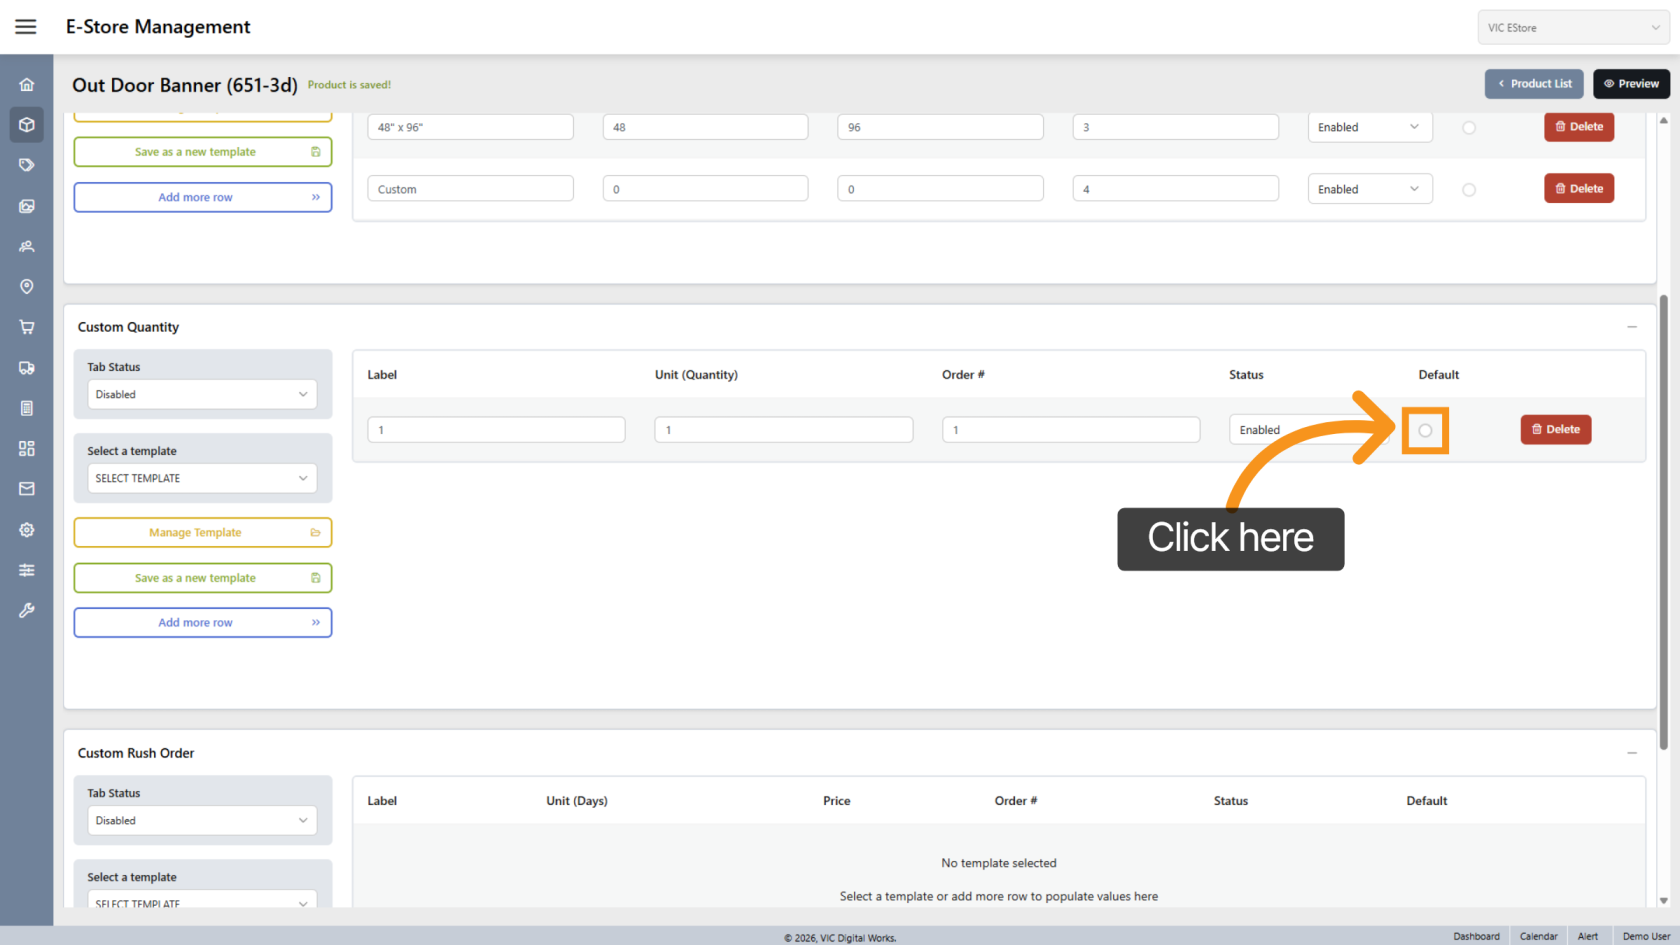
20. Set Default Quantity
Click Default to make it the standard selection.
21. Add More Quantities
Click "Add more row" to continue adding variant quantity entries.

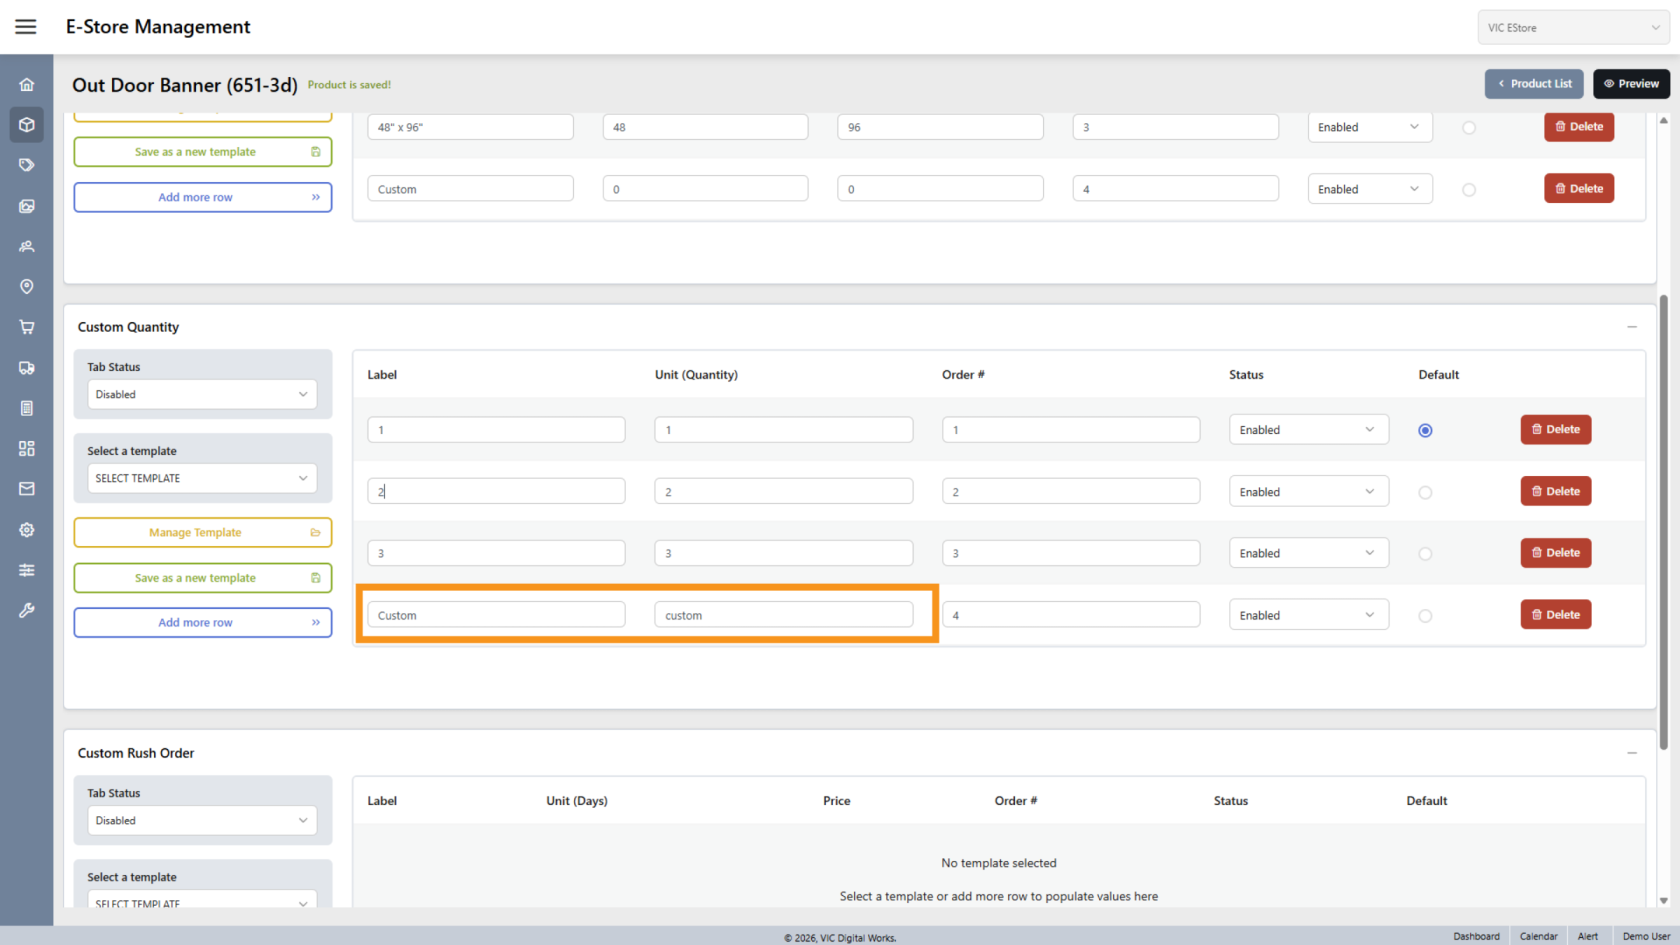
22. Allow Custom Quantity
Set the label and unit as Custom to allow customer input.
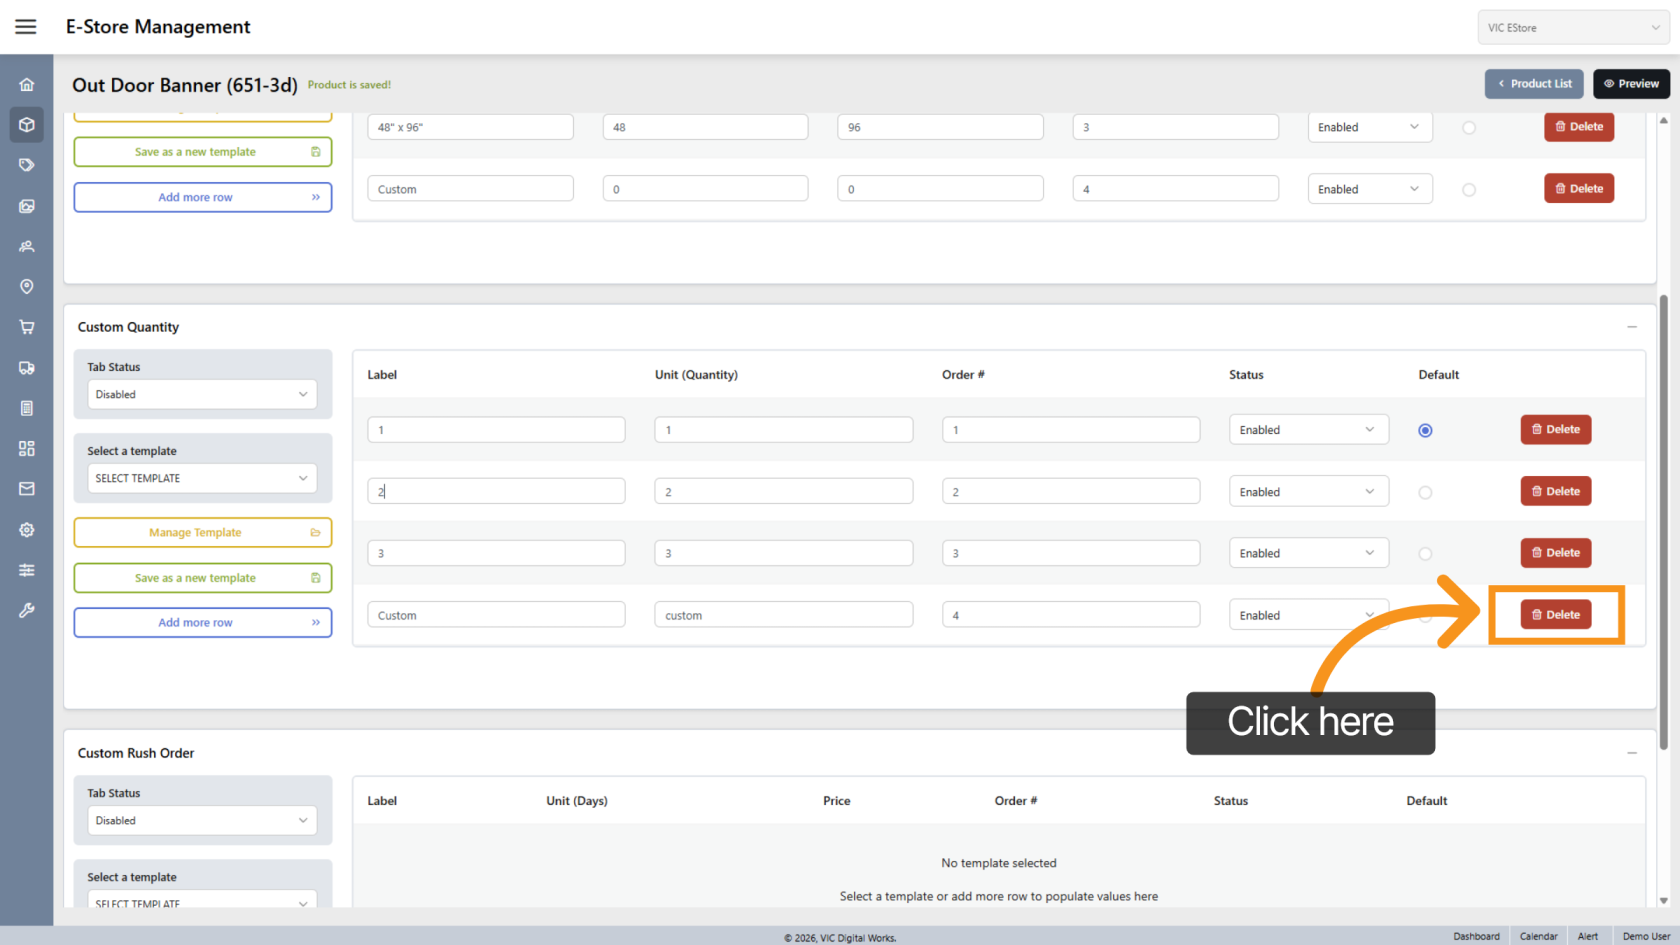
23. Delete Quantity
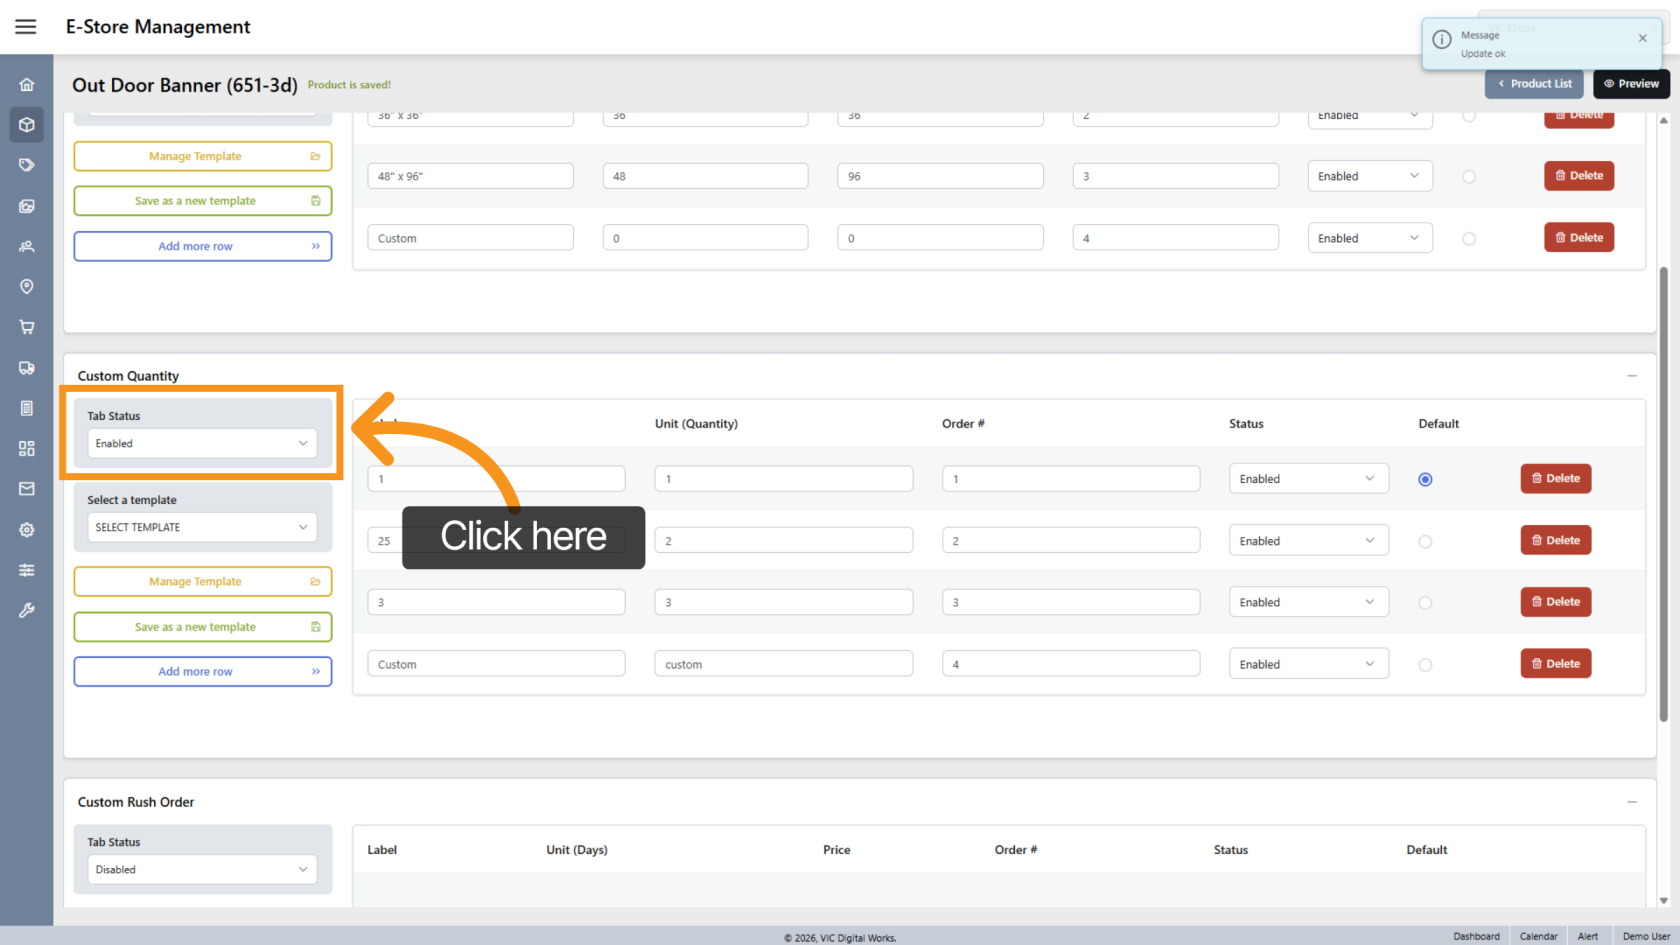
24. Enable Quantity Tab
Turn Tab Status to Enabled to apply quantity settings to the store.
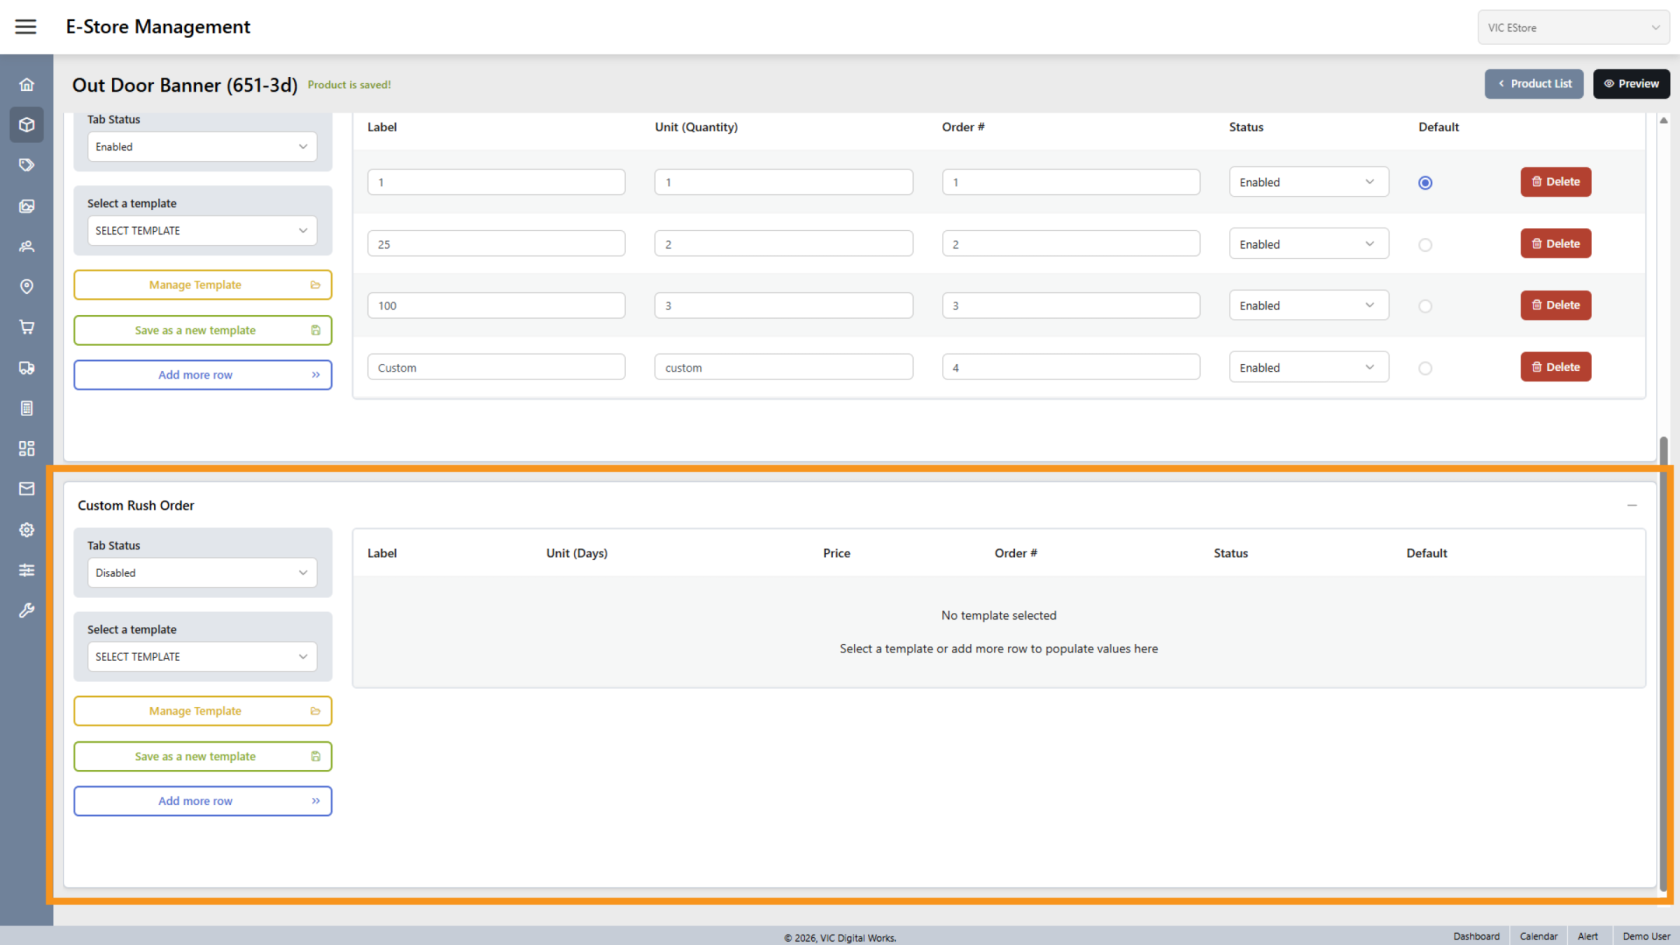
25. Custom Rush Order Settings
Rush Order section allows price adjustments based on production turnaround time.
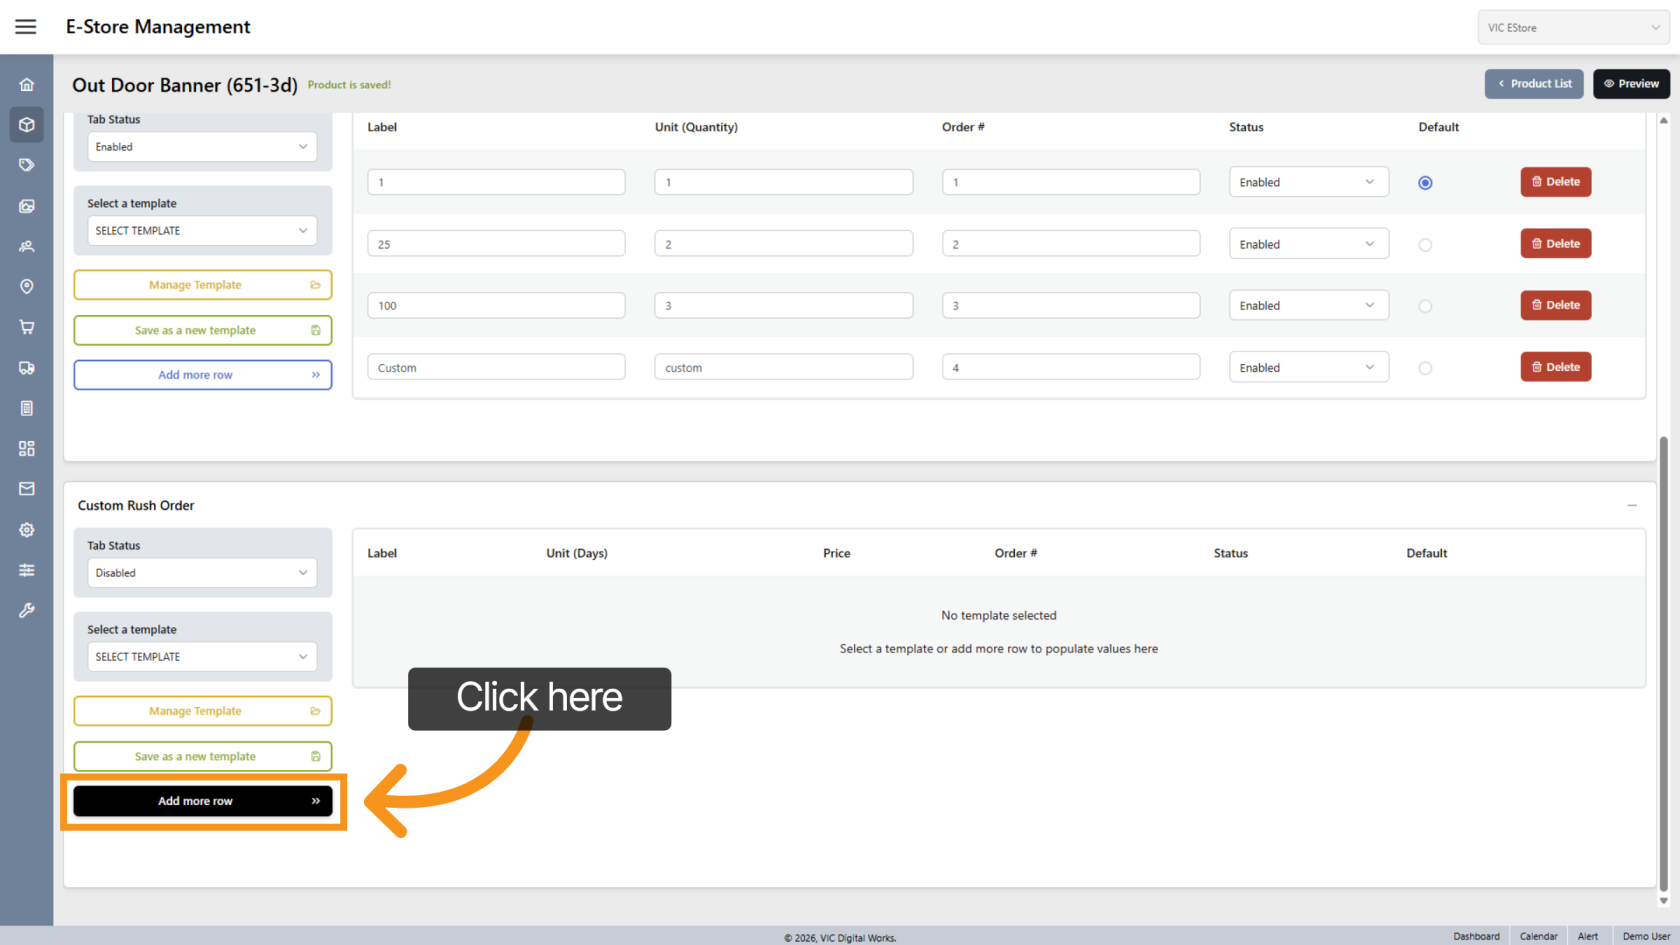
26. Add Rush Row
Click "Add more row" to create a rush option.
27. Enter Label
Define the rush label
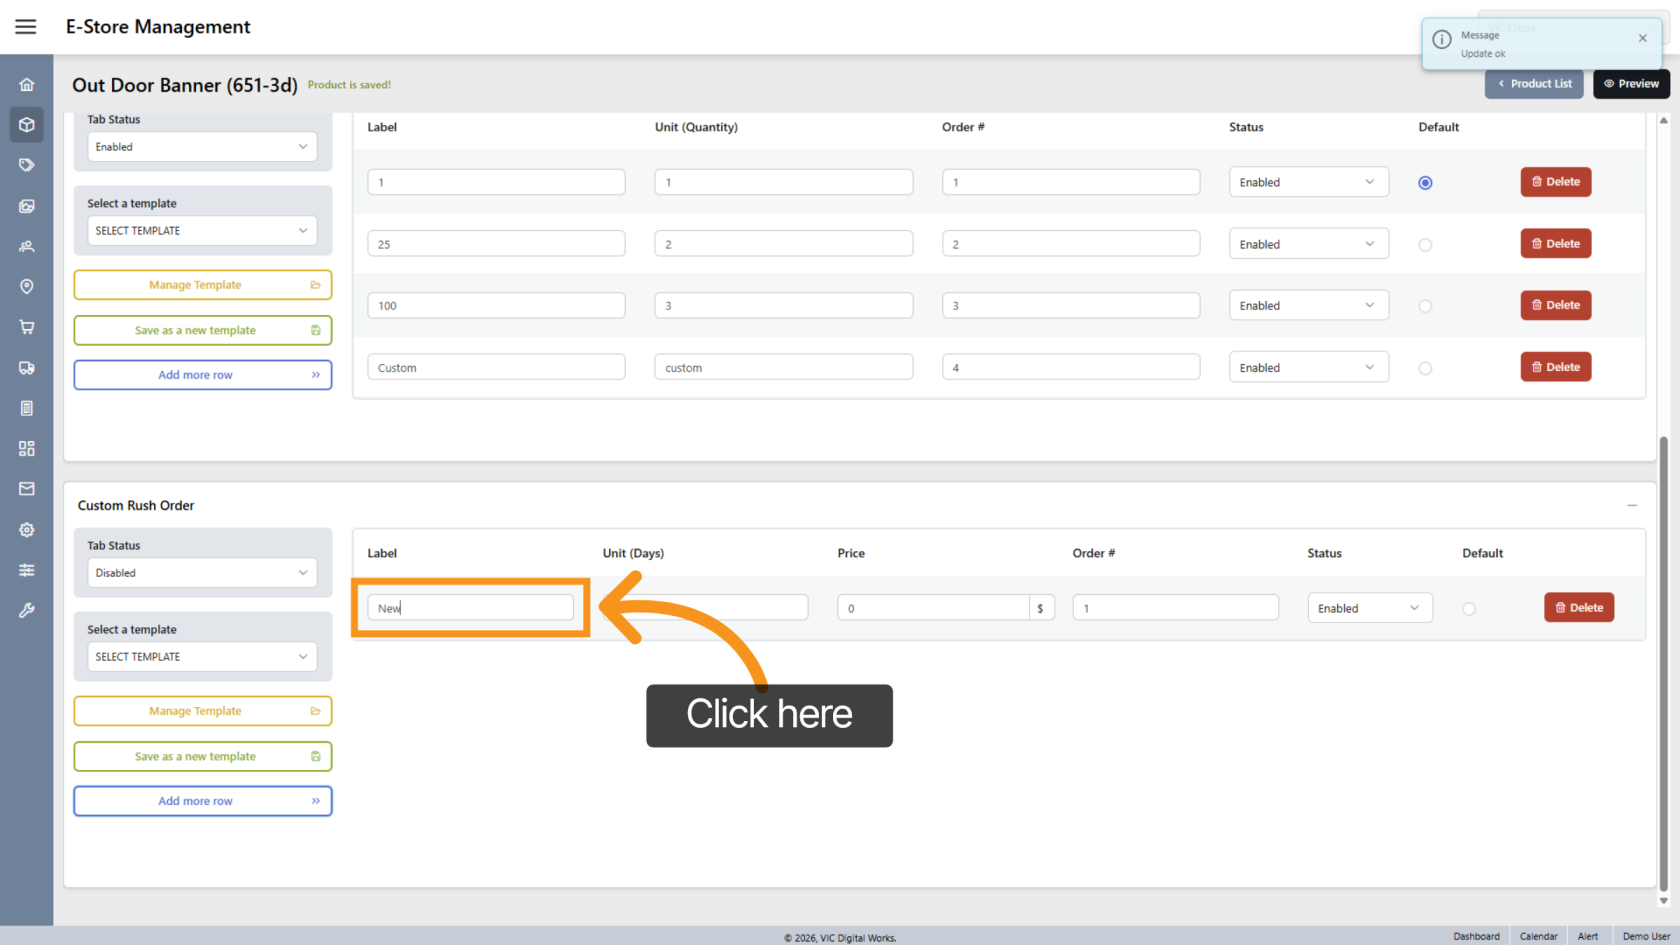
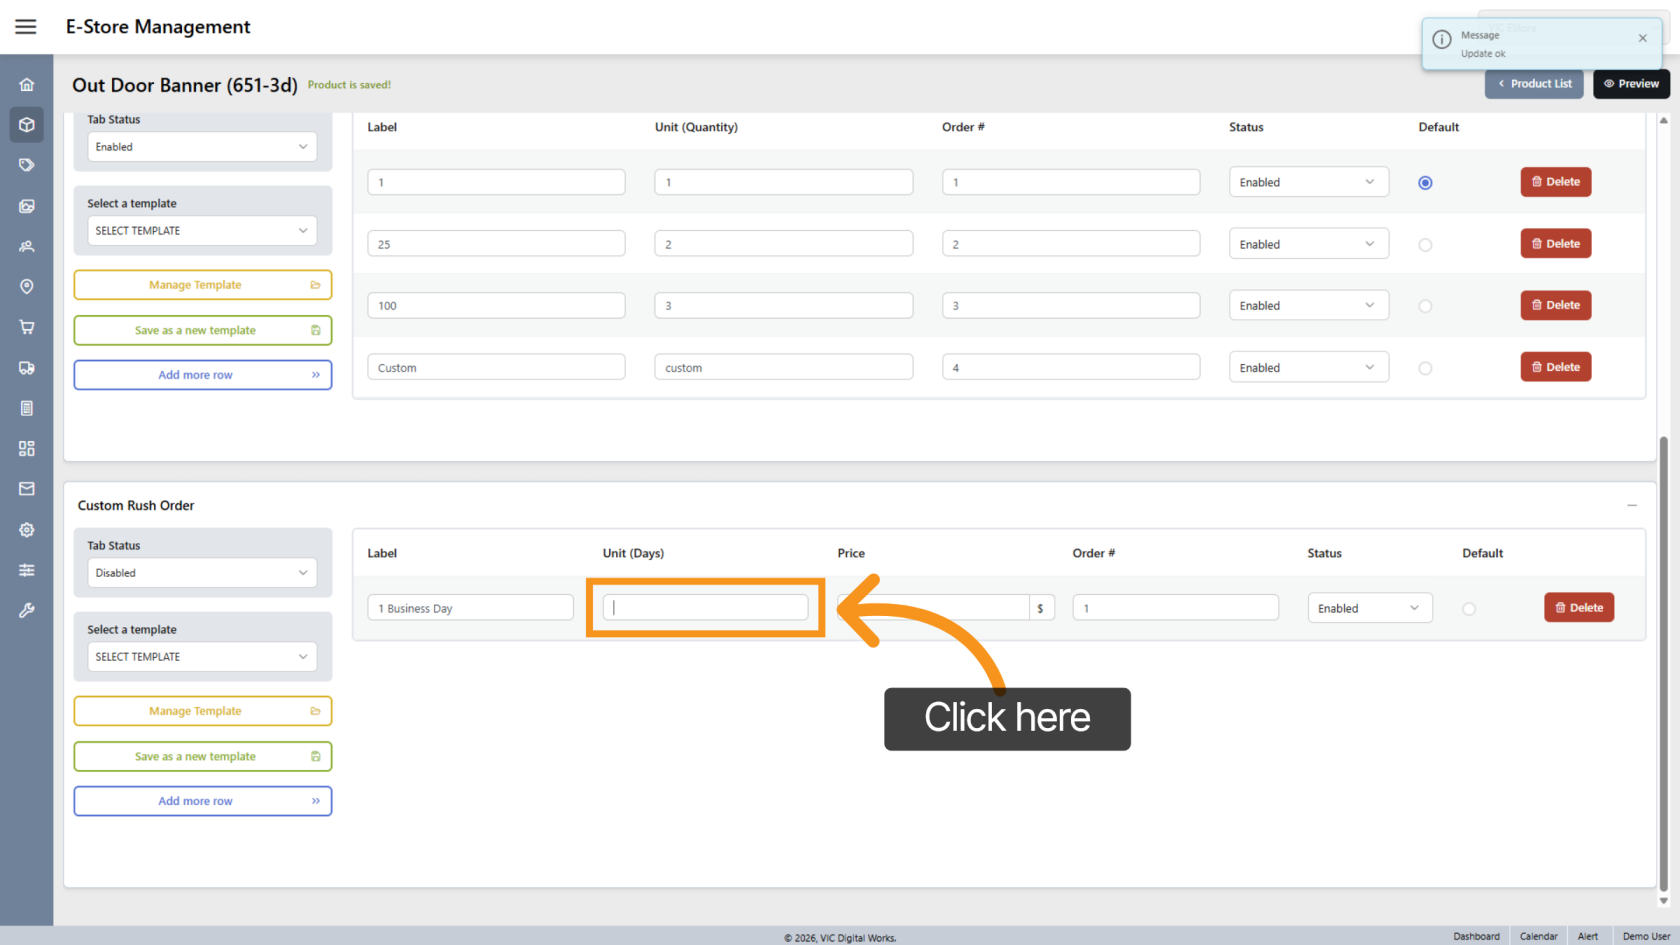
28. Enter Days
Enter the number of days associated with the label.
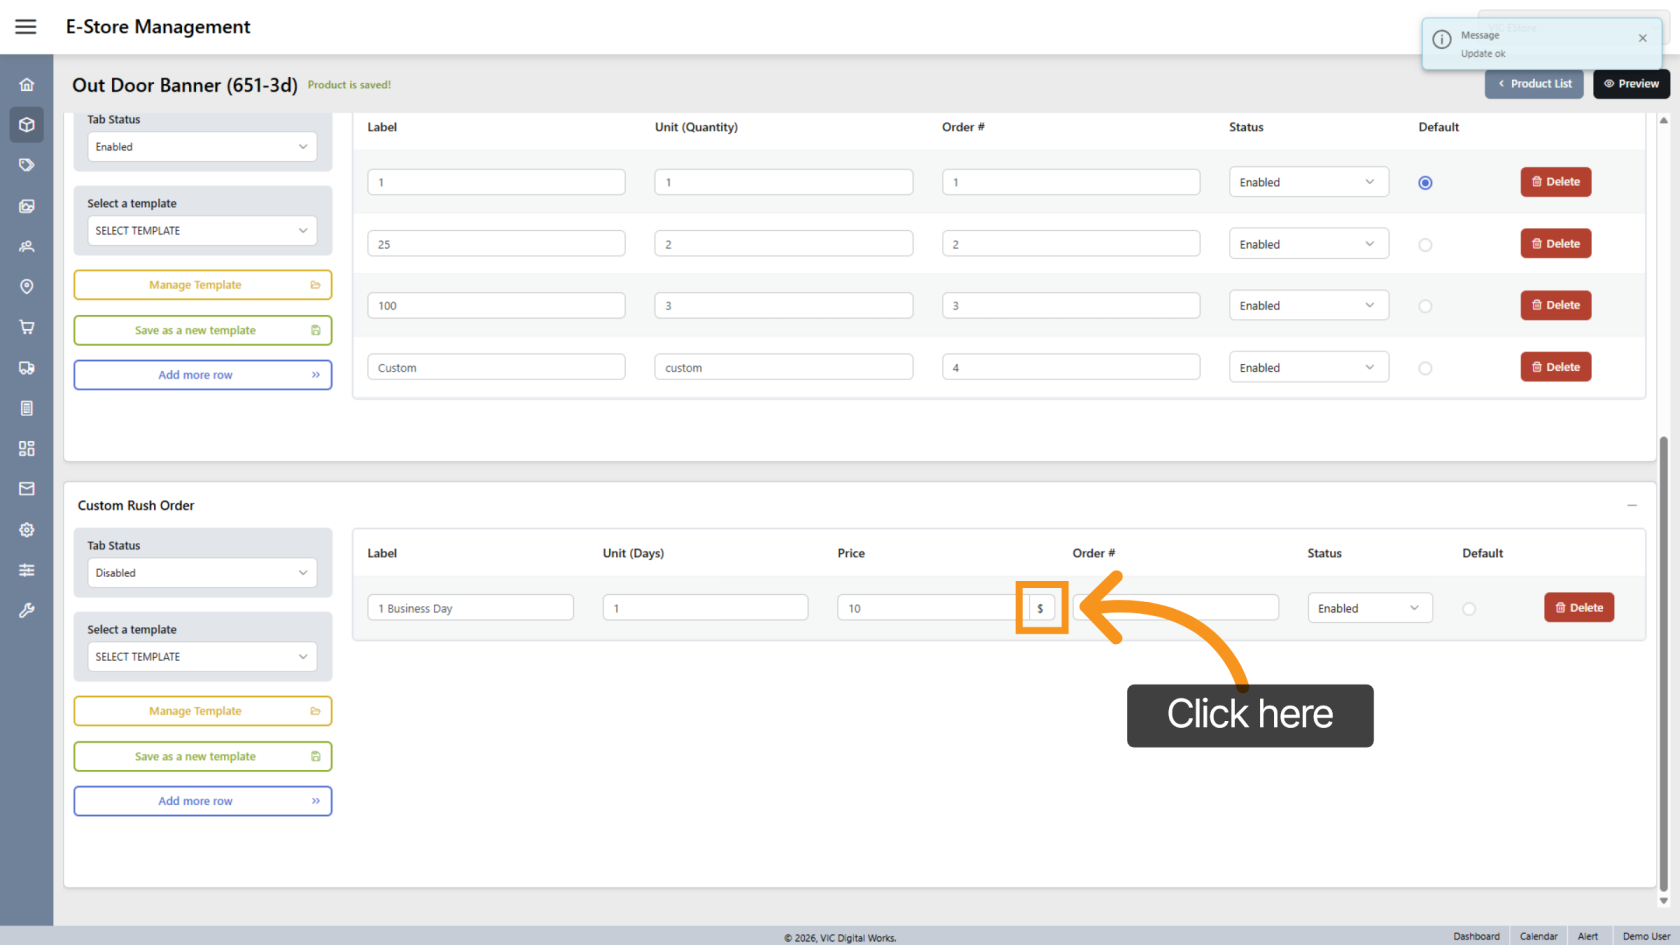
29. Select Adjustment Type
Choose whether pricing is adjusted by:
- Fixed amount ($)
- Percentage(%)
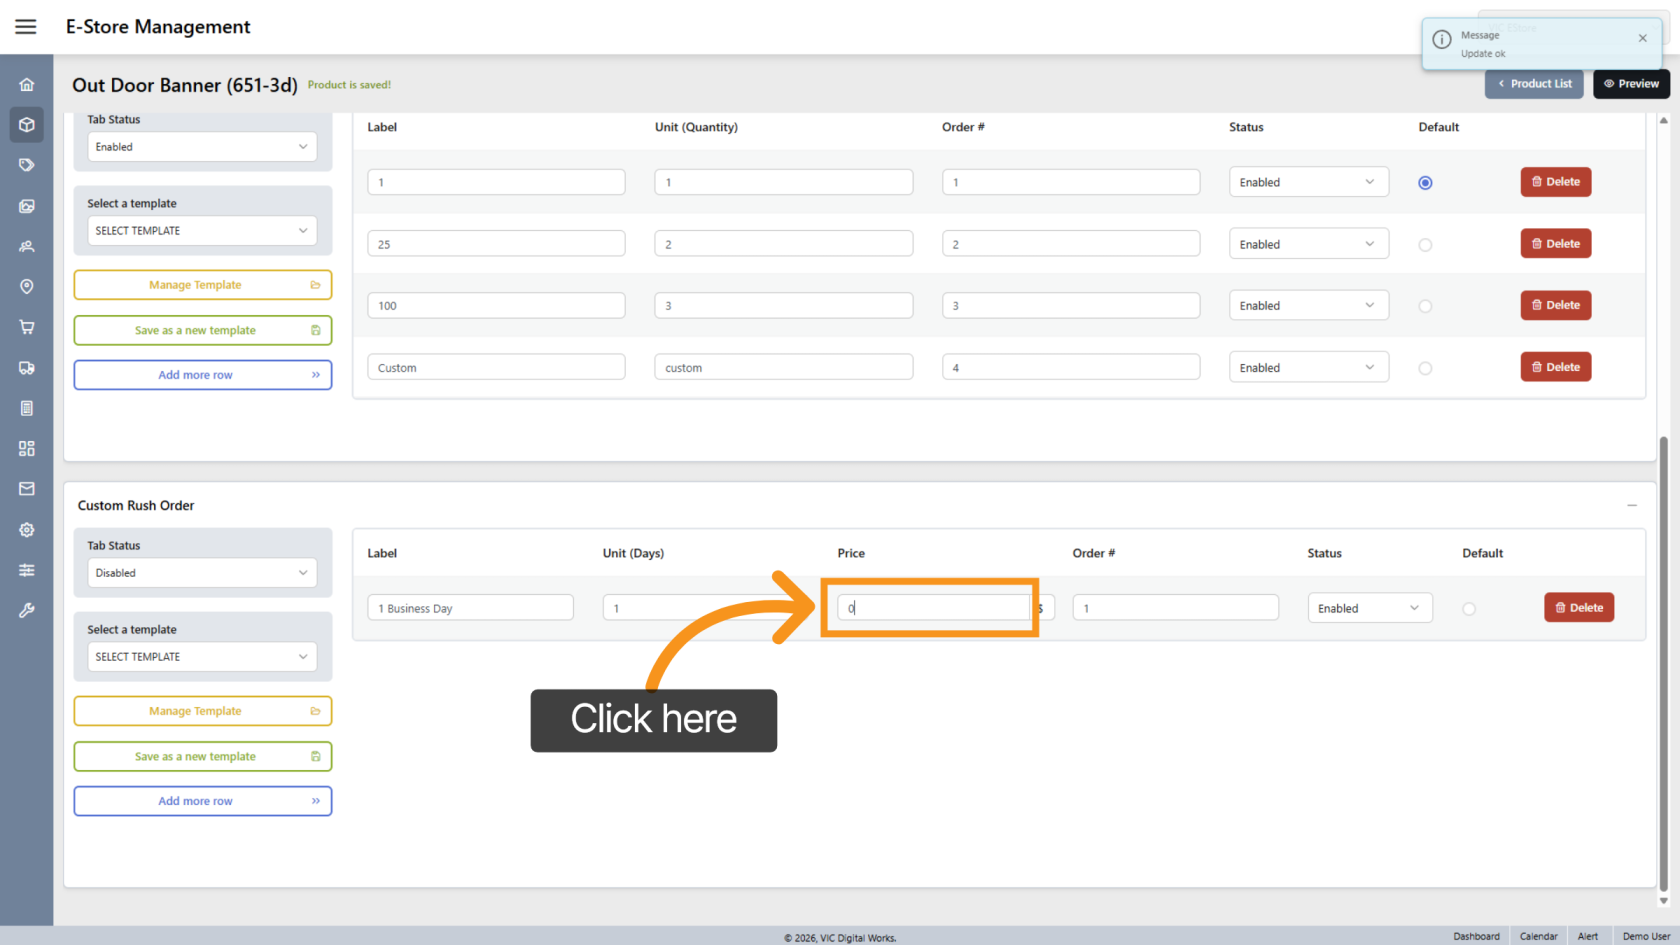
30. Enter Adjustment Value
Enter the adjustment amount:
- Positive value = price increase.
- Negative value = price decrease
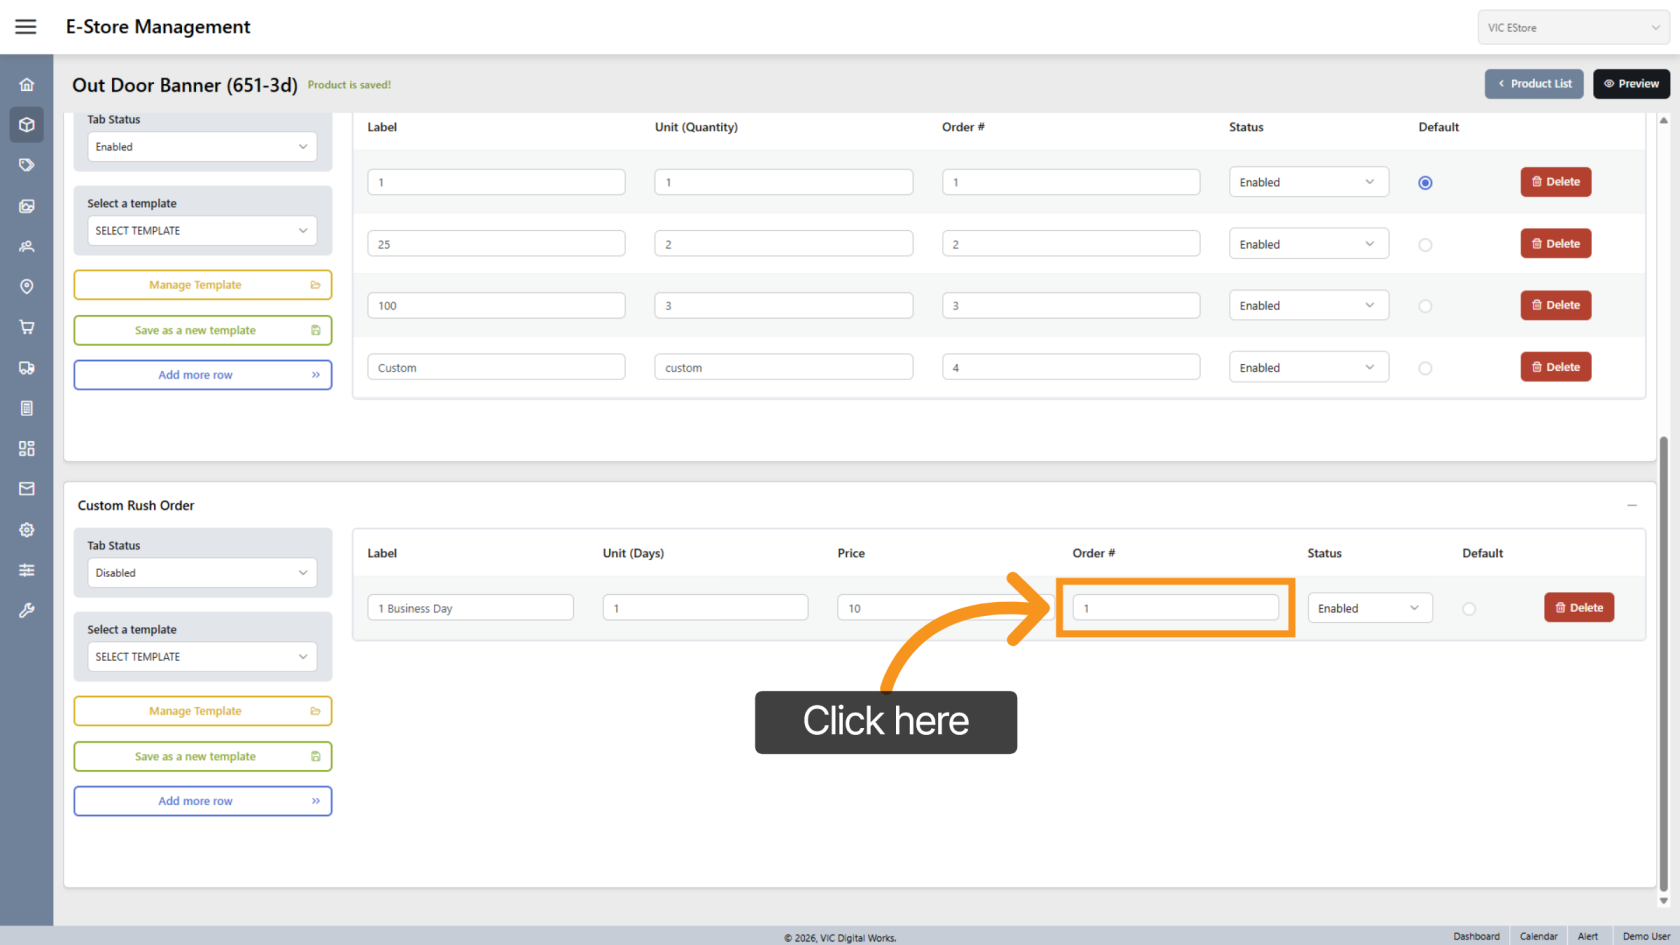
31. Reorder Rush Options
Click Order to adjust the order if needed.
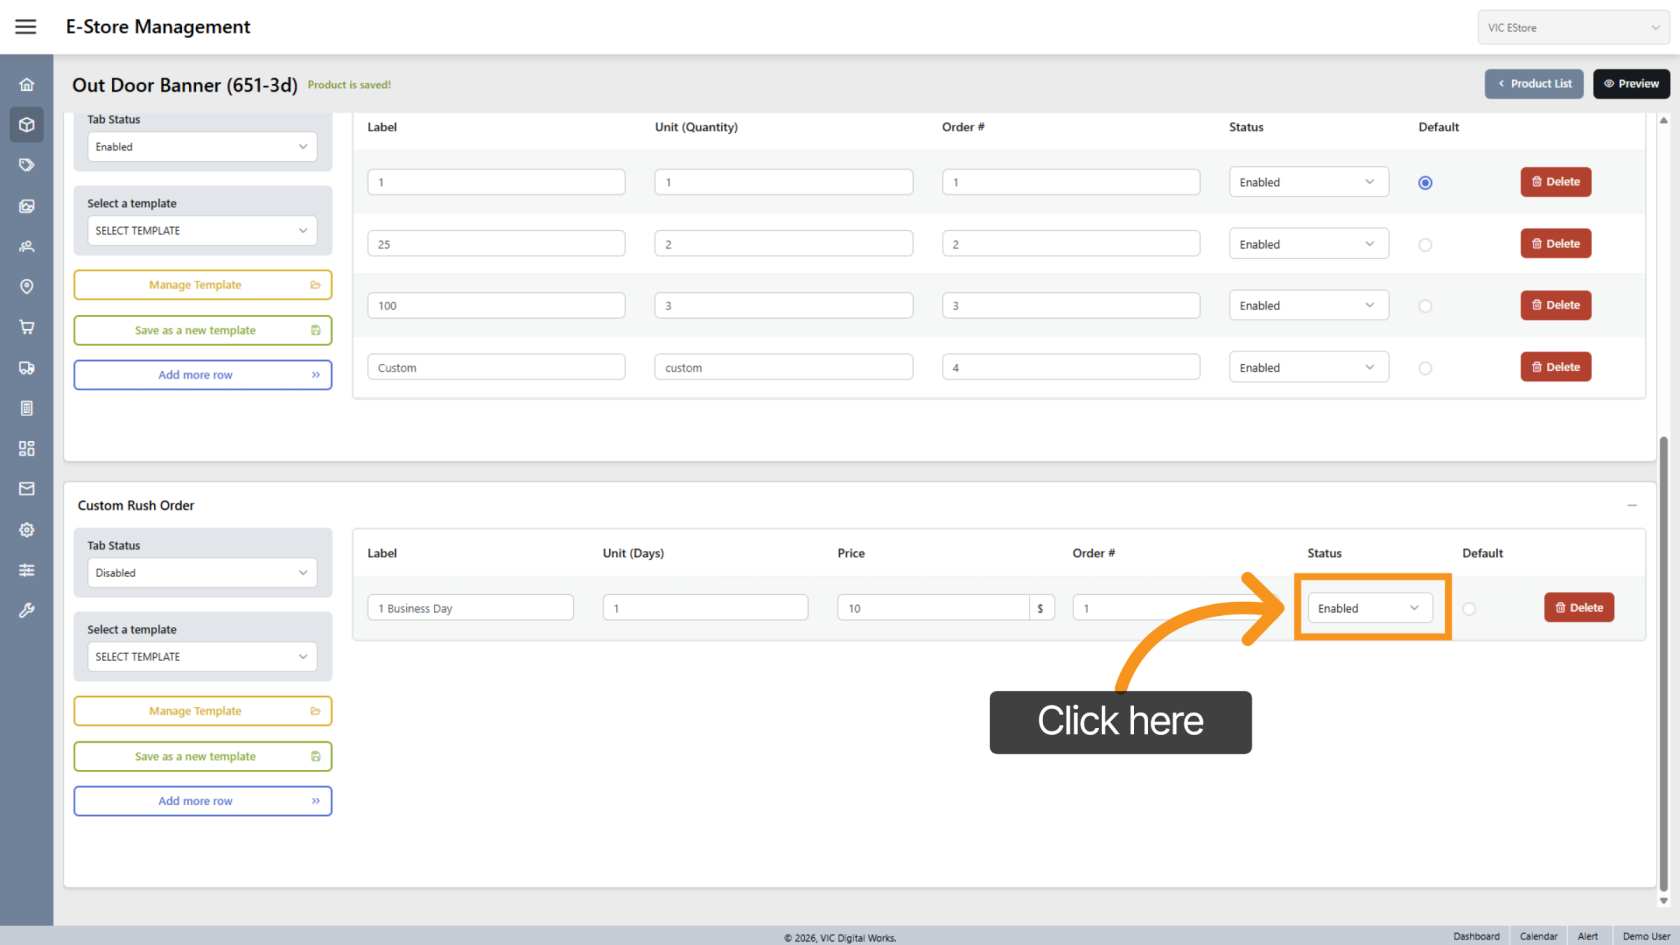
32. Enable or Disable Rush Option
Use Status to activate or deactivate.
33. Set Default Rush Option
Click Default to make it the standard selection.

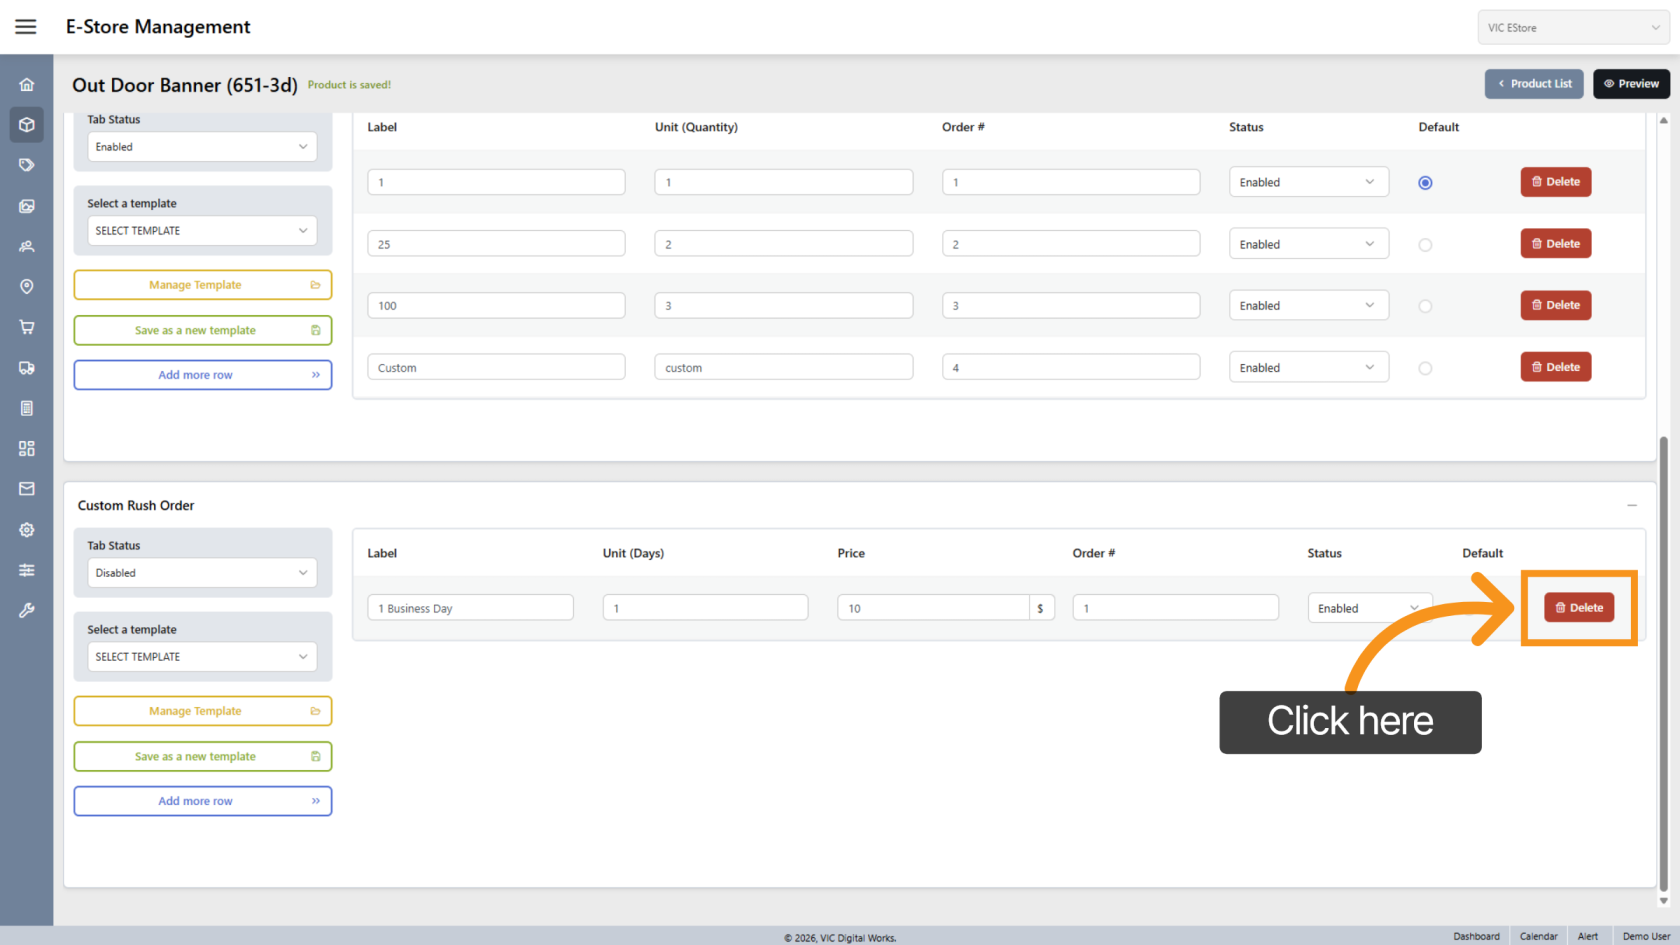
34. Delete Rush Option
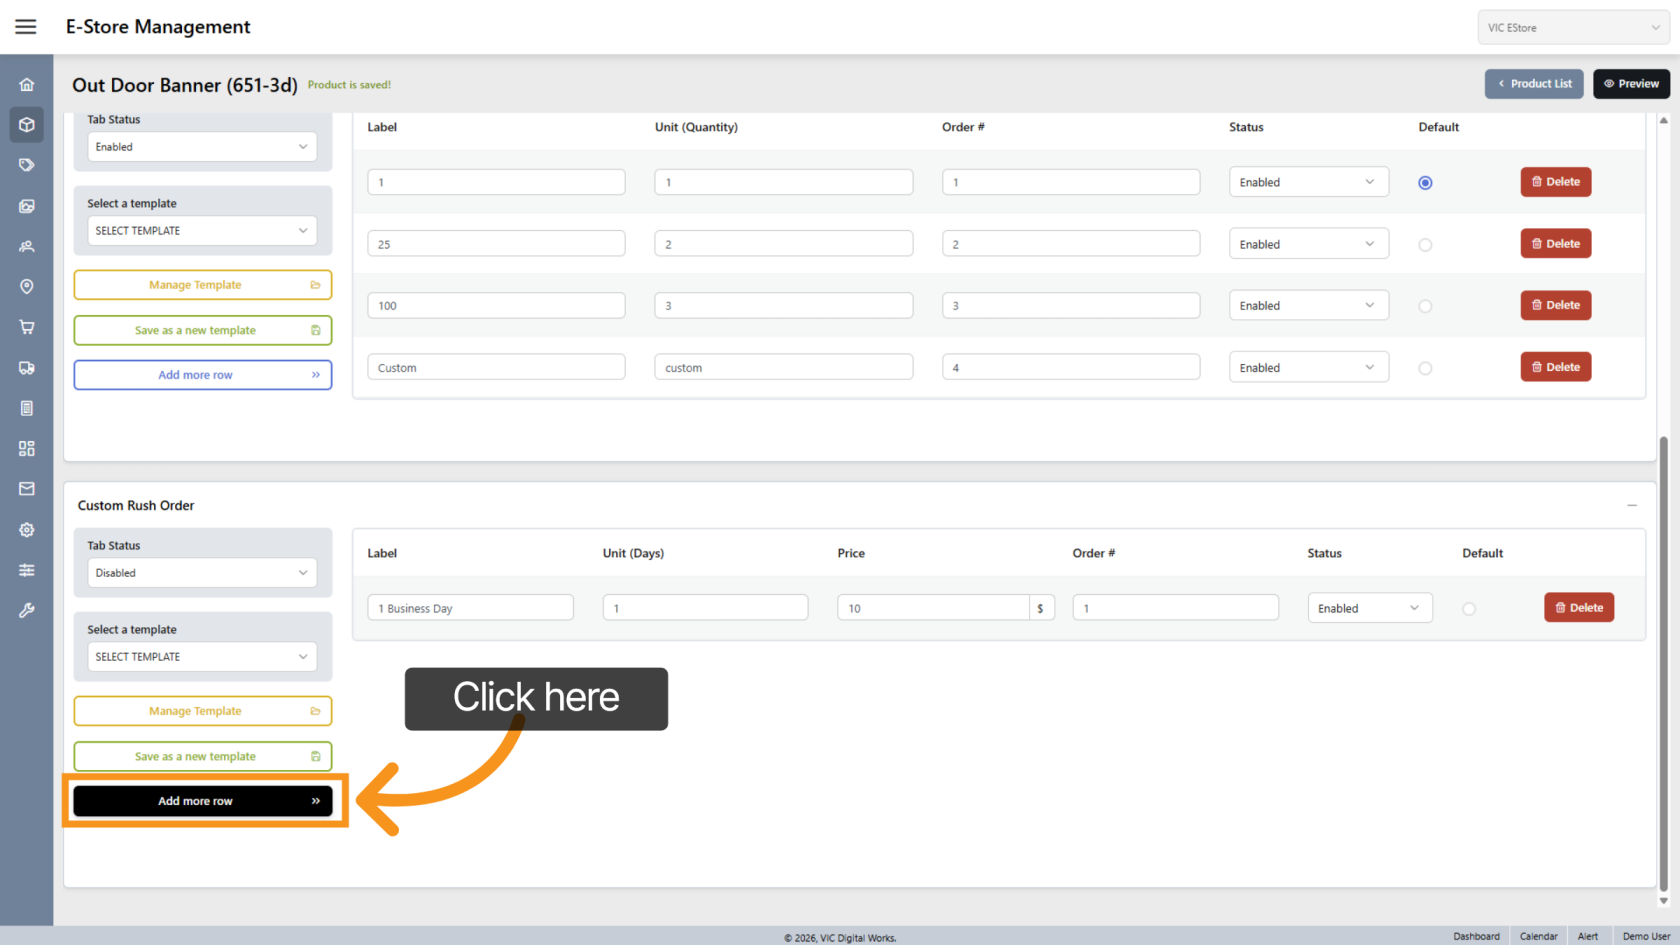
35. Add Additional Rush Rows
Click "Add more row" to insert an additional entry in the rush order table.
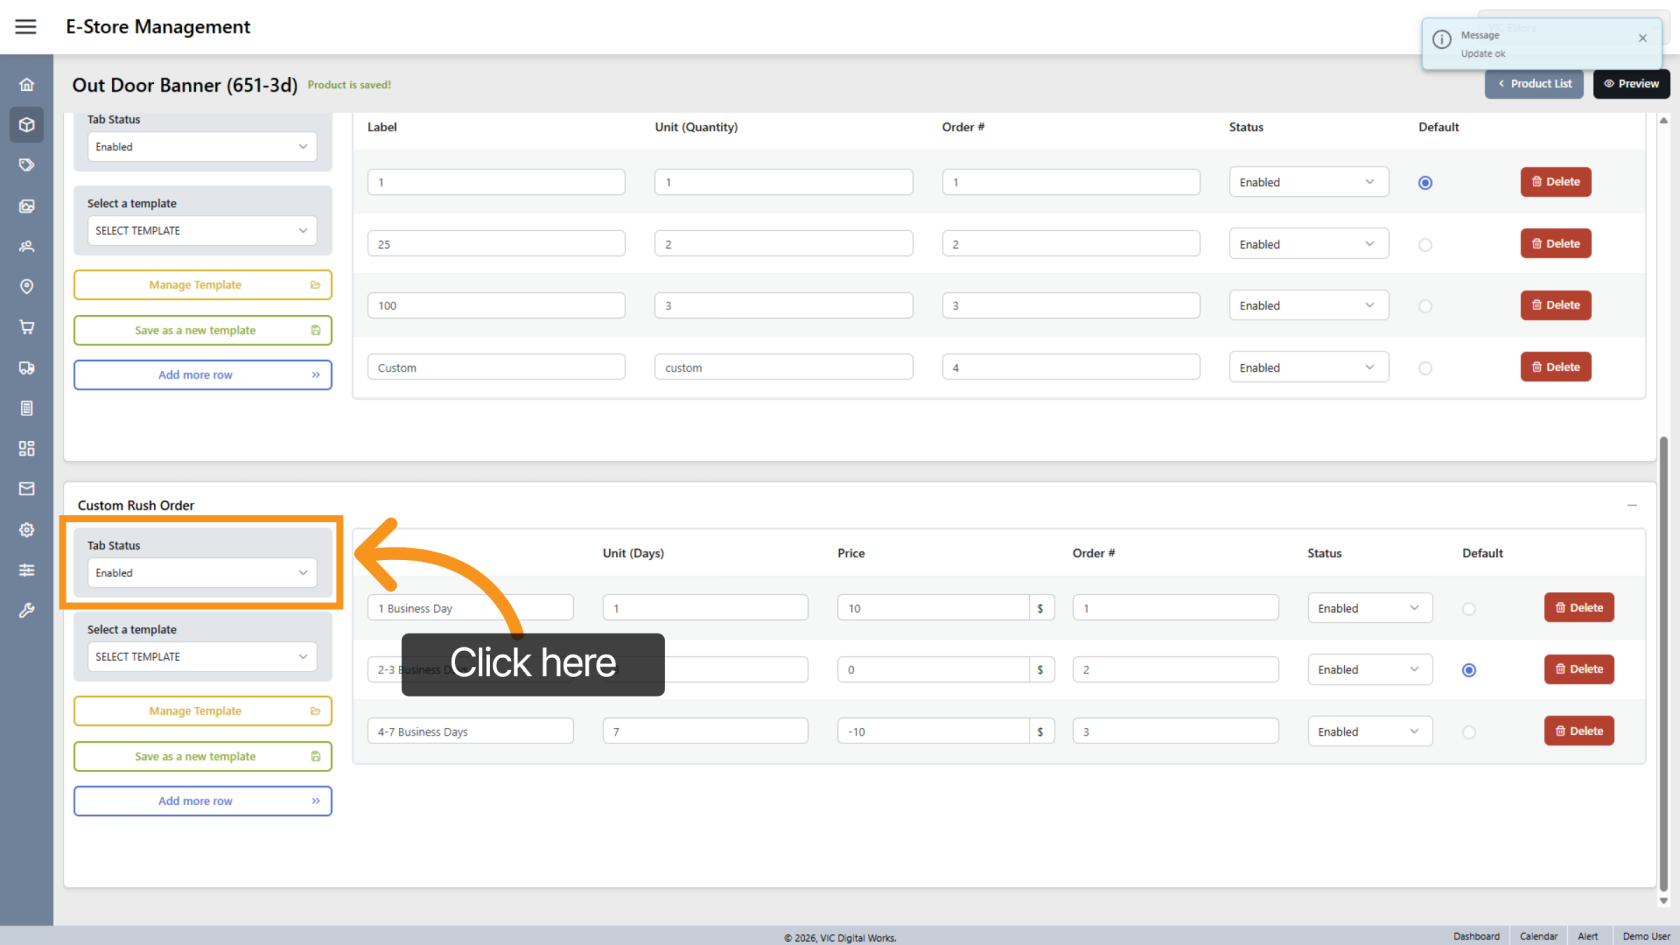
36. Enable Rush Tab
Set Tab Status to Enabled to apply rush options in the store.
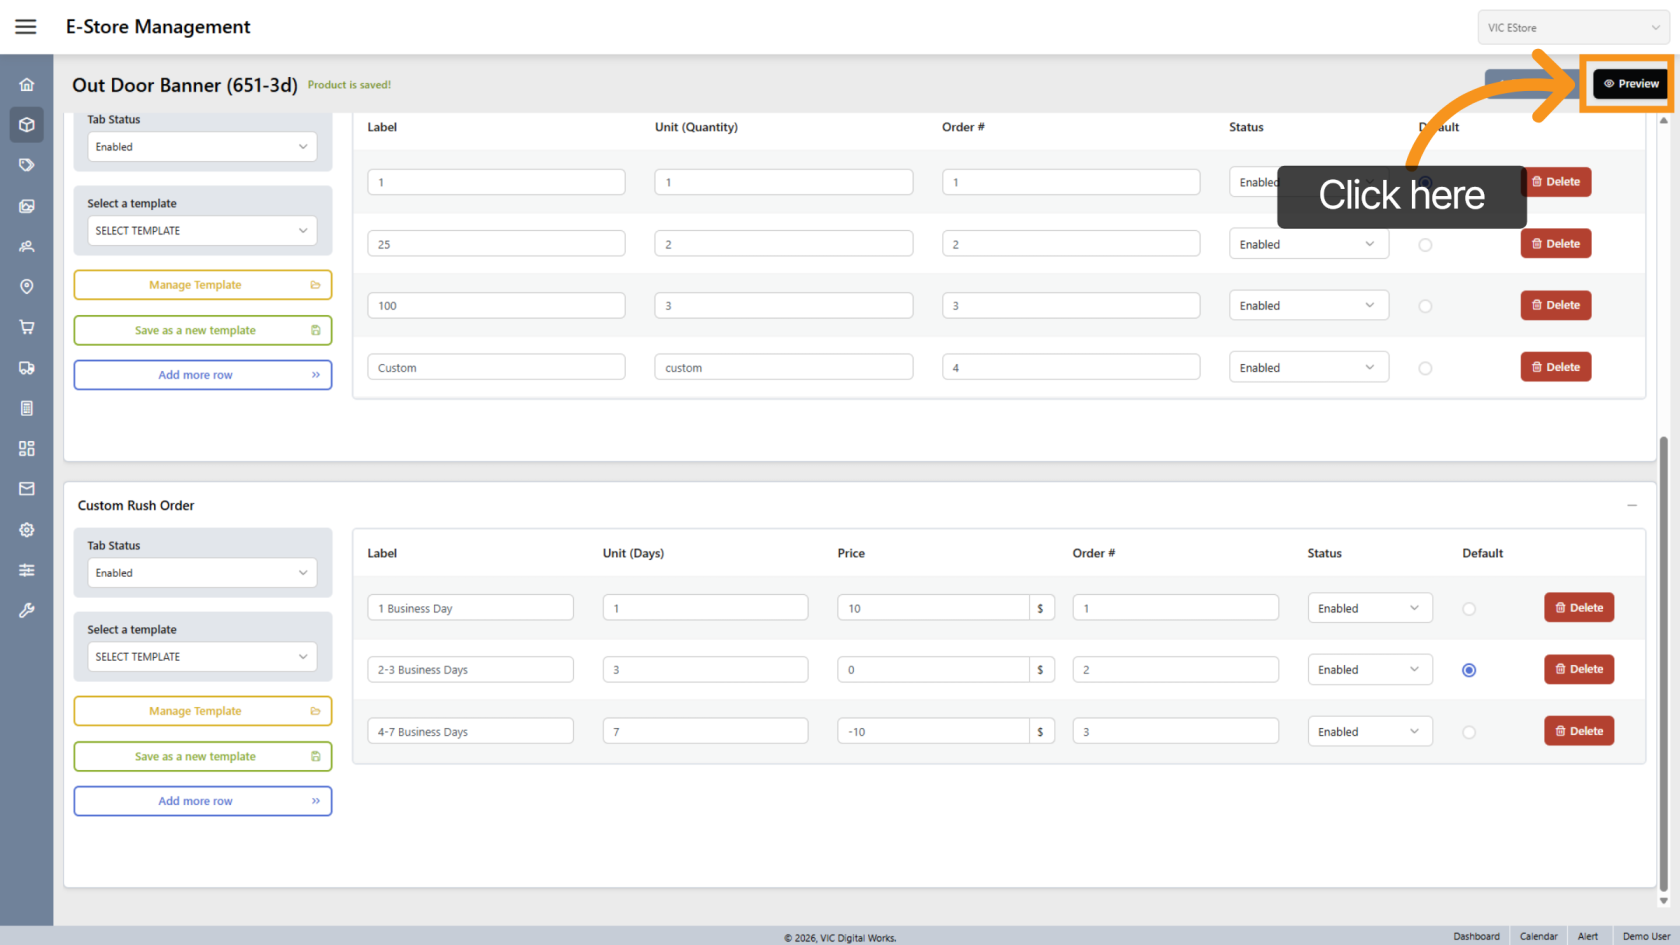
37. Preview Rush Settings
Click "Preview" to view the configured options.
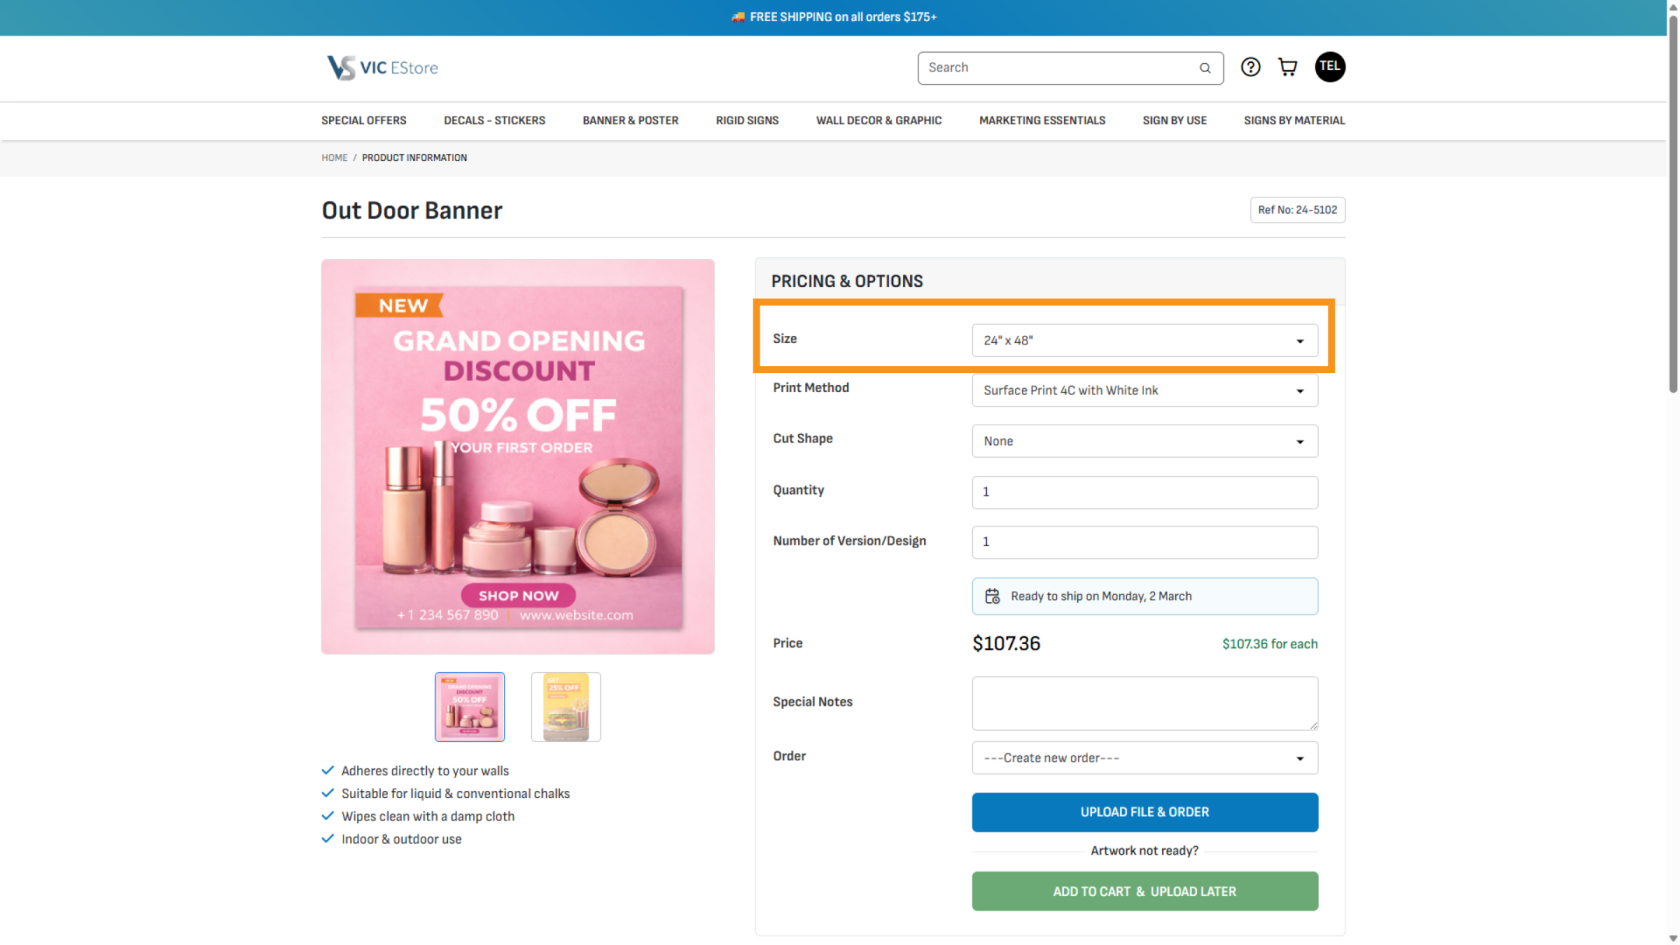
38. Size Dropdown
Size will now appear as a dropdown with all configured sizes.
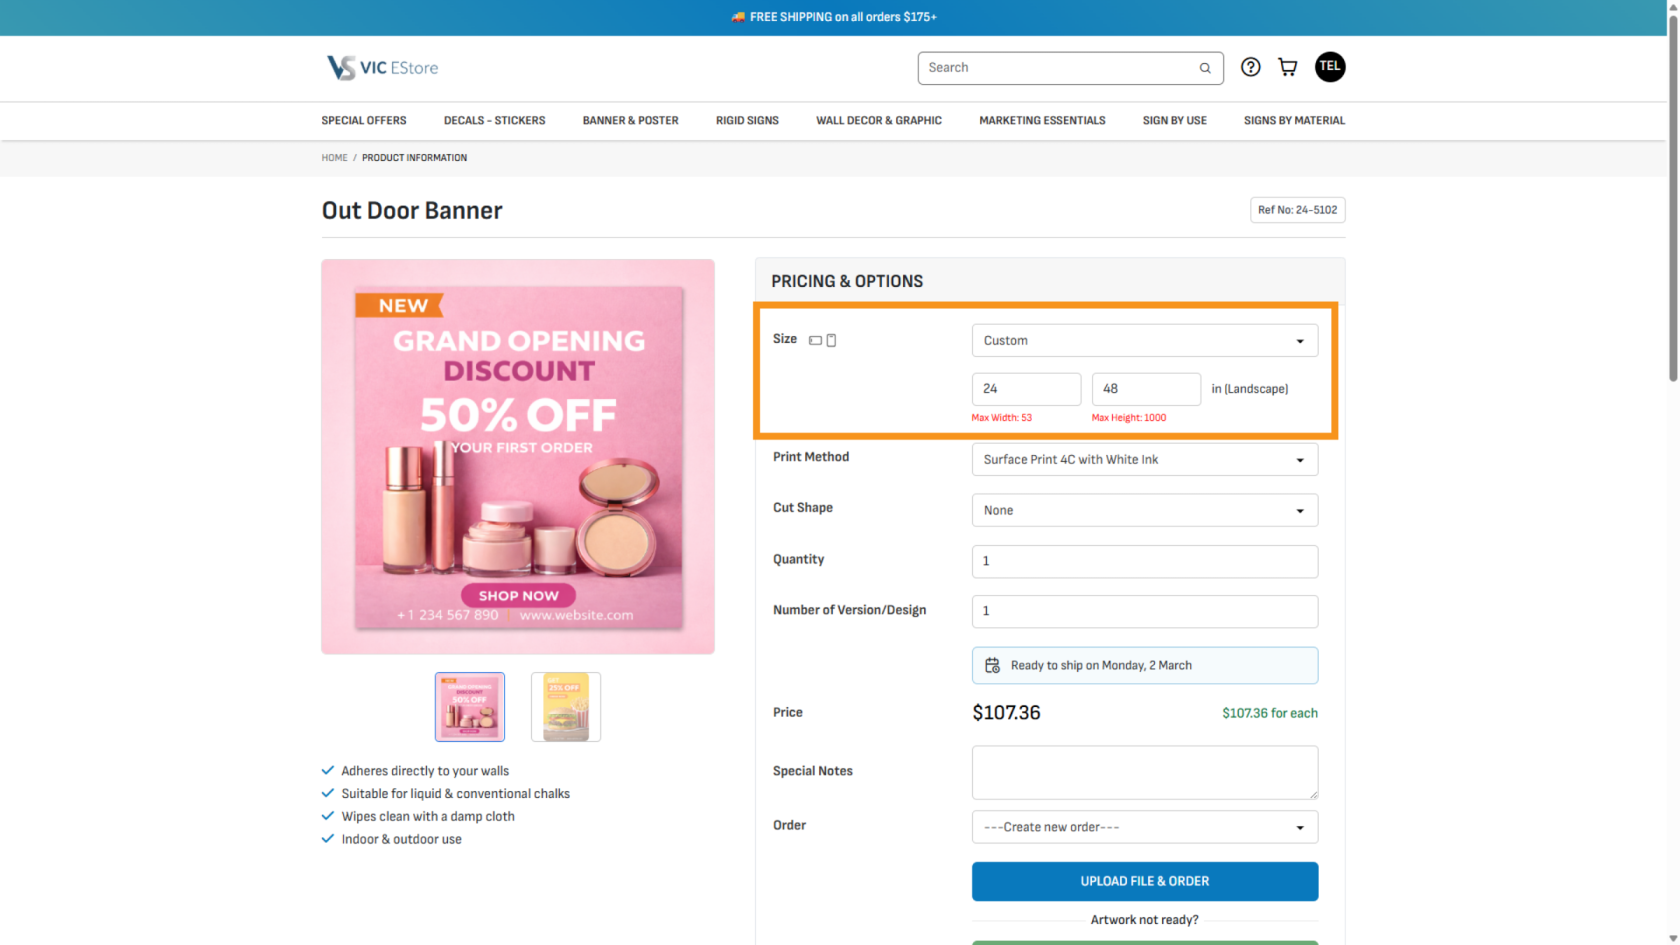
39. Custom Size Field
Selecting Custom will display input fields for customer-defined sizes.
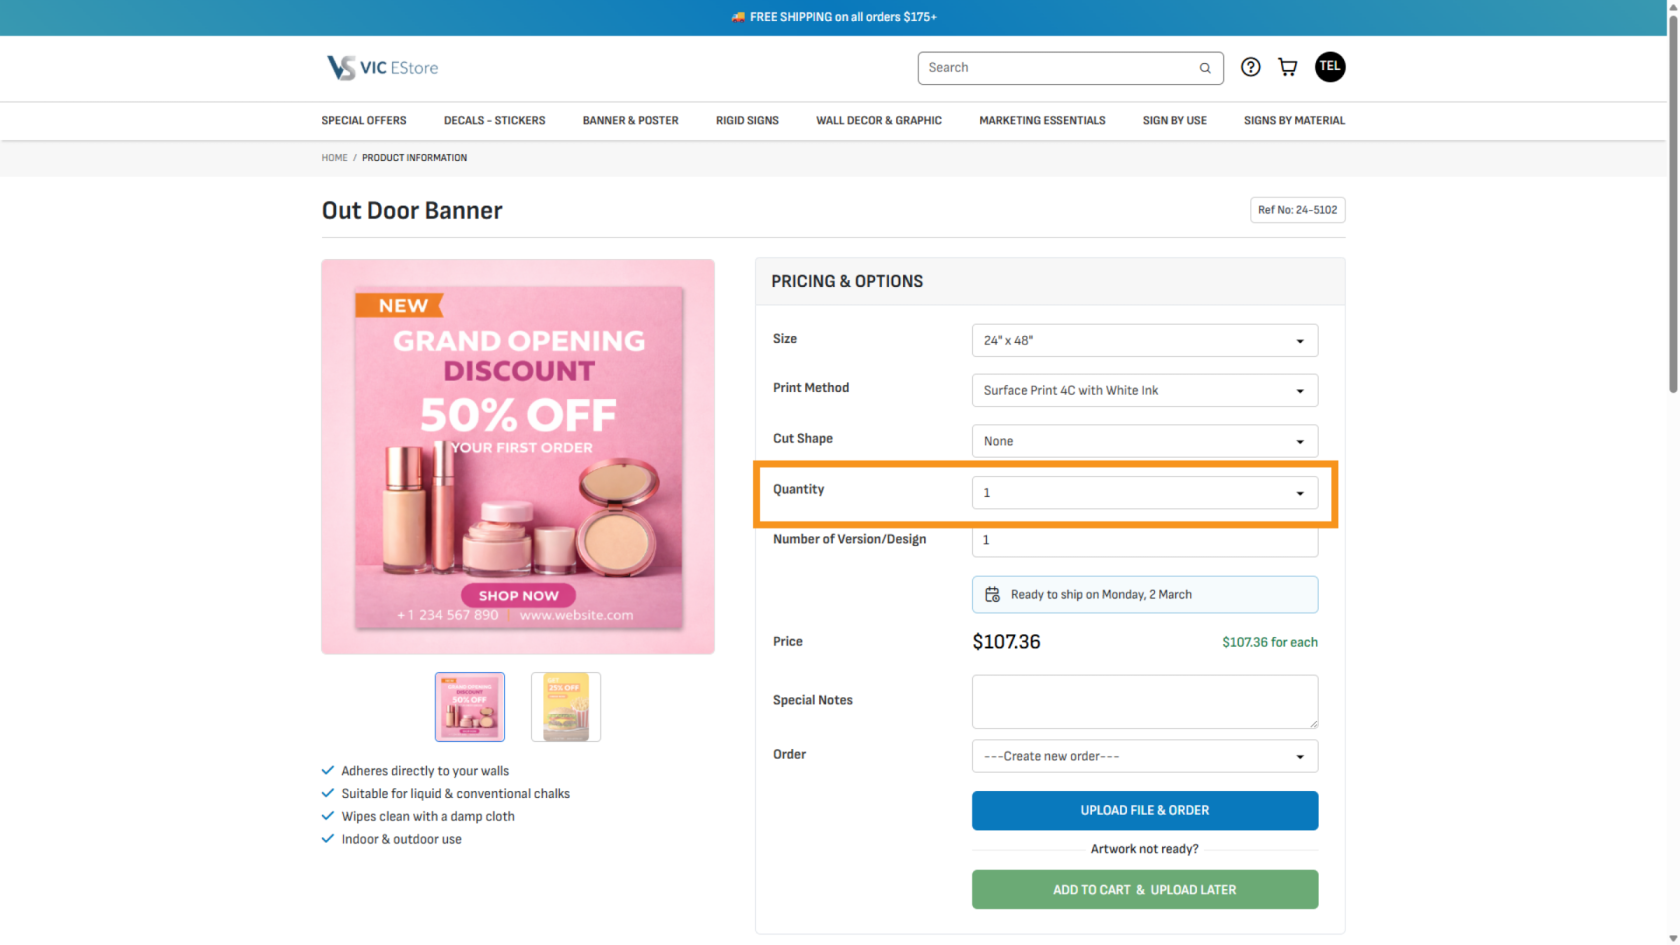
40. Quantity Dropdown
Quantity options will appear in a dropdown menu.
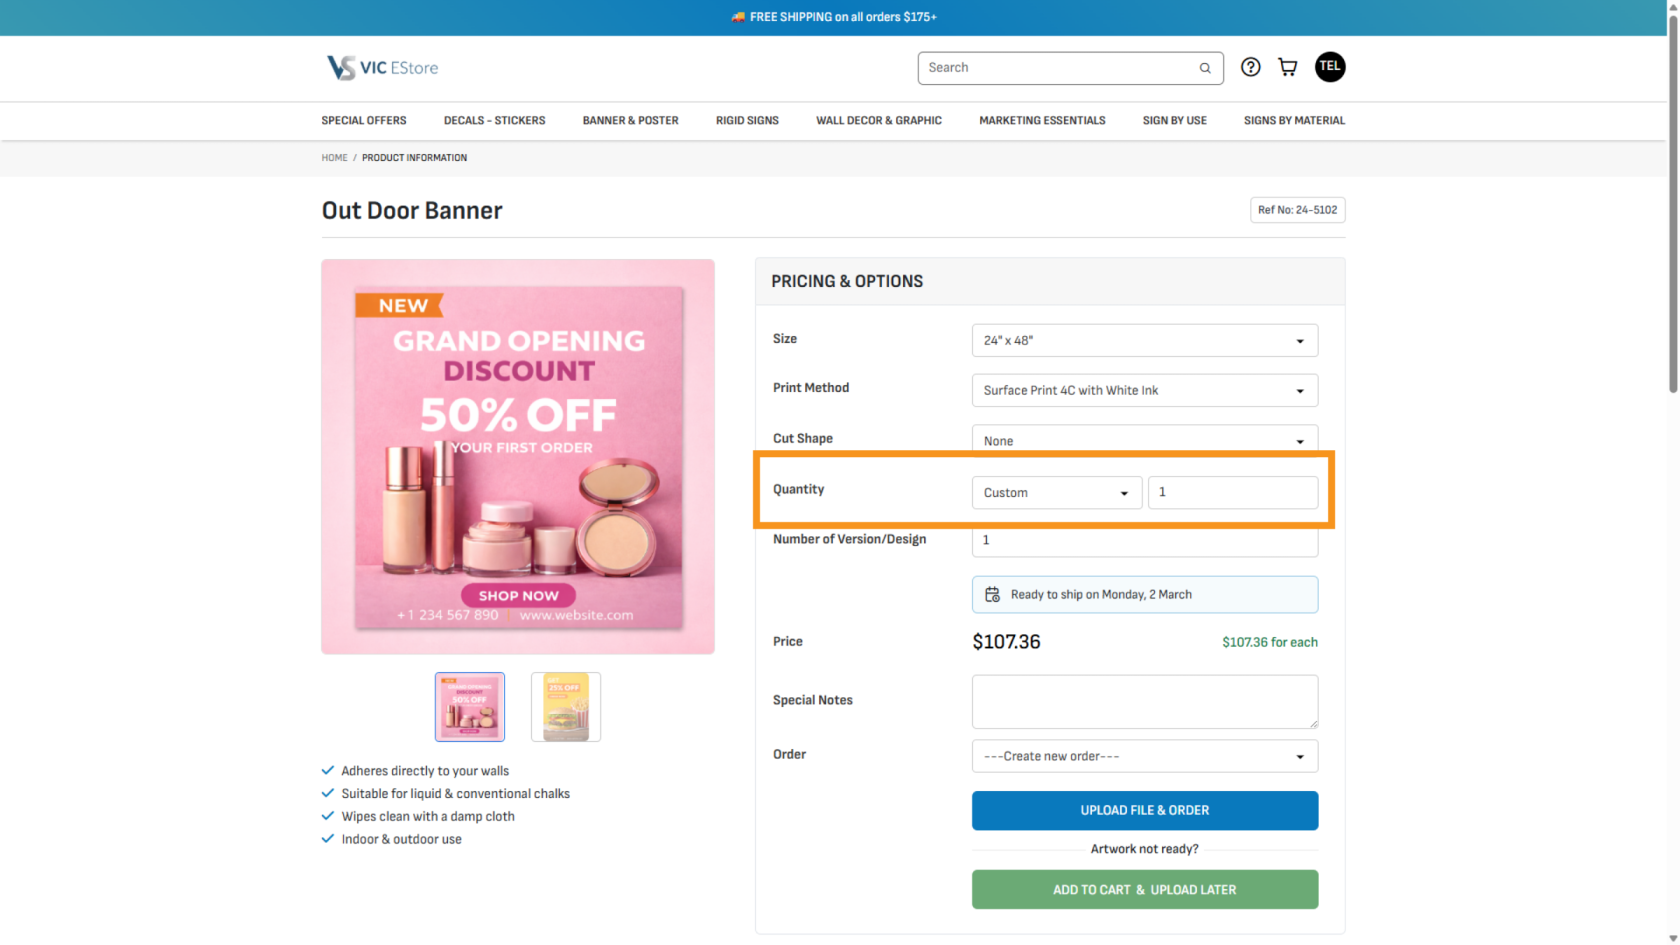
41. Custom Quantity Field
Selecting Custom will allow customers to enter their own quantity.
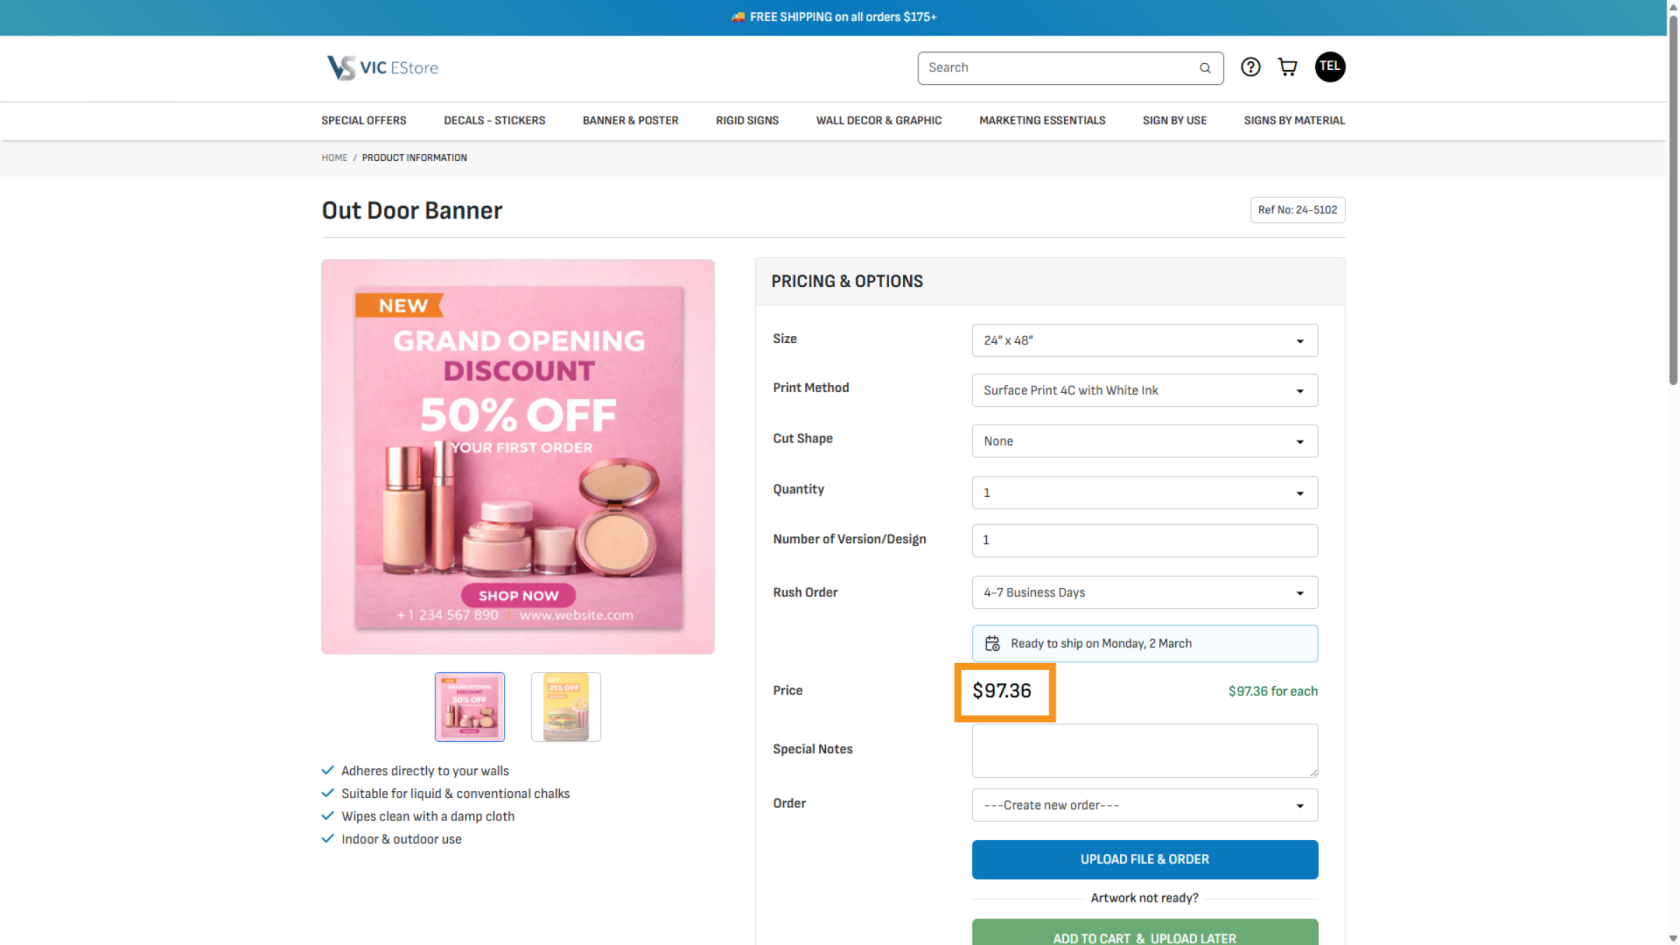
42. Rush Order Display
Rush Order options will appear on the product page.
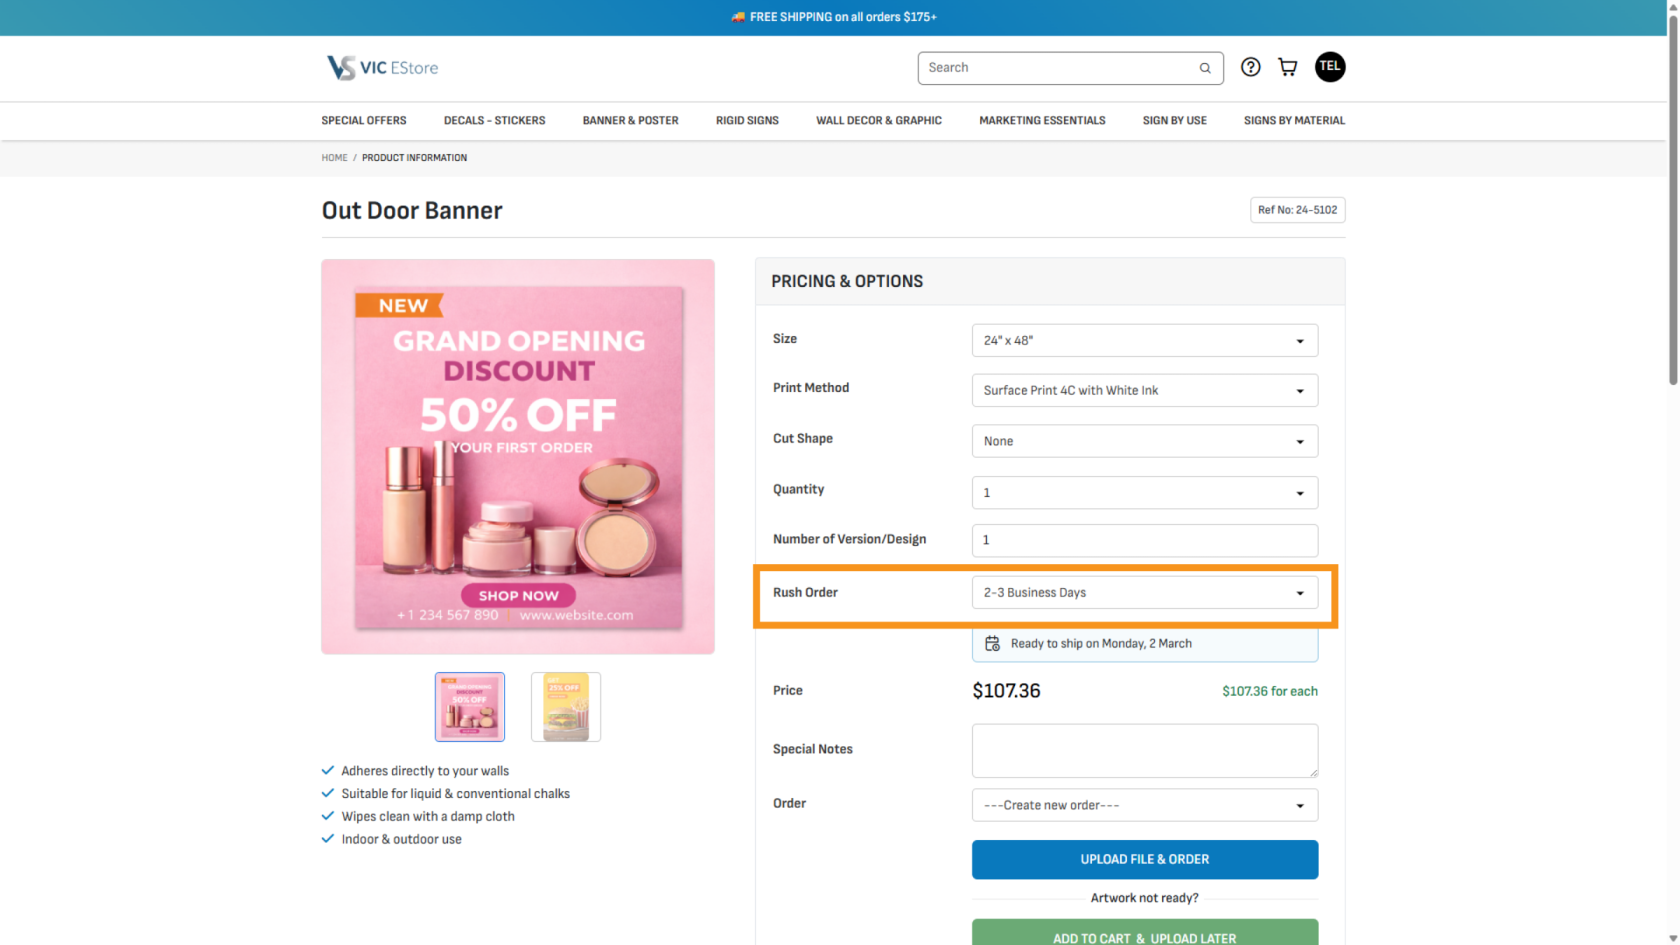
43. Automatic Price Recalculation
When customers change rush options, the system automatically recalculates the price based on your settings.
You have successfully configured product size, quantity, and rush order variants. Always preview the product to ensure all options display correctly before publishing.